
78 Datsun 280z-------------> 5.3 Build
 03-13-2012, 03:01 PM
#201

Thanks Steepss! I have been to that website but didnt realize they sold such and item. I miss my old Z cars! I had a 75 280z and an 82 280zx. The 75 would simply haul *** for what it was. I couldn't imagine LS power in one of those cars. Best of luck on your swap and glad to see your moving right along.
 03-13-2012, 04:58 PM
#202

Thanks Steepss! I have been to that website but didnt realize they sold such and item. I miss my old Z cars! I had a 75 280z and an 82 280zx. The 75 would simply haul *** for what it was. I couldn't imagine LS power in one of those cars. Best of luck on your swap and glad to see your moving right along.
 03-16-2012, 11:54 PM
#203
UPDATE
Finished up school .... until after spring break.
So i rewarded myself with an afternoon at the shop.
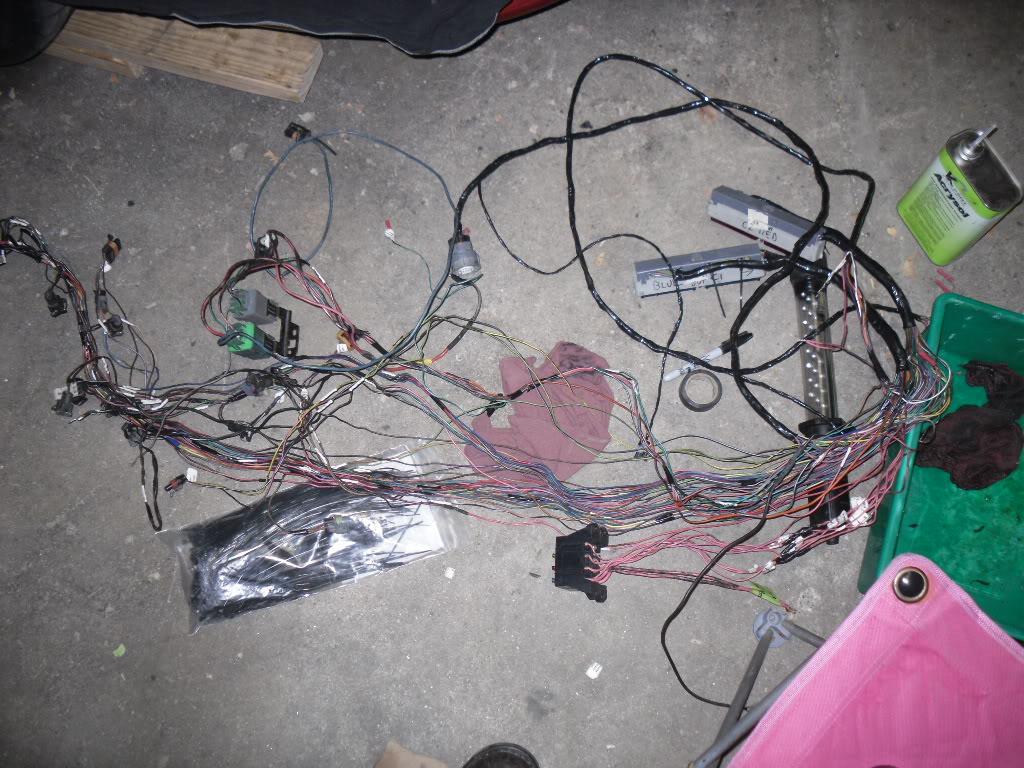
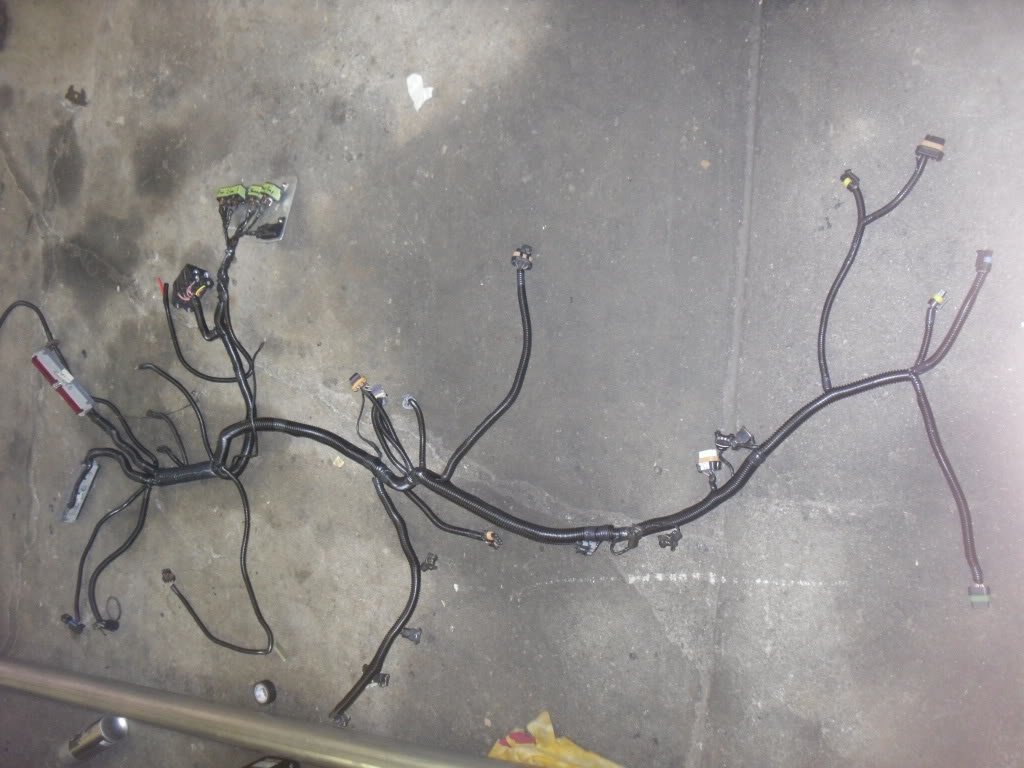
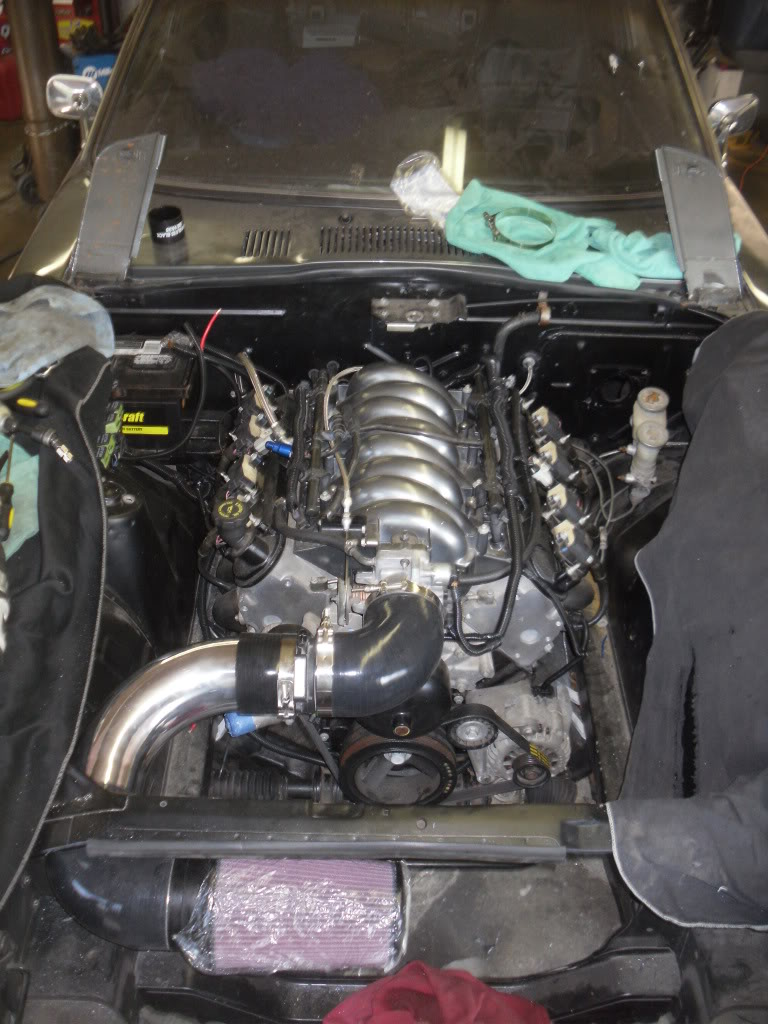
Got my harness finished!!!!!!! and installed. Its come a long way....
From this:
To this:
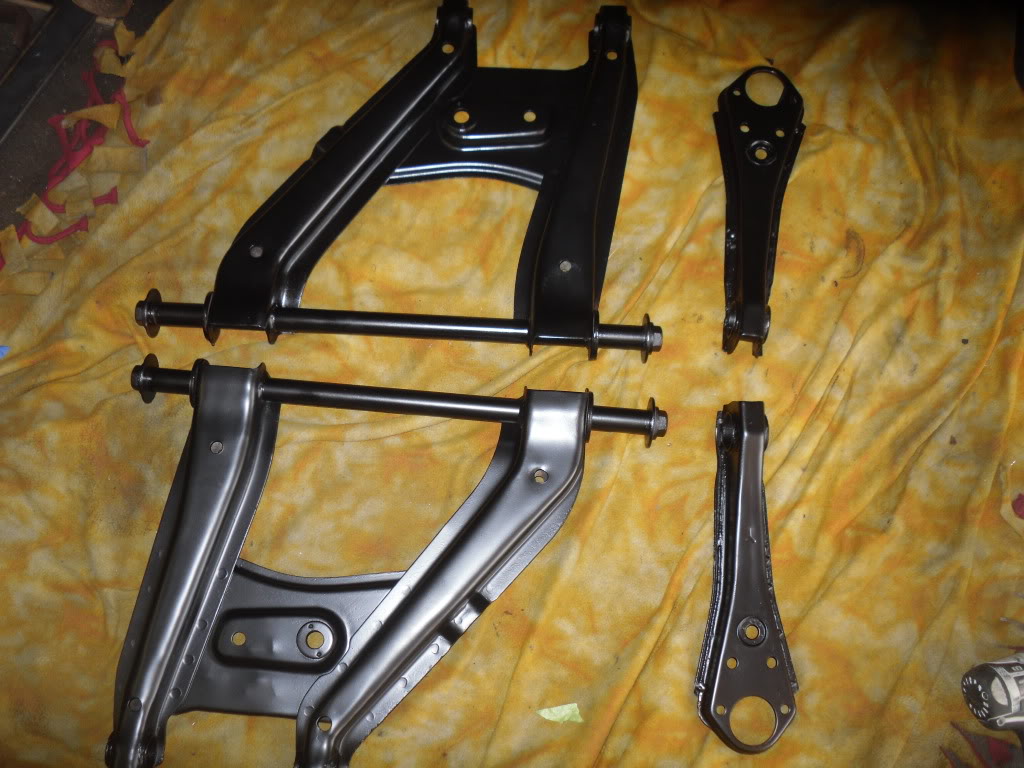
I also installed the rear LCA's. Shown here, fresh paint!
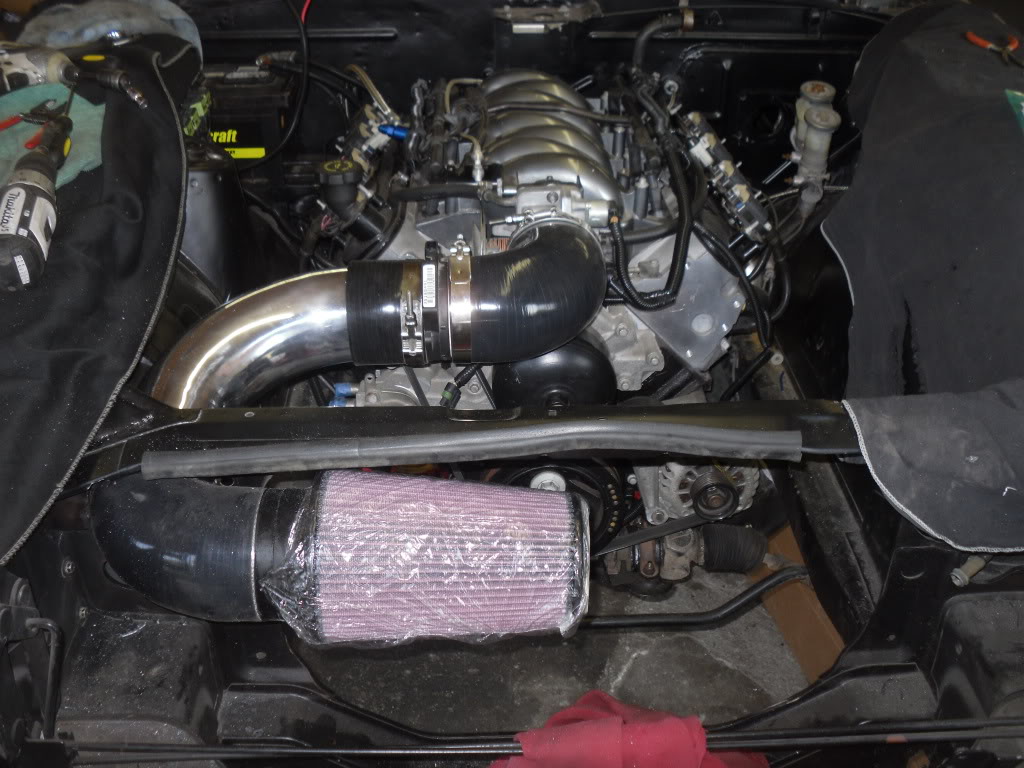
I worked on my cold air intake. Hows it look?
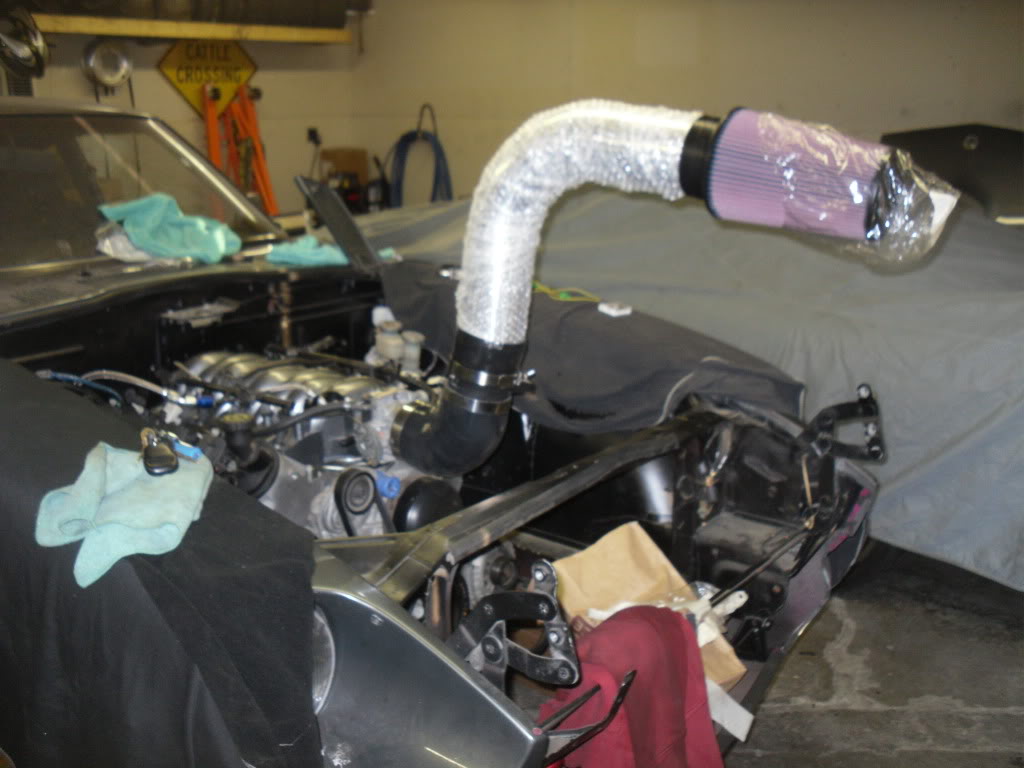
In all seriousness though, i did get it done.
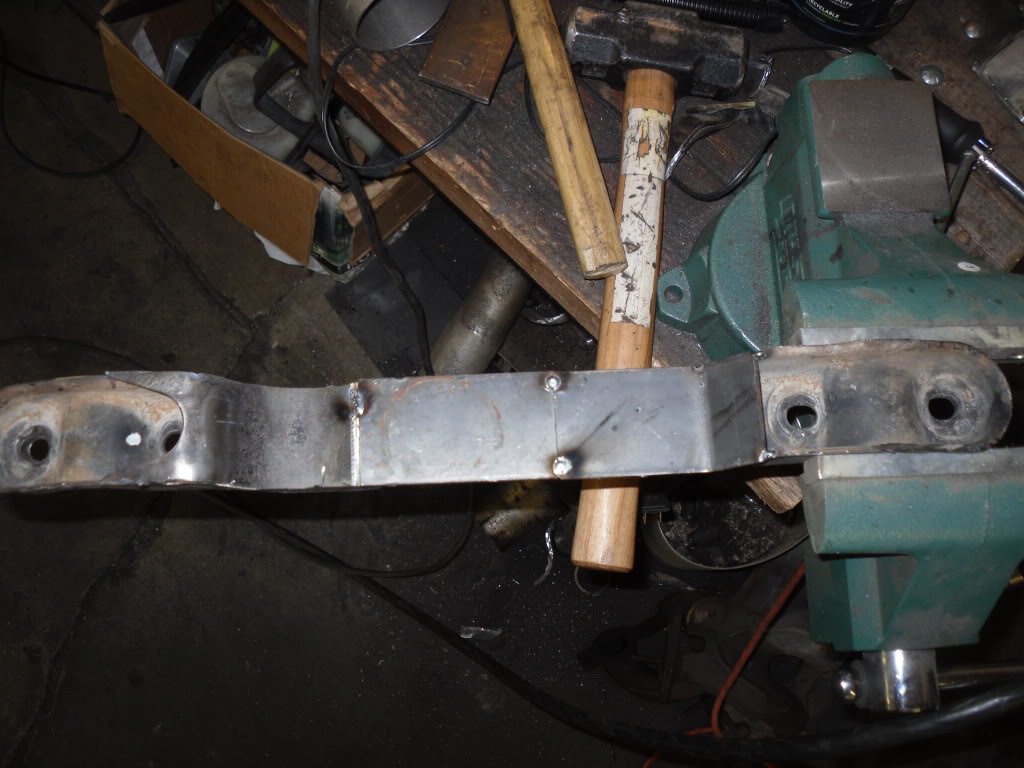
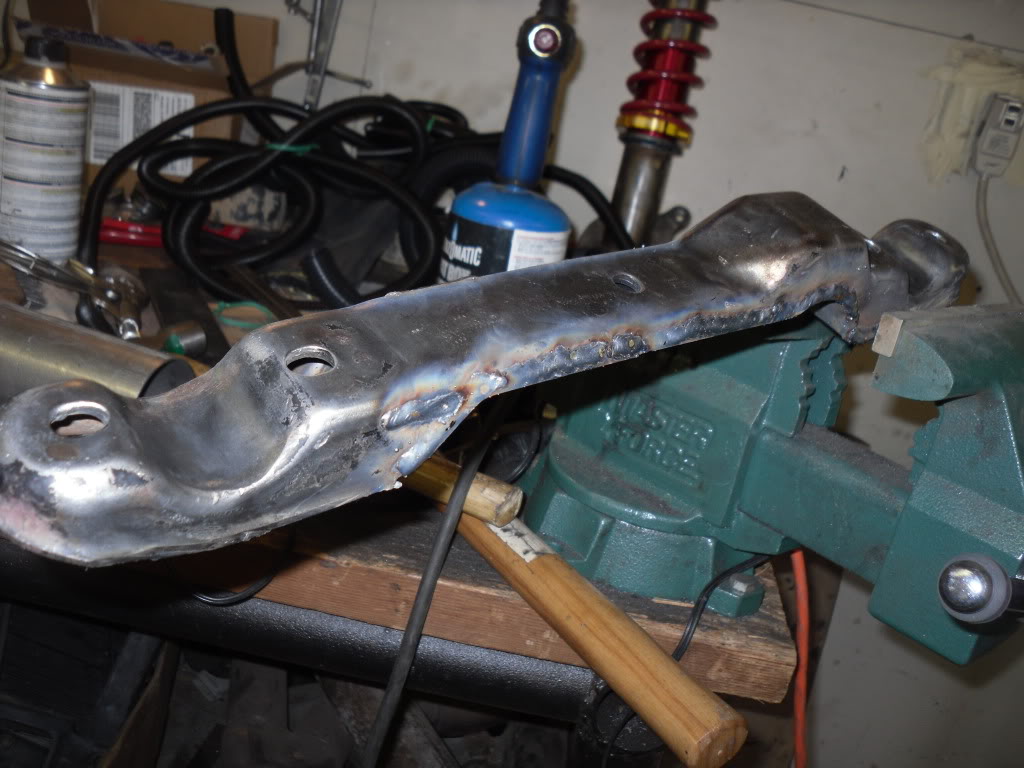
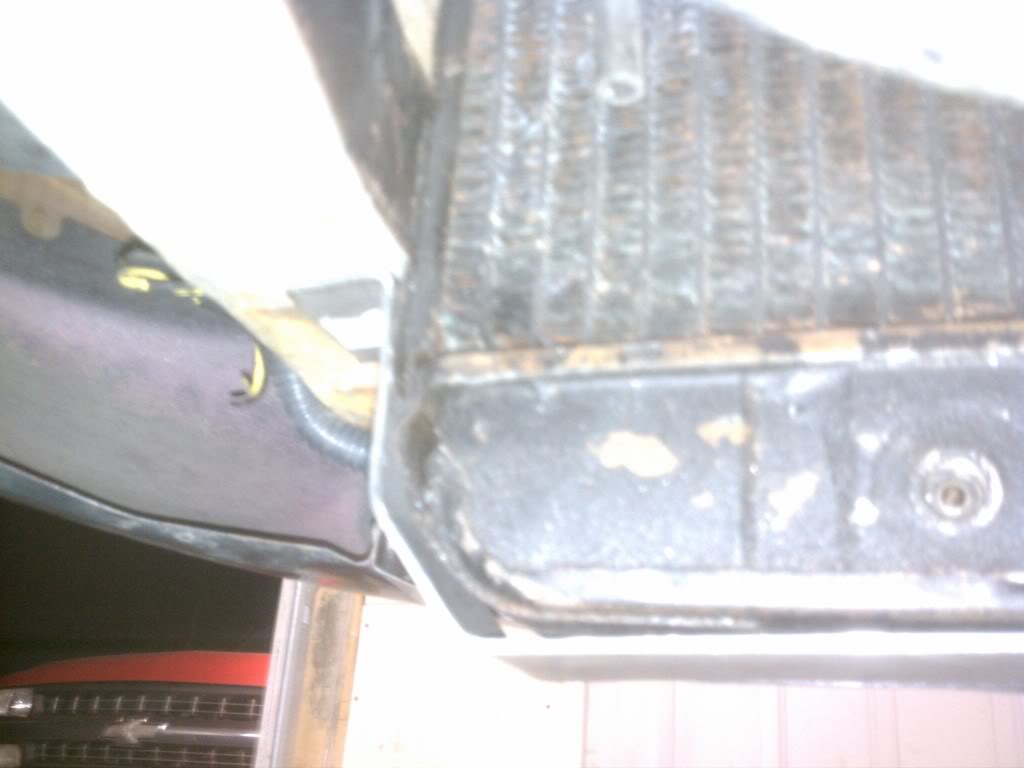
Then I went to work on the diff crossmember - clearancing it for my exhuast
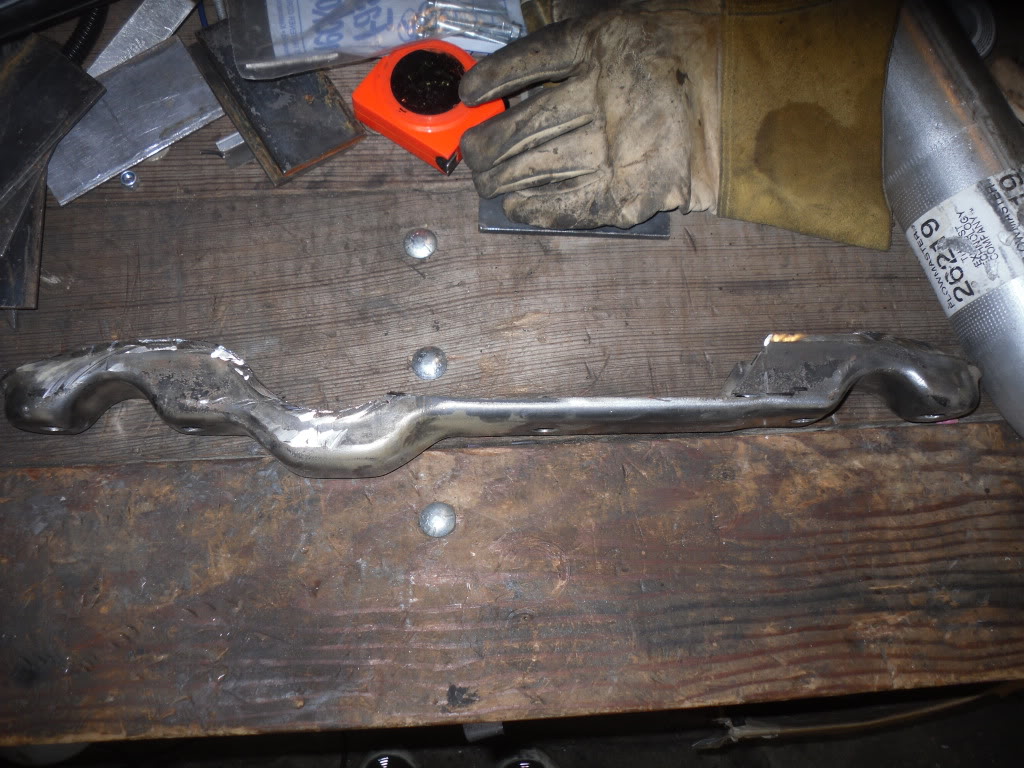
Started laying in strap...

 .
.
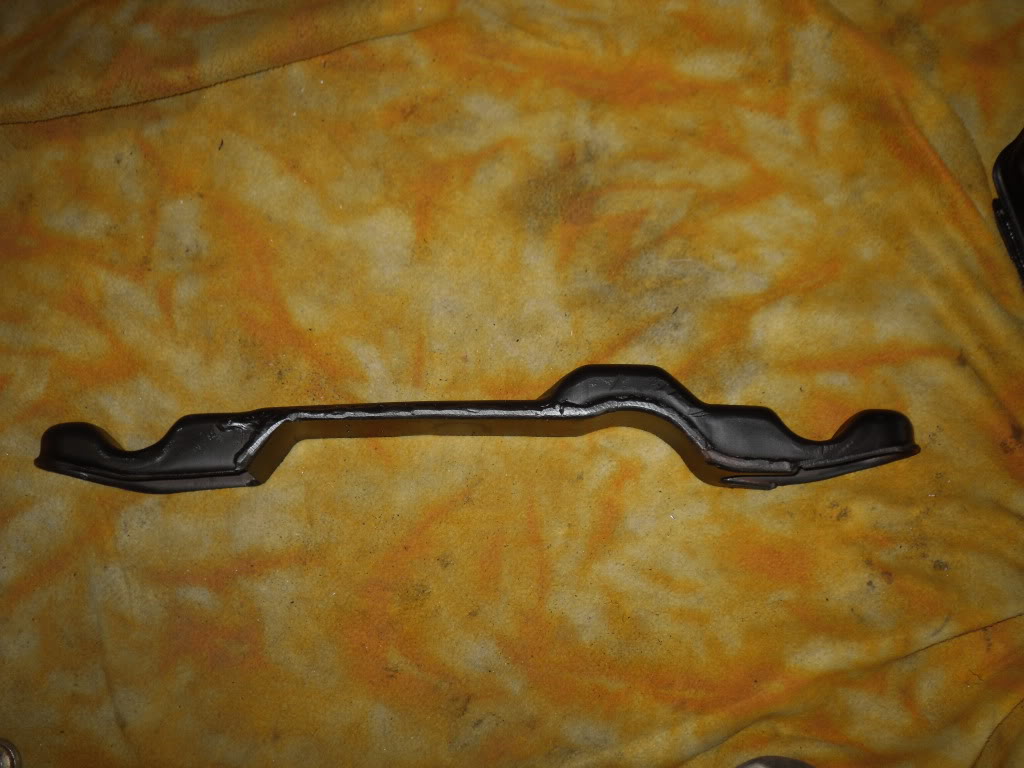
Done
prettyfied
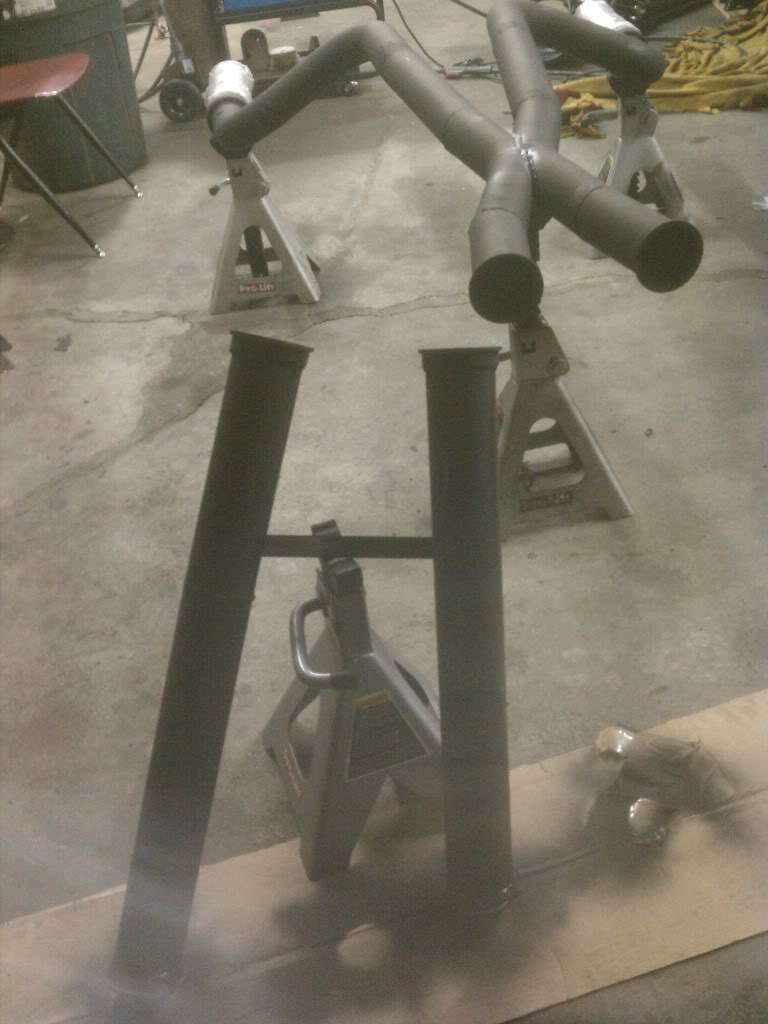
Then I worked on my crossver pipe. I was originally going to do an H, but i decided to try my hand at an X. Here's what i got.
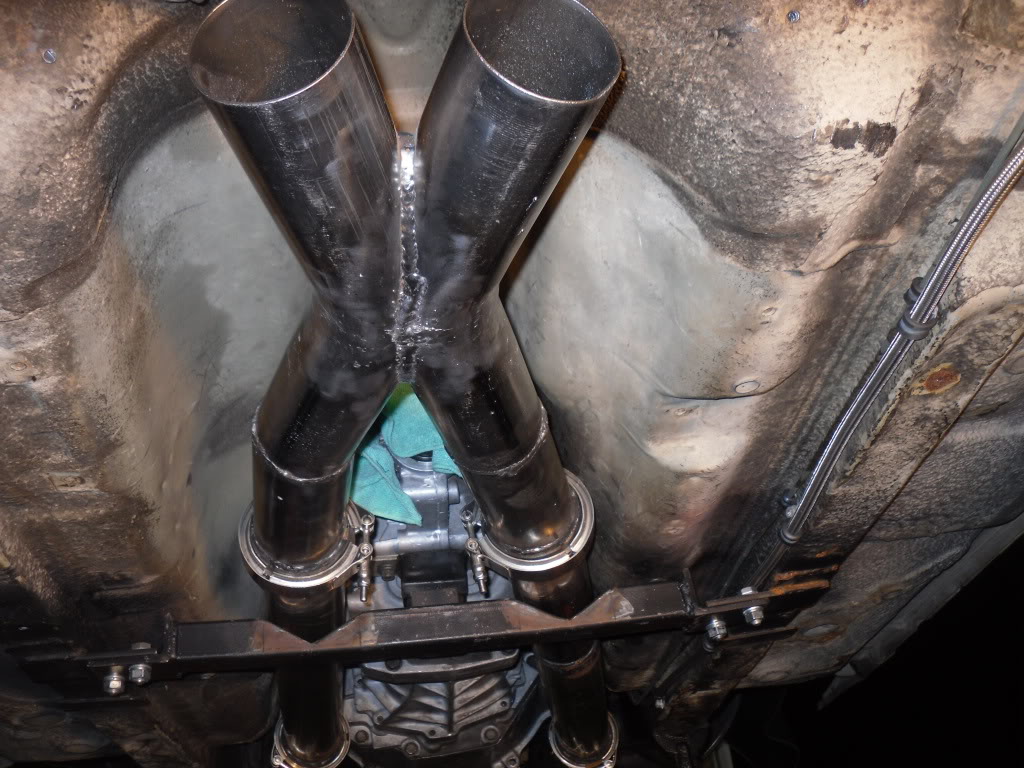
used two 45* bends, and a chopsaw.
The tuck is nice.
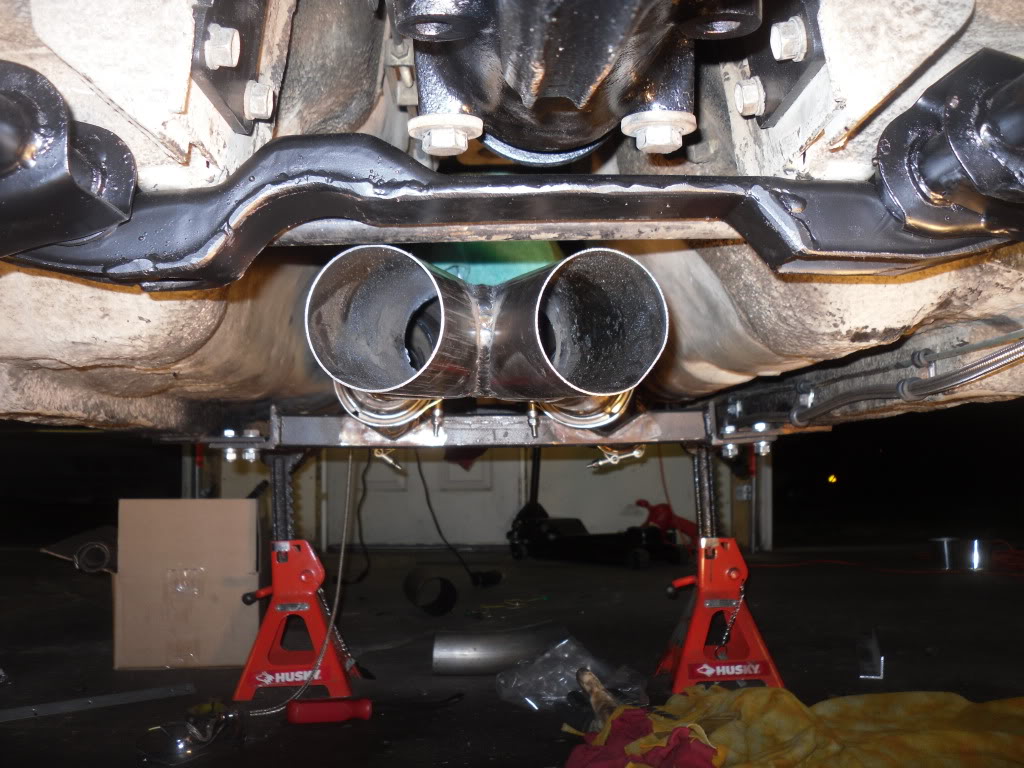
I wish my fuel tank would get here, so i could finish the rest of the exhaust!
That's it and that's all.
Finished up school .... until after spring break.
So i rewarded myself with an afternoon at the shop.
Got my harness finished!!!!!!! and installed. Its come a long way....
From this:
To this:
I also installed the rear LCA's. Shown here, fresh paint!
I worked on my cold air intake. Hows it look?
In all seriousness though, i did get it done.
Then I went to work on the diff crossmember - clearancing it for my exhuast
Started laying in strap...
.Done
prettyfied
Then I worked on my crossver pipe. I was originally going to do an H, but i decided to try my hand at an X. Here's what i got.
used two 45* bends, and a chopsaw.
The tuck is nice.
I wish my fuel tank would get here, so i could finish the rest of the exhaust!
That's it and that's all.
03-17-2012, 03:51 PM
#204
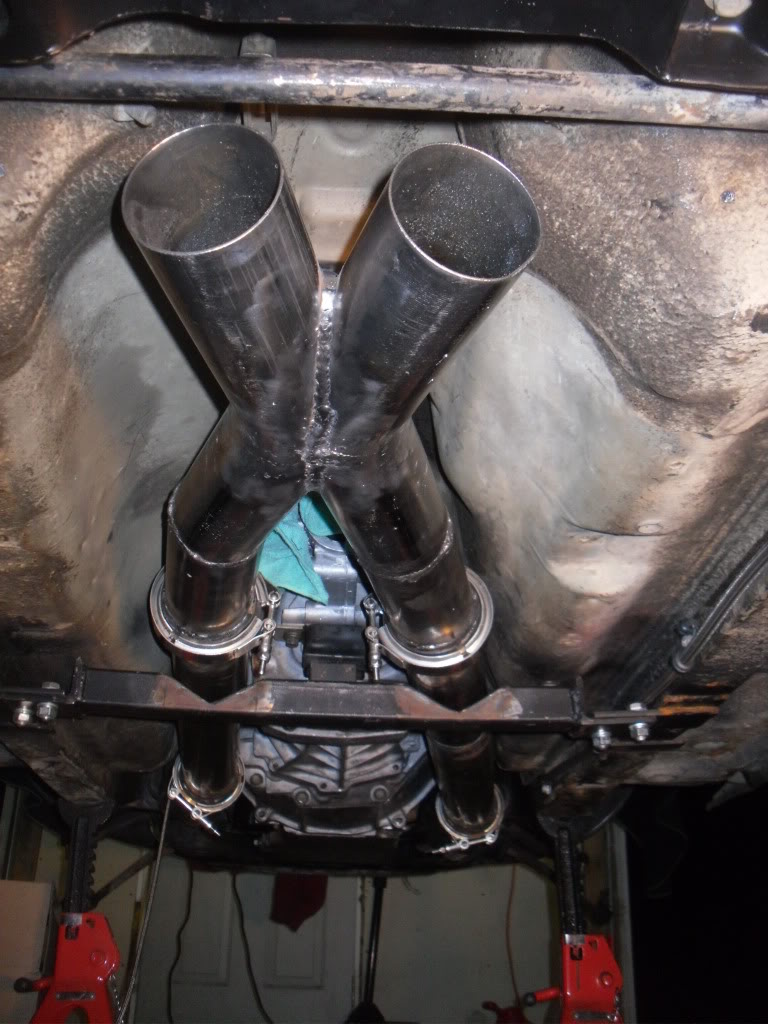
Here's the rest of it! I got to the shop about 10:30 and JUST finished welding it. Forgot to take any on-car pics, but the fitment is excellent!
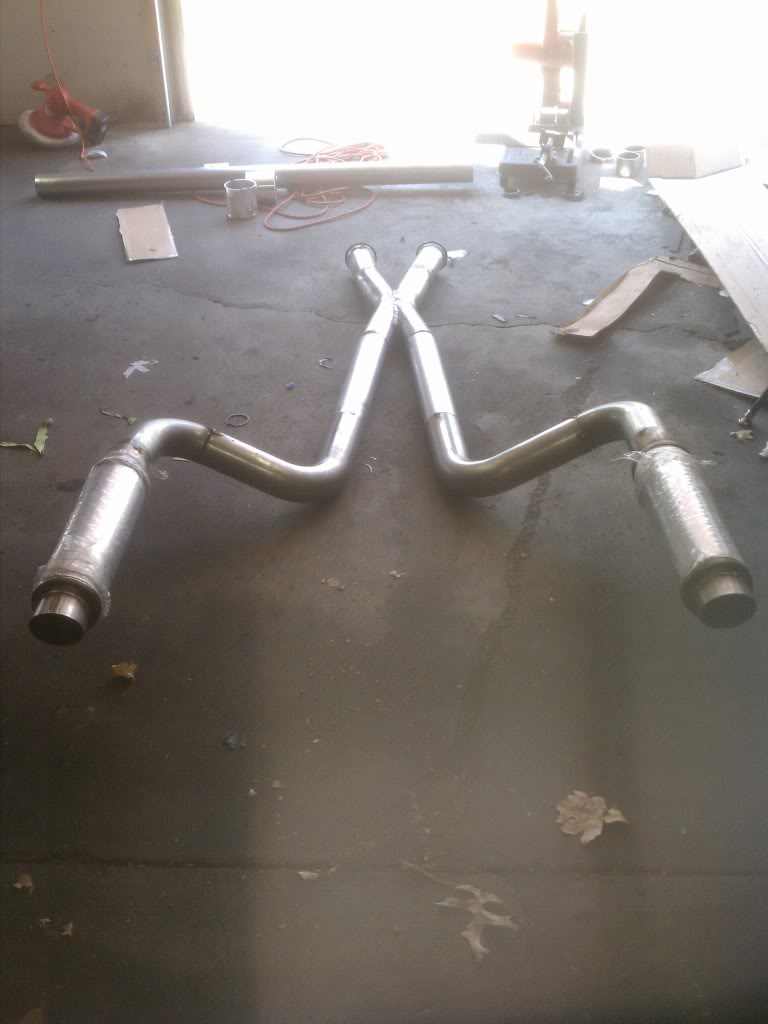
This afternoon Im headed off to south TX for spring break, so I won't be able to do anything for a week.
This afternoon Im headed off to south TX for spring break, so I won't be able to do anything for a week.
03-25-2012, 10:57 PM
#207
Well I survived spring break (barely)
And my camera didn't take kindly to the sand (big surprise there)... So i'm uploading the progress from my mobile.
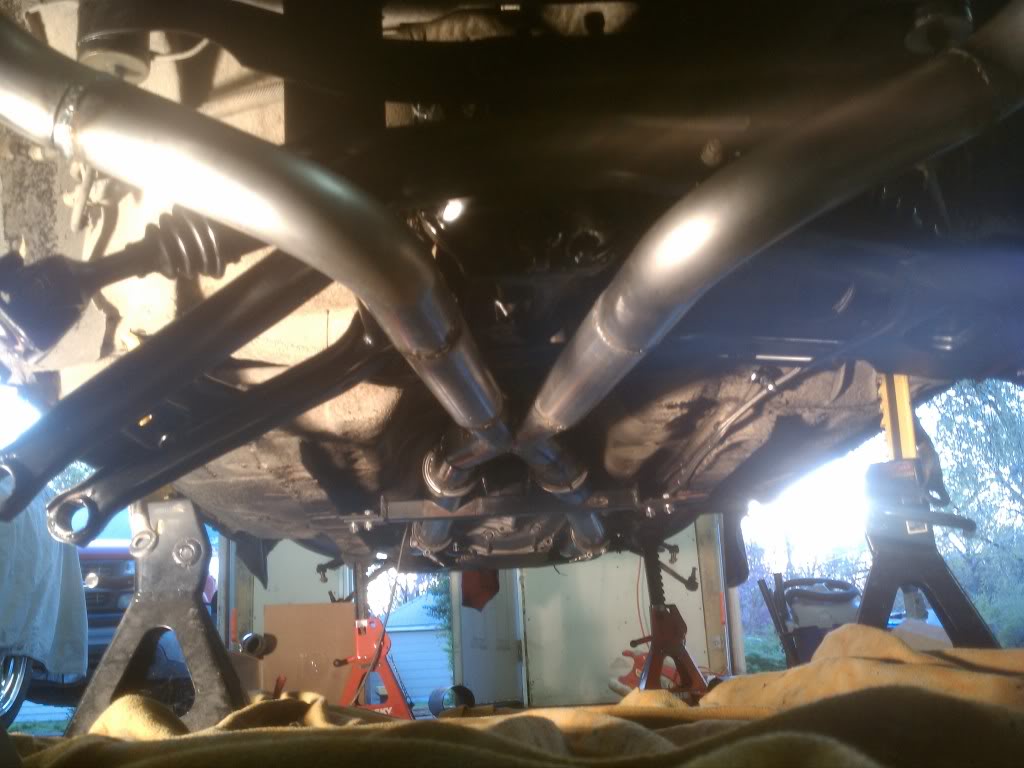
So I installed the exhaust for one final test fit before I painted it, and GUESS who forgot to tighten the front v-bands all the way before welding the whole thing up. THIS GUY.
SO I ended up having to make about half a dozen relief cuts to get my tips where I needed them. Got it tacked again, and here's the pics.
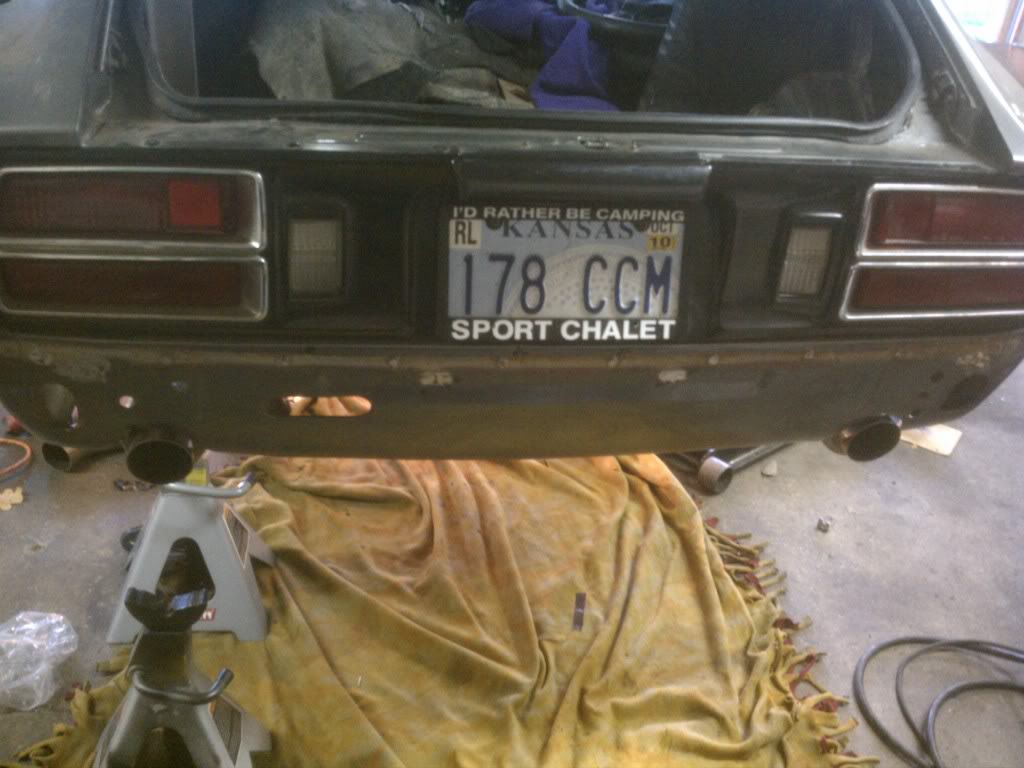
Now its back out, fully welded, and ready to be prepped for paint. Would have liked to have painted it tonight, but the parts store was closed before i thought about it
And my camera didn't take kindly to the sand (big surprise there)... So i'm uploading the progress from my mobile.
So I installed the exhaust for one final test fit before I painted it, and GUESS who forgot to tighten the front v-bands all the way before welding the whole thing up. THIS GUY.
SO I ended up having to make about half a dozen relief cuts to get my tips where I needed them. Got it tacked again, and here's the pics.
Now its back out, fully welded, and ready to be prepped for paint. Would have liked to have painted it tonight, but the parts store was closed before i thought about it
03-26-2012, 05:48 AM
#208
You sure took a lot of structure out of that cross member. That part adds a good bit of rigidity to the body in the back. The early 240's used a much smaller cross member. I'm not sure why Nissan seriously upgraded that part on the 280's, might have been for cracking from the diff mount, but my 240 has all sorts of ripples in the body sheet metal right behind the seats coming out of that area.
Seems like you could have gotten by with a smaller cut right where the pipe goes under.
Seems like you could have gotten by with a smaller cut right where the pipe goes under.
03-26-2012, 09:50 AM
#209
You sure took a lot of structure out of that cross member. That part adds a good bit of rigidity to the body in the back. The early 240's used a much smaller cross member. I'm not sure why Nissan seriously upgraded that part on the 280's, might have been for cracking from the diff mount, but my 240 has all sorts of ripples in the body sheet metal right behind the seats coming out of that area.
Seems like you could have gotten by with a smaller cut right where the pipe goes under.
Seems like you could have gotten by with a smaller cut right where the pipe goes under.
03-26-2012, 11:57 AM
#210
I've seen people cut out their radiator core support too but that sure doesn't make for a solid car. That center part of the car flexes up and down independent of the sides by quite a bit. My 240 was a street only car with an inline 6 and the body panel behind the rear seats still has ripples in it. Tells me there are some heavy twisting forces at work in that region. V8 torque is only going to make the problem worse, you should see what I did to my original Ron Tyler diff mount. A track car would actually have an advantage because it should have some type of cage.
But you have obviously thought about it and know what you are doing. I only brought it up because I managed to add a second cut out to a 280 cross member that is about the same size as the existing one.
But you have obviously thought about it and know what you are doing. I only brought it up because I managed to add a second cut out to a 280 cross member that is about the same size as the existing one.
03-29-2012, 10:40 AM
#211
Made it to the shop the other night.
Got a piece of 2"x1/8"x3' took some measurements, bent it in my vise with a hammer, made a lower radiator support. (not done yet)
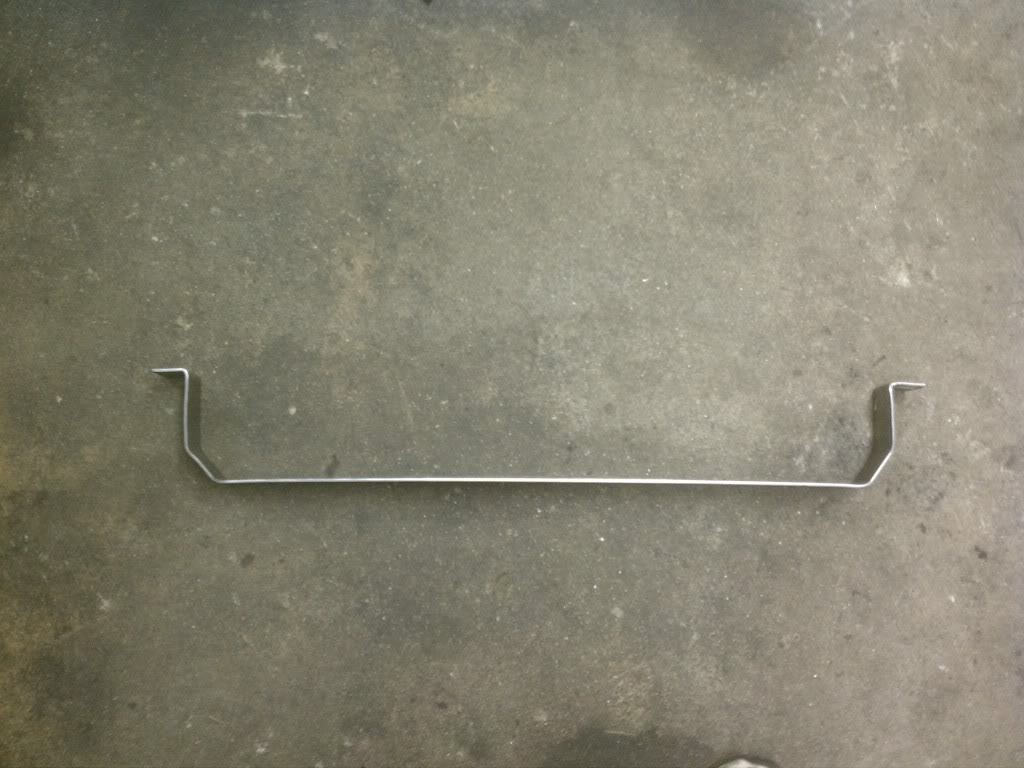
Fit is good. Uses the front tow hook mounts, which are ghandi.
Also welded a strap between the front exhaust pipes so they're always indexed correctly. And VHT high-temp painted them. Le flat black
Also ordered tires, fender flares, front air dam, and other misc junk
Got a piece of 2"x1/8"x3' took some measurements, bent it in my vise with a hammer, made a lower radiator support. (not done yet)
Fit is good. Uses the front tow hook mounts, which are ghandi.
Also welded a strap between the front exhaust pipes so they're always indexed correctly. And VHT high-temp painted them. Le flat black
Also ordered tires, fender flares, front air dam, and other misc junk
Last edited by STEEPSS; 03-30-2012 at 11:08 AM.
03-30-2012, 11:18 AM
#213
And yes, I hope its done soon!
Spent another evening down at the shop last night.
Finished painting the rear strut tubes, got the correct spacing for the front brakes, and got the front strut tubes primed.
Little word to the wise: a good friend of mine told me to do this:
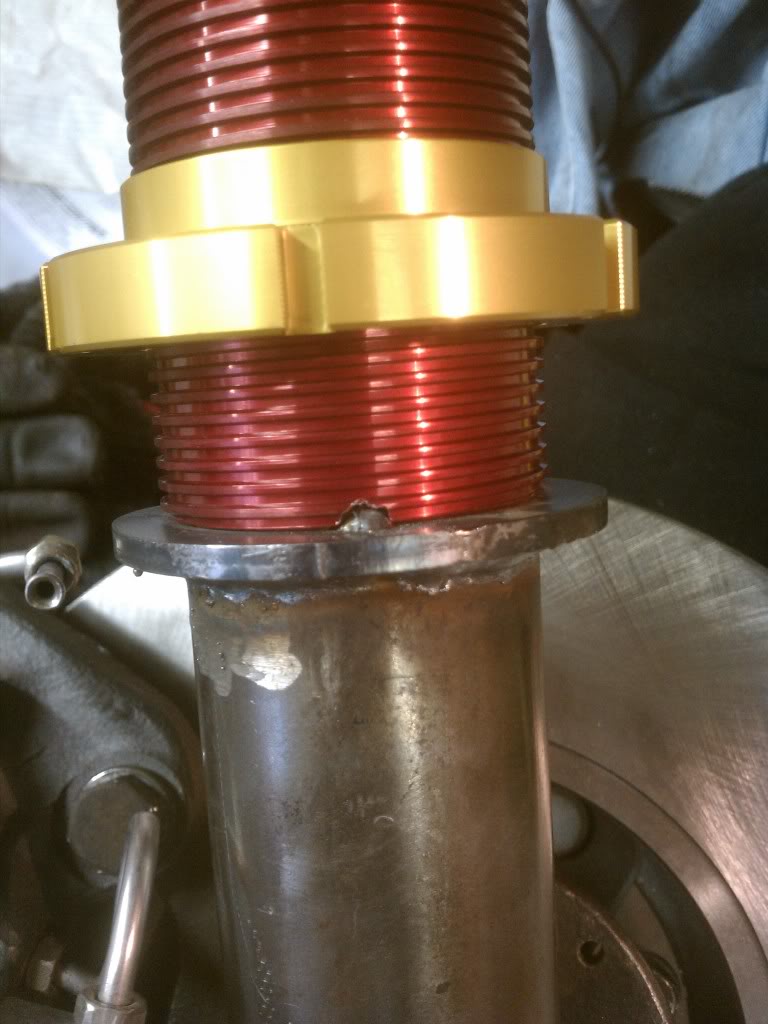
so the collars don't rotate when you are adjusting the ride height. Smart!
also, since my tokico's are smaller than the strut tube, the fronts wouldn't center correctly with the stock datsun gland nuts. SO, I cut the locating ring off the ones that came with the shocks, and tacked in on the datsun gland nuts. Worked great!
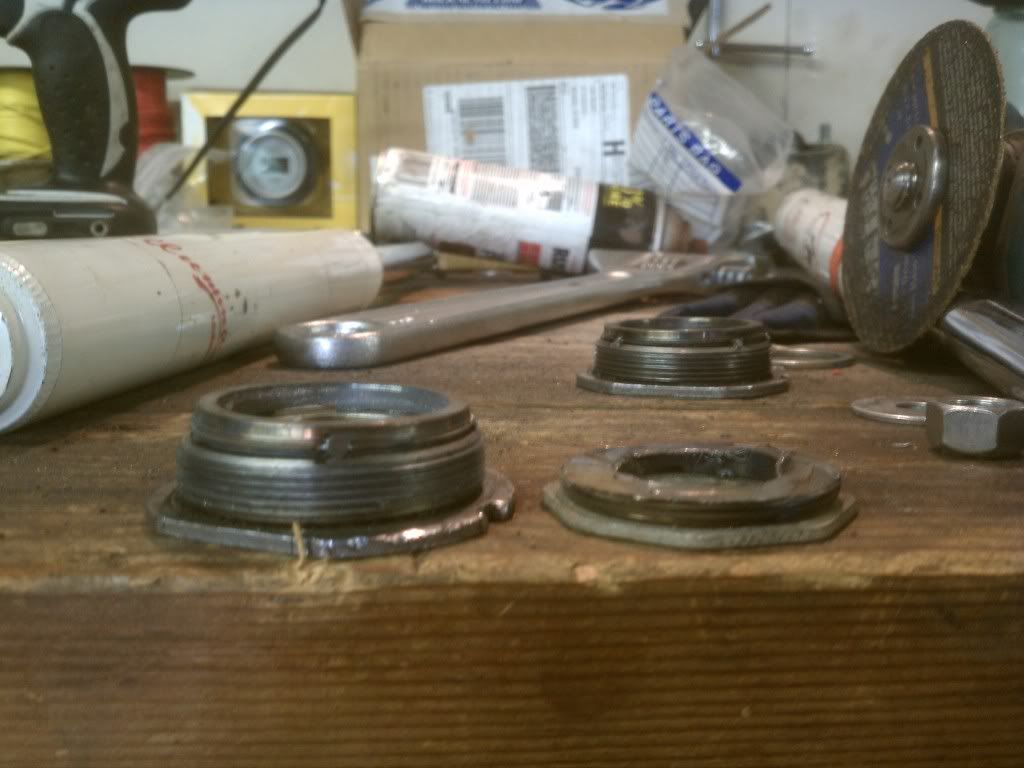
I also completely finished the radiator support, and found some hoses that will work. No pics yet, but soon!
04-03-2012, 09:56 PM
#214
Radiator and fan are fully mounted and wired up. Bought a bunch of weather stripping and sealed the fan to the radiator, and the radiator to the body. Cold air intake is in and assembled. Brakes are apart for paint, then they go back together and I assemble the struts. Ordered T3 weld in camber plates, bump steer spacers, and adjustable TC rods. Fuel tank SUPPOSEDLY shipped today......  ... I've been hearing that for 3 weeks now though. Glad I'm not at a stand still. Also, my front bumper, flares, and tires got here. Picked up the driveshaft yesterday. Gonna get the tires mounted tomorrow after class, and hopefully start measuring etc. for the flares. Its coming together slowly but surely.
Its not much of a big boy
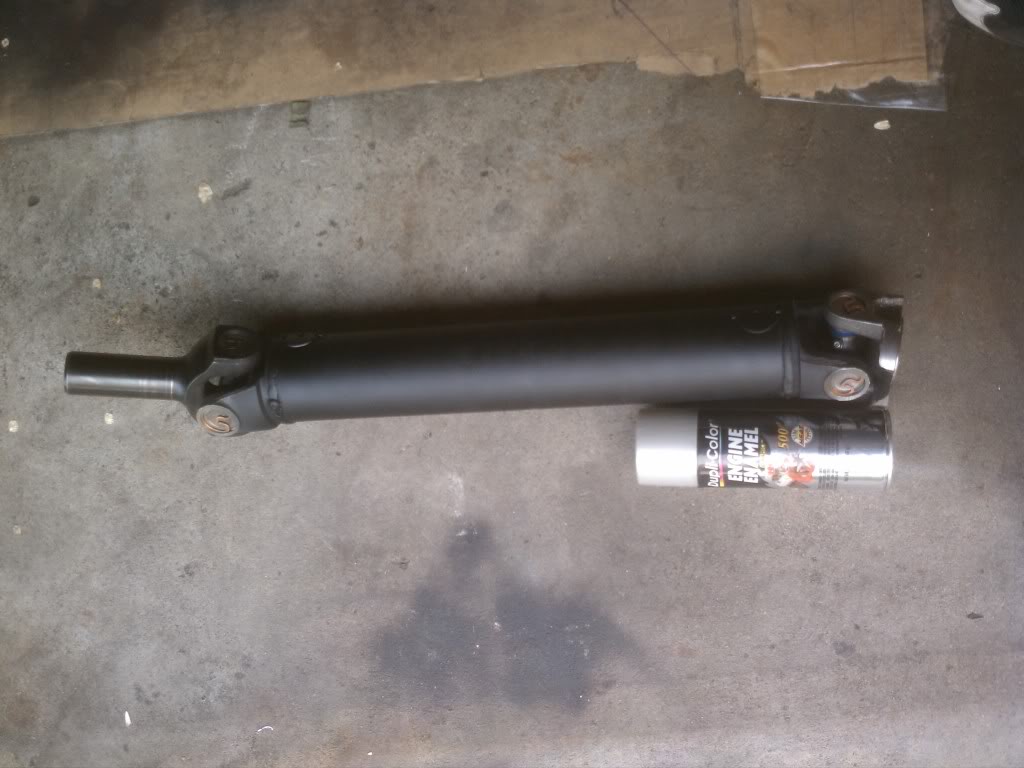
Its not much of a big boy
 04-05-2012, 09:52 PM
#217
Ran into a snag today. Installed the driveshaft, and for ***** n gigs I checked the play in the output shaft bushing. Out of tolerance. FML. So I pulled the tranny (only took me 20 minutes - not sure if thats good or bad). Replaced the bushing, morons at the parts store couldn't find the seal so i had to go to another store, got there 5 minutes after the order went in, so it won't be here till saturday.
Plenty else to do though. Assembled both rear struts, and brakes. Assembled one front brake assy, but the other needs some different spacers (gotta love custom!). Smashed the **** out of my finger. Thats all. Nothing exciting.
Plenty else to do though. Assembled both rear struts, and brakes. Assembled one front brake assy, but the other needs some different spacers (gotta love custom!). Smashed the **** out of my finger. Thats all. Nothing exciting.
 04-09-2012, 12:05 AM
#220
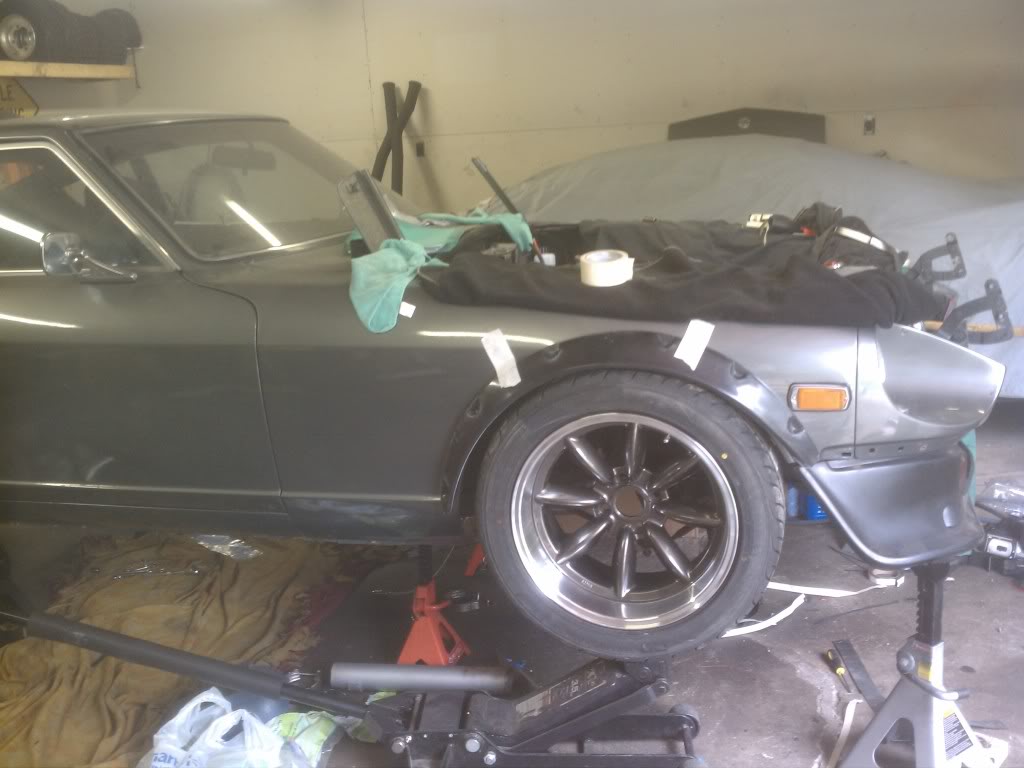
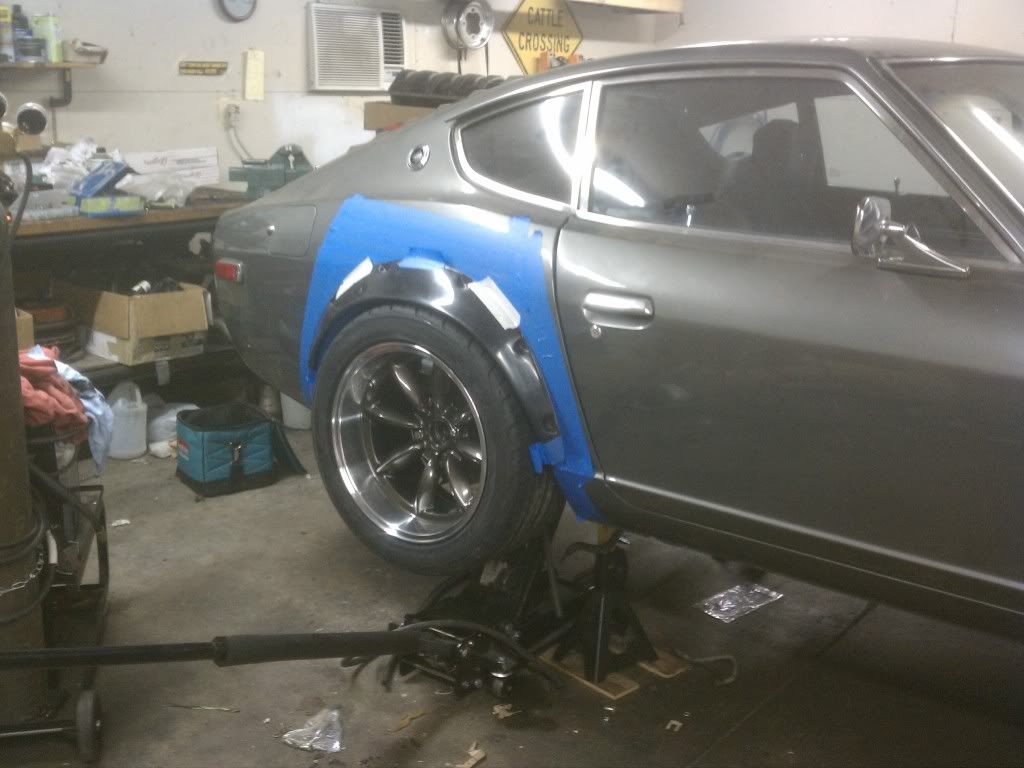
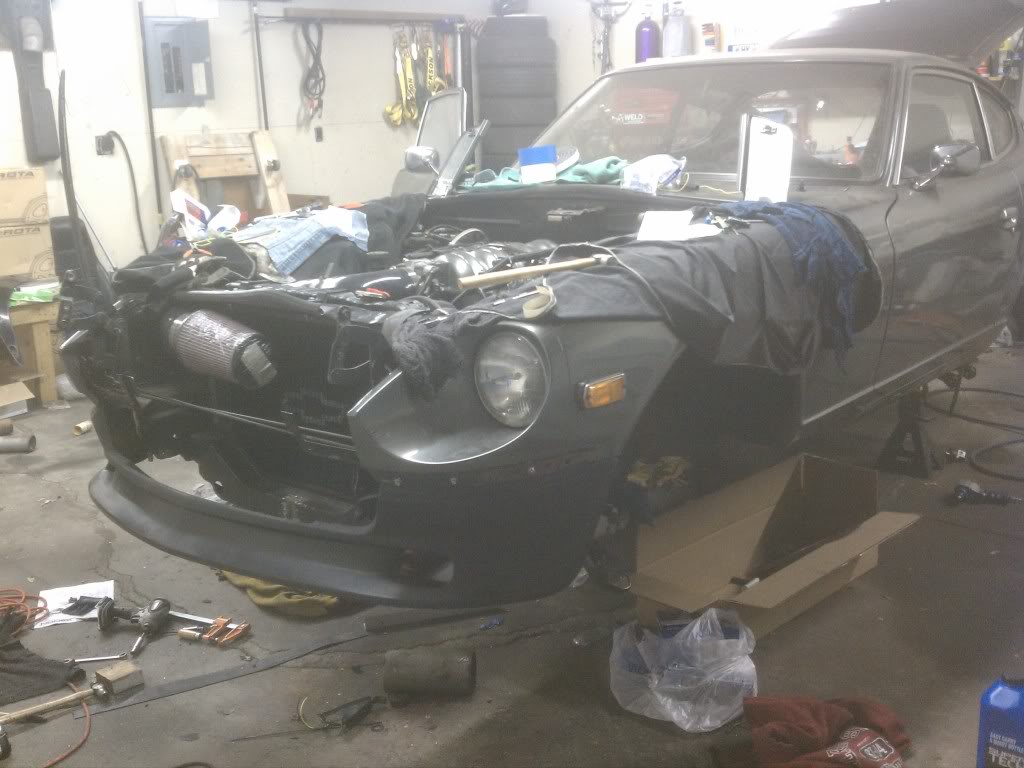
Fuel Tank, camber plates, TC rods, and bump steer spacers will be here tuesday. In the meantime, I was able to get one rear strut in, and get a mock up of the flares.
I also finished the vent tubing under the dash. I used a 2.5" shop-vac hose that I bought at Menard's for like $20. Turned out its almost exactly the right size.
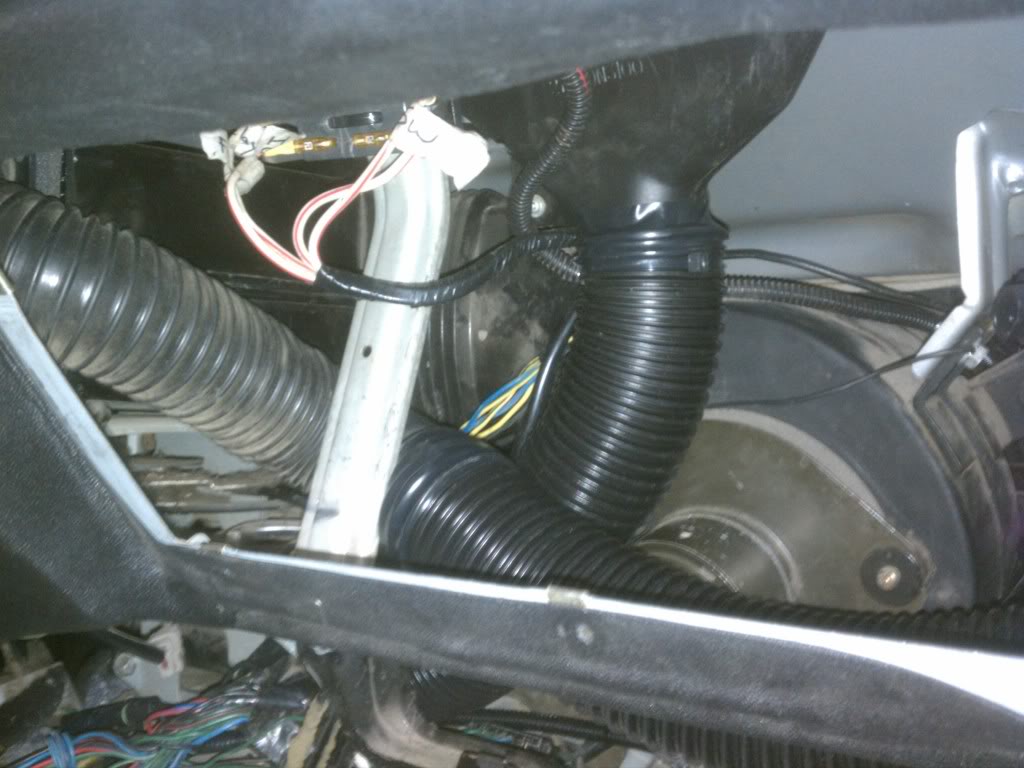
I also got the air dam mounted
Thats all for tonight!
I also finished the vent tubing under the dash. I used a 2.5" shop-vac hose that I bought at Menard's for like $20. Turned out its almost exactly the right size.
I also got the air dam mounted
Thats all for tonight!
Last edited by STEEPSS; 04-09-2012 at 12:17 AM.