
78 Datsun 280z-------------> 5.3 Build

 I'm going to be keeping a close eye on your build. Thanks for sharing.
 11-02-2010, 11:56 AM
#23
Just got off the phone with Nasty Performance. Great guys to deal with. We discussed my fuel system requirements and capabilities.
Here's what my fuel system is going to entail:
-Stock 280z tank (has internal baffles)
-Corvette FPR / Filter, located near the tank.
-Walbro 255 inline pump
-I'm going to get some sort of pre filter (brand undecided)
- -6 AN line throughout ( likely a combination of hard stainless, and braided stainless / teflon lined)
This should be PLENTY for anything I intend to do with the car for a long time, and is quite affordable.
-walbro pump ~$100
-corvetter fpr w/ fittings ~80
-Stainless hard line - 2.95 /ft
-stainless braided - ~$5/ ft
-pre filter ~$25
-misc fittings - ~ +- $100
Hopefully have it done for < $350, and it should support well north of 600HP.
11-02-2010, 12:10 PM
#24
UPDATE
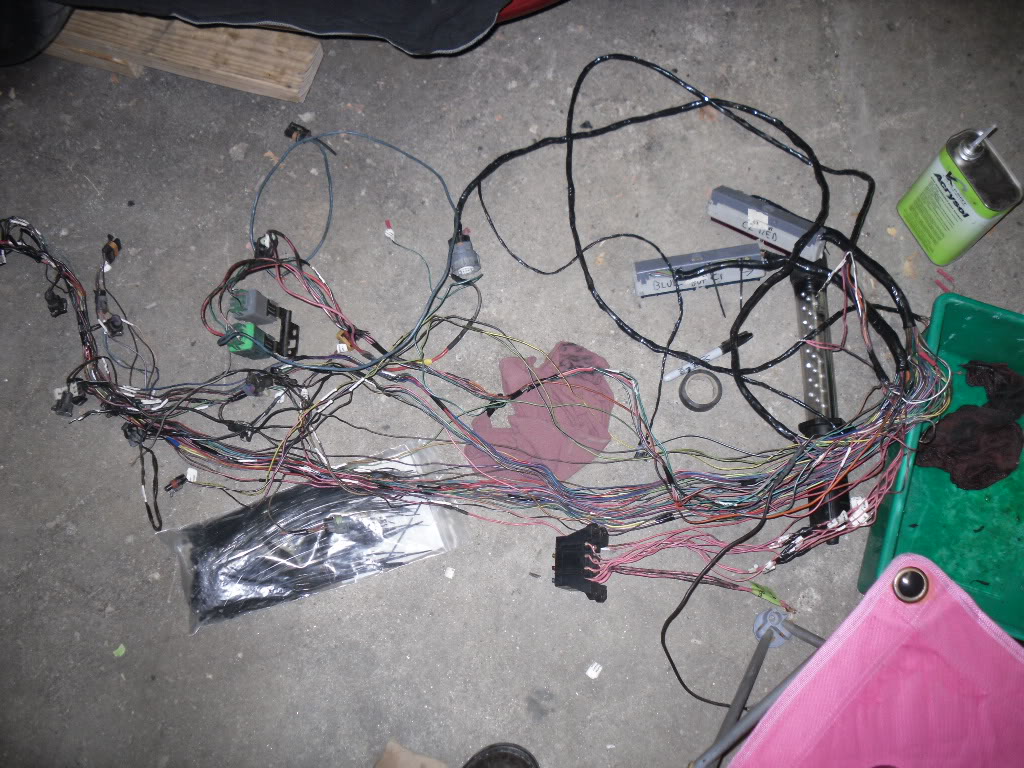
I took the stand alone harness out of the box that I received it in, only to find that it was wrapped head to toe in black electrical tape. This is a serious NO-NO. It was built at least a couple years ago, and the tape decided to deteriorate, and get gummy. So I stripped it all off ( HUGE PITA )
Here's the aftermath
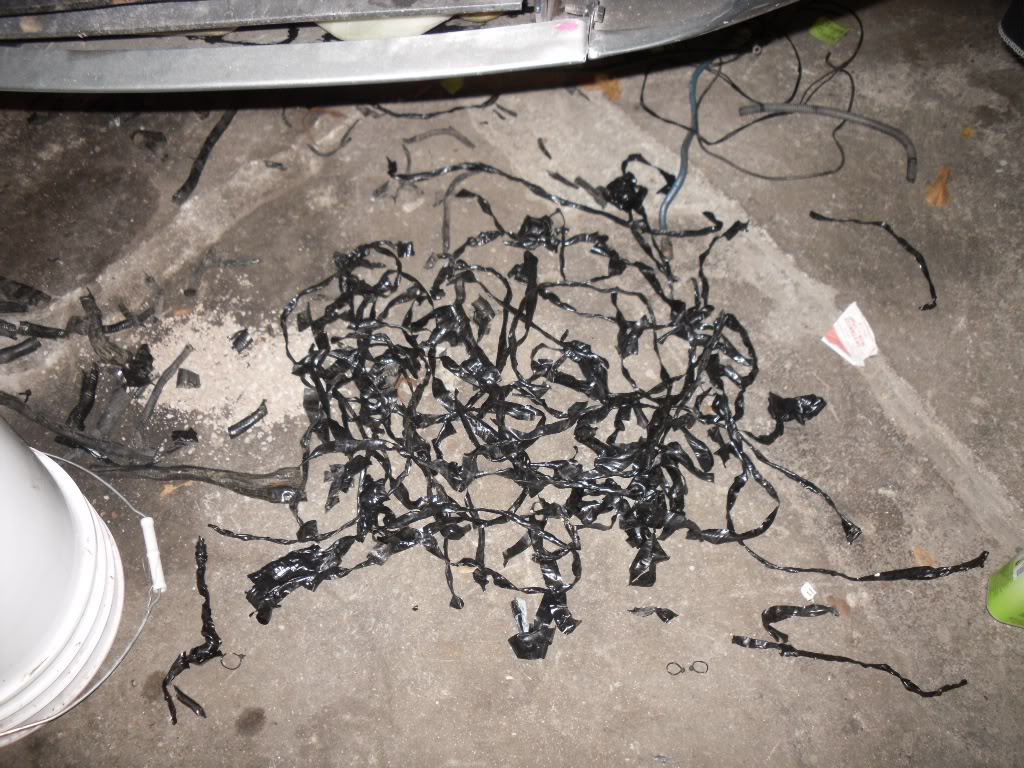
Now I'm left with a gummy harness, so I've been using adhesive remover to get all that **** off.
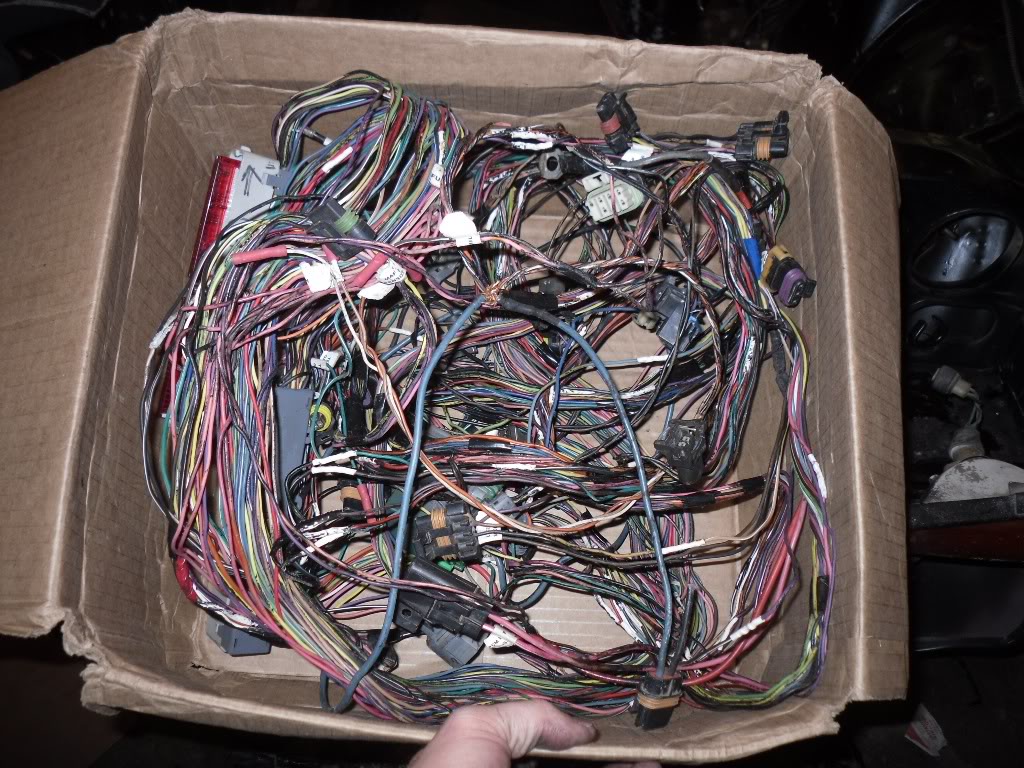
It was a good thing I did this, as I found some shoddy connections held together by the ol "twist, tape, and hope" method
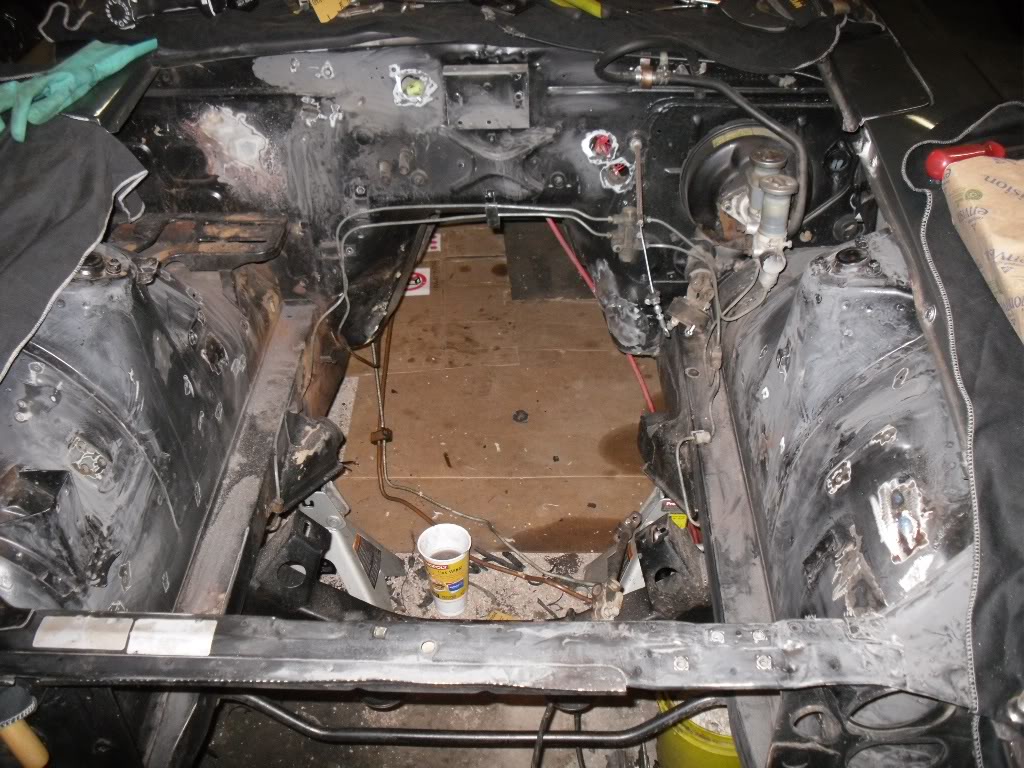
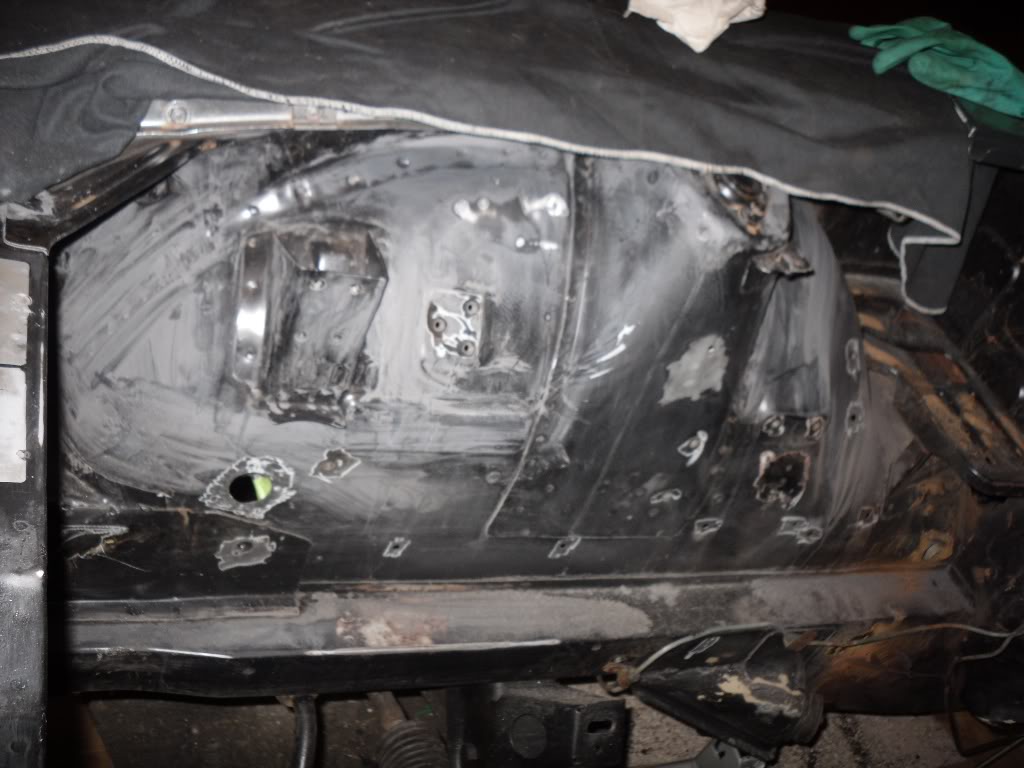
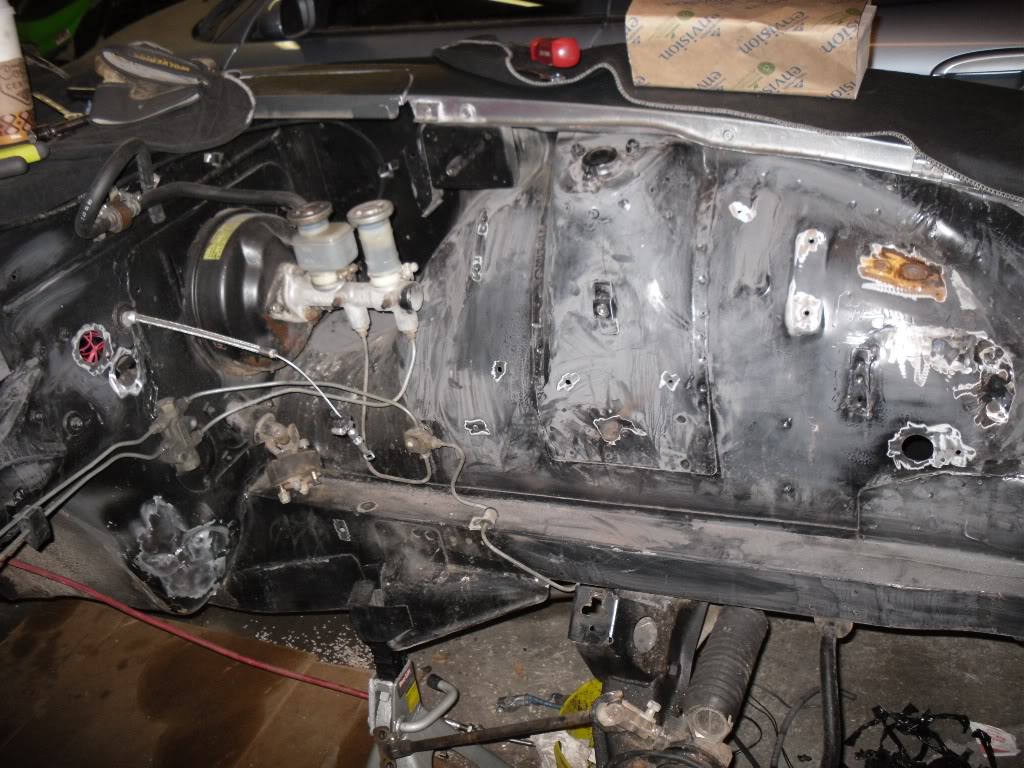
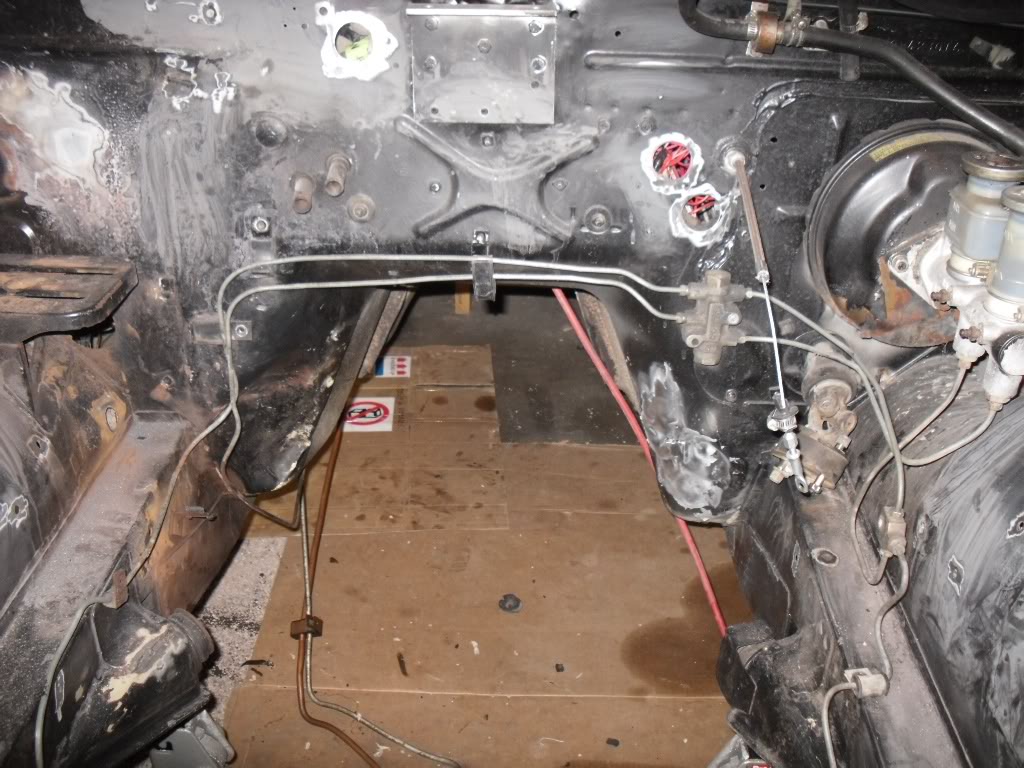
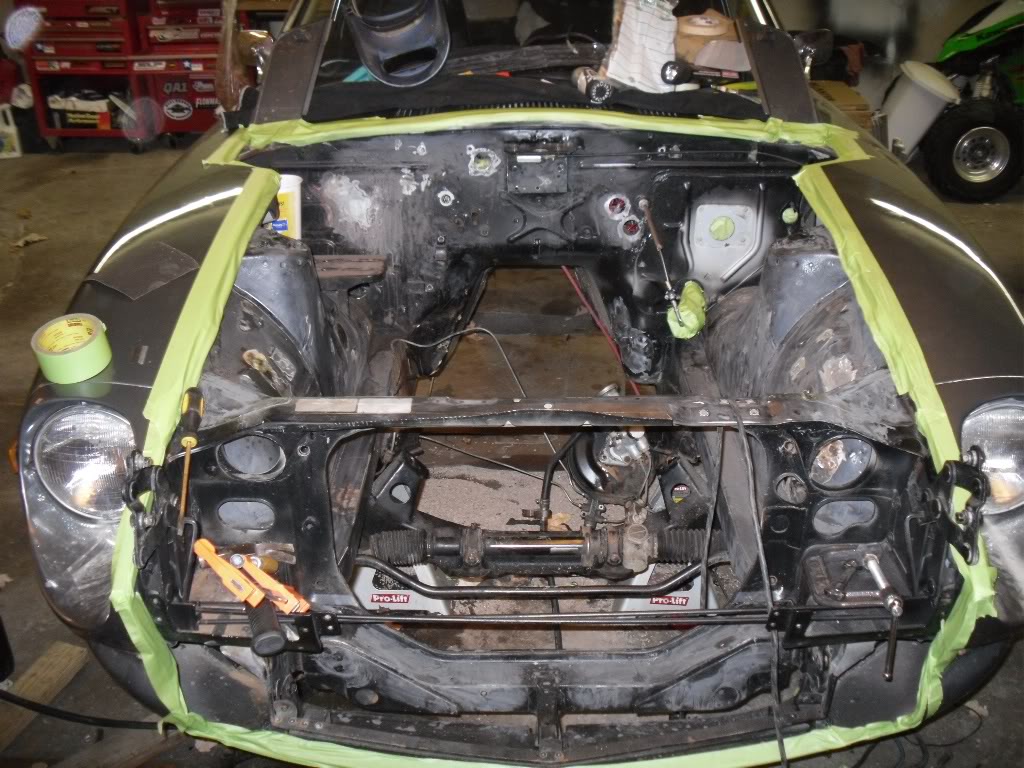
I went to work on the engine bay, sanding it with 220, and taking all the unnecessary crap off the fender wells and firewall. I intend to weld up all the holes, and make it a nice smooth final product
Then I went through the car harness, and trimmed out everything I won't be using. Leaving basically the horn, and headlights / side markers. All these will be run together, through the frame rail to the front, so they'll be completely hidden, and out of harm's way.
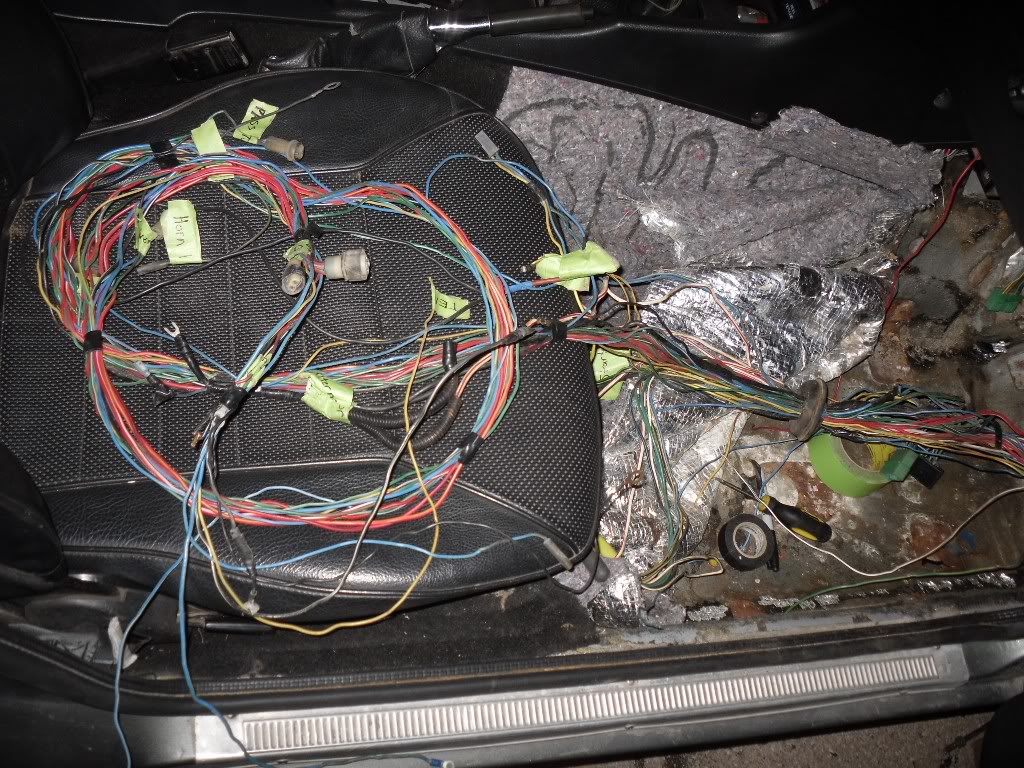
I took the stand alone harness out of the box that I received it in, only to find that it was wrapped head to toe in black electrical tape. This is a serious NO-NO. It was built at least a couple years ago, and the tape decided to deteriorate, and get gummy. So I stripped it all off ( HUGE PITA )
Here's the aftermath
Now I'm left with a gummy harness, so I've been using adhesive remover to get all that **** off.
It was a good thing I did this, as I found some shoddy connections held together by the ol "twist, tape, and hope" method
I went to work on the engine bay, sanding it with 220, and taking all the unnecessary crap off the fender wells and firewall. I intend to weld up all the holes, and make it a nice smooth final product
Then I went through the car harness, and trimmed out everything I won't be using. Leaving basically the horn, and headlights / side markers. All these will be run together, through the frame rail to the front, so they'll be completely hidden, and out of harm's way.
11-07-2010, 07:03 PM
#26
Not much to update, but here goes.
This weekend, I hardly got anything done, due to the Kansas State Wildcats whoopin that longhorn ***, and of course, I had to celebrate in rockstar fashion
However, I did get some done on the z. Welded up a couple holes, (HUGE PITA btw). This sheet metal is the bane of my existence. It's incredibly thin. After some slow tacking, i was able to get a couple holes filled, and ground down. Then I masked off the engine bay, and have been getting it ready for paint.
I've decided I'm going to use all SS braided , teflon lined, line. This will eliminate the headache of the hard line bending / flaring issues. I'm going to be placing the corvette FPR near the back of the car, to eliminate the need for unnecessary plumbing and clutter in the engine bay.
I plan on ordering the mounts probably tomorrow, or shortly thereafter. Thats and thats all. For today
11-07-2010, 07:26 PM
#27

welcome to the datsun ls1 club, I have never met any one else with one before. here are some inspiration photos for you of mine.
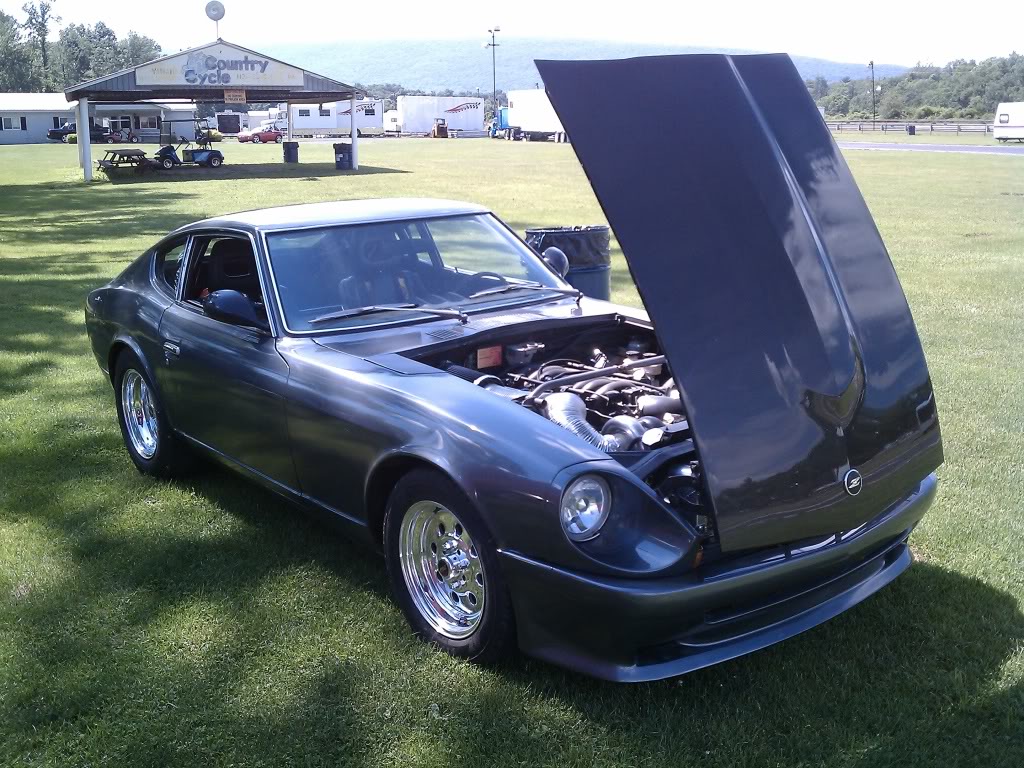

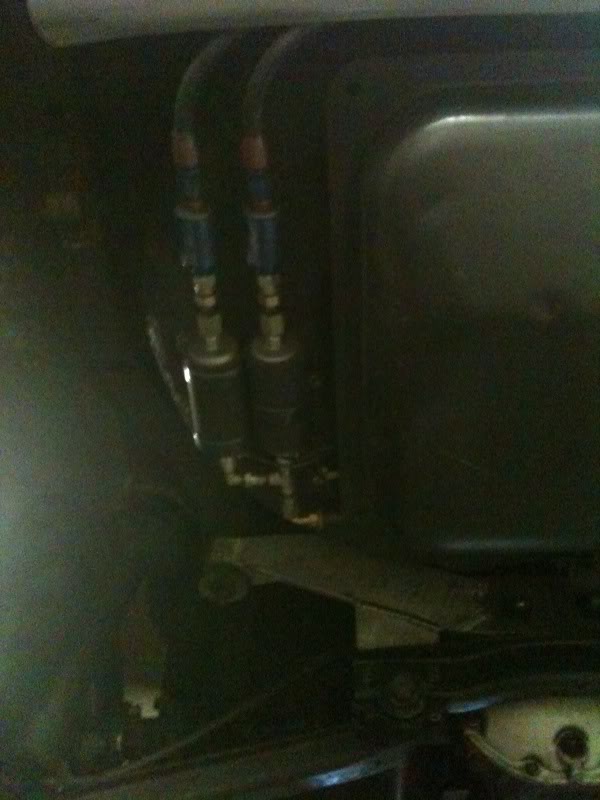
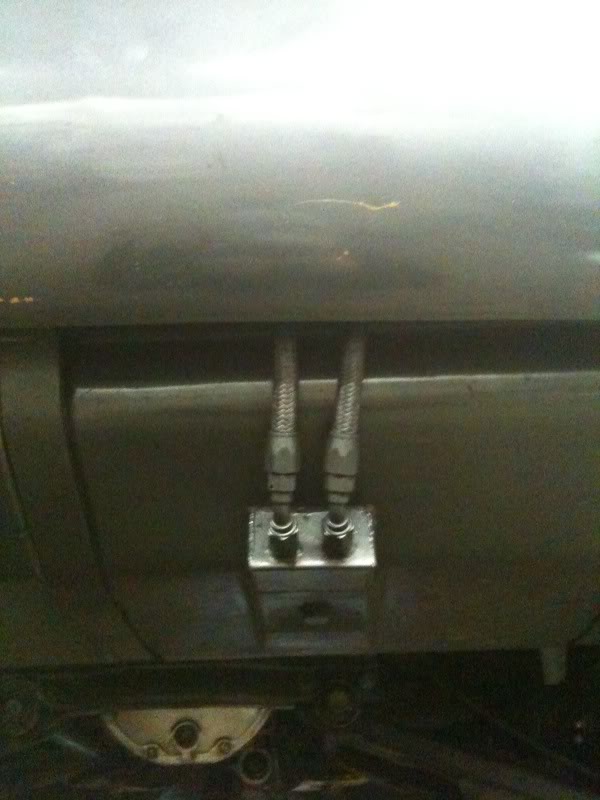
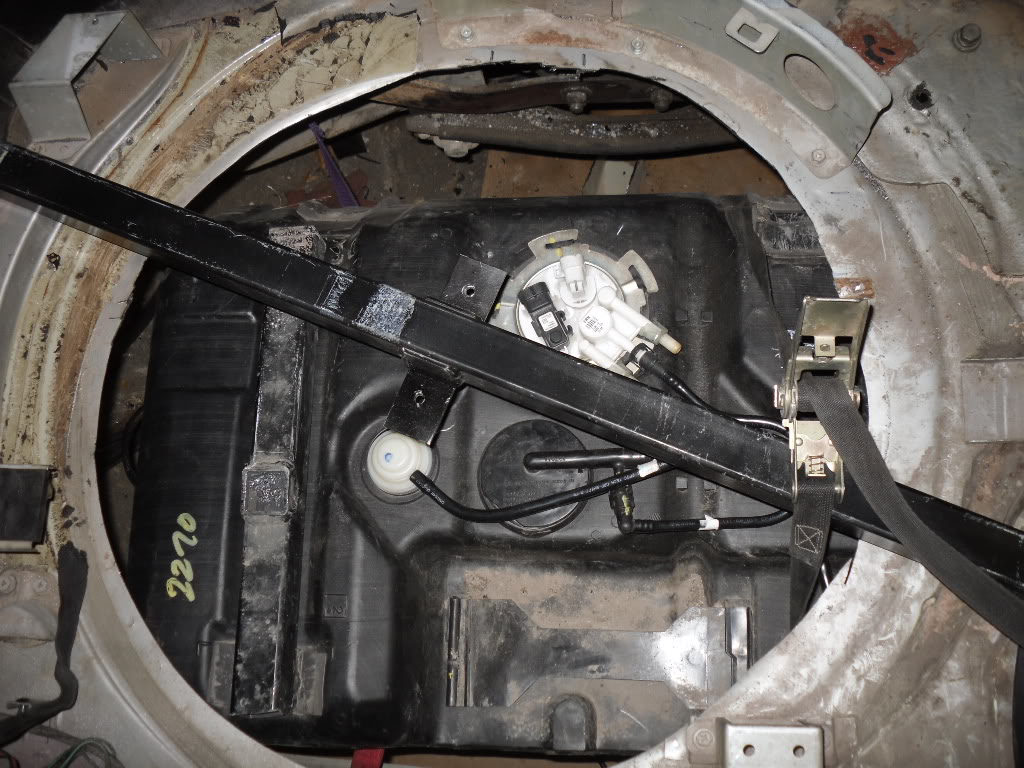
i noticed you was talking about the fuel system here is mine, its a sumped factory tank with twin 255s
any questions fee free to ask, i must warn you if you plan on going stick and running slicks you will need to do allot of work in the rear end, i did the modern motor sports billet stubs and cv adapters and zxt cv shafts and r200 conversion and custom drive shaft shop axles and stuff still broke and moved around i ended up putting a solid rear in it. mines a 71 and was absolutely rust free when i got it, it was a west coast car all its life, and i dont drive it in the snow much.
here is a older walk around video of it before the rear end conversion
http://www.youtube.com/user/PROJusti.../7/2hgyBPZ3z8g
 11-07-2010, 08:45 PM
#29
11-07-2010, 09:56 PM
#30
lavoy, your car is SICK. I'll definitely be pestering you about it with questions haha. What kind of HP numbers did it put down? I bet that car is an absolute GAS to drive. I've ridden in a stock ls1, 72 before, and it was quite quick.
11-08-2010, 12:36 AM
#31
well the ls1 is a high miles junk yard take out and the compression test told me it was very tired and it burned oil like a furnace, however the plan was to just run it until it popped, but it never popped, the oil pump did die the other day so i am finally going to yank it and put in a ls6 crate motor. it made 508 whp and 545 tq on 9.5-10 psi its also a 6 speed so its very fun as a daily driver, here is the dyno video and a 10.3 pass with the independent rear and a 10.2 pass with the solid rear, i hope to be in the 9s with the ls6 .
dyno
http://www.youtube.com/watch?v=n5cMTiFGg_M
independent pass
http://www.youtube.com/watch?v=fY29w7WWj2Q
solid axle pass
http://vimeo.com/16073595
dyno
http://www.youtube.com/watch?v=n5cMTiFGg_M
independent pass
http://www.youtube.com/watch?v=fY29w7WWj2Q
solid axle pass
http://vimeo.com/16073595
11-17-2010, 10:26 PM
#32
Small update:
I ordered the engine mount from John's Cars ( i plan on making my own tranny mount), and about $260 worth of fuel plumbing supplies. I went with -6 TFE lined, SS flex line. I'm going to be using a plastic Camaro tank, with either a stock pump, or a walbro in its place.
Now to get to work cutting out my spare tire well to fit the tank!
11-19-2010, 09:29 PM
#33
Well, the UPS man delivered this little bundle of joy yesterday.... (fuel system stuff)
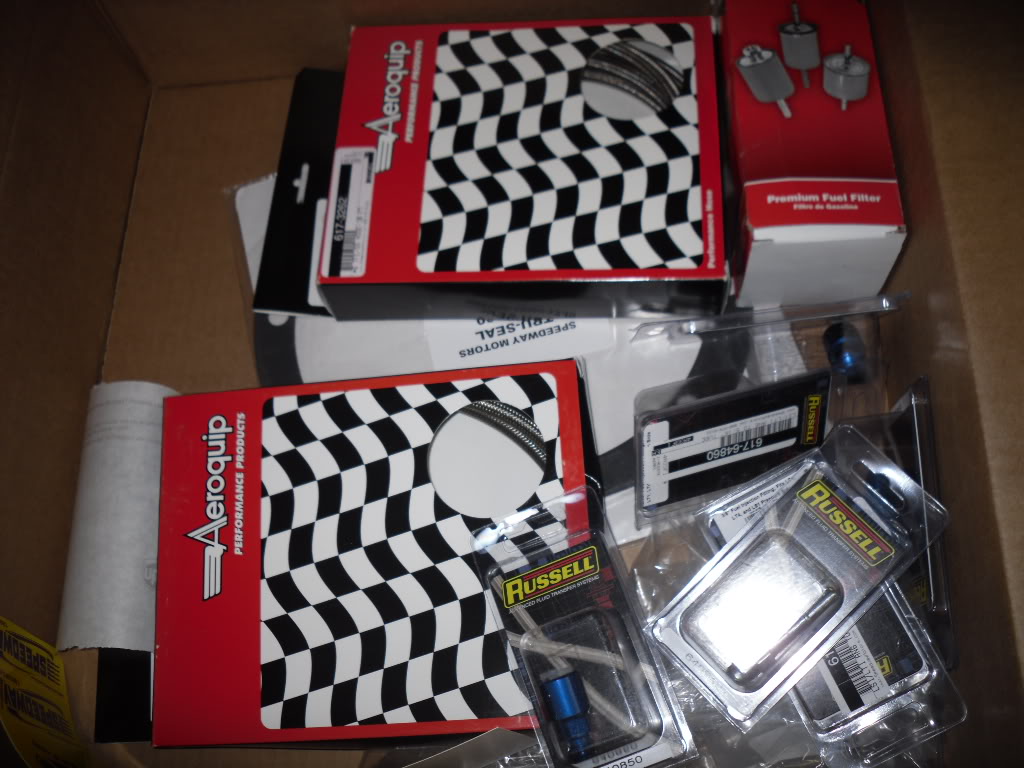
and within moments of opening the box, of course i had to play with my new toys
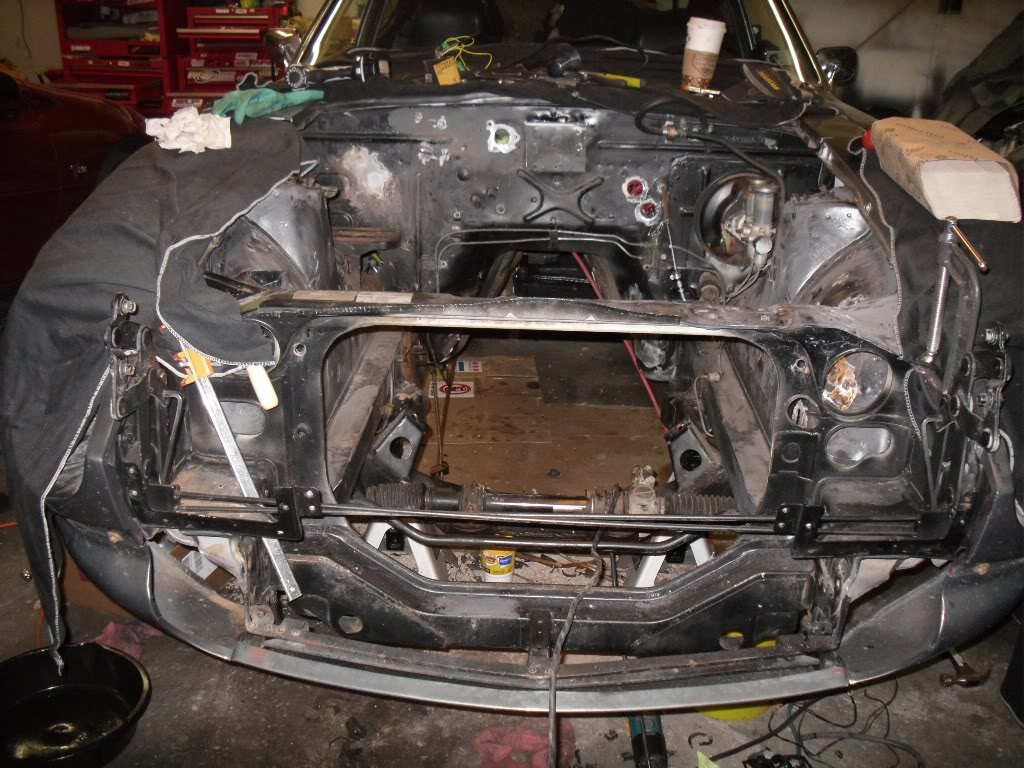
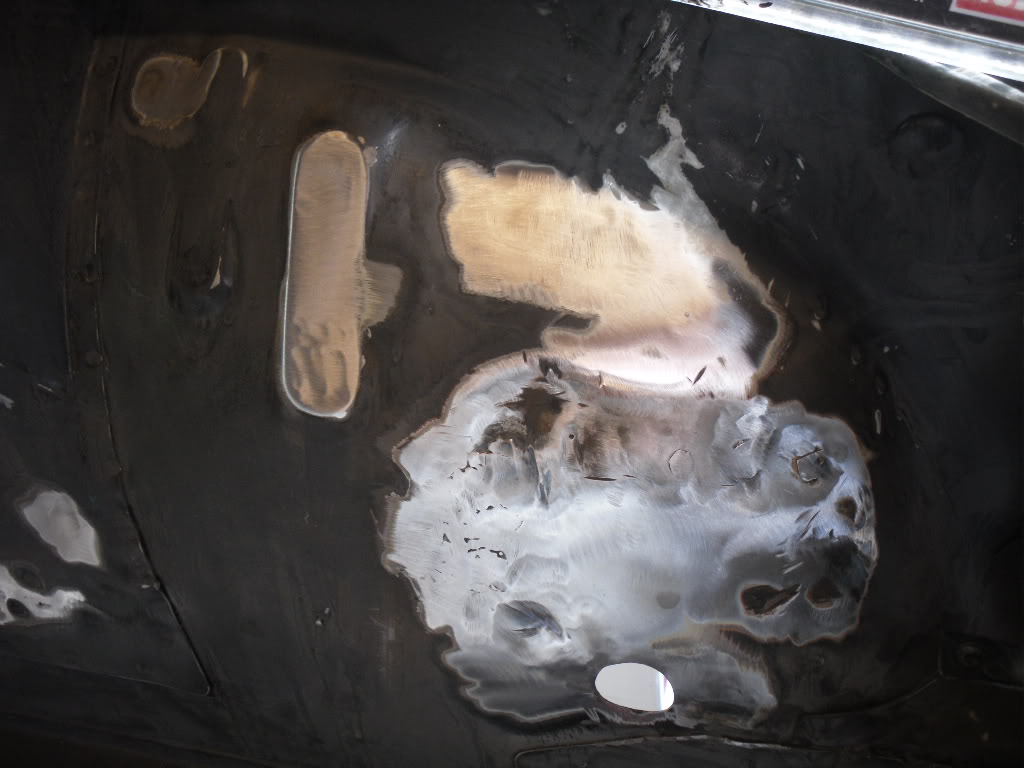
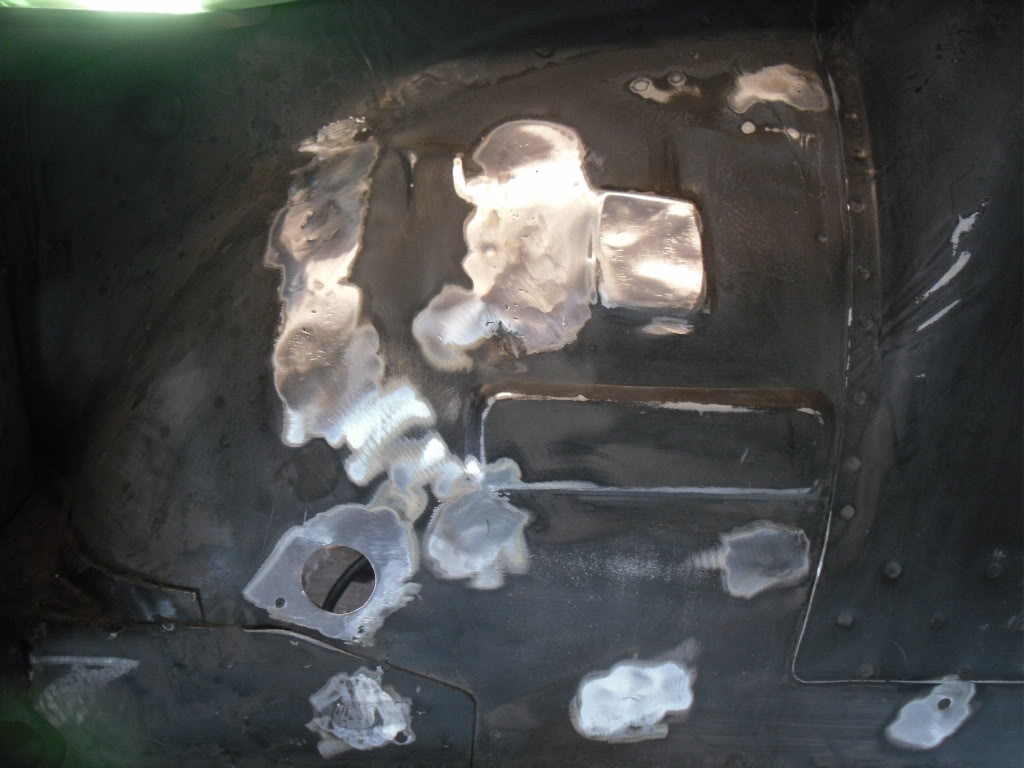
Here is how the engine bay currently looks. Ready to do some final filling / smoothing and then paint!

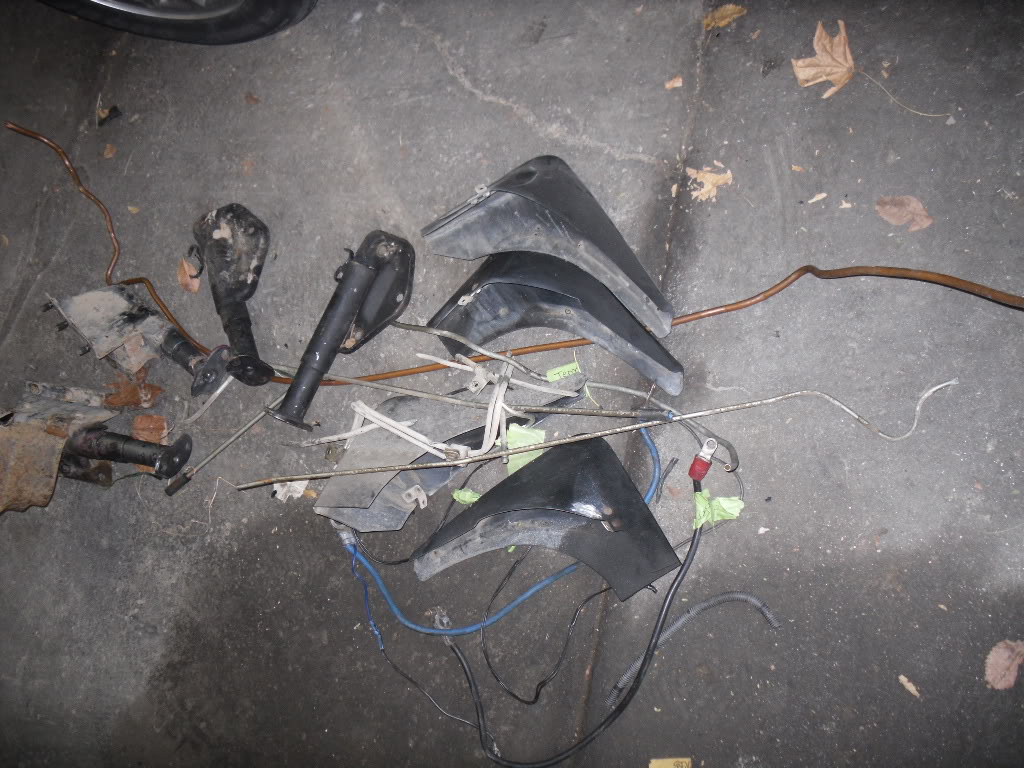
Here's the current pile of crap i've removed. Well at least 75% of it.
I started taping my harness up, and beautifying it. Of course using vinyl, non adhesive tape.
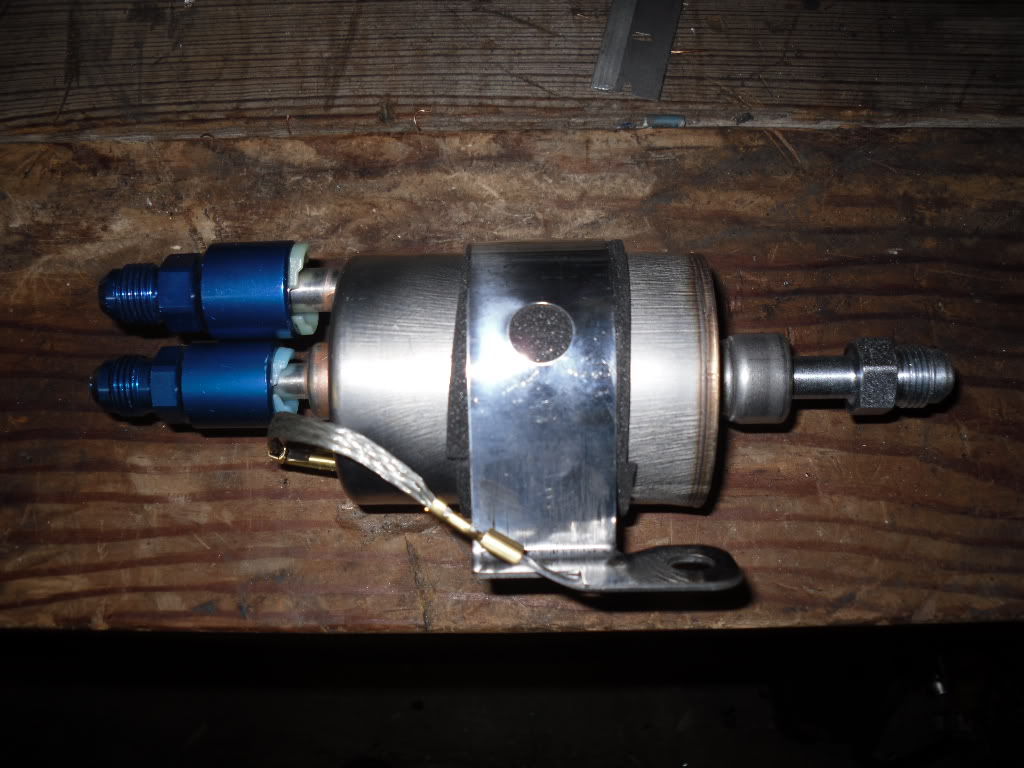
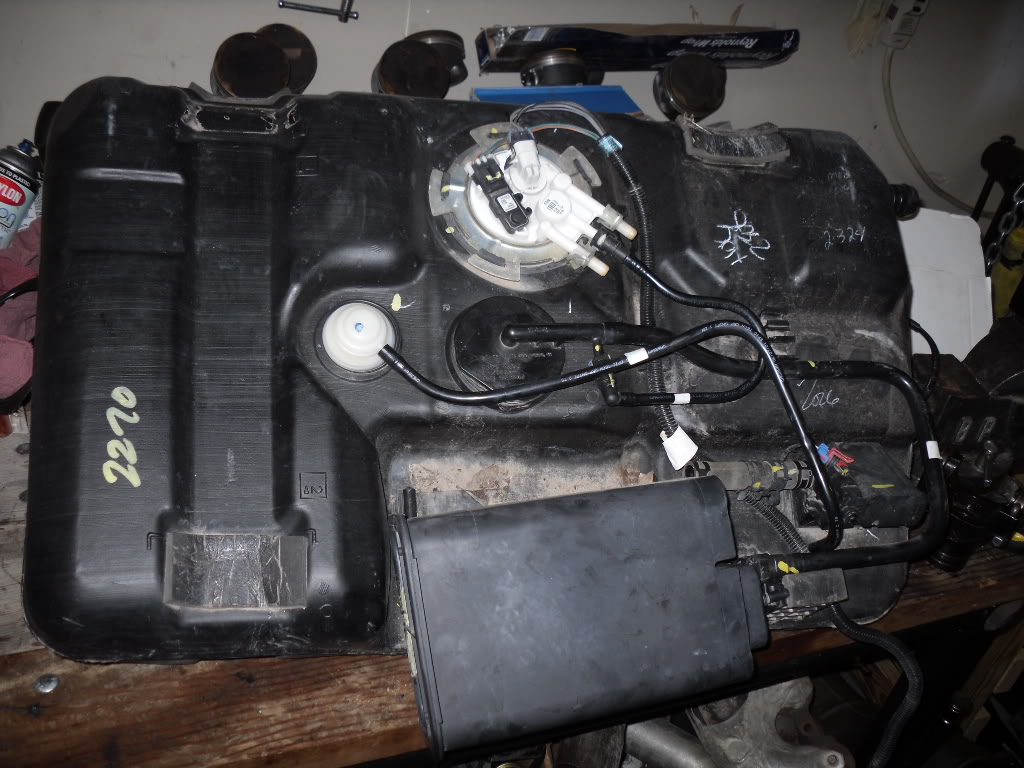
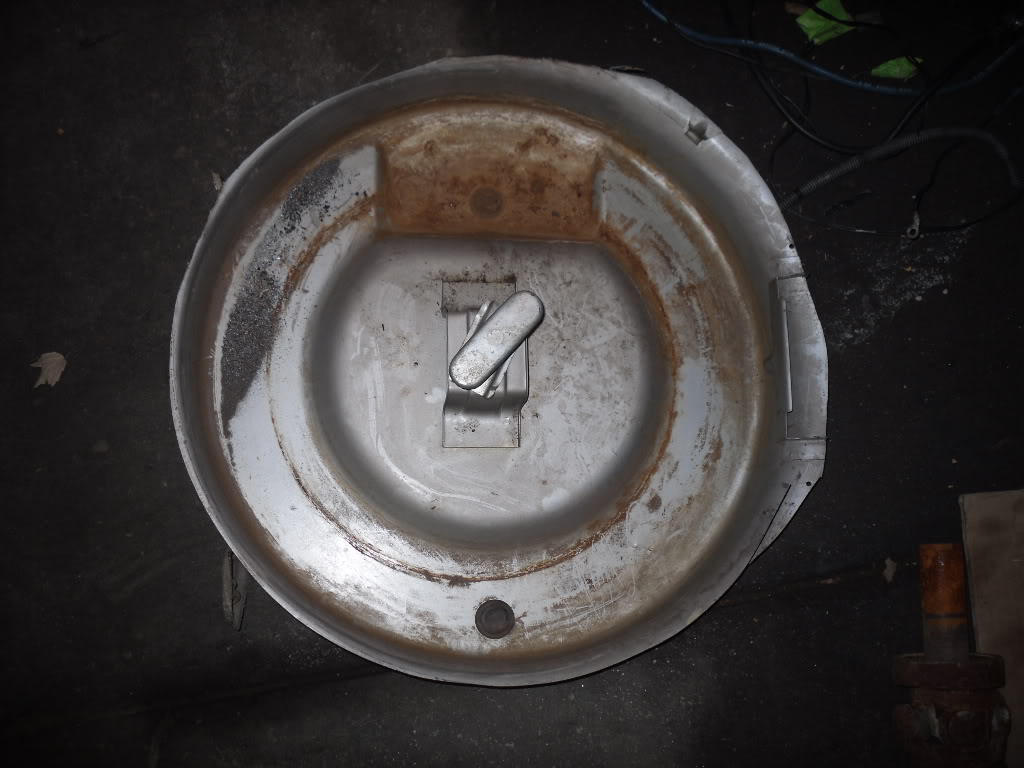
Also picked this up last weekend, from a friend's parts car. Its out of a V6, so the pump will have to be changed. Not sure on what i'm gonna put in it yet.
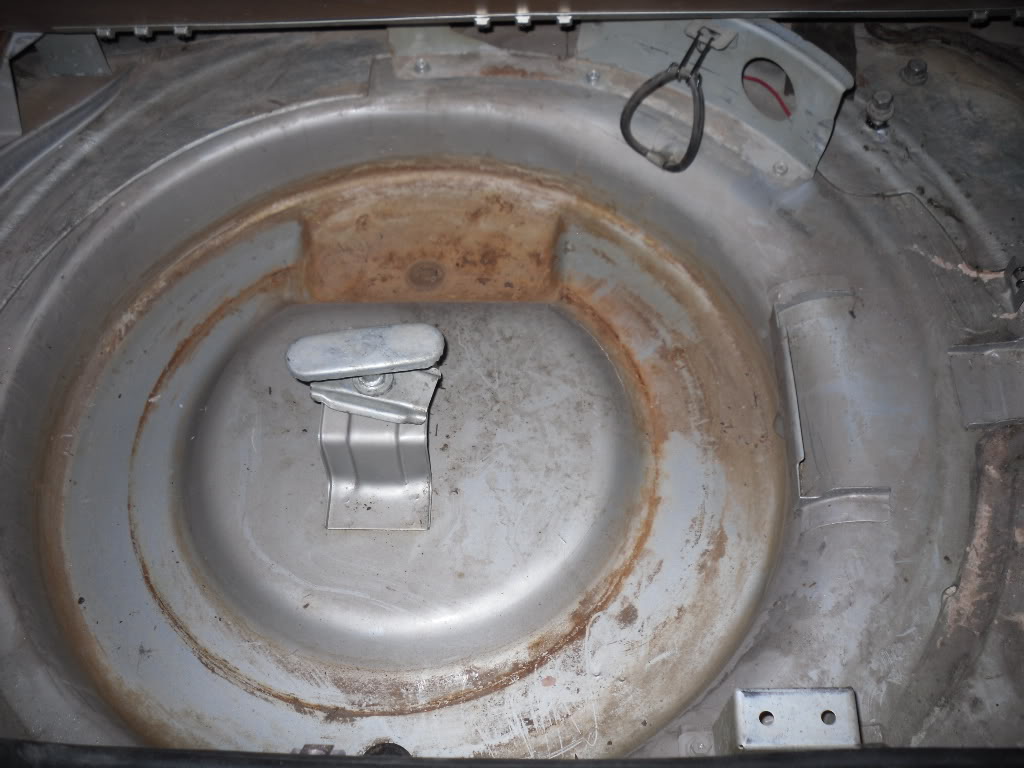
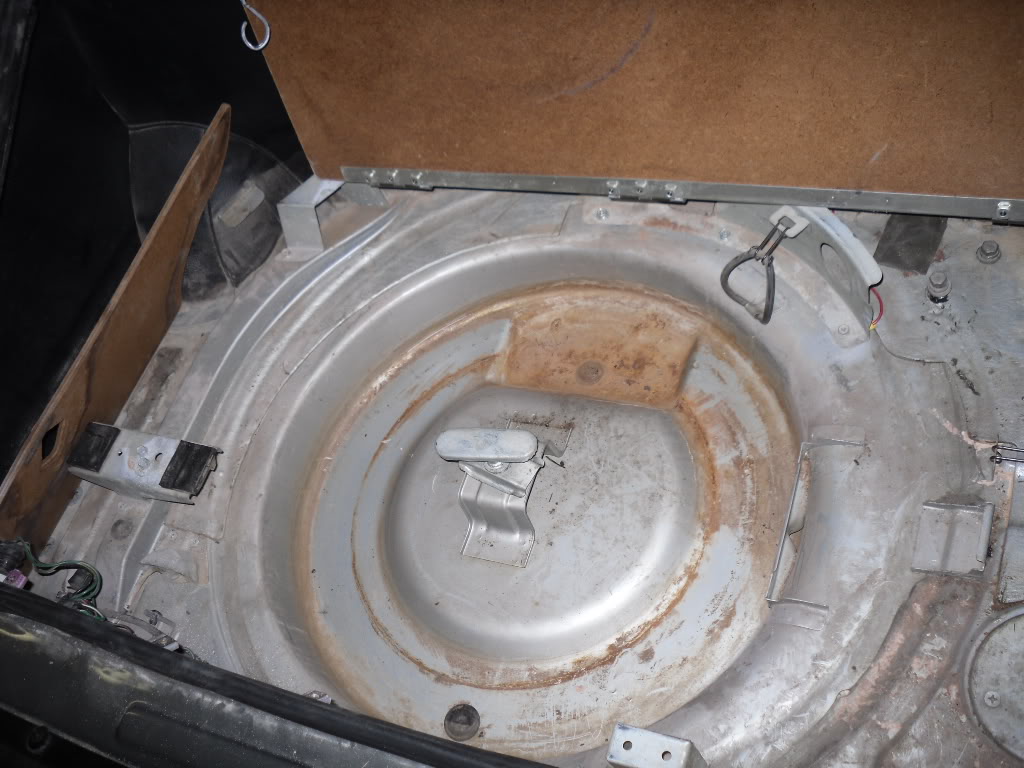
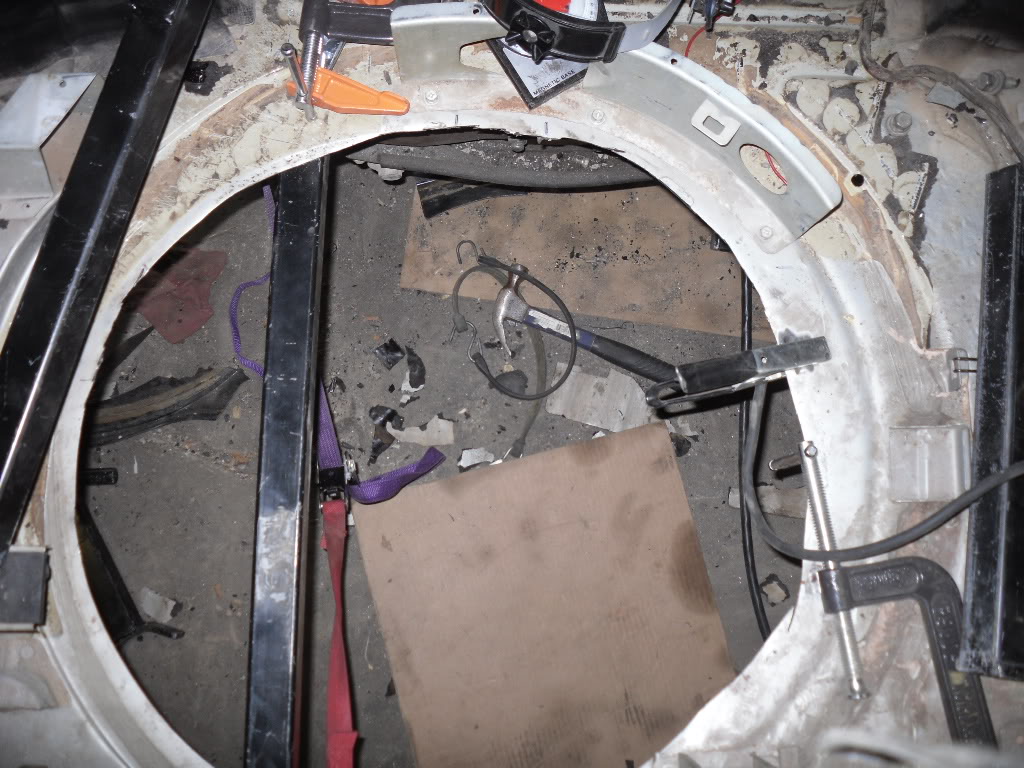
I then started the hacking of my spare tire well, to fit the F-body gas tank. Here it is, Pre-Op
Annnnnd more harness work

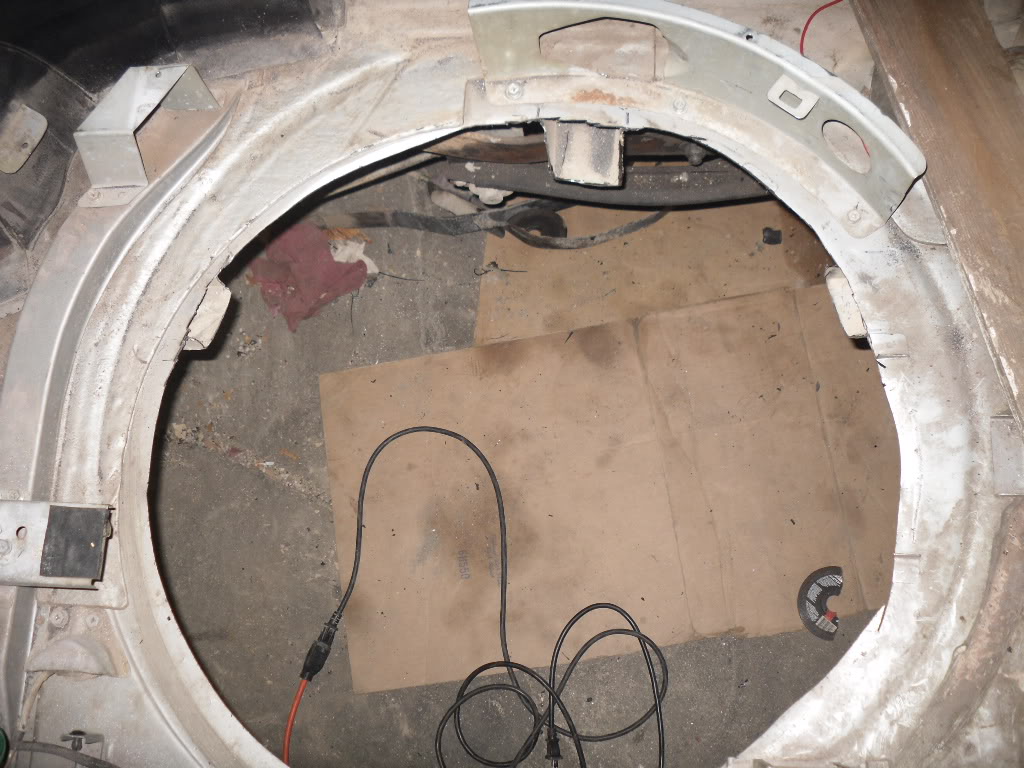
Post-op. I cut the braces with a cutoff wheel, and the rest with a sawzall. Note the half a cutoff wheel blade in the opening in the picture. That is why you ALWAYS wear safety glasses when using this kind of thing. It split while I was using it and hit me in the eye. I did have my safety glasses on, (thankfully) and it just put a deep gouge in the lens. WEAR your PPE!
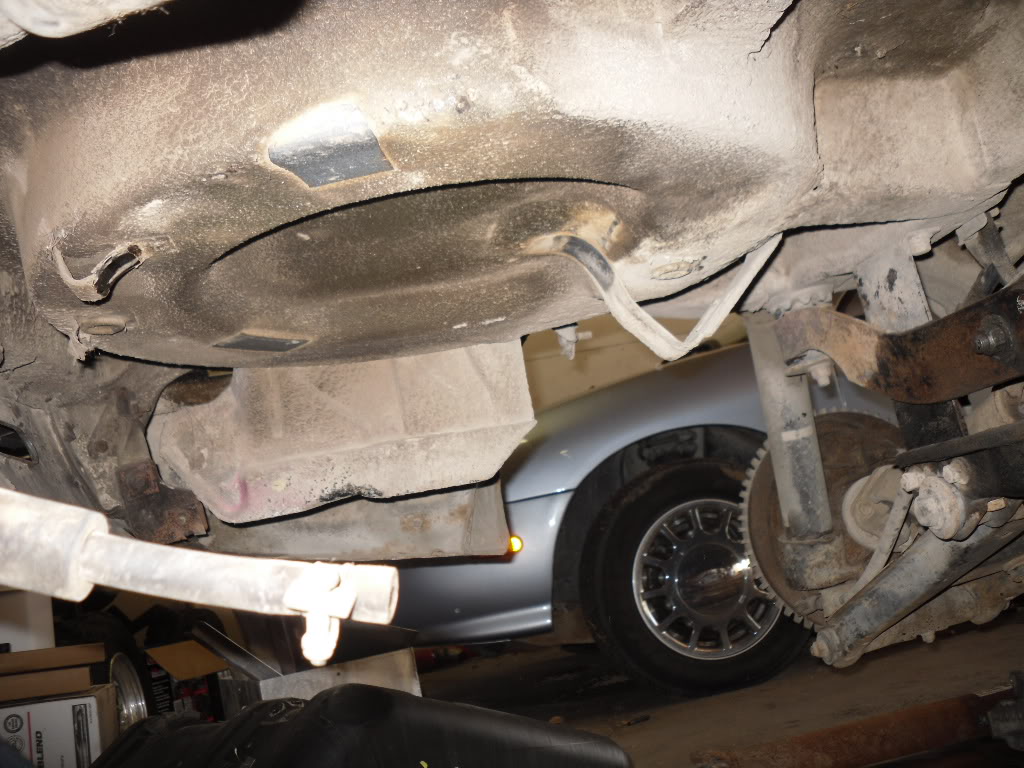
A view from the bottom showing the supports that must be cut.
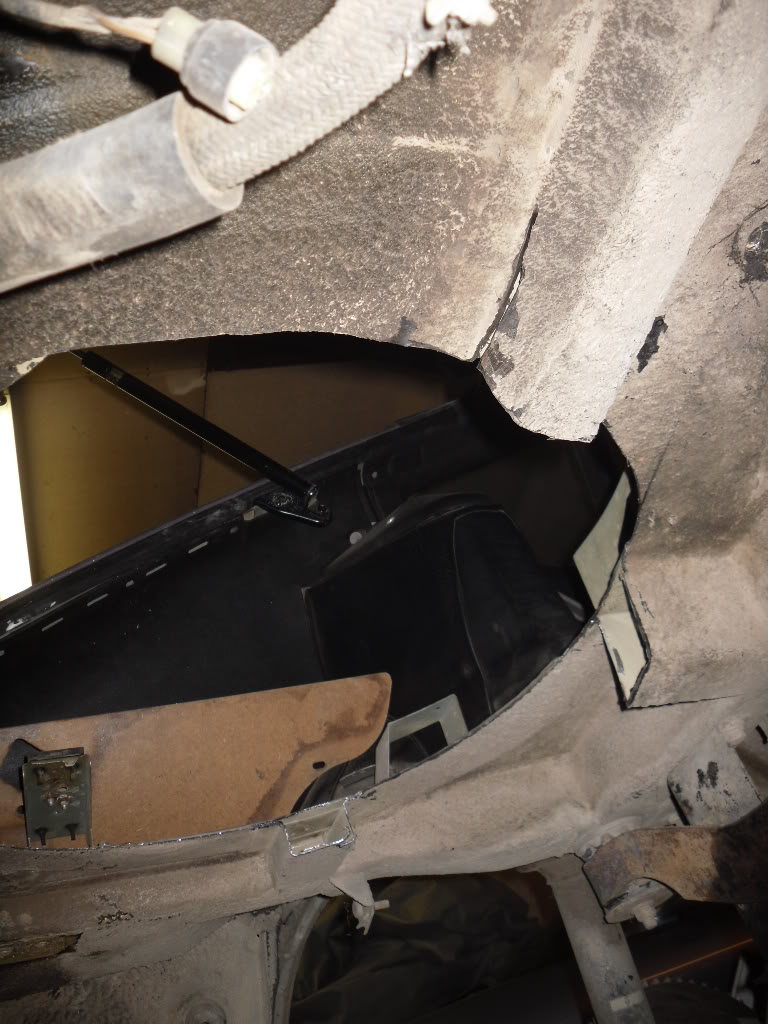
And the tub. I got a little off my trajectory in one spot, but I'll have a cover over it, so it'll still be pretty.
I hope to mount the tank, and get the fuel system plumbed this weekend!
I plan on making a specific thread (hybridz) on how to do this swap, when I get it all done.
and within moments of opening the box, of course i had to play with my new toys
Here is how the engine bay currently looks. Ready to do some final filling / smoothing and then paint!
Here's the current pile of crap i've removed. Well at least 75% of it.
I started taping my harness up, and beautifying it. Of course using vinyl, non adhesive tape.
Also picked this up last weekend, from a friend's parts car. Its out of a V6, so the pump will have to be changed. Not sure on what i'm gonna put in it yet.
I then started the hacking of my spare tire well, to fit the F-body gas tank. Here it is, Pre-Op
Annnnnd more harness work
Post-op. I cut the braces with a cutoff wheel, and the rest with a sawzall. Note the half a cutoff wheel blade in the opening in the picture. That is why you ALWAYS wear safety glasses when using this kind of thing. It split while I was using it and hit me in the eye. I did have my safety glasses on, (thankfully) and it just put a deep gouge in the lens. WEAR your PPE!
A view from the bottom showing the supports that must be cut.
And the tub. I got a little off my trajectory in one spot, but I'll have a cover over it, so it'll still be pretty.
I hope to mount the tank, and get the fuel system plumbed this weekend!
I plan on making a specific thread (hybridz) on how to do this swap, when I get it all done.
11-20-2010, 11:51 PM
#34
Teching In

Join Date: Aug 2006
Posts: 20
Likes: 0
Received 0 Likes
on
0 Posts

Looking good, I've wanted to do this for awhile but got a crazy deal on an S2000 shell. Heres my buddies LS2 for some inspiration, soon to be rear mount turbo...
http://www.youtube.com/watch?v=_GR1GPh6-DQ
http://www.youtube.com/watch?v=_GR1GPh6-DQ
11-21-2010, 07:40 AM
#35
 11-22-2010, 10:58 AM
#36
Well I made a little more progress this weekend. I worked on getting the f body tank mounted. It was a real PITA to do this by myself. Here's some of the ghetto fabb'n that took place.
Just a hood-rich way of holding it up so i could measure it.
I went ahead and used some 1.5" square tubing, rather than the 2" that a lot of people have. I did this only because it's what I had laying around, and is PLENTY thick enough to get the job done.
Here is the first support
And then the tank, with both supports welded to the frame rails, front and back.
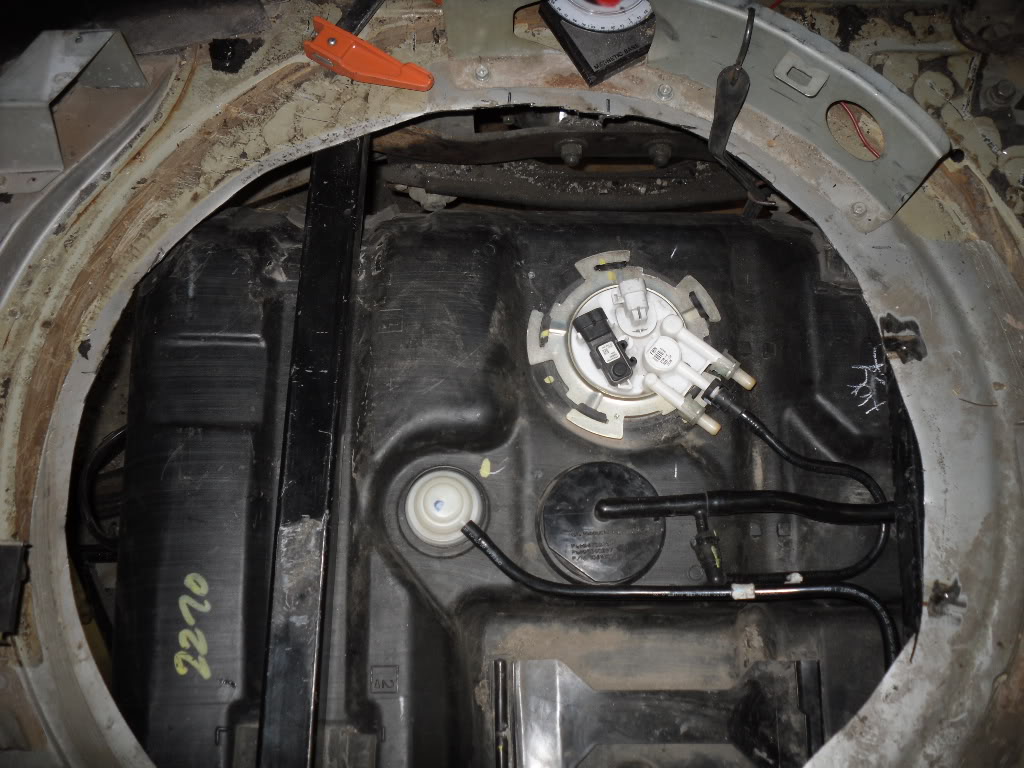
I then started mocking up the FPR/ filter. It's gonna be all in stainless, the blue line is just for a template.
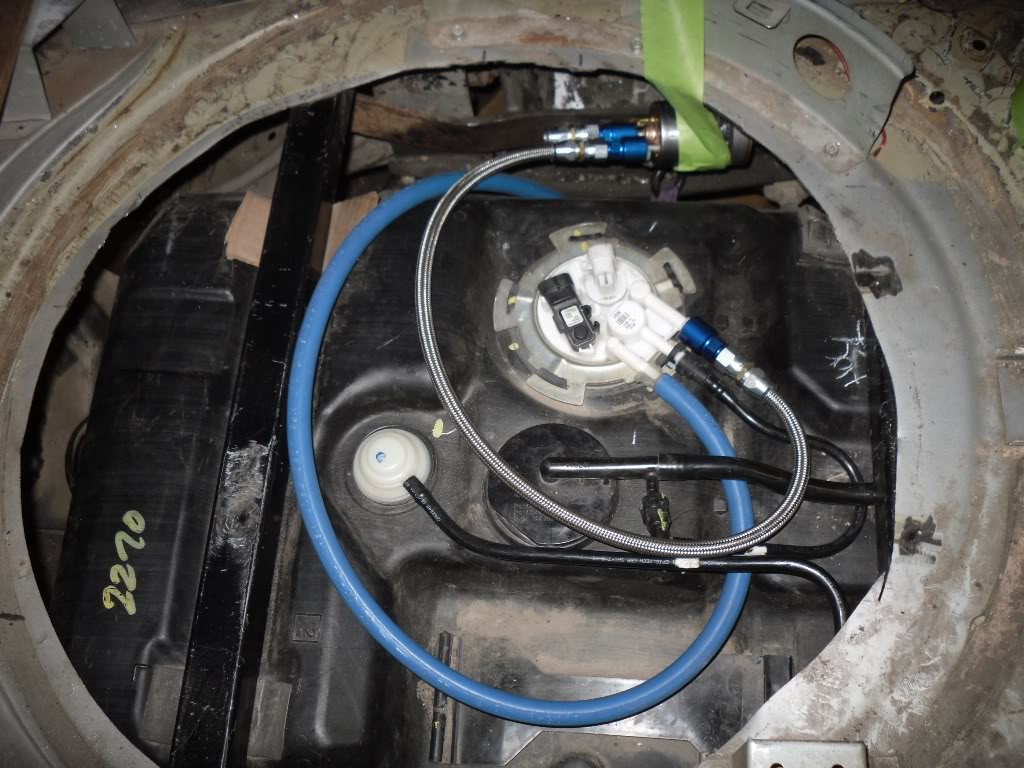
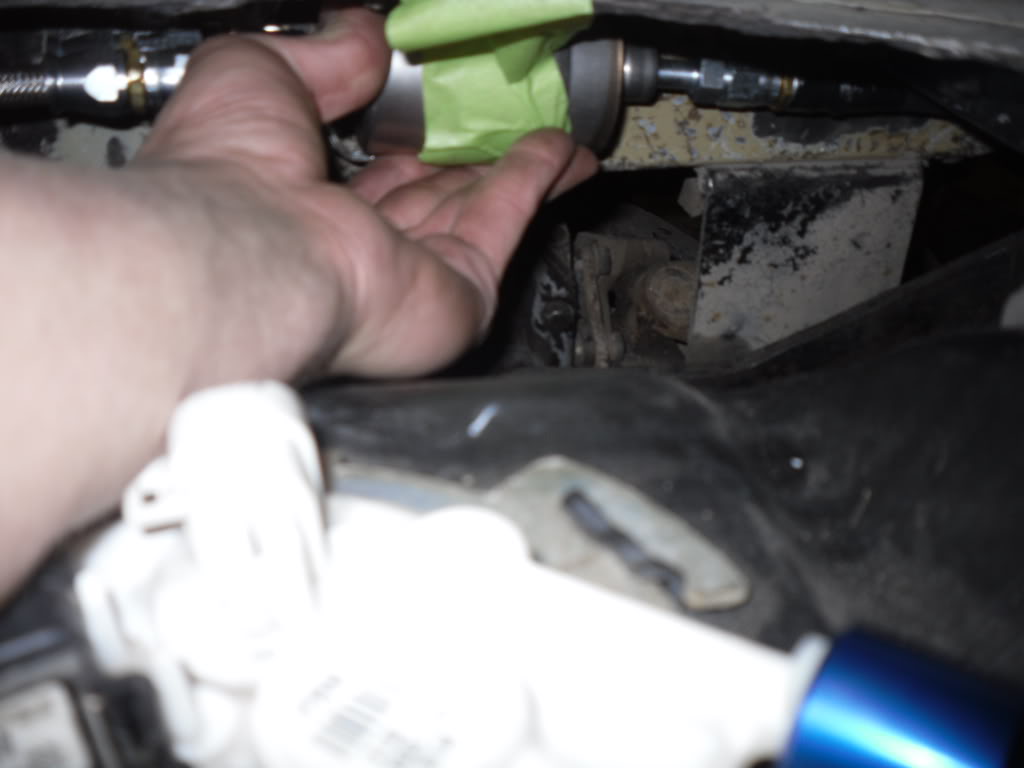
The FPR will be mounted to the rail, as shown
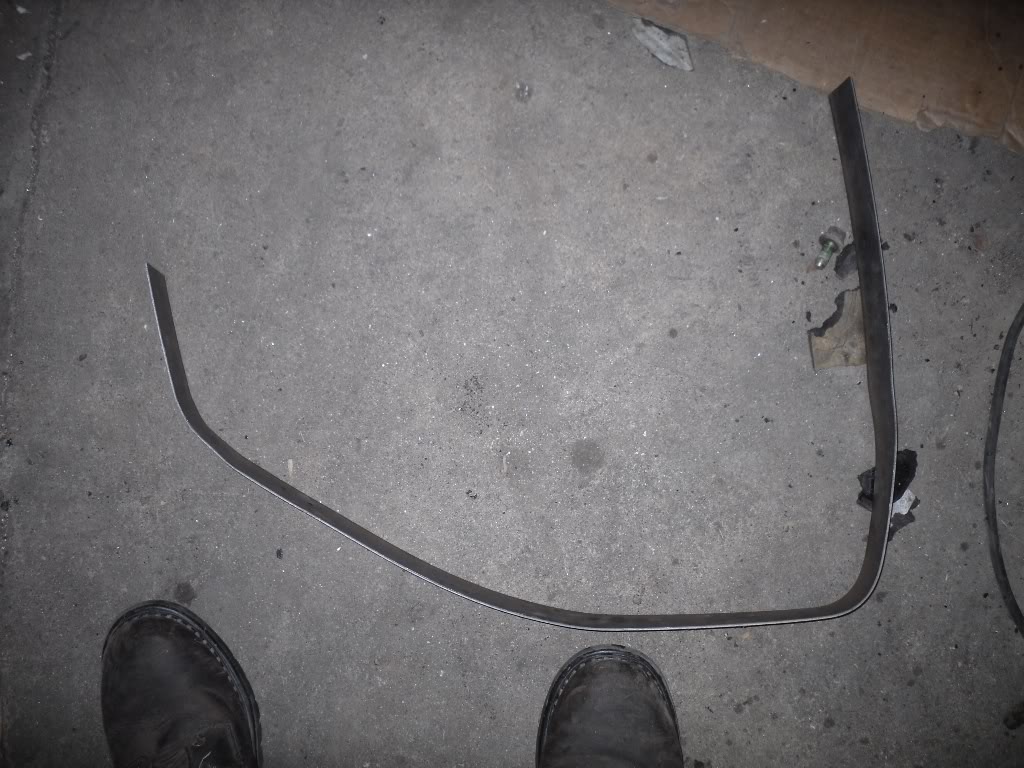
I then started bending up tank straps, out of some 1.5" strap that i had.
Here is a picture of the car, as it sits. With my buddy doin a cam swap on his 07 KFX 450 in the background.
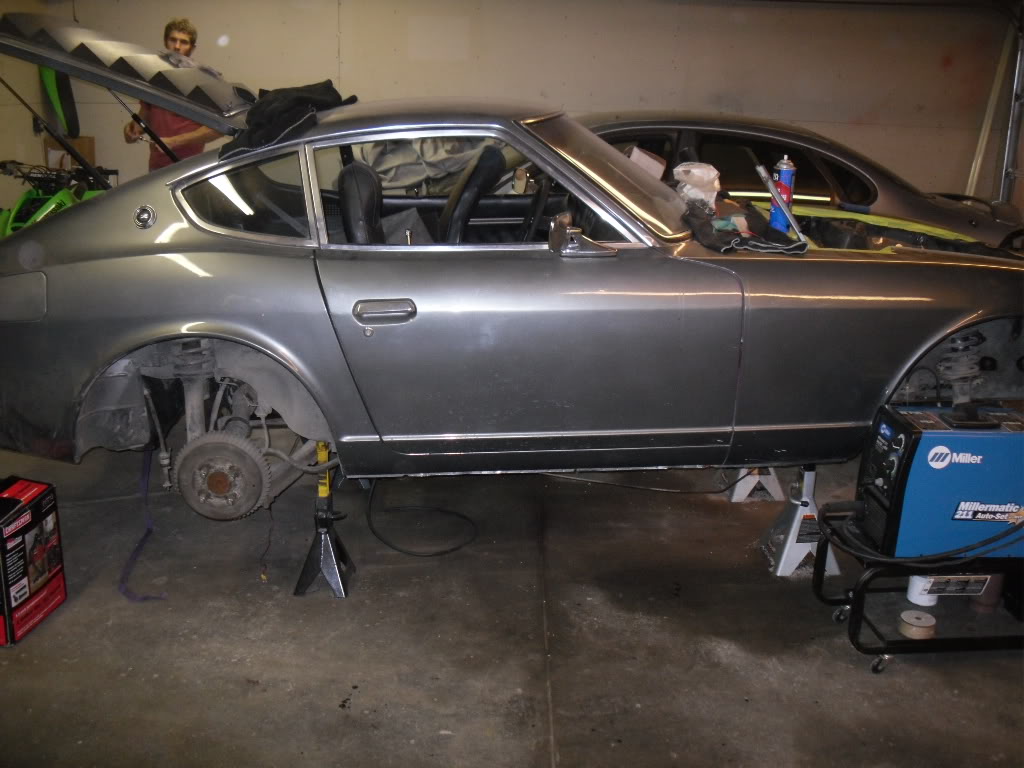
Then a friend brought over a pony keg of a microbrew, and needless to say, that was where productivity ceased for the evening. haha.

Just a hood-rich way of holding it up so i could measure it.
I went ahead and used some 1.5" square tubing, rather than the 2" that a lot of people have. I did this only because it's what I had laying around, and is PLENTY thick enough to get the job done.
Here is the first support
And then the tank, with both supports welded to the frame rails, front and back.
I then started mocking up the FPR/ filter. It's gonna be all in stainless, the blue line is just for a template.
The FPR will be mounted to the rail, as shown
I then started bending up tank straps, out of some 1.5" strap that i had.
Here is a picture of the car, as it sits. With my buddy doin a cam swap on his 07 KFX 450 in the background.
Then a friend brought over a pony keg of a microbrew, and needless to say, that was where productivity ceased for the evening. haha.
11-29-2010, 03:52 PM
#37
Small update for now. I found an engine from a local guy on a message board. He currently has it installed in a '71 El Camino, which he was doing a turbo build on. He changed directions, before even firing the engine, so I'm getting a STEAL.
The motor is a 2000 5.3 with 100k.
-232/240 .595/.608 115 cam (From Exotic Performance Plus (EPP) For boost )
)
-Comp 918 beehive springs rated to .625 LIft
-ARP rod bolts (~$100)
-Autokraft oil pan ($400)
-All front accessories
-Edelbrock Pro Flo Intake ($400+)
-Edelbrock Fuel rails (~$150)
-RC racing sl4-750 injectors (75lb) ($500+)
All new aftermarket stuff, never fired. I'll be picking it up for $1200
The motor is a 2000 5.3 with 100k.
-232/240 .595/.608 115 cam (From Exotic Performance Plus (EPP) For boost
) -Comp 918 beehive springs rated to .625 LIft
-ARP rod bolts (~$100)
-Autokraft oil pan ($400)
-All front accessories
-Edelbrock Pro Flo Intake ($400+)
-Edelbrock Fuel rails (~$150)
-RC racing sl4-750 injectors (75lb) ($500+)
All new aftermarket stuff, never fired. I'll be picking it up for $1200
11-29-2010, 09:00 PM
#38
Launching!
iTrader: (10)

Join Date: Feb 2009
Location: Topeka, KS
Posts: 212
Likes: 0
Received 0 Likes
on
0 Posts
Yeah I change my mind too much. Hope it works out for you. I'm sure you'll get it going way sooner than I would have!
I would've loved to see it run, but after the project evolved from more driver to more race, I decided it'd be easier and cheaper to go BBC with lots of juice.
I would've loved to see it run, but after the project evolved from more driver to more race, I decided it'd be easier and cheaper to go BBC with lots of juice.
11-30-2010, 10:40 AM
#39
Yeah I change my mind too much. Hope it works out for you. I'm sure you'll get it going way sooner than I would have!
I would've loved to see it run, but after the project evolved from more driver to more race, I decided it'd be easier and cheaper to go BBC with lots of juice.
I would've loved to see it run, but after the project evolved from more driver to more race, I decided it'd be easier and cheaper to go BBC with lots of juice.
 12-09-2010, 09:13 PM
#40
PROGRESS
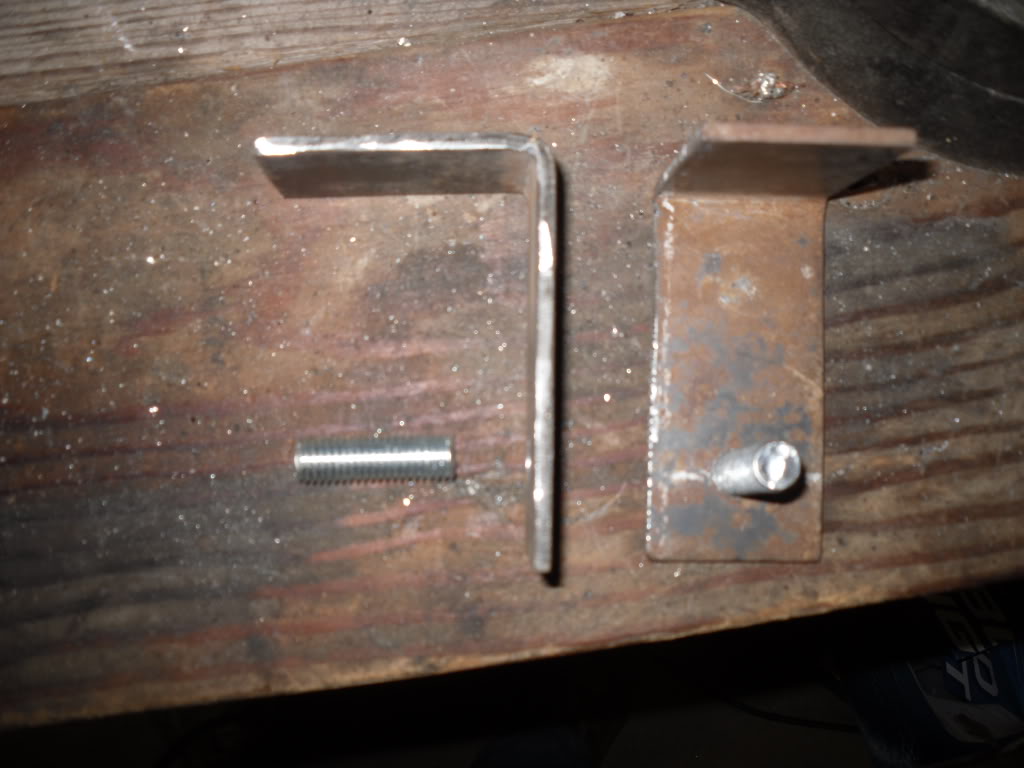
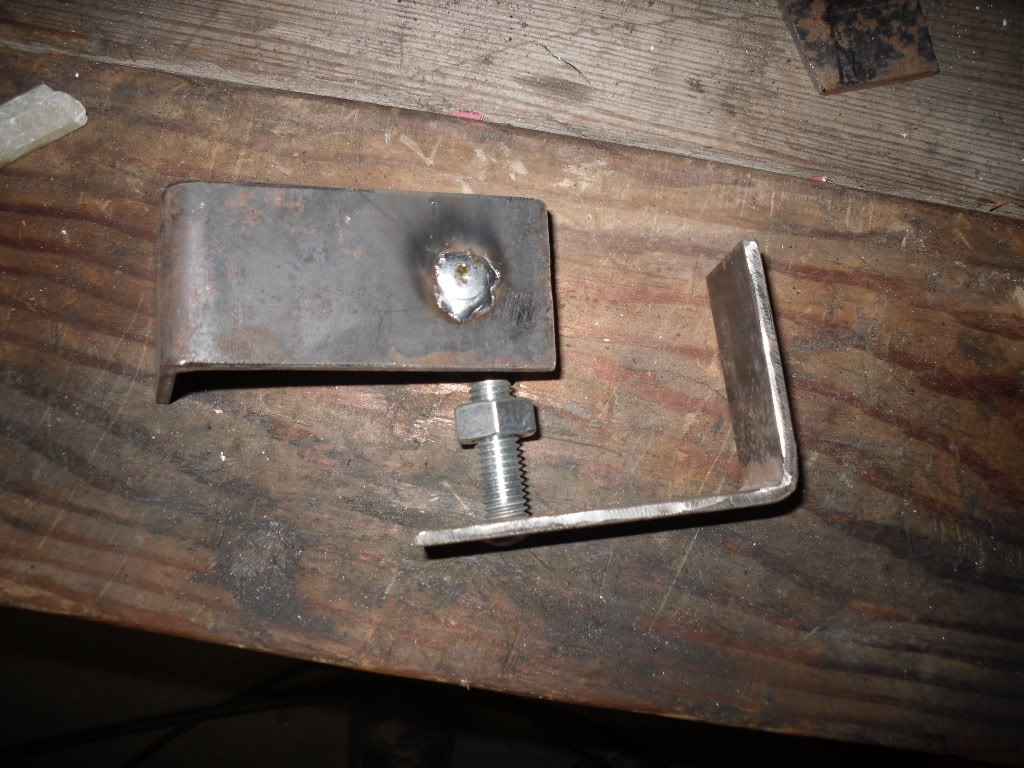
Quick shot of the brackets I build for the rear of the fuel tank mount straps. 2.5" angle iron, 1.5" wide. drilled a 3/8" hole, tapped it to M10x15, threaded the rod into it, welded the back side. I then welded these to the 1.5" square stock above the tank. Came out really nice. More pics to follow later
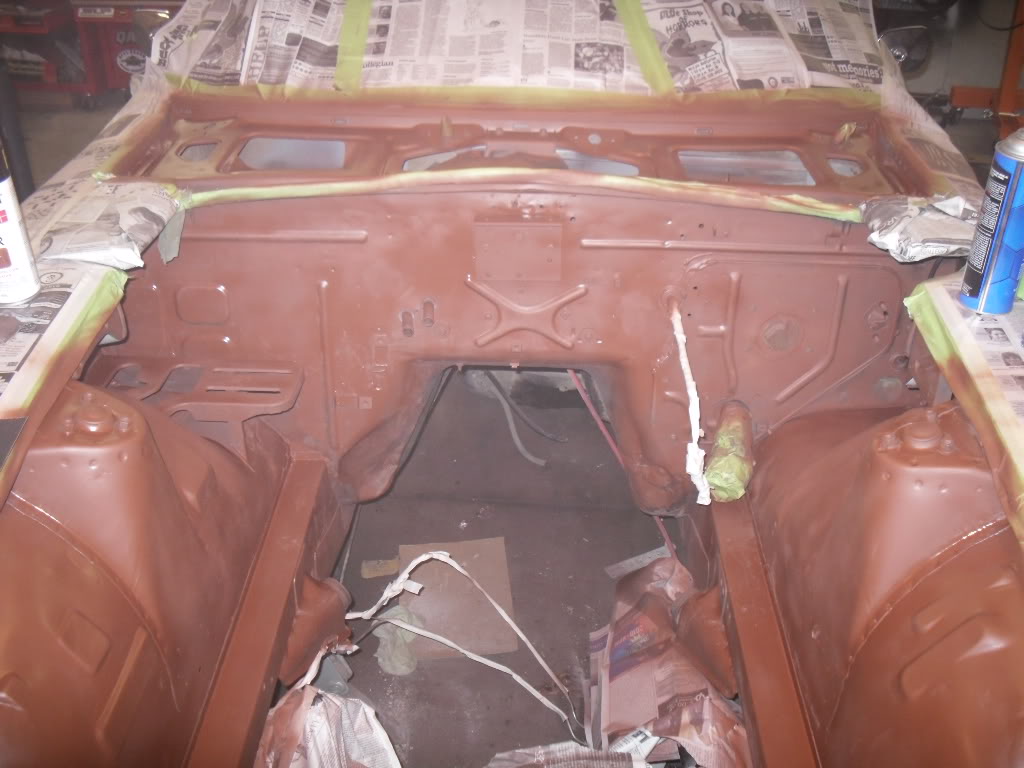
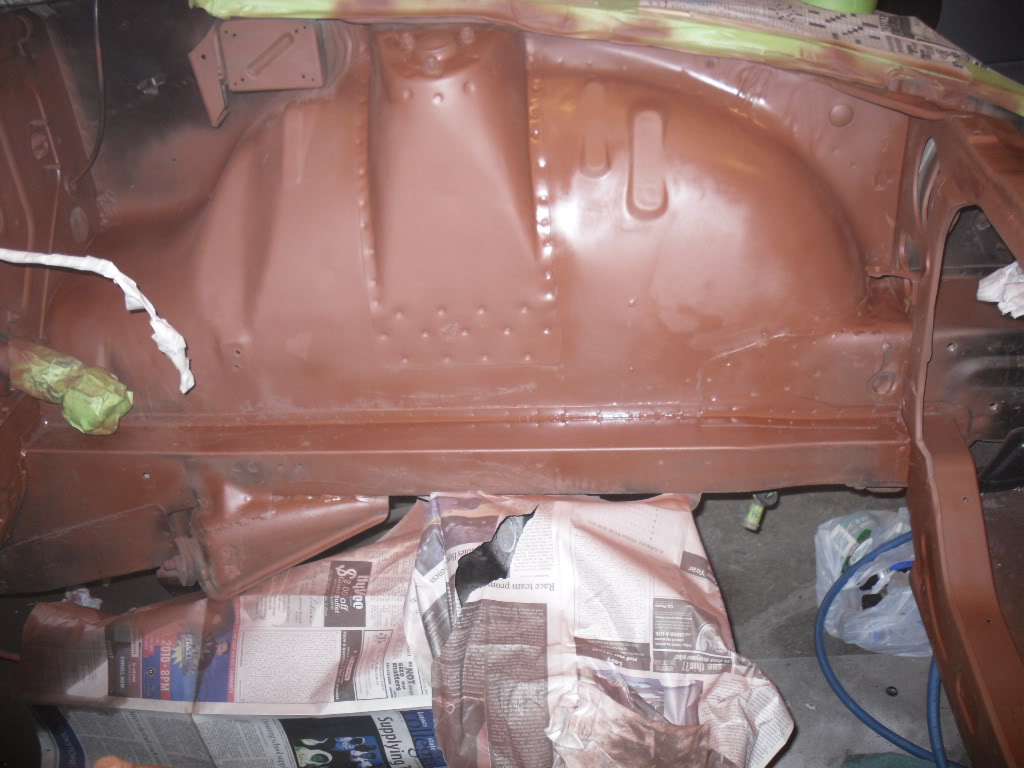
And then I FINALLY finished the body work in the engine bay. Ended up smoothing most of the welded areas over with bondo, to get just the finish i wanted. Here it is after 1 coat of primer.
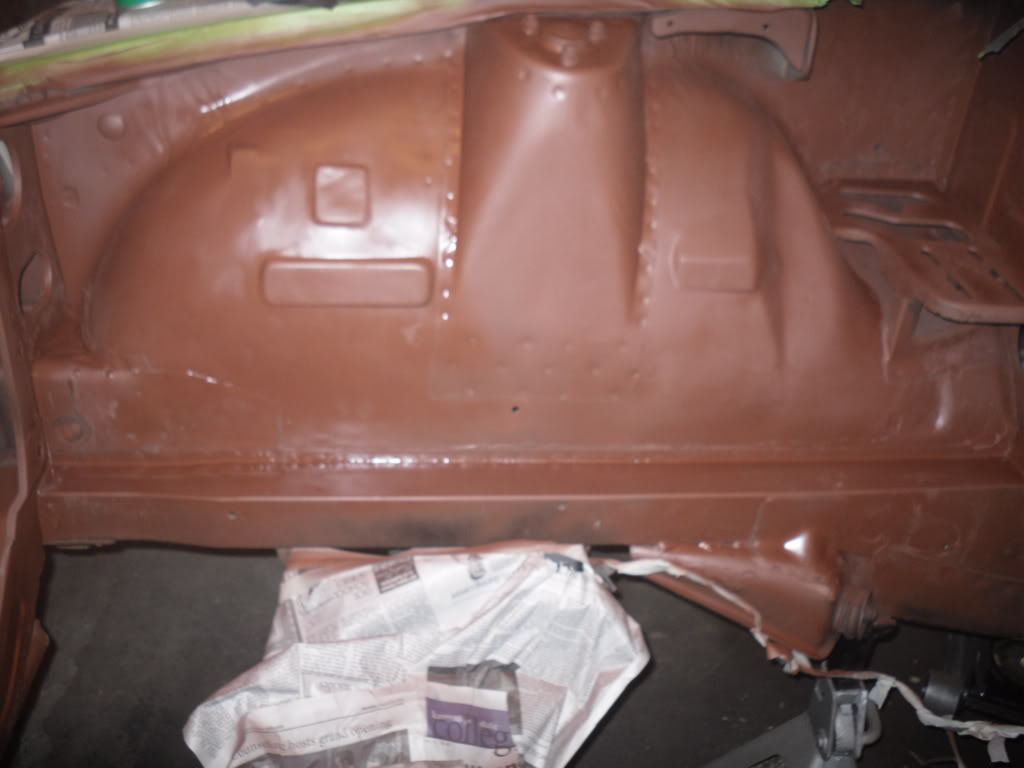
Quick shot of the brackets I build for the rear of the fuel tank mount straps. 2.5" angle iron, 1.5" wide. drilled a 3/8" hole, tapped it to M10x15, threaded the rod into it, welded the back side. I then welded these to the 1.5" square stock above the tank. Came out really nice. More pics to follow later
And then I FINALLY finished the body work in the engine bay. Ended up smoothing most of the welded areas over with bondo, to get just the finish i wanted. Here it is after 1 coat of primer.