
2010 LS3 and TR6060 in a 68 Camaro


 04-16-2012, 08:15 AM
#43
Staging Lane
Thread Starter

Join Date: Aug 2011
Posts: 57
Likes: 0
Received 0 Likes
on
0 Posts
No, I still need to set the final ride height of the vehicle. It's sitting to high on all of it's springs/shocks. Once I do that I'll measure the OAL of the shaft and order it. Fuel tank, fuel line, engine harness, clutch hydraulic line, accessories, headers, steering, and radiator are on deck for May.
 04-16-2012, 03:12 PM
#46
TECH Senior Member
iTrader: (7)

I have a similar driveshaft that DSS made for my 1970 GTO project. However, mine has a traditional slip yoke in addition to the CV. One thing that you may want to be careful about is how much movement the driveshaft needs to accommodate as rear suspension moves up and down. On my GTO, the movement is not much when the car is at ride height, but it does move a lot more when the rear is dropped to its limit when the car is being serviced.
All I am saying that you need to keep this in mind when measuring for the driveshaft.
Andrew
All I am saying that you need to keep this in mind when measuring for the driveshaft.
Andrew
05-18-2012, 04:32 PM
#49
Teching In

Join Date: Mar 2012
Location: Appleton, WI
Posts: 13
Likes: 0
Received 0 Likes
on
0 Posts
Was just wondering what you used to relocate the shifter? I am doing a 1951 chevy truck with a TR6060 out of a 2011 camaro and am running into the same problems for the shifter being too far back.
05-18-2012, 08:33 PM
#50
Staging Lane
Thread Starter
Join Date: Aug 2011
Posts: 57
Likes: 0
Received 0 Likes
on
0 Posts
Custom Shifter from Red Roberts at McLeods/Driveline specialties. All info is on page 2 of this thread.
 06-13-2012, 11:30 PM
#53
Staging Lane
Thread Starter
Join Date: Aug 2011
Posts: 57
Likes: 0
Received 0 Likes
on
0 Posts
Most of last month I was with the car.
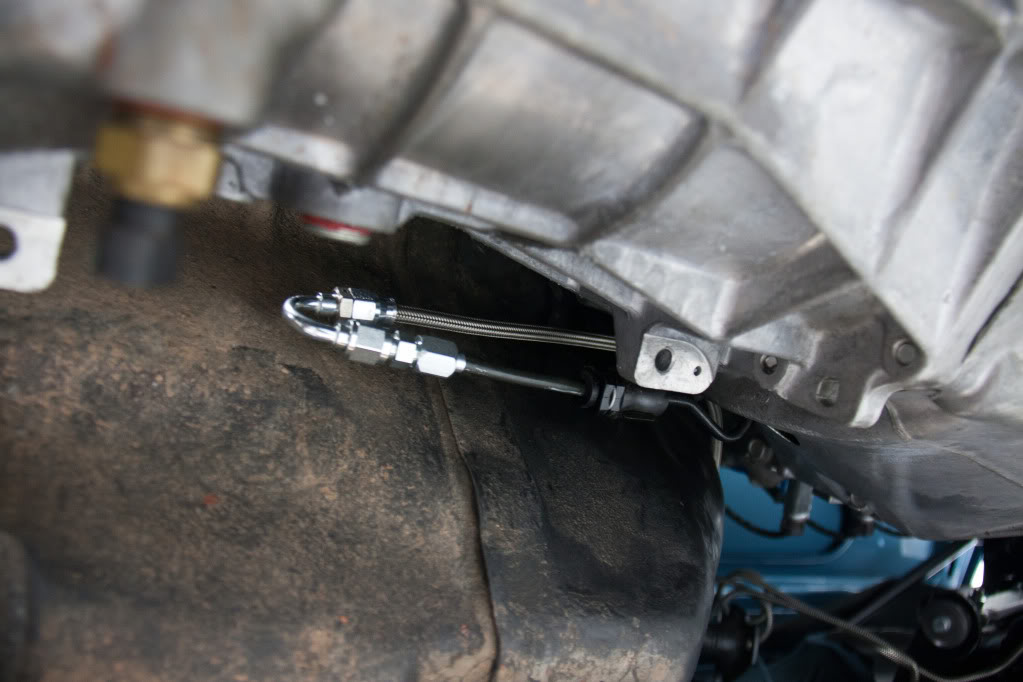
I started off fabbing up the clutch line. It's -4 AN line. I modifed the factory metal end of the TR6060 line with a tube nut to attach to an AN union.
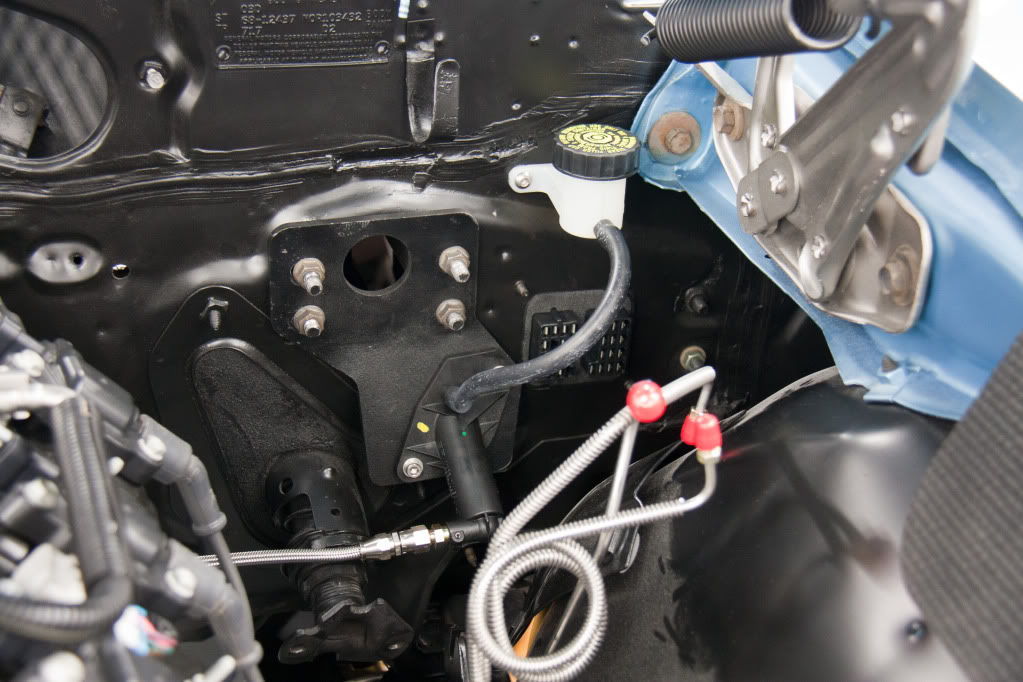
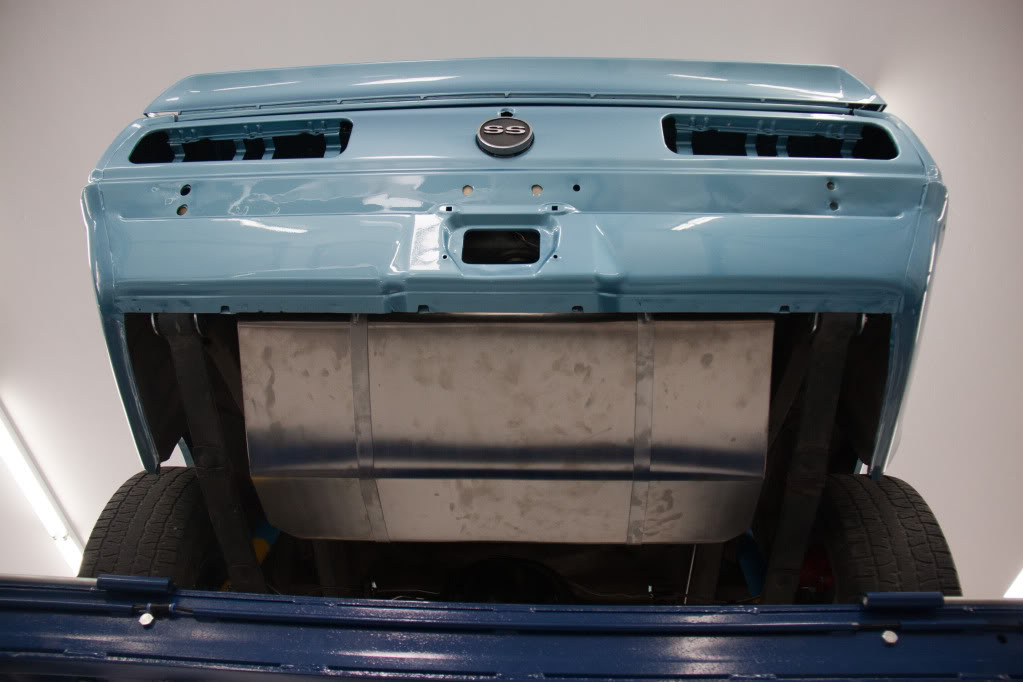
I went with a Ricks Vaporworx tank. The sending unit on this is actually for a 2010 Camaro, so it made a high degree of sense. With this unit I don't have to mess with the Fuel pressure regulator or return line since it's all handled internally.
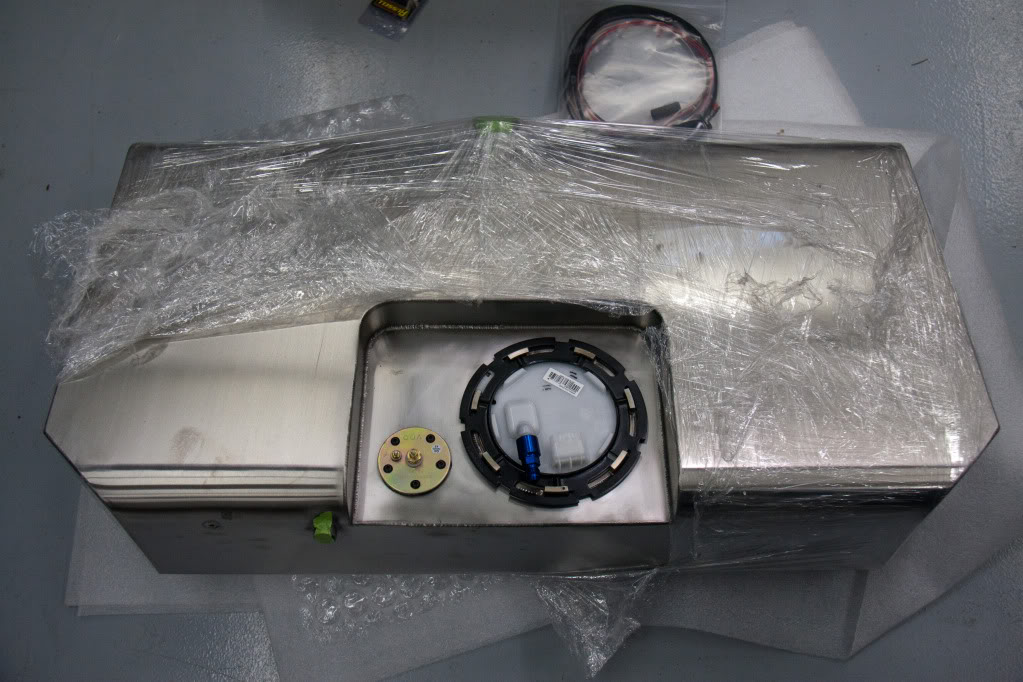
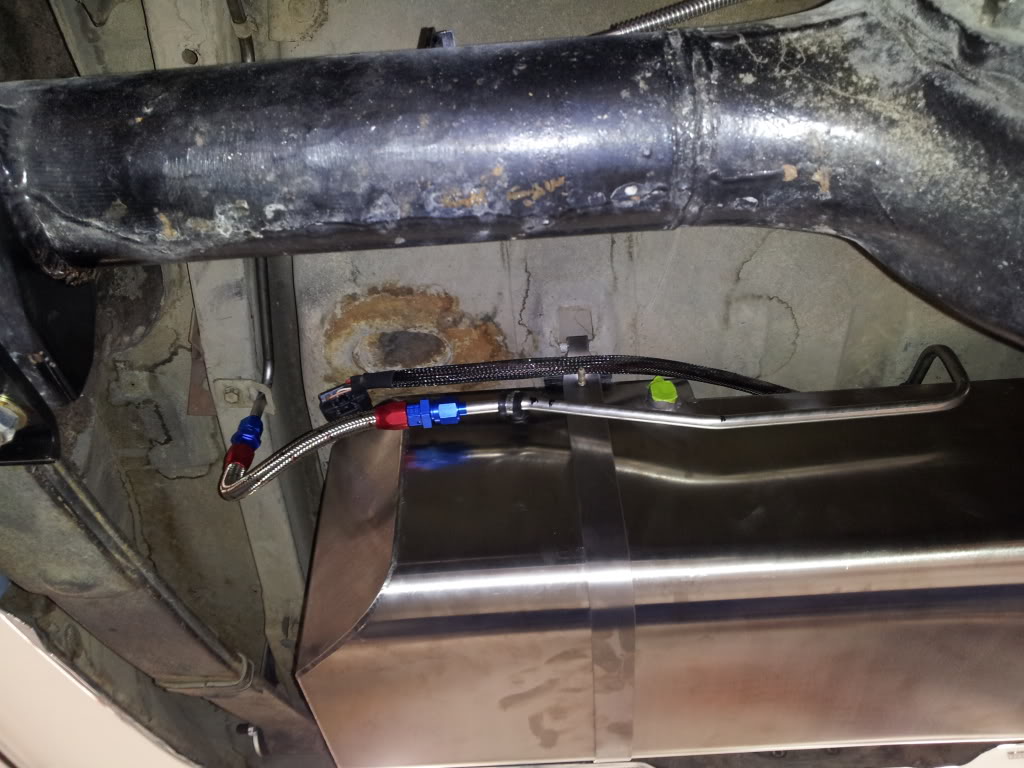
I fabbed a line on the tank to hook to the soft line.
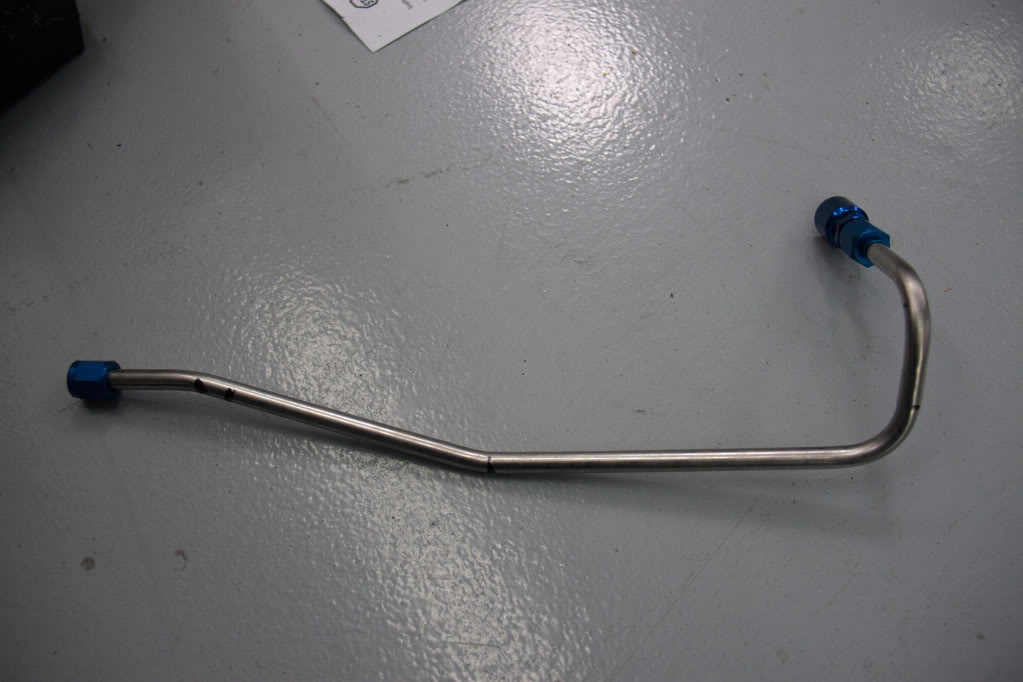
The tools I used to do it:
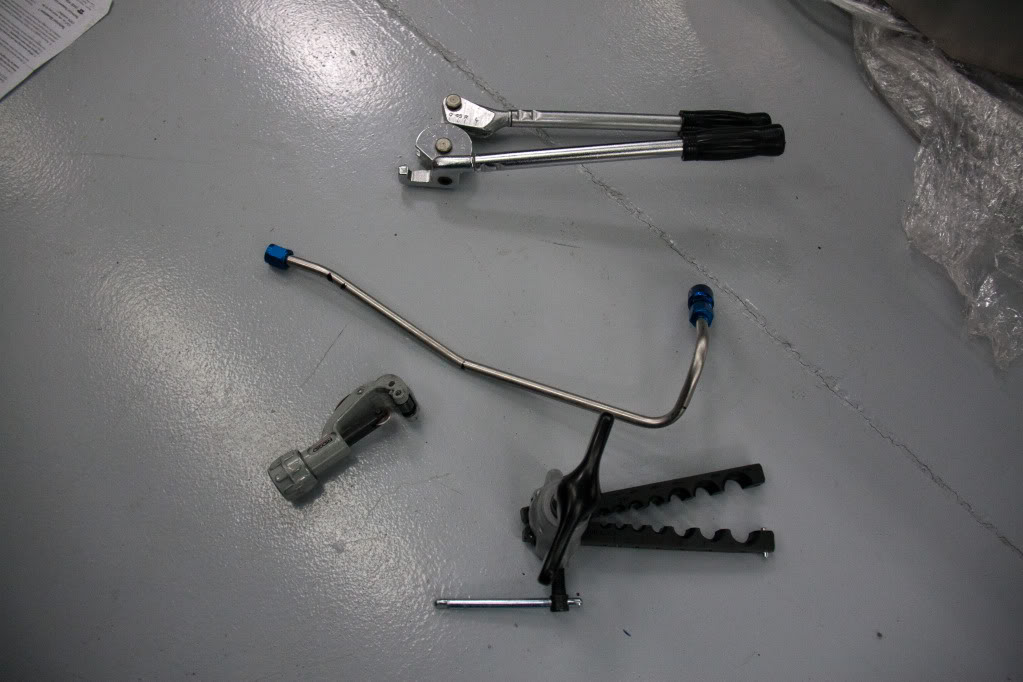
End result:
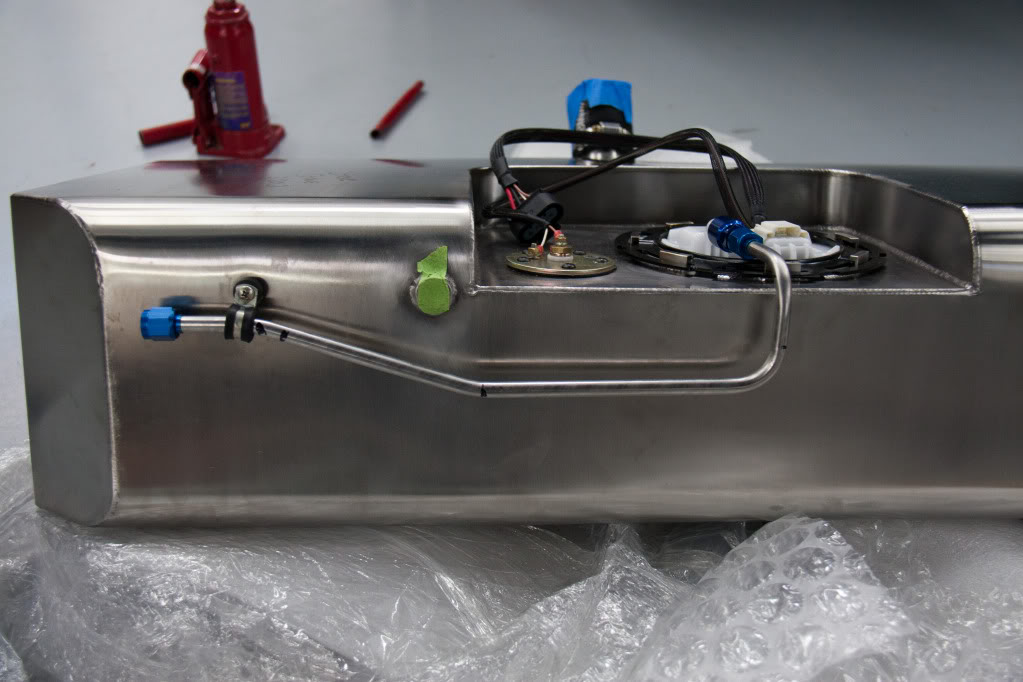
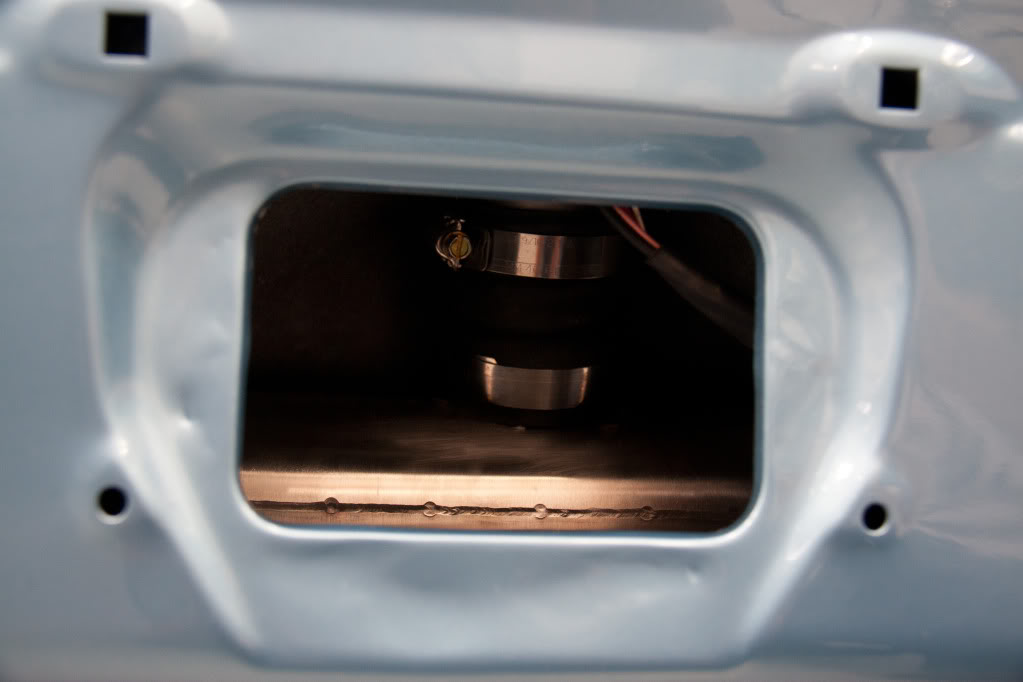
The tank going into the car (I cleaned off the handprints with stainless cleaner eventually).

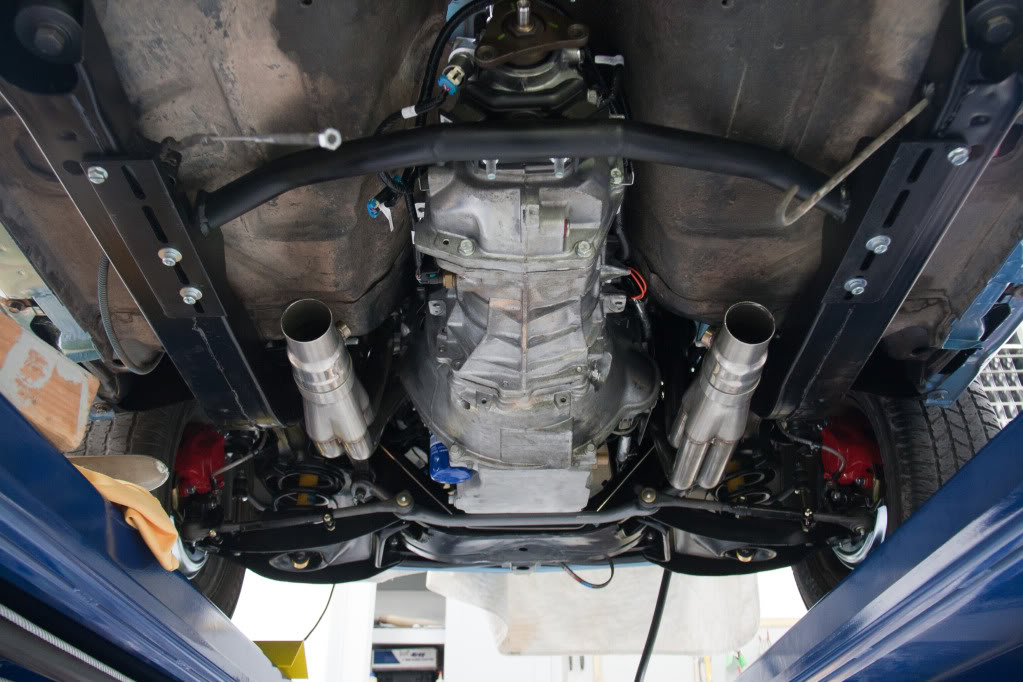
It doesn't hang down too bad:
I tried to run as little soft line as possible. I ordered stainless steel fuel line pre-fit for the car from inline tube and modified as necessary to fit this application.
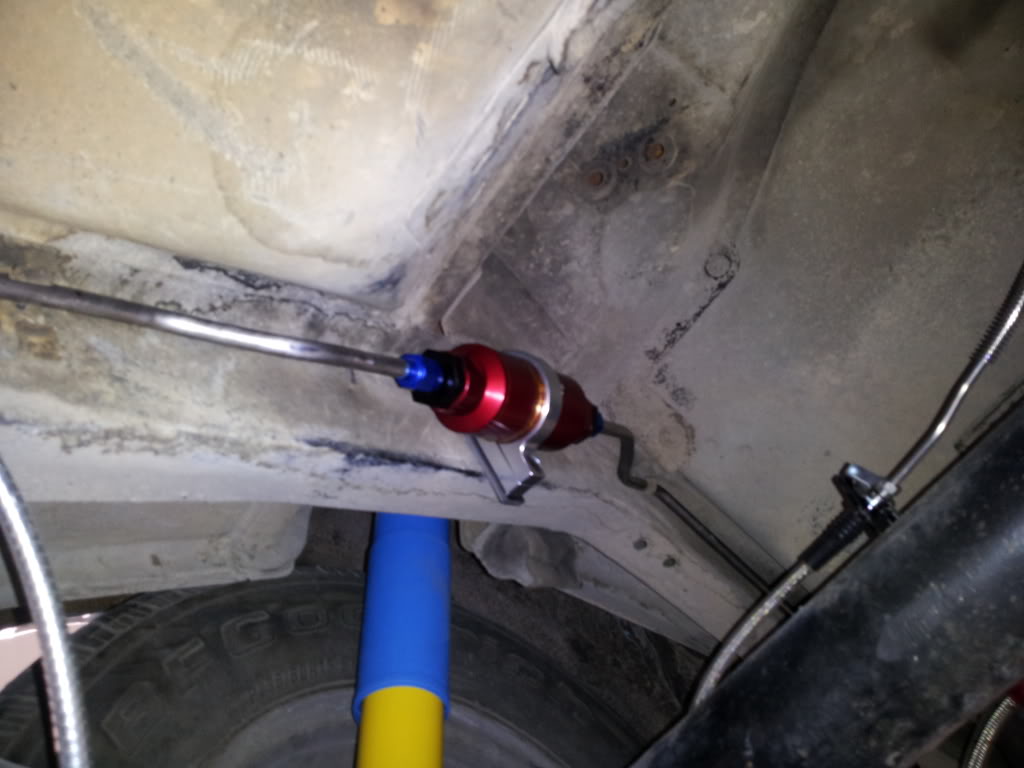
This is a 10 Micron aeromotive filter that I put inline.
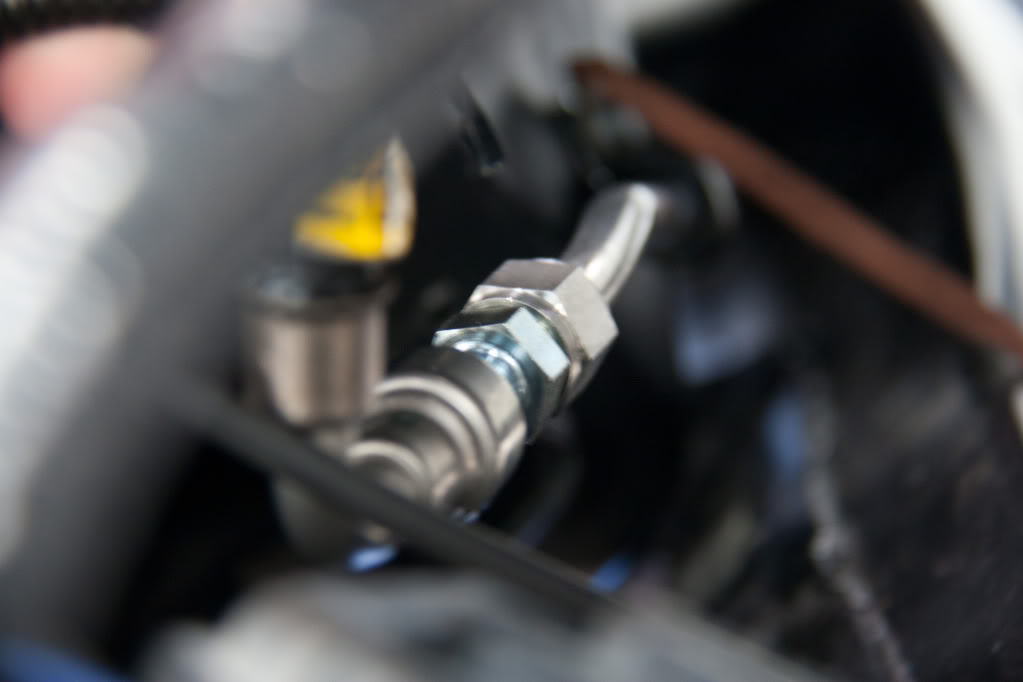
And it's kind of hard to see, but rather than put the an adaptor fitting right on the rail, I just used the factory soft line off of the fuel rails and a tube nut on the fuel line.
http://www.summitracing.com/parts/RUS-640940
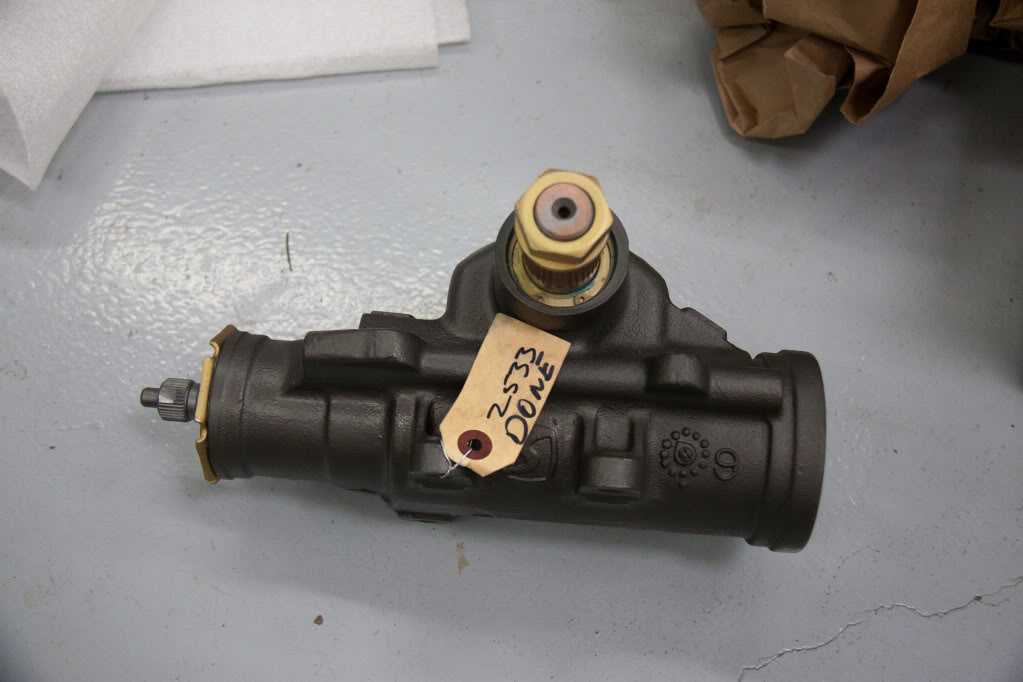
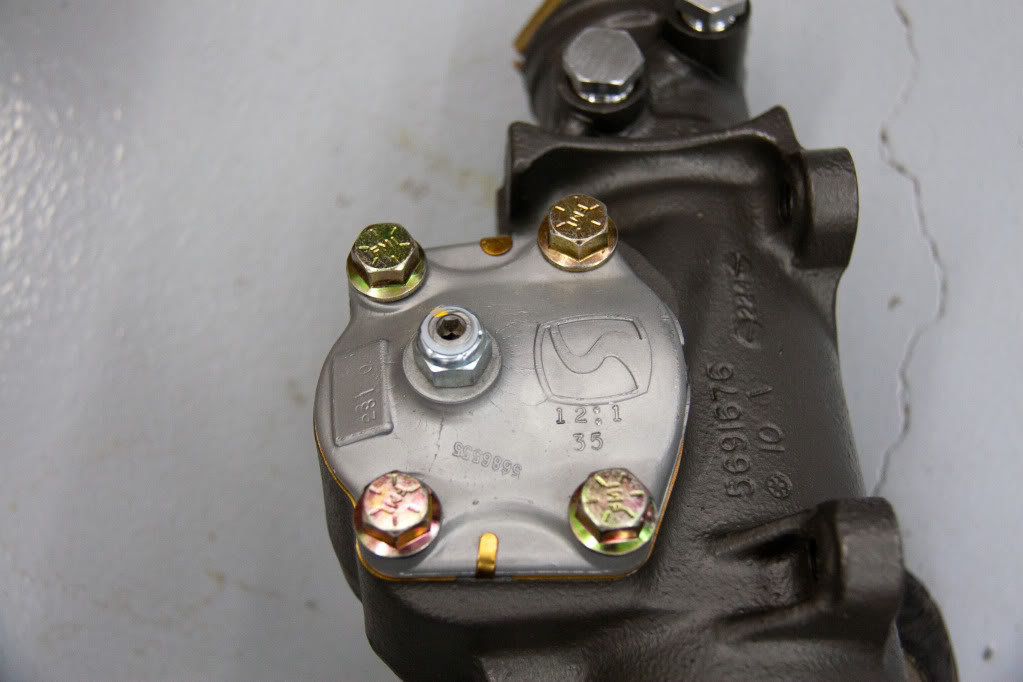
I sent off the steering box to Lee and had them convert it to a 12.7:1 ratio and match a saginaw TC pump to it.

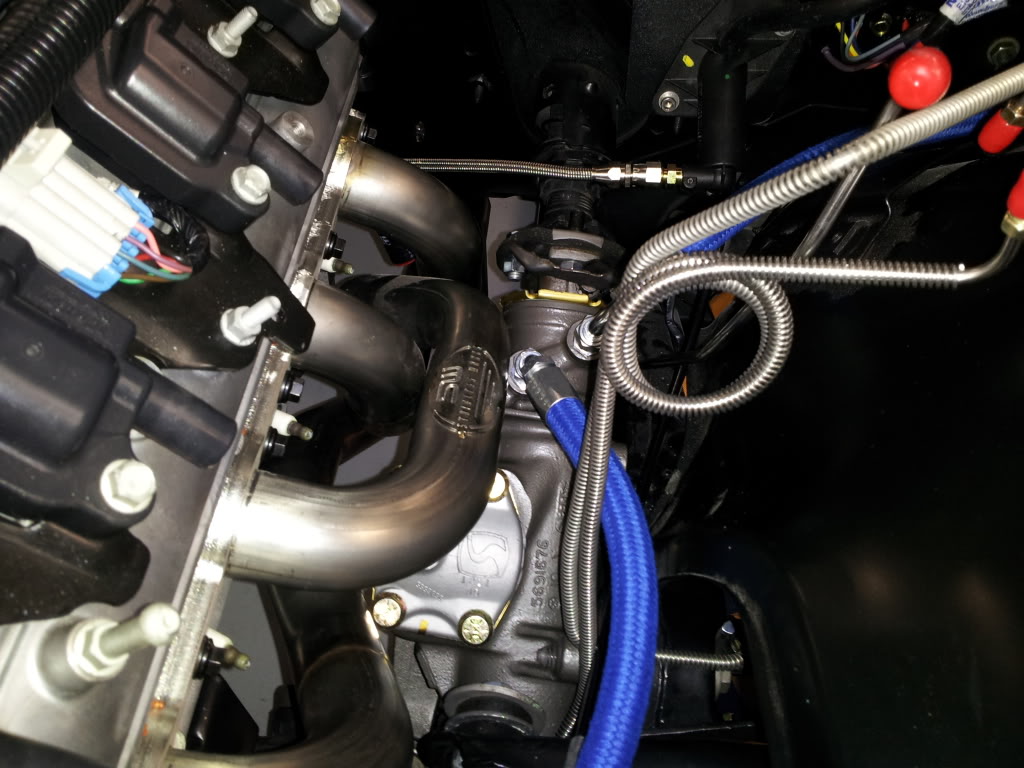
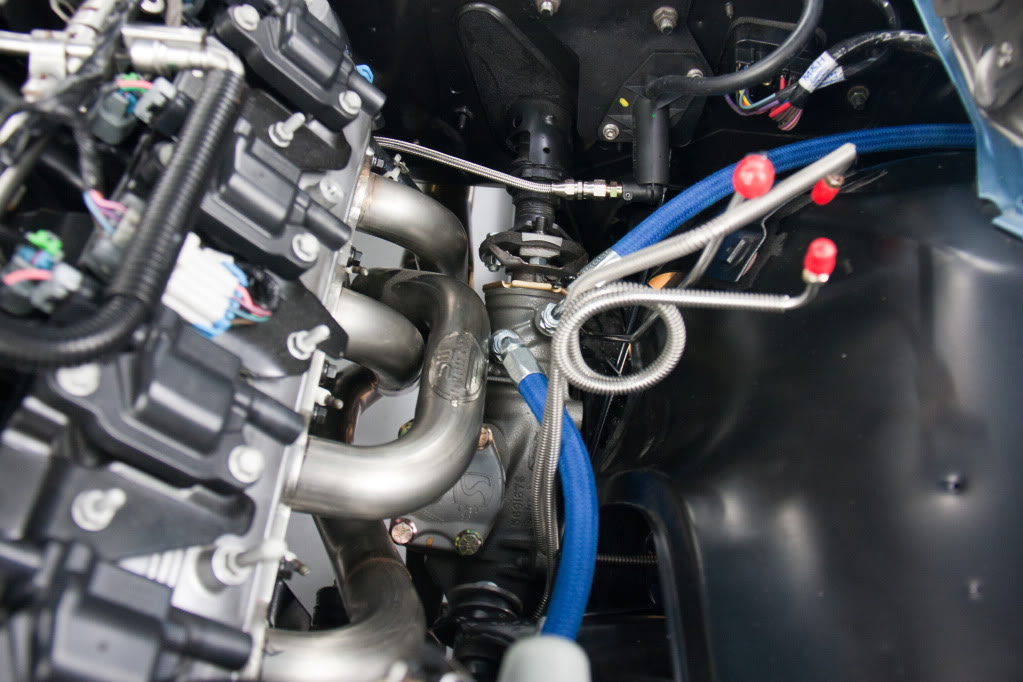
Made up some custom AN lines to plumb it.
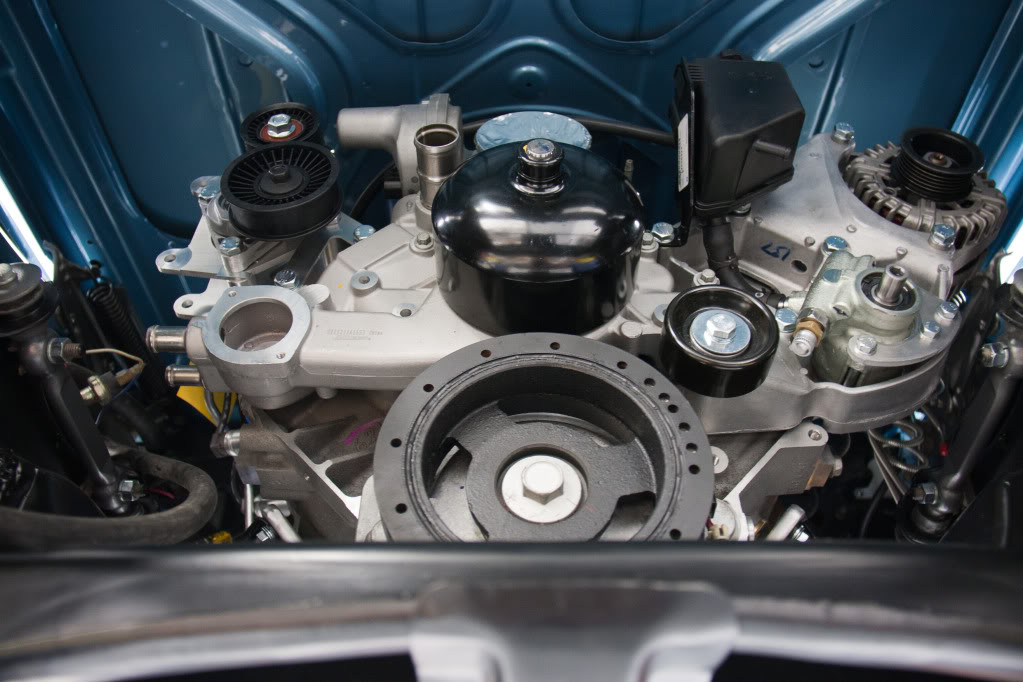
The C5 accessories fit perfectly
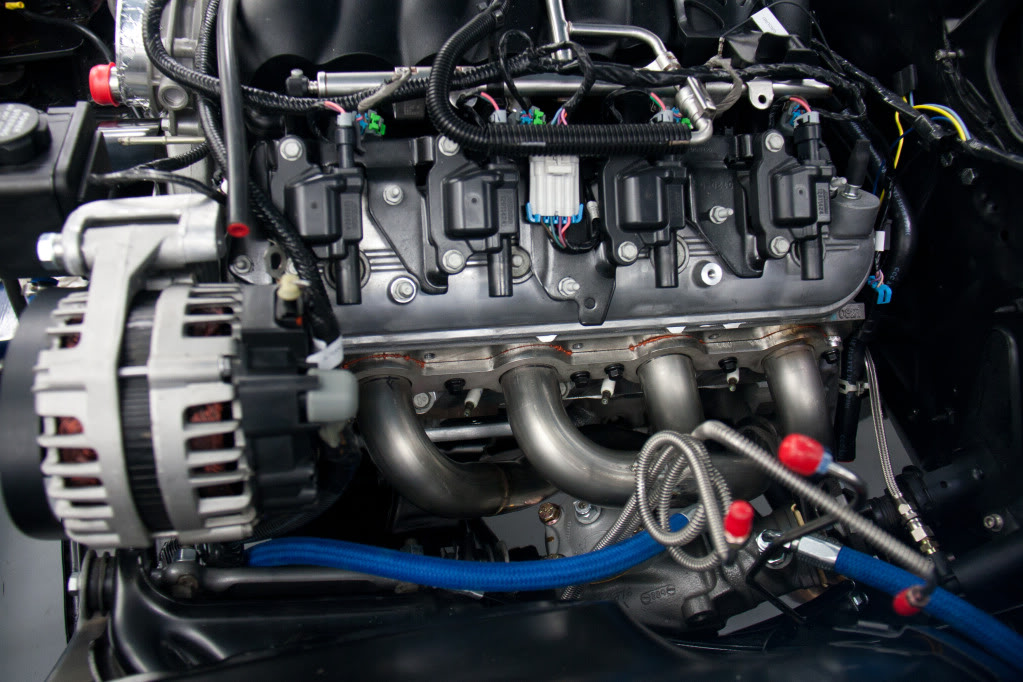
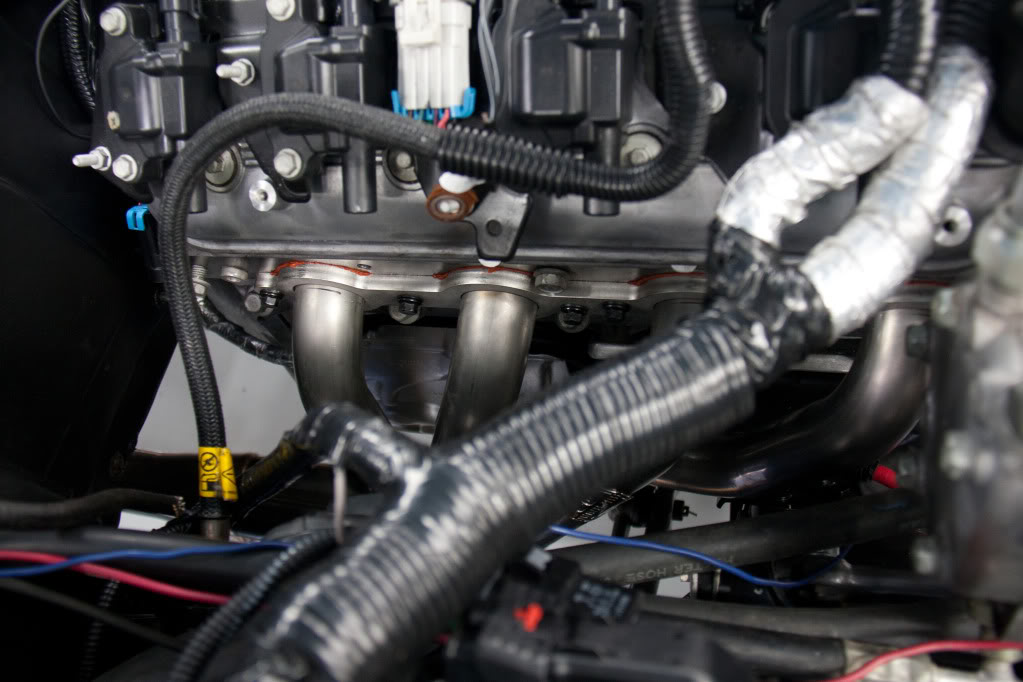
The stainless works headers I could not be happier with. They fit like factory parts.
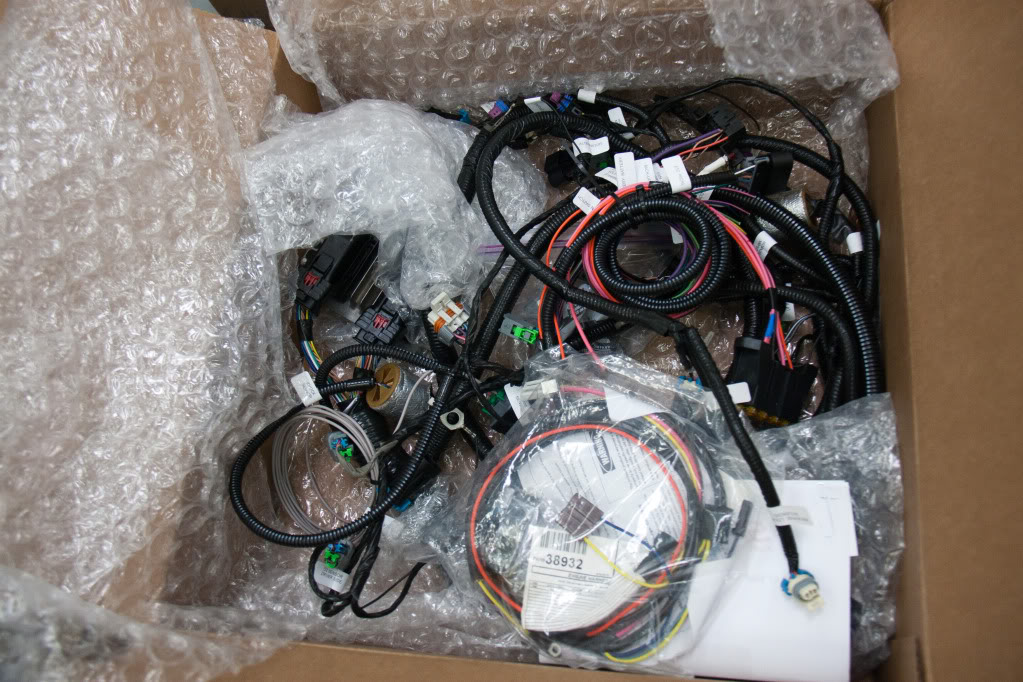
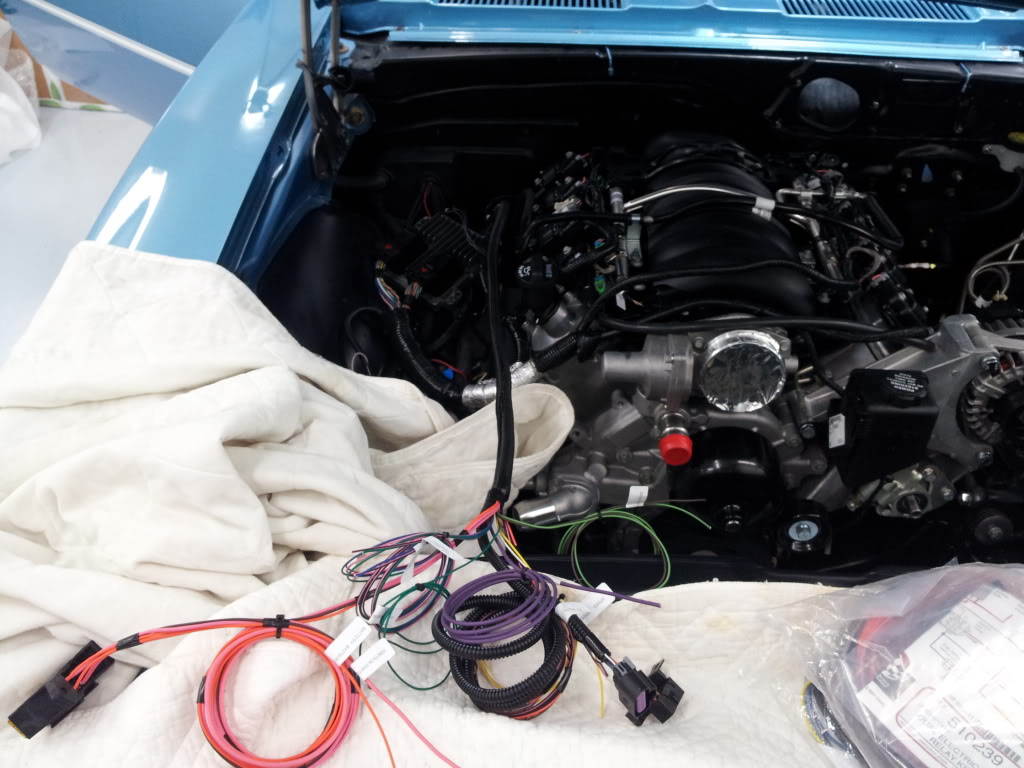
Next was wiring up this mess (actually John at speartech did an incredible job on this harness)
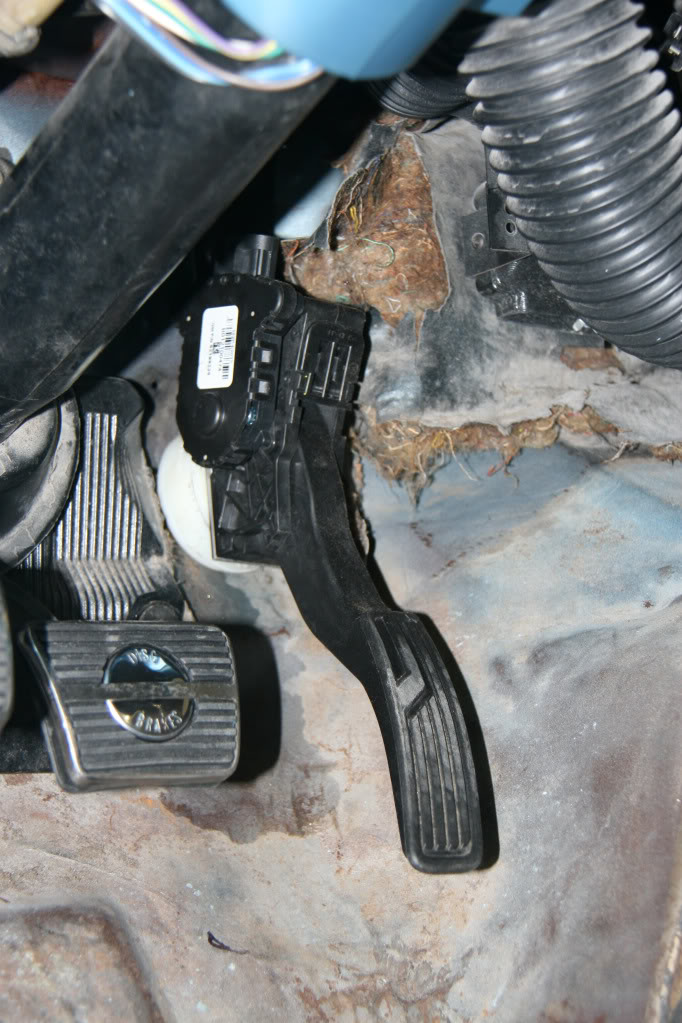
Fabbed up a bracket to mount the 2010 Camaro accelerator pedal
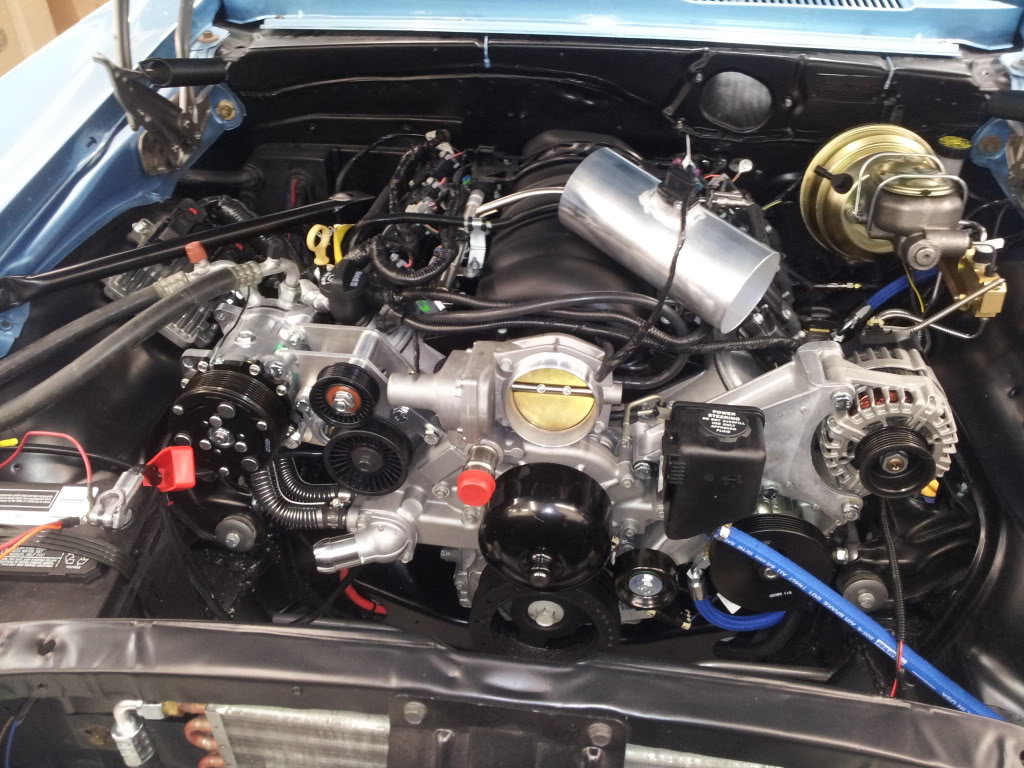
This is pretty much how I left it. Got the A/C hooked up and charged with as much r134a as I could get in it without it running. Also finished off the brake system and have it fully bled and functional.
The vendor I bought the radiator from totally screwed me and after massive shipping screwups it showed up after I had left. I went ahead and ordered a different one from Ron Davis in Phoenix and it will be there when I'm with the car next time.
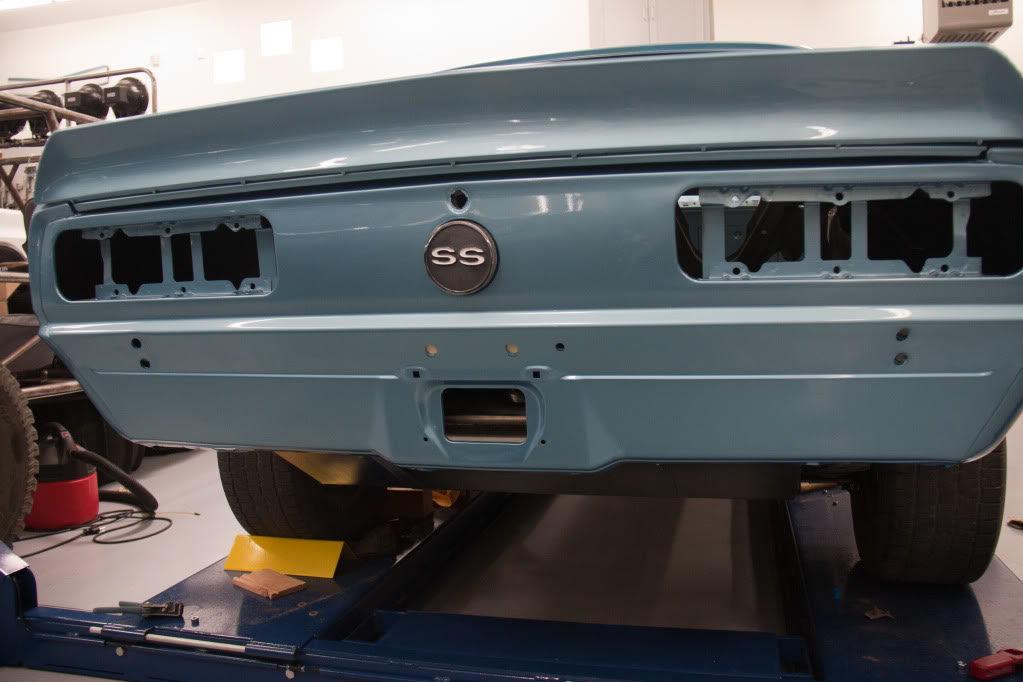
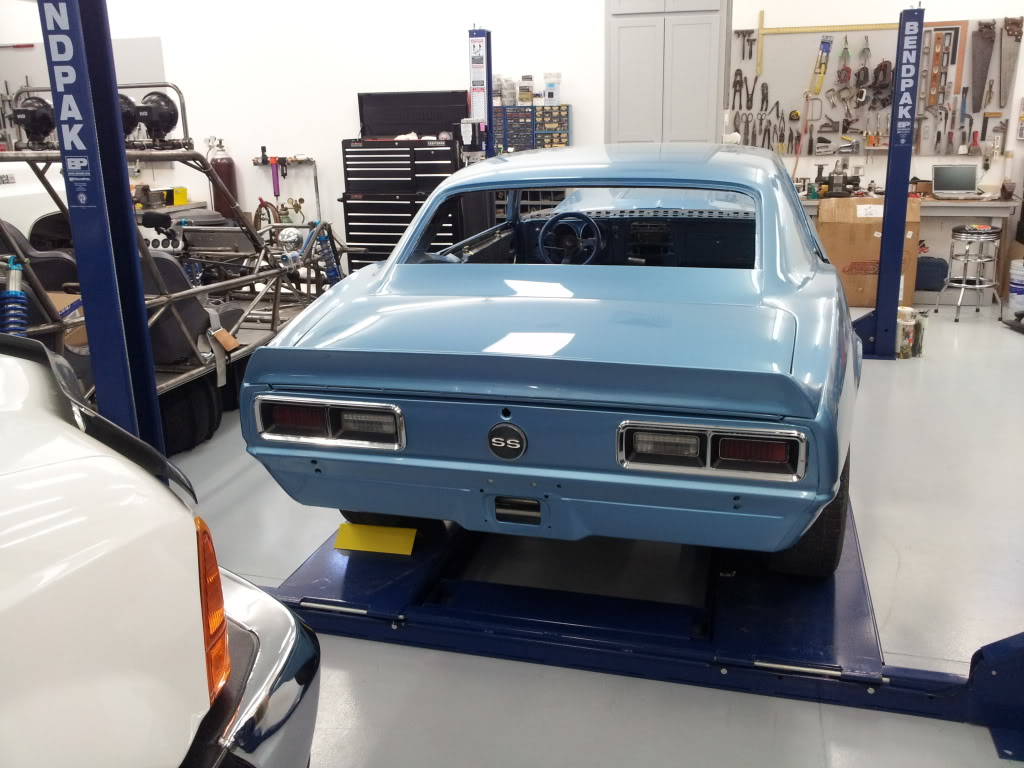
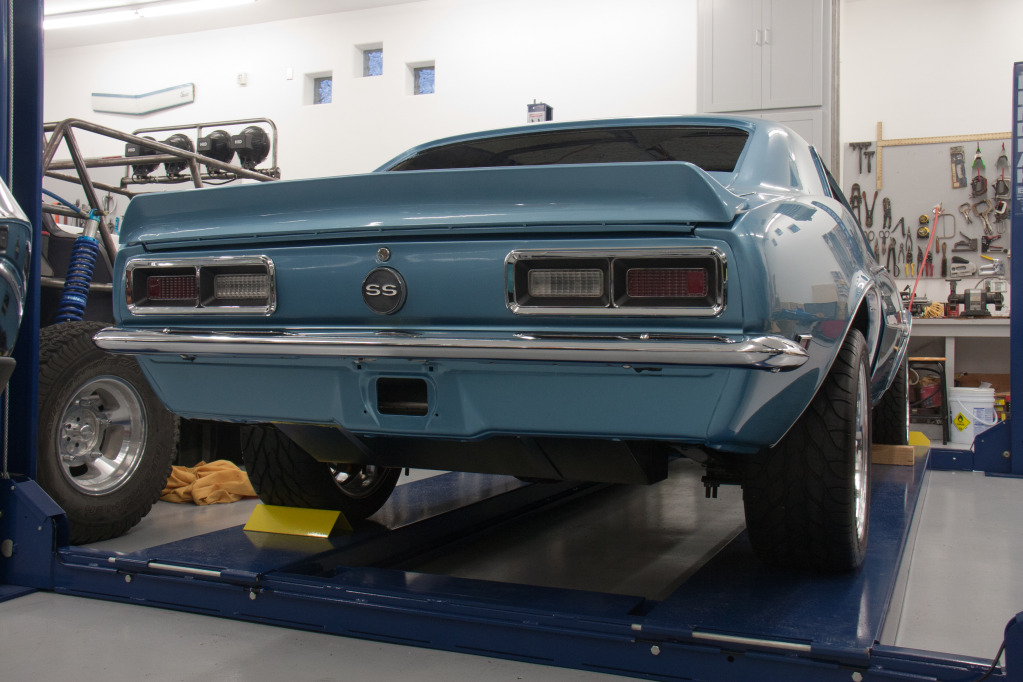
I also cleaned up the taillights and put them in new bezels. It's starting to look like a car again.
I started off fabbing up the clutch line. It's -4 AN line. I modifed the factory metal end of the TR6060 line with a tube nut to attach to an AN union.
I went with a Ricks Vaporworx tank. The sending unit on this is actually for a 2010 Camaro, so it made a high degree of sense. With this unit I don't have to mess with the Fuel pressure regulator or return line since it's all handled internally.
I fabbed a line on the tank to hook to the soft line.
The tools I used to do it:
End result:
The tank going into the car (I cleaned off the handprints with stainless cleaner eventually).
It doesn't hang down too bad:
I tried to run as little soft line as possible. I ordered stainless steel fuel line pre-fit for the car from inline tube and modified as necessary to fit this application.
This is a 10 Micron aeromotive filter that I put inline.
And it's kind of hard to see, but rather than put the an adaptor fitting right on the rail, I just used the factory soft line off of the fuel rails and a tube nut on the fuel line.
http://www.summitracing.com/parts/RUS-640940
I sent off the steering box to Lee and had them convert it to a 12.7:1 ratio and match a saginaw TC pump to it.
Made up some custom AN lines to plumb it.
The C5 accessories fit perfectly
The stainless works headers I could not be happier with. They fit like factory parts.
Next was wiring up this mess (actually John at speartech did an incredible job on this harness)
Fabbed up a bracket to mount the 2010 Camaro accelerator pedal
This is pretty much how I left it. Got the A/C hooked up and charged with as much r134a as I could get in it without it running. Also finished off the brake system and have it fully bled and functional.
The vendor I bought the radiator from totally screwed me and after massive shipping screwups it showed up after I had left. I went ahead and ordered a different one from Ron Davis in Phoenix and it will be there when I'm with the car next time.
I also cleaned up the taillights and put them in new bezels. It's starting to look like a car again.
06-14-2012, 10:45 AM
#54

Great build, top notch in every way. Make sure you don't OVERfill the refrigerant, that can actually cause poor cooling. Your attention to detail on lines and hoses is inspiring. Make sure to use silicone heater/radiator/coolant hoses on this dude...would hate to see anything less than the best on this! 
06-14-2012, 11:06 AM
#55
Staging Lane
Thread Starter
Join Date: Aug 2011
Posts: 57
Likes: 0
Received 0 Likes
on
0 Posts
Great build, top notch in every way. Make sure you don't OVERfill the refrigerant, that can actually cause poor cooling. Your attention to detail on lines and hoses is inspiring. Make sure to use silicone heater/radiator/coolant hoses on this dude...would hate to see anything less than the best on this!
Thanks. The r134 charge was 1.5 bottles after vacuuming it down for a couple hours. I just wanted enough refrigerant in there to give it positive pressure, it's not a full charge.
I'm going to use gates rubber hoses. I have always had great luck with them, and actually had a really bad experience with silicone hoses on my 69 Corvette. They leaked a little bit, even with T clamps, and the upper blew off while I was driving it. It may have been a crappy hose, and I don't remember who made them, but I have *never* had a problem with gates rubber hoses. I am, however, using all new hose.


 08-02-2012, 01:25 AM
#59
Staging Lane
Thread Starter
Join Date: Aug 2011
Posts: 57
Likes: 0
Received 0 Likes
on
0 Posts
I made some more progress on the car in the last 3 weeks.
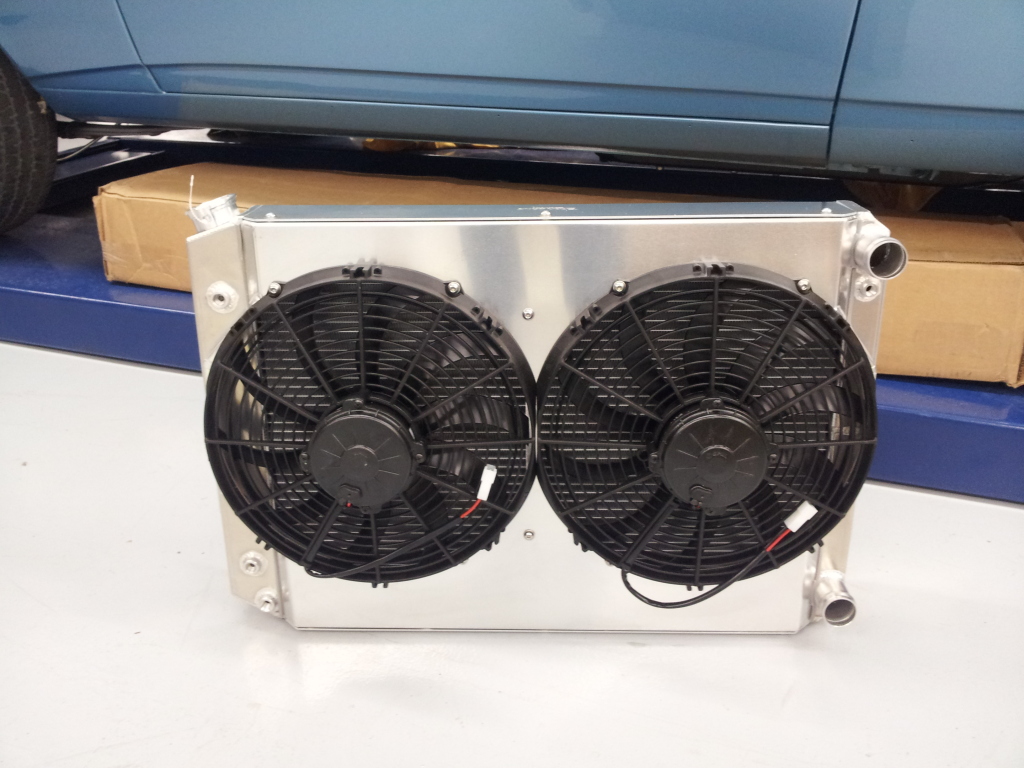
Received my Ron Davis Radiator. It's a really slick piece.
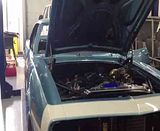
After that it was just a matter of some final hookups and starting the engine, which my wife was kind enough to video for me. Click the image below to play the video.
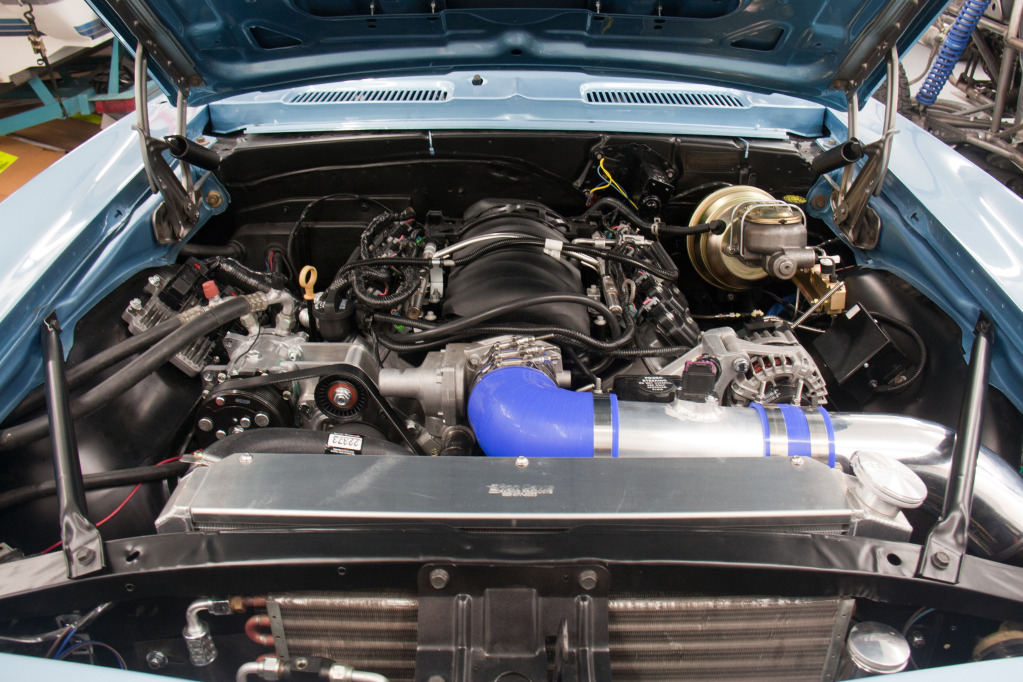
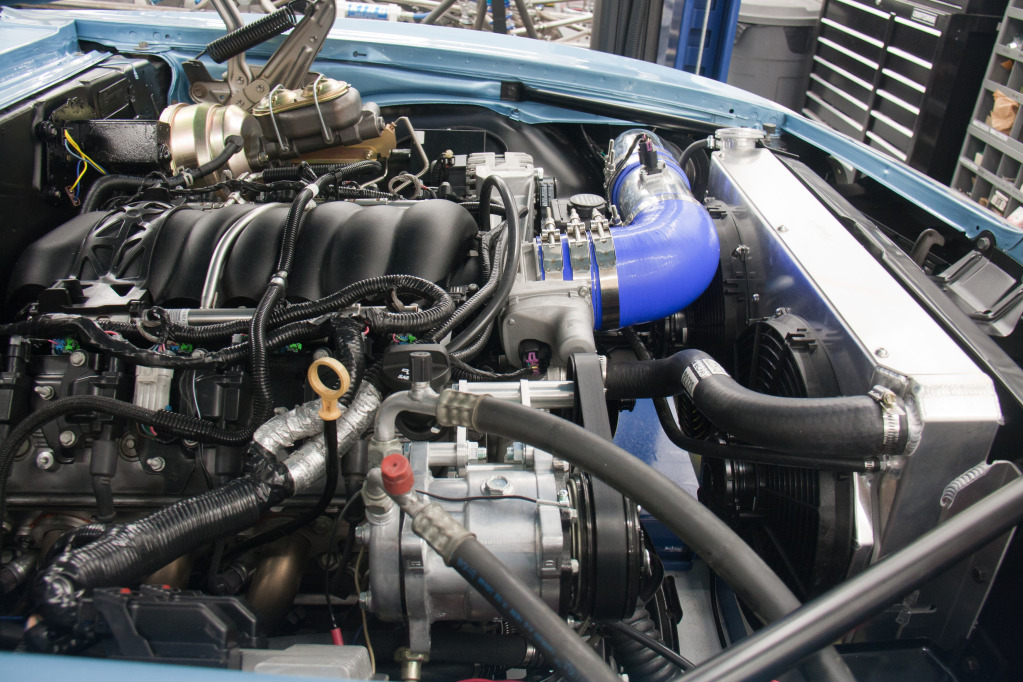
Here's the engine as it sits now. The MAF tube is from Speartech and the tube with the bend is a 45 degree bend from siliconeintakes that I cut on a band saw to fit capped with a K&N cone filter.
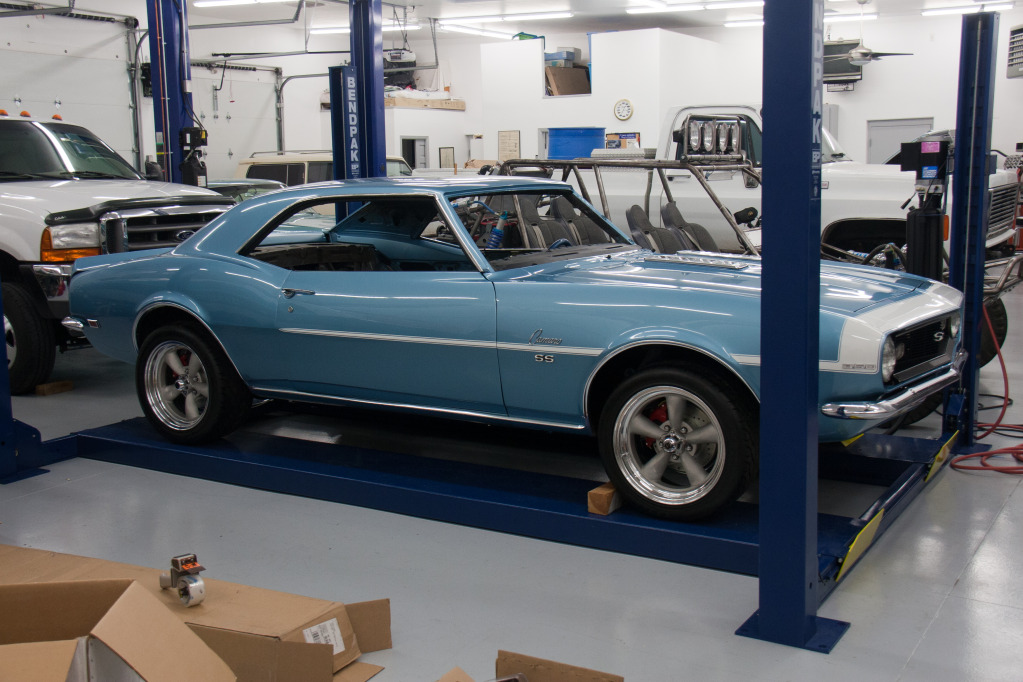
I put the Hotchkiss 1.5" lowering springs on as well and a set of Vintage Wheel Works v45 wheels. The Fronts are 17x8 with 4.75" backspacing and 235/45r17 's and the rears are 17x9 with 5.5" backspacing and 275/40r17's. The driveshaft is ordered from DSS and should be waiting for me the next time I'm with the car.
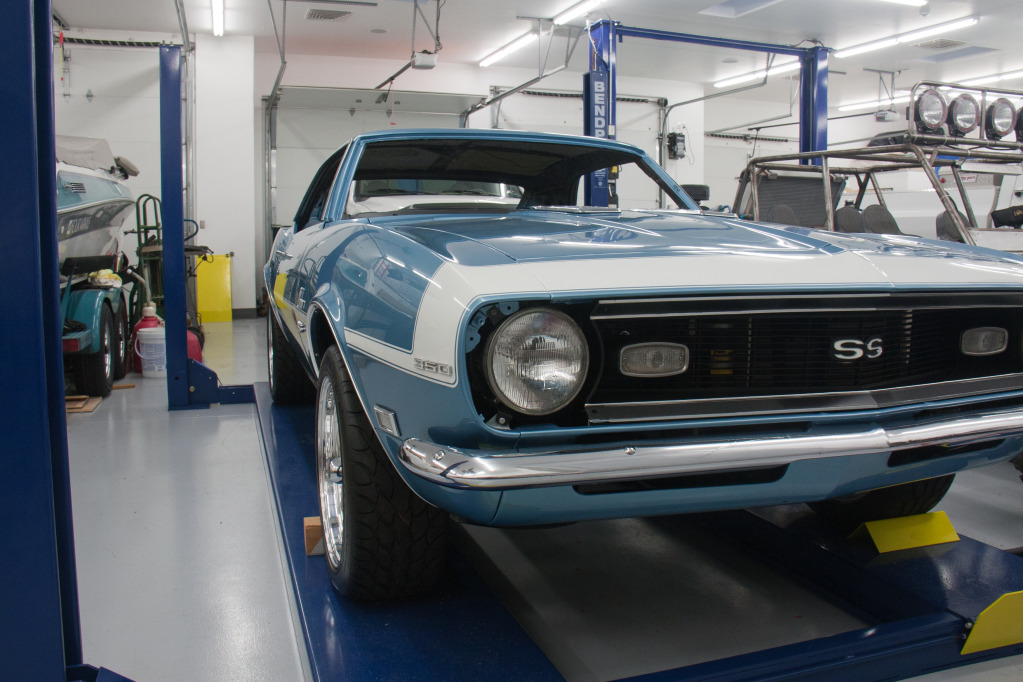
Unfortunately my headlight bezels didn't show up before I left The bumpers are on though. In fact, I got most of the trim done.
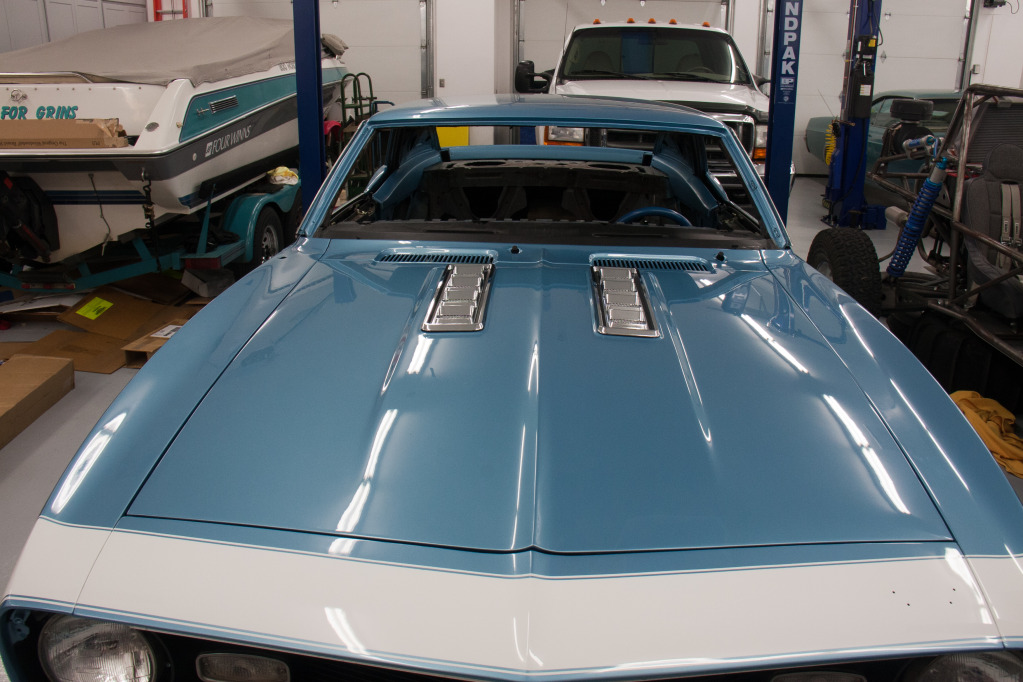
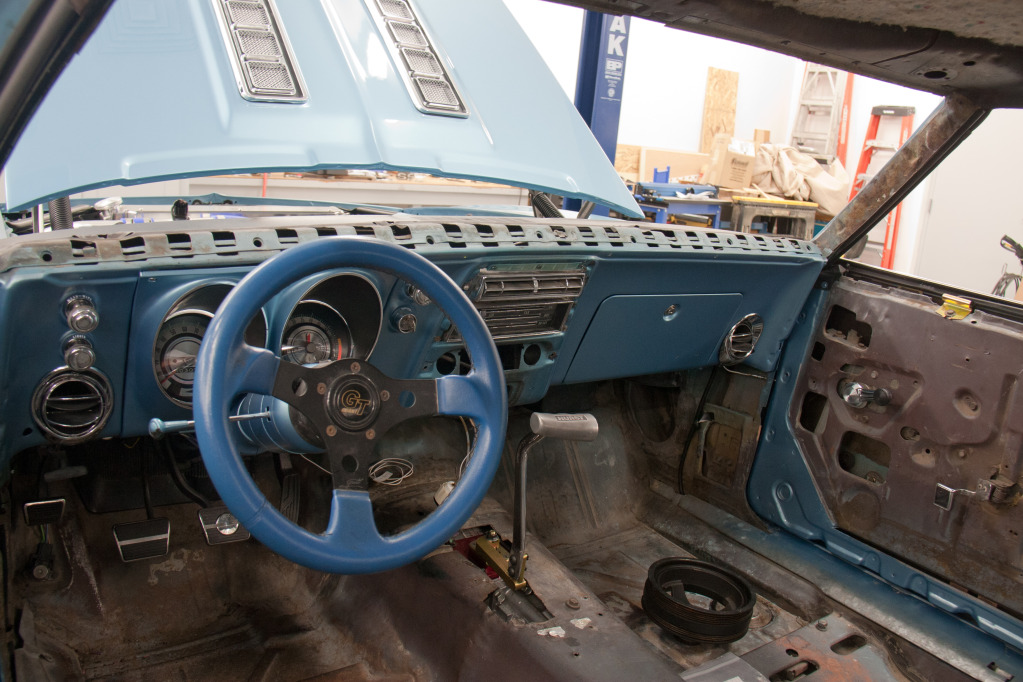
Next step is the interior. I did manage to get the tic toc tach and A/C vents installed.
Received my Ron Davis Radiator. It's a really slick piece.
After that it was just a matter of some final hookups and starting the engine, which my wife was kind enough to video for me. Click the image below to play the video.
Here's the engine as it sits now. The MAF tube is from Speartech and the tube with the bend is a 45 degree bend from siliconeintakes that I cut on a band saw to fit capped with a K&N cone filter.
I put the Hotchkiss 1.5" lowering springs on as well and a set of Vintage Wheel Works v45 wheels. The Fronts are 17x8 with 4.75" backspacing and 235/45r17 's and the rears are 17x9 with 5.5" backspacing and 275/40r17's. The driveshaft is ordered from DSS and should be waiting for me the next time I'm with the car.
Unfortunately my headlight bezels didn't show up before I left
The bumpers are on though. In fact, I got most of the trim done.Next step is the interior. I did manage to get the tic toc tach and A/C vents installed.

