
66 Impala Convert LS2 Conversion
 09-03-2011, 10:15 PM
#21
TECH Fanatic
Thread Starter


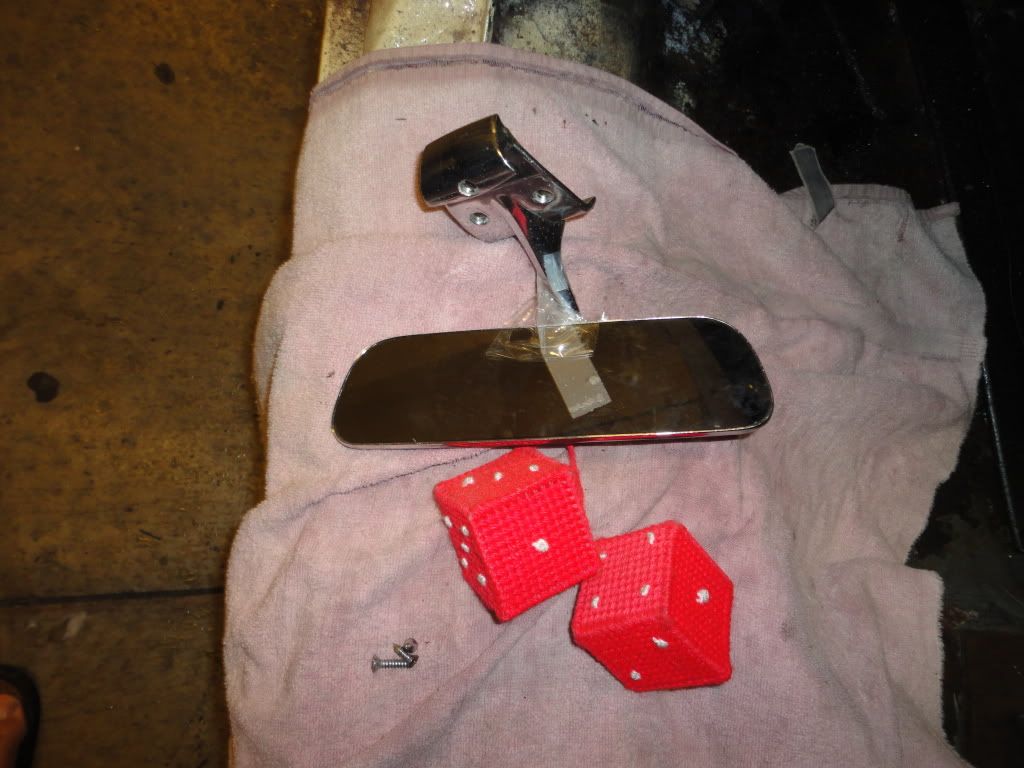
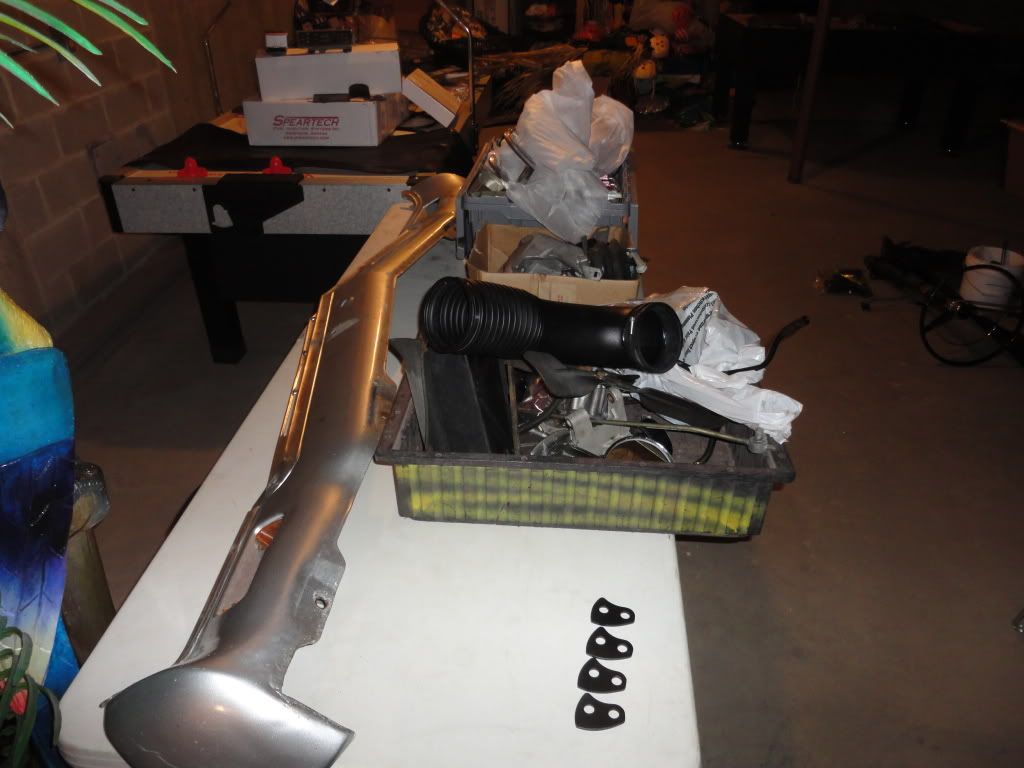
Dropped off the loose sheetmetal at Puleras last week....It looks like it will be a couple of weeks before they will be ready for the body as they are slammed with repair jobs....so I continued with the dis-assembly.....took all the windshield trim off and everything is in great shape in the windshield area...so..as long as I have to wait a couple of weeks, I'm gonna put the engine back in and get the exhaust system made and I'm going to hook up the 4L65E trans to the stock column shift linkage.......so, I can make up a shift arm for the trans....Compared to the 37 Ford build....this is simple.....things just go together...(so far).....here are some pic's from today....
Anyone want a "Genuine" Nu Yawk Dice/Scotch Tape rear view Mirror.......Special Long Island Option.....
Frame assy in great shape......
Anyone want a "Genuine" Nu Yawk Dice/Scotch Tape rear view Mirror.......Special Long Island Option.....
Frame assy in great shape......
 09-05-2011, 09:27 AM
#22
TECH Fanatic
Thread Starter
It's a Beautiful day here today........I should be waxing my newly purchased "Mint" Nu Yawk original paint survivor car and be taking it out for a drive.....LOL..........

Like they say in Jamaica..........Soon Come....
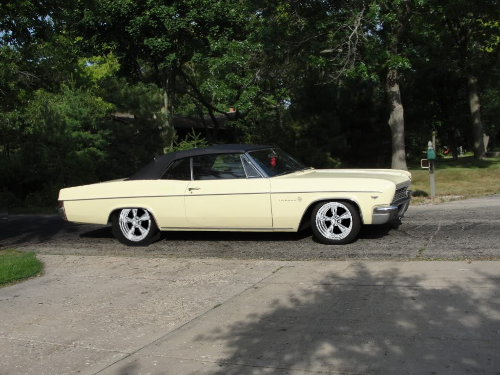
Like they say in Jamaica..........Soon Come....
09-07-2011, 08:43 PM
#23
TECH Fanatic
Thread Starter
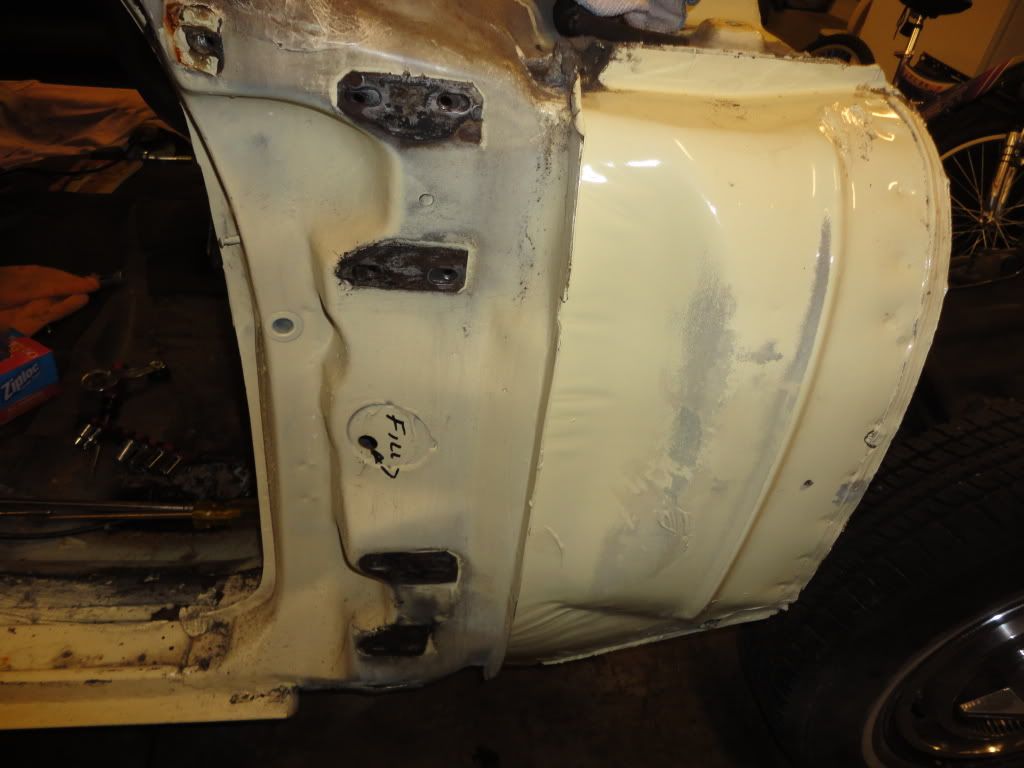
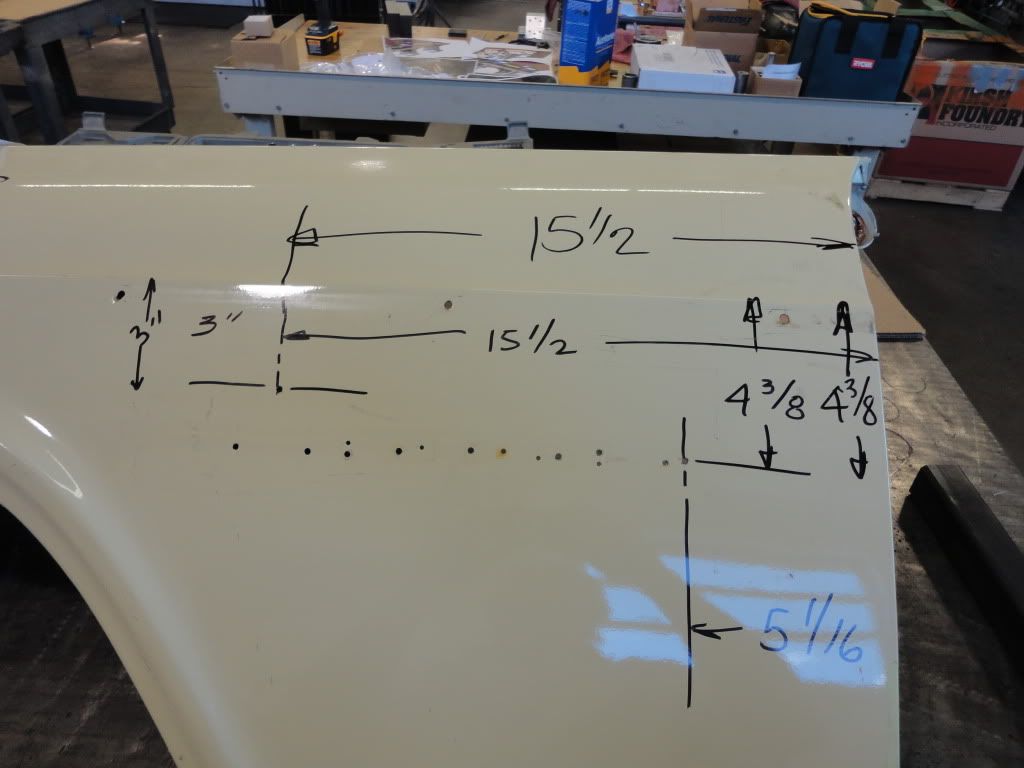
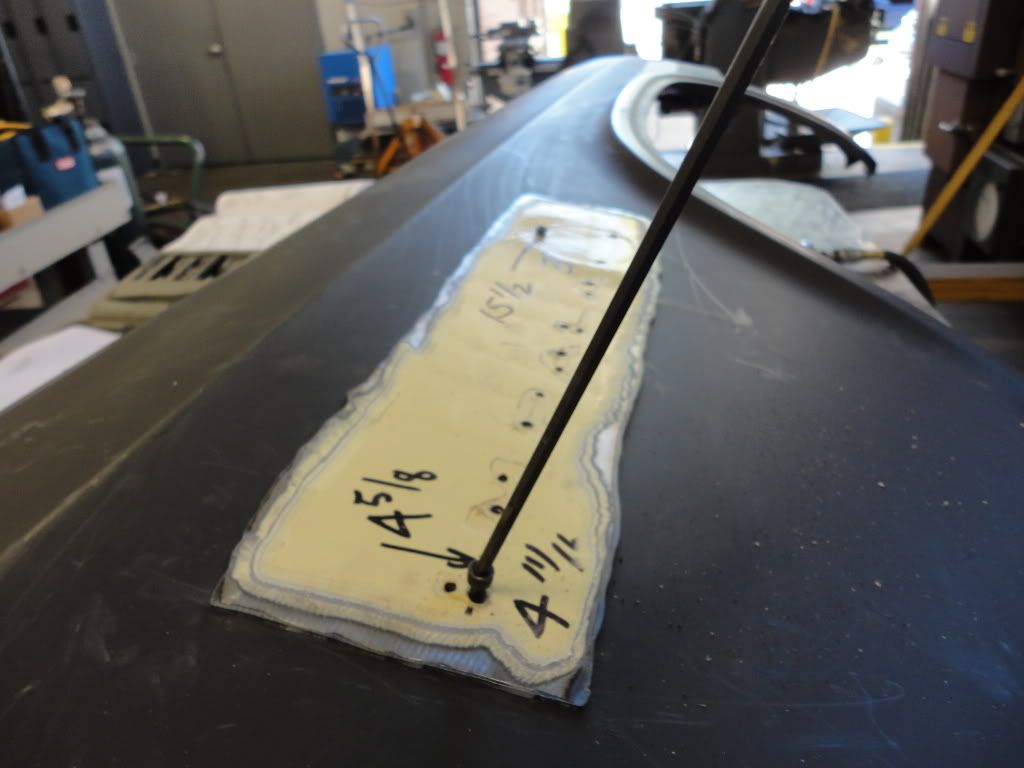
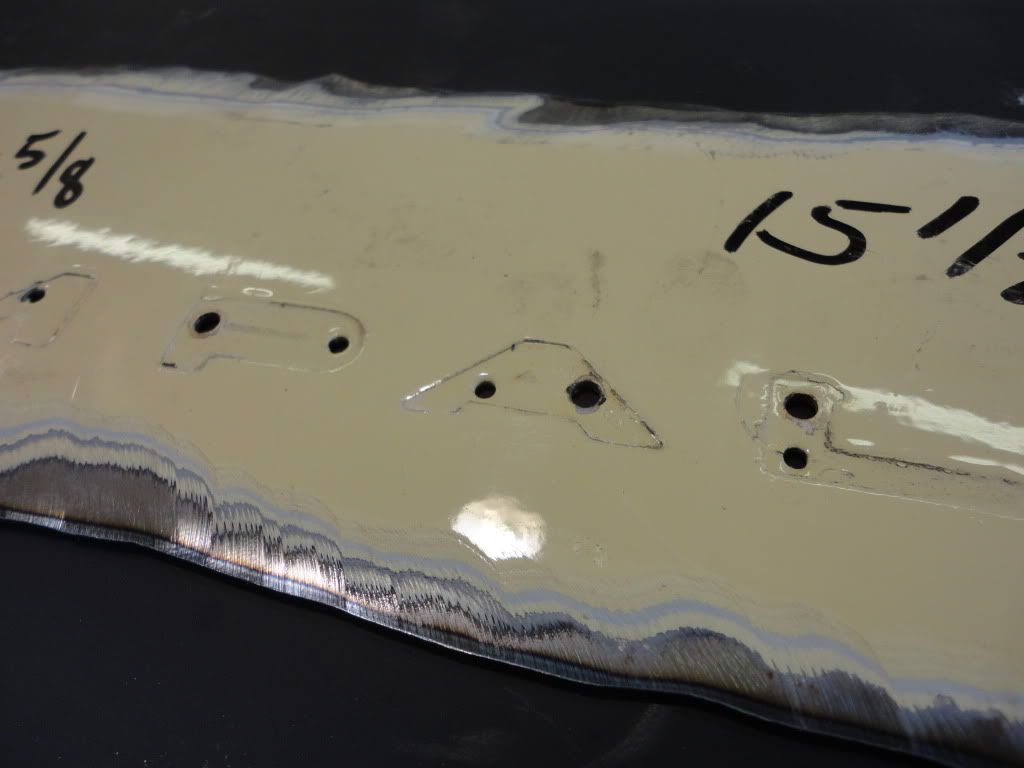
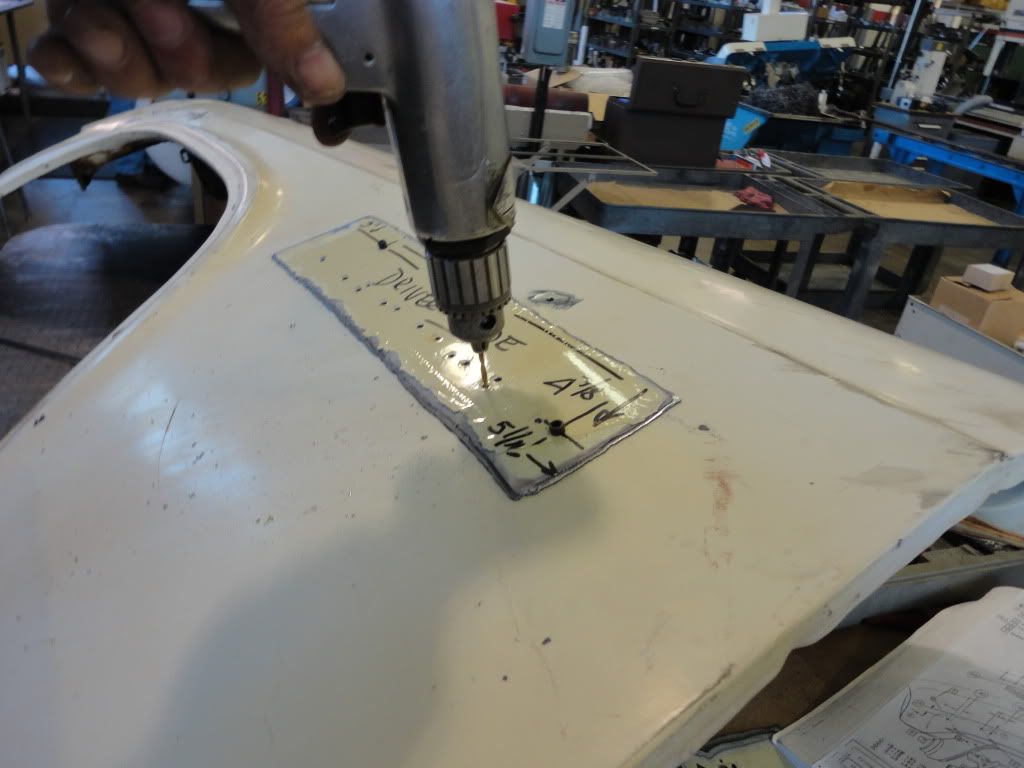
I also took the fenders (old and new) down to the shop today...... the NOS fender and the new old fender needed some trim holes put in.......Trying to figure out how to position them correctly from the Factory Assembly manual is quite the project.......I'm sure it makes sense to someone....LOL....Heres the page from the manual with the Dim's.....

So............How to do this and get all the seperate letters to be in the right place.......I took the old fender and measured where the first and last holes were relative to the crease and door side opening......
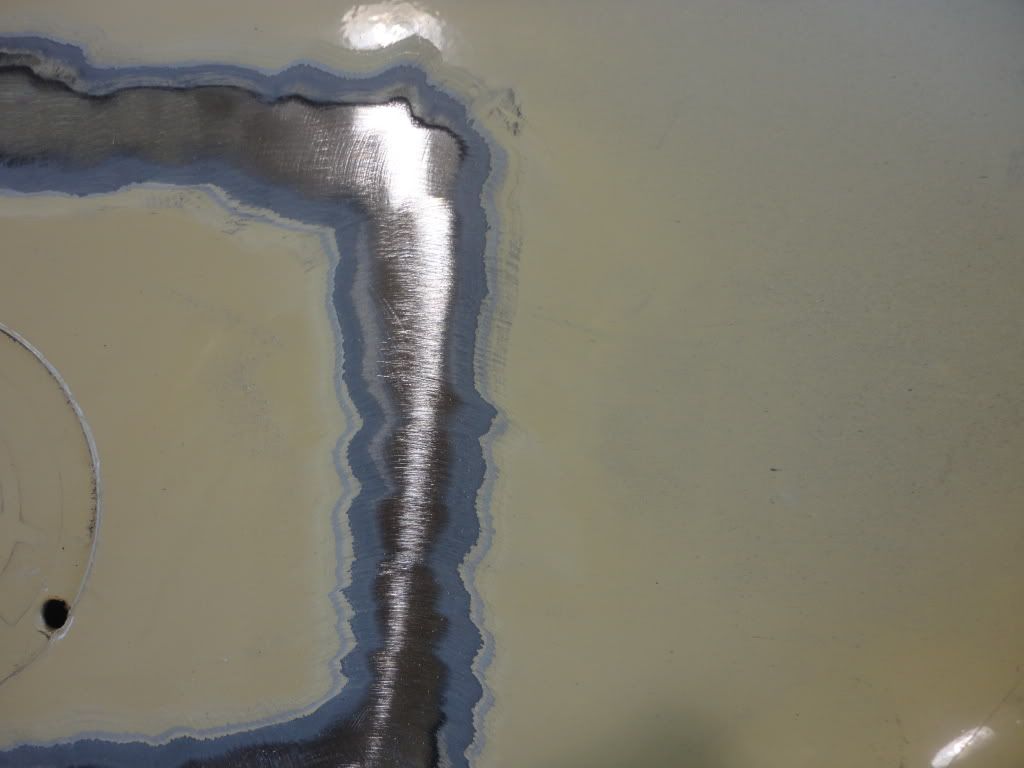
And.....Since I was going to trash the fenders anyway.....I got the Plasma Cutter out.....and got down to bare metal.......The layers of paint were just like reading tree rings
Cut the pattern out of the old fender.....
Measured and drilled one of the holes in the new fender.....It just so happened that the holes size allowed me to screw in a 8-32 screw.....tighten up the one screw.....positioned the other hole, drilled it thru and added the second screw......now I had a drill jig for drilling the other holes in position and to the correct size
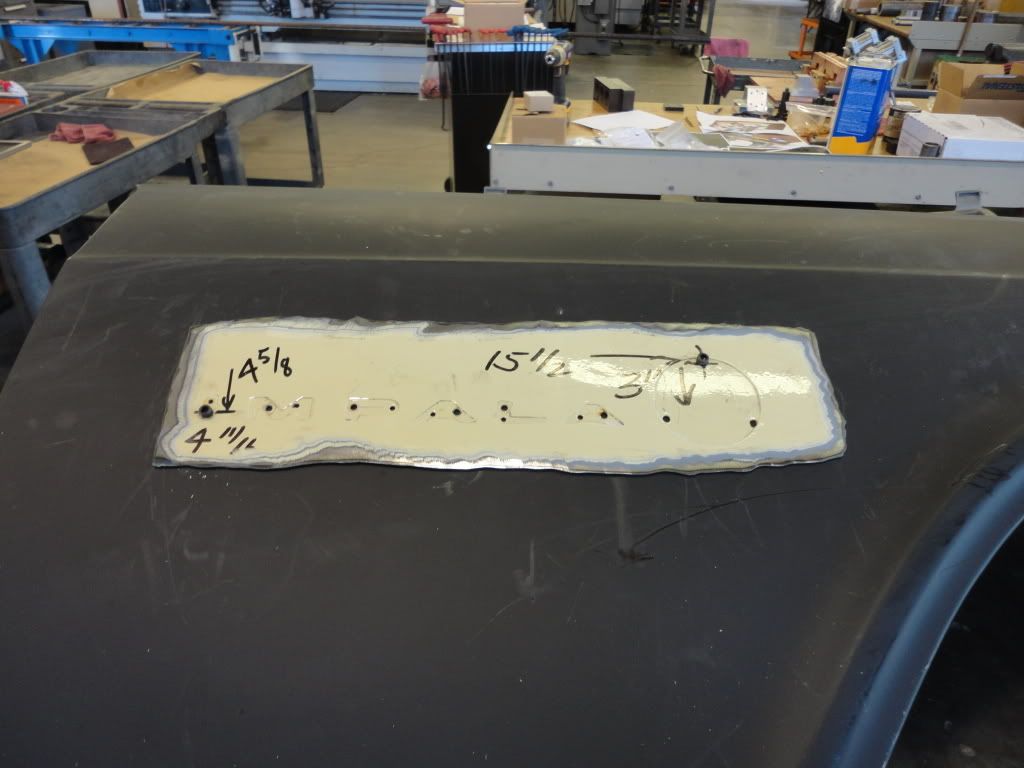

Look how thick the "ORIGINAL Survivor" paint is on the old fender.....LOL
So............How to do this and get all the seperate letters to be in the right place.......I took the old fender and measured where the first and last holes were relative to the crease and door side opening......
And.....Since I was going to trash the fenders anyway.....I got the Plasma Cutter out.....and got down to bare metal.......The layers of paint were just like reading tree rings
Cut the pattern out of the old fender.....
Measured and drilled one of the holes in the new fender.....It just so happened that the holes size allowed me to screw in a 8-32 screw.....tighten up the one screw.....positioned the other hole, drilled it thru and added the second screw......now I had a drill jig for drilling the other holes in position and to the correct size
Look how thick the "ORIGINAL Survivor" paint is on the old fender.....LOL
09-07-2011, 08:45 PM
#24
TECH Fanatic
Thread Starter
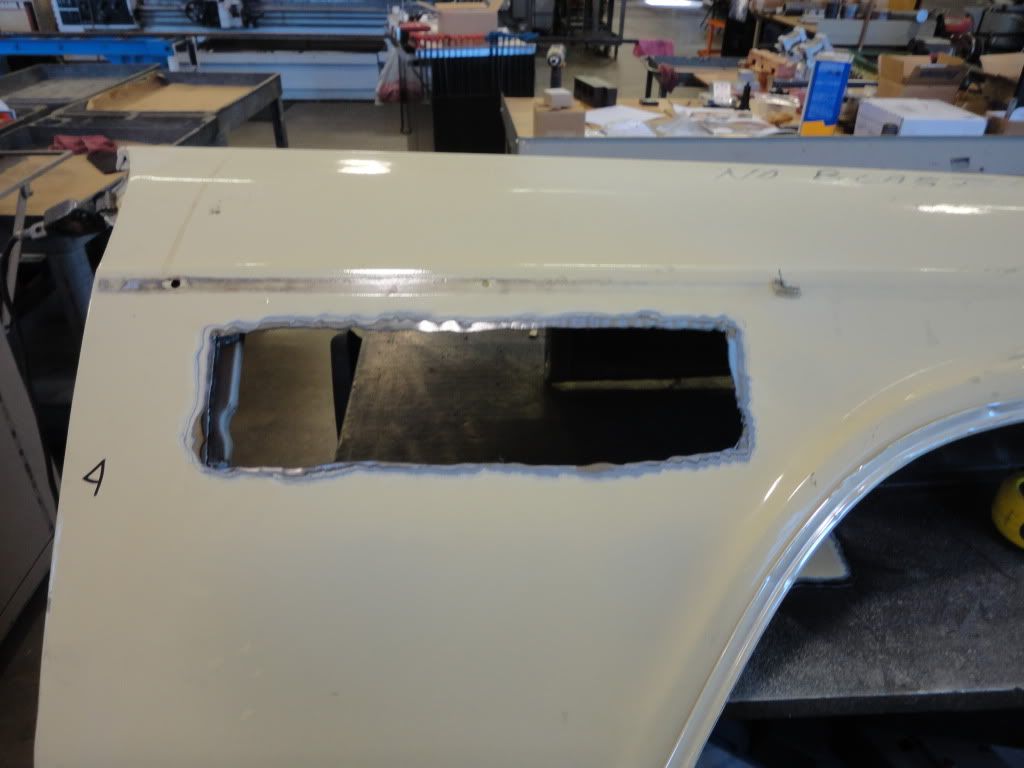
The other fender is a used Rust free Caprice fender.....so.....We had to weld up the Caprice emblem holes and drill the Impala holes....
09-08-2011, 07:32 PM
#26
TECH Fanatic
Thread Starter
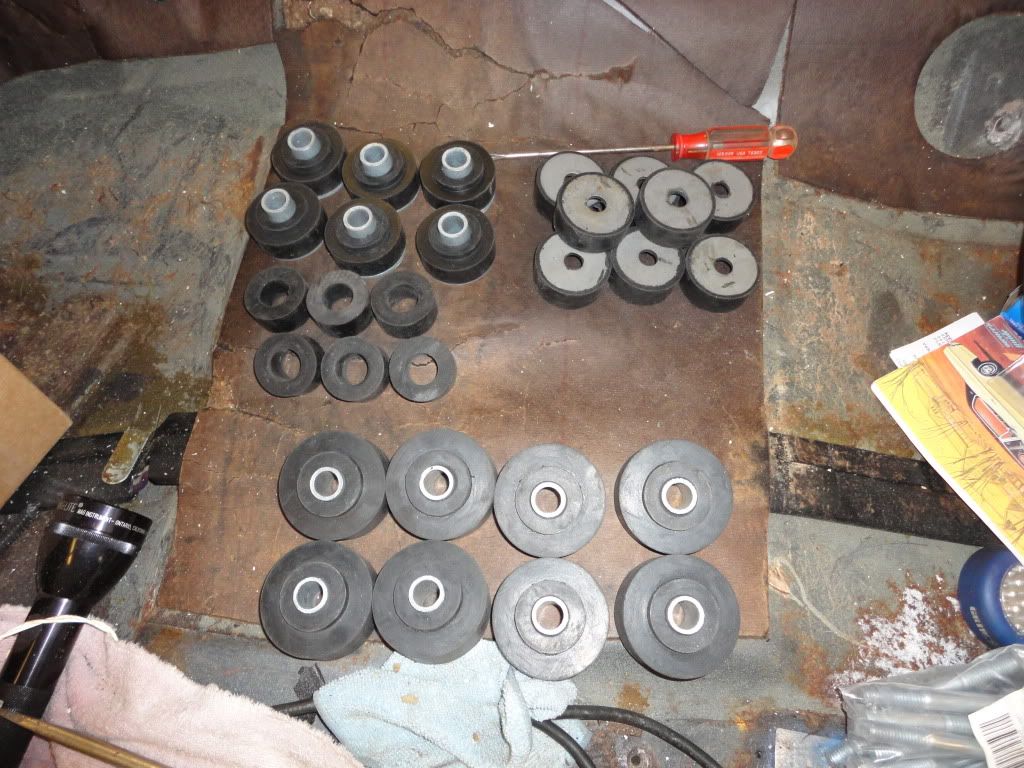
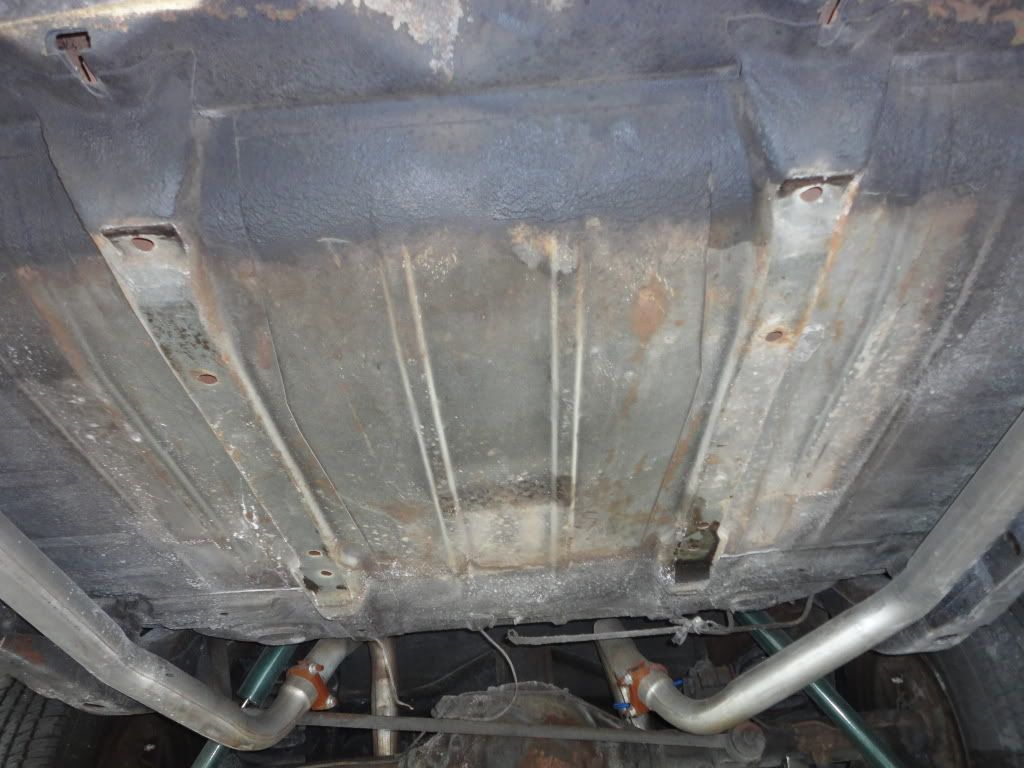
I ordered a new set of Body mounts and want to change them before the car go's to Pulera's......Started loosening the old bolts but needed to soak them in some penetrating oil....so in the mean time I pulled the fuel tank down.....bottom of the trunk floor looked pretty good....
Then I continued with the paint stripper around the trunk are......Boring!!
Then I continued with the paint stripper around the trunk are......Boring!!
09-09-2011, 07:20 PM
#27
TECH Fanatic
Thread Starter
Changing the Body mounts.........Its like should I let the sleeping Dog lie......or should I kick it......LOL....I decided to Kick it and I'm glad I did........I started by removing the front ones first and they were rusted away so bad they just snapped off......
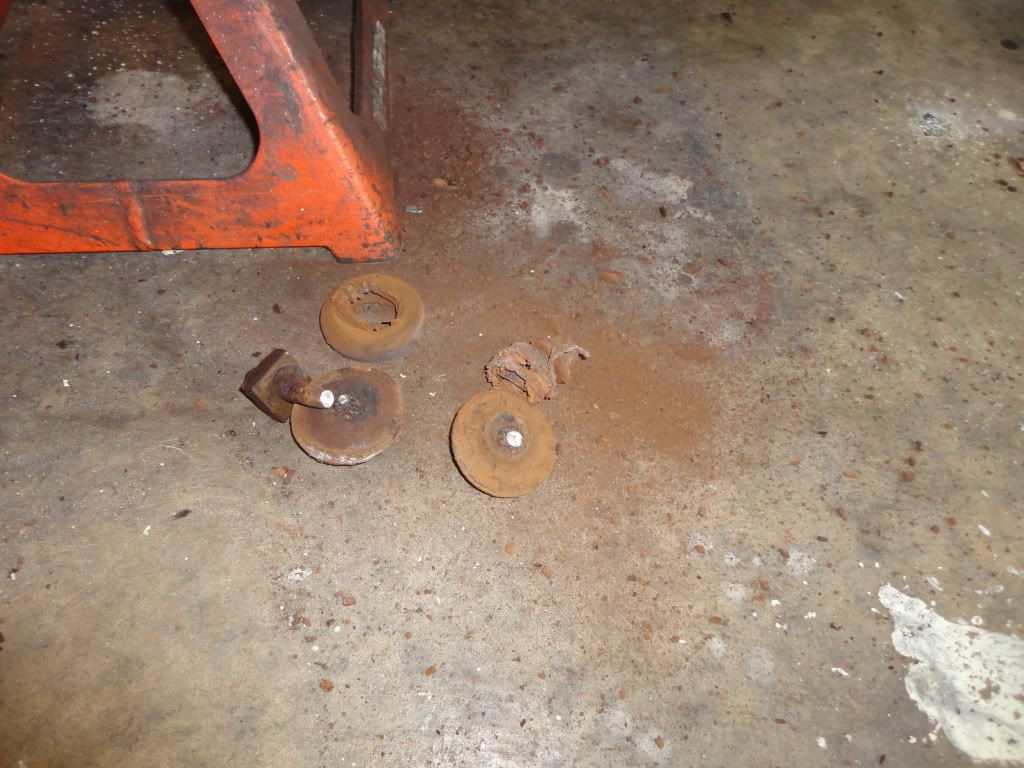
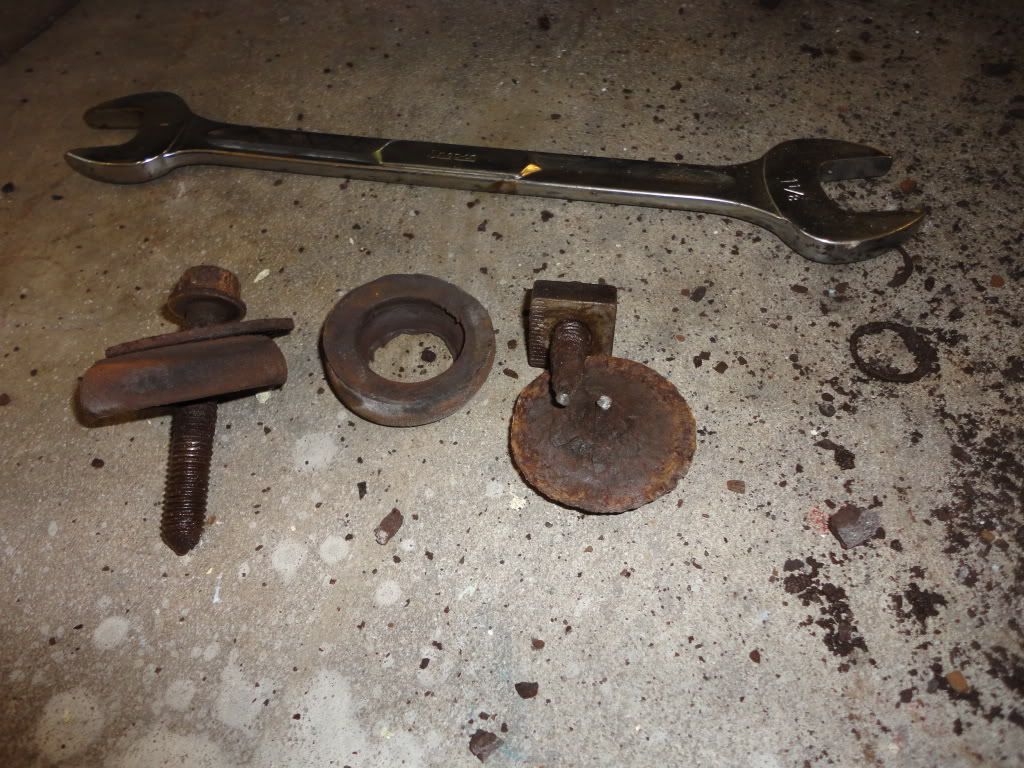
Did one side at a time with some wood and a jack....
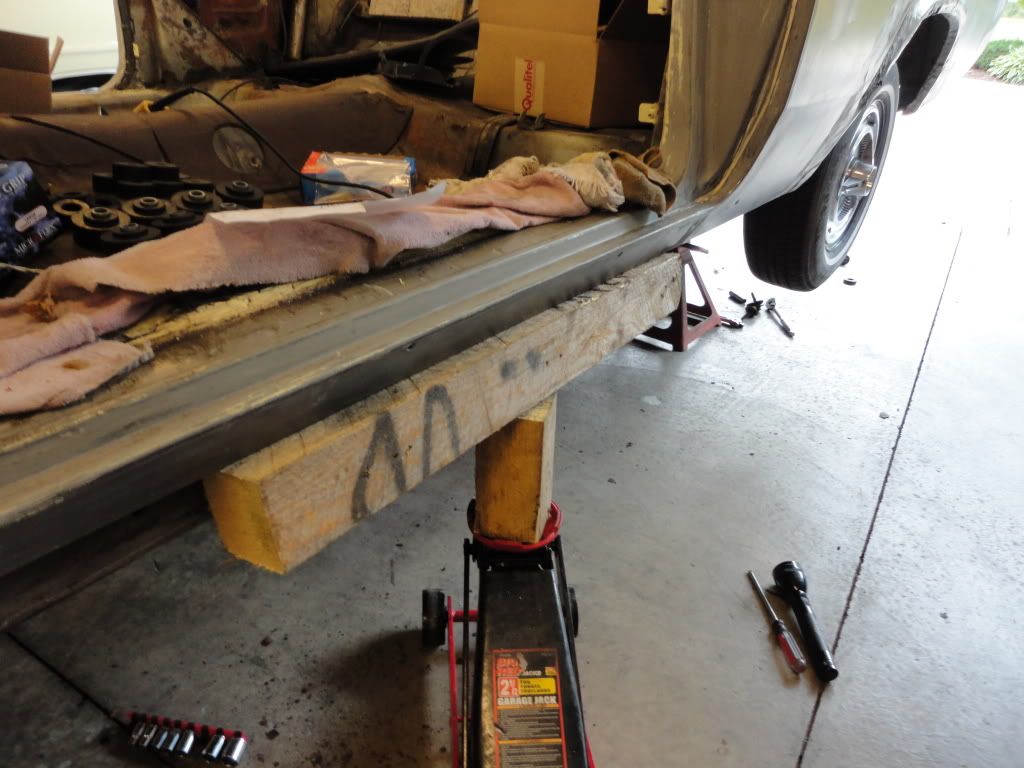
Glad I changed them out.........What a "Pile"
Ken
Did one side at a time with some wood and a jack....
Glad I changed them out.........What a "Pile"
Ken
09-11-2011, 05:24 PM
#28
TECH Fanatic
Thread Starter
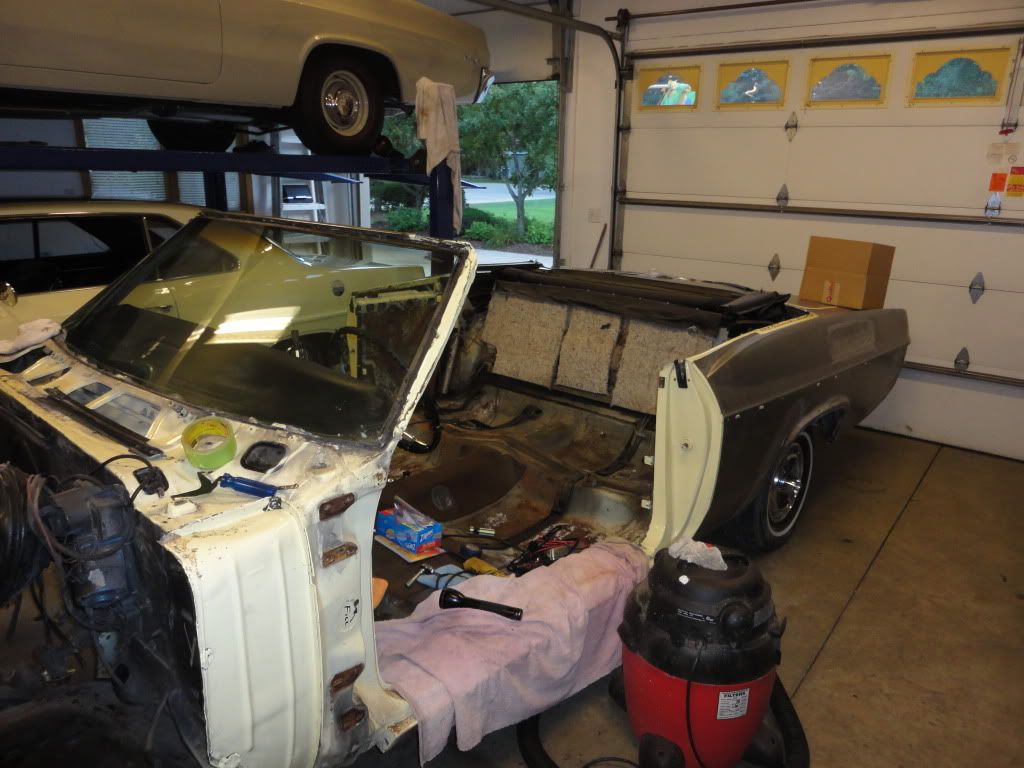
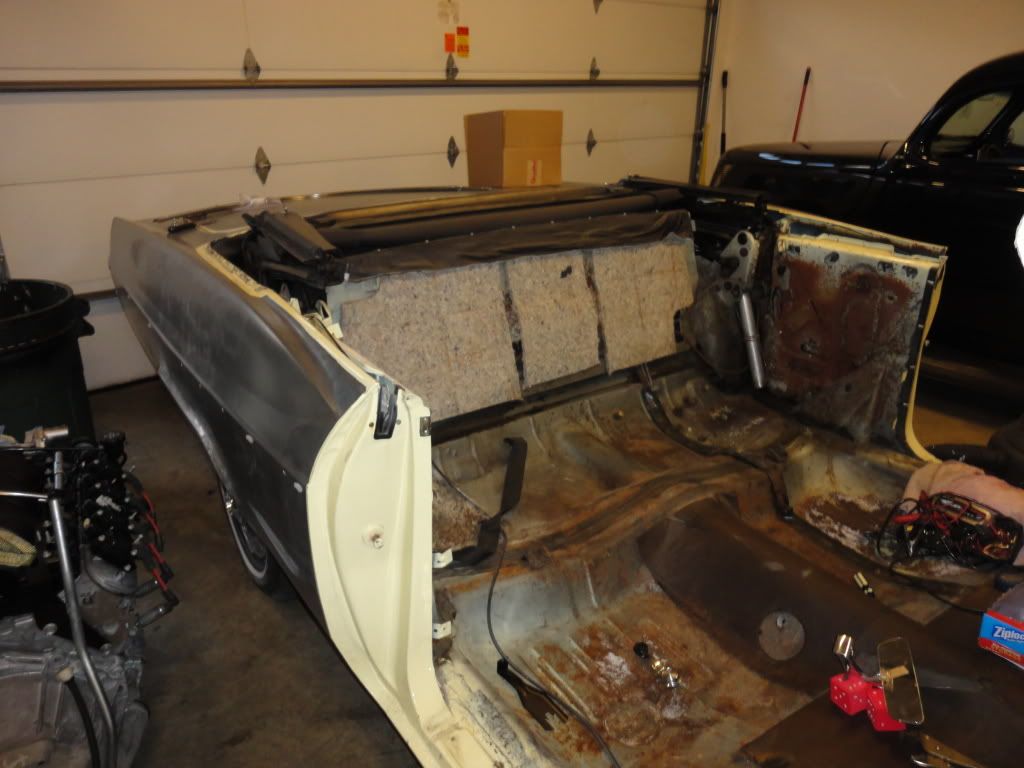
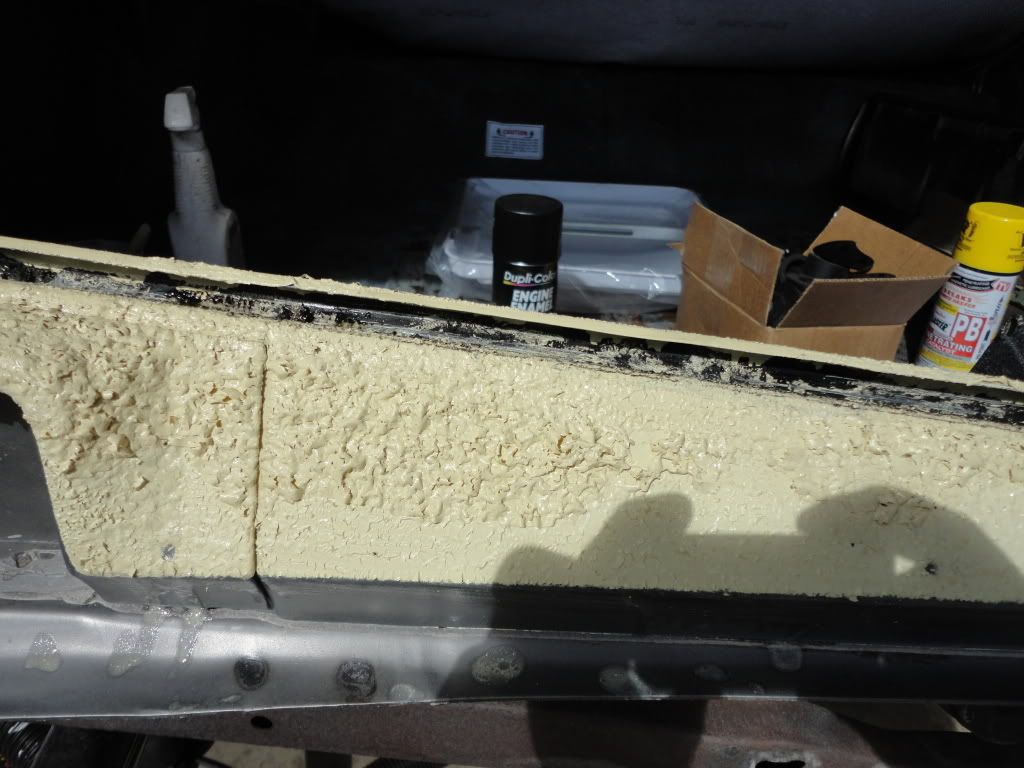
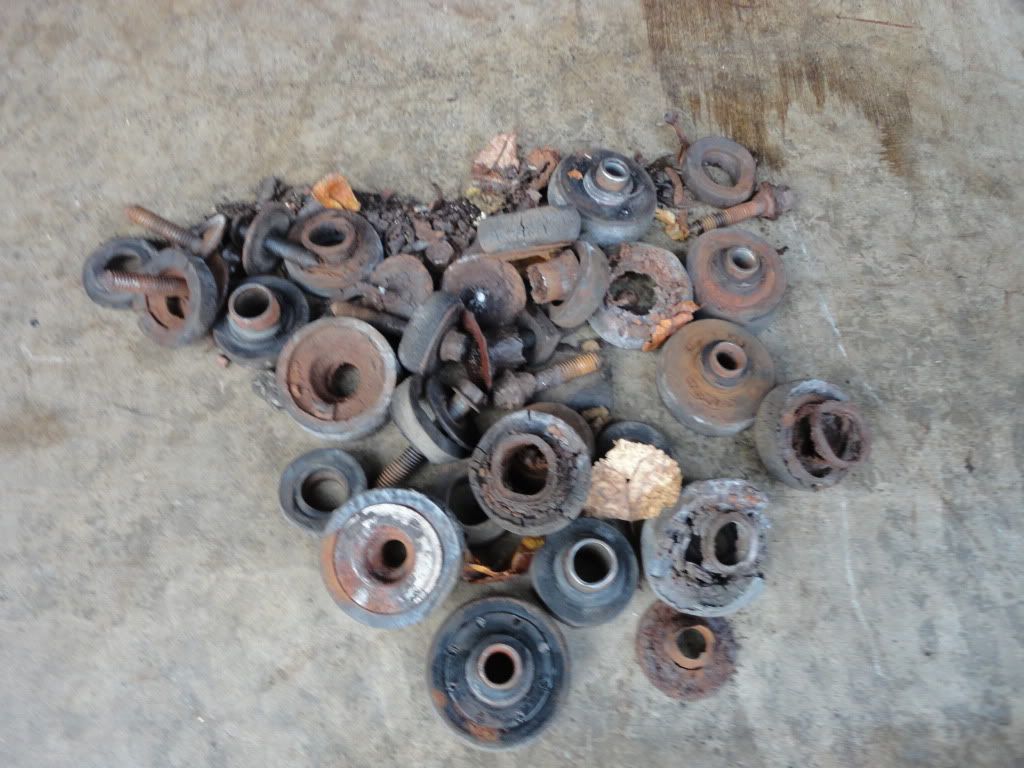
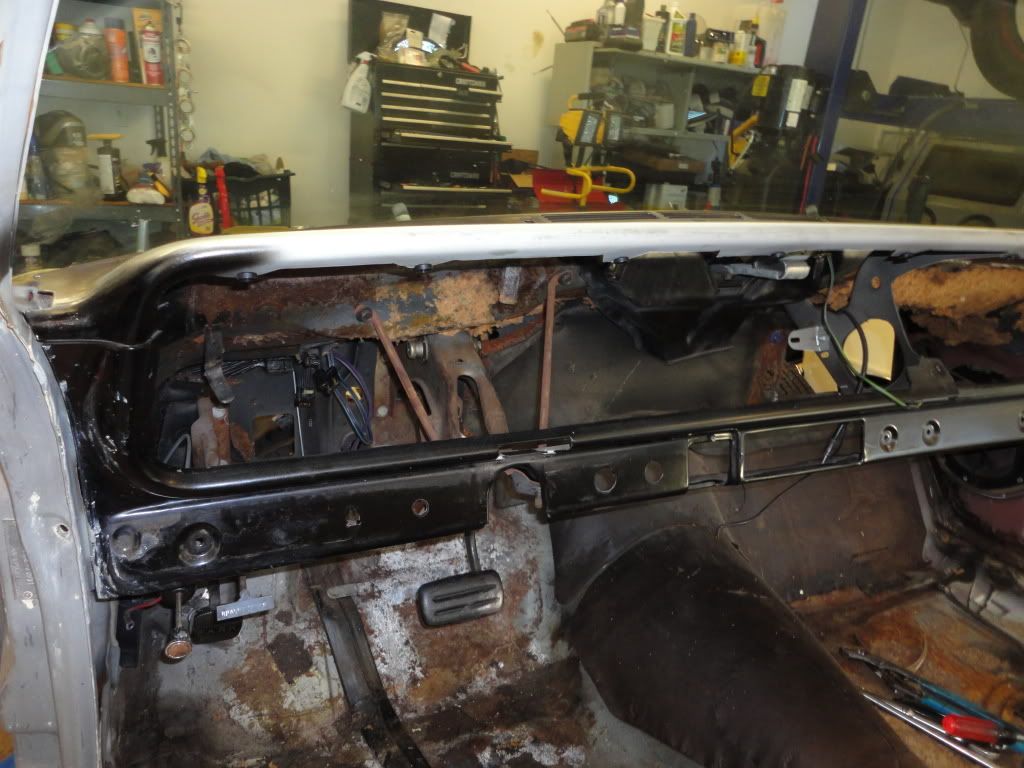
Finished Stripping the firewall on my Mint Original Paint Survivor car today...
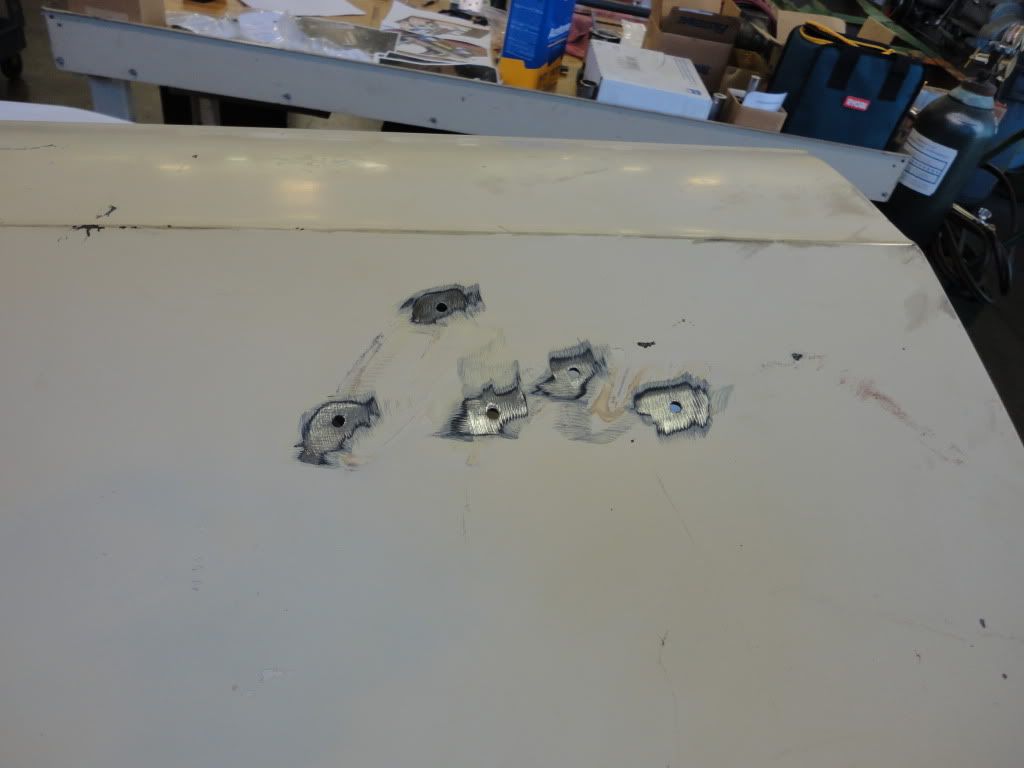
Here's what else I found.......Must be another one of those "Special" Nu Yawk Brake options.......What a pile....Glad I took it apart...
Not much left to take apart.......
Here's what else I found.......Must be another one of those "Special" Nu Yawk Brake options.......What a pile....Glad I took it apart...
Not much left to take apart.......
09-27-2011, 06:36 PM
#29
TECH Fanatic
Thread Starter
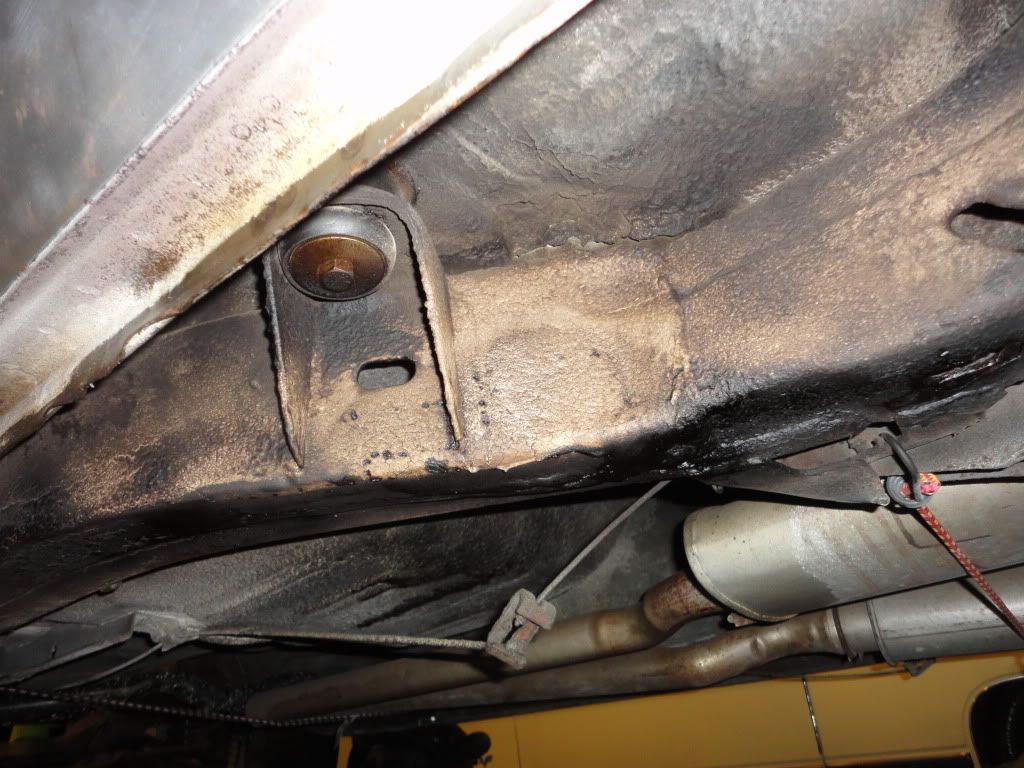
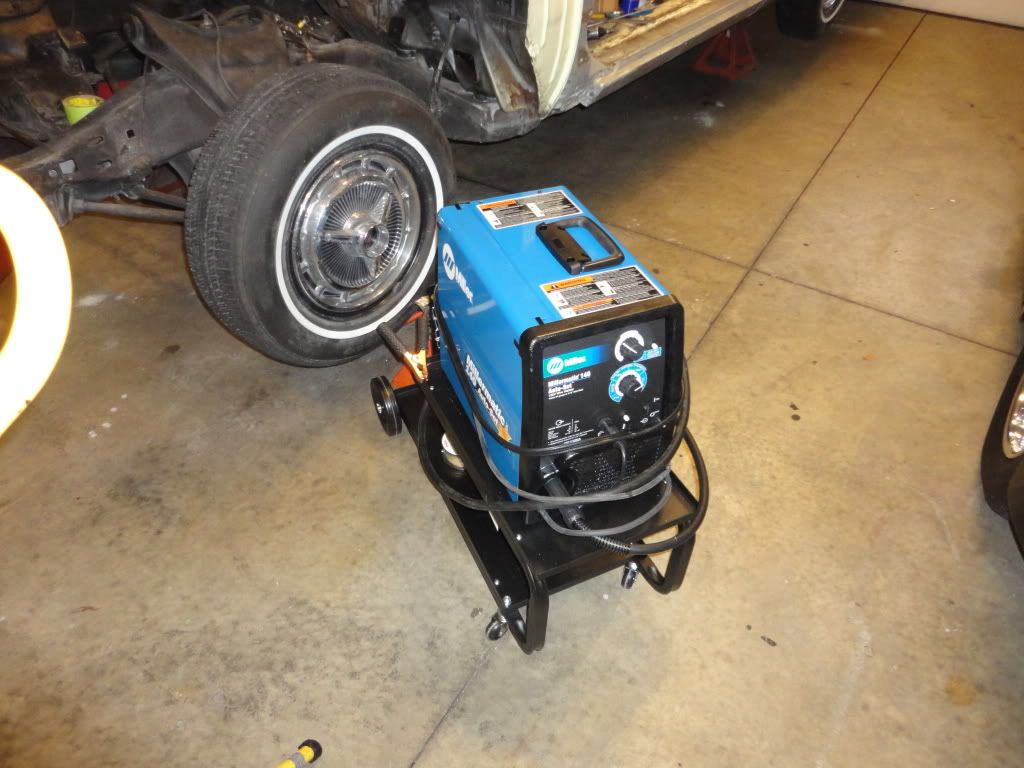
Checked the frame out pretty closely......99.9% of the frame was dead solid....but...I found a pencil sized hole in the outer frame rail in front of the drivers side rear wheel......started pecking on it and it started to grow.....LOL.....I ended up putting in a couple of small patches after getting to solid metal....I was going to bring the wire welder home from the shop ( my cars are now "Banned" from coming into the shop)but it didn't work out....and.....The Princess left her purse out and I bought a new 115 volt welder for the garage....Wow!! what a machine......Technoligy has come a long way....Zapped the patches in place....Good as new.....sprayed some undercoating and except for the color it's good as new....
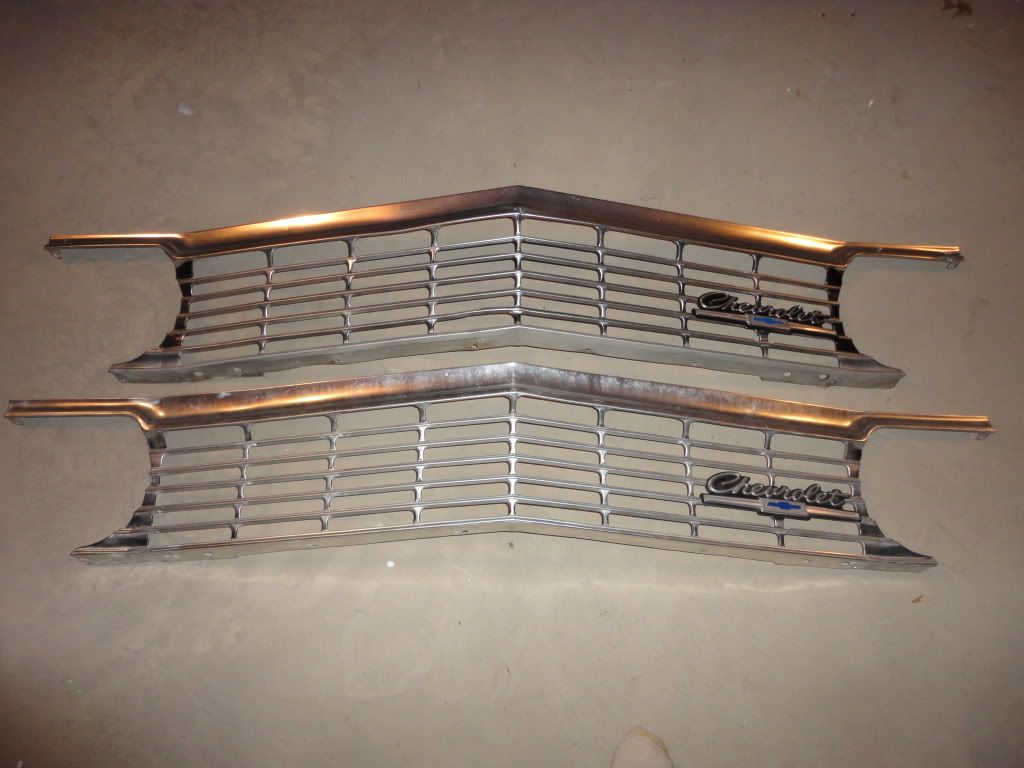
Also.....My mint survivor Grille had been smashed and straightened in it's past to where the bars would need some welding and straightening......It's the top grille in the pic's and it doesn't look bad in the pic, but, it's not of the quality I would put on the car after finishing.....So....I bought one off eBay that is perfect (lower grille in pic), but it still needs to be stripped,Bright Dipped and reanodized......$$$$ Love those Mint Nu Yawk cars...
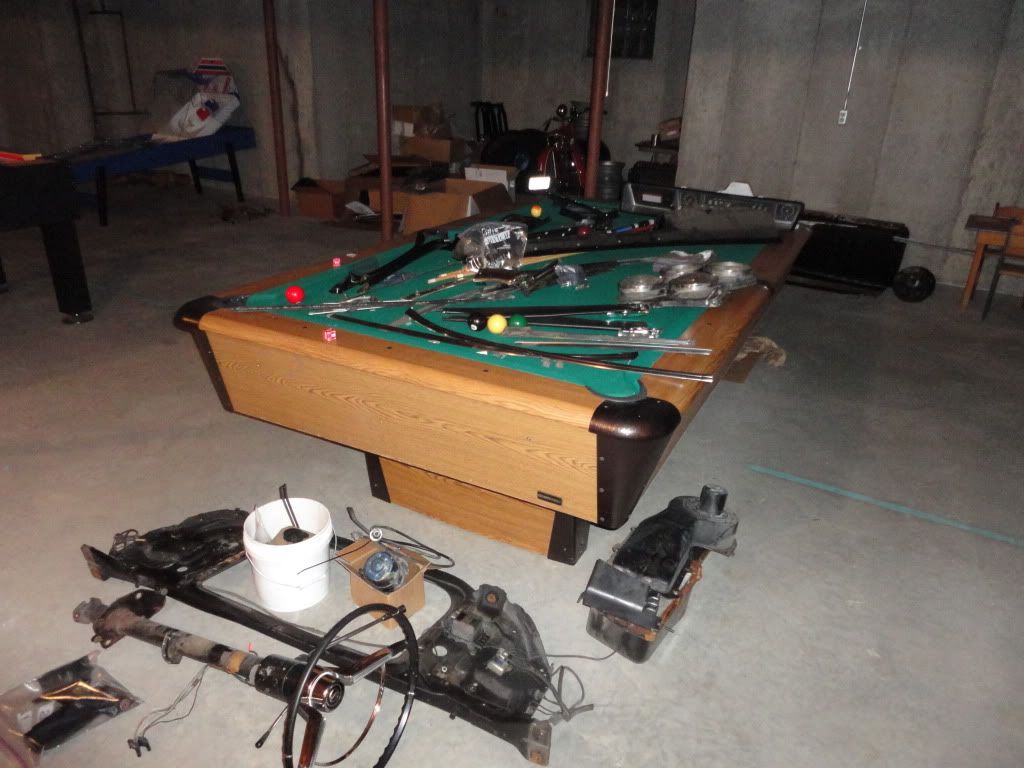
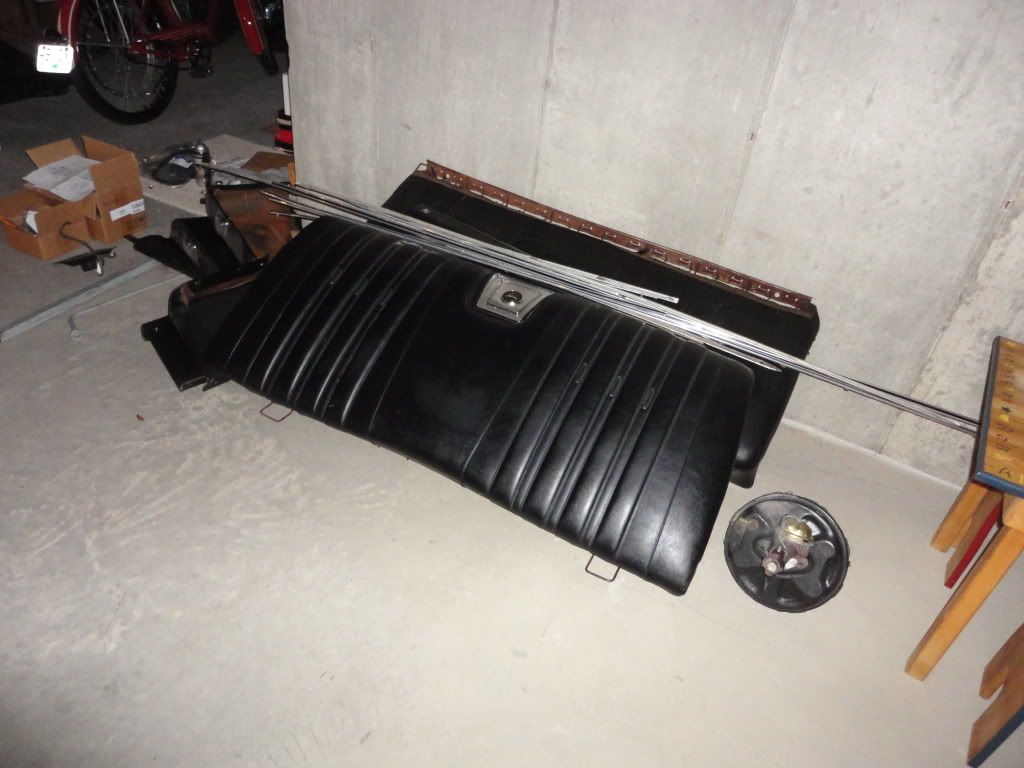
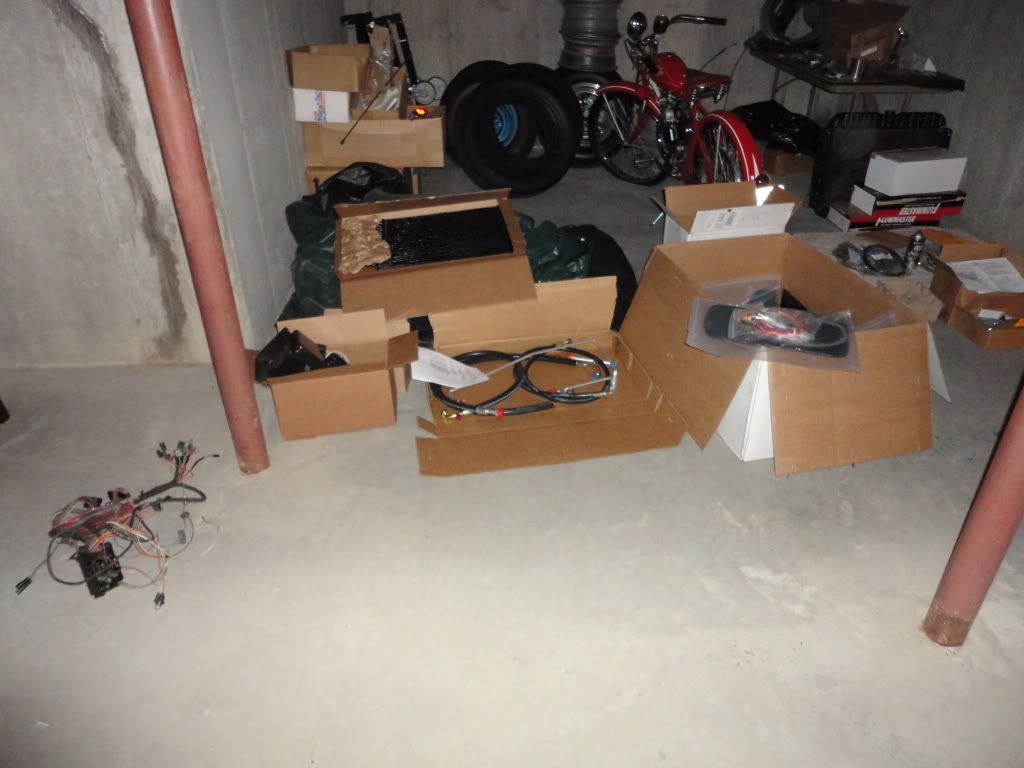
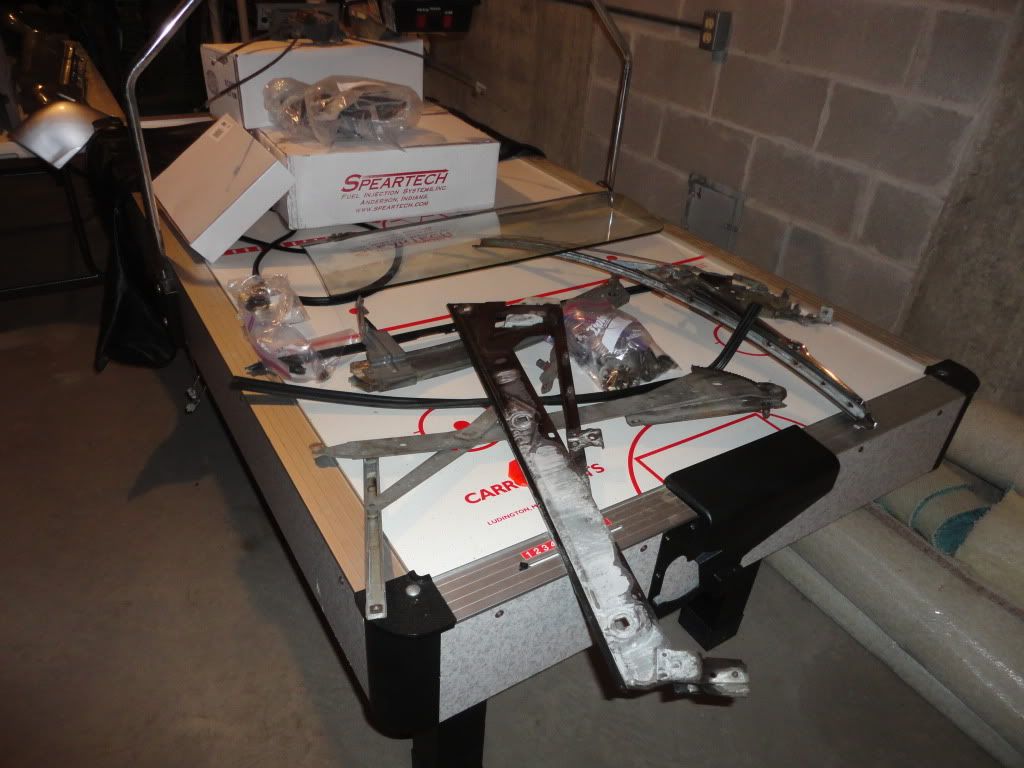
Also....I moved all the parts into the basement so I can sort thru and clean, paint, and detail for reassembly.......She's gonna be "pissed" when she go's down there....LOL...

The fenders are now at the body shop and being worked on and the trunk lid is going tomorrow.....Getting close for whats left of the body to go there for repairs and finishing
Also.....My mint survivor Grille had been smashed and straightened in it's past to where the bars would need some welding and straightening......It's the top grille in the pic's and it doesn't look bad in the pic, but, it's not of the quality I would put on the car after finishing.....So....I bought one off eBay that is perfect (lower grille in pic), but it still needs to be stripped,Bright Dipped and reanodized......$$$$ Love those Mint Nu Yawk cars...
Also....I moved all the parts into the basement so I can sort thru and clean, paint, and detail for reassembly.......She's gonna be "pissed" when she go's down there....LOL...
The fenders are now at the body shop and being worked on and the trunk lid is going tomorrow.....Getting close for whats left of the body to go there for repairs and finishing
09-27-2011, 06:40 PM
#30
TECH Fanatic
Thread Starter
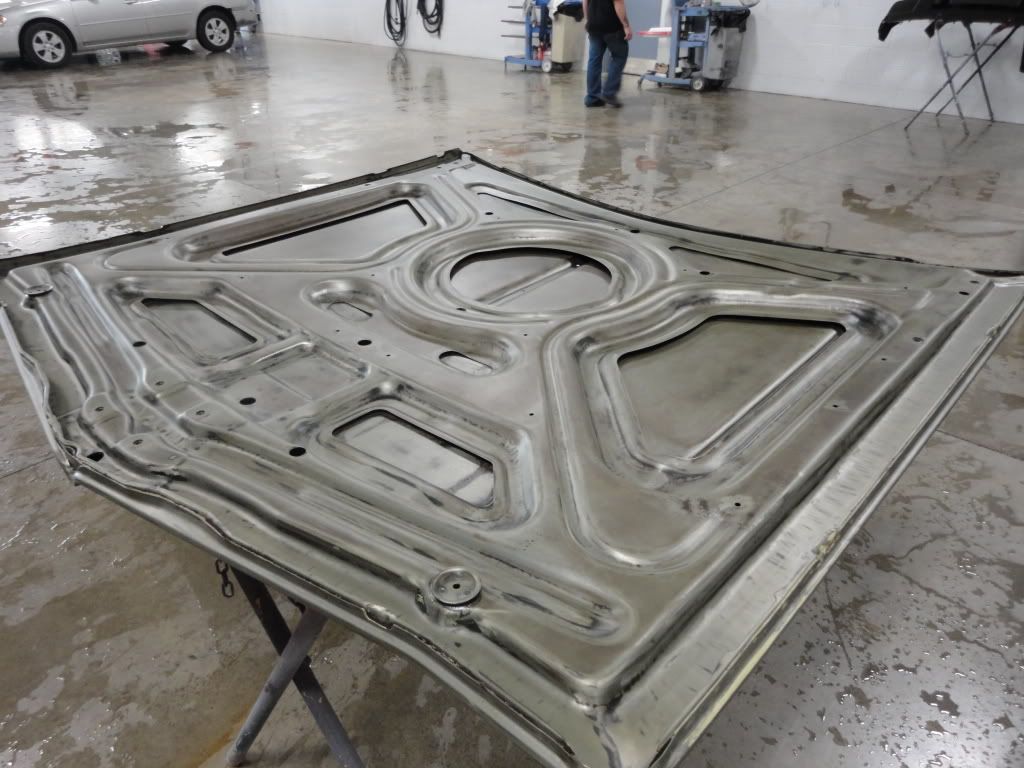
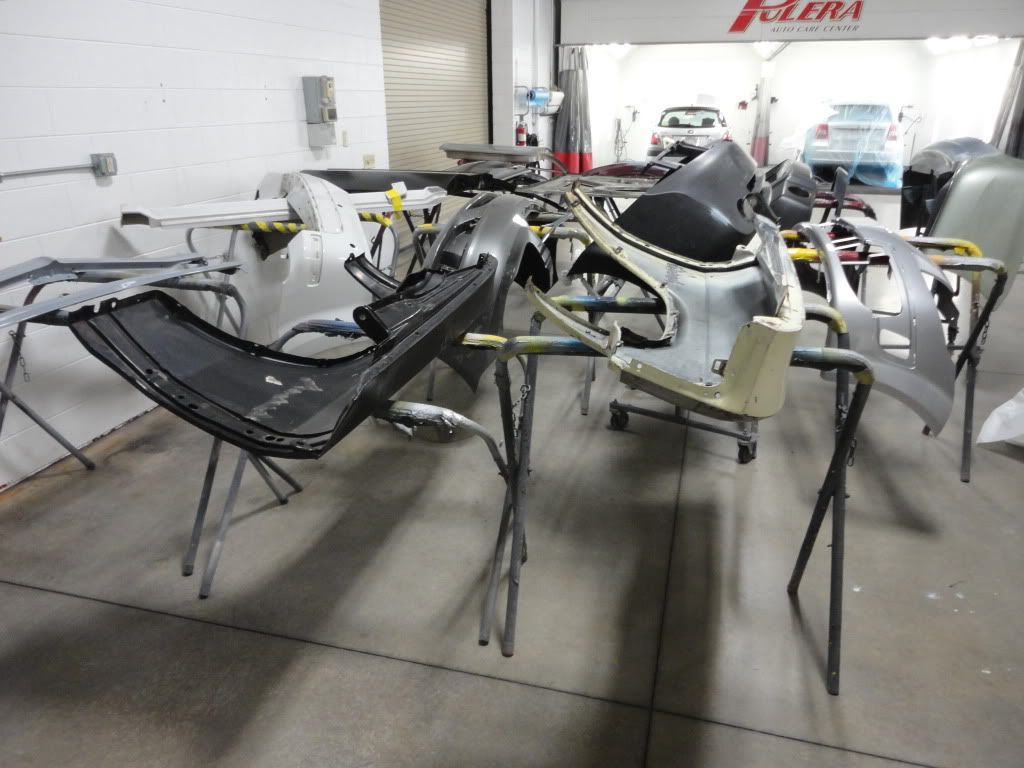
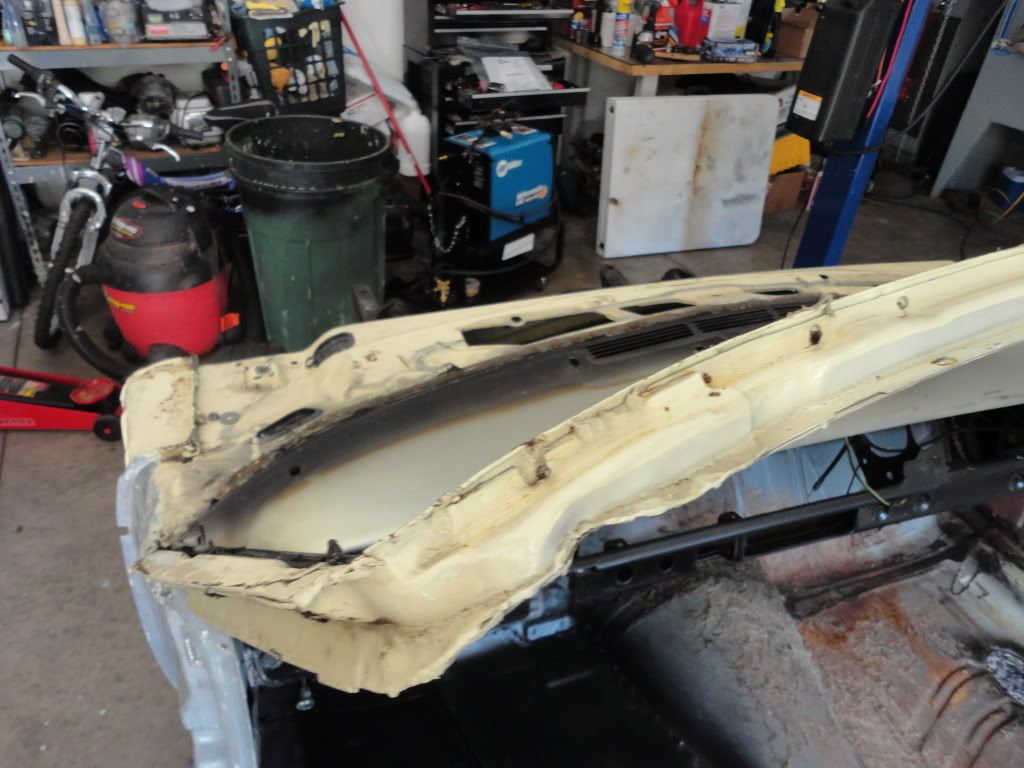
The Body Shop has already started on the loose sheetmetal I dropped off a couple of weeks ago....heres the bottom of the hood....
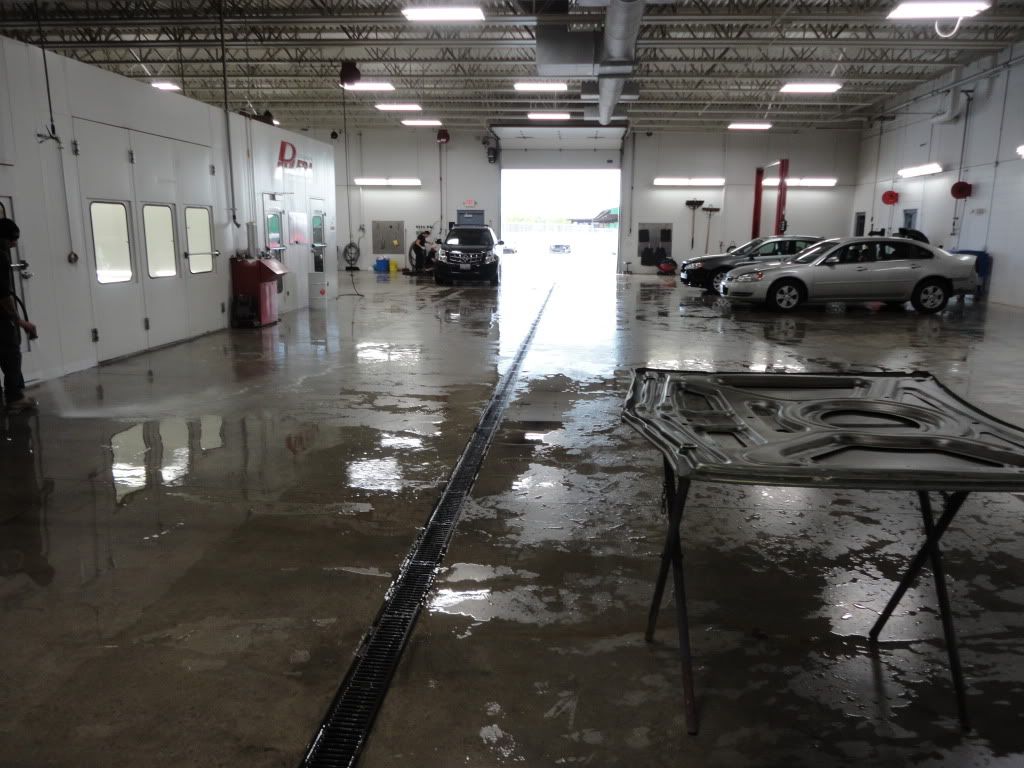
Pulera's in Kenosha....the cleanest body shop in the country....LOL
Pulera's in Kenosha....the cleanest body shop in the country....LOL
09-28-2011, 07:24 PM
#32
TECH Fanatic
Thread Starter
Dropped off the Deck lid at Puleras today.....
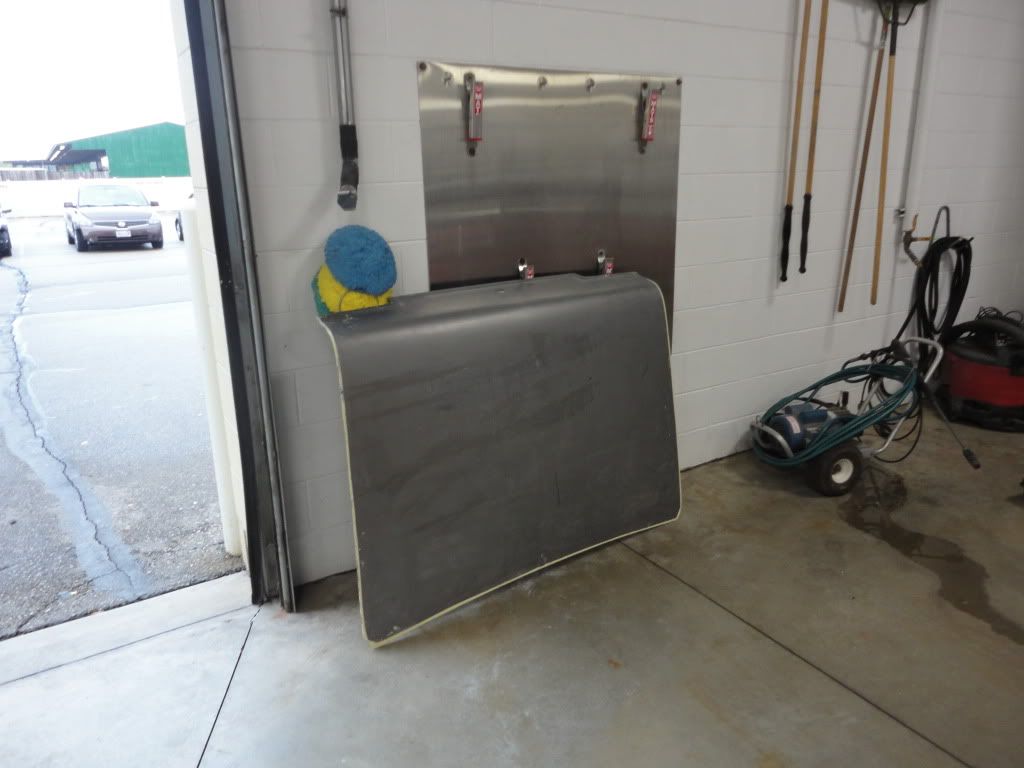
Fenders in the system waiting their turn
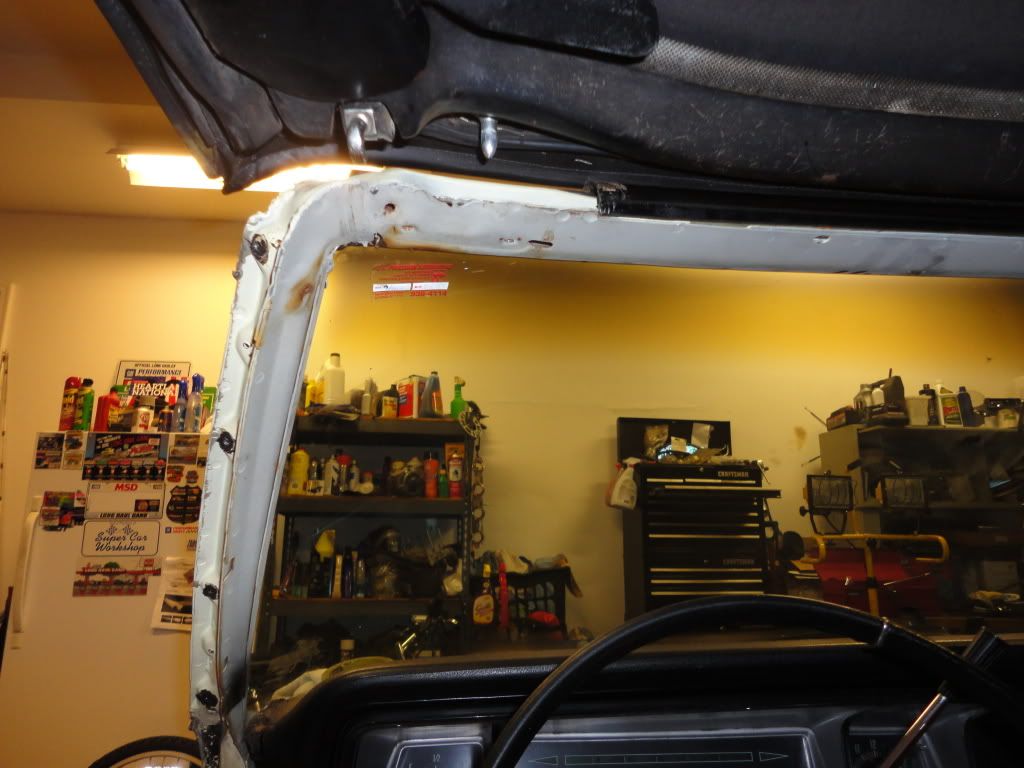
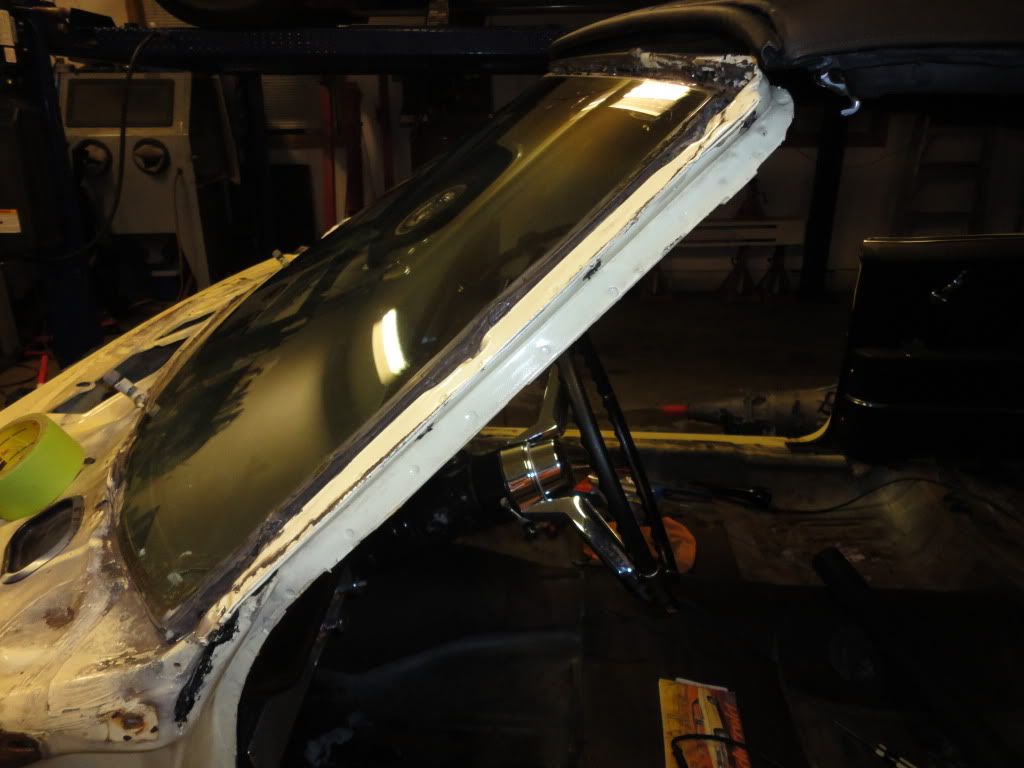
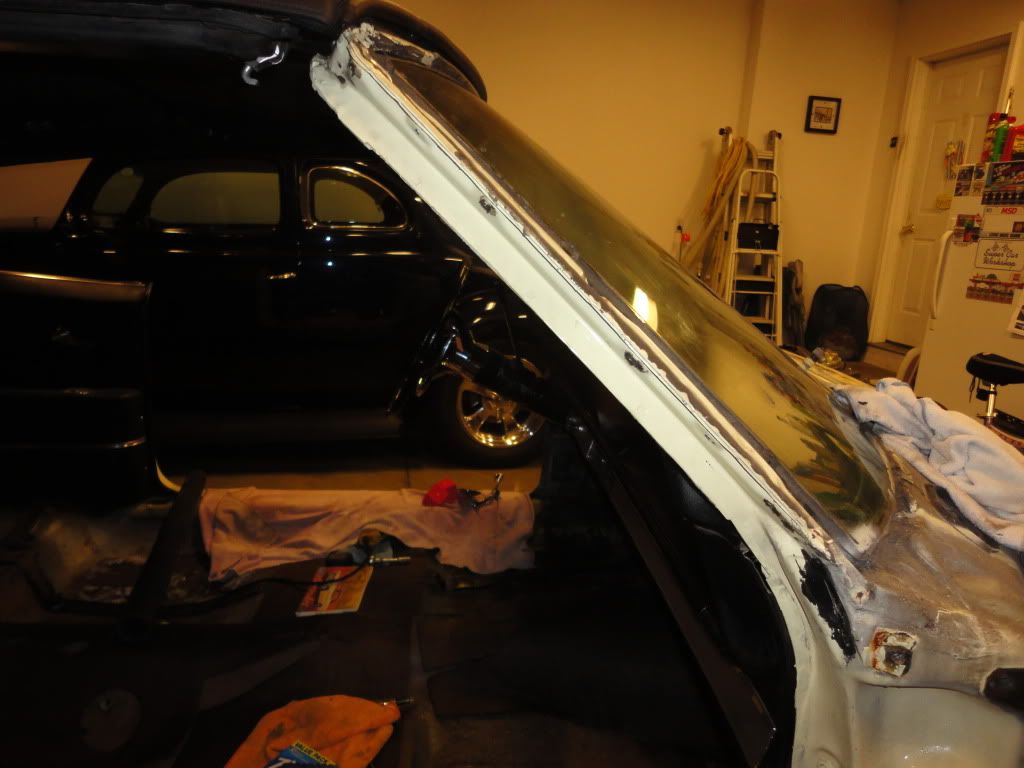
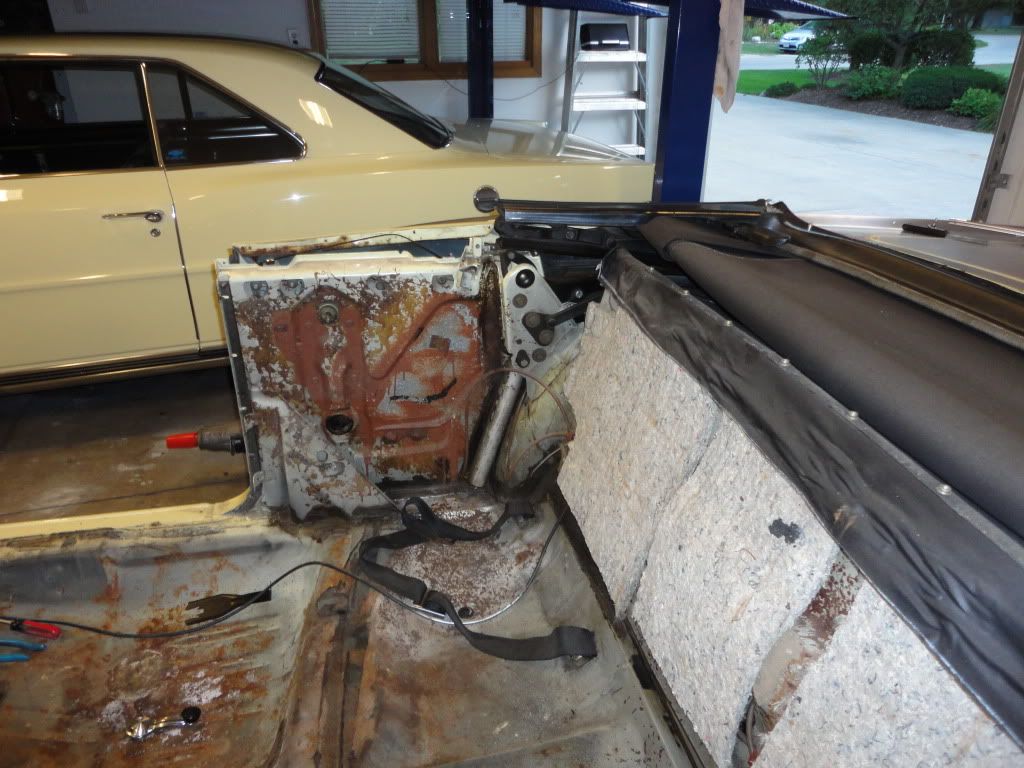
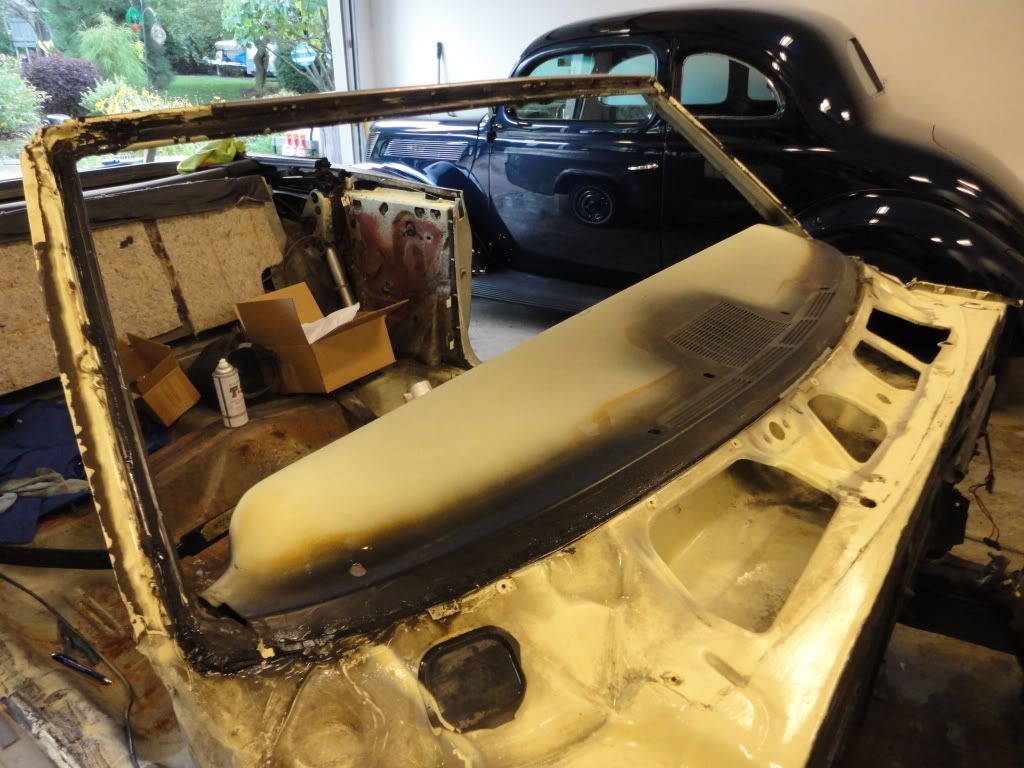
I rebuilt the lower fender mount on the passenger side and took the windshield out........what a surprise....the window channel was like the car was built yesterday......Dodged a bullet there....here are some pic's

Also.....I got a call from Just Dashes as they are starting on the Dash Pad...
Fenders in the system waiting their turn
I rebuilt the lower fender mount on the passenger side and took the windshield out........what a surprise....the window channel was like the car was built yesterday......Dodged a bullet there....here are some pic's
Also.....I got a call from Just Dashes as they are starting on the Dash Pad...
10-06-2011, 11:46 AM
#33
TECH Fanatic
Thread Starter
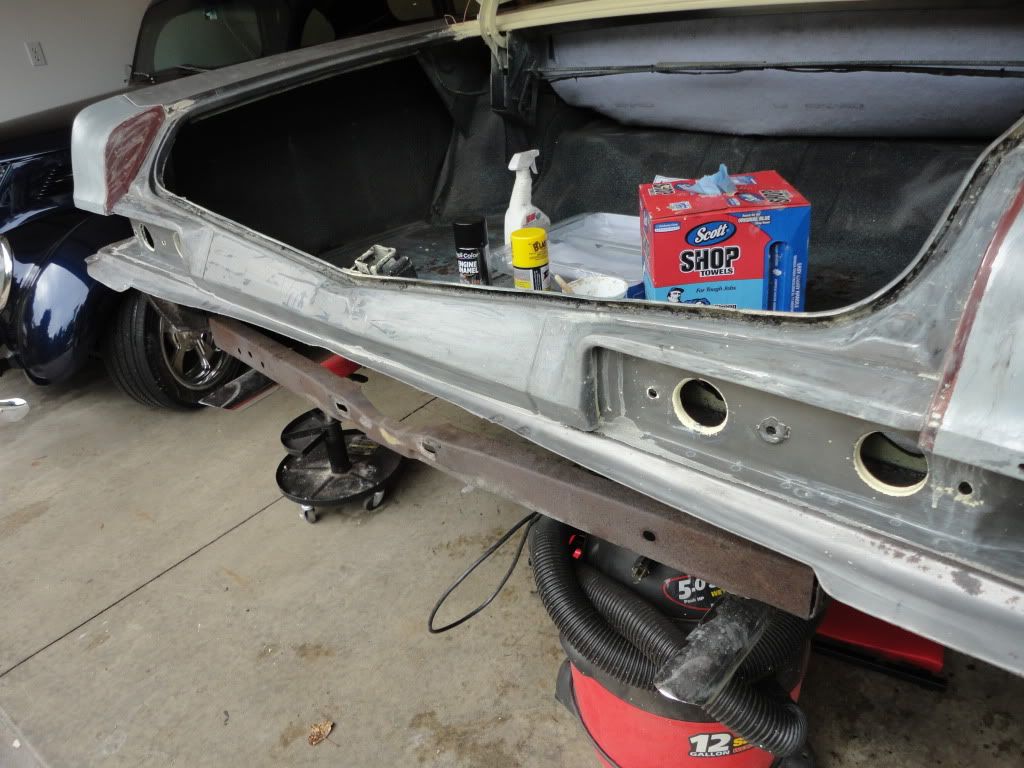
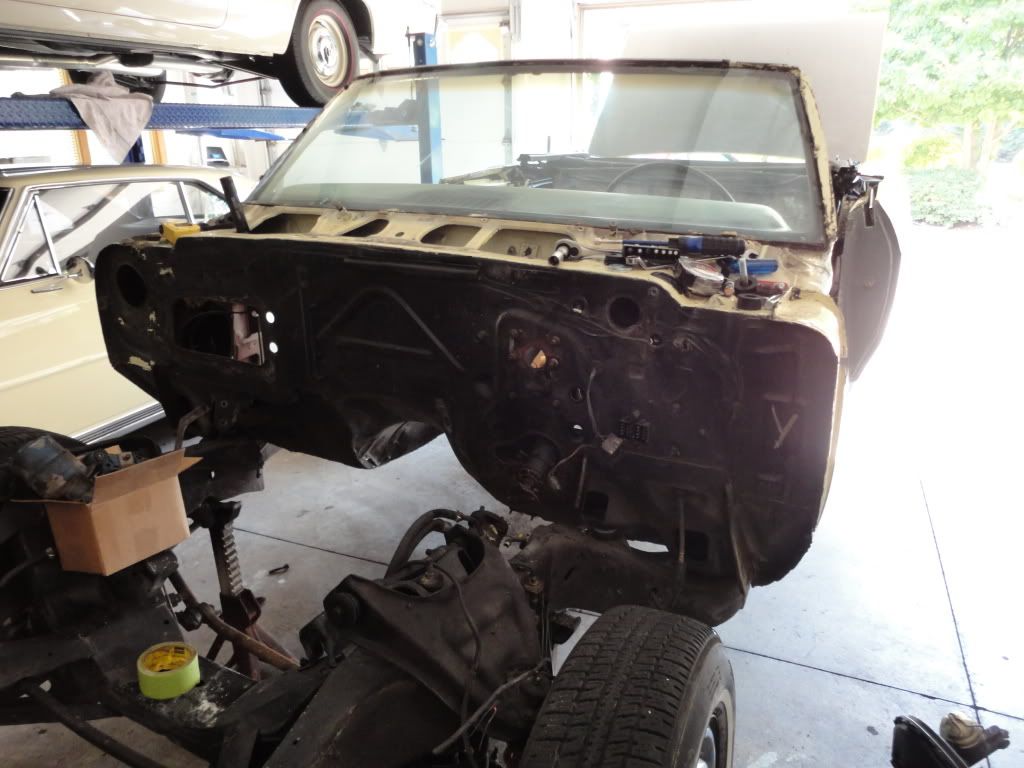
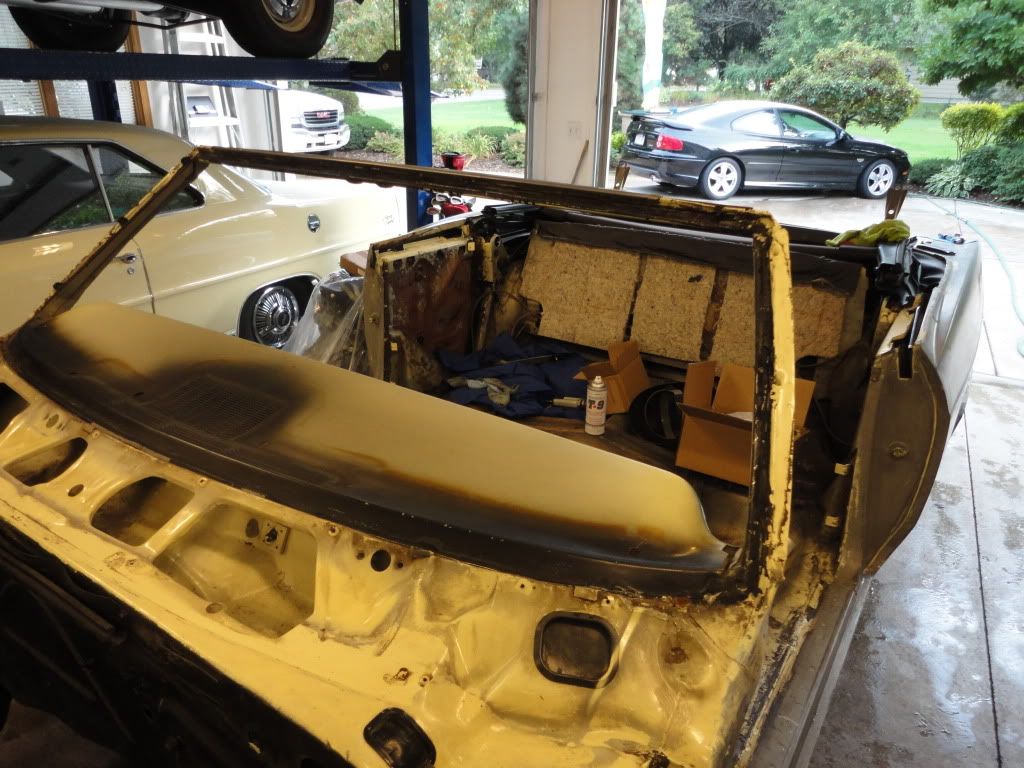
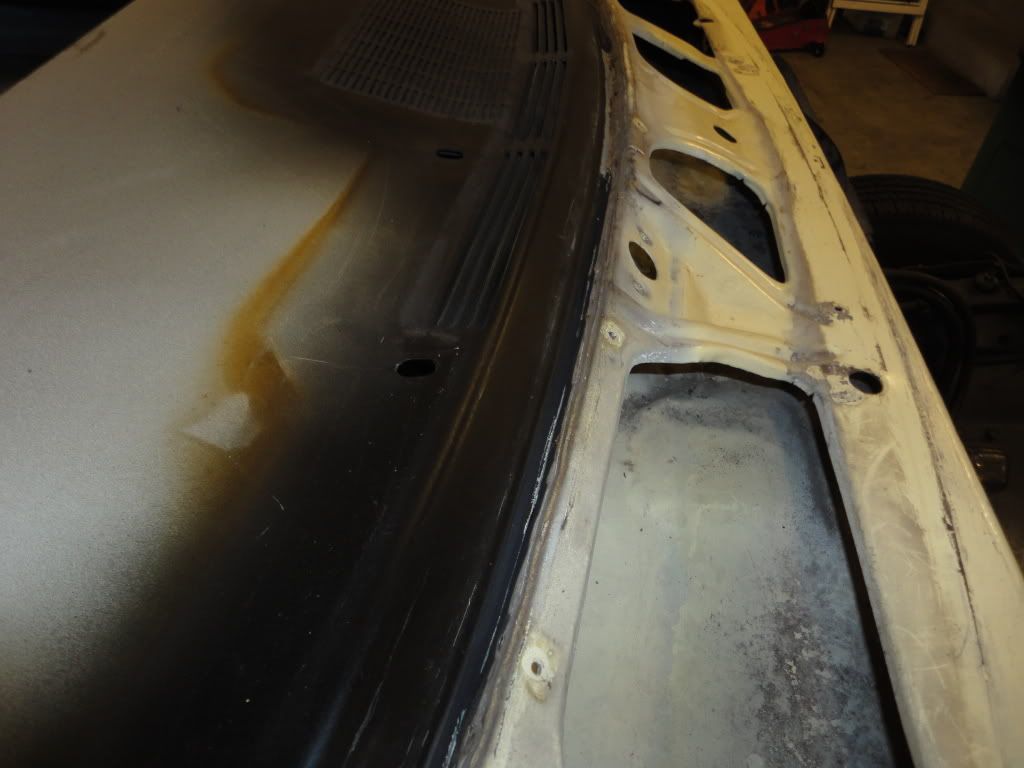
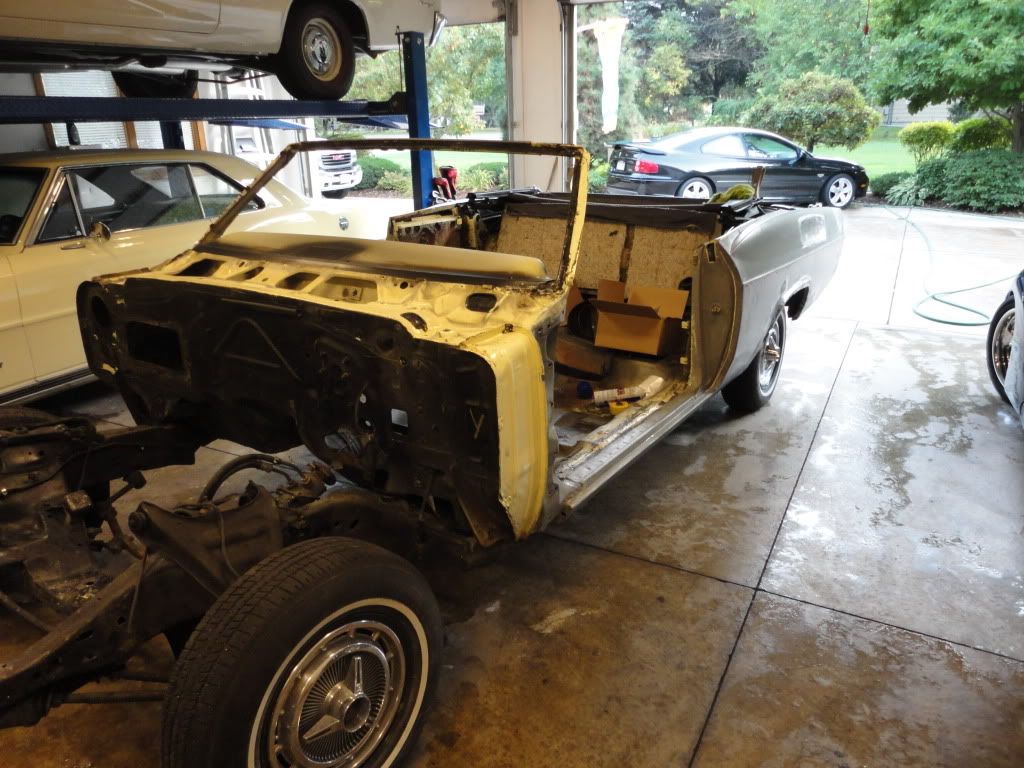
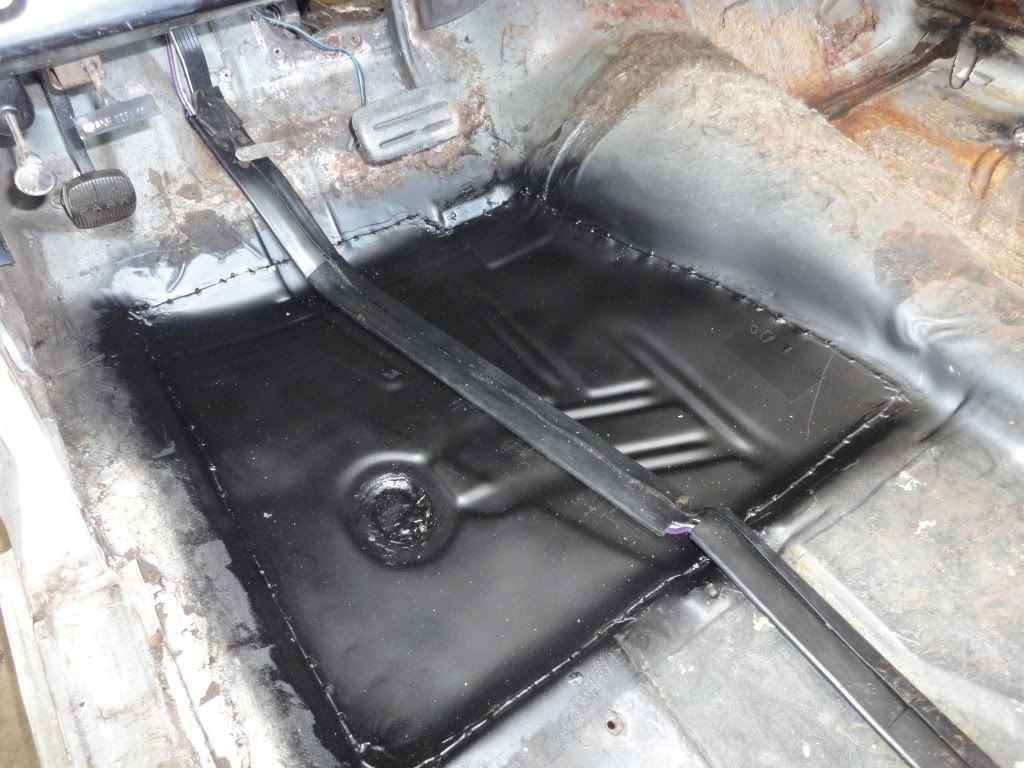
I'm waiting to get the car into the Body Shop right now.....kinda in that limbo mode where not much is happening.....But....The car was undercoated since new but the drivers foot pan had some rust from the inside, it didn't go thru but it thinned out the metal.......so, I did the Rust removal thing from the inside but I didn't want to leave it the way it was......so.....I pieced out a replacement floor pan section and welded it in over the existing floor.....I painted and prepped between the two pieces and tacked it in......then I sprayed a can of Boeshield around and in between the seams......then I put seam sealer along the seam and painted the patch.......I didn't want to cut out the panel as it wasn't really that bad....just thin, and since the floor pan had the undercoating from new......I didn't want to deal with that mess
of making it match........Remember.......this is a "Driver"...and it will be lowered....so when I'm finished it's gonna get Dirty underneath......"And".....Stay that way......LOL
The windshield frame is like the day the car was built.....absolutely no rust....
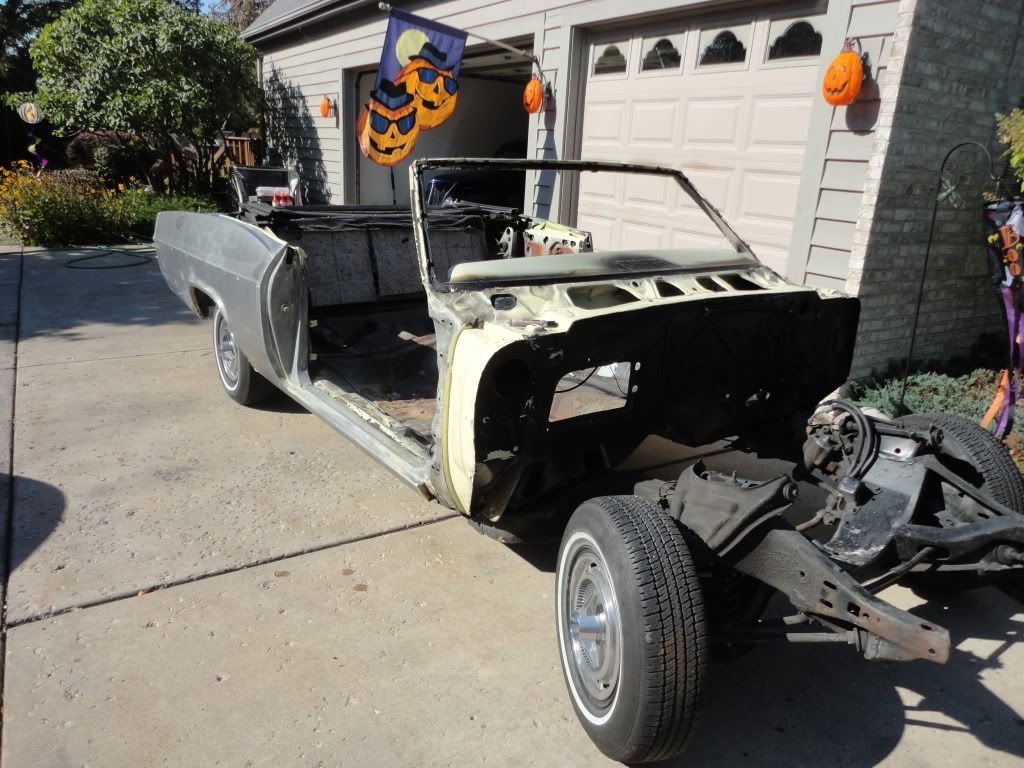
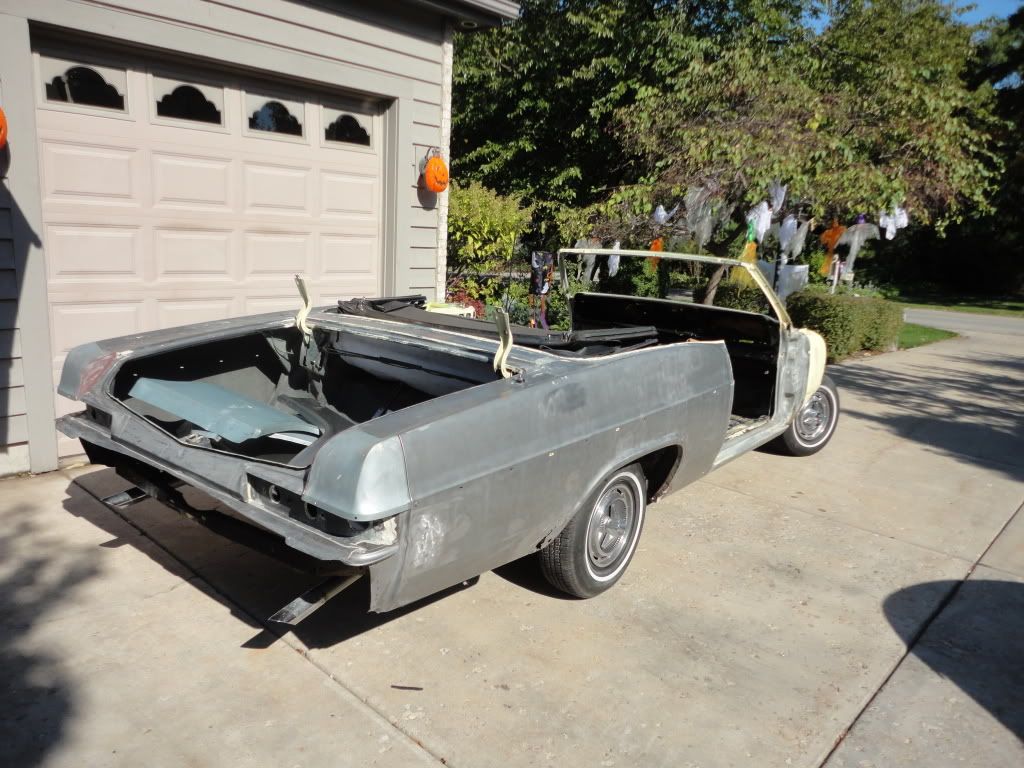
Got the car out of the garage and into the trailer ready to go to the body shop.......Just waiting for the phone call

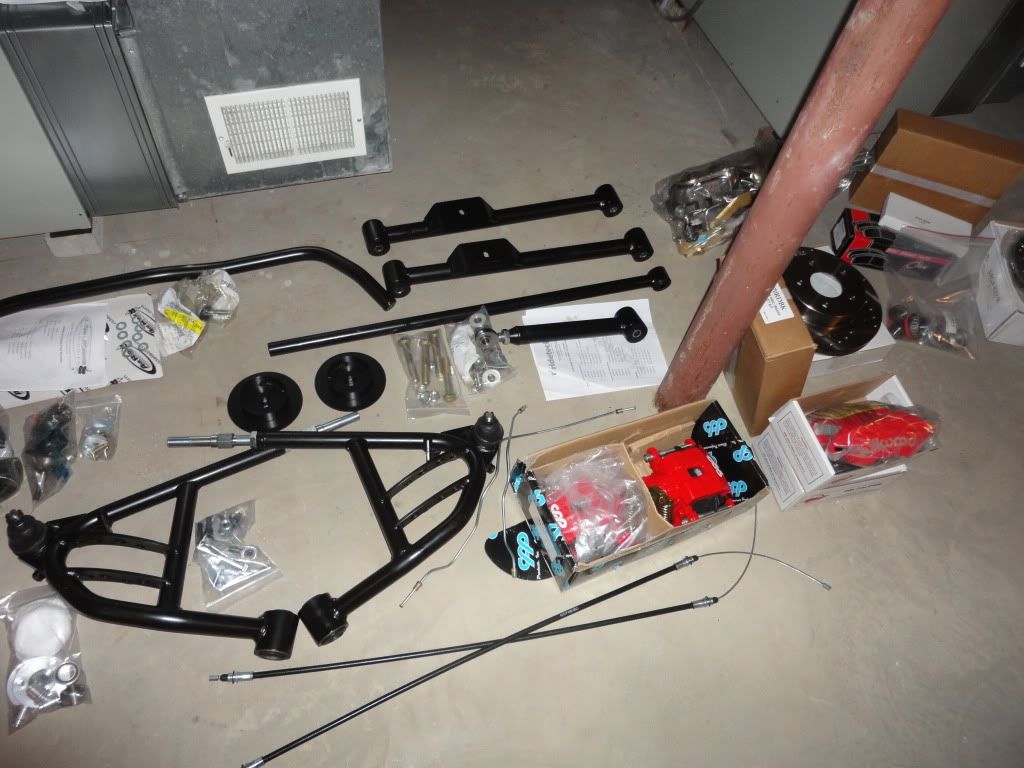
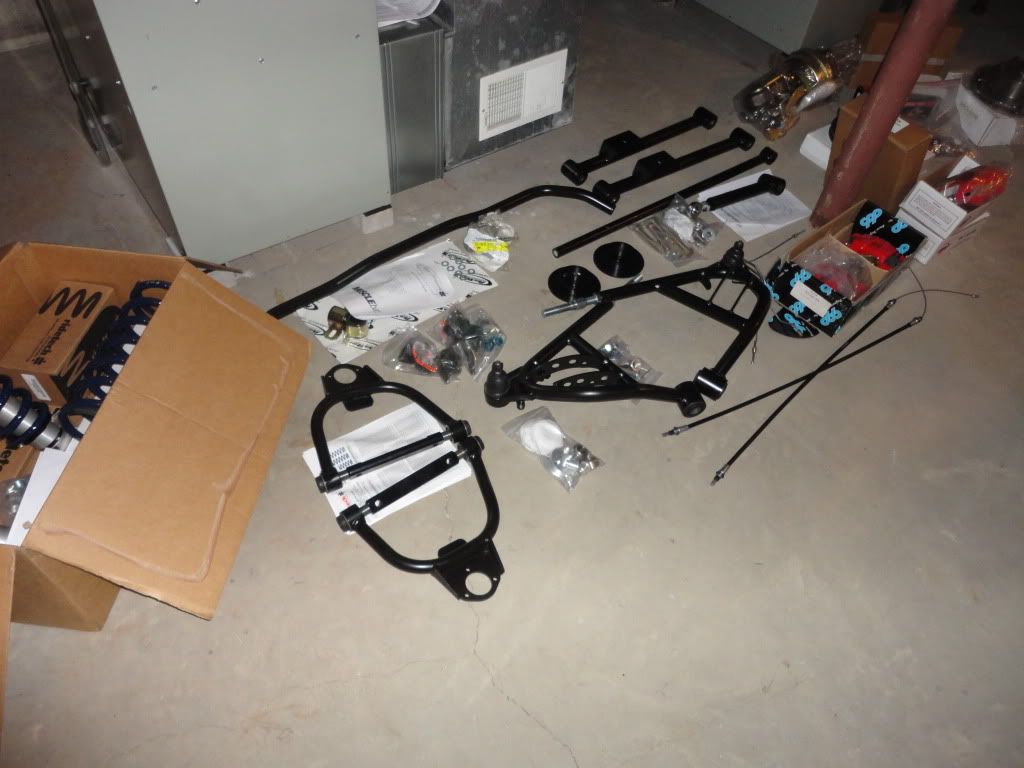
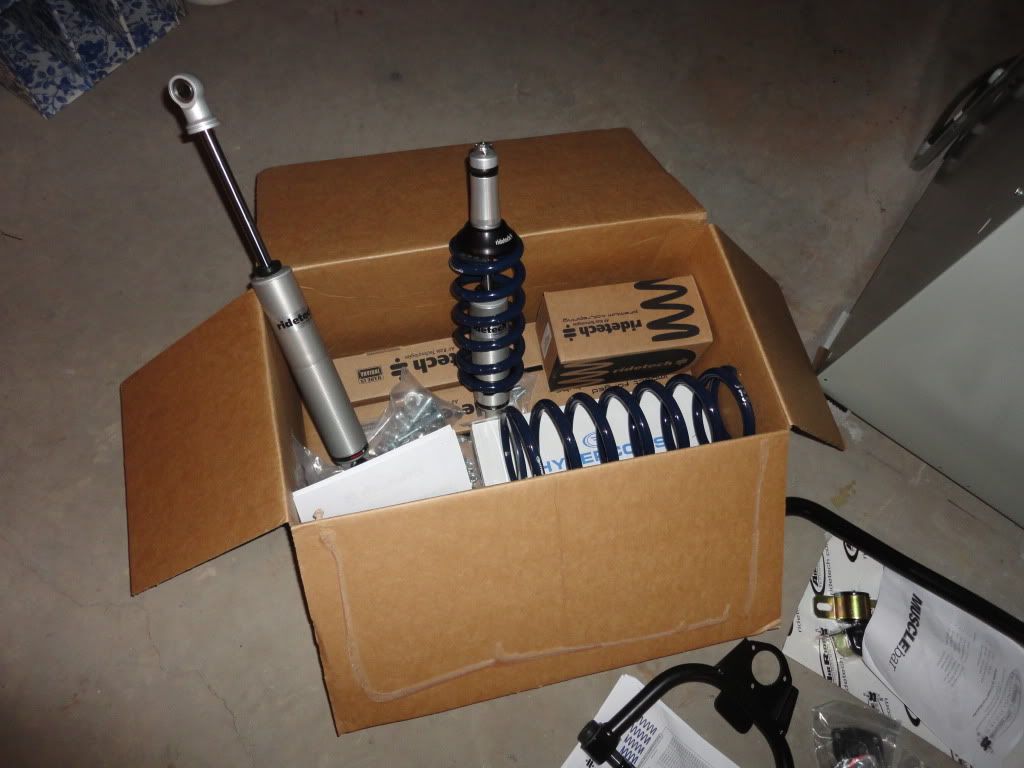
Gonna order Ridetech Coil Over suspension (tubular control arms etc.) that should lower the car a couple of inches and 4 wheels disc brakes......
of making it match........Remember.......this is a "Driver"...and it will be lowered....so when I'm finished it's gonna get Dirty underneath......"And".....Stay that way......LOL
The windshield frame is like the day the car was built.....absolutely no rust....
Got the car out of the garage and into the trailer ready to go to the body shop.......Just waiting for the phone call
Gonna order Ridetech Coil Over suspension (tubular control arms etc.) that should lower the car a couple of inches and 4 wheels disc brakes......

 10-18-2011, 07:48 PM
#37
TECH Fanatic
Thread Starter
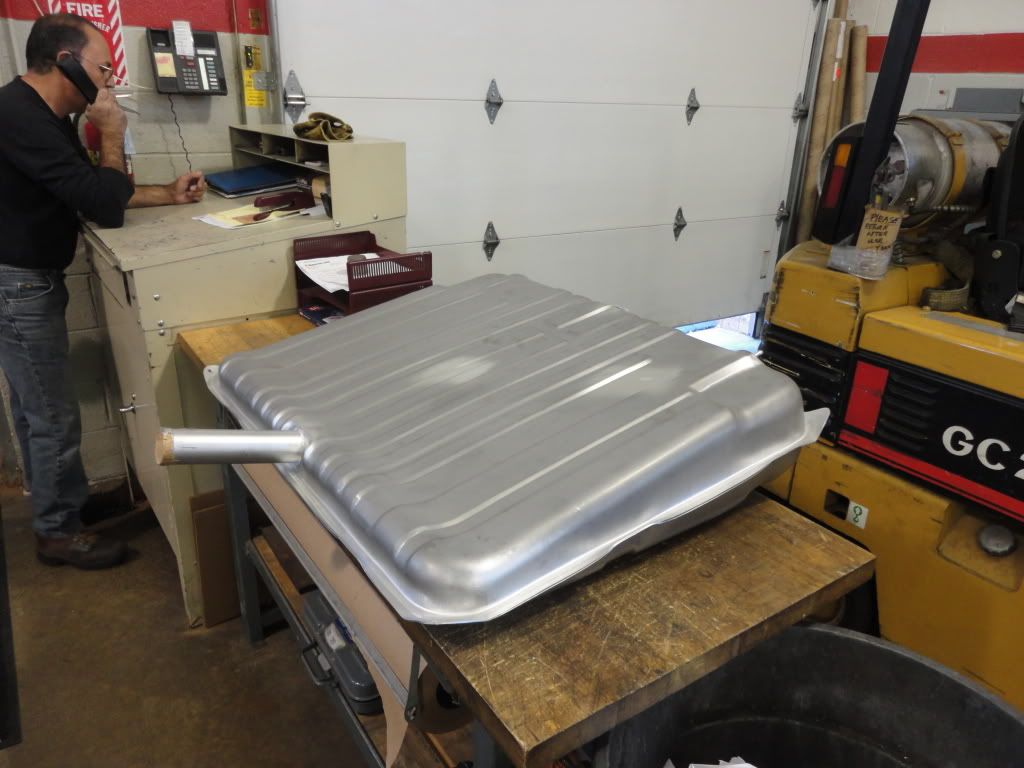
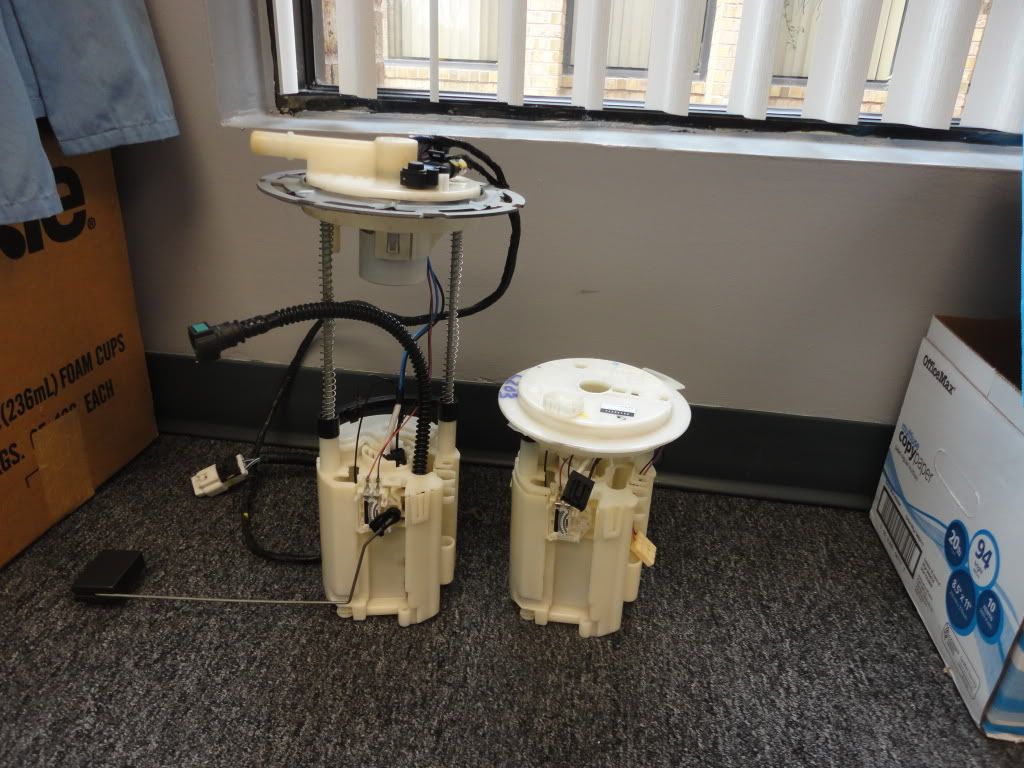
Some of the purchased parts are starting to show up.......After doing the LS Swap in the 37 Ford, I was very happy with the way the Fuel system worked out....I used the GTO fuel pump/sender assy..........the GTO set-up does not required a Pressure regulated return line as it is a self-contained unit.......So.....
The new fuel tank showed up today and I brought a Fuel pump down tp figure it out..........
New Tank
Tank and GTO Pump assy.........LOL
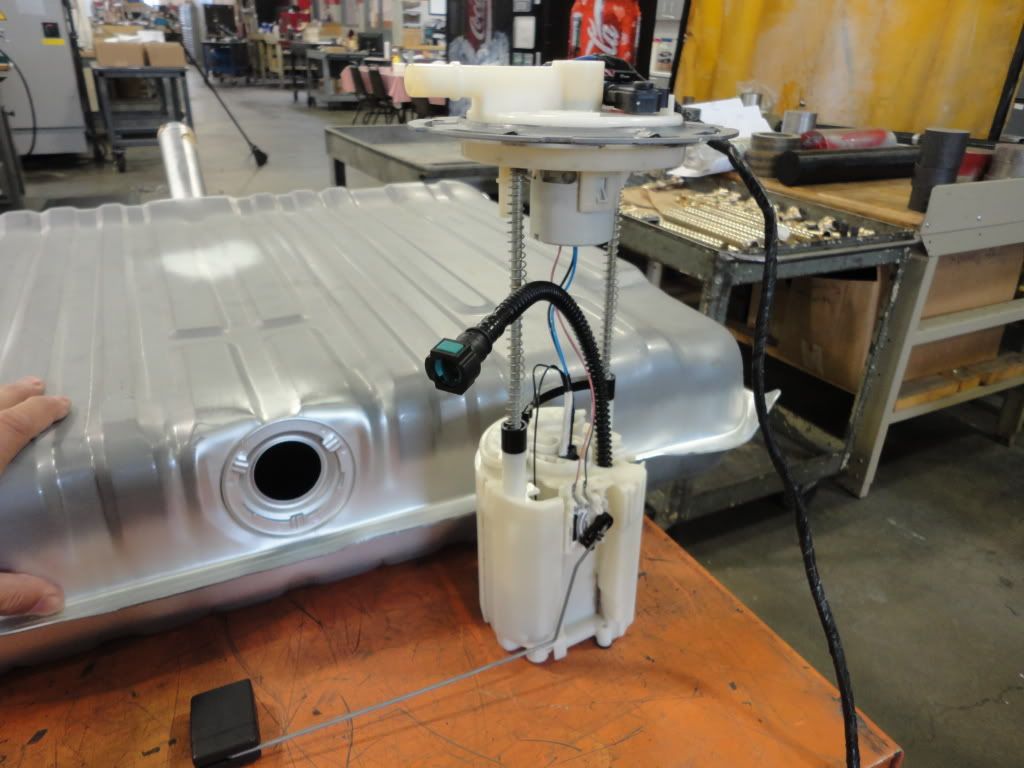
Hummmm!!!!! Now I just need the Pump assy to fit....I don't need the float arm function as I will be using the stock Impala Fuel Gauge sender.....So.....We need to get it as compact as possible......
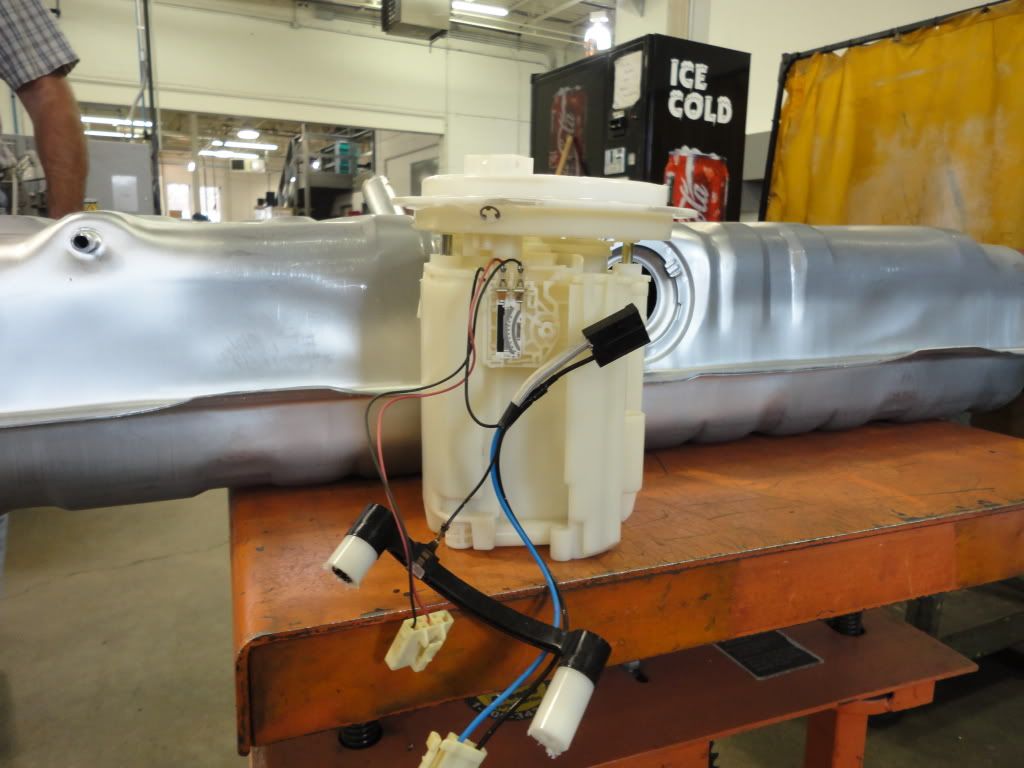

I am just going use the original top of the pump to seal to the yet to be fabricated flange that will be welded into the tank and for the internal pump harness plug to connect to the external harness....All the existing GTO gas tank venting will be removed and sealed off .......It seems that everything will fit with a small sump area added to the bottom of the tank.......Ahh!!!.......The Fun starts
Before and after.........
The new fuel tank showed up today and I brought a Fuel pump down tp figure it out..........
New Tank
Tank and GTO Pump assy.........LOL
Hummmm!!!!! Now I just need the Pump assy to fit....I don't need the float arm function as I will be using the stock Impala Fuel Gauge sender.....So.....We need to get it as compact as possible......
I am just going use the original top of the pump to seal to the yet to be fabricated flange that will be welded into the tank and for the internal pump harness plug to connect to the external harness....All the existing GTO gas tank venting will be removed and sealed off .......It seems that everything will fit with a small sump area added to the bottom of the tank.......Ahh!!!.......The Fun starts
Before and after.........
 10-20-2011, 07:03 PM
#39
TECH Fanatic
Thread Starter
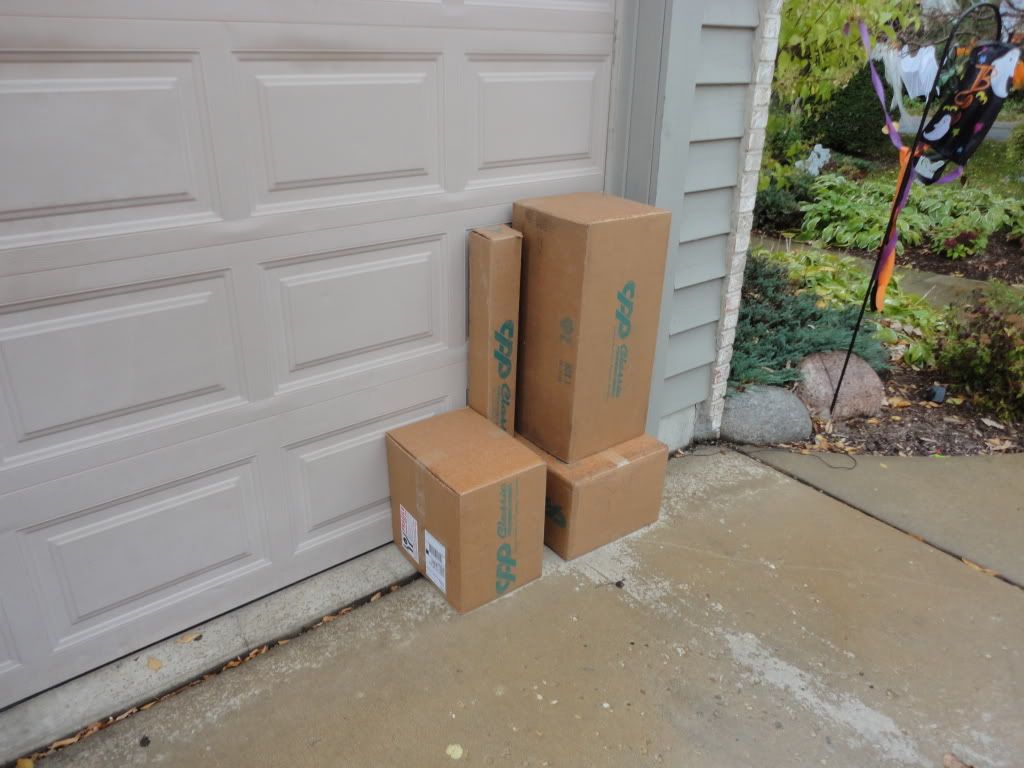
So......I get home from the Body Shop.....Looks like another 2 weeks before the Body can get in......And i see a bunch of Boxes by the garage door......I check the front door and more Boxes........I almost got everything in the basement before she got home........as I'm carrying the last 5 Boxes in the basement she said......."Now I know why you have been vacuuming and washing dishes".........LOL.....I ain't afraid of her.....So......here's todays "stash"....

10-20-2011, 07:05 PM
#40
TECH Fanatic
Thread Starter