
turbo 5.3 s10 build
 02-11-2012, 10:24 AM
#141
Registered User

Join Date: Dec 2011
Location: Northern Minnesota
Posts: 3
Likes: 0
Received 0 Likes
on
0 Posts
I bought the same turbo you did. there was no reason to spend big bucks 1200 dollar turbo on my 400 dollar engine lol. If you need any help or parts hit me up i have alot of various tools and parts available.
your s10 is about 800 lbs lighter plus mine has a system subs and 20 in wheels and it will have air conditioning it isnt made to be a rocket ship I have a 93 coupe to do that in. I want to pull my stang to the track unhook the truck run low 12s with it then run the mustang it is in the mid 10s
your s10 is about 800 lbs lighter plus mine has a system subs and 20 in wheels and it will have air conditioning it isnt made to be a rocket ship I have a 93 coupe to do that in. I want to pull my stang to the track unhook the truck run low 12s with it then run the mustang it is in the mid 10s
 02-11-2012, 05:35 PM
#142
Alright will do. I do need a handful more of parts though like tranny cooler, two 5 point harnesses, Th400 slip yoke, turbo inlet and drain flanges, turbo blanket, cal tracs and a few more little things that I'll pick up. What's all done to your stang?
 02-12-2012, 12:34 PM
#145
Staging Lane

Join Date: Jan 2012
Location: Nashville Tn.
Posts: 56
Likes: 0
Received 0 Likes
on
0 Posts
Imagine what this country would be like if every young man had this individuals desire and comittment. This won't be the last we'll be hearing from him. I see another new family business about to take off. Any Chevy dealer will be glad to have you as a tech.
 02-12-2012, 06:16 PM
#147
Thanks alot guys I really appreciate your comments. Sometimes I start thinking that my work I have done looks bad and cheaply pieced together but all the comments I get from supporters like you keep me going and proud of my work. This is my first build and I plan on doing many more hybrids in the future and improving my knowledge and skills in the lsx/turbo field and I hope thinks will be much more smooth from this point on because I have learned ALOT so far.
Hey merv, with your s10 did you notch the crossmember? If not, did you put the engine and tranny in separately? Because for the life of me I could not fit both in while attached. I even beat the lip of the firewall in so make more room. And in your Monte, I thought s10's and g body's have the same front clip set up? I thought the crossmember and suspension were all the same.
Sorry for writing so much haha
02-12-2012, 10:28 PM
#148
The S10 I bought was already notched by the previous owner. But, even if it wasn't notched I wouldn't have had to. I installed the Engine & Trans together, raised the Cab since the bed was off. There are pics in the thread link in my sig.
I thought the car was the same too, but it lines up differently, I think it's the mounts I used.
I thought the car was the same too, but it lines up differently, I think it's the mounts I used.
02-13-2012, 08:00 AM
#149
Ok I see now with the cab lifted it wouldn't be a problem. My mounts are all the way forward to clear the hvac box so I think I would have notched it either way. Which mounts did you use in your Monte? Wouldn't the s10 swap mounts work also?
02-13-2012, 10:21 AM
#150
I have the Carshopinc plates in the S10..in the MCSS I have the SBC->LS Conversion Plates and stock Clamshells, Oil Pan in general is about 1/2" above the Cradle so it's in the correct spot. That and I cant move it up any higher cause the Air Hat wont clear the stock Hood. 
Last edited by the_merv; 02-13-2012 at 03:17 PM.
02-13-2012, 11:37 AM
#151
Haha ok I ask because my next build I plan on finding a grand national and swapping a turbo ls into it. But that won't be for a few years or so. After selling my cutlass I kinda have regrets but I will one day own another g body.
i been getting little things done within the past couple days
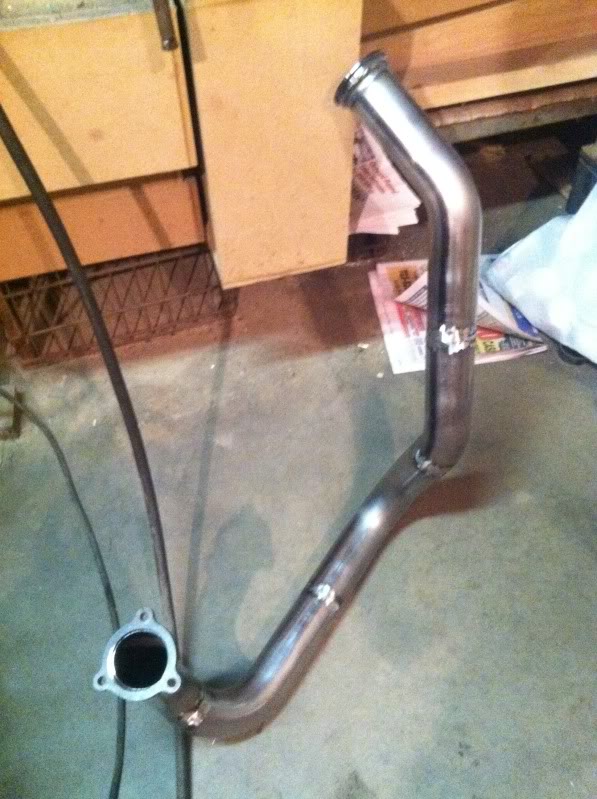
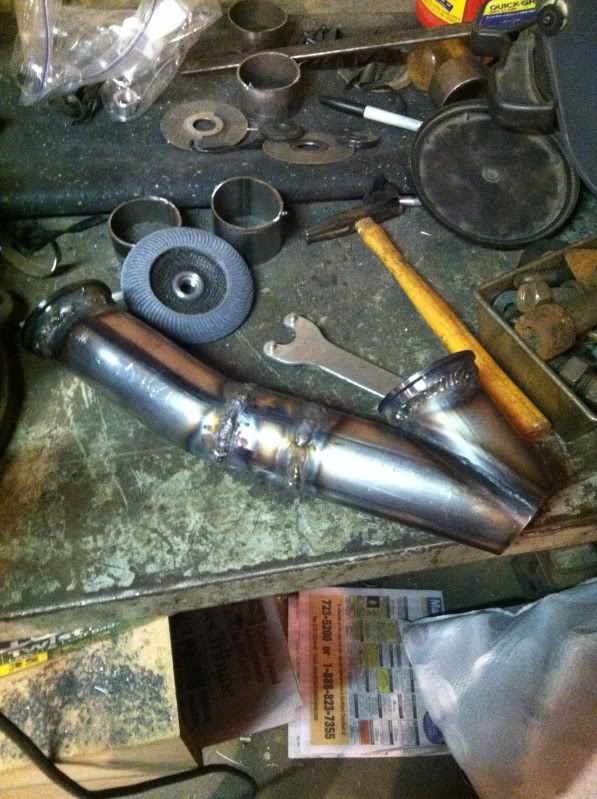
got my manifold back from a guy at an exhaust shop. he said it was a cakewalk and didnt have any problems welding steel to cast. looks great and much better looking

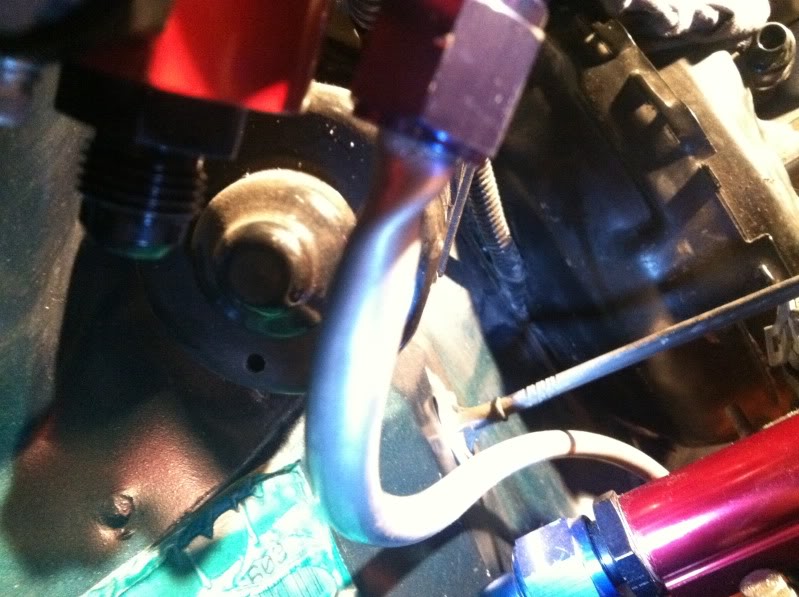
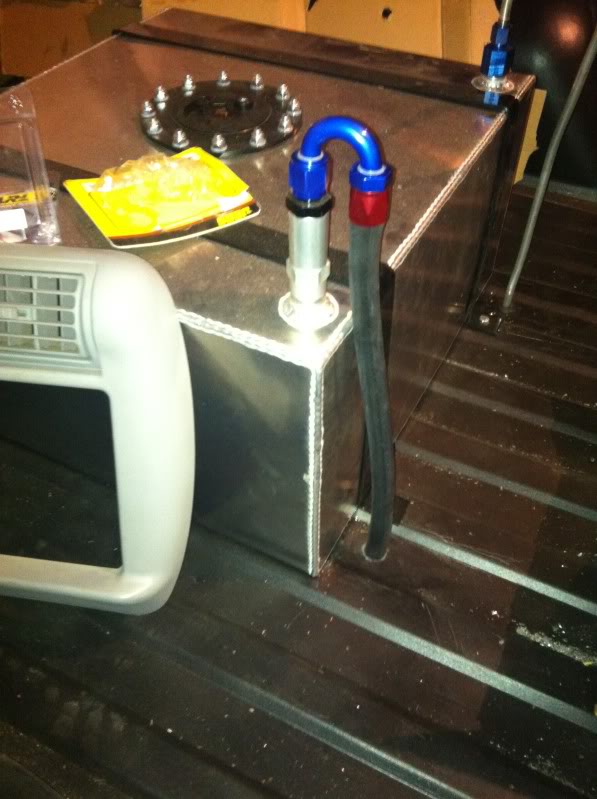
drilled a 3/4" hole for the return line and put a gromet in
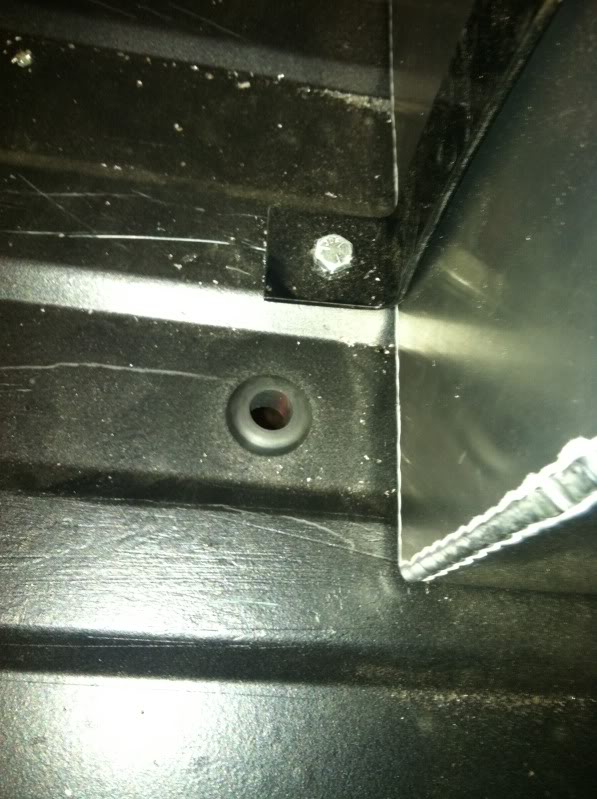
return line installed, dont look amazing but itll work
****!!!!!!!!!!! over tightened the return line off of the regulator and twisted the hose, now i have to buy some more fittings and replace it with some push lock hose
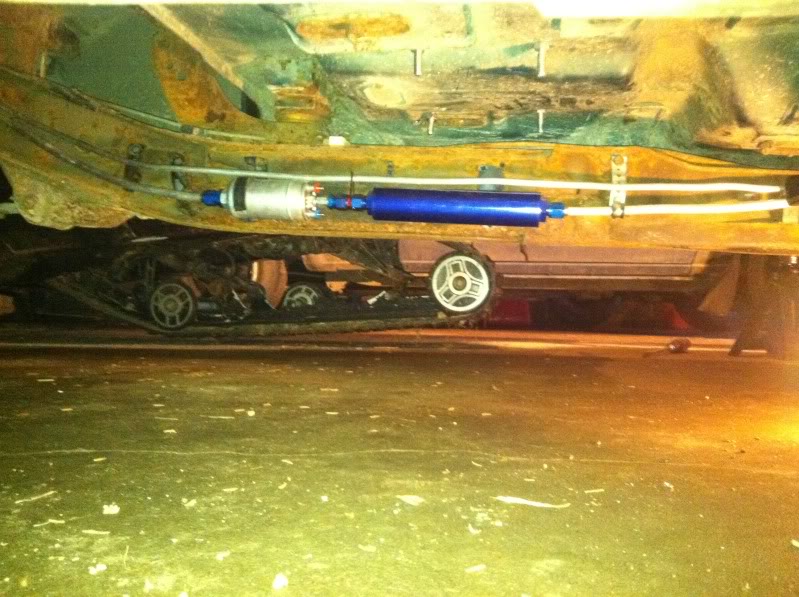
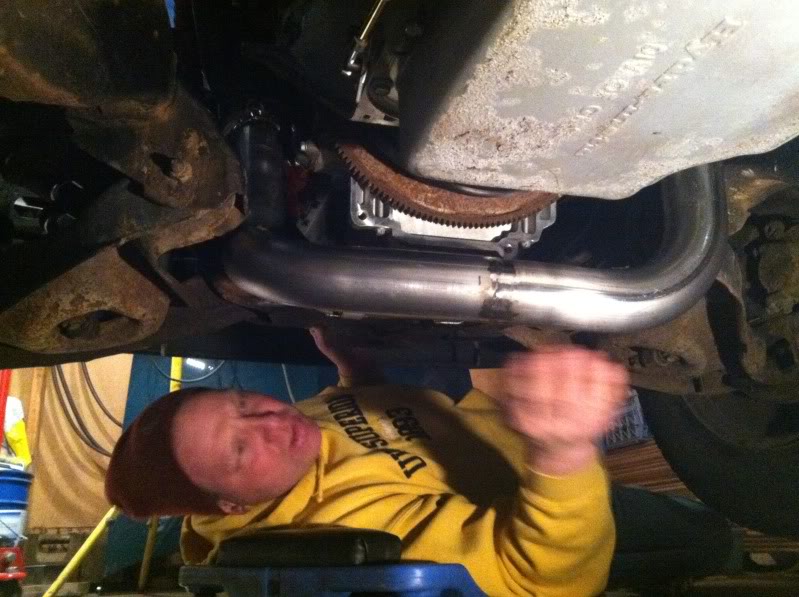
heres how the fuel system looks underneath
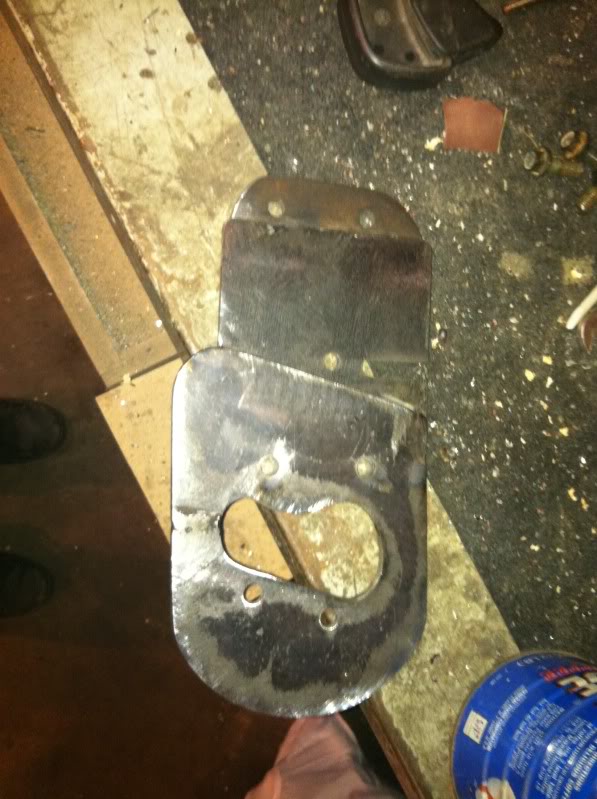
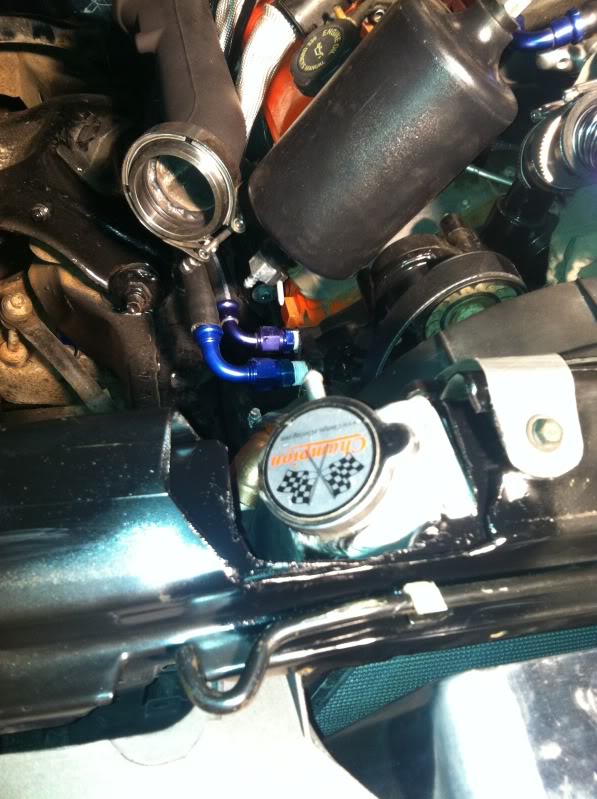
got a bracket made for my catch can out of 16guage steel
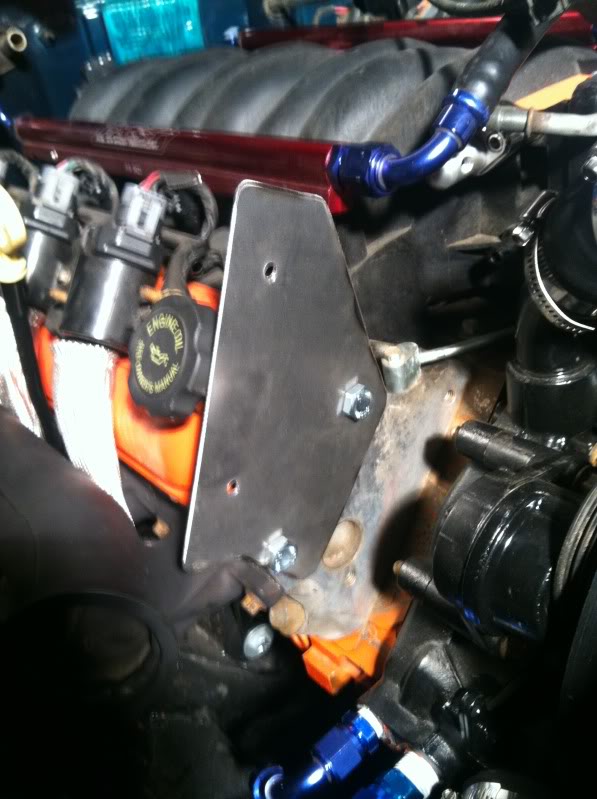
and here it is installed
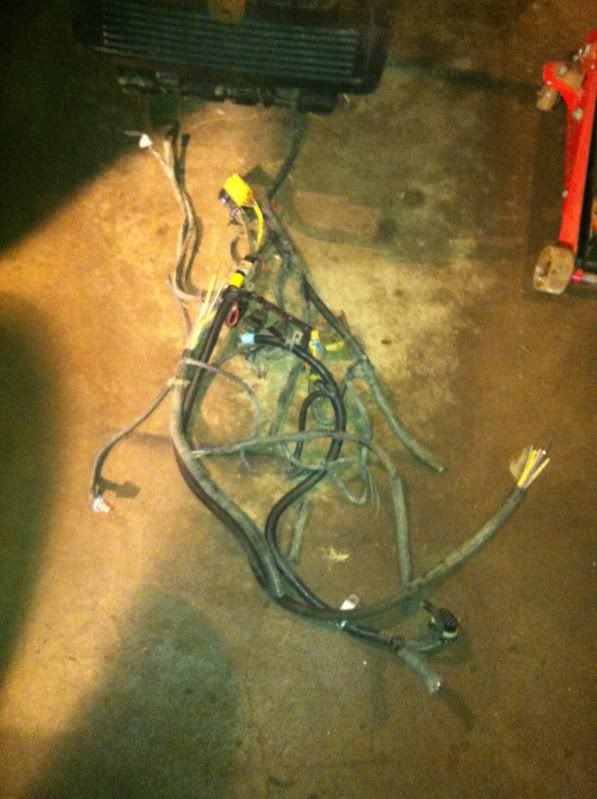
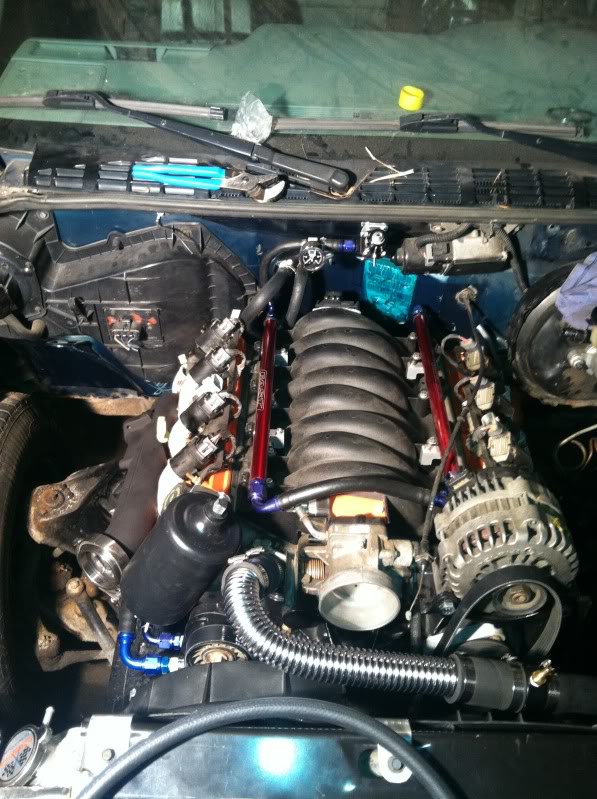
and all the rest of the stock harness ripped out. im starting from scratch to simplify things
and the relocation bracket for the powersteering pump that my dad made. comes off of the alternator/power steering bracket
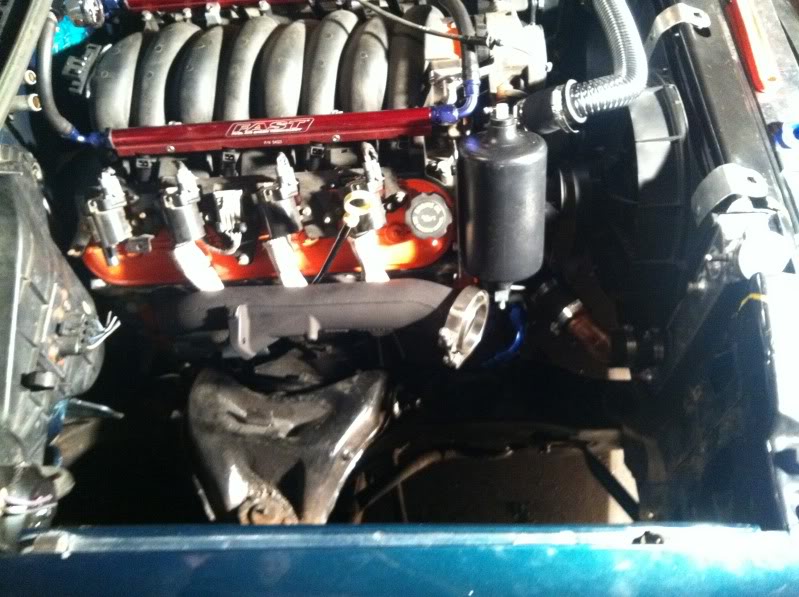
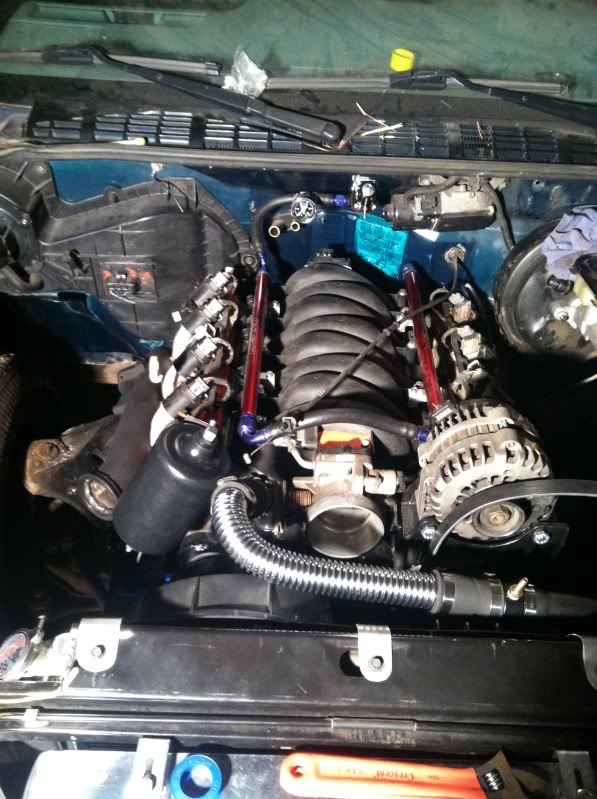
got the heater hoses ran and looking all good with the 90 degree push lock hose fittings. look much better than laying over the engine
you can barely tell i kept the heat!
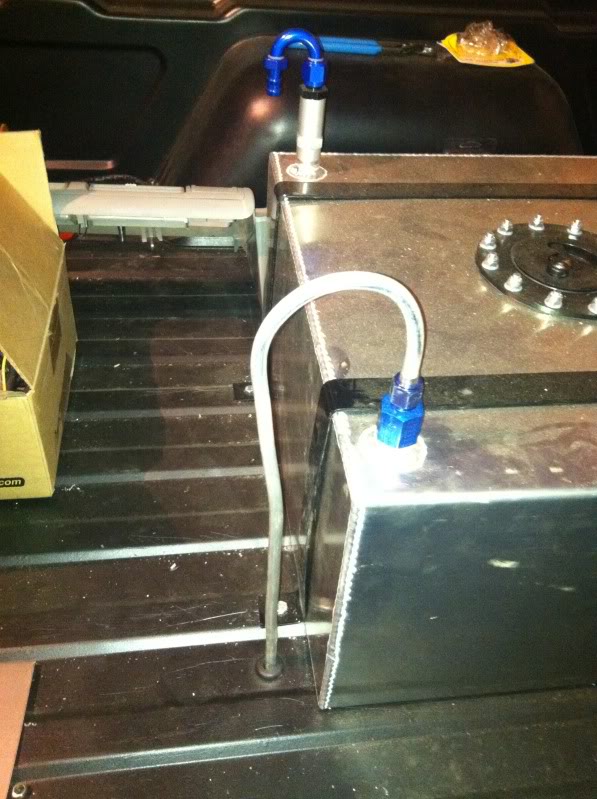
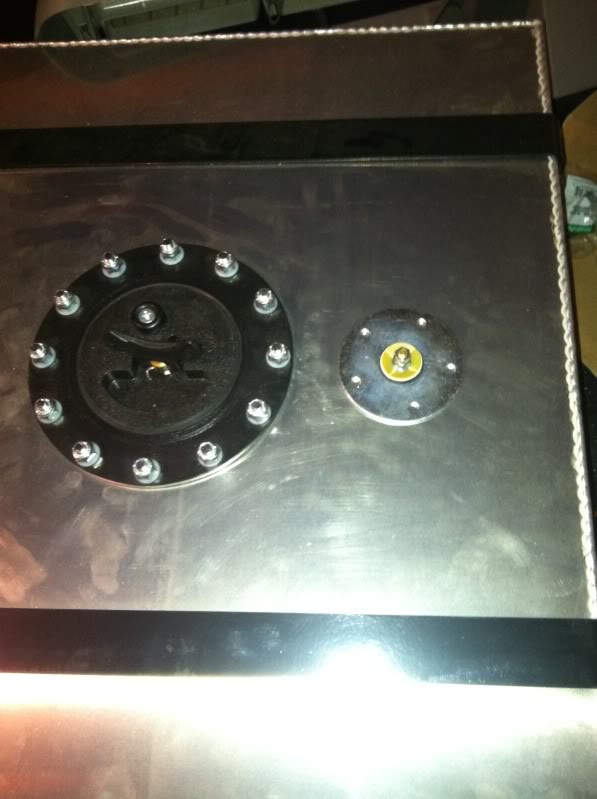
then i ran the roll over vent line for my fuel cell

ran the hose from my steam vent back into the upper radiator hose
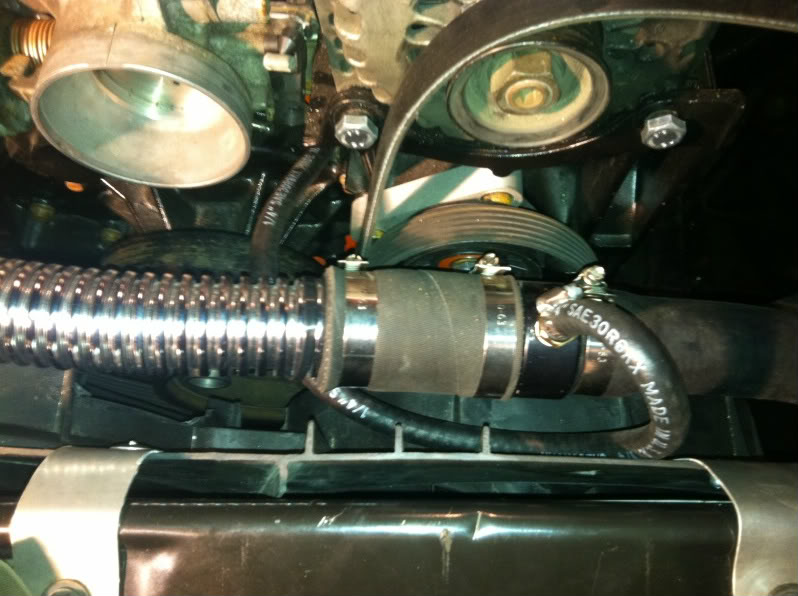
finished cutting out the access for the radiator cap and painted it
got the fuel level sender installed. kinda a pain in the *** but it works
you know whats coming next! this weekends project to finish all the turbo and exhaust piping
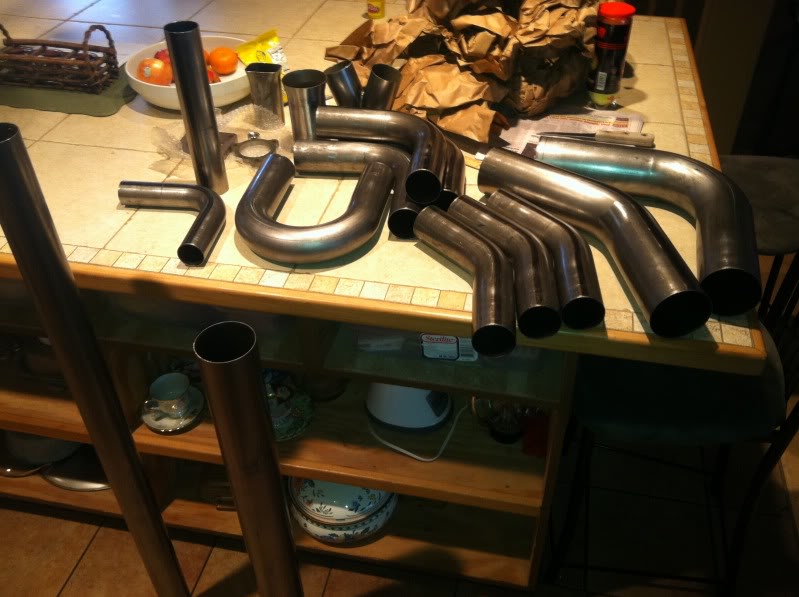
next update if i hopefully finish the turbo hotside this weekend
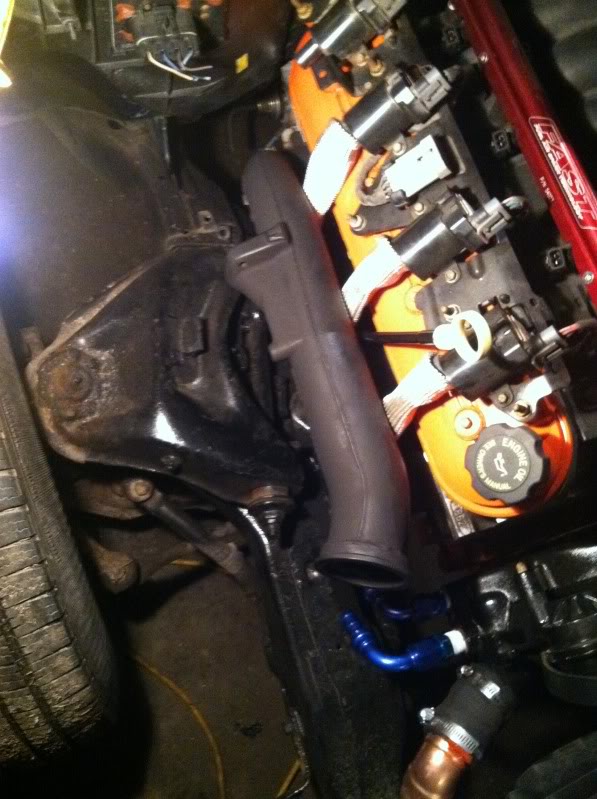
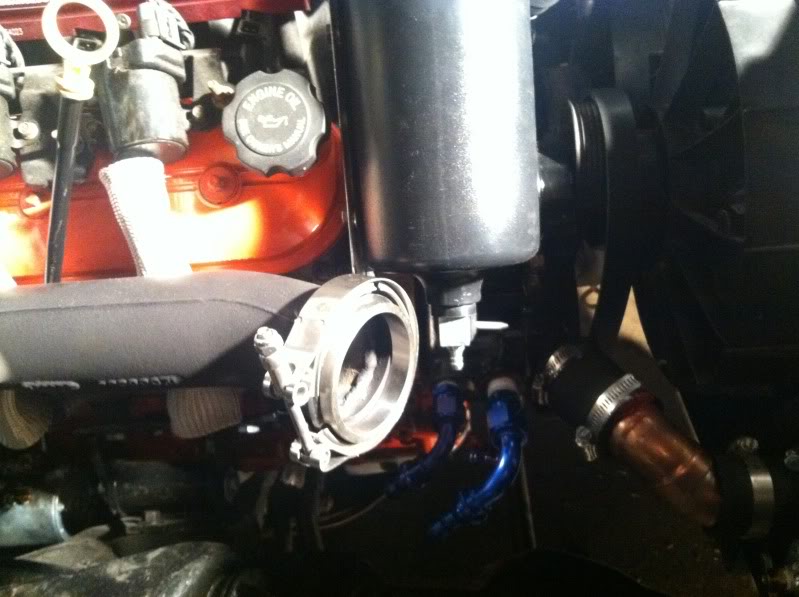
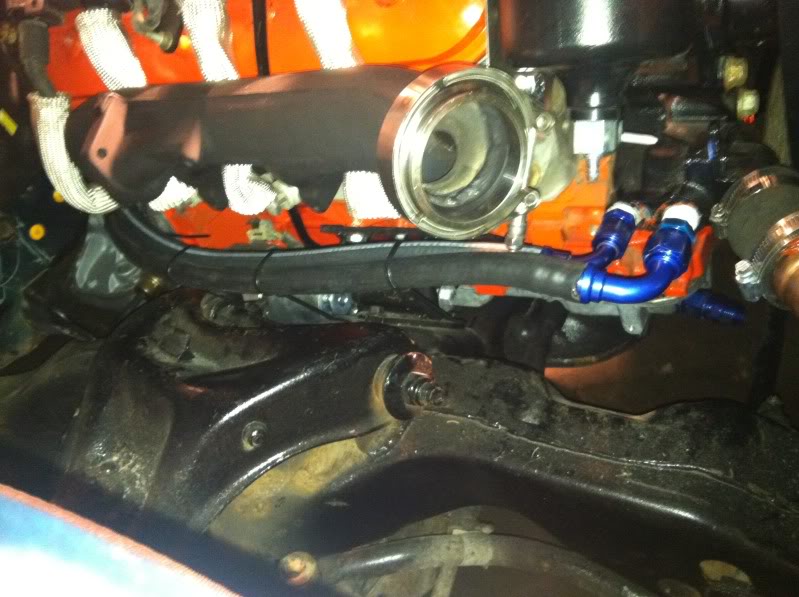
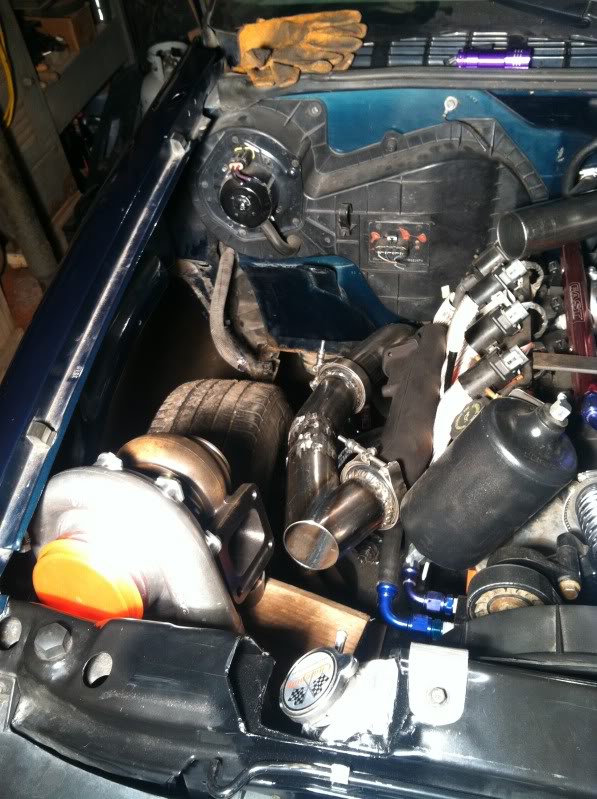
got most of the turbo piping done the past few days once my dad borrowed a millermatic 140 mig from his work so i got to learn how to weld. ill post up every step i took to piecing this together so in case someone asks how i did something they know.
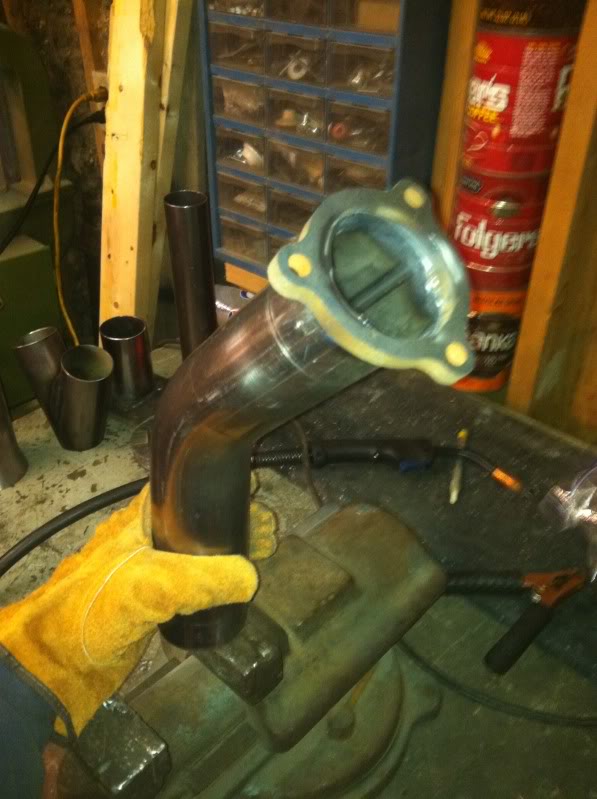
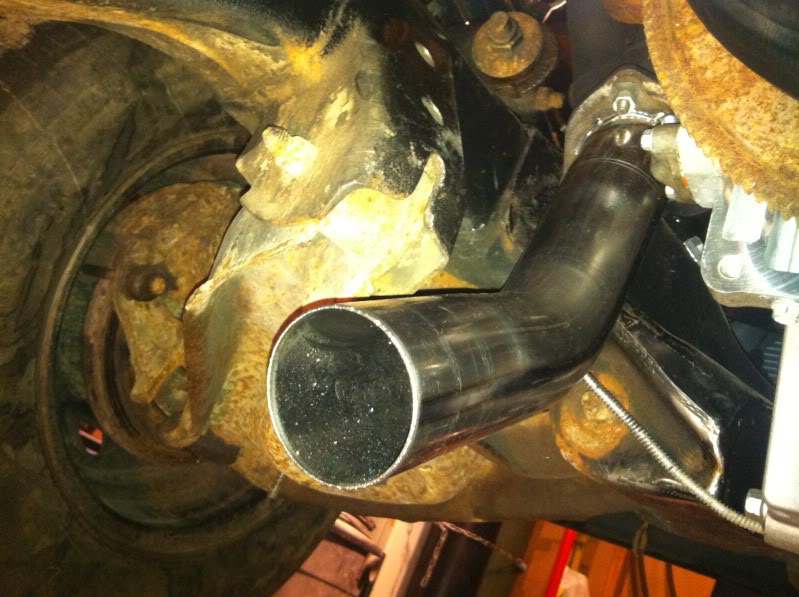
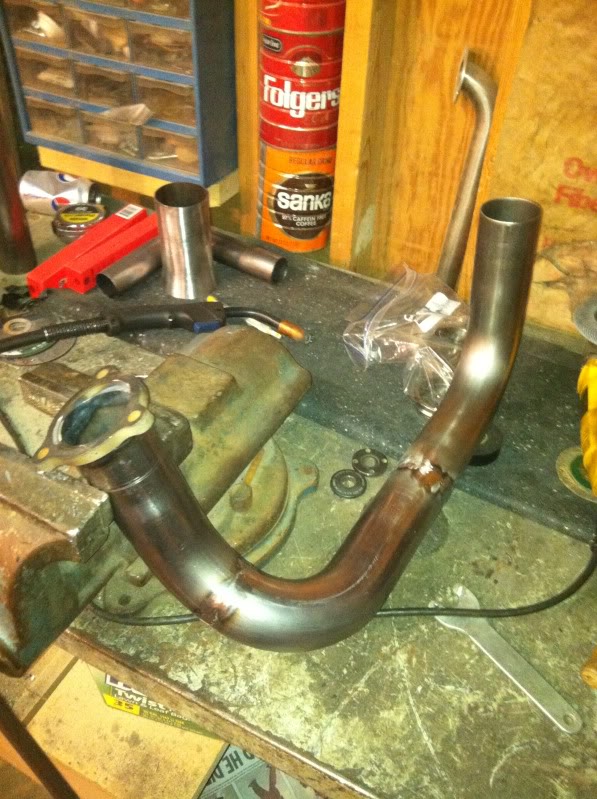
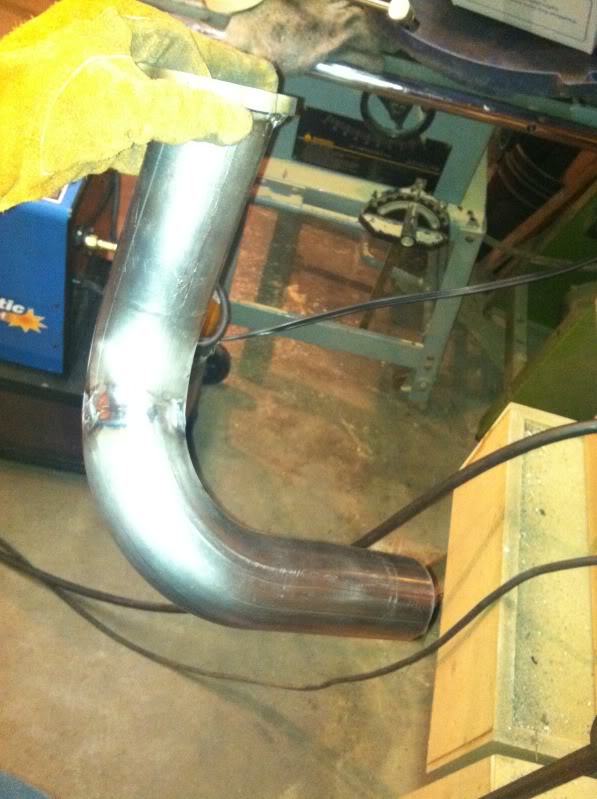
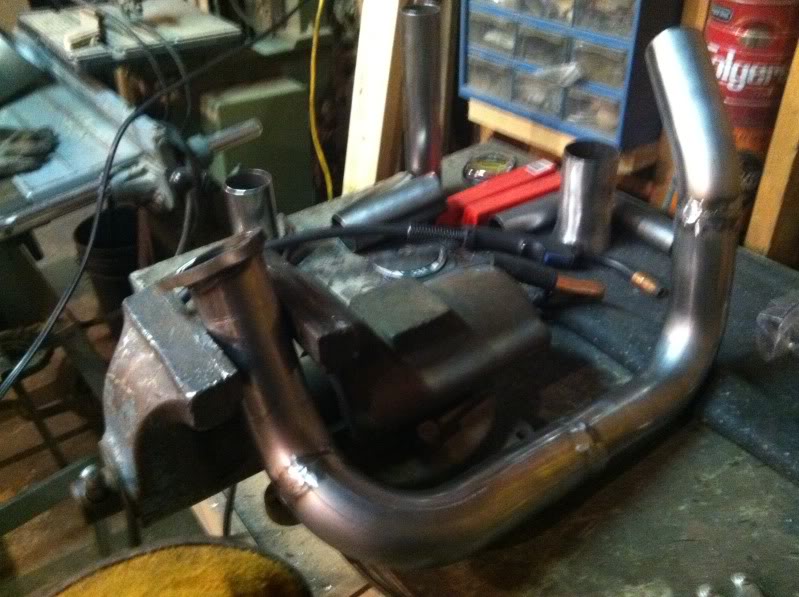
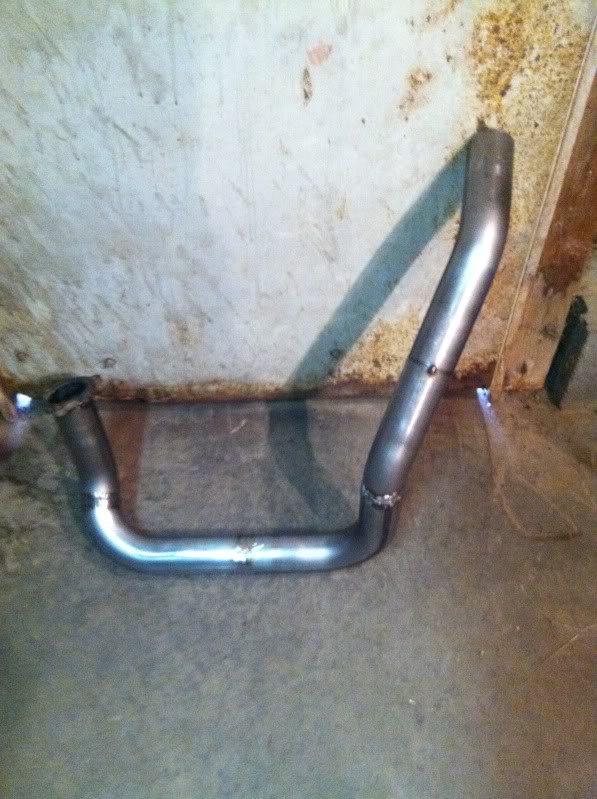
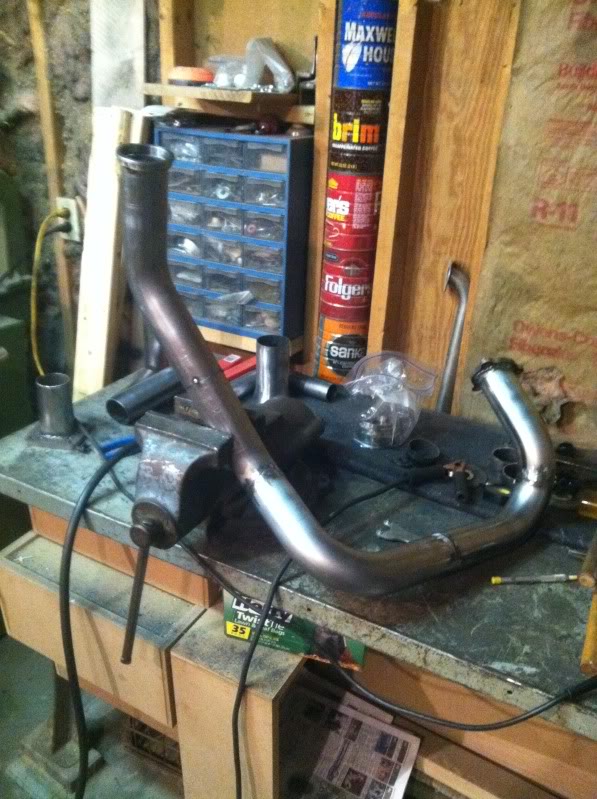
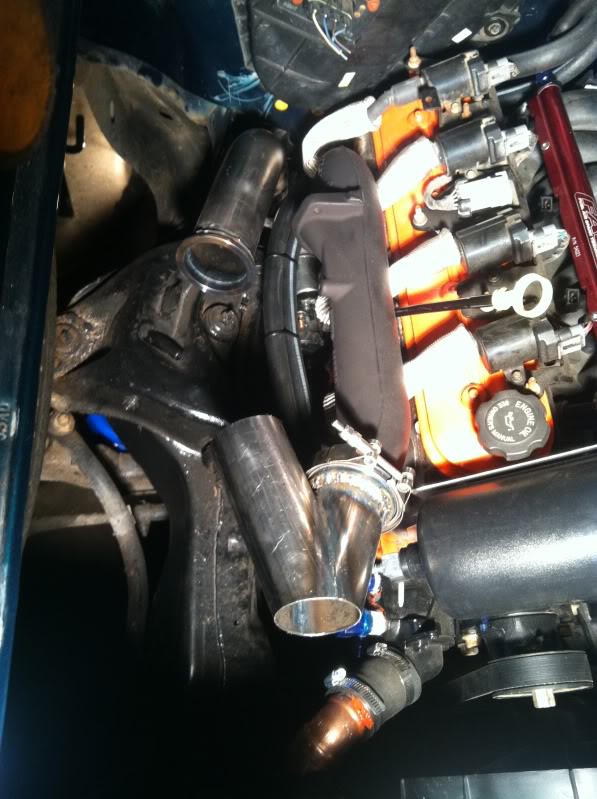
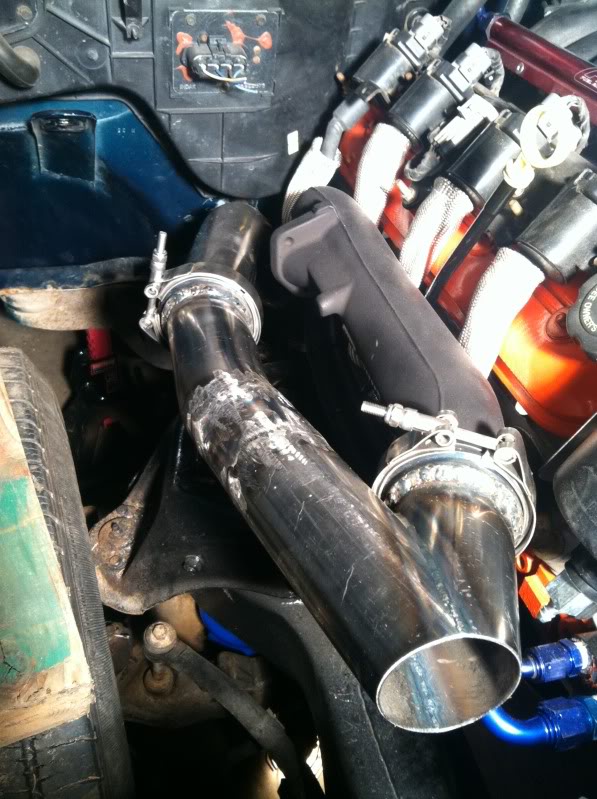
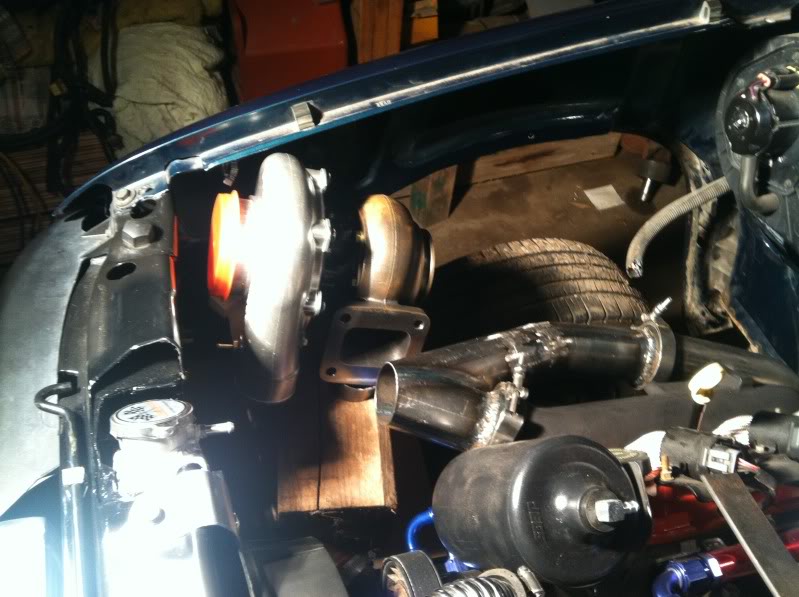
and then this is where things stopped. it was basically impossible to place a mandrel bend in here to the turbo so my dad is gonna fabricate a transition out of 3/16" steel at his work to connect to the turbo inlet to add some strength.
this is all for now but the rest of the exhaust will be done for sure by this upcoming weekend. ill be putting in my battery box, seat belts, tranny cooler, and finishing my fuel system in the next few days since i have them off
i been getting little things done within the past couple days
got my manifold back from a guy at an exhaust shop. he said it was a cakewalk and didnt have any problems welding steel to cast. looks great and much better looking
drilled a 3/4" hole for the return line and put a gromet in
return line installed, dont look amazing but itll work
****!!!!!!!!!!! over tightened the return line off of the regulator and twisted the hose, now i have to buy some more fittings and replace it with some push lock hose
heres how the fuel system looks underneath
got a bracket made for my catch can out of 16guage steel
and here it is installed
and all the rest of the stock harness ripped out. im starting from scratch to simplify things
and the relocation bracket for the powersteering pump that my dad made. comes off of the alternator/power steering bracket
got the heater hoses ran and looking all good with the 90 degree push lock hose fittings. look much better than laying over the engine
you can barely tell i kept the heat!
then i ran the roll over vent line for my fuel cell
ran the hose from my steam vent back into the upper radiator hose
finished cutting out the access for the radiator cap and painted it
got the fuel level sender installed. kinda a pain in the *** but it works
you know whats coming next! this weekends project to finish all the turbo and exhaust piping
next update if i hopefully finish the turbo hotside this weekend
got most of the turbo piping done the past few days once my dad borrowed a millermatic 140 mig from his work so i got to learn how to weld. ill post up every step i took to piecing this together so in case someone asks how i did something they know.
and then this is where things stopped. it was basically impossible to place a mandrel bend in here to the turbo so my dad is gonna fabricate a transition out of 3/16" steel at his work to connect to the turbo inlet to add some strength.
this is all for now but the rest of the exhaust will be done for sure by this upcoming weekend. ill be putting in my battery box, seat belts, tranny cooler, and finishing my fuel system in the next few days since i have them off

 02-28-2012, 07:36 PM
#156
I was going to do the hks filter because I heard screens were bad but I might not put anything on it. I hear a lot of people do it that way and I won't be driving on any dirt roads or in any rain so I'm not worried about debree. Ch025, use the h3 pan. It's also known as the muscle car oil pan. You can get the whole kit from jegs for about $145 and you can get them to fit without notching by either lifting the cab or putting the engine and tranny in seperate
Does anyone want to buy the crossover plus the v band manifold and the rest of what's done so far? In order for a downpipe to work with this set up you'll need it to come out right in front of the passenger tire. I can't find any other way to route the downpipe so I plan on doing a rear mount now. Shoot me an offer
Does anyone want to buy the crossover plus the v band manifold and the rest of what's done so far? In order for a downpipe to work with this set up you'll need it to come out right in front of the passenger tire. I can't find any other way to route the downpipe so I plan on doing a rear mount now. Shoot me an offer
03-02-2012, 12:45 PM
#158
TECH Enthusiast
iTrader: (10)
Join Date: Dec 2011
Location: Grand Haven, MI
Posts: 622
Likes: 0
Received 0 Likes
on
0 Posts
Great build so far man i have been reading it for awhile.
Keep up the great work!
03-03-2012, 11:08 AM
#159
Thanks guys and yes black ill still be using my fmic I will be able to re use all my piping I built so I don't really care too much haha plus its going to be mounted right in the bed so the spool should be pretty loud. And I'm selling my flipped v band manifold too so I should be making some money off of it. Right now I'm working away on the harness so I haven't been able to weld my new turbo piping for the rear mount but hopefully by next week ill be able to finish the wiring and welding
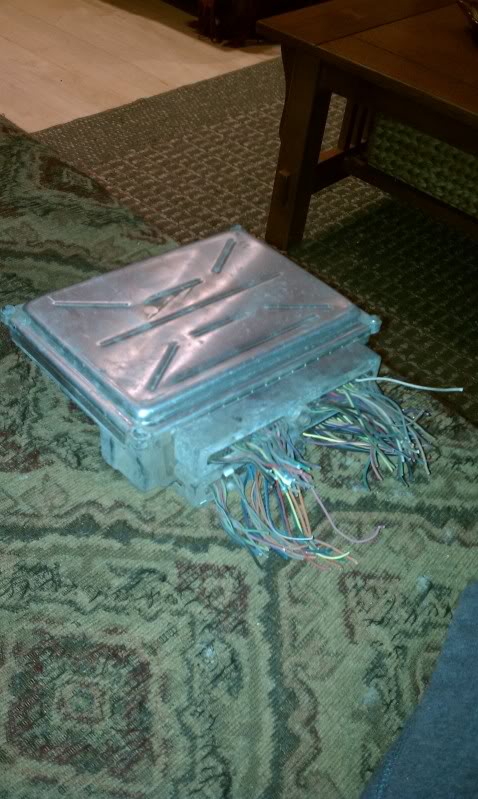
heres the 03+ ecm i picked up from the junkyard. since it was dbw i needed to put pins in the iac and tps spots and when it gets programed it will need to be programmed for and express van with dbc
my 99-02 harness from a 4.8 sierrra
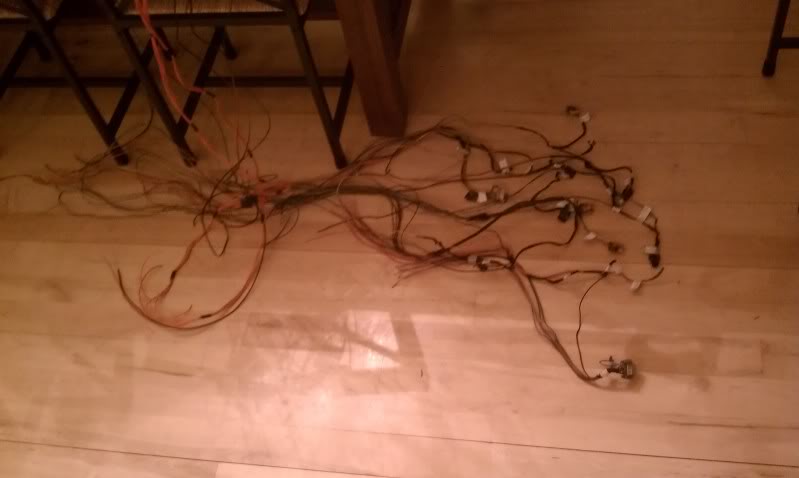
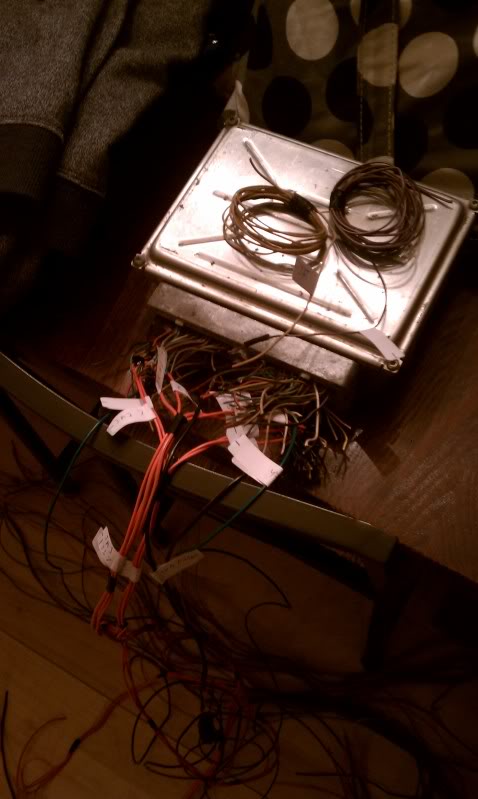
its almost done now i just need a few more sensors and things to wrap it up. its been taking up most of my time lately and i have easily put 10+ hours into wiring it so far. worth it in my eyes considering aftermarket harnesses are $400+ and i got both the harness and ecm for $100 at the junkyard
Fuuuuuuuuuuuck! Some 03+ ecm's can't be converted from dbw to dbc. And mine happens to be one of them. Anyone wanna trade? I need an 99-02 ecm
Got a new ecm for $30 shipped. Anyone wanna buy mine? Haha
heres the 03+ ecm i picked up from the junkyard. since it was dbw i needed to put pins in the iac and tps spots and when it gets programed it will need to be programmed for and express van with dbc
my 99-02 harness from a 4.8 sierrra
its almost done now i just need a few more sensors and things to wrap it up. its been taking up most of my time lately and i have easily put 10+ hours into wiring it so far. worth it in my eyes considering aftermarket harnesses are $400+ and i got both the harness and ecm for $100 at the junkyard
Fuuuuuuuuuuuck! Some 03+ ecm's can't be converted from dbw to dbc. And mine happens to be one of them. Anyone wanna trade? I need an 99-02 ecm
Got a new ecm for $30 shipped. Anyone wanna buy mine? Haha

