
Just another LS1 miata build
 01-26-2012, 07:11 PM
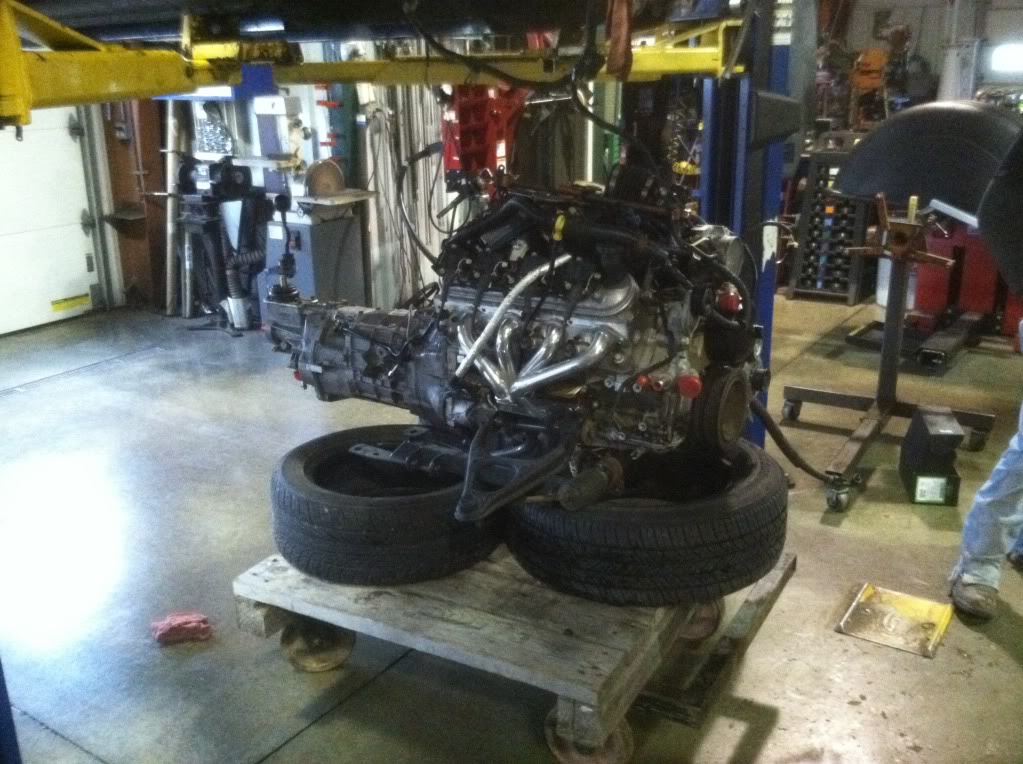
#61


KJT11, making good progress. Thanks for the updates.
Don't forget that w/ a lot of effort you can tack your own LT headers together using a 1 3/4" primary kit & 4" to 2.5" collector (true duals). Once you get it where you want it, take the manifold plates & header assy's to a local welding shop & have them final tig welded.
Don't forget that w/ a lot of effort you can tack your own LT headers together using a 1 3/4" primary kit & 4" to 2.5" collector (true duals). Once you get it where you want it, take the manifold plates & header assy's to a local welding shop & have them final tig welded.

 01-27-2012, 11:19 PM
#63
Teching In
Thread Starter

Join Date: Nov 2011
Location: Cincinnati OH
Posts: 39
Likes: 0
Received 0 Likes
on
0 Posts
Heres my big issue with the fuel lines coming off the pump. I understand that the NB has connectors that you can get 5/16th quick connects for, however ive seen tons of NAs with double clamps, which at the end of the pumps tube it flares out, due to the fact that the original fuel lines were crimped on with a quick C clamp. So one im sure its doable and two how would you weld your own fittings on.
02-21-2012, 08:12 PM
#64
Teching In
Thread Starter
Join Date: Nov 2011
Location: Cincinnati OH
Posts: 39
Likes: 0
Received 0 Likes
on
0 Posts
Sorry for neglecting the page ive been busy as hell
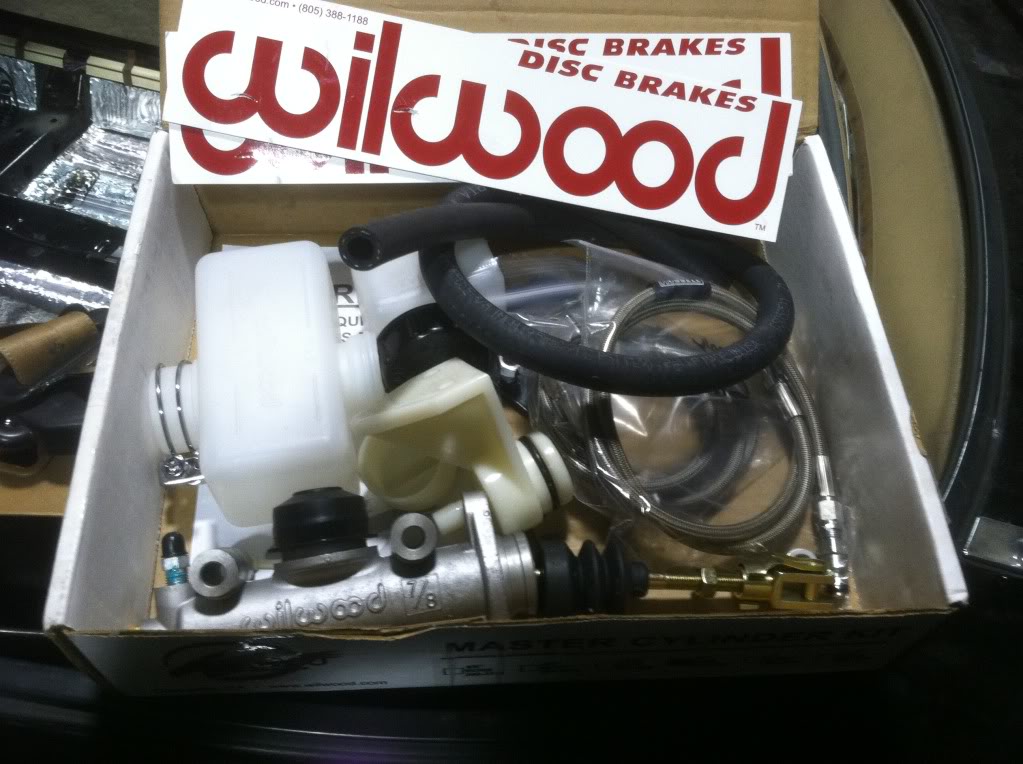
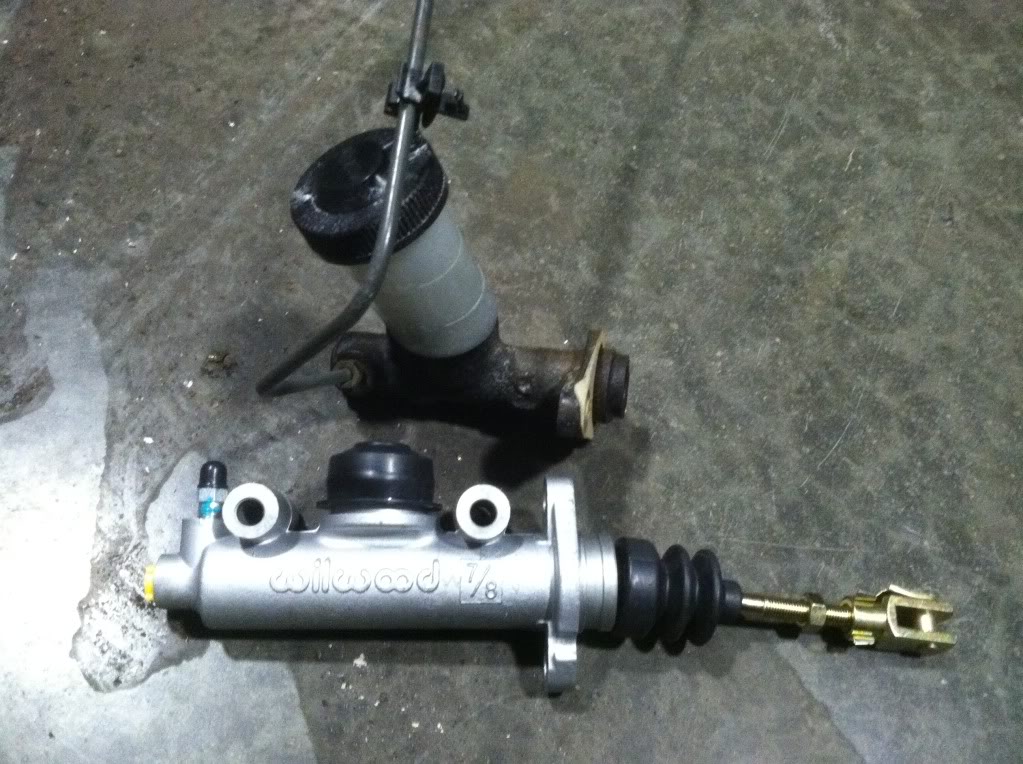
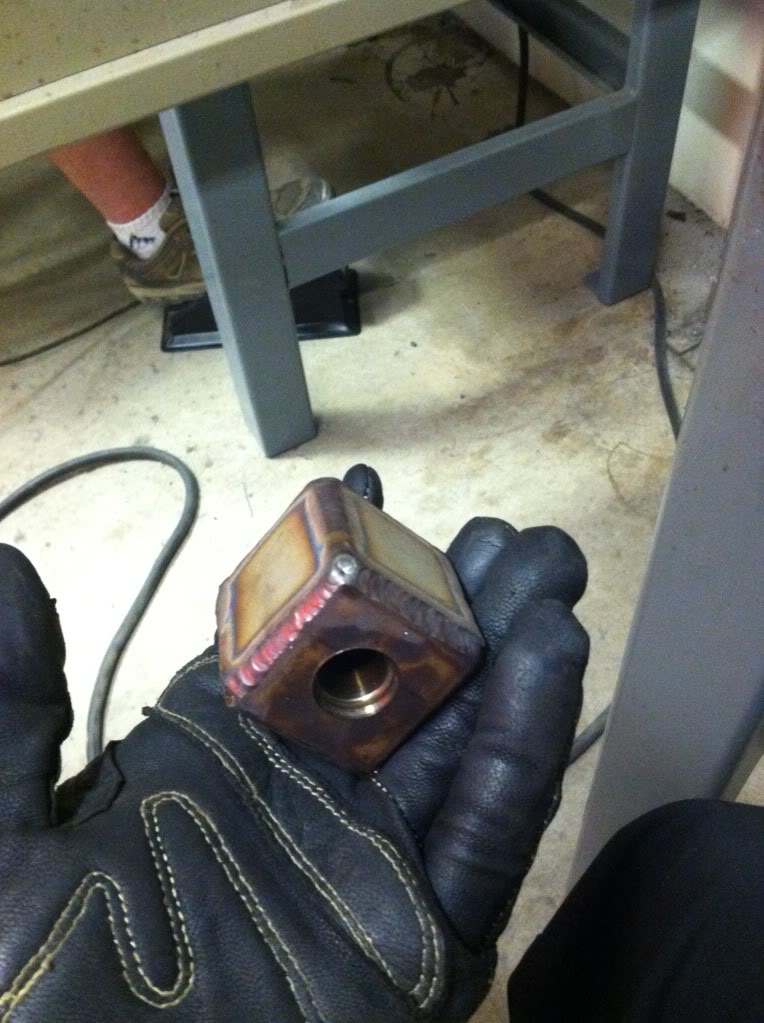
Got this set up for my clutch, quality!
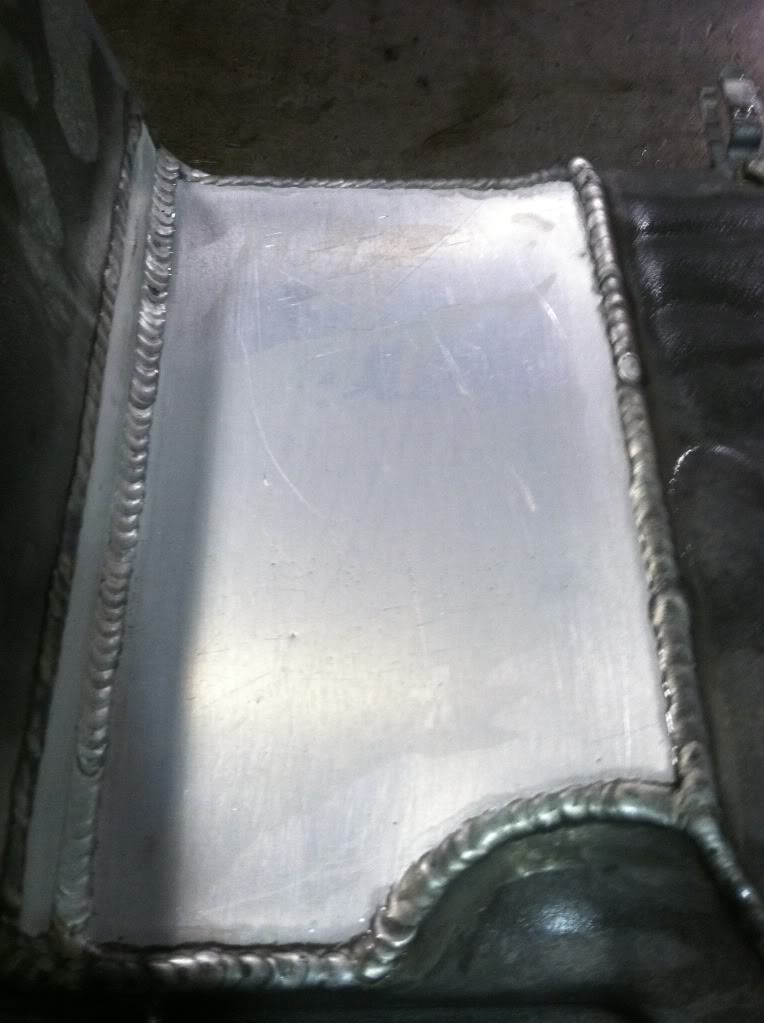
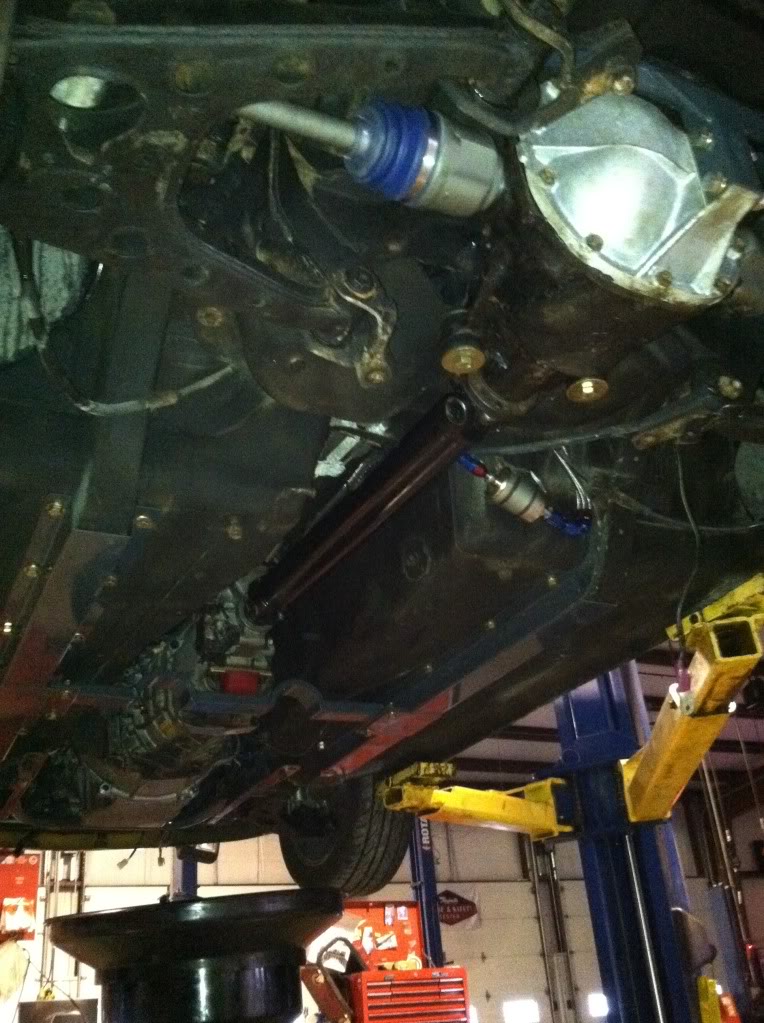
My notched and tigged Oil pan
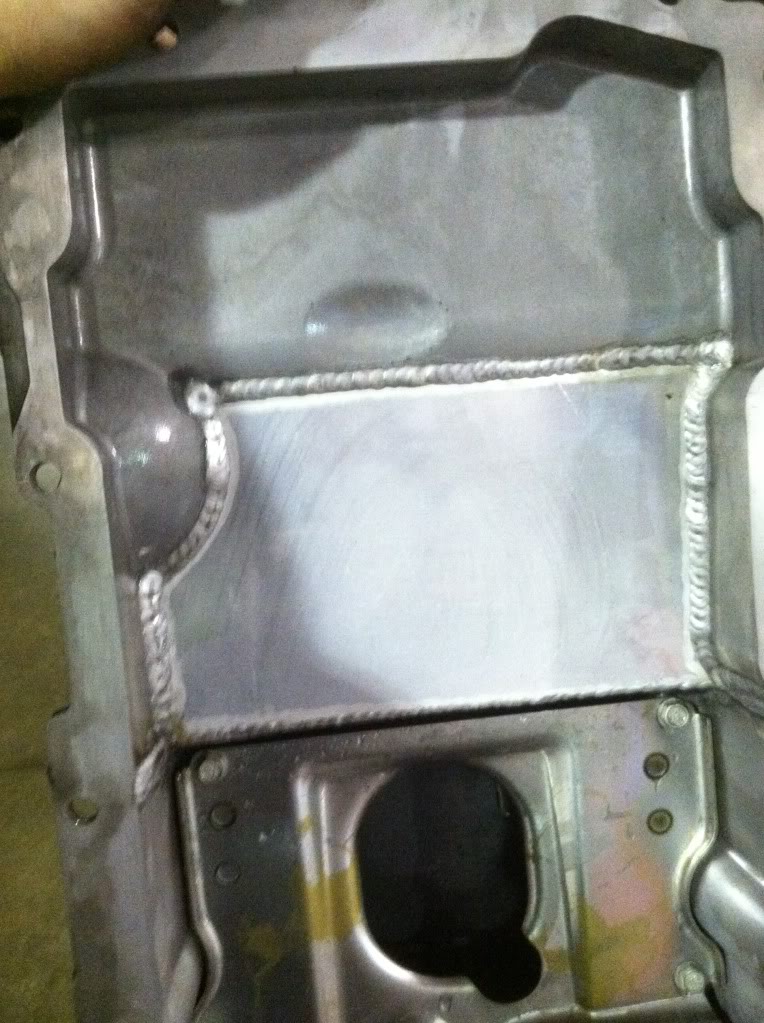
Final Fit!!
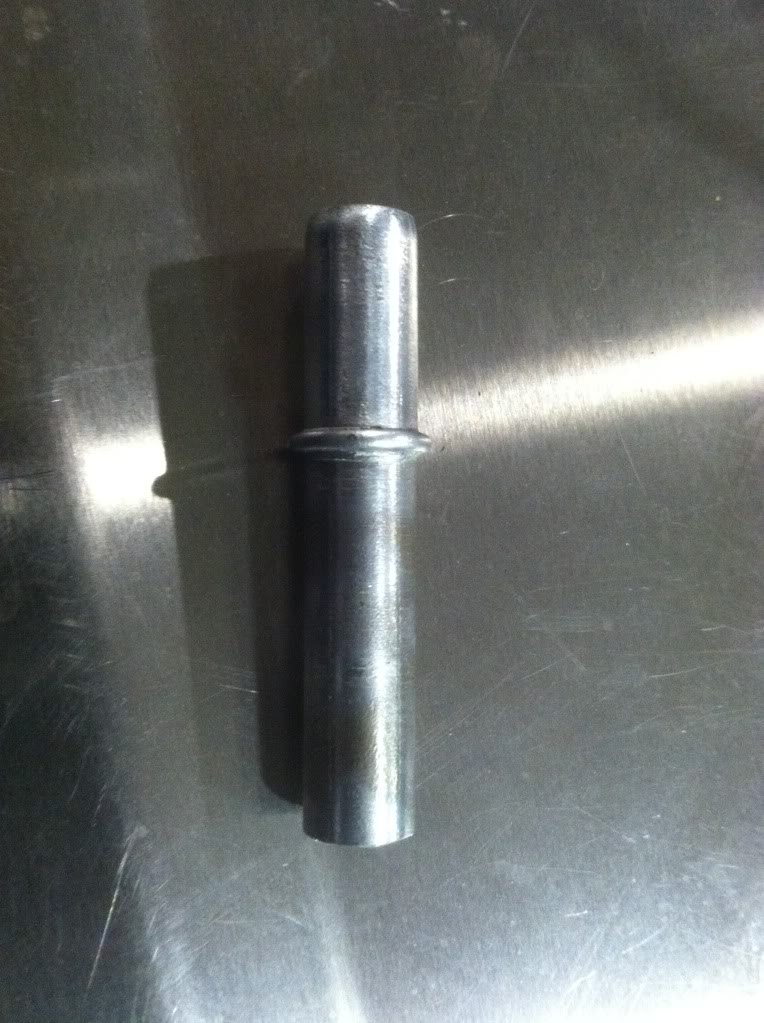
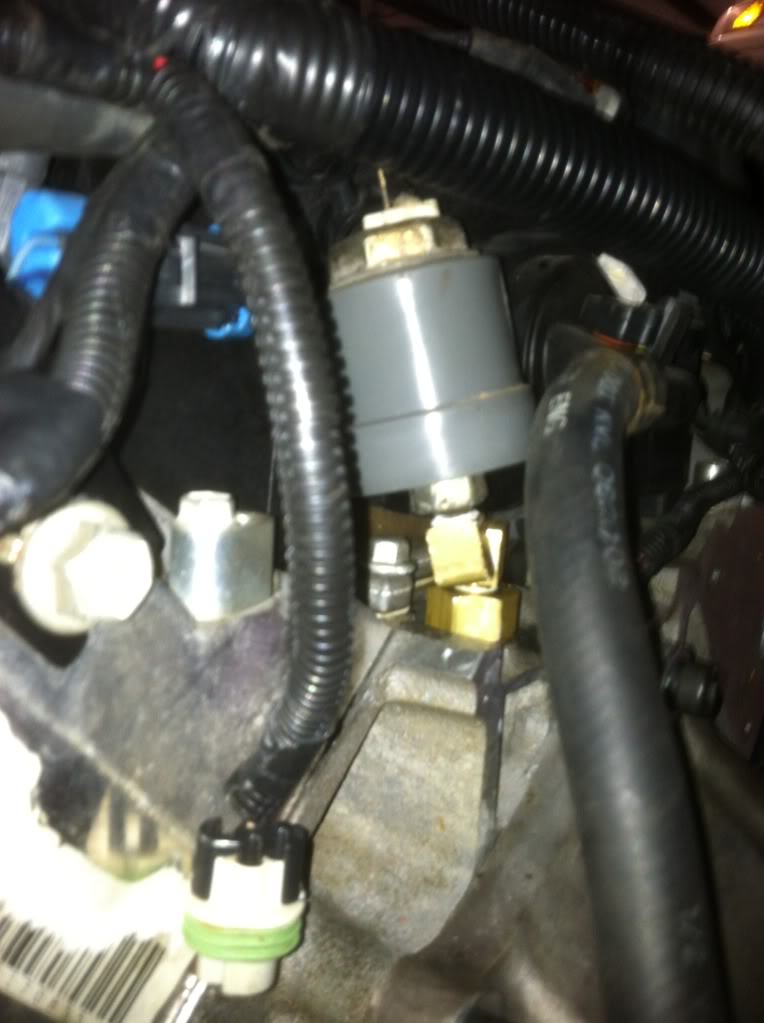
Made this fuel line to go into my male end of the filter
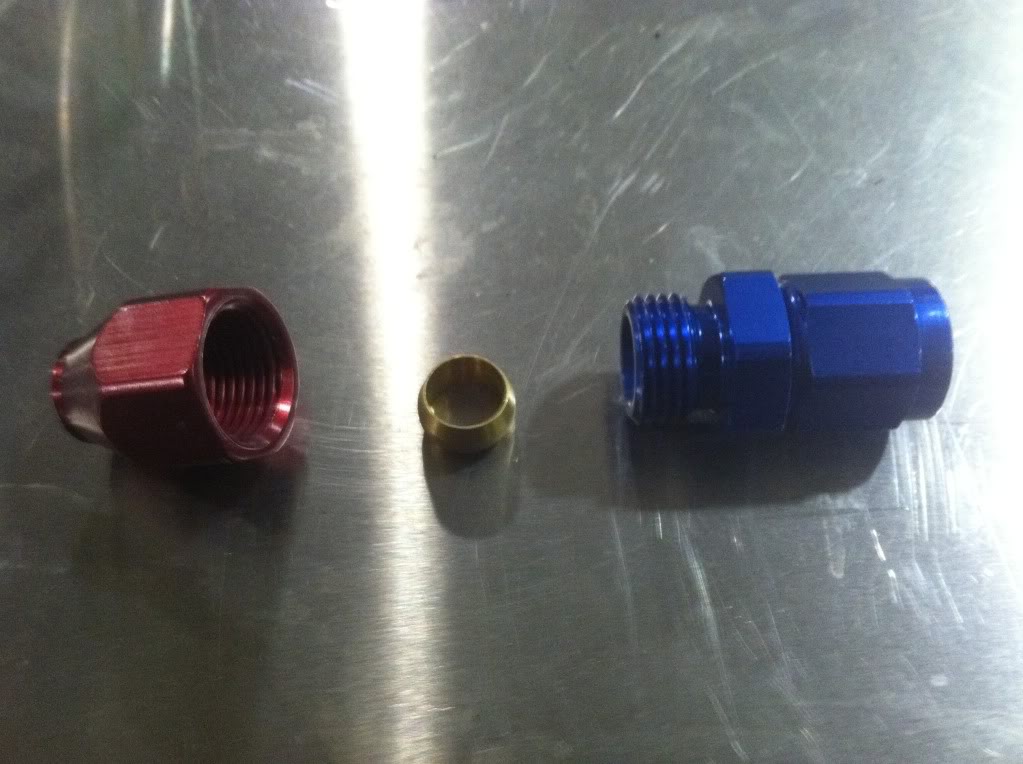
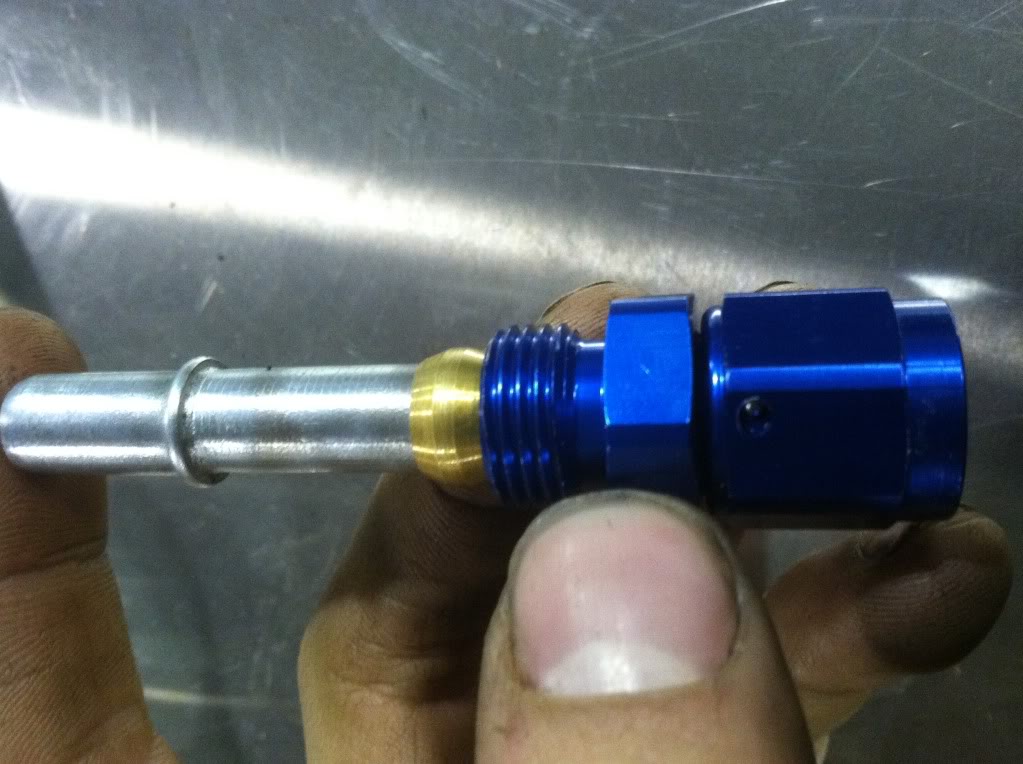
Compression fitting an AN on
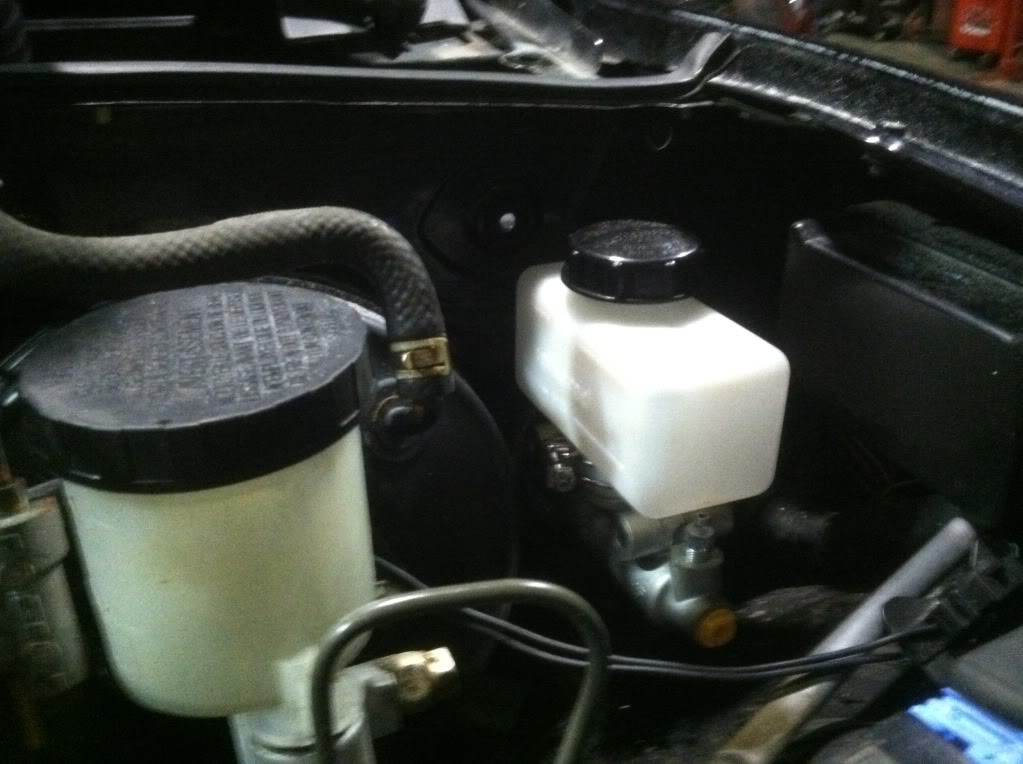
Routed the fuel lines and put a pressure tap in
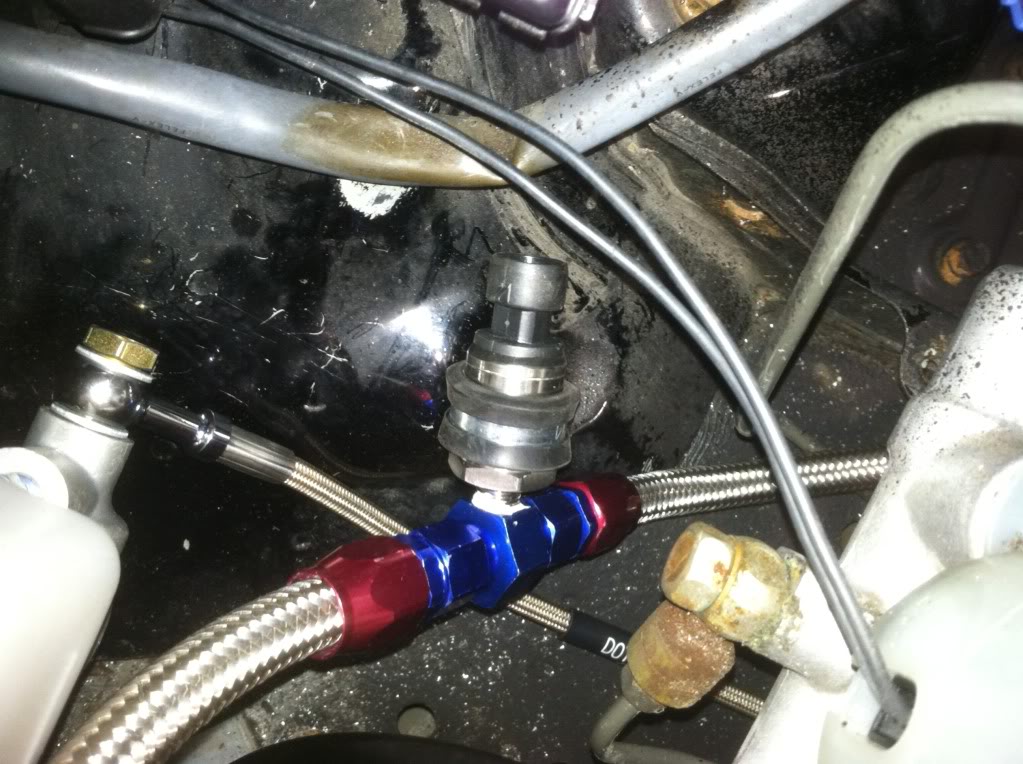
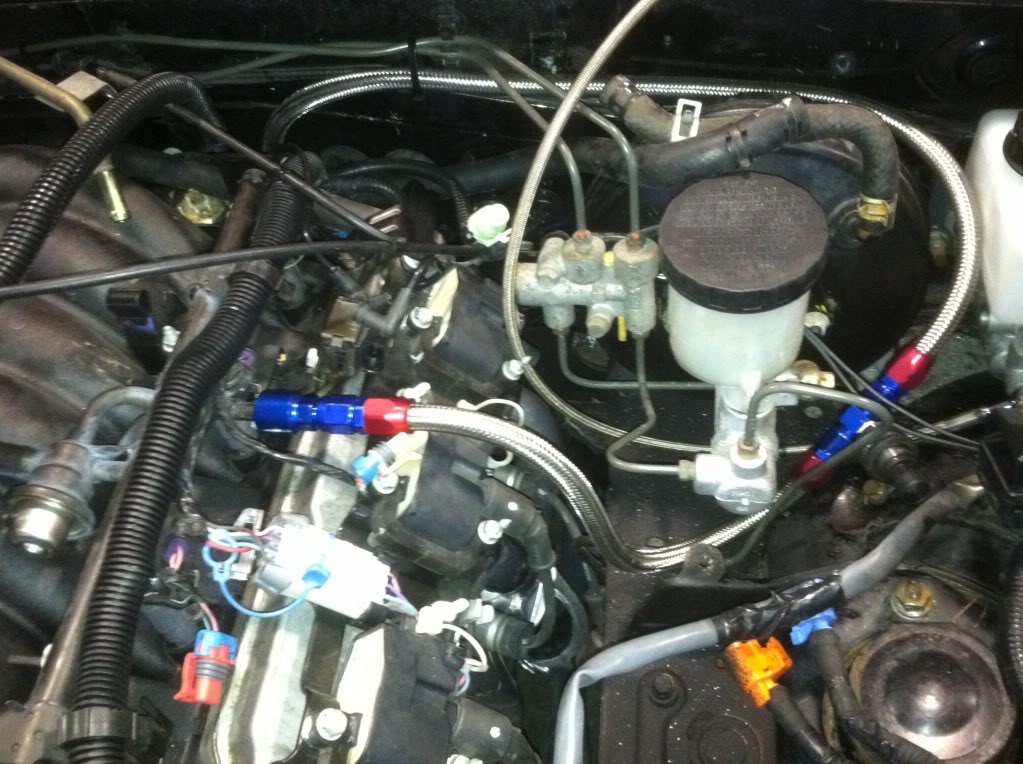
Tapped in a miata oil pressure sensor in the stock gm ops location, F-ing tight.
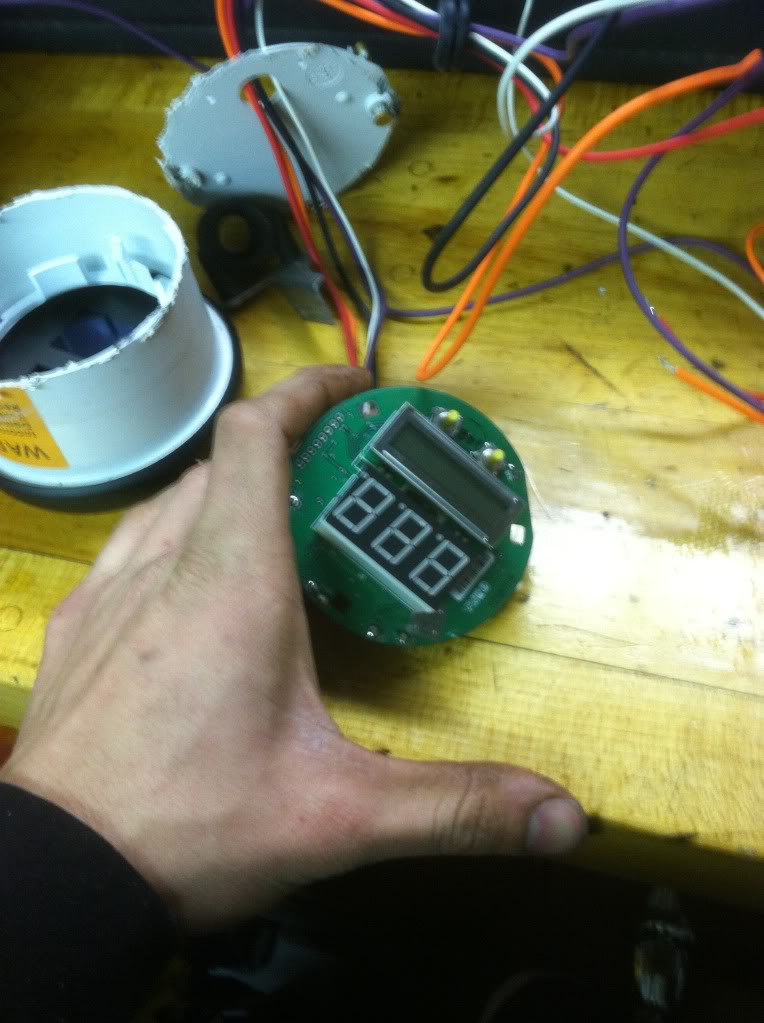
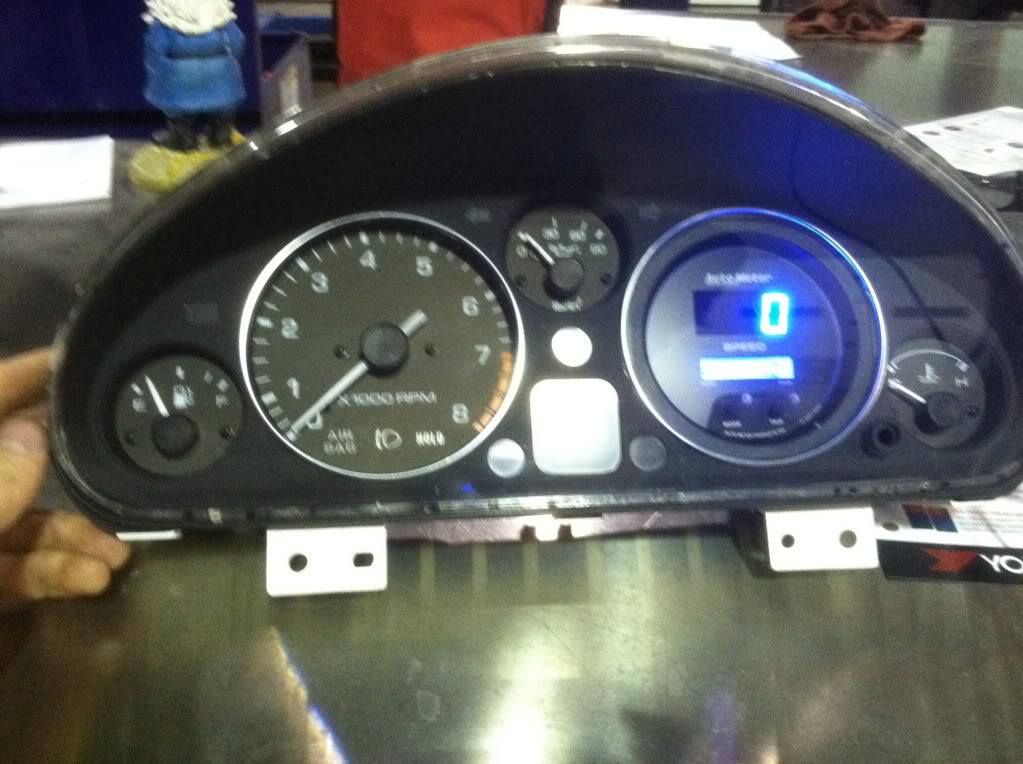
I bought an expensive *** speedometer
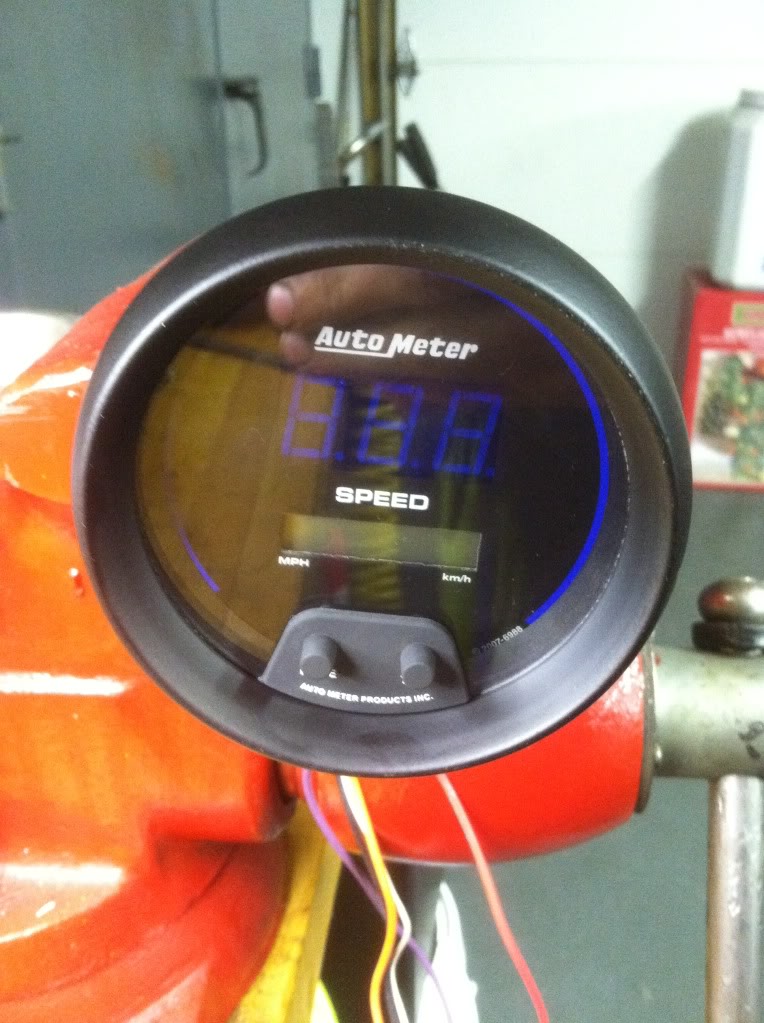
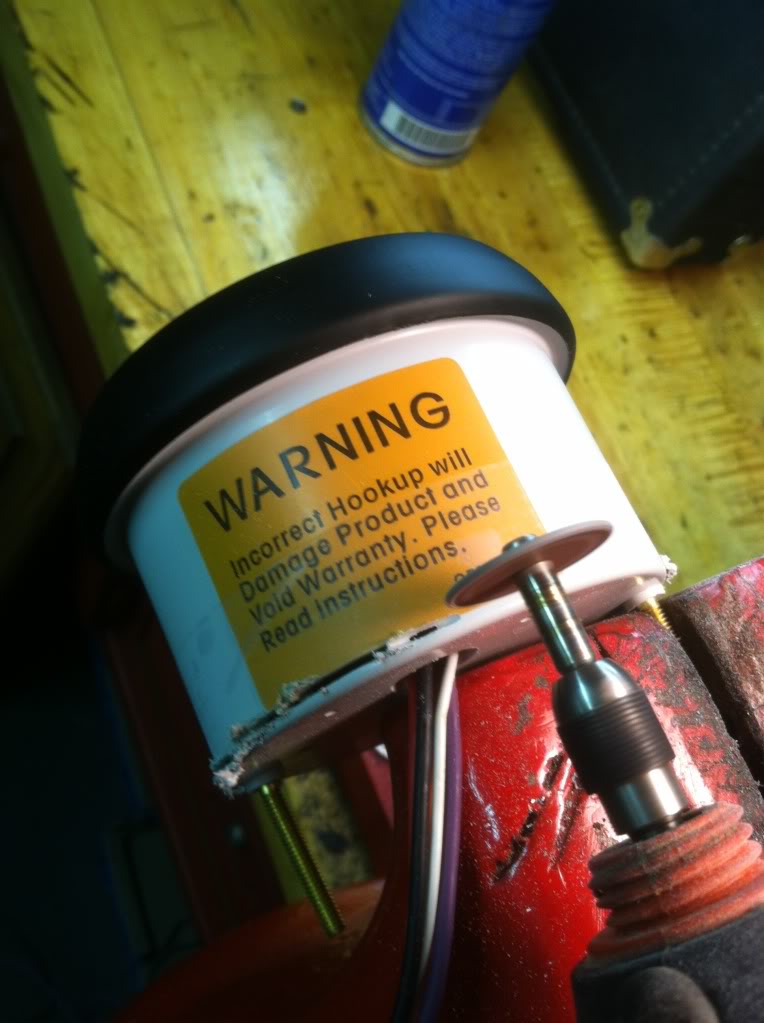
Then cut it up i think i voided a warranty or two
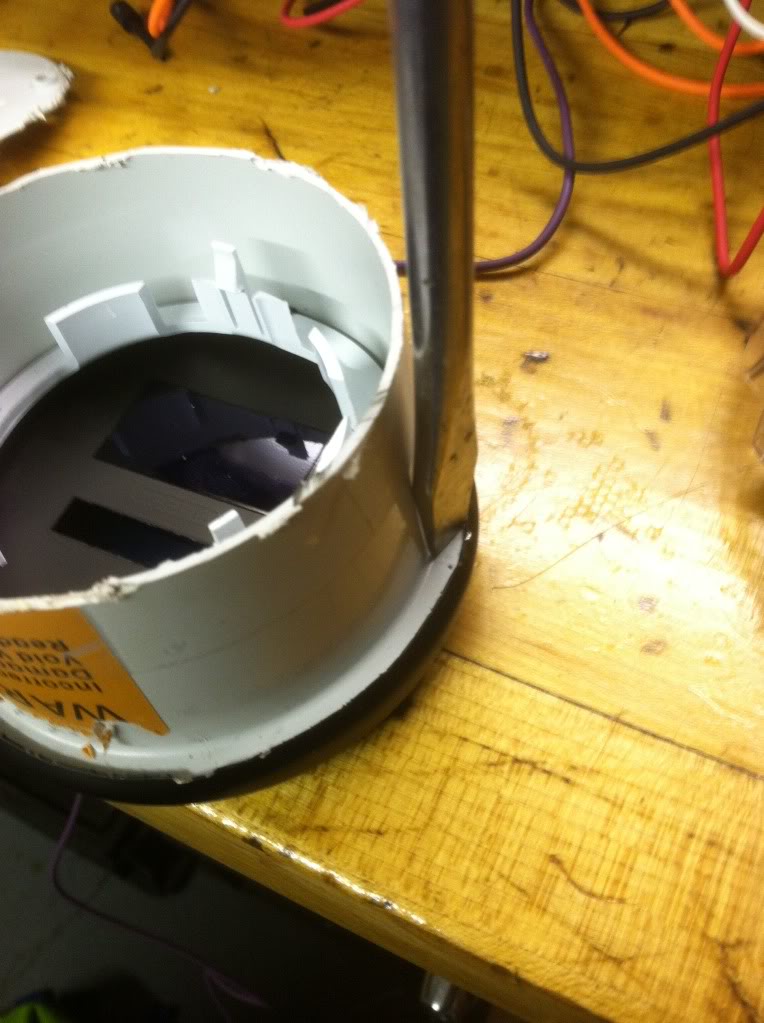
face plate of miata cluster before
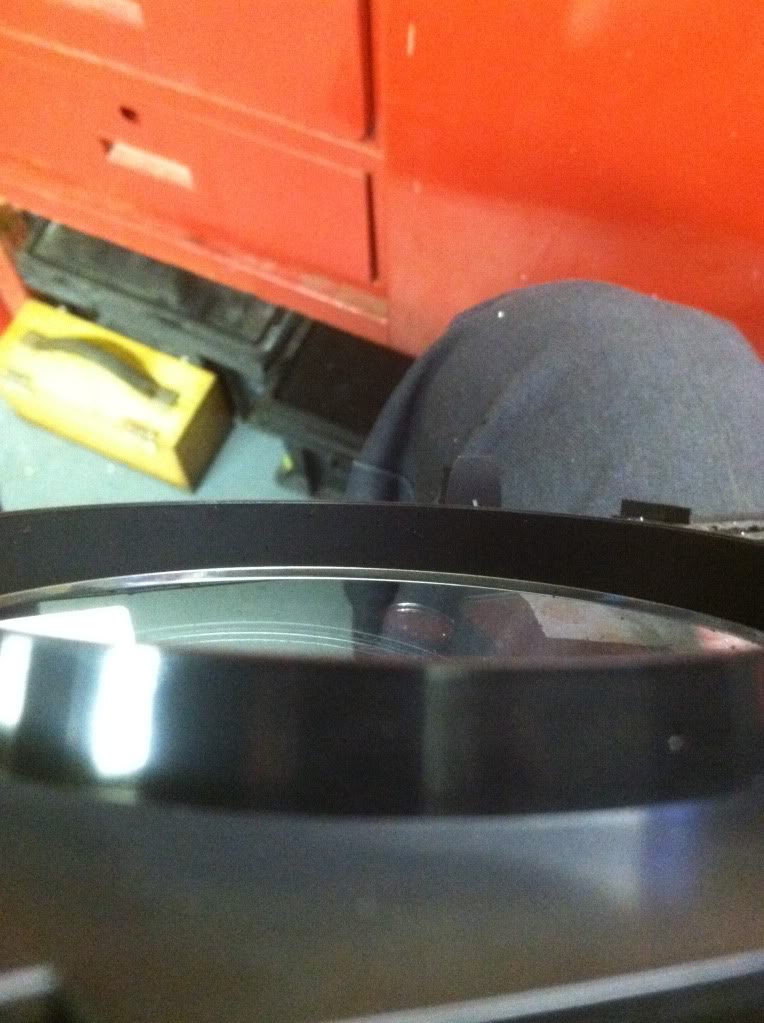
after
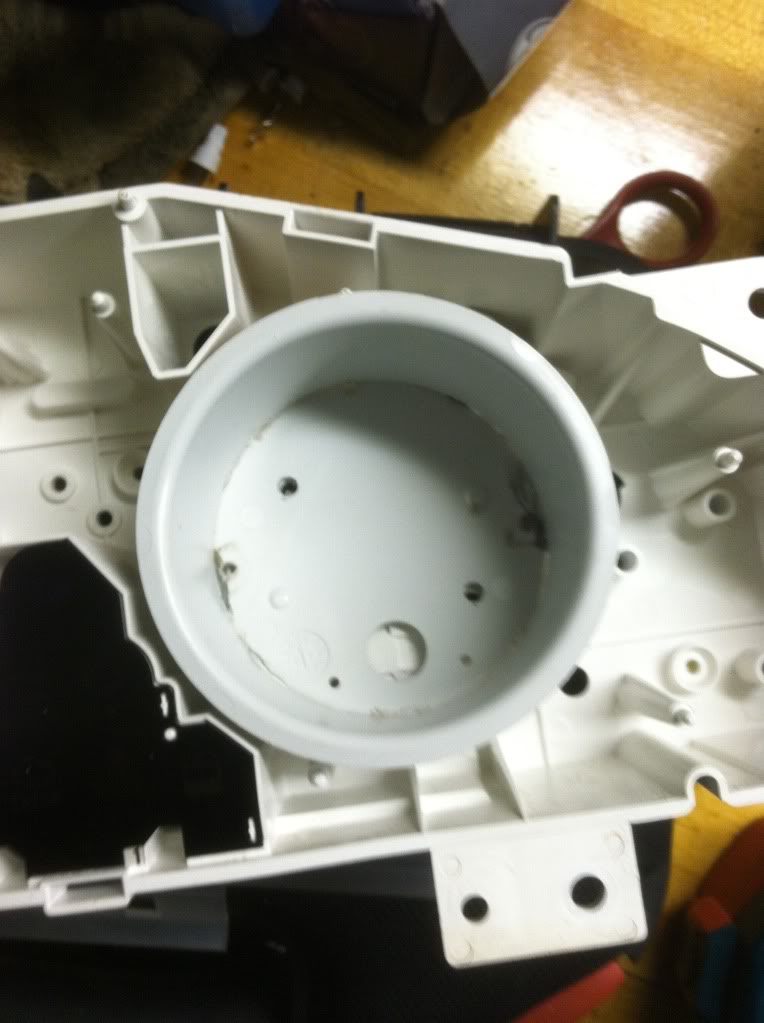
boom

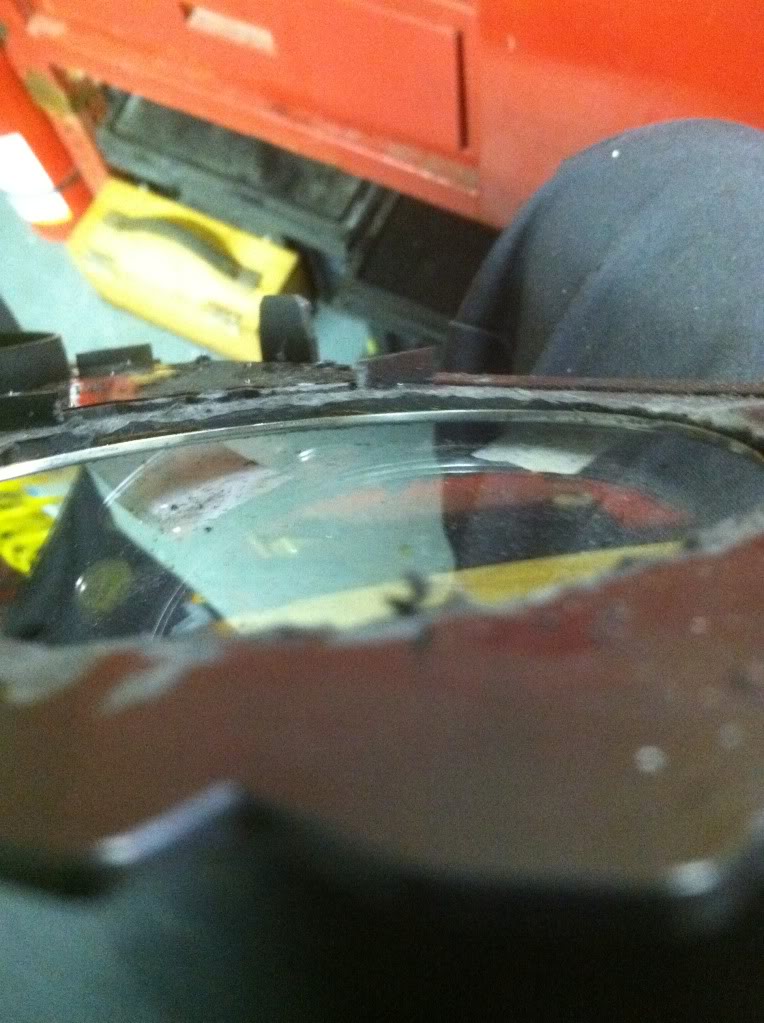
BAM
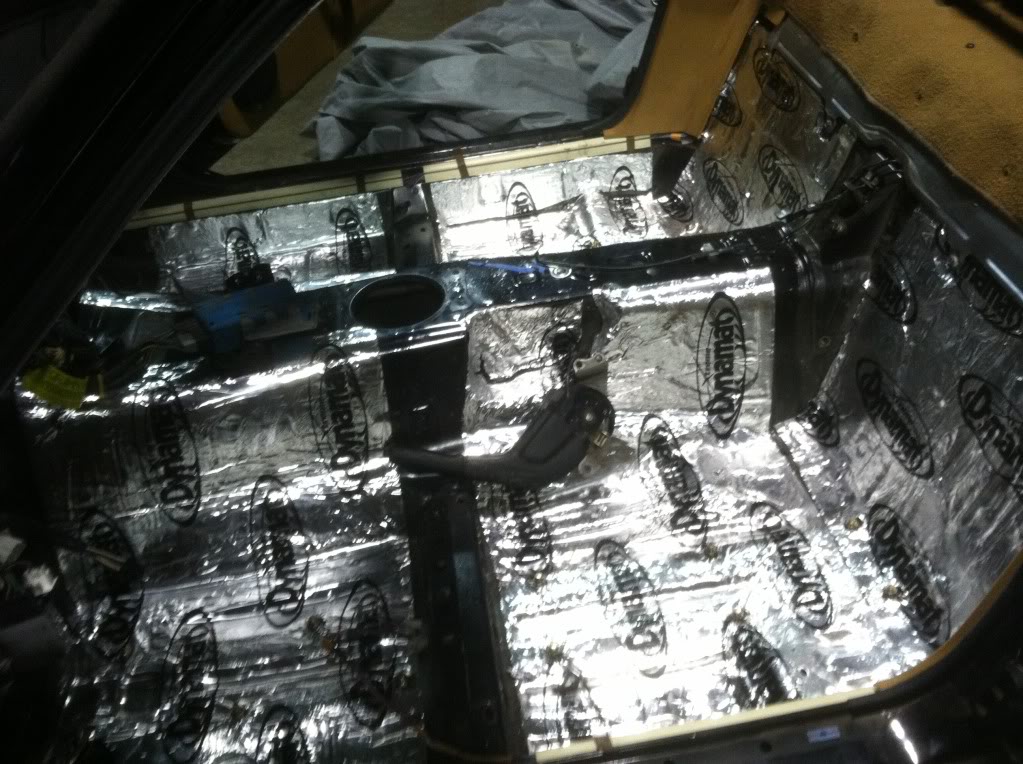
Dyanmat while i wait on driveline
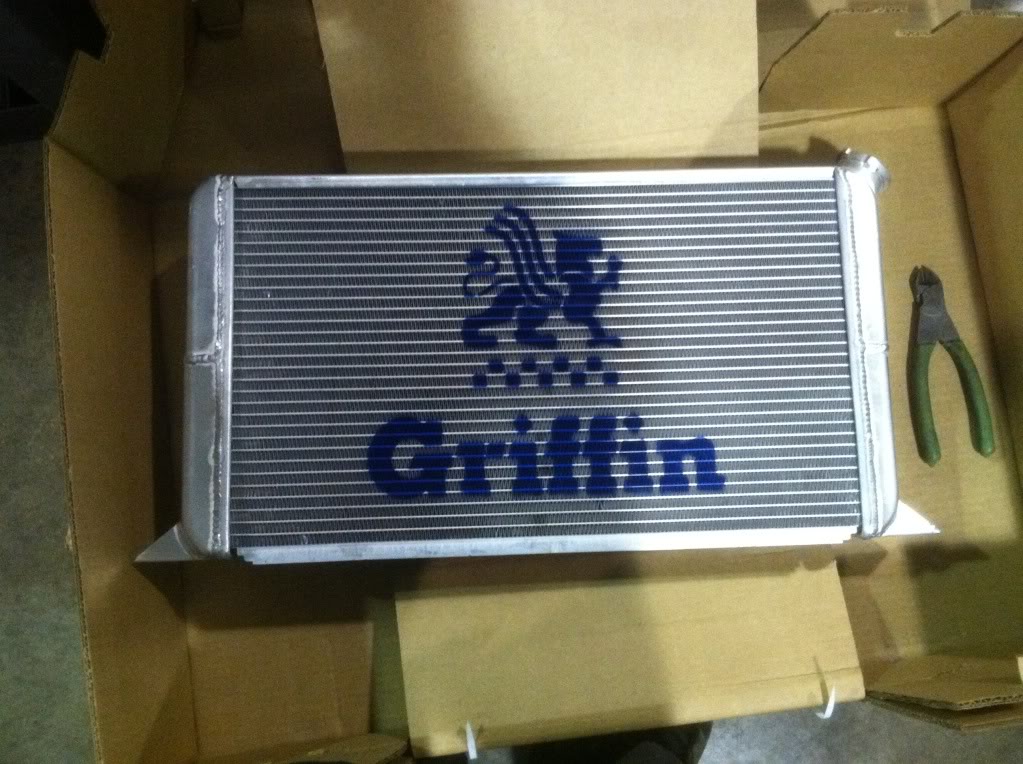
Gotta mount up the radiator hogwarts sent me
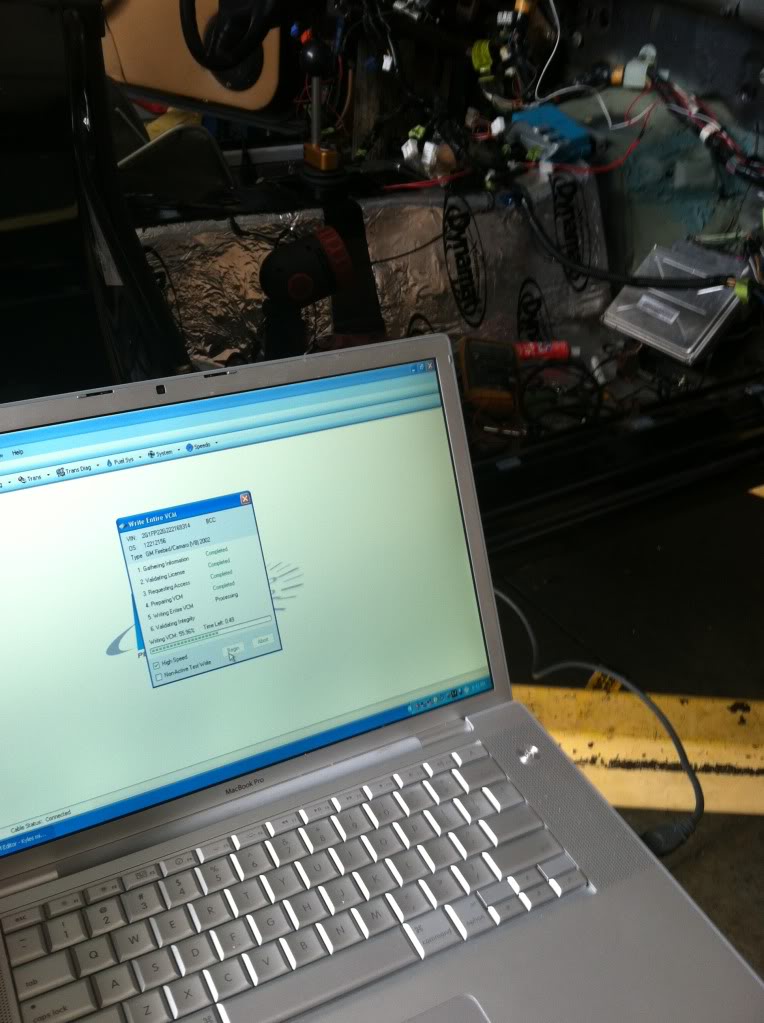
Waiting on my Hp tuners to arrive, alternator, and starter are all wired up computers next then gauges/ fuel
Got this set up for my clutch, quality!
My notched and tigged Oil pan
Final Fit!!
Made this fuel line to go into my male end of the filter
Compression fitting an AN on
Routed the fuel lines and put a pressure tap in
Tapped in a miata oil pressure sensor in the stock gm ops location, F-ing tight.
I bought an expensive *** speedometer
Then cut it up
i think i voided a warranty or twoface plate of miata cluster before
after
boom
BAM
Dyanmat while i wait on driveline
Gotta mount up the radiator hogwarts sent me
Waiting on my Hp tuners to arrive, alternator, and starter are all wired up computers next then gauges/ fuel
03-04-2012, 07:02 PM
#66
Teching In
Thread Starter
Join Date: Nov 2011
Location: Cincinnati OH
Posts: 39
Likes: 0
Received 0 Likes
on
0 Posts
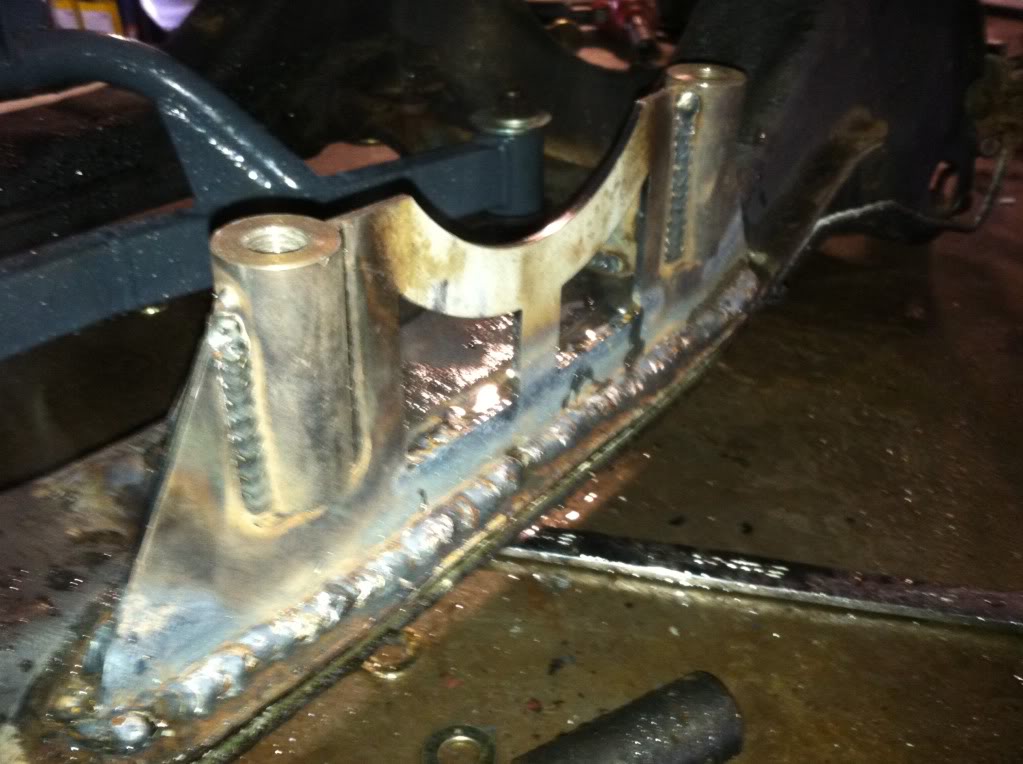
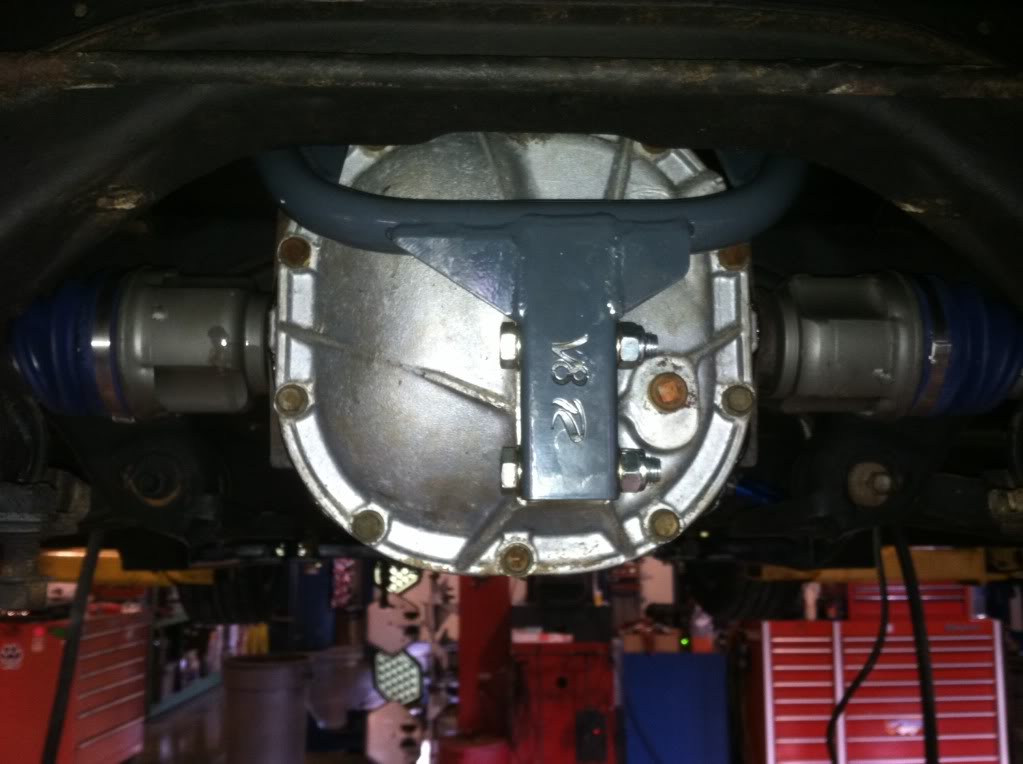
Got my drive line, its pretty straight forward, welded the front of my differential in at 2 degrees for the driveshaft angle.
Botled her up
Lifted this tank in
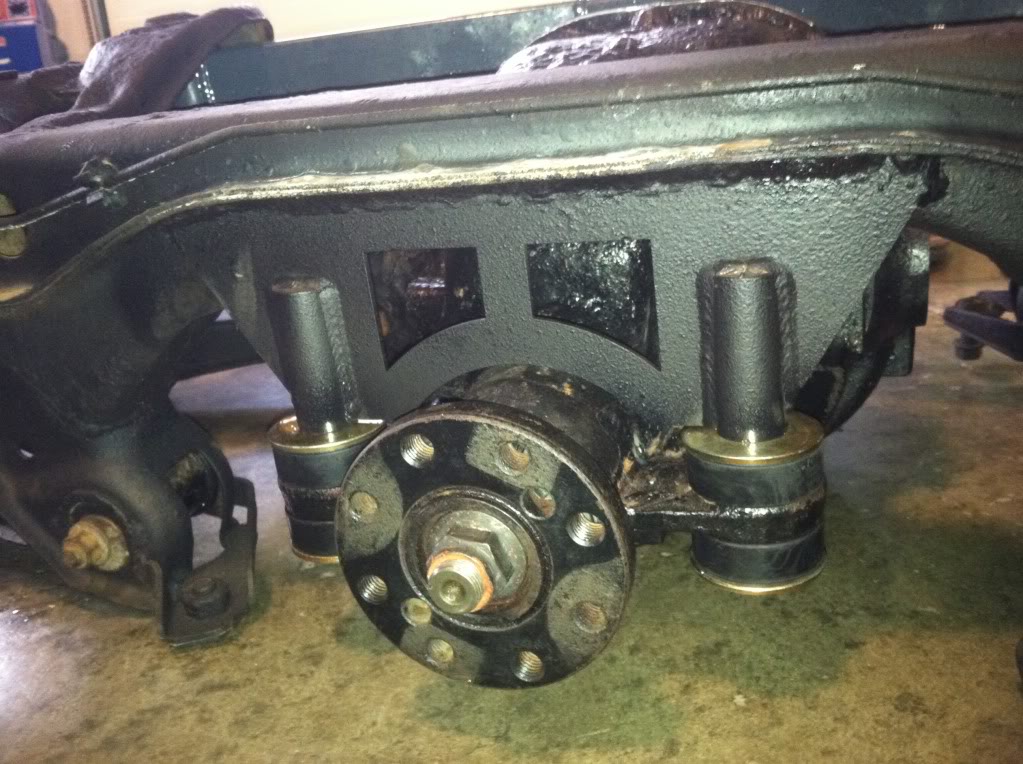
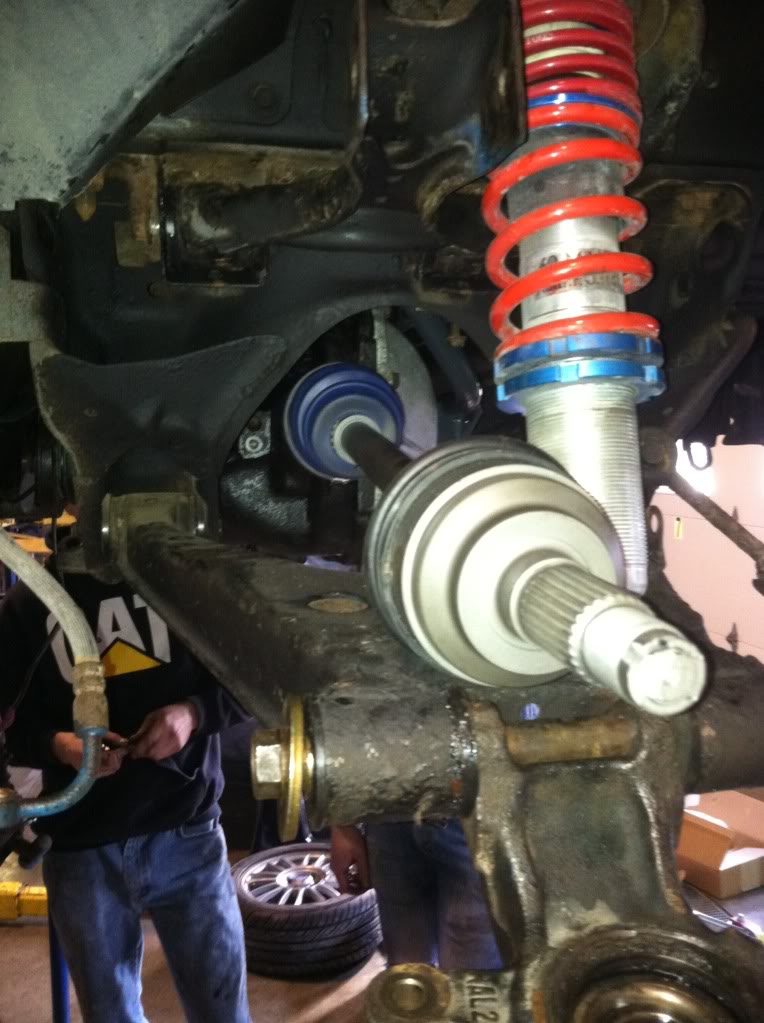
Installed these sexy axles
Filled all fluids and bled brakes and clutch!
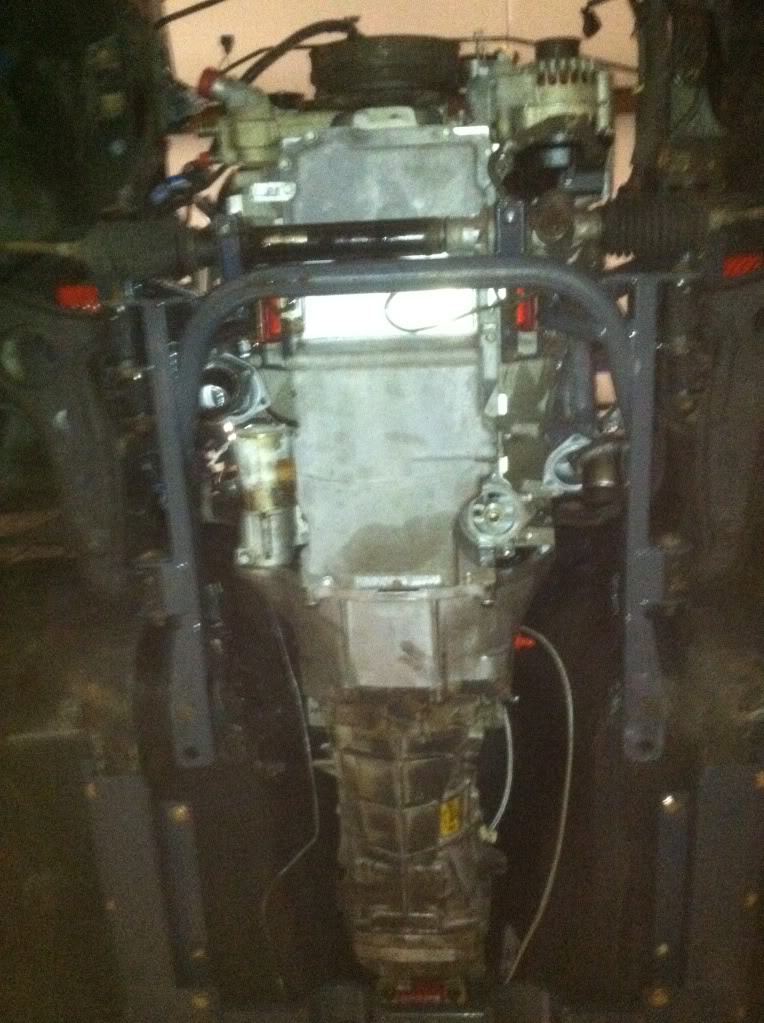
Also i had to make my steering shaft slide by my POS headers, now its off to some little bits of wiring, Powersteering, and cooling hoses. Headed to get racing seats this weekend.
Botled her up
Lifted this tank in
Installed these sexy axles
Filled all fluids and bled brakes and clutch!
Also i had to make my steering shaft slide by my POS headers, now its off to some little bits of wiring, Powersteering, and cooling hoses. Headed to get racing seats this weekend.
03-18-2012, 08:46 PM
#68
Teching In
Thread Starter
Join Date: Nov 2011
Location: Cincinnati OH
Posts: 39
Likes: 0
Received 0 Likes
on
0 Posts
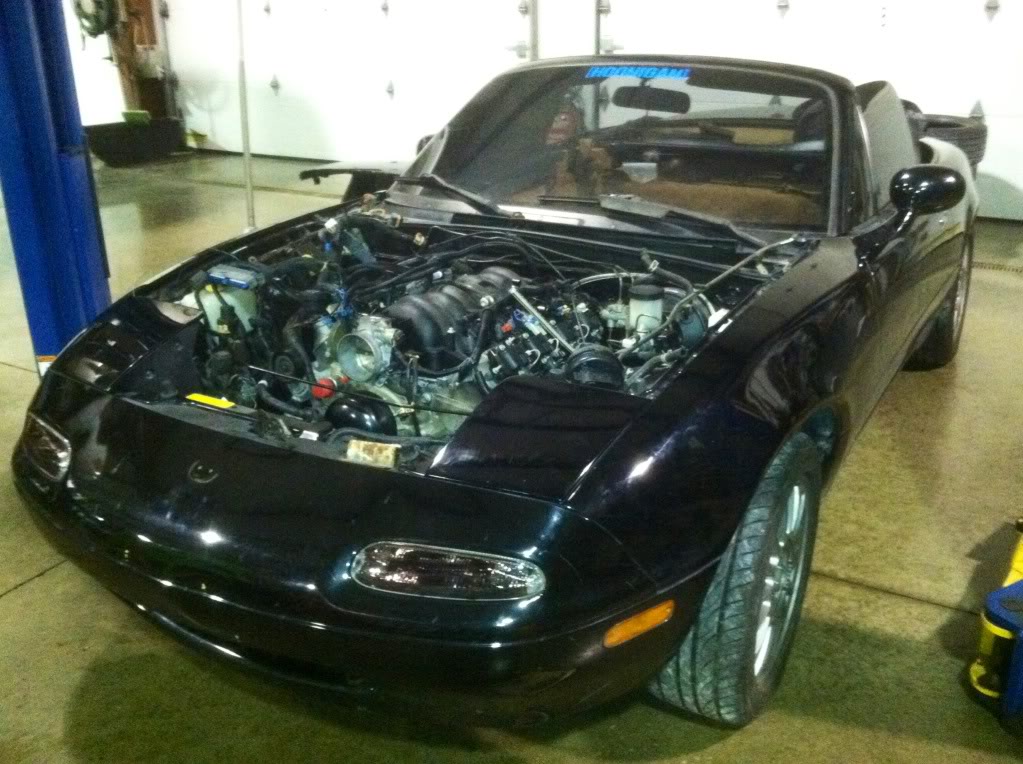
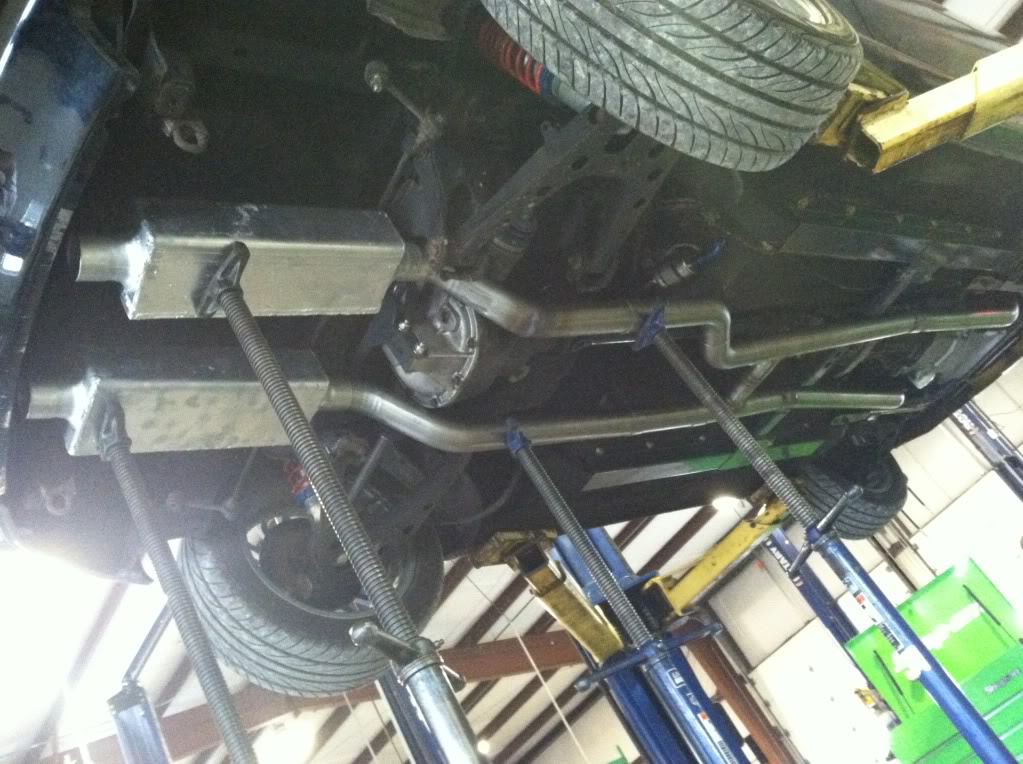
Sorry I was working on wiring all up till saturday morning, knocked out some exhaust ( stainless ) pics on that will be when its done. But as of today the car started up! Had a small starting issue, somehow a diode failed in my cluster causing a no start. But shes alive! Dash is goin back in and i have to finish up some seat brackets to test drive it. check the movie!
Threw on some fuel rail covers, gotta make them fit
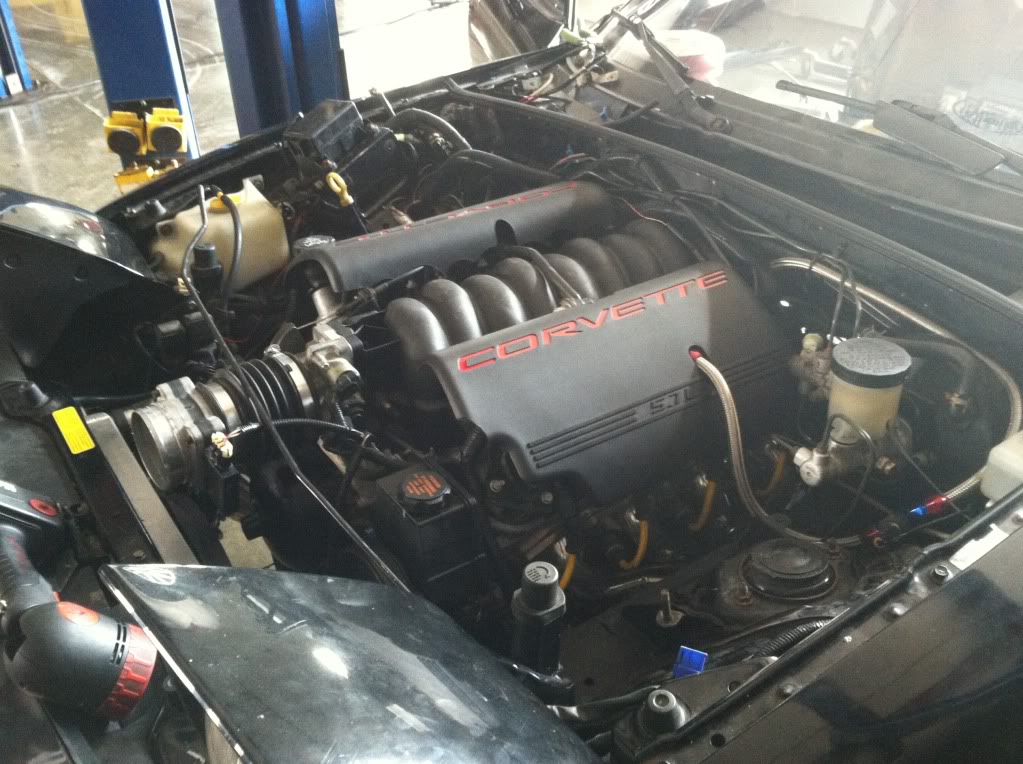
HP tuners is how im tuning my PCM
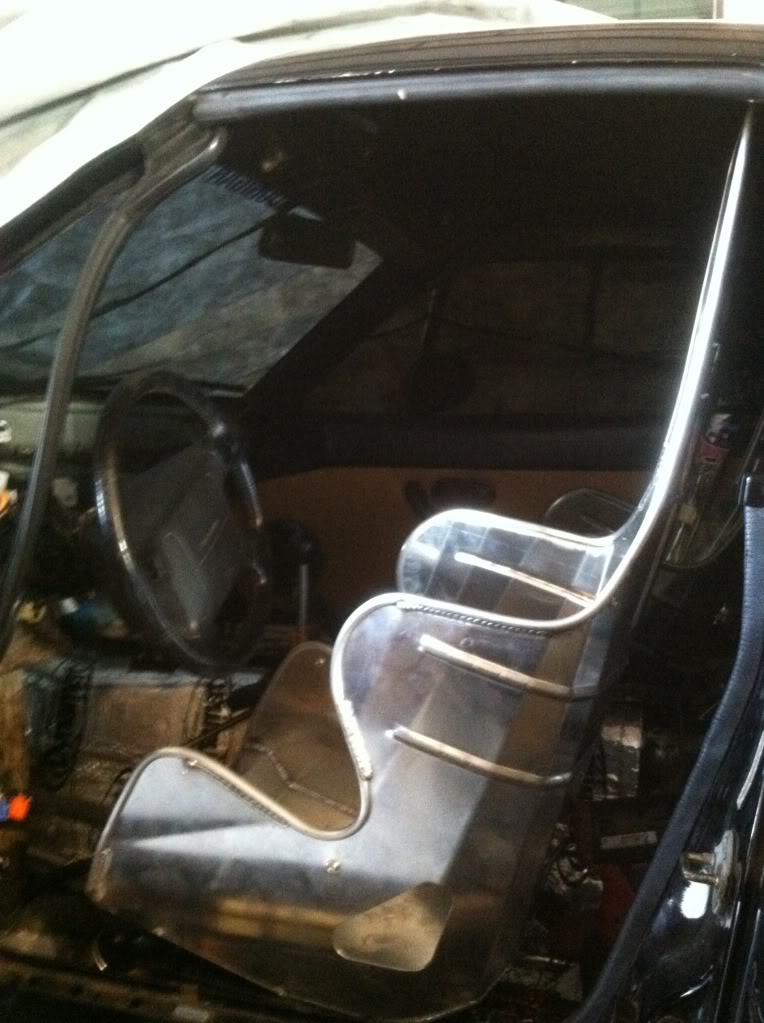
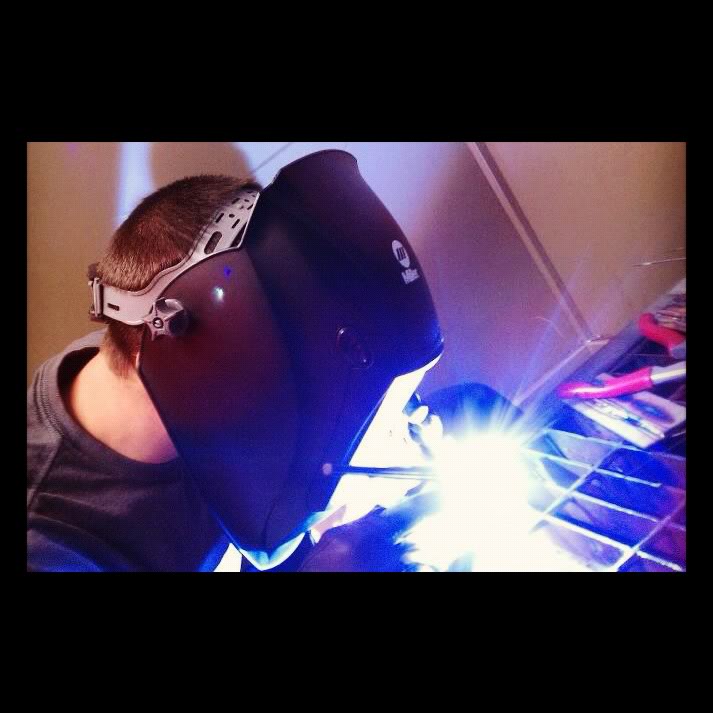
My girlfriend held my seat in position while i Tigged up brackets, only took an hour...
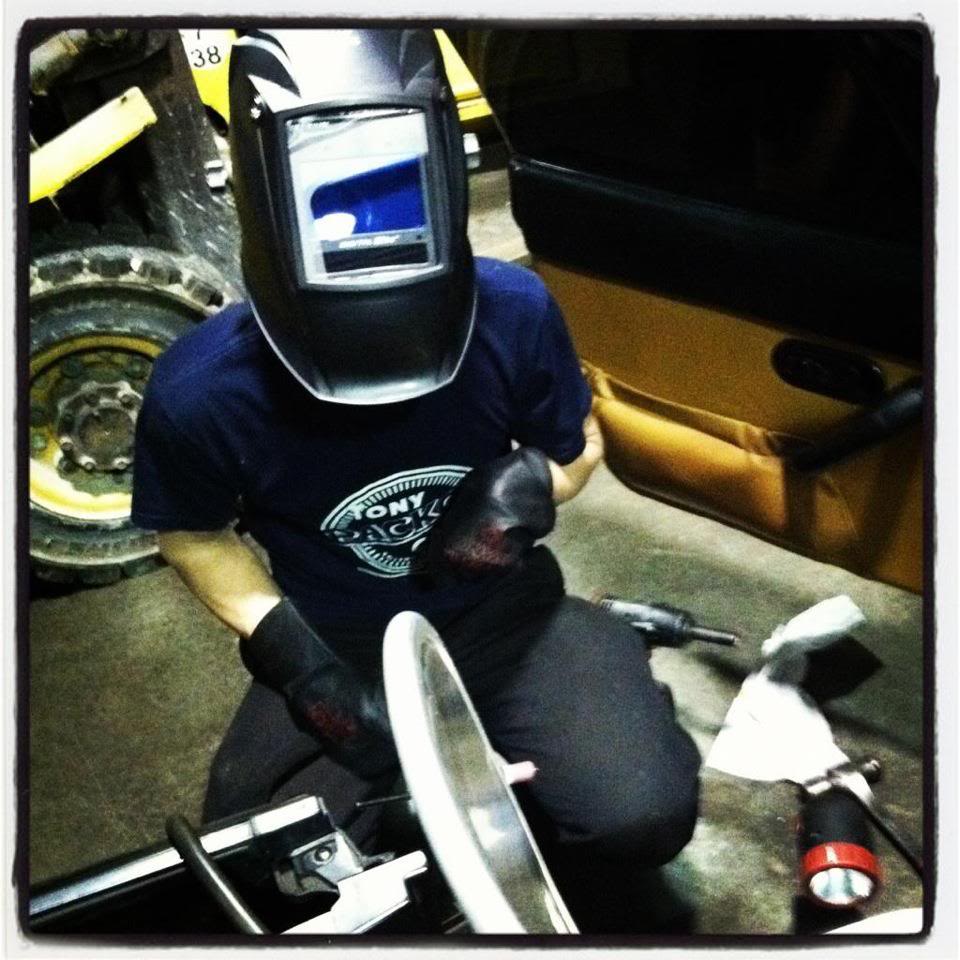
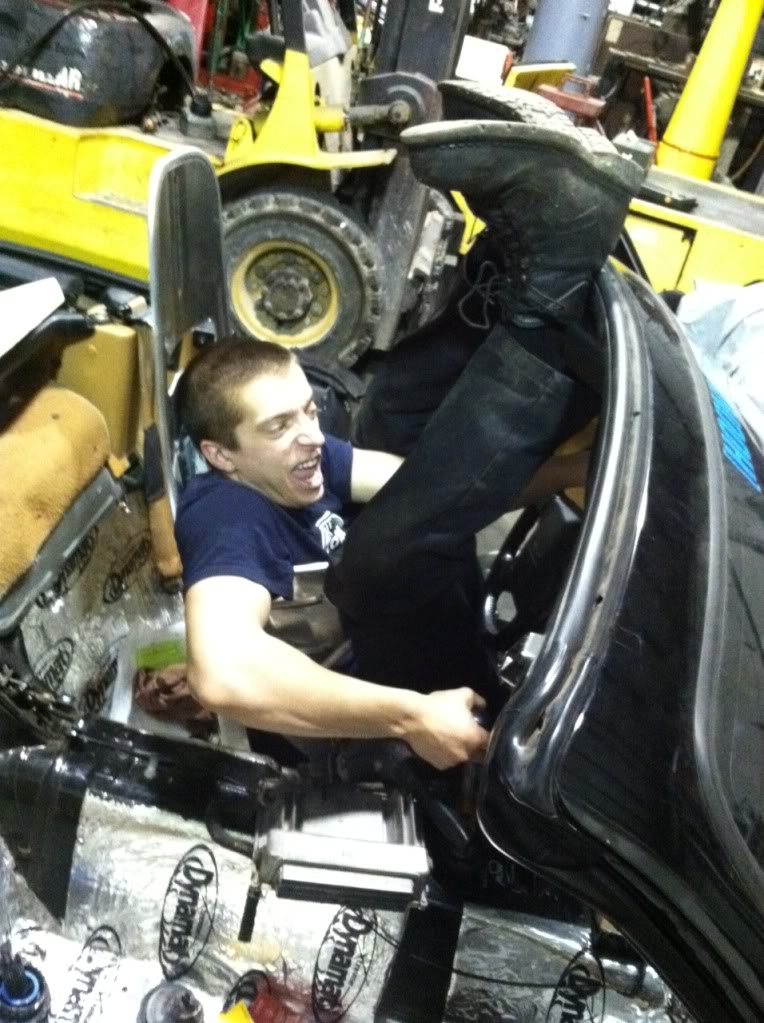
Got 2 intermidiate oval track seats, drivers a 10 degree at 15in and pass is 20 degree at 16 inches, so passengers better get slim or ill get a milk carton out.
Now ive gotta finish up some exhaust and add my spintech muffler, do some tuning and see how she runs
Threw on some fuel rail covers, gotta make them fit
HP tuners is how im tuning my PCM
My girlfriend held my seat in position while i Tigged up brackets, only took an hour...
Got 2 intermidiate oval track seats, drivers a 10 degree at 15in and pass is 20 degree at 16 inches, so passengers better get slim or ill get a milk carton out.
Now ive gotta finish up some exhaust and add my spintech muffler, do some tuning and see how she runs
 03-20-2012, 04:32 PM
#71
Teching In
Join Date: Mar 2012
Location: Berthoud, CO
Posts: 5
Likes: 0
Received 0 Likes
on
0 Posts
That should set me up for a fairly easy install of a fat turbo up front.
I'd love to go LS, but that is almost like starting over.
edit: I signed up here since I'm scavenging some LS parts for my fuel injection.
03-25-2012, 07:17 PM
#72
Teching In
Thread Starter
Join Date: Nov 2011
Location: Cincinnati OH
Posts: 39
Likes: 0
Received 0 Likes
on
0 Posts
I was on the road today and man did i **** some homless man off with having no muffler, he tried throwing himself in front of my car so the cops got involved, needless to say they ended up telling me i should put a muffler on it as soon as i can to please the nearby people, which i planed on doing any way. Got my custom spintech muffler, yep it was made wrong, so now i get to frankenstien it which is lovely, atleast the car drives!
04-16-2012, 06:13 PM
#73
Teching In
Thread Starter
Join Date: Nov 2011
Location: Cincinnati OH
Posts: 39
Likes: 0
Received 0 Likes
on
0 Posts
Muffler originally one that had to be seperated.
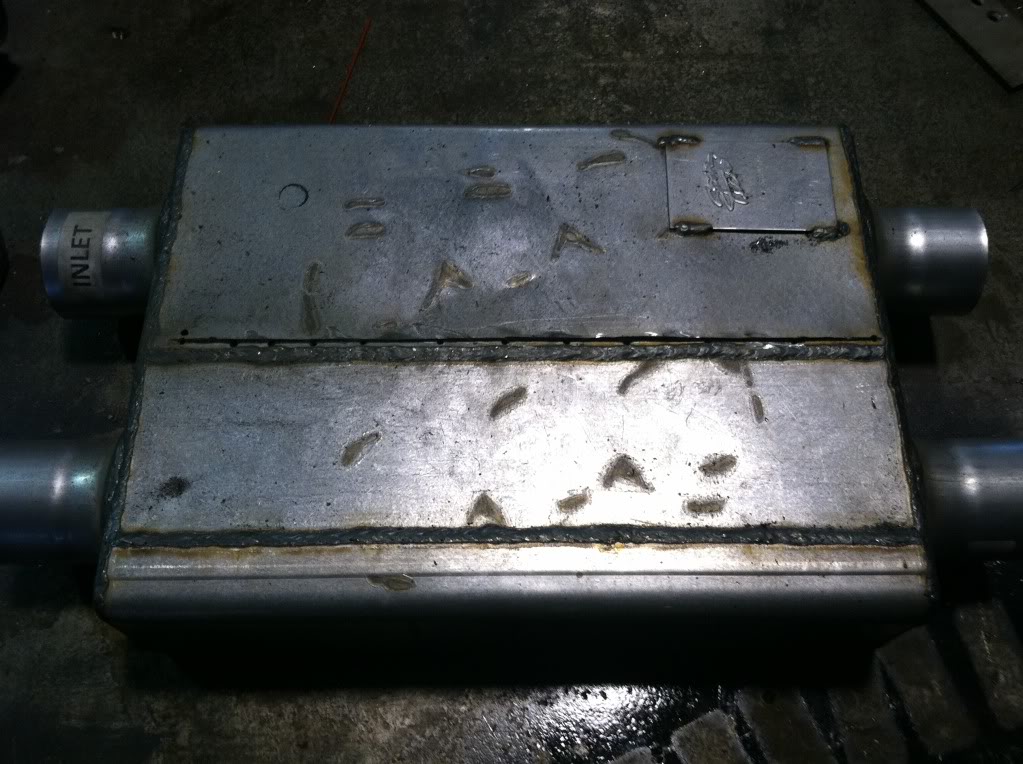
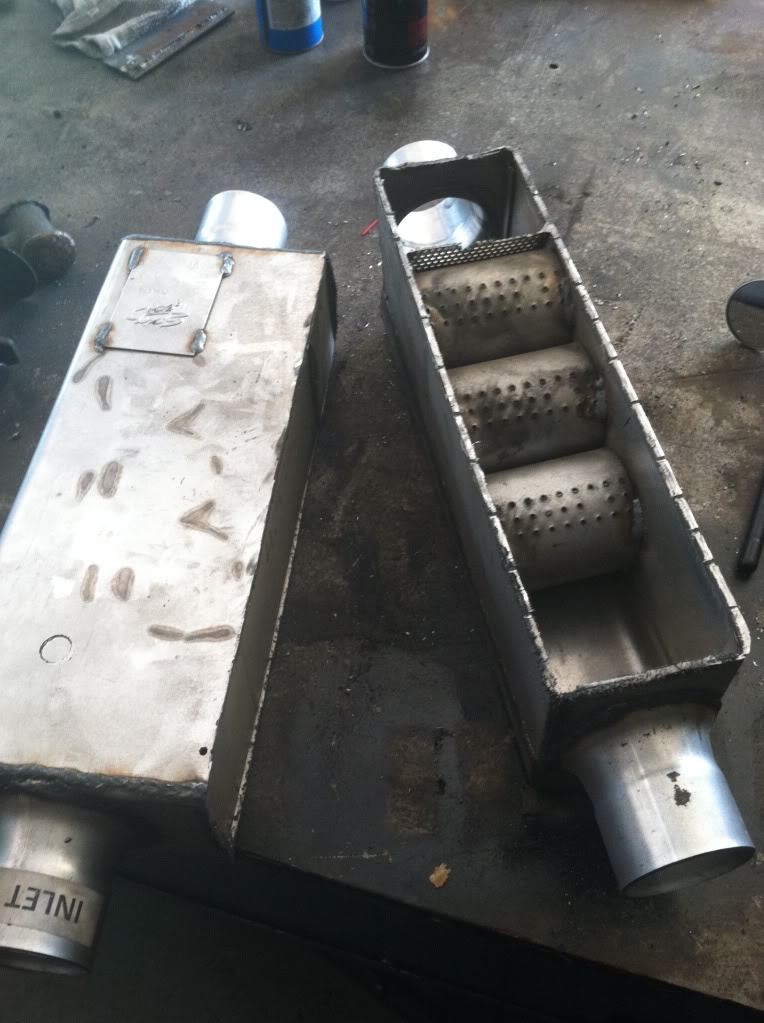
Tiged it all up
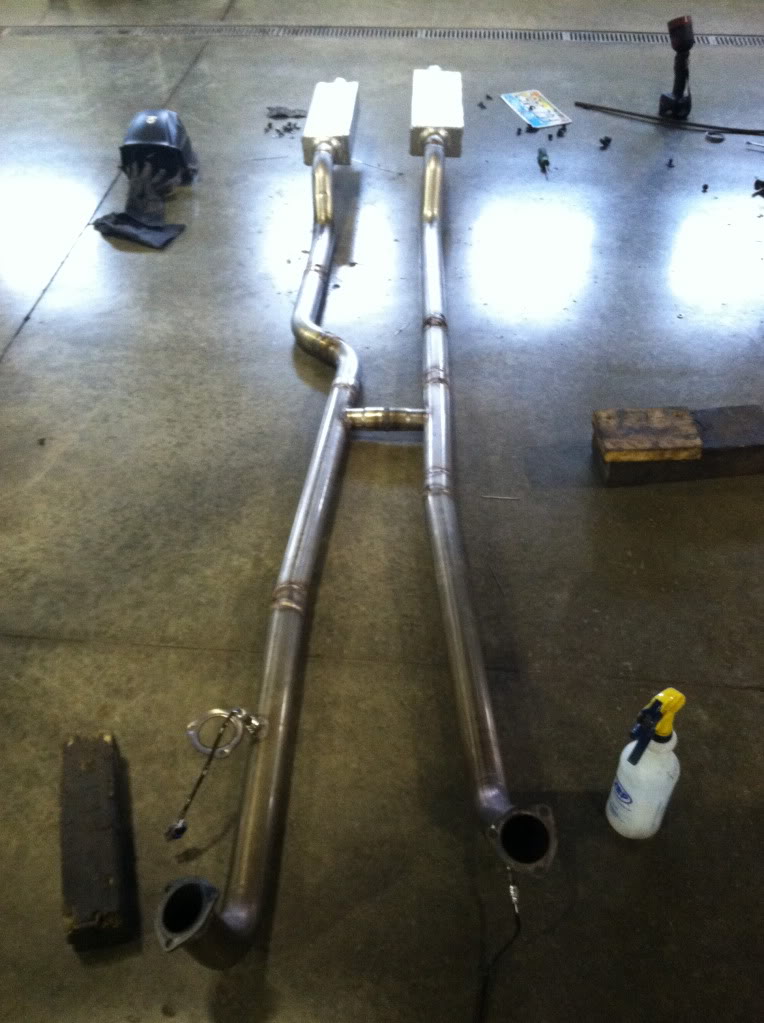
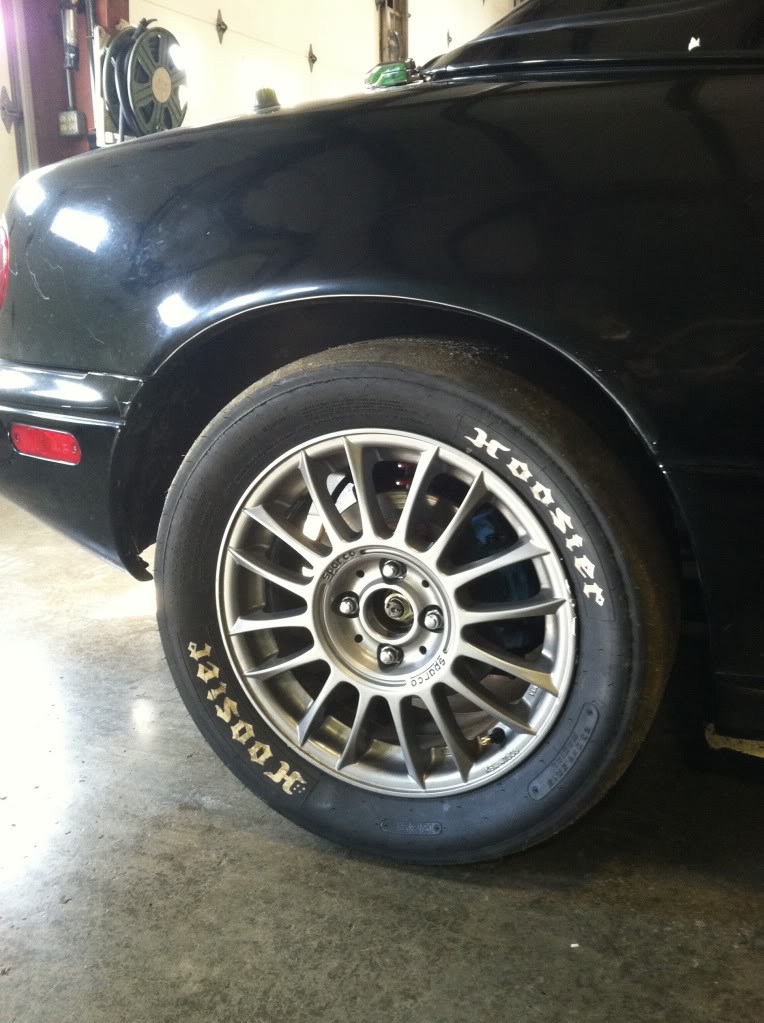
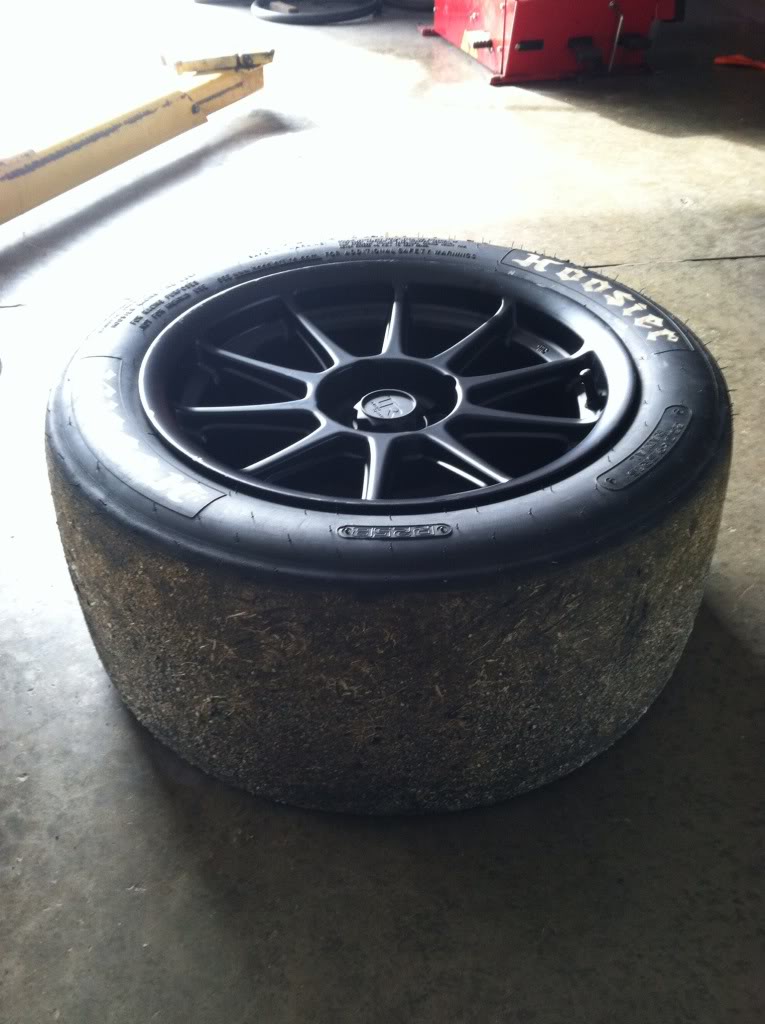
No im not running them on these wheels, ive ordered 9 inch wide these are actually 225/45r15 on 6.5 in wide wheels.
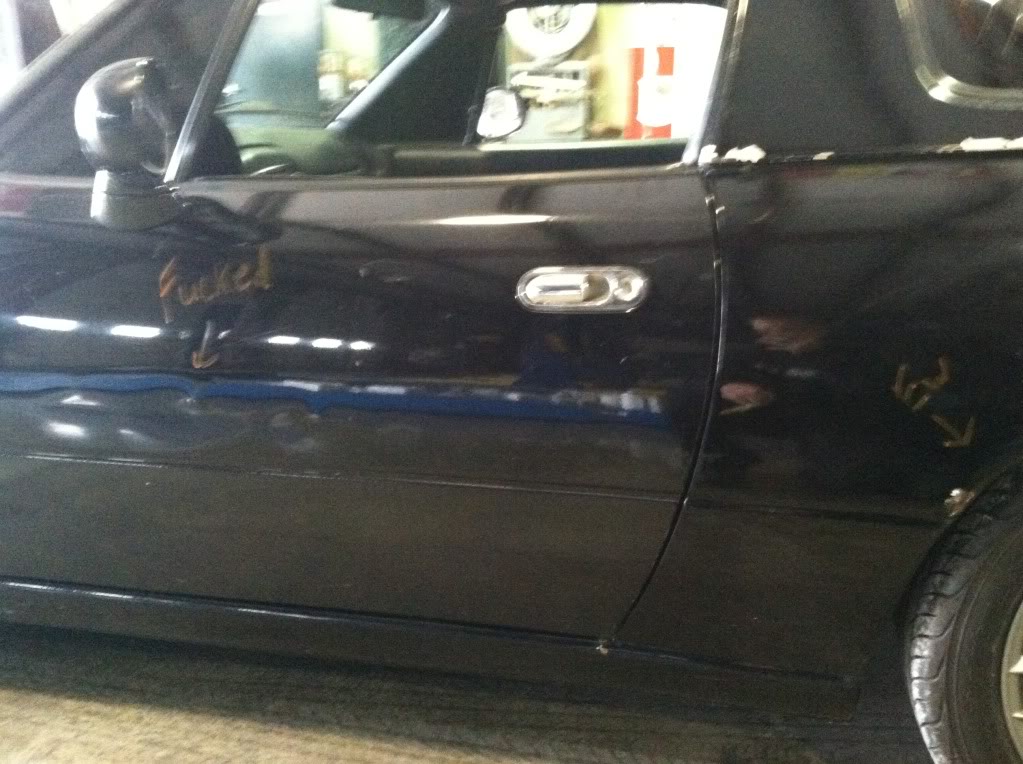
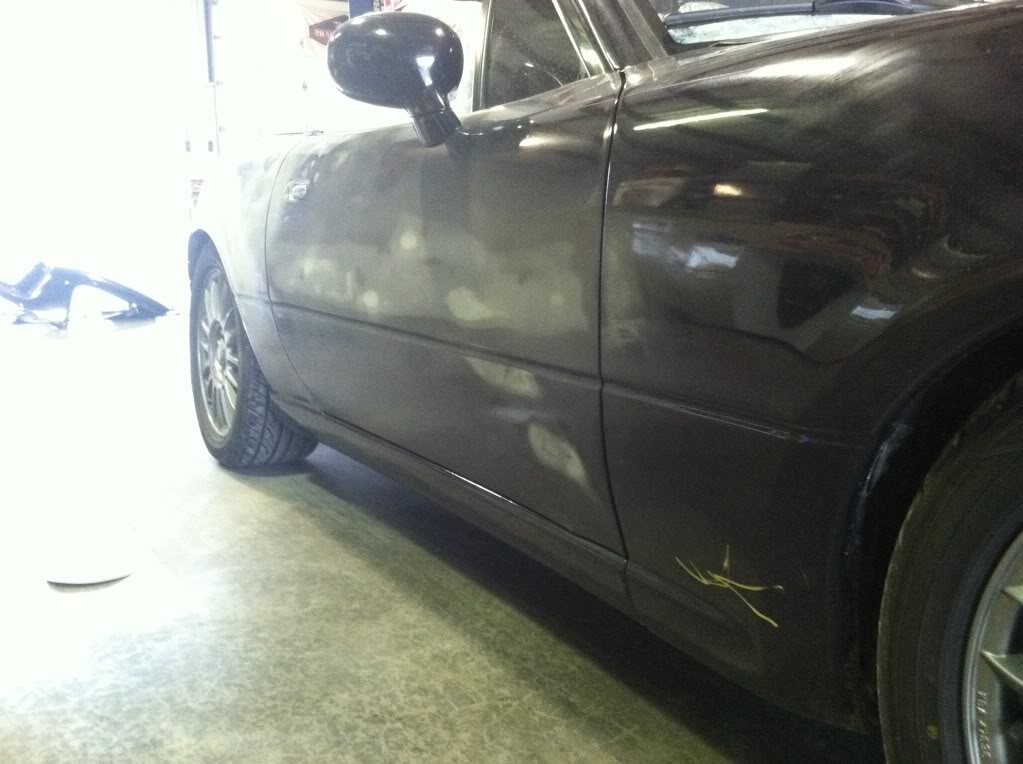
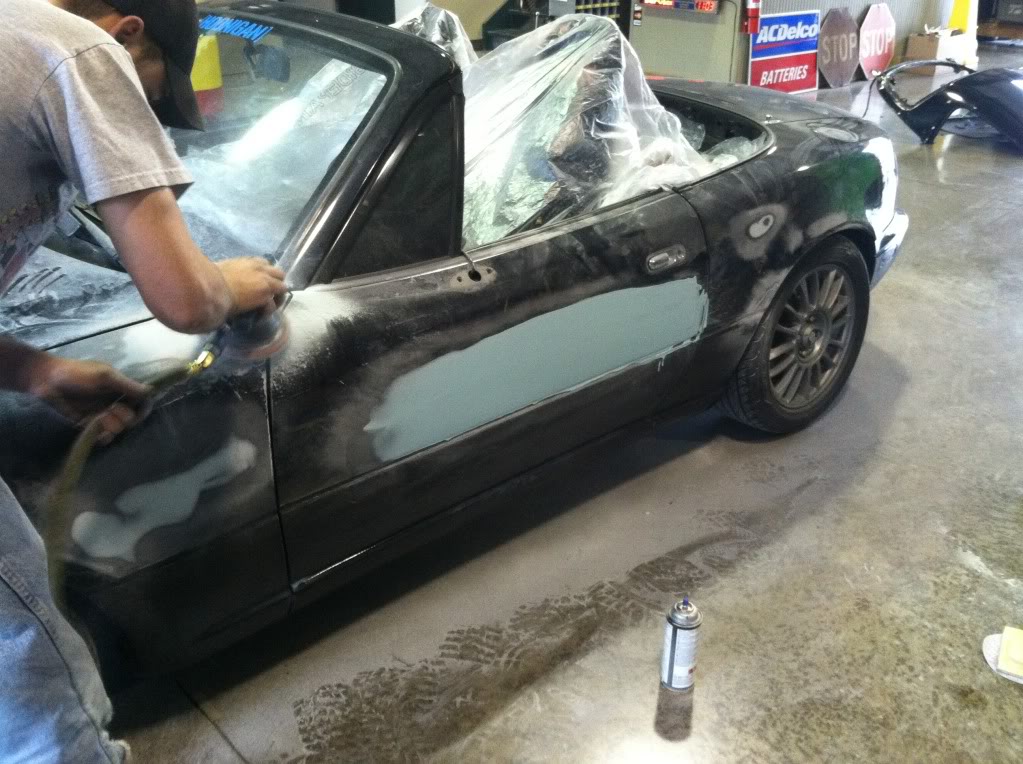
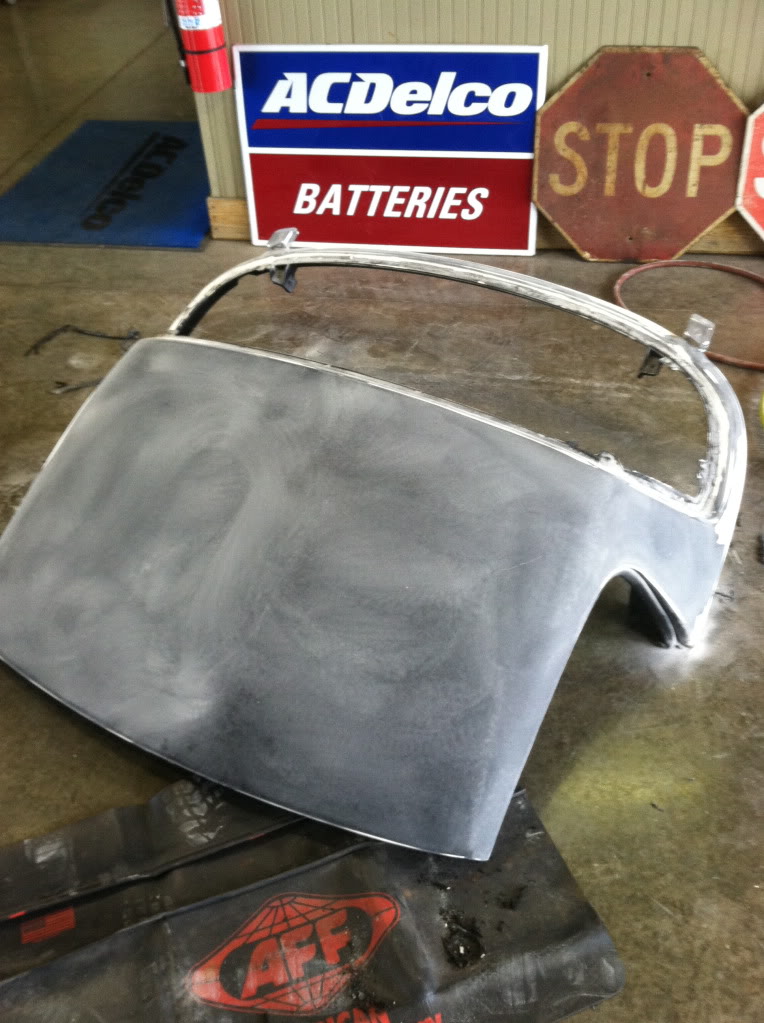
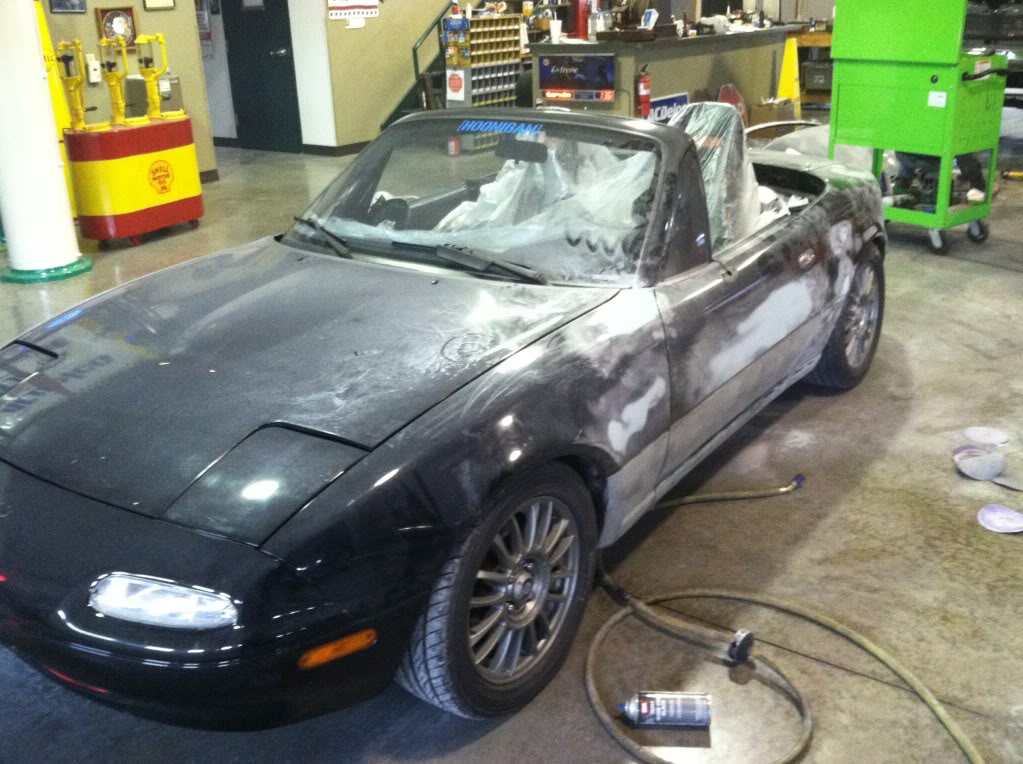
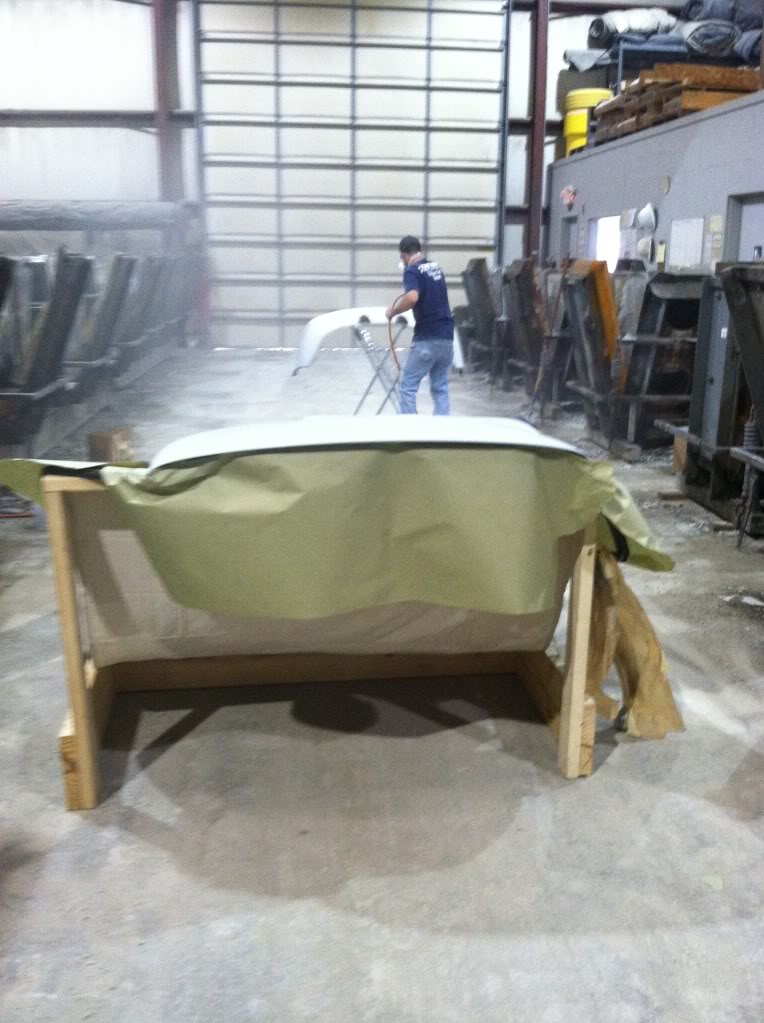
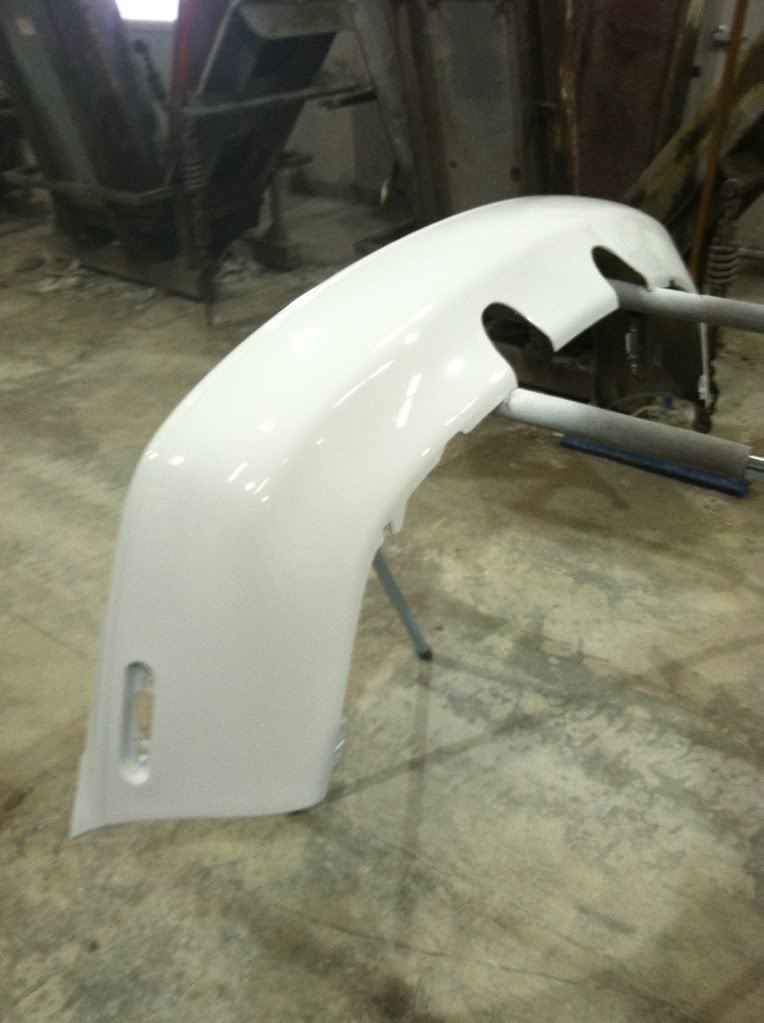
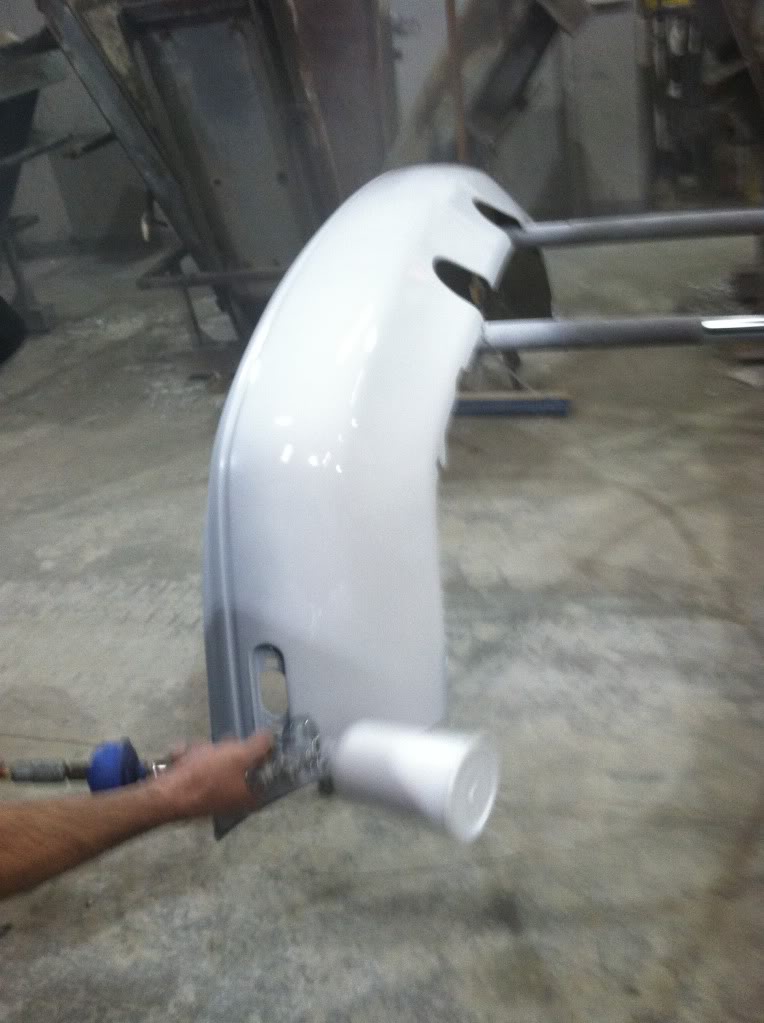
Body work time

Tiged it all up
No im not running them on these wheels, ive ordered 9 inch wide these are actually 225/45r15 on 6.5 in wide wheels.
Body work time


 05-13-2012, 08:58 PM
#75
Teching In
Thread Starter
Join Date: Nov 2011
Location: Cincinnati OH
Posts: 39
Likes: 0
Received 0 Likes
on
0 Posts
At school creating a shift ****!
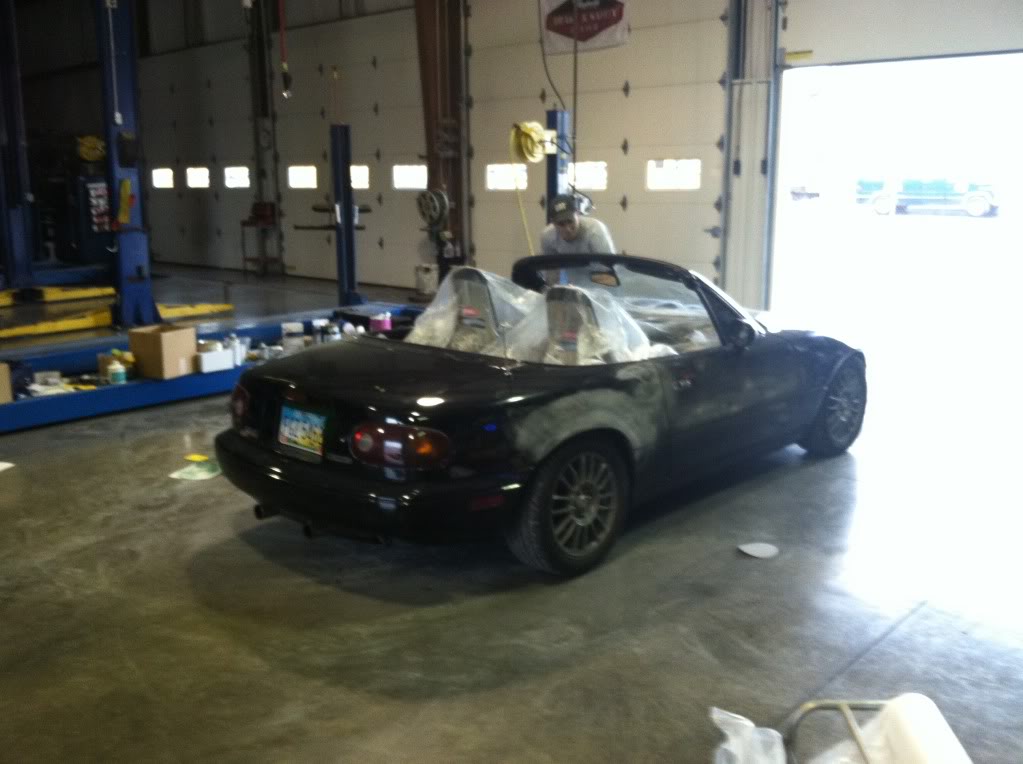
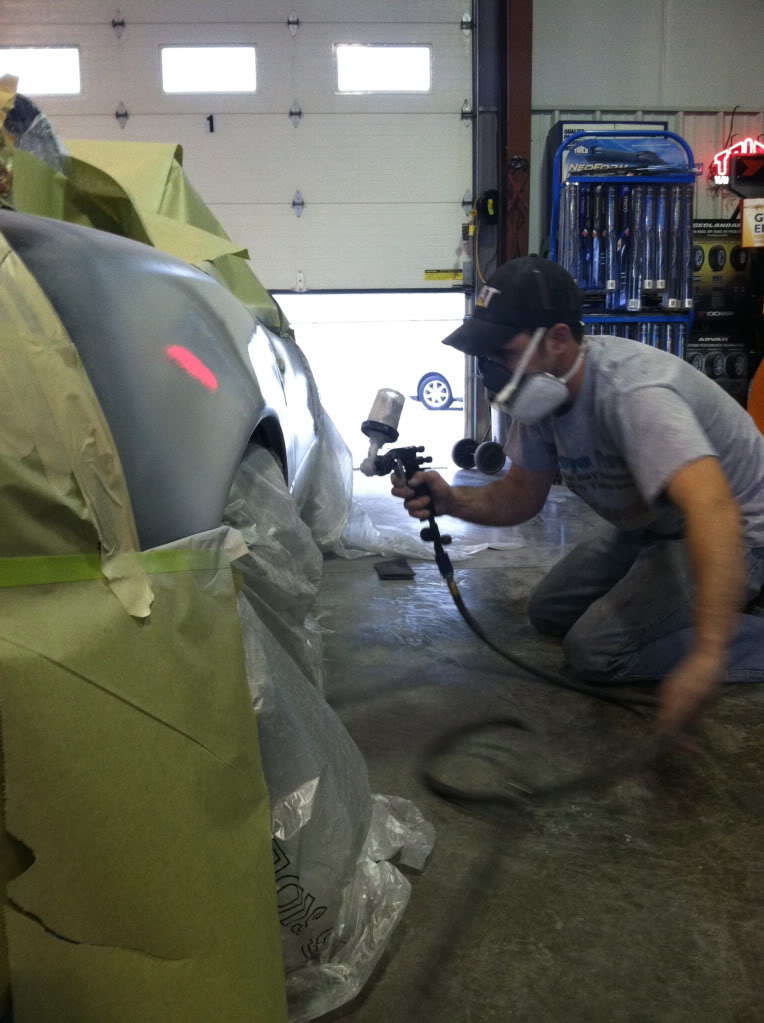
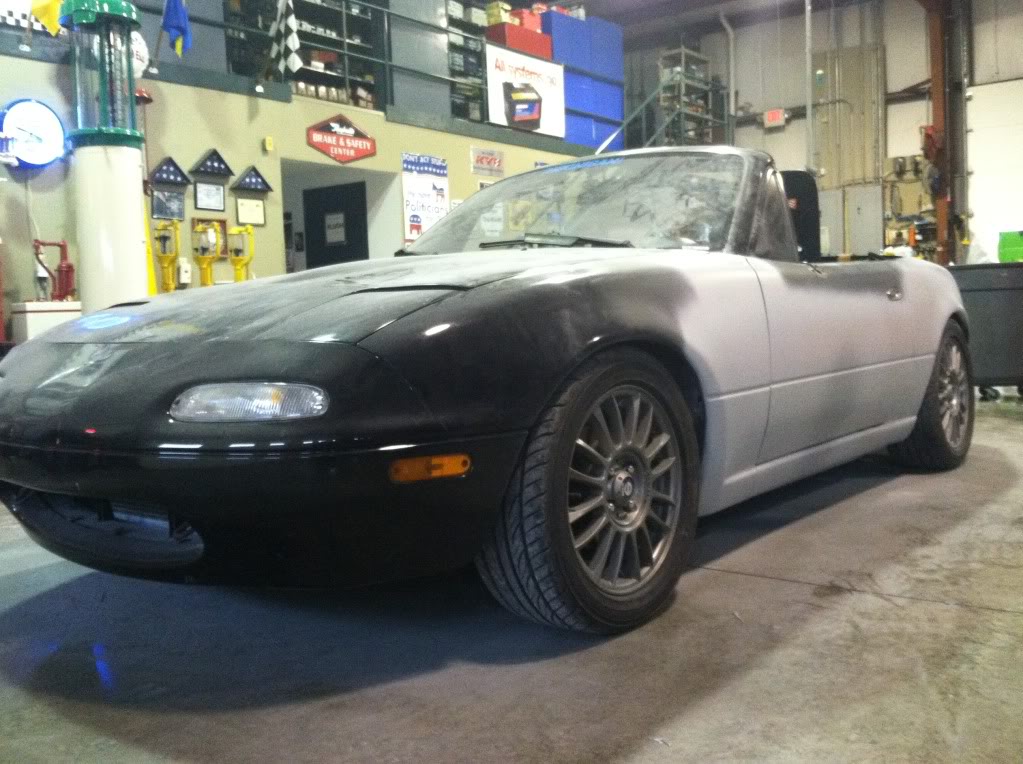
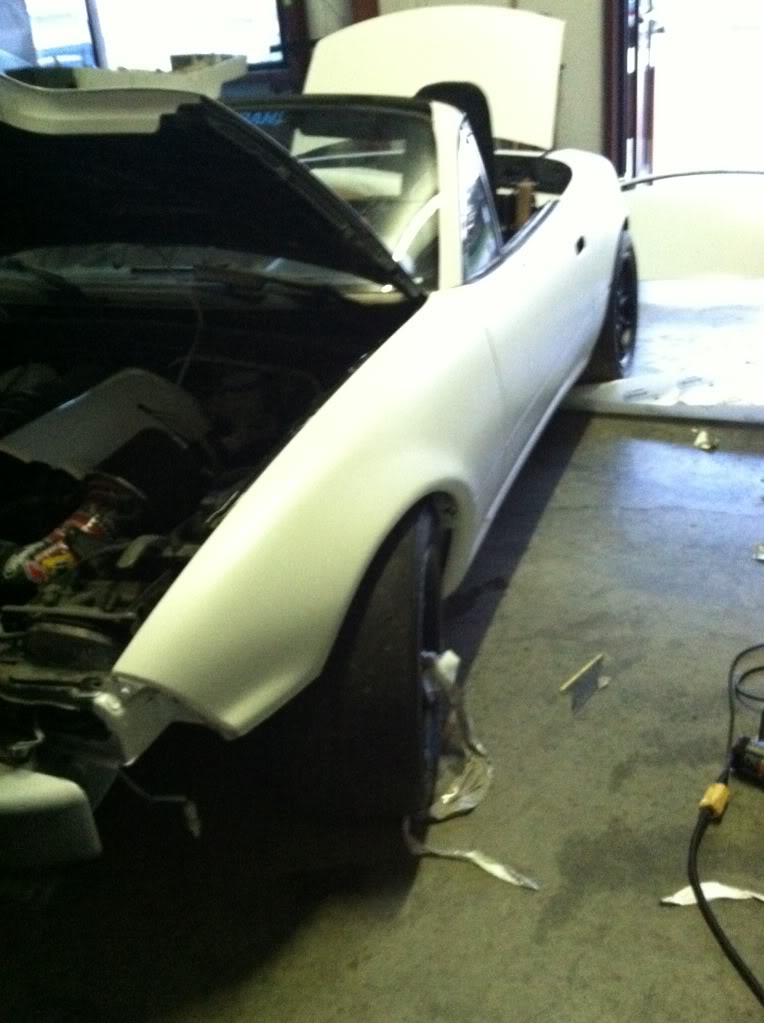
This is the car single staged matte white
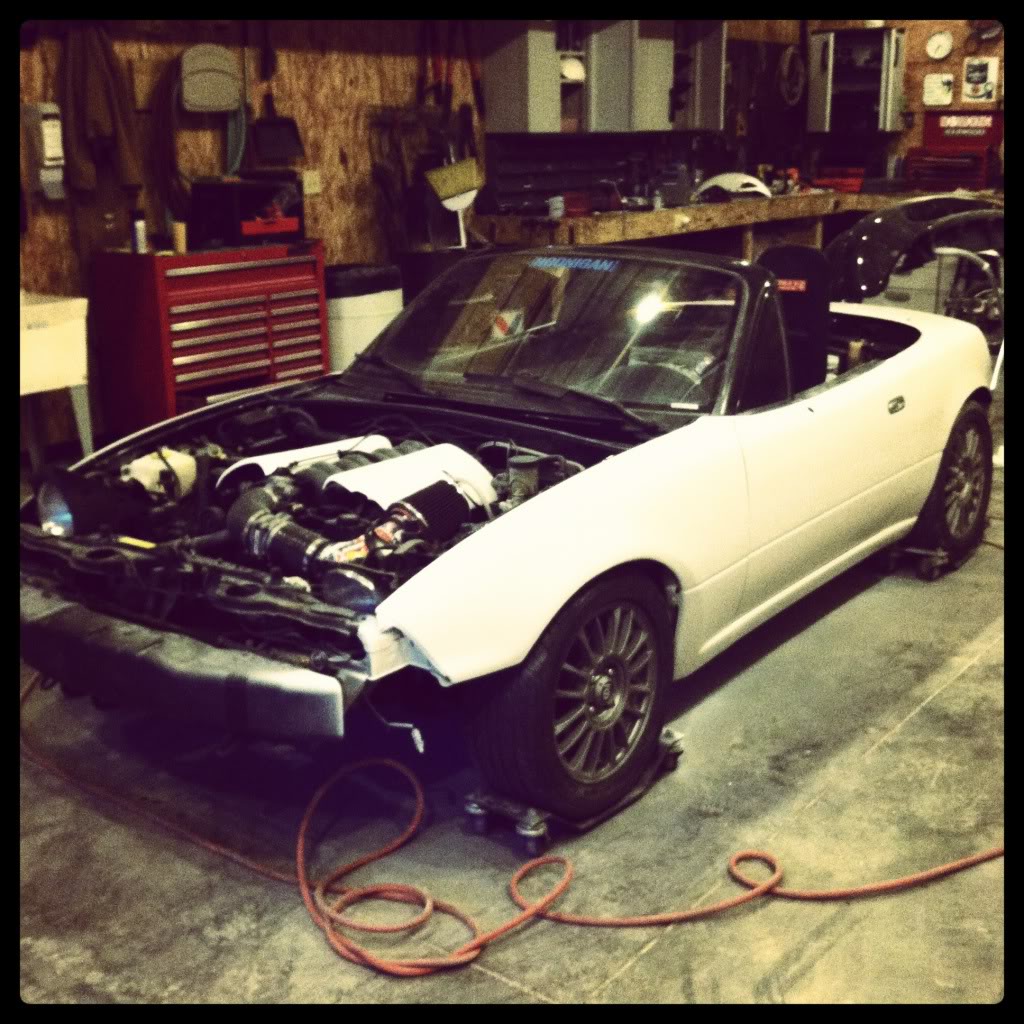
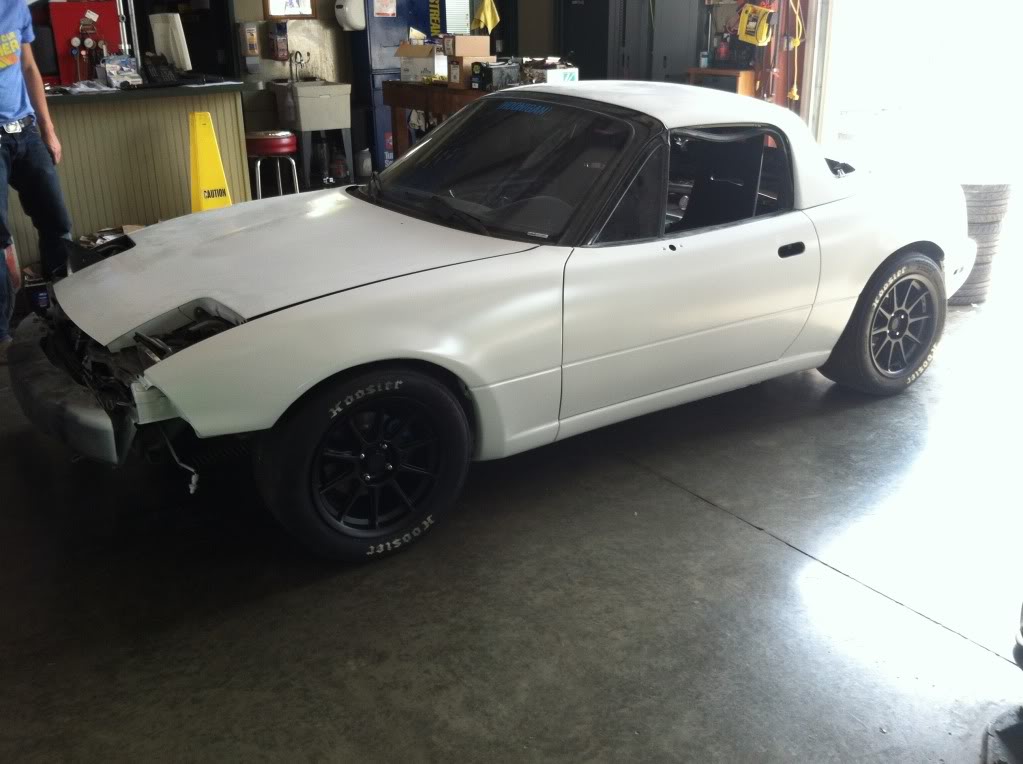
Now for the vinyl
Driver side all done in the wrap matte white, looks like a caddberry egg
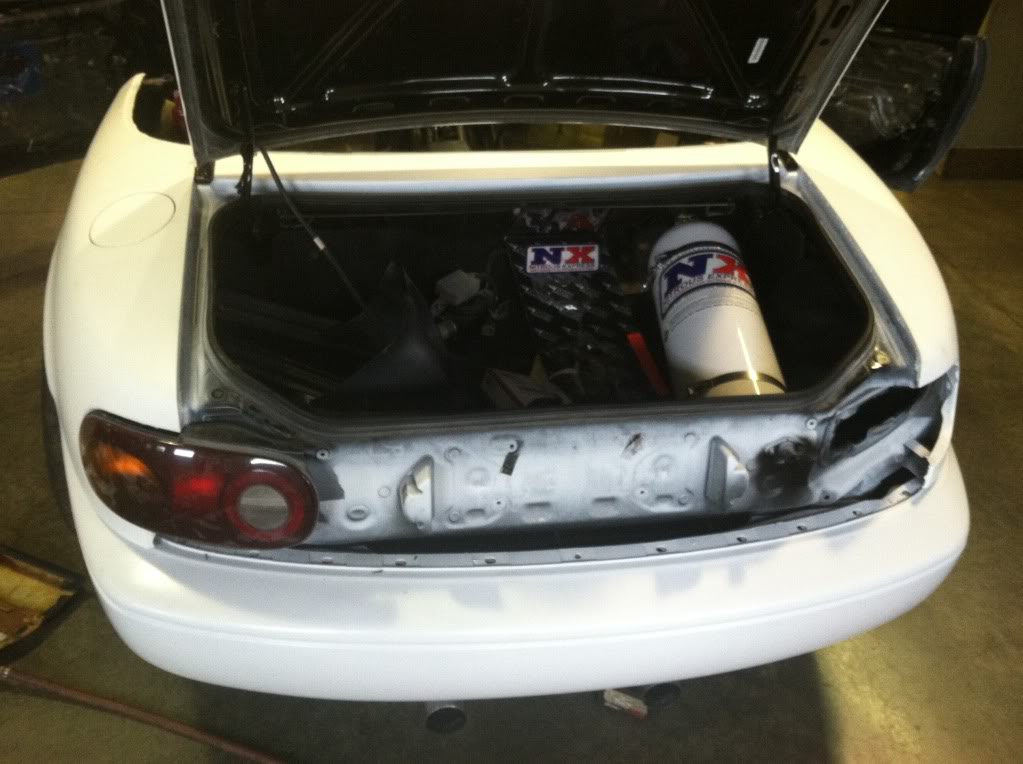
I decided i wanted to add a 120 or 150 shot
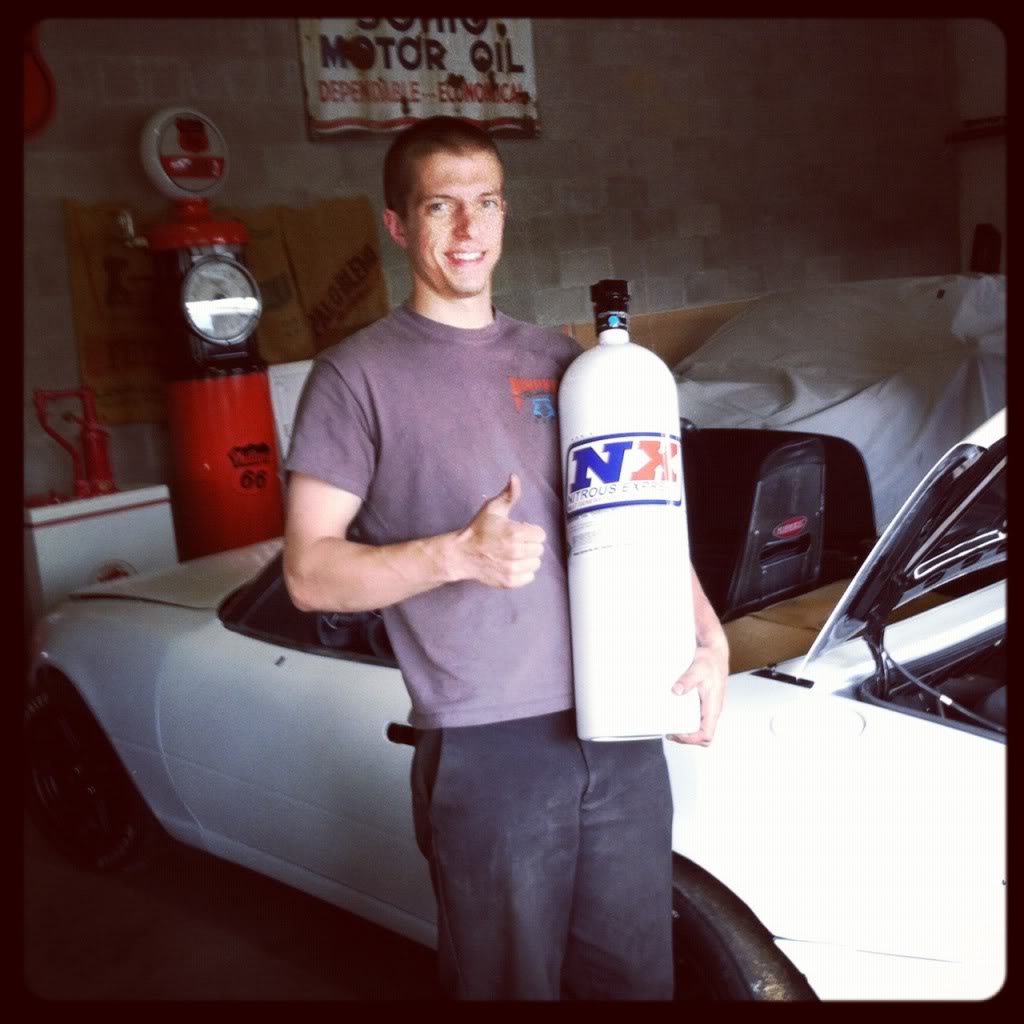
Fit in the trunk snuggly
 05-14-2012, 09:23 PM
#77
Teching In
Thread Starter
Join Date: Nov 2011
Location: Cincinnati OH
Posts: 39
Likes: 0
Received 0 Likes
on
0 Posts
05-15-2012, 06:52 AM
#78
Looks like she's about done. Thanks for the build thread. Just be careful about the spray. The ***** in the Ohio Congress have made the use of nitrous oxide a "Felony."
