
59 El Camino LS3 Build
 01-10-2012, 09:22 AM
#1
Teching In
Thread Starter
iTrader: (1)

Join Date: Mar 2011
Location: SE Alabama
Posts: 13
Likes: 0
Received 0 Likes
on
0 Posts
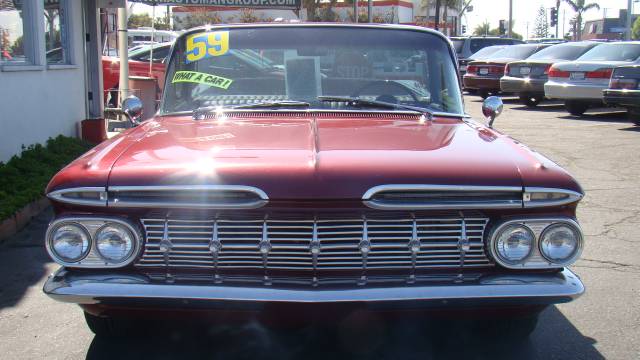
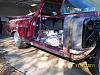
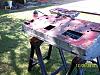
I have been working on this 59 El Camino build for about a year now. I have been cleaning and painting in preparation for re assembly. I thought I would share some pictures and get thoughts. Here are some pitcures of the car when I purchased it.


Here are some before and after pictures of the car after I did some cleaning.


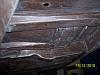
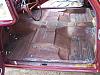
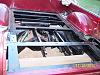
Here are some more pictures of the top of the floor board. The only metal I had to repair was on the back of the cab where the moisture collected.


Here are some before and after pictures of the car after I did some cleaning.

Here are some more pictures of the top of the floor board. The only metal I had to repair was on the back of the cab where the moisture collected.

 01-10-2012, 10:37 AM
#2
Teching In
Thread Starter
iTrader: (1)
Join Date: Mar 2011
Location: SE Alabama
Posts: 13
Likes: 0
Received 0 Likes
on
0 Posts
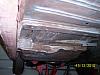
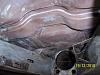
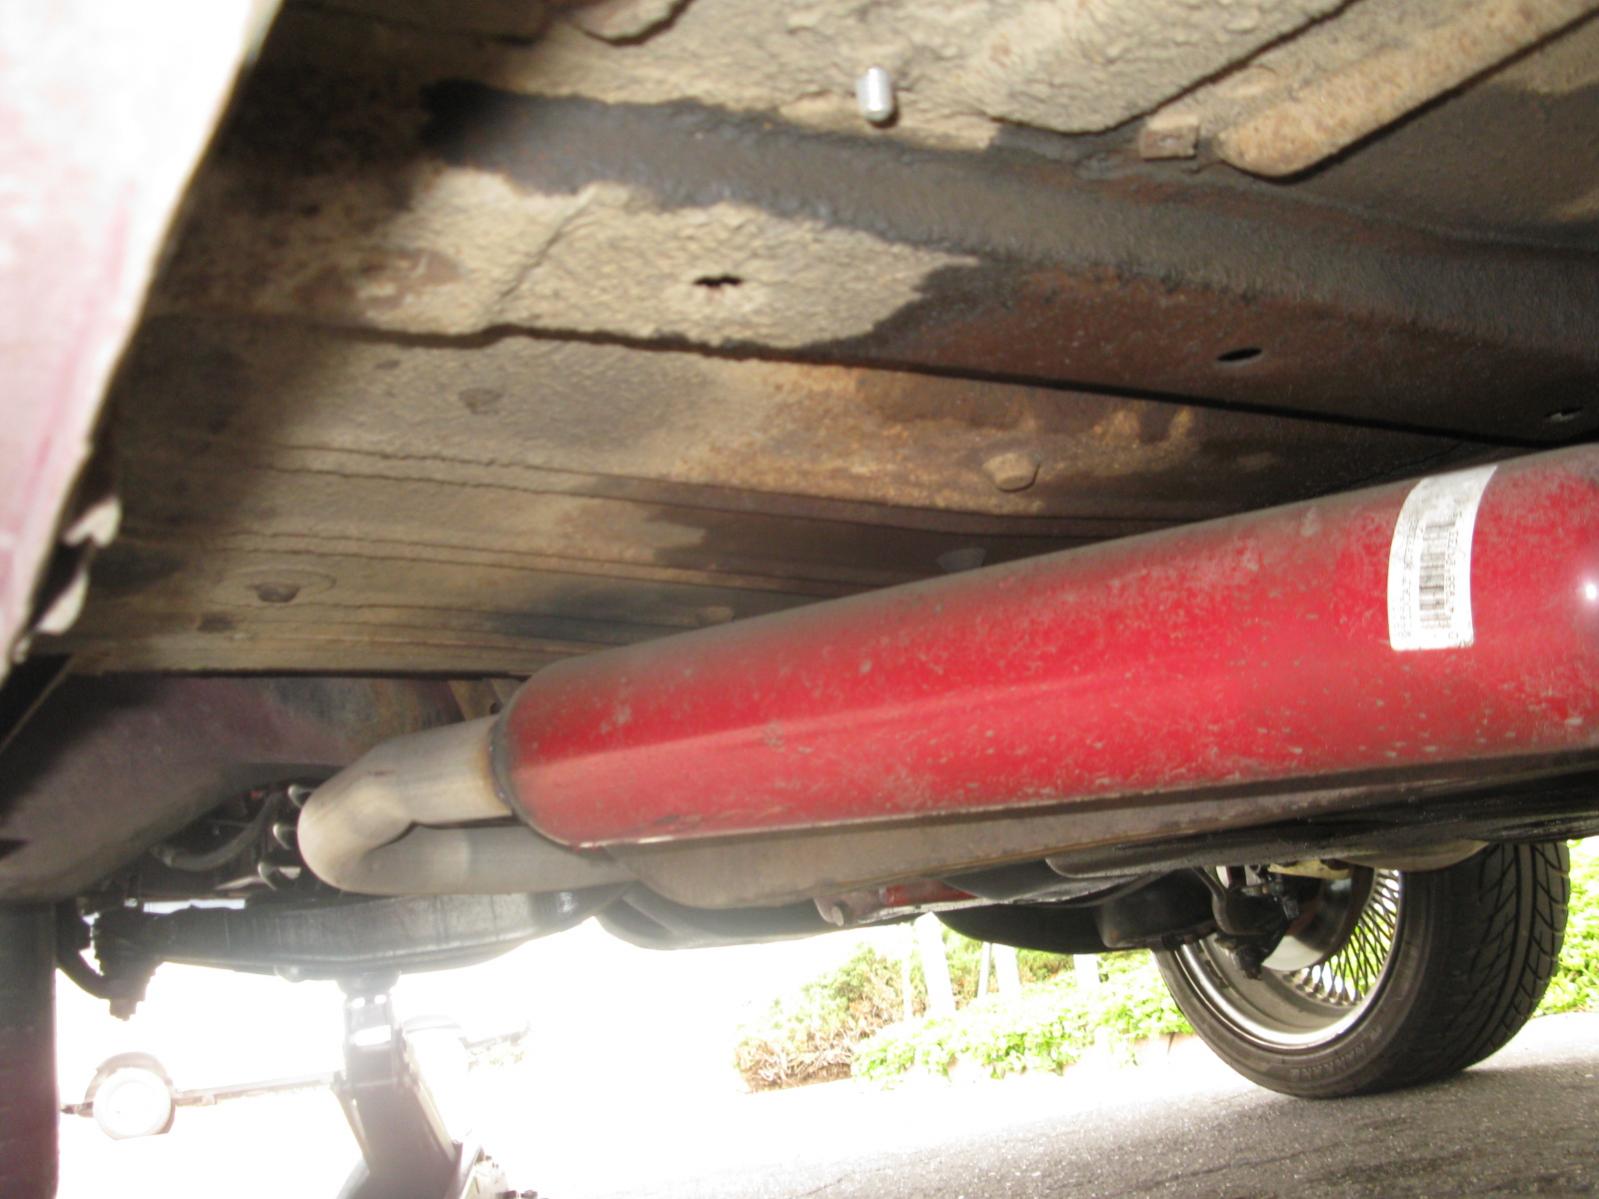
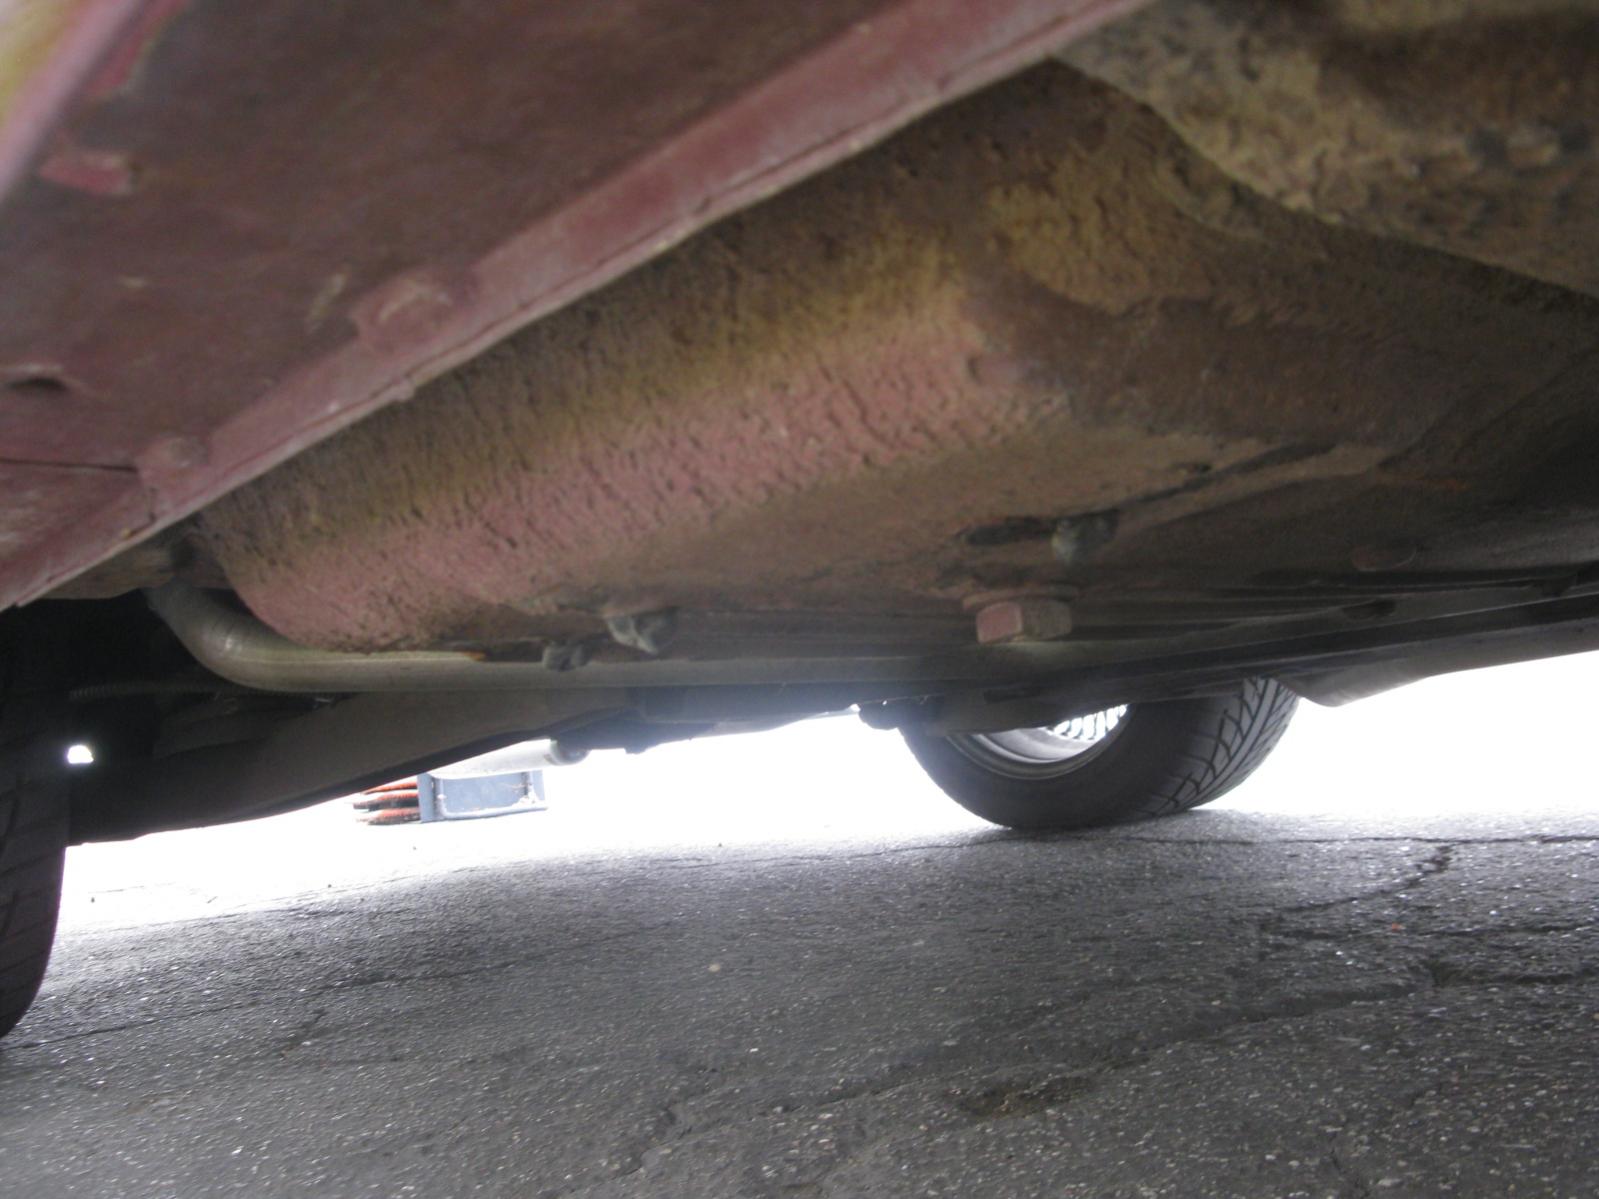
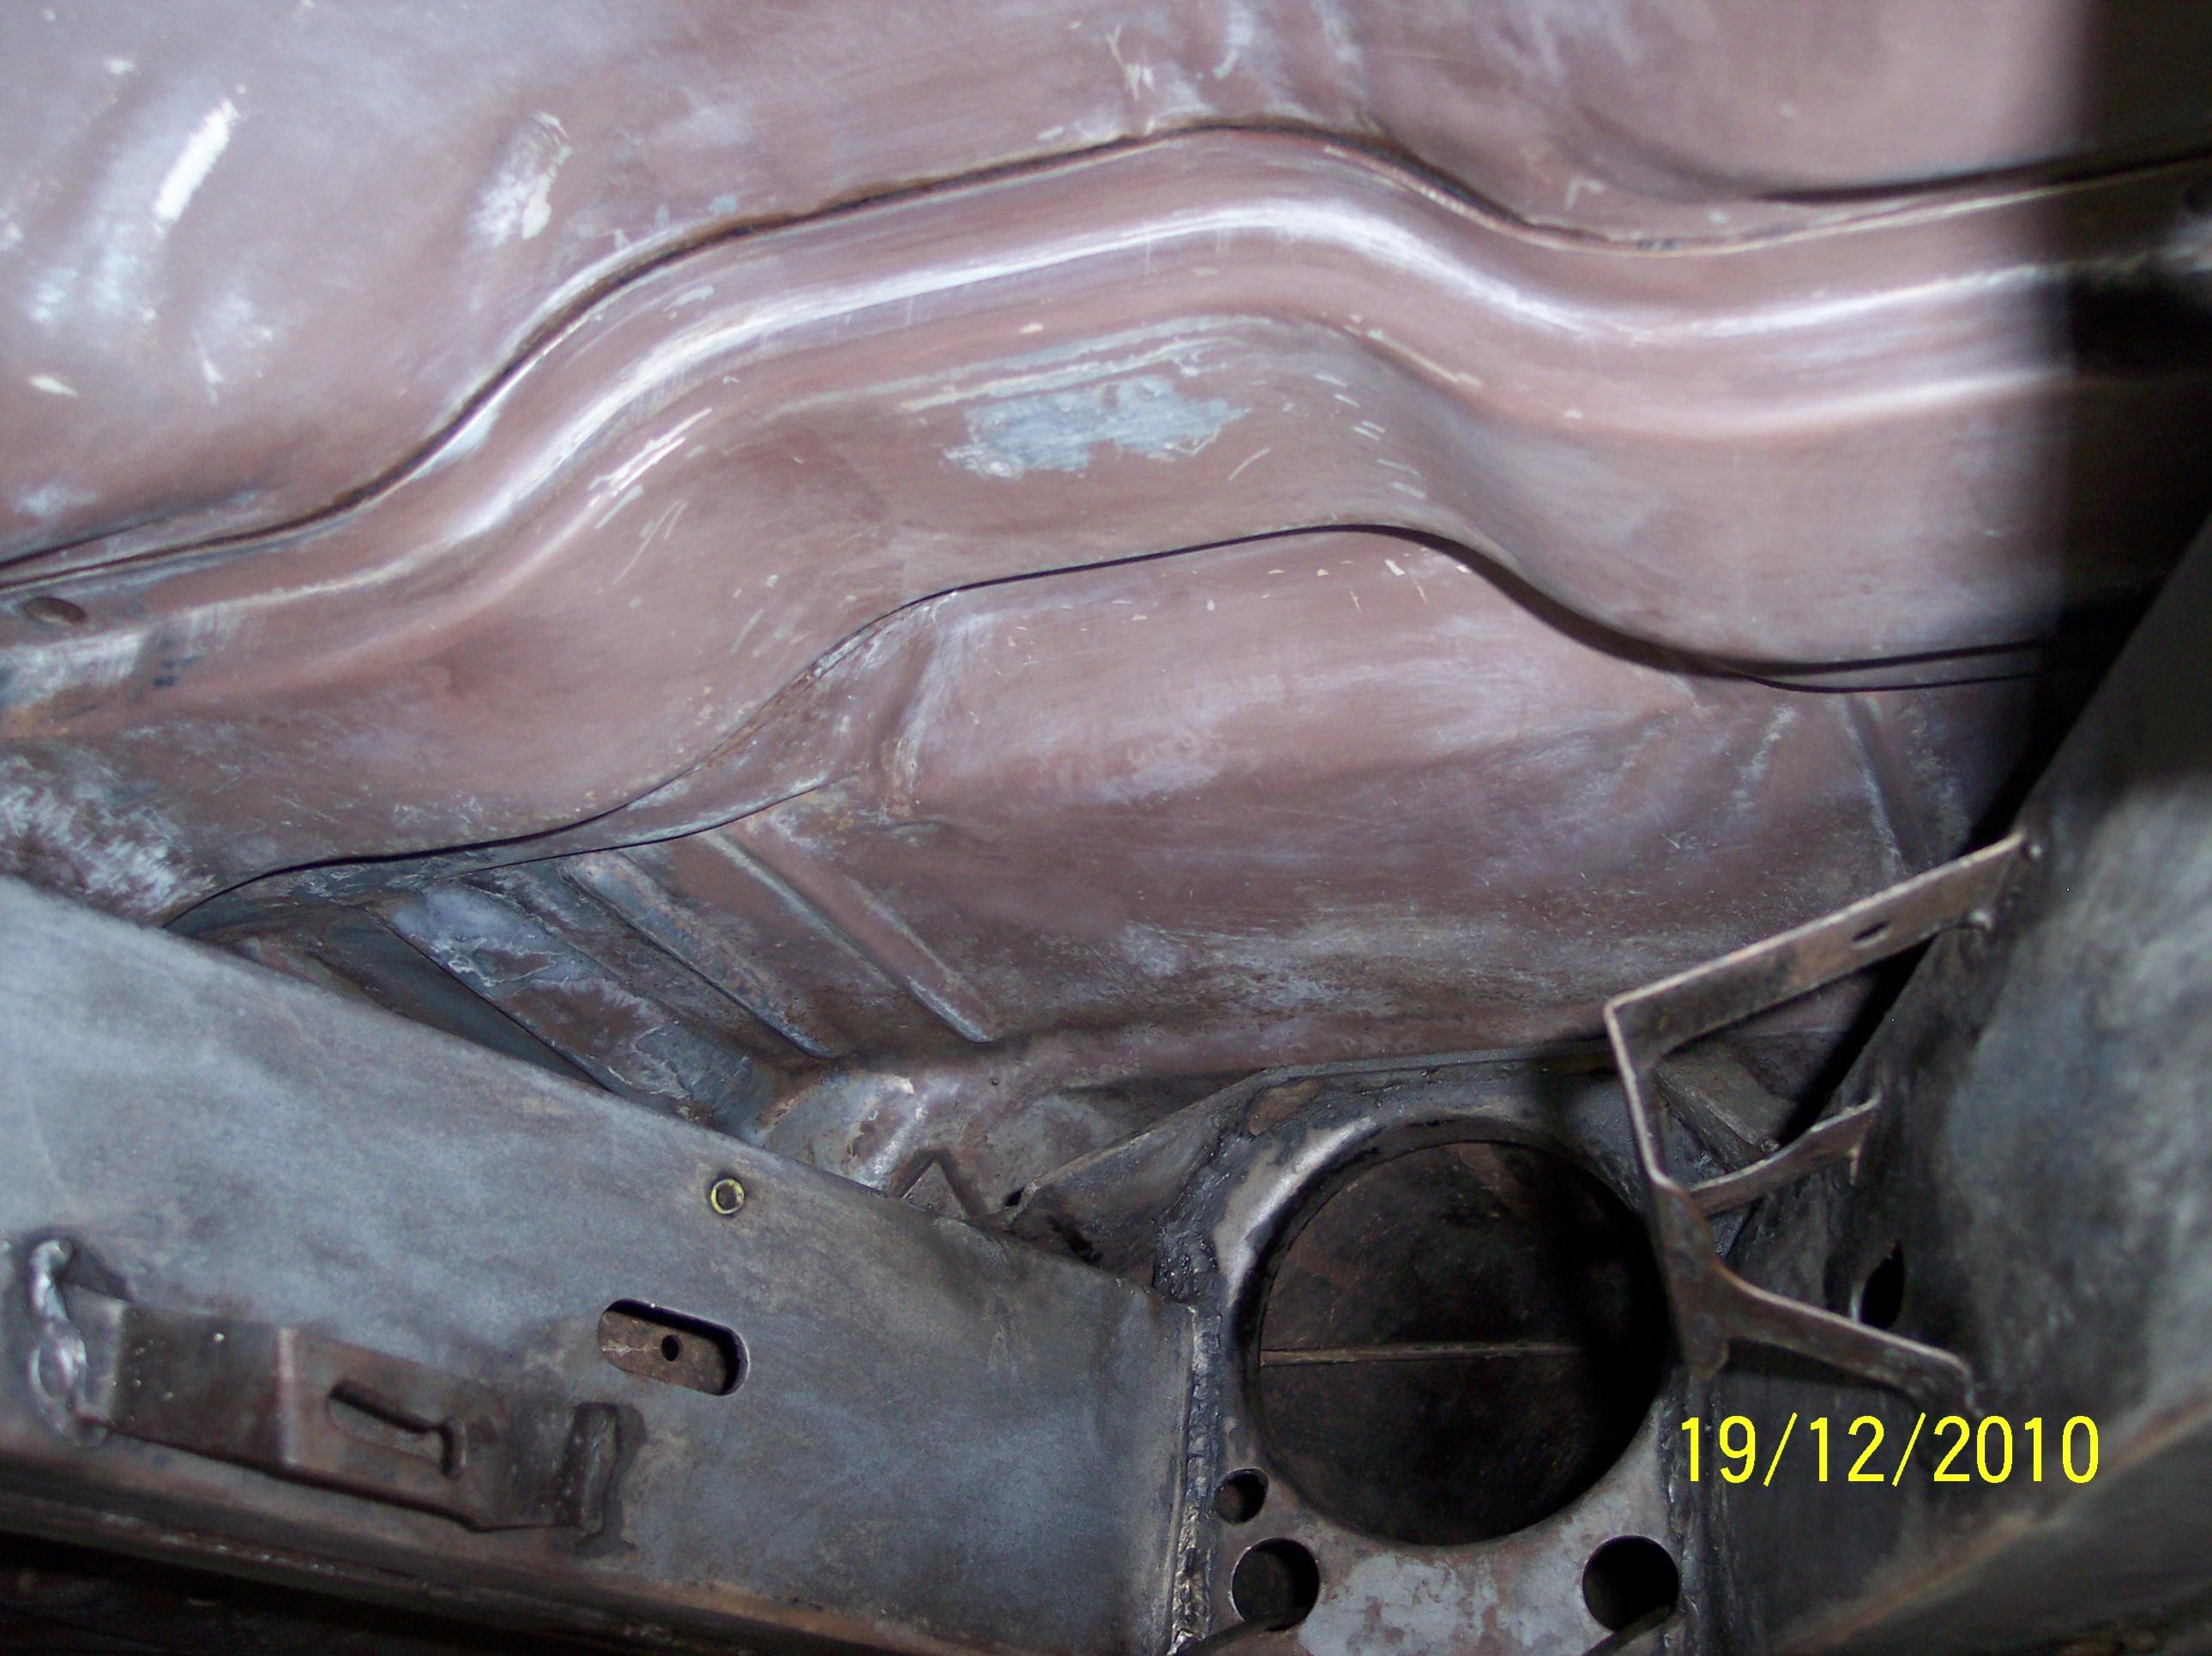
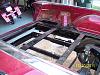
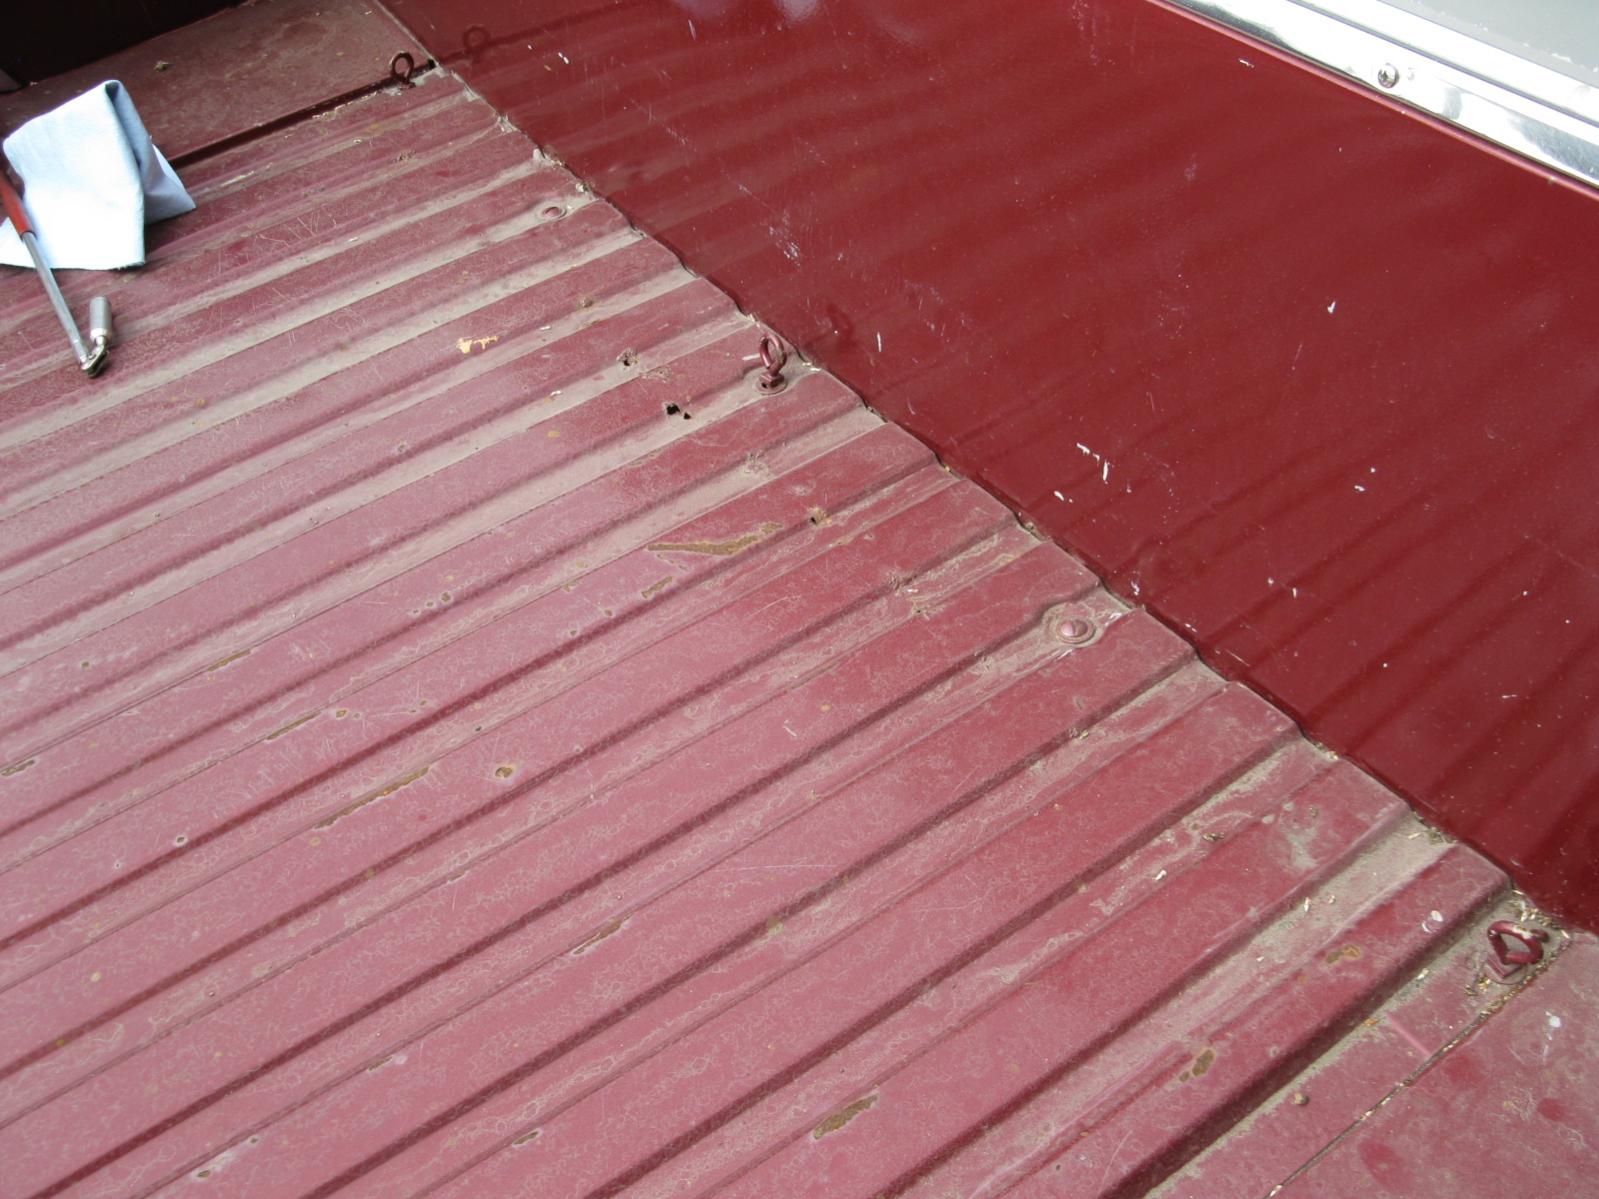
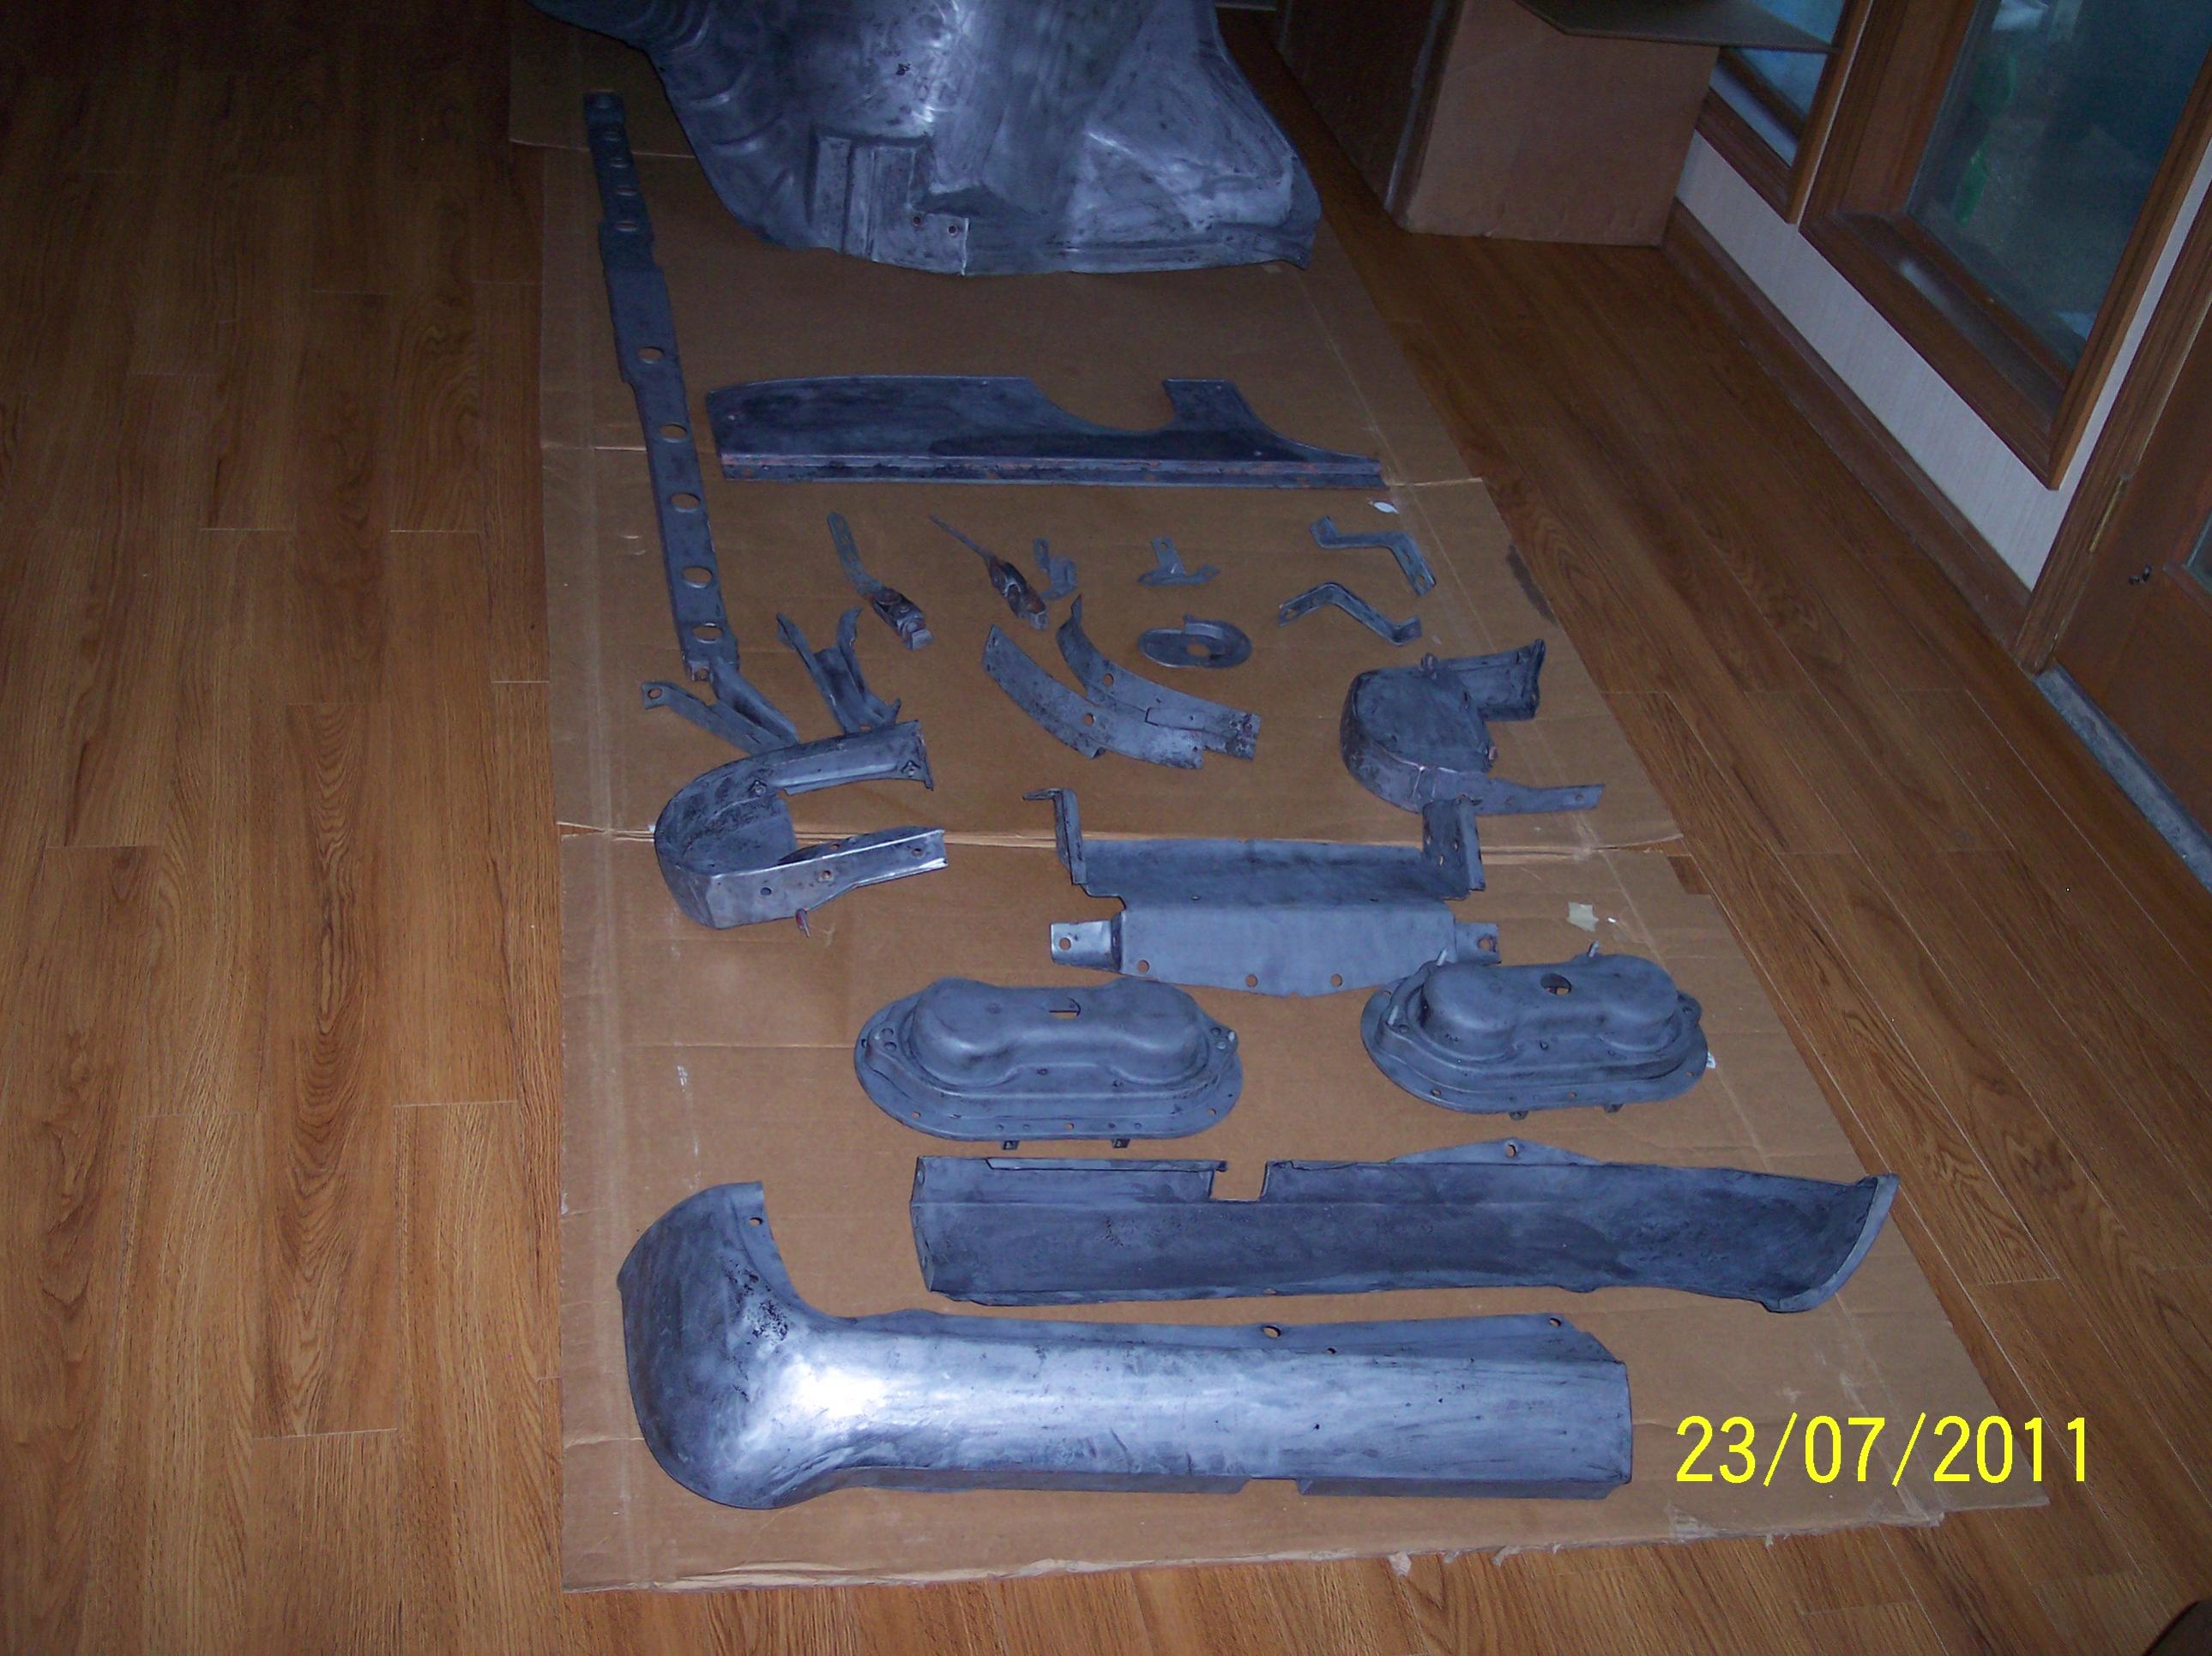
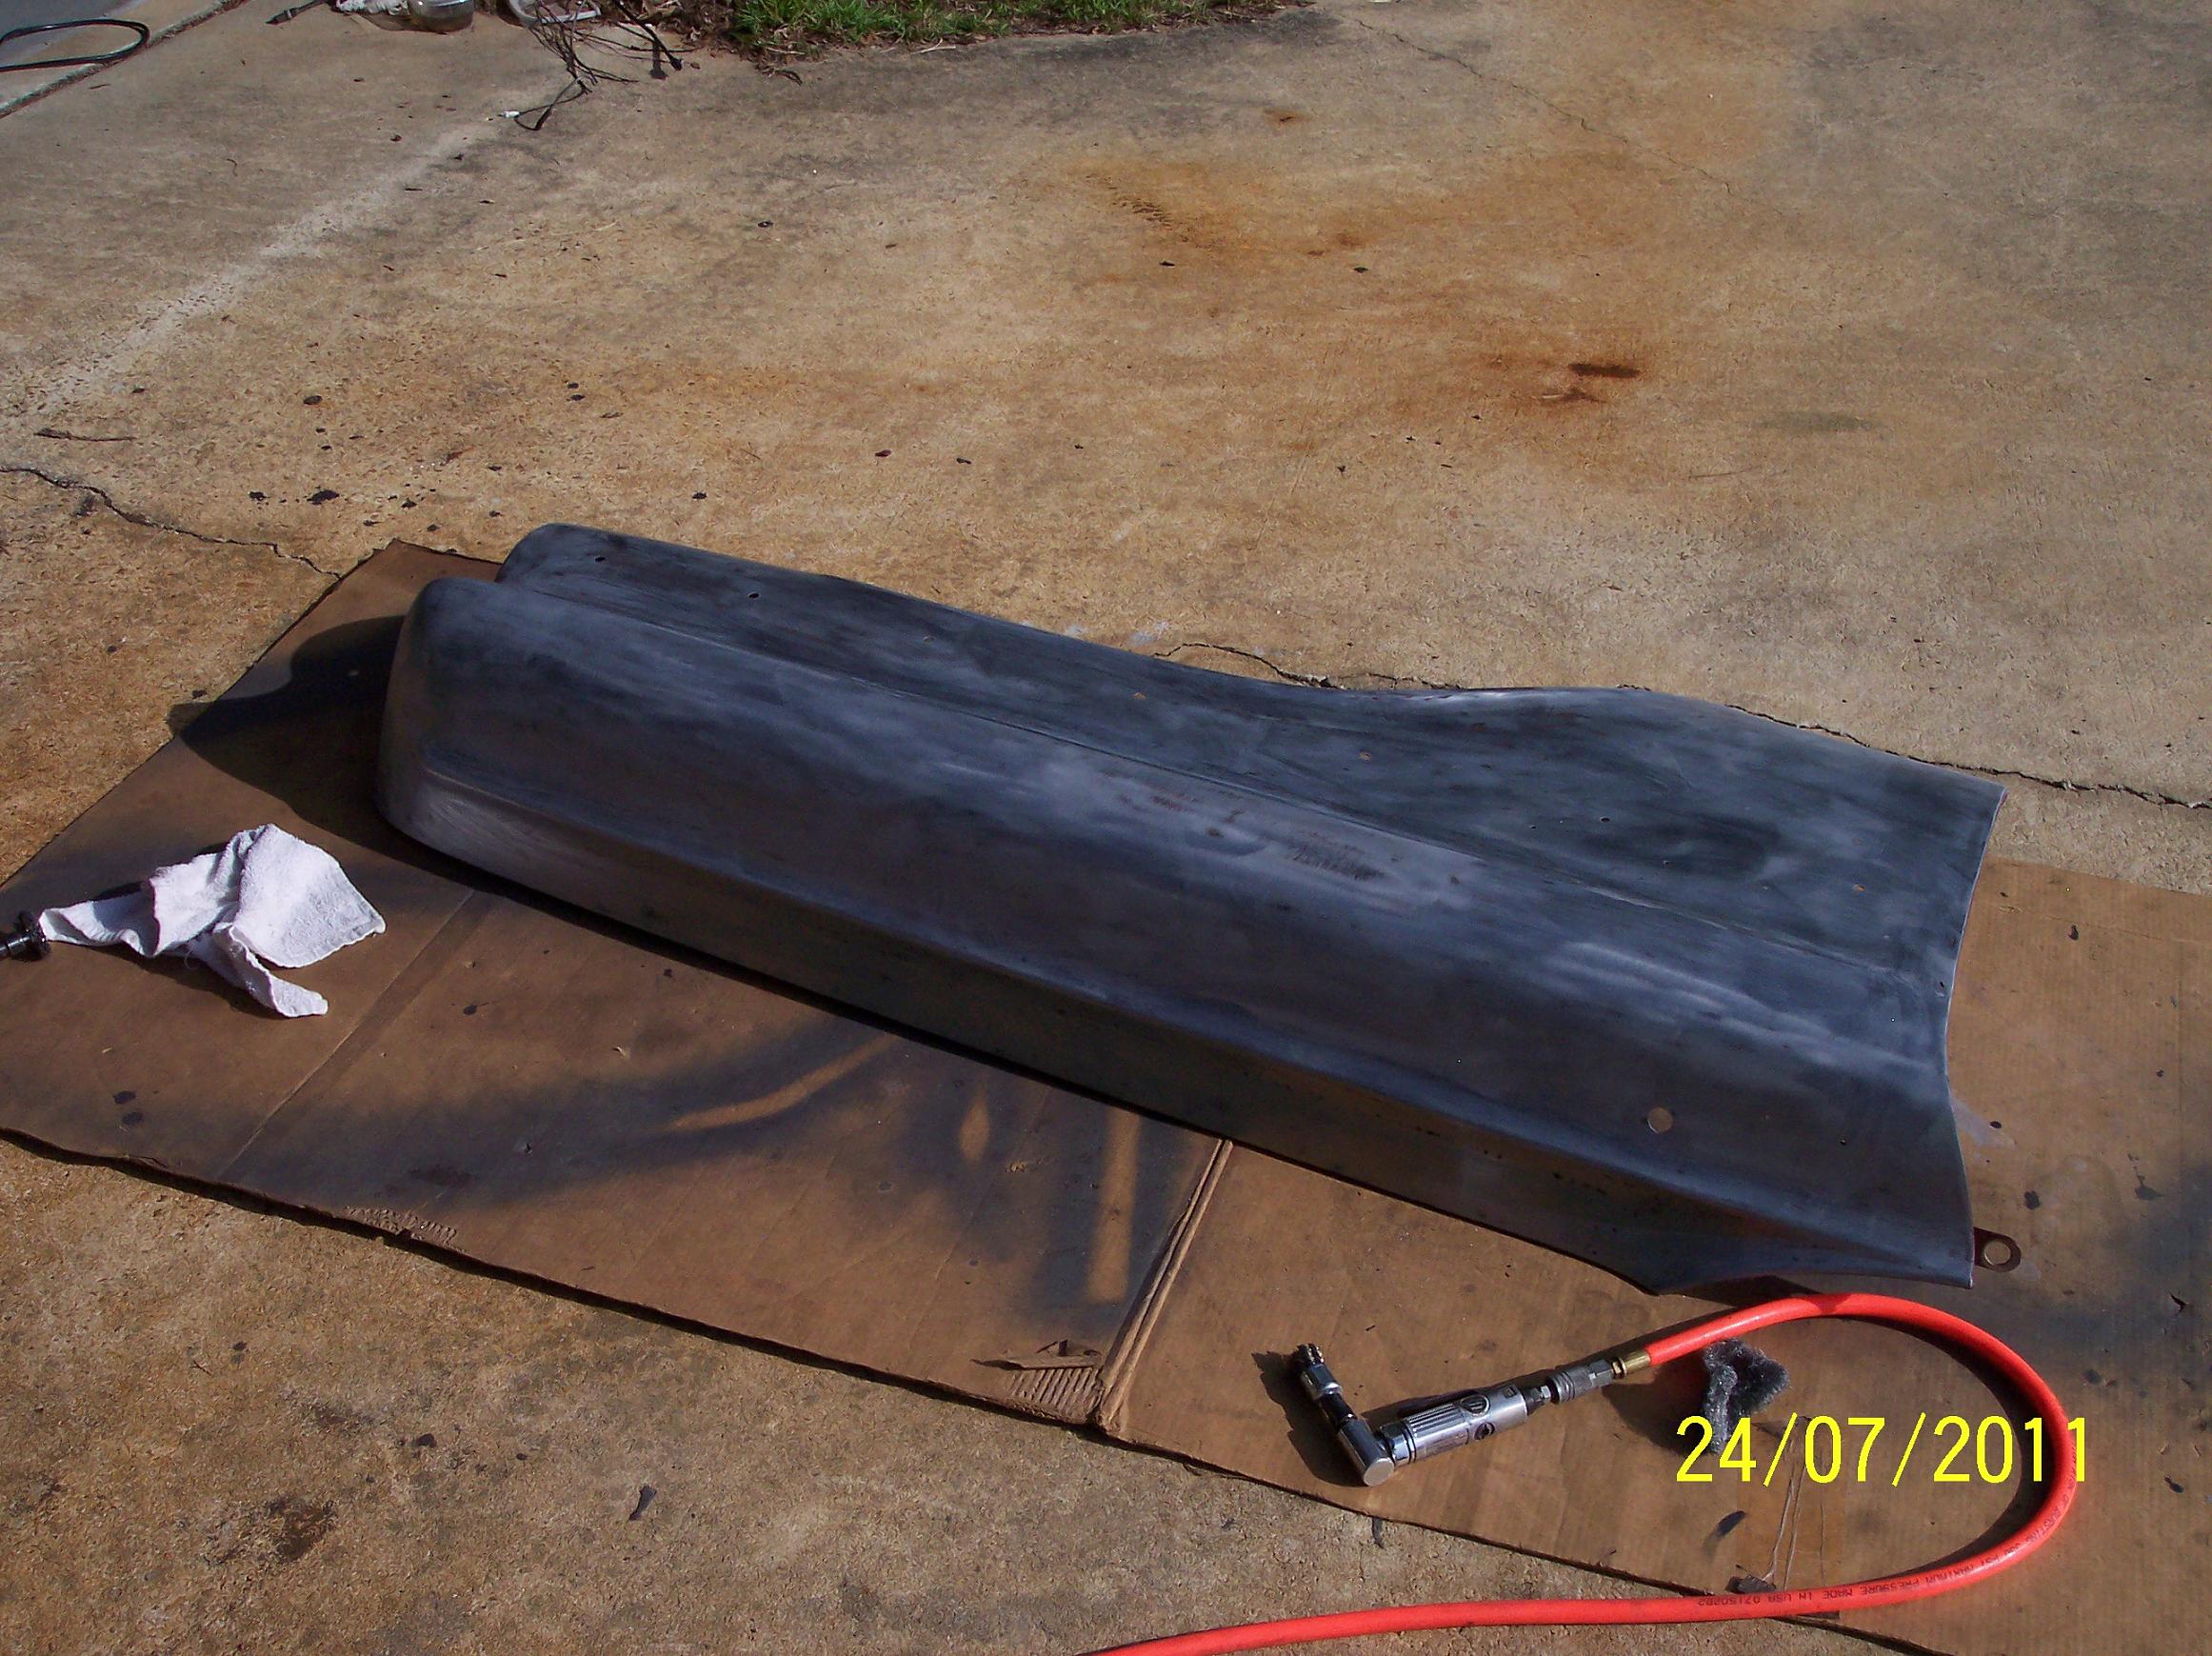
Here are some more pictures of the clean up work. I will get into the LS3 stuff a little later. The El Camino has a station wagon floor board under the bed because it was pulled of the wagon line to become an El Camino. This is one of the few places on this car that has pitted rust because it is a water trap.

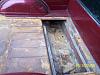
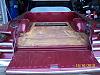
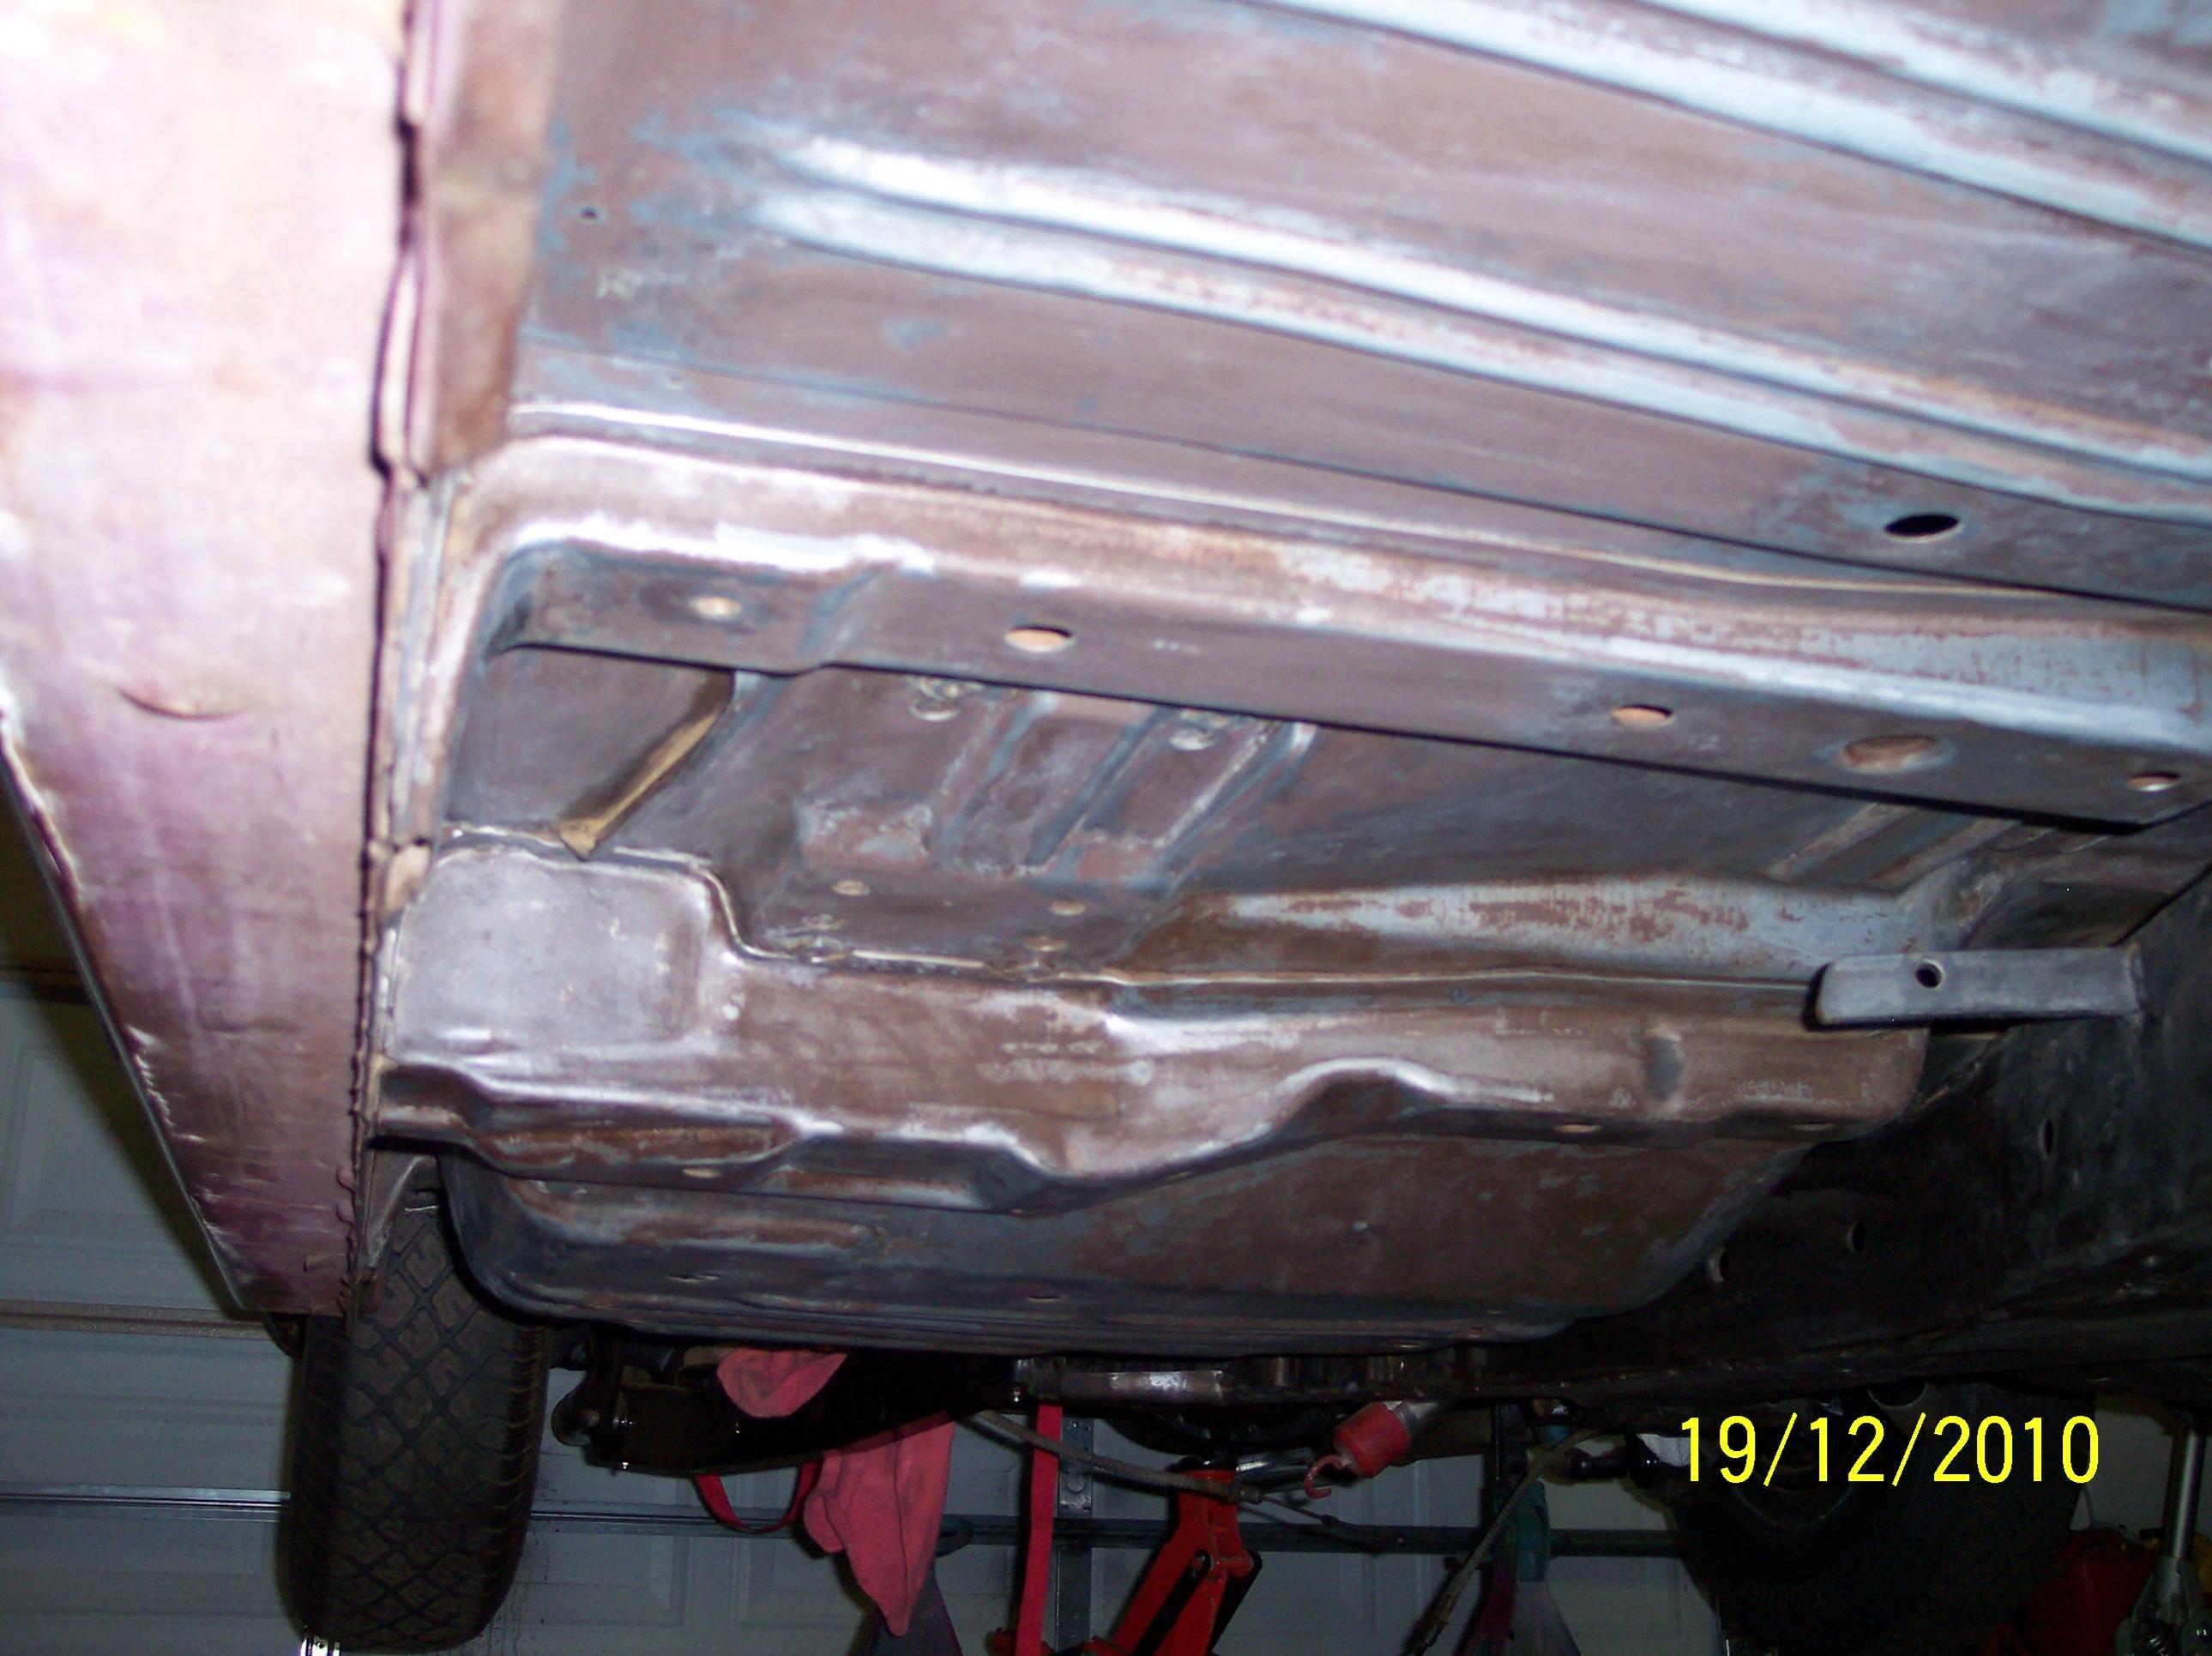
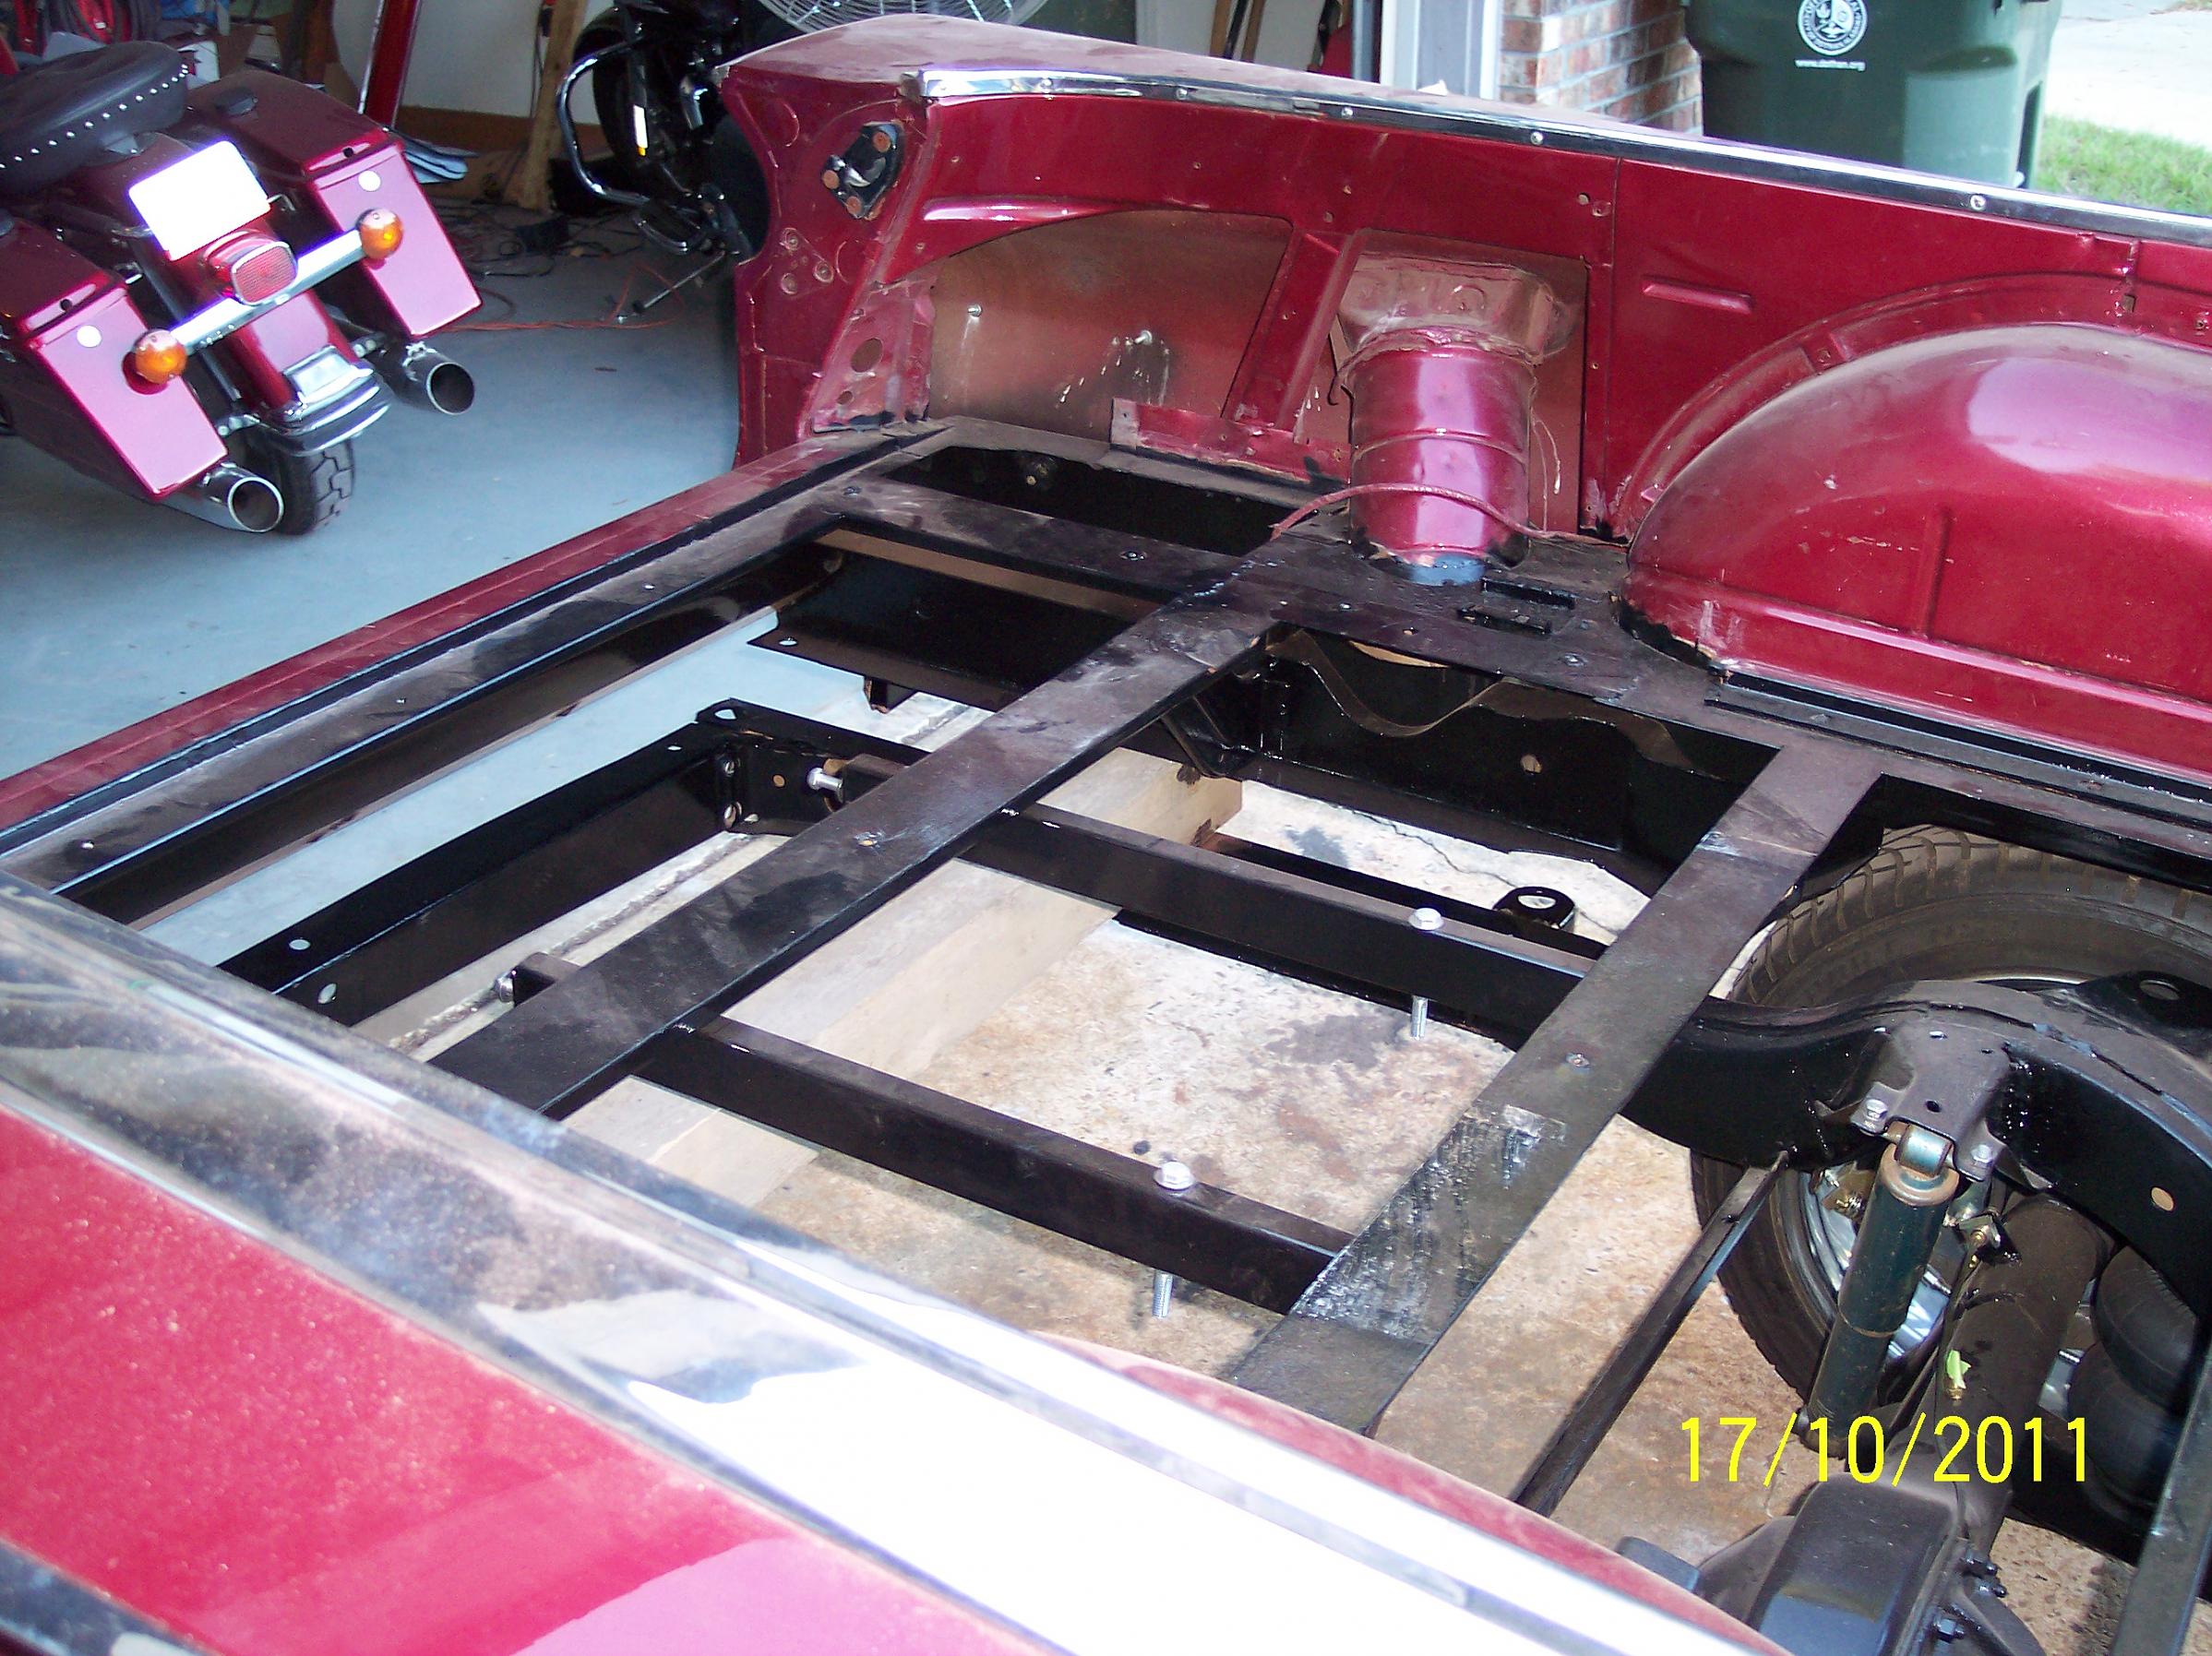
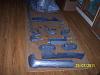
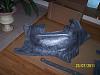
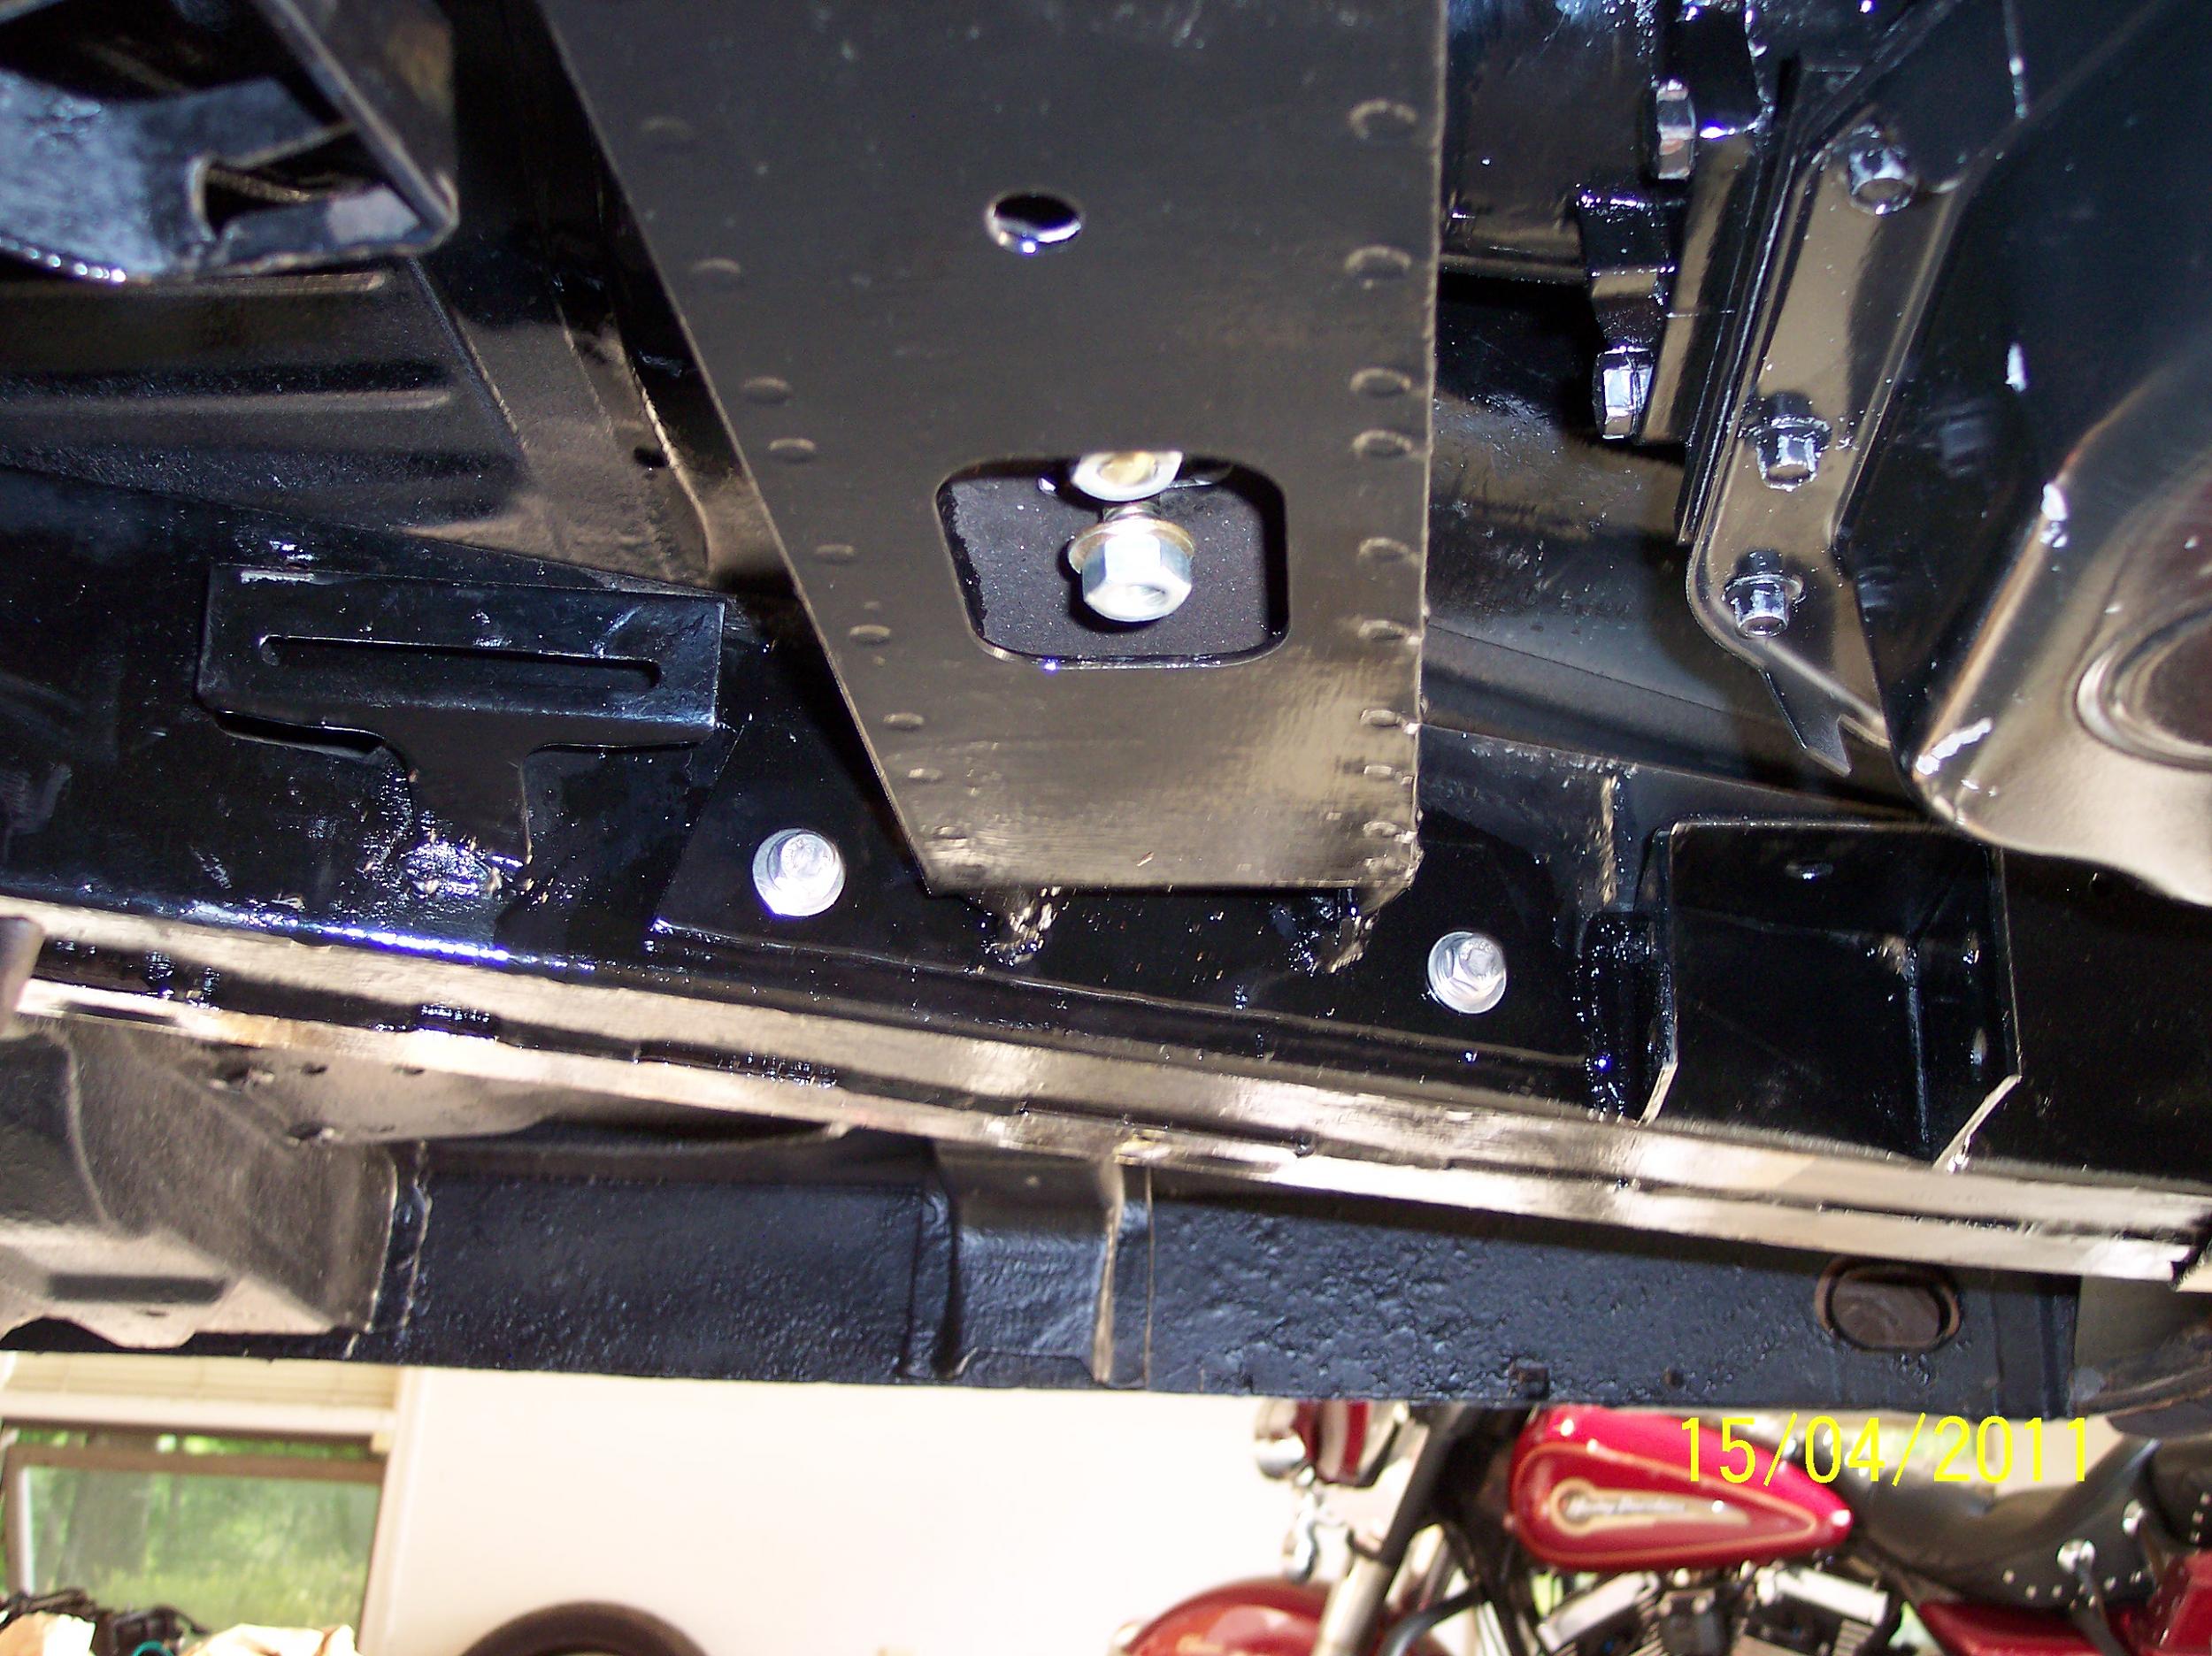
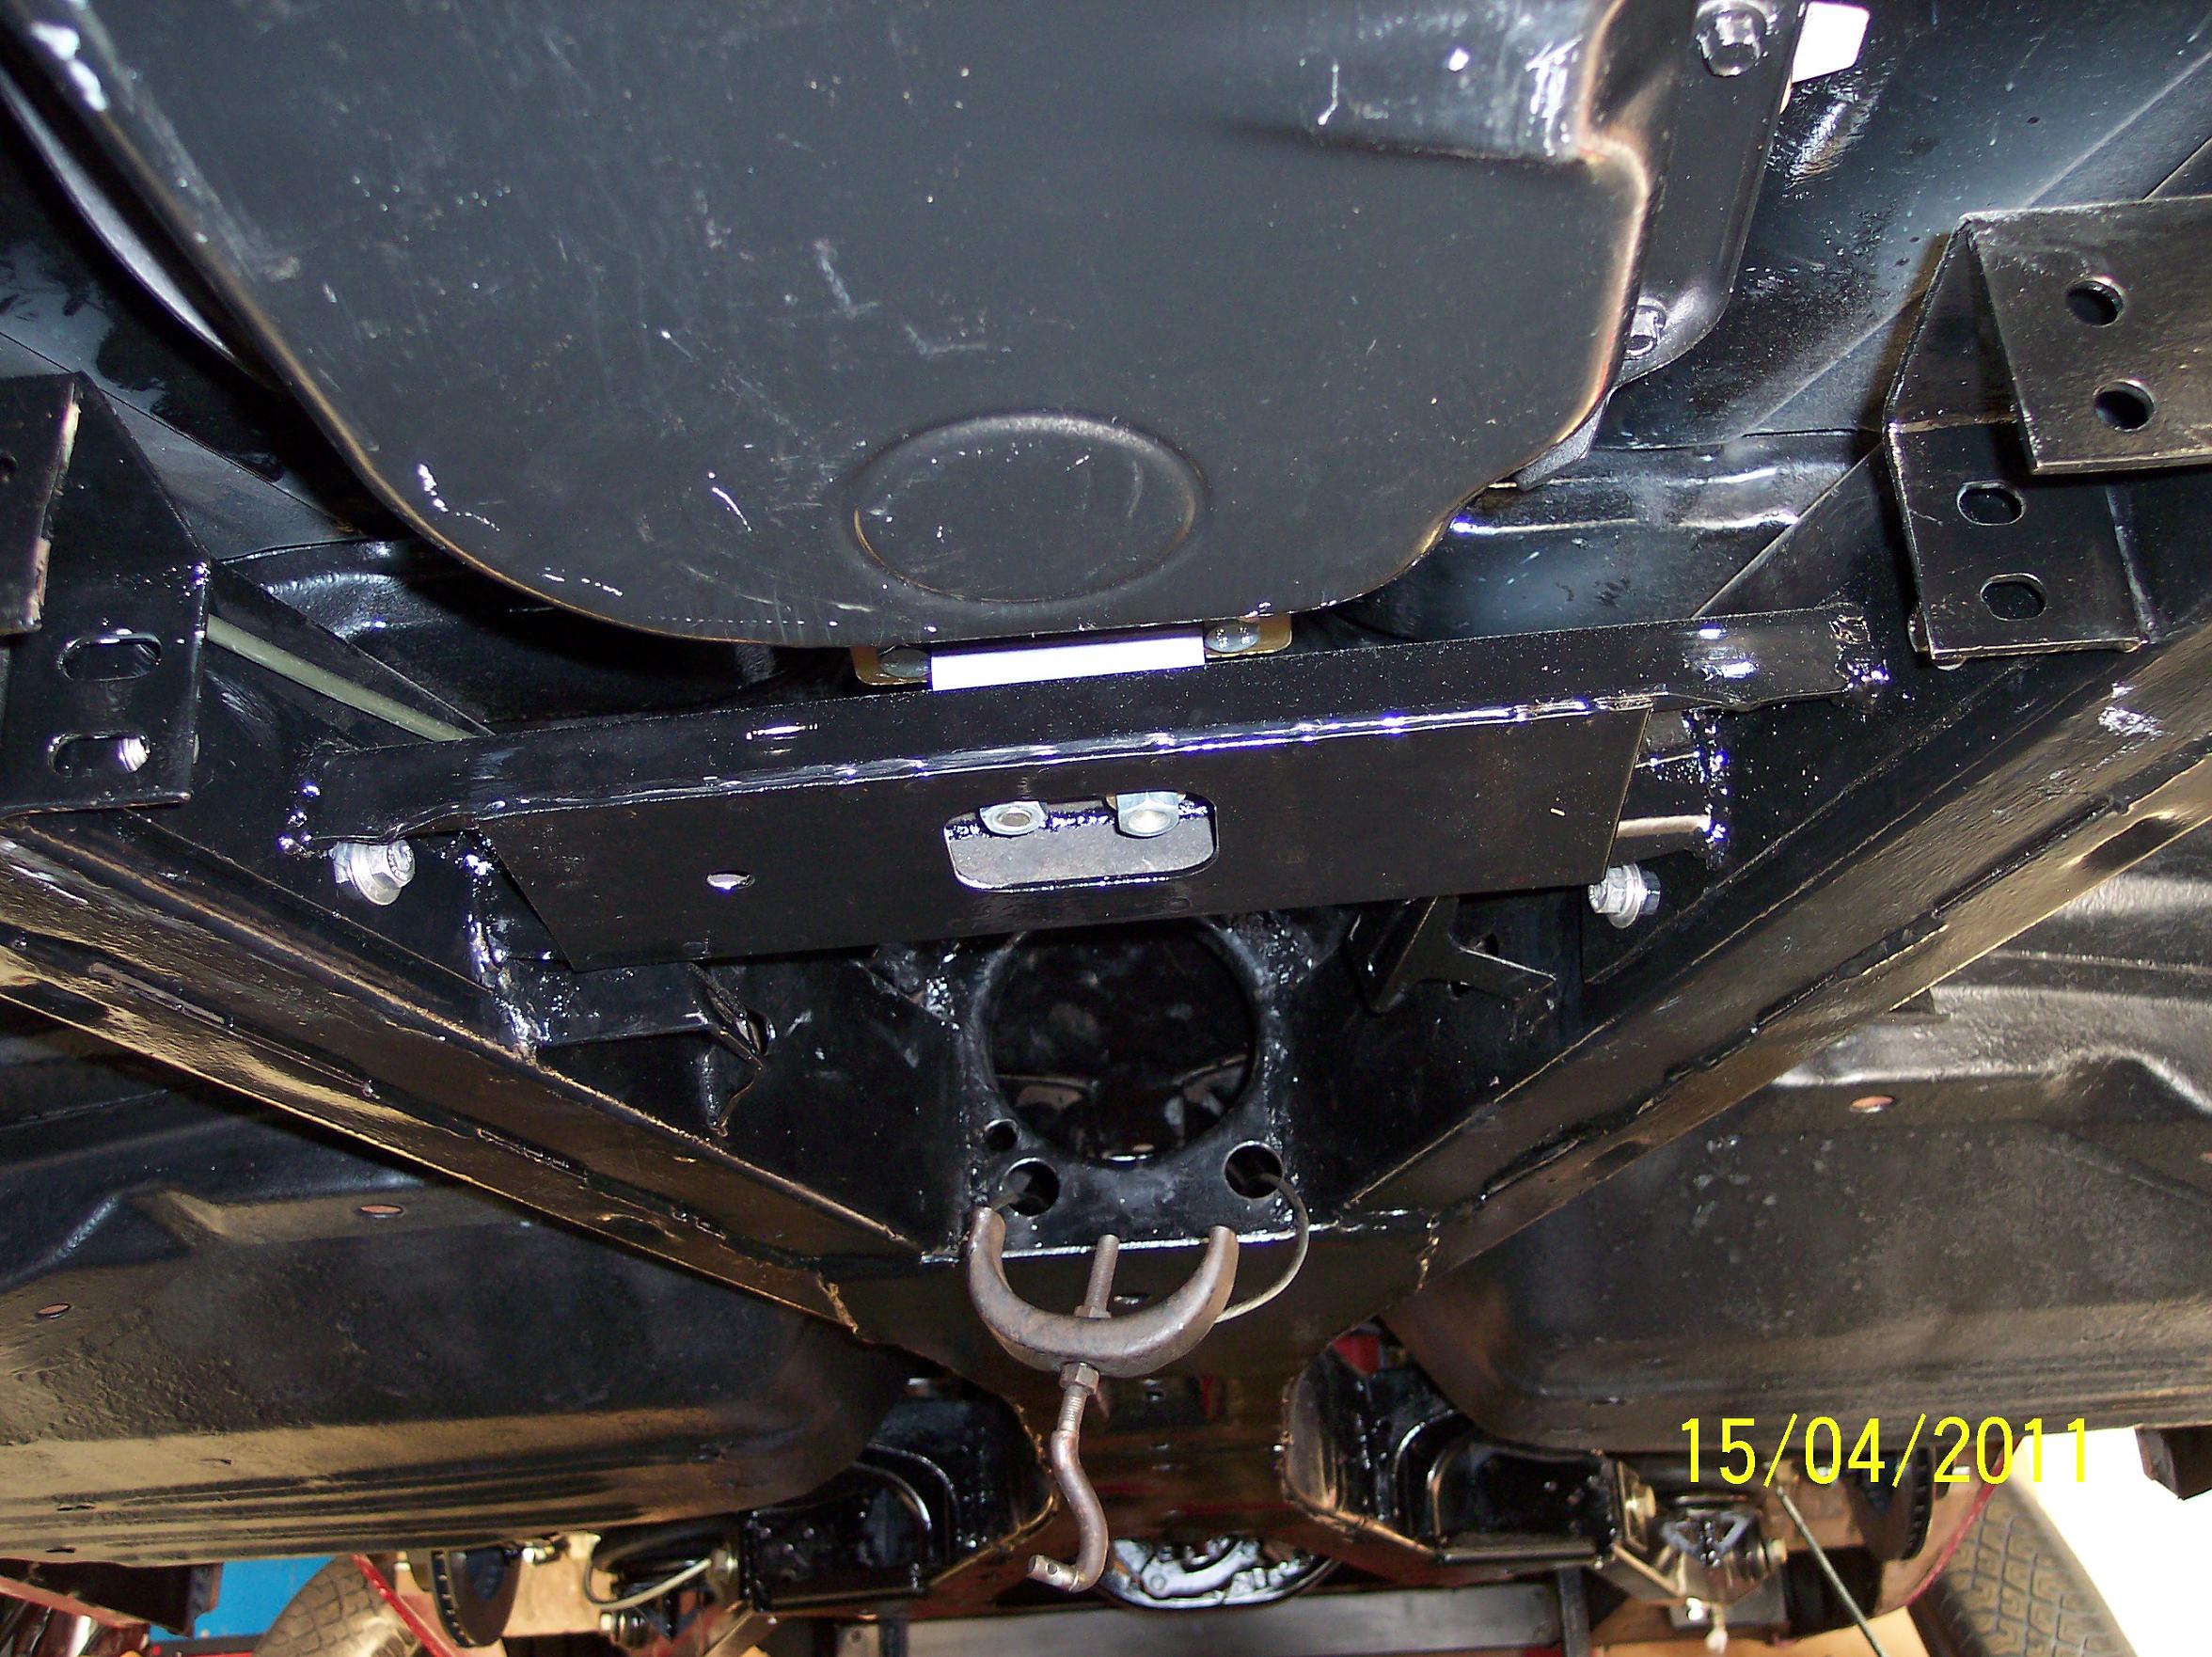
I could have repaired the station wagon floor board but, right or wrong, I decided to cut it out because it will trap water and mildew here in the deep south. After I removed the floor panels (left cross members), I build braces to pick up the screws from the truck bed. Any water that gets into the bed now should make it to the ground now.

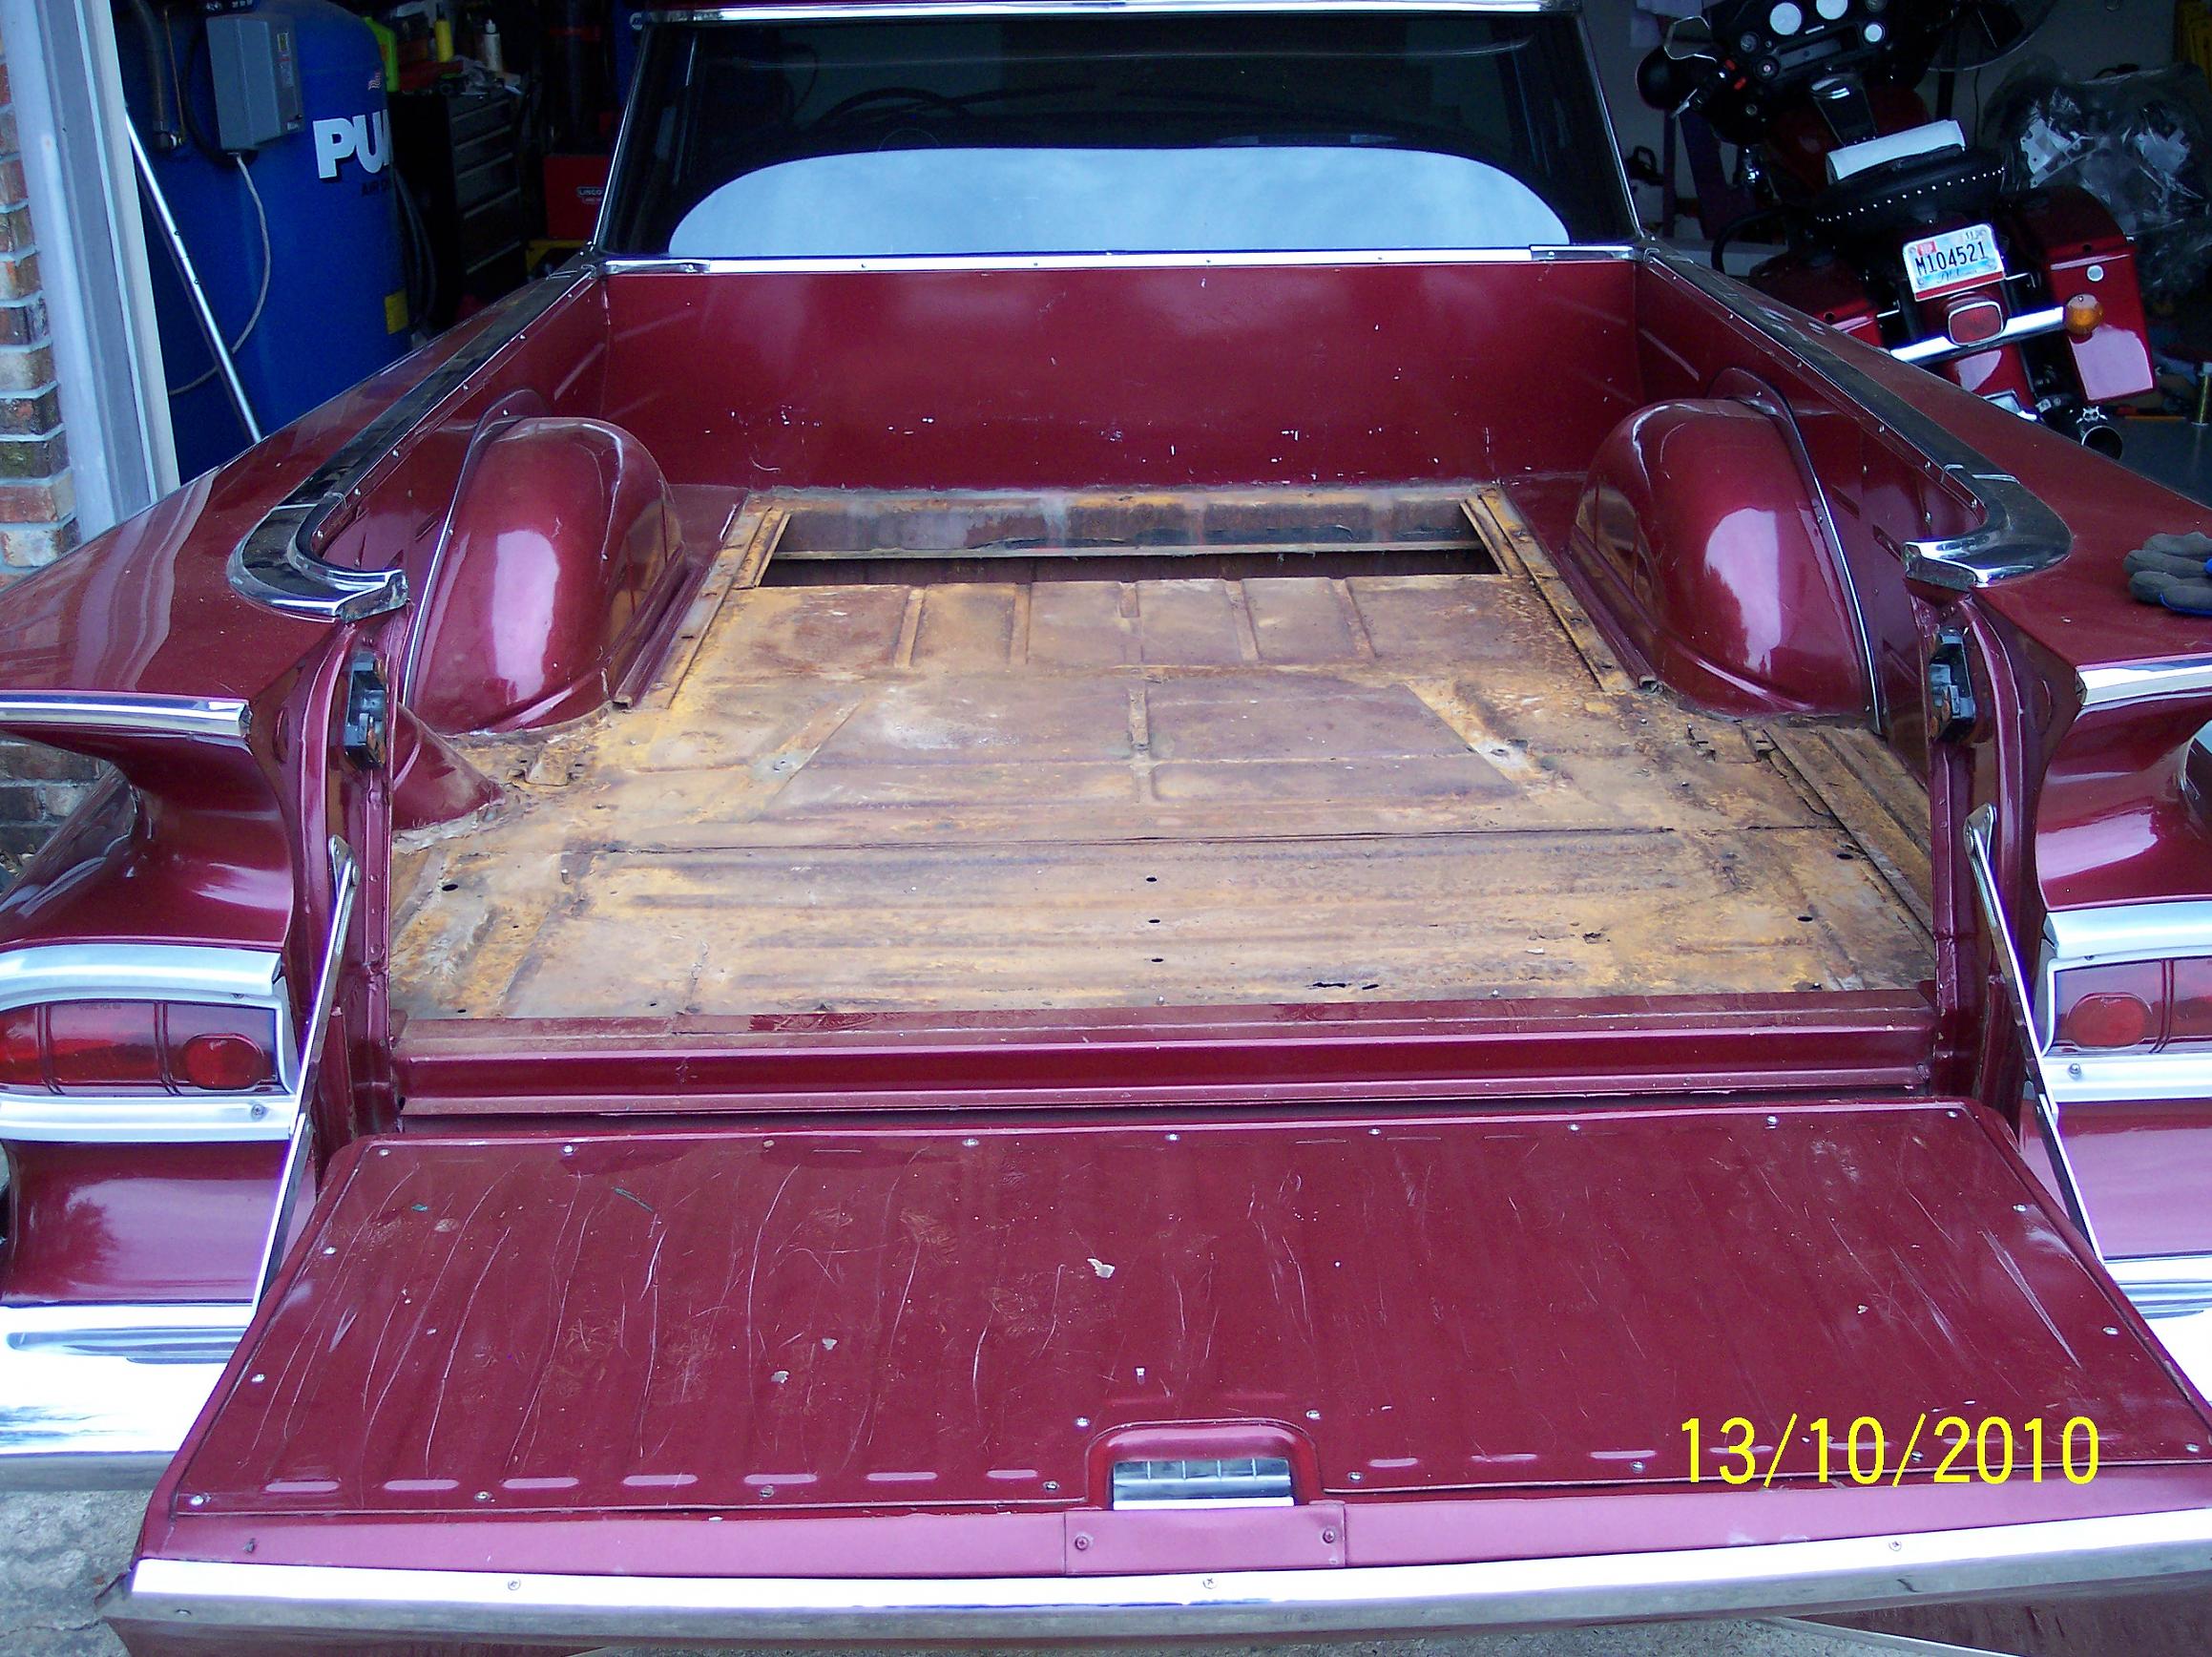
I could have repaired the station wagon floor board but, right or wrong, I decided to cut it out because it will trap water and mildew here in the deep south. After I removed the floor panels (left cross members), I build braces to pick up the screws from the truck bed. Any water that gets into the bed now should make it to the ground now.
 01-10-2012, 12:06 PM
#3
NICE!!!!
Jon
PSI
Jon
PSI
__________________

Your Source for LSX Conversion Parts!
www.psiconversion.com
Ebay Store
Facebook/psiconversion
Instagram/psiconversion
'Dont Let EFI Pass You By!'
Your Source for LSX Conversion Parts!
www.psiconversion.com
Ebay Store
Facebook/psiconversion
Instagram/psiconversion
'Dont Let EFI Pass You By!'
01-10-2012, 02:08 PM
#4
Teching In
Thread Starter
iTrader: (1)
Join Date: Mar 2011
Location: SE Alabama
Posts: 13
Likes: 0
Received 0 Likes
on
0 Posts
I had originally thought I would just touch up the paint and install a new drive train. After a closer inspection I decided to clean up the rest of the body and repaint. Here is how I spent my summer...


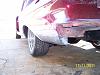
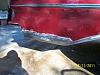
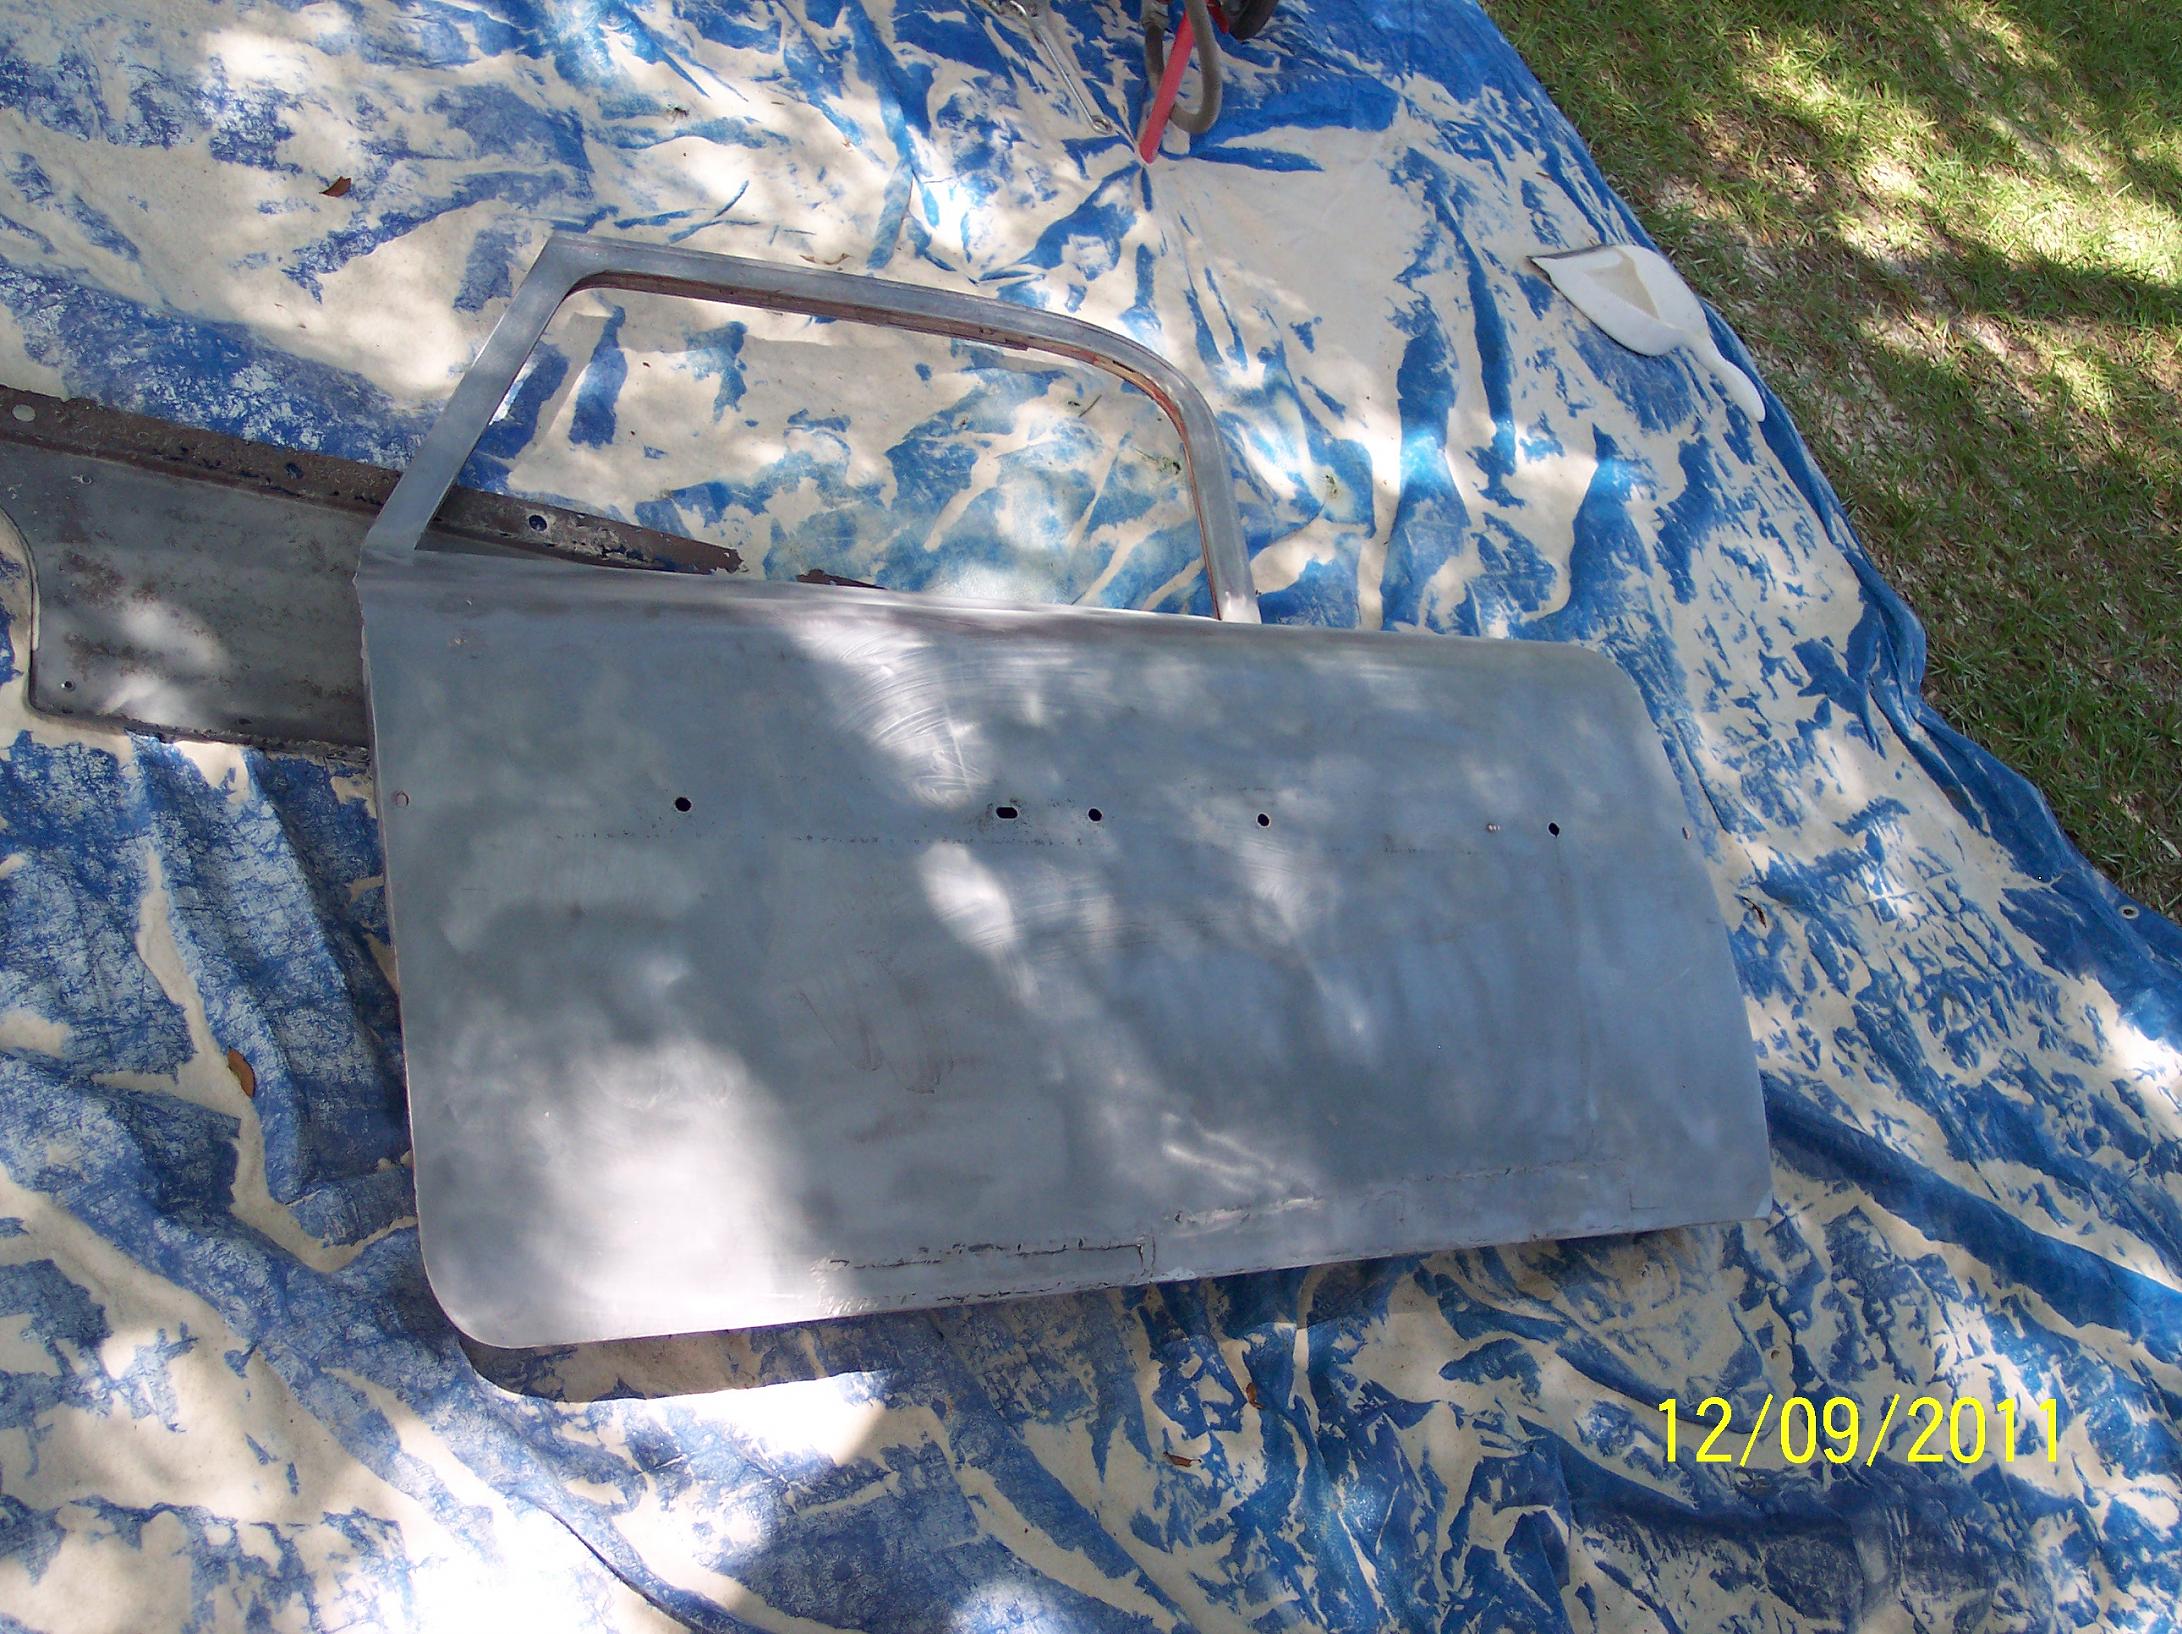
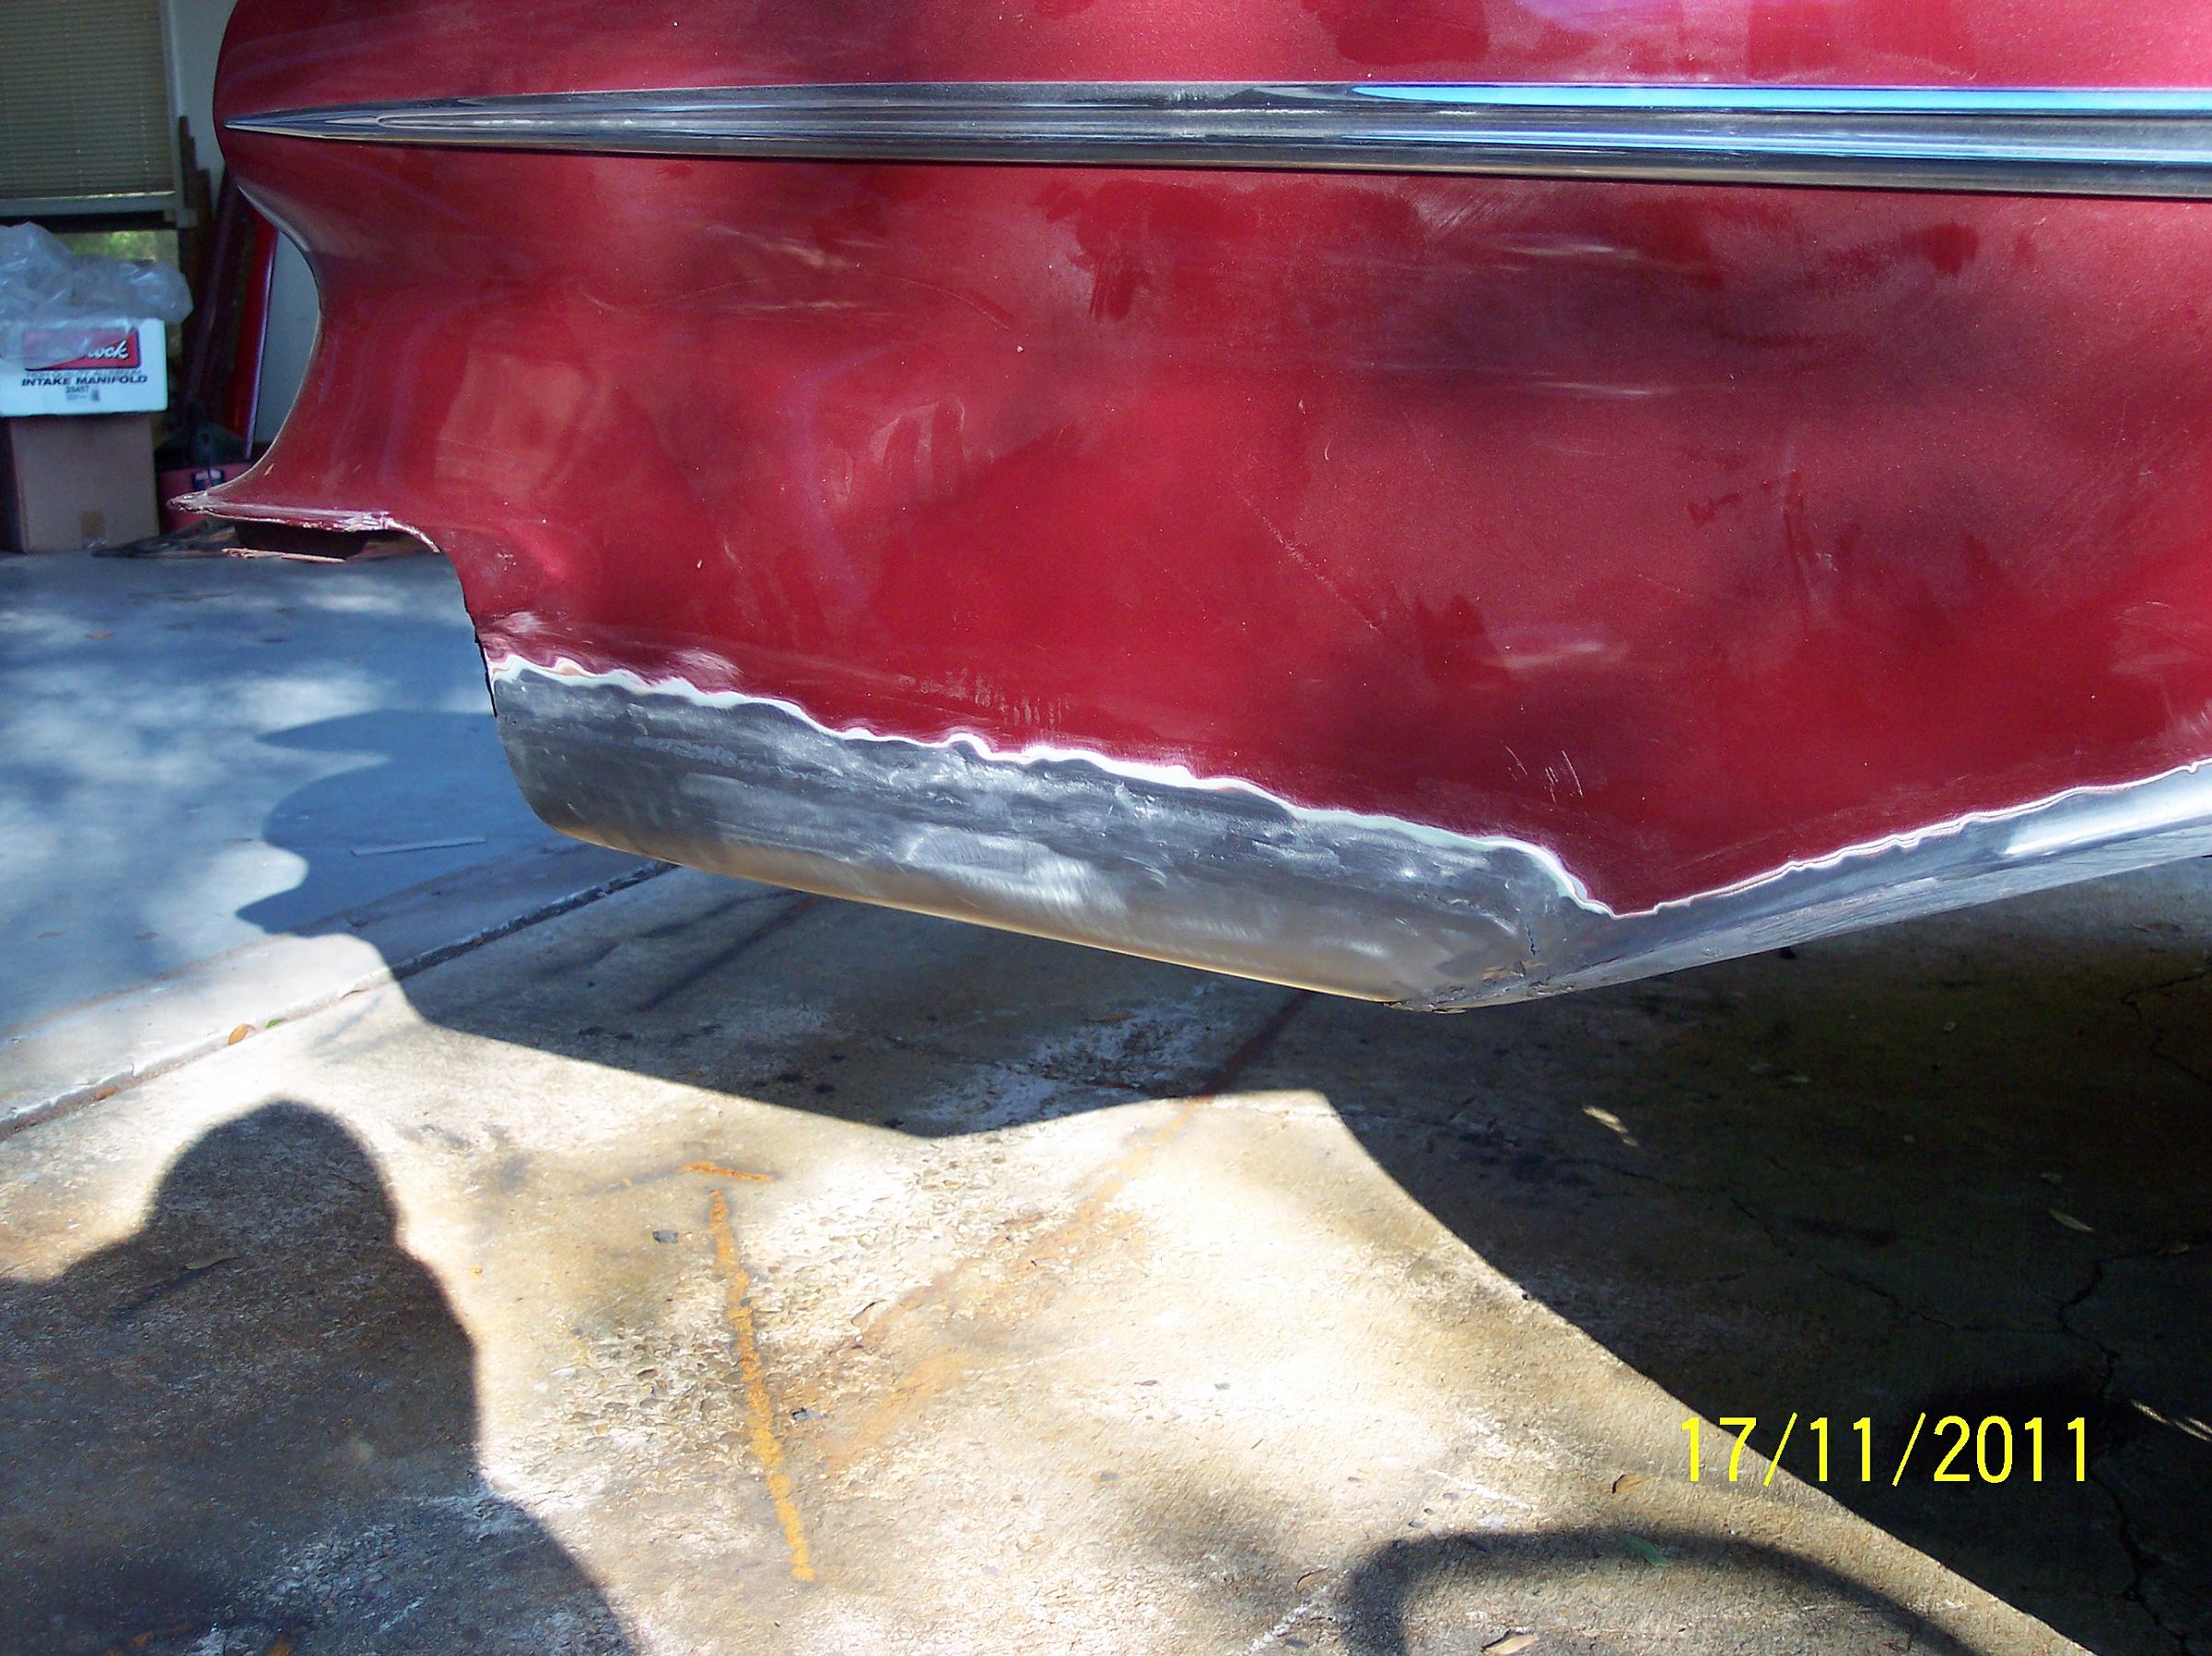
As you can tell. This car is really clean for a 59. I had to replace the bottom three inches on the rear quarter panels, a patch in front of the left rear wheel and the bottom of the passenger door. I also replaced the lower vent cowl on the passenger side.


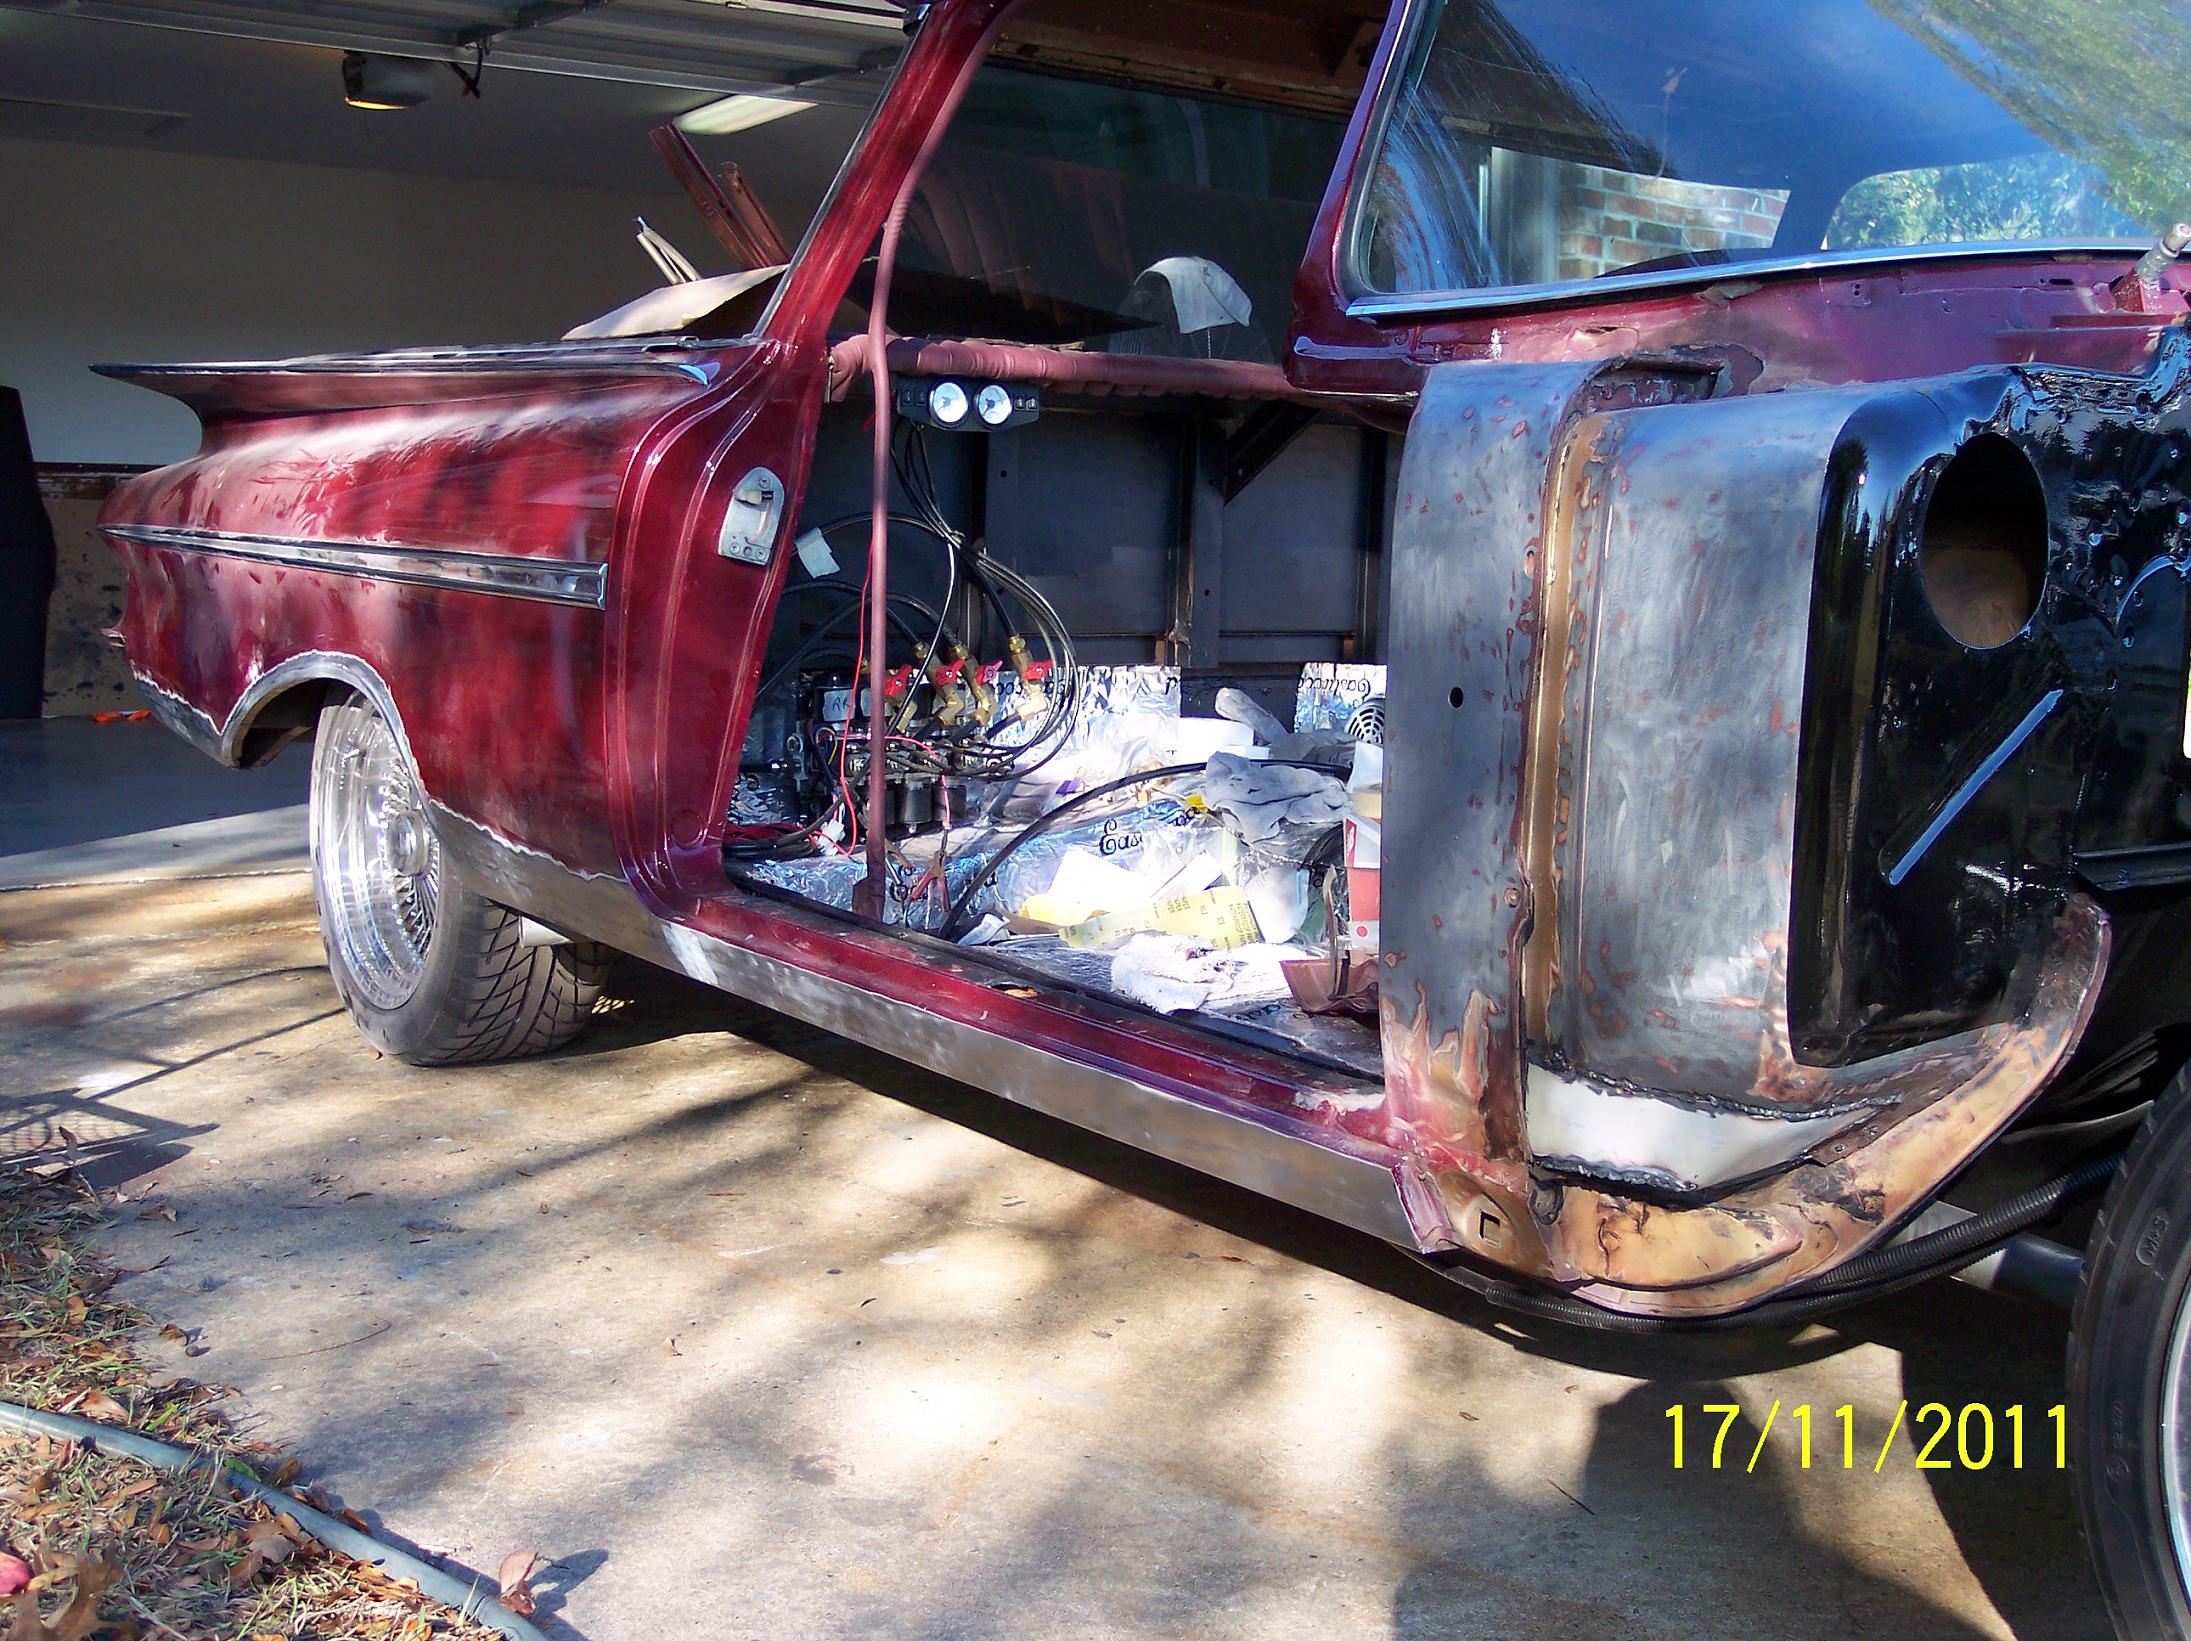
As you can tell. This car is really clean for a 59. I had to replace the bottom three inches on the rear quarter panels, a patch in front of the left rear wheel and the bottom of the passenger door. I also replaced the lower vent cowl on the passenger side.
01-10-2012, 02:47 PM
#5
Teching In
Thread Starter
iTrader: (1)
Join Date: Mar 2011
Location: SE Alabama
Posts: 13
Likes: 0
Received 0 Likes
on
0 Posts
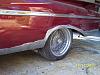
I replaced the body panels on the rear quarters. The right one had been replaced earlier but I was not happy with the quality of the job. The left one had a lot of pits on the inside. It already had a couple bubbles and I'm sure there where more to follow. I also repaired the bottom of the pass door. the other door has perfect. I cleaned up the inside of the doors and painted. I used some left over poor 15 inside the doors. I used Eastwood's rust encapsulator on the floor boards and frame.


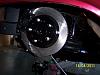
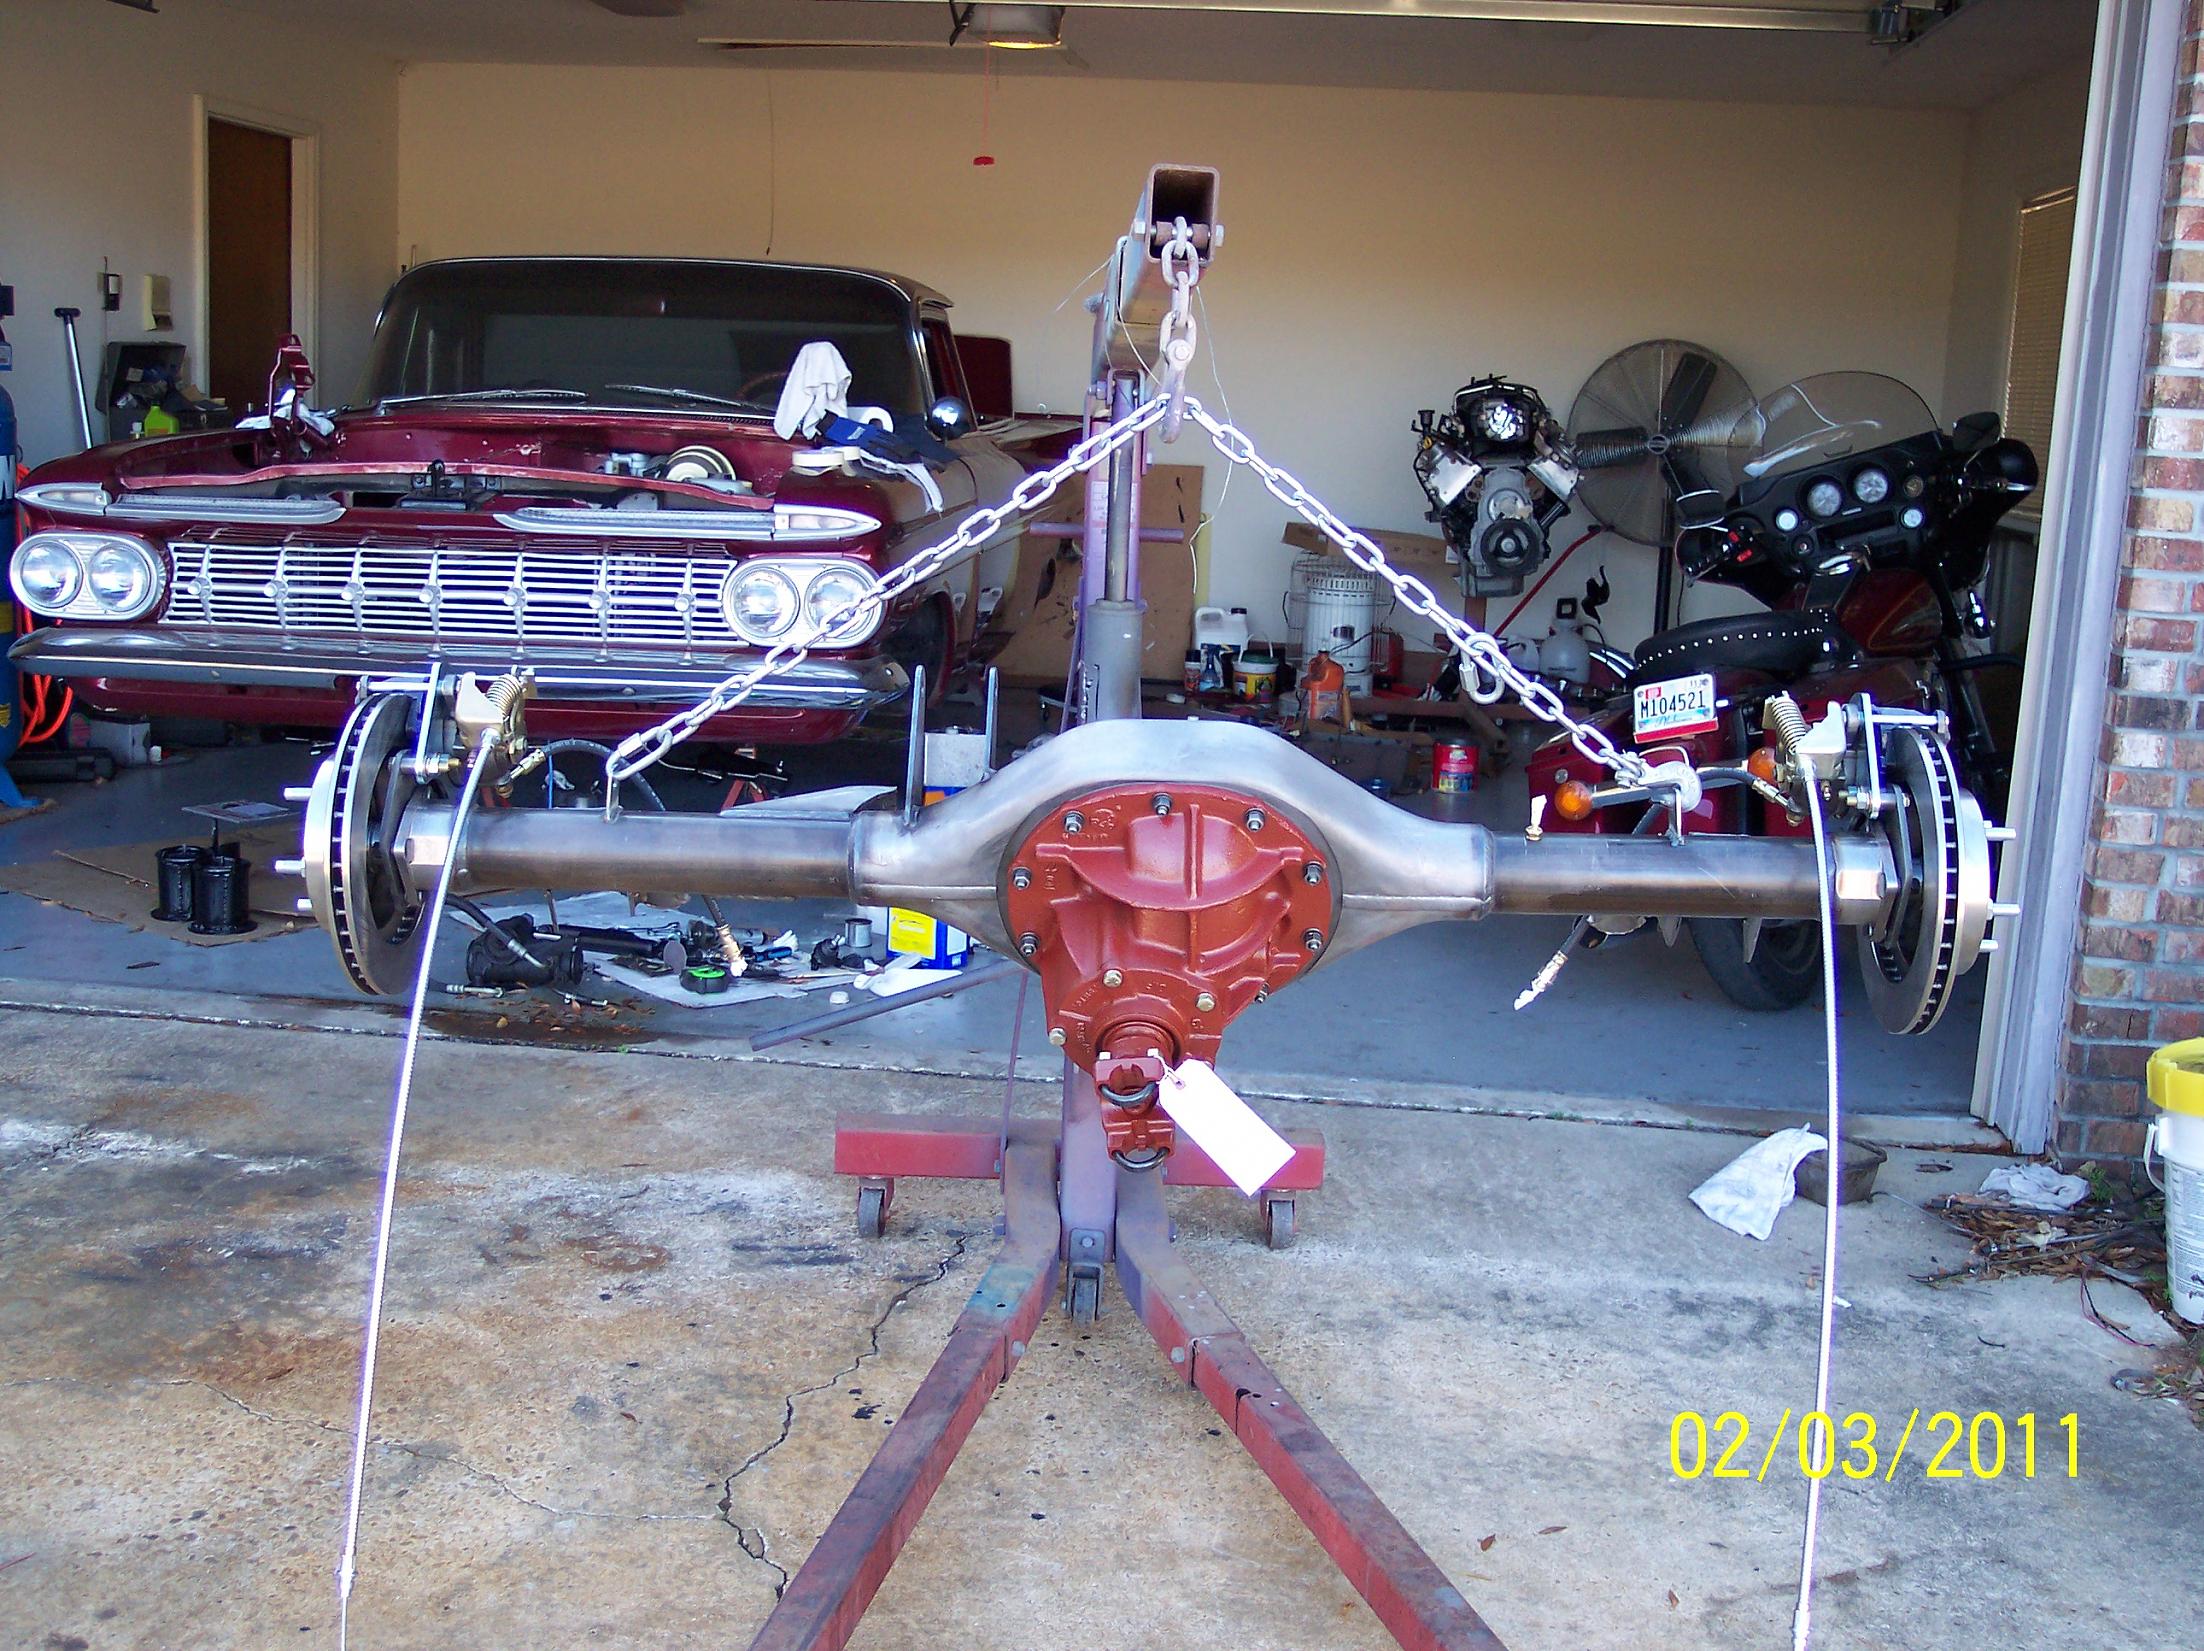
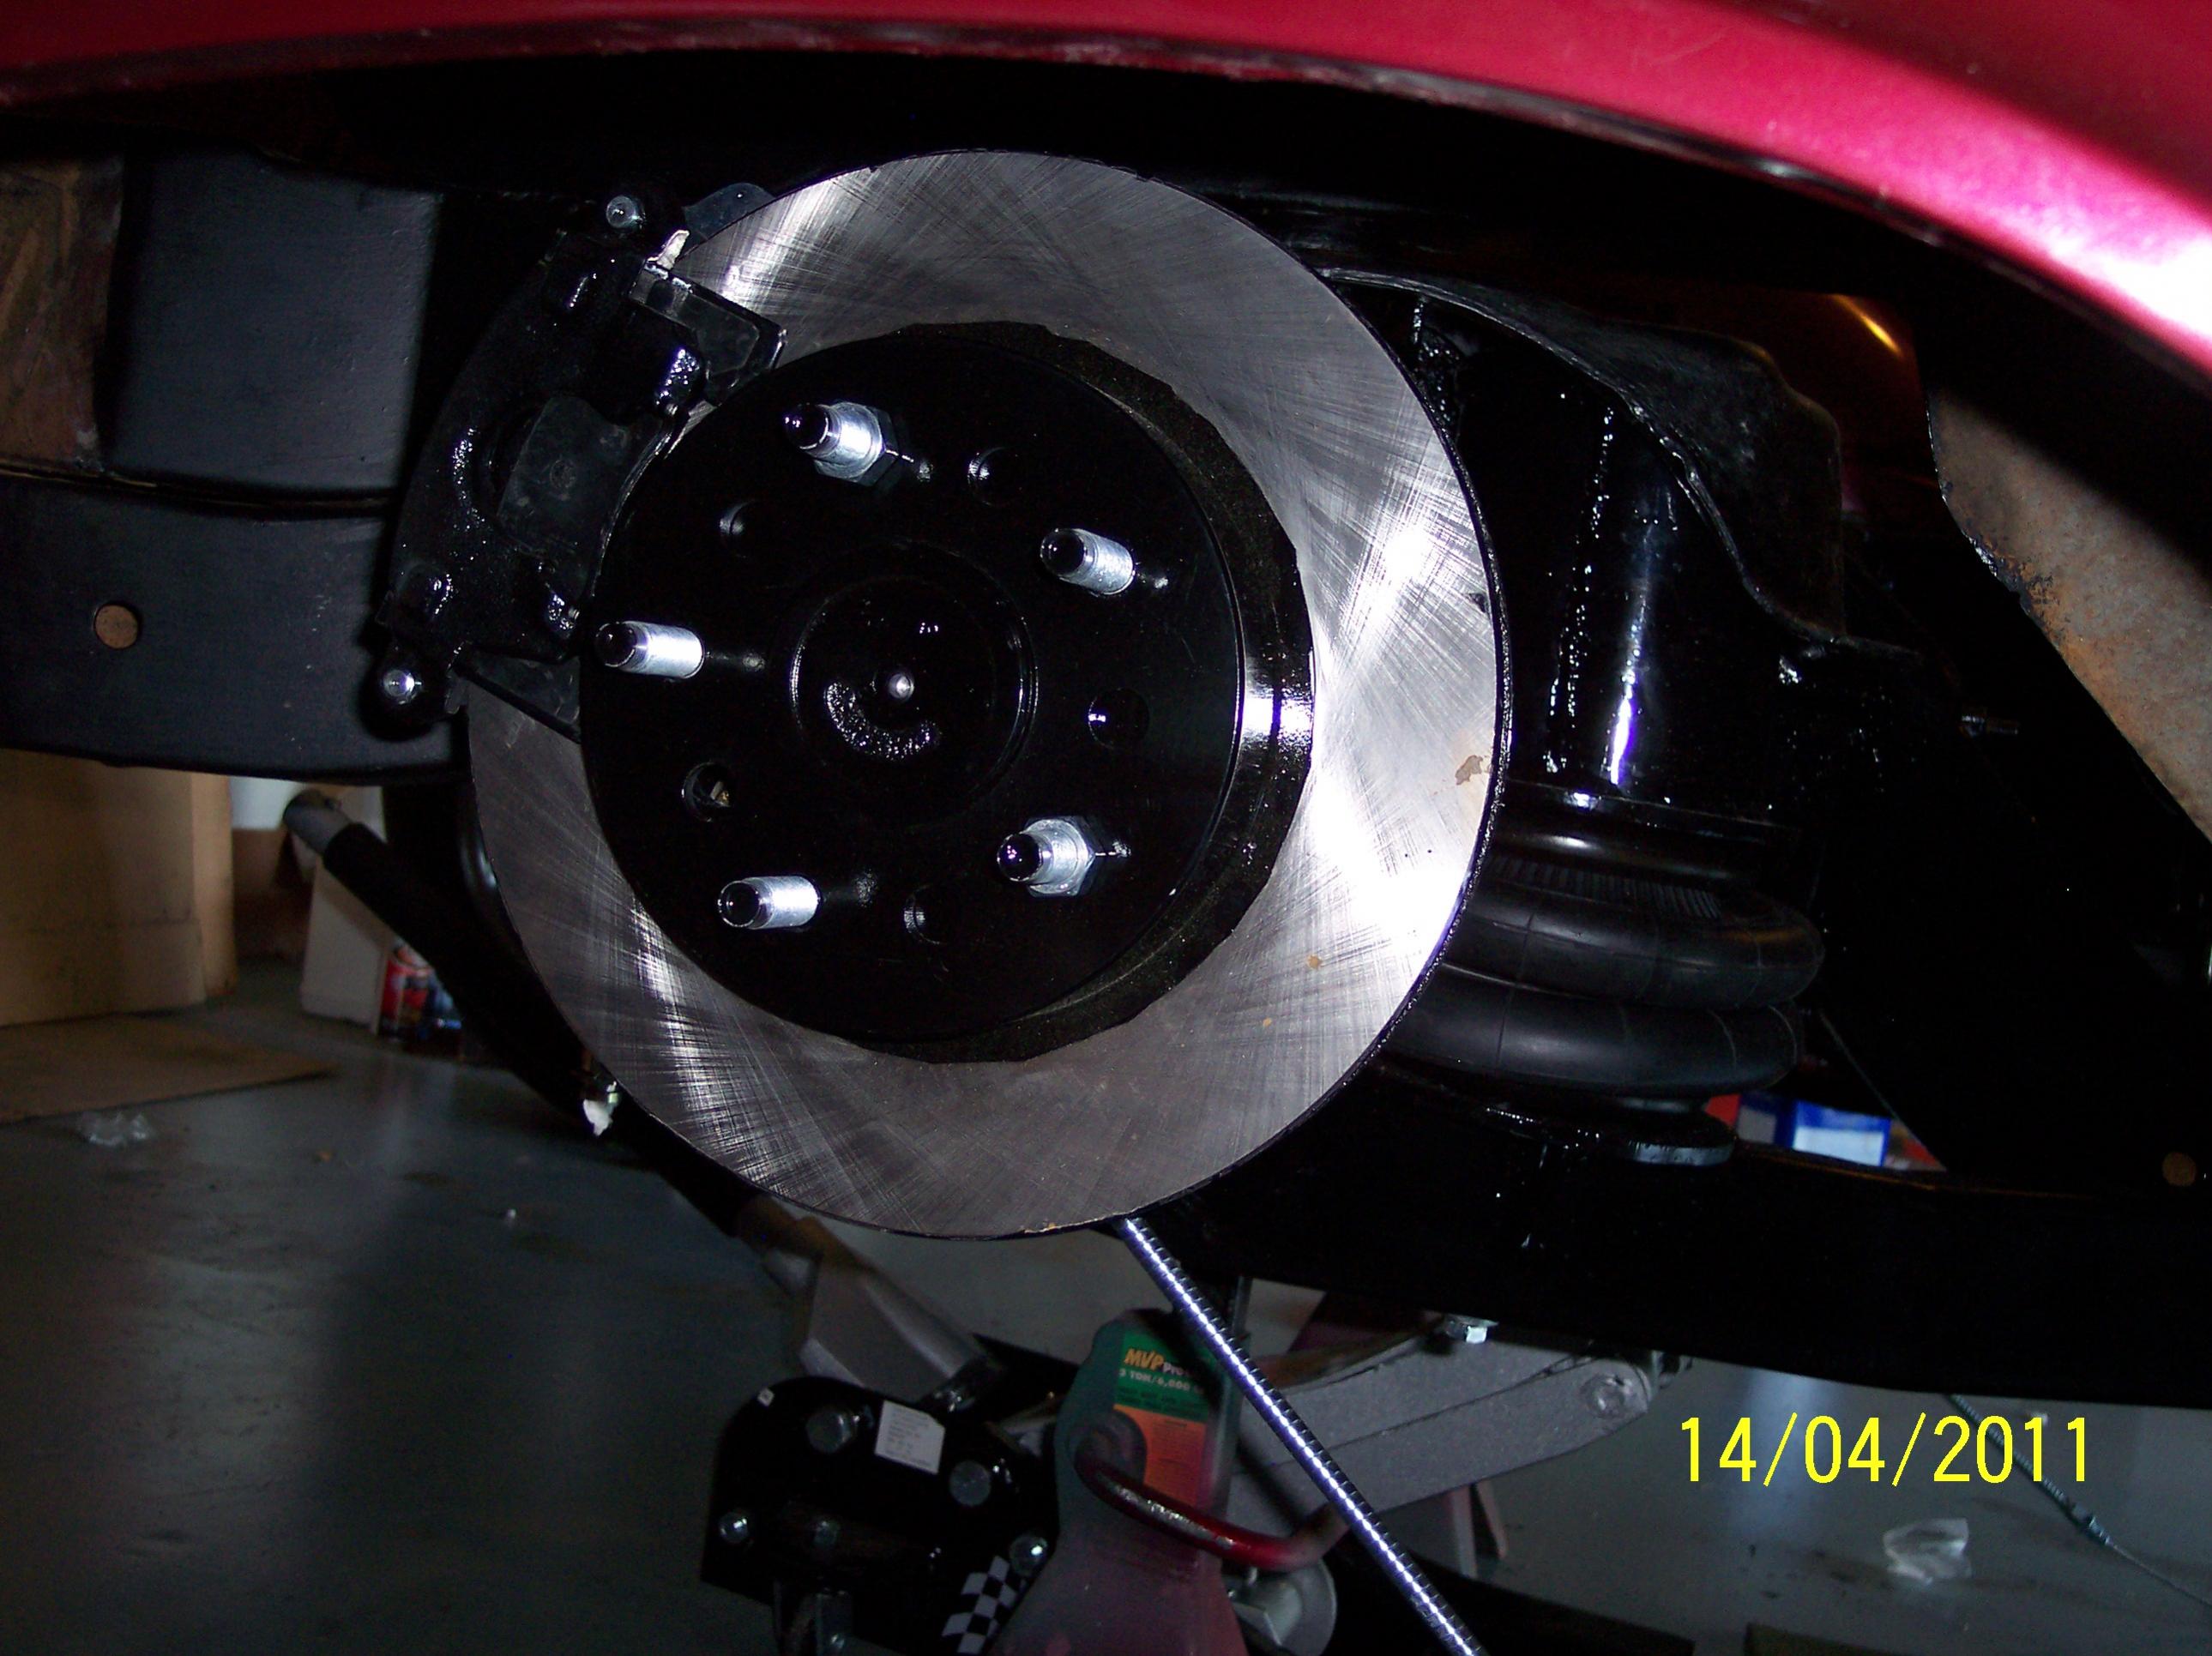
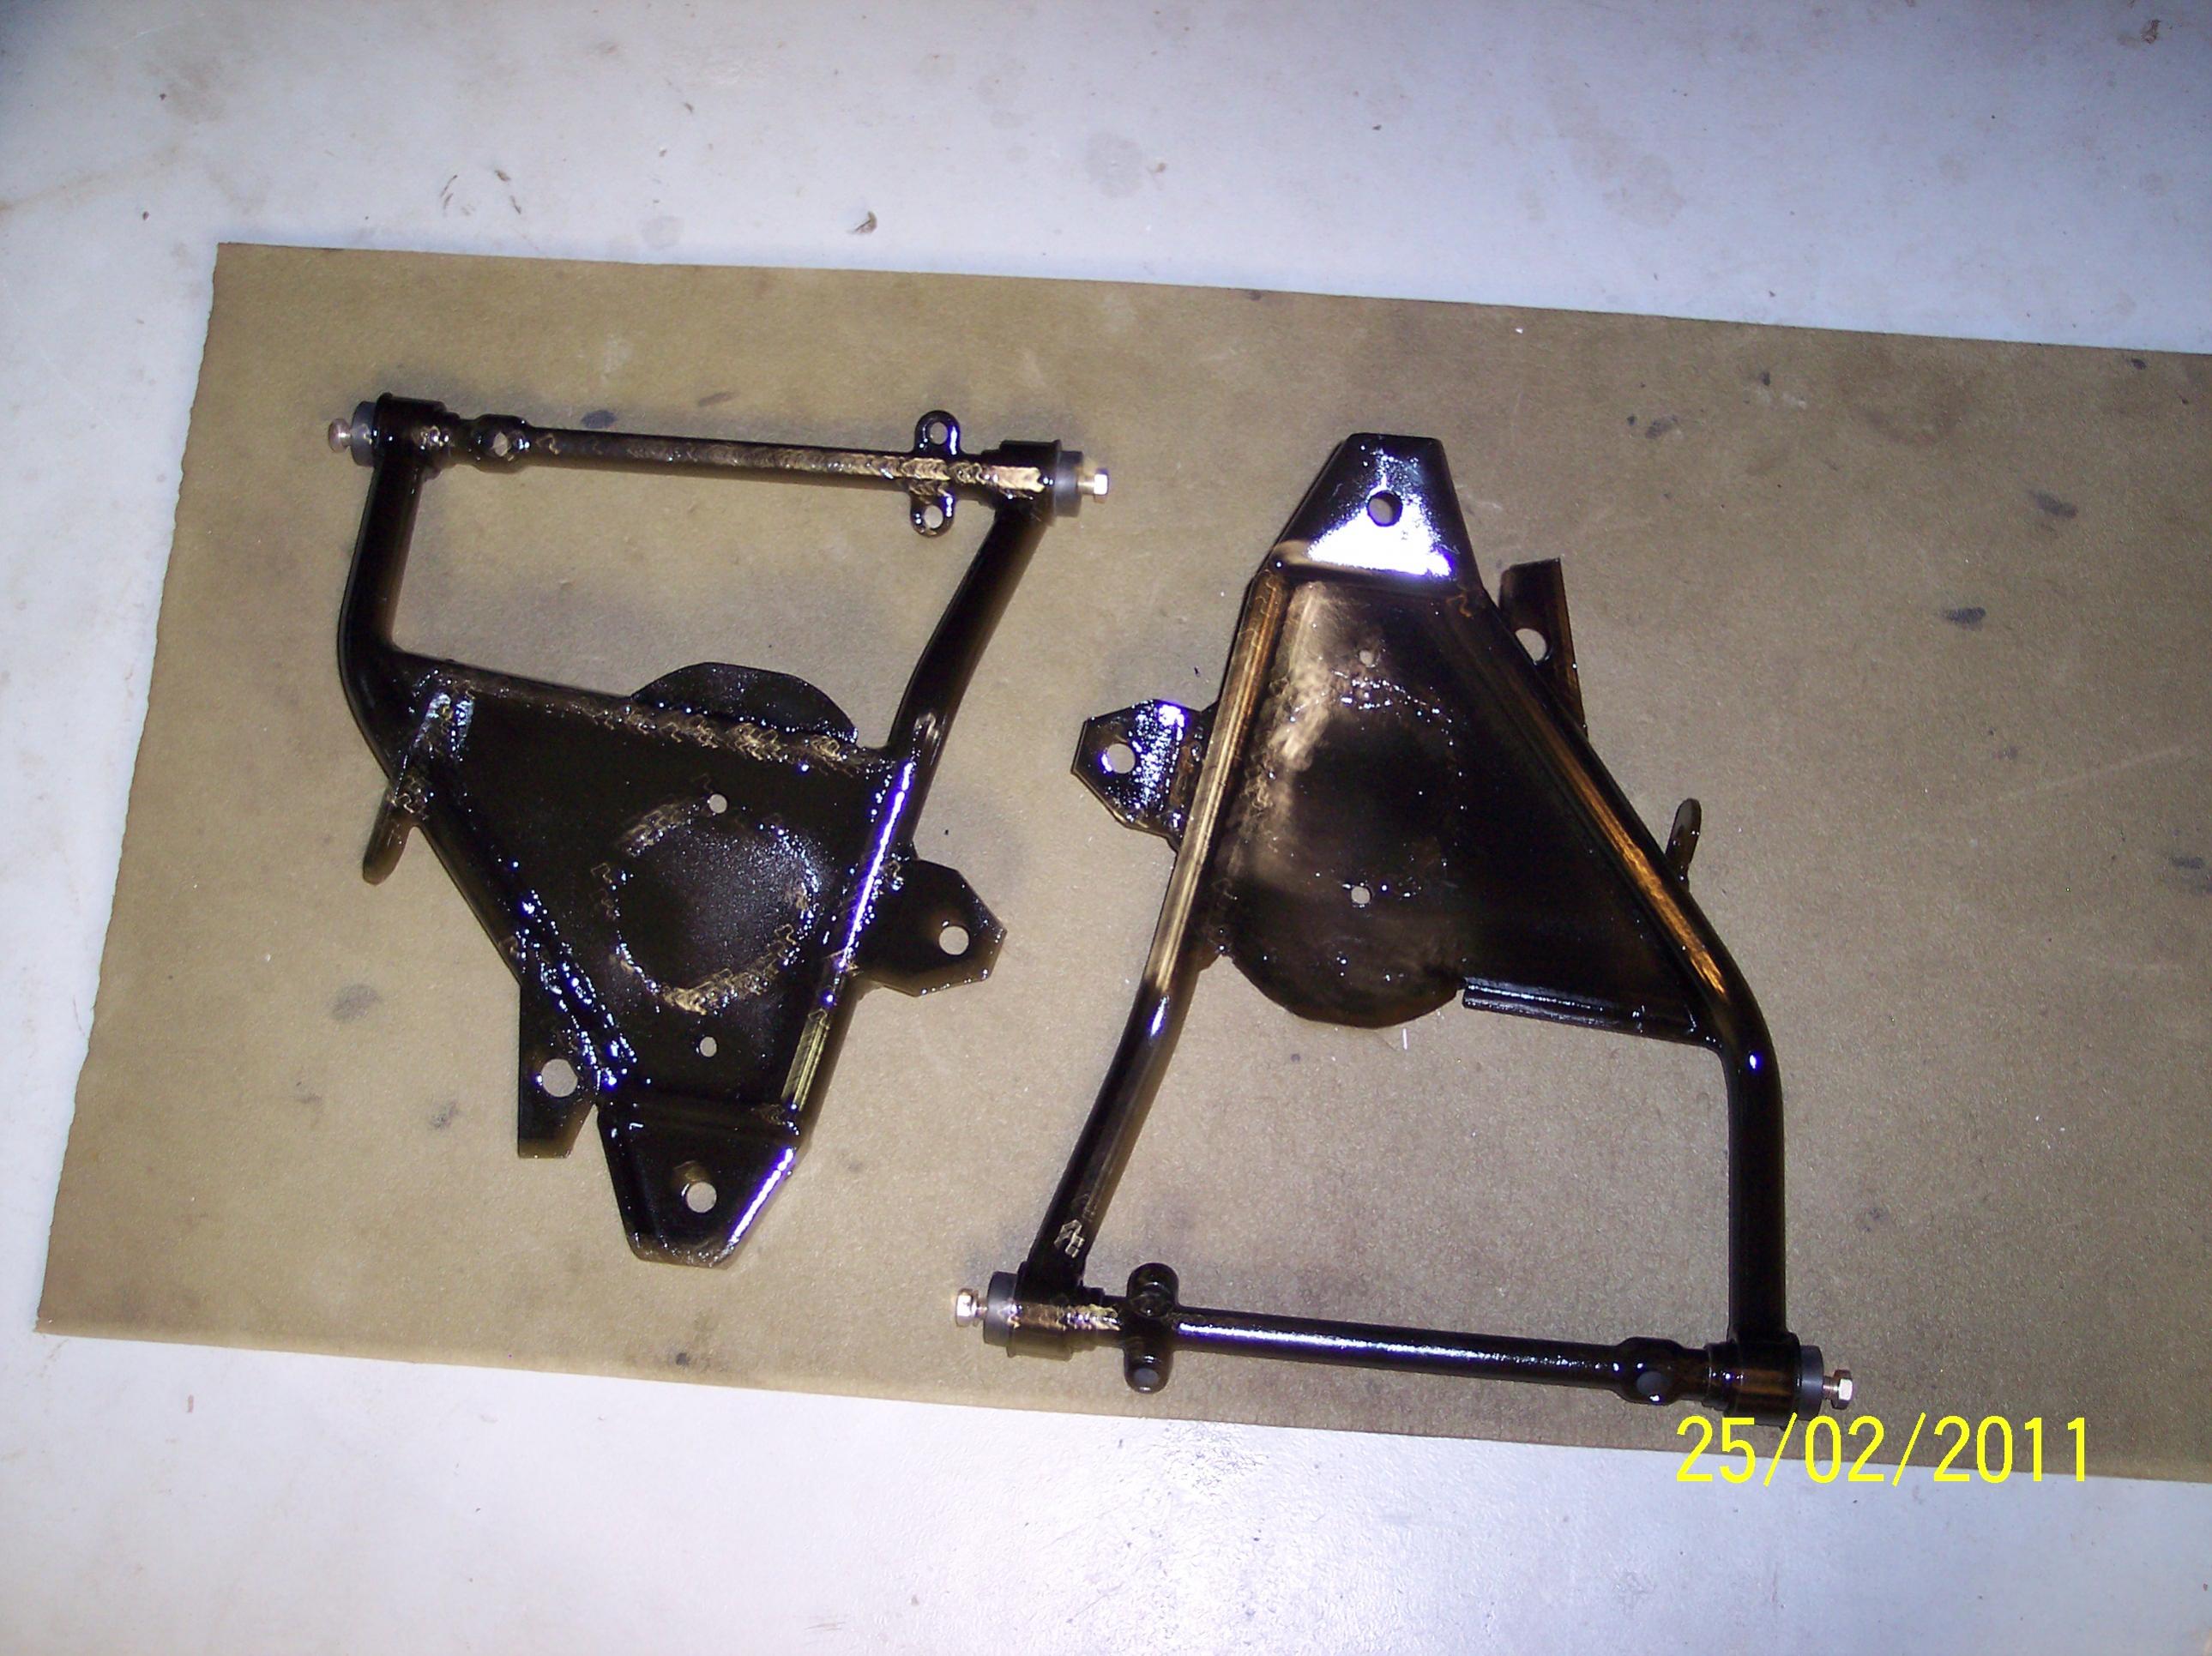
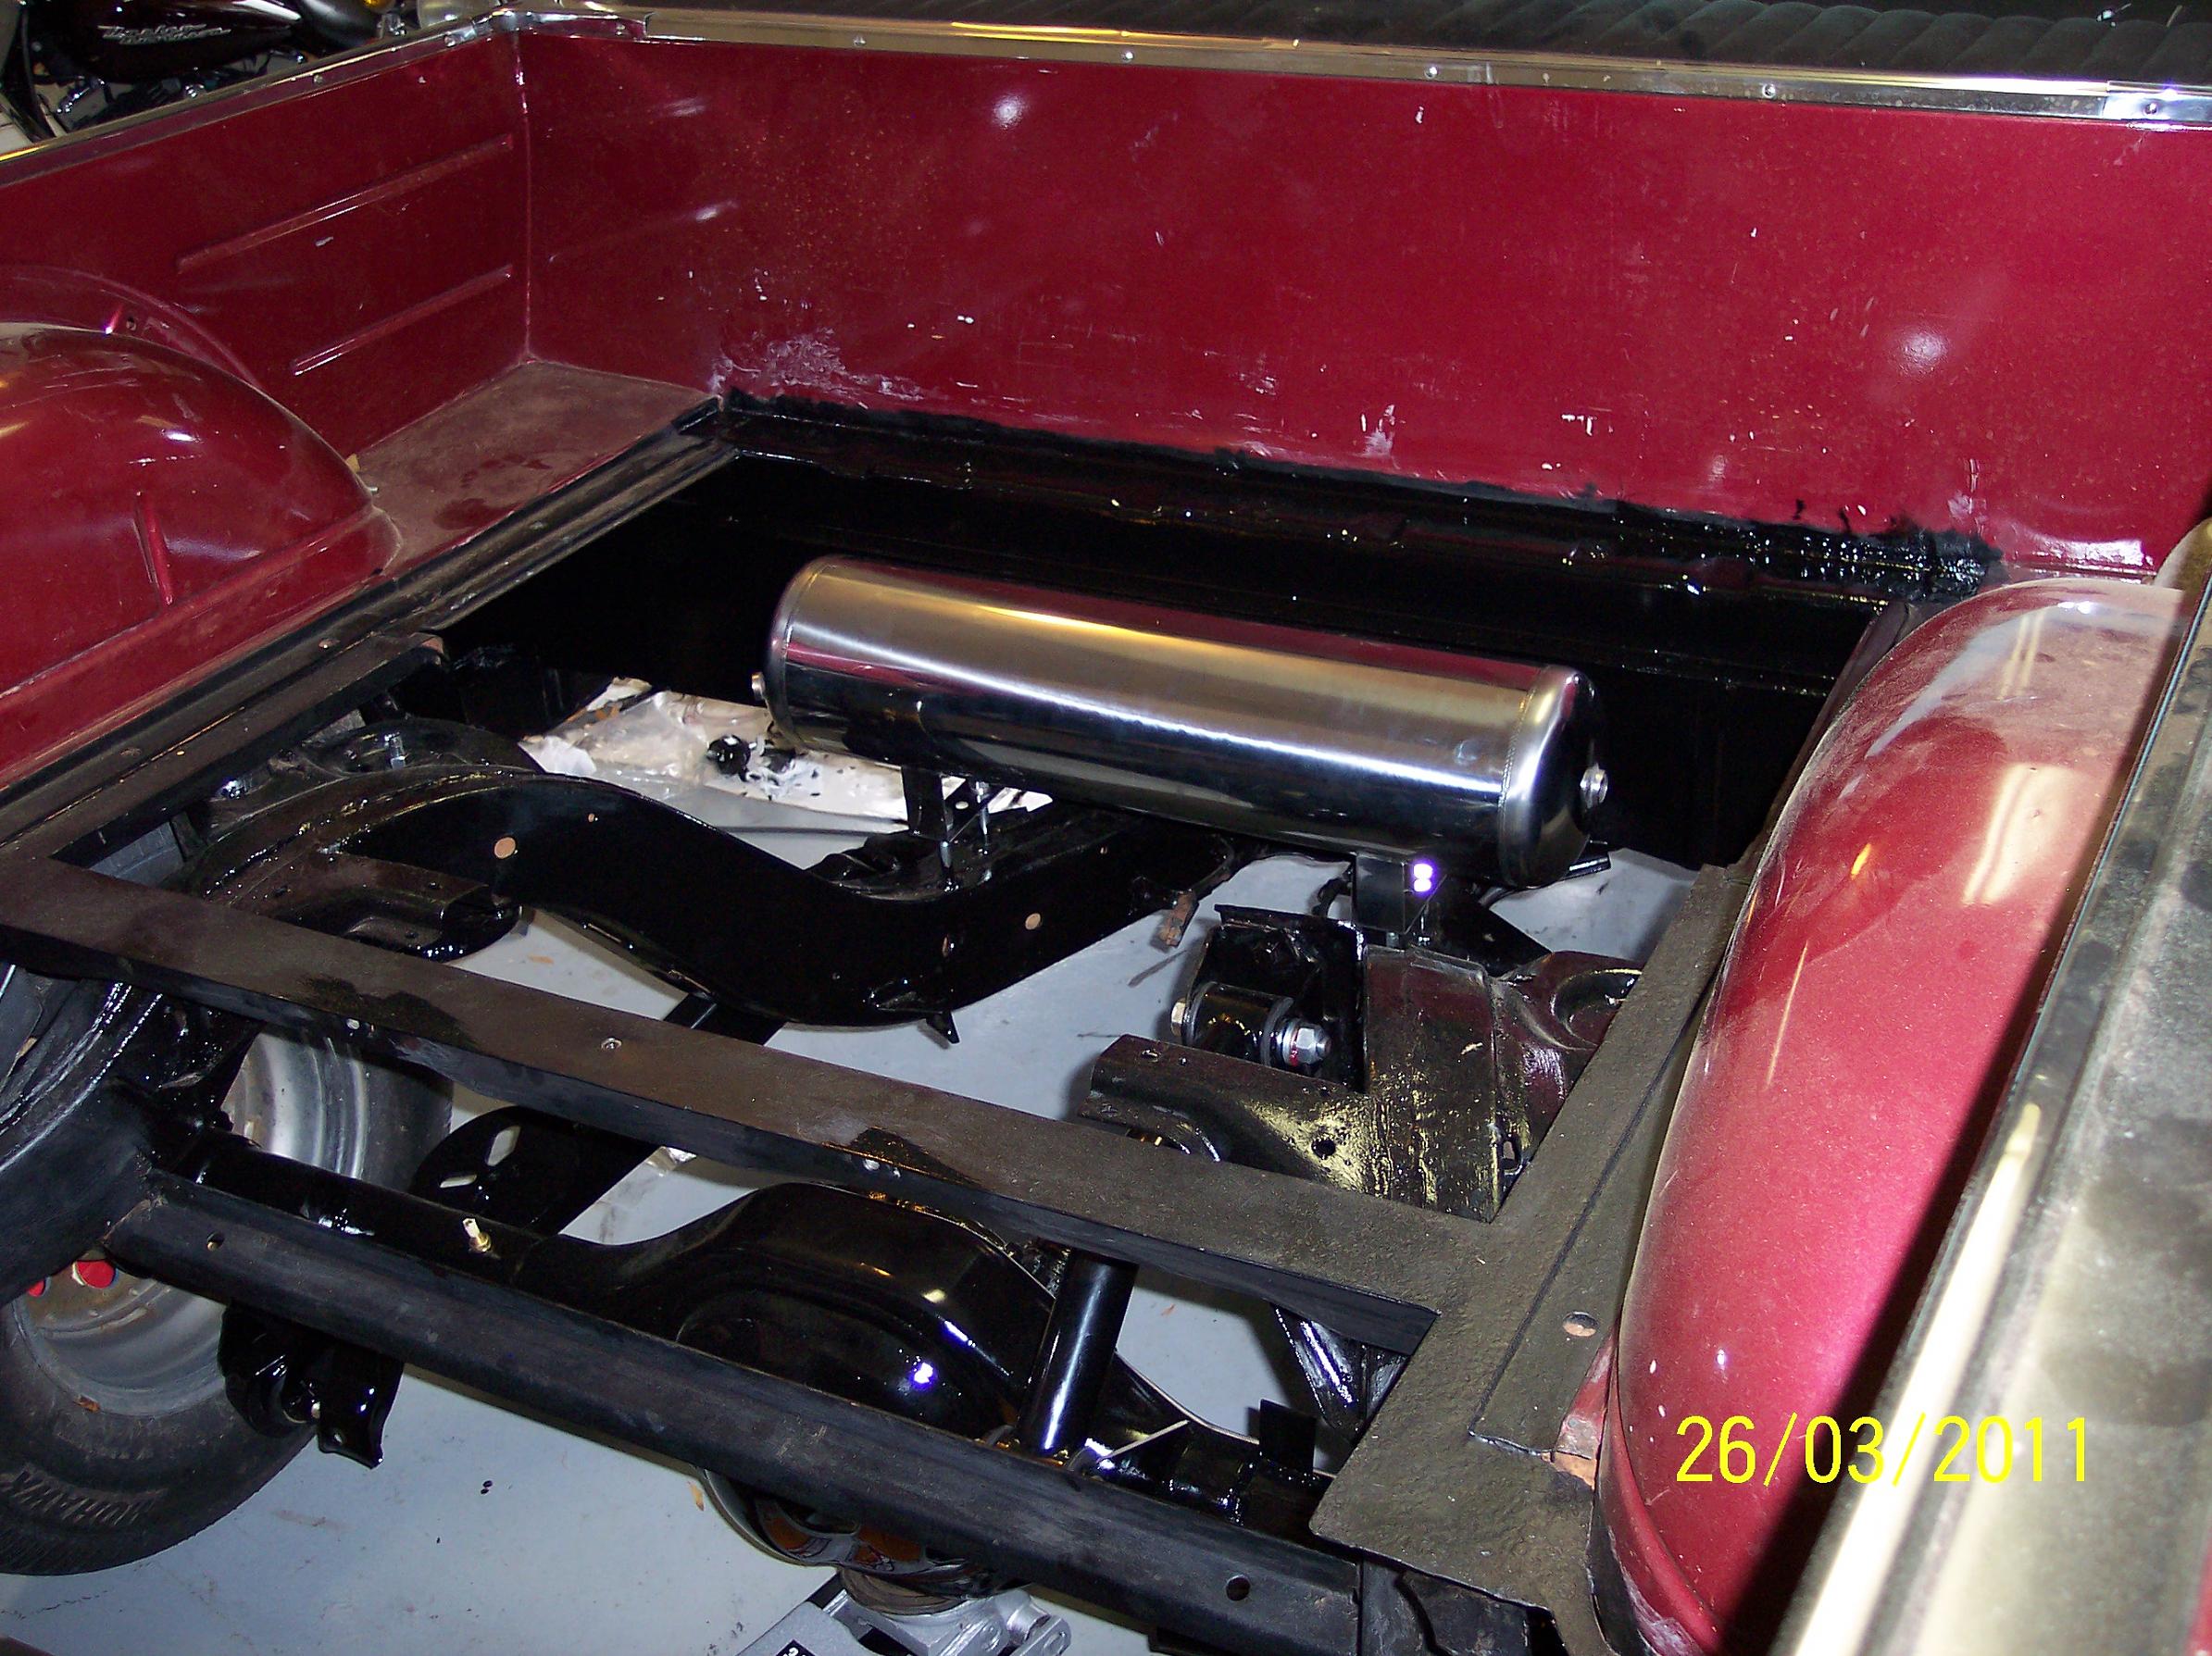
In addition to the body work, I also replaced all the suspension. I was going to put coil spings in but decided to bite the bullet and go with air bags. It rides nice and is too cool at the car show. I had a 9inch Ford rear end built for this car. My reseach on the internet kept saying the early chevy rears would not hold up and and would cost $1500 to build it correctly. It cost a little more for the Ford but it is bullet proof. I modified the coil tubular A arms for bags. I was a lot cheaper to go that route and I fitted it to the car so I have no clearance issues.

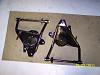


In addition to the body work, I also replaced all the suspension. I was going to put coil spings in but decided to bite the bullet and go with air bags. It rides nice and is too cool at the car show. I had a 9inch Ford rear end built for this car. My reseach on the internet kept saying the early chevy rears would not hold up and and would cost $1500 to build it correctly. It cost a little more for the Ford but it is bullet proof. I modified the coil tubular A arms for bags. I was a lot cheaper to go that route and I fitted it to the car so I have no clearance issues.

 01-10-2012, 03:31 PM
#7
Teching In
Thread Starter
iTrader: (1)
Join Date: Mar 2011
Location: SE Alabama
Posts: 13
Likes: 0
Received 0 Likes
on
0 Posts
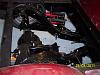
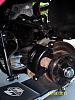
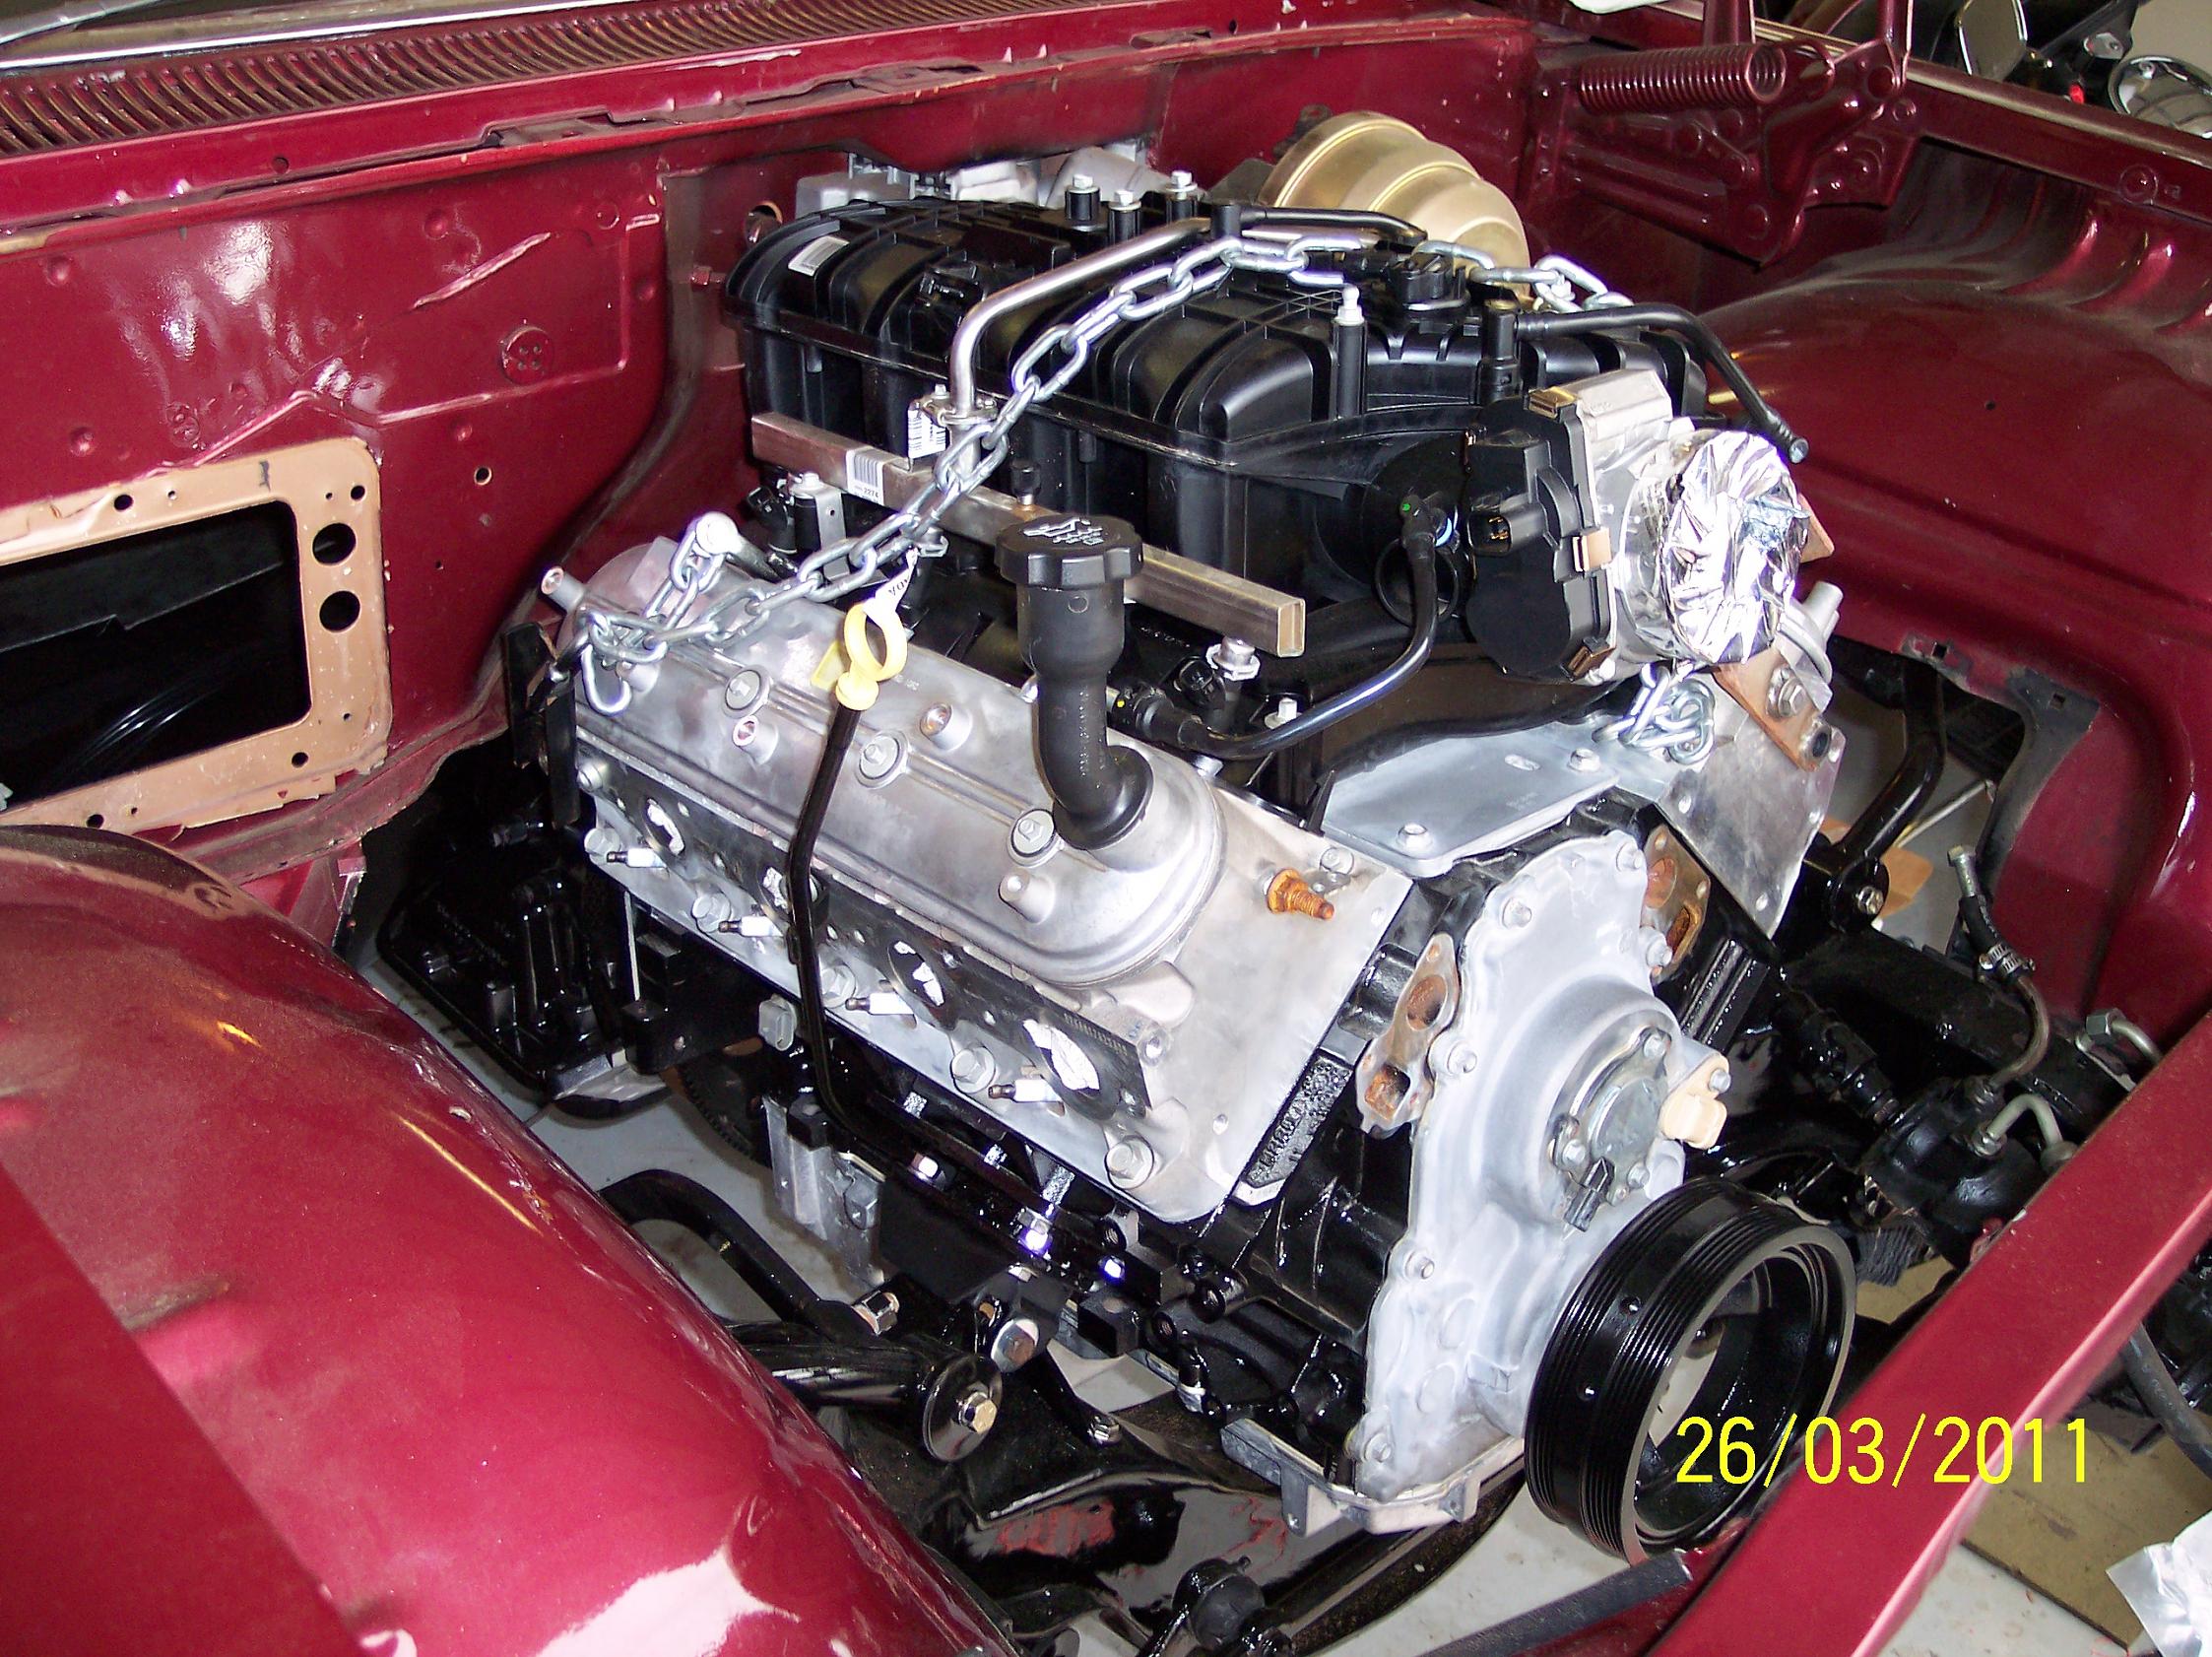
Installing the Ford rear end was quite easy. Installing the LS3 and the 4L80 trans proved to be a little more difficult. I bought a set of TransDAP motor mounts. The had a two inch offset which is common for retro installs. When I installed them the motor was touching the firewall and the oil pan was hanging down about 1 1/2 inches below the cross member. Not good for a low rider. The 4L80 trans is much longer then the turbo 350 and it was too close to the X frame. I modified the motor mounts by welding some 1/4 in angle to form a 1 inch square. I also moved the motor up two inches. This is basically the neutral position on a LS3 car. I built a trans mount for the old cross member. I welded 4 3/8 inch bungs into the frame. I bolted a piece of 1/4 inch plate to the frame with the bungs. The I cut and welded the old cross member onto the 1/4 inch plate. I was able to fit everything in without hacking up the frame or floor board. I want the LS3 conversion to be a bolt in change.


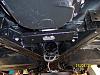


In the end I am well pleased with how it turned out. The Trans oil pan is withing 1 degree of being level. The Yoke has a negative 4 degree angle. I have installed a solid bearing in the middle of the two piece drive shaft. The first shaft angles 4 degrees as well. At ride height the second shaft has a 4 degree angle. I shimed the rear end to have a positive 4 degree angle. I have read up on this and believe I have everything correct. I would have prefered a 3 degree angle but was worried about my oil pan clearance. The angle of the picture with the oil pan exaggerates how far the pan hangs down. It is only about 1/2 inch when you look from the front.


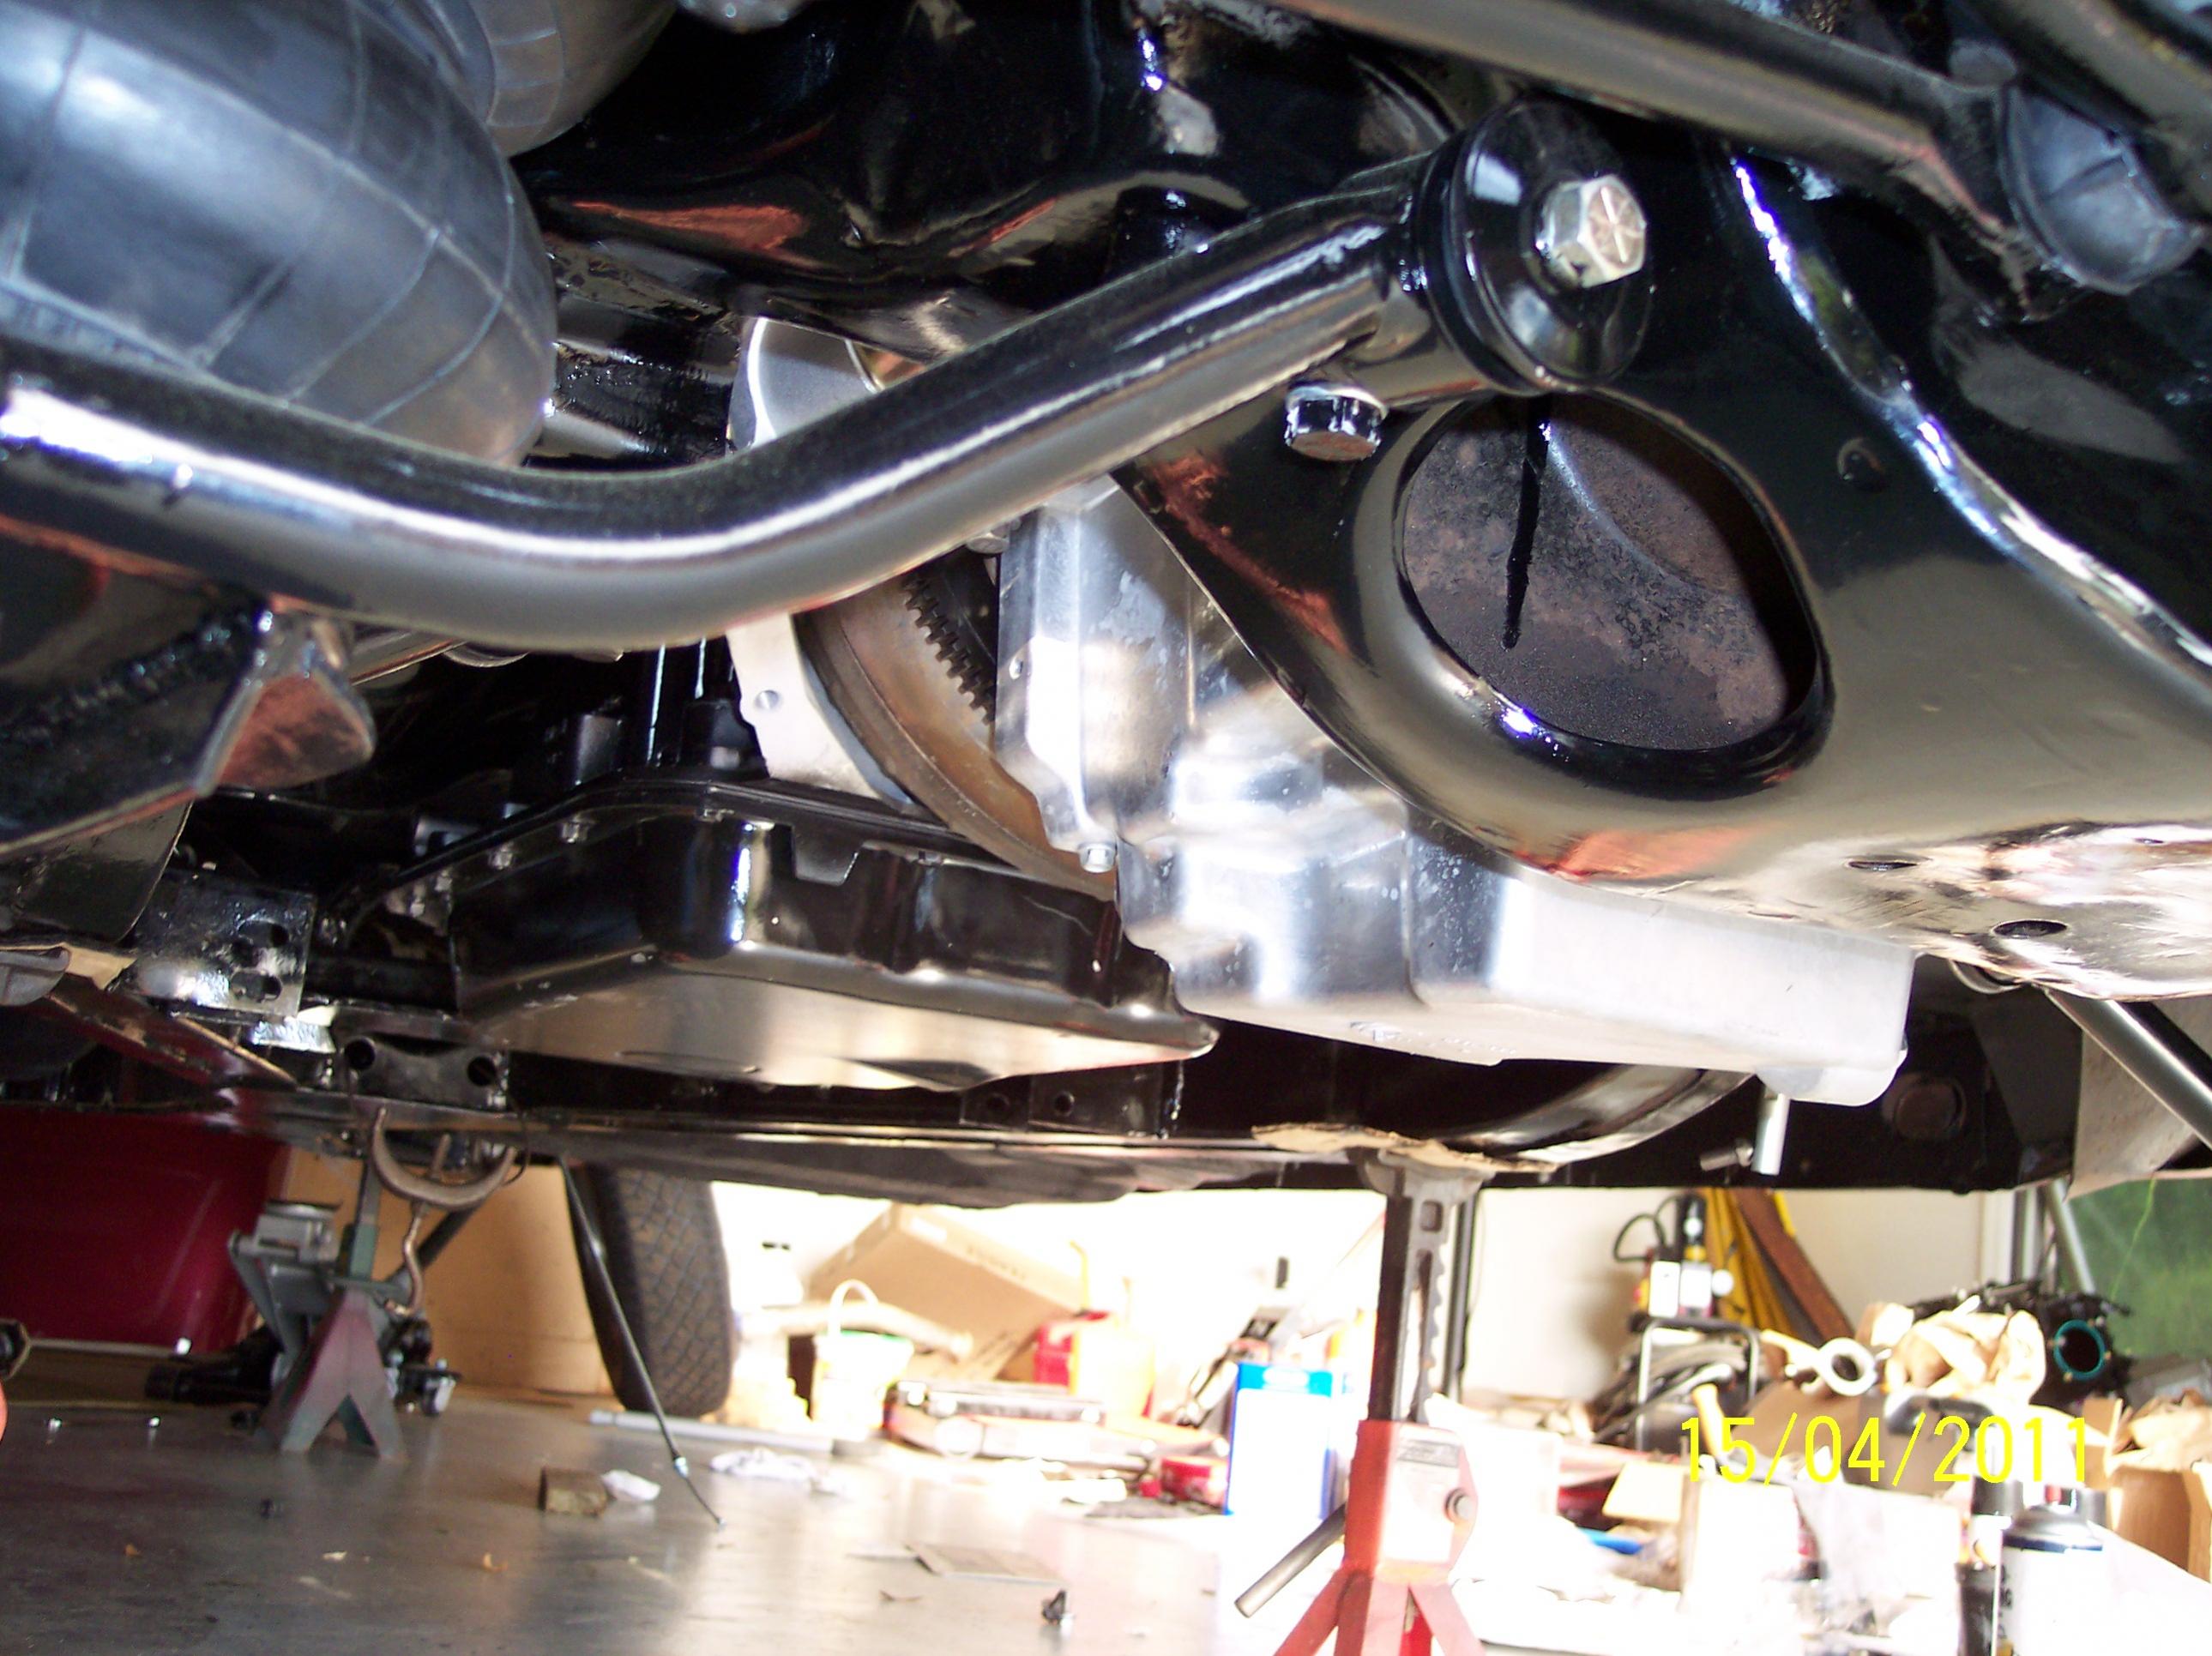

In the end I am well pleased with how it turned out. The Trans oil pan is withing 1 degree of being level. The Yoke has a negative 4 degree angle. I have installed a solid bearing in the middle of the two piece drive shaft. The first shaft angles 4 degrees as well. At ride height the second shaft has a 4 degree angle. I shimed the rear end to have a positive 4 degree angle. I have read up on this and believe I have everything correct. I would have prefered a 3 degree angle but was worried about my oil pan clearance. The angle of the picture with the oil pan exaggerates how far the pan hangs down. It is only about 1/2 inch when you look from the front.
Trending Topics
01-10-2012, 03:52 PM
#8
Teching In
Thread Starter
iTrader: (1)
Join Date: Mar 2011
Location: SE Alabama
Posts: 13
Likes: 0
Received 0 Likes
on
0 Posts
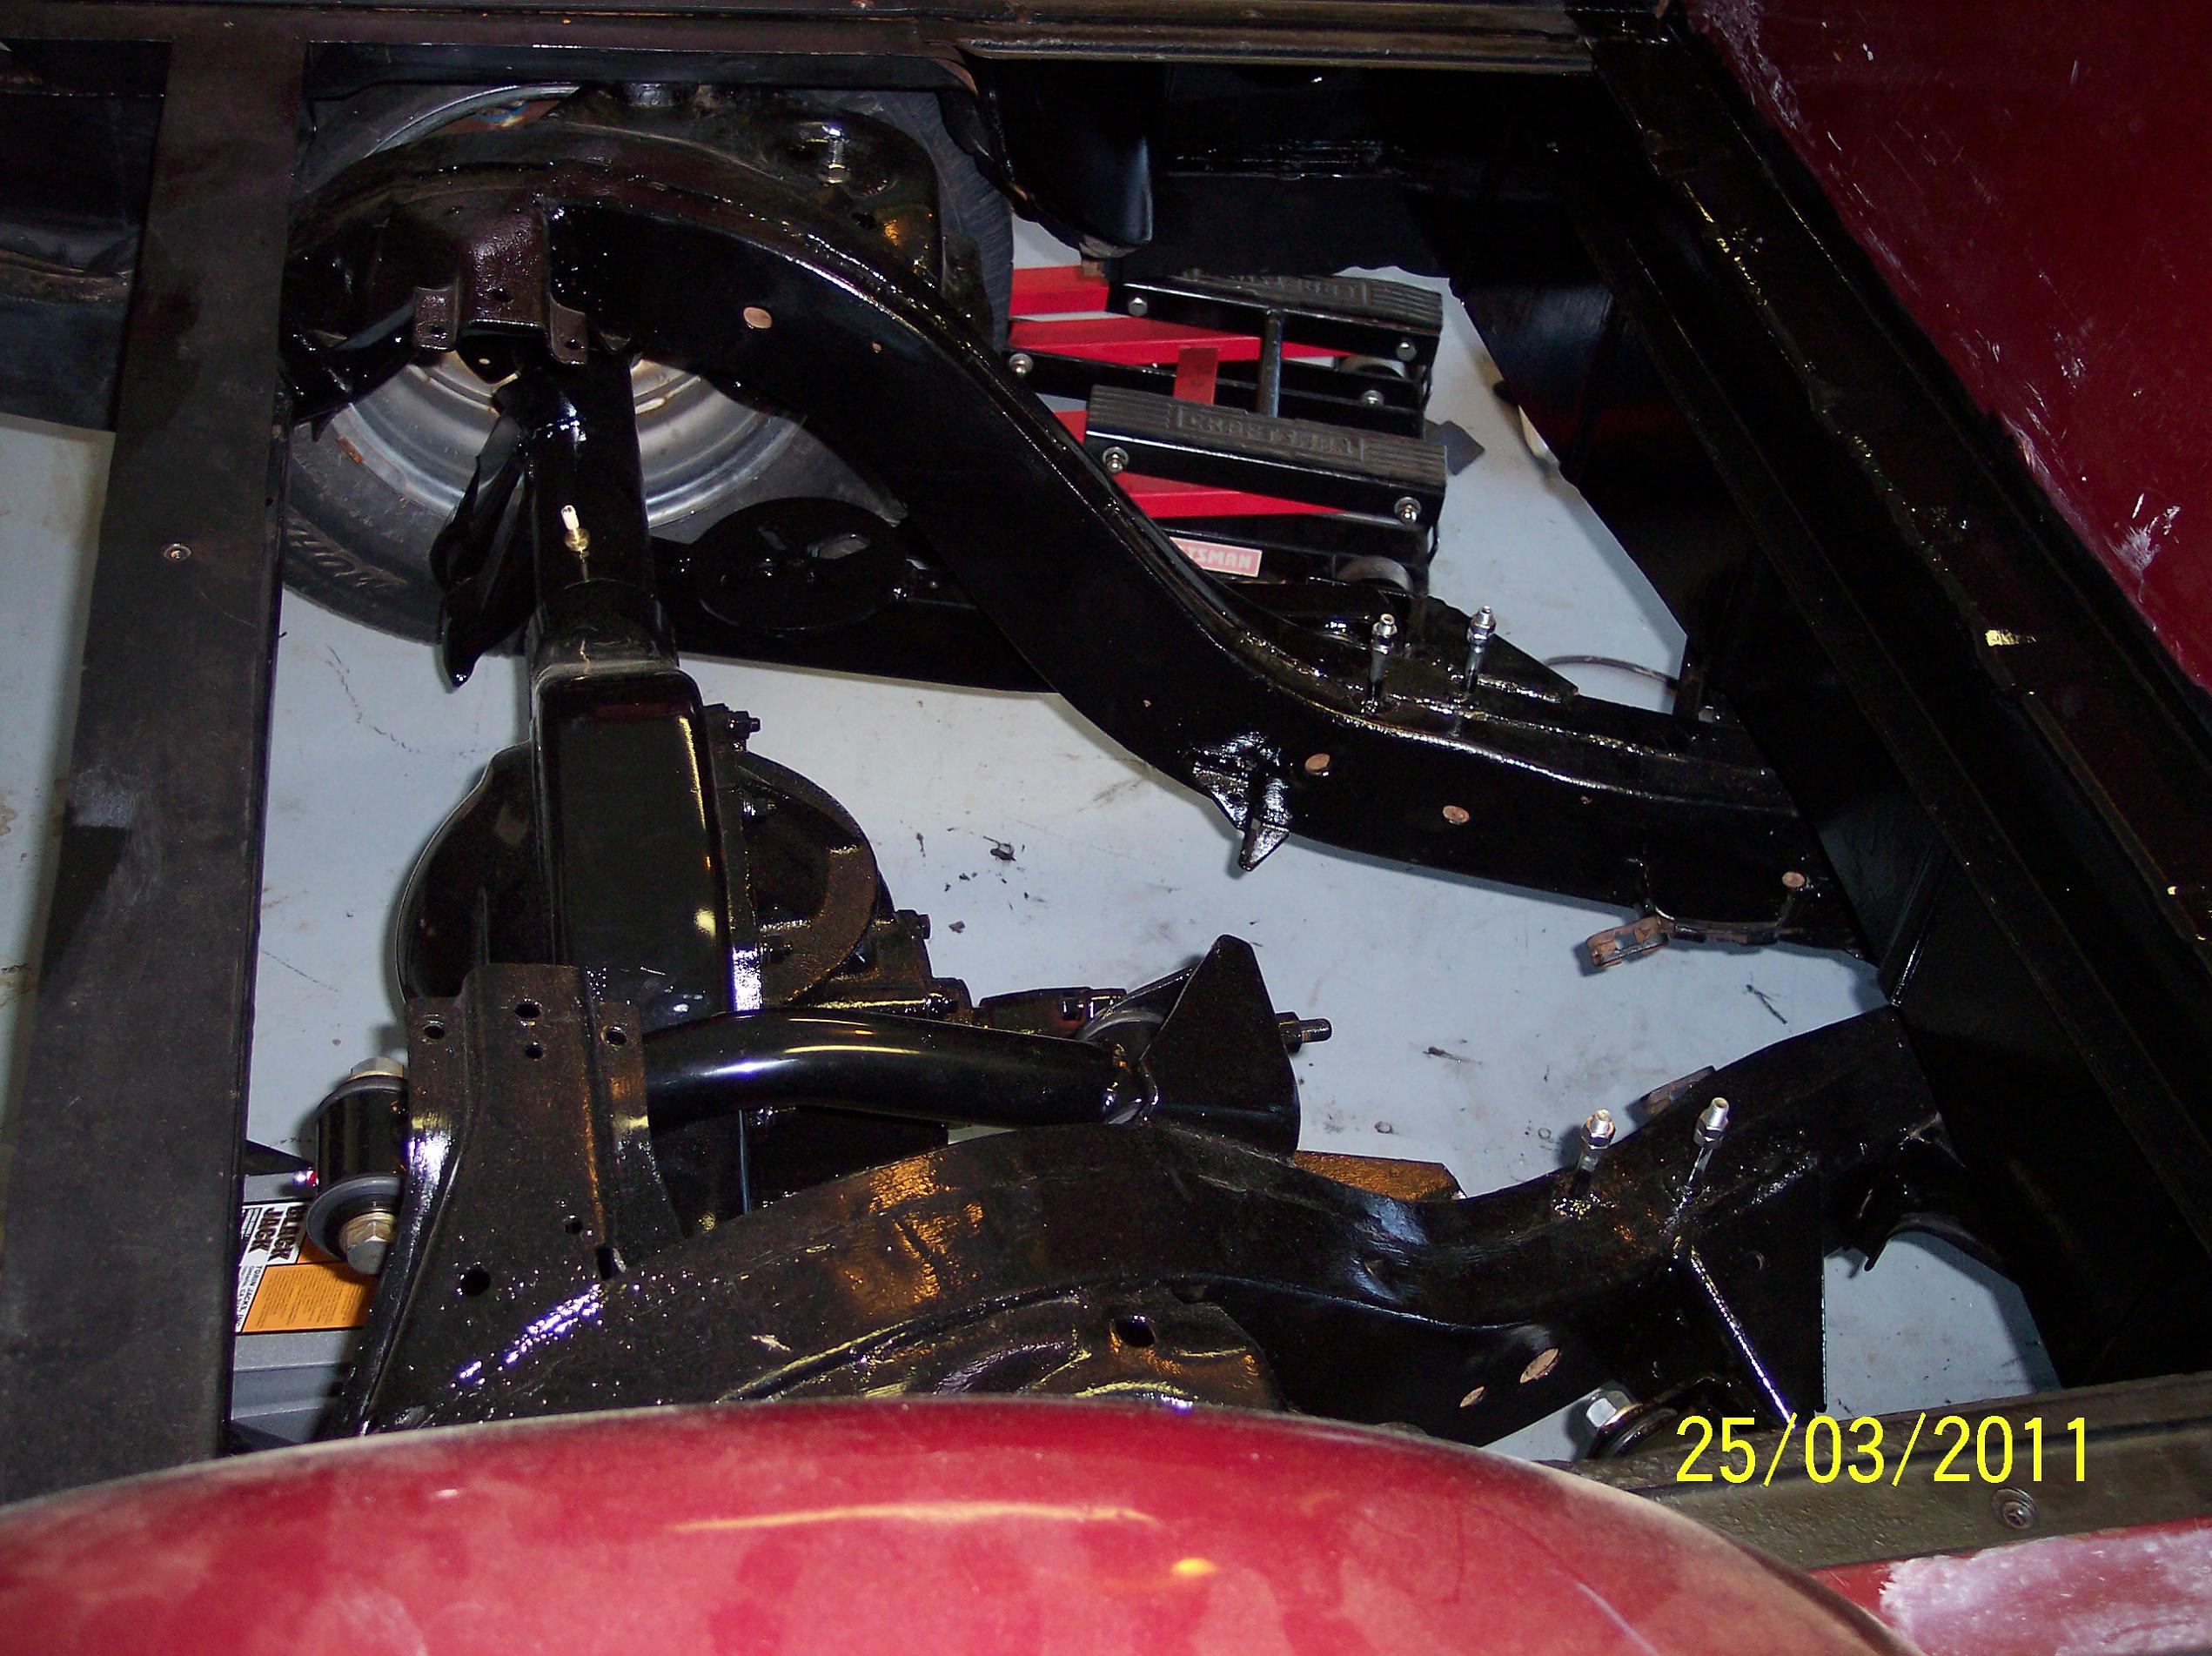
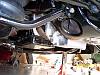
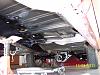
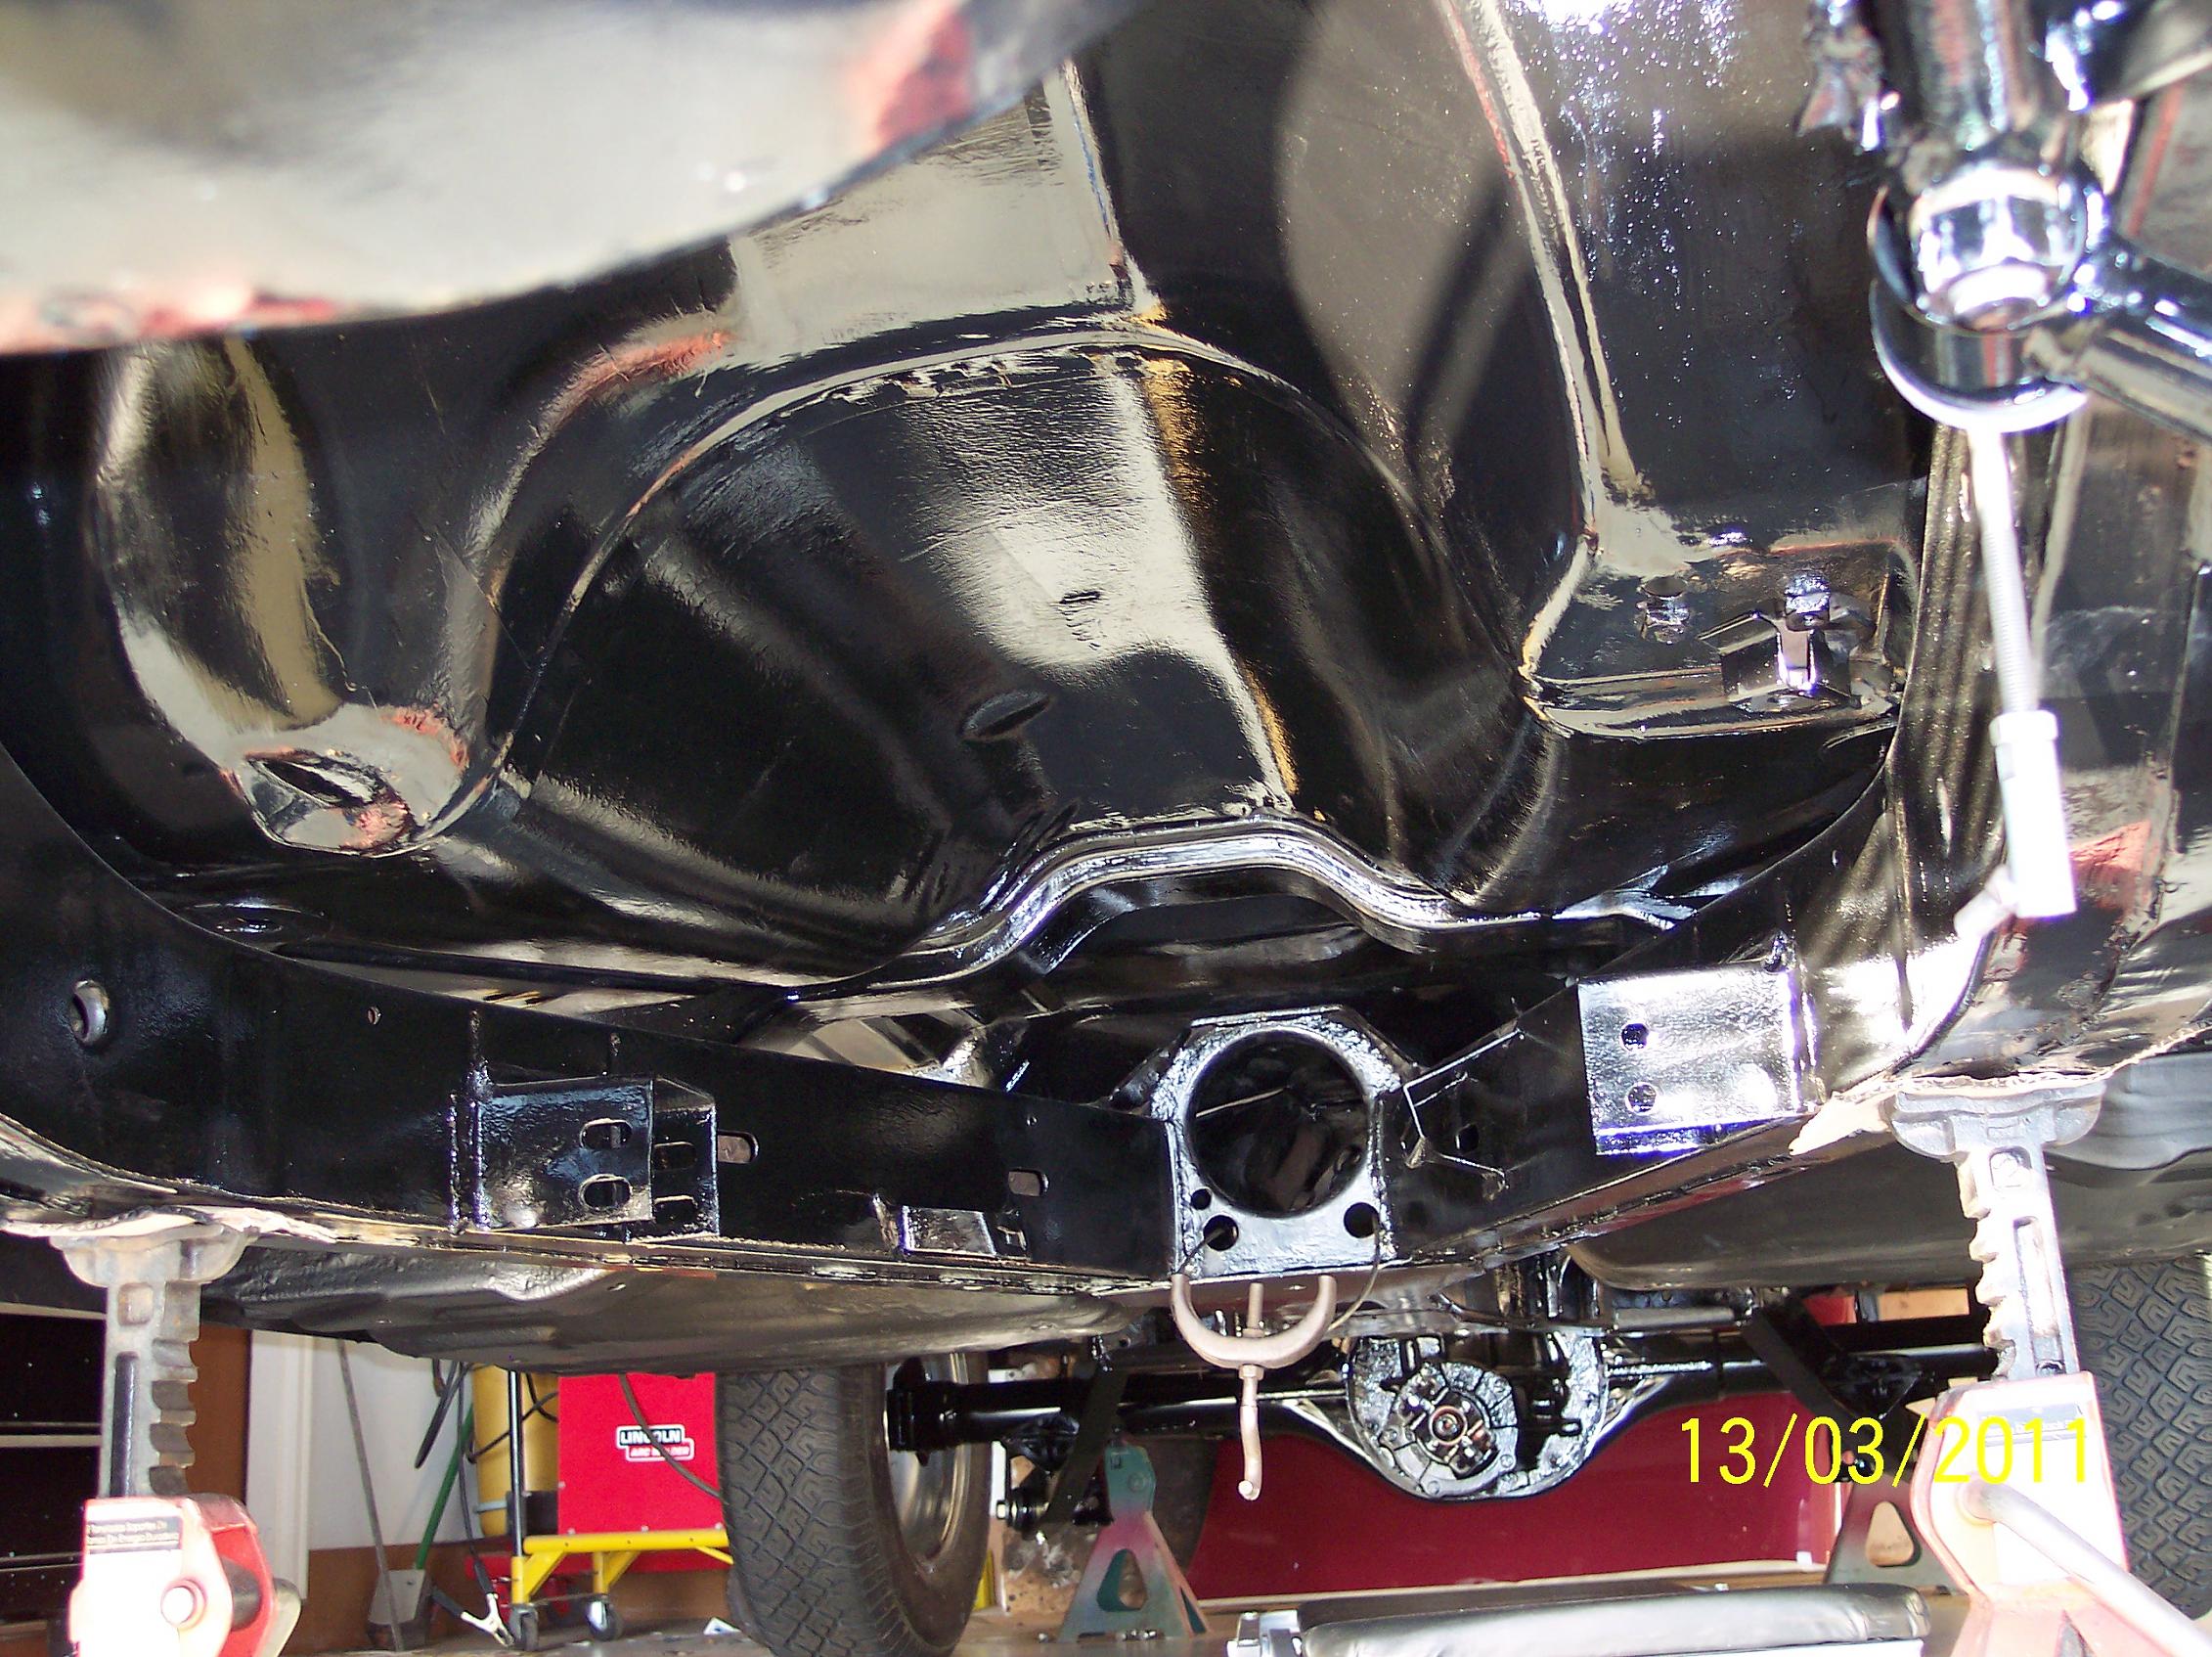
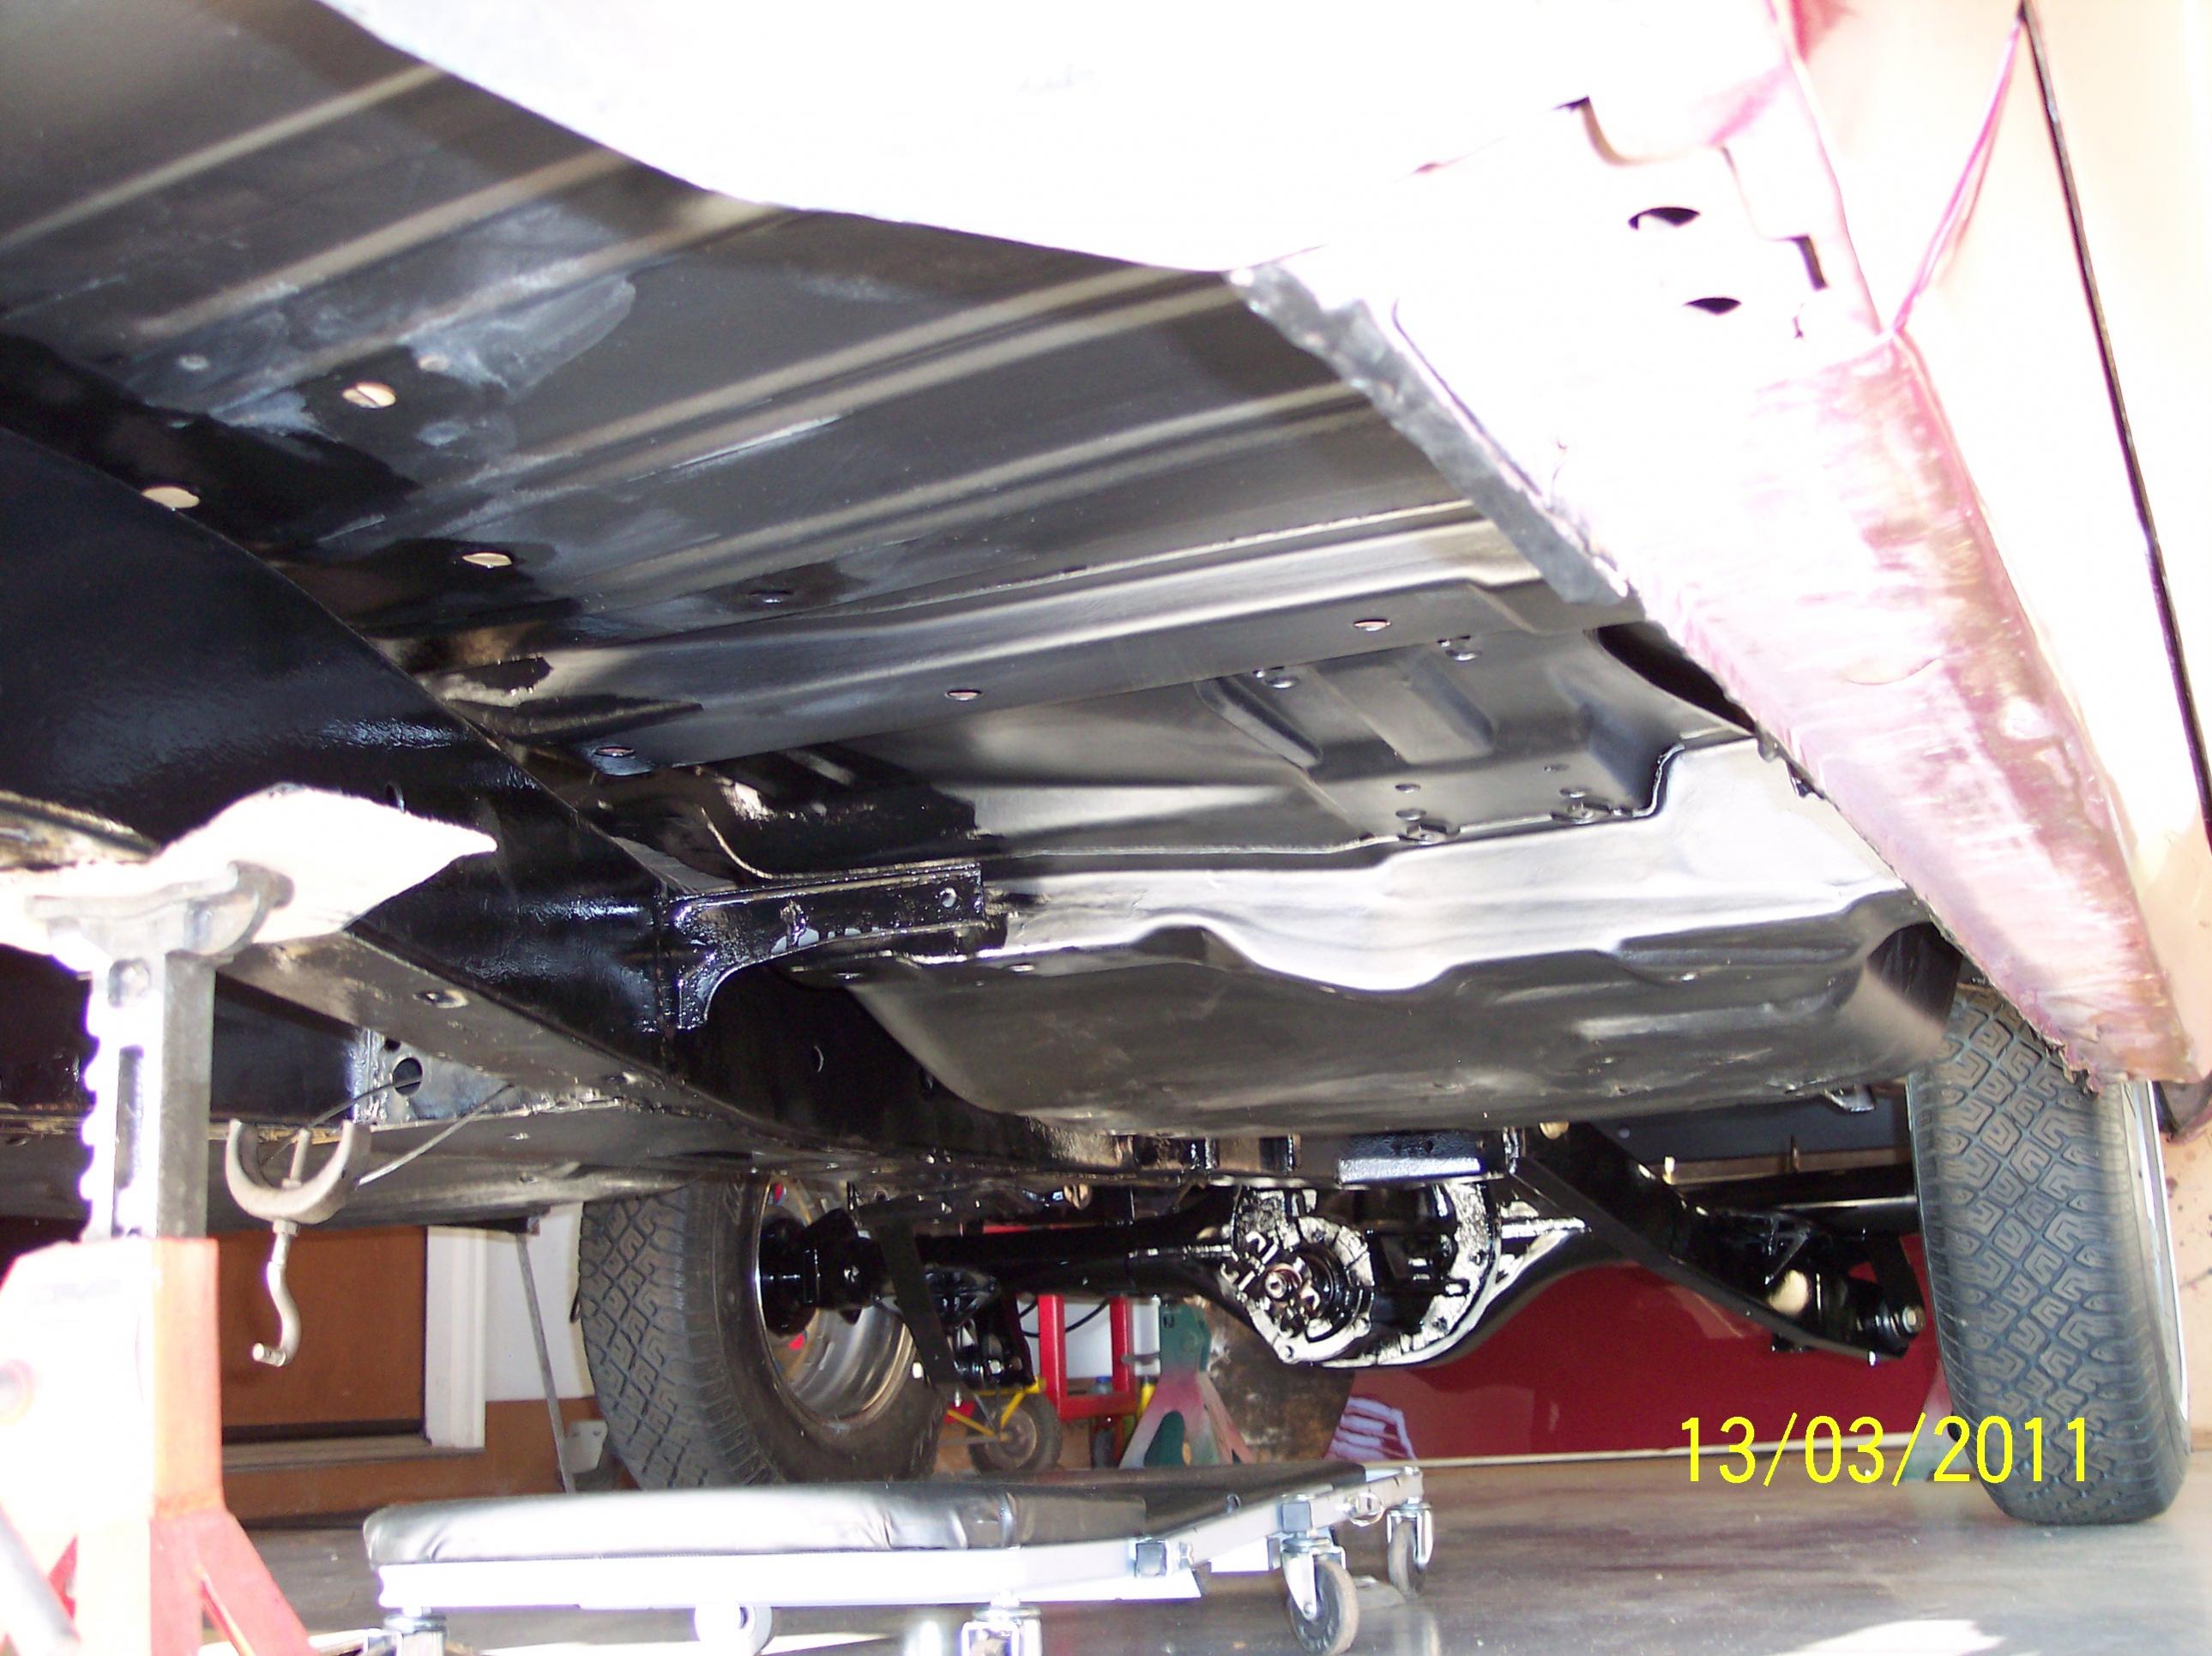
Yes this has an X Frame. I believed they used them from 58-64. Here are some better pictures of the X Frame.

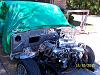
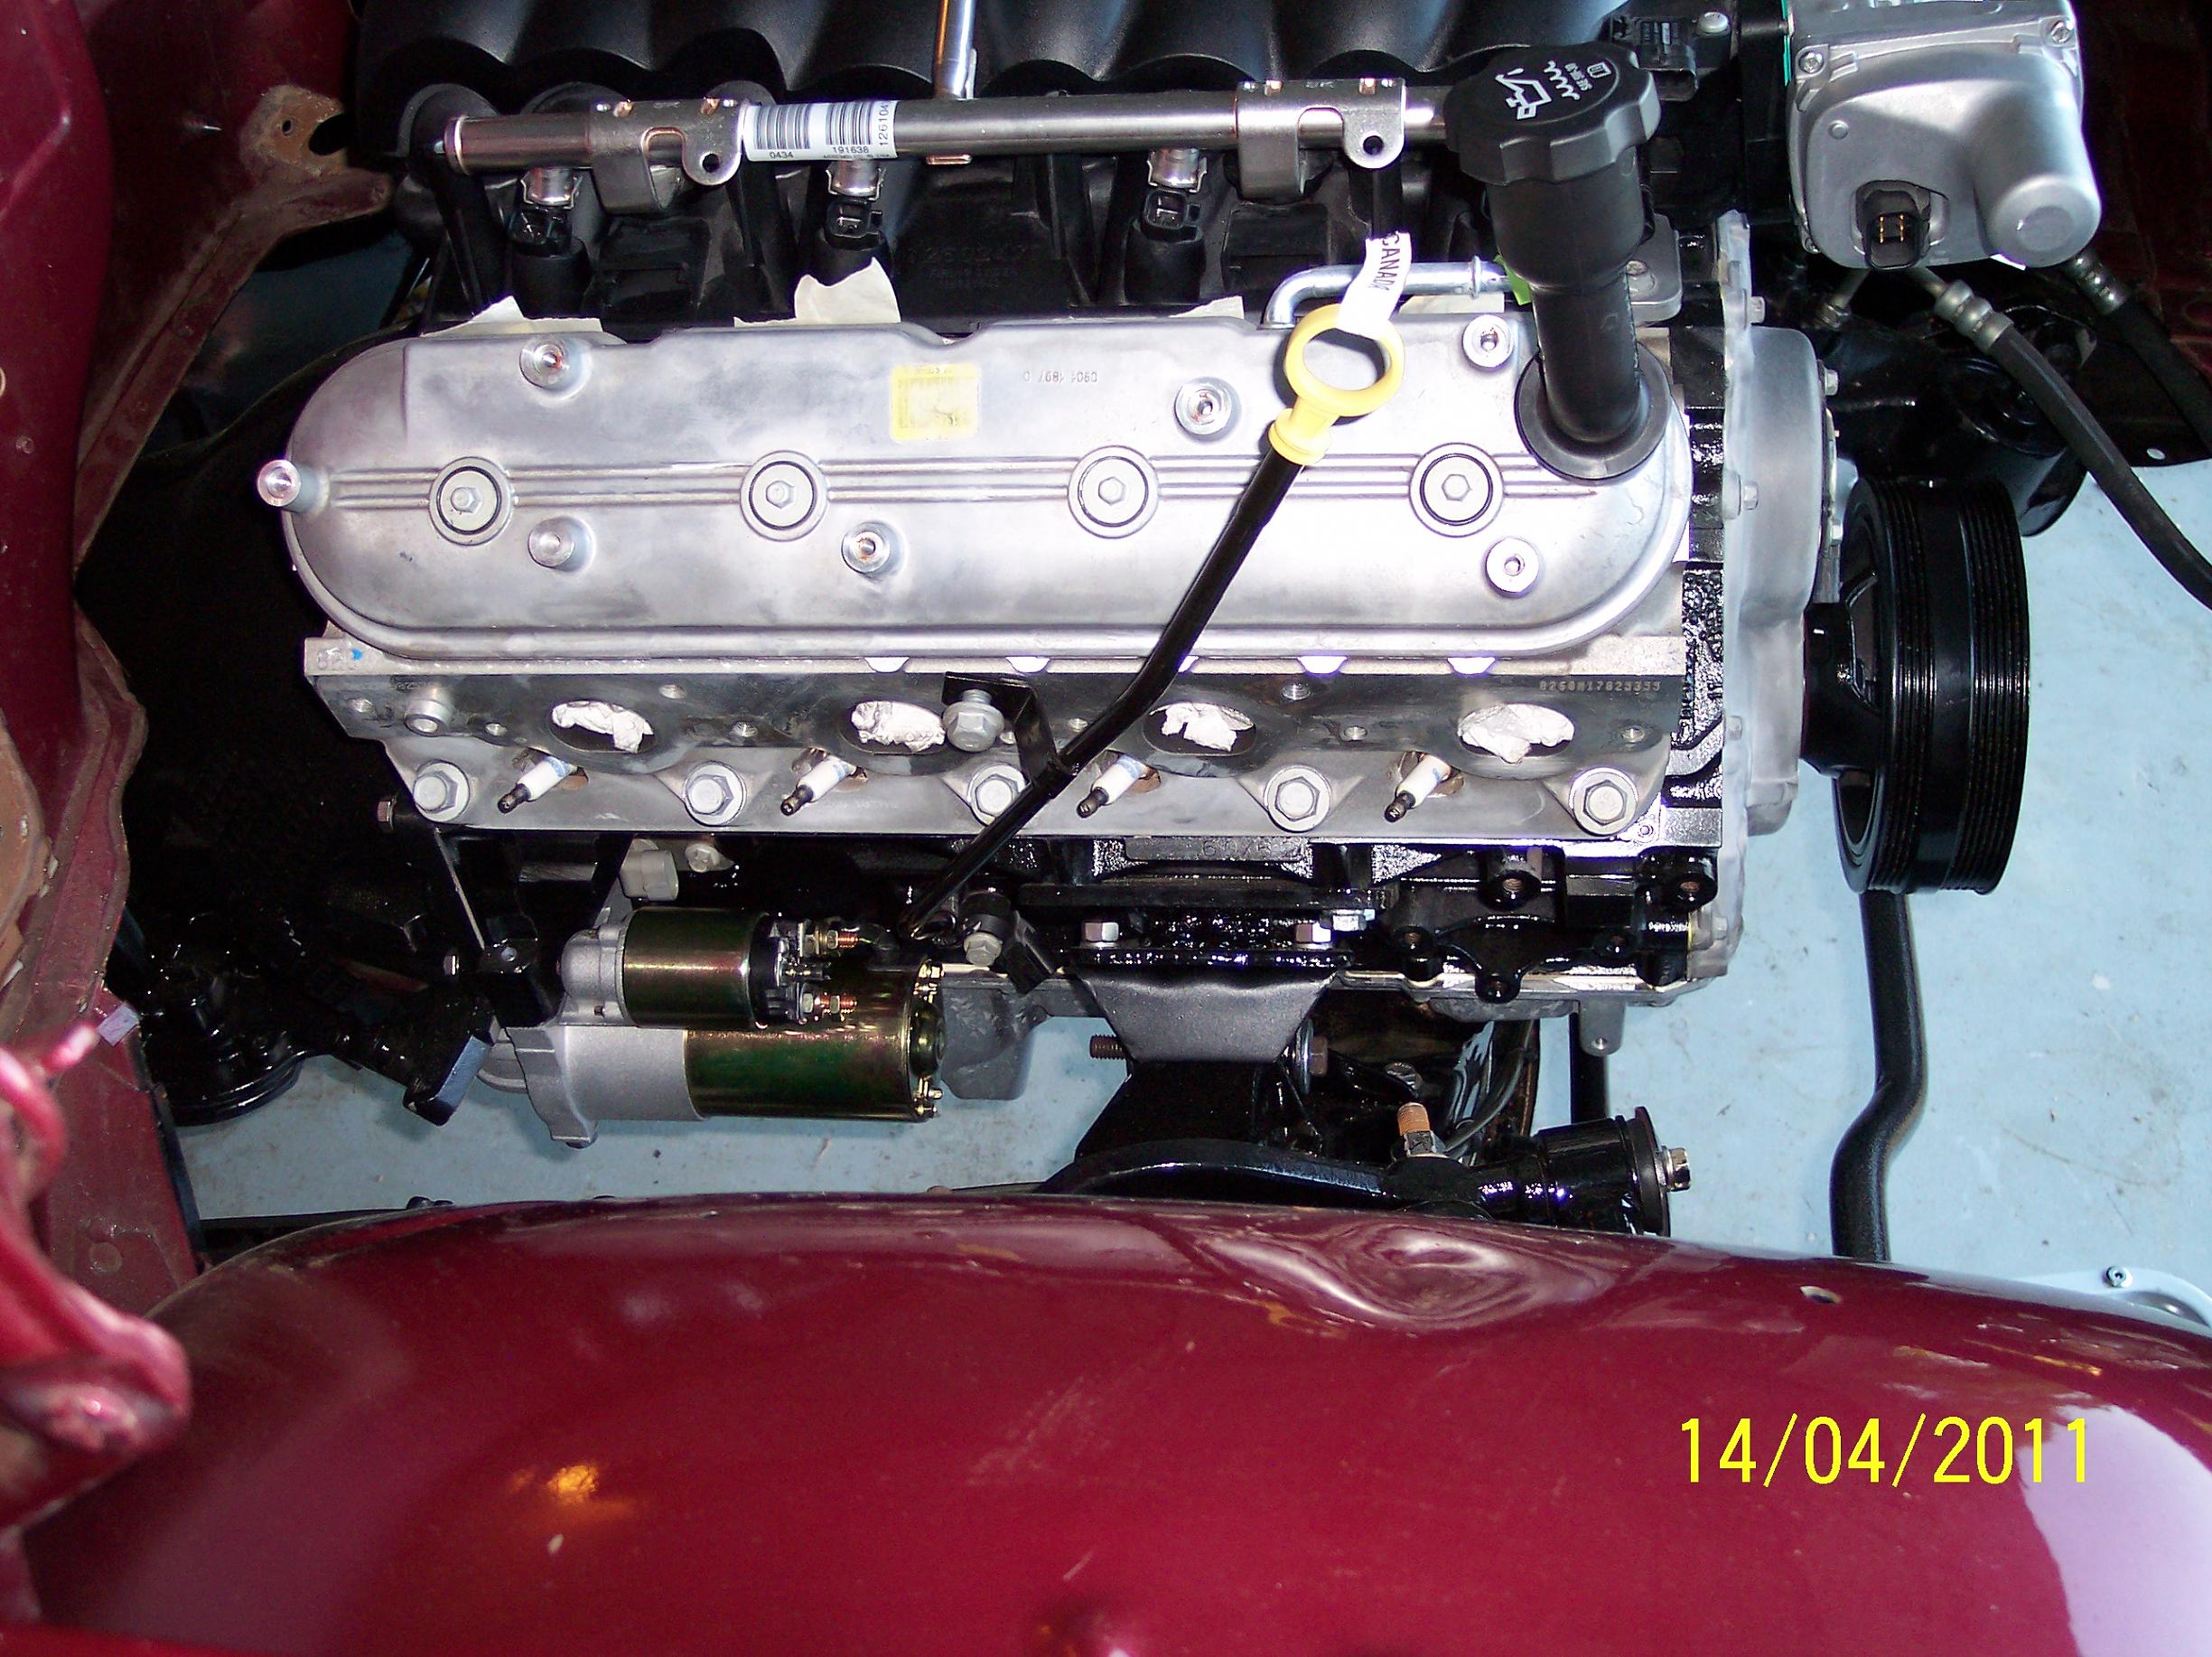
I also wanted to show a picture of the original mtor that came with this car. It was a 1972 305 motor with a turbo 350 trans. If it had been the orginal motor I would have returned thid car to orgininal condition. The LS3 motor is from a 2009 2500 Silverado. The junk yard said it had 9 mile on it. Not sure about that, but judging by the lack of carbon build up, it had very low mileage
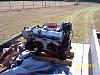

I also wanted to show a picture of the original mtor that came with this car. It was a 1972 305 motor with a turbo 350 trans. If it had been the orginal motor I would have returned thid car to orgininal condition. The LS3 motor is from a 2009 2500 Silverado. The junk yard said it had 9 mile on it. Not sure about that, but judging by the lack of carbon build up, it had very low mileage
 01-12-2012, 07:56 AM
#10
Teching In
Thread Starter
iTrader: (1)
Join Date: Mar 2011
Location: SE Alabama
Posts: 13
Likes: 0
Received 0 Likes
on
0 Posts
I am running a stock LS3 intake. The truck manifold was too tall to close the hood. I'm going to use 4 inch tubing to feed the manifold. I used 2010 camero SS headers that I modified fit inside the X frame. I extended them about 4 inches the get the flange below the frame. I am using the 2 inch exhaust that came with the car for now because it was in good shape. I will replace later with 2.5 inch SS. you can only do so much at a time.
I should have some new pictures in a couple weeks. I am working on the harness now. I have the AC and PS mounted. After I get the wiring in I will put the front end back together and post some new pictures.
I should have some new pictures in a couple weeks. I am working on the harness now. I have the AC and PS mounted. After I get the wiring in I will put the front end back together and post some new pictures.
01-12-2012, 02:14 PM
#12
Teching In
Thread Starter
iTrader: (1)
Join Date: Mar 2011
Location: SE Alabama
Posts: 13
Likes: 0
Received 0 Likes
on
0 Posts
I am using 4 inch aluminum intake tubing I purchased from Summit. I'm using a solid 90 on the throttle body and going to the left of the car. I will build a bracket and bolt it to the alternator bracket to support this tubing. I'm using the LS7 blade MAF that I will weld into the 4 inch tubing. I am mounting a K&N at the end of the 4 inch tubing. I checked the clearances last spring before I tore it down for paint. I will start welding it up in the next two or three weeks and will post a picture when I am done.
01-12-2012, 08:40 PM
#13
Teching In
Join Date: Nov 2011
Location: Chambana, IL
Posts: 29
Likes: 0
Received 0 Likes
on
0 Posts
Nice work! I'm taking notes over here for stuff I can apply to my 59 Bel Air/LSX project. Kinda leery of the length if the 4L80e trans - How close to the X frame does that come on your setup?
01-13-2012, 11:21 AM
#14
Teching In
Thread Starter
iTrader: (1)
Join Date: Mar 2011
Location: SE Alabama
Posts: 13
Likes: 0
Received 0 Likes
on
0 Posts
The 4L80 is pretty long and that is an issue. But there is good clearance on the sides of the trans and on the firewall. There is only about 1/4 inch between the top of the tail housing and the floor board support. The bigger issue is the depth of the oil pan on the motor and the height of the cross member. Before I modified the motor mounts, the oils pan was resting on the cross member (I had a floor mat on top of the cross member). The oil pan was 1 1/2 inches below the cross member so I had to raise the motor. When you raise the motor you have to raise the trans to level out. I used the GM "hot rod" oil pan and TransDAP motor mounts.
If I had a lower profile oil pan I could have lowered the engine and moved the motor back about an inch and kept a 3 degree angle on the yoke. This would have given me more clearance between the tail housing and the floor board. If I was doing it over again I would look for a different oil pan. This would allow me to lower the trans and get a getter angle on the drive shaft. The article I read in "hot rod" magazine said 3-5 degrees is a good drive shaft angle so I was not going change the pan again to get 3 degrees.
The 4L80 is tight but it will work without cutting the floor board. It does move the motor farther forward and you have to pay closer attention to your radiator and fan. I'm not sure if the 4L65 is any shorter but it may be a more narrow in the tail housing. The 6L80 will hang down two move inches and case road clearance issues.
Hope this helps.
01-13-2012, 09:01 PM
#15
Teching In
Join Date: Nov 2011
Location: Chambana, IL
Posts: 29
Likes: 0
Received 0 Likes
on
0 Posts
The 4L80 is pretty long and that is an issue. But there is good clearance on the sides of the trans and on the firewall. There is only about 1/4 inch between the top of the tail housing and the floor board support. The bigger issue is the depth of the oil pan on the motor and the height of the cross member. Before I modified the motor mounts, the oils pan was resting on the cross member (I had a floor mat on top of the cross member). The oil pan was 1 1/2 inches below the cross member so I had to raise the motor. When you raise the motor you have to raise the trans to level out. I used the GM "hot rod" oil pan and TransDAP motor mounts.
If I had a lower profile oil pan I could have lowered the engine and moved the motor back about an inch and kept a 3 degree angle on the yoke. This would have given me more clearance between the tail housing and the floor board. If I was doing it over again I would look for a different oil pan. This would allow me to lower the trans and get a getter angle on the drive shaft. The article I read in "hot rod" magazine said 3-5 degrees is a good drive shaft angle so I was not going change the pan again to get 3 degrees.
The 4L80 is tight but it will work without cutting the floor board. It does move the motor farther forward and you have to pay closer attention to your radiator and fan. I'm not sure if the 4L65 is any shorter but it may be a more narrow in the tail housing. The 6L80 will hang down two move inches and case road clearance issues.
Hope this helps.
If I had a lower profile oil pan I could have lowered the engine and moved the motor back about an inch and kept a 3 degree angle on the yoke. This would have given me more clearance between the tail housing and the floor board. If I was doing it over again I would look for a different oil pan. This would allow me to lower the trans and get a getter angle on the drive shaft. The article I read in "hot rod" magazine said 3-5 degrees is a good drive shaft angle so I was not going change the pan again to get 3 degrees.
The 4L80 is tight but it will work without cutting the floor board. It does move the motor farther forward and you have to pay closer attention to your radiator and fan. I'm not sure if the 4L65 is any shorter but it may be a more narrow in the tail housing. The 6L80 will hang down two move inches and case road clearance issues.
Hope this helps.
01-19-2012, 04:42 PM
#16
Teching In
Thread Starter
iTrader: (1)
Join Date: Mar 2011
Location: SE Alabama
Posts: 13
Likes: 0
Received 0 Likes
on
0 Posts
I double checked my clearances last week end. It was last spring when I mounted the drive train so I was a little fussy on the clearances. I can actually put my hands around the trans on the top and on the tail shaft. So I have around 1/2 inch clearance there. The universal on the yoke had and round 3/8 inches of clearance when I installed it. It sits under the floor board support. After putting the new body mounts in, I have a good 1/2 inch there so I think I am good. The tight spot is in the tunnel. I only have about 3/8 inches in that area. I have a solid carrier bearing in the center of the drive shaft so I hope that will not be a problem. If it starts to rub I will enlarge.
I am out of town on business so I have not had a chance to work on this or take new pictures. Should have more pictures in a couple weeks.
I am out of town on business so I have not had a chance to work on this or take new pictures. Should have more pictures in a couple weeks.
01-25-2012, 12:00 PM
#18
Teching In

Join Date: Sep 2003
Location: Finland
Posts: 23
Likes: 0
Received 0 Likes
on
0 Posts

Dam, can't get the pictures open?! Tried with 3 differend computers? Wonder why?
Great to see another 59 project. Just bought 59 El Camino by myself for new project and summer cruiser. Have not got it yet though. Car is some where on the Atlantic right now. Swap LS1 should come with the car...
Great to see another 59 project. Just bought 59 El Camino by myself for new project and summer cruiser. Have not got it yet though. Car is some where on the Atlantic right now. Swap LS1 should come with the car...
01-25-2012, 01:32 PM
#19
On The Tree

Join Date: Aug 2007
Location: Finland
Posts: 112
Likes: 0
Received 0 Likes
on
0 Posts
Dam, can't get the pictures open?! Tried with 3 differend computers? Wonder why?
Great to see another 59 project. Just bought 59 El Camino by myself for new project and summer cruiser. Have not got it yet though. Car is some where on the Atlantic right now. Swap LS1 should come with the car...
Great to see another 59 project. Just bought 59 El Camino by myself for new project and summer cruiser. Have not got it yet though. Car is some where on the Atlantic right now. Swap LS1 should come with the car...