
Project: LS1ick68
 05-19-2012, 01:47 PM
#1
On The Tree
Thread Starter
iTrader: (7)
Join Date: Sep 2011
Location: Sevierville, TN
Posts: 174
Likes: 0
Received 0 Likes
on
0 Posts
OK, I'm finally getting around to posting progress on the carbed LS1 install into my 68 C10 stepside.
First off, the cheesy name. Everyone I met always told me I had a slick truck and if they knew it was a 68, they always just said it's a slick 68, so I kind of adopted the name and started using Slick68 as my screen name on message forums, email addresses, etc. Since I'm installing an LS1, now, I conjured up this LS1ick68 thing one night when I couldn't sleep.
Back in August '11, the thermostat stuck in my 350. Long story short, I stopped at an Advance Auto(It was a Sunday, so legit parts stores were closed.) to go in and get a new therm. and change it in the parking lot. Before going in, I figured I'd half-crack the radiator cap and let the pressure bleed off. Well, I aparently turned it too far, and antifreeze covered the entire front of the truck, engine, and parts of my right side. Frustrated, agitated, and dealing with slight burns on my right arm keeping me from thinking clearly, I figured I'd limp it home. Turned out to be a not-so-good idea. It boiled out more antifreeze than I thought, so after a couple miles up the road, it got the oil so hot, it got too thin, and pretty much toasted the engine. Please save me the comments on how stupid that all was, I already know(I knew then, but just didn't think clearly).
Anyway on to the pics and such.
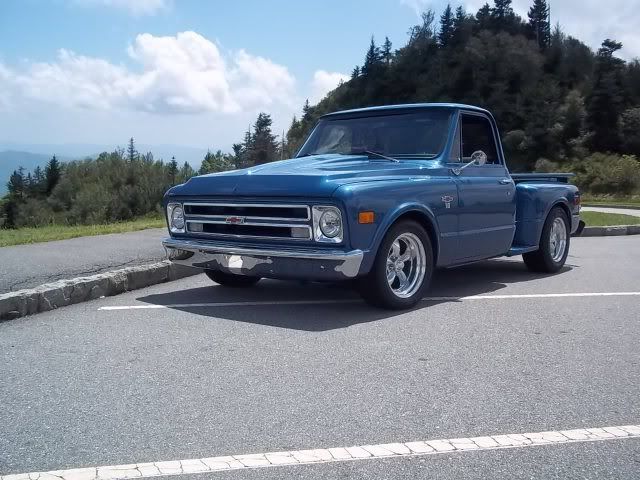
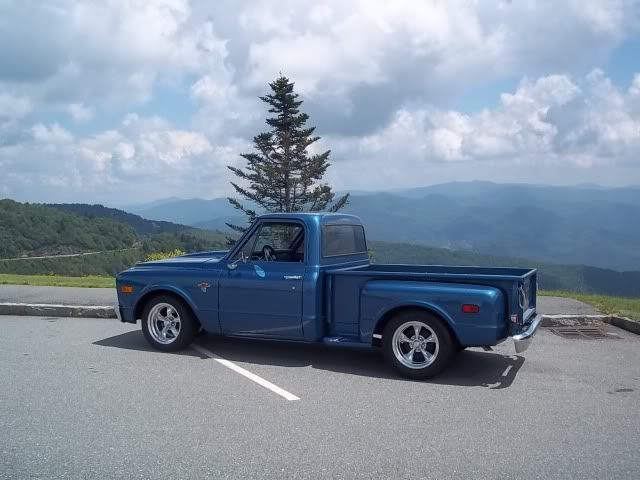
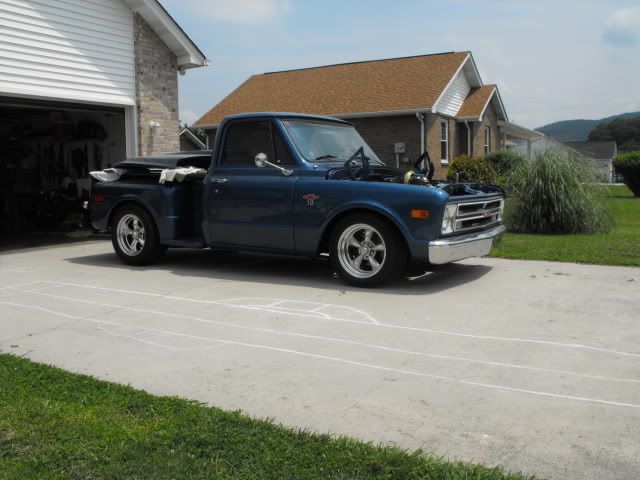
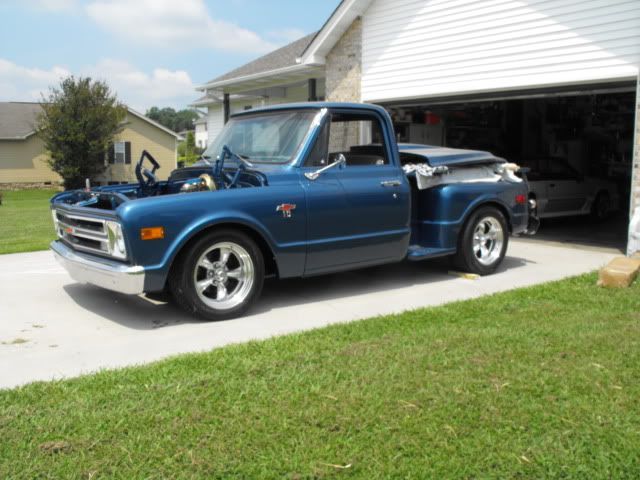
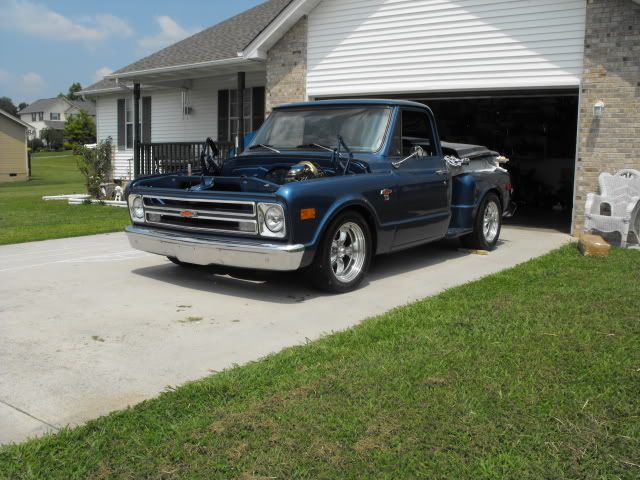
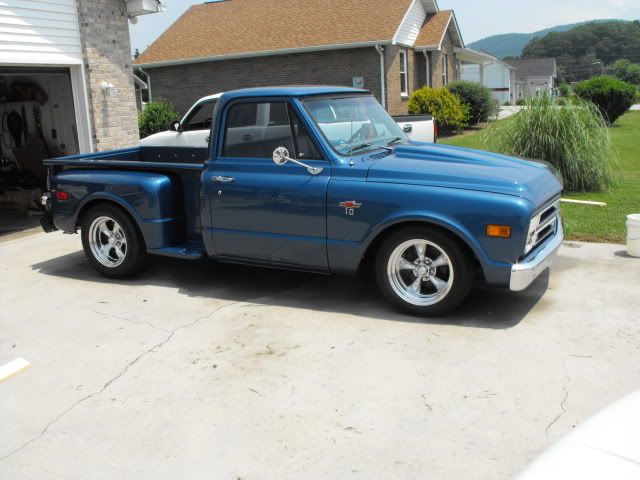
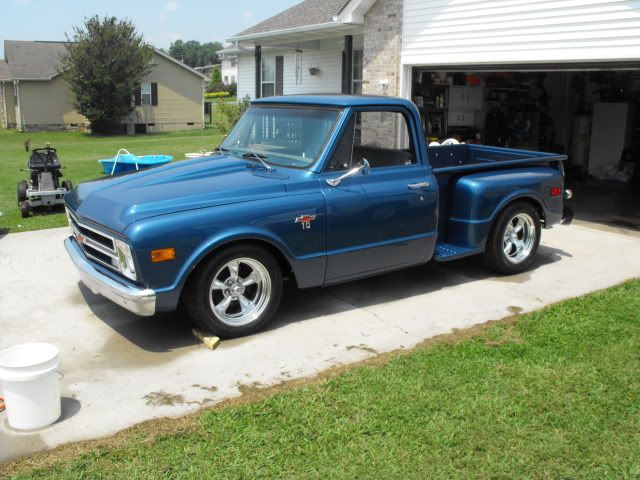
Here's how the truck looks.
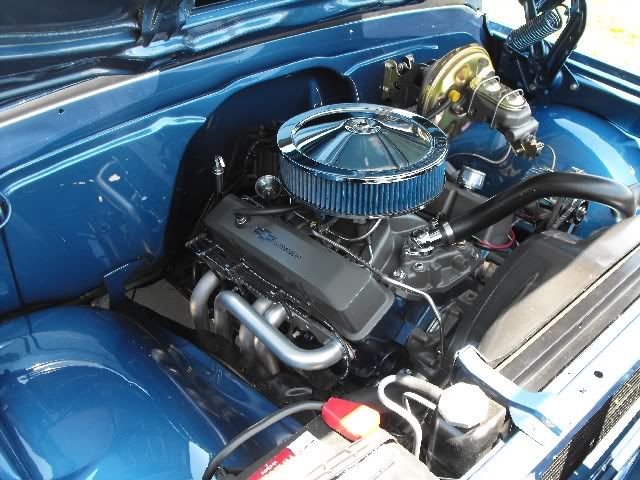
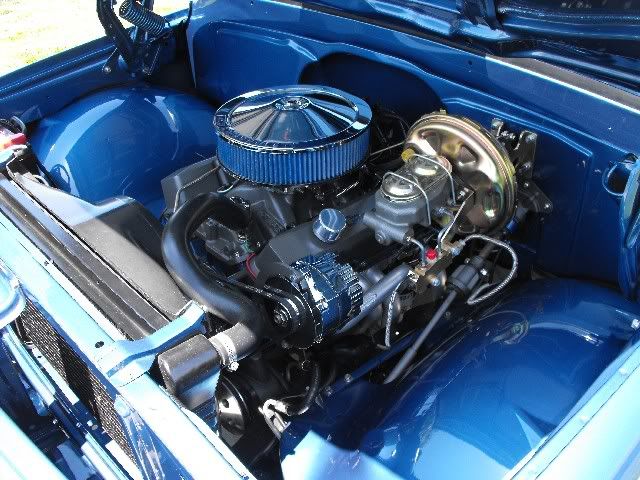
How the old 350 looked.
So, I spent a couple months trying to fix the engine good enough to get to the GoodGuys show in Charlotte, NC. then afterwards, took a couple months leaving it alone, and dealing with other things in life. Finally, after Christmas, I had a friend come over to help diagnose the problem. We determined the engine was officially shot.
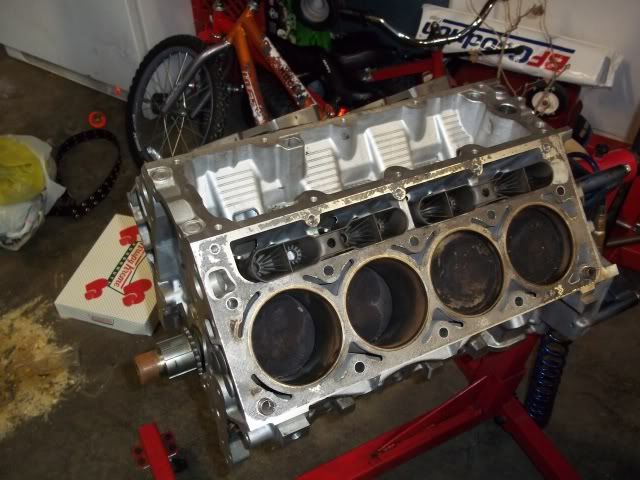
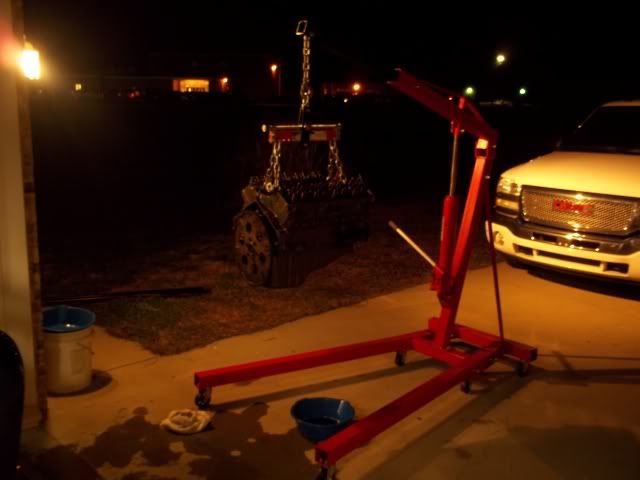
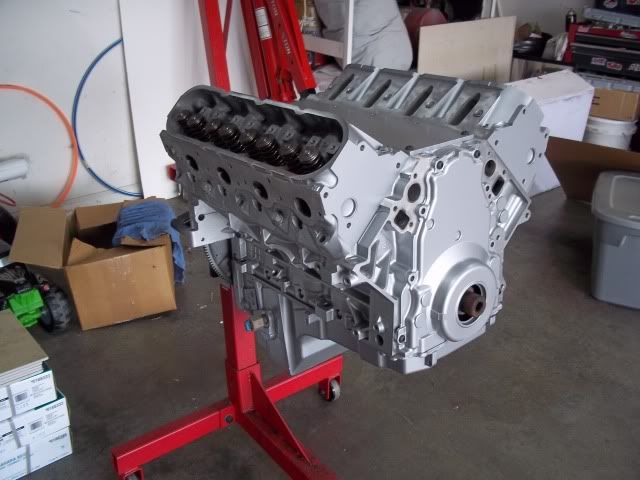
In January, I came across this 40K mile LS1 from an 02 Camaro. The guy had bought it to go in his project truck, but decided not to, and put it up for sale. The price was $1000, so I jumped on it.
Here it is the way I got it. Getting it out of the truck after getting home.
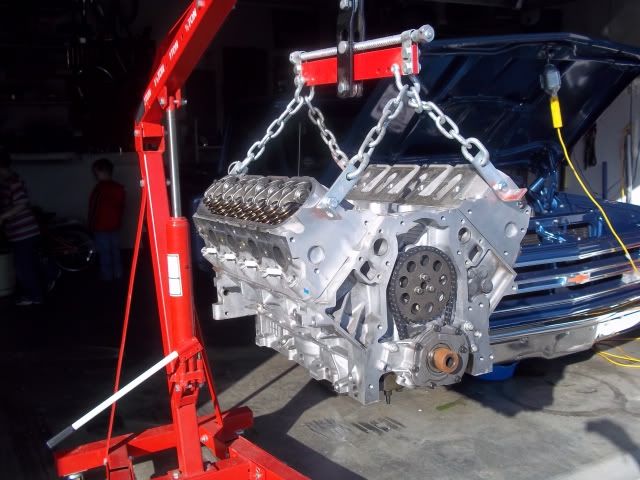
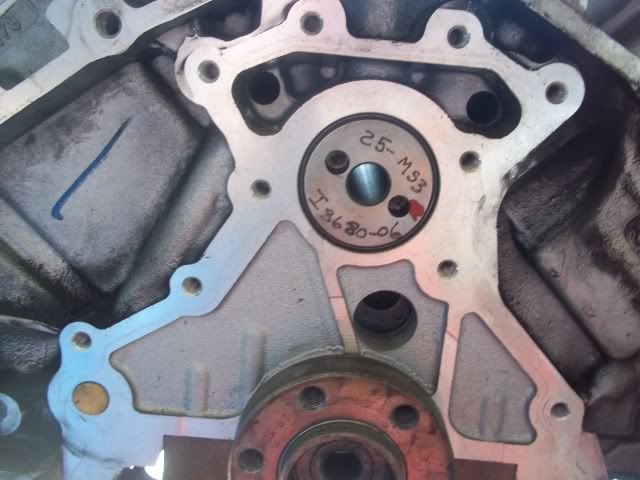
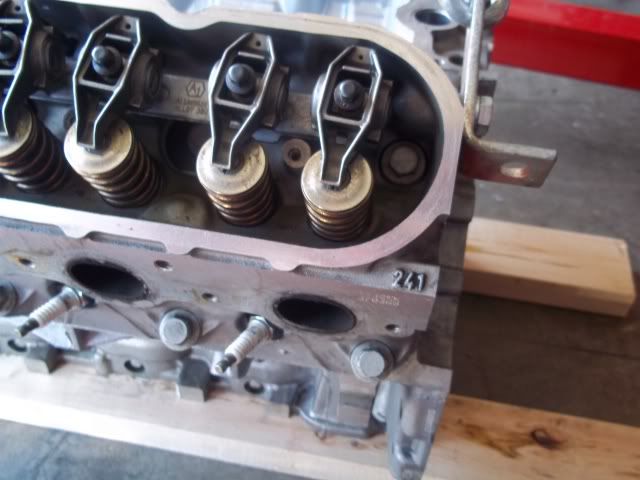
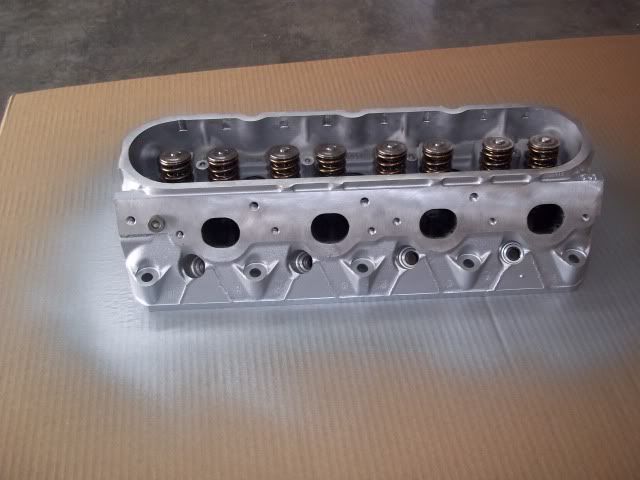
The Camaro owner had previously installed and run a TSP MS3 cam, new pushrods, and dual valvesprings.
First off, the cheesy name. Everyone I met always told me I had a slick truck and if they knew it was a 68, they always just said it's a slick 68, so I kind of adopted the name and started using Slick68 as my screen name on message forums, email addresses, etc. Since I'm installing an LS1, now, I conjured up this LS1ick68 thing one night when I couldn't sleep.
Back in August '11, the thermostat stuck in my 350. Long story short, I stopped at an Advance Auto(It was a Sunday, so legit parts stores were closed.) to go in and get a new therm. and change it in the parking lot. Before going in, I figured I'd half-crack the radiator cap and let the pressure bleed off. Well, I aparently turned it too far, and antifreeze covered the entire front of the truck, engine, and parts of my right side. Frustrated, agitated, and dealing with slight burns on my right arm keeping me from thinking clearly, I figured I'd limp it home. Turned out to be a not-so-good idea. It boiled out more antifreeze than I thought, so after a couple miles up the road, it got the oil so hot, it got too thin, and pretty much toasted the engine. Please save me the comments on how stupid that all was, I already know(I knew then, but just didn't think clearly).
Anyway on to the pics and such.
Here's how the truck looks.
How the old 350 looked.
So, I spent a couple months trying to fix the engine good enough to get to the GoodGuys show in Charlotte, NC. then afterwards, took a couple months leaving it alone, and dealing with other things in life. Finally, after Christmas, I had a friend come over to help diagnose the problem. We determined the engine was officially shot.
In January, I came across this 40K mile LS1 from an 02 Camaro. The guy had bought it to go in his project truck, but decided not to, and put it up for sale. The price was $1000, so I jumped on it.
Here it is the way I got it. Getting it out of the truck after getting home.
The Camaro owner had previously installed and run a TSP MS3 cam, new pushrods, and dual valvesprings.
 05-19-2012, 01:57 PM
#2
On The Tree
Thread Starter
iTrader: (7)
Join Date: Sep 2011
Location: Sevierville, TN
Posts: 174
Likes: 0
Received 0 Likes
on
0 Posts
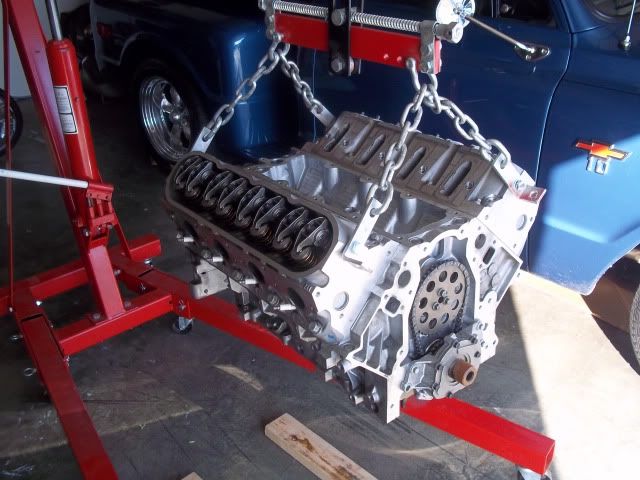
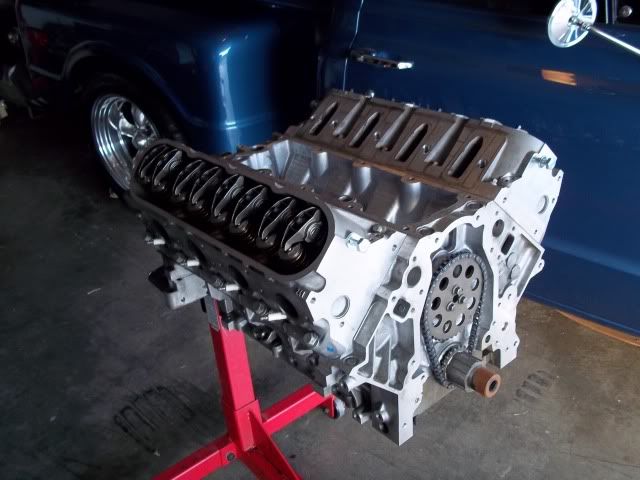
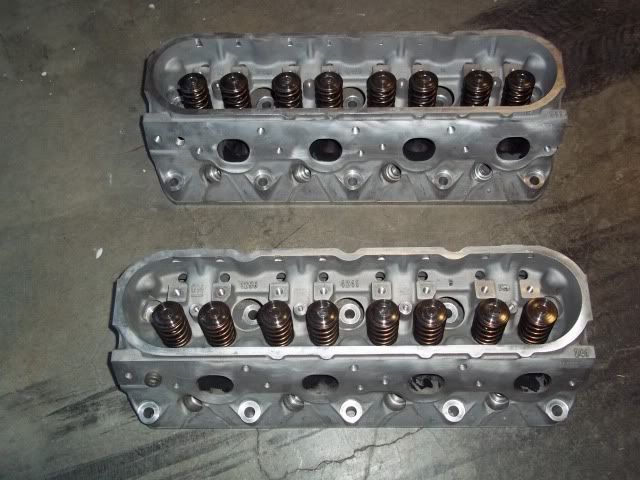
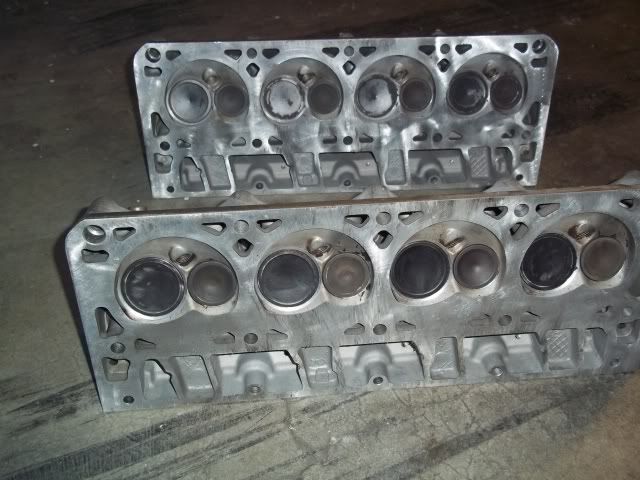
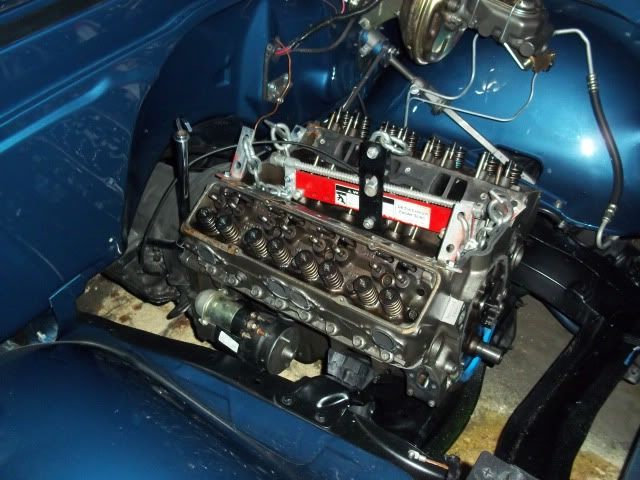
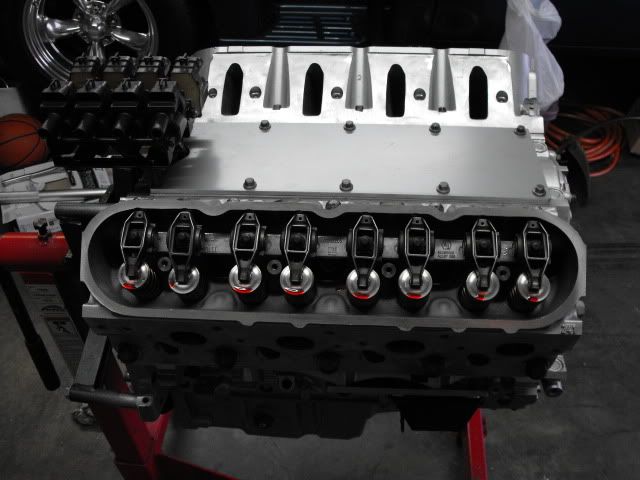
The heads had already been removed, so I took them to a buddies shop, cleaned and prepped them.
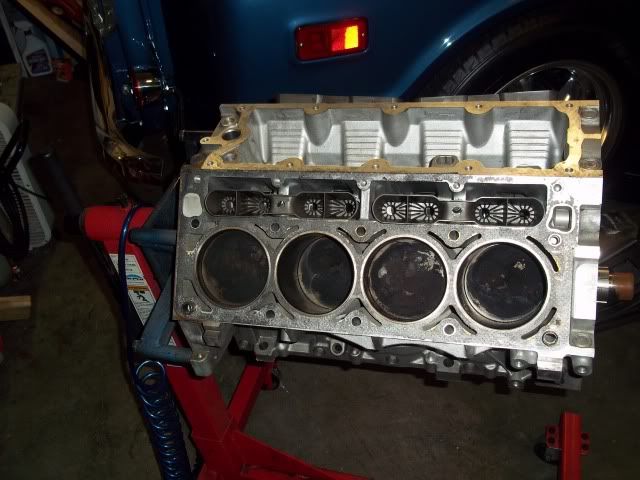
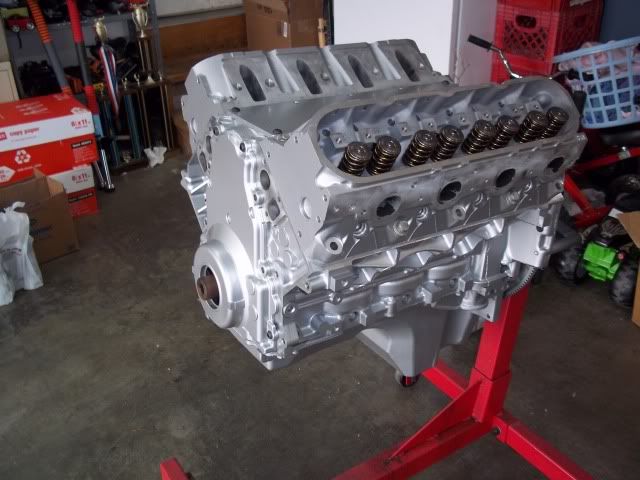
I determined the MS3 cam was gonna be a bit too much cam for what I wanted, so out it came, and it got sold.
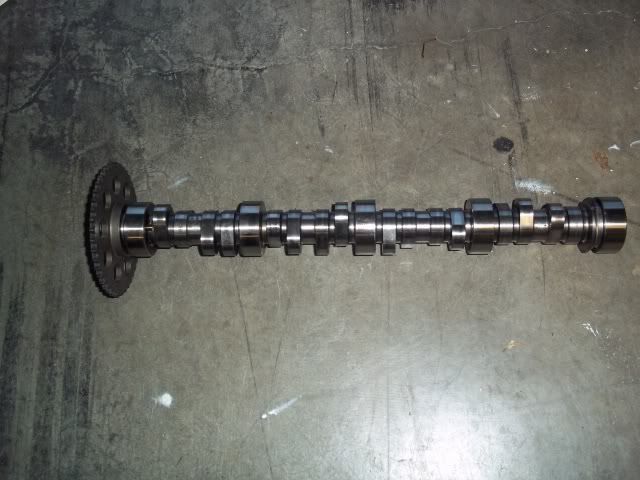
Out with the old.
Now it was on to start collecting parts.
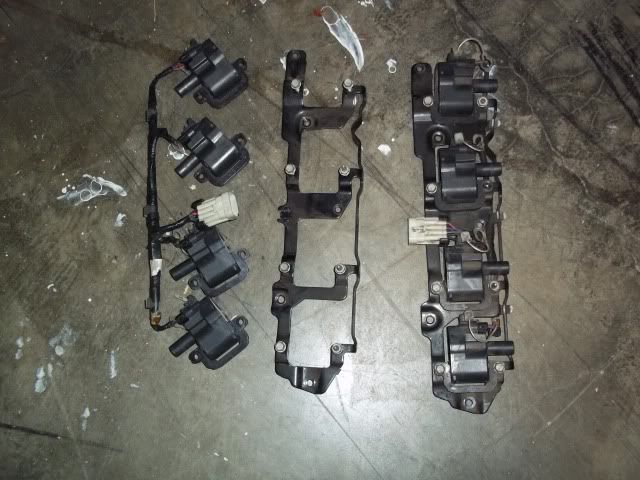
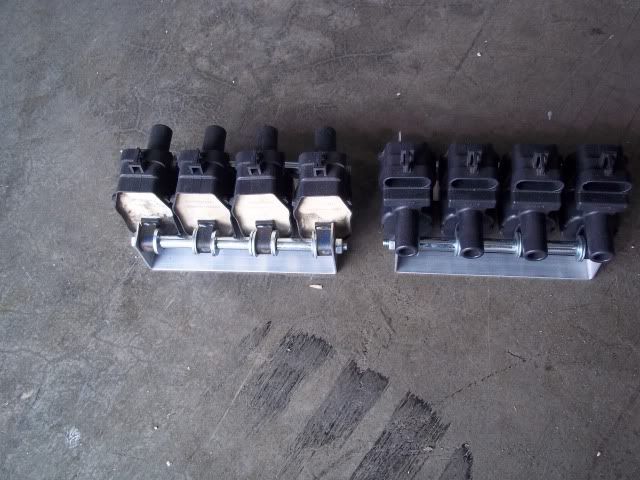
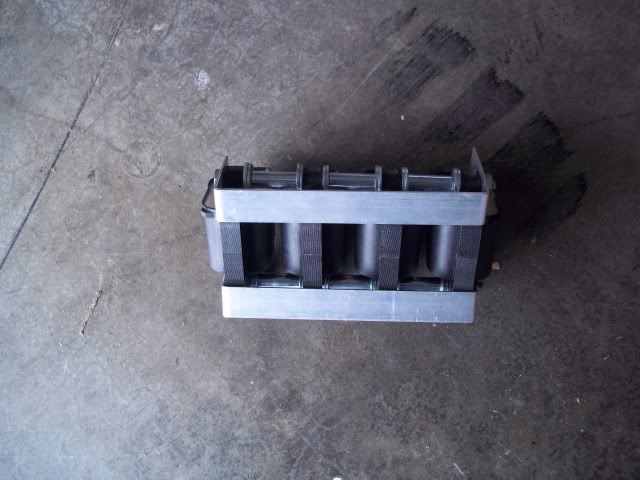
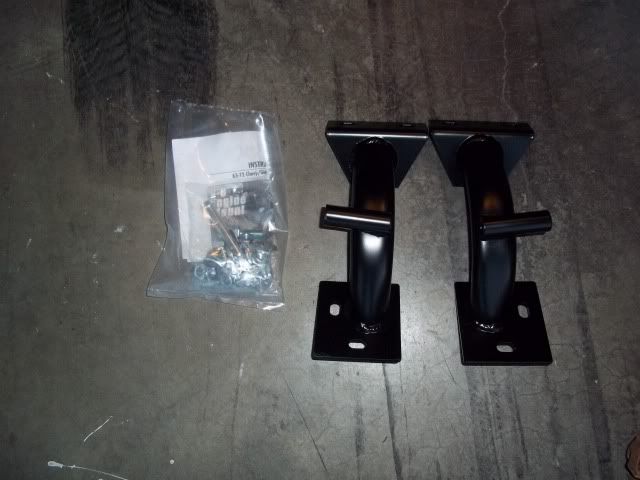
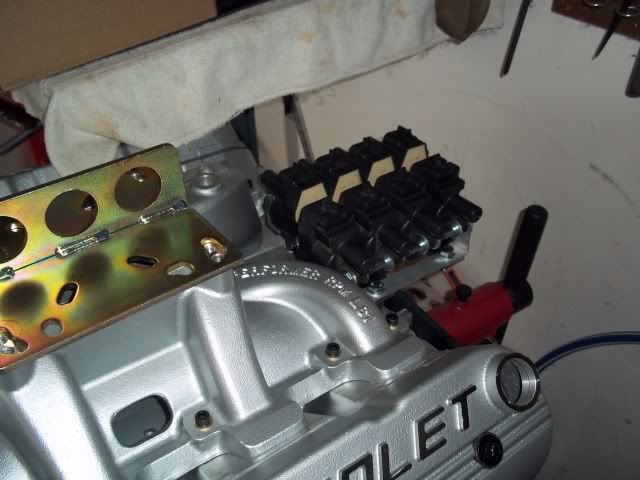
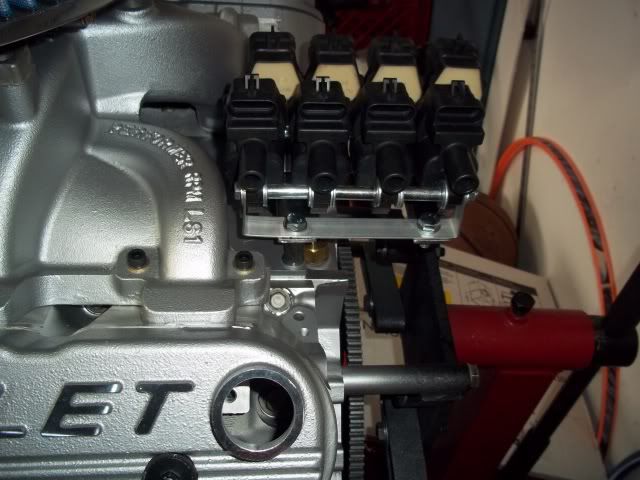
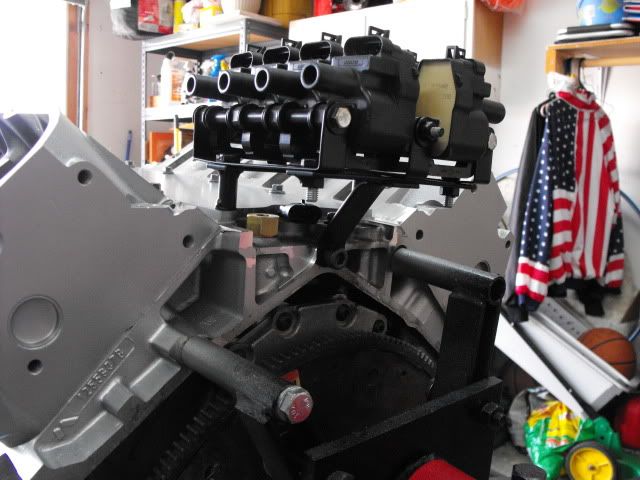
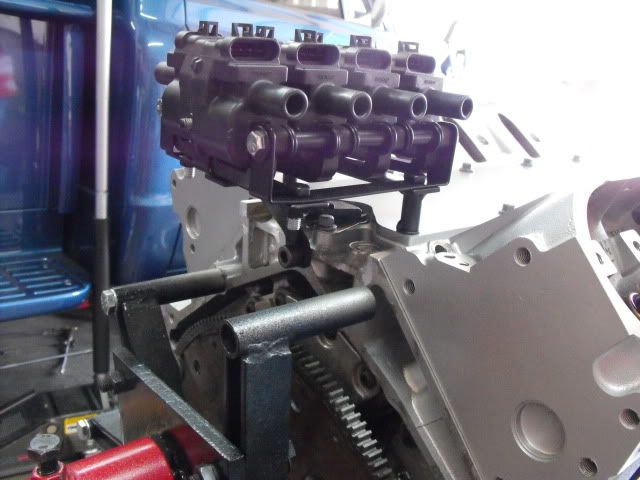
I knew I wanted remote mount the coils, so here's the mock up of some brackets.
I determined the MS3 cam was gonna be a bit too much cam for what I wanted, so out it came, and it got sold.
Out with the old.
Now it was on to start collecting parts.
I knew I wanted remote mount the coils, so here's the mock up of some brackets.
05-19-2012, 02:23 PM
#3
On The Tree
Thread Starter
iTrader: (7)
Join Date: Sep 2011
Location: Sevierville, TN
Posts: 174
Likes: 0
Received 0 Likes
on
0 Posts
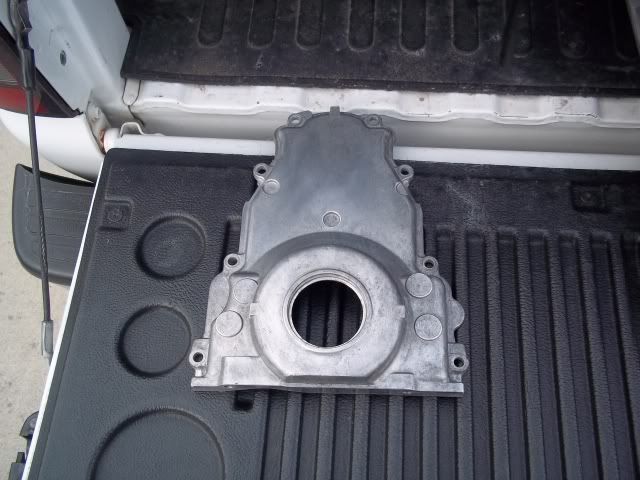
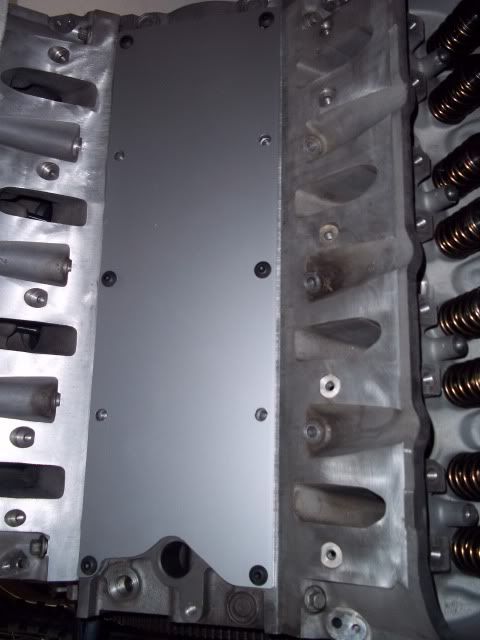
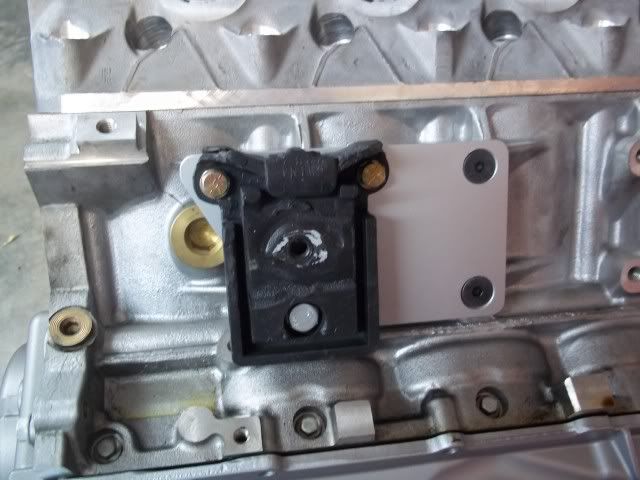
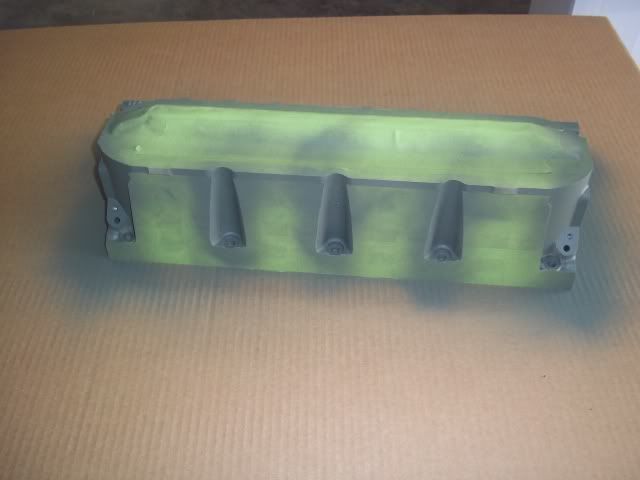
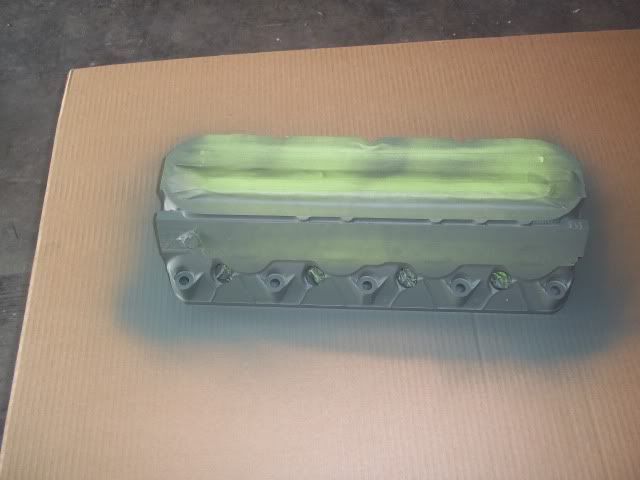
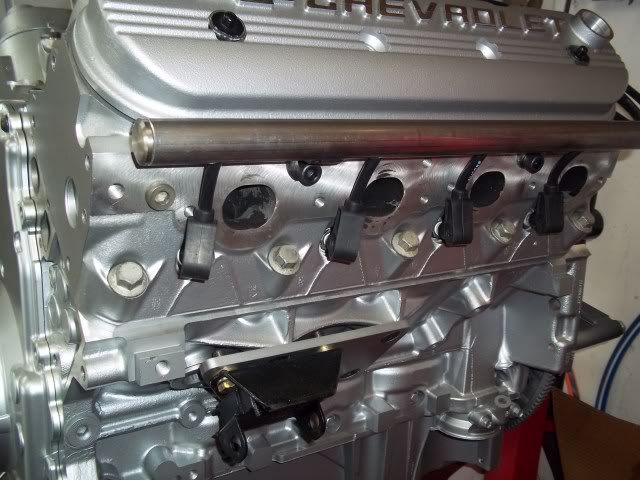
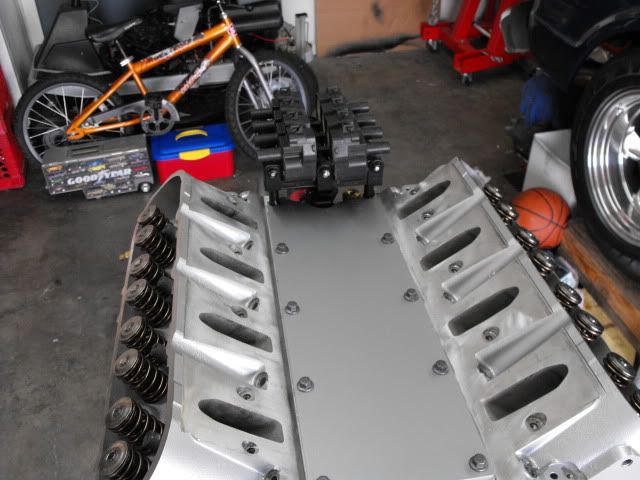
I had purchased a stock LS1 valley cover, but since I wasn't going to need the knock sensors, and and didn't the open holes showing, I made my own valley cover out of 1/4" aluminum.
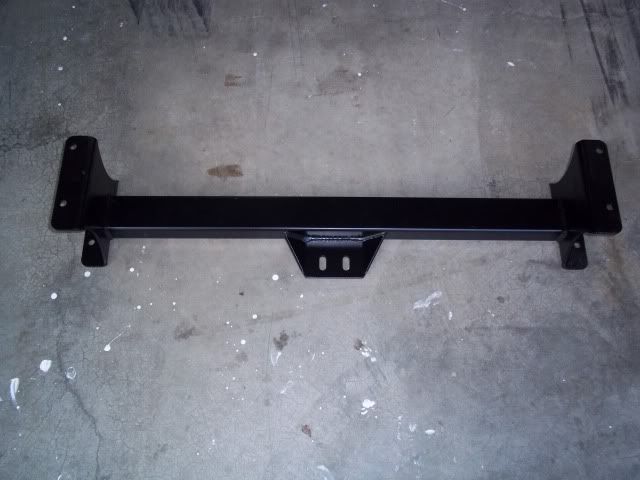
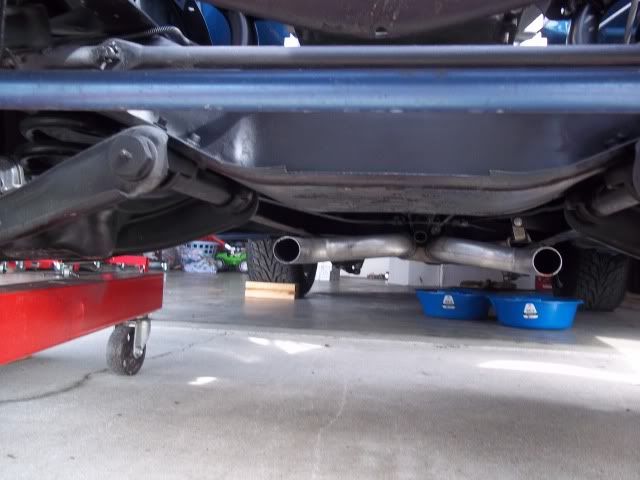
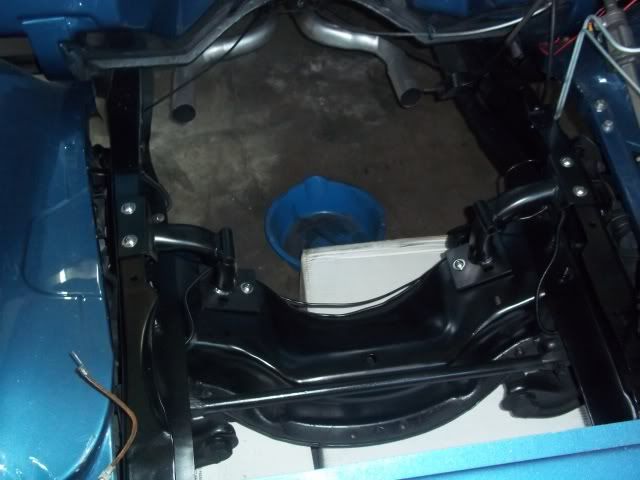
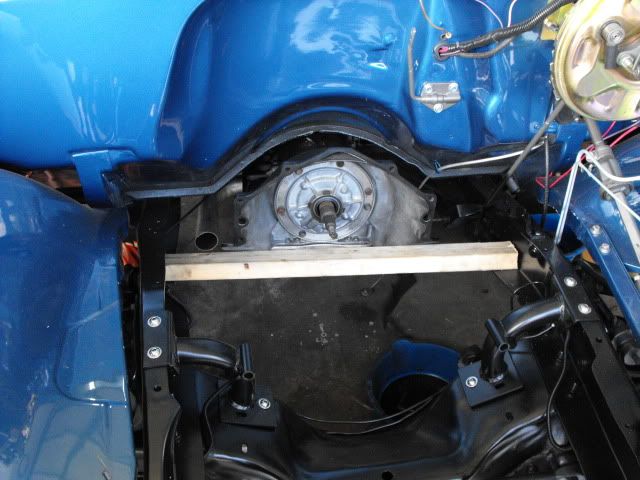
I knew I was going to set the engine further back in the 6-cylinder locations and also have a 700R4 built, but the original trans. crossmember hung below the frame and would have hit the x-pipe in the exhaust, so I had to order a new x-member from ECE.

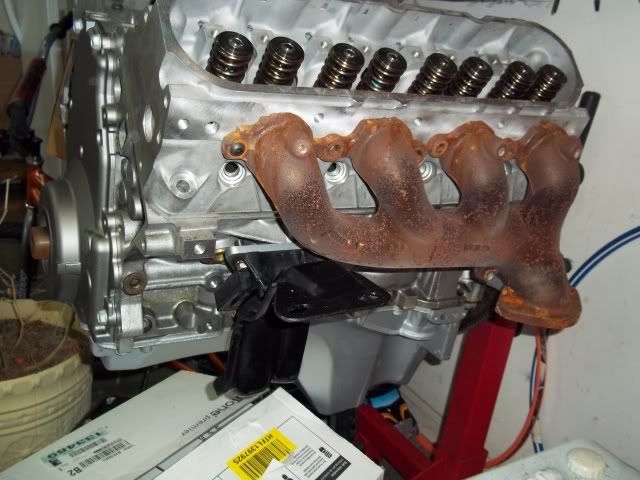
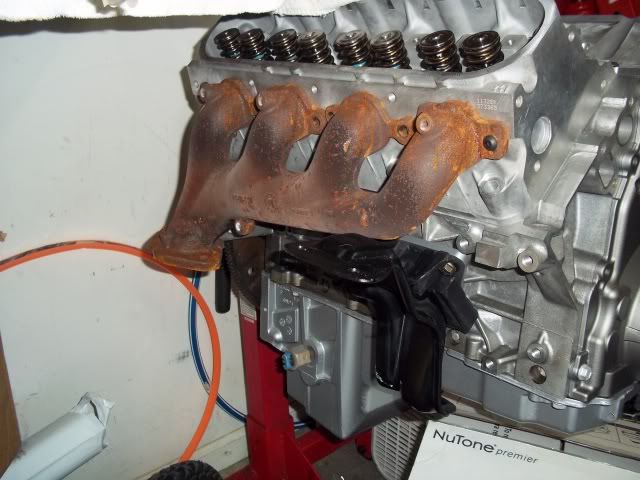
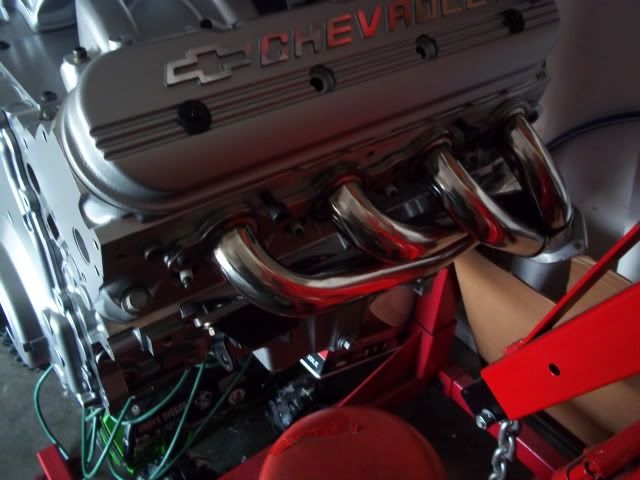
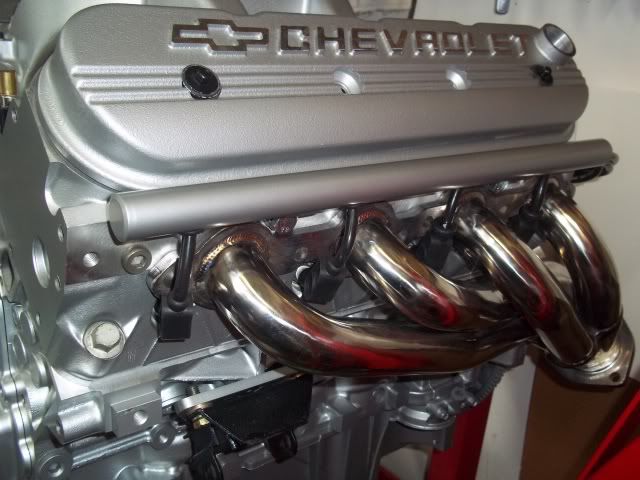
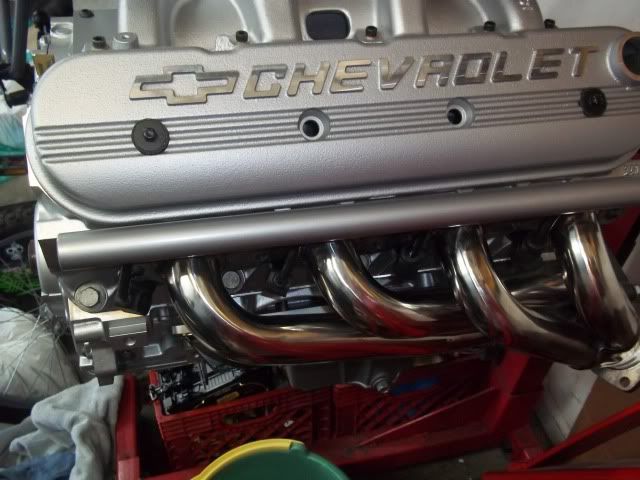
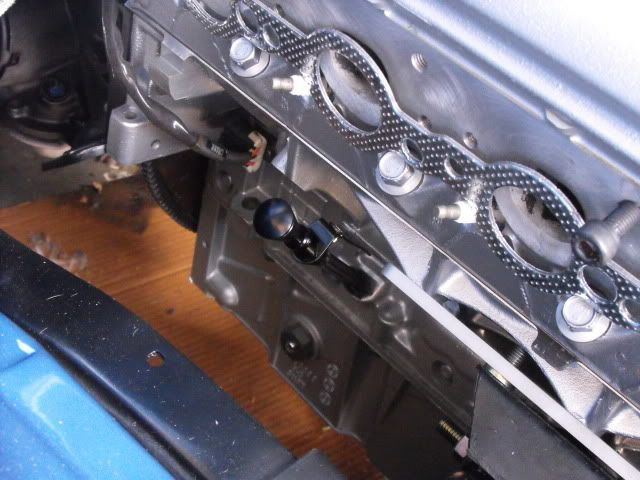
At first, I intended to use manifolds, so I picked up these 2010 Camaro SS manis from the classifieds here. I later determined to go with headers, and sold these. Header pics to come later.
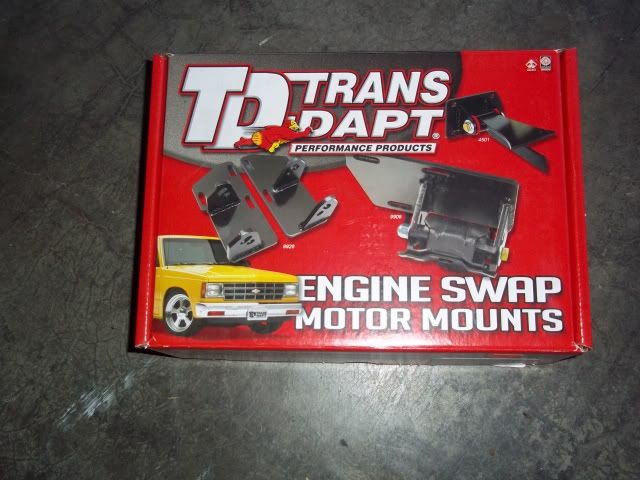
Test fitting the adapter plates, and original style motor mounts.
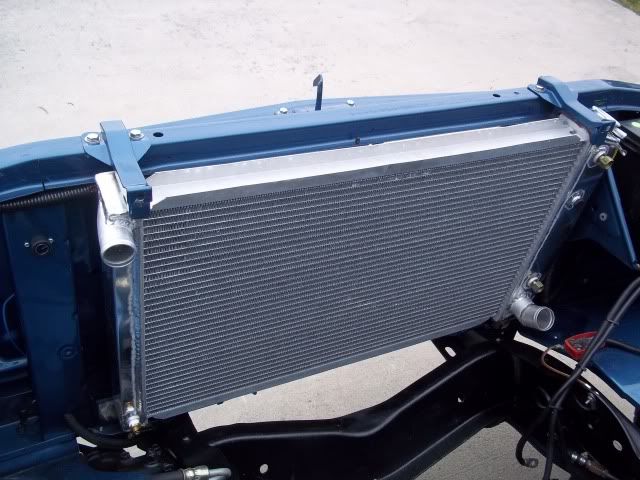
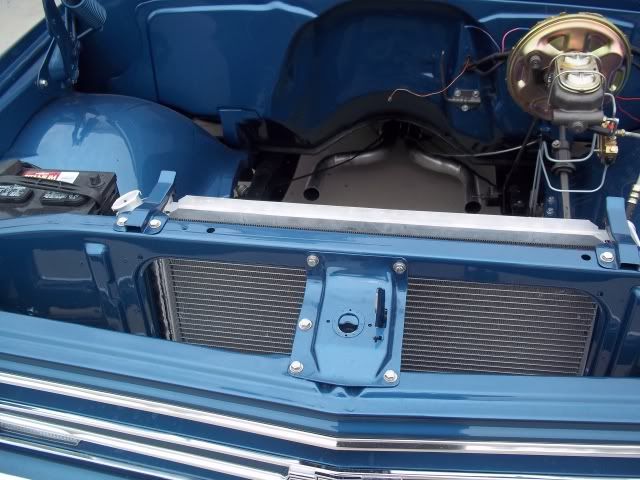
After learning of electrolysis issues of aluminum engines, and copper/brass radiators, I ordered this radiator from Dave's Truck Parts in Claremont, NC.
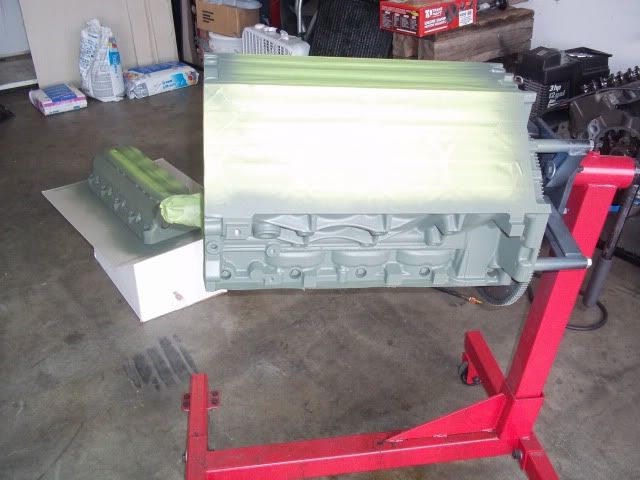
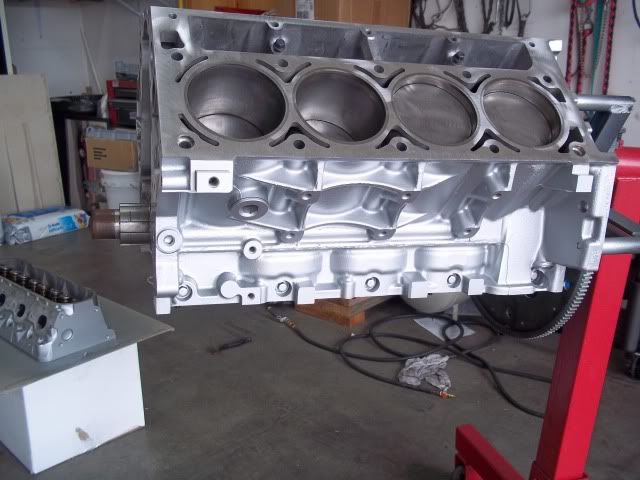
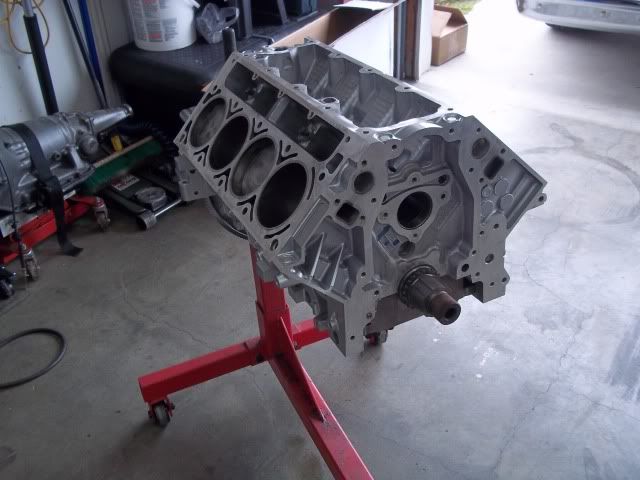
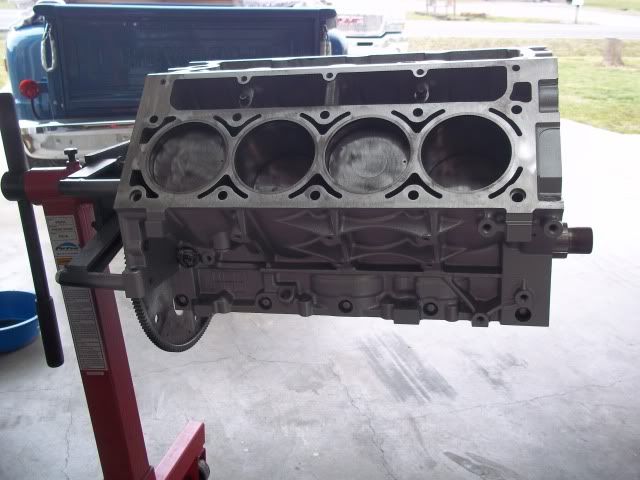
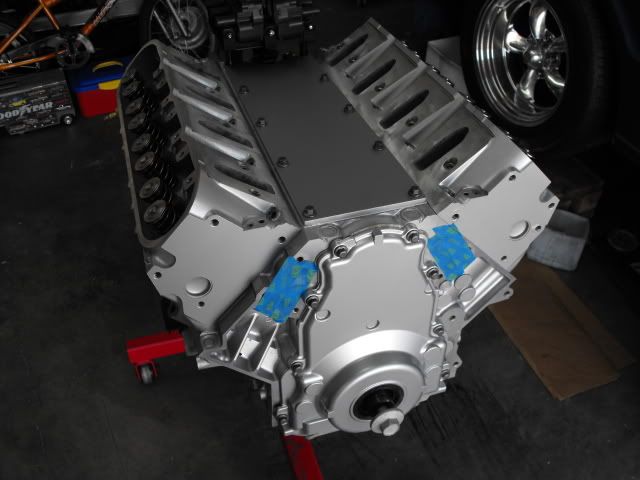
Finally got the block cleaned up(Not too hard since it was only a 40K mile engine) and ready for paint. I know, I know. Why paint an aluminum engine? Well, it's much easier to clean and keep dirt and grime wiped off.
In etching primer.
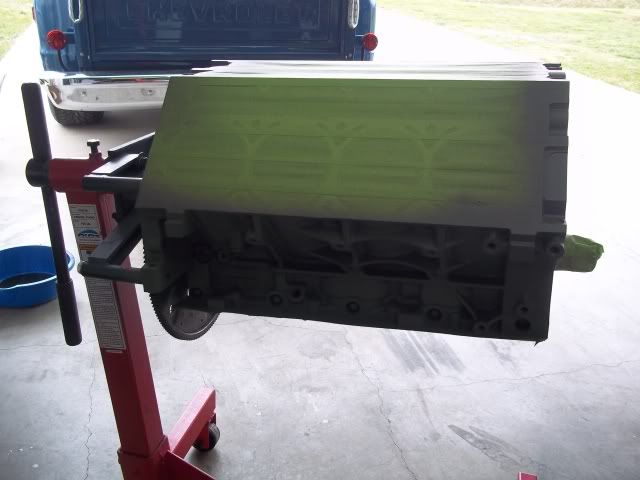
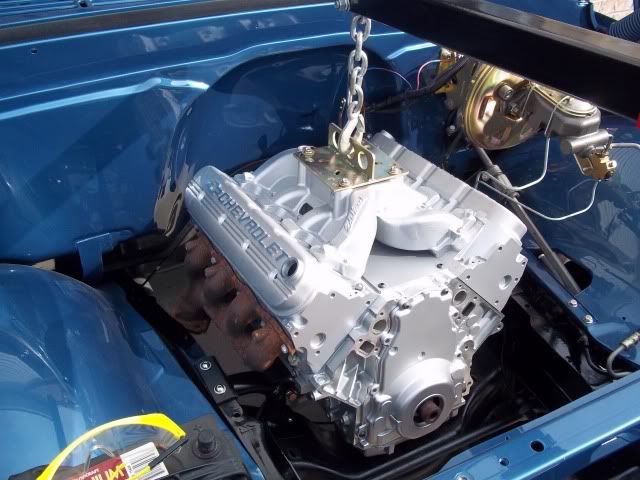
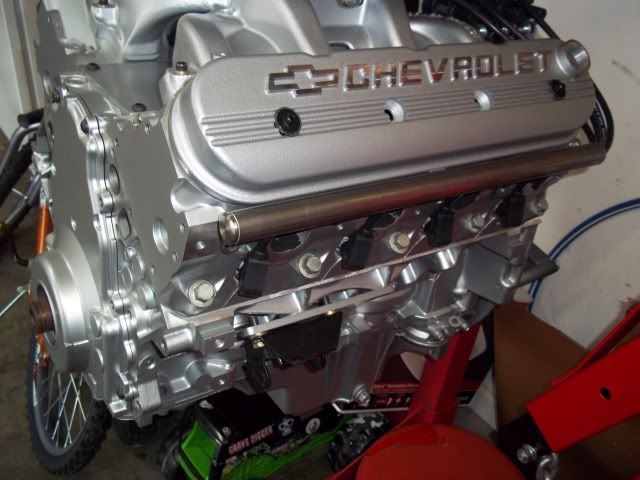
And in Cast Coat Aluminum engine paint. You may also notice I cleaned the deck surface and tops of the pistons.
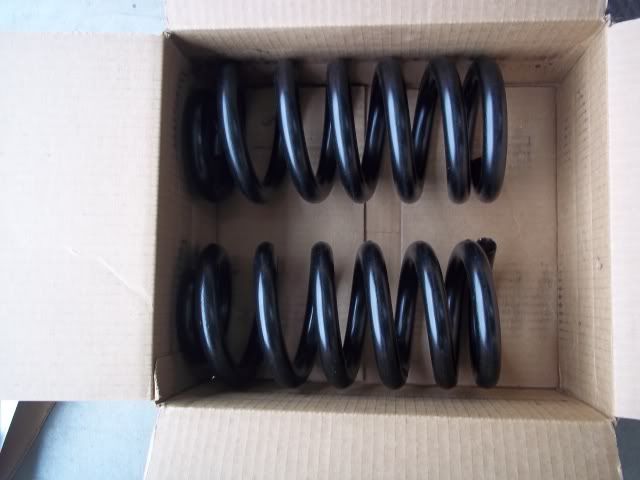
New 2" front drop springs to replace the 1" drop springs.

Also new tubular engine towers from POL to replace the old stock setup and also uses better style motor mounts.
I knew I was going to set the engine further back in the 6-cylinder locations and also have a 700R4 built, but the original trans. crossmember hung below the frame and would have hit the x-pipe in the exhaust, so I had to order a new x-member from ECE.
At first, I intended to use manifolds, so I picked up these 2010 Camaro SS manis from the classifieds here. I later determined to go with headers, and sold these. Header pics to come later.
Test fitting the adapter plates, and original style motor mounts.
After learning of electrolysis issues of aluminum engines, and copper/brass radiators, I ordered this radiator from Dave's Truck Parts in Claremont, NC.
Finally got the block cleaned up(Not too hard since it was only a 40K mile engine) and ready for paint. I know, I know. Why paint an aluminum engine? Well, it's much easier to clean and keep dirt and grime wiped off.
In etching primer.
And in Cast Coat Aluminum engine paint. You may also notice I cleaned the deck surface and tops of the pistons.
New 2" front drop springs to replace the 1" drop springs.
Also new tubular engine towers from POL to replace the old stock setup and also uses better style motor mounts.
05-19-2012, 02:38 PM
#4
On The Tree
Thread Starter
iTrader: (7)
Join Date: Sep 2011
Location: Sevierville, TN
Posts: 174
Likes: 0
Received 0 Likes
on
0 Posts
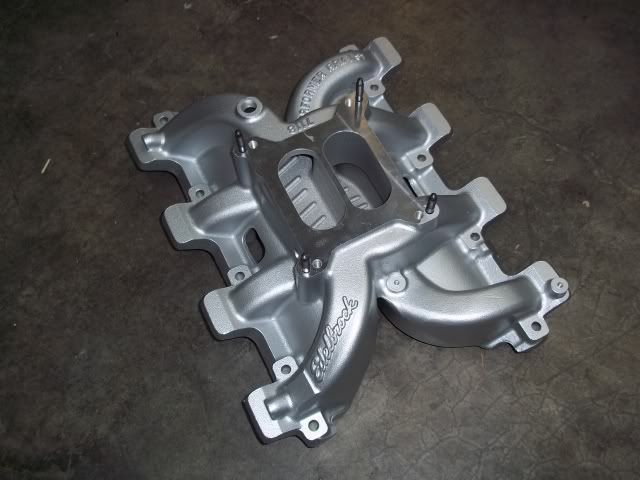
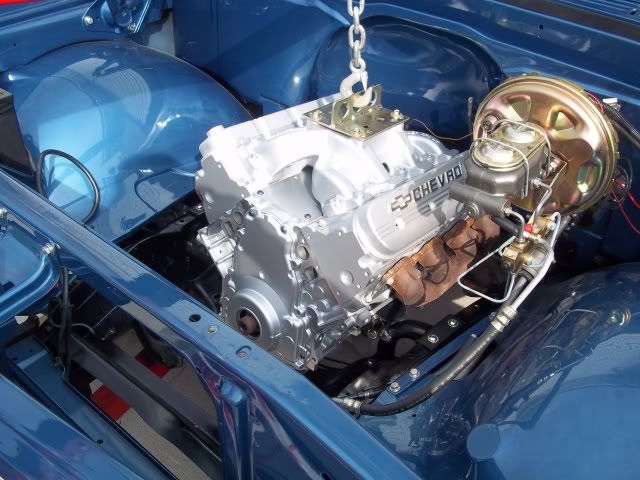
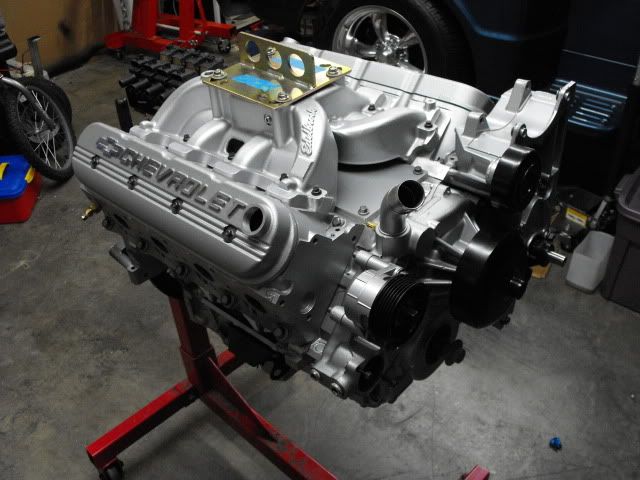
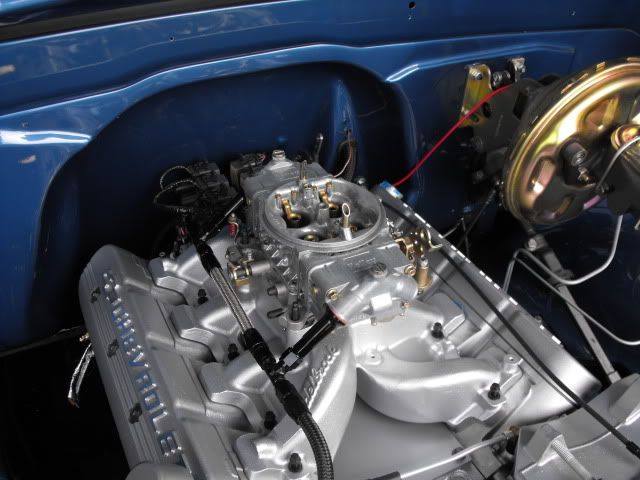
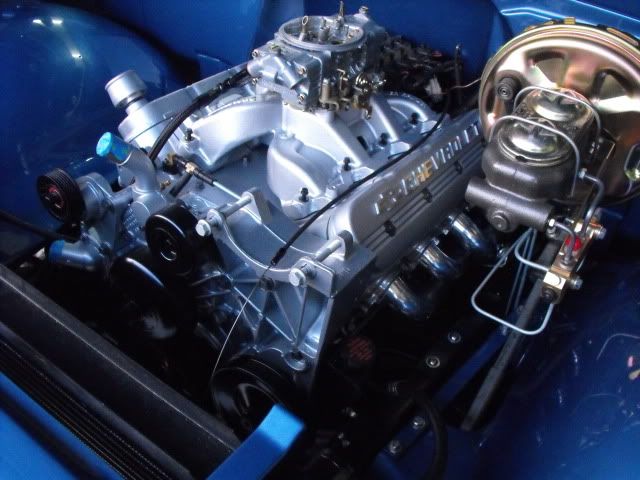
My new Edelbrock intake. If you look closely, you will notice I removed 2 of the ign control box mounting tabs.
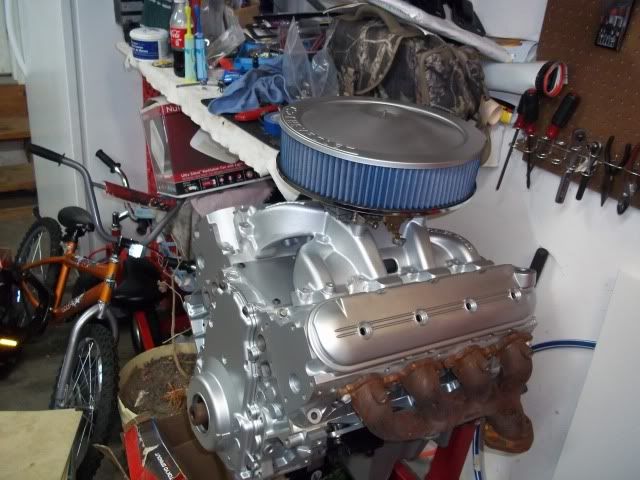
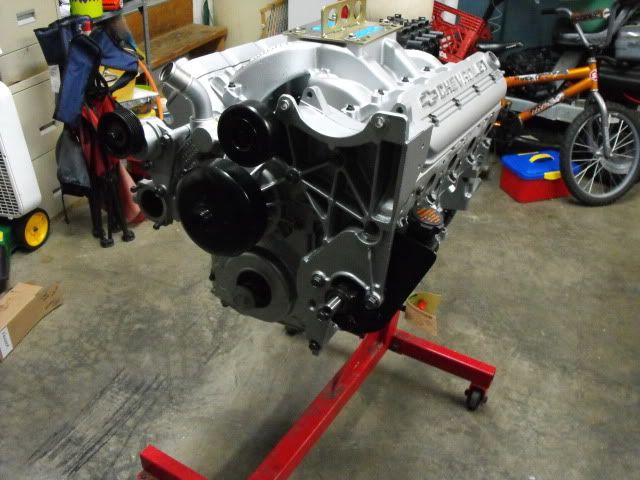
And of course, the obligatory test fit.

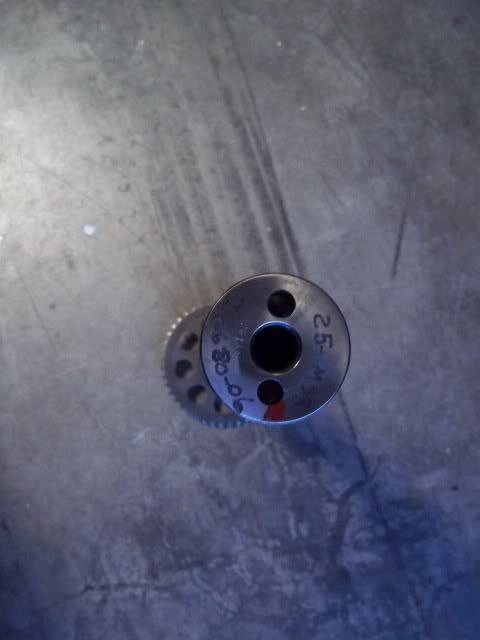
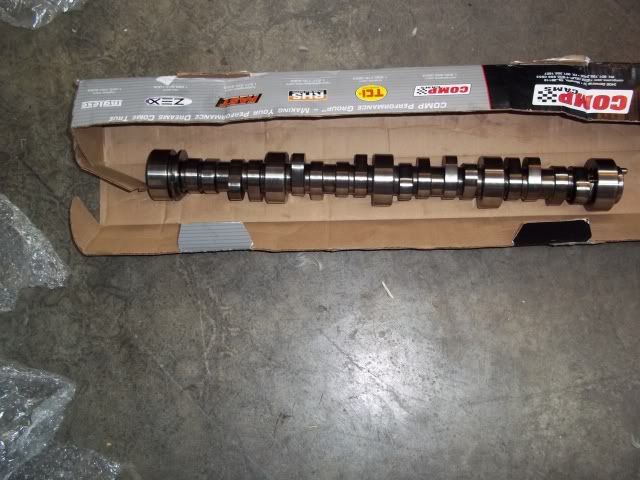
I bought this used custom COMP cam from the classifieds here. 236/242 .581/.581 110+2 This thing should romp rather nicely.
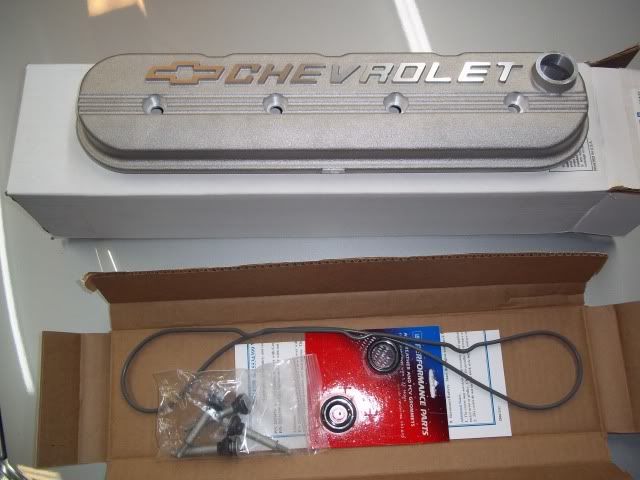
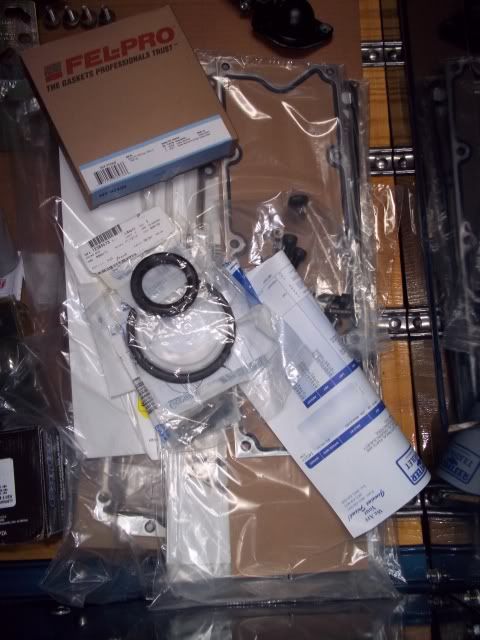
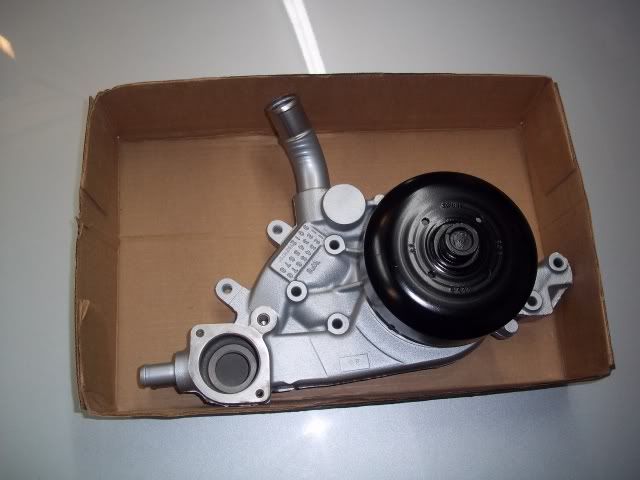
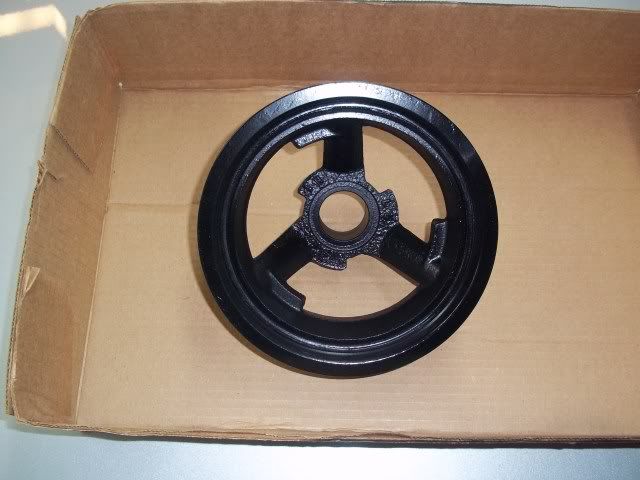
More goodies.

Fresh paint on some other used parts.
First test fit. WooHoo!!
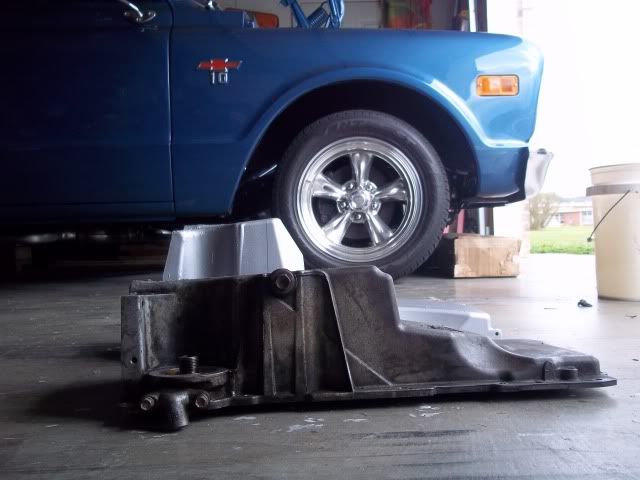
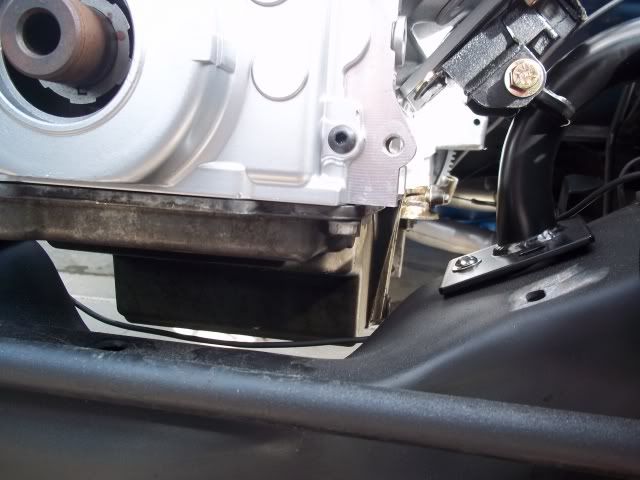
At first, I purchased a truck oil pan, but realized it hung too low below the crossmember, so I looked at other routes and noticed an f-body would work great, so I found one used.

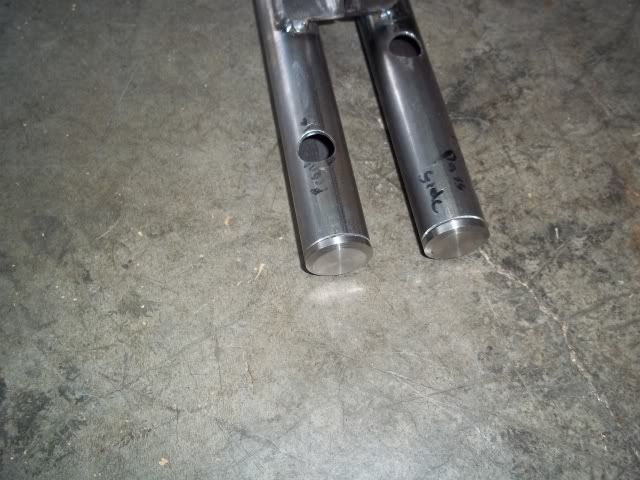
Making me some tubular wire looms.
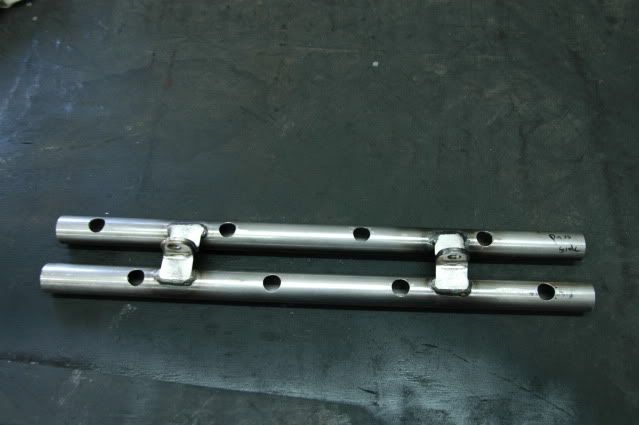
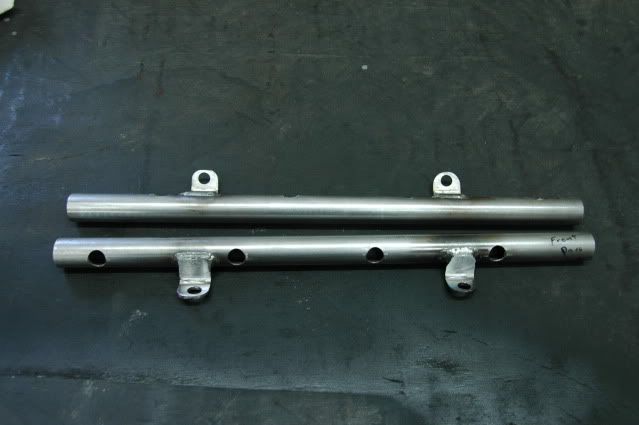

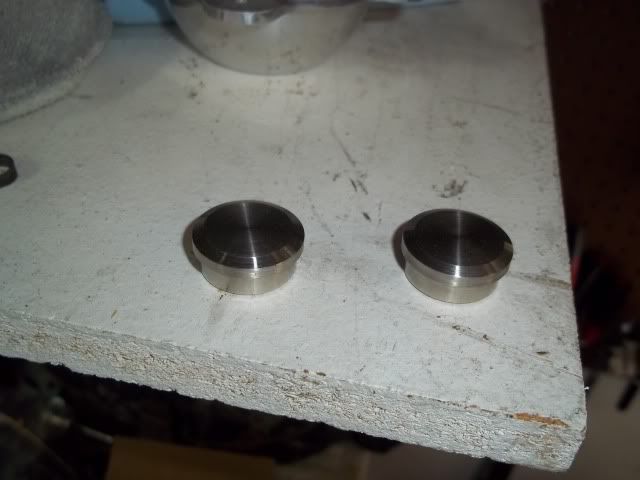
The end caps that go in them.
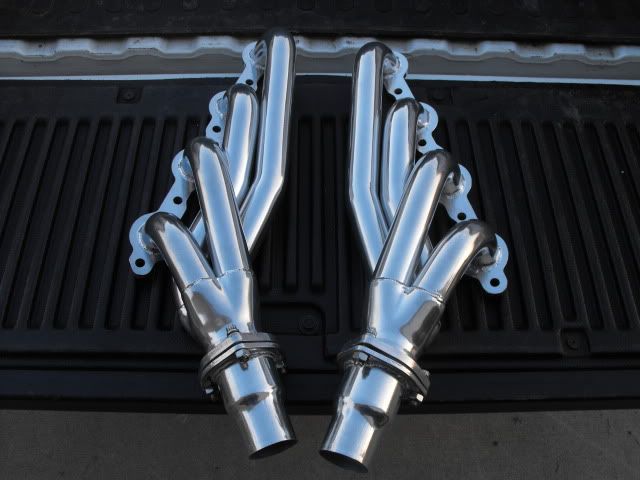
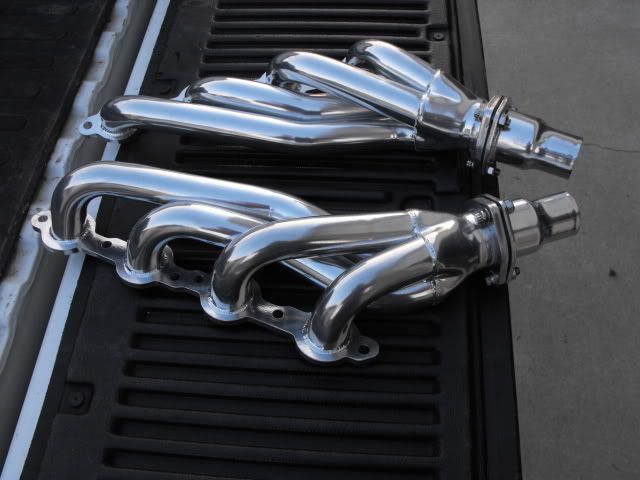
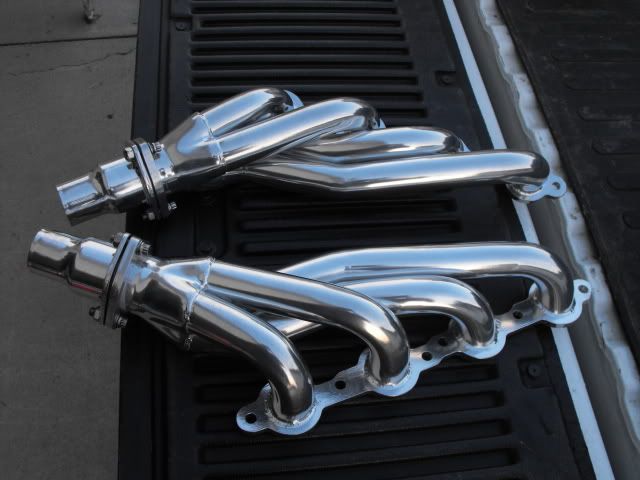
Remember the headers I told you about earlier?

And of course, the obligatory test fit.
I bought this used custom COMP cam from the classifieds here. 236/242 .581/.581 110+2 This thing should romp rather nicely.
More goodies.
Fresh paint on some other used parts.
First test fit. WooHoo!!
At first, I purchased a truck oil pan, but realized it hung too low below the crossmember, so I looked at other routes and noticed an f-body would work great, so I found one used.
Making me some tubular wire looms.
The end caps that go in them.
Remember the headers I told you about earlier?
05-19-2012, 03:03 PM
#5
On The Tree
Thread Starter
iTrader: (7)
Join Date: Sep 2011
Location: Sevierville, TN
Posts: 174
Likes: 0
Received 0 Likes
on
0 Posts
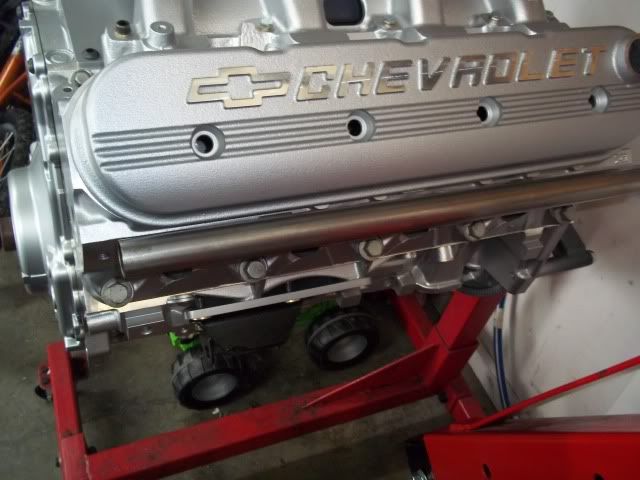
I also finally figured out how to mount the coils. I made brackets that utilize the 2 rearmost holes in the valley pan, then another bracket that bolts to the top center trans bolthole.
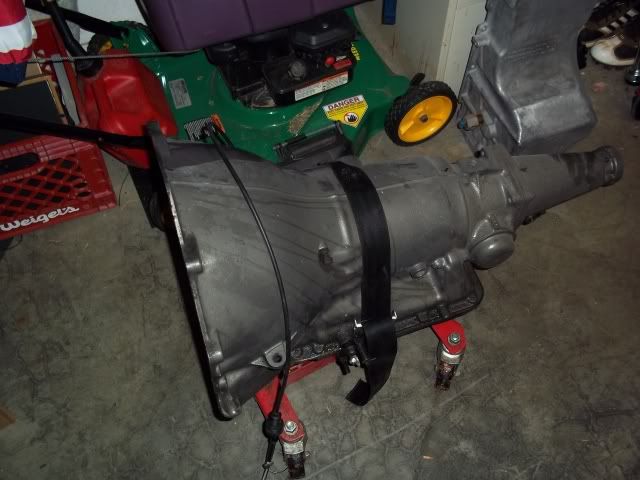
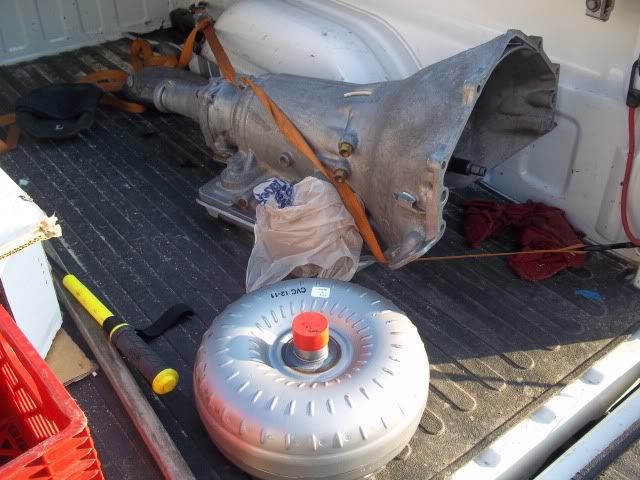
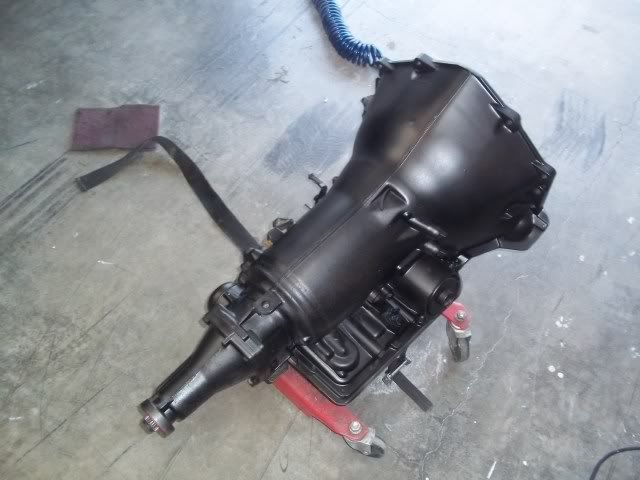
700R4 trans is done!
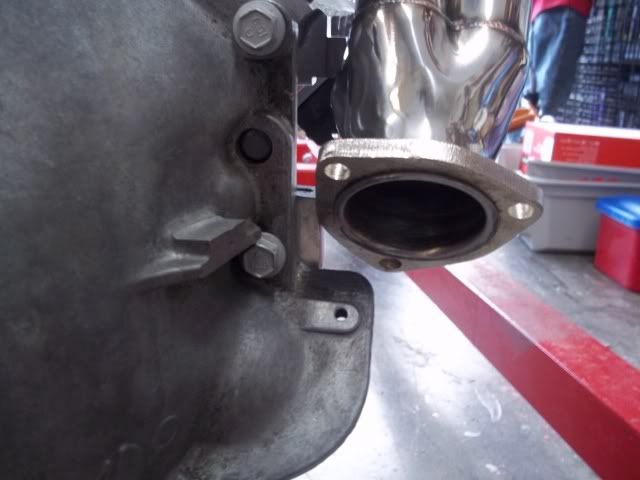
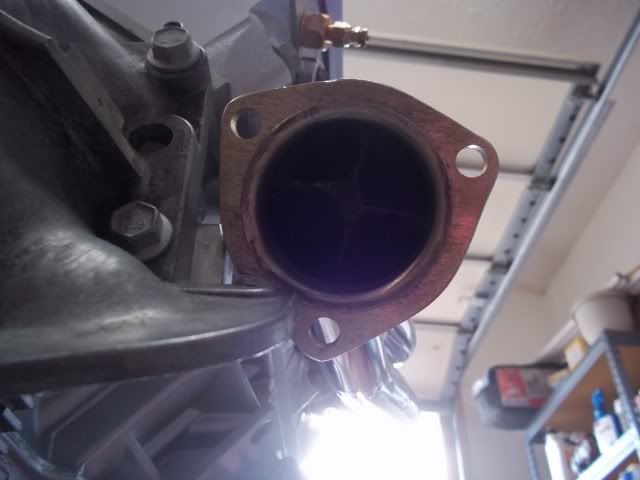
I noticed my headers were designed to fit with the newer transmissions. Not a big deal. Just a little trim work on the ear of the trans. and I'm good.
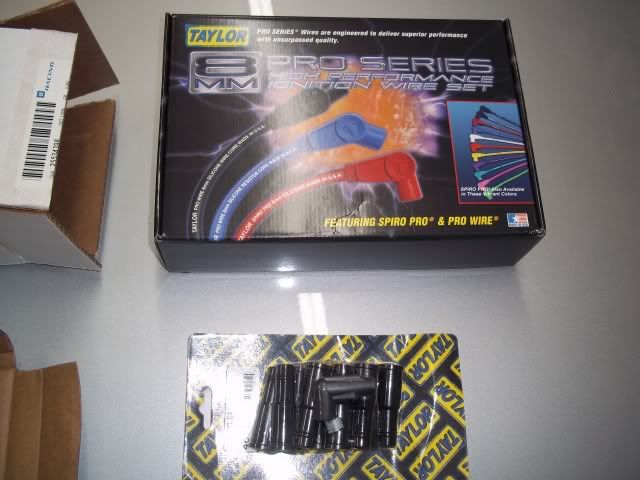
The 90 deg boots on the plug wires I ordered at first wouldn't work, so I had to exchange them for 45 deg boot wires. Perfecto!!
Engine bay cleaned up with fresh paint on the chassis area, and ready for the engine to go in.
Painted the trans black, so it would dissapte heat better, and so it would kind of just disappear into the chassis. Also installed.
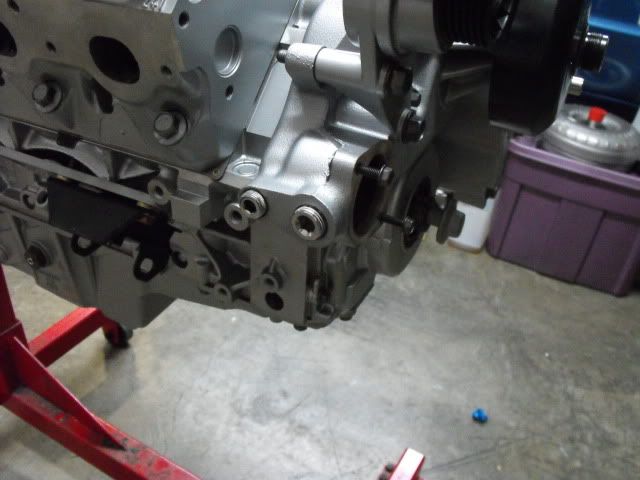
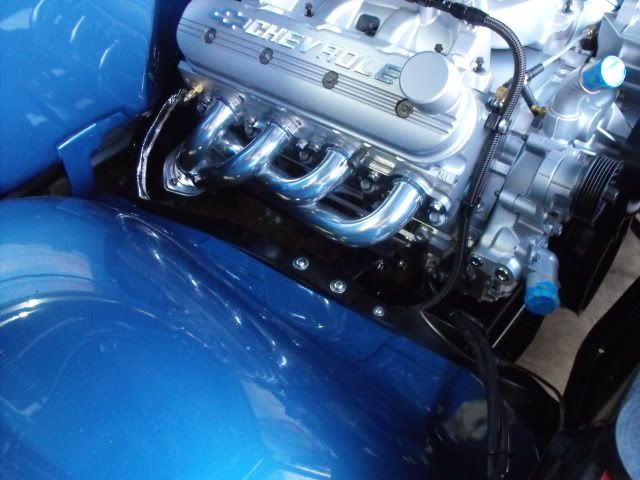
The engine finally being buttoned up for the last time(for a while, I hope).

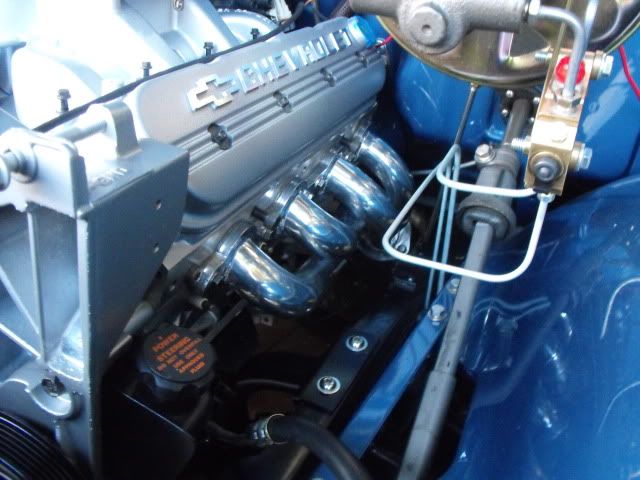
Better views of the coil pack brackets.
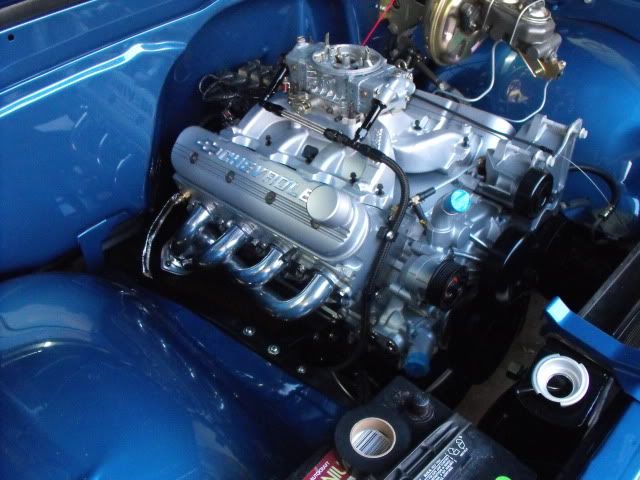
Accessories bolted on.
When I rebuilt and had the truck painted back in 06, I took the original heater out to install VintageAir, but ran out of funds and never got around to it. Since I don't have a heater for heater hoses to plumb to, I removed the nipples, and had the holes tapped for 3/8" and 1/2" NPT threads. Plugs will suffice for now.
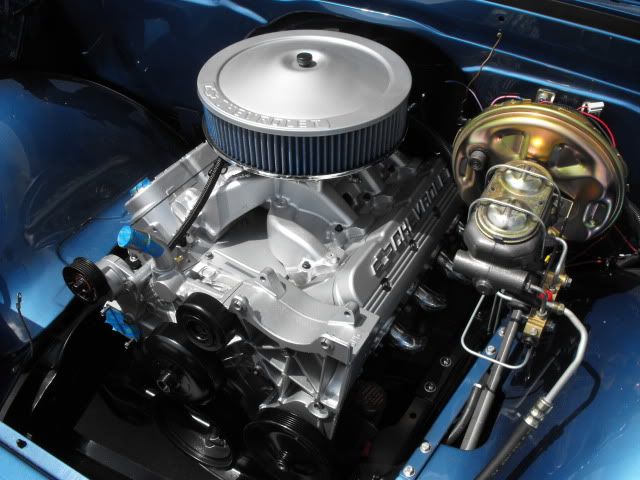
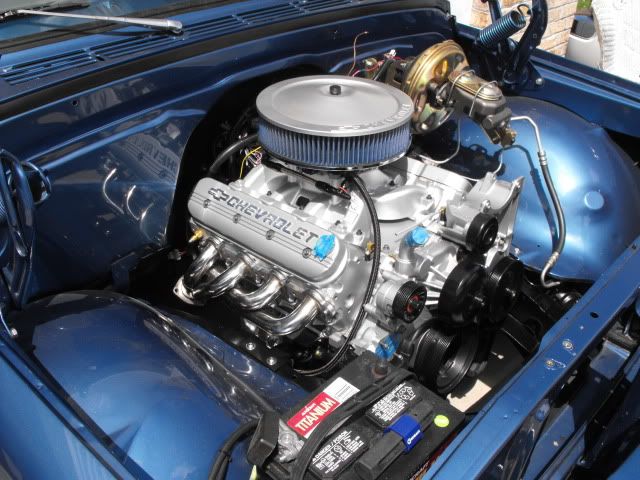
Final installation!!!
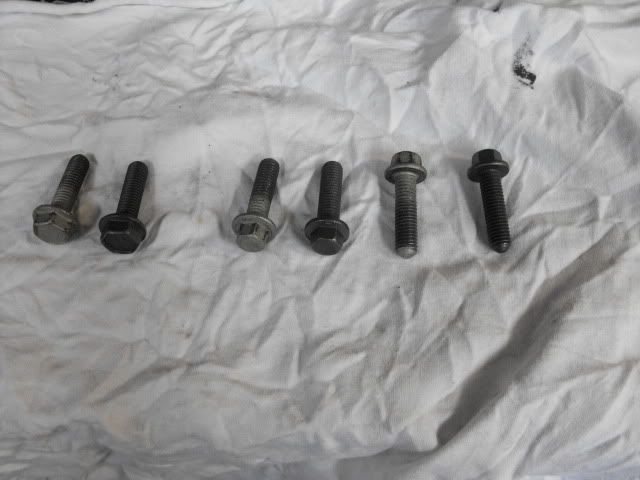
Forgot to mention this. I had all my accessory and exterior bolts(except head bolts) treated with nitriding. It's a hardening process that also imbeds the metal with a dark gray coloring that will last for a long time. I figured it would just add a nice touch to everything. I didn't have my ARP intake bolts done yet, but I forgot to get the bolts to hold the alternator on. I have them now, so I may have the ARP and Alternator bolts nitrided to match everything.
Here's the difference in stock and nitrided bolts.
700R4 trans is done!
I noticed my headers were designed to fit with the newer transmissions. Not a big deal. Just a little trim work on the ear of the trans. and I'm good.
The 90 deg boots on the plug wires I ordered at first wouldn't work, so I had to exchange them for 45 deg boot wires. Perfecto!!
Engine bay cleaned up with fresh paint on the chassis area, and ready for the engine to go in.
Painted the trans black, so it would dissapte heat better, and so it would kind of just disappear into the chassis. Also installed.
The engine finally being buttoned up for the last time(for a while, I hope).
Better views of the coil pack brackets.
Accessories bolted on.
When I rebuilt and had the truck painted back in 06, I took the original heater out to install VintageAir, but ran out of funds and never got around to it. Since I don't have a heater for heater hoses to plumb to, I removed the nipples, and had the holes tapped for 3/8" and 1/2" NPT threads. Plugs will suffice for now.
Final installation!!!
Forgot to mention this. I had all my accessory and exterior bolts(except head bolts) treated with nitriding. It's a hardening process that also imbeds the metal with a dark gray coloring that will last for a long time. I figured it would just add a nice touch to everything. I didn't have my ARP intake bolts done yet, but I forgot to get the bolts to hold the alternator on. I have them now, so I may have the ARP and Alternator bolts nitrided to match everything.
Here's the difference in stock and nitrided bolts.
05-19-2012, 03:33 PM
#6
On The Tree
Thread Starter
iTrader: (7)
Join Date: Sep 2011
Location: Sevierville, TN
Posts: 174
Likes: 0
Received 0 Likes
on
0 Posts
Here's where I'm at currently with everything.
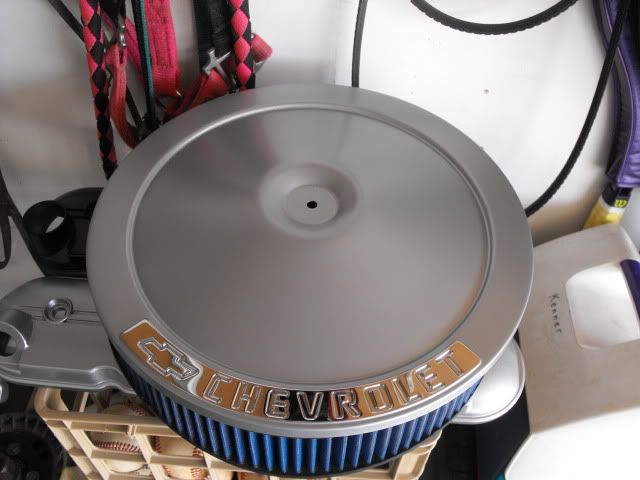
I did a small revision to the air cleaner lid. I tried to leave just the recessed letters and bowtie chrome to match the lettering on the valve covers. That was a pain to do, and it looked like crap, so I removed the paint from the entire raised area, as well as the lettering.
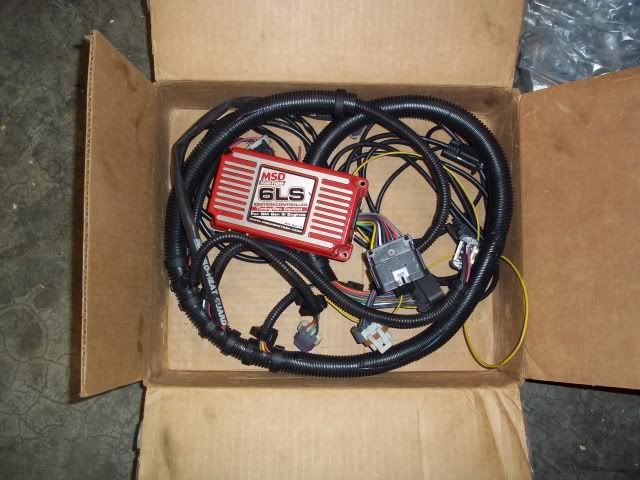
I'm in the process now, of trying to wire, plumb, and get things ready for the hood to go back on. I took the weatherpack plug off of the MSD wire harness, and fed the wires into the cab, then connected everything back up. I hope to get the MSD box mounted inside the cab this afternoon.

I managed to get the 2" drop springs installed this week. She's got a new altitude to go with the new attitude!
I did a small revision to the air cleaner lid. I tried to leave just the recessed letters and bowtie chrome to match the lettering on the valve covers. That was a pain to do, and it looked like crap, so I removed the paint from the entire raised area, as well as the lettering.
I'm in the process now, of trying to wire, plumb, and get things ready for the hood to go back on. I took the weatherpack plug off of the MSD wire harness, and fed the wires into the cab, then connected everything back up. I hope to get the MSD box mounted inside the cab this afternoon.
I managed to get the 2" drop springs installed this week. She's got a new altitude to go with the new attitude!
05-19-2012, 03:38 PM
#7
On The Tree
Thread Starter
iTrader: (7)
Join Date: Sep 2011
Location: Sevierville, TN
Posts: 174
Likes: 0
Received 0 Likes
on
0 Posts
Hopefully this next coming week I can take the driveshaft to get cut, get the headers dropped off to get ceramic coated, maybe get the exhaust hooked up, get a trans cooler, and trans cooler lines run.
Trending Topics
 05-22-2012, 08:09 PM
#13
TECH Enthusiast
iTrader: (1)

Join Date: Jan 2006
Location: Charlotte, NC
Posts: 581
Likes: 0
Received 0 Likes
on
0 Posts

Where you located at? NC?
That is definately the BRP in the back ground of your pics - just trying to figure out if that is Mt Mitchell or not...
Truck is looking awesome!
That is definately the BRP in the back ground of your pics - just trying to figure out if that is Mt Mitchell or not...
Truck is looking awesome!
05-24-2012, 04:09 PM
#14
On The Tree
Thread Starter
iTrader: (7)
Join Date: Sep 2011
Location: Sevierville, TN
Posts: 174
Likes: 0
Received 0 Likes
on
0 Posts
I'm in Sevierville, TN. Yeah, the wife and I drove up the BRP from Cherokee, to Waynesville back in the summer. Not sure which mtn is in the background, though.
Thanks for all the compliments. I ordered some more goodies today.
Thanks for all the compliments. I ordered some more goodies today.
05-25-2012, 08:54 PM
#15
TECH Enthusiast
iTrader: (1)
Join Date: Jan 2006
Location: Charlotte, NC
Posts: 581
Likes: 0
Received 0 Likes
on
0 Posts
Nice - check out Run Thru the Hills event that happens in Pigeon Forge - and at the Smokies baseball stadium.
http://americanstreetcarseries.com/?page_id=21
I have gone there every year for the last 3 years - and its a blast!
http://americanstreetcarseries.com/?page_id=21
I have gone there every year for the last 3 years - and its a blast!
05-29-2012, 03:47 PM
#16
On The Tree
Thread Starter
iTrader: (7)
Join Date: Sep 2011
Location: Sevierville, TN
Posts: 174
Likes: 0
Received 0 Likes
on
0 Posts
Were you in the Vette in your sig? I was there last year, but only spectated. The old 350 in my truck was tore down during that weekend, so I wasn't able to take it. I plan to participate in it this year.
05-29-2012, 03:53 PM
#17
On The Tree
Thread Starter
iTrader: (7)
Join Date: Sep 2011
Location: Sevierville, TN
Posts: 174
Likes: 0
Received 0 Likes
on
0 Posts
Got the hood back on this past Saturday.
I've got some Lokar products ordered. TV cable, engine dipstick, and shifter linkage. I'm trying to find a stock trans dipstick to see if it will even fit. I may end up having to use a Lokar trans dipstick as well.
I'm planning to take this Friday off so I can take my driveshaft to get cut and new u-joints, and drop the headers off to be coated.
 06-22-2012, 06:00 AM
#20
On The Tree
Thread Starter
iTrader: (7)
Join Date: Sep 2011
Location: Sevierville, TN
Posts: 174
Likes: 0
Received 0 Likes
on
0 Posts
Well I've not made much progress lately. I've been a bit under the weather. I've had some sort of viral bug for the past couple weeks, and I just don't feel much like working out in the heat and crawling around under the truck. Along with my sons baseball games and practices, when I have felt like doing something, I haven't had the time.
Anyway, enough of my whining. Here's what I have accomplished. I picked up a barely used 750 HP Street carb.
Worked on mounting the fuel lines. I wish someone made clamps with holes bigger than 1/4". I had to drill out these clamps to use 10mm bolts. I'm gonna take them along with the bolts to my buddies machine shop to make them look a little cleaner.
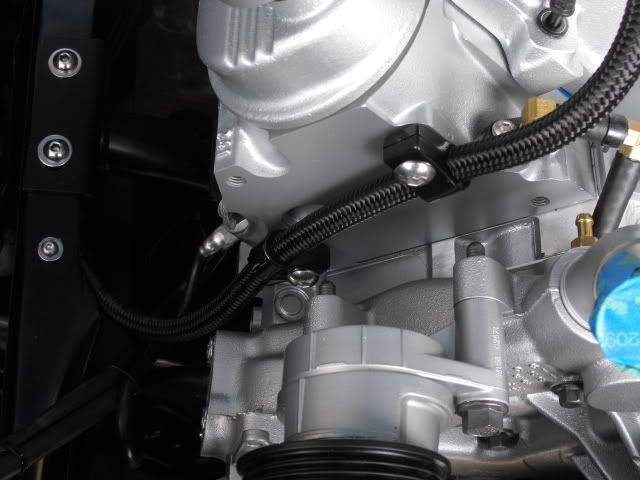
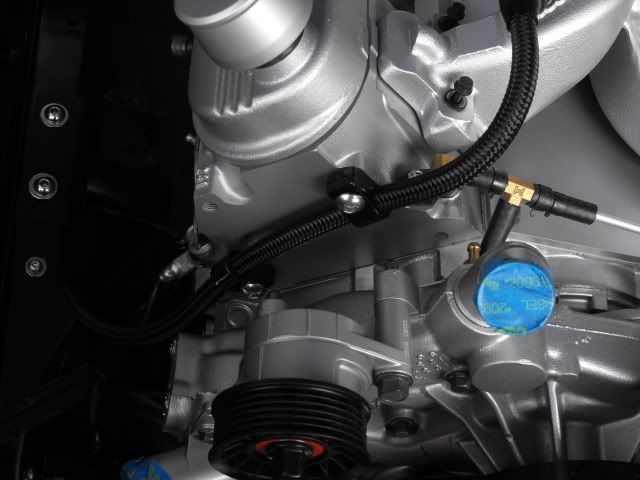
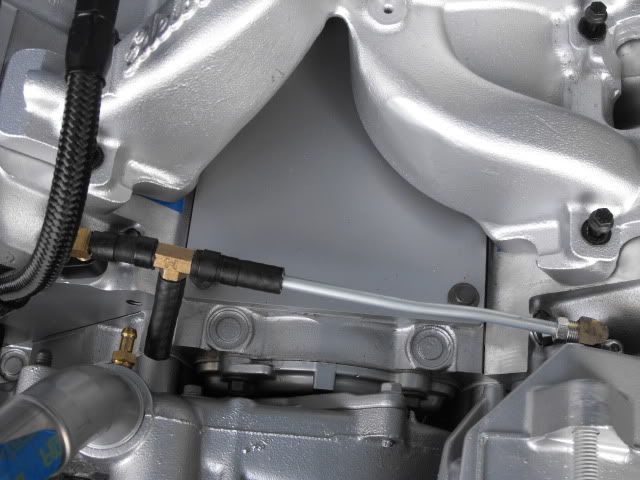
Here's how I had planned to run my steam lines, but I don't really care for it. A friend of mine gave me a better idea that I may try. I'm trying to keep from running AN lines which is costly. So far, I've got about $12 in this setup.
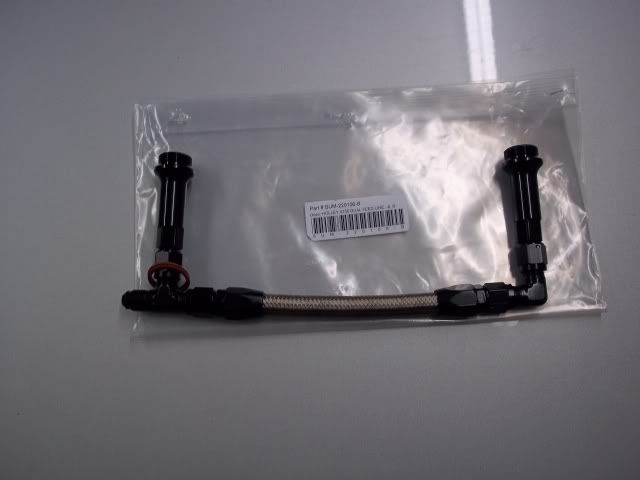
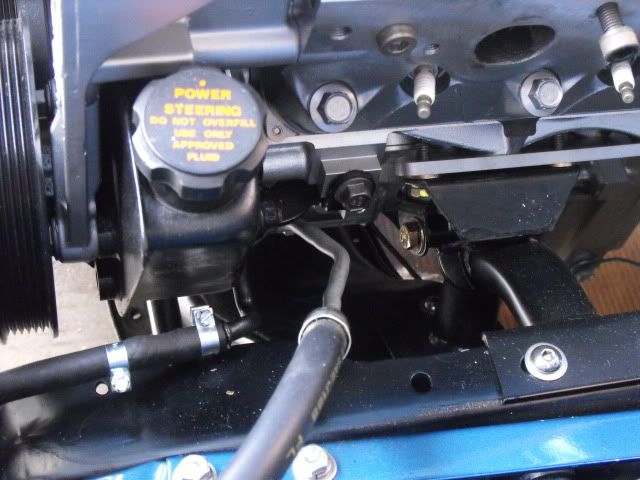
Here's the modified power steering hose. It's not pretty, but it will do for now.
Wiring finally put into loom and cleaned up a bit.
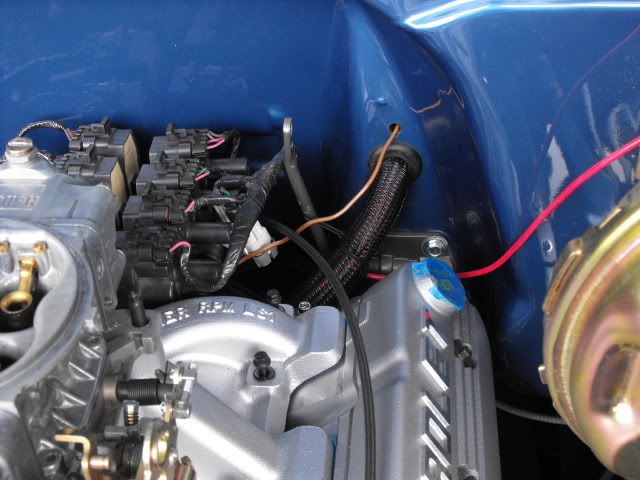
With my custom plug wire looms, the Lokar dipstick interfered, so I cut 8.75" out of the housing and the dipstick cable itself. The dipstick handle should sit underneath the headers. This will make checking the oil a real PITB, especially when hot, but at least it works.
I got the headers picked up yesterday!
Things not pictured: Driveshaft is shortened with new 1310 U-joints, painted and ready to install.
Lokar TV cable installed at transmission end. I still need to cut it to length after the carb is actually installed for good.
I still need to wire the fuel pump. I found a fused wire from my fuse panel to hook it to. I just need the time to route the wire along with the rear light section of the harness.
I also need to plumb the trans cooler lines. I'm not sure if I want to run an external cooler or just run it with the cooler in the radiator. I may just hook it to the radiator for now with a temp guage and see what the temps run, and if I need it to add a cooler, I can later.
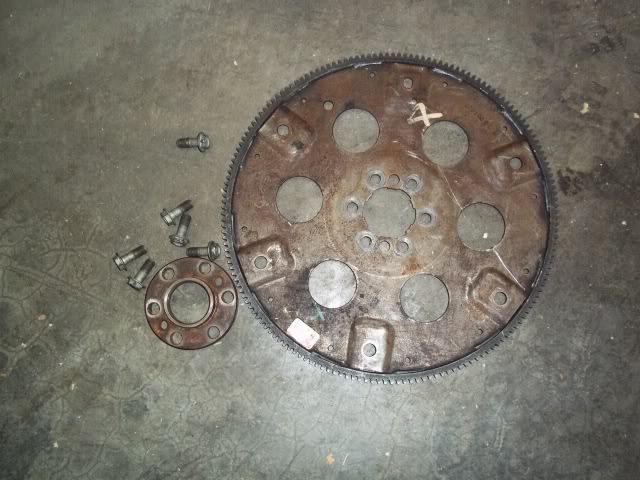
Lastly, I need to ream the holes in the flexplate to fit the torque converter.
The only things left to pick up is an alternator, belt, hoses and a trans dipstick.
I'm hoping to get some more work done on it this evening. I may try to pick up an oil primer setup today at lunch and pick up some oil and filter. If I can get the oil system pressurized and get the wire routed to the fuel pump, I may try for a short startup. Don't go getting your hopes up, yet. I'm going to shoot for it, but it may not happen.
Anyway, enough of my whining. Here's what I have accomplished. I picked up a barely used 750 HP Street carb.
Worked on mounting the fuel lines. I wish someone made clamps with holes bigger than 1/4". I had to drill out these clamps to use 10mm bolts. I'm gonna take them along with the bolts to my buddies machine shop to make them look a little cleaner.
Here's how I had planned to run my steam lines, but I don't really care for it. A friend of mine gave me a better idea that I may try. I'm trying to keep from running AN lines which is costly. So far, I've got about $12 in this setup.
Here's the modified power steering hose. It's not pretty, but it will do for now.
Wiring finally put into loom and cleaned up a bit.
With my custom plug wire looms, the Lokar dipstick interfered, so I cut 8.75" out of the housing and the dipstick cable itself. The dipstick handle should sit underneath the headers. This will make checking the oil a real PITB, especially when hot, but at least it works.
I got the headers picked up yesterday!
Things not pictured: Driveshaft is shortened with new 1310 U-joints, painted and ready to install.
Lokar TV cable installed at transmission end. I still need to cut it to length after the carb is actually installed for good.
I still need to wire the fuel pump. I found a fused wire from my fuse panel to hook it to. I just need the time to route the wire along with the rear light section of the harness.
I also need to plumb the trans cooler lines. I'm not sure if I want to run an external cooler or just run it with the cooler in the radiator. I may just hook it to the radiator for now with a temp guage and see what the temps run, and if I need it to add a cooler, I can later.
Lastly, I need to ream the holes in the flexplate to fit the torque converter.
The only things left to pick up is an alternator, belt, hoses and a trans dipstick.
I'm hoping to get some more work done on it this evening. I may try to pick up an oil primer setup today at lunch and pick up some oil and filter. If I can get the oil system pressurized and get the wire routed to the fuel pump, I may try for a short startup. Don't go getting your hopes up, yet. I'm going to shoot for it, but it may not happen.