
Making your own adjustable master cylinder!
 07-09-2012, 11:16 PM
#1
TECH Regular
Thread Starter
iTrader: (5)
Join Date: Jun 2012
Location: Toronto
Posts: 499
Likes: 0
Received 0 Likes
on
0 Posts
Hey guys so sometimes when you're doing a swap like I'm doing there comes a time where you can either shell out the big bucks and buy an adjustable master cylinder or save your money and make your own =D.
Here is what I did to get the perfect length push rod for my swap.
I am currently in the process of building a 383 t56 camaro converted from a v6 automatic. The placement of the master in my case was a bit tricky and I really had no reference point from any other cars locally. I guess the hole I made was not 100% correct so I had to get a little fancy. I made the stock pushrod longer with just a few simple modifications!
Now for the fun part! PICTURES =D
Original
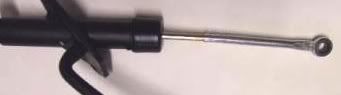
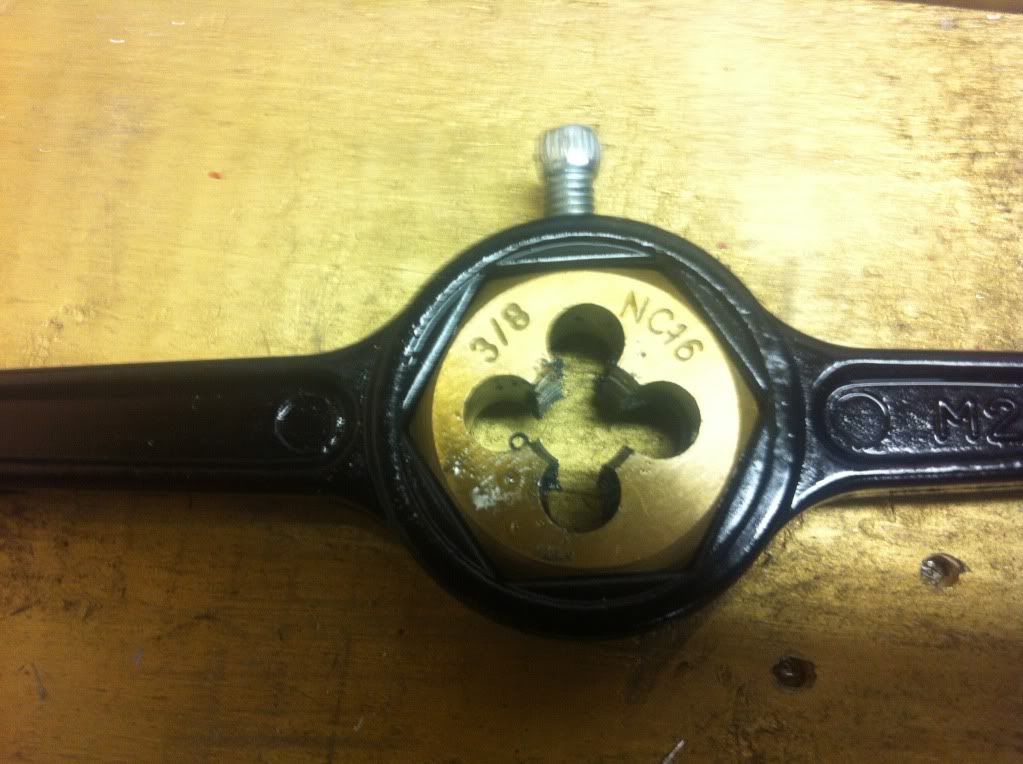
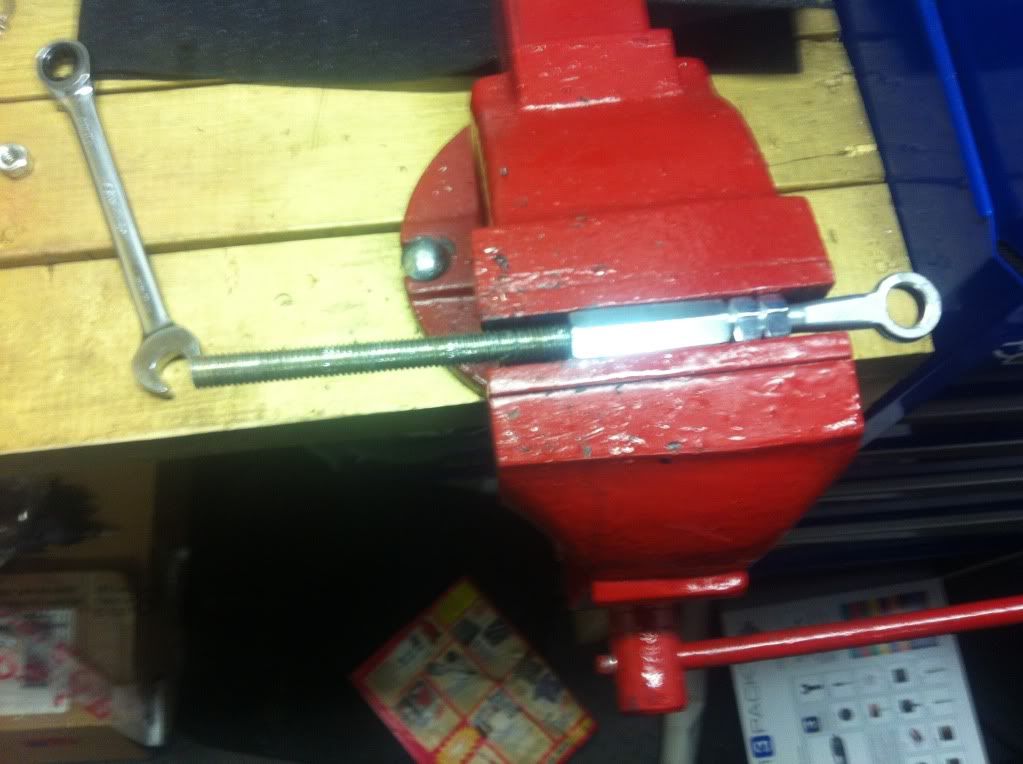
Die I used to thread the outside of the push rod
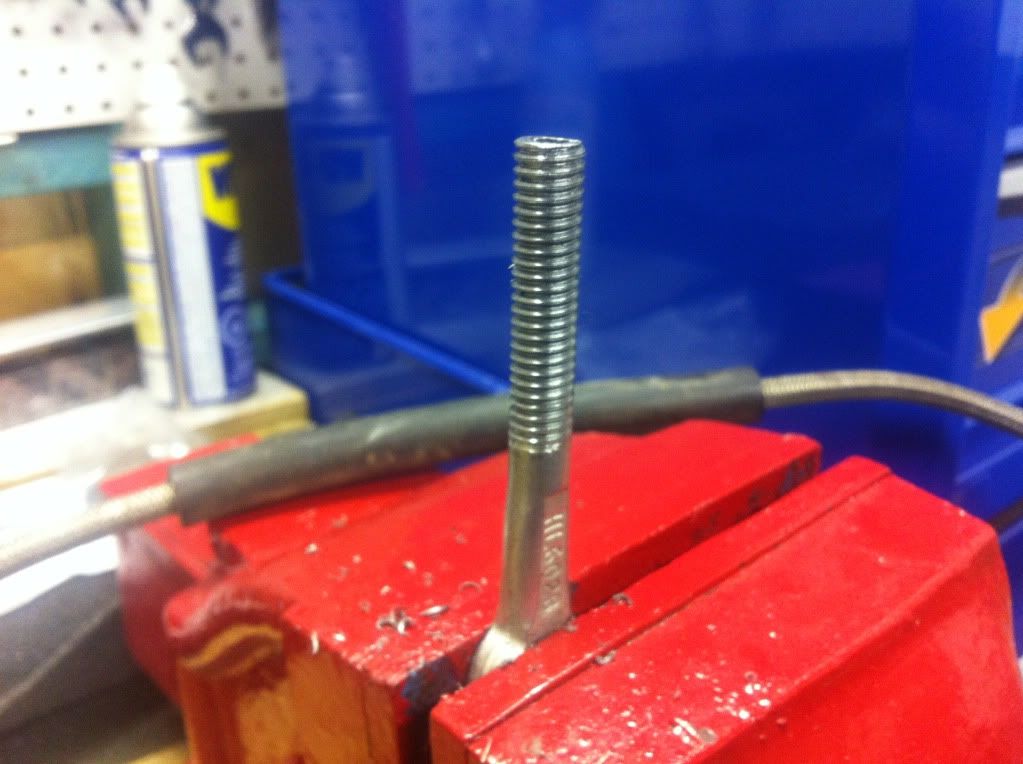
How the thread turned out
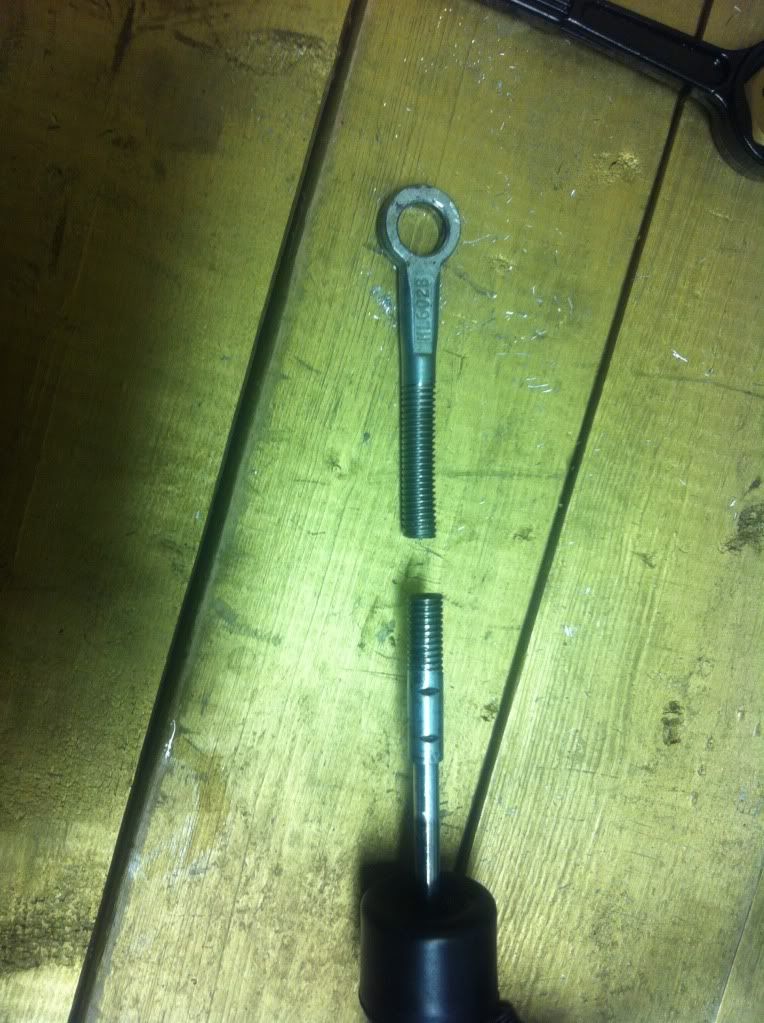
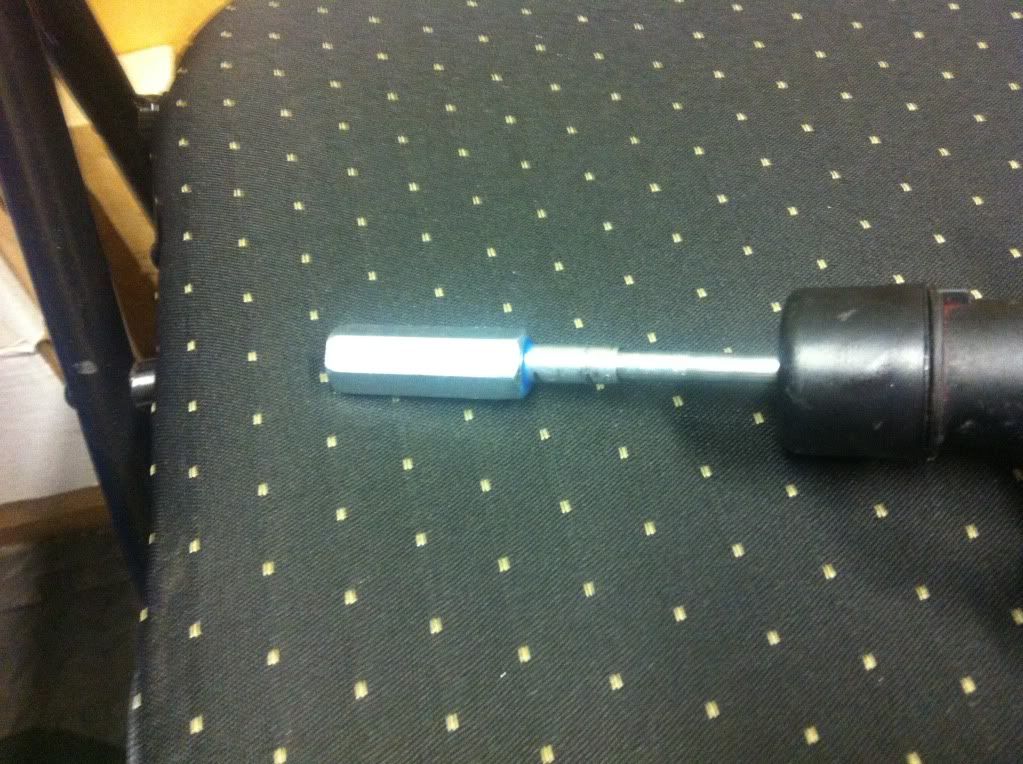
Both halves
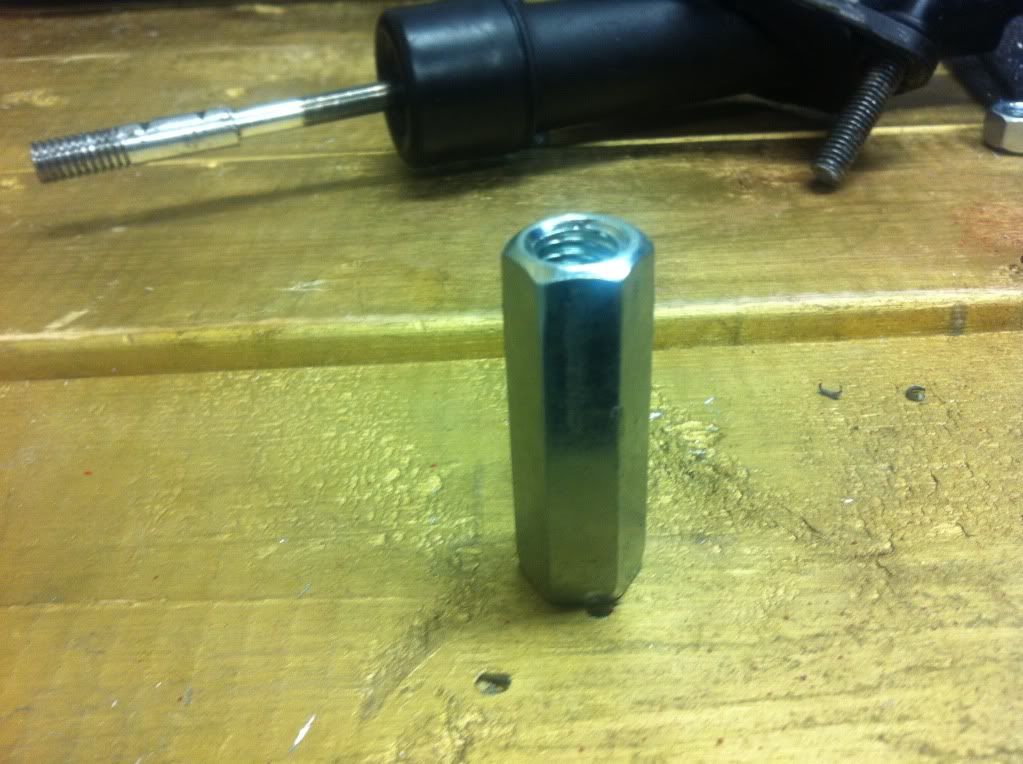
3/8 coupler
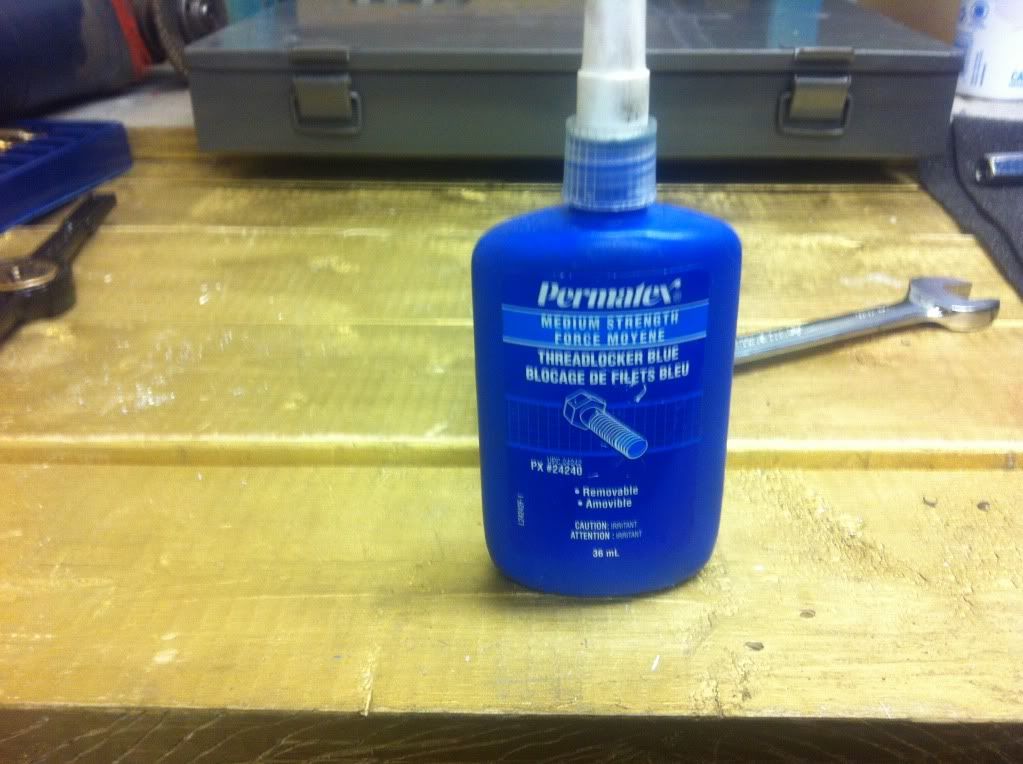
Thread locker I used to keep the 3/8 coupler stationary on the far end of the pushrod.
3/8 rod used to attach the two couplers together
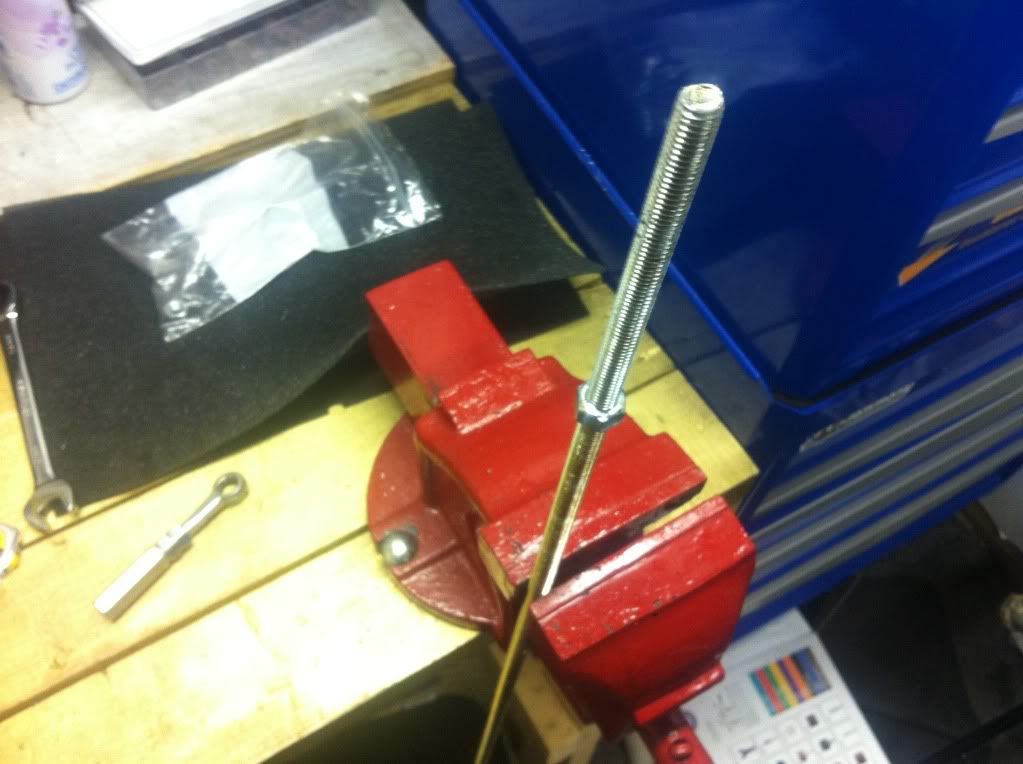
Cut down and threaded in
And sorry for the lack of final pictures I got antsy as **** and just installed it
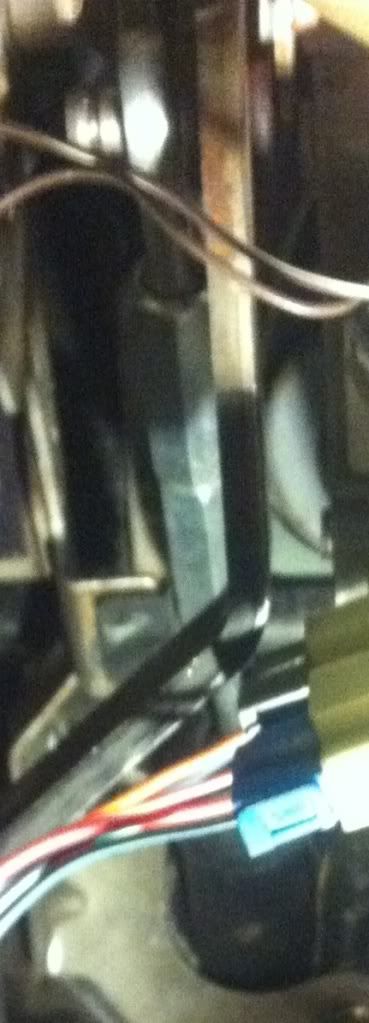
Here's a picture of what it looks like in the car. Works flawlessly!
Thanks for looking and I hope this helps someone out there.
97camaroguy
Here is what I did to get the perfect length push rod for my swap.
I am currently in the process of building a 383 t56 camaro converted from a v6 automatic. The placement of the master in my case was a bit tricky and I really had no reference point from any other cars locally. I guess the hole I made was not 100% correct so I had to get a little fancy. I made the stock pushrod longer with just a few simple modifications!
Now for the fun part! PICTURES =D
Original
Die I used to thread the outside of the push rod
How the thread turned out
Both halves
3/8 coupler
Thread locker I used to keep the 3/8 coupler stationary on the far end of the pushrod.
3/8 rod used to attach the two couplers together
Cut down and threaded in
And sorry for the lack of final pictures I got antsy as **** and just installed it
Here's a picture of what it looks like in the car. Works flawlessly!
Thanks for looking and I hope this helps someone out there.
97camaroguy


Trending Topics
07-12-2012, 08:50 PM
#8
TECH Apprentice
Very cool post! I did something similar only I needed mine shorter for the 67 camaro conversion I'm working on...
Here is what I did to my stock 2002 clutch master based on info from another member:
"Find a speed shop that sells spherical 3/8th rod ends and purchase one that is right hand thread and then buy the companion die to cut threads(3/8 x 24 is what I normally buy). When you cut the rod end off the master make sure and taper the cut slightly as it will help when you go to cut the threads."
Measure/Mark/Cut:
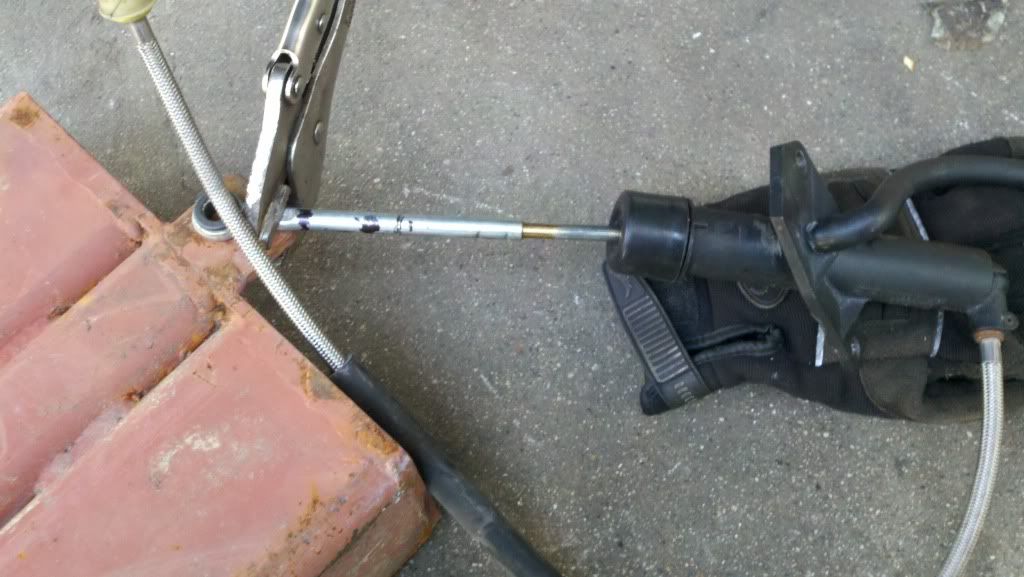
Thread/install spherical 3/8th rod end:
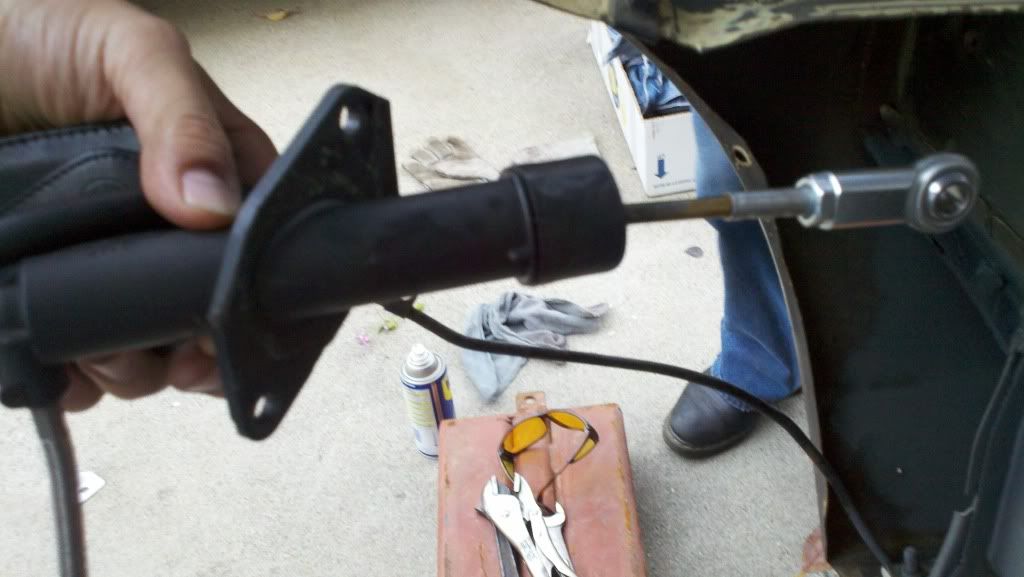
I have not used it yet but I went back and forth with this and it should work out fine. Either way, now i have a stock set up that is "adjustable":-)
Here is what I did to my stock 2002 clutch master based on info from another member:
"Find a speed shop that sells spherical 3/8th rod ends and purchase one that is right hand thread and then buy the companion die to cut threads(3/8 x 24 is what I normally buy). When you cut the rod end off the master make sure and taper the cut slightly as it will help when you go to cut the threads."
Measure/Mark/Cut:
Thread/install spherical 3/8th rod end:
I have not used it yet but I went back and forth with this and it should work out fine. Either way, now i have a stock set up that is "adjustable":-)
Last edited by MisterD; 07-12-2012 at 08:51 PM. Reason: edited text
 07-18-2012, 11:01 AM
#11
TECH Apprentice
07-21-2012, 11:47 PM
#12
TECH Regular
Thread Starter
iTrader: (5)
Join Date: Jun 2012
Location: Toronto
Posts: 499
Likes: 0
Received 0 Likes
on
0 Posts
couldn't have said it better myself. Can't really justify spending 300 dollars + shipping and duties (screw you Canada), when I can make my own setup for under $1.50