
1964 impala lq4/4l65e conversion
 09-02-2013, 06:54 PM
#81

Don't forget to shim to gear inside the pump to locate the housing before your tighten it. I just read a thread recently that the OP didn't know this was a must. Needless to say, he has bad oil pressure now and going to go through his engine again.
 09-08-2013, 09:45 PM
#82
Staging Lane
Thread Starter

Join Date: Jul 2012
Location: griffith, IN
Posts: 92
Likes: 0
Received 0 Likes
on
0 Posts
thanks for that info


 09-22-2013, 11:03 PM
#87
Staging Lane
Thread Starter
Join Date: Jul 2012
Location: griffith, IN
Posts: 92
Likes: 0
Received 0 Likes
on
0 Posts
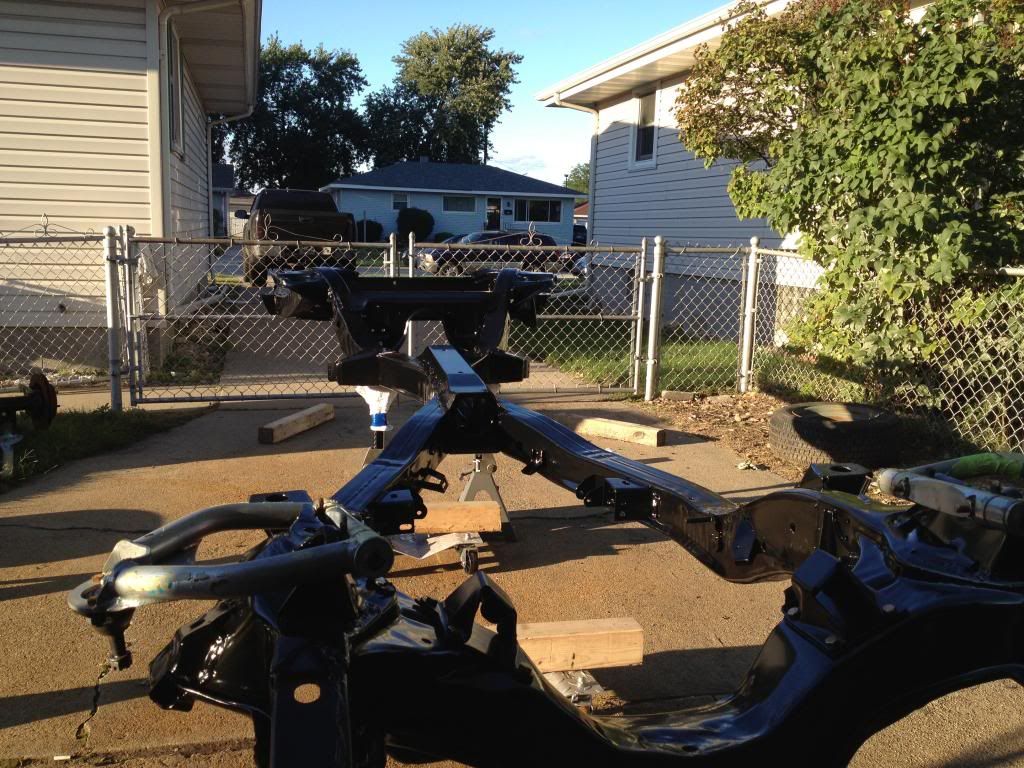
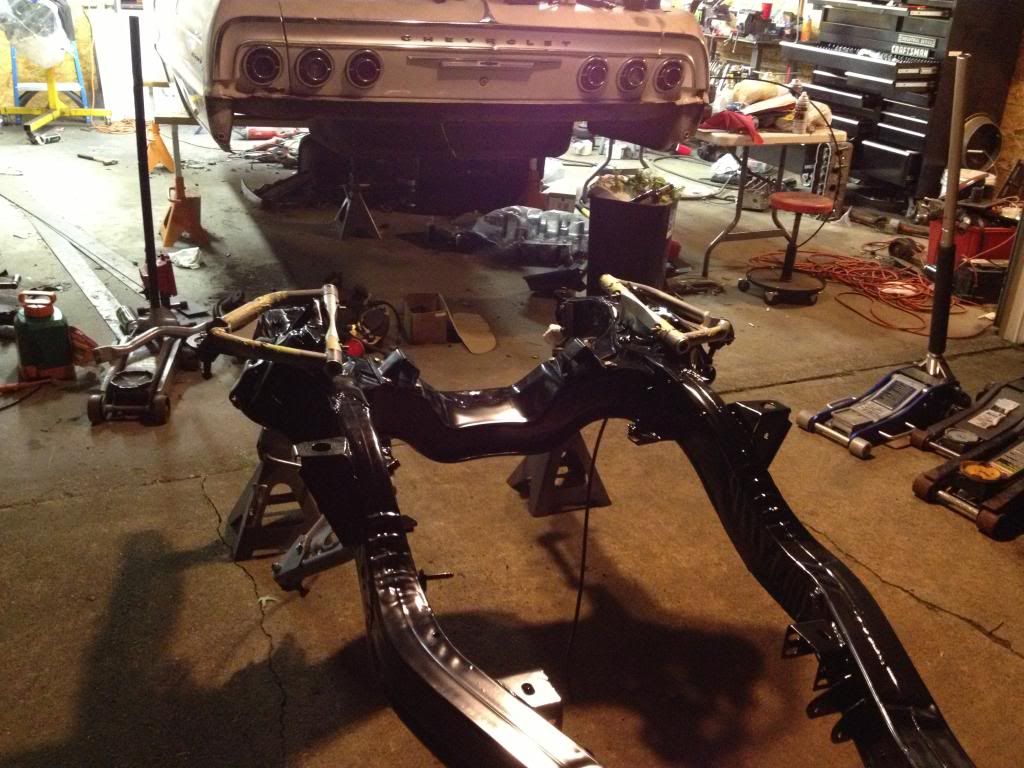
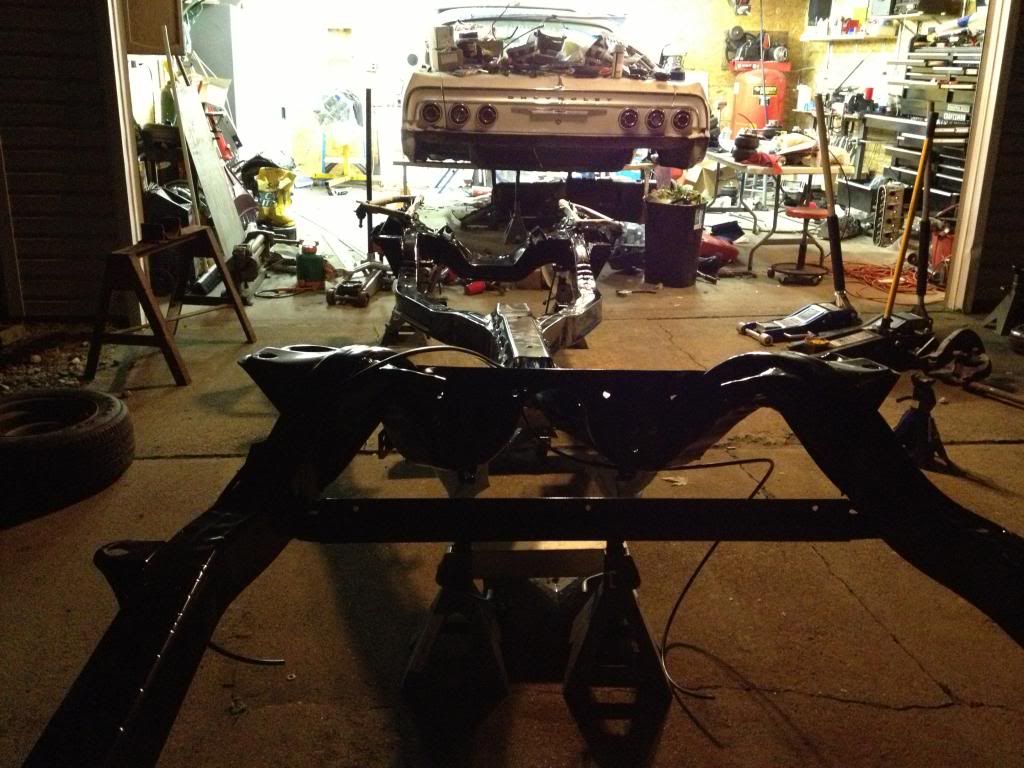
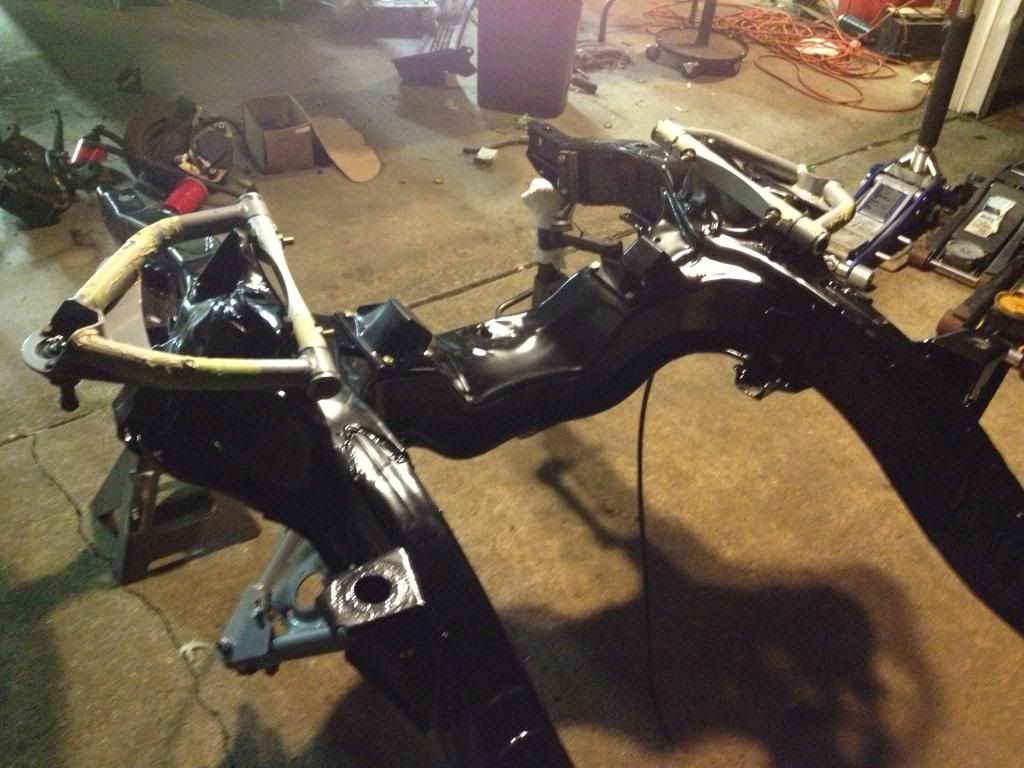
freshly powdercoated frame, man thats a huge difference from it before when it was all rusty and dirty. and starting to reassemble the frame
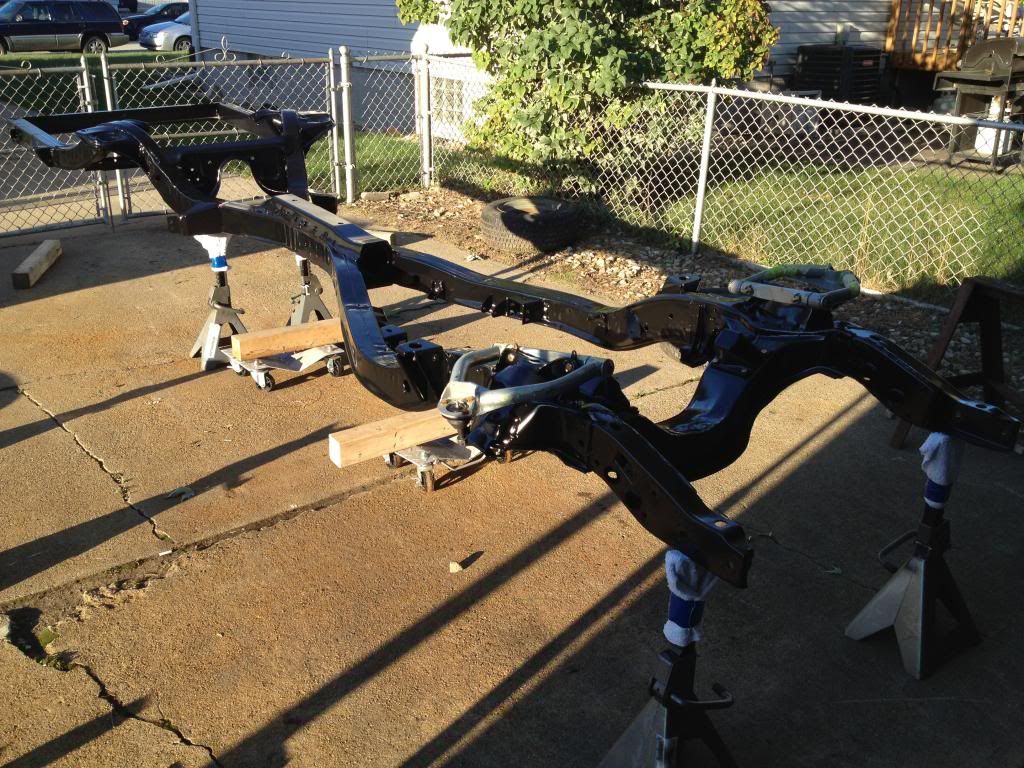
motor stands and spacers painted along with some new grade 8 hardware
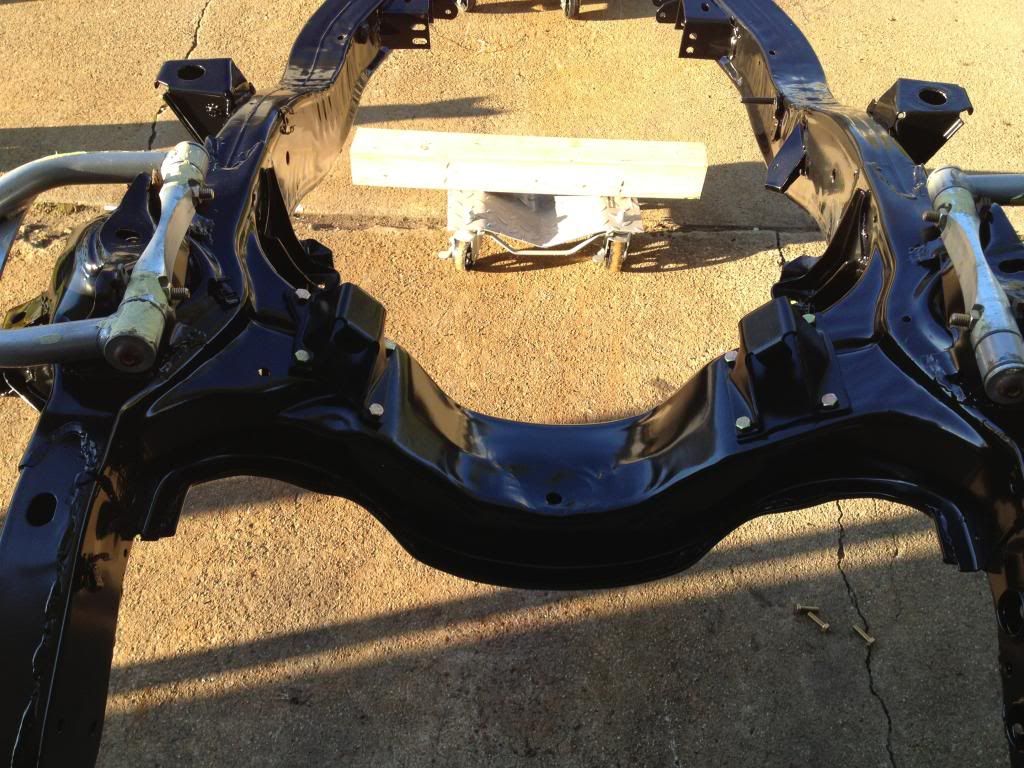

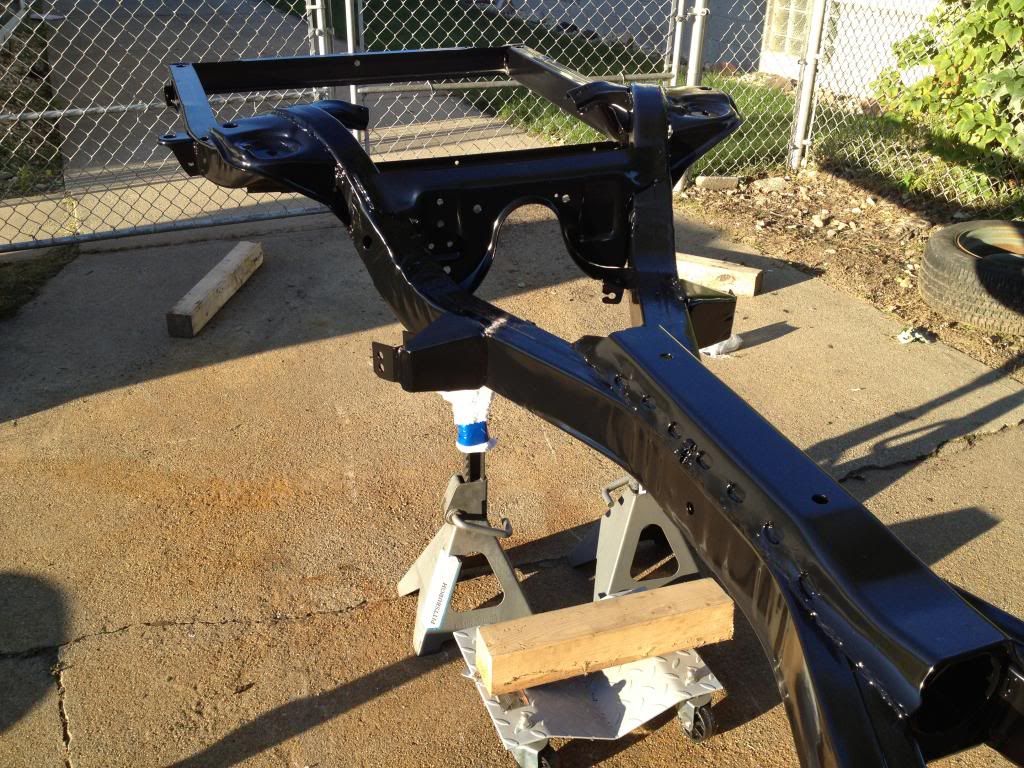
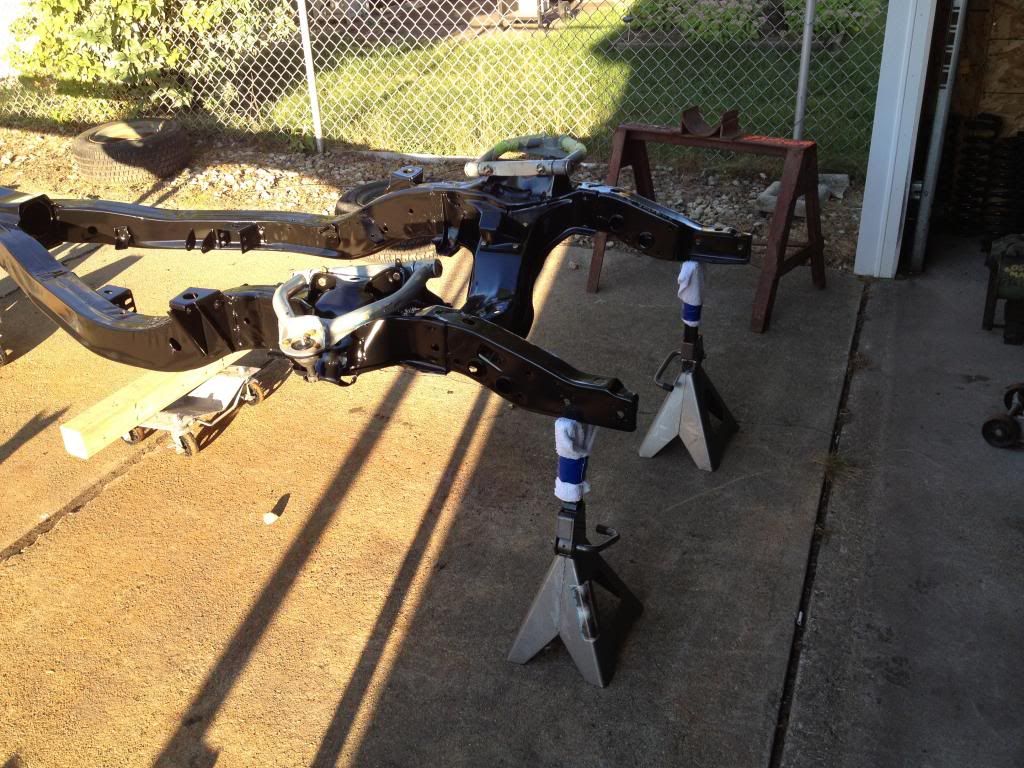

motor stands and spacers painted along with some new grade 8 hardware


 09-22-2013, 11:10 PM
#88
Staging Lane
Thread Starter
Join Date: Jul 2012
Location: griffith, IN
Posts: 92
Likes: 0
Received 0 Likes
on
0 Posts
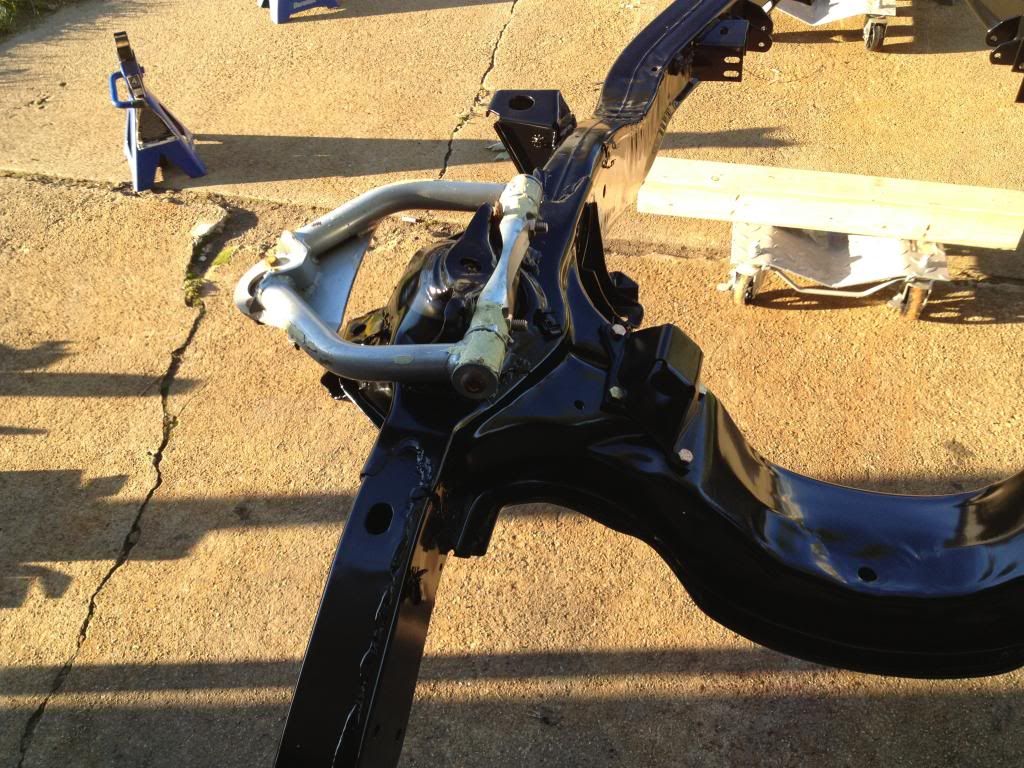
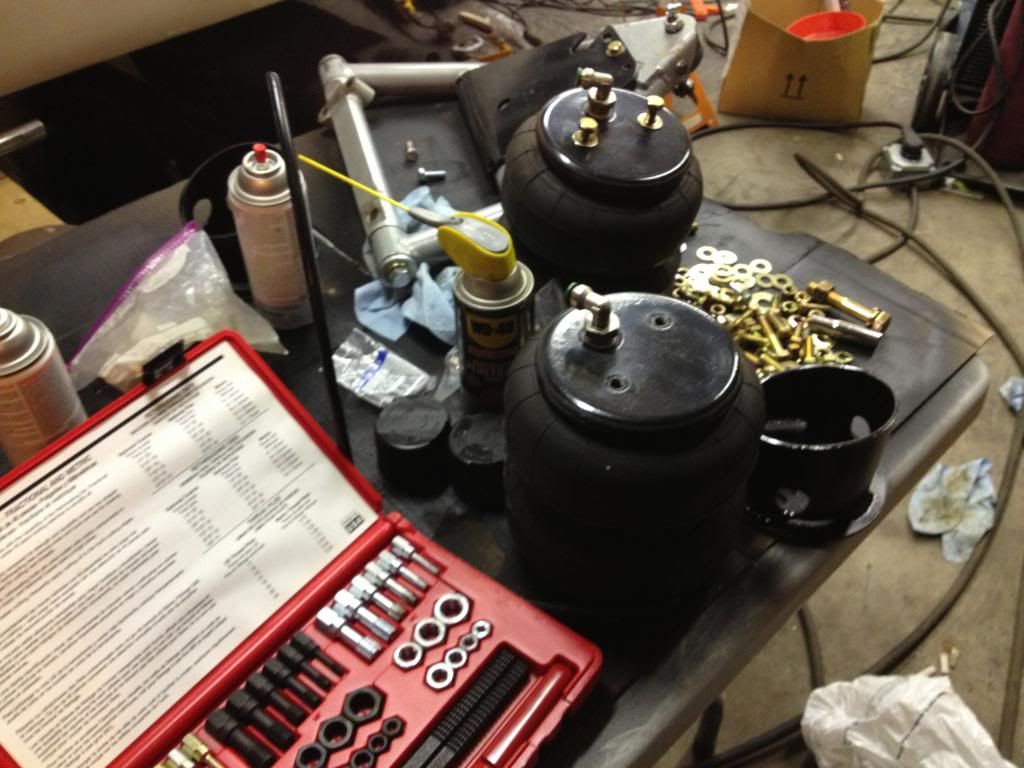
all new hardware for the airbag mounts
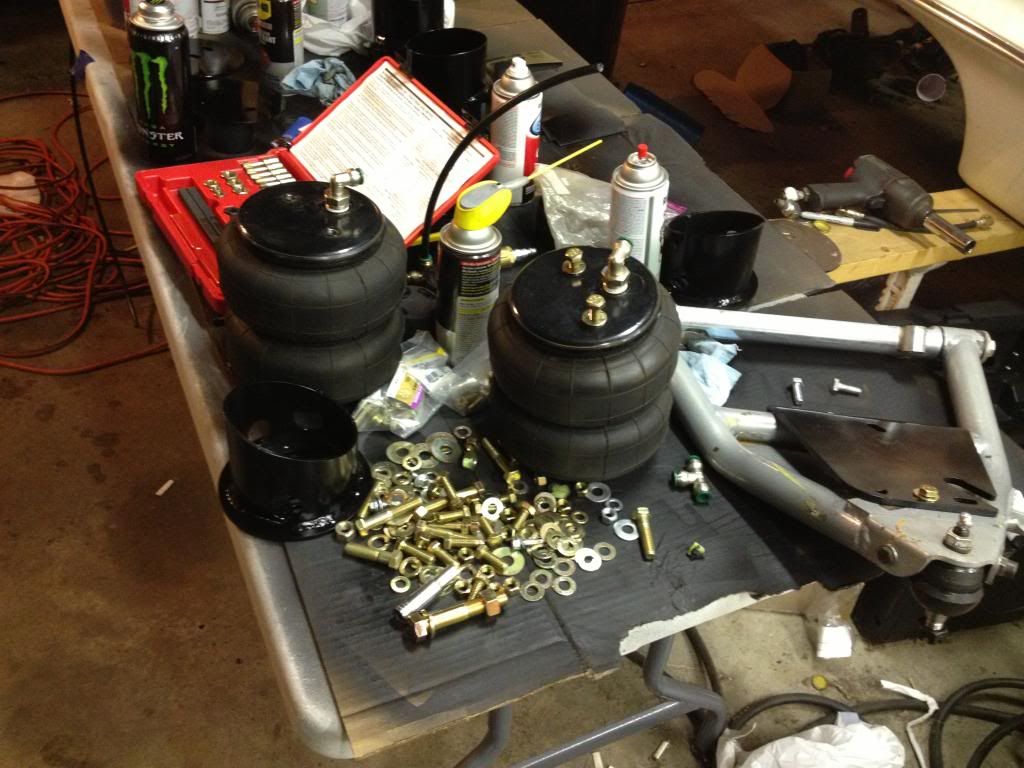
here are some night shots, sorry about the messy garage
you can kind of see the airline. i ran it through the frame on both sides


here are some night shots, sorry about the messy garage


you can kind of see the airline. i ran it through the frame on both sides


 10-06-2013, 03:27 PM
#96
TECH Regular
iTrader: (4)
Join Date: Jun 2009
Location: st. paul mn.
Posts: 423
Likes: 0
Received 0 Likes
on
0 Posts

good to see your still chipping away at it. It gets alot easier when you start assembling the shiny stuff. have you replaced the driveshaft yet? if not I have a almost new one that I had built for my belair before deciding to go twin turbo so I built another one both have the slip yolk in the rear were it should have been in the first place. hit me up if your interested.
10-06-2013, 08:42 PM
#97
Staging Lane
Thread Starter
Join Date: Jul 2012
Location: griffith, IN
Posts: 92
Likes: 0
Received 0 Likes
on
0 Posts
good to see your still chipping away at it. It gets alot easier when you start assembling the shiny stuff. have you replaced the driveshaft yet? if not I have a almost new one that I had built for my belair before deciding to go twin turbo so I built another one both have the slip yolk in the rear were it should have been in the first place. hit me up if your interested.
10-06-2013, 09:45 PM
#98
Staging Lane
Thread Starter
Join Date: Jul 2012
Location: griffith, IN
Posts: 92
Likes: 0
Received 0 Likes
on
0 Posts
good to see your still chipping away at it. It gets alot easier when you start assembling the shiny stuff. have you replaced the driveshaft yet? if not I have a almost new one that I had built for my belair before deciding to go twin turbo so I built another one both have the slip yolk in the rear were it should have been in the first place. hit me up if your interested.

 10-06-2013, 09:58 PM
#99
Staging Lane
Thread Starter
Join Date: Jul 2012
Location: griffith, IN
Posts: 92
Likes: 0
Received 0 Likes
on
0 Posts
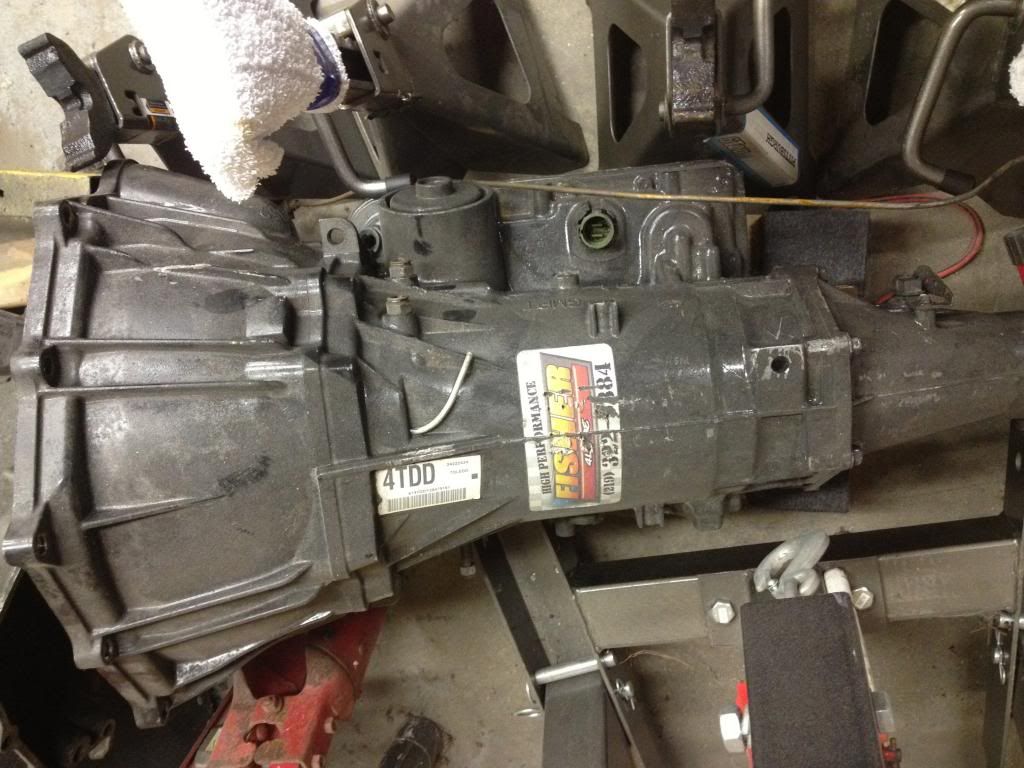
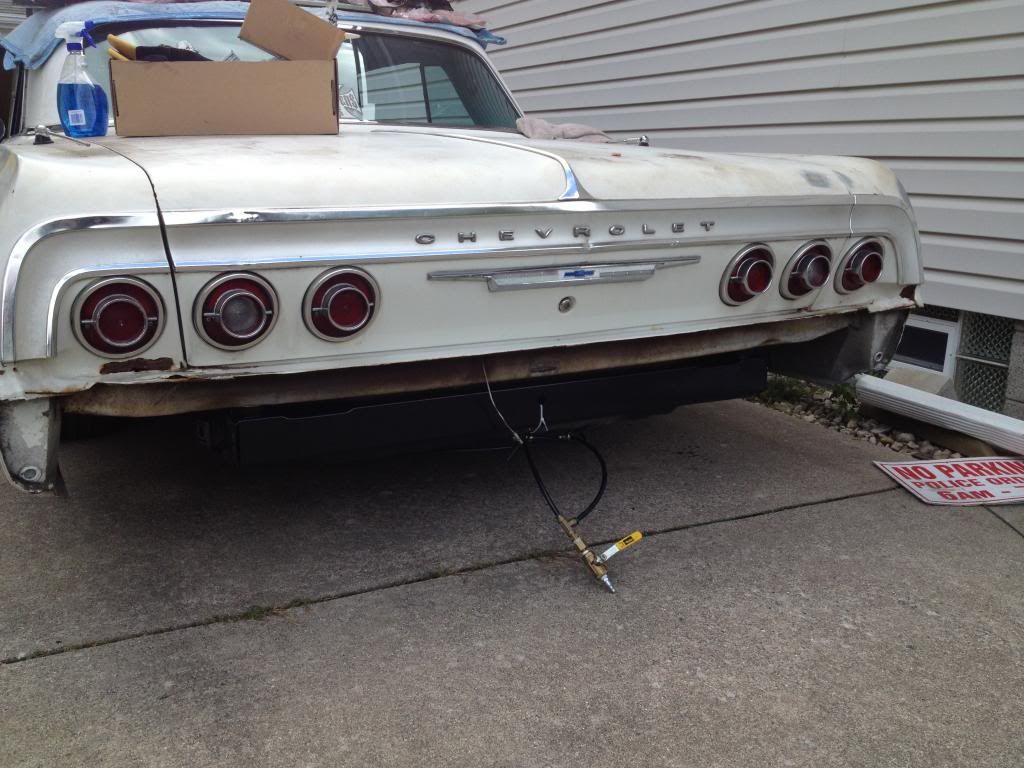
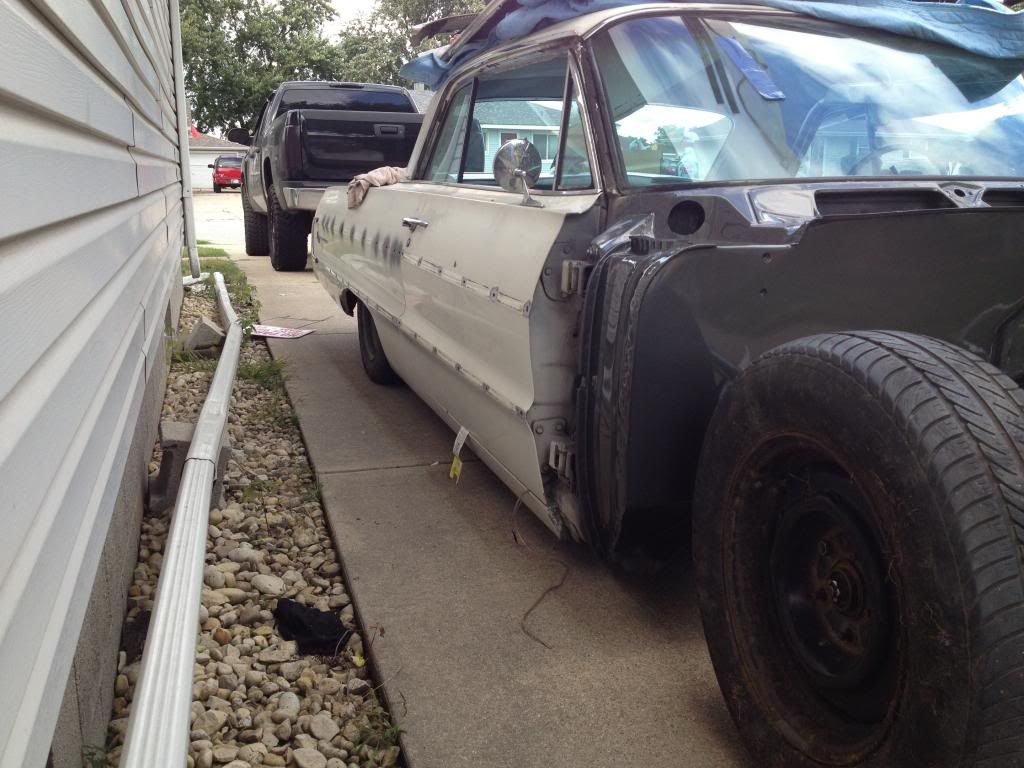
here is the 4l65e
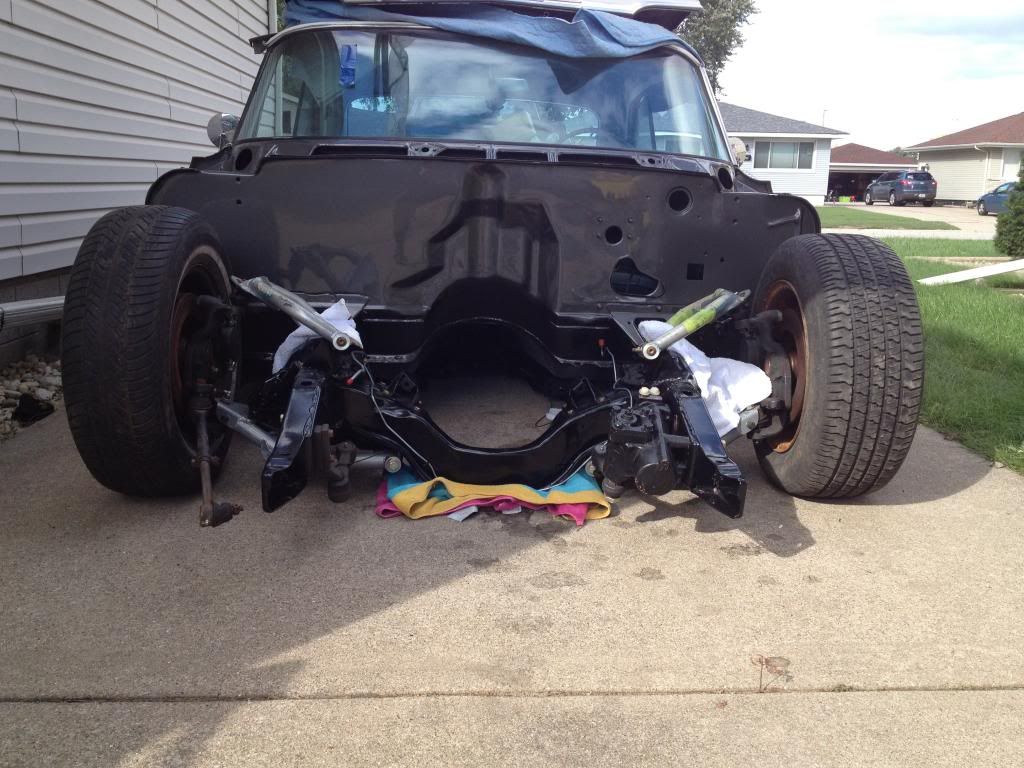
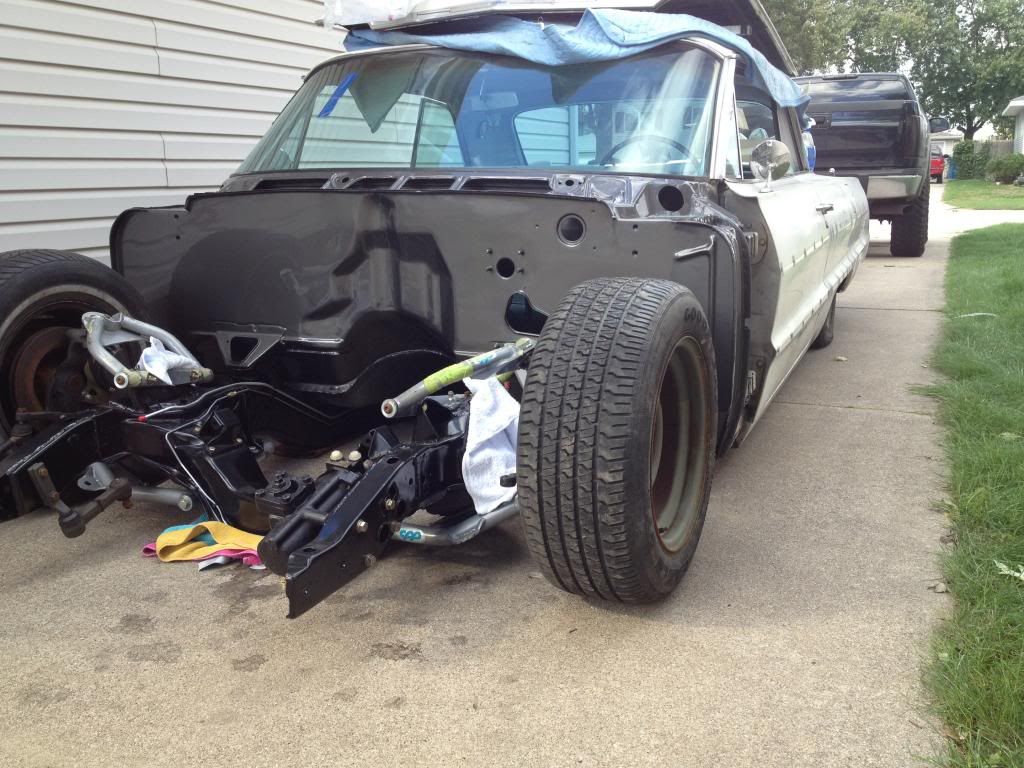
i was able to get it out of the garage today and took some pics
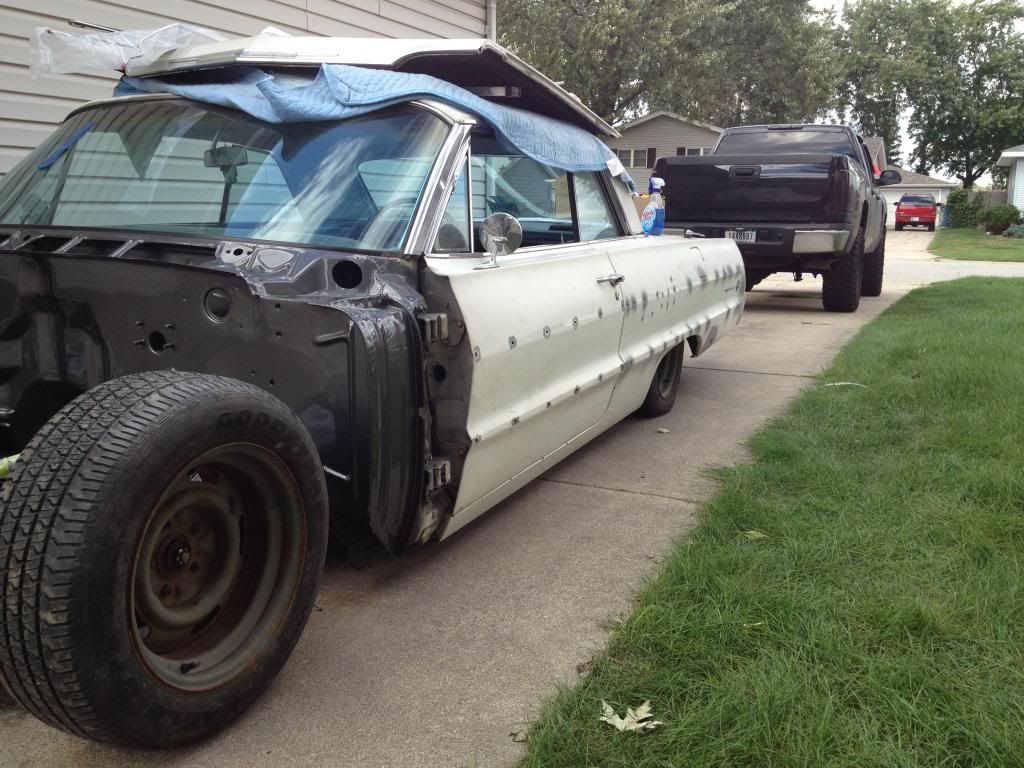
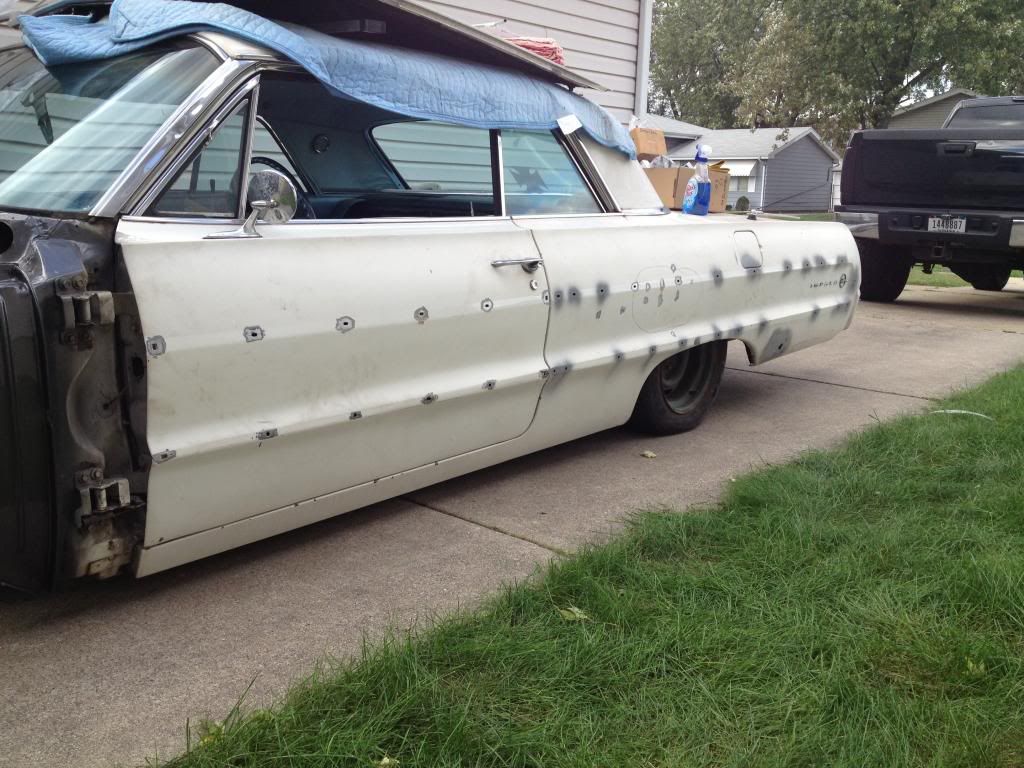
i been thinking about recessing the taillights in farther...not sure how hard thats gonna be to do though
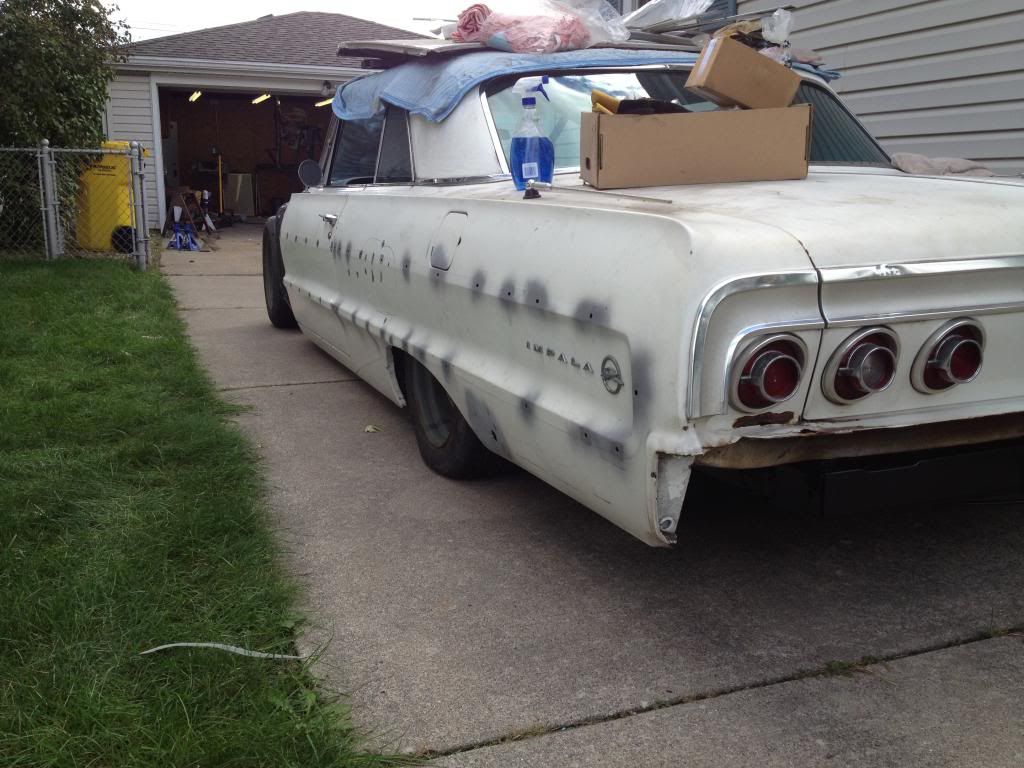
gotta weld all the trim holes up...shaving all of it and the door handles

i was able to get it out of the garage today and took some pics


i been thinking about recessing the taillights in farther...not sure how hard thats gonna be to do though


gotta weld all the trim holes up...shaving all of it and the door handles

 10-06-2013, 10:17 PM
#100
Staging Lane
Thread Starter
Join Date: Jul 2012
Location: griffith, IN
Posts: 92
Likes: 0
Received 0 Likes
on
0 Posts
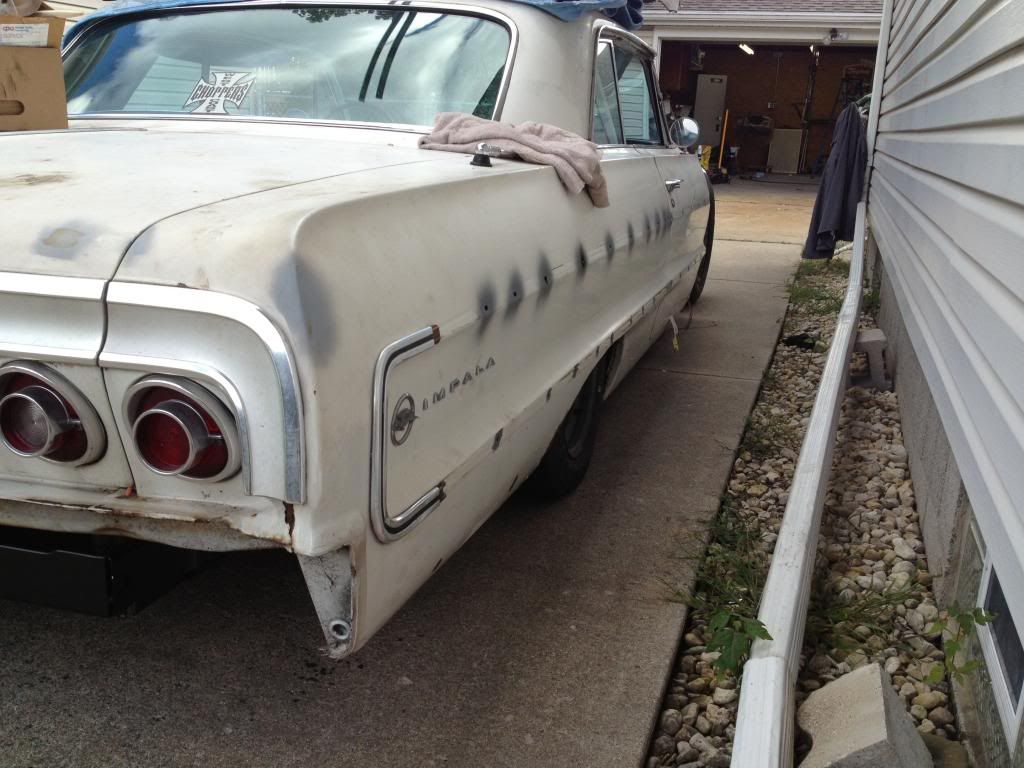
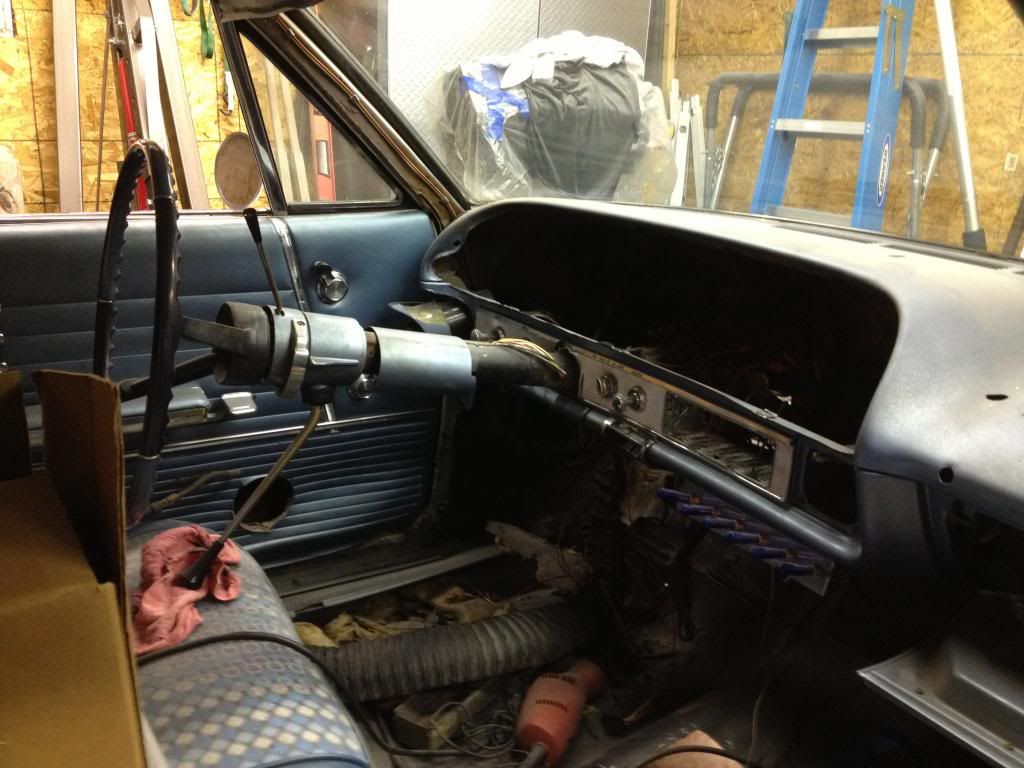
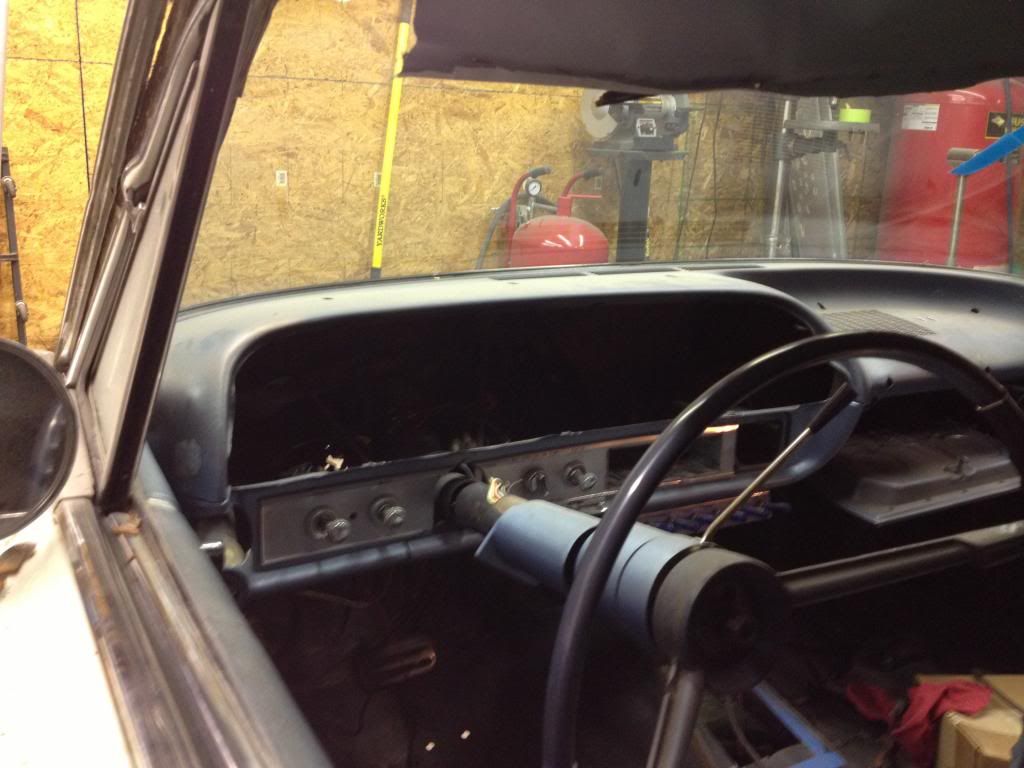
still fighting with the steering column
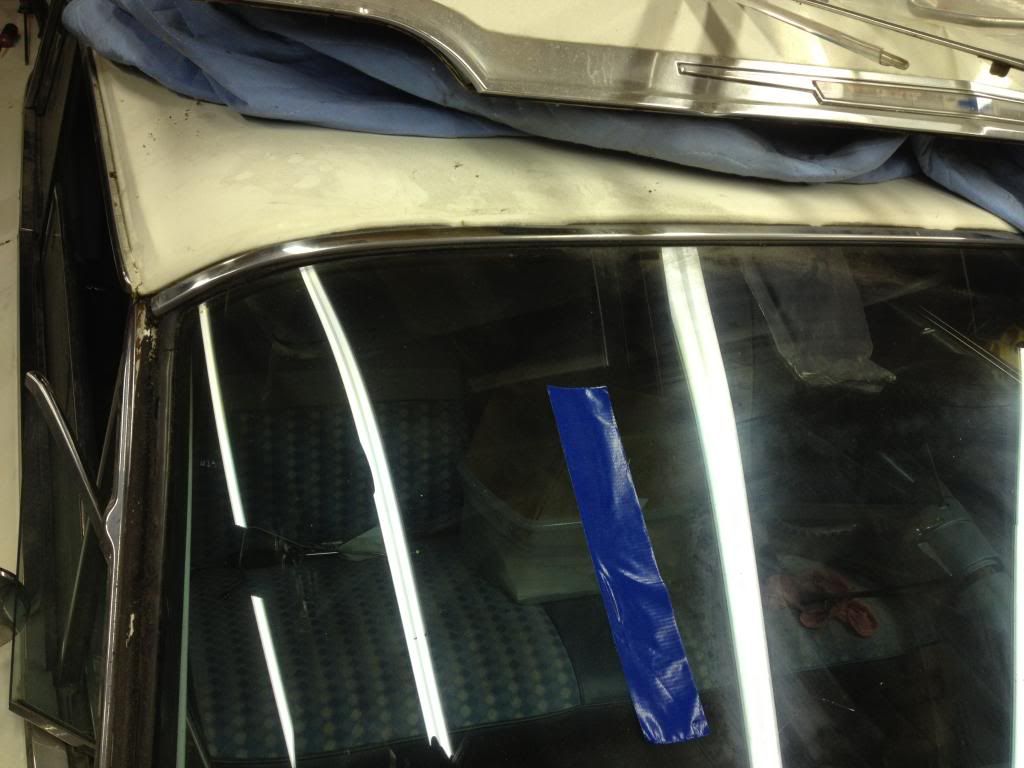
does anyone have an idea how to get this section of trim of so i can remove the windshield? i removed all the trim on the inside surrounding the windshield
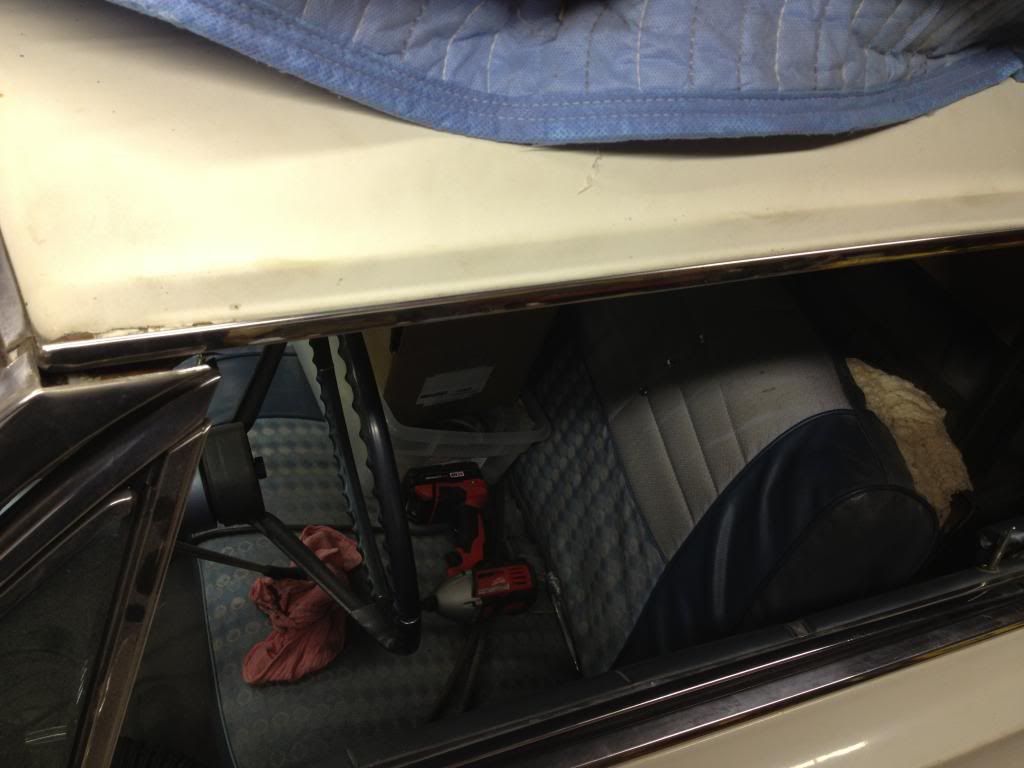
here is all the interior trim bagged and tagged
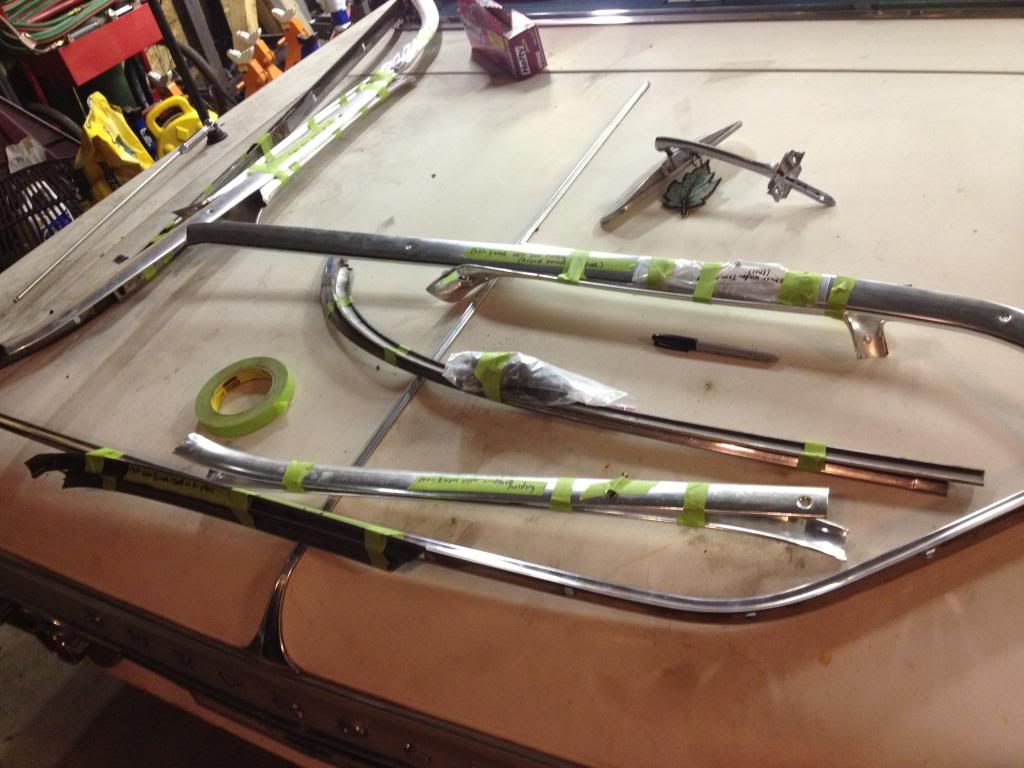
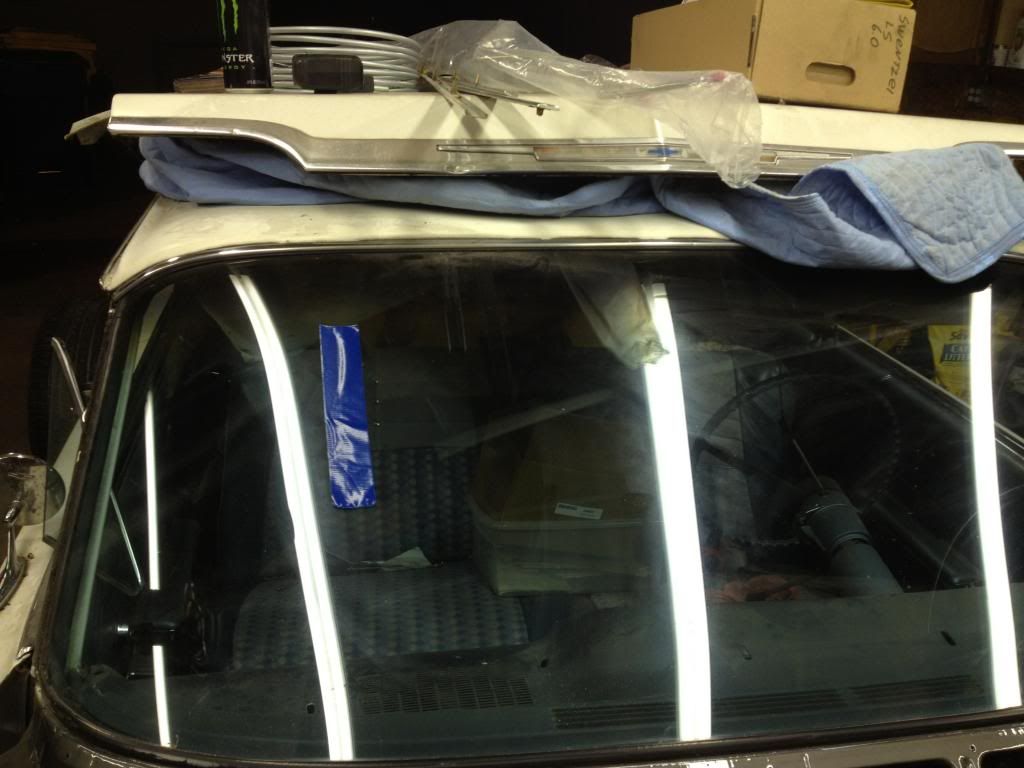
drip is gotta come off to...i think im either gonna paint all the trim around the windows or get them powdercoated black
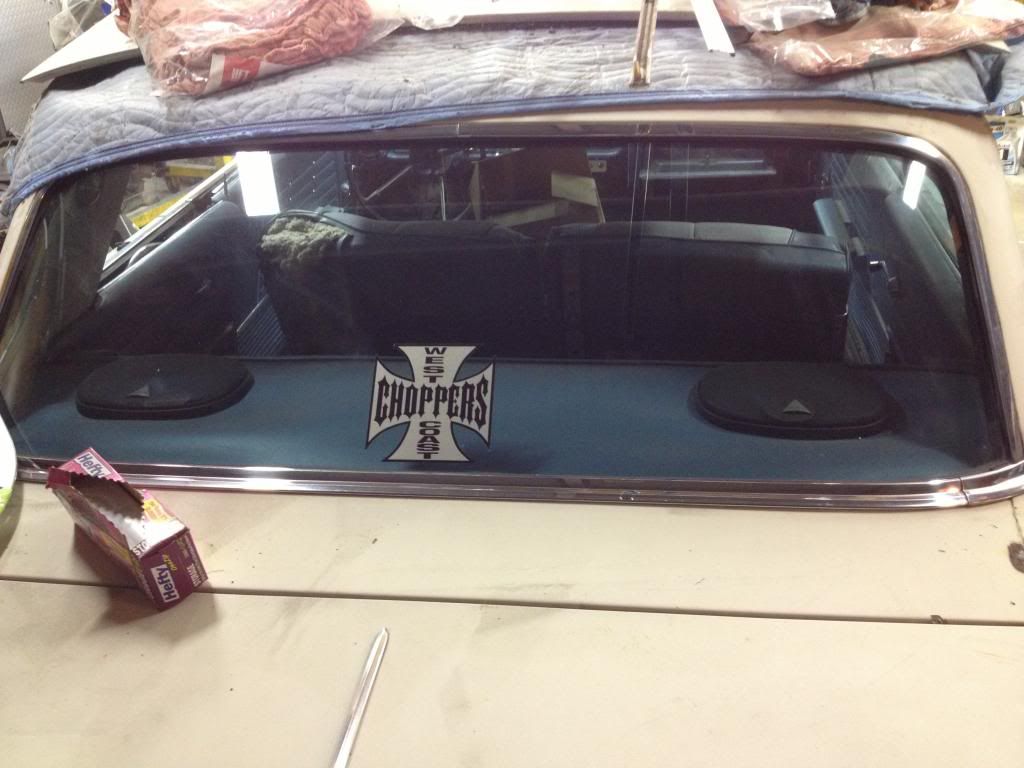


