
My 1965 Buick Skylark L92/6L80 Swap
 08-22-2012, 07:15 PM
#21


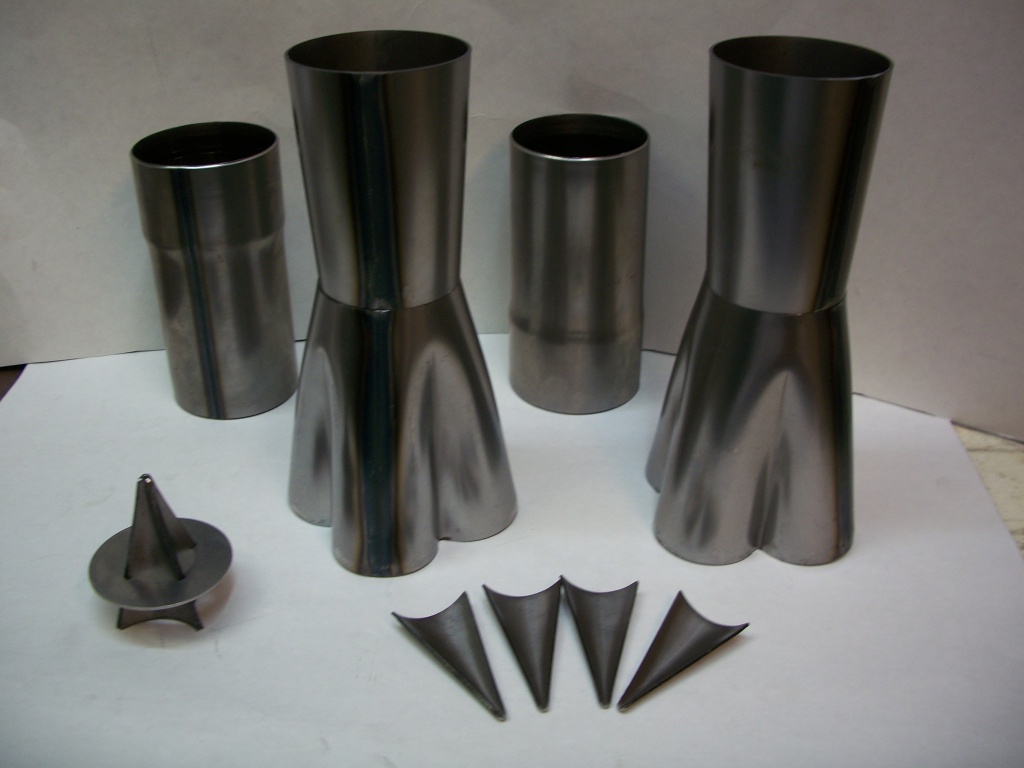
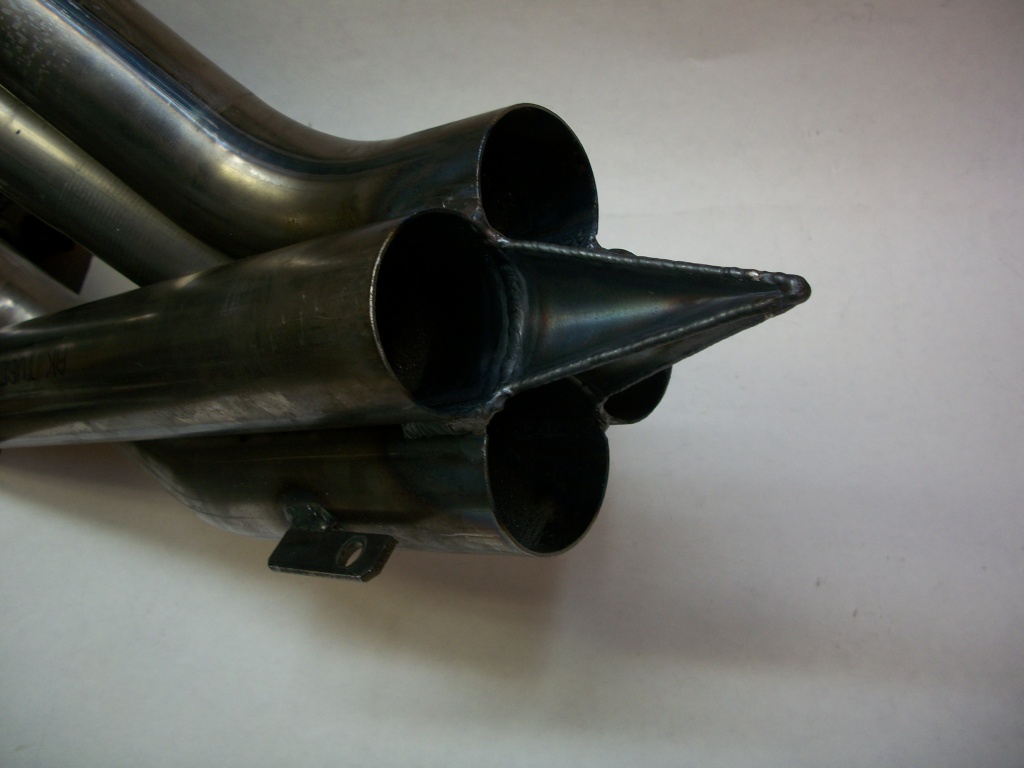
I got the merge collector parts from Cone Engineering today. I decided to go ahead and add the "spike" and the merge collector parts to the above headers. The merge point is 2.5" OD and about 2.375" ID and then they go back up to 3" OD. The total price was around $125 for the parts. From what I can tell it won't hurt anything horse power wise but will probably add some. Another reason I wanted the headers uncoated. I will drop the parts off at the welders tomorrow. Here is a picture of the parts.
Last edited by 1989GTA; 08-22-2012 at 07:39 PM.
 08-24-2012, 06:31 PM
#22
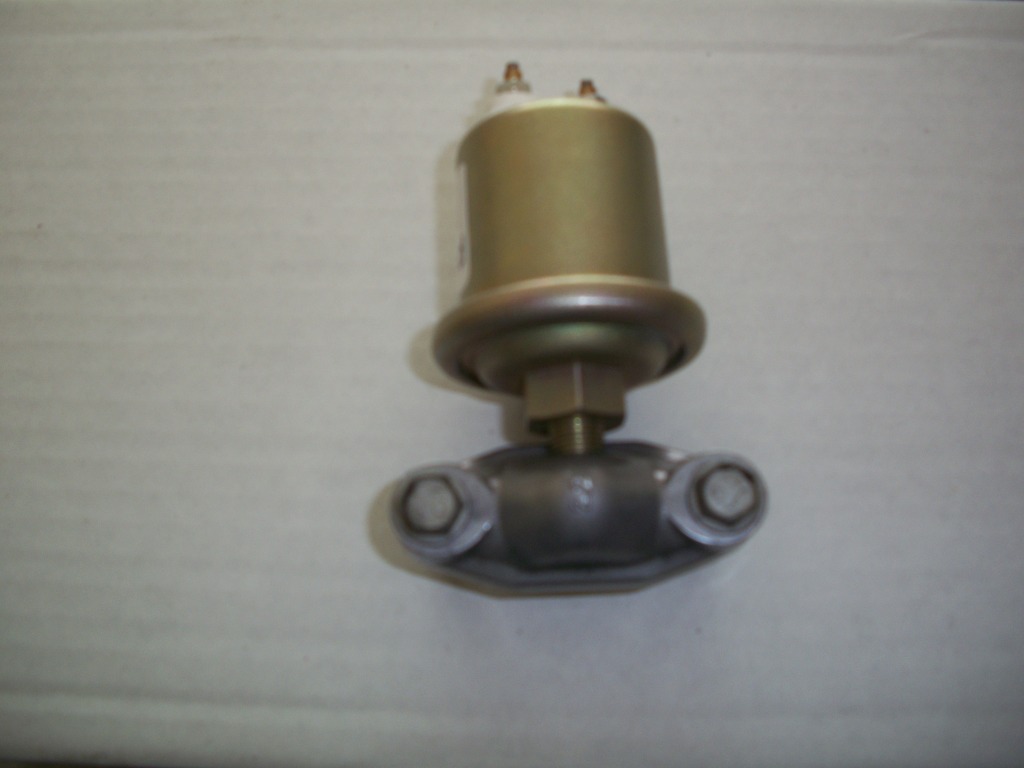
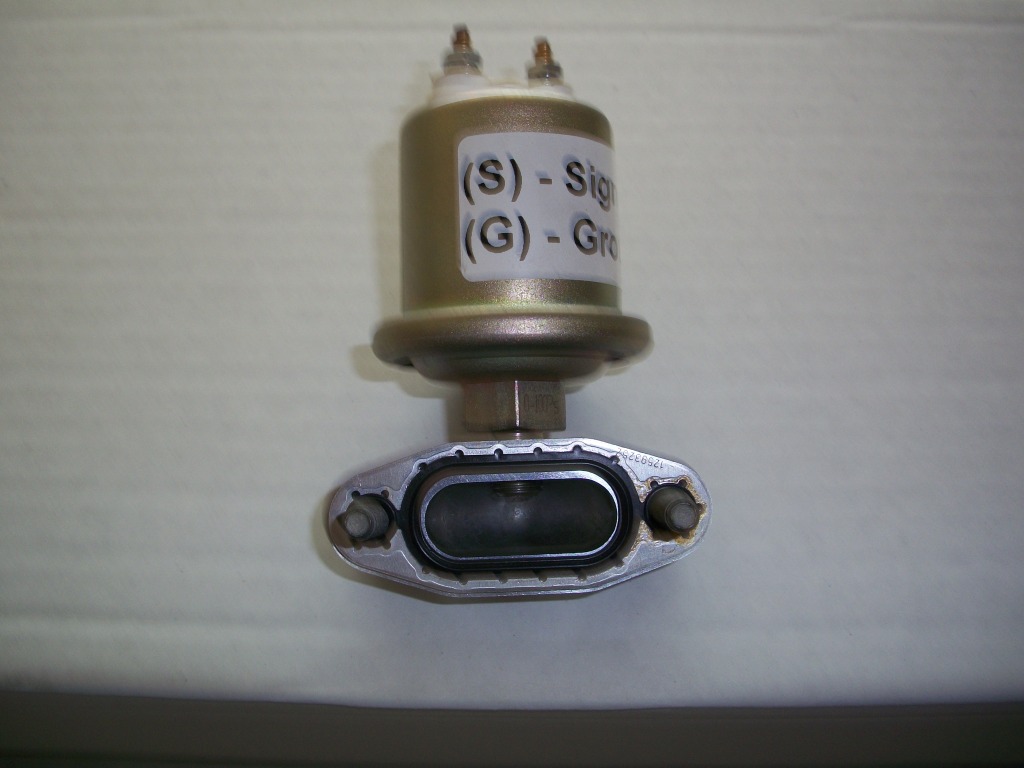
Another piece of the puzzle done today. Installed the Speedhut oil pressure sending unit on the oil filter/cooling line cover today. Just drilled and tapped with a 1/8 NPT tap. Here are a couple of pictures.
08-25-2012, 03:59 PM
#23
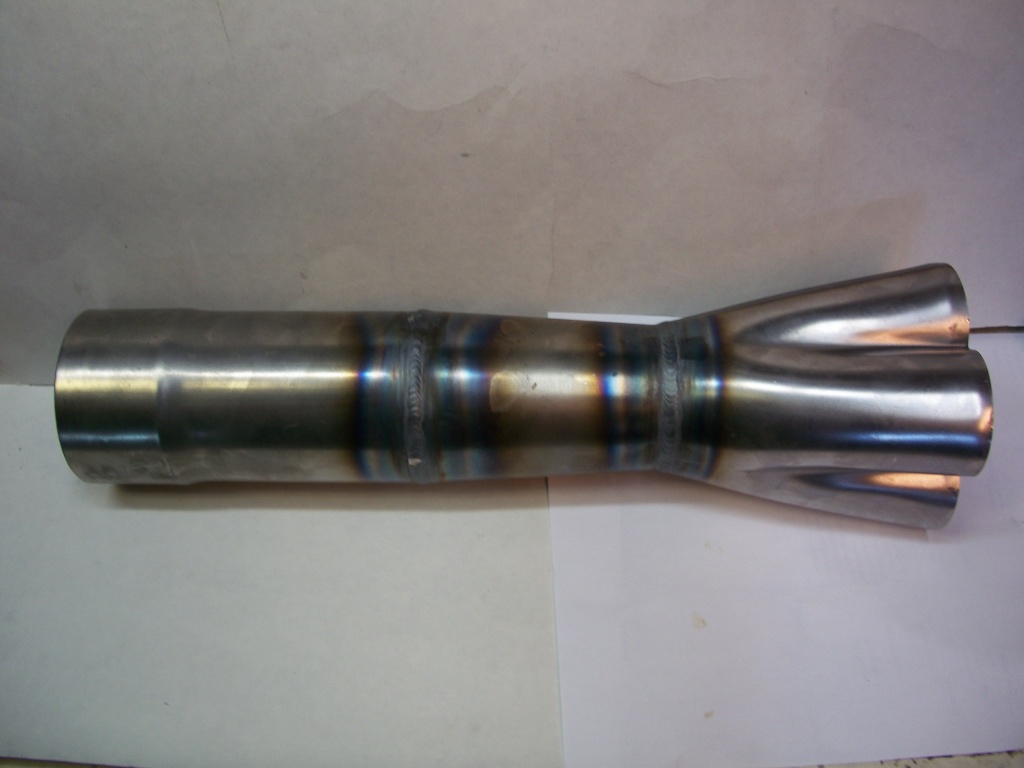
Got the merge collector back from the welder today. Came out real good. It may be worth 0 horsepower or could be worth 10+ horsepower. Anyways for $160 including the welding I thought I would chance it. This includes the addition of the spike which I will get a picture of later on.
I am going to leave the collector off the rest of the header until we actually install the header in the car. That way I can make any minor adjustments on the angle for the best fit. Once the angle is right I will go ahead and tack the collector in place. Then weld it all up and send it out to be have a ceramic thermal coating applied. Here is a picture.
I am going to leave the collector off the rest of the header until we actually install the header in the car. That way I can make any minor adjustments on the angle for the best fit. Once the angle is right I will go ahead and tack the collector in place. Then weld it all up and send it out to be have a ceramic thermal coating applied. Here is a picture.
Last edited by 1989GTA; 08-25-2012 at 05:59 PM.
 08-31-2012, 05:03 PM
#26
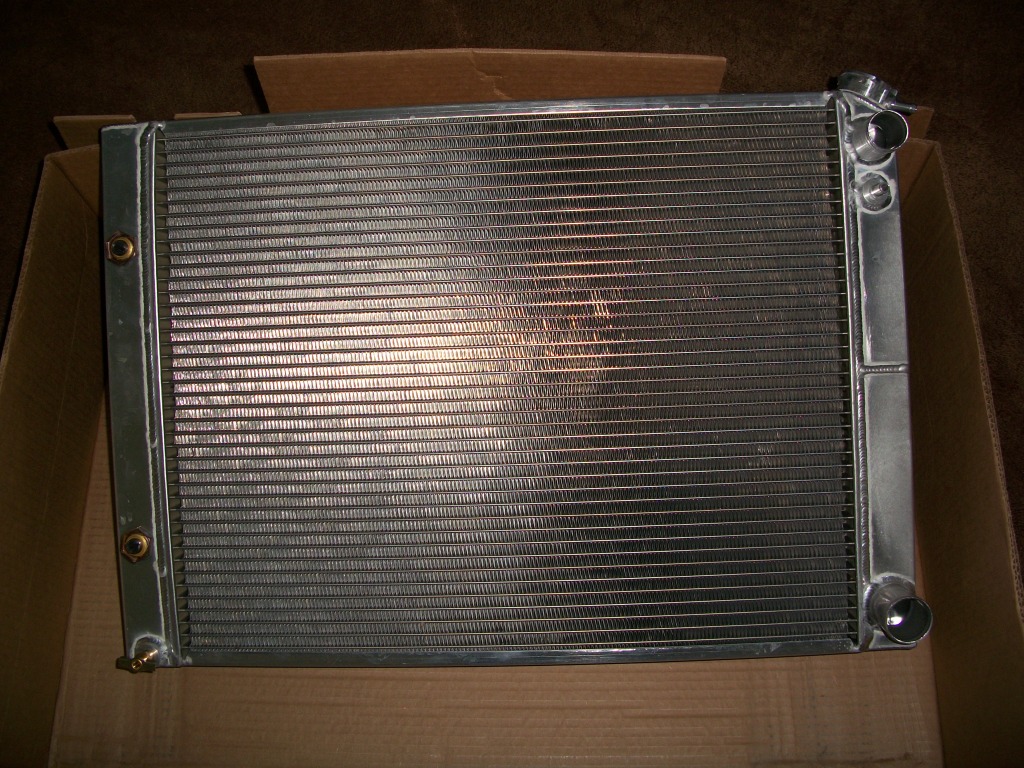
My Griffin dual pass radiator came in today. Couple of things I noticed that were different than I had in my mind. One is it has a drain plug. Another is the filler neck is on the passenger side. Last it appears to be set up for a transmission cooler. These are all positives that I had not expected. Maybe after looking at so many radiator posibilities my mind went into overload. 
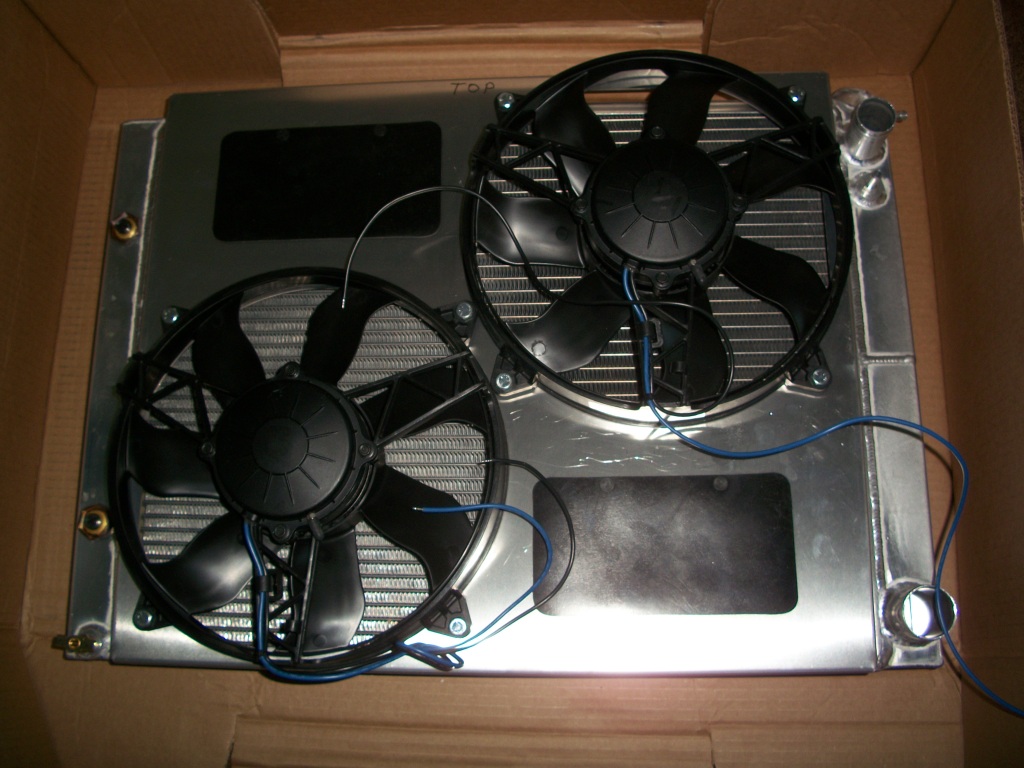
I new about the steam line vent which was a deciding factor. Total cost from Amazon.com was $247. That was within my budget. My Derale dual fan radiator shroud came in yesterday. A very nice piece. I will post a picture of it later. Here is a picture of the radiator.
I new about the steam line vent which was a deciding factor. Total cost from Amazon.com was $247. That was within my budget. My Derale dual fan radiator shroud came in yesterday. A very nice piece. I will post a picture of it later. Here is a picture of the radiator.
Last edited by 1989GTA; 08-31-2012 at 06:36 PM.
 09-03-2012, 02:30 PM
#28
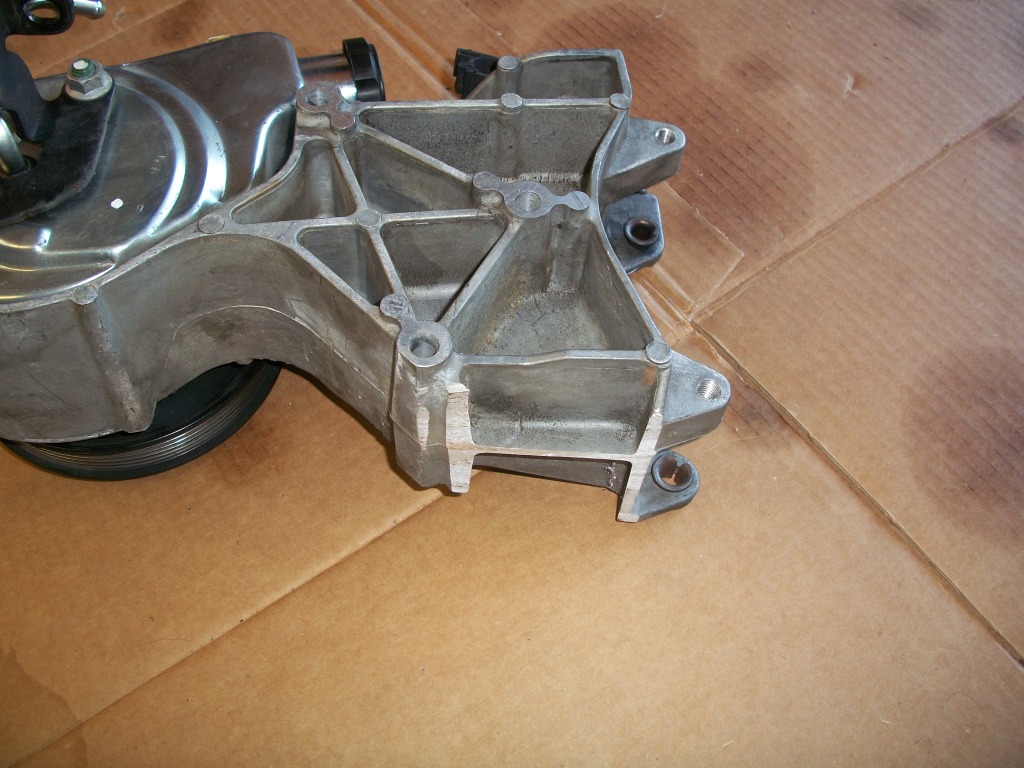
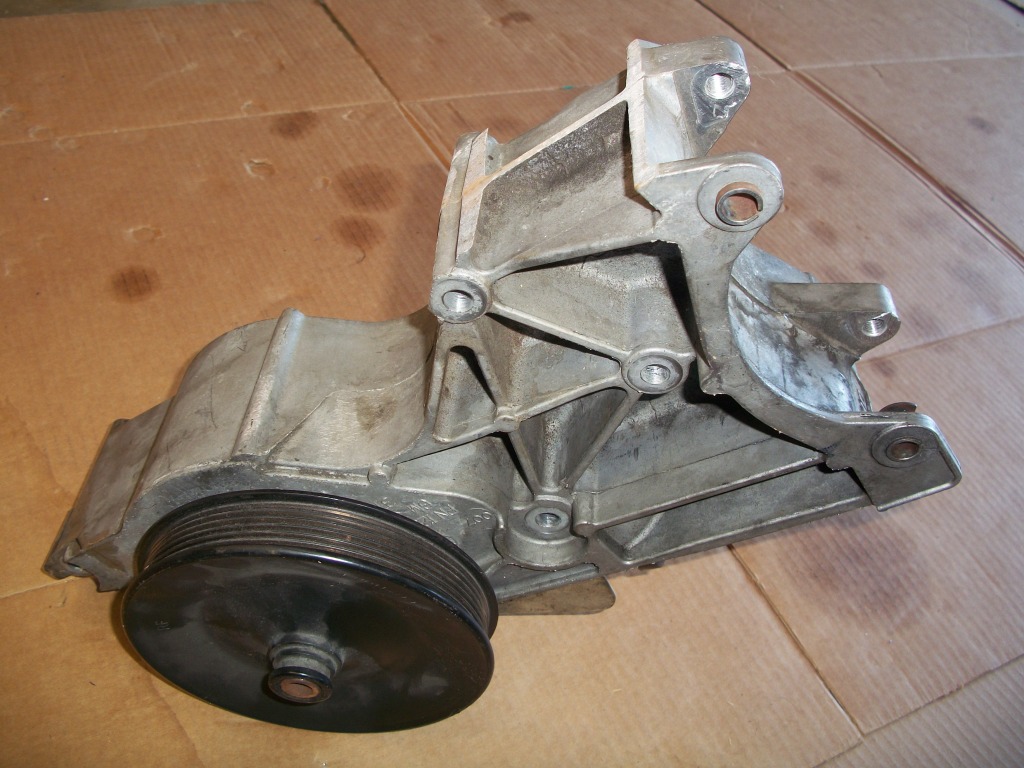
I did the idler pulley mod on the truck accessory bracket following along with everyone else. This is the one where you cut off the boss for the idler pulley so that you can gain clearance for the throttle body when using the LS3 intake manifold on a L92 motor. I used a Sawzall and it worked out very well. It was like cutting through butter and I don't think it took over 2 minutes. Here are a couple of pictures.
09-04-2012, 01:48 PM
#30
TECH Enthusiast

Some more progress being made today. I finished the install of the Tanks Inc PA-4 fuel pump. I purchased a new Buick fuel tank through them incase I decided to do any welding on the tank. The tank/bowl portion of the pump is facing the drivers side of the tank in this view. I will be using Aeroquip hose and the Corvette fuel filter/pressure regulator. Here is a picture of the install.

09-04-2012, 05:11 PM
#32
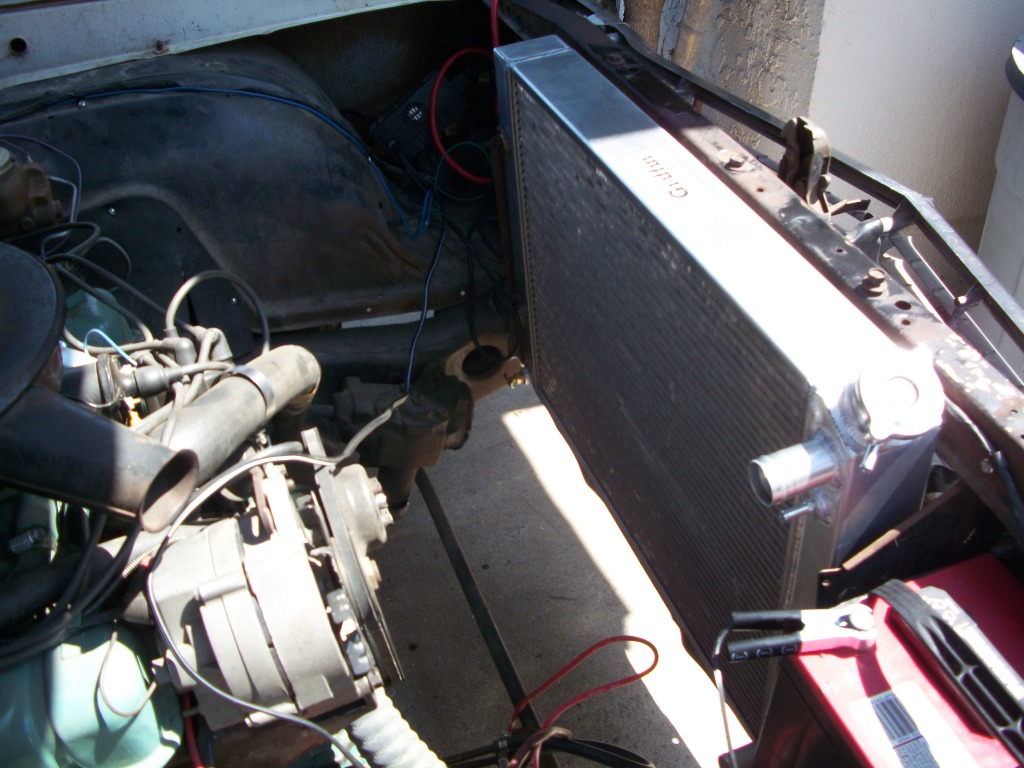
Test fitting my new Griffin radiator today. Taking some measurements and seeing how to make the support plate and top plate to hold the radiator in place. Also in the far corner of the engine bay in front of the fender you can where my cold air intake is going to go. I will box it in to keep out any heat from the engine bay.
 09-09-2012, 11:49 AM
#36
 09-09-2012, 02:29 PM
#38
09-09-2012, 04:09 PM
#39
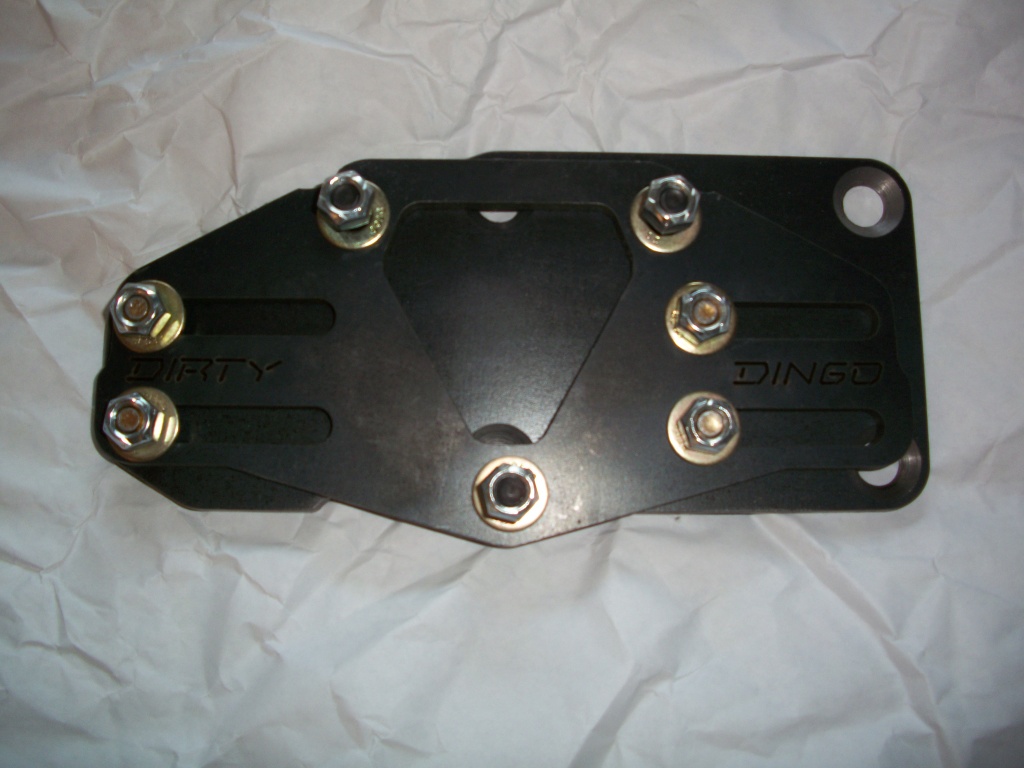
As to the smaller power steering pump pulley issue, it looks like Dirty Dingo sells one that will work. Here is the link.
http://dirtydingo.com/store/product_...oducts_id=1389
Update: I went ahead and purchased the Dirty Dingo PS pulley. I am trying to avoid any issues ahead of time. Thank you forum members.
http://dirtydingo.com/store/product_...oducts_id=1389
Update: I went ahead and purchased the Dirty Dingo PS pulley. I am trying to avoid any issues ahead of time. Thank you forum members.
Last edited by 1989GTA; 09-09-2012 at 09:07 PM.
09-10-2012, 03:21 PM
#40
The Dirty Dingo Slider motor mounts came in today along with a couple of other odds and ends from McMaster Carr. The mount is beefier than I had thought it would be. Again, trying to head off any problems. These should give me plenty of adjustment. Here is a picture.
Last edited by 1989GTA; 09-11-2012 at 12:31 PM.