
2BFAST's 69 Camaro LS1/60E swap
 08-02-2013, 06:05 PM
#81
TECH Enthusiast
iTrader: (15)
Join Date: Aug 2006
Location: DFW....TX
Posts: 624
Likes: 0
Received 0 Likes
on
0 Posts

I agree on that statement. I should of been doing this months ago when the car left for the body shop but other "hobbies" took over.
As far as transmissions go, I know enough to be dangerous .Although I would love to do it, I dont have the 100% confidence yet to build someones trans for them to beat on.
As far as transmissions go, I know enough to be dangerous .Although I would love to do it, I dont have the 100% confidence yet to build someones trans for them to beat on.
 08-02-2013, 06:54 PM
#82

RocketRod,
I wouldn't be too worried on your 4L70 trans unless you are all ready having problems. I but your 69 Camaro is ALOT lighter than a Trail Blazer SS. After all, its the toughest factory 4Lxx.
I wouldn't be too worried on your 4L70 trans unless you are all ready having problems. I but your 69 Camaro is ALOT lighter than a Trail Blazer SS. After all, its the toughest factory 4Lxx.
08-04-2013, 08:53 AM
#83
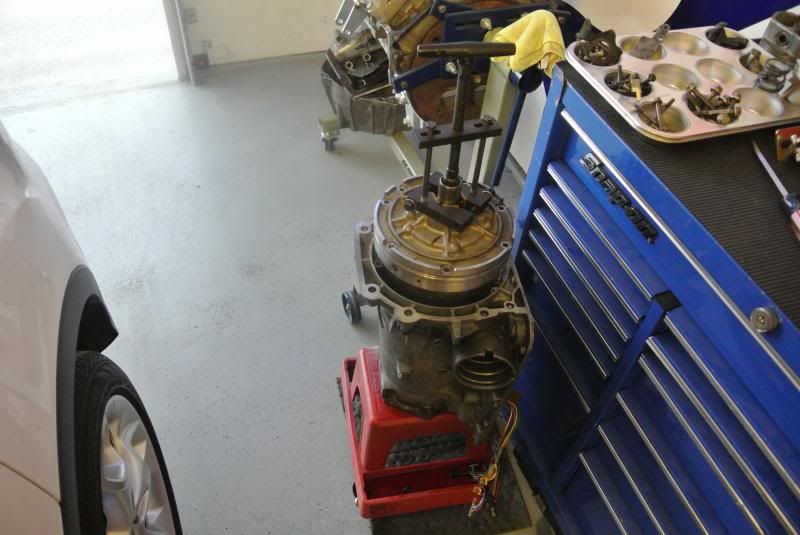
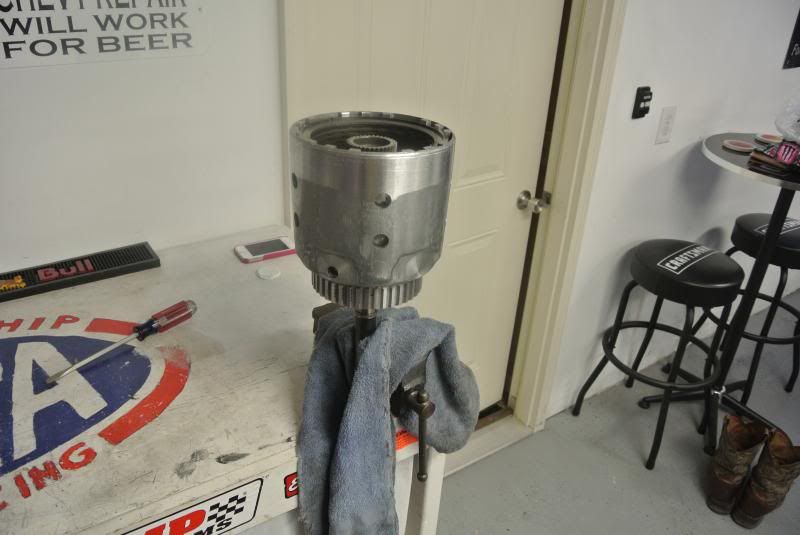
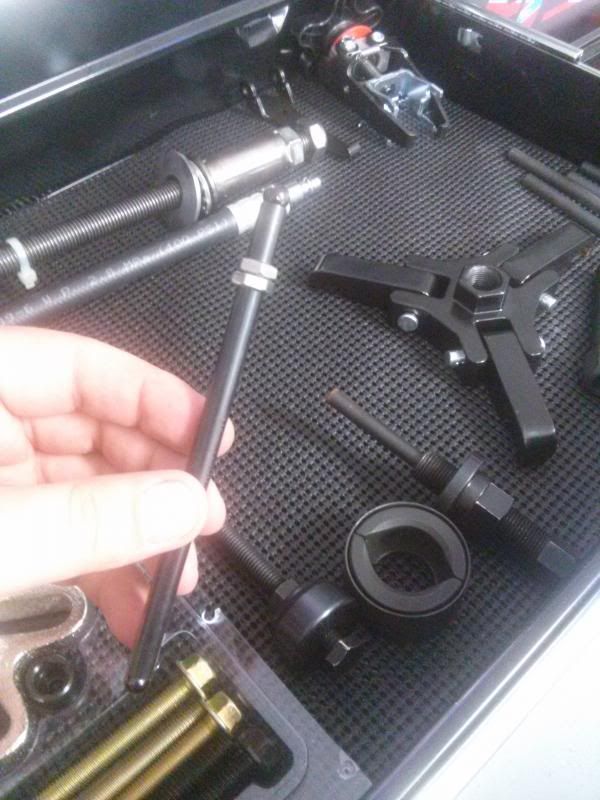
After having some computer problems and acquiring the pump puller tool here are some more pics of the trans......
I have never had to use this tool yet as iv popped the pump out in some way or another but this one just wouldnt budge....luckely one of my good friends let me barrow the Kent Moore tool from the local Chevy dealership he works for
2/4 band
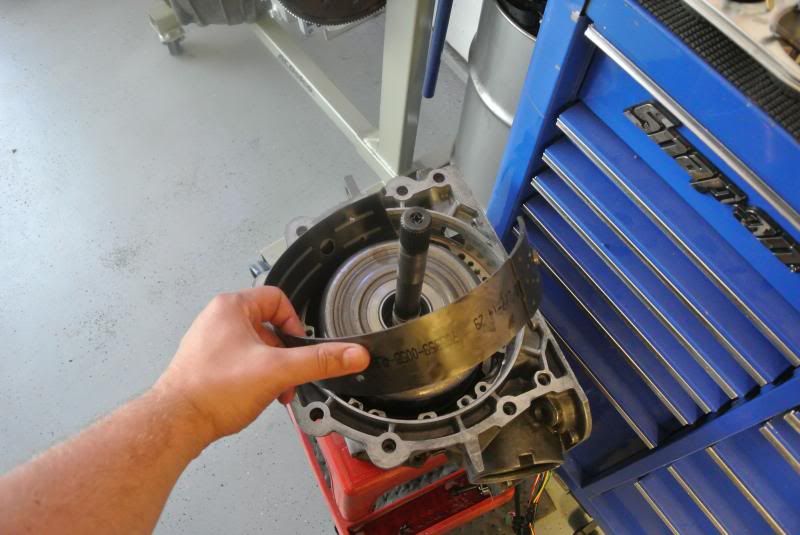
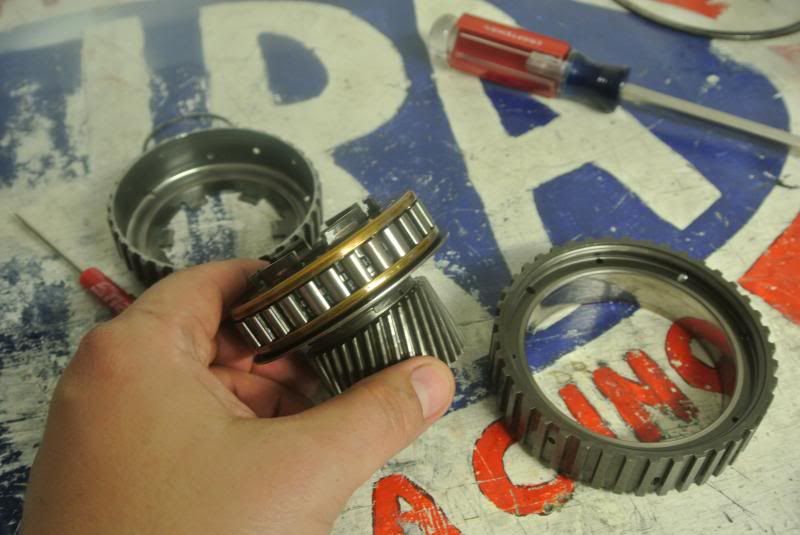
reverse and input drum assemblies
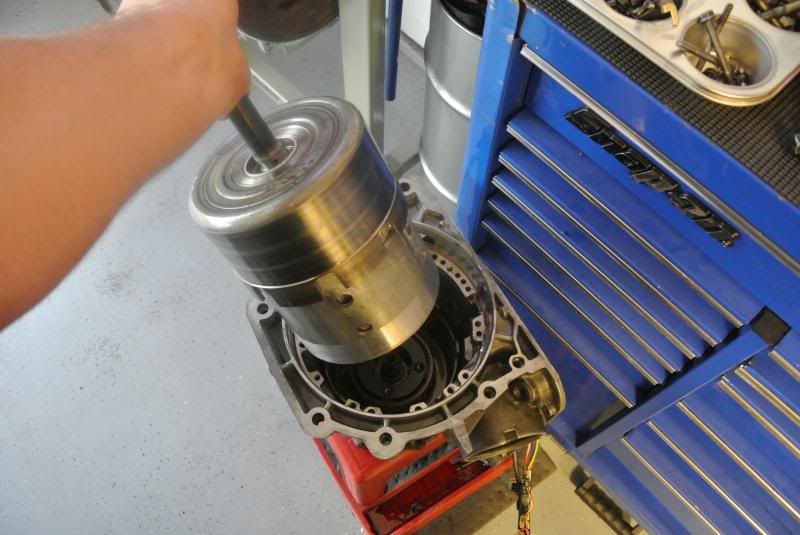
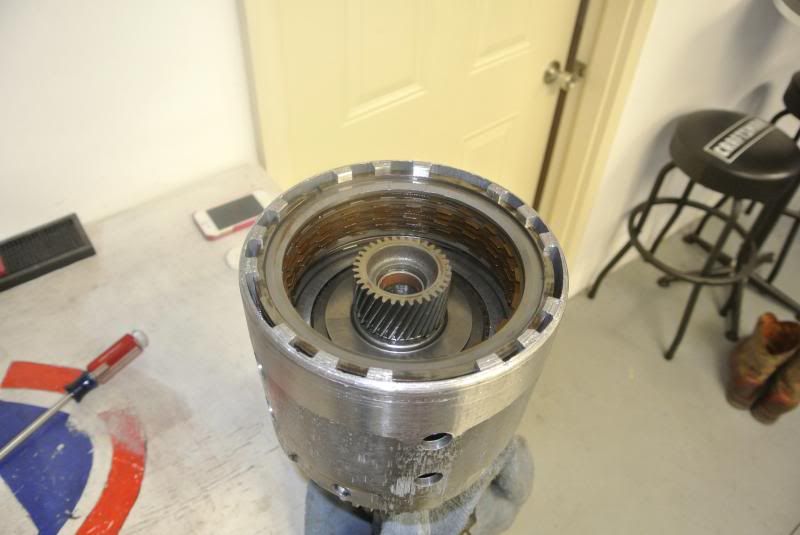
slide the reverse drum off
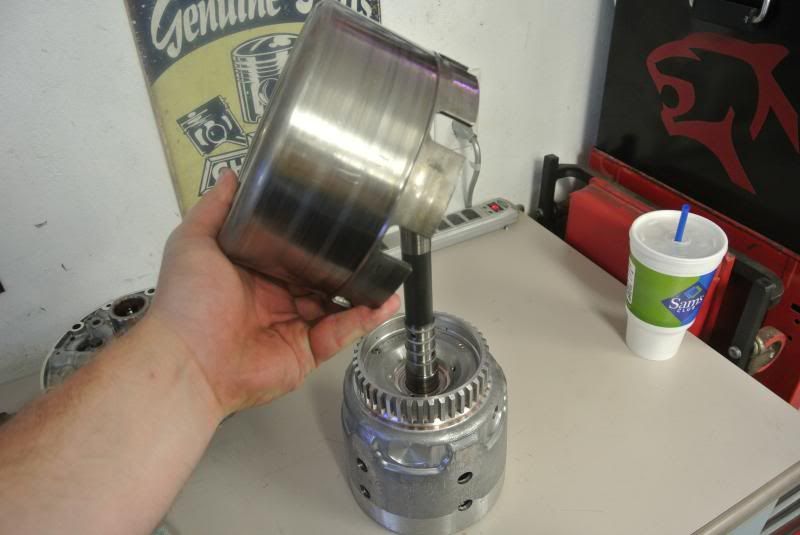
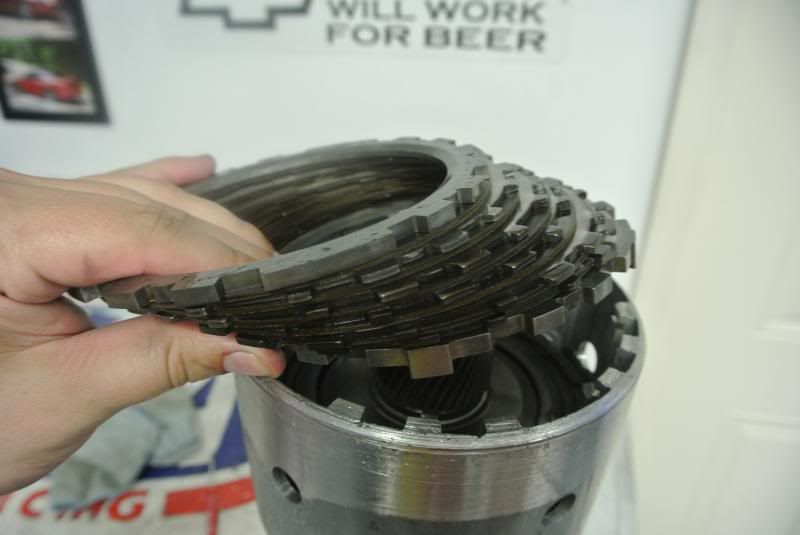
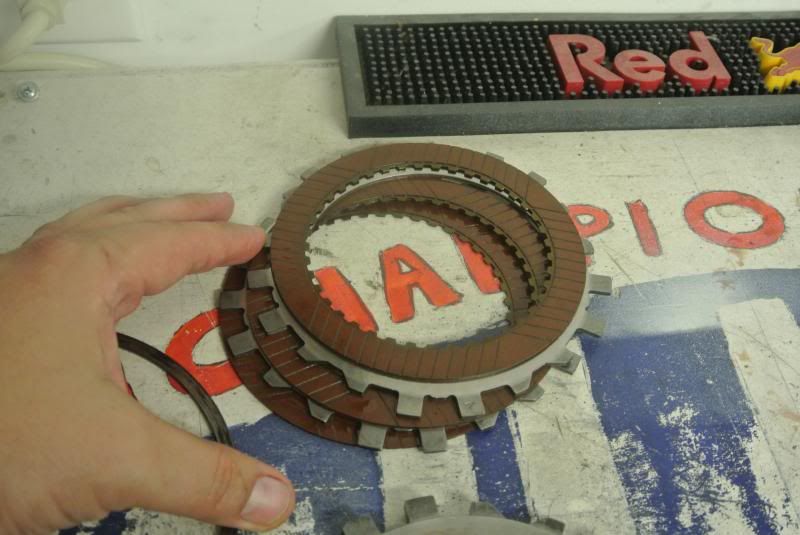
view of the inerds of the input drum and the famous 3/4 clutches. I have had good luck with the Borg Warner High Energy "green" clutches for these so im going to run those.
remove snap ring and remove. from the looks they had been replaced not to long ago
next is the forward sprag assembly.
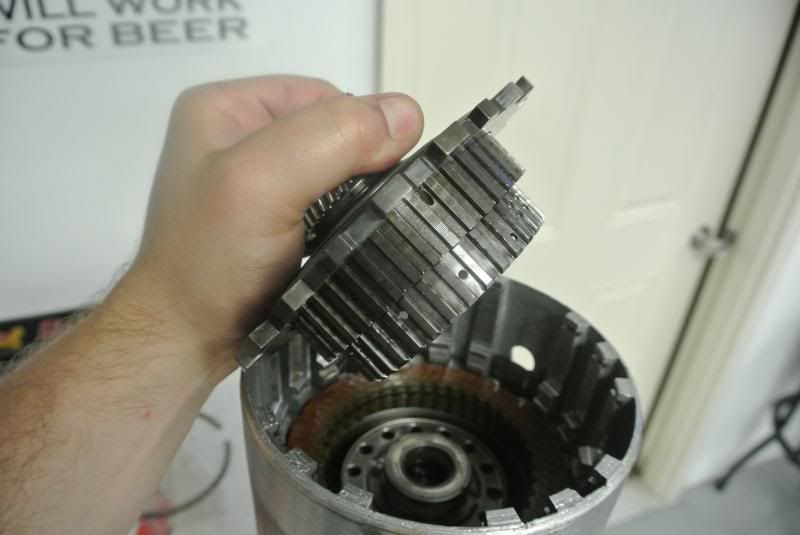
here is the sprag inside the assembly. this is a one way sprag. this will be upgraded to the HD 29 element unit
overruns. these will be upgraded to the blue clutches and kolene steels
I also have the front pinions and sunshell out as well. the sunshell has been upgraded to the billet shell which means I dont have to drop a bill on that which is good. I will be ordered parts here soon.
The converter showed up too
Also most everything showed up for the motor so that is next. The heads are still at the machine shop but I should have those back soon as well.
Lots more pics to come
I have never had to use this tool yet as iv popped the pump out in some way or another but this one just wouldnt budge....luckely one of my good friends let me barrow the Kent Moore tool from the local Chevy dealership he works for

2/4 band

reverse and input drum assemblies

slide the reverse drum off

view of the inerds of the input drum and the famous 3/4 clutches. I have had good luck with the Borg Warner High Energy "green" clutches for these so im going to run those.


remove snap ring and remove. from the looks they had been replaced not to long ago

next is the forward sprag assembly.

here is the sprag inside the assembly. this is a one way sprag. this will be upgraded to the HD 29 element unit

overruns. these will be upgraded to the blue clutches and kolene steels

I also have the front pinions and sunshell out as well. the sunshell has been upgraded to the billet shell which means I dont have to drop a bill on that which is good. I will be ordered parts here soon.
The converter showed up too
Also most everything showed up for the motor so that is next. The heads are still at the machine shop but I should have those back soon as well.
Lots more pics to come
08-04-2013, 10:46 AM
#84

After having some computer problems and acquiring the pump puller tool here are some more pics of the trans......
.... I will be ordering trans parts here soon.
The converter showed up too
Also most everything showed up for the motor so that is next. The heads are still at the machine shop but I should have those back soon as well.
Lots more pics to come
.... I will be ordering trans parts here soon.
The converter showed up too
Also most everything showed up for the motor so that is next. The heads are still at the machine shop but I should have those back soon as well.
Lots more pics to come
08-05-2013, 08:11 AM
#85
And I will try to post as many pics as I can. My computer has been screwing up something fierce lately when uploading pictures so hopefully it cools its jets on that.
08-05-2013, 12:47 PM
#86
TECH Enthusiast
iTrader: (15)
Join Date: Aug 2006
Location: DFW....TX
Posts: 624
Likes: 0
Received 0 Likes
on
0 Posts
FYI the 80/85 are the strongest 4 speeds GM has made.
08-06-2013, 07:32 PM
#87


 08-11-2013, 08:07 PM
#91
Parts for Ellis has been trickling in all this week
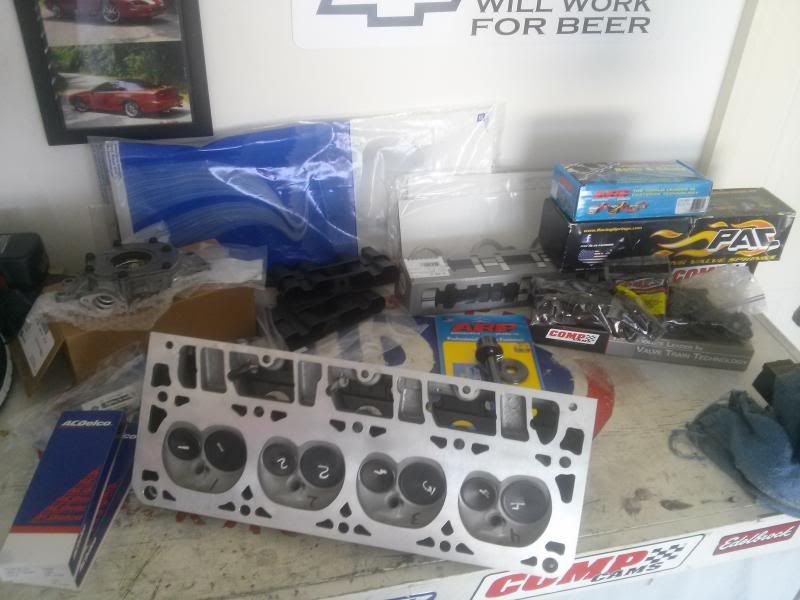
Pictured:
GM MLS head gaskets
GM MLS header gaskets
GM water pump gaskets
GM front crank seal
ARP crank bolt
ARP head bolts
LS2 timing chain
LS2 lifter cups
LS7 lifters
LS6 oil pump
BRP pick up tube girdle
Factory rockers with Comp trunion conversion
PAC springs
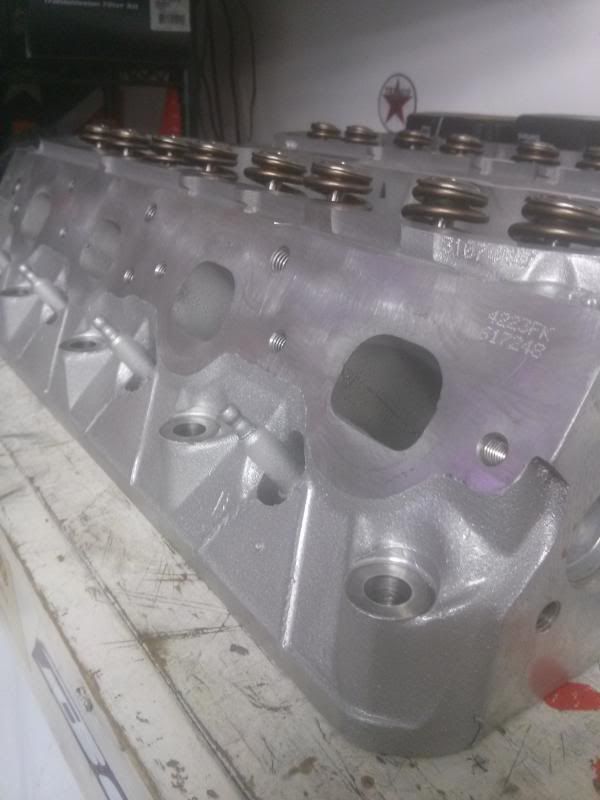
GM 243 heads, milled .015, new valve seals, valve job
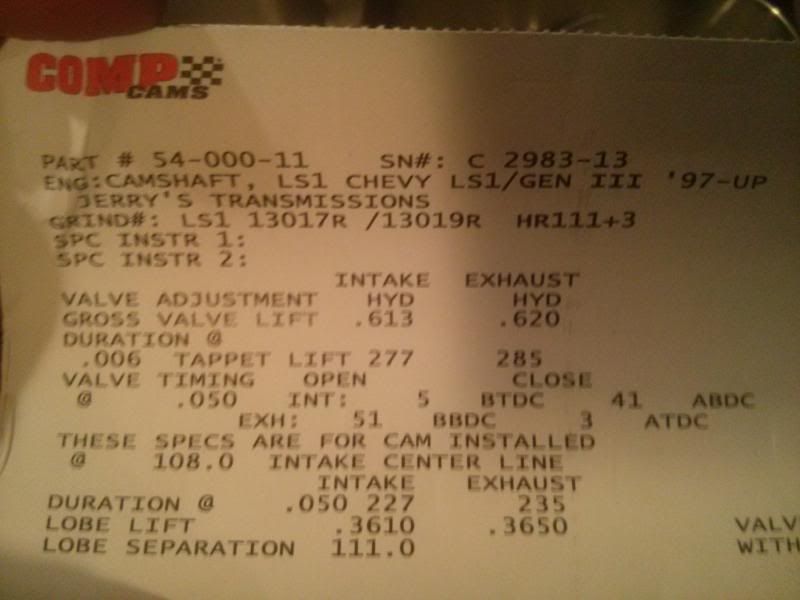
Comp custom grind (see below for specs)
Not pictured but have:
LS6 intake
Intake gaskets
Valley cover gasket
Valve cover gaskets
Circle D 278mm 3200 stall converter
Cam specs:
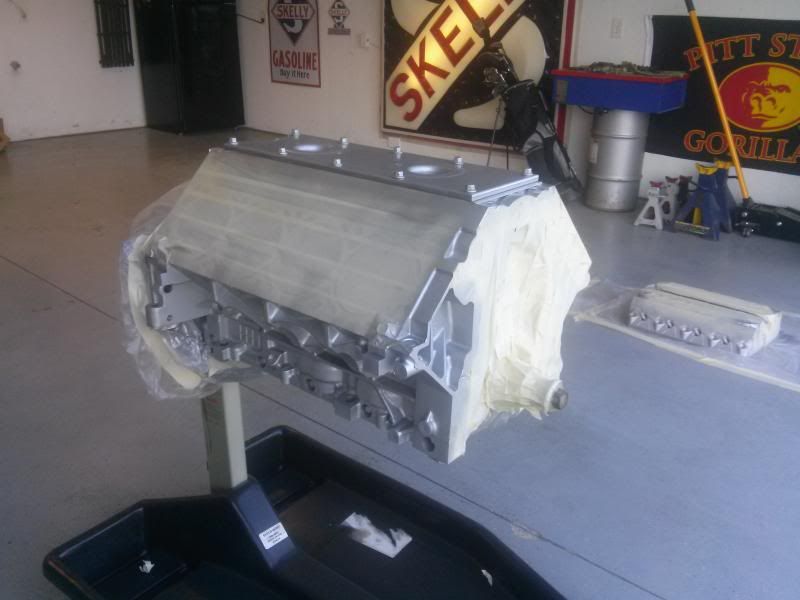
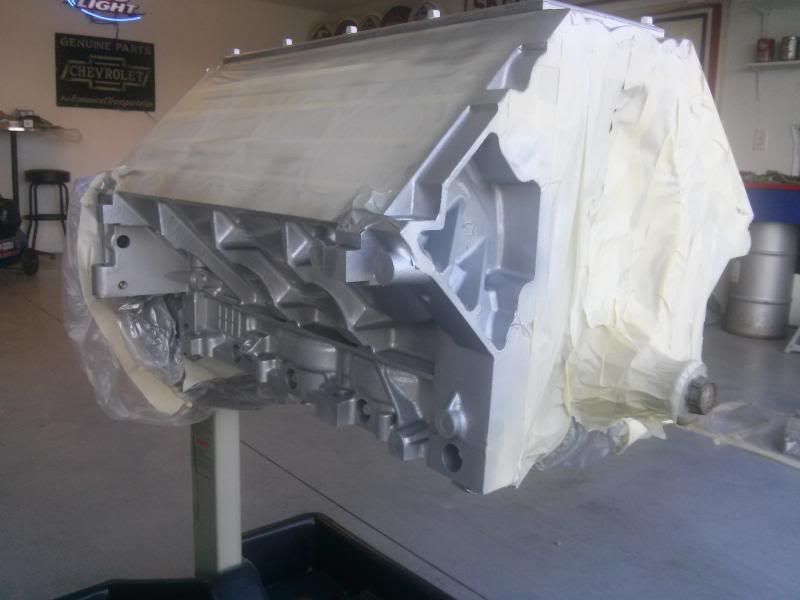
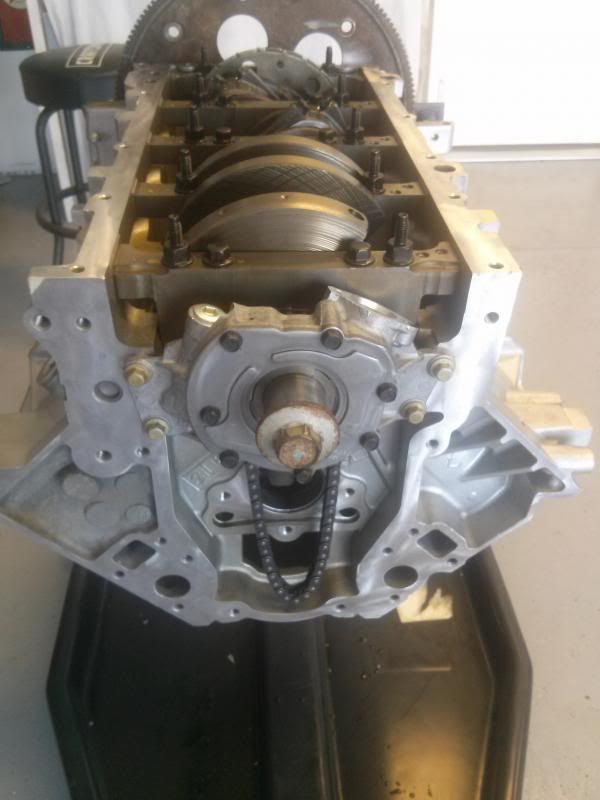
Also decided to breakdown the motor to a shortblock and clean it up to get ready for assembly
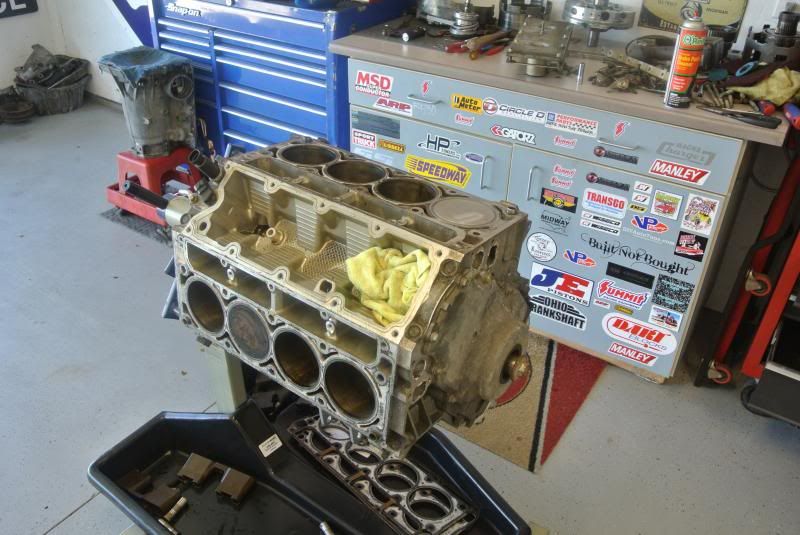
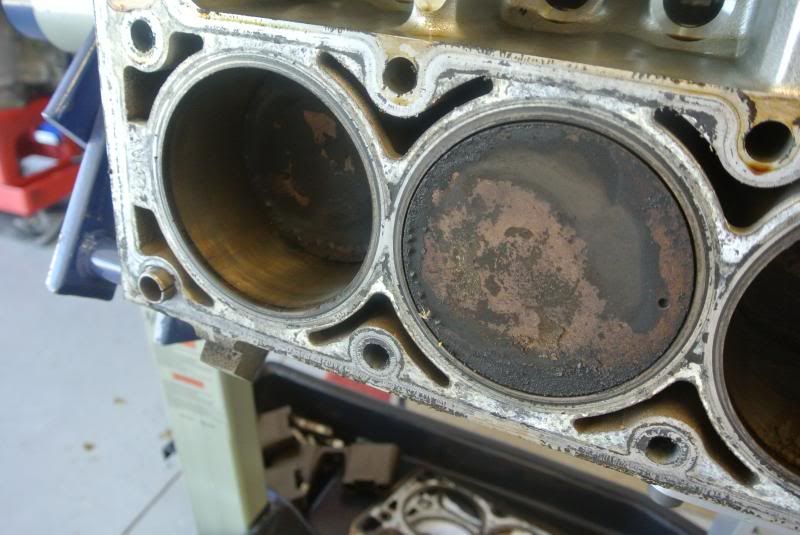
No surprises which was refreshing
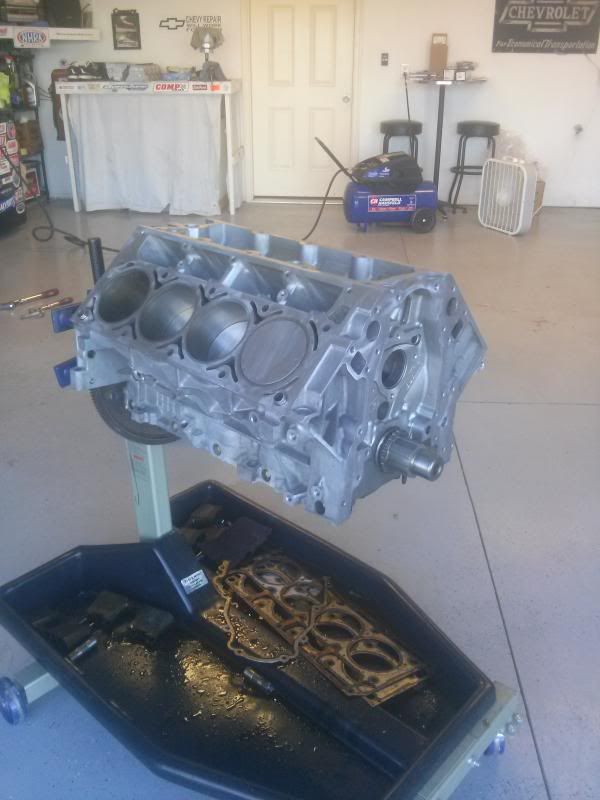
Here he is all cleaned up, ready for paint, and new parts
Waiting on the tool to degree the cam and pushrod length checkers to get the pushrods the correct length due to the milled heads

Pictured:
GM MLS head gaskets
GM MLS header gaskets
GM water pump gaskets
GM front crank seal
ARP crank bolt
ARP head bolts
LS2 timing chain
LS2 lifter cups
LS7 lifters
LS6 oil pump
BRP pick up tube girdle
Factory rockers with Comp trunion conversion
PAC springs
GM 243 heads, milled .015, new valve seals, valve job
Comp custom grind (see below for specs)
Not pictured but have:
LS6 intake
Intake gaskets
Valley cover gasket
Valve cover gaskets
Circle D 278mm 3200 stall converter
Cam specs:

Also decided to breakdown the motor to a shortblock and clean it up to get ready for assembly


No surprises which was refreshing
Here he is all cleaned up, ready for paint, and new parts

Waiting on the tool to degree the cam and pushrod length checkers to get the pushrods the correct length due to the milled heads
08-16-2013, 10:14 AM
#92
Decided at the last minute before sending everything out to be polished to swap water pumps from the Fbody to the LS2 style. As seen below from the comparison, the LS2 is just cleaner looking design wise. Specially for $188.00 on Amazon.com it was a no brainer
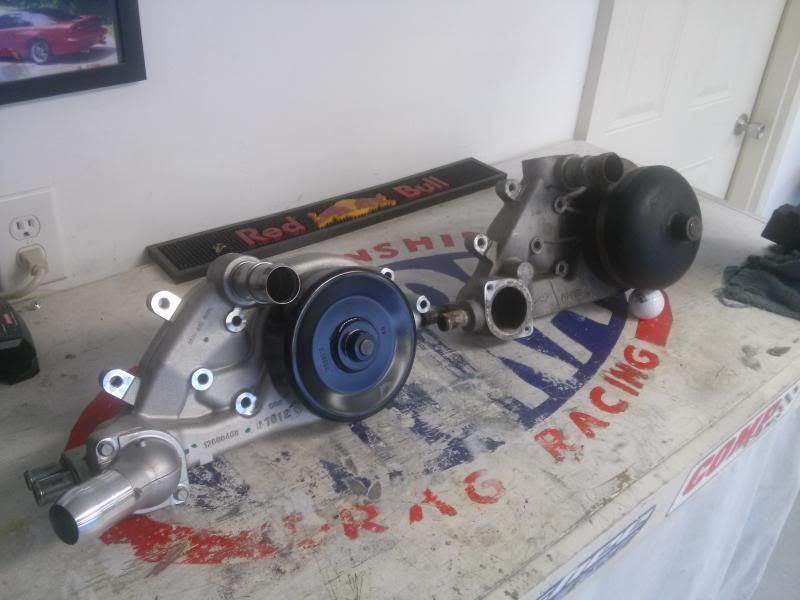
The alternator, tensioner, alt/power steering bracket, timing cover, valve covers, and LS2 water pump are all at the polisher gettin fancy'd up
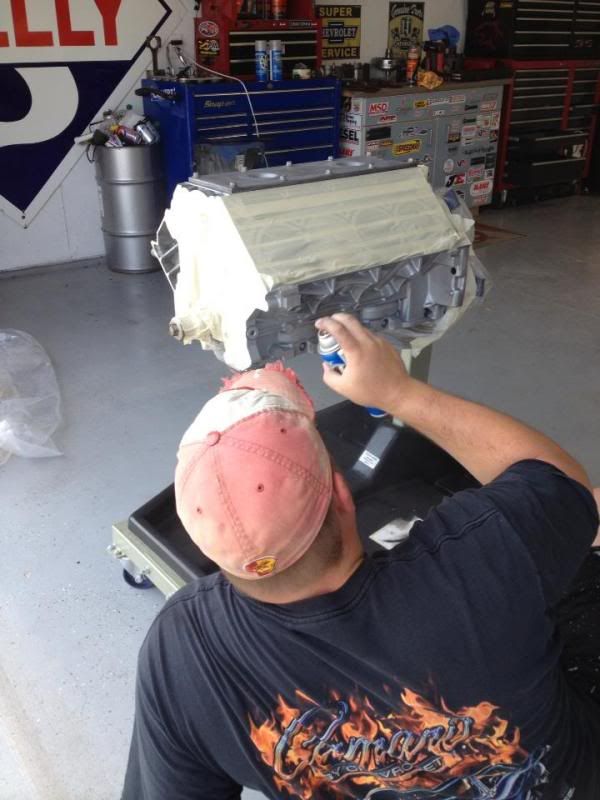
Im gonna try and paint the motor this weekend

The alternator, tensioner, alt/power steering bracket, timing cover, valve covers, and LS2 water pump are all at the polisher gettin fancy'd up
Im gonna try and paint the motor this weekend

 08-19-2013, 08:38 AM
#95
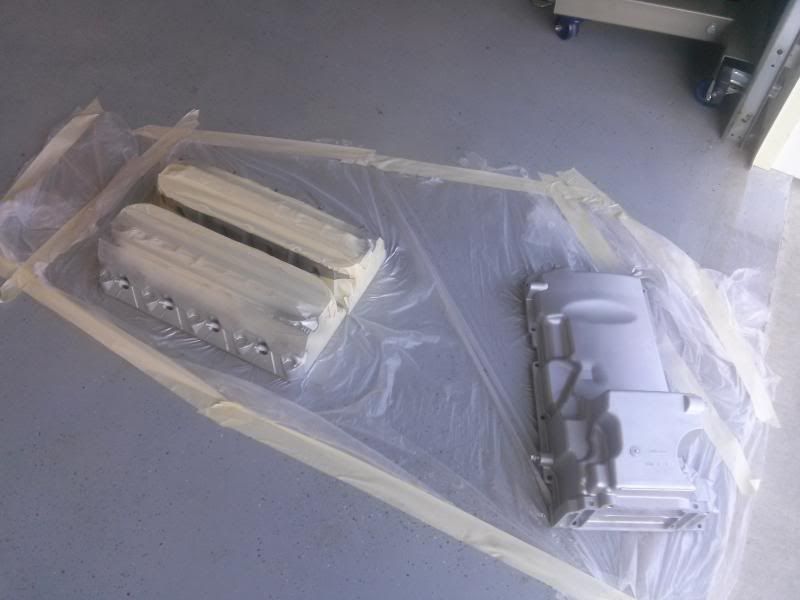
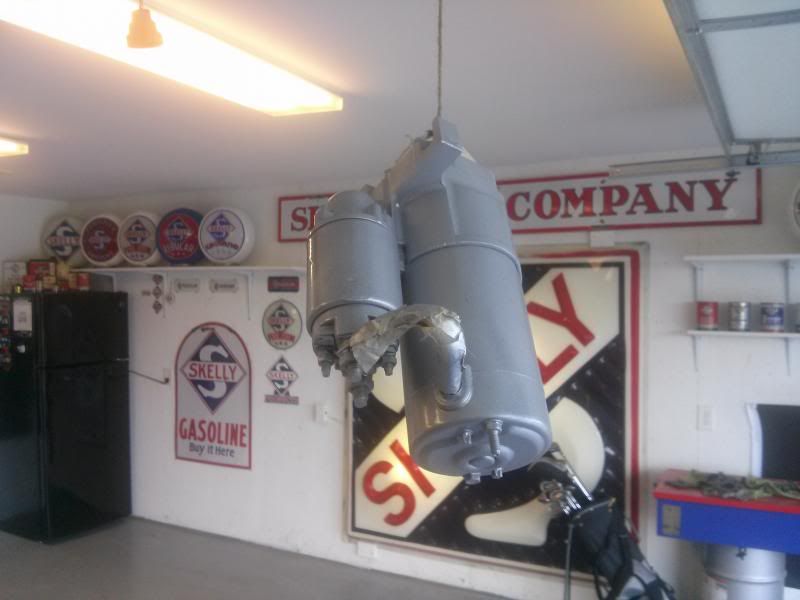
Figured its time to start getting this thing back together. Started by hitting the areas getting painted with a scotch brite pad, taped it off, wiped it down with a wax/grease remover, then used Dupli-Color wheel coating base/clear from a rattle can. Turned out really clean

I also cleaned up the starter
Heads turned out good too. After I got all the tape off and got looking there is a spot by the steam ports that I should of hit that is going to show. That will be easy to tape off and hit though when I get them bolted down
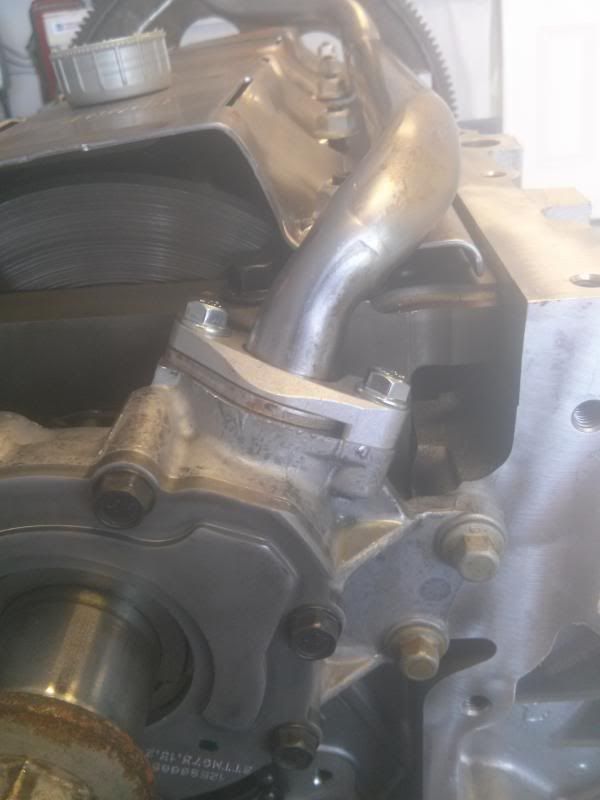
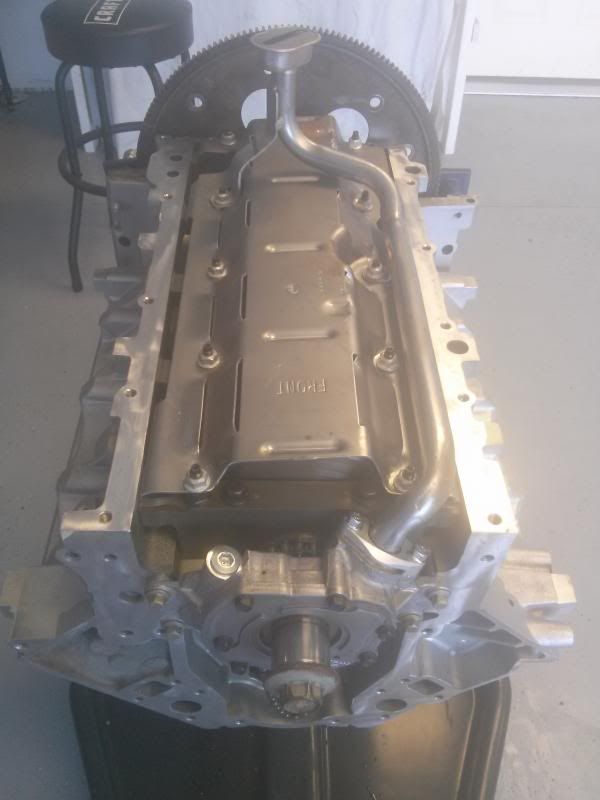
Now its time to get this thing back together. Started with the LS6 oil pump
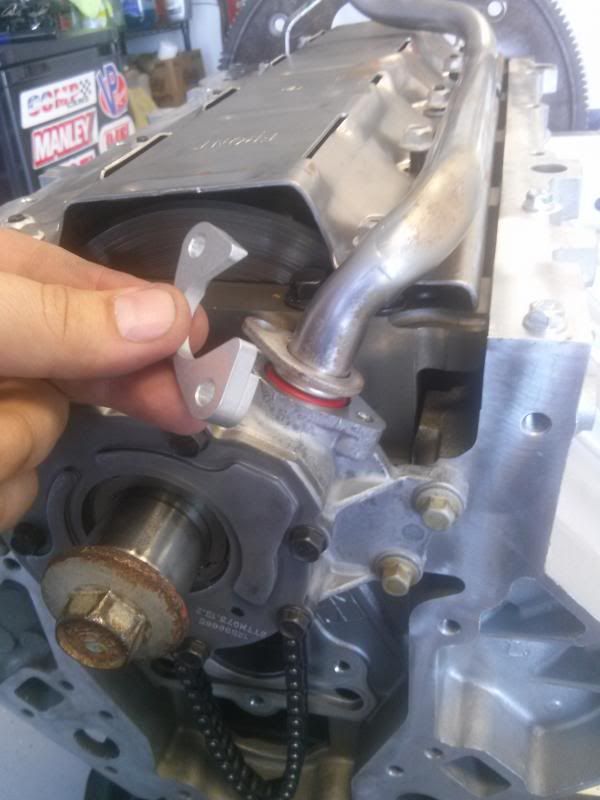
Next is to install the BRP pickup tube girdle. This is a pretty cool piece. As you can see the pickup tube hold down is only secured by one bolt from the factory. This piece bolts the pickup tube down with two bolts and ensures it stays seated. I would recommend this to anyone with an LS build. Its cheap and its easy to install. BRP Hotrods is who its from.
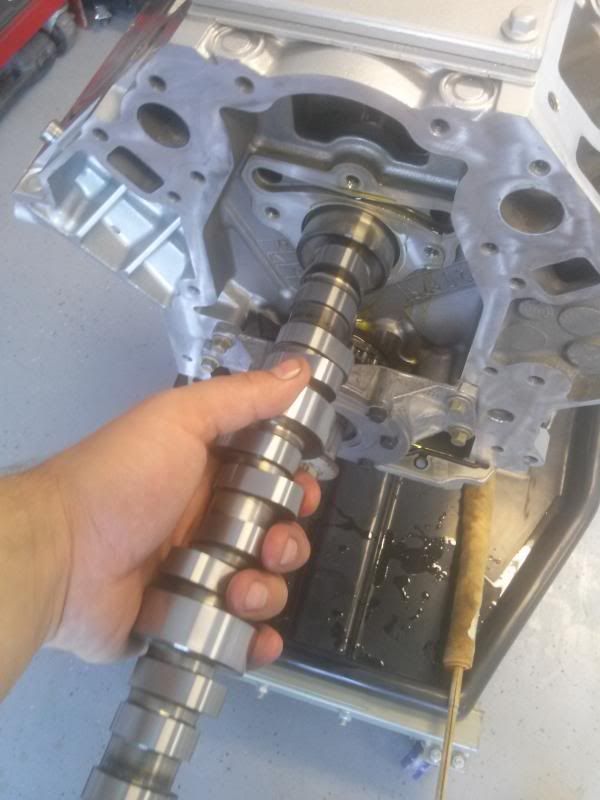
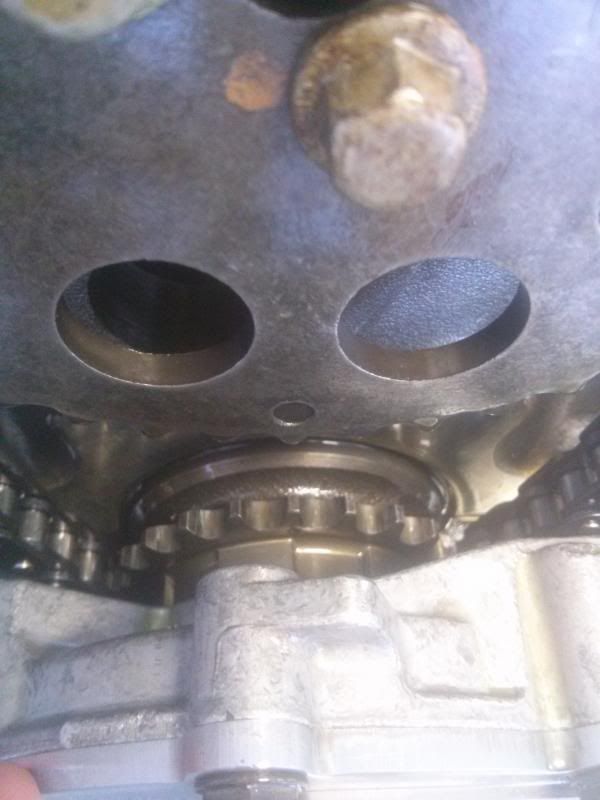
Next the cam
Cam backing plate then the cam sprocket
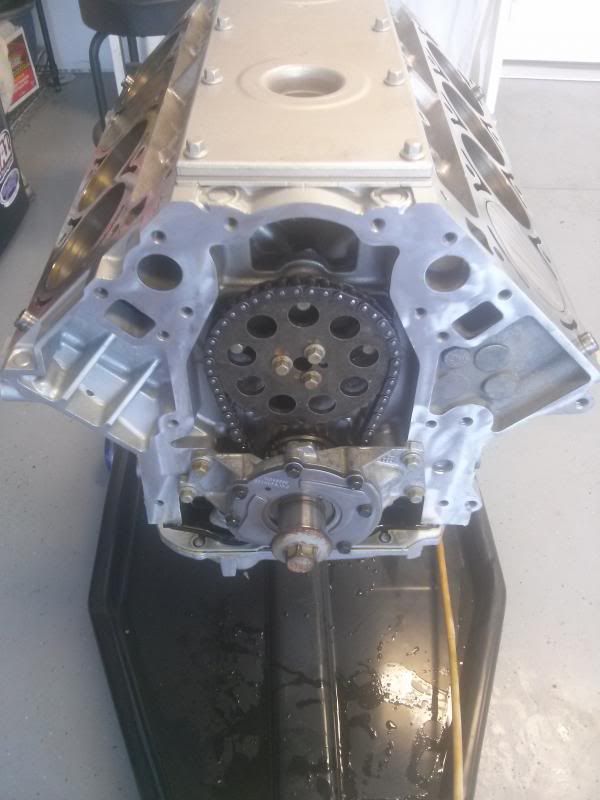
Make sure the dots line up to ensure hes in time.
I would of installed the heads but I forgot to soak the lifters. Here they are submerged in oil for the time being

To make sure everything is correct and no machining errors were made with the heads or cam I am going to go ahead and degree the cam just to make sure
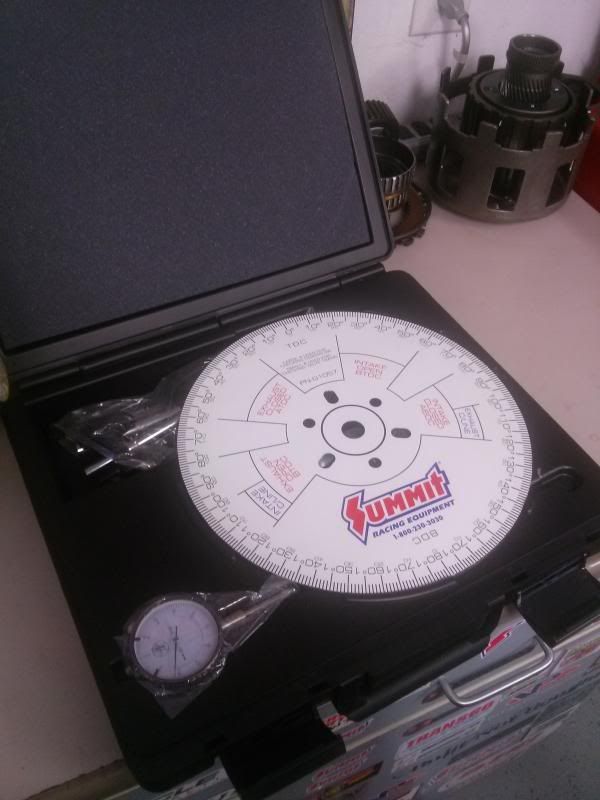
Also my pushrod length checker came in so I can get the pushrods ordered
Next is to get the lifters, lifter cups, then get the heads torqued down


I also cleaned up the starter

Heads turned out good too. After I got all the tape off and got looking there is a spot by the steam ports that I should of hit that is going to show. That will be easy to tape off and hit though when I get them bolted down

Now its time to get this thing back together. Started with the LS6 oil pump

Next is to install the BRP pickup tube girdle. This is a pretty cool piece. As you can see the pickup tube hold down is only secured by one bolt from the factory. This piece bolts the pickup tube down with two bolts and ensures it stays seated. I would recommend this to anyone with an LS build. Its cheap and its easy to install. BRP Hotrods is who its from.


Next the cam

Cam backing plate then the cam sprocket

Make sure the dots line up to ensure hes in time.

I would of installed the heads but I forgot to soak the lifters. Here they are submerged in oil for the time being

To make sure everything is correct and no machining errors were made with the heads or cam I am going to go ahead and degree the cam just to make sure

Also my pushrod length checker came in so I can get the pushrods ordered

Next is to get the lifters, lifter cups, then get the heads torqued down
08-19-2013, 09:51 AM
#96
You DID lube the cam. right?
08-19-2013, 10:45 AM
#98
Sorry, based on your thread and pro tools, I figured you did, but I still knew someone would ask if I didn't. LOL So what is your experince? I am assuming VERY high level wrench. Master tech?
08-19-2013, 11:31 AM
#99
I do have ASE certs but not Master. Actually I might need to check them to make sure they arent expired lol I wouldnt consider myself high level but I have been there. I have a friend or two that I lean on when needed one of which hooked me up with the 243 heads and machining you seen earlier. I actually lean on him the most
Last edited by 2BFAST; 08-19-2013 at 11:37 AM.
08-19-2013, 09:02 PM
#100
TECH Enthusiast
iTrader: (15)
Join Date: Aug 2006
Location: DFW....TX
Posts: 624
Likes: 0
Received 0 Likes
on
0 Posts
I hear ya. I knew by looking at the pic afterwards someone would say it lol
I do have ASE certs but not Master. Actually I might need to check them to make sure they arent expired lol I wouldnt consider myself high level but I have been there. I have a friend or two that I lean on when needed one of which hooked me up with the 243 heads and machining you seen earlier. I actually lean on him the most
I do have ASE certs but not Master. Actually I might need to check them to make sure they arent expired lol I wouldnt consider myself high level but I have been there. I have a friend or two that I lean on when needed one of which hooked me up with the 243 heads and machining you seen earlier. I actually lean on him the most
Been thinking more and more about making the trip up there to get your wiring all square when the time comes. Kinda hard to do that one from here.
And maybe a few more late nights with a bottle of crown and "fireworks" LMAO
