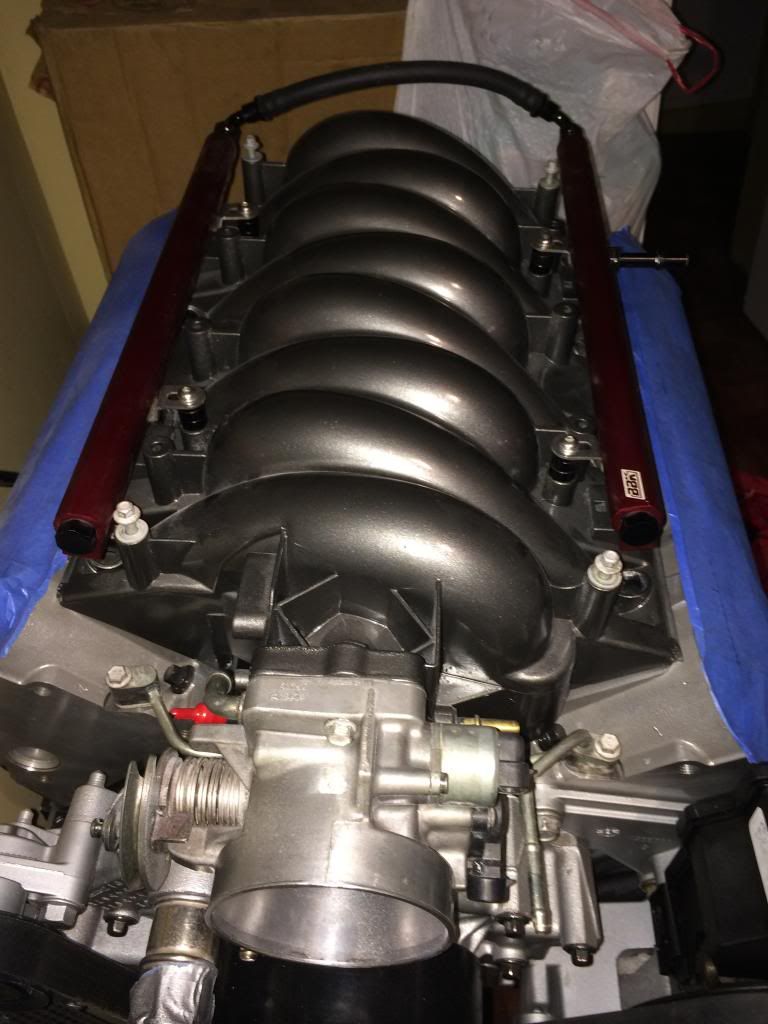
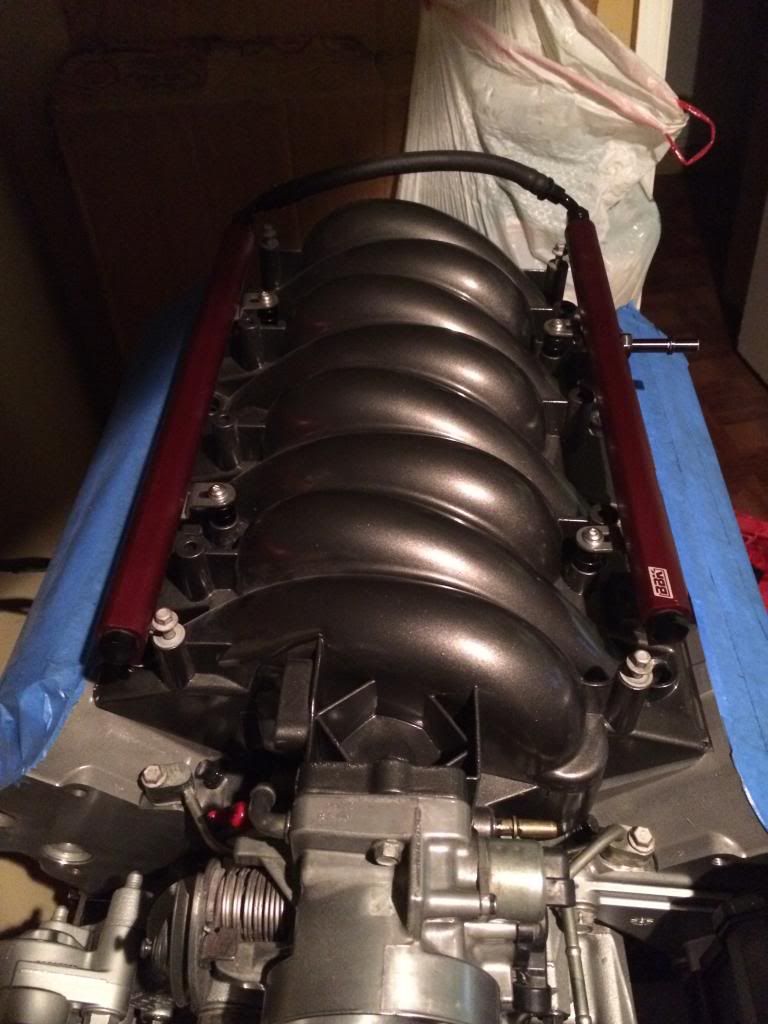
69 Chevelle - LS1 T56 Swap
#41
On The Tree
Thread Starter
iTrader: (4)
Join Date: Dec 2011
Location: San Francisco
Posts: 134
Likes: 0
Received 0 Likes
on
0 Posts
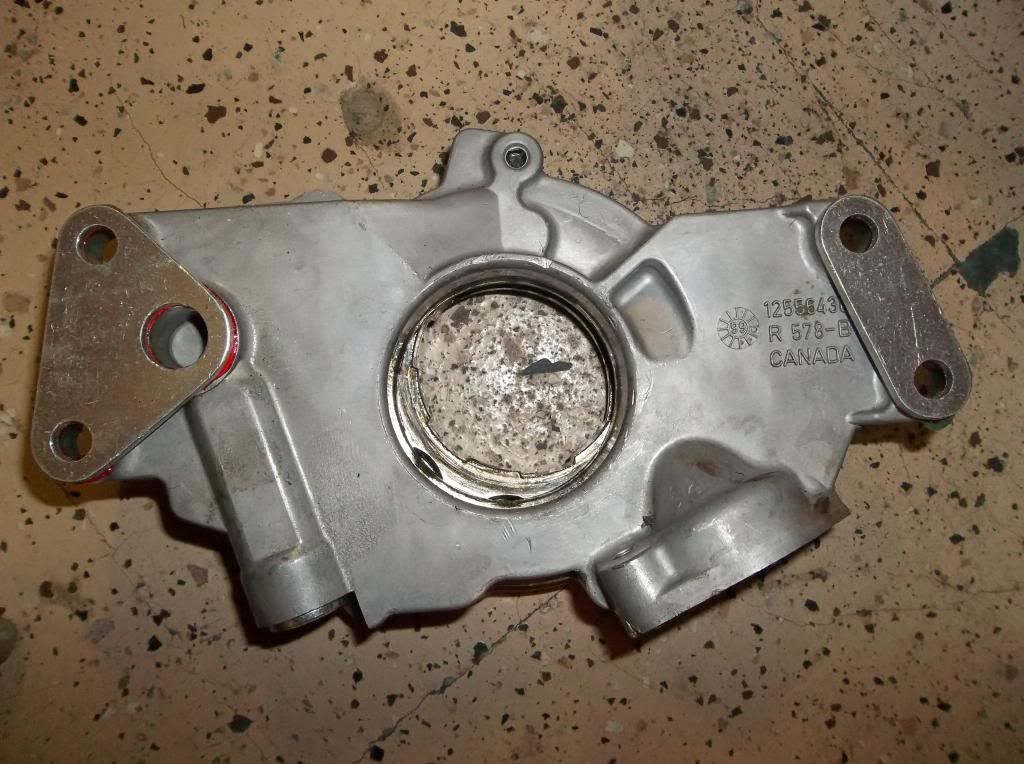
had a HUGE hiccup tonight so there will be a delay on getting everyone the updates. broke the bolt on the pickup tube to oil pump like a dummy. it read 106 INCH lbs not FOOT lbs. here is the link to some pics and my mistake...
https://ls1tech.com/forums/conversio...l#post17776408
Thanks to the great service over at HUBBARD RACING INC, this wont be setting me back too long. The will exchange my pump for another. Cant thank them enough!
https://ls1tech.com/forums/conversio...l#post17776408
Thanks to the great service over at HUBBARD RACING INC, this wont be setting me back too long. The will exchange my pump for another. Cant thank them enough!
#44
On The Tree
Thread Starter
iTrader: (4)
Join Date: Dec 2011
Location: San Francisco
Posts: 134
Likes: 0
Received 0 Likes
on
0 Posts
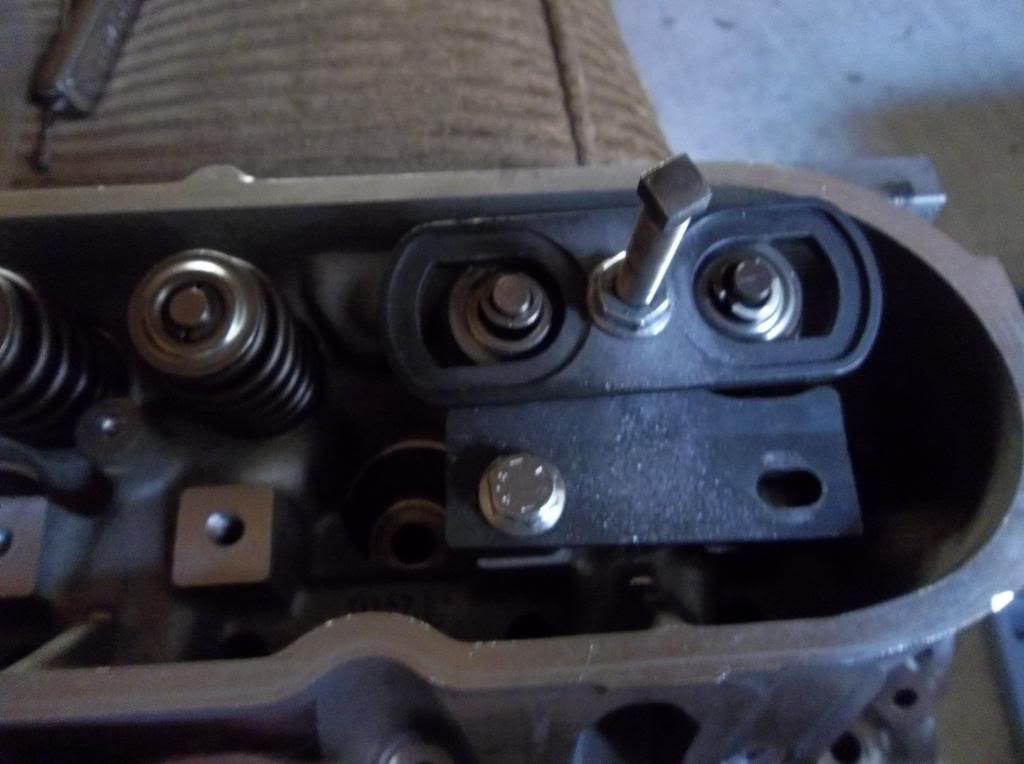
Alright so im typing up this next update while my brother is driving us to LA for fright night at Six Flags. Yes, this is my obsession. So while I was waiting for the new timing chain I got the intake painted. Here is another pic of what it looked like while I was doing the valve spring swap , thanks again to SPEC134 on LS1tech and TC for the tool and help. Hopefully ill be helping him pull his body of the frame of his 68 in the next couple weekends.
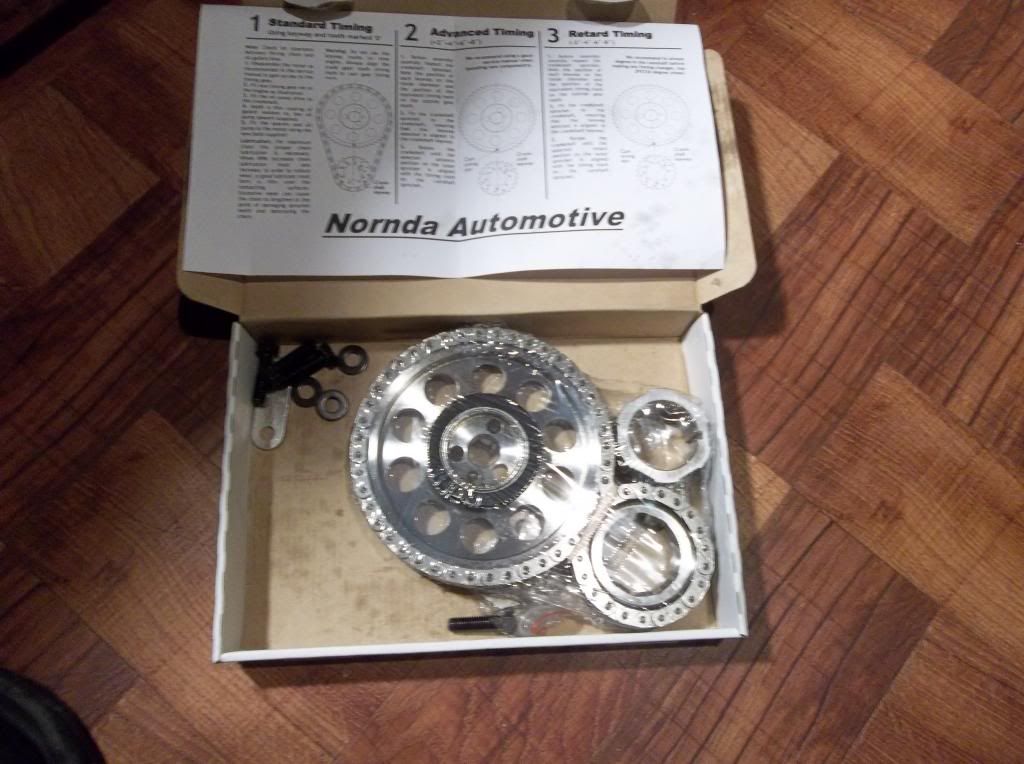
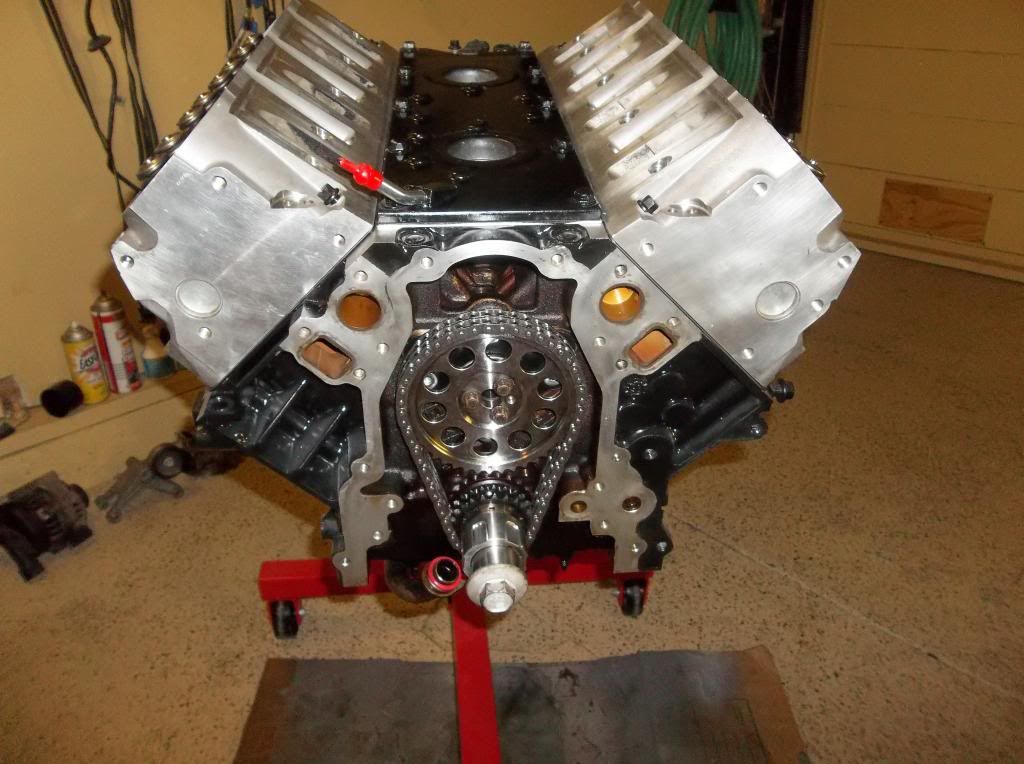
Also got my timing chain (Rollmaster) – pretty. Instructions were pretty plain so I did some research.
Here is a pic of the chain…
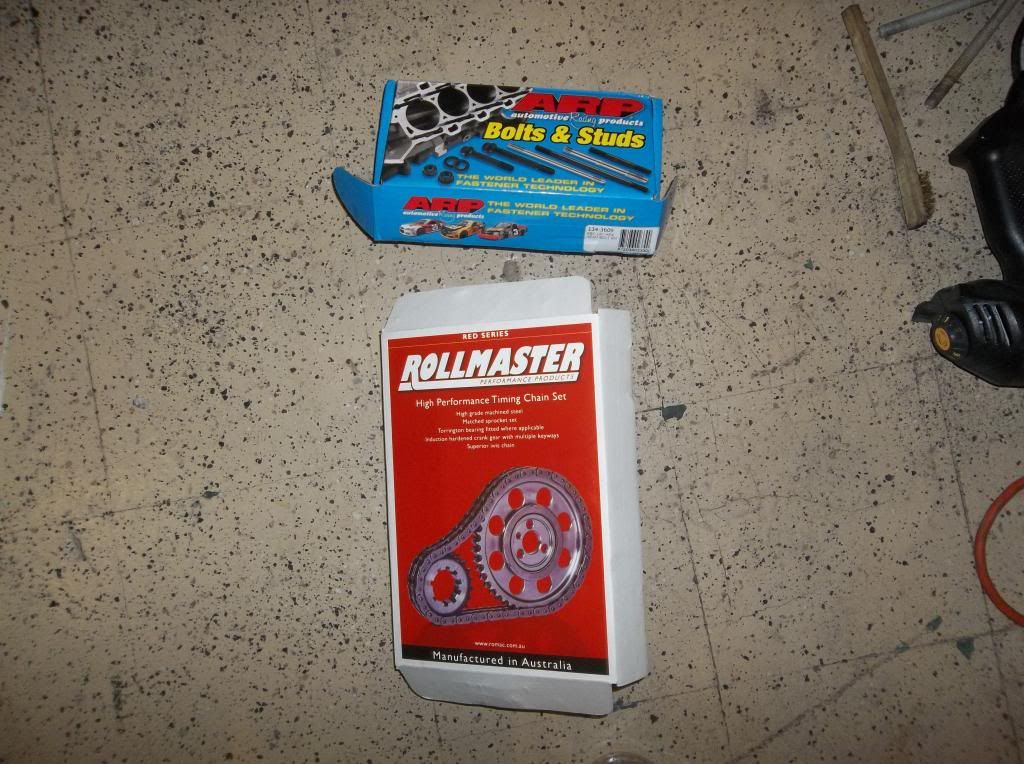
Once your old one is removed and everything is clean and ready to go, I followed these steps that I put together from reading up on it, hoping this stuff is pretty accurate…
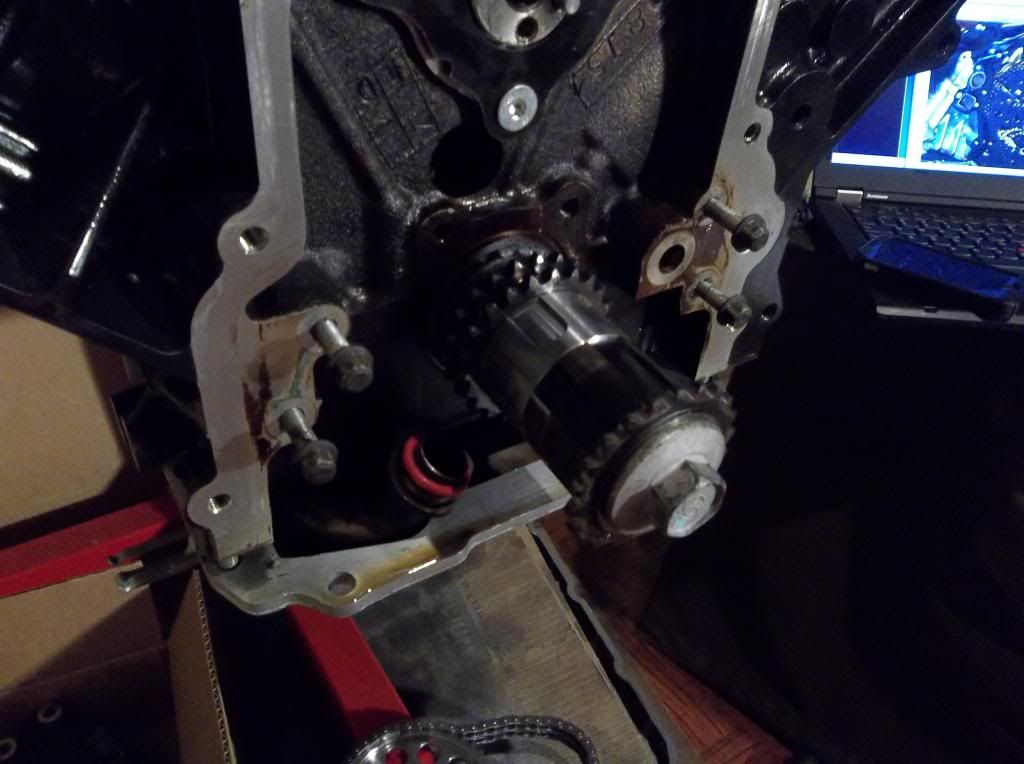
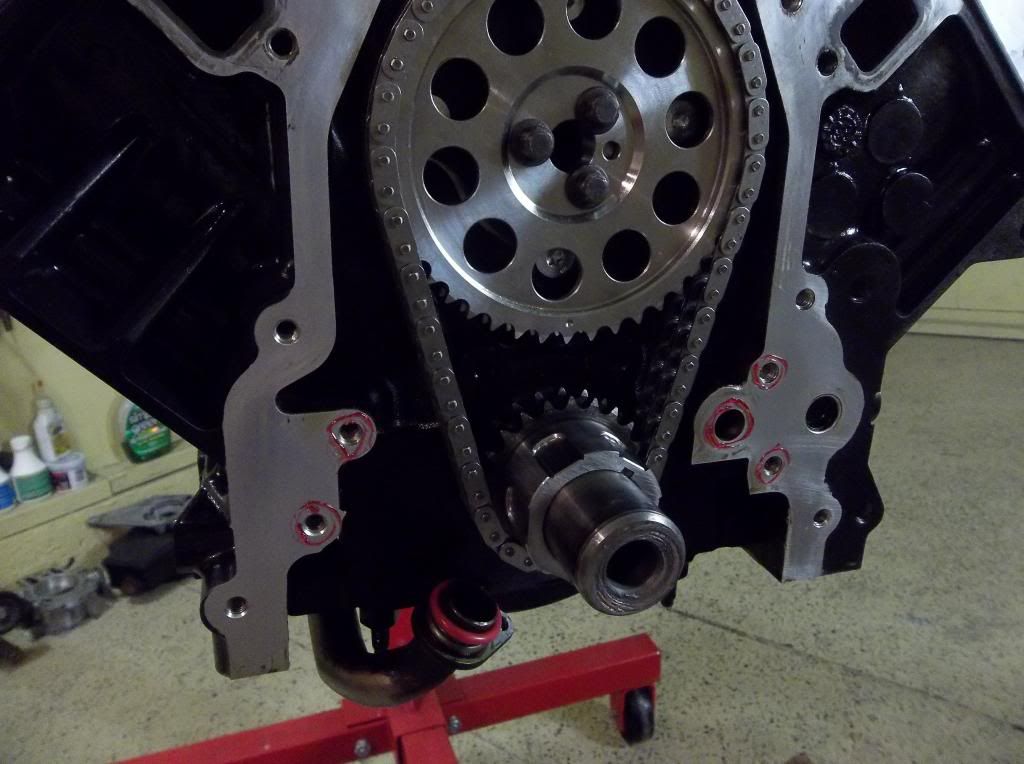
1) line up the notch on the snout with the gear and push the new crank gear on by hand until it stops, mine went about a half inch from the block or so
2) Next place the spacer on. Instructions didn’t say but I guess I would have figured it out since it only allows the oil pump to slide on over it one way.
3) use the old crank gear and set in front of the new one as shown in my pictures (my new spacer is backwords at this point so I didn’t nick it when pressing it on), then use your old crank bolt to tighten down slowly. watch it go on smooth until it stops against the block
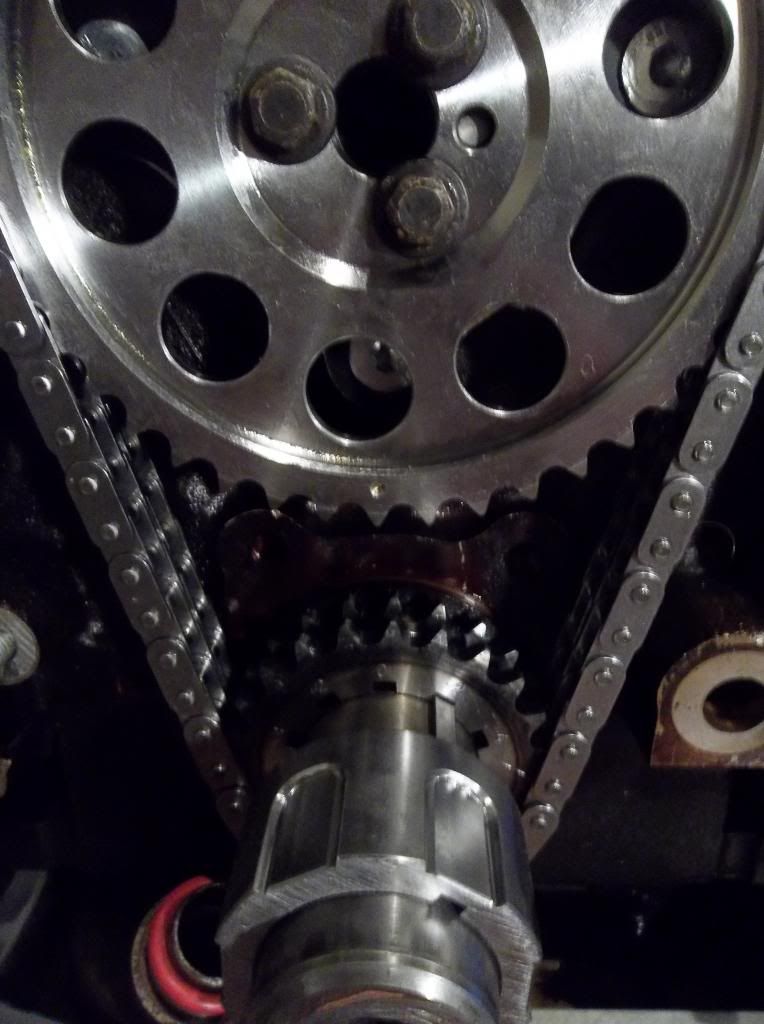
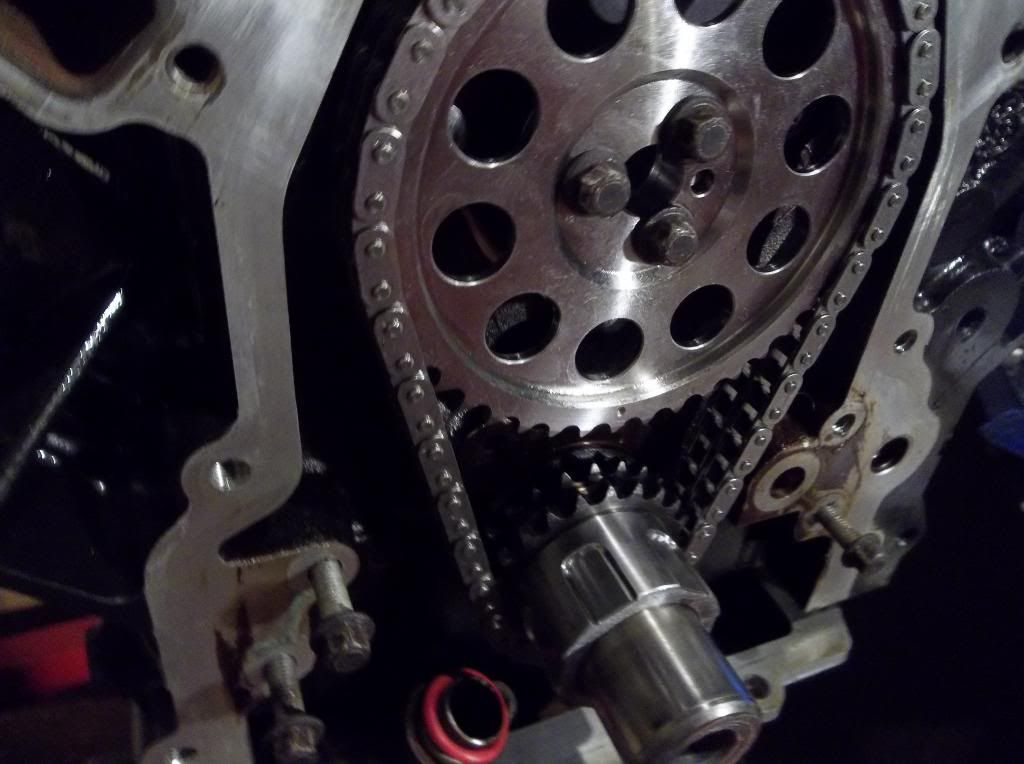
4) this part took some tinkering because it has to be just right but you need to line the crank gear up so the 0 is centered over the top of the snout, your cylinder 1 piston should be up.
5) now try to align the cam so that when you put the cam gear on, the dot will match the 0 on the crank gear which should be centered over the top of the crank snout - make sure the dot on the cam gear aligns with the 0 on the crank gear. Don’t line the cam gear dot up with the crank gear notch.
6) then, use your old cam bolts with a bit of blue threadlock and torque to 26ft lbs.
7) to check that you have done this right, turn your crank 2 full spins (720 degrees) and see if it lines back up. If so, congrats! If not, grab a beer, and get back to work.
8) Lubricate the timing set with fresh engine oil. Also ensure the engine oil has a clear path to the timing set through the lifter valley oil drain back holes.
9) Install oil pump drive, by aligning the crankshaft keyway and install until fully seated against the timing gear.

Also got my timing chain (Rollmaster) – pretty. Instructions were pretty plain so I did some research.
Here is a pic of the chain…


Once your old one is removed and everything is clean and ready to go, I followed these steps that I put together from reading up on it, hoping this stuff is pretty accurate…
1) line up the notch on the snout with the gear and push the new crank gear on by hand until it stops, mine went about a half inch from the block or so
2) Next place the spacer on. Instructions didn’t say but I guess I would have figured it out since it only allows the oil pump to slide on over it one way.
3) use the old crank gear and set in front of the new one as shown in my pictures (my new spacer is backwords at this point so I didn’t nick it when pressing it on), then use your old crank bolt to tighten down slowly. watch it go on smooth until it stops against the block
4) this part took some tinkering because it has to be just right but you need to line the crank gear up so the 0 is centered over the top of the snout, your cylinder 1 piston should be up.
5) now try to align the cam so that when you put the cam gear on, the dot will match the 0 on the crank gear which should be centered over the top of the crank snout - make sure the dot on the cam gear aligns with the 0 on the crank gear. Don’t line the cam gear dot up with the crank gear notch.
6) then, use your old cam bolts with a bit of blue threadlock and torque to 26ft lbs.
7) to check that you have done this right, turn your crank 2 full spins (720 degrees) and see if it lines back up. If so, congrats! If not, grab a beer, and get back to work.
8) Lubricate the timing set with fresh engine oil. Also ensure the engine oil has a clear path to the timing set through the lifter valley oil drain back holes.
9) Install oil pump drive, by aligning the crankshaft keyway and install until fully seated against the timing gear.


#45
On The Tree
Thread Starter
iTrader: (4)
Join Date: Dec 2011
Location: San Francisco
Posts: 134
Likes: 0
Received 0 Likes
on
0 Posts
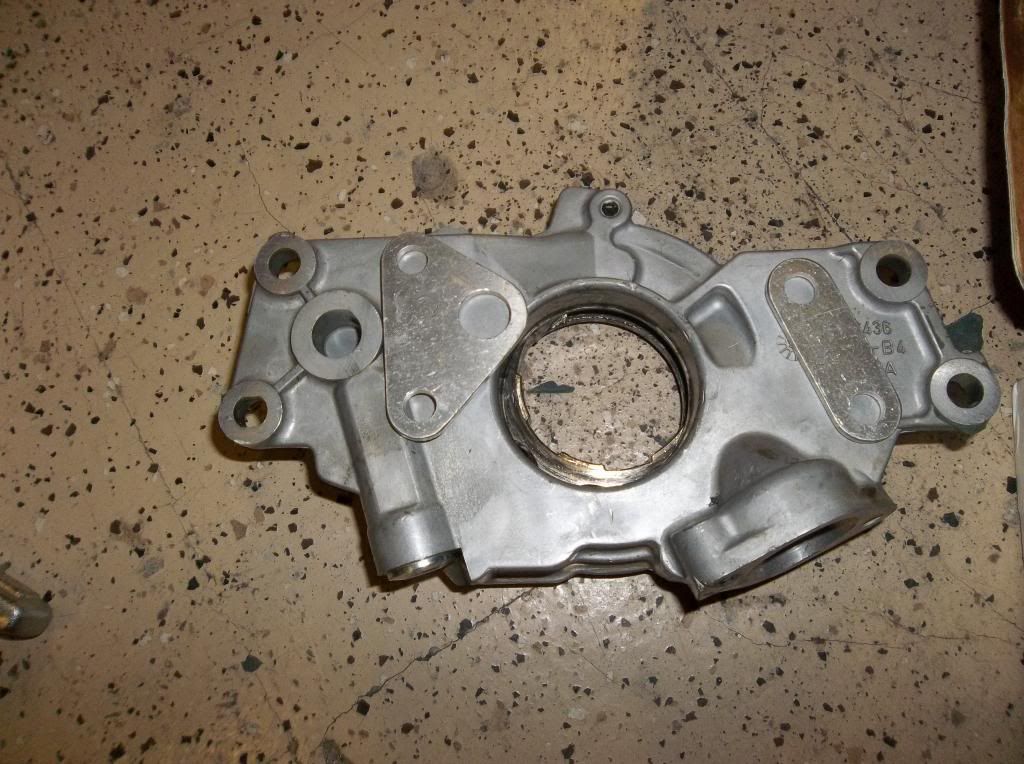
10) now since your using a double roller chain, you should have the washer spacers to go between the oil pump and block as I show in the pics below. The drivers side space MUST be installed correctly for oil to flow. They basically only go one way and you can tell how they go if you have common sense. Check for proper alignment by ensuring the hole for oil flow is proper aligned and isn’t restricting oil flow before final installation, as an improper installation will cut off oil flow and could damage your engine.
11) after you know you have it lined up correct, I used some Anaerobic sealer between the pump and washers AND between the block and washers as you will see in my pics. I stuck the washers to the pump this way and lined it up again and threaded the bolts a few threads. You will have to tinker with the pump still to get the pickup tube to seat correctly so don’t tighten the pump down yet. You may have to push the pickup tube down to get in line with pump with 0-ring on right which is easiest with the pan off.
12) Reinstall the oil pump, remembering to make sure the pickup tube is reattached and the o-ring
is properly seated. Put blue thread lock on oil pump bolts and torque to 18ftlb, then thread lock pickup tube bolt and torque to 106 INCH lbs (about 9ft lbs – this is where I made my first mistake)
Make sure you do the pickup tube bolt FIRST. Do not bolt the oil pump to the block yet, because the shims will prevent the oil pump from wiggling correctly.
More pics of the oil pump install to follow…


#46
On The Tree
Thread Starter
iTrader: (4)
Join Date: Dec 2011
Location: San Francisco
Posts: 134
Likes: 0
Received 0 Likes
on
0 Posts
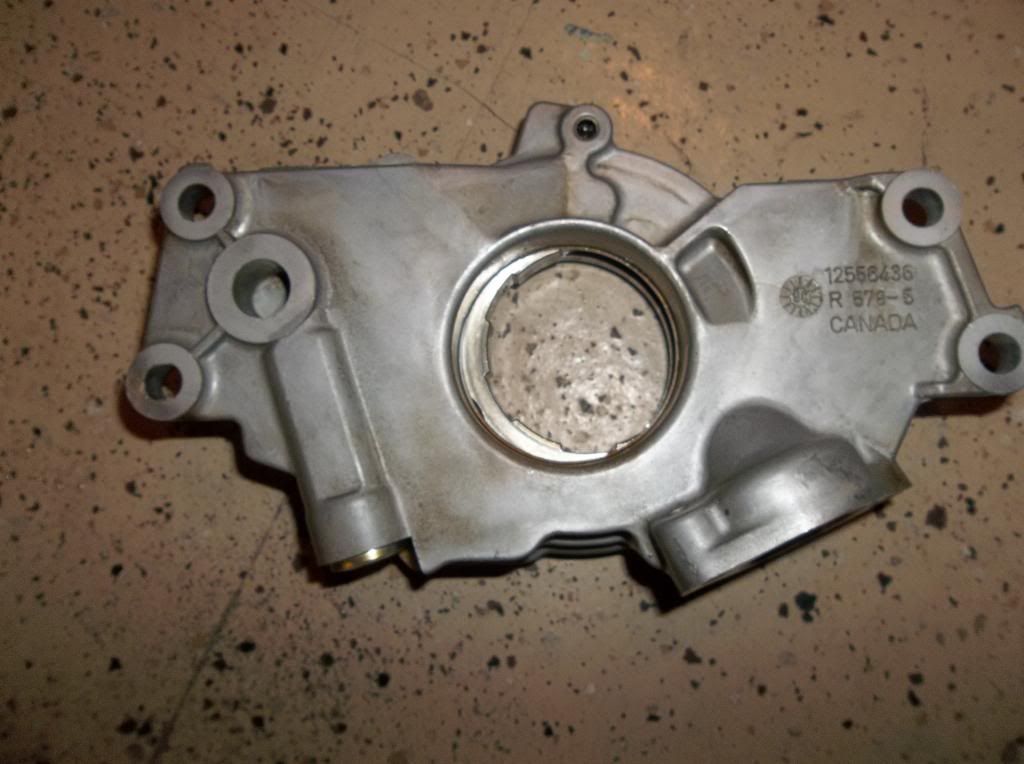
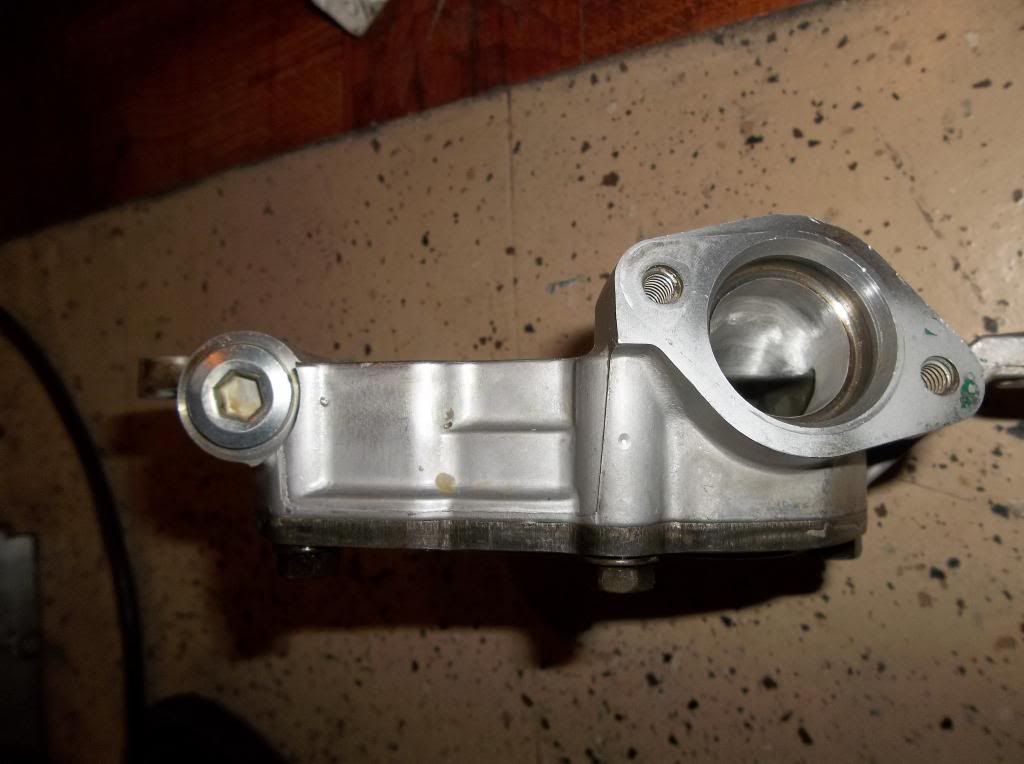
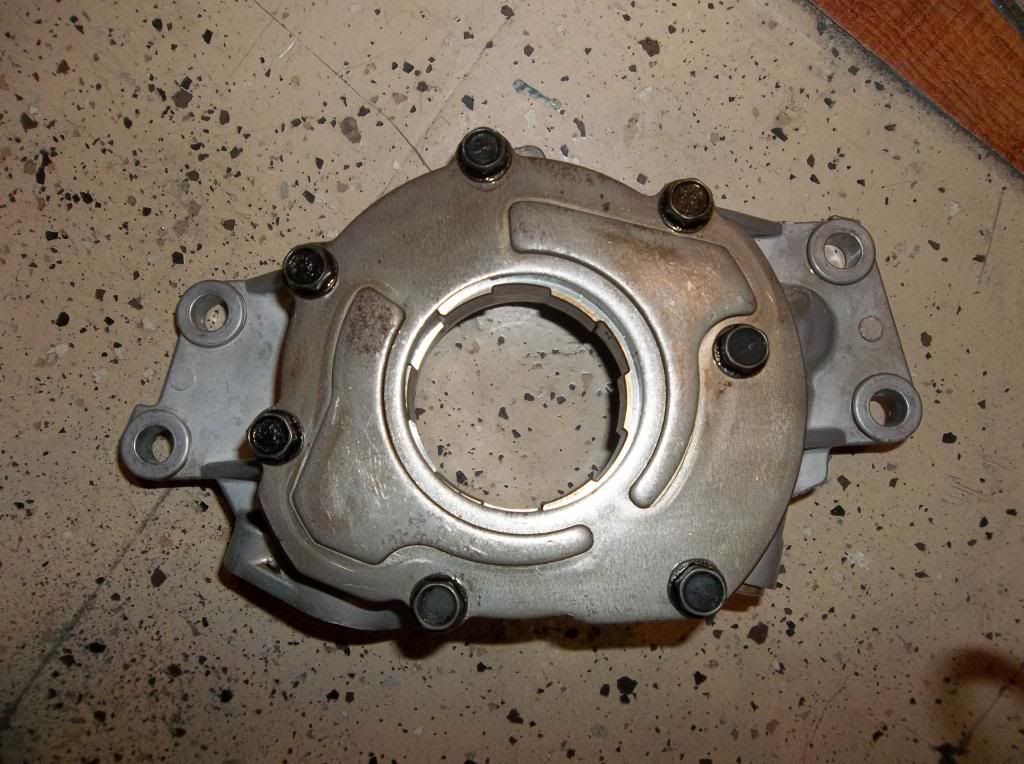
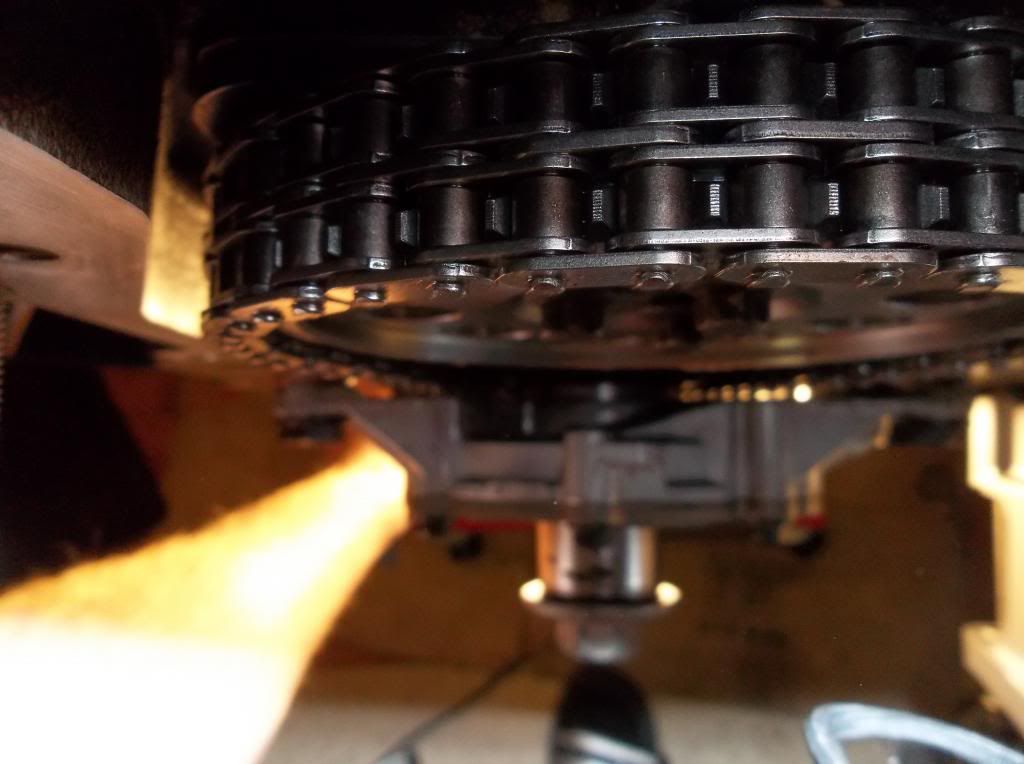
This would be my SECOND oil pump since I messed up the first time, thanks again to Hubbard Racing Inc for helping me out here. Some of the best customer service I have come across in this build. The pumps they are selling are pretty and beat the prices of most other ported LS6 oil pumps which cost about double. Worth the buck and the good people. Cant wait to see how it runs when I get this thing on the road.
Here you can see how tight the oil pump fit is with the double roller. Im hoping its enough and keeps that space when its running…
#47
On The Tree
Thread Starter
iTrader: (4)
Join Date: Dec 2011
Location: San Francisco
Posts: 134
Likes: 0
Received 0 Likes
on
0 Posts
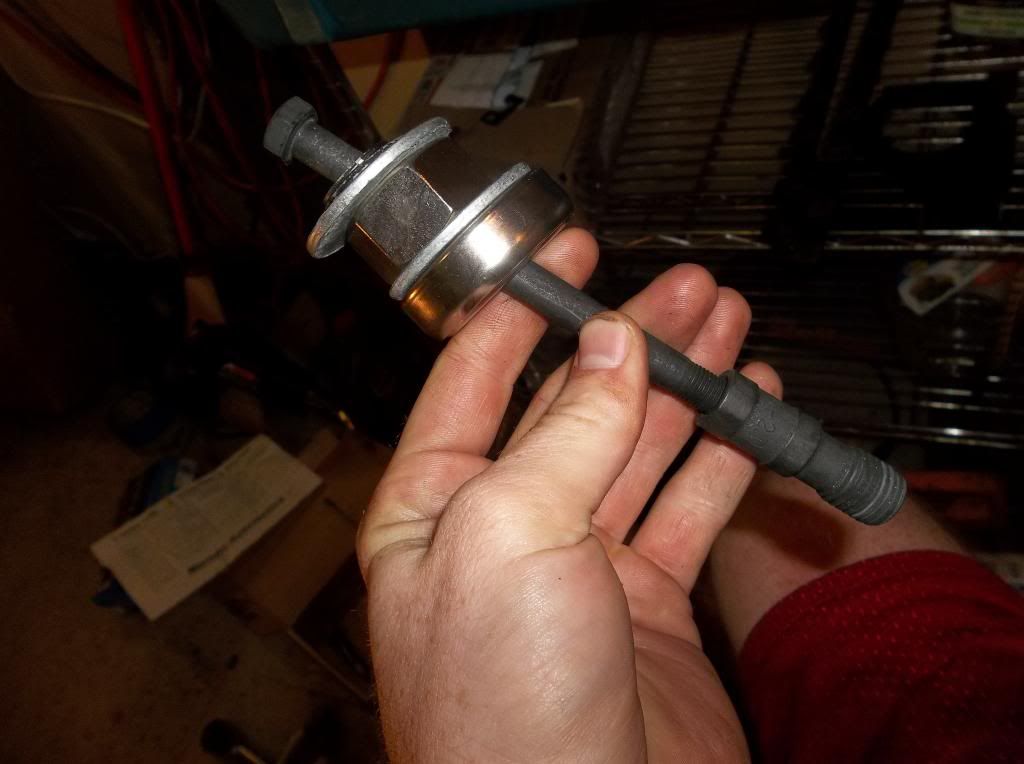
After putting the timing chain cover on using this sites instructions http://www.ls1howto.com/?article=23 and leaving it loose for the crank pulley to fit on, I used this set up to install the crank pulley. I got the pulley installer and then used some washers and a big nut as a spacer to get it started on. Then when it was far enough I used the old crank bolt to push it on. Only use the old crank bolt once it can go in a good amount of threads otherwise you will end up stripping it out. Lucky for me I read about this so I was able to avoid it and not strip mine. Once I bolted the old bolt on and torqued it to spec. I just received my new SUMMIT crank bolt but haven’t installed it yet. When I put it on I will only torque it to 37ft lbs. Here is a pic of the installer I created using the Oreillys installer and some hardware…
I also installed the heads while I was waiting for the new oil pump using my ARP (134-3609) head bolt kit which I think I got lucky and got a good price on from Ebay. To install the heads I was basically able to follow the instructions here: http://www.ls1howto.com/?article=3
I followed this torque pattern but the torque specs for ARP were different so I didn’t follow it exactly (also used the ARP instructions somewhat).
I used the Mr. Gasket gaskets which require no lubrication or sealer etc, just a clean surface. Posted a link about that and got this feedback (leave the rivets also, its pretty straight forward how they go on cus the holes line up one way nicely with the block: https://ls1tech.com/forums/conversio...l#post17776168
The next thing I did was lubricate and install the pushrods. For the rockers I found some instructions online here: http://www.hotrodlane.cc/New%20LS%20...eplacement.htm
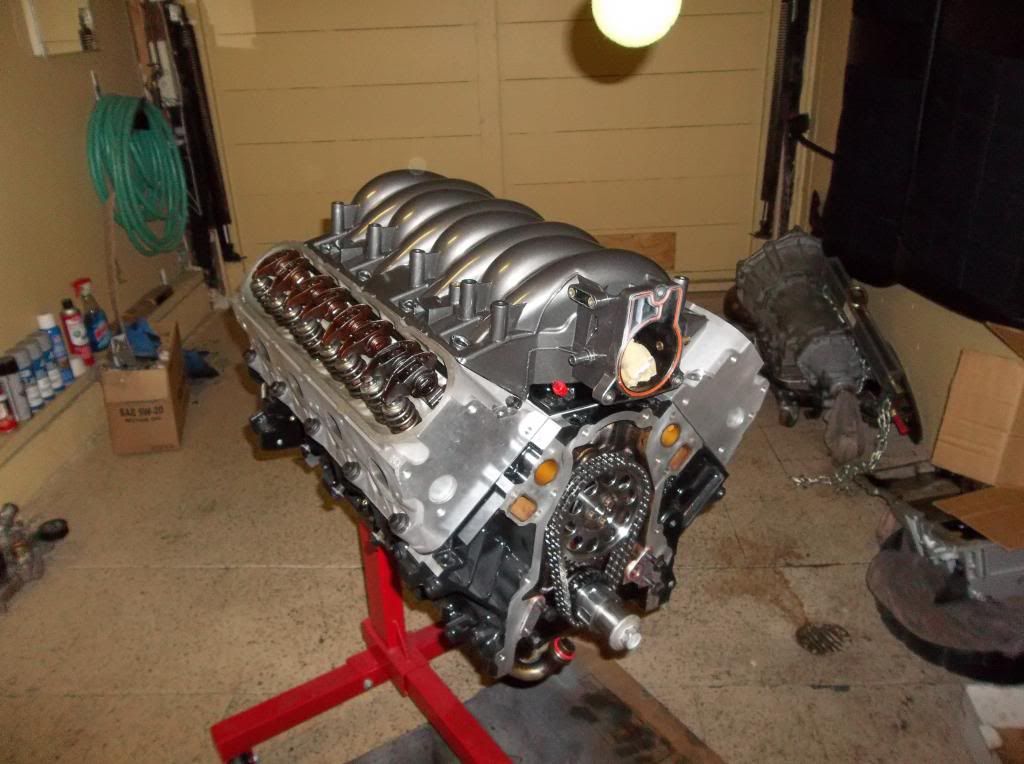
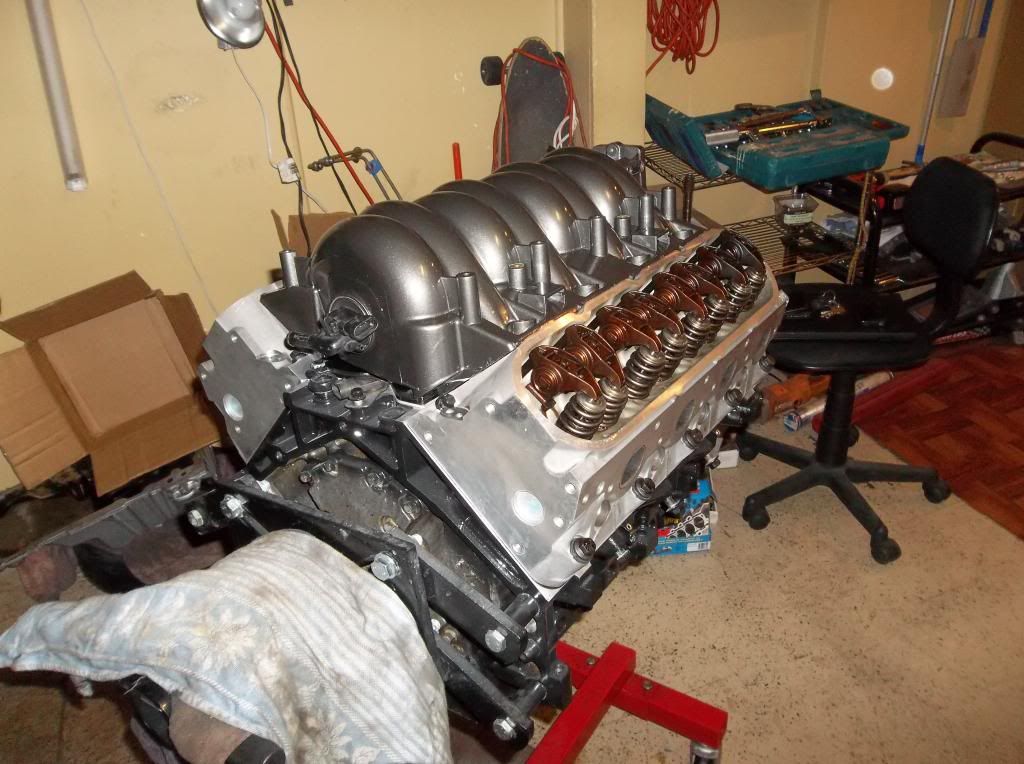
You guys are probably going to hate me a little bit though because I got on a roll like a tweaker and just went after the engine without taking as many pics and documenting it. But I got most of it together the night I got the SECOND oil pump cus I was so excited.

I also installed the heads while I was waiting for the new oil pump using my ARP (134-3609) head bolt kit which I think I got lucky and got a good price on from Ebay. To install the heads I was basically able to follow the instructions here: http://www.ls1howto.com/?article=3
I followed this torque pattern but the torque specs for ARP were different so I didn’t follow it exactly (also used the ARP instructions somewhat).
I used the Mr. Gasket gaskets which require no lubrication or sealer etc, just a clean surface. Posted a link about that and got this feedback (leave the rivets also, its pretty straight forward how they go on cus the holes line up one way nicely with the block: https://ls1tech.com/forums/conversio...l#post17776168
The next thing I did was lubricate and install the pushrods. For the rockers I found some instructions online here: http://www.hotrodlane.cc/New%20LS%20...eplacement.htm


You guys are probably going to hate me a little bit though because I got on a roll like a tweaker and just went after the engine without taking as many pics and documenting it. But I got most of it together the night I got the SECOND oil pump cus I was so excited.


#48
On The Tree
Thread Starter
iTrader: (4)
Join Date: Dec 2011
Location: San Francisco
Posts: 134
Likes: 0
Received 0 Likes
on
0 Posts
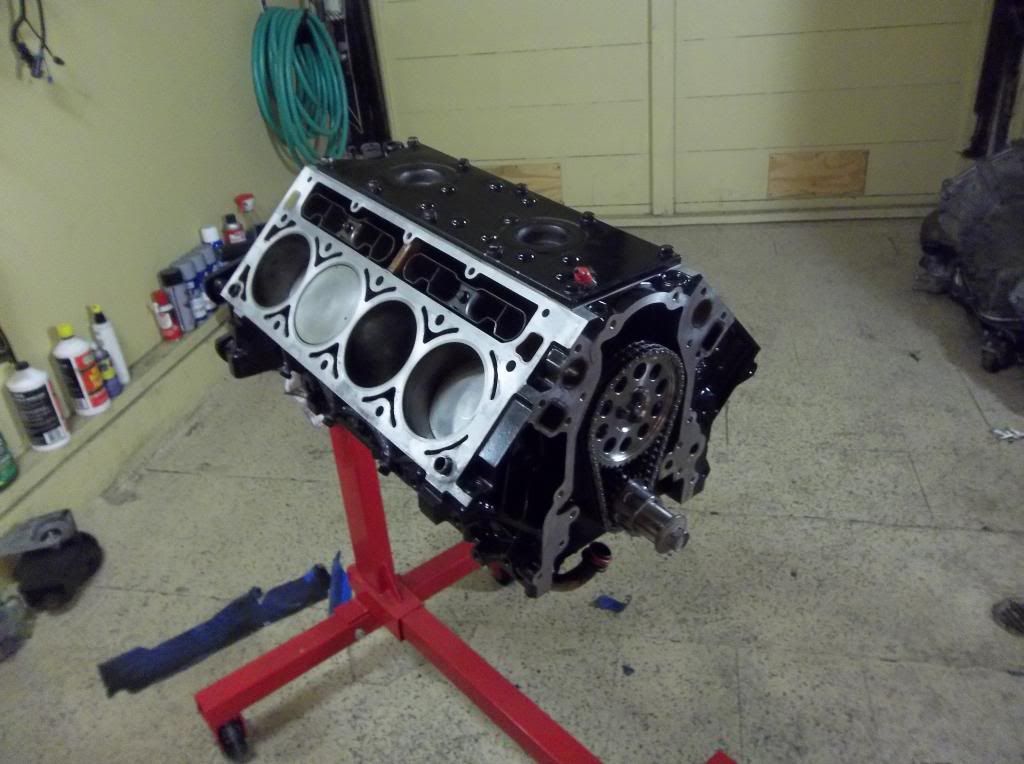
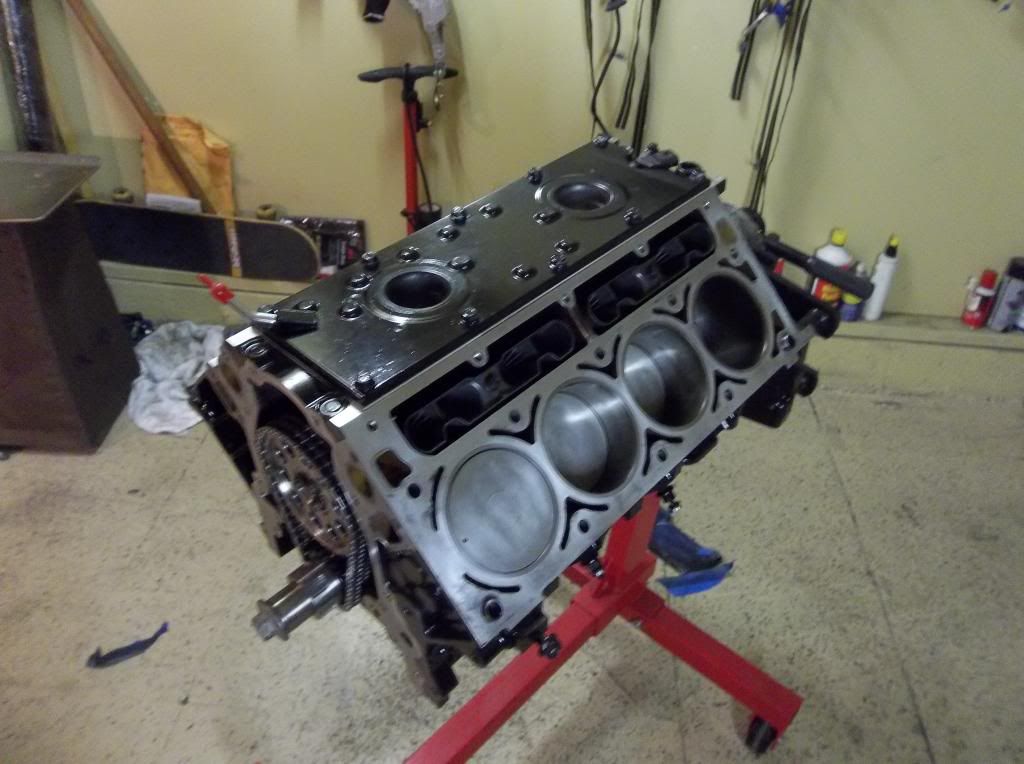
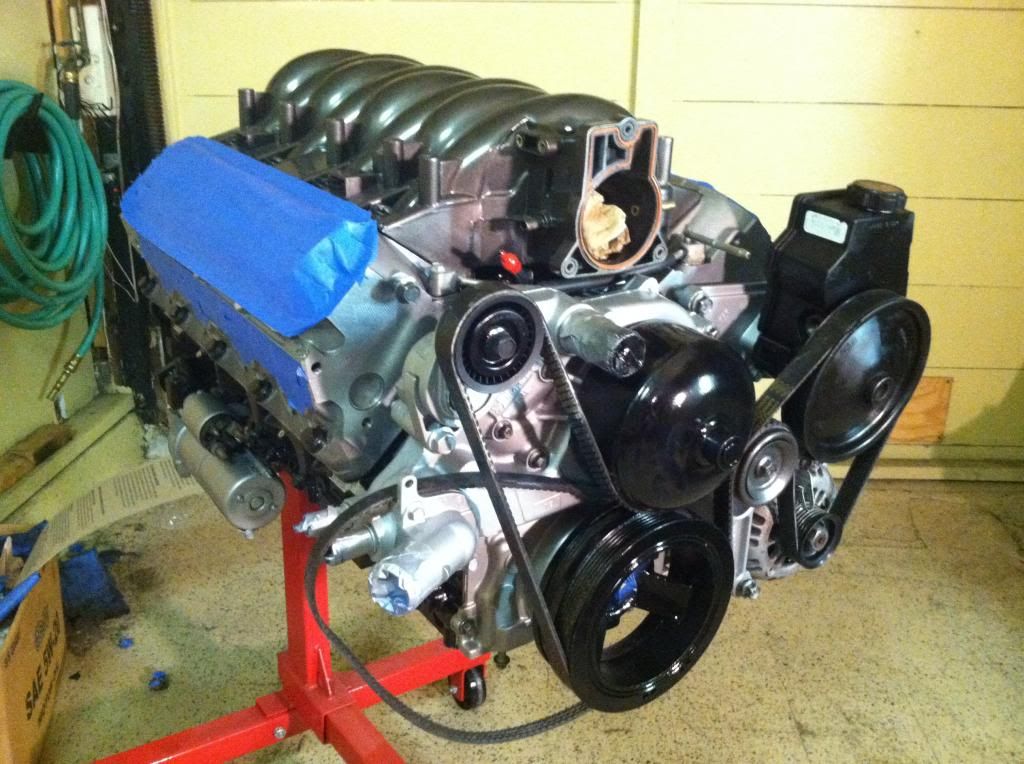
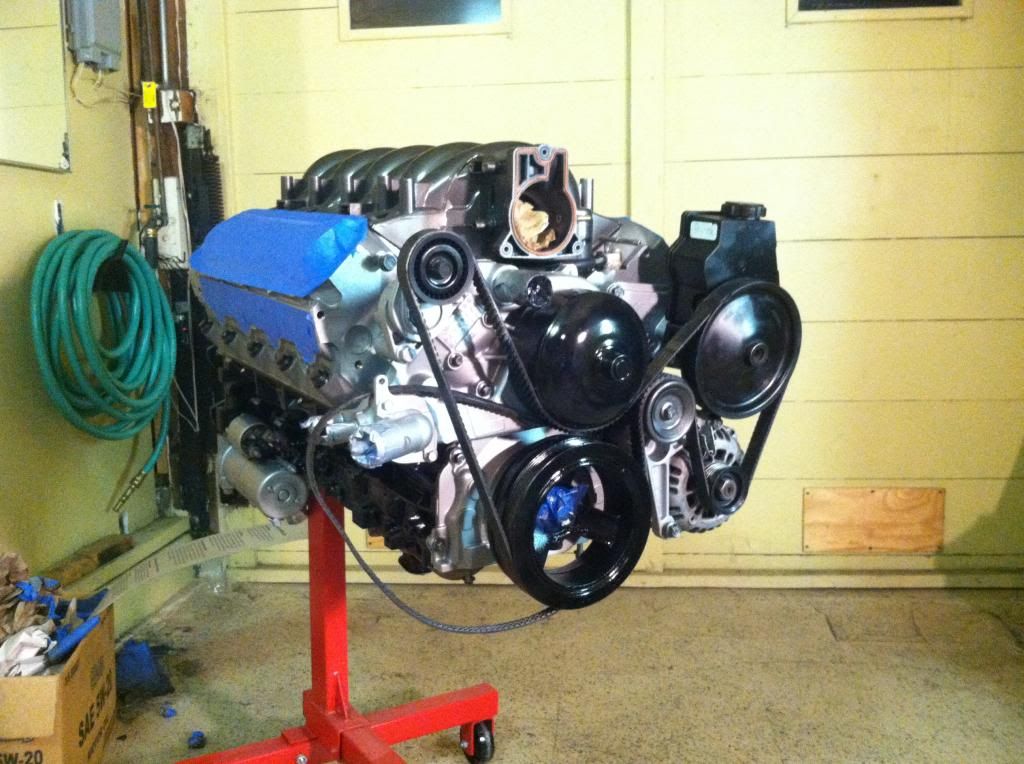
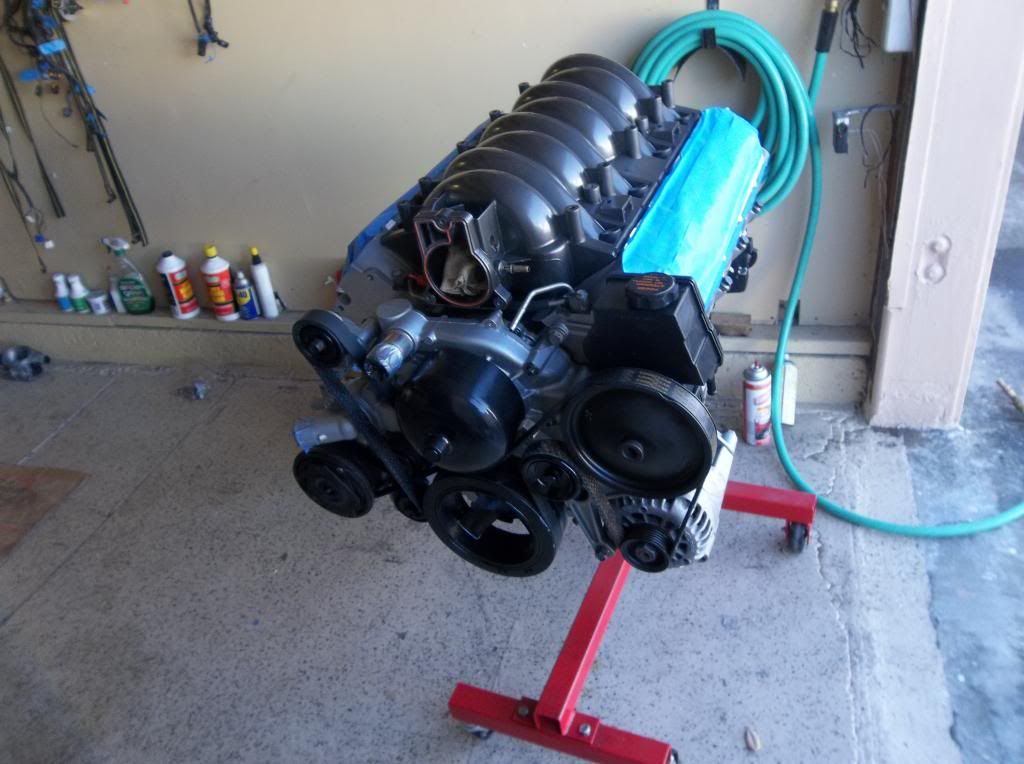
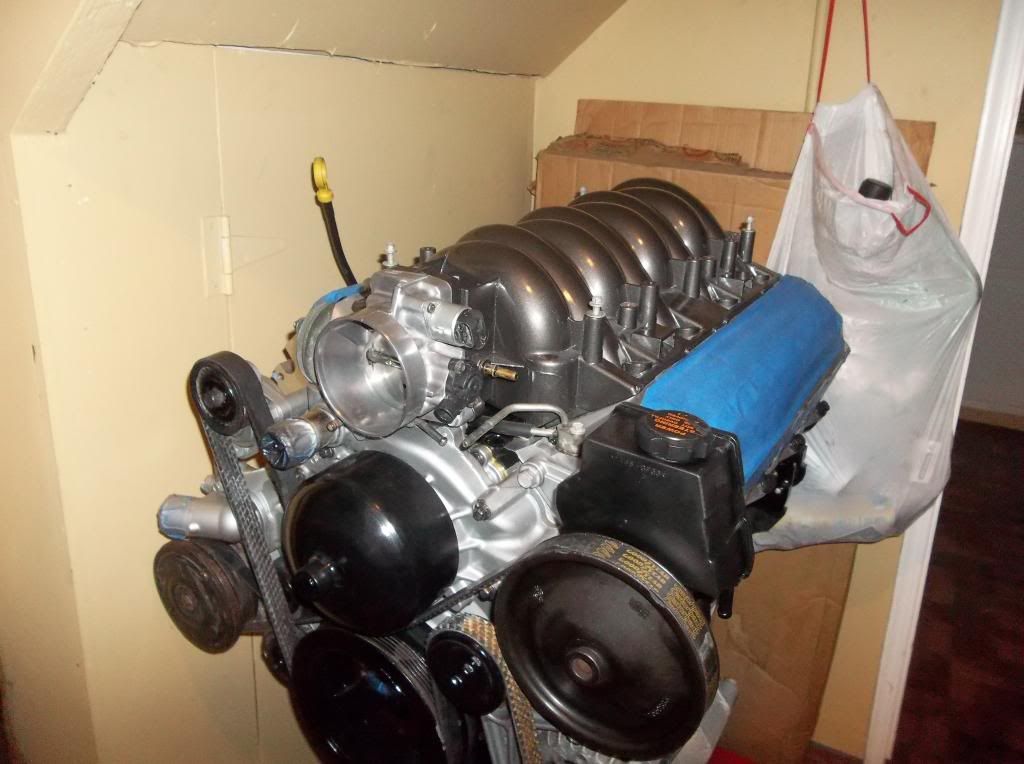
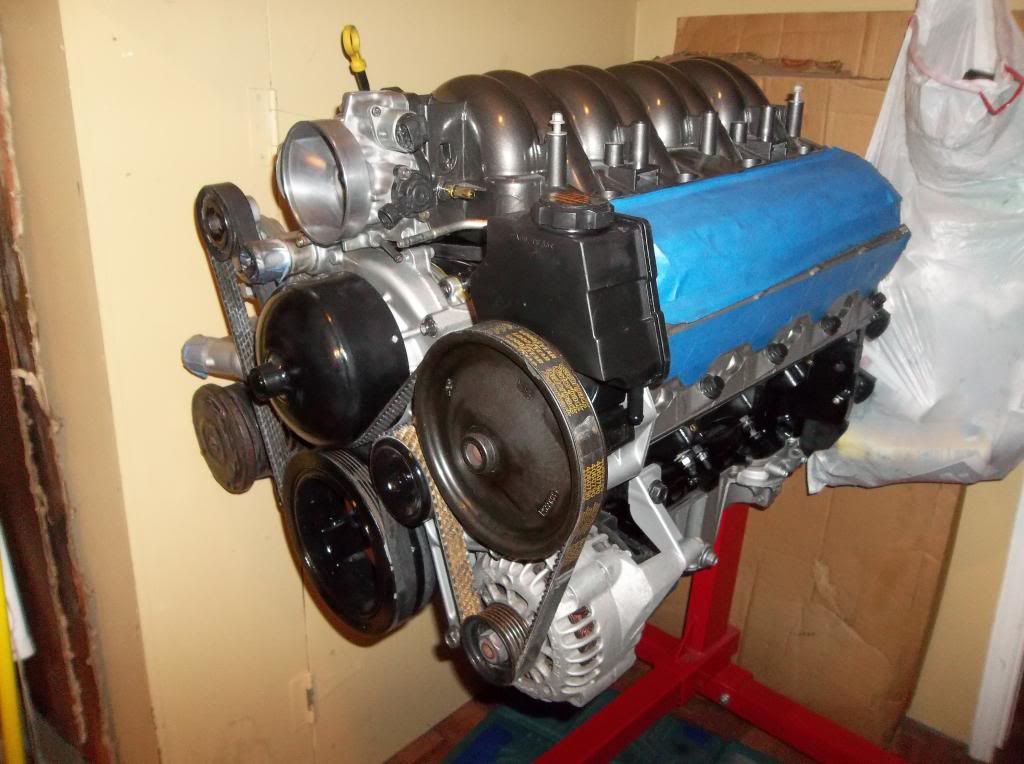
Then today I finished it up. I know ill probably have to make some adjustments like switching to top mount A/C and alternator and I may even need a different oil pan. So, for now its just bolted up, the pan is on but not sealed or torqued. Once I get the car back ill start fitting and making those adjustments. So for now here she lies and ill keep the updates coming. Ill probably start stocking up on some parts.
Here are pics of the beauty now
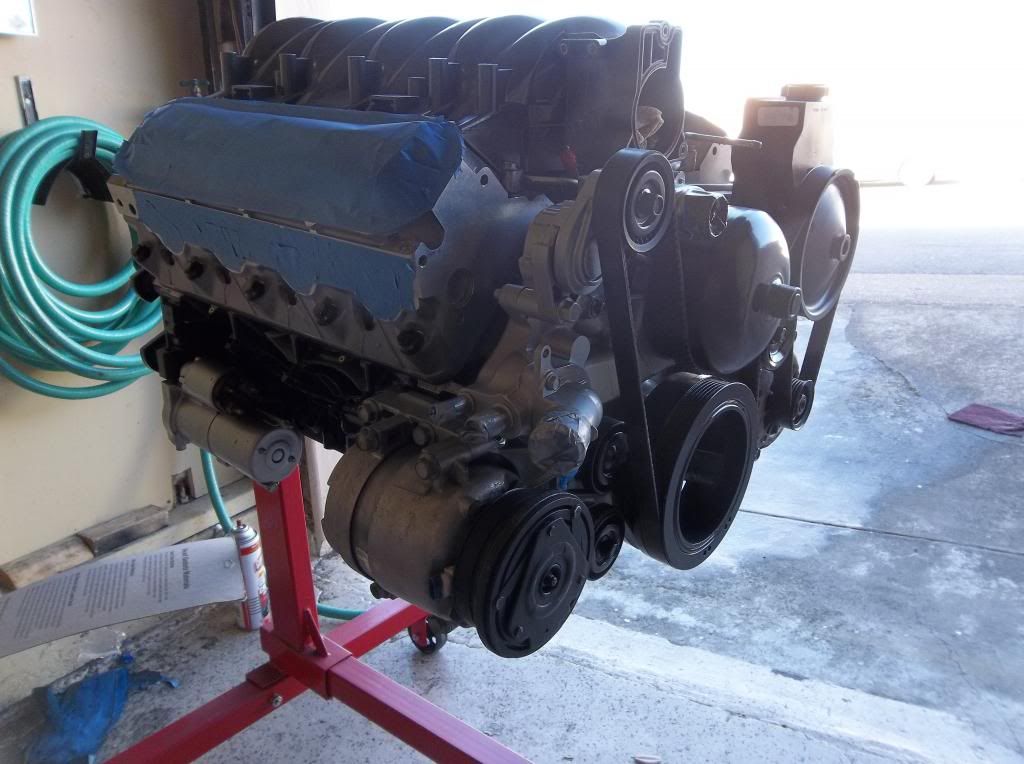
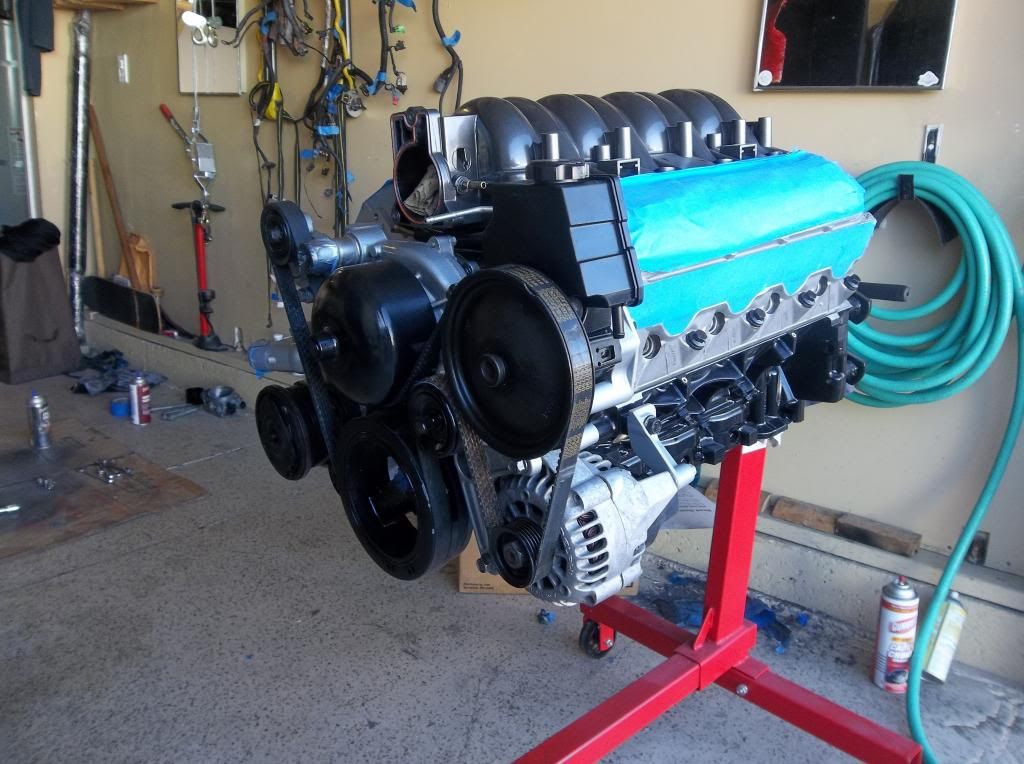
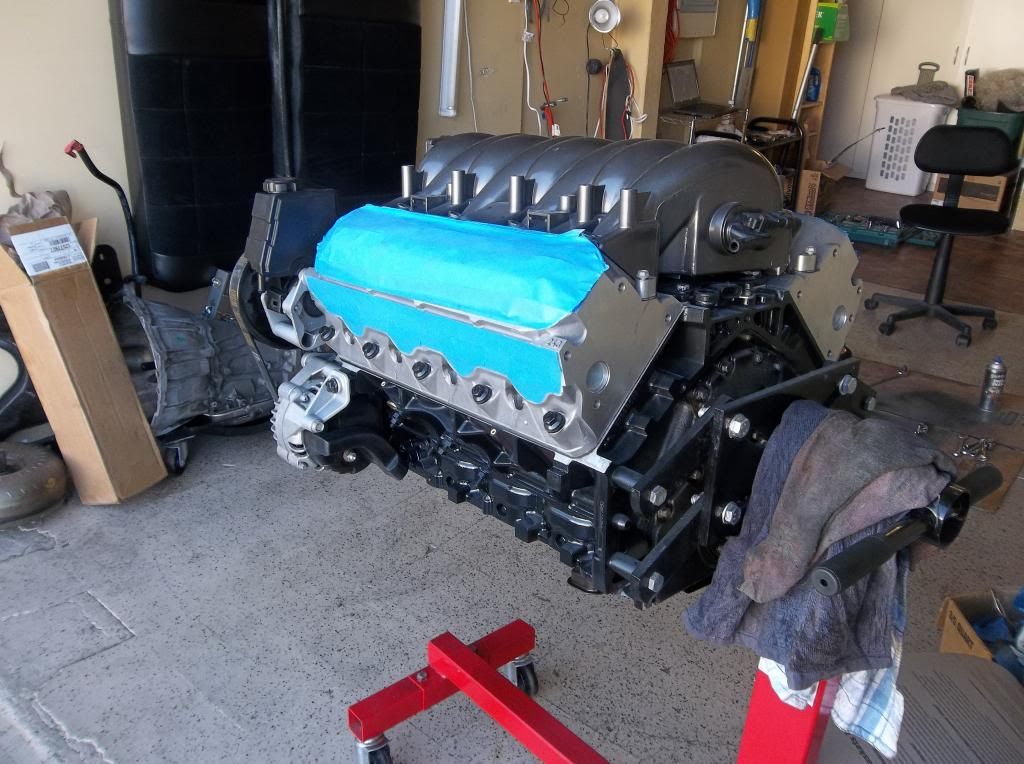
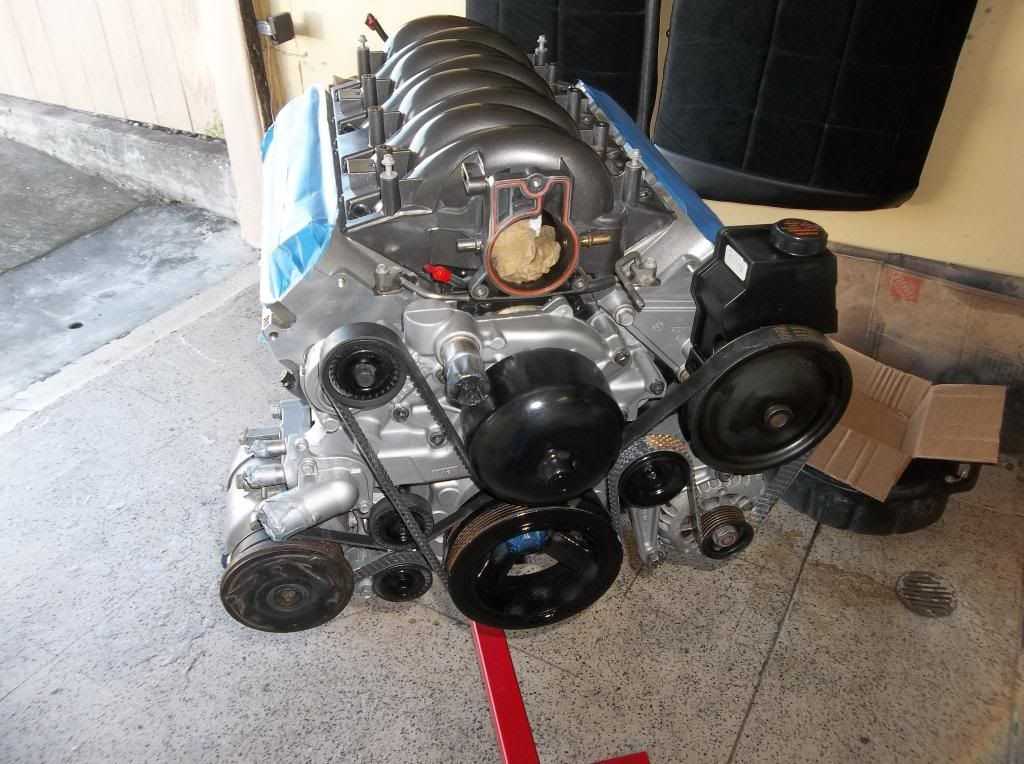
Here are pics of the beauty now


#49
On The Tree
Thread Starter
iTrader: (4)
Join Date: Dec 2011
Location: San Francisco
Posts: 134
Likes: 0
Received 0 Likes
on
0 Posts
Once I had all the accessories bolted up I bolted up the dipstick to help keep it all together. I also took some Mothers Polish to my stock throttle body as you can see. The steel whool really helped clean it up and put a bit of a shine to it.
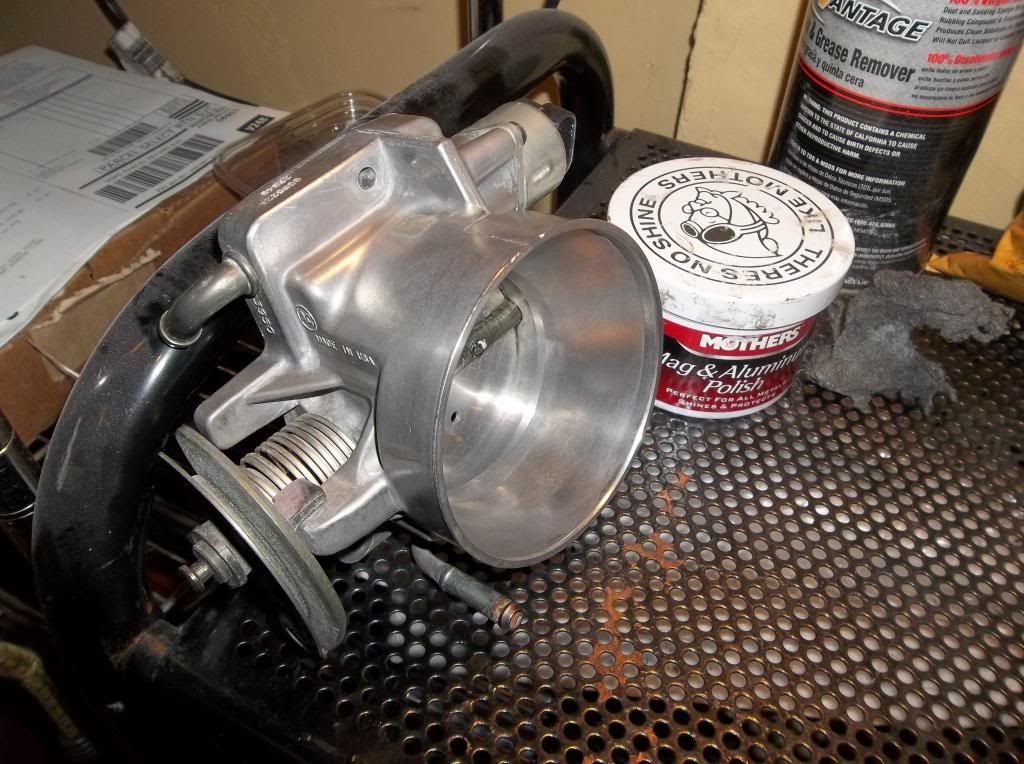
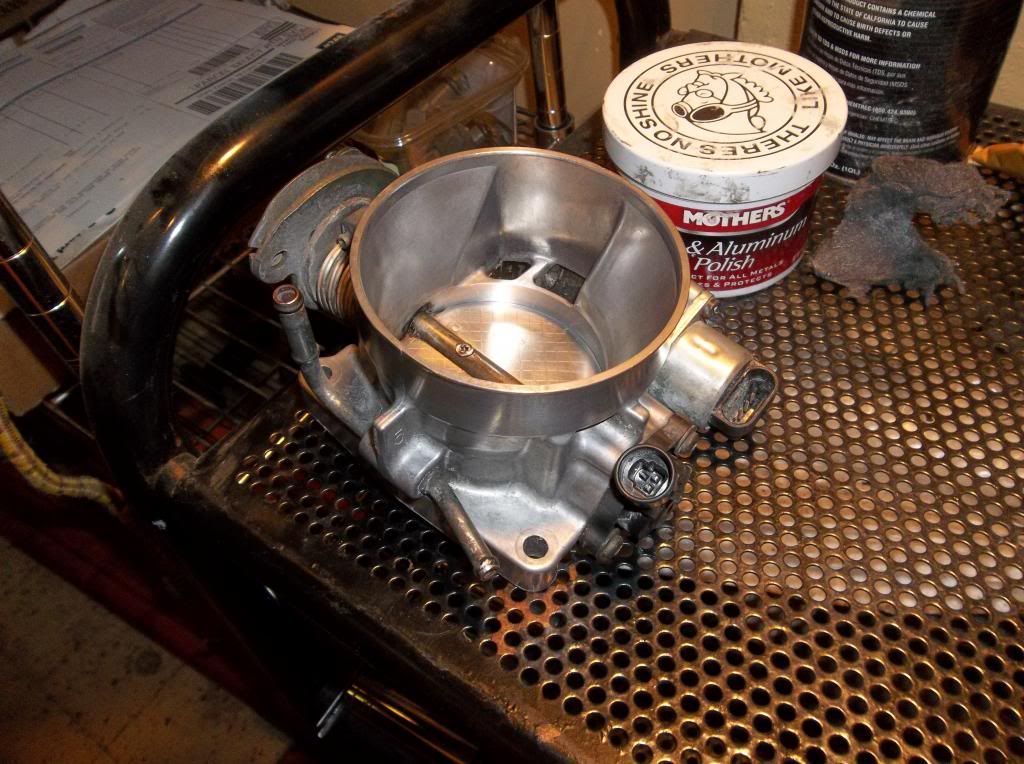
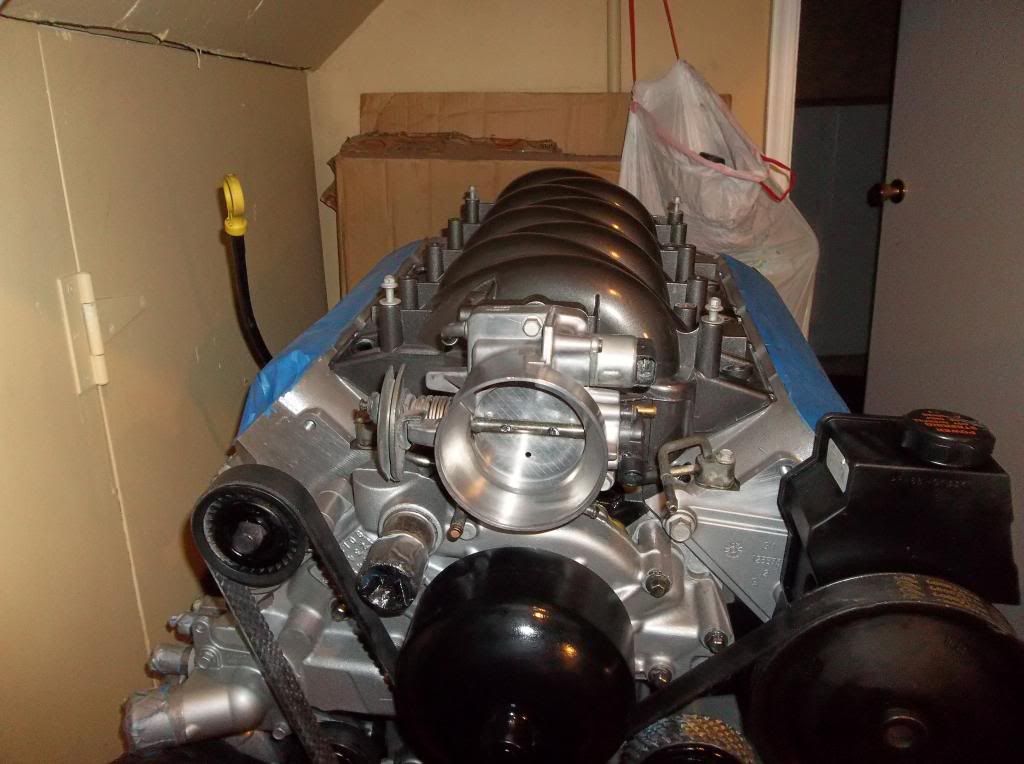
Im hoping the TB holds that shine, anyone know of a way to help it keep that shine and not go back to the dull oxidized look it had??


Im hoping the TB holds that shine, anyone know of a way to help it keep that shine and not go back to the dull oxidized look it had??
#51
On The Tree
Thread Starter
iTrader: (4)
Join Date: Dec 2011
Location: San Francisco
Posts: 134
Likes: 0
Received 0 Likes
on
0 Posts
thanks for that tip with the starter. i gotta save a little to get my headers and valve covers. i really am just gettin impatient cus im excited to get my car back and start test fitting the block in it. anxiously waiting. not sure if there is even a chance but i would love for the engine to fit and clear as is...
#59
On The Tree
Thread Starter
iTrader: (4)
Join Date: Dec 2011
Location: San Francisco
Posts: 134
Likes: 0
Received 0 Likes
on
0 Posts
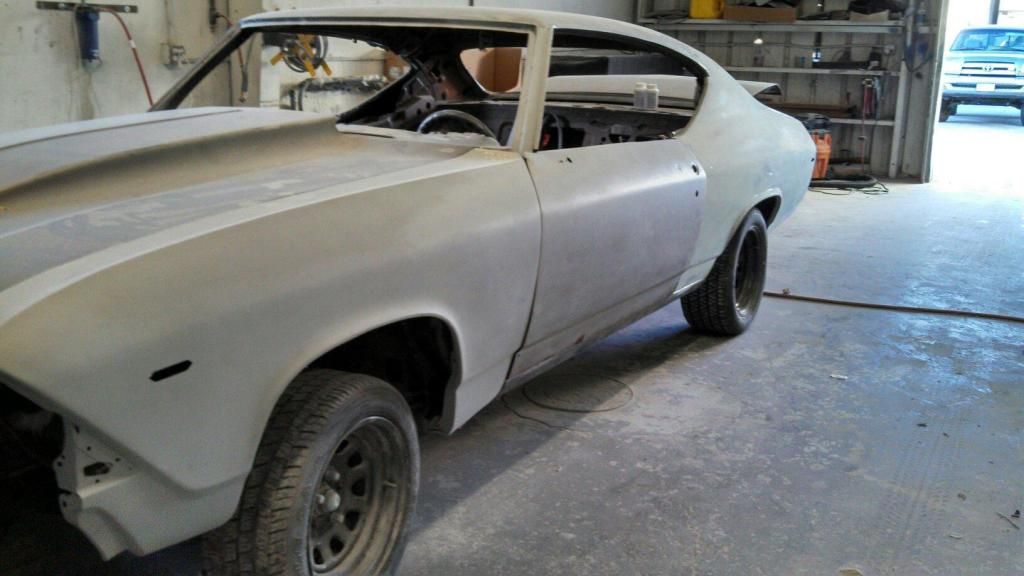
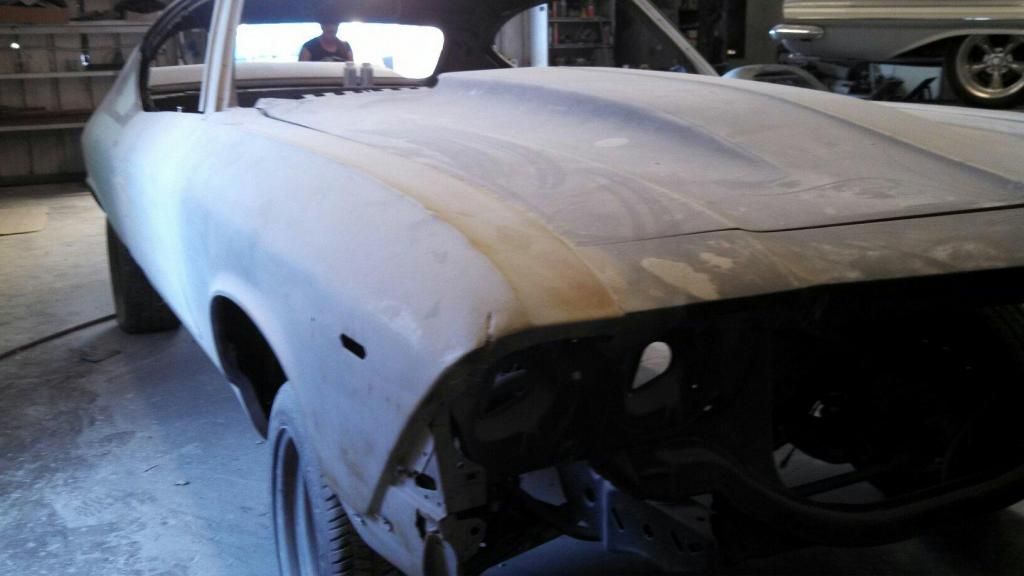
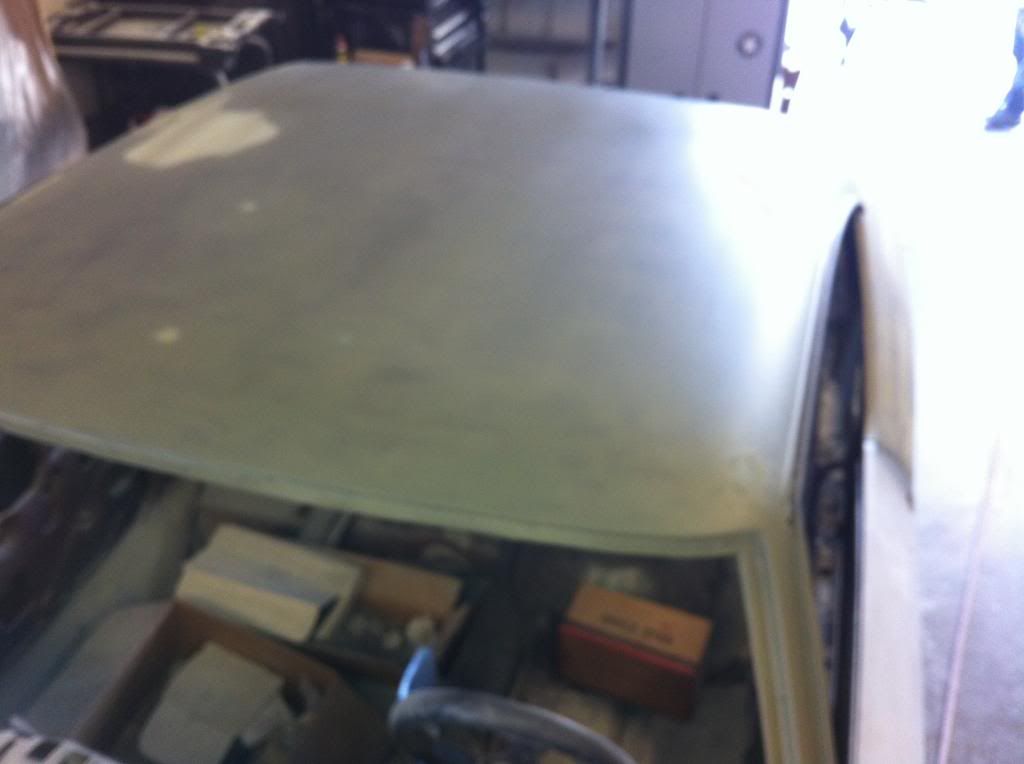
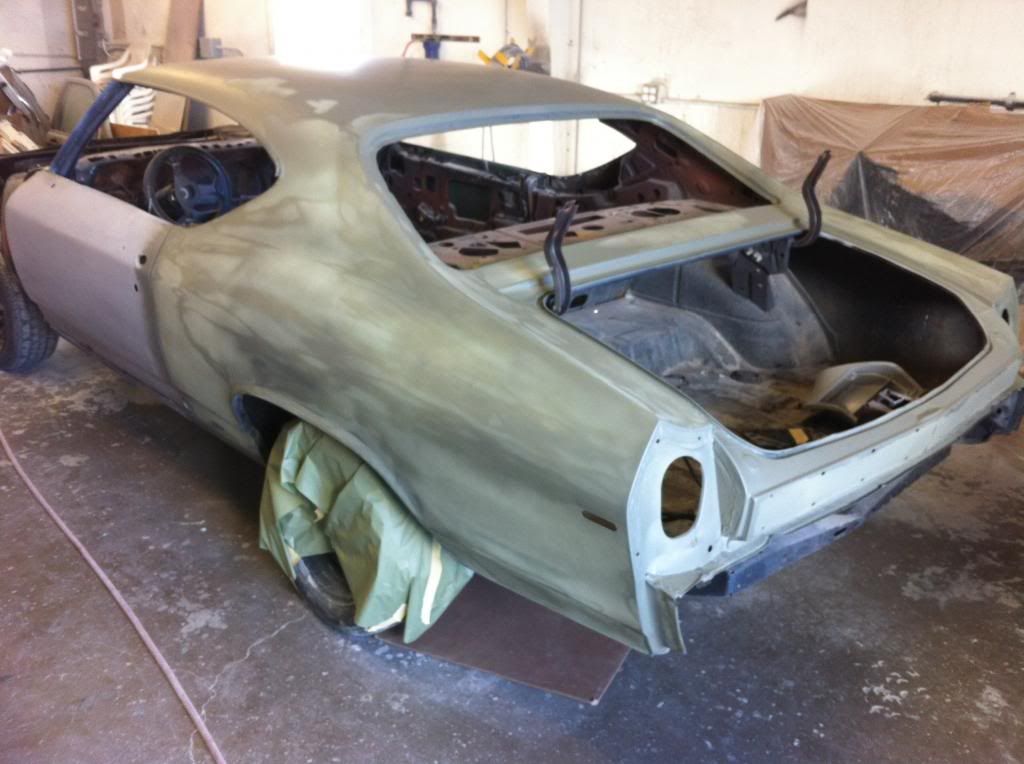
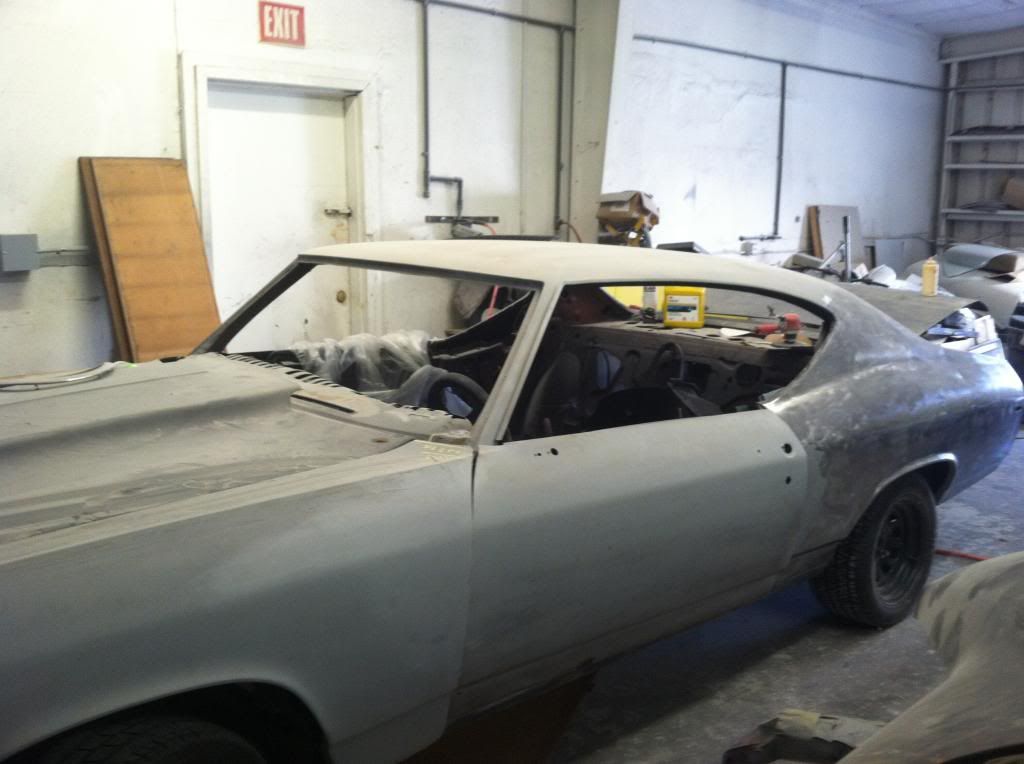
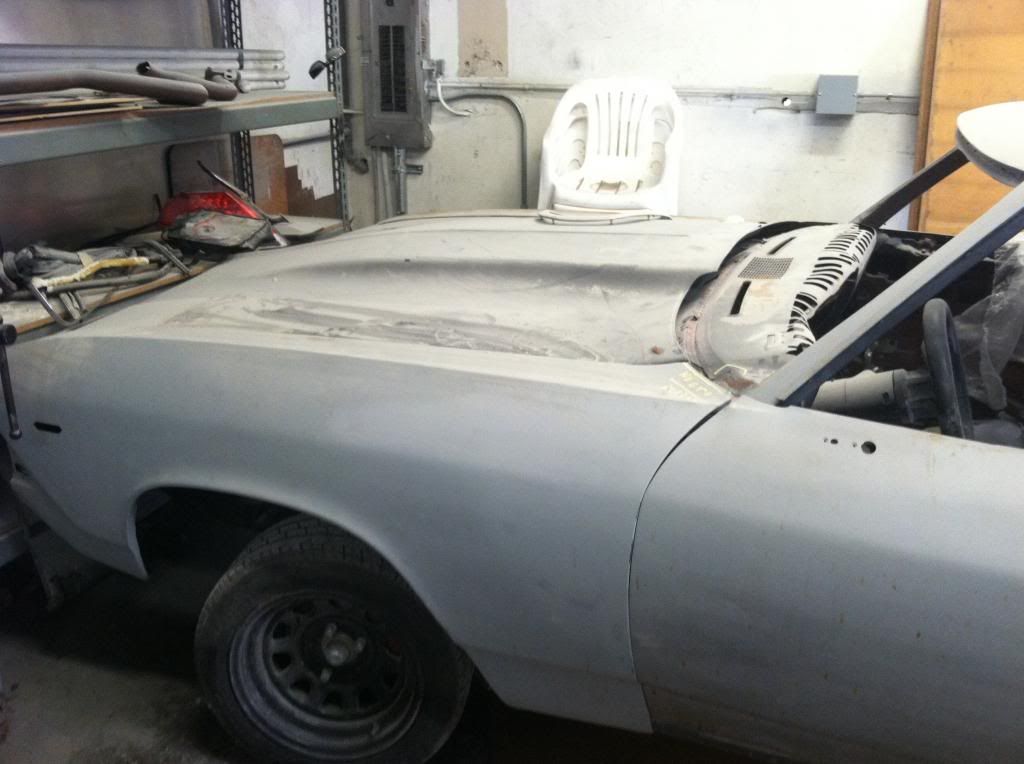
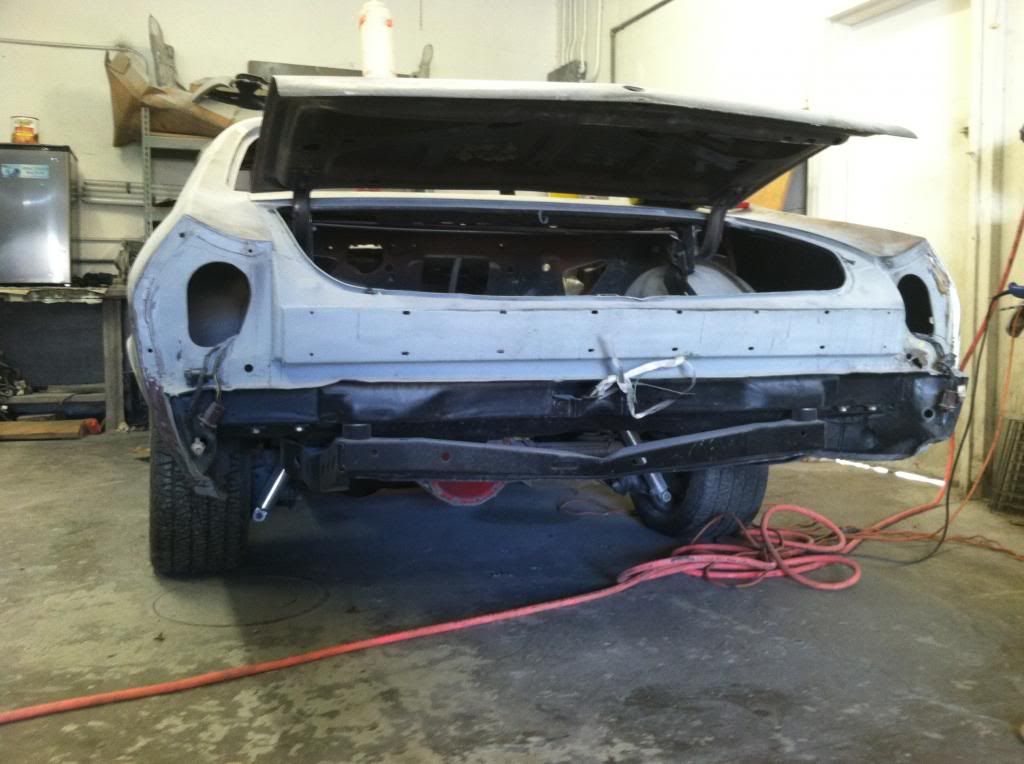
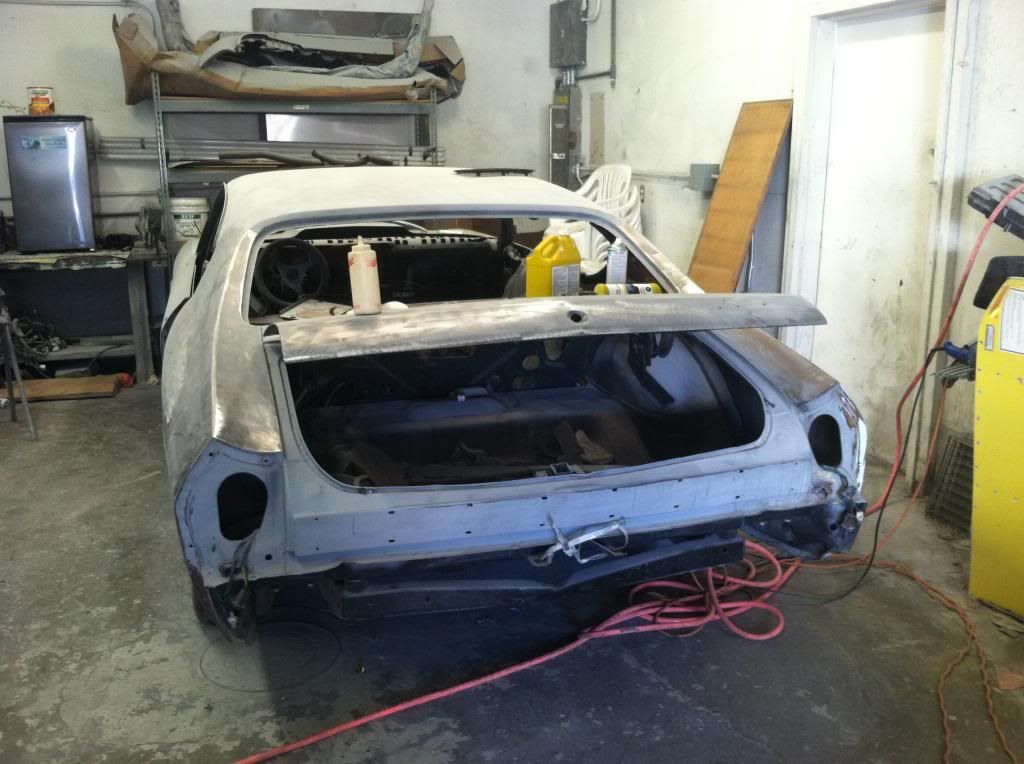
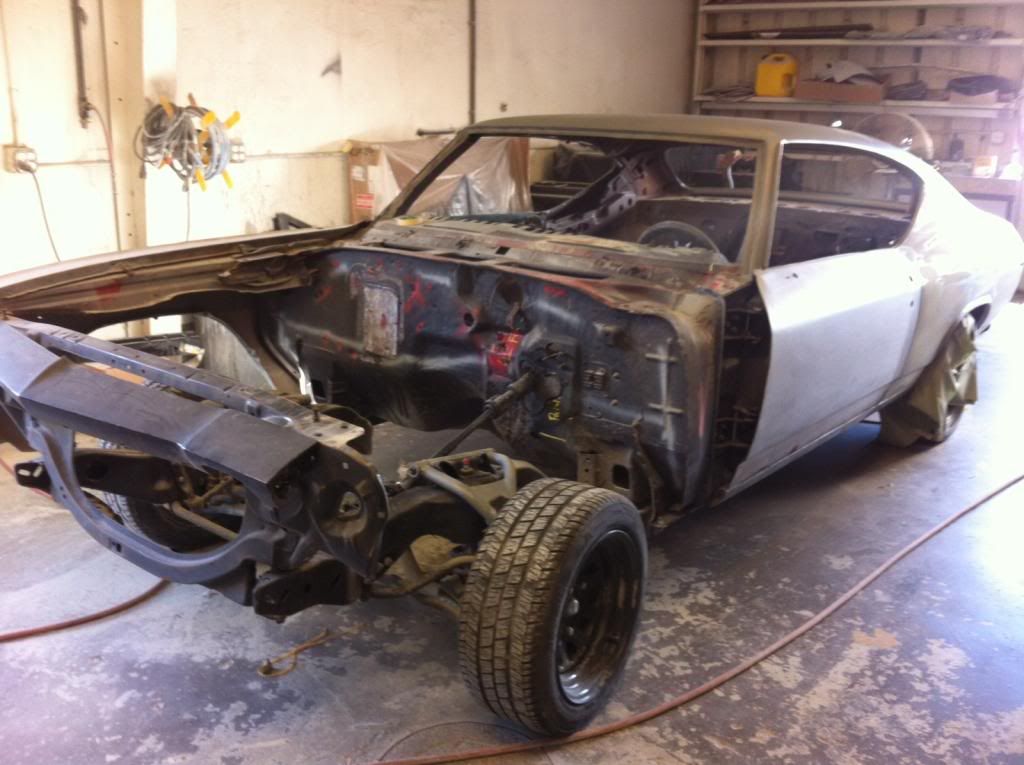
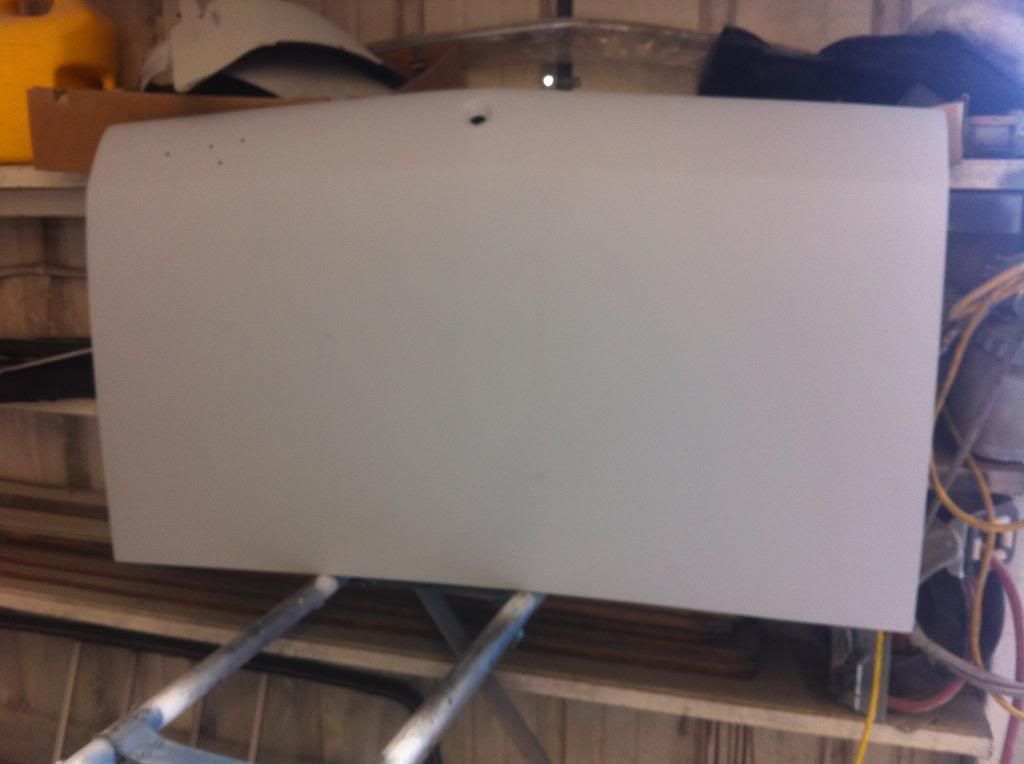
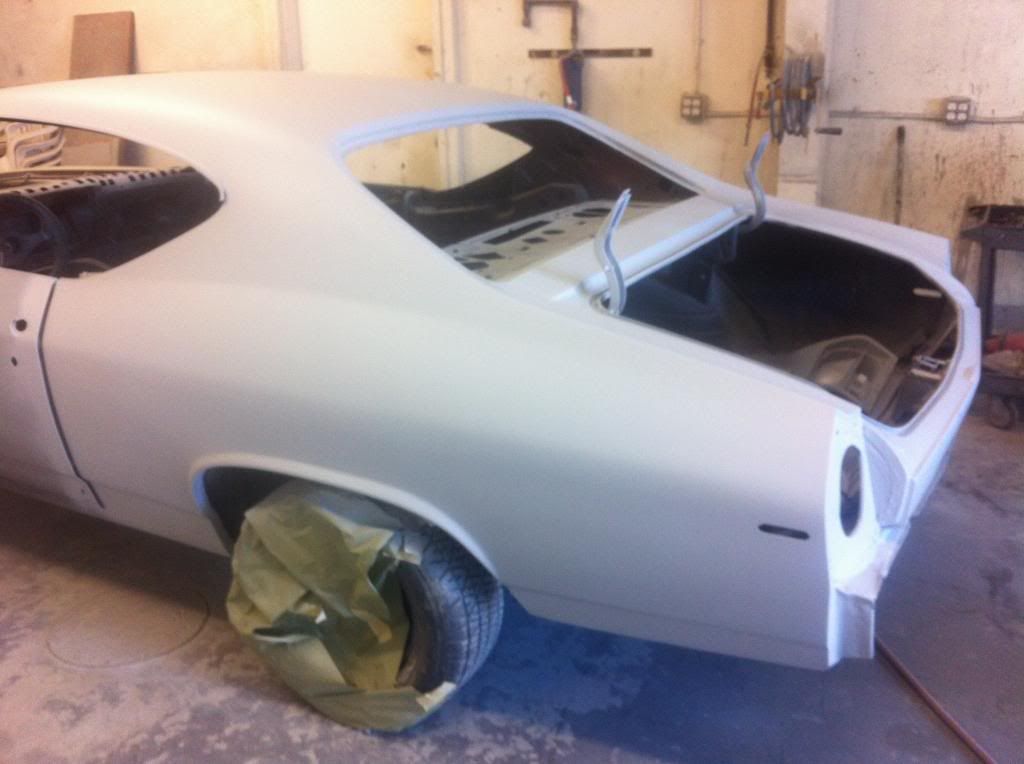
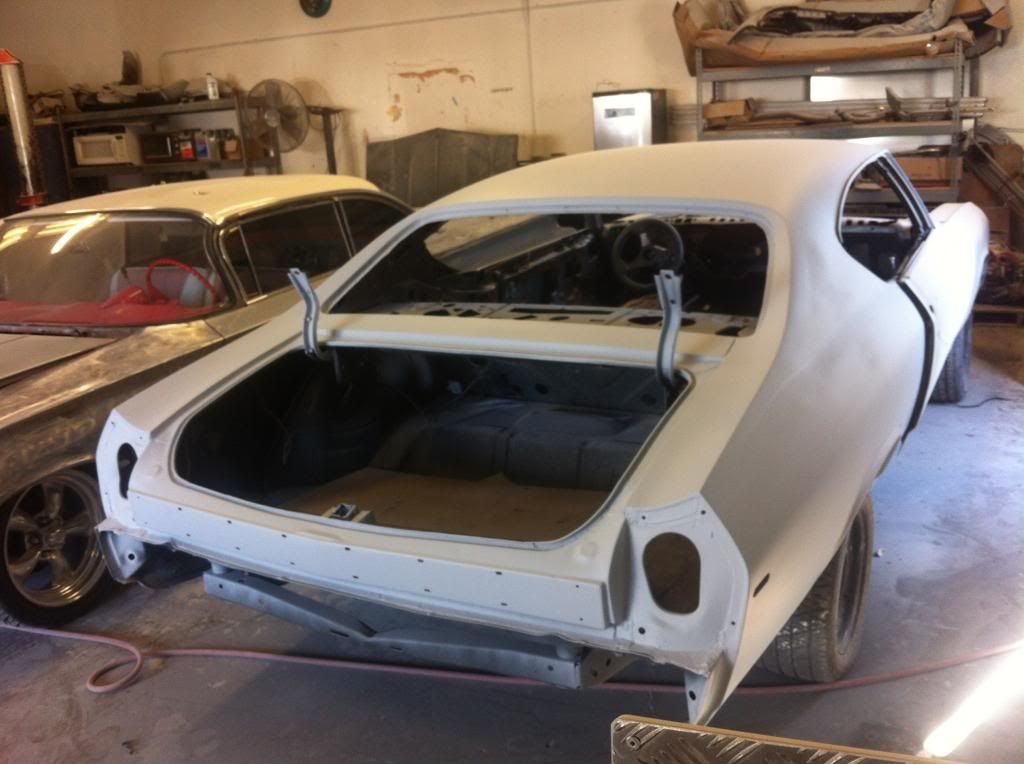
ohhh im getting excited, the weather is getting nice and the car shows begin! anyways, i got a small update...still anxiously waiting for my car to come back from paint, hoping for mid-May  so i ordered my valve covers and like a dummy ordered 2 drivers side so i have to exchange one. tryin to decide what color to powder coat them but leaning to a semi-gloss black.
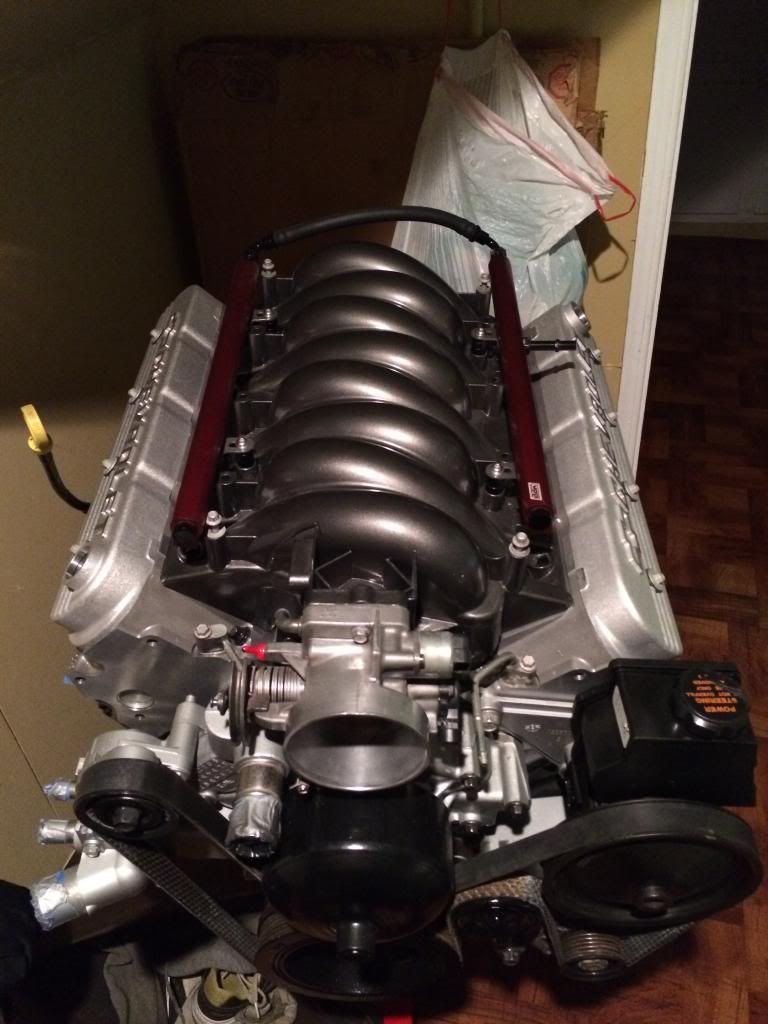
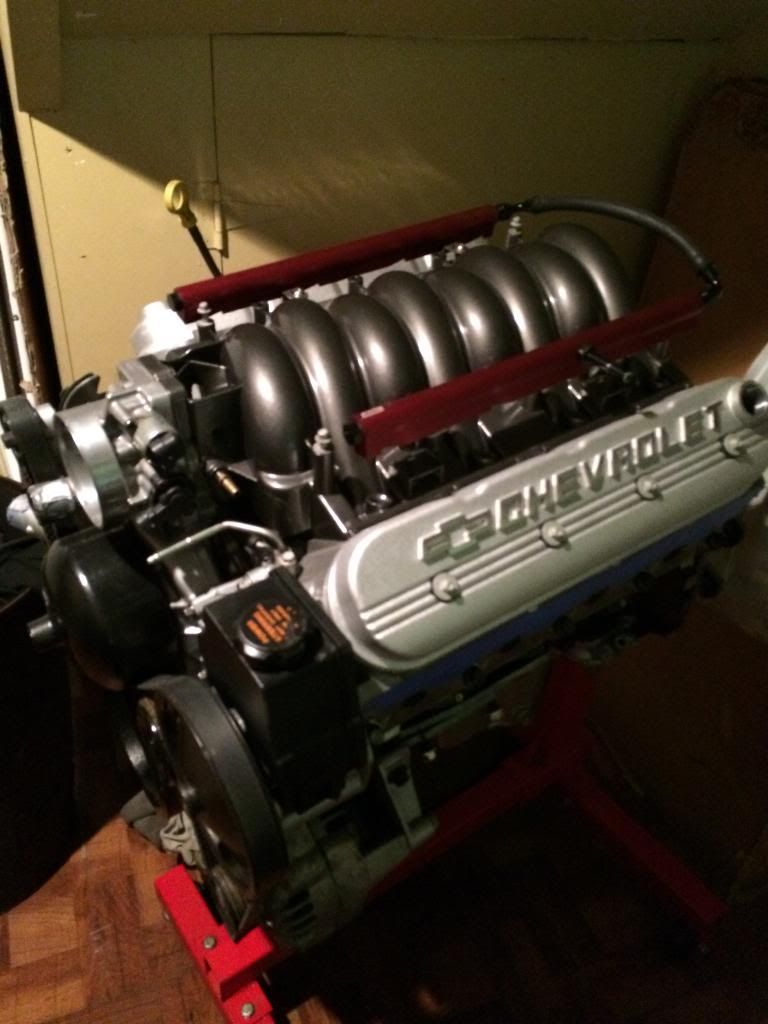
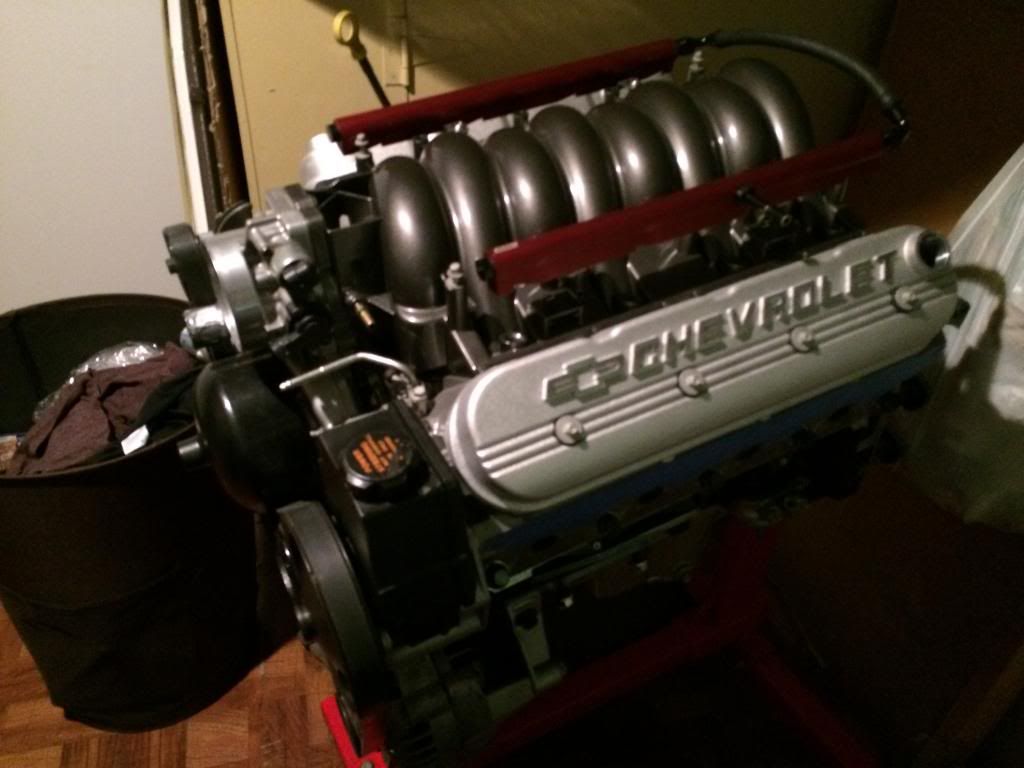
 so i ordered my valve covers and like a dummy ordered 2 drivers side so i have to exchange one. tryin to decide what color to powder coat them but leaning to a semi-gloss black.


