
66 Chevelle LSA/4L90E Conversion
 10-12-2013, 08:12 AM
#81
TECH Fanatic
Thread Starter


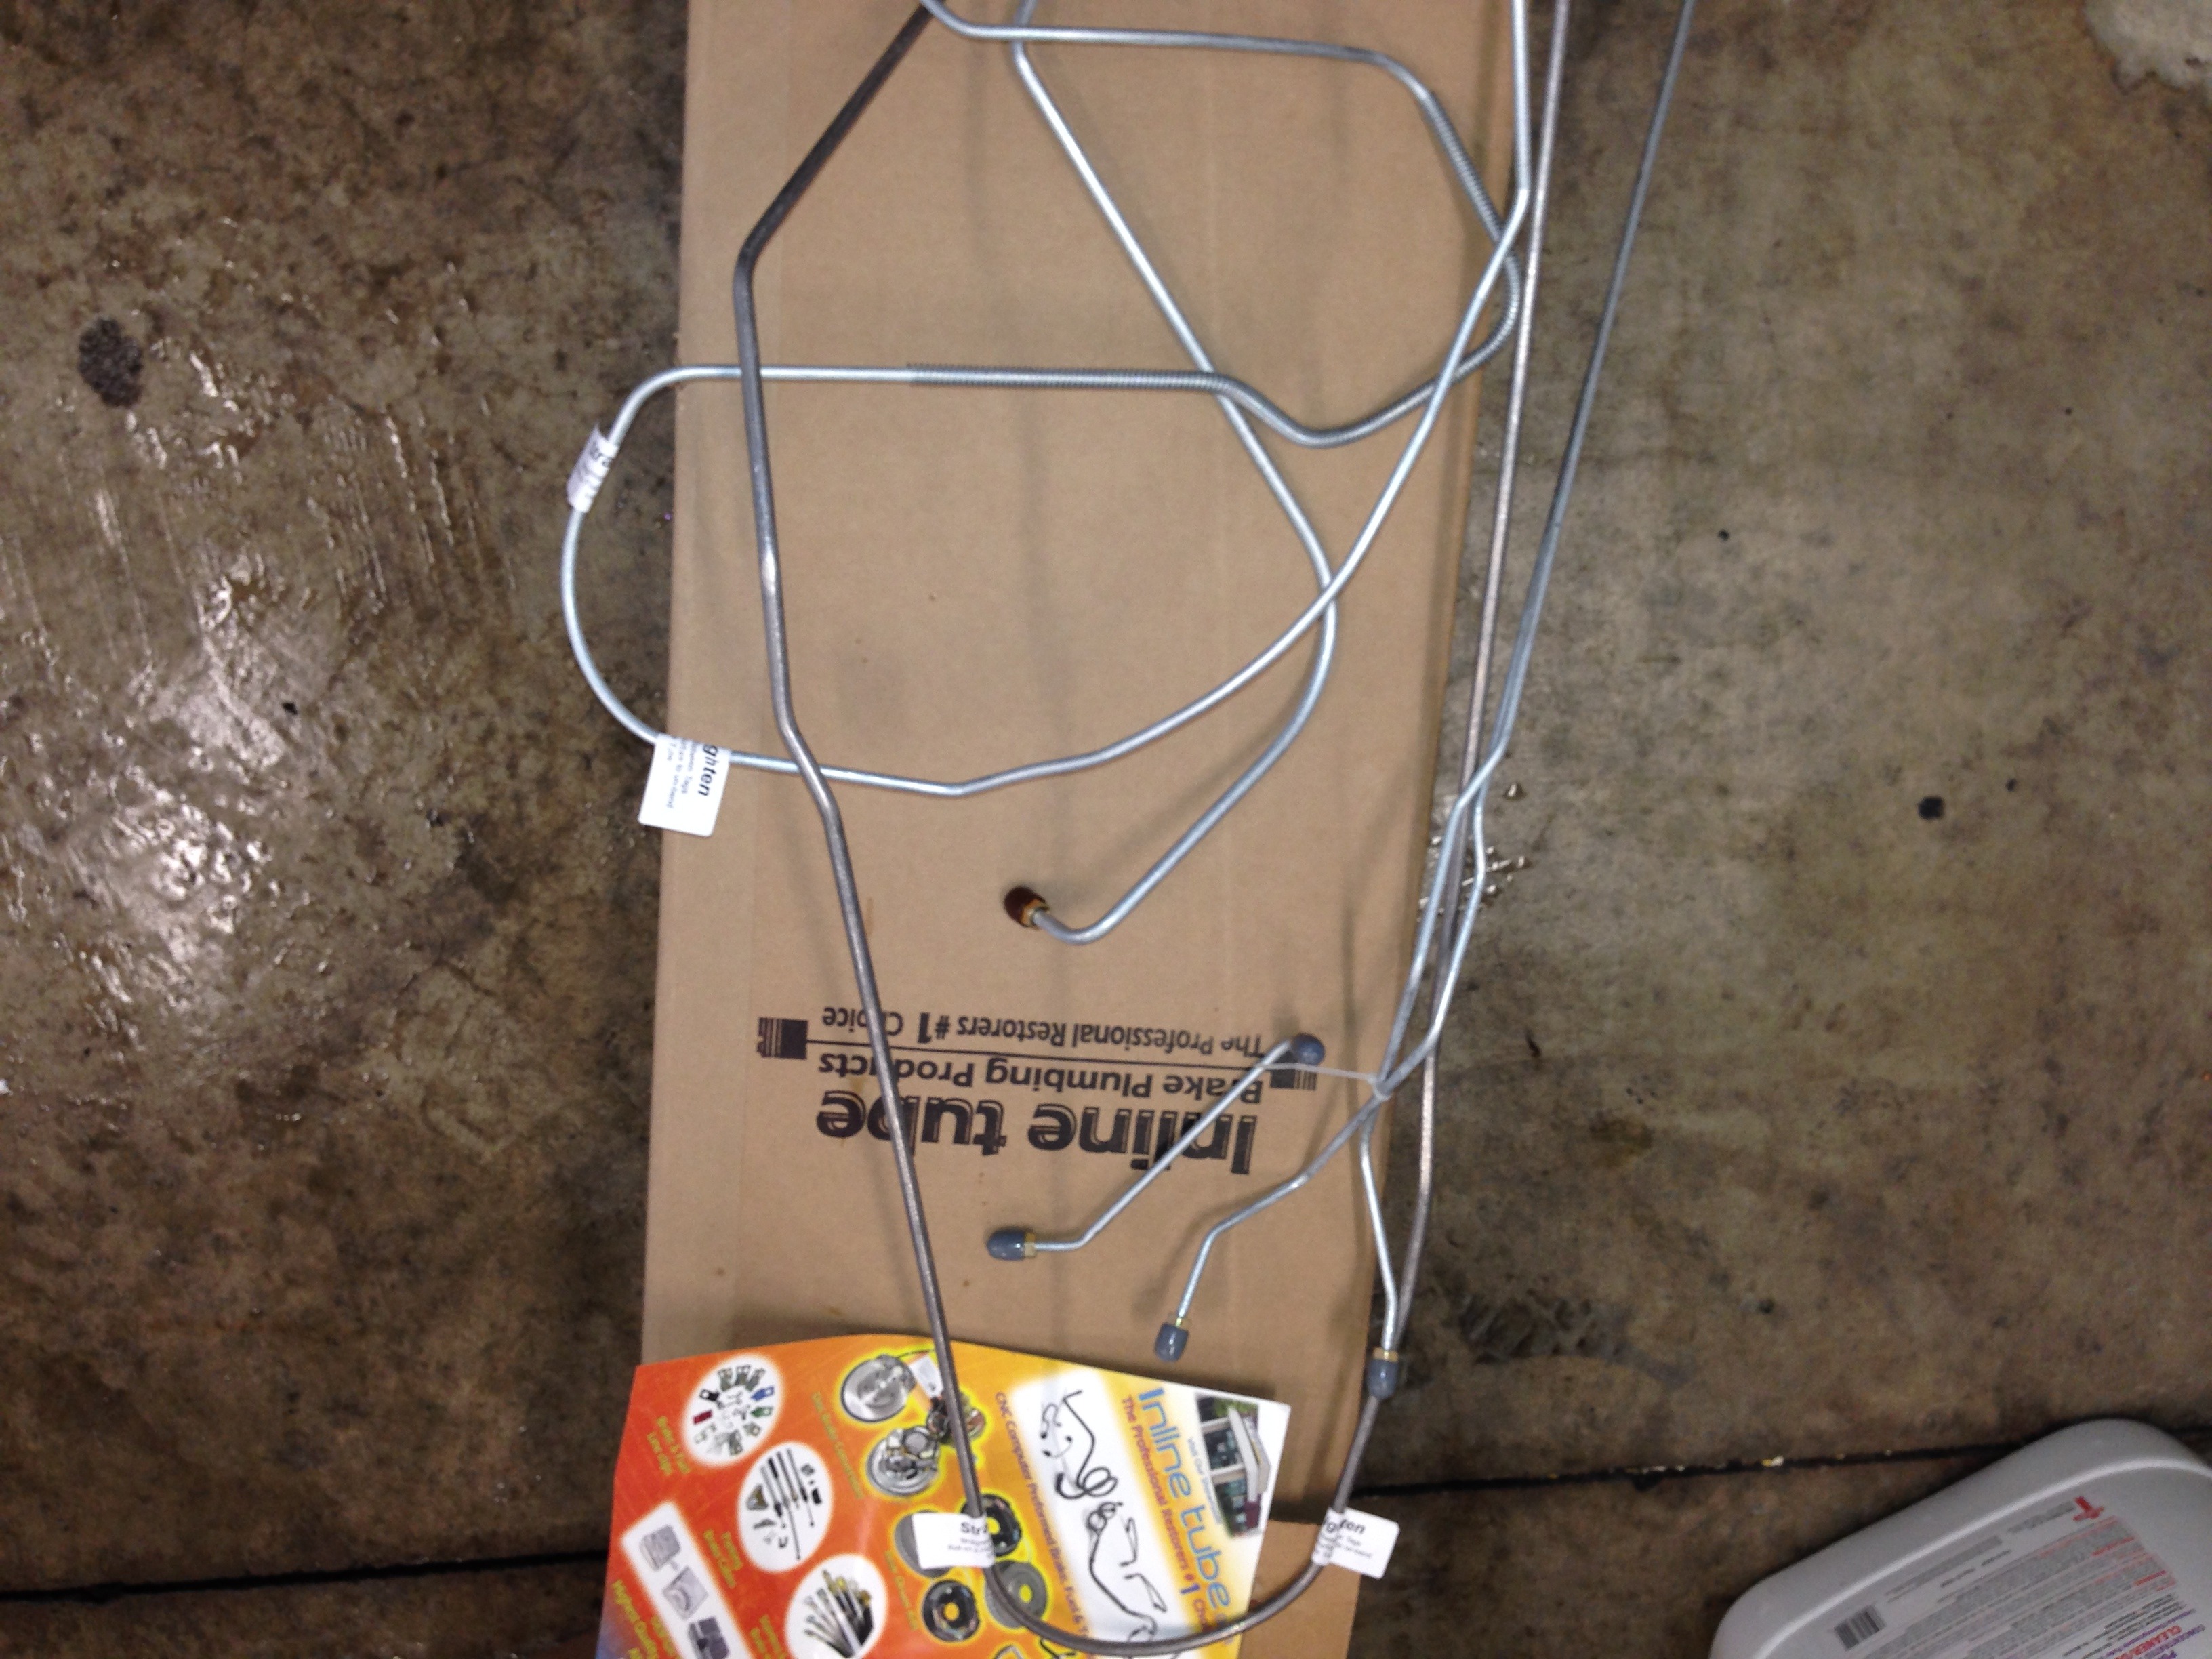
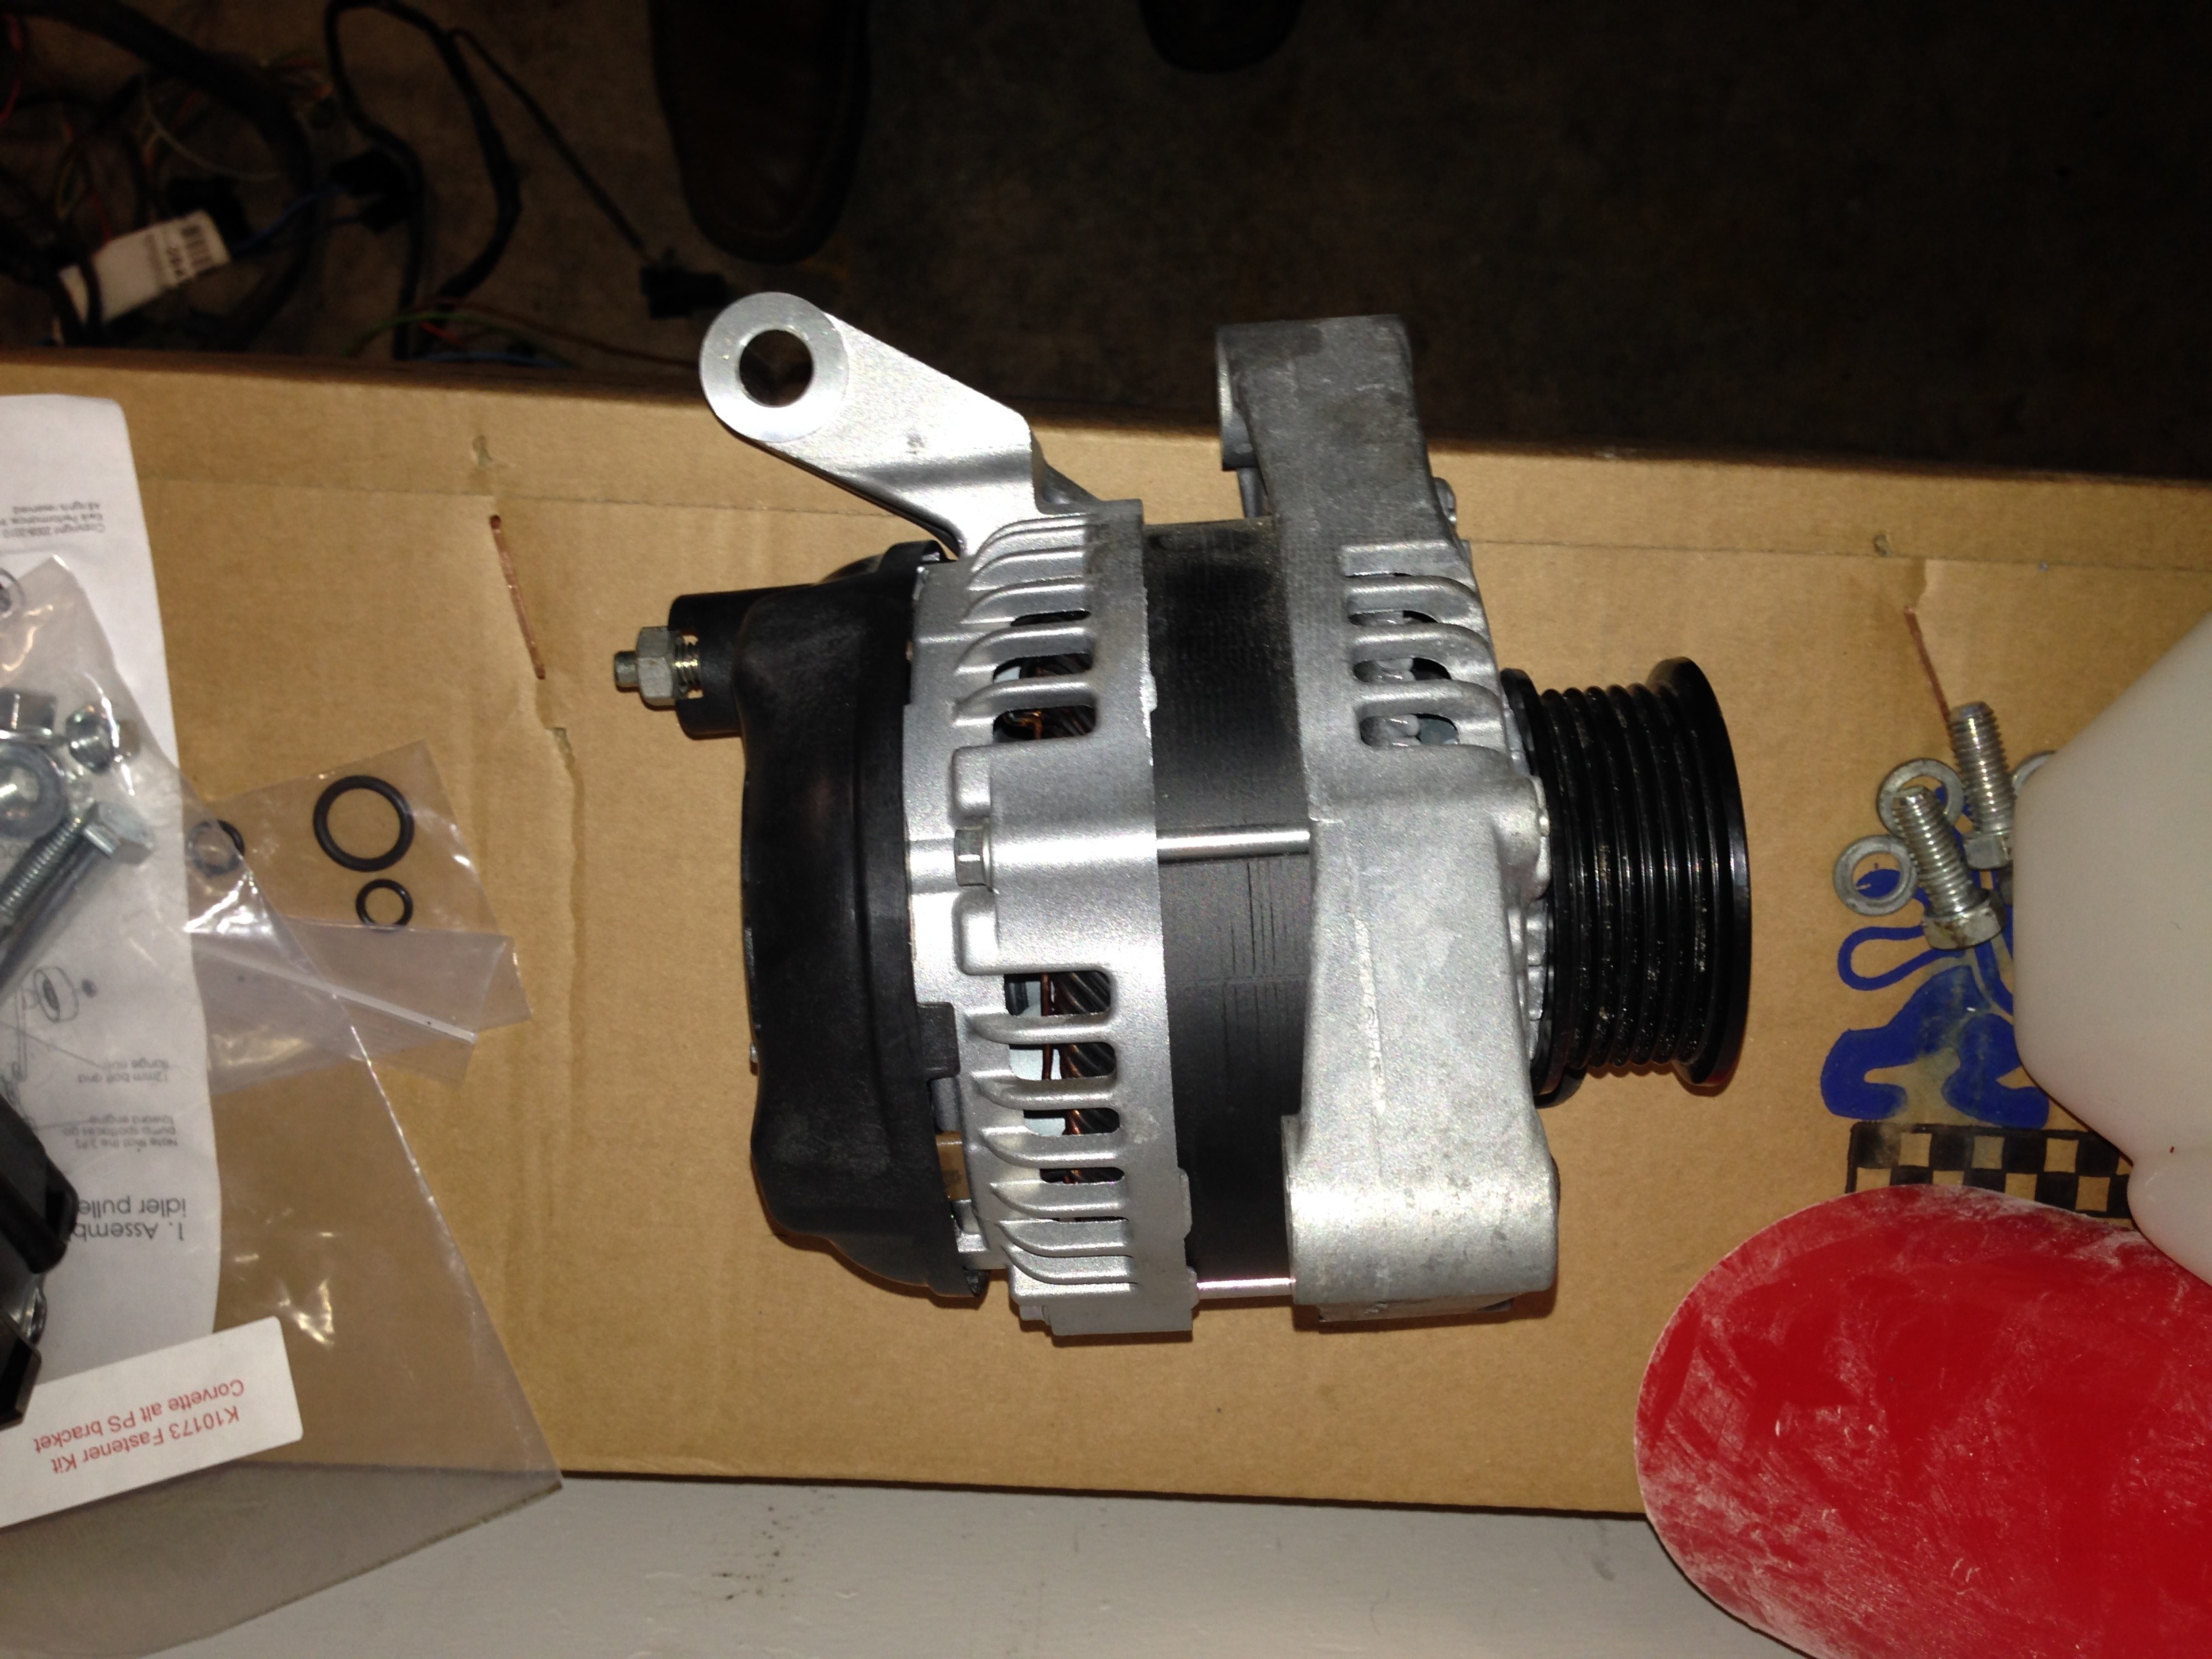
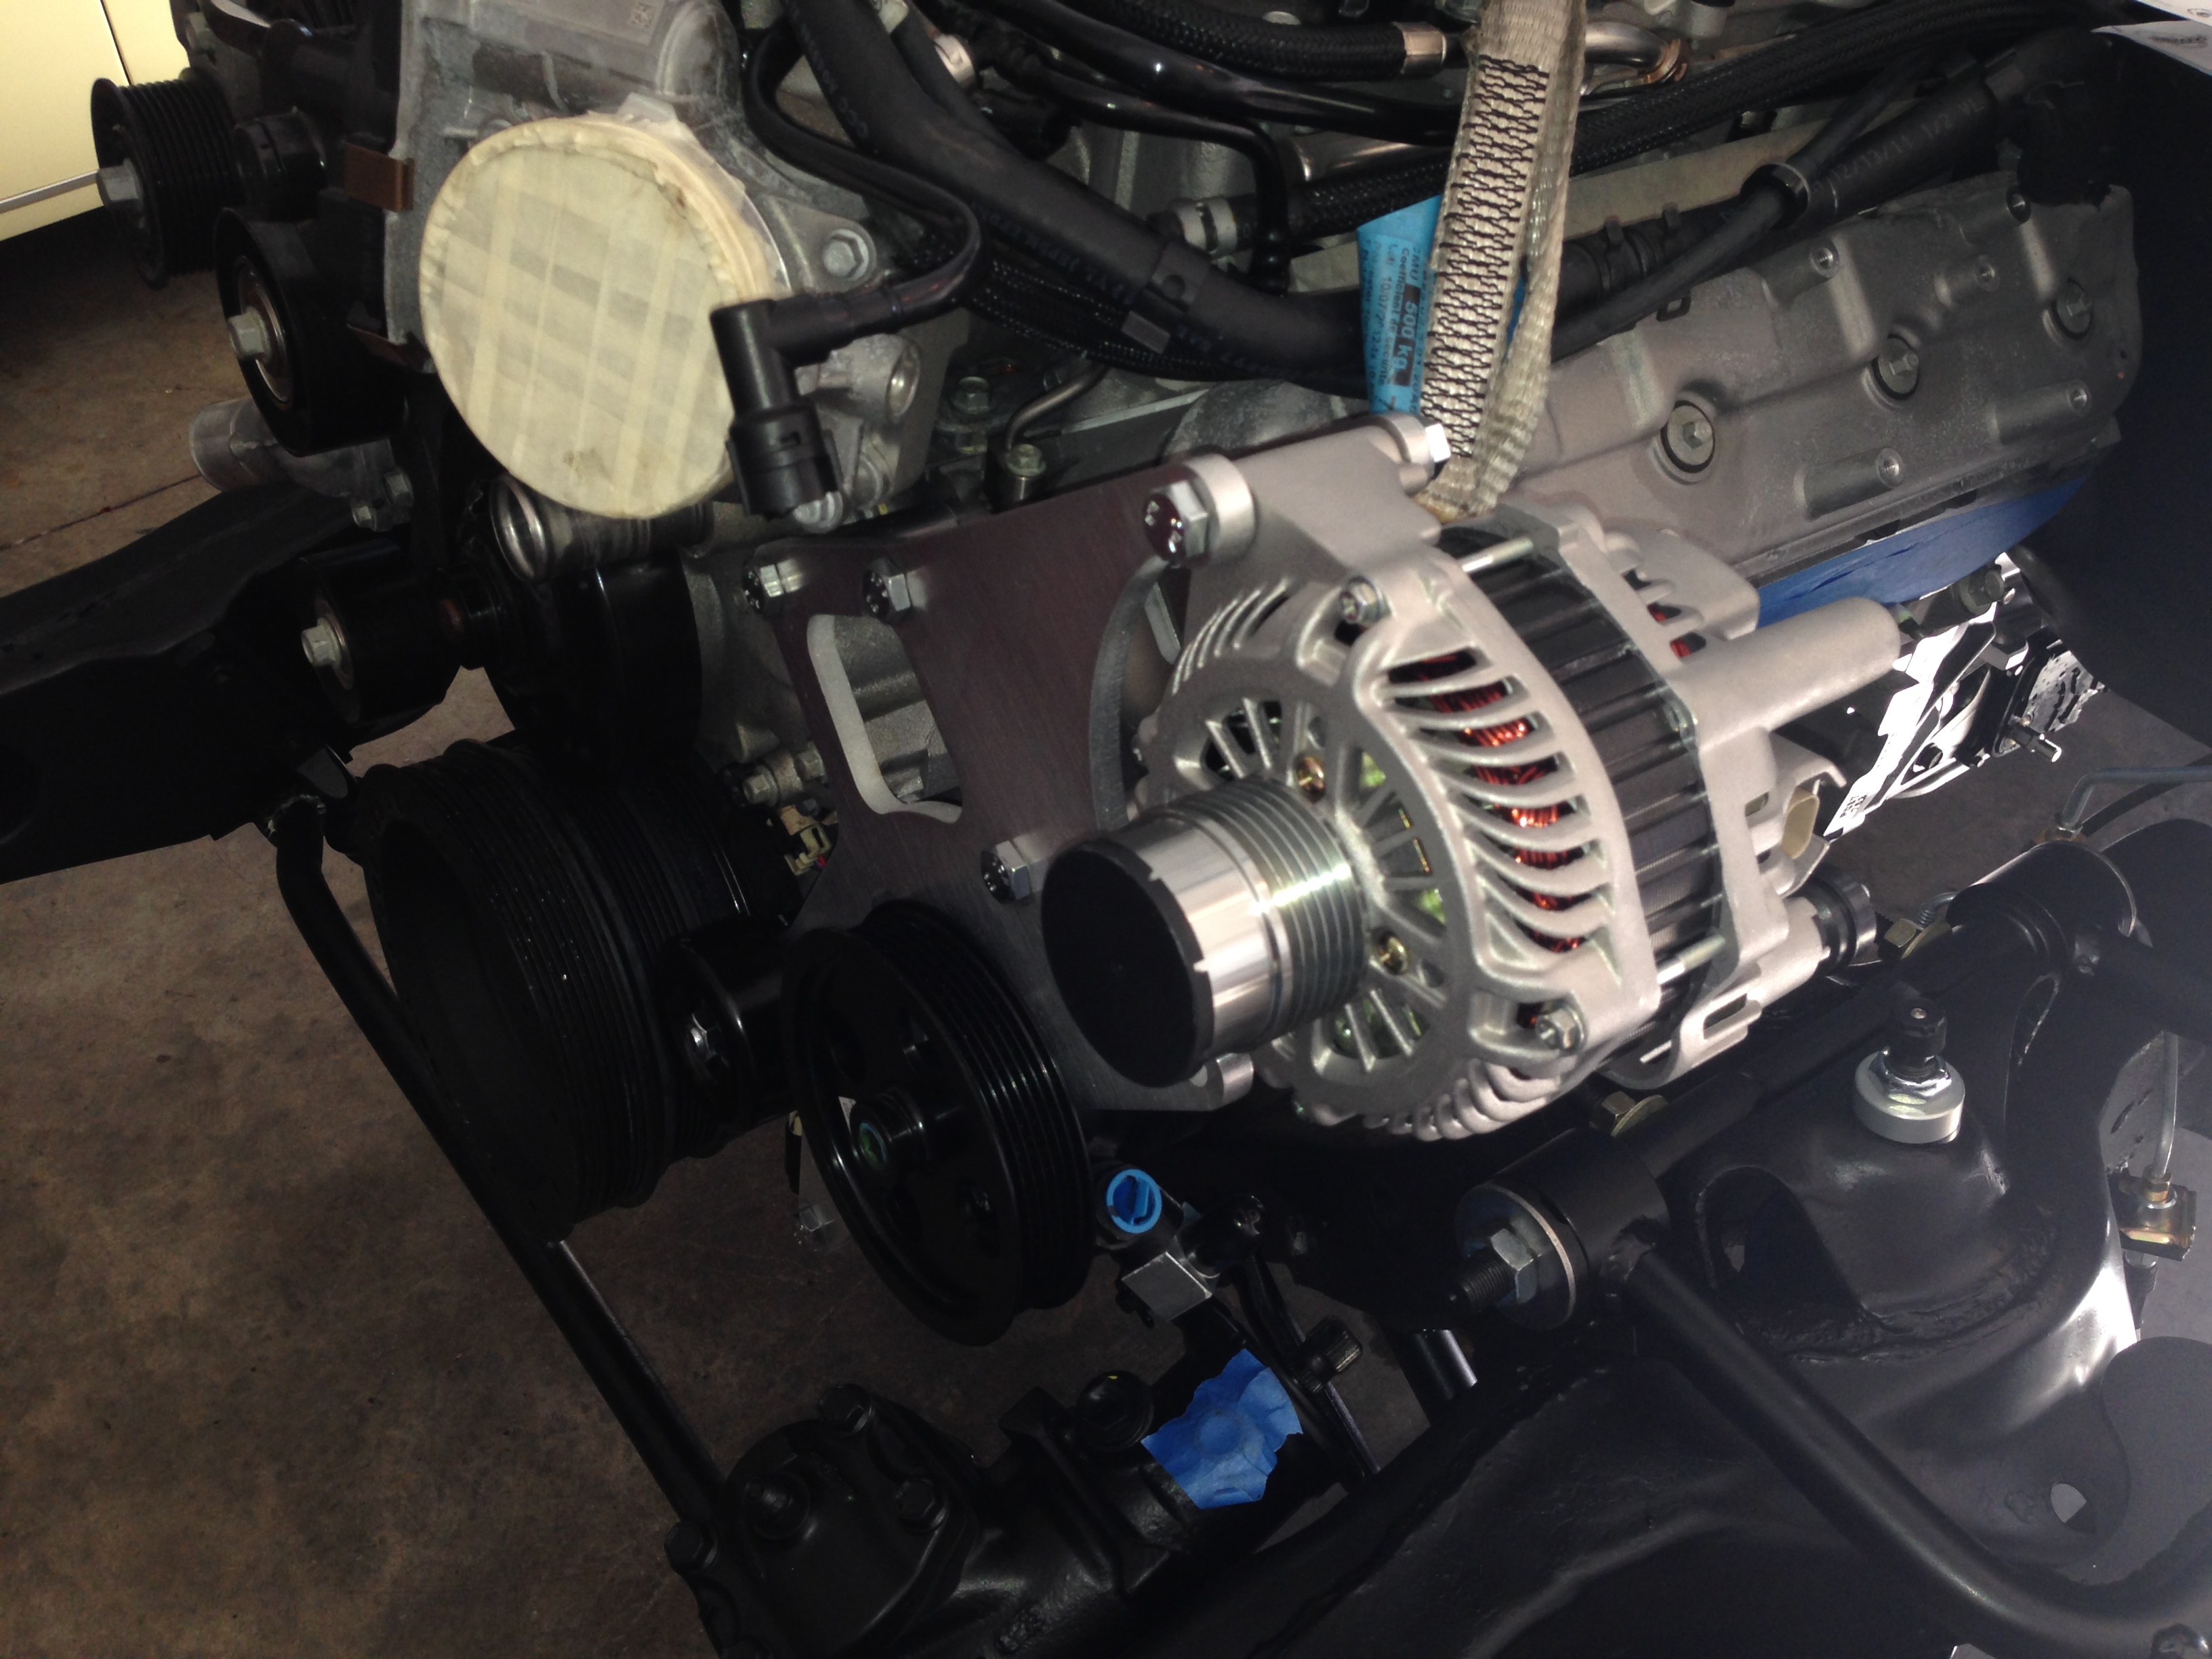
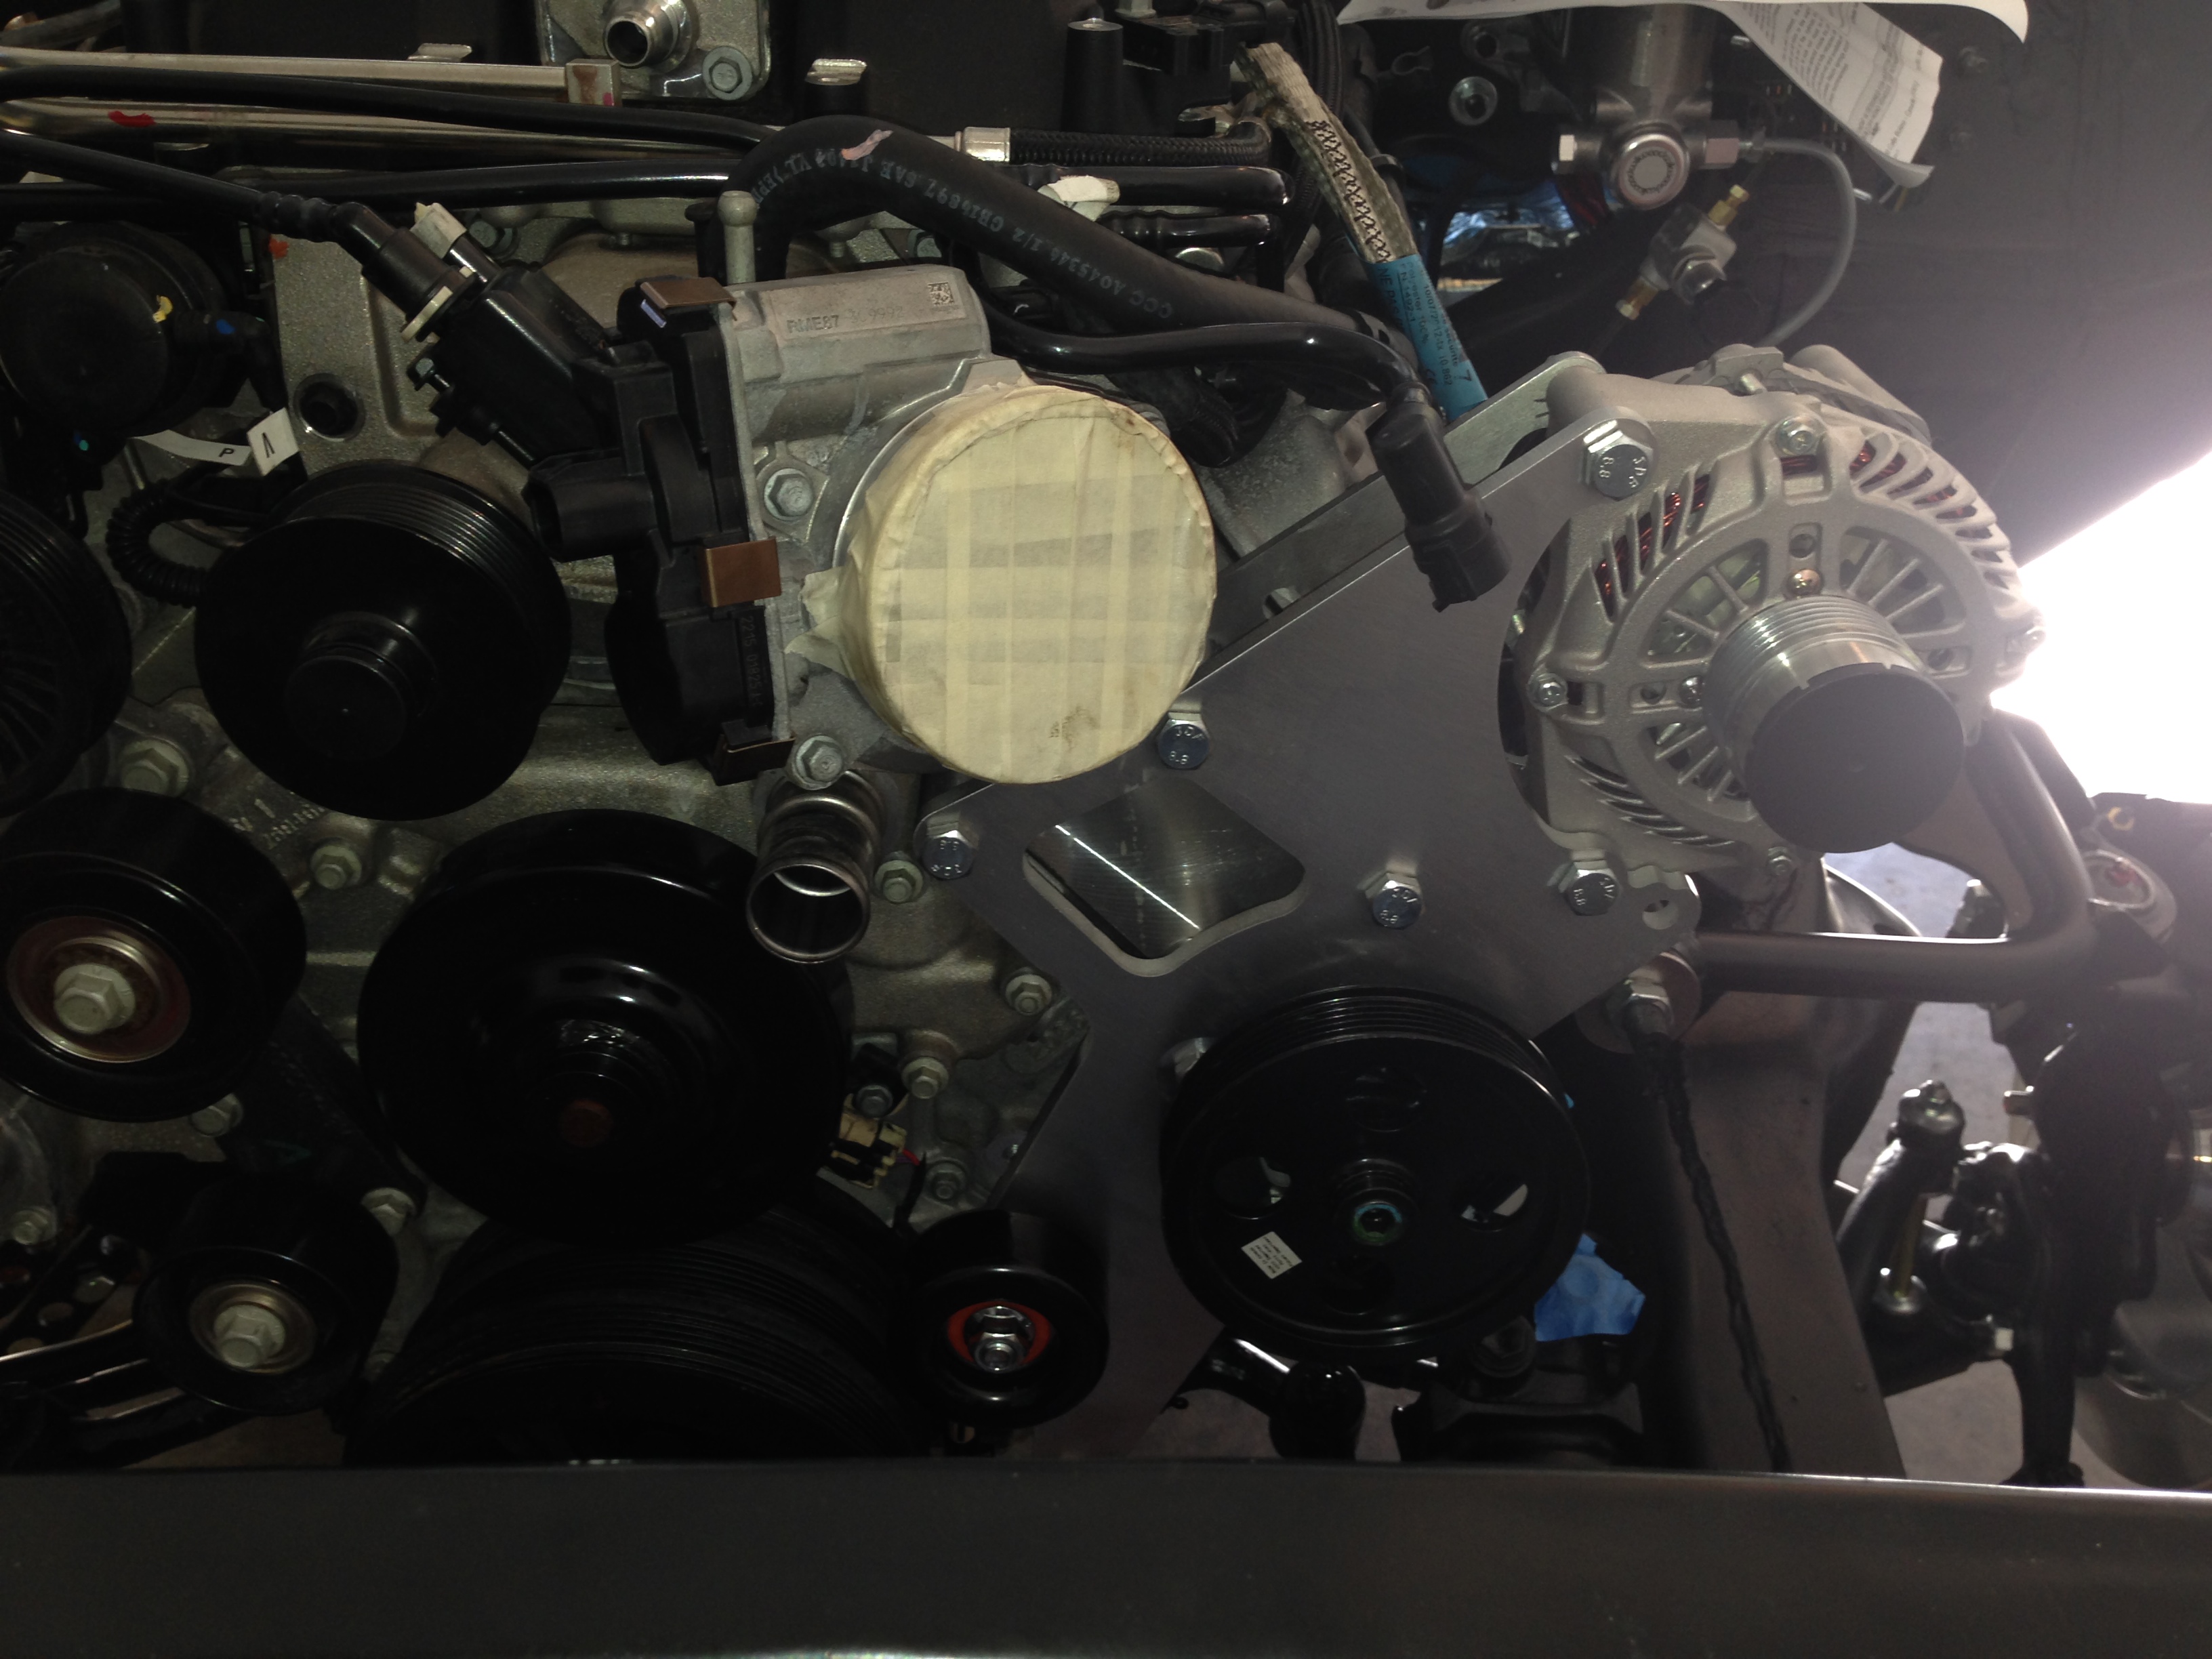
Still waiting for the rear axle assy to get finished up so I can get the rear suspension finished.......I got all new brake lines installed (exciting).....LOL.........I also bought the Kwik-Performance raised alternator kit that has the LS power steering pump built into it.........when I ordered it and talked to Wayne at Kwik and explained that it was going on a LSA engine assy out of the new Camaro......He explained that there were some issues with the alternator not clearing the Coil-Paks........I said don't worry about it I will deal with it.........So......I get the brackets installed and try to install the alternator........I can see it will hit the coils.....I open the hood on the Impala to see what the difference was and noticed right away that the alternators were different..........The new Camaro unit had a different body and shape........So....Rather try and re-invent the wheel I just bought the same unit that is on the Impala............Problem solved........I also like the way Kwik has incorporated the Power Steering pump into the brackets.........The LSA engine assy I bought didn't use a pump as the Camaro's have Electric Power steering........so....I killed two birds with one stone..........
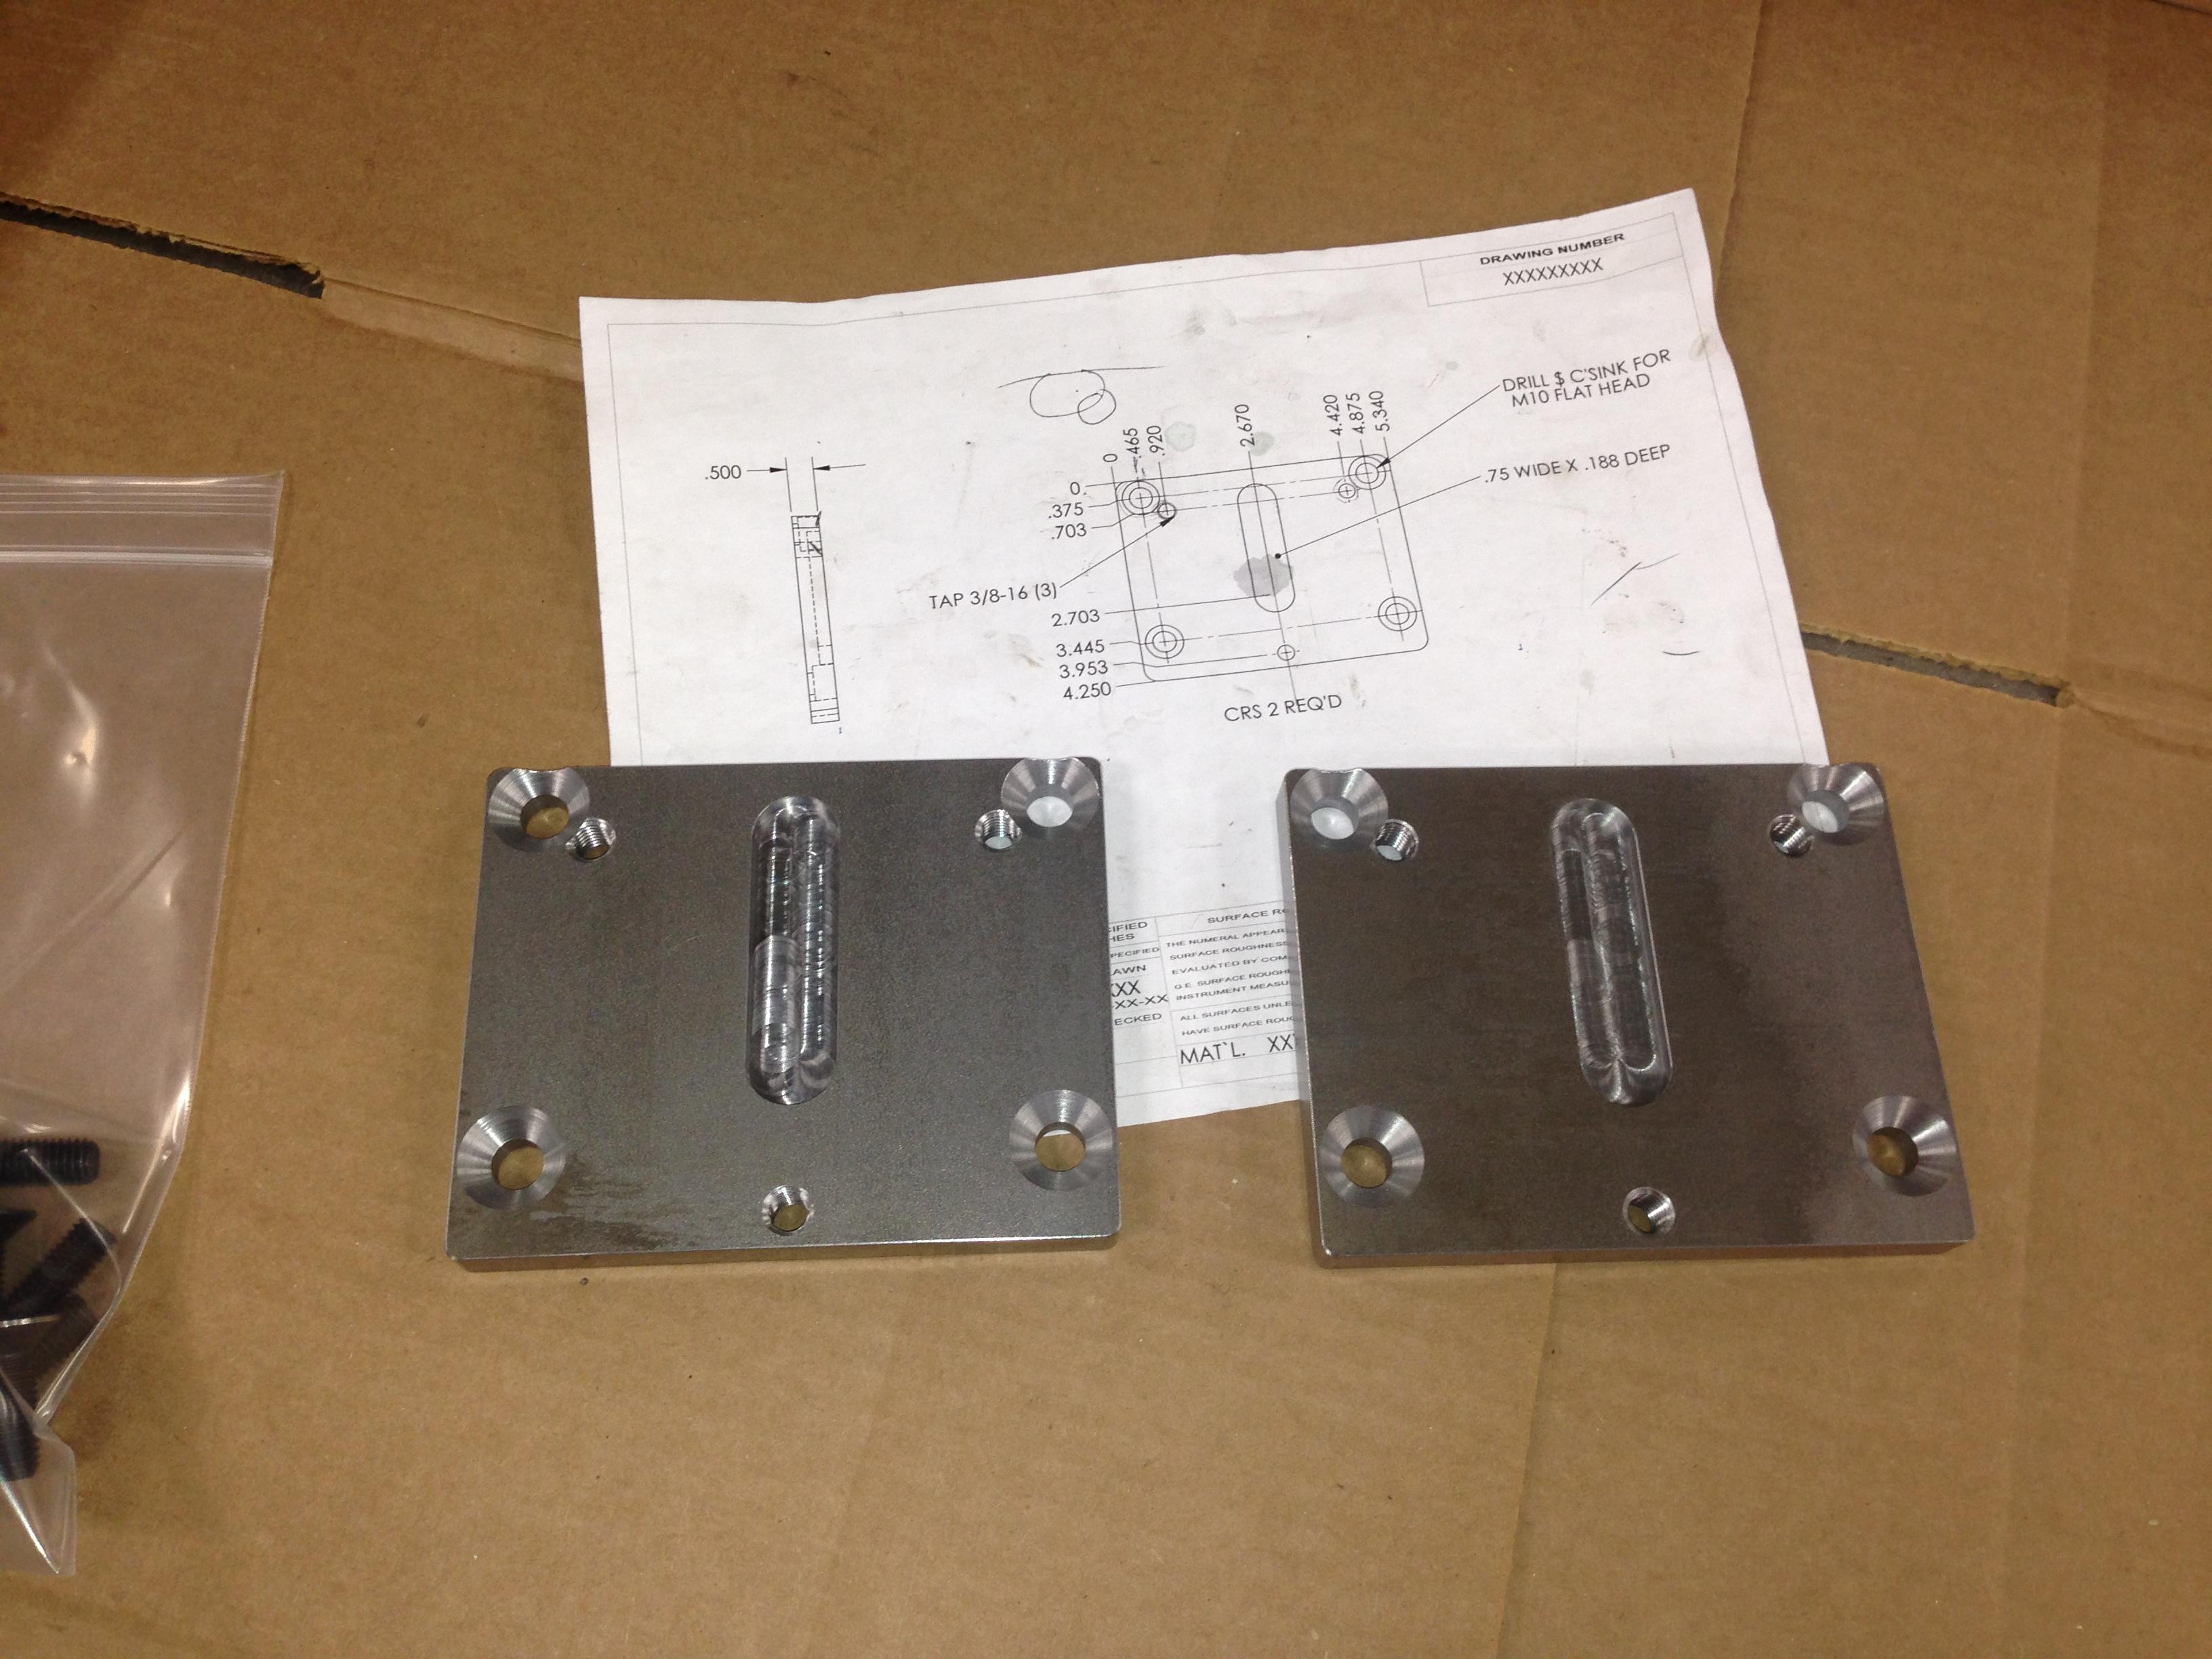
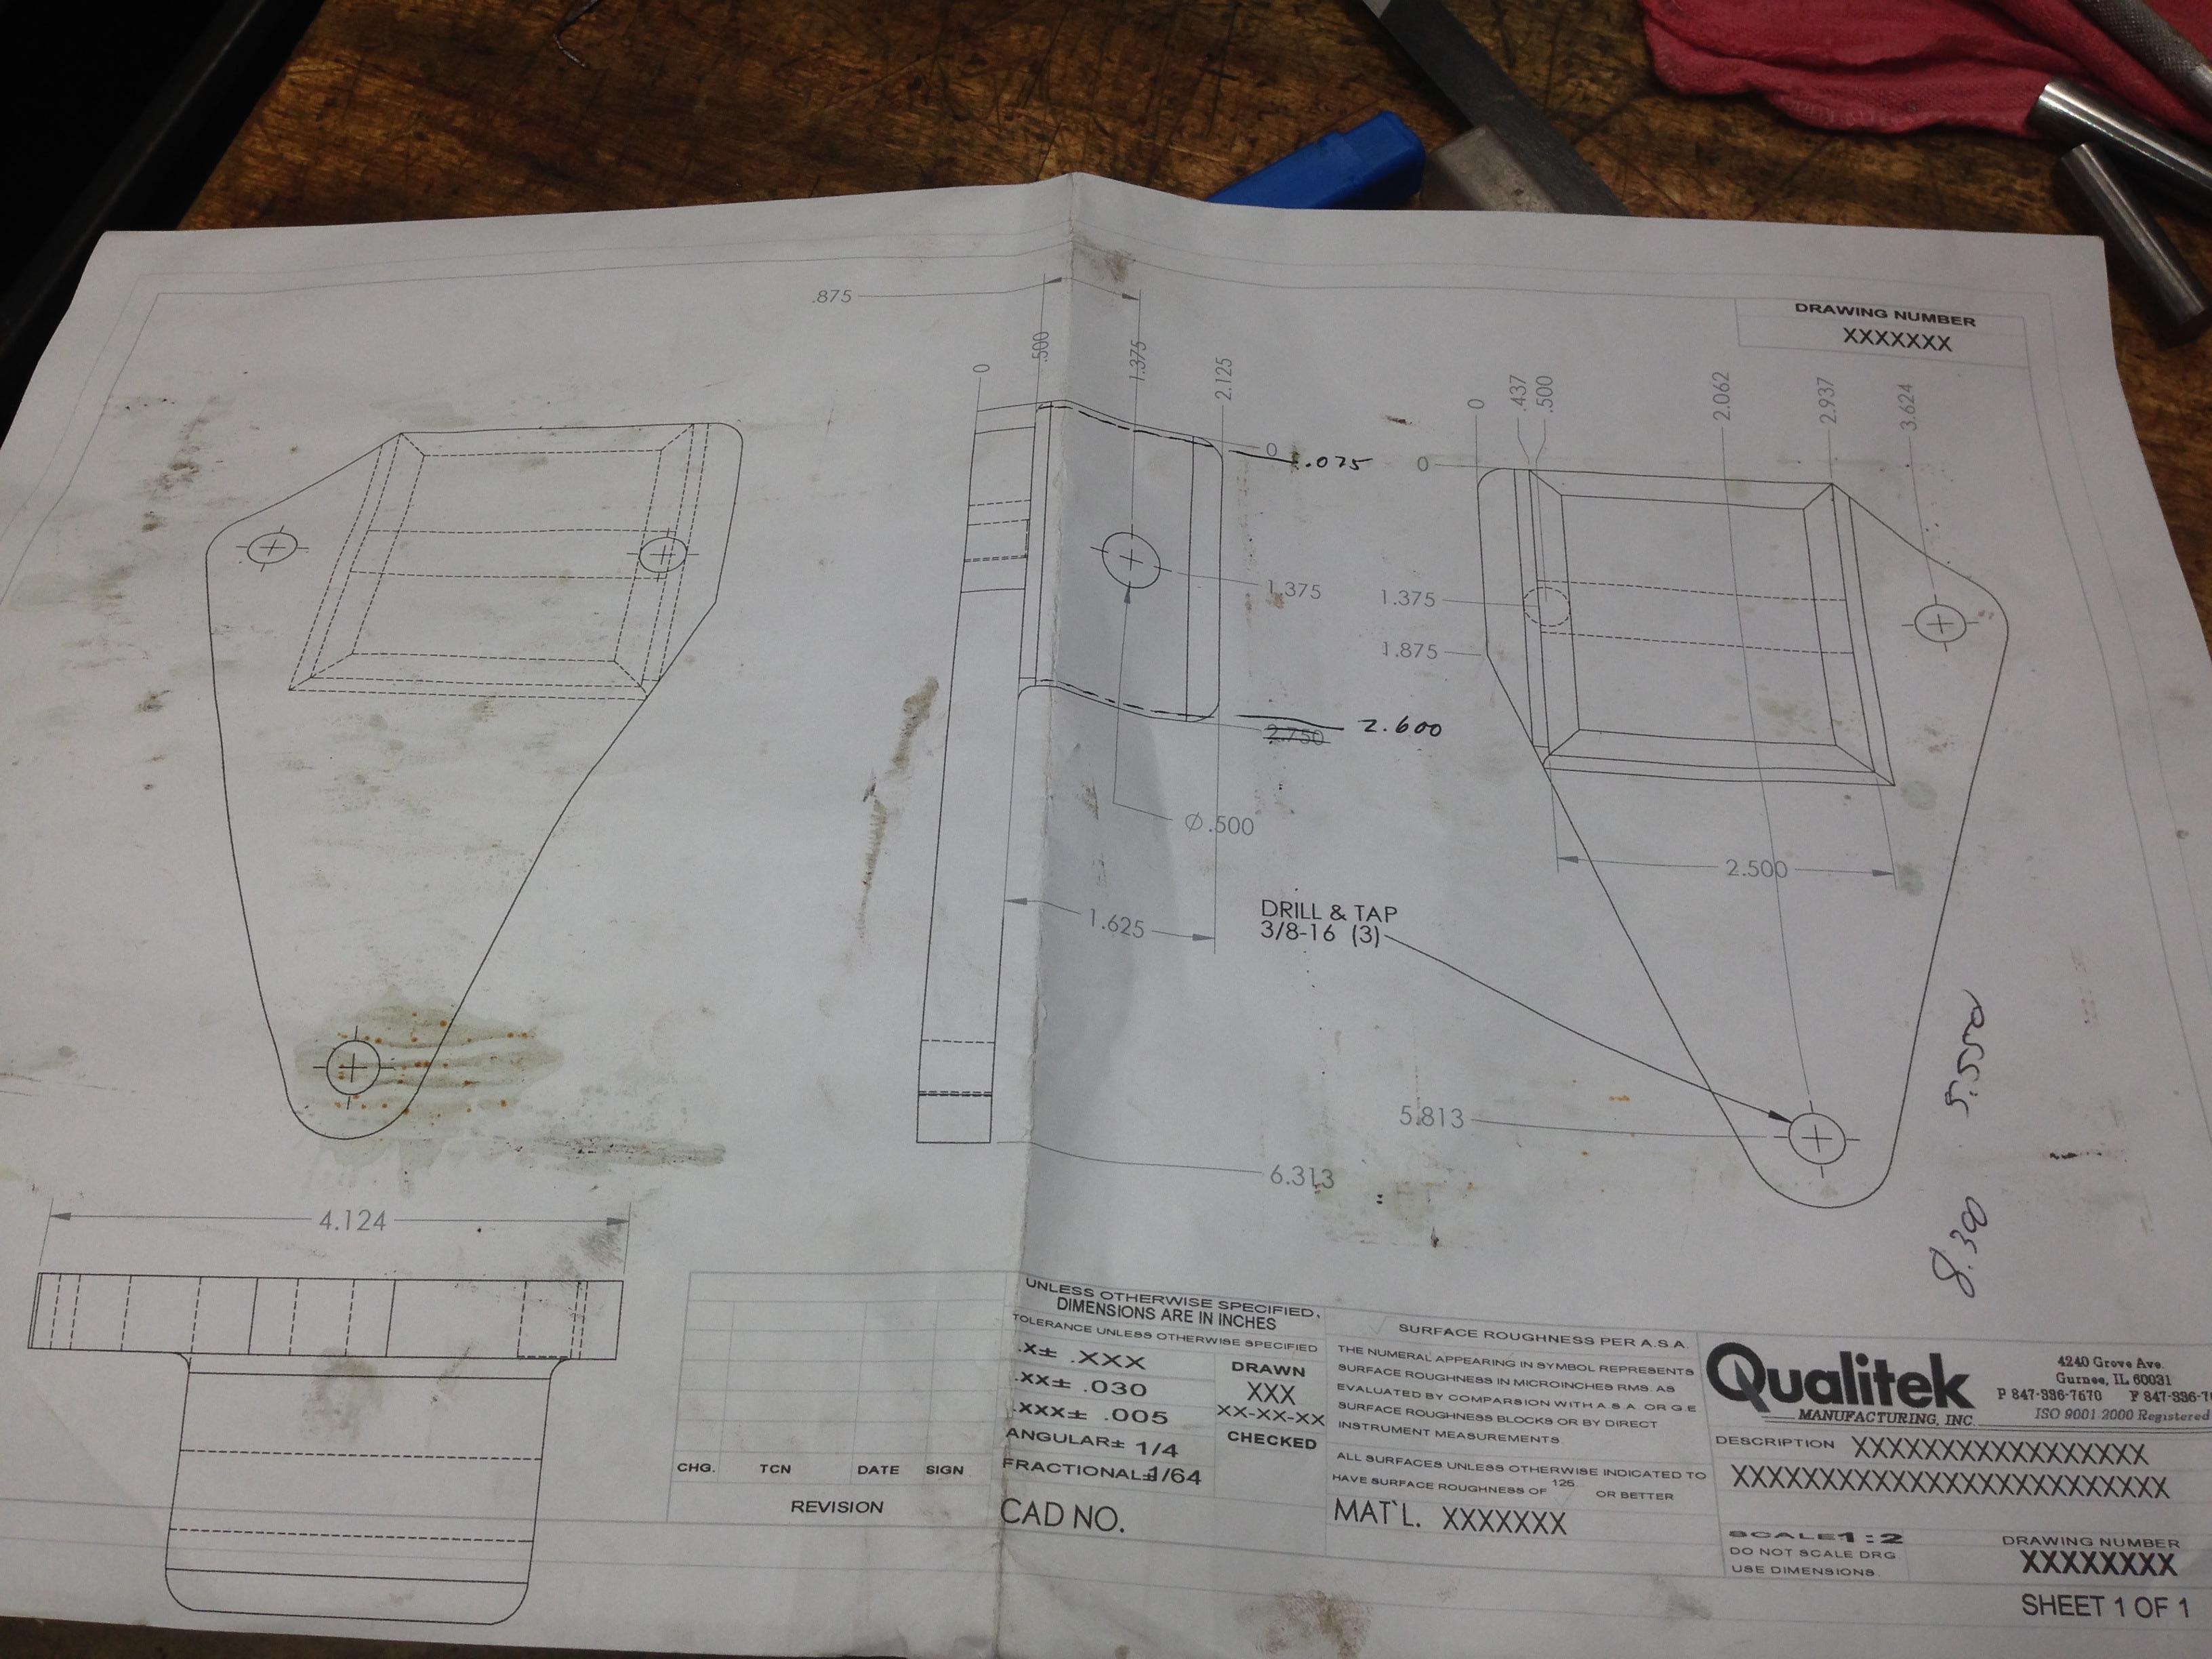
The next issue that I'm working on is the placement of the engine mounts......The stock Chevelle engine frame mounts extend forward of the front crossmember.......and.....I need that room for my A/C compressor.......so......I'm making a set of adaptor plates for the engine and frame to center the mounts in the middle of the stock crossmember which will move the mounts back about 3 1/4" and give me the room I need.......Should have everything finished next week.........
Ken
 10-13-2013, 08:53 AM
#82
TECH Fanatic
I love this build. Good to see another supercharged LS moving forward. I have done some similar things to my car. It is now a pleasure to drive. In fact I drove it all this last week while my truck was down. I will be following.
10-13-2013, 04:04 PM
#83
TECH Fanatic
Thread Starter
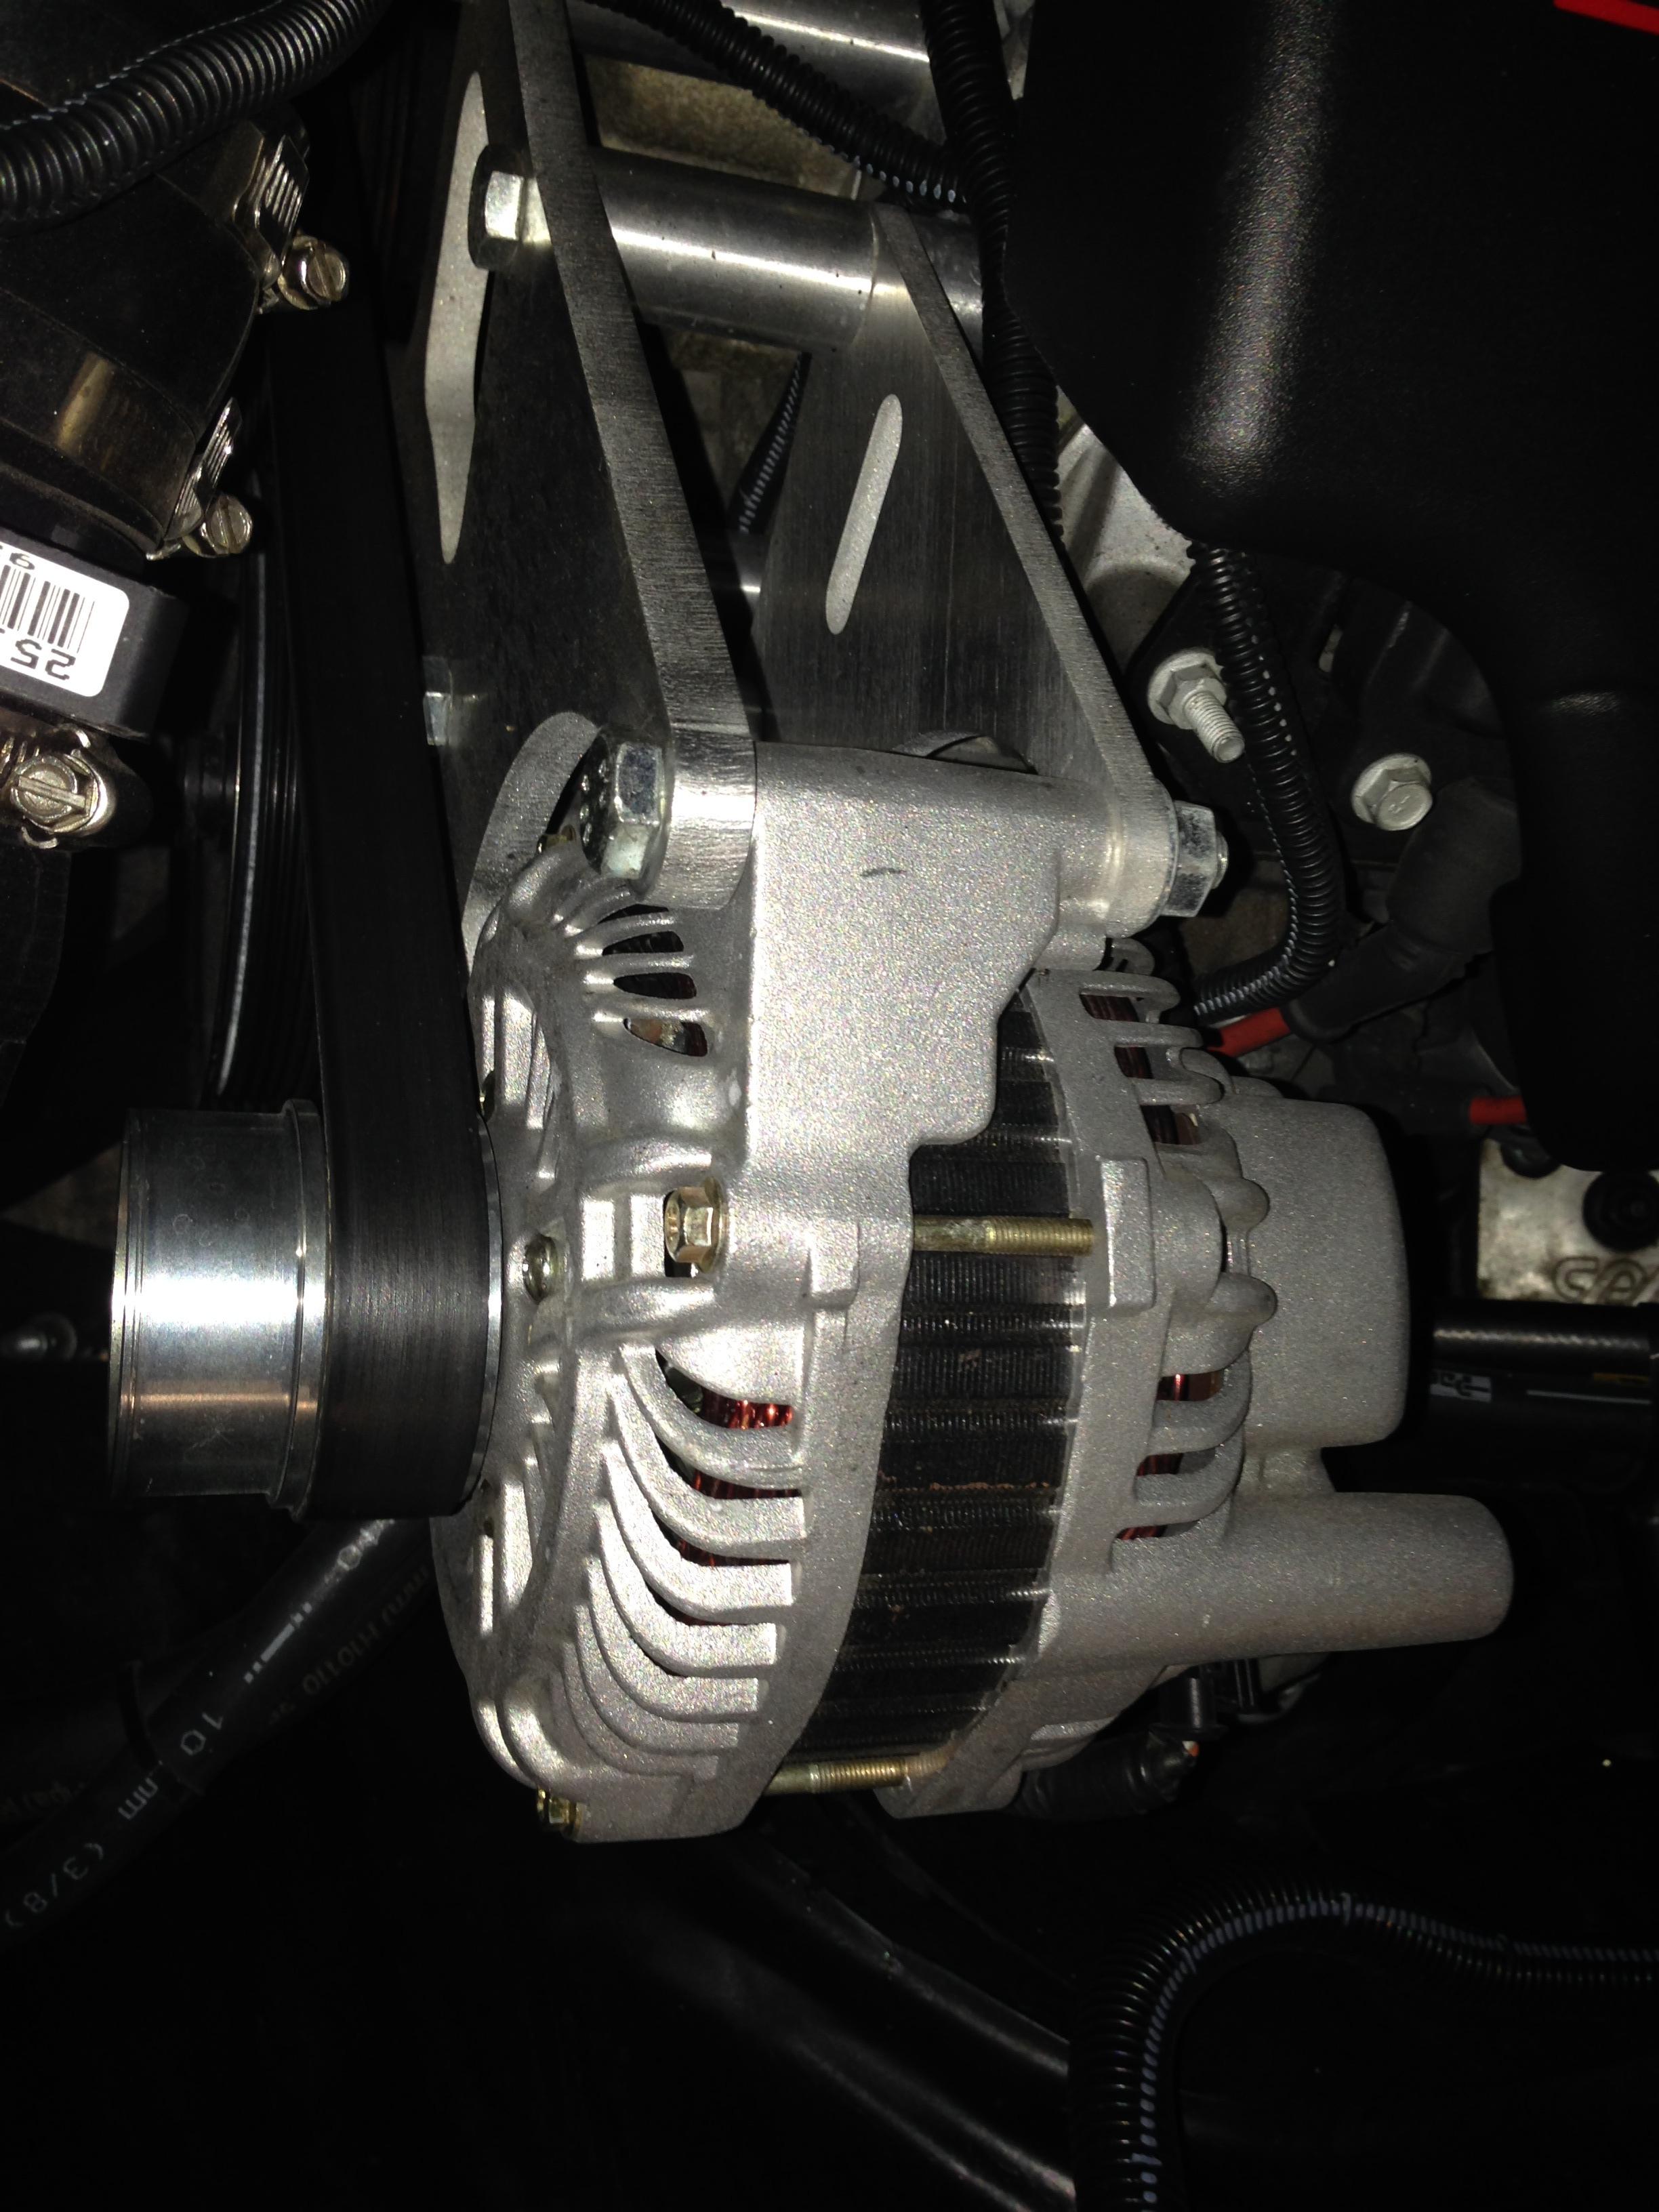
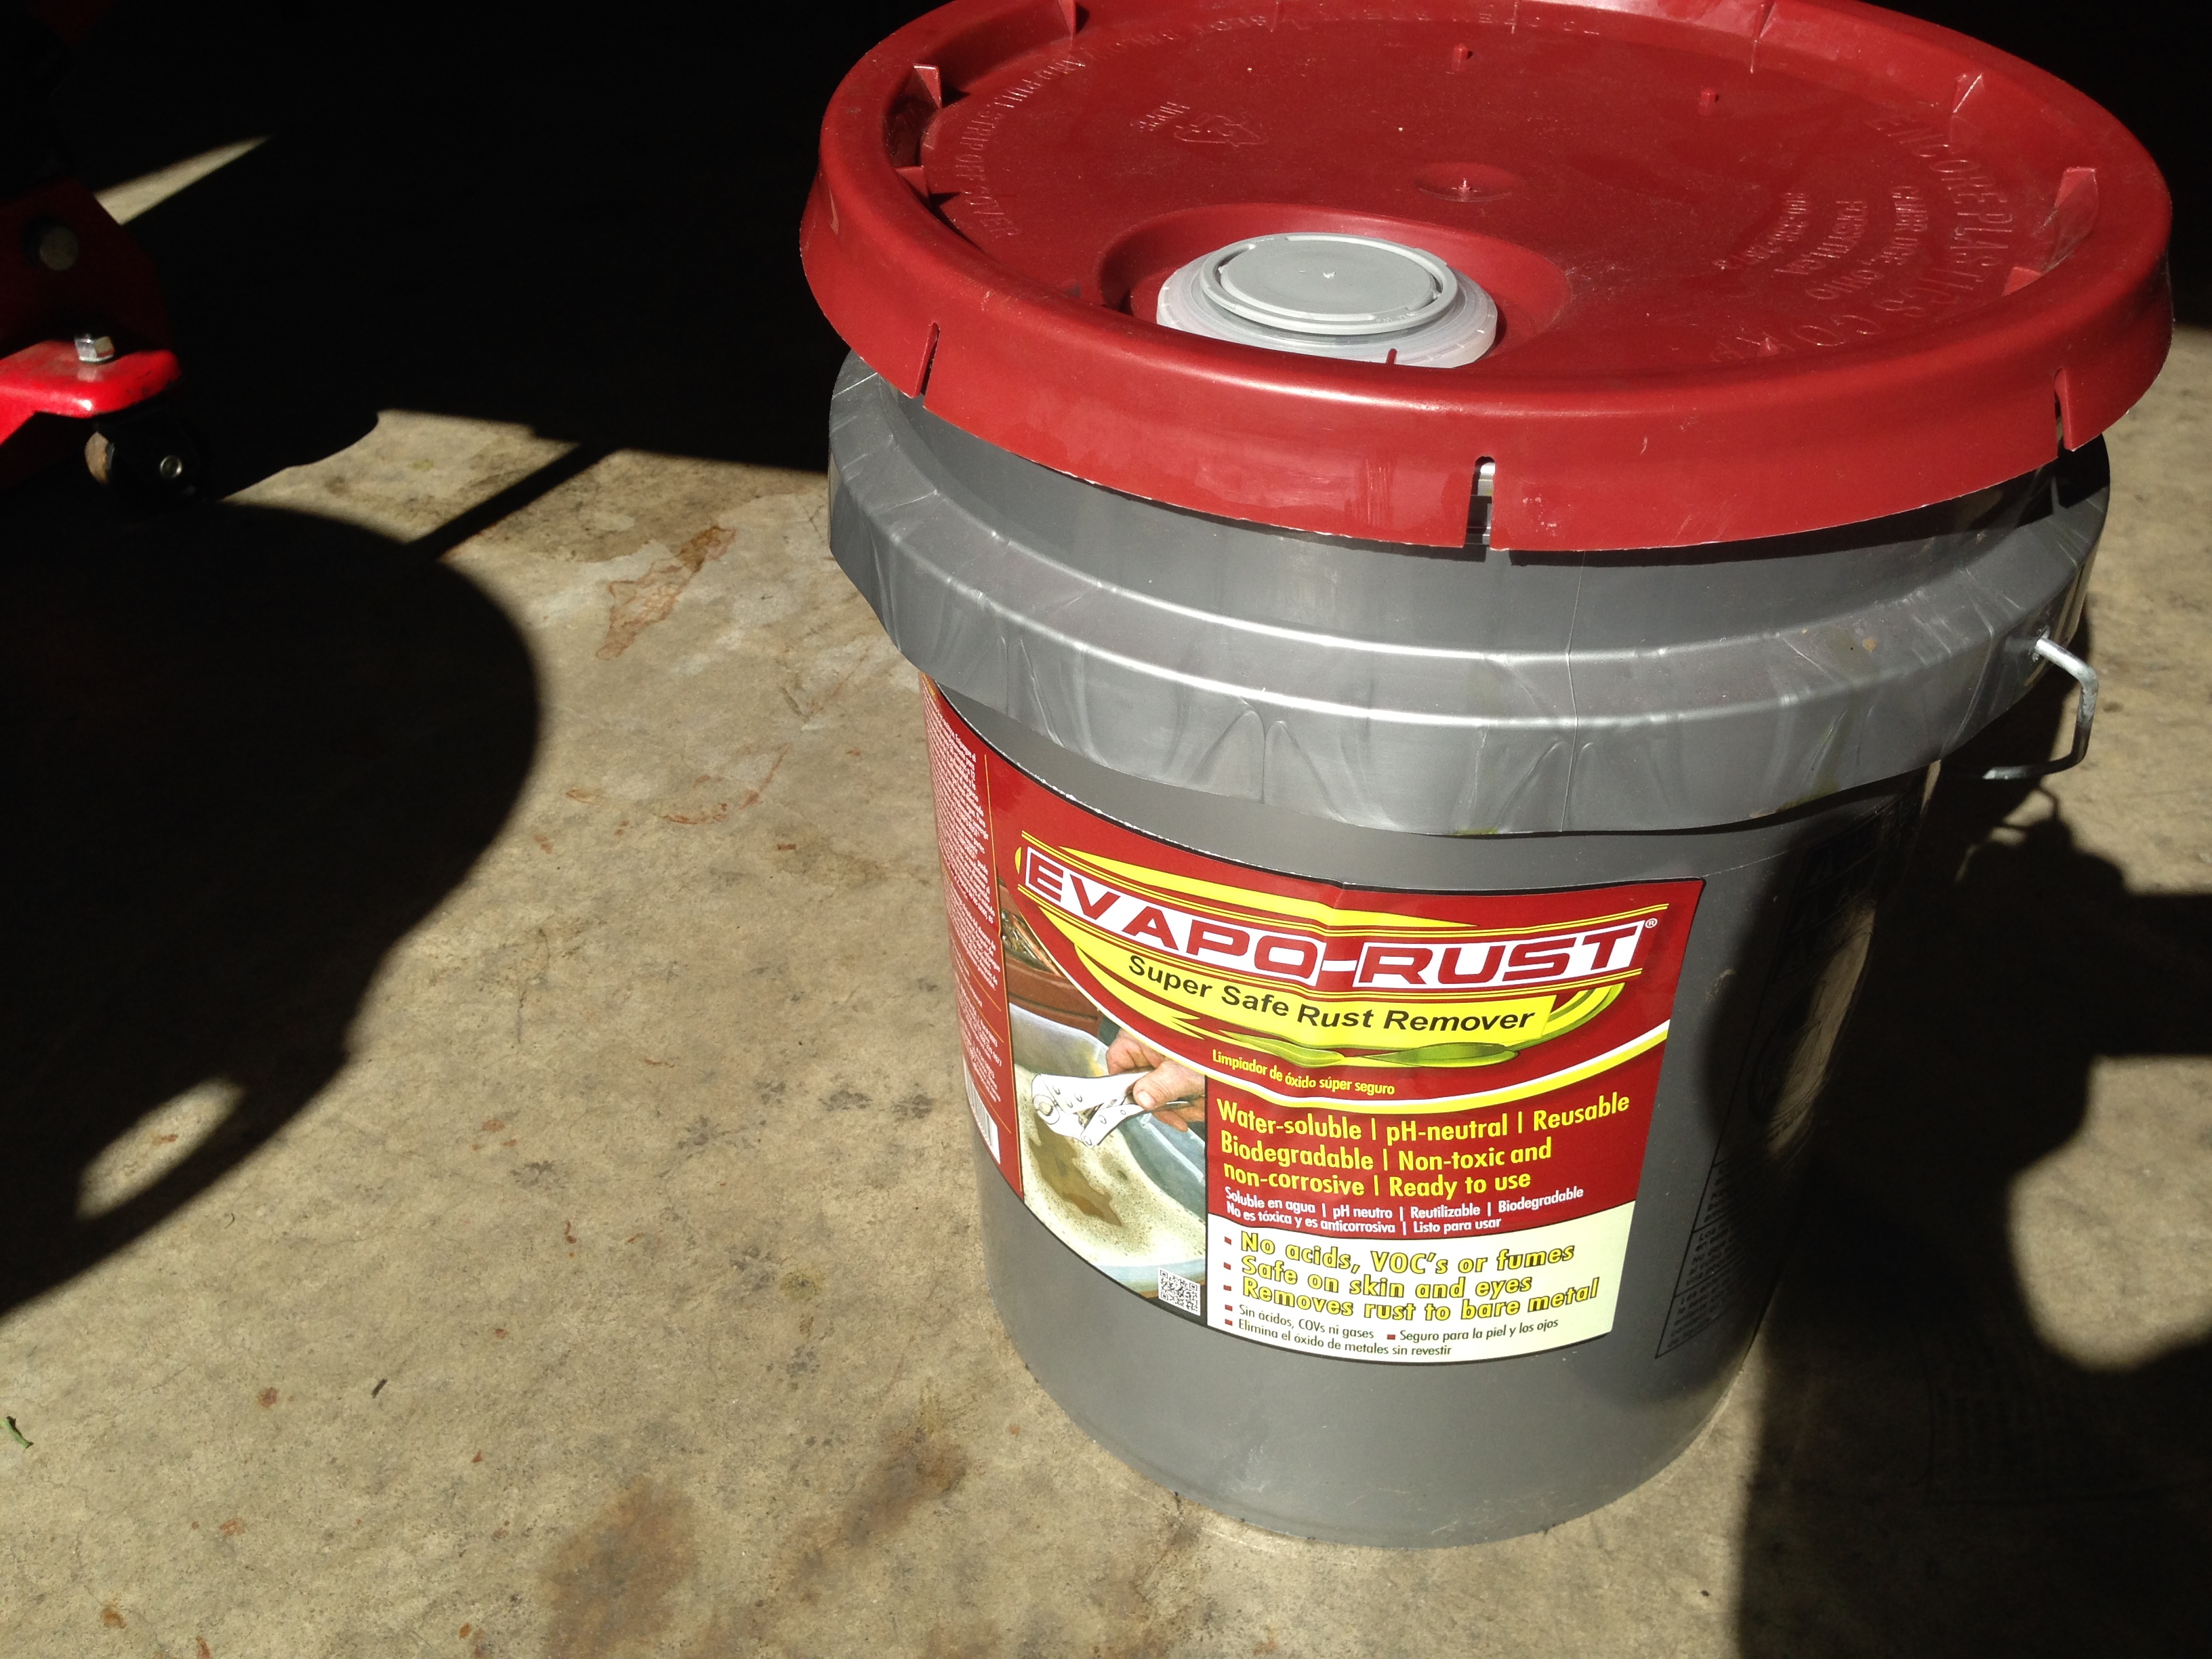
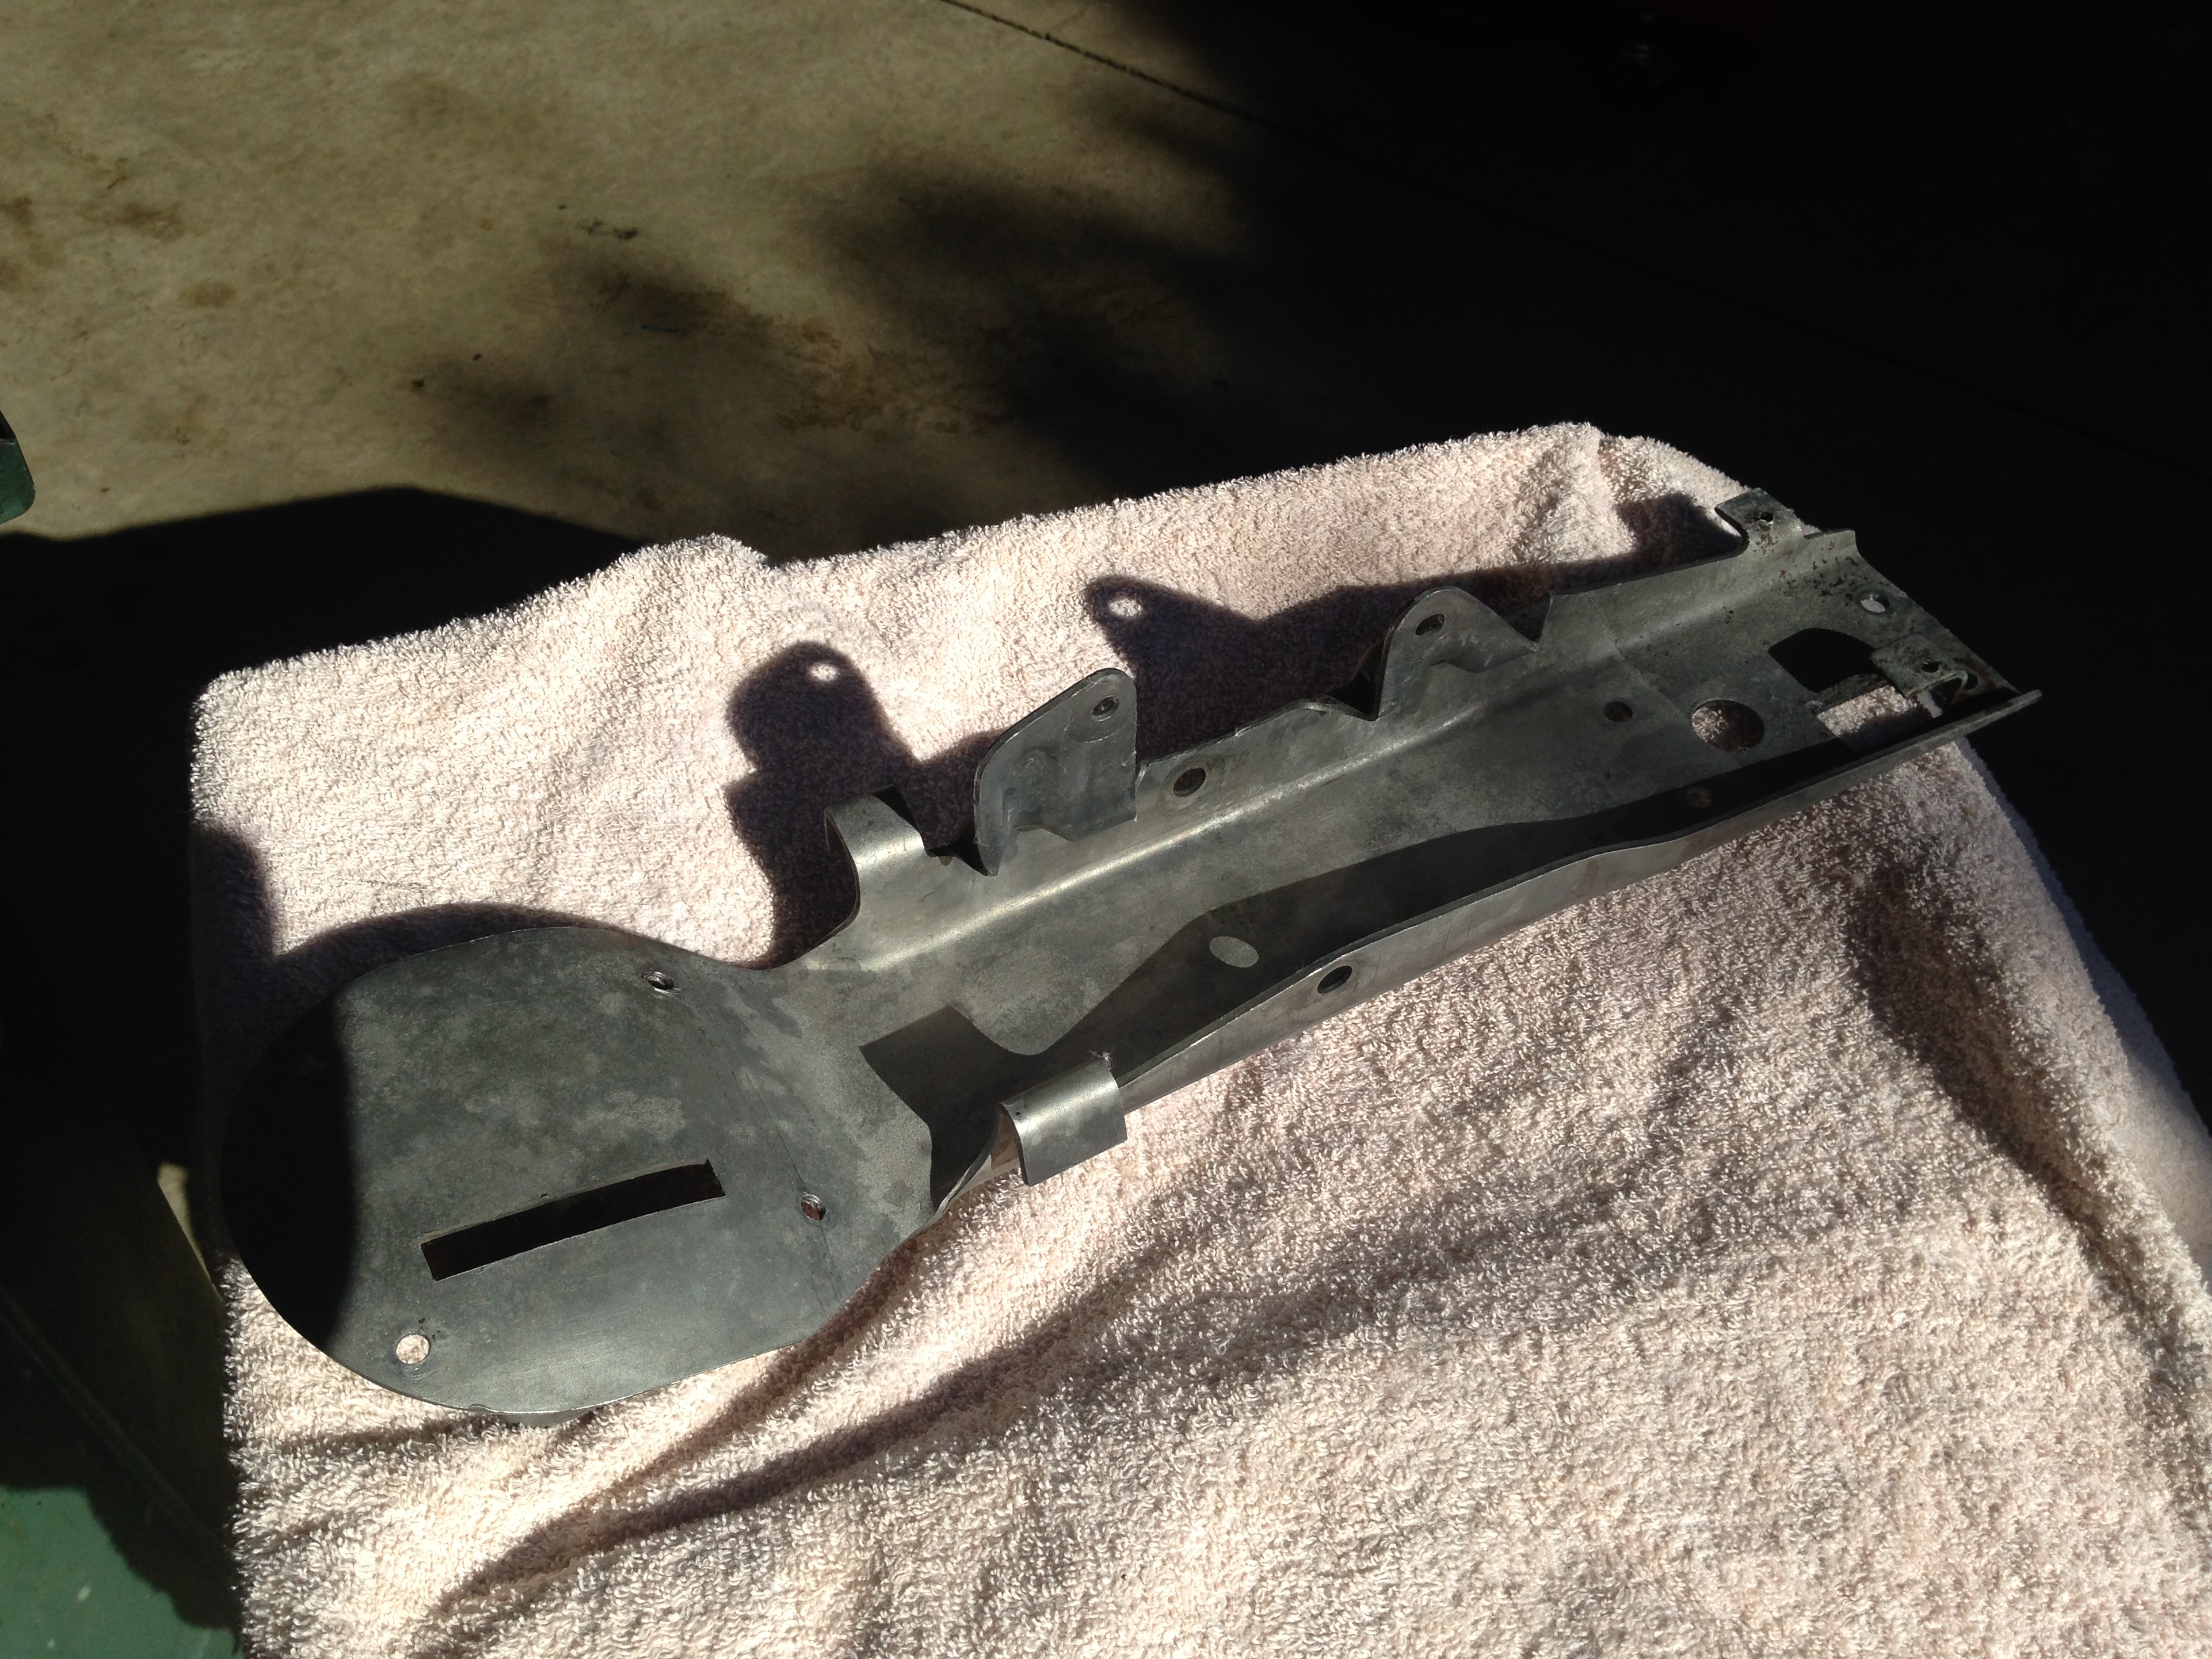
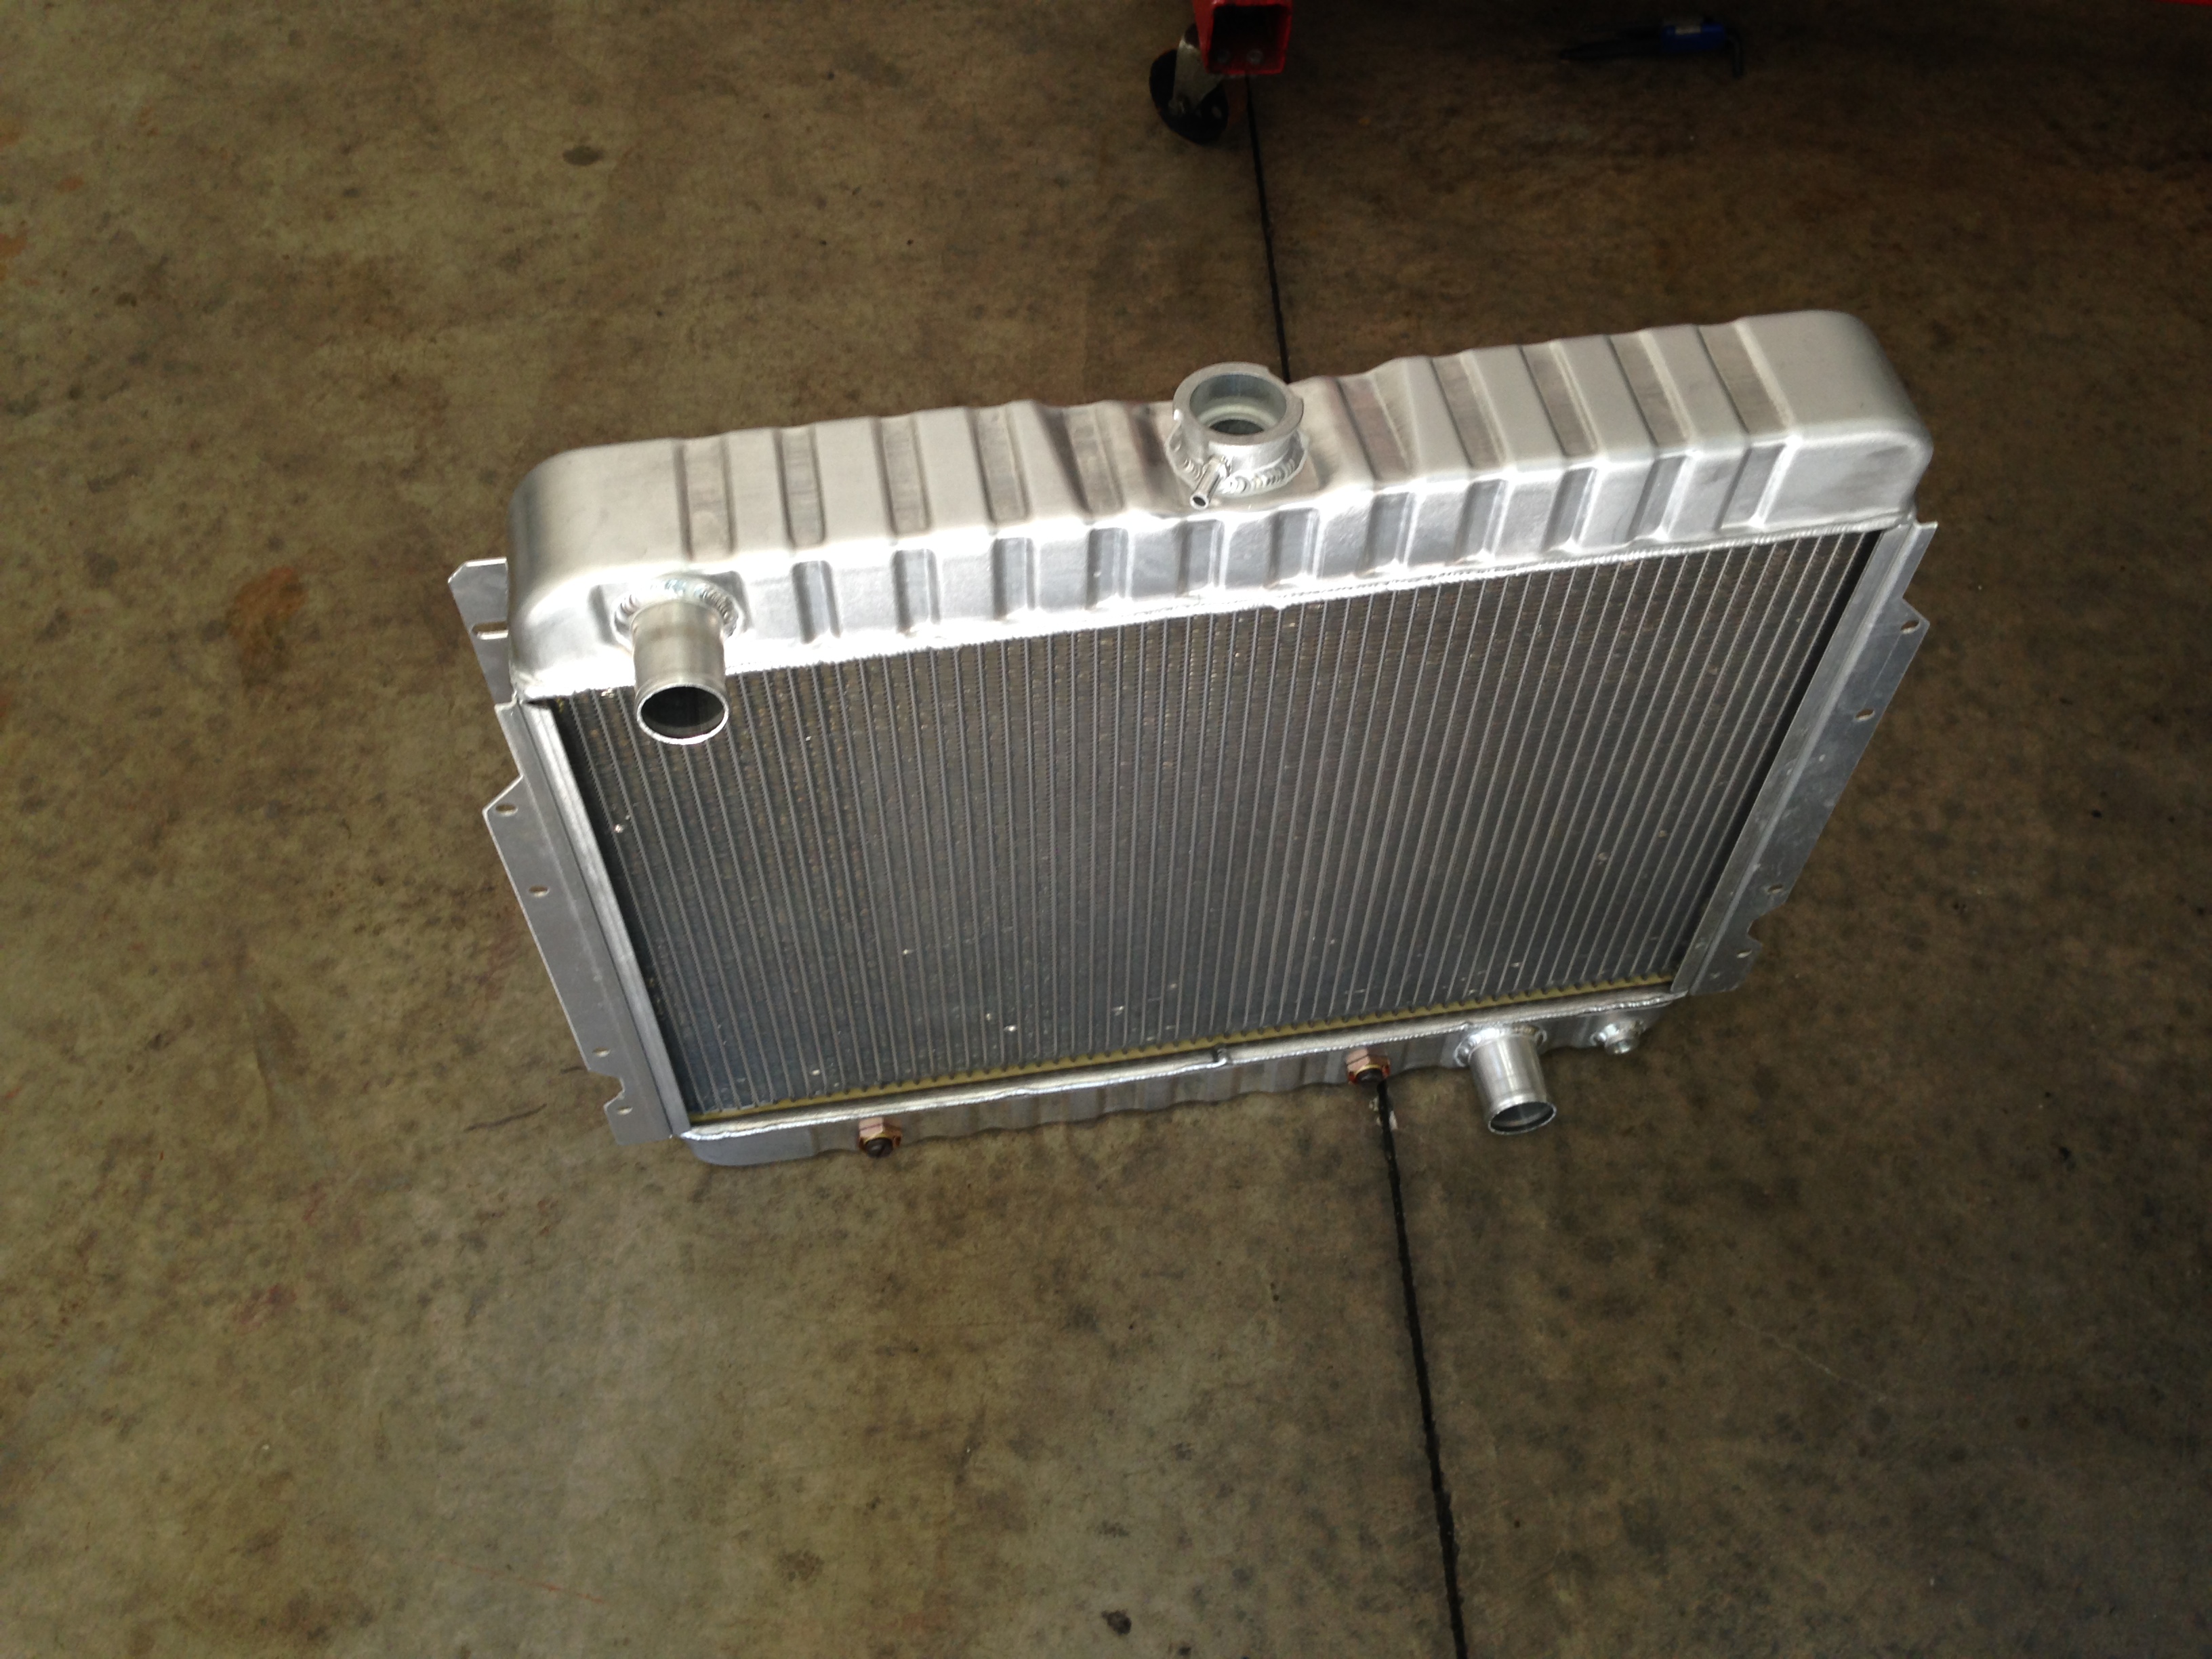
The new Alternator showed up.......installed it and everything is good to go.....The old Belt is just a tad short of working (84.24")........gonna get the next size larger and we are good to go.......I also set the core support on and as of right now I have plenty of room........I'm making some brackets to mount the Radiator and A/C Condenser on the engine side and the Intercooler for the Supercharger on the Grille side.....Should work out .....I designed the lower A/C compressor mount today also......so.....by the end of next week all the parts should be falling into place...........I also received the Shiftworks cable assembly to retrofit the stock console shifter for the new trans........the base of the shifter assy had a lot of surface rust on it so it go dunked over night in a bucket of Evap-o-rust..........Great stuff....looks like it was just stamped out yesterday.......Lot's of action next week........the rear axle housing should be back from Powder Coating so Jimmy can put it all back together......
Ken
Ken
10-15-2013, 07:10 PM
#84
TECH Fanatic
Thread Starter
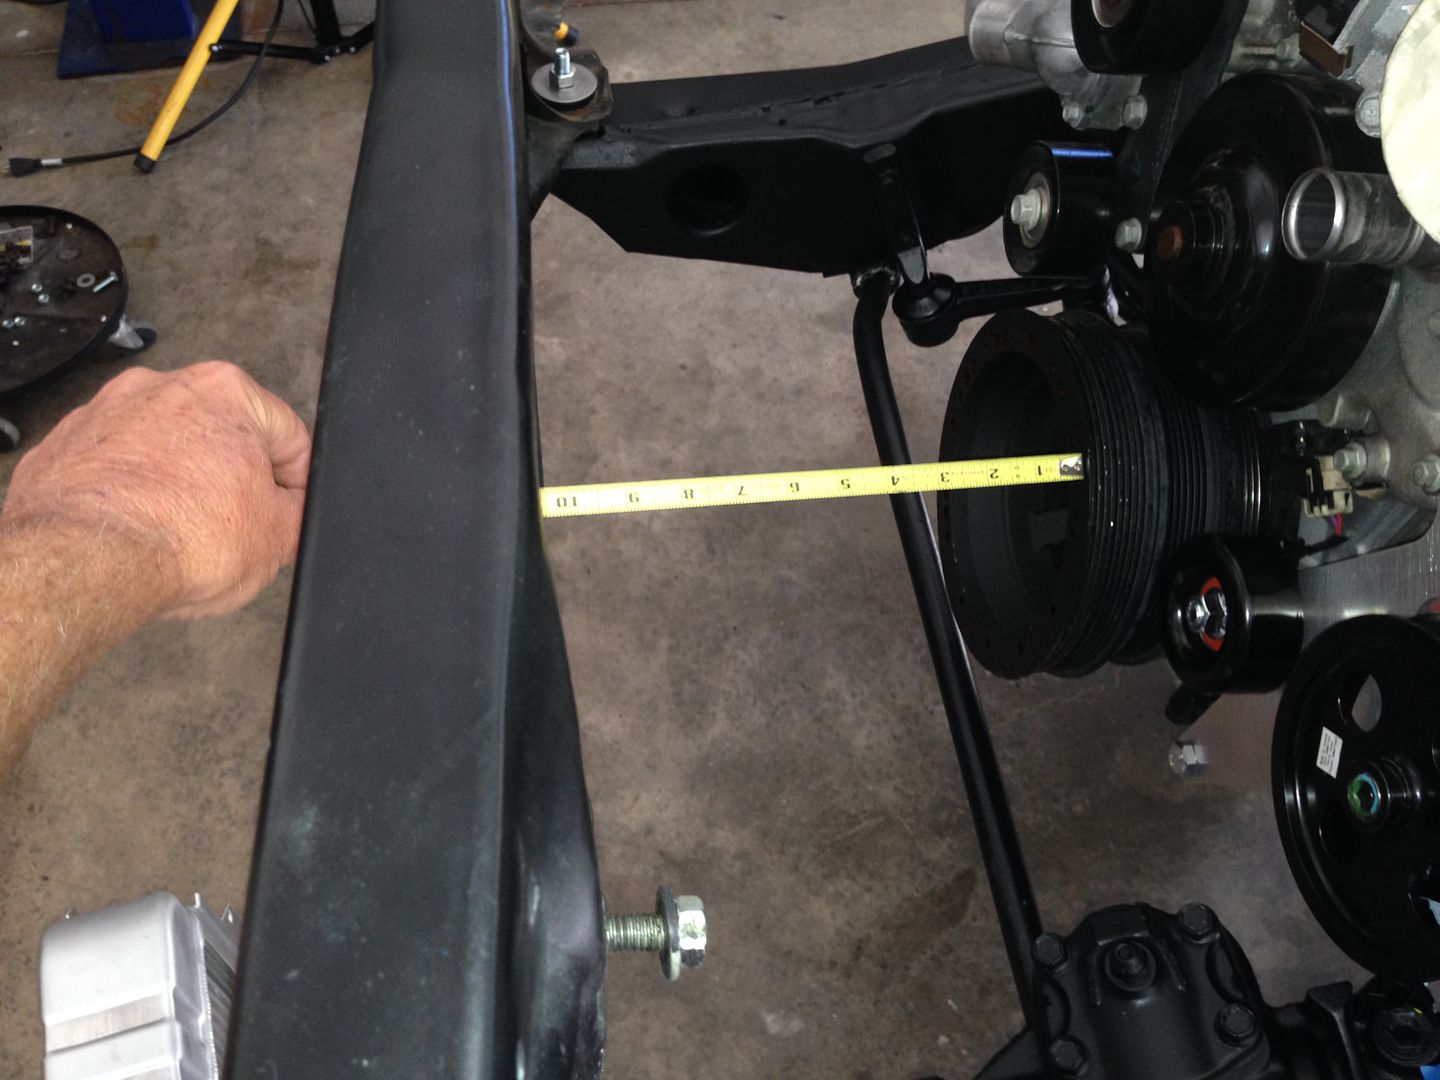
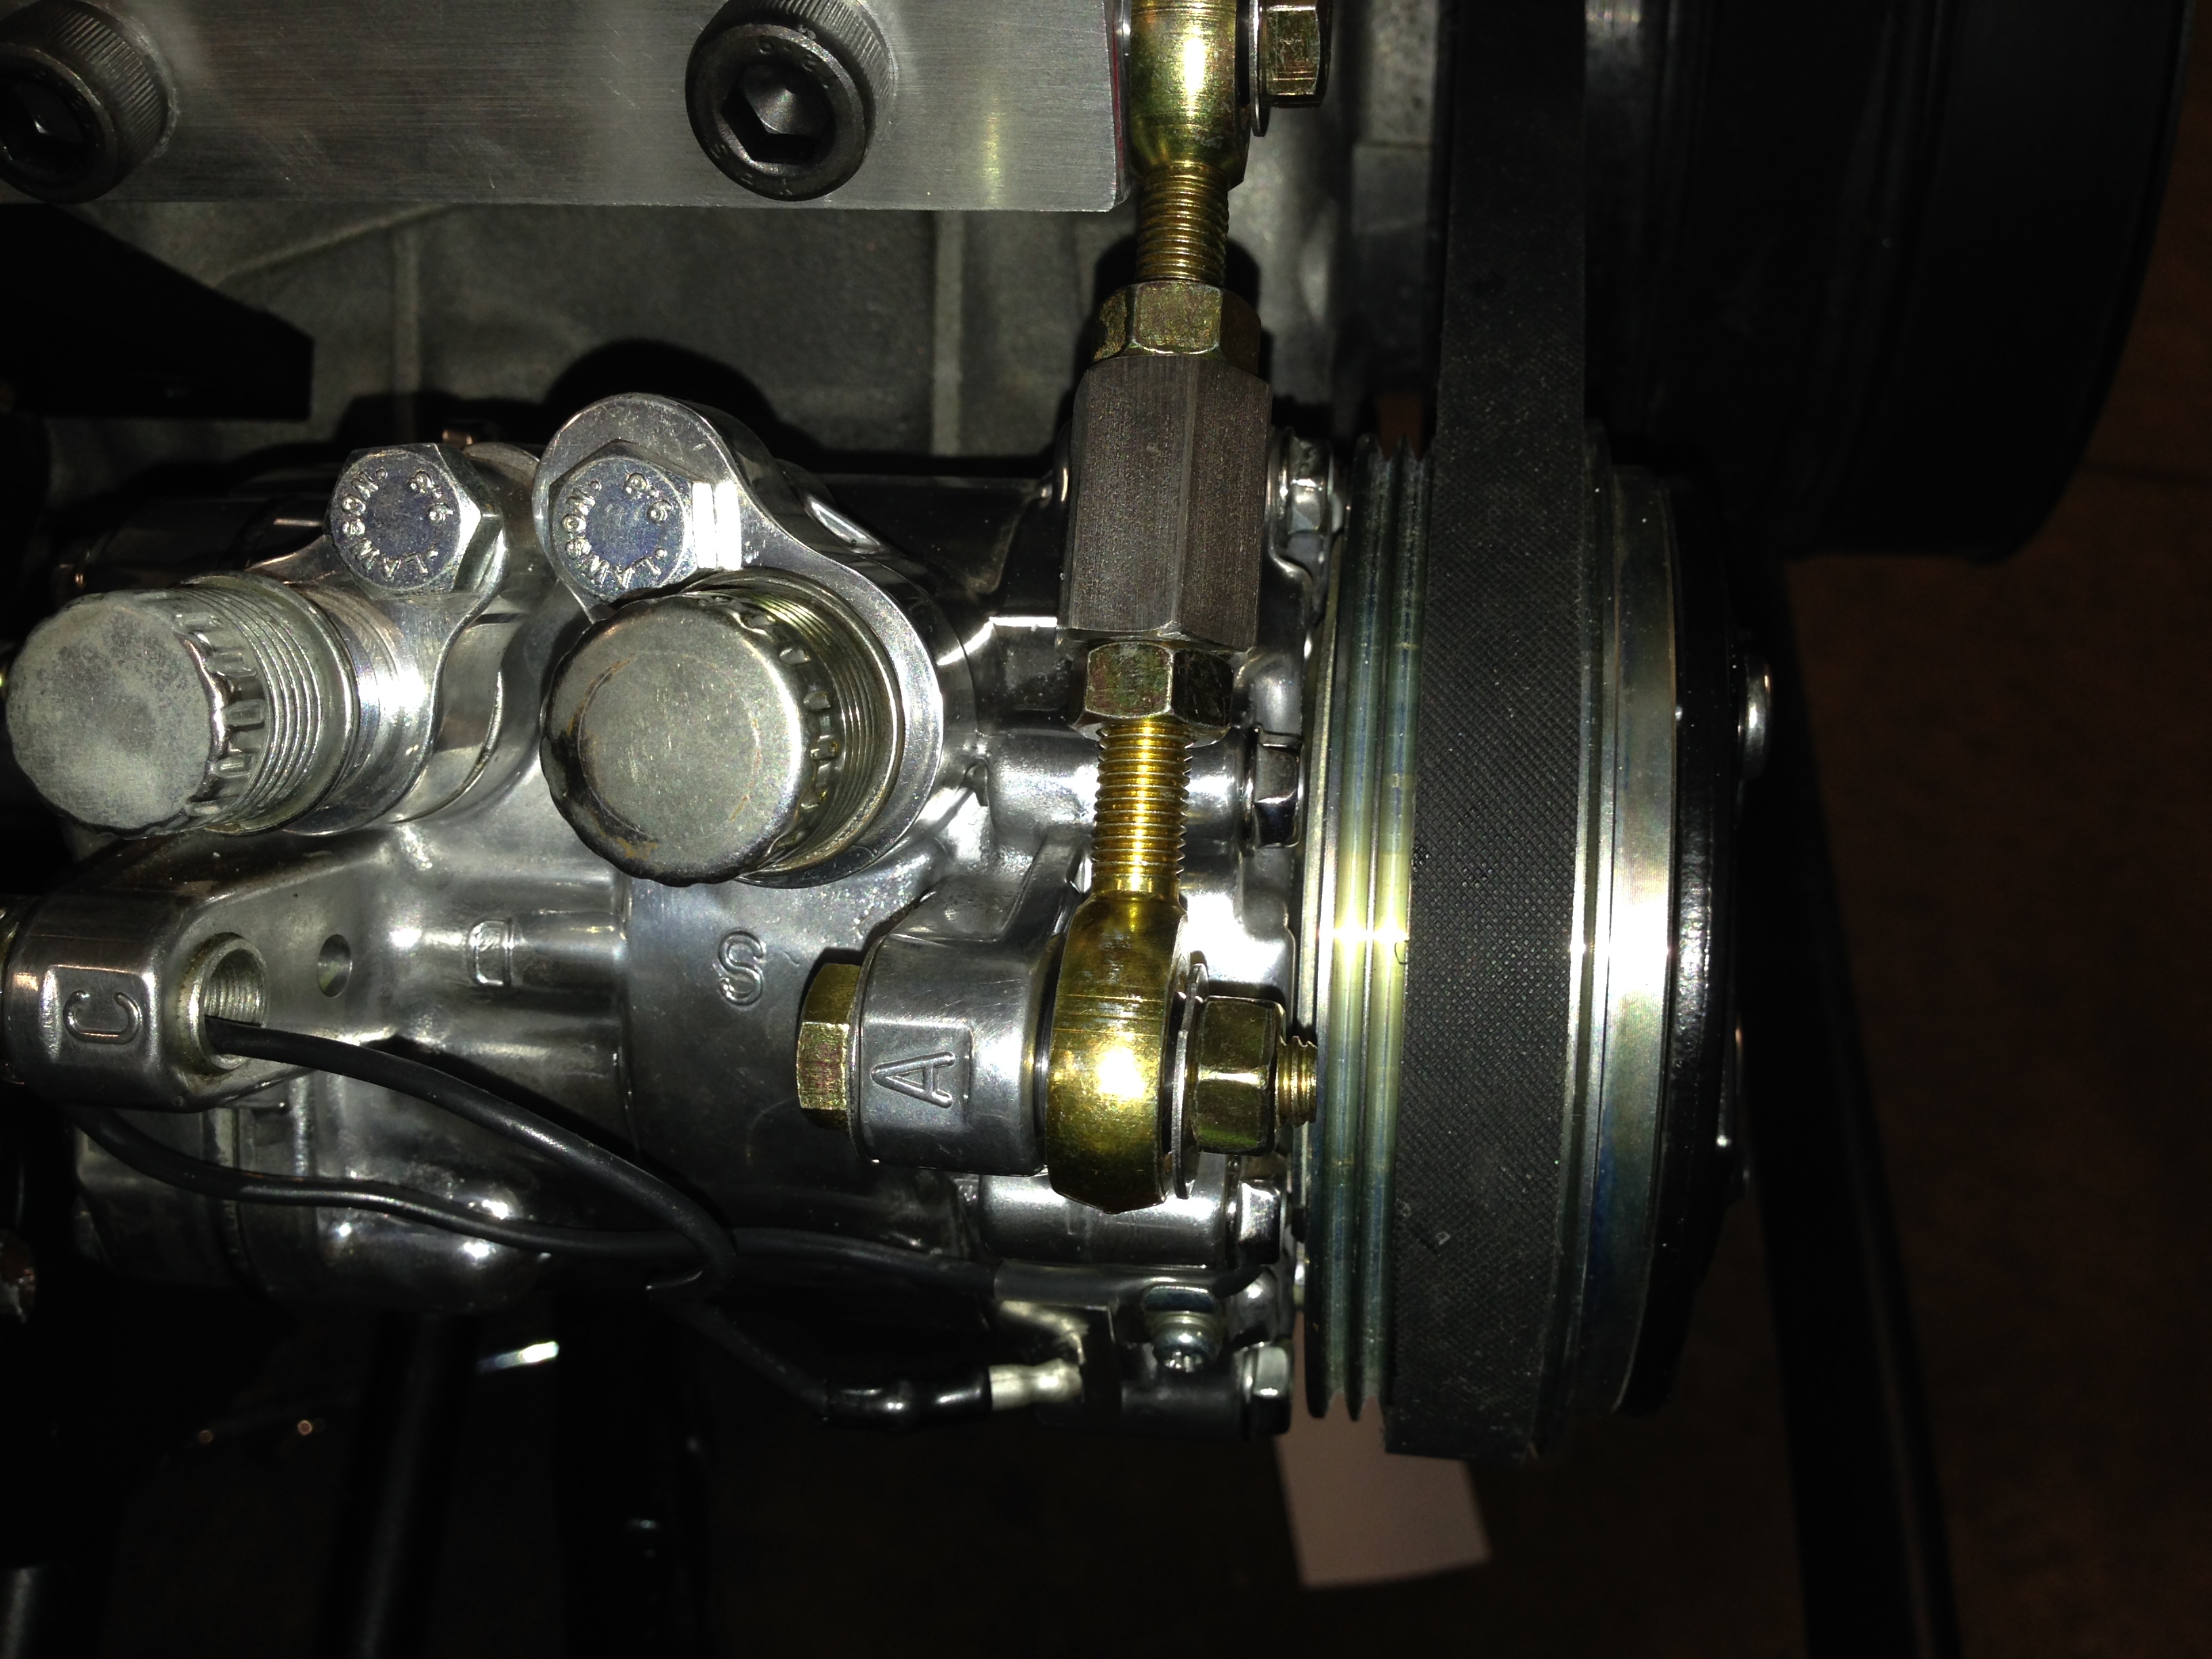
The Shiftworks conversion kit showed up to change the console shifter over to a cable mechanism with the proper detent plate to match the 4L70 along with the correct neutral start and back-up light switch......Got it in and installed.........I also stopped at Chassis Service and the rear axle assy will be picked up on Thursday..........I'm still waiting for some material to come in to finish the motor mounts.......So.....I had a little time to mess with the A/C compressor mounting......I used a small front drive style compressor to keep from notching the crossmember....It ended up being so simple and the Belt even lines up........having a digital caliper around to use makes everything easy...........I just need to make a simple upper adjuster for the compressor to tension the belt.....Pretty Simple.....

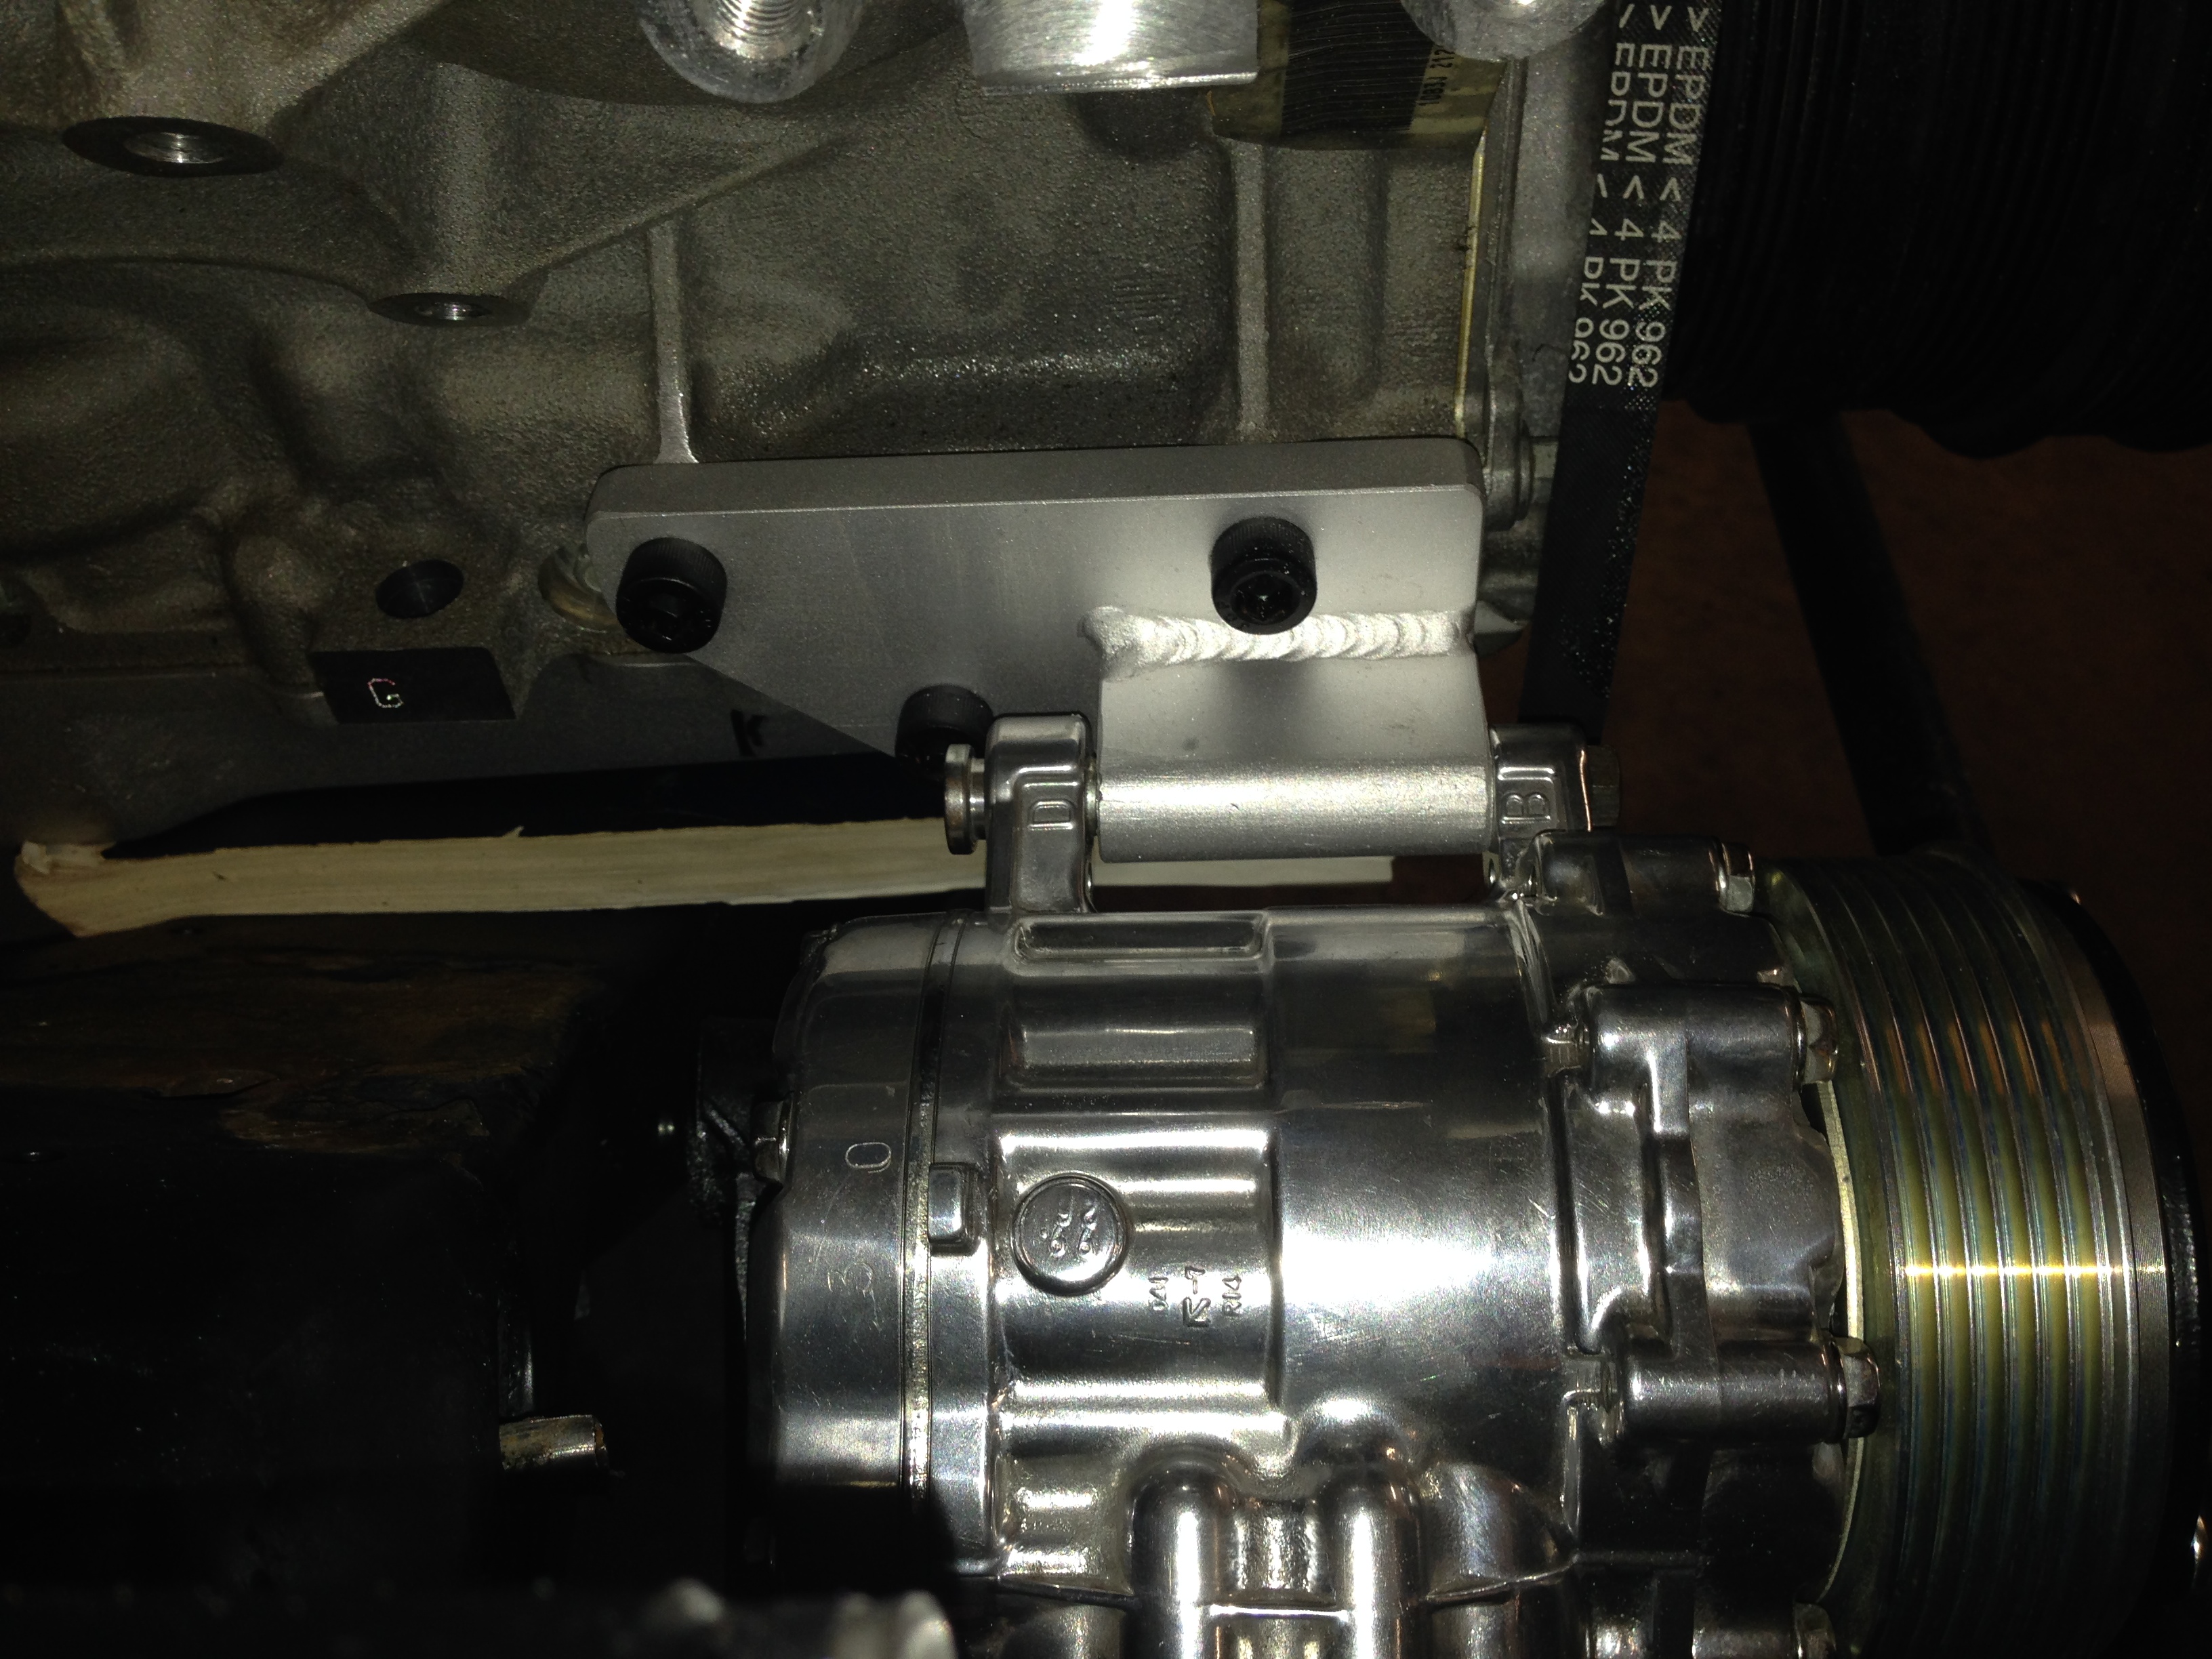
Ken
Ken
 10-15-2013, 10:29 PM
#86
TECH Fanatic
Thread Starter
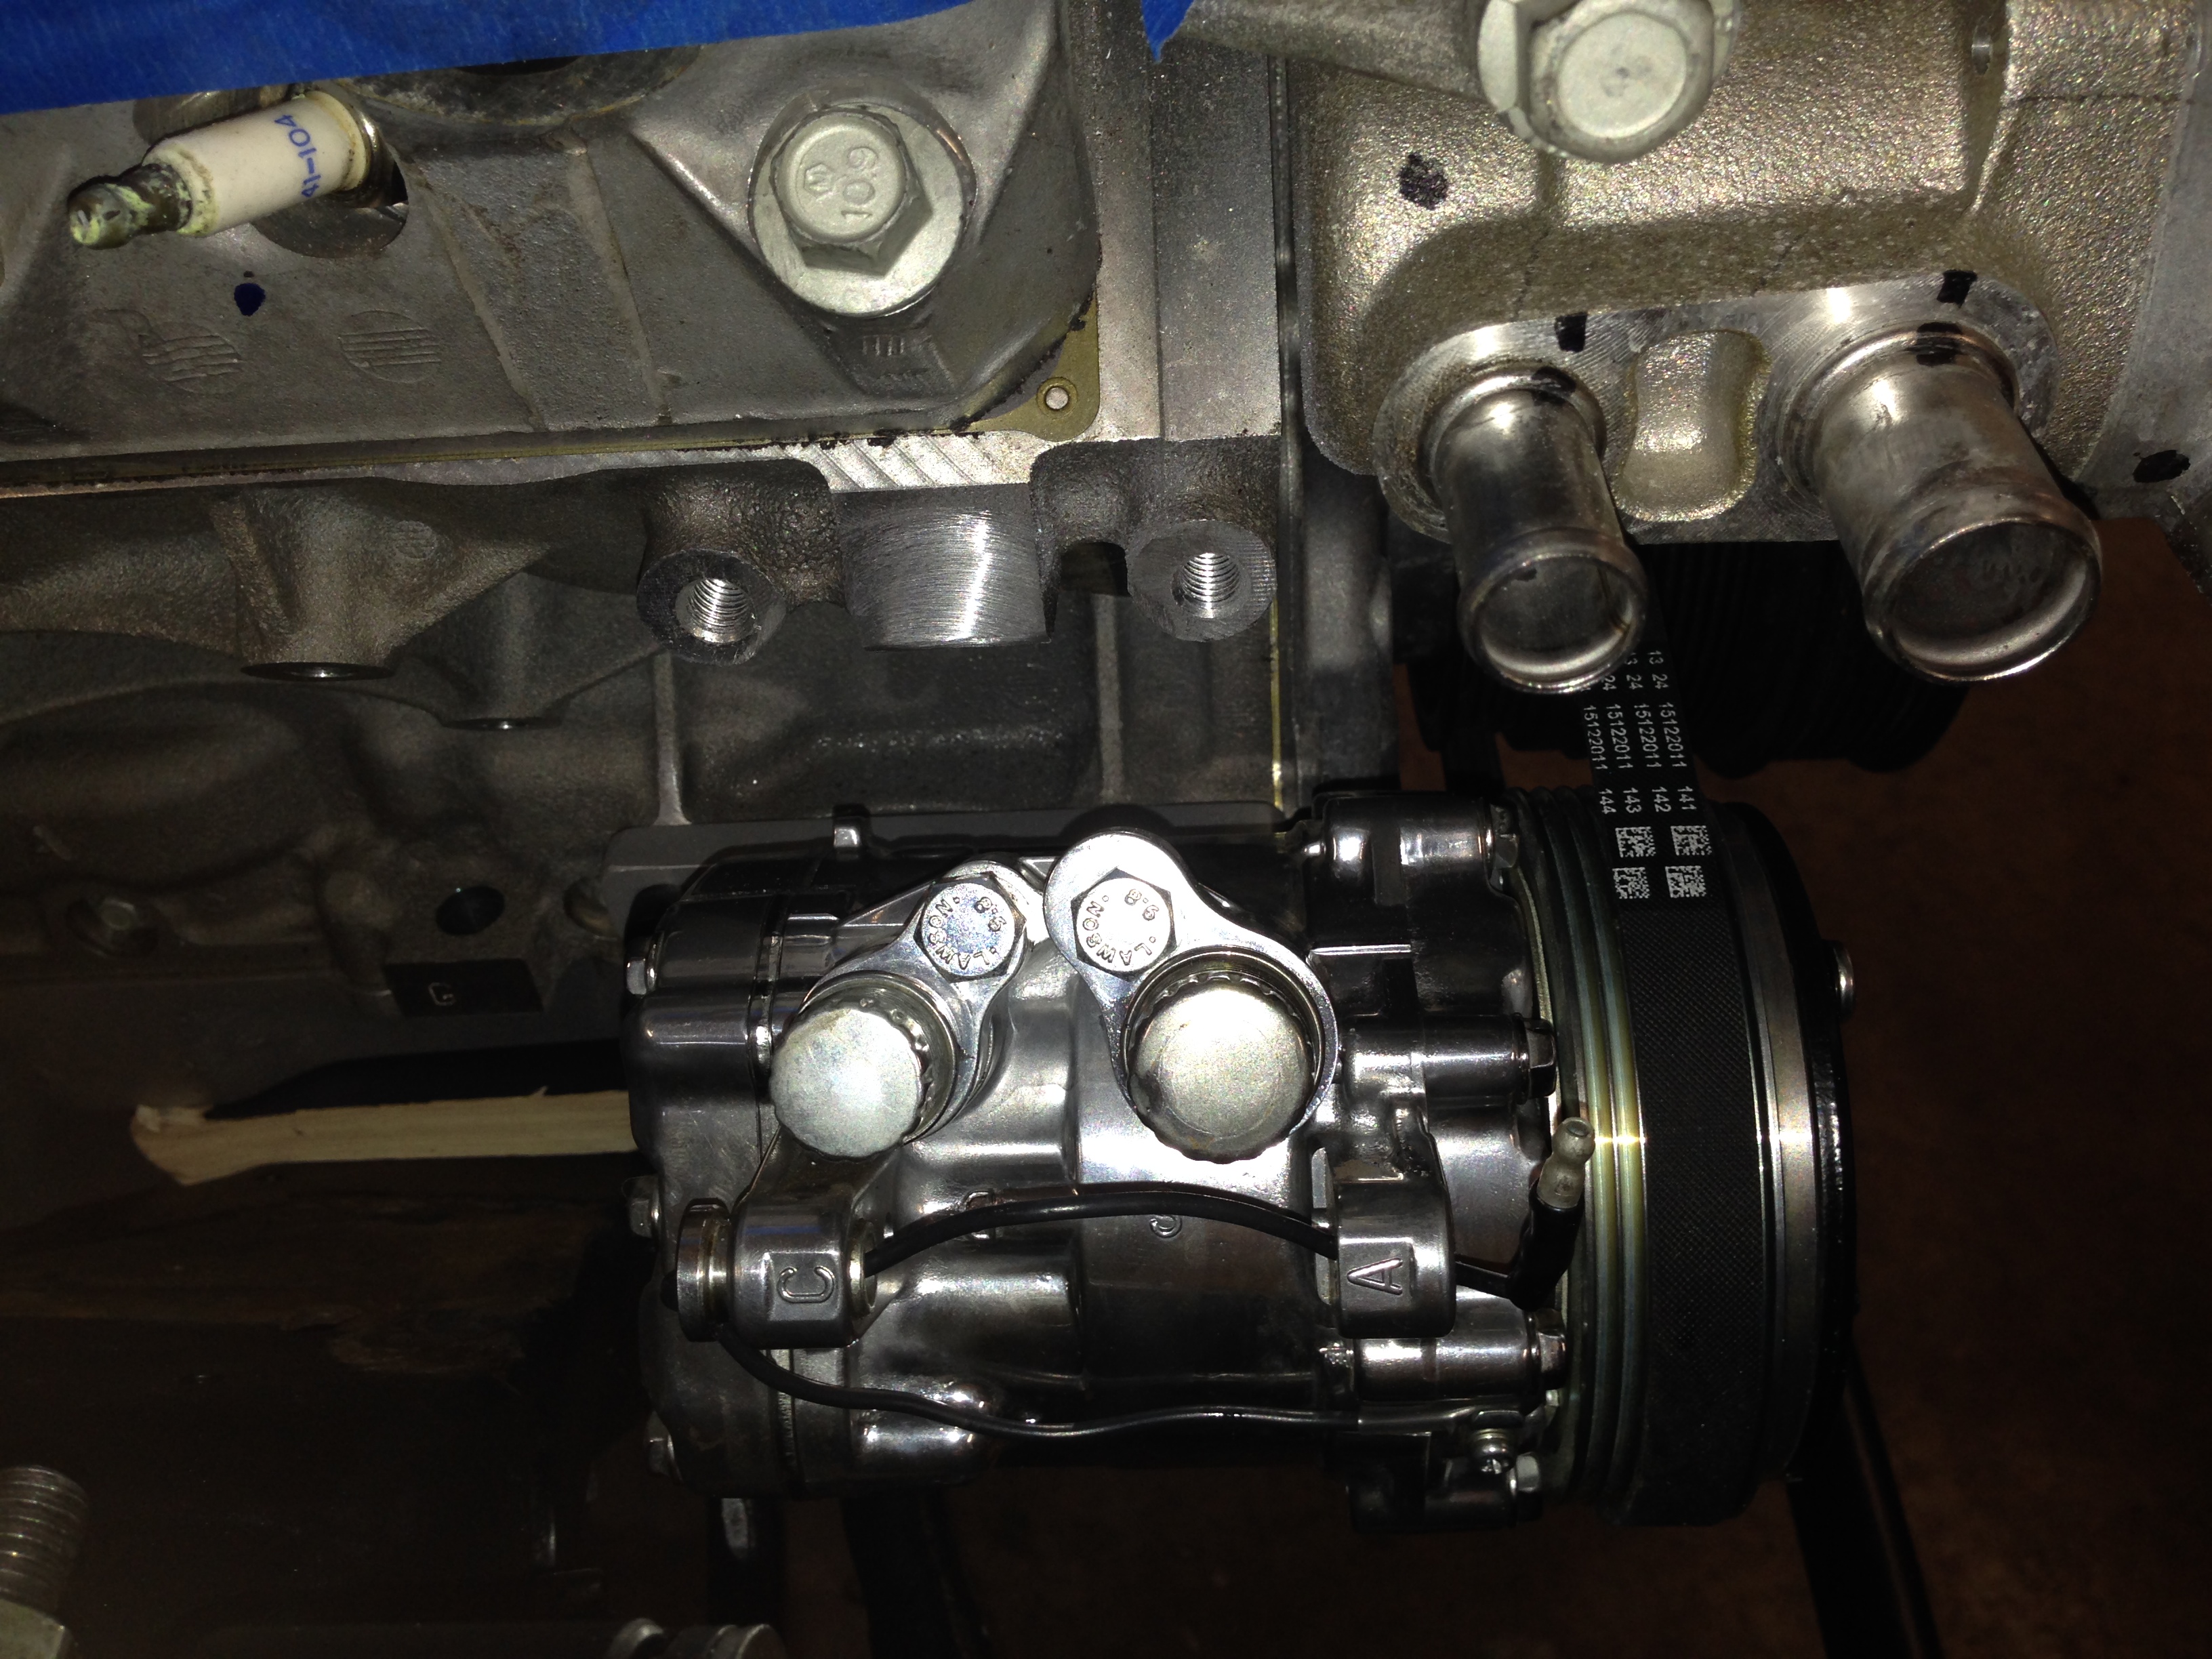
It's a compressor off of a serpentine Front Runner system sold by Billet Specialties and others.....
Ken
Ken
 10-17-2013, 10:19 PM
#88
TECH Fanatic
Thread Starter
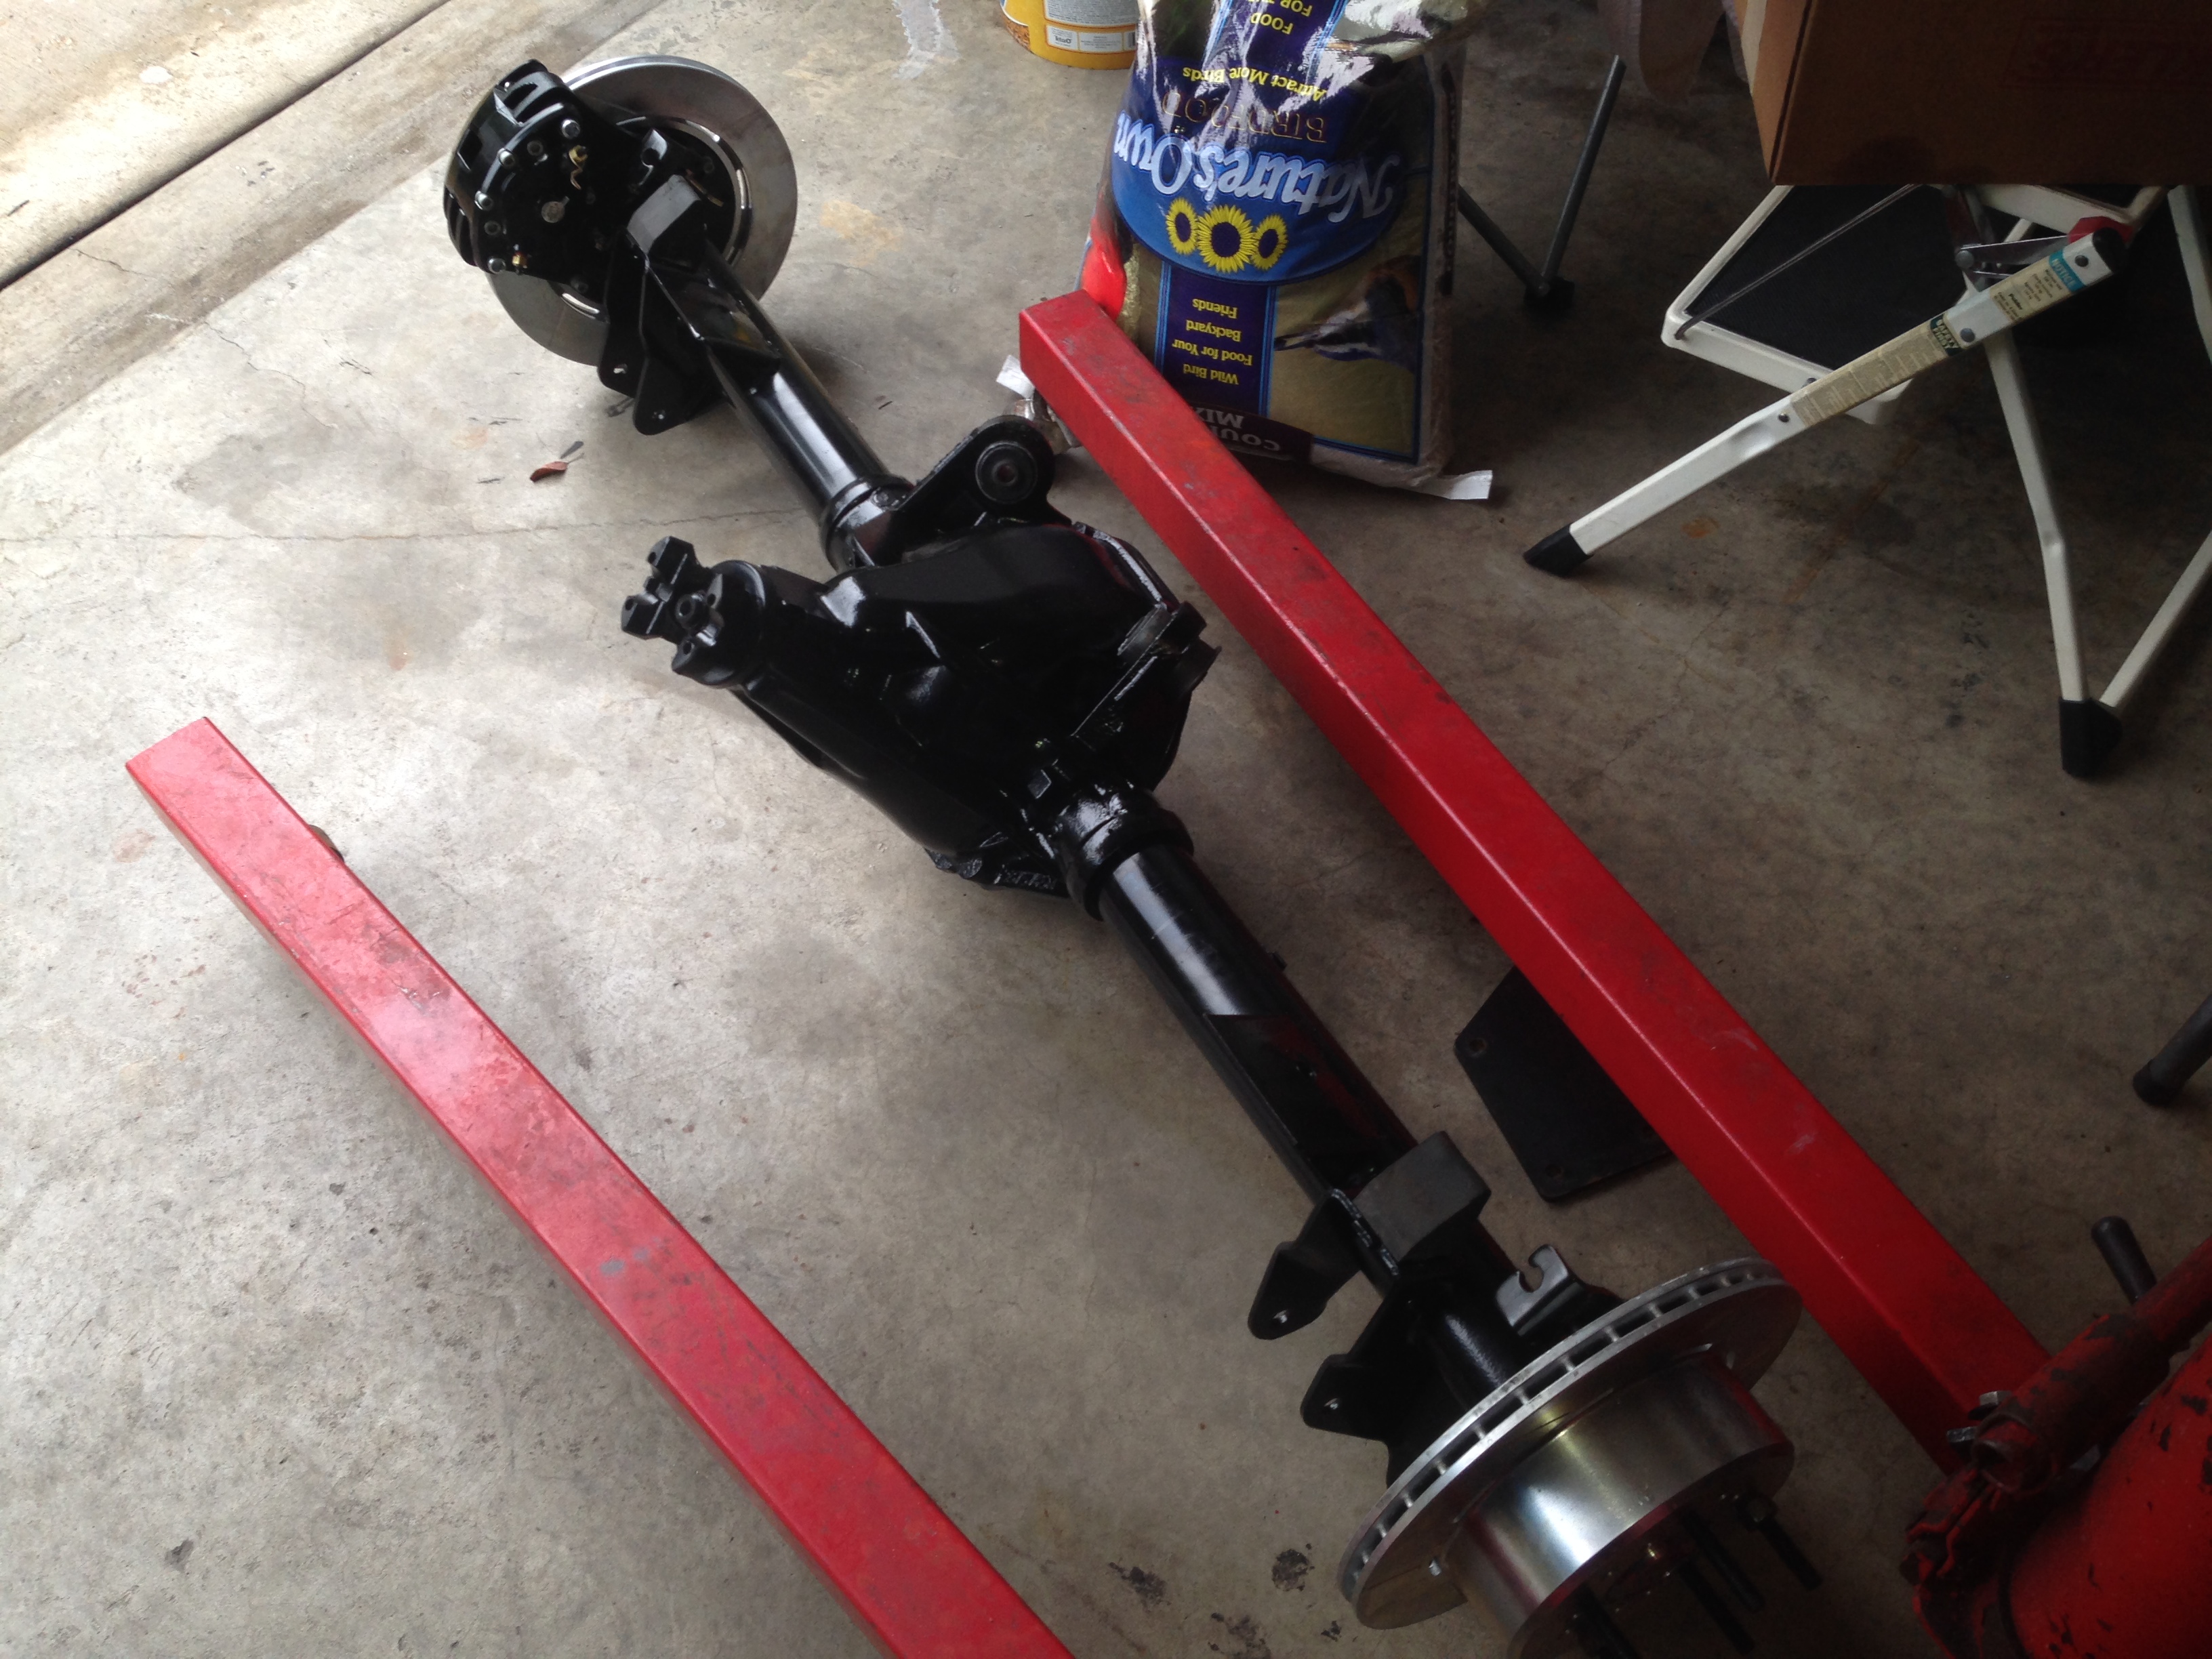
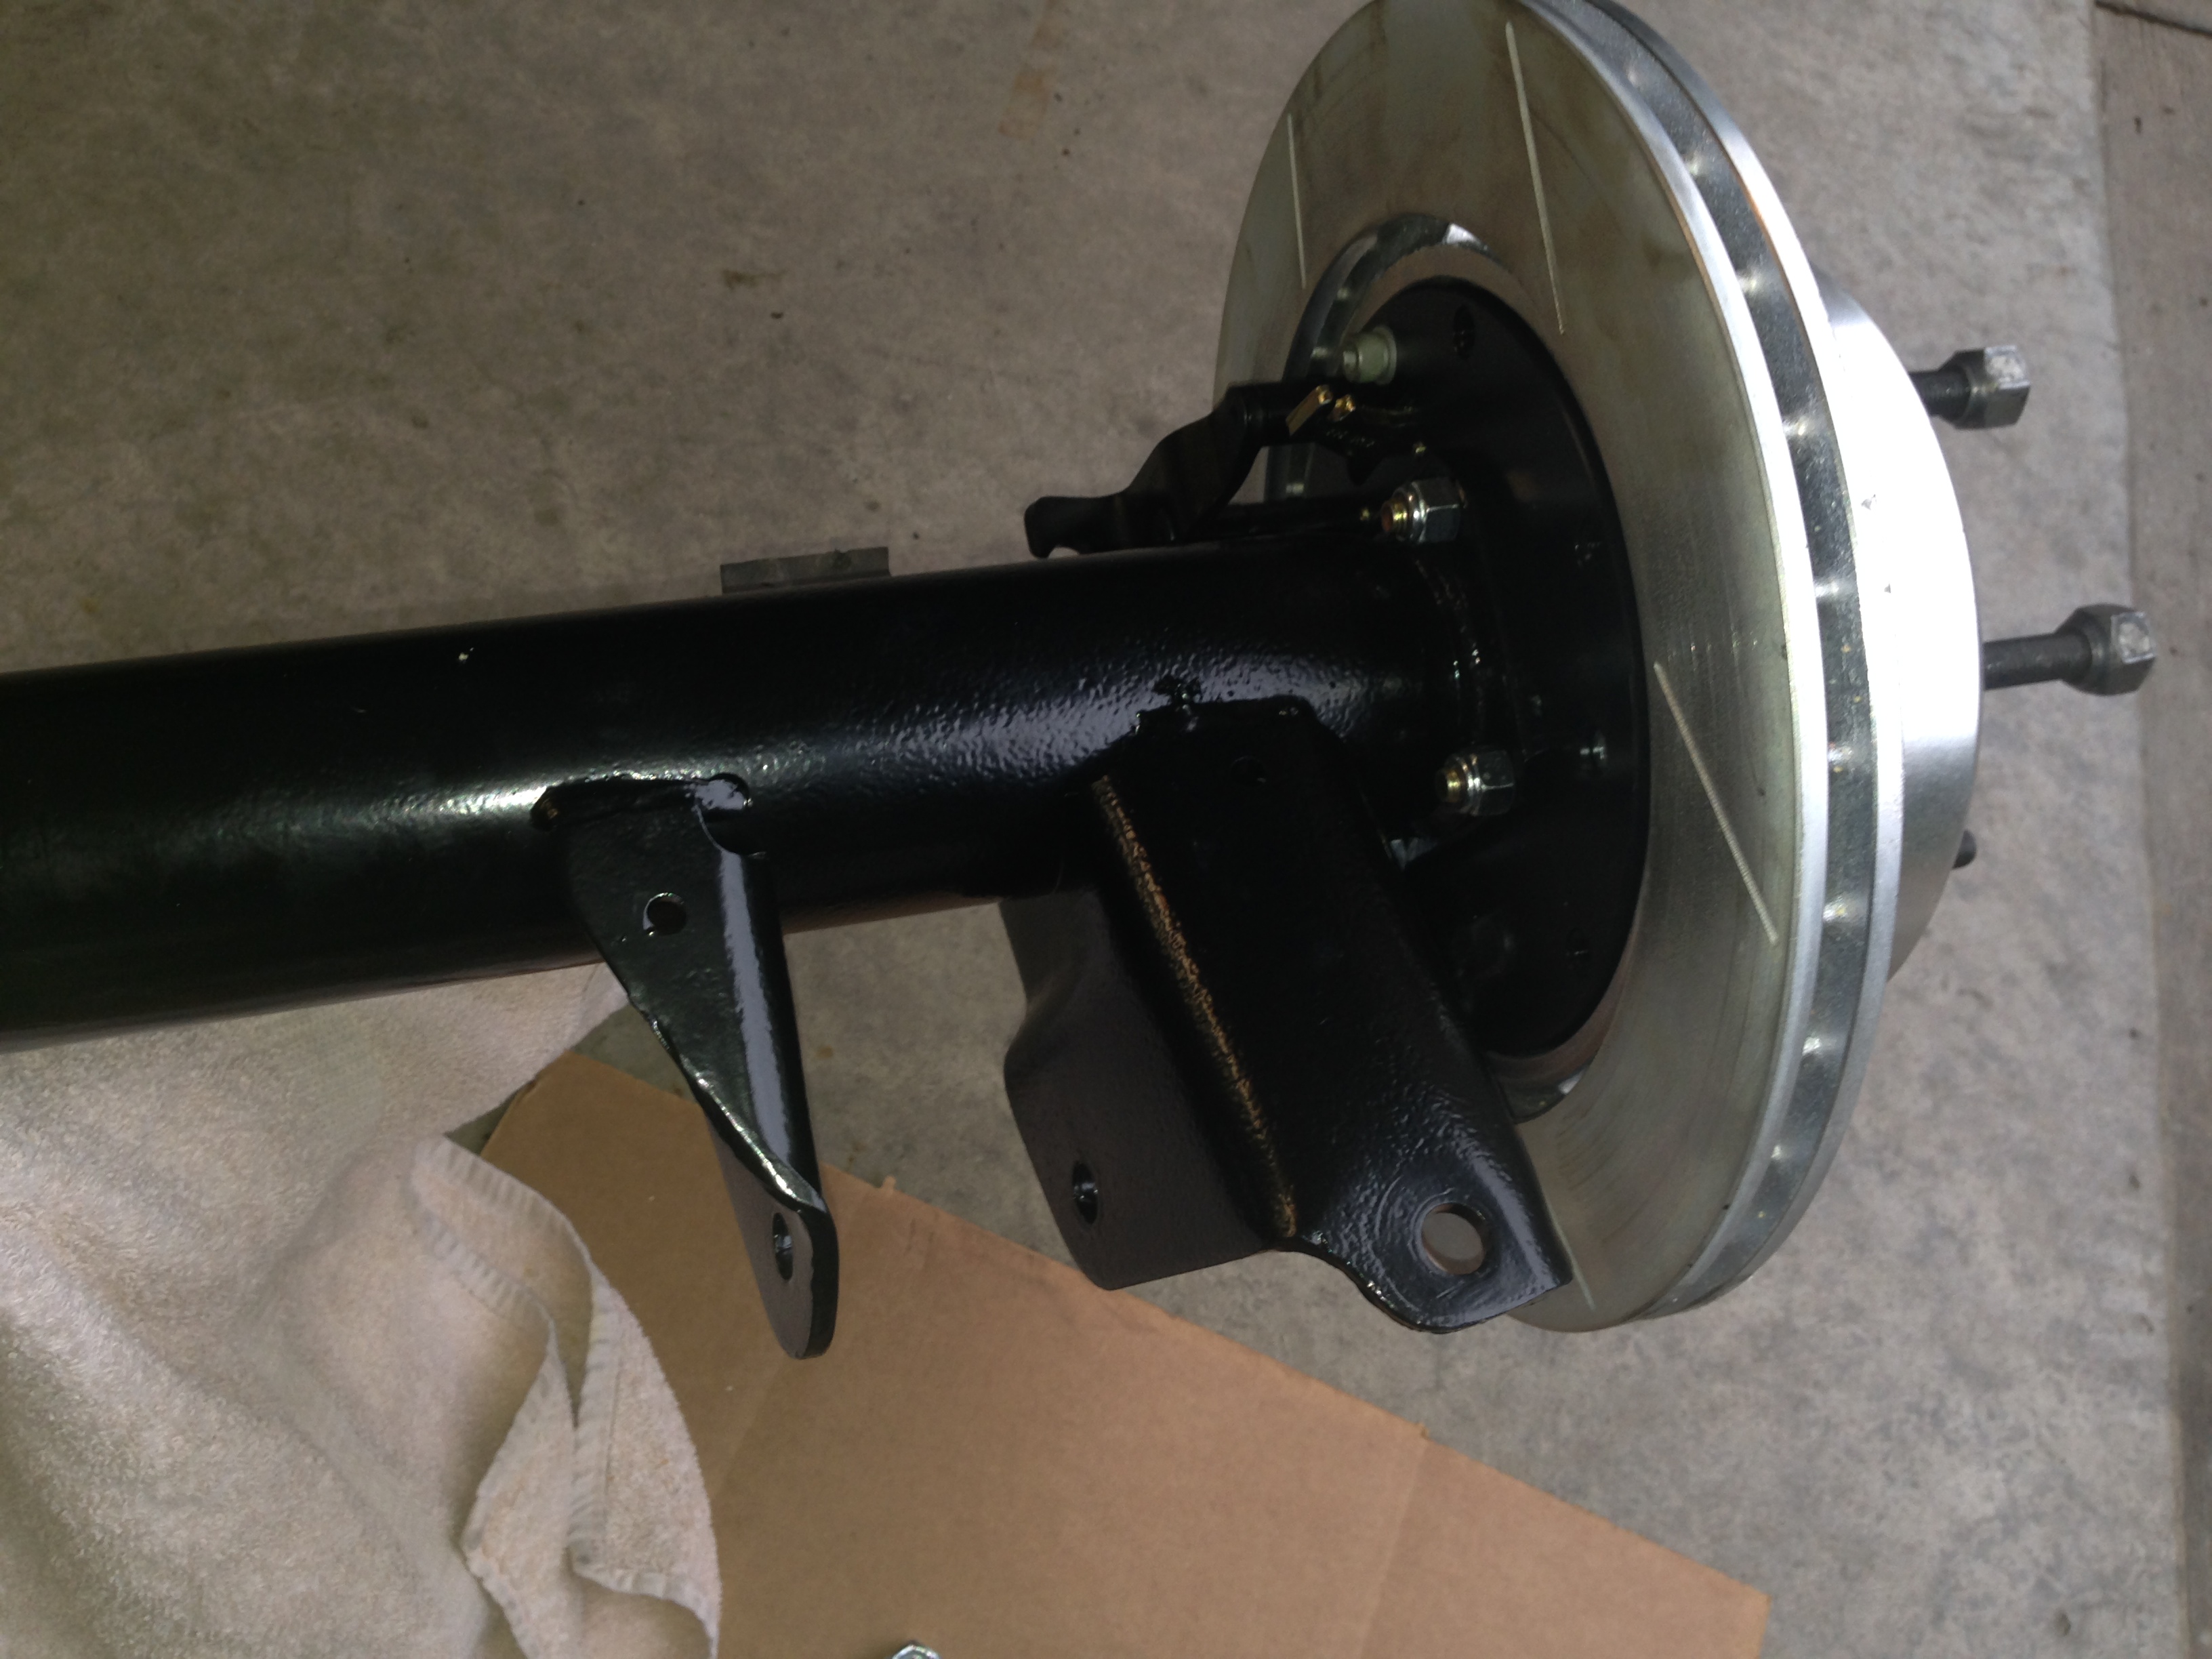
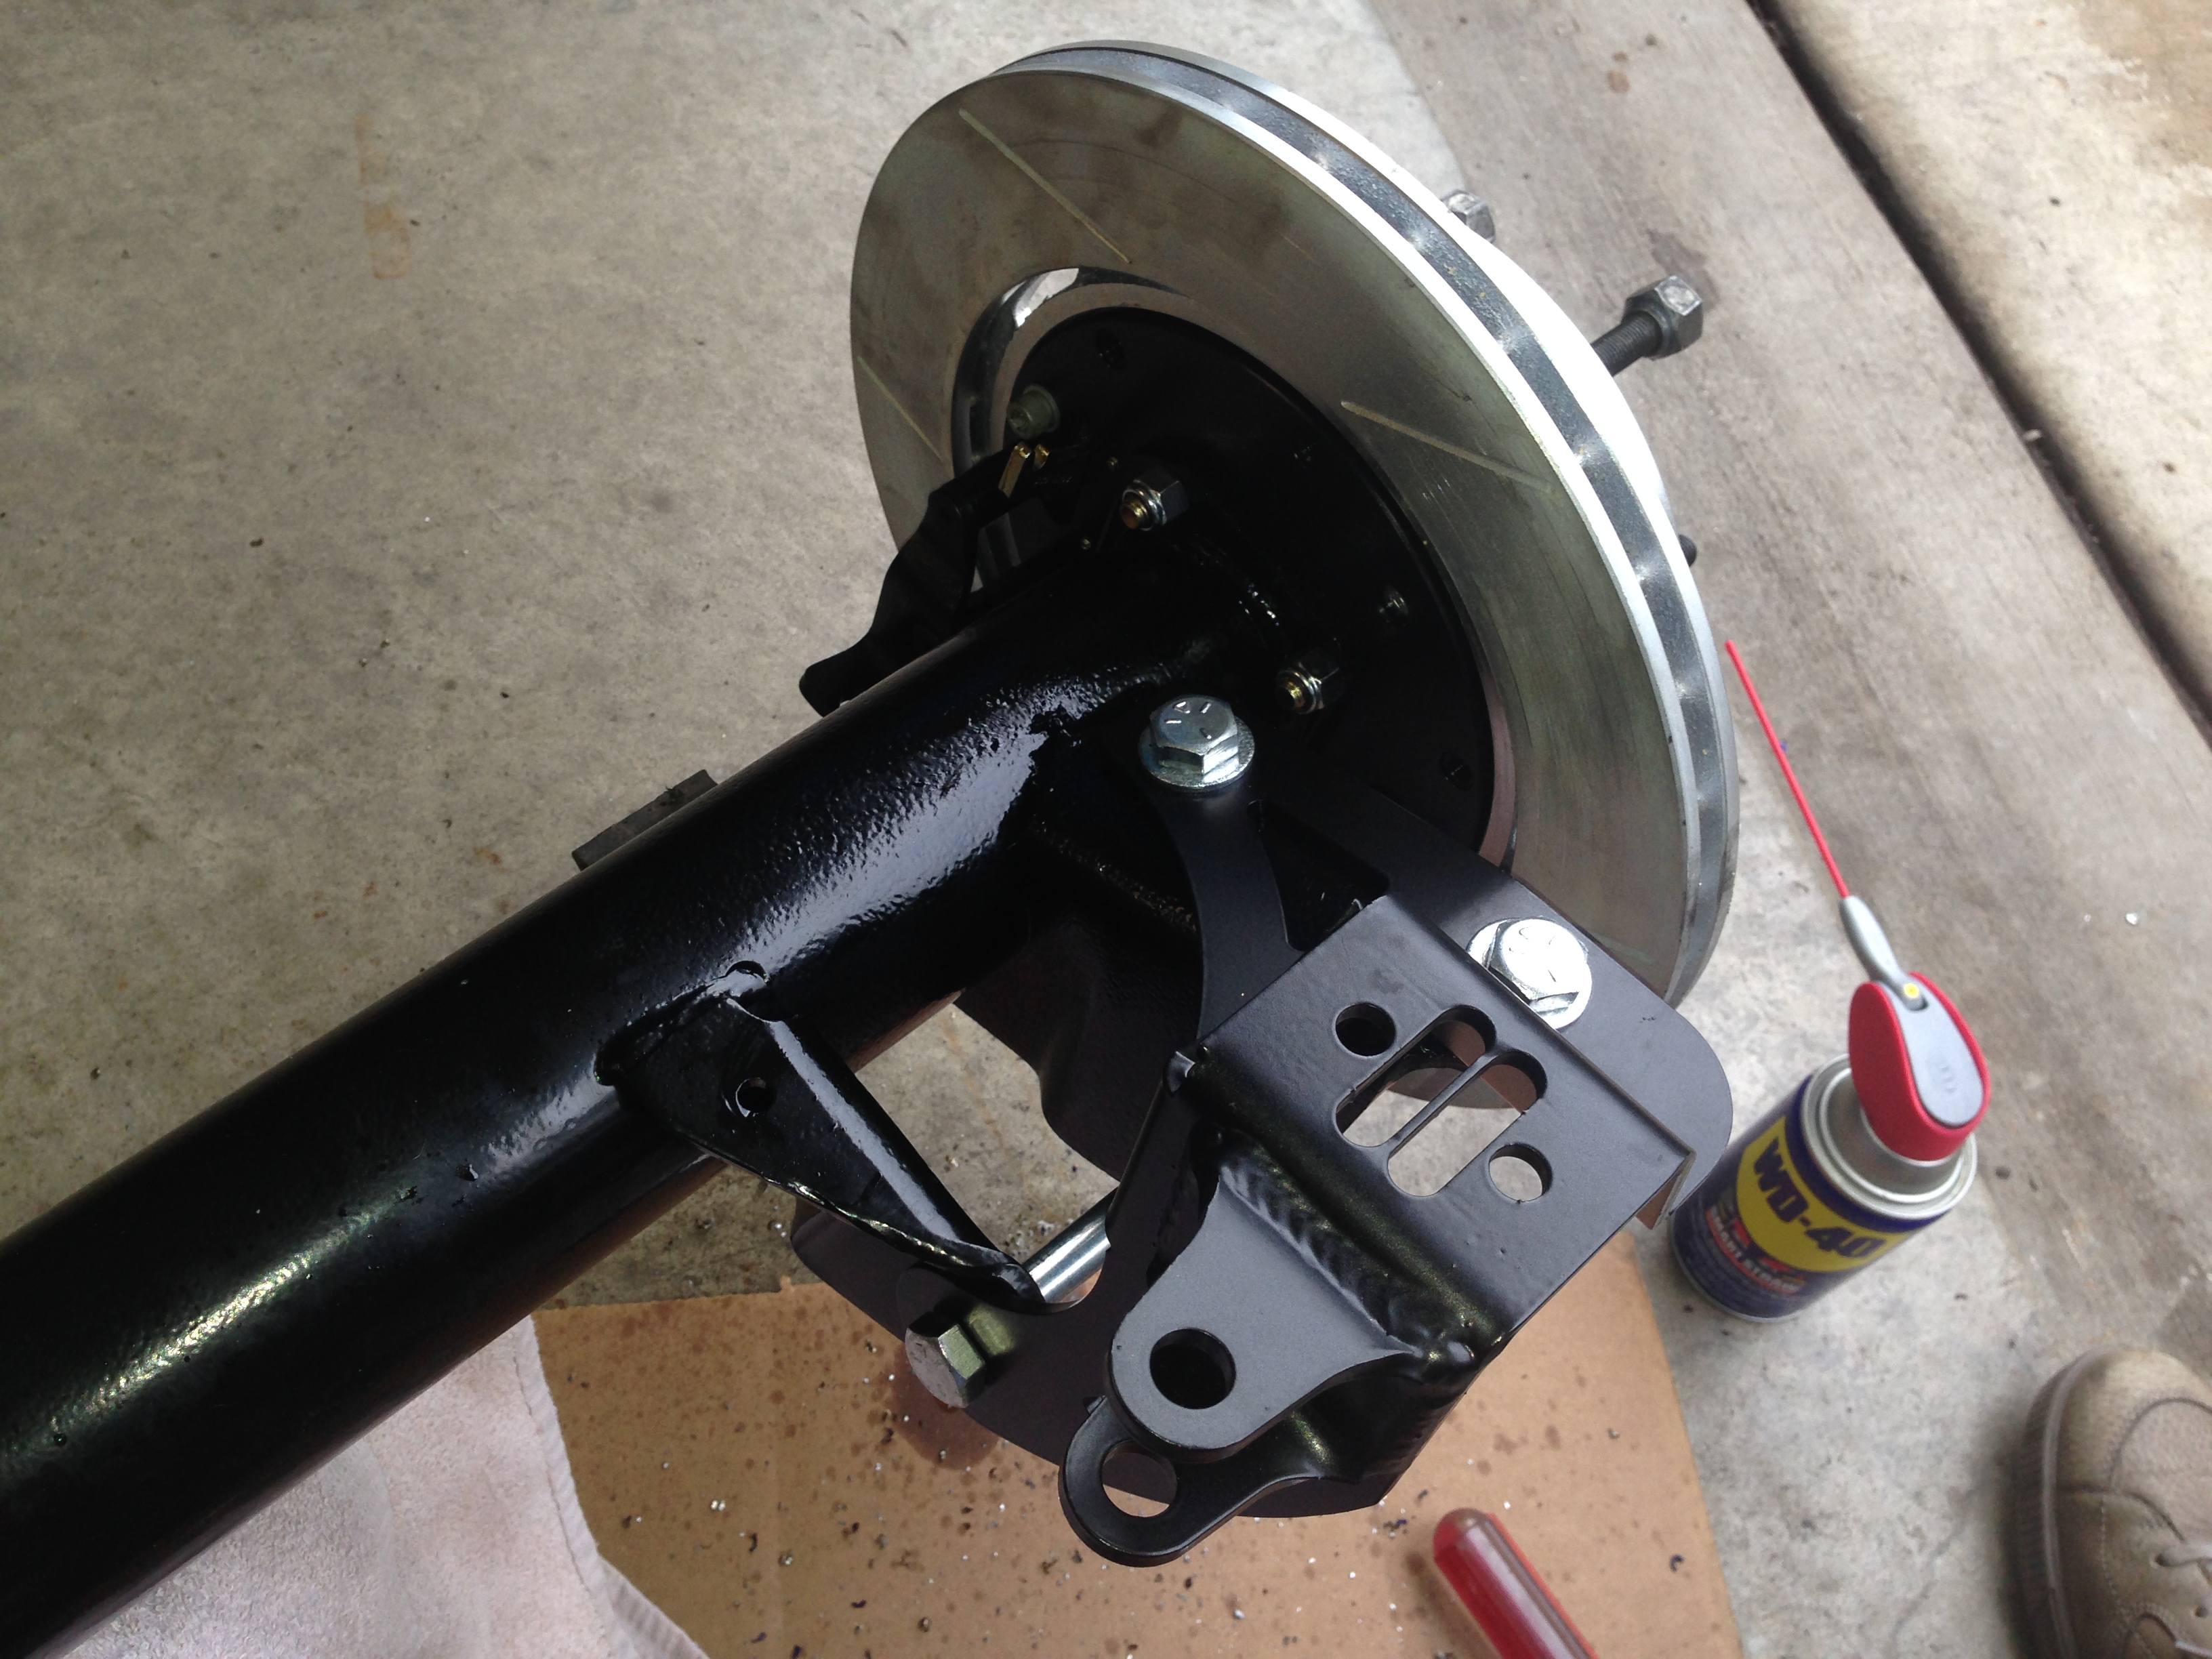
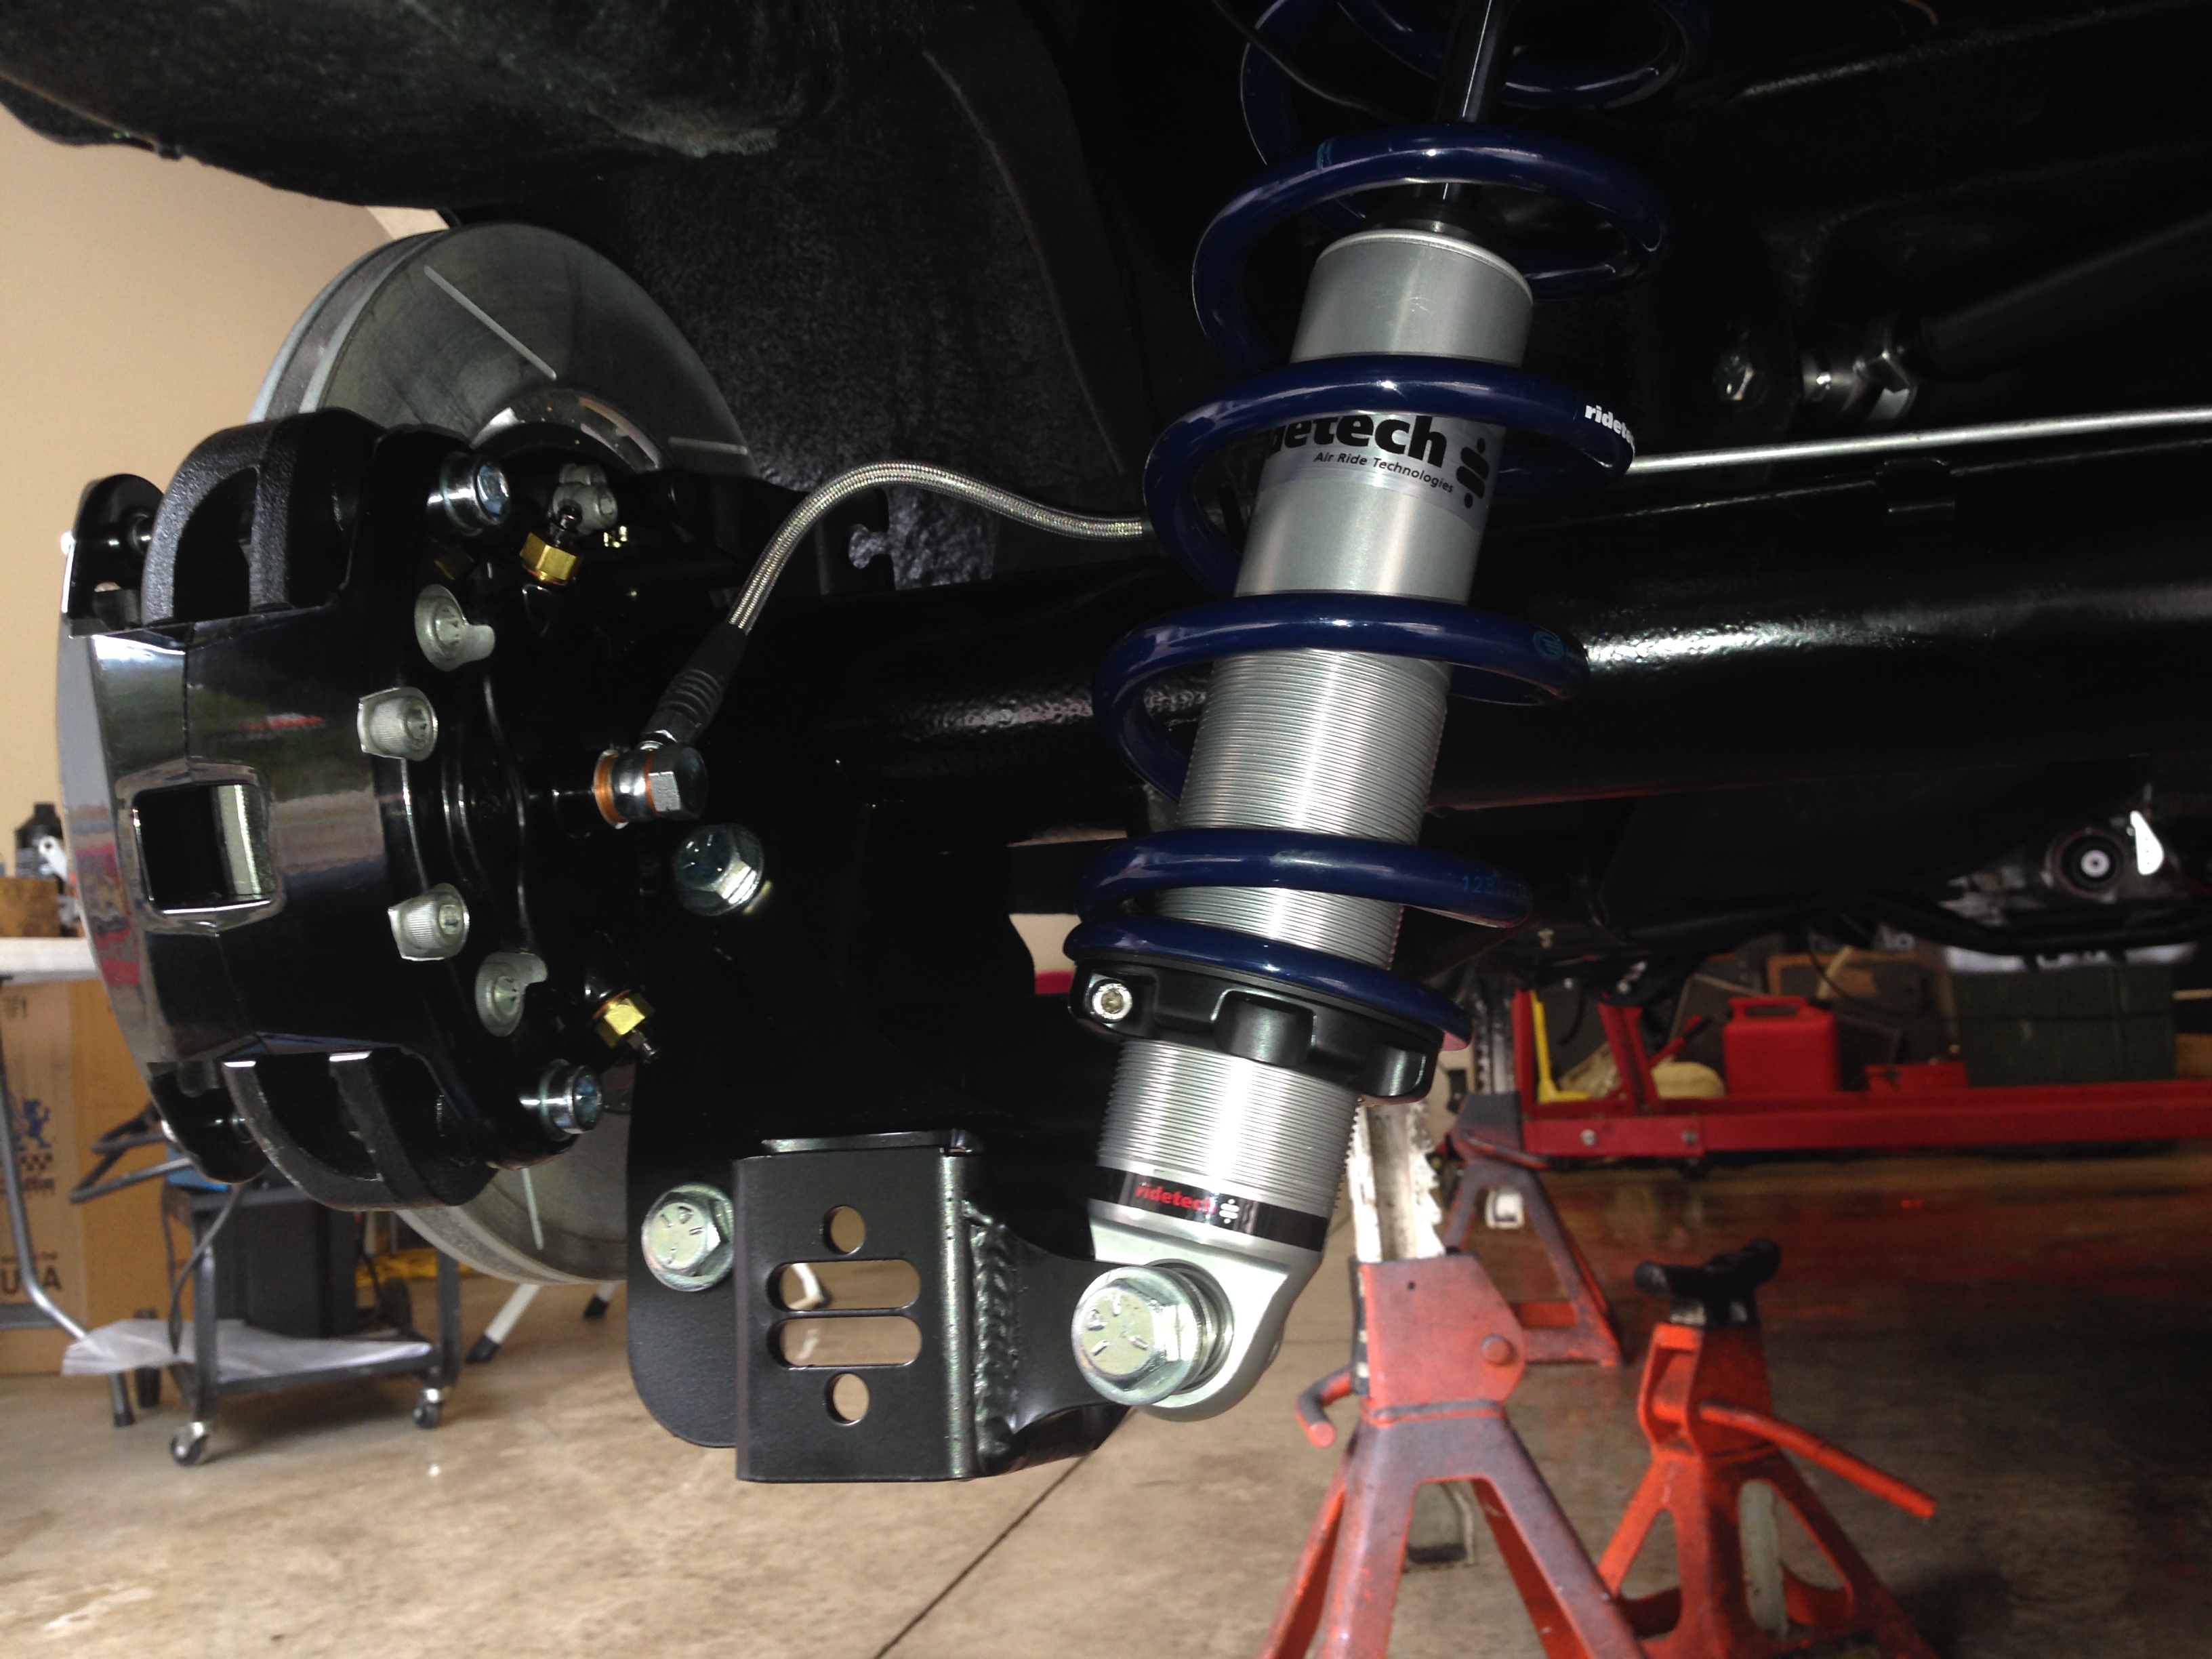
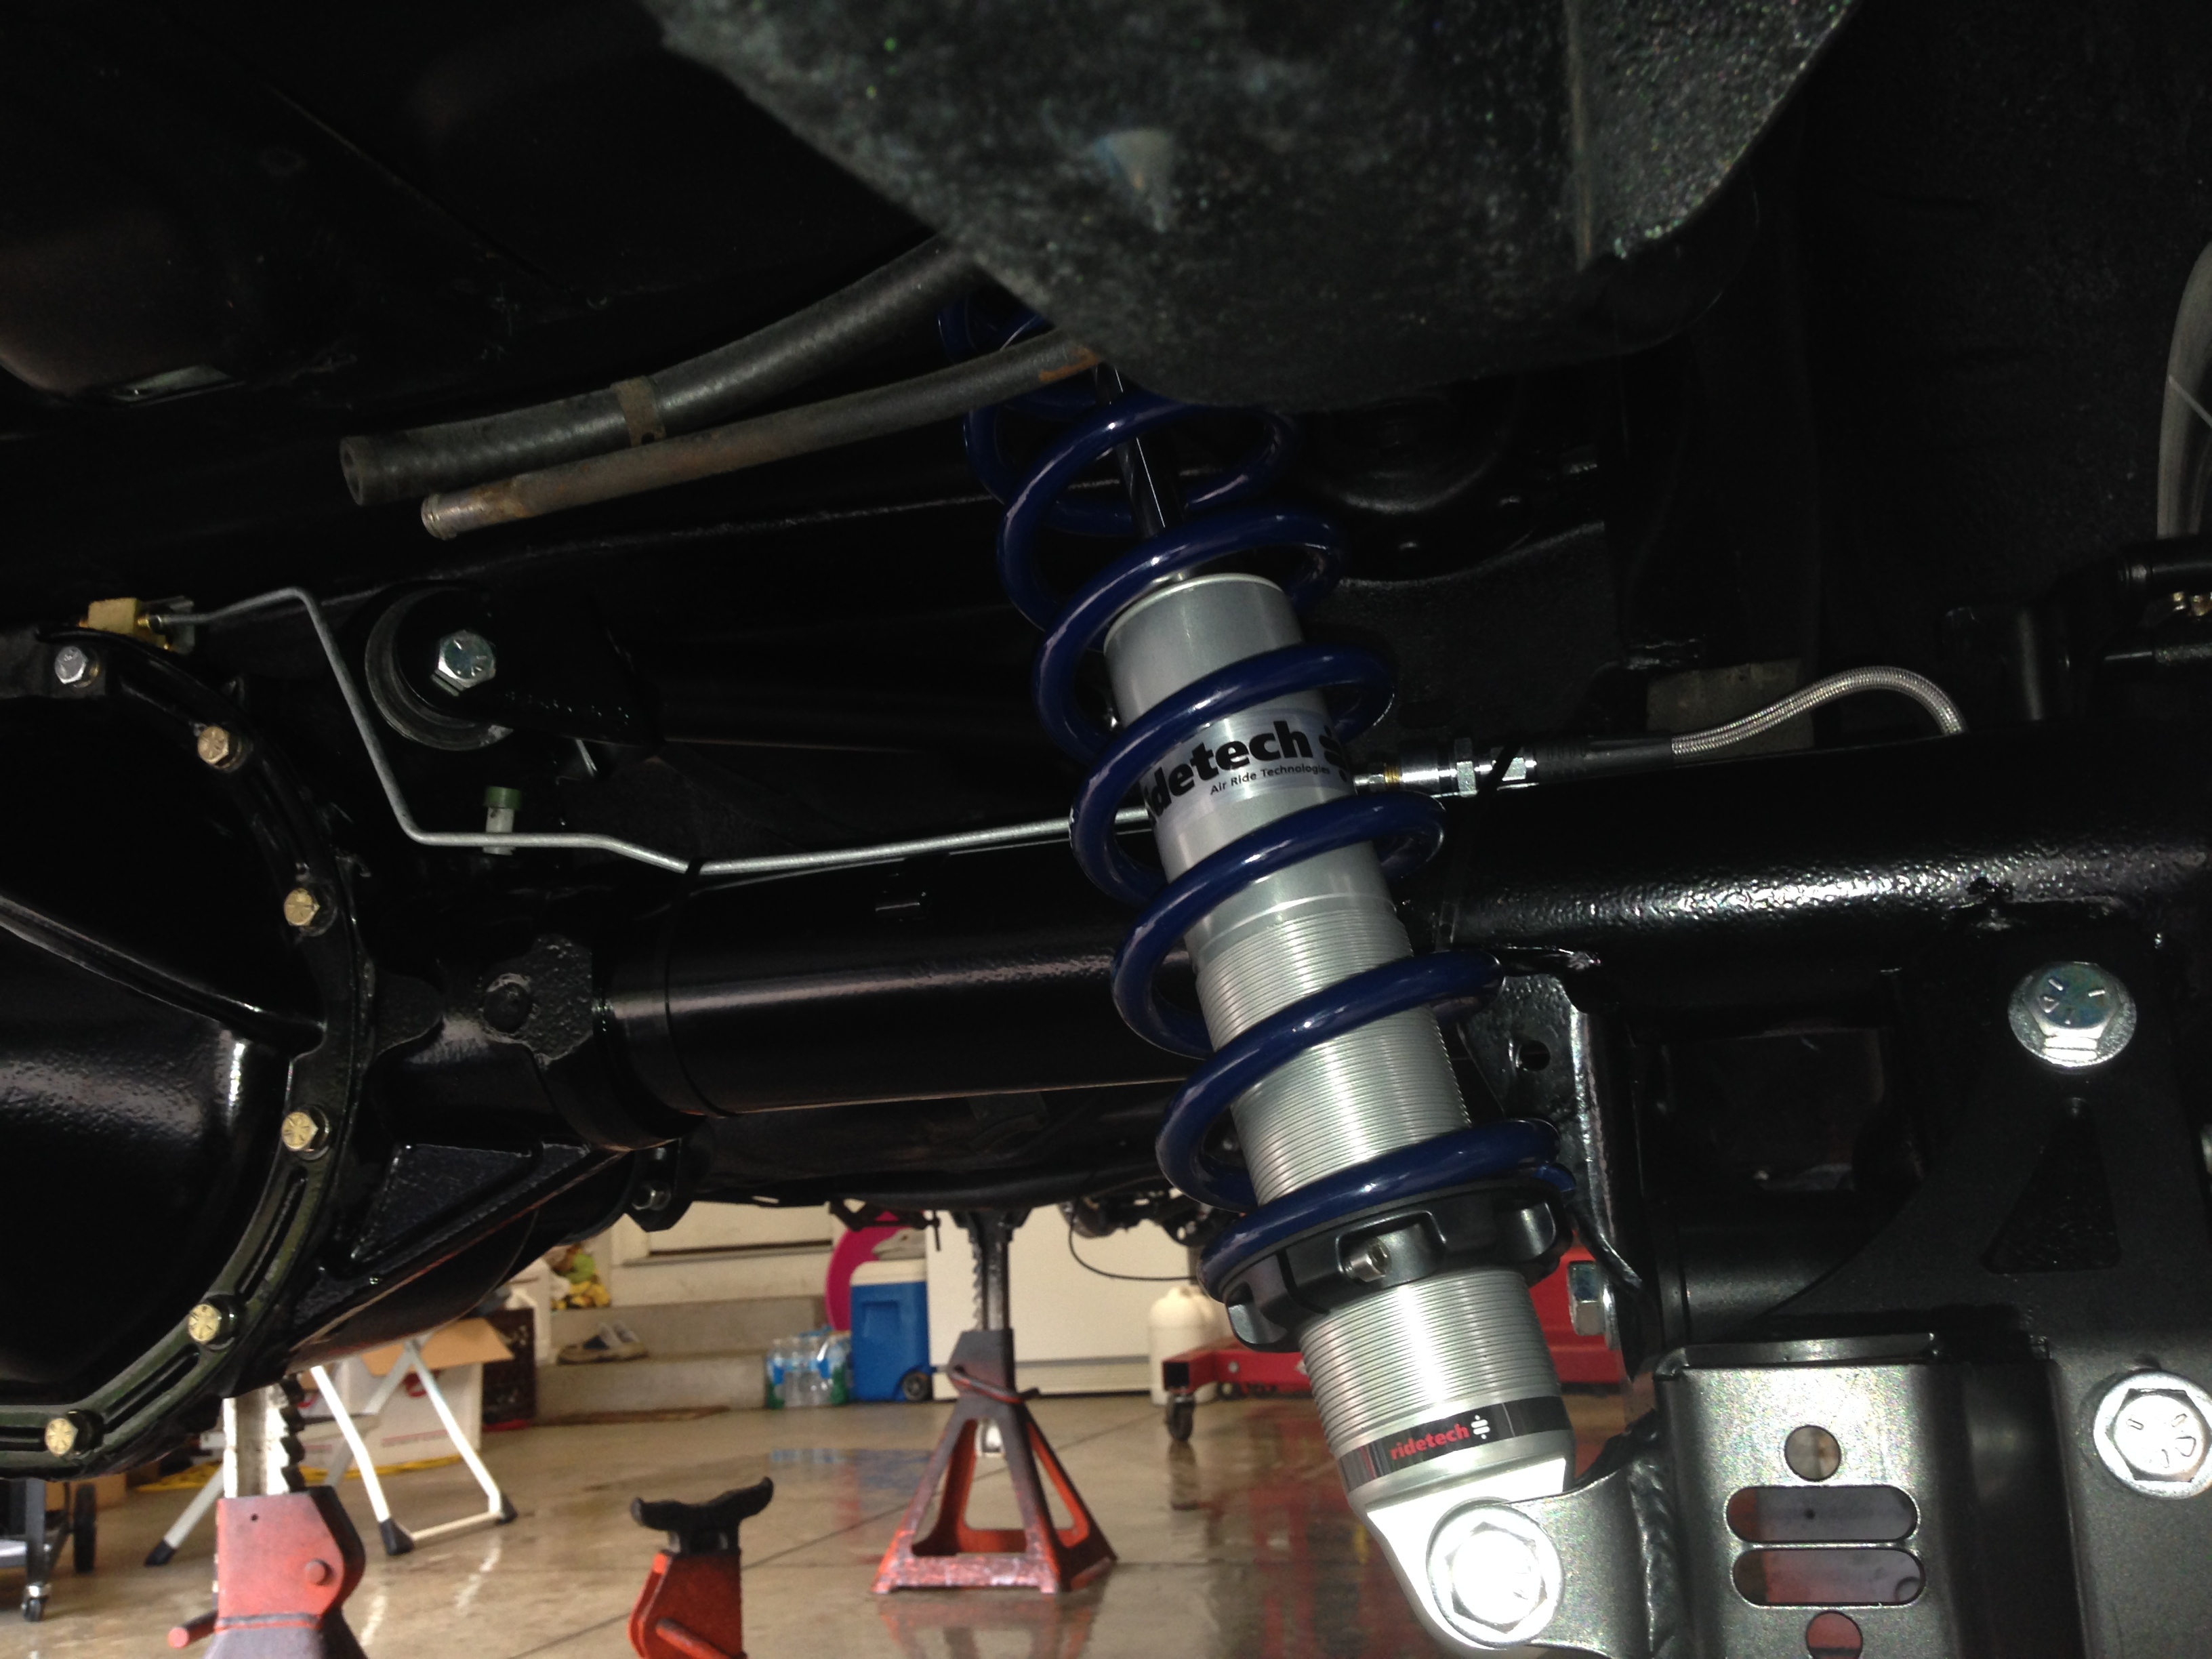
I picked up the rear axle assy today from Chassis Service......Powder Coated.....and everything new including axles....Jimmy installed the rear brakes at the same time..........
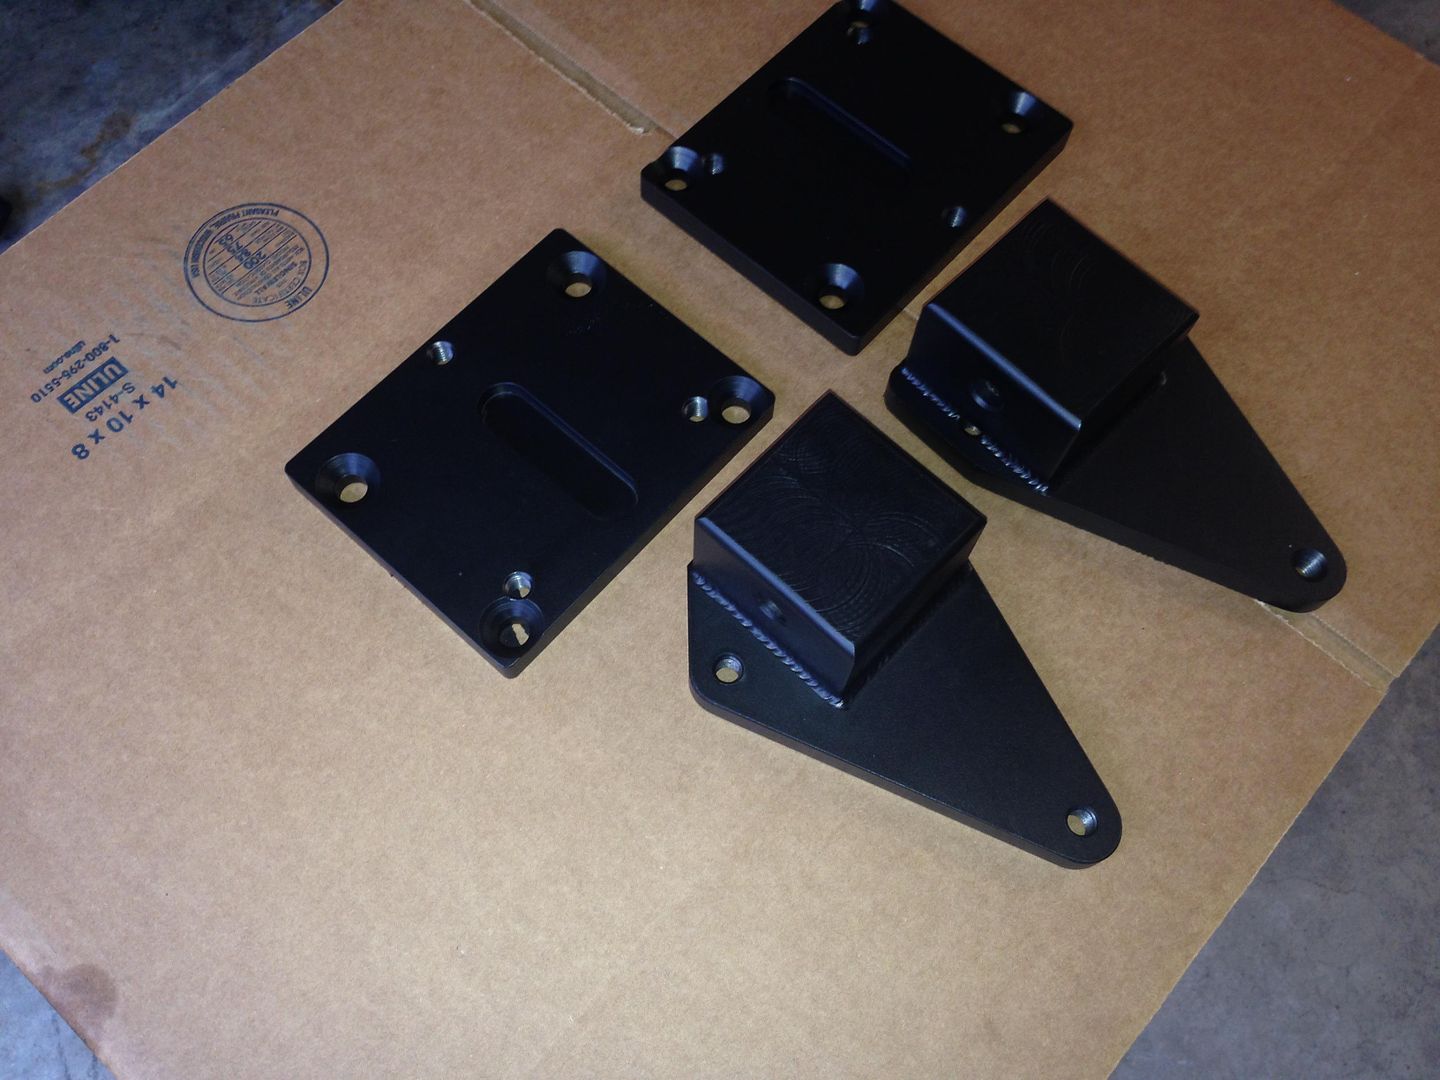
Saved me some time..........Brought it home and mounted the Ridetech rear Coil-over brackets and just kept going.....got it installed.......Also got the new motor mount engine adaptor plates and frame mounts finished......the adaptor plates worked perfect.....but ....I have to modify the frame mounts to fit the rubber mounts.....I should of had one at the shop to check what I was making........LOL.......
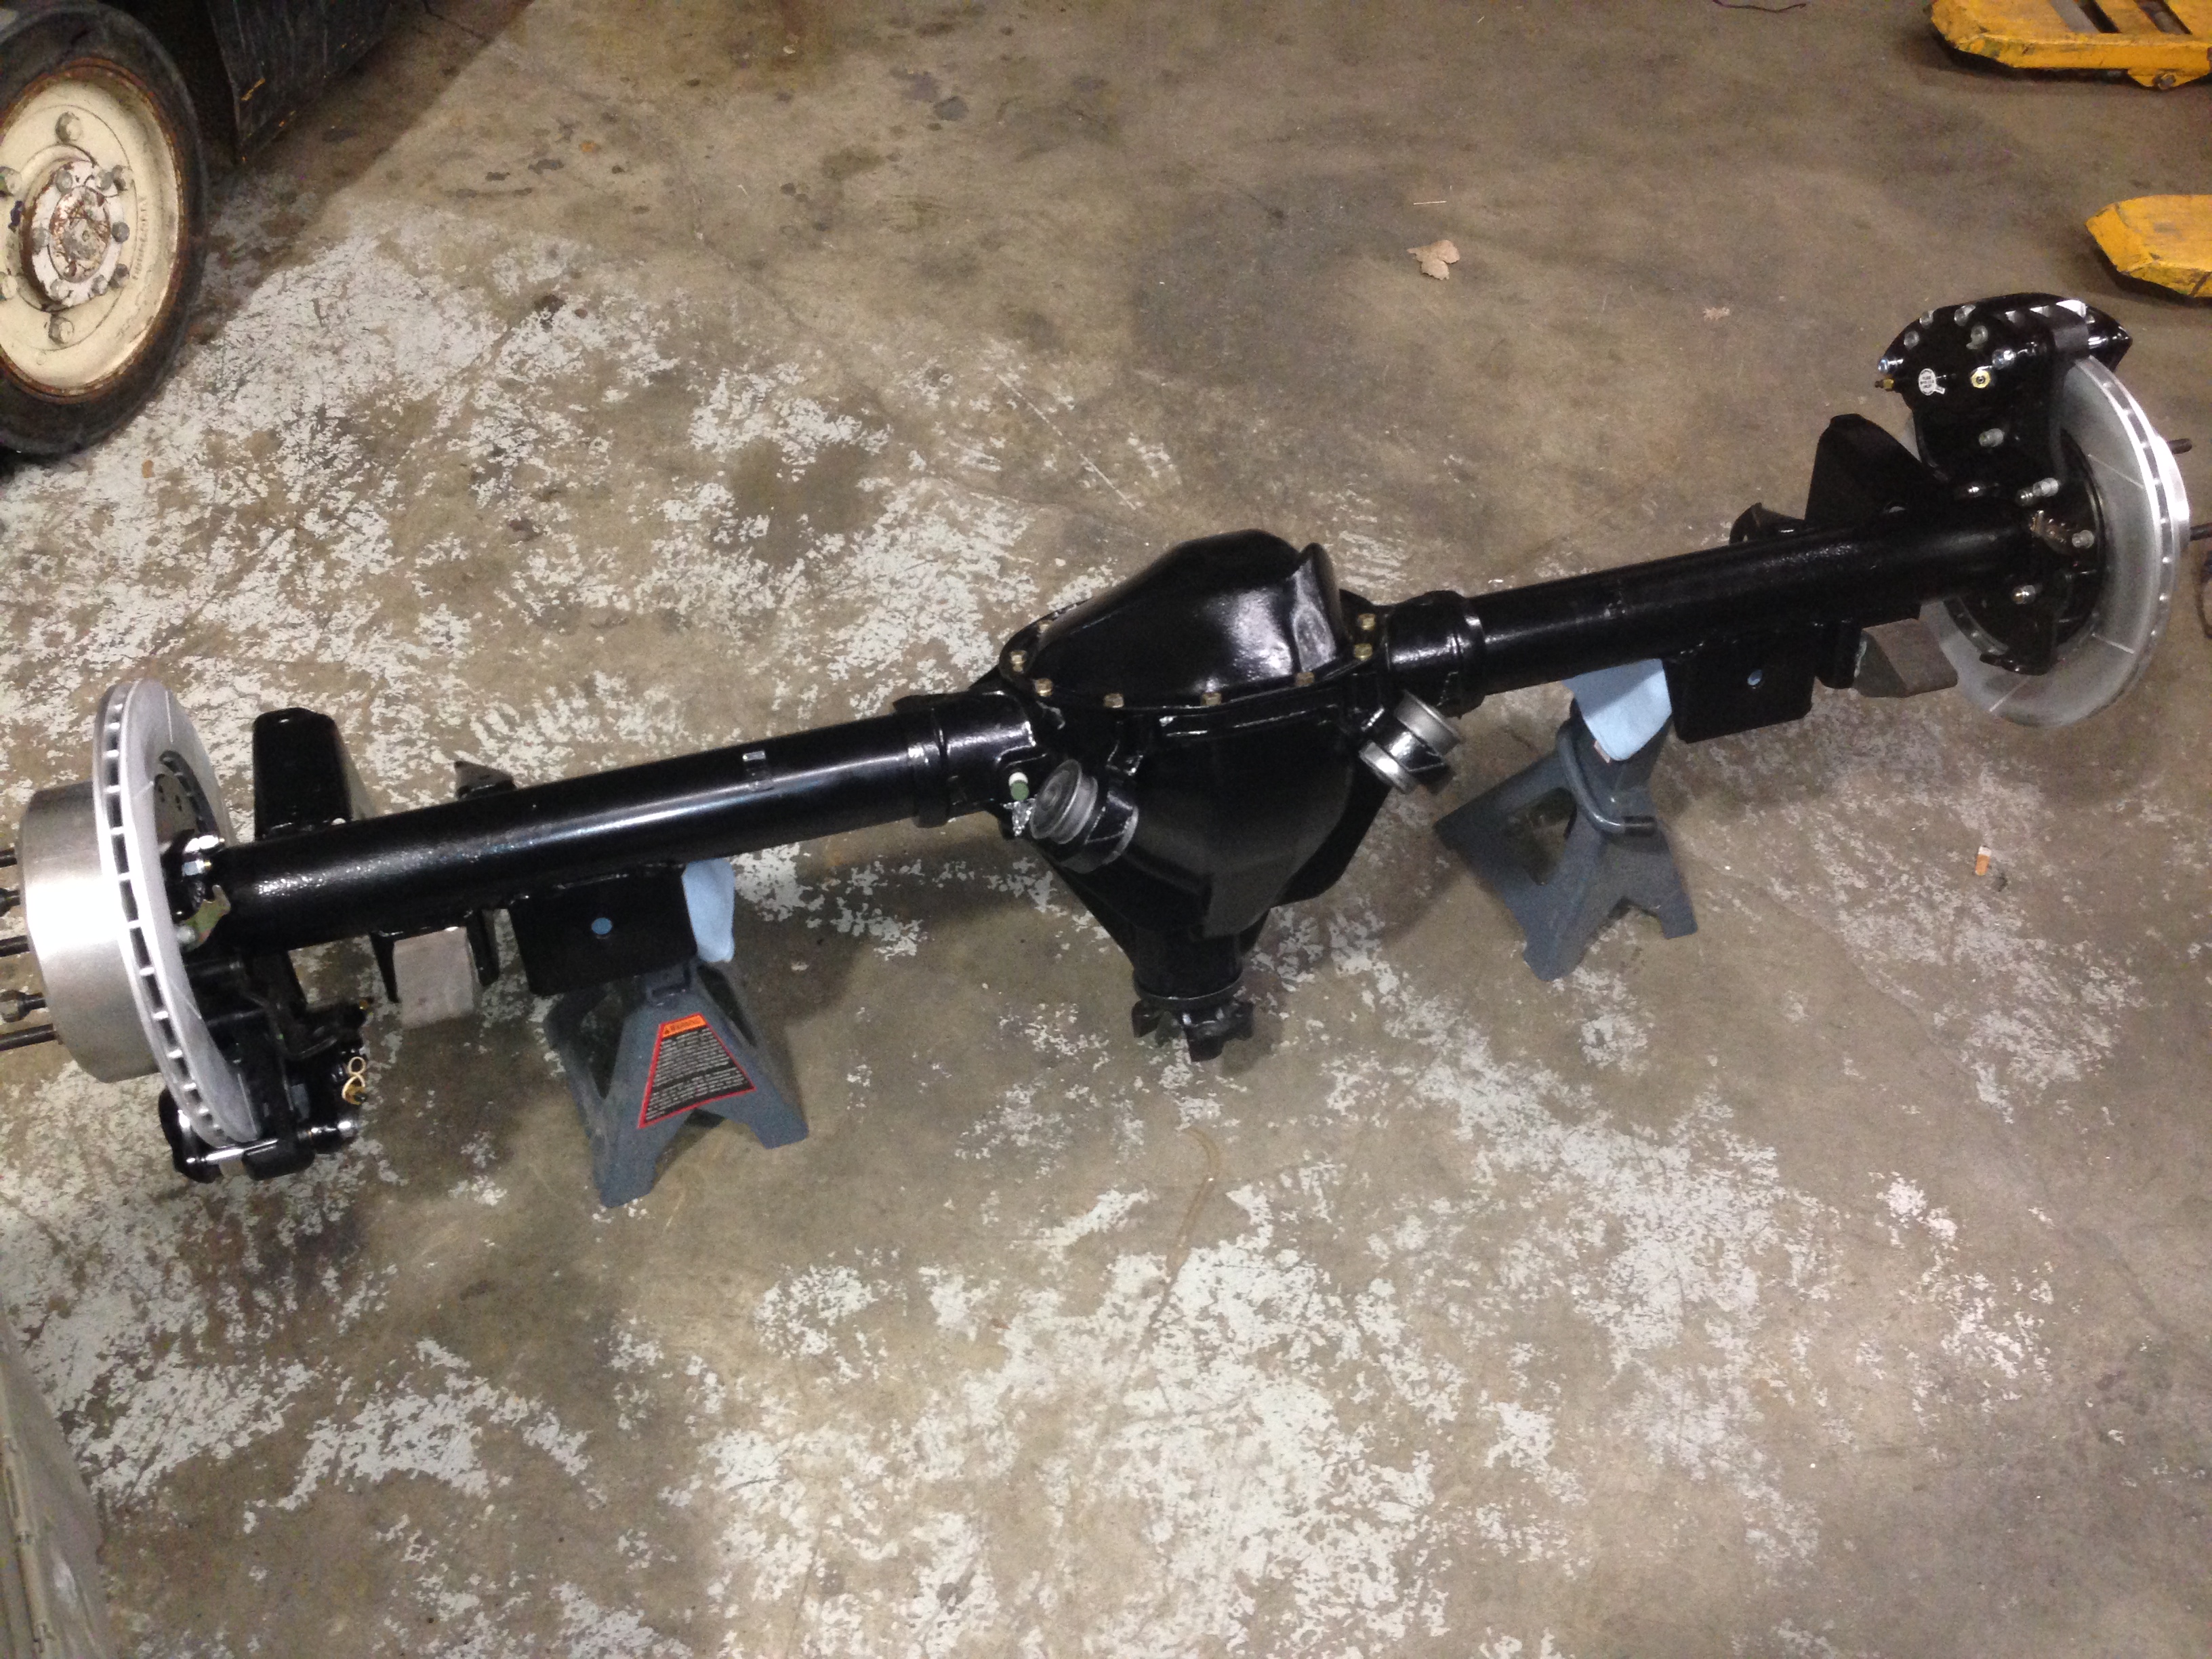


Ken
Saved me some time..........Brought it home and mounted the Ridetech rear Coil-over brackets and just kept going.....got it installed.......Also got the new motor mount engine adaptor plates and frame mounts finished......the adaptor plates worked perfect.....but ....I have to modify the frame mounts to fit the rubber mounts.....I should of had one at the shop to check what I was making........LOL.......
Ken
10-18-2013, 08:24 PM
#89
TECH Fanatic
Thread Starter
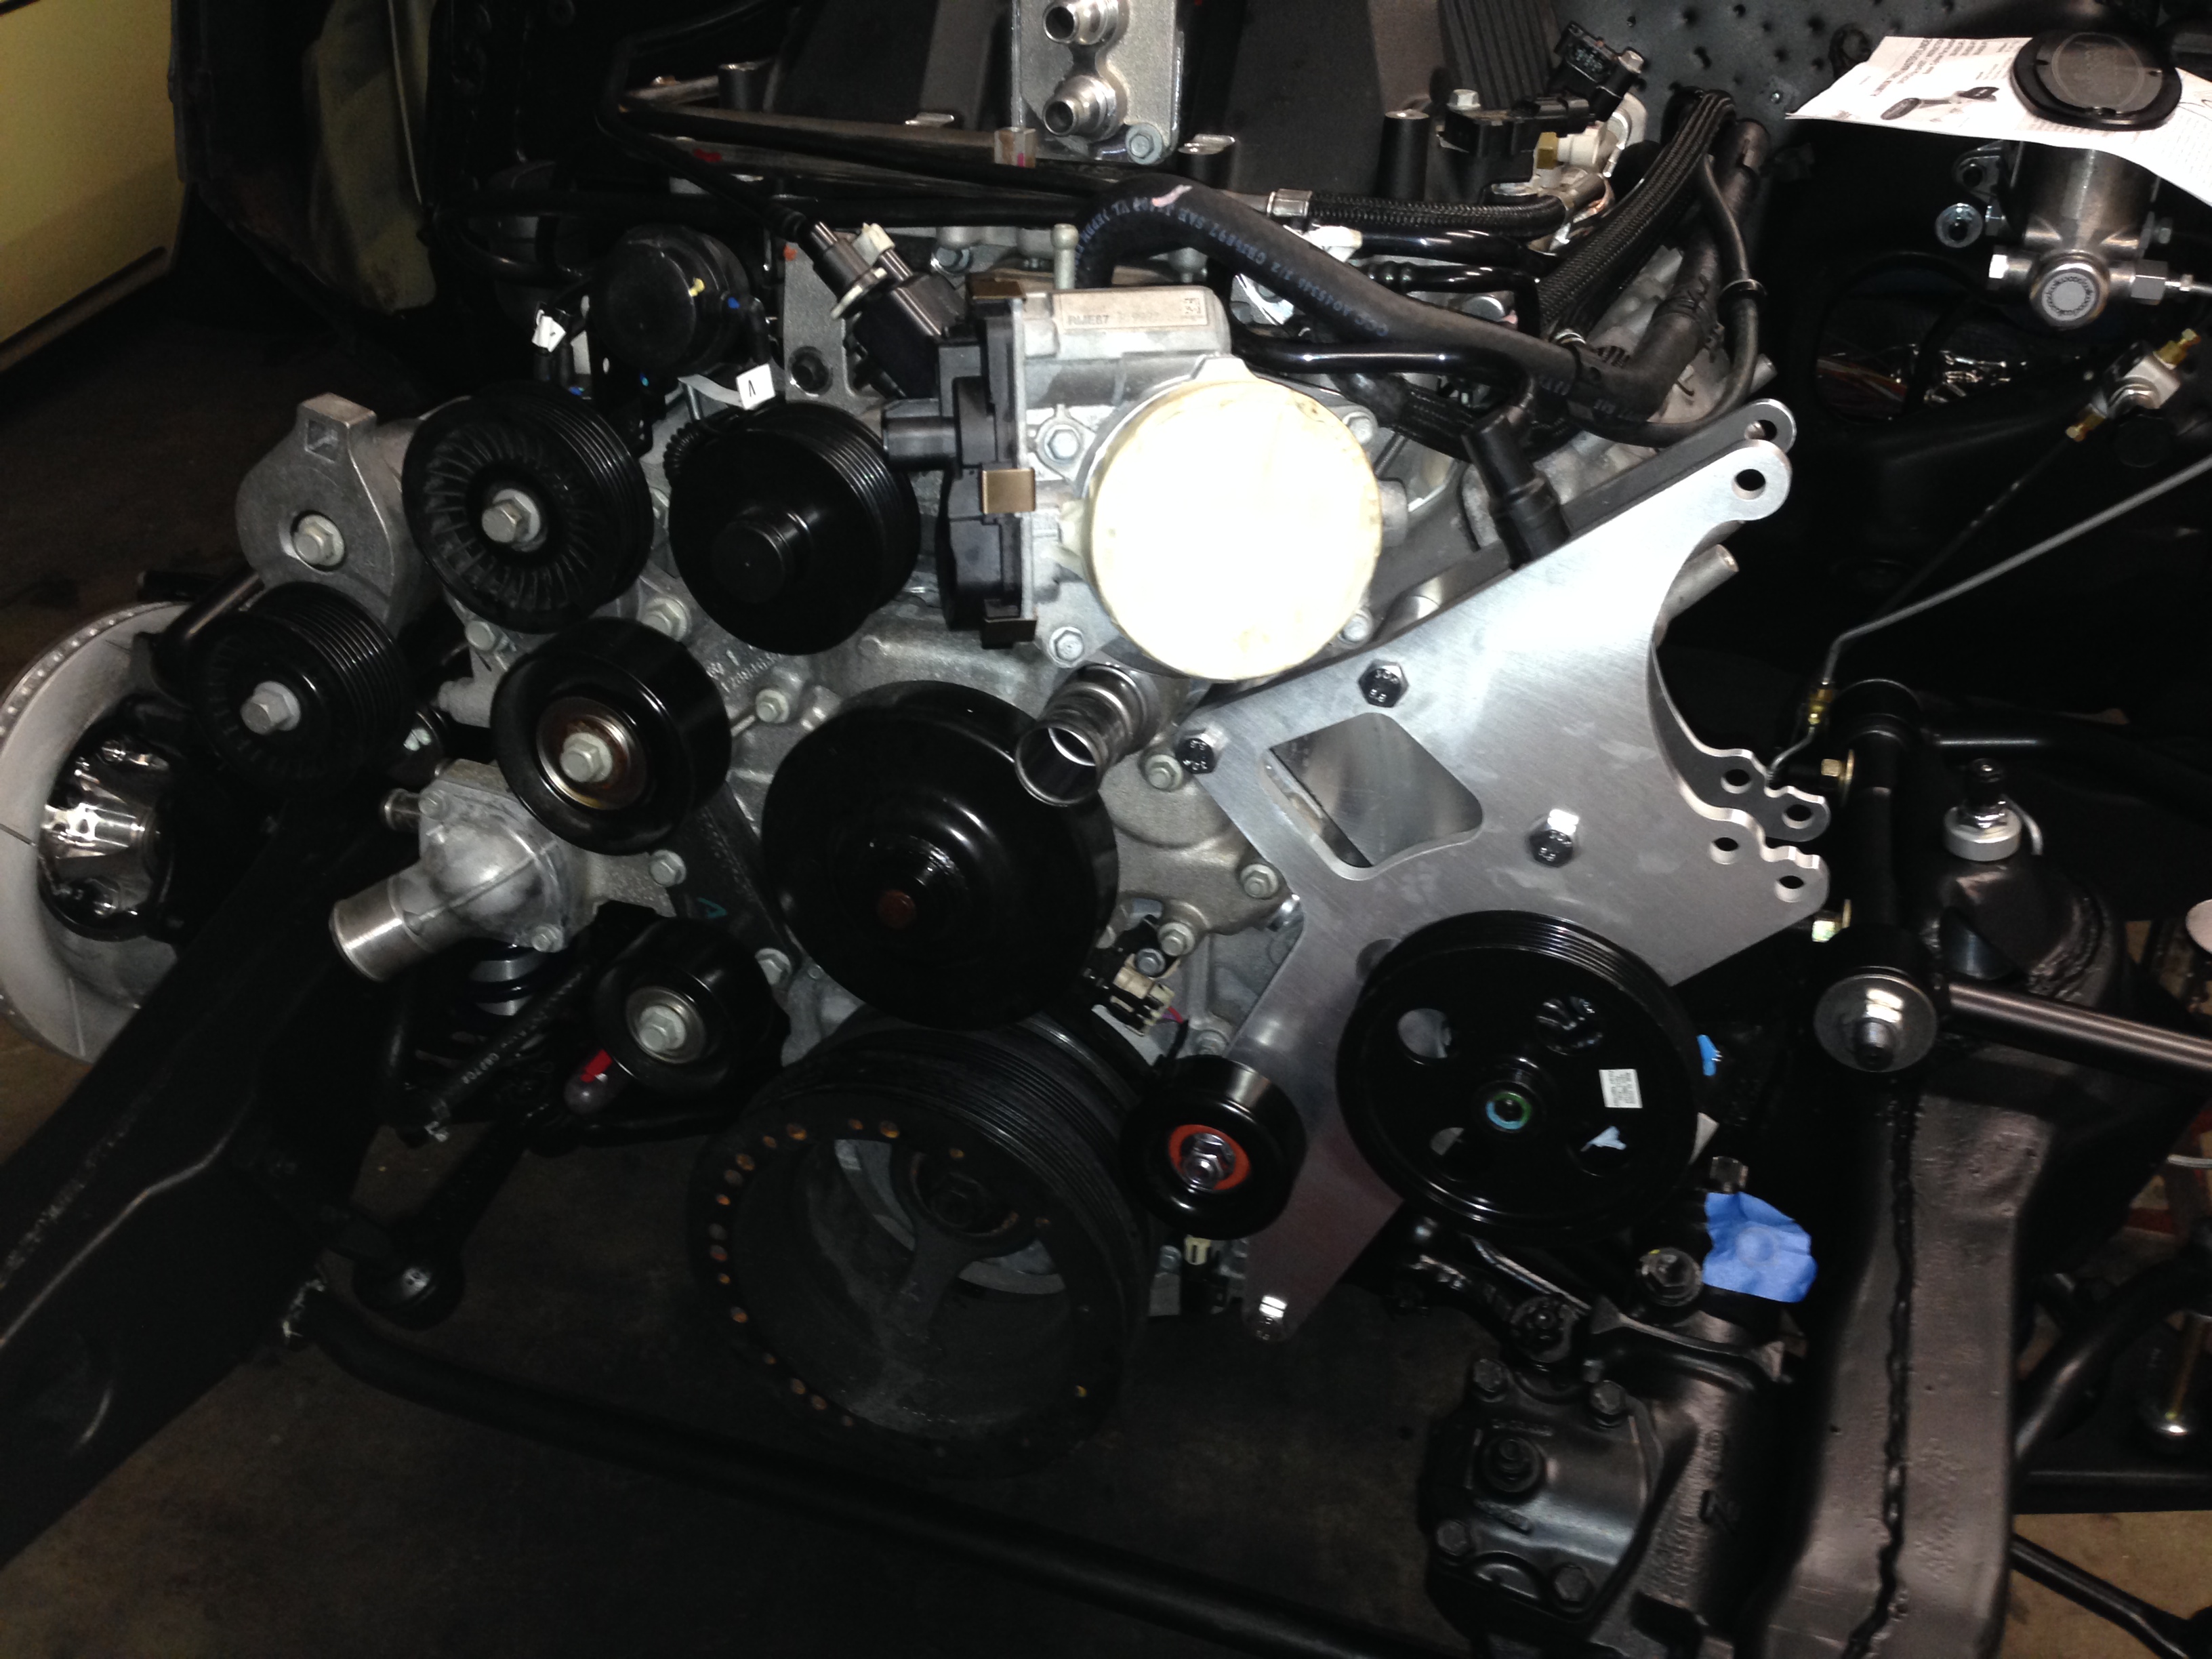
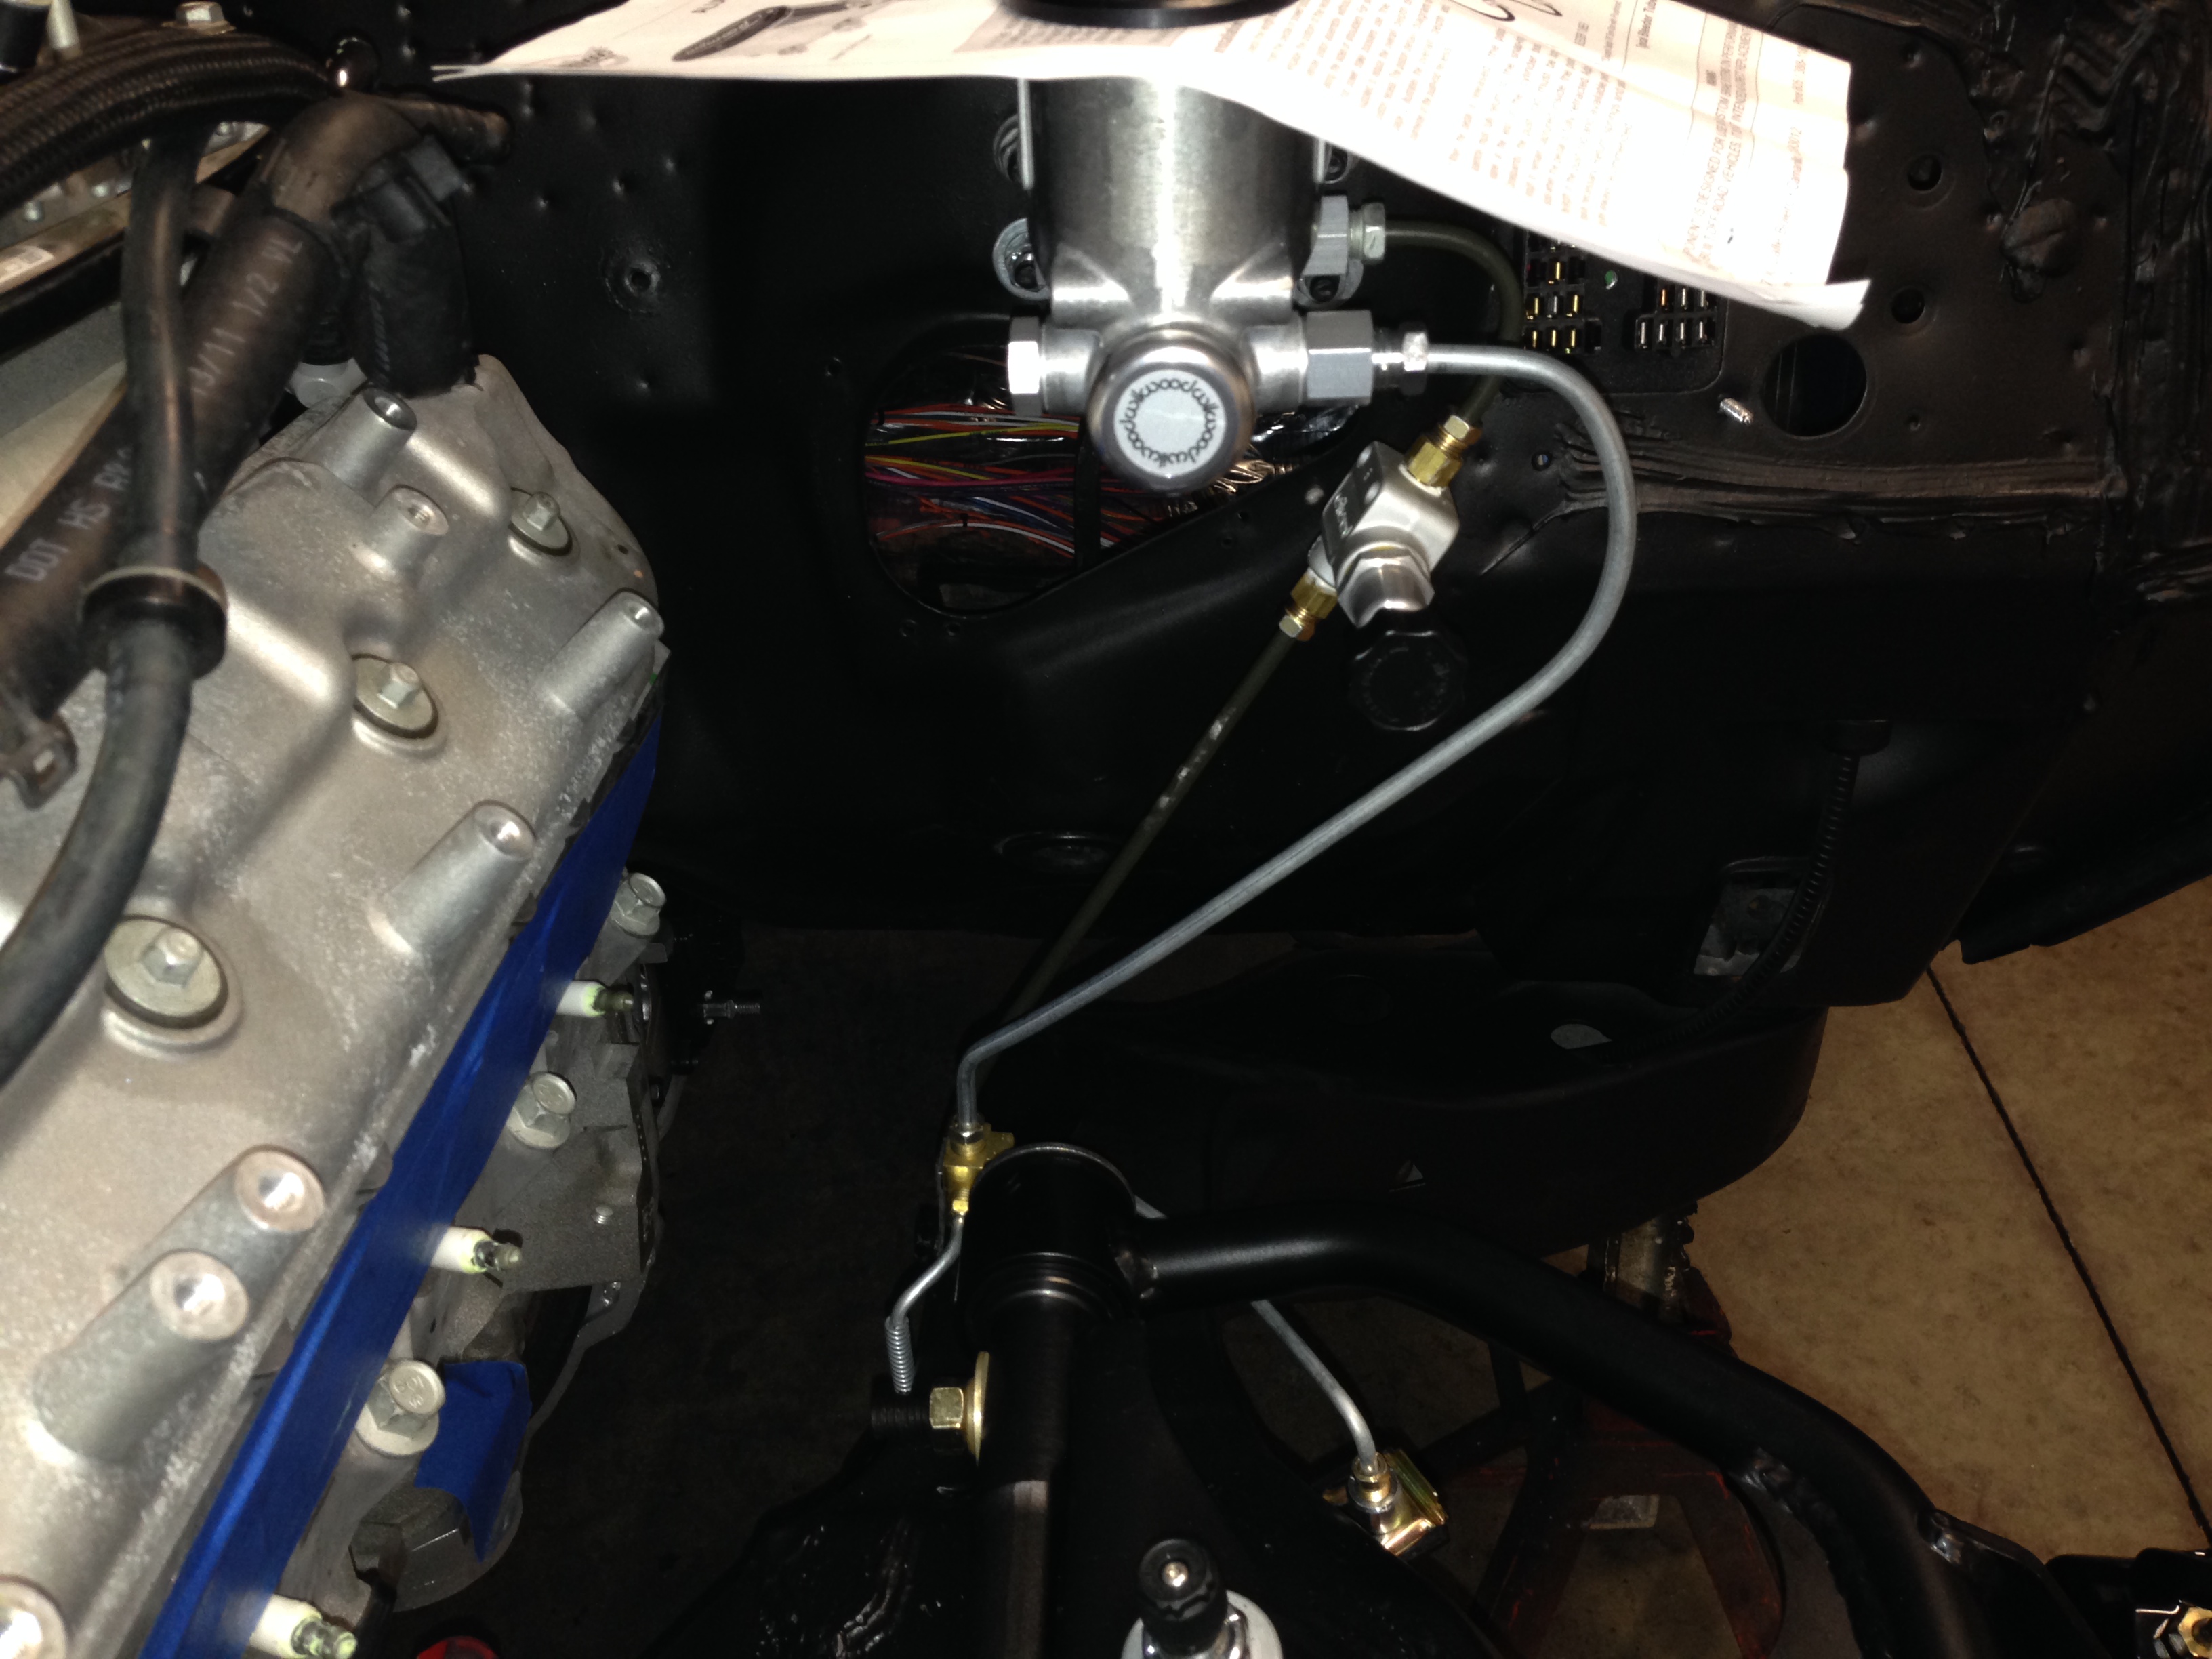
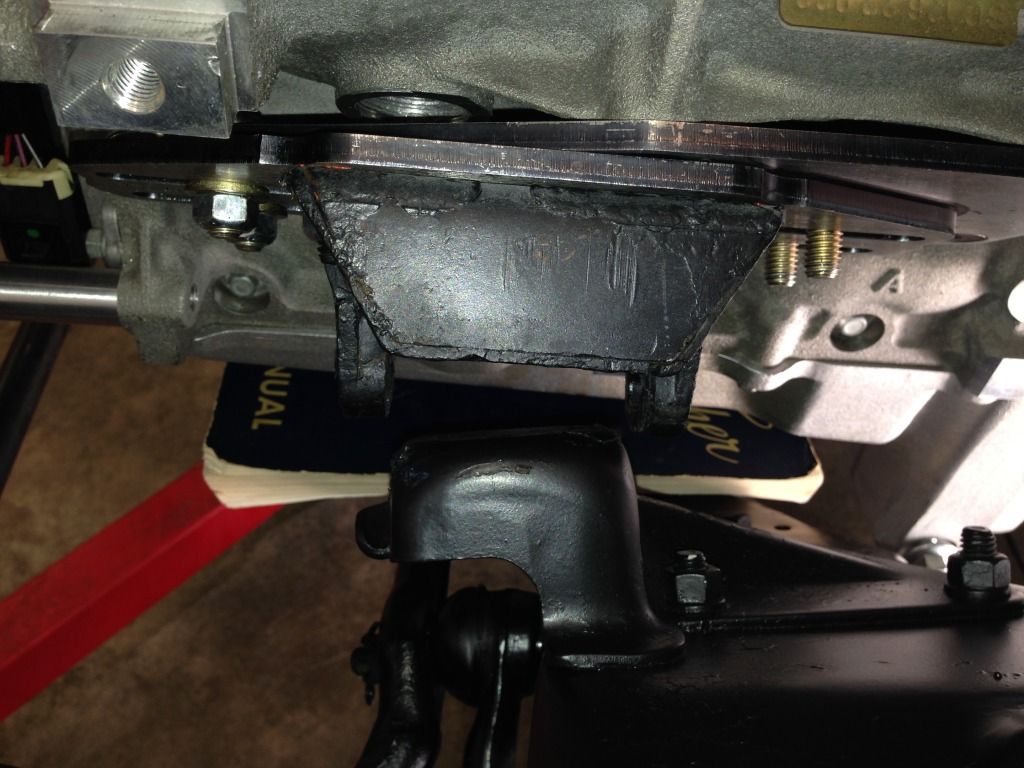
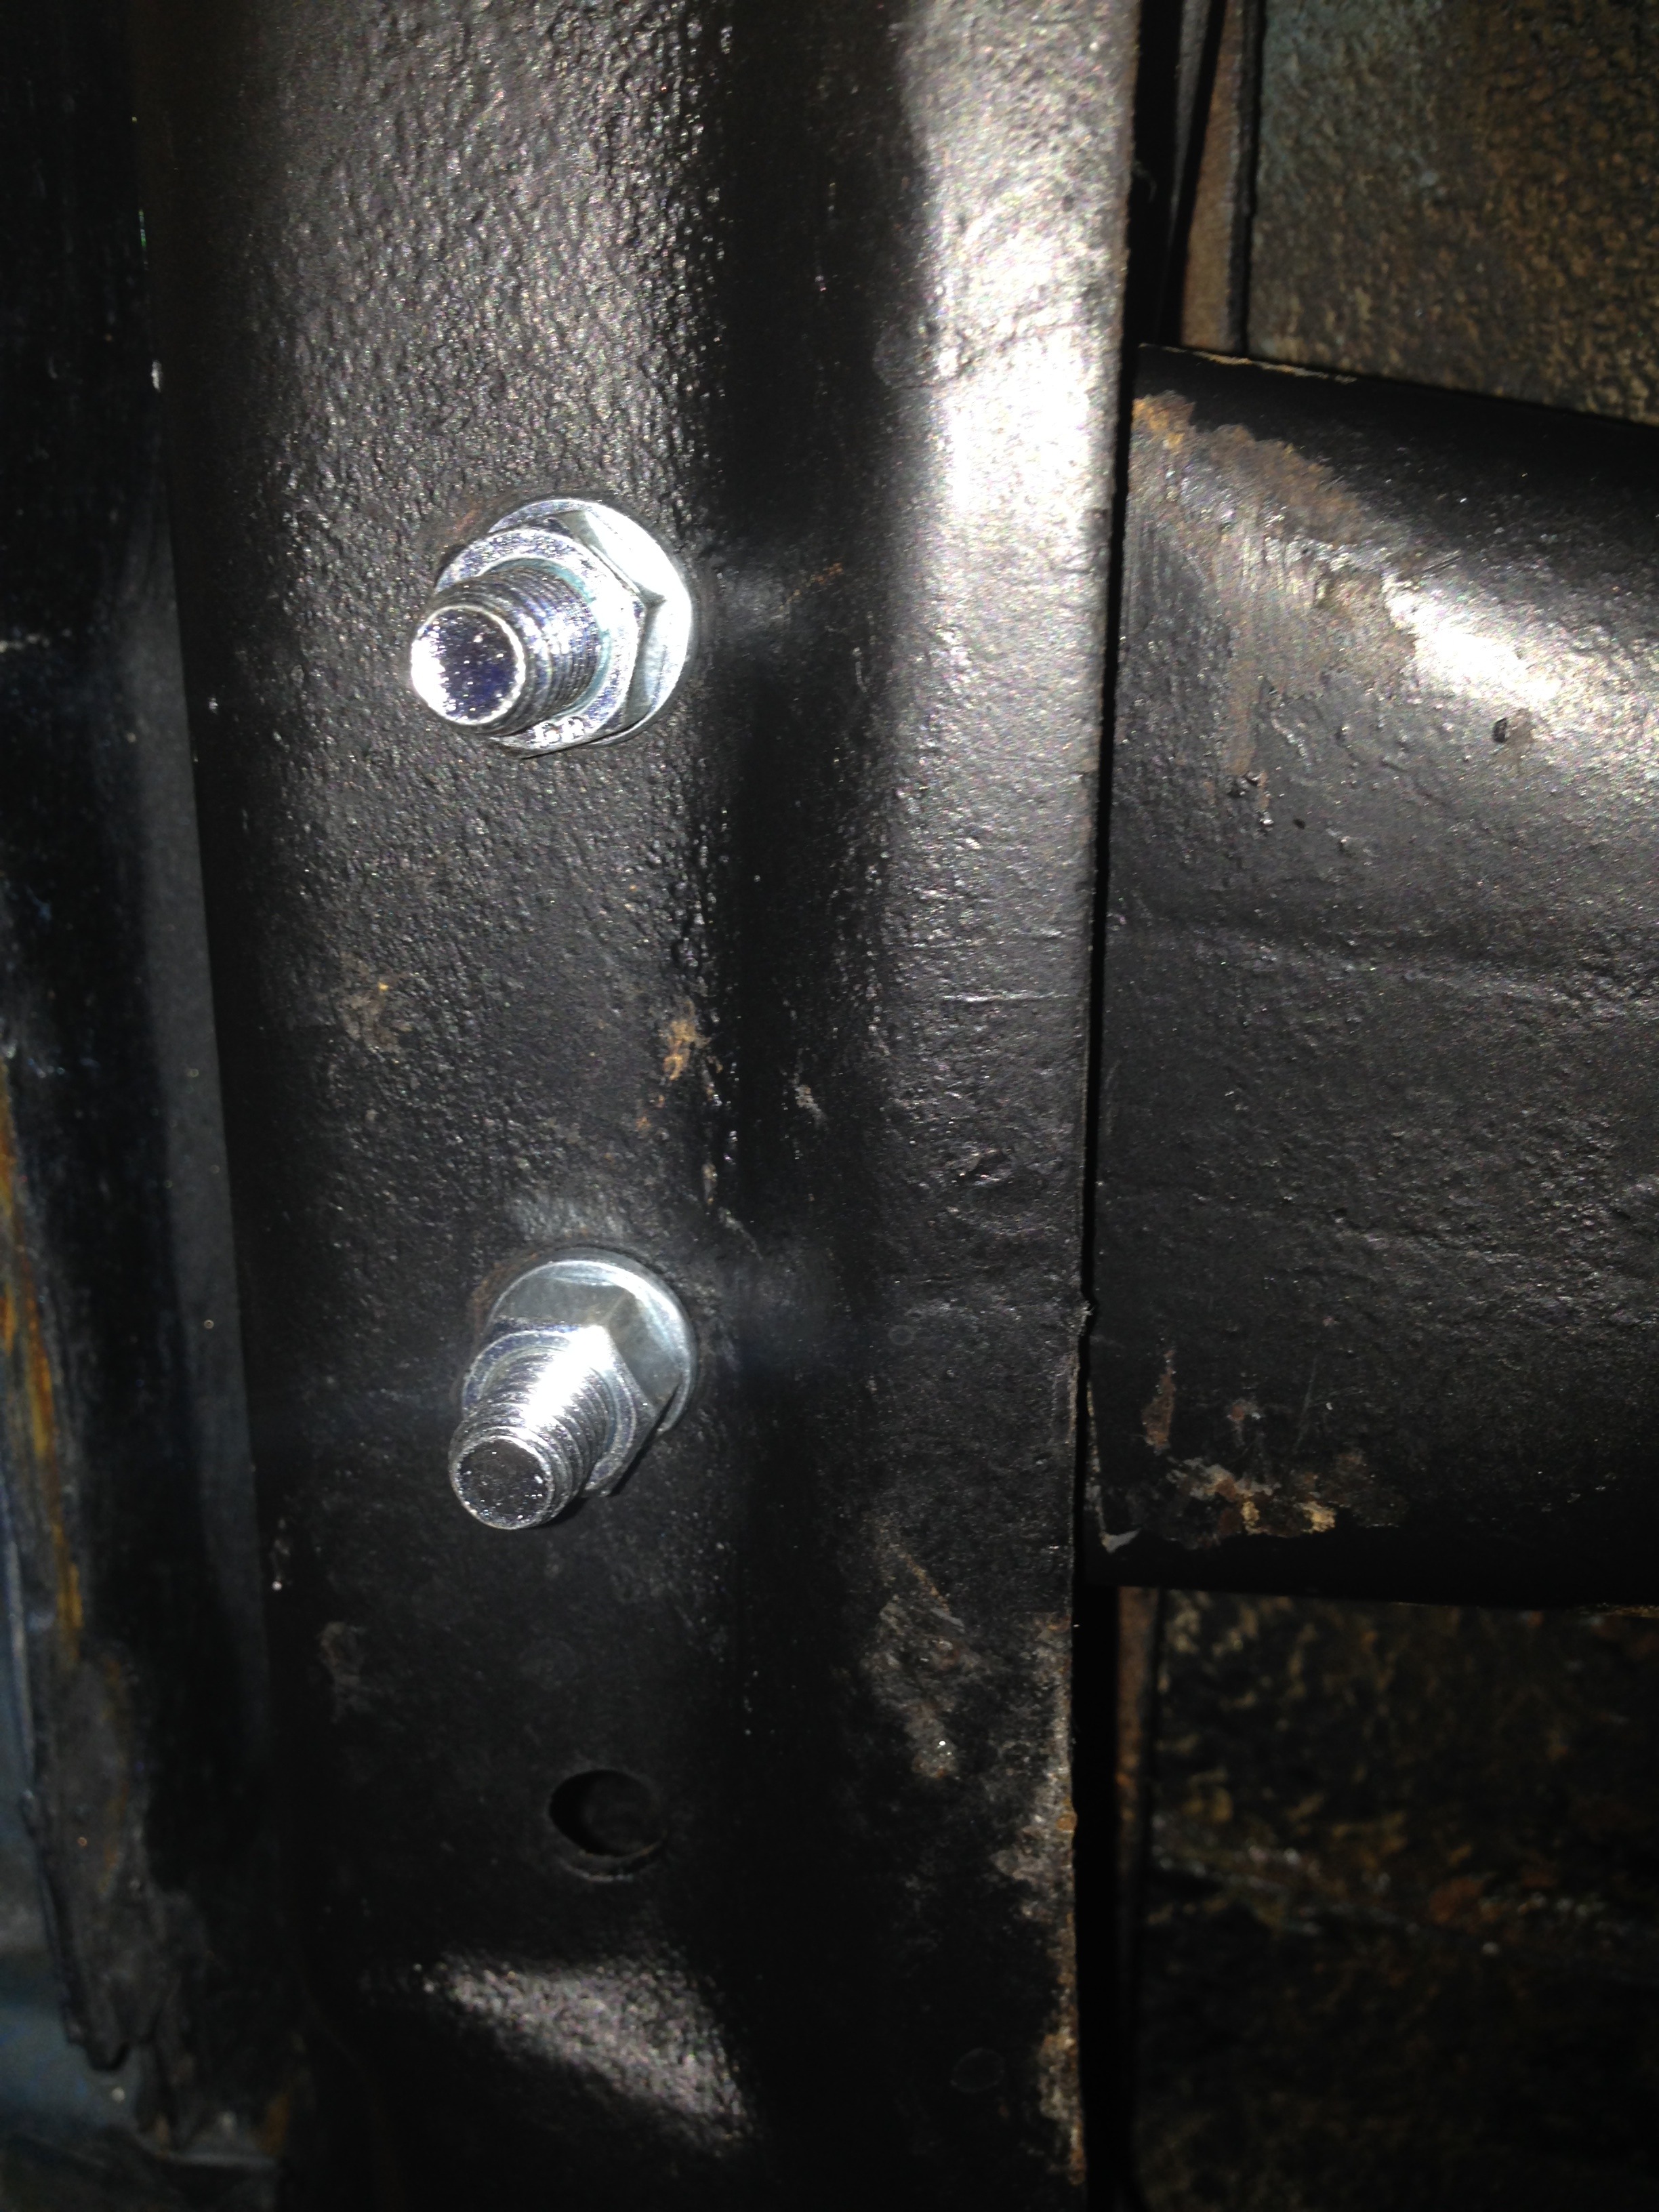
Got the new motor mounts finished and installed today.........As you can see in the first picture the Dirty Dingo slider mounts on the stock frame stands were up to the front of the engine.........I needed that room on the passenger side for the A/C compressor......so....the slider adaptors and the frame mounts had to go............in the following pictures you can see the new adaptor plates and frame mounts I made to shift the mount position to the center of the crossmember to give me the room for the compressor.........I made a couple of simple mounts and a RH/LH heim end tensioner to get the stock belt tight.......I also made some new brake lines at the master cylinder with the coil in them for body/Chassis flex (thanks Rick).......Getting ready to pull the engine out for the last time for a couple of loose ends then it go's in to stay.....
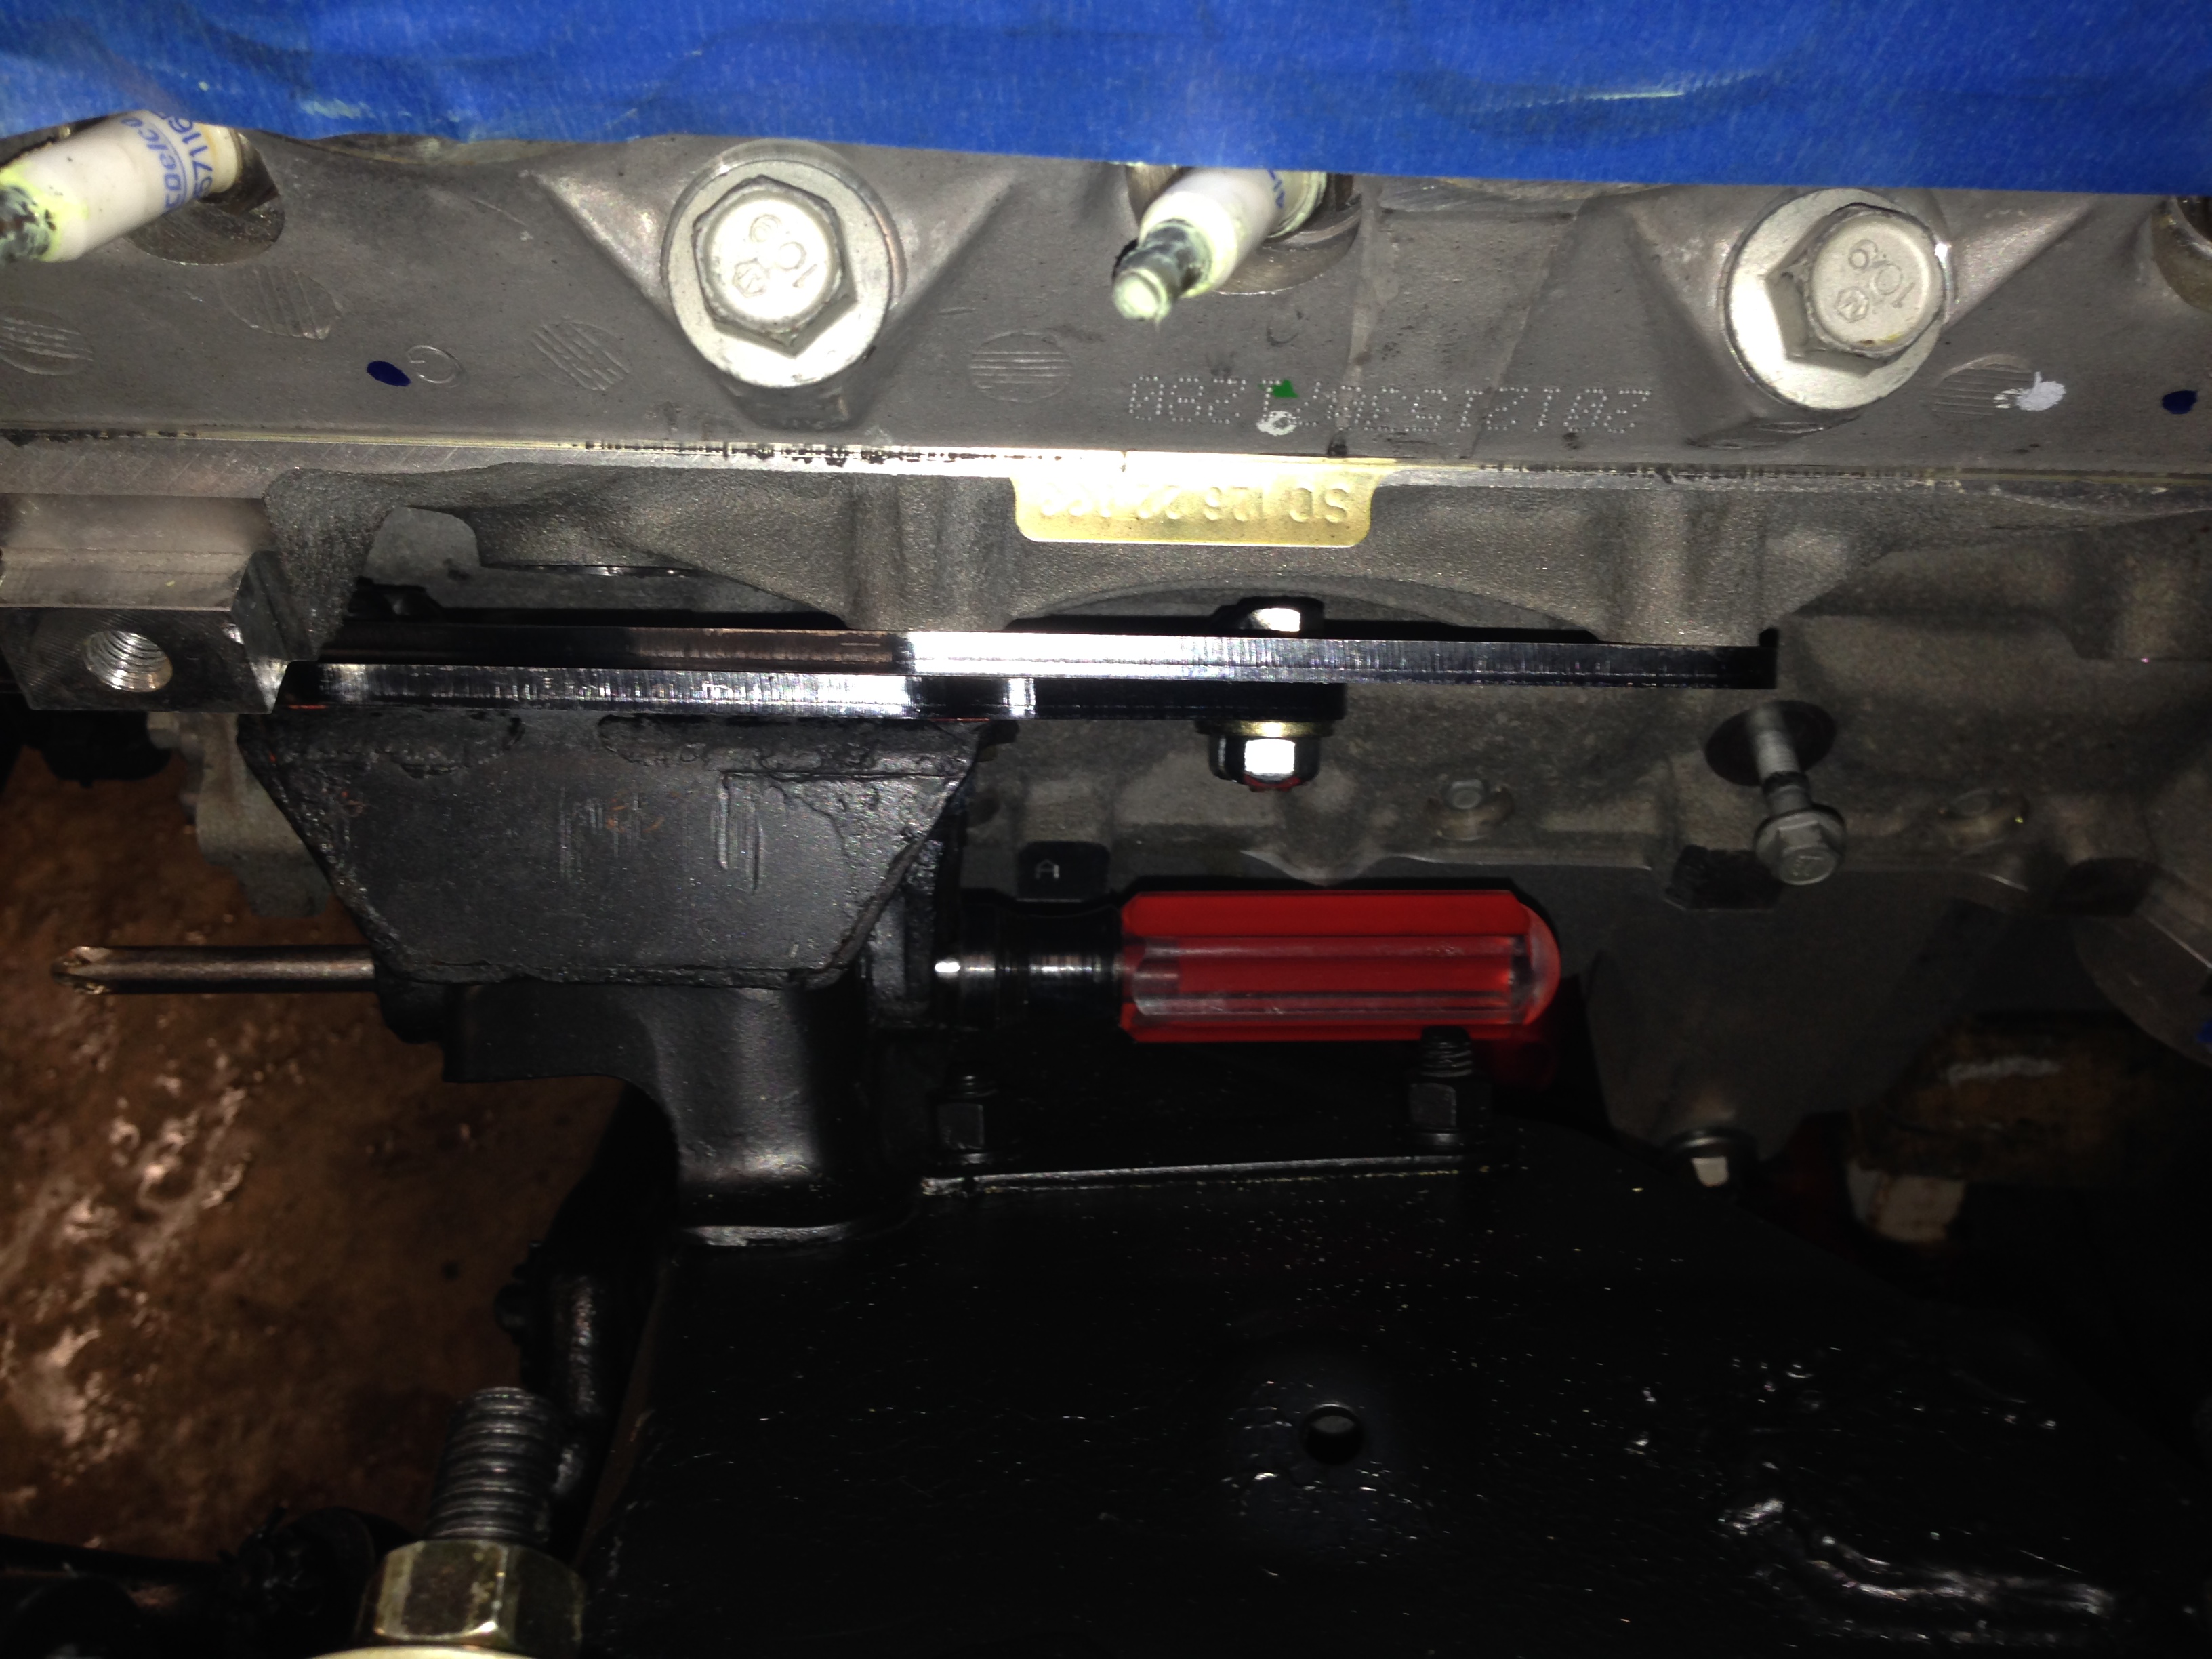

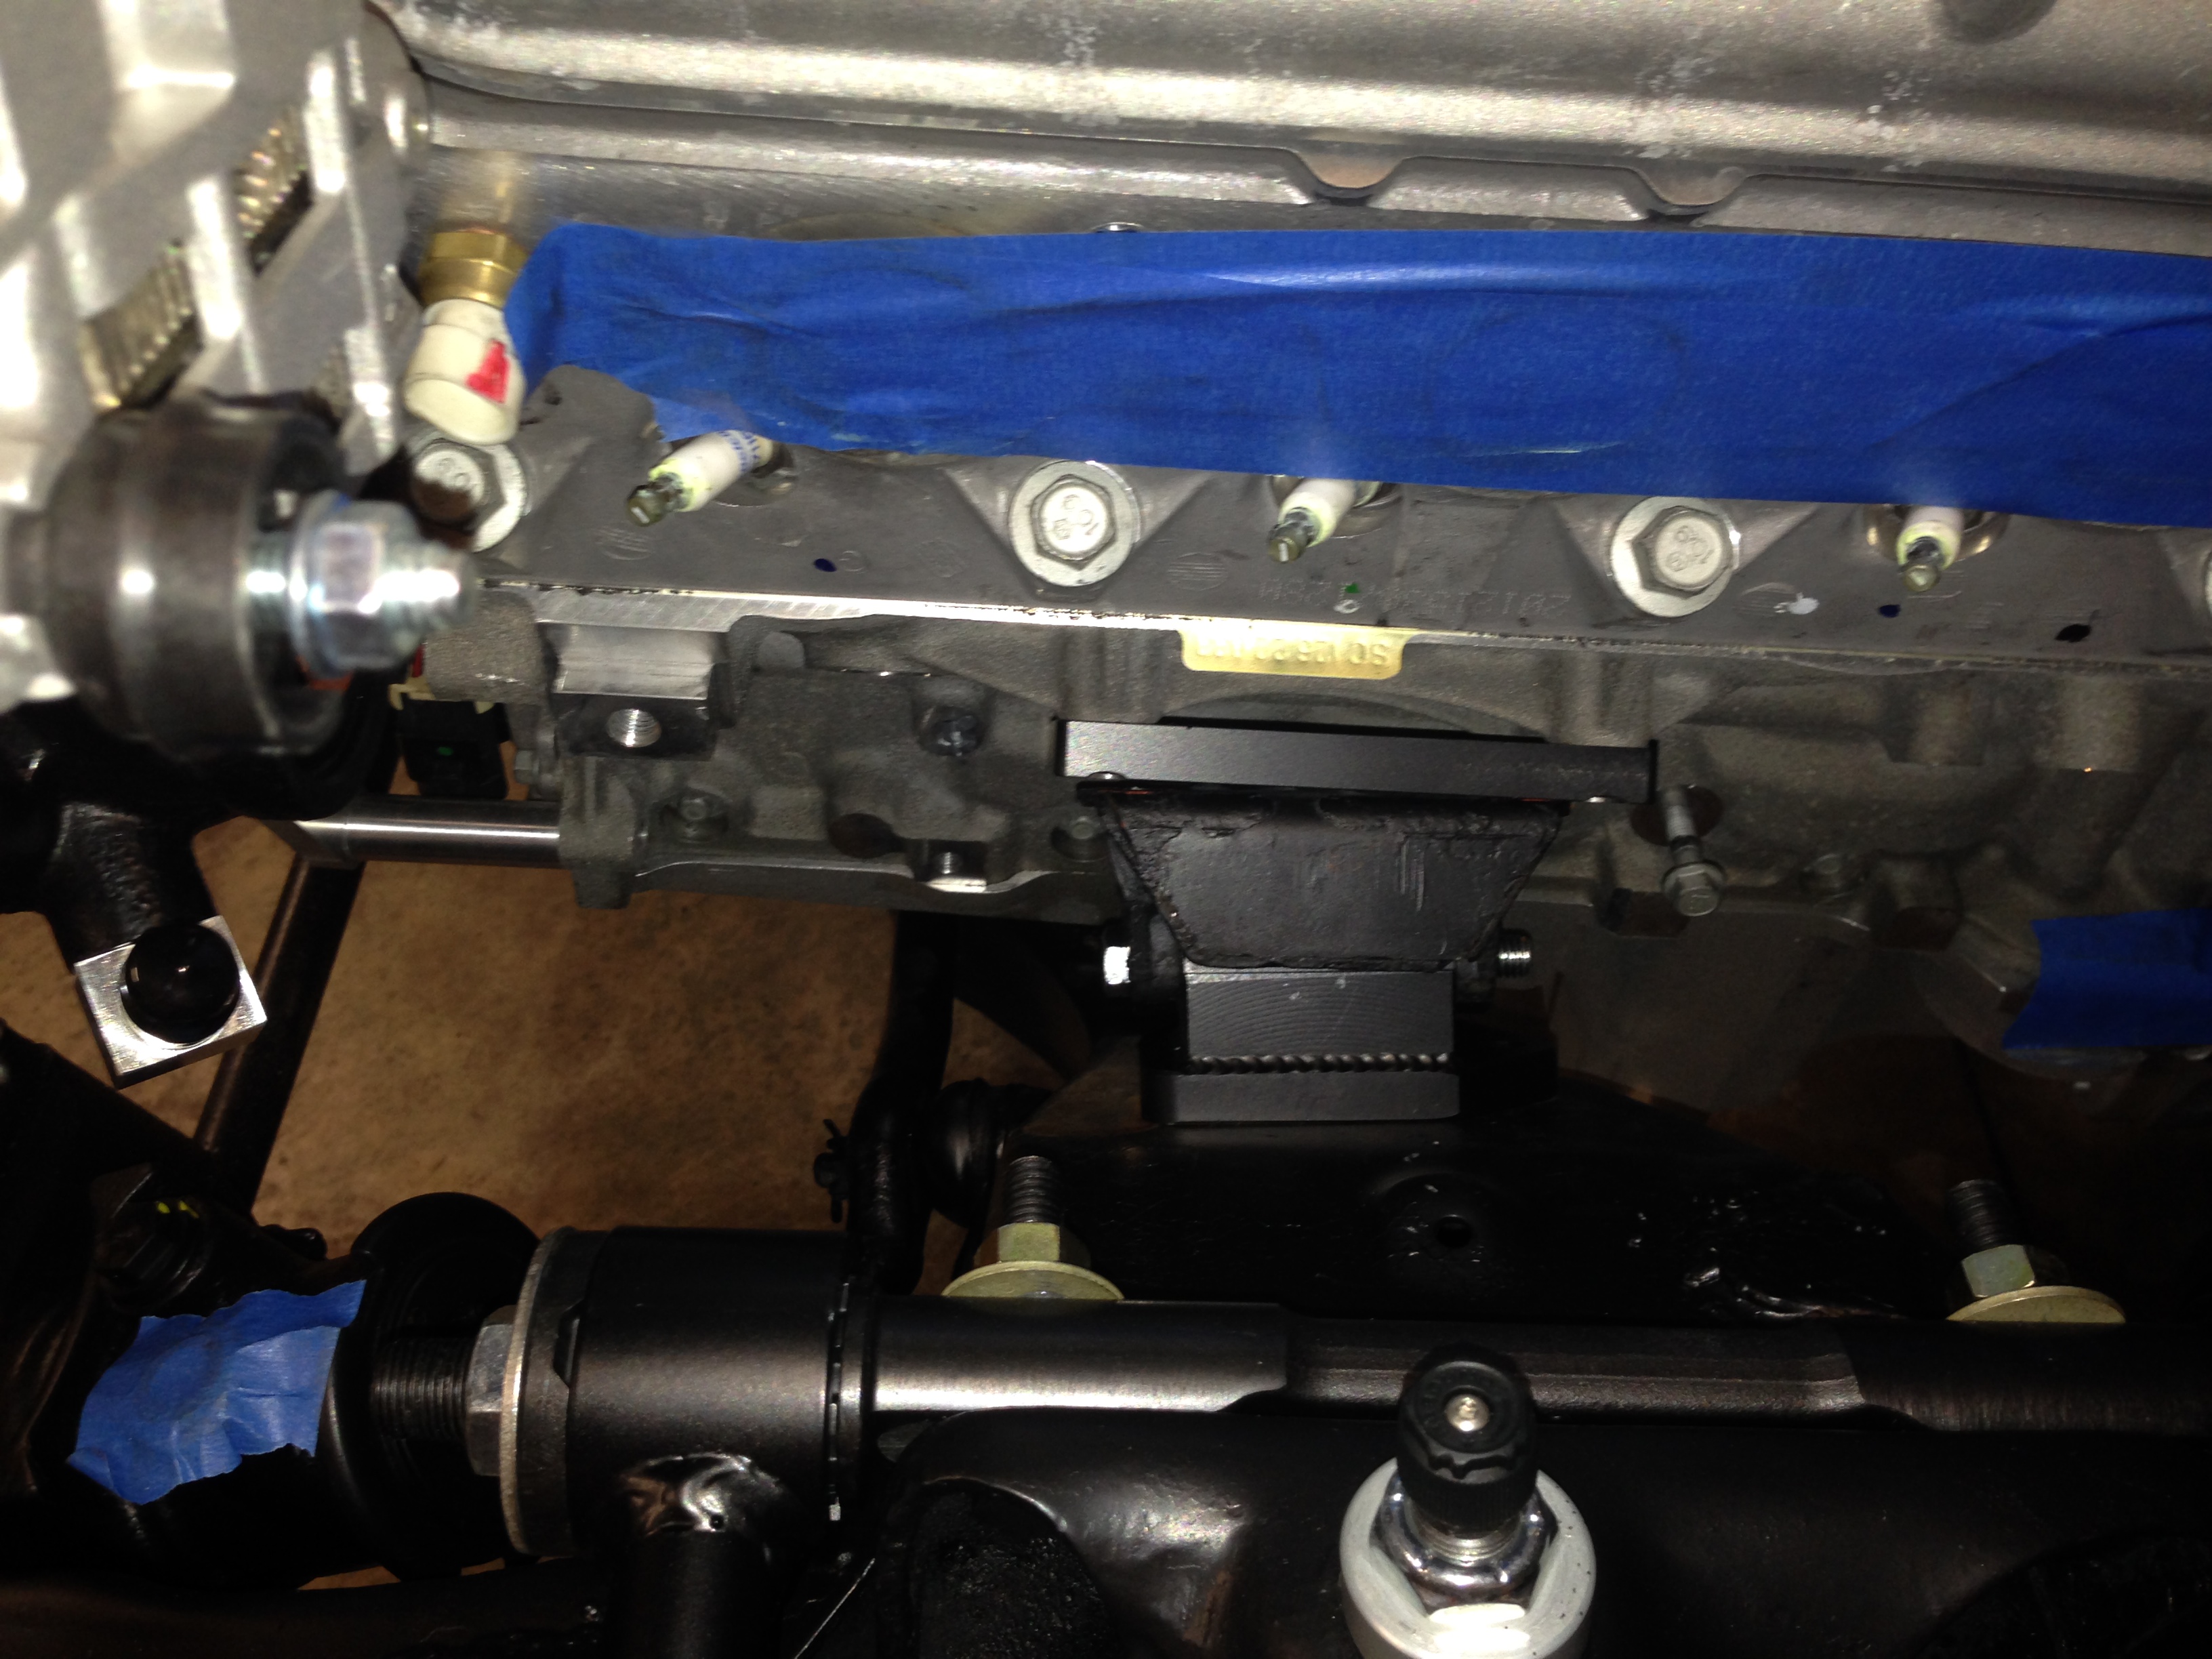
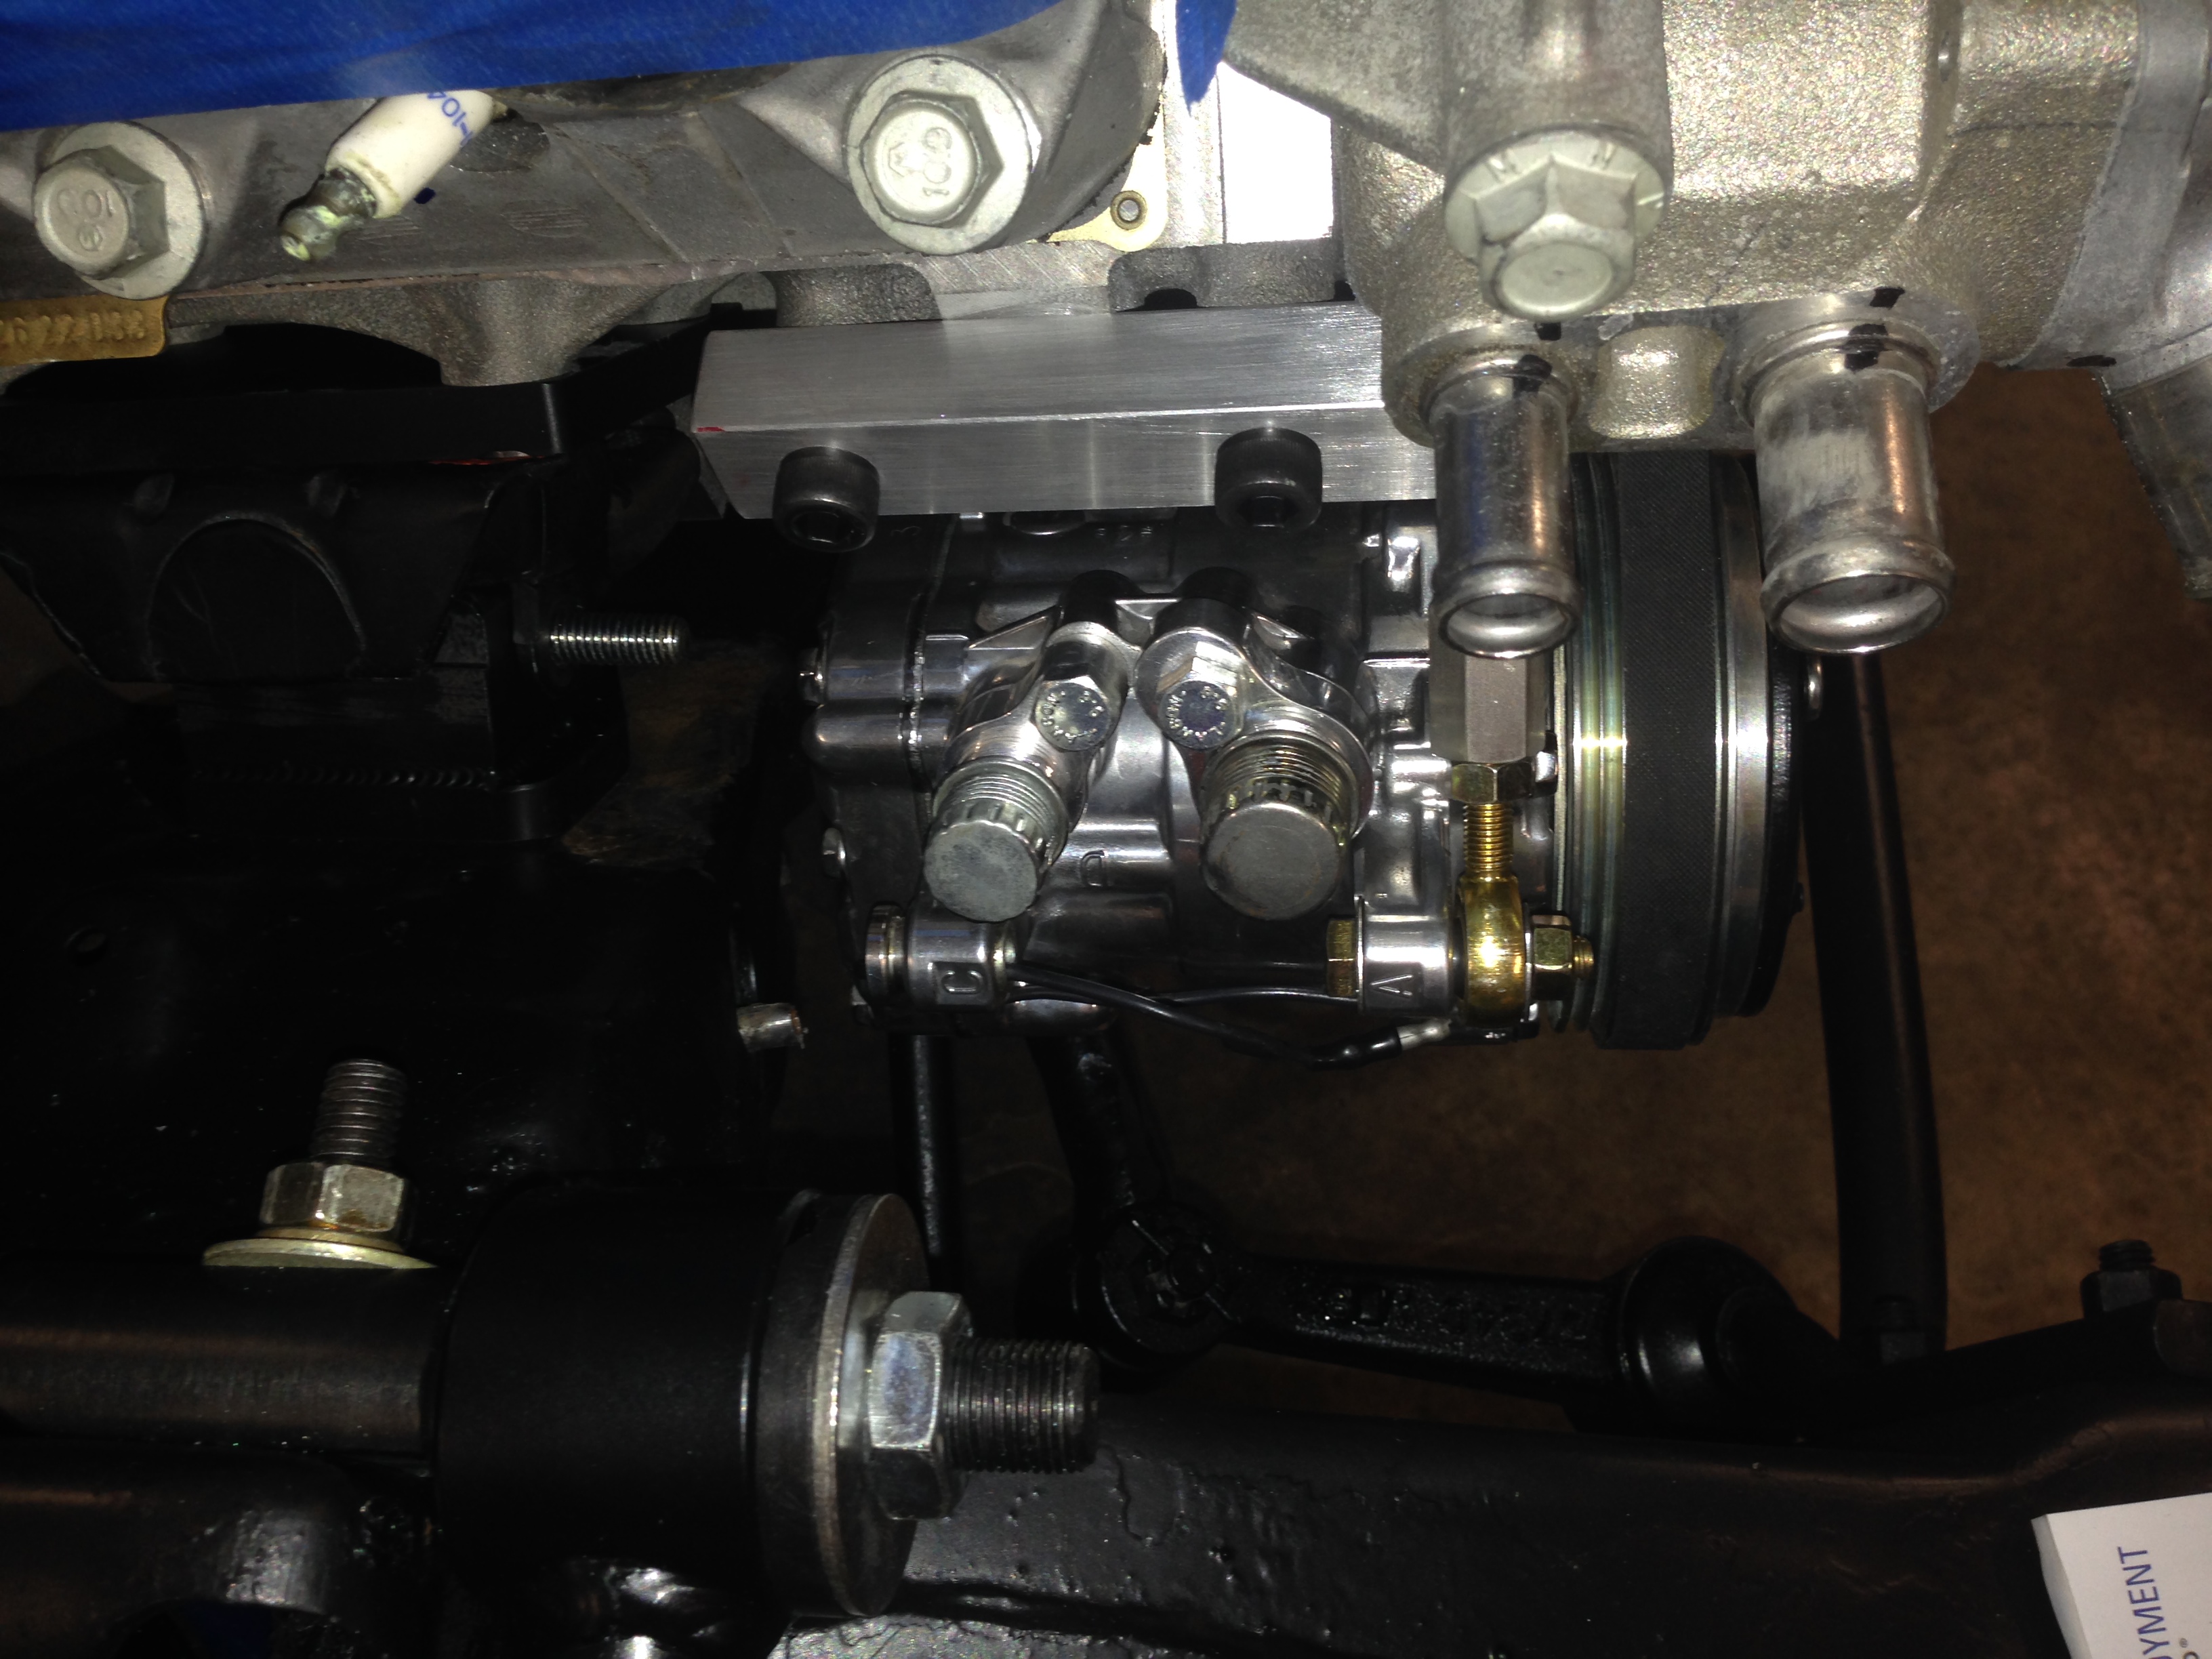
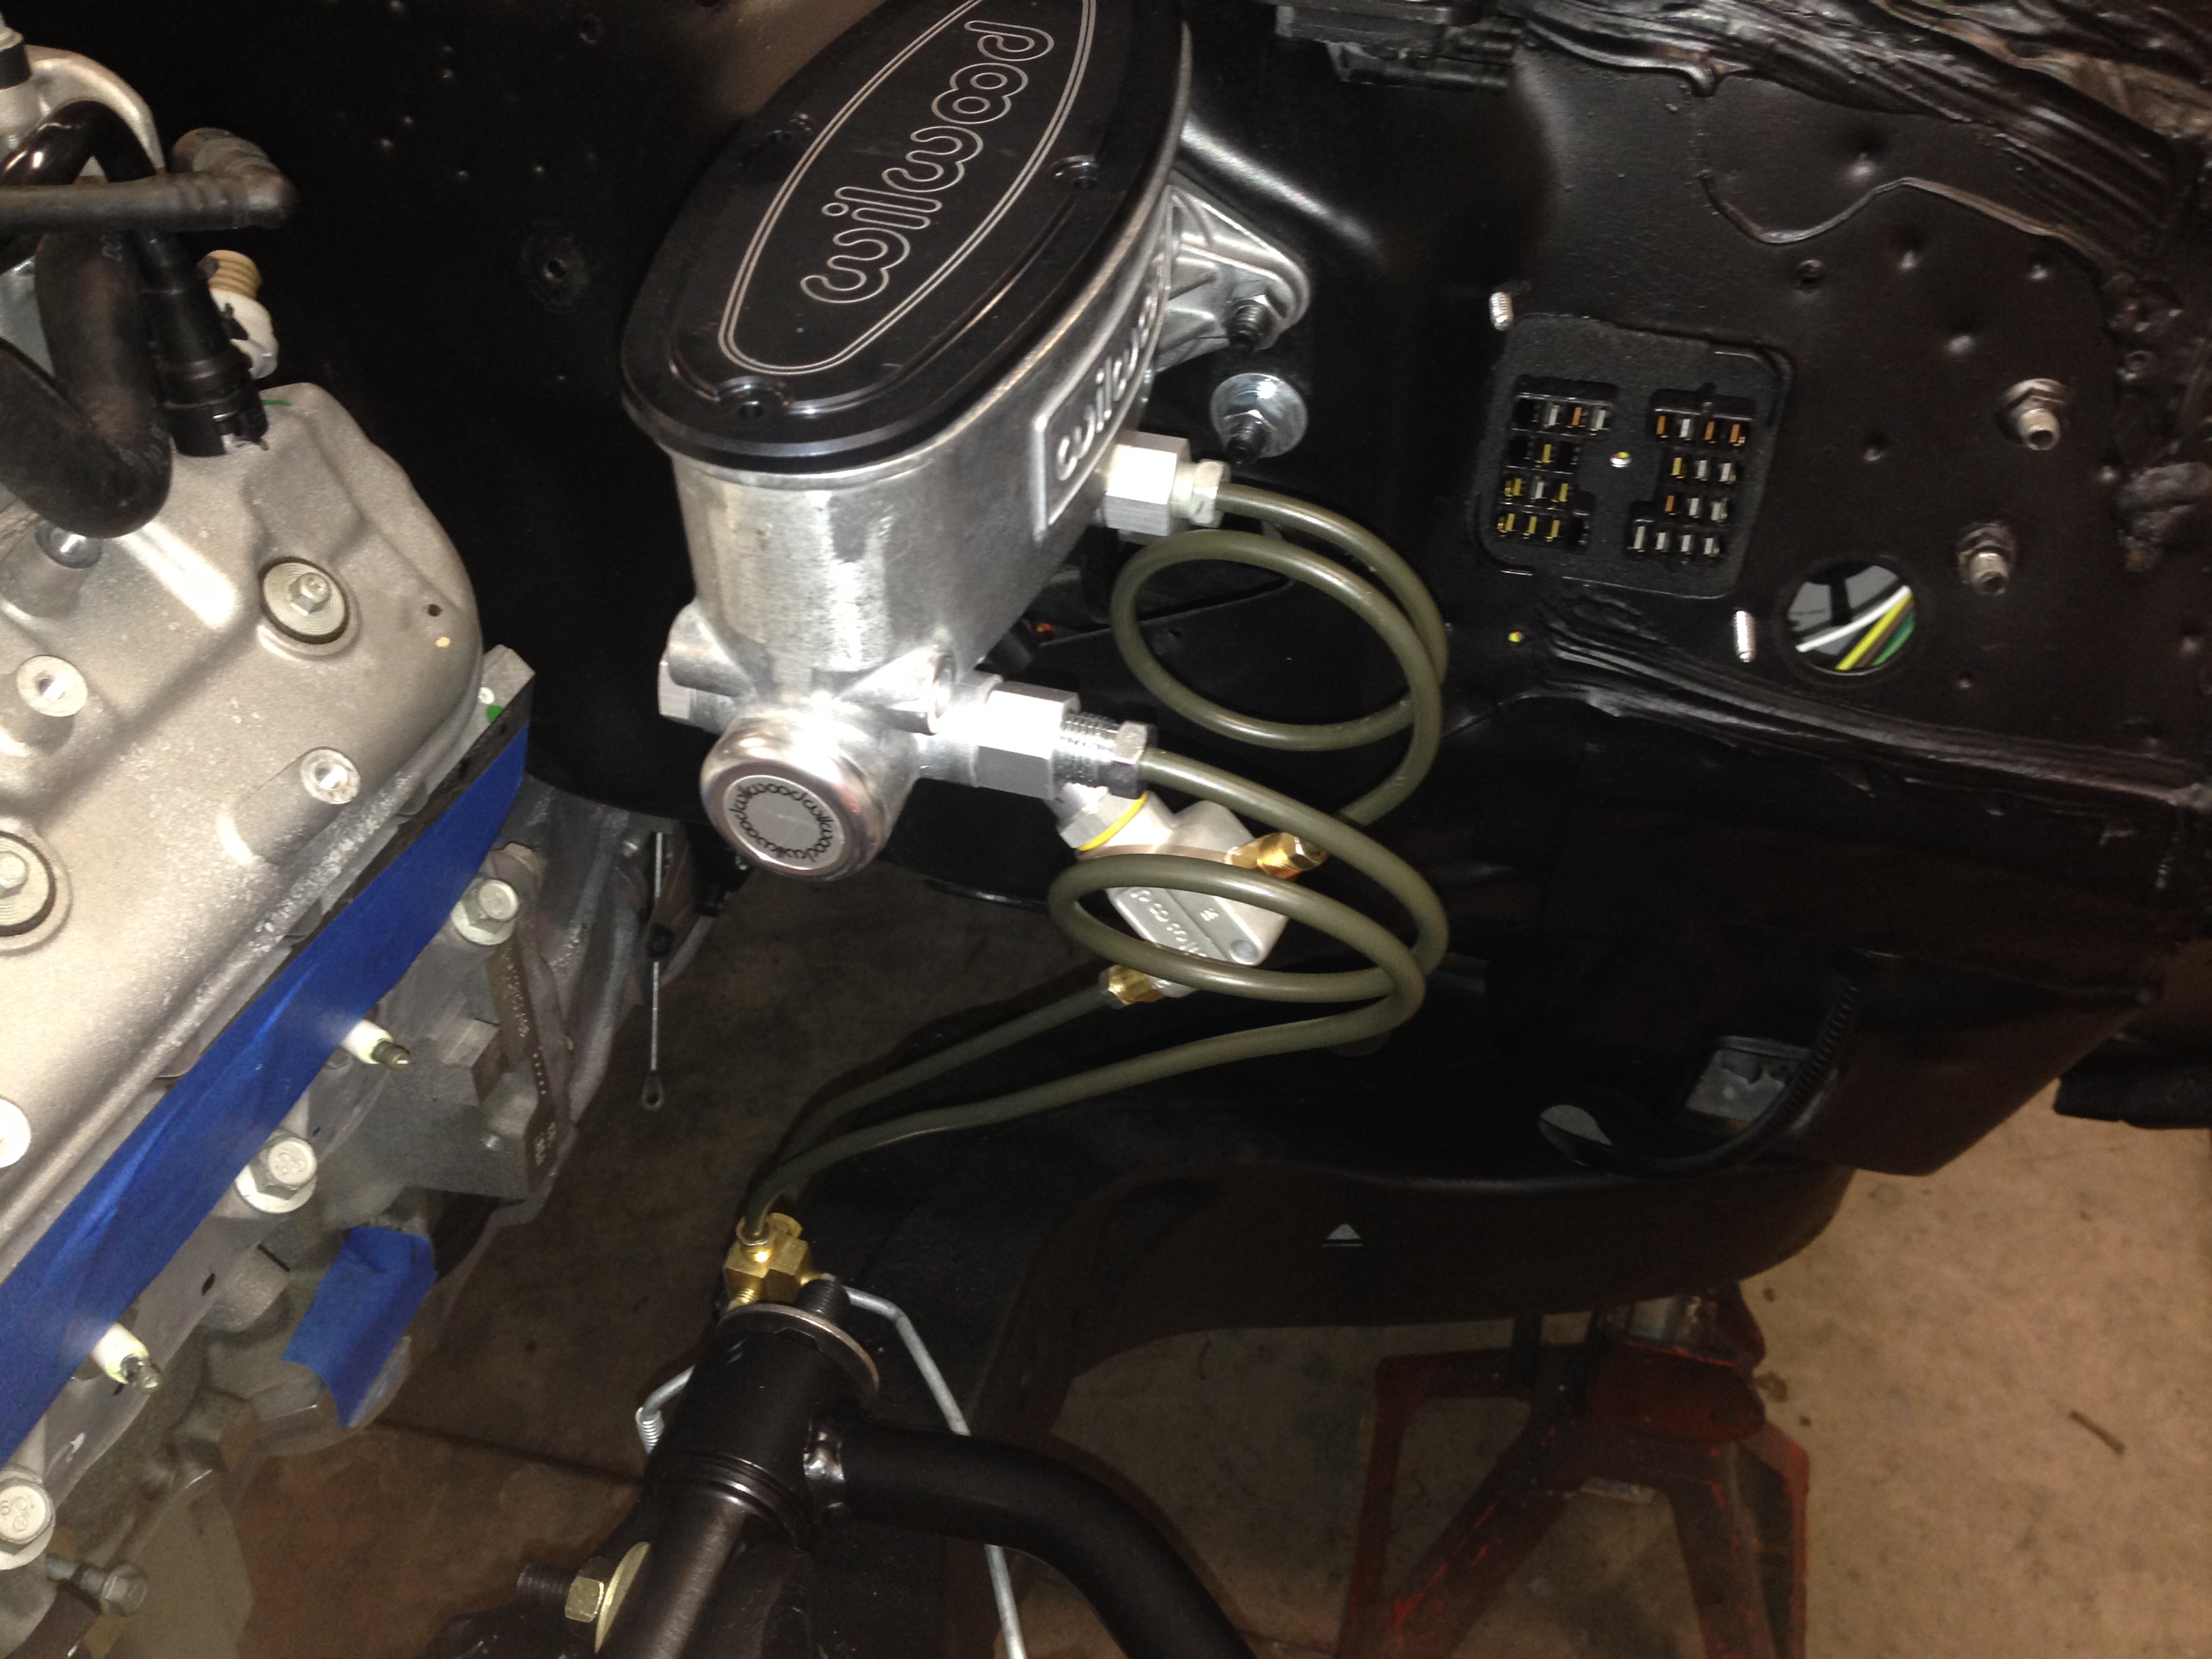
Ken
Ken
10-19-2013, 03:41 PM
#90
TECH Fanatic
Thread Starter
Got the Brake lines finished up today and bled the brakes also......Didn't do too bad.....had about 13 brake line connections and only had 12 leaks..........Another thing off the list....
Ken
Ken
 10-24-2013, 12:17 AM
#92
TECH Fanatic
Thread Starter
Well.........It seems that me and the rear brake God have some issues......Complete Wilwood system including Master Cylinder.......I bench bleed the master and had to "Work" it to get the rear system bubble free.........the front cleared up with a couple of pumps.........So.....everything installed (all new brake lines)and gravity bled till I got some help to finish the job........Bled the fronts and when opening the bleeder valve it was like a water fountain and the pedal went to the floor as it should.......Great!!......go to do the rears and I would get a couple of drops and the pedal stayed right where it was......Hummm!!!.........either side didn't make a difference.........Hummmm!!!............So....I'm thinking maybe the adjustable proportioning valve is the issue......so I crank it in to give it maximum flow........go to bleed them again......same thing ......a couple drops of fluid without any pedal drop.......So......I call Wilwood and talk to one of the tech guys.........After conversation with them I learned that even with the proportioning valve at full flow.....it only allows 57% of volume thru......so......Today I decided to remove the prop valve..........while I was making a new brake line I decided to do the bench bleed again.....after removing the brake line I put my thumb over the port and worked the pedal thru the steering column hole.....I got some pressure but not enough to blow my thumb off the port......Hummm!!!.......So.....I finish up and install the new line and again....in bleeding the rear I just get a couple of drops with no pedal drop...............Am I missing something???.......It would seem to me that the M/C even though new could be bad....
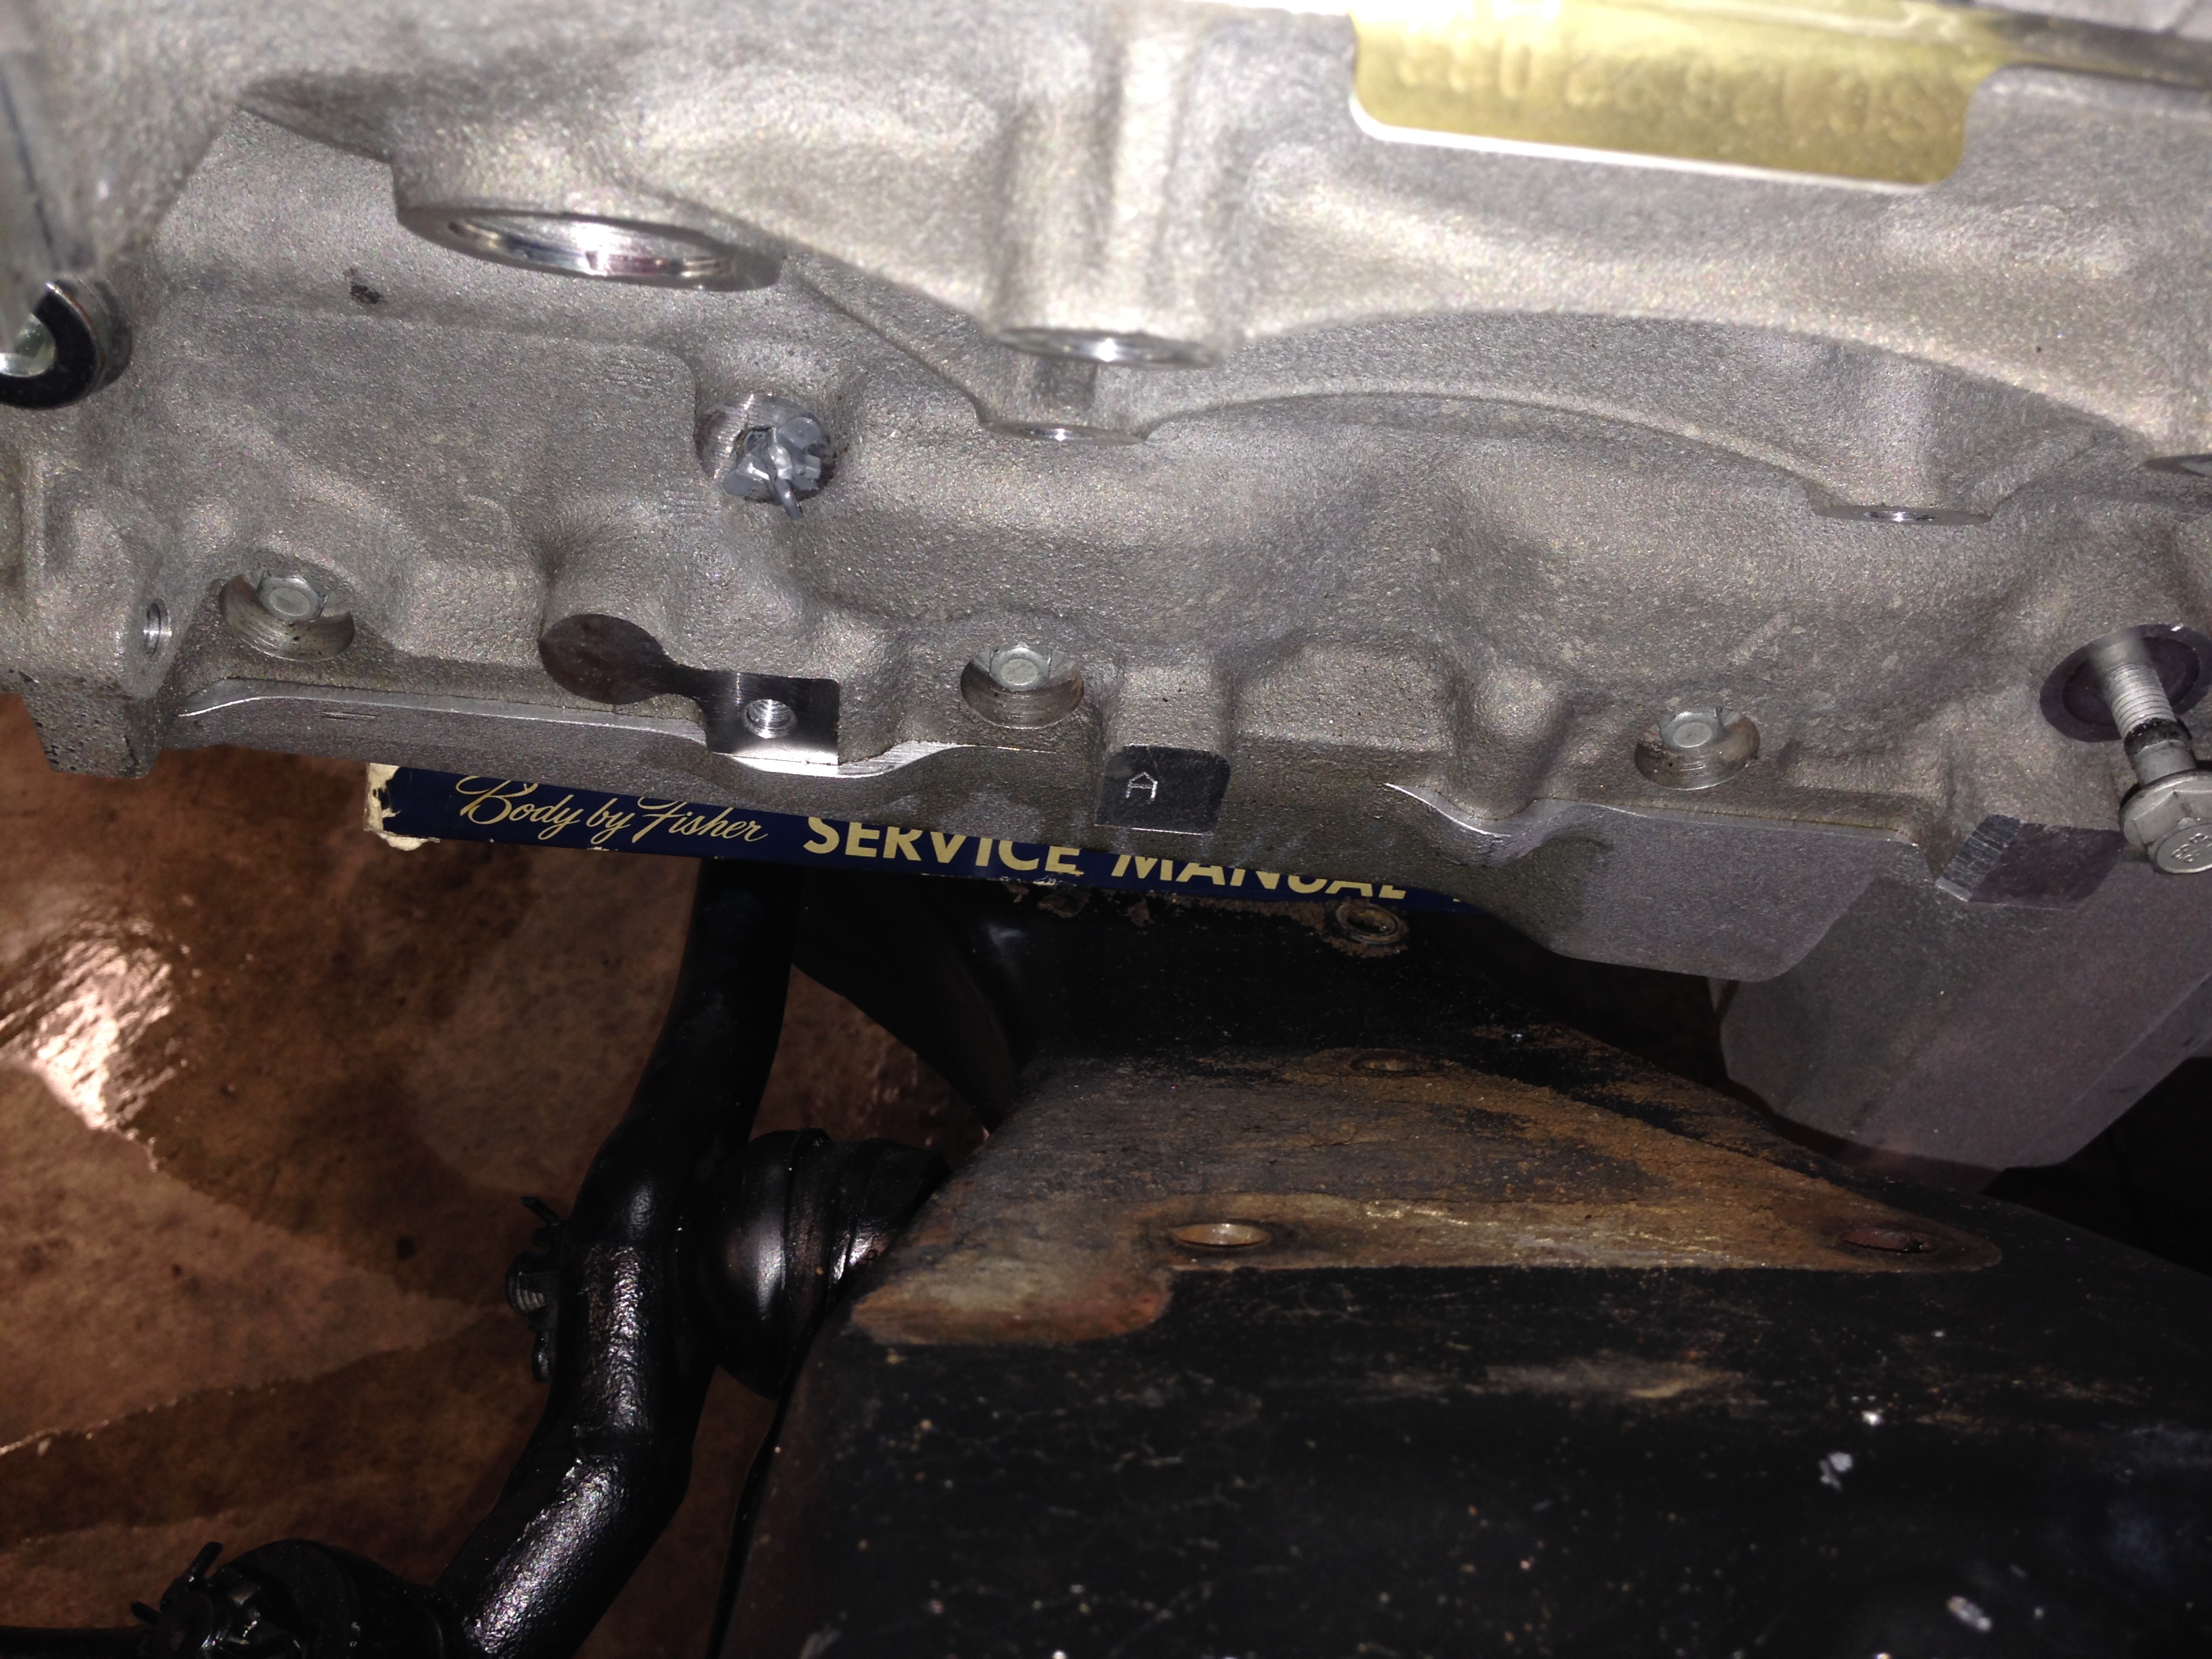
On another note.....I ordered the wheels today...........and tomorrow I should receive the balance of my Dakota Digital order so I can continue on with the wiring.........I also got all the belts installed and tensioned correctly.........And.....In checking out the pan clearance with the steering arms......It seems I not going to have any clearance issues......(But...the suspension is still unloaded).......
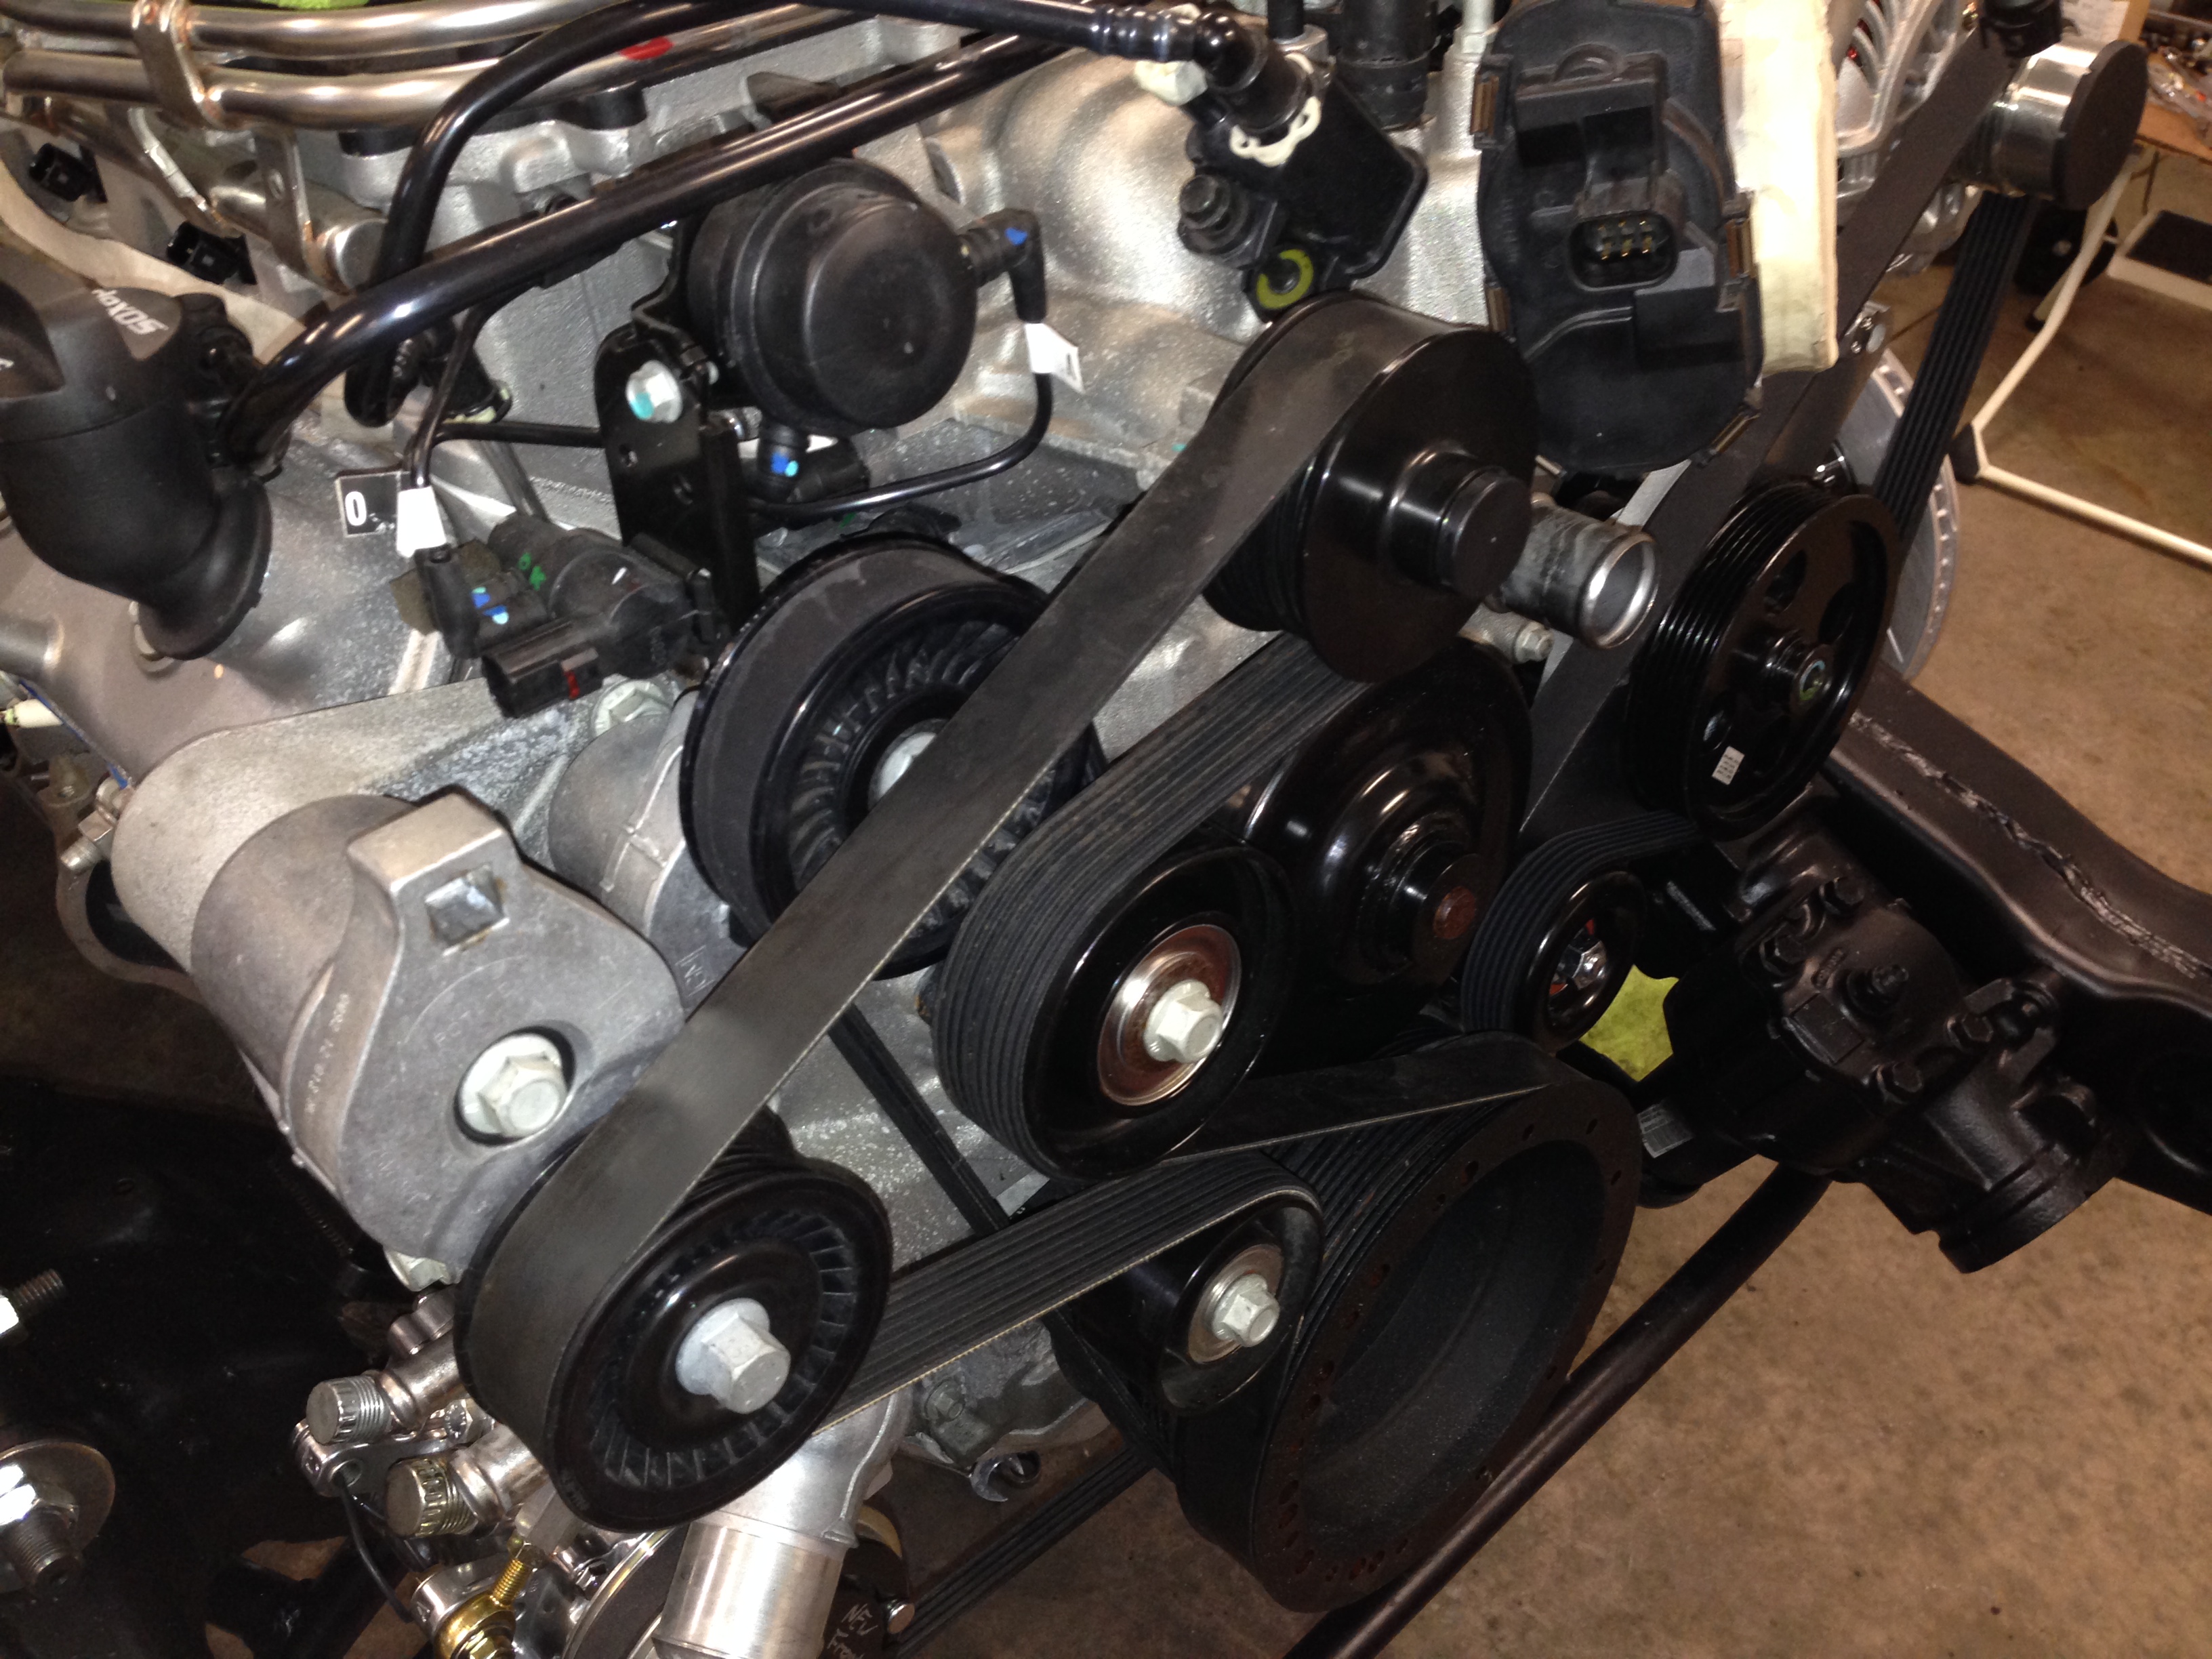
On another note.....I ordered the wheels today...........and tomorrow I should receive the balance of my Dakota Digital order so I can continue on with the wiring.........I also got all the belts installed and tensioned correctly.........And.....In checking out the pan clearance with the steering arms......It seems I not going to have any clearance issues......(But...the suspension is still unloaded).......
10-24-2013, 06:26 AM
#93
Ken, I had the same problem with my Wilwood MC. What I finally did is put a line on the rear port that dumped back into the MC reservoir and pumped the hell out of it. It finally got all the air out after about 15 pumps. Don't know why it did that, but it worked out.
T,
T,
 10-24-2013, 07:41 AM
#95
TECH Fanatic
Thread Starter
Tom........Thanks for the Help...........I put the bench bleeders back in yesterday and pumped that sucker for 10 minutes........No air in the lines at all.....????????????????????
10-24-2013, 07:42 AM
#96
TECH Fanatic
Thread Starter
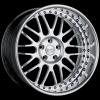
Here's the wheels I ordered.........Grey centers and brushed rims..........
10-26-2013, 11:42 AM
#98
TECH Fanatic
Thread Starter
Another one of those little things that get stuck in the back of your head that you know will become a problem downstream because it's going too smooth just popped up........Now that I'm going to pull the engine for the last time (Hopefully) and tie up some loose ends......I decided to go back and check the tie rod to oil pan clearance that everyone else has "Issues" with....I didn't have any ......I had a slight contact in one direction but plenty of clearance when turning the other direction.....so....I noticed the center drag link wasn't centered with the engine and I thought I could get away with adjusting the tie rod ends to get everything centered and have clearance...........so.......I check everything again today and notice that the rotors didn't look like they were turning far enough.......so I start thinking about the turning radius not being sharp enough which would then shorten the drag link travel from side to side..........So.....I check to see where the steering arm stops contact the lower control arm..........Hummm!!.......I measure the Ridetech contact point and it's approx. 2 1/4" from the stop surface to the center of the ball joint..........I get out my stock lower arm and measure it at 1 1/2" ....Hummmmm!!!!.......I'll call Ridetech on Monday.....Better to deal with it now than after the engine is plugged in and all the accessories are on...........Maybe I'm making a mountain out of a molehill again...........
10-28-2013, 07:42 PM
#100
TECH Fanatic
Thread Starter
Well.......The day started out with me calling Ridetech and asking about the steering stops hitting way before the stock position and this was taking away from the turn radius of the car (again.....from the ball joint C/L to the stop surface on the lower control arm........Stock GM is 1 1/2".........Ridetech 2 1/4 inches.........)I sent pictures as requested and haven't heard anything since............I need to get this resolved so I can modify the pan for drag link clearance if req'd.........
The next issue was the trans cross member.........It seems that when the previous owners added the Turbo 400 trans they did the Hillbilly cut and weld to make it fit......so after looking and figuring out what to do with it.......I decided to make it bolt into the stock frame location and holes......and it ended up that the rubber trans mount ended up right in the middle of the crossmember...........so we made a new detail and cut and welded it together.....brought it home and it fell into place........then..........the new Wilwood Master cylinder showed up.....I knew the old one had some issues ( cause I are Smart)........opened up the new one , Bench bled it for a half hour .........not a hint of air and it seemed this one has more flow to the rear chamber.....so.....I knew this was gonna be easy..........Stick it on the car , bleed the fronts....no problem.......go to do the rear.........Same thing........no pedal drop while bleeding and just a few drops of fluid out of the bleeder and No clamping pressure at all on the rear rotors.........Darn!!!..........Time to start breaking the new lines apart and look for a restriction somewhere...........(a smart person would have probably done that B4 buying a new Master).......I also got the new Holley Pan Baffle assy that was recommended.......
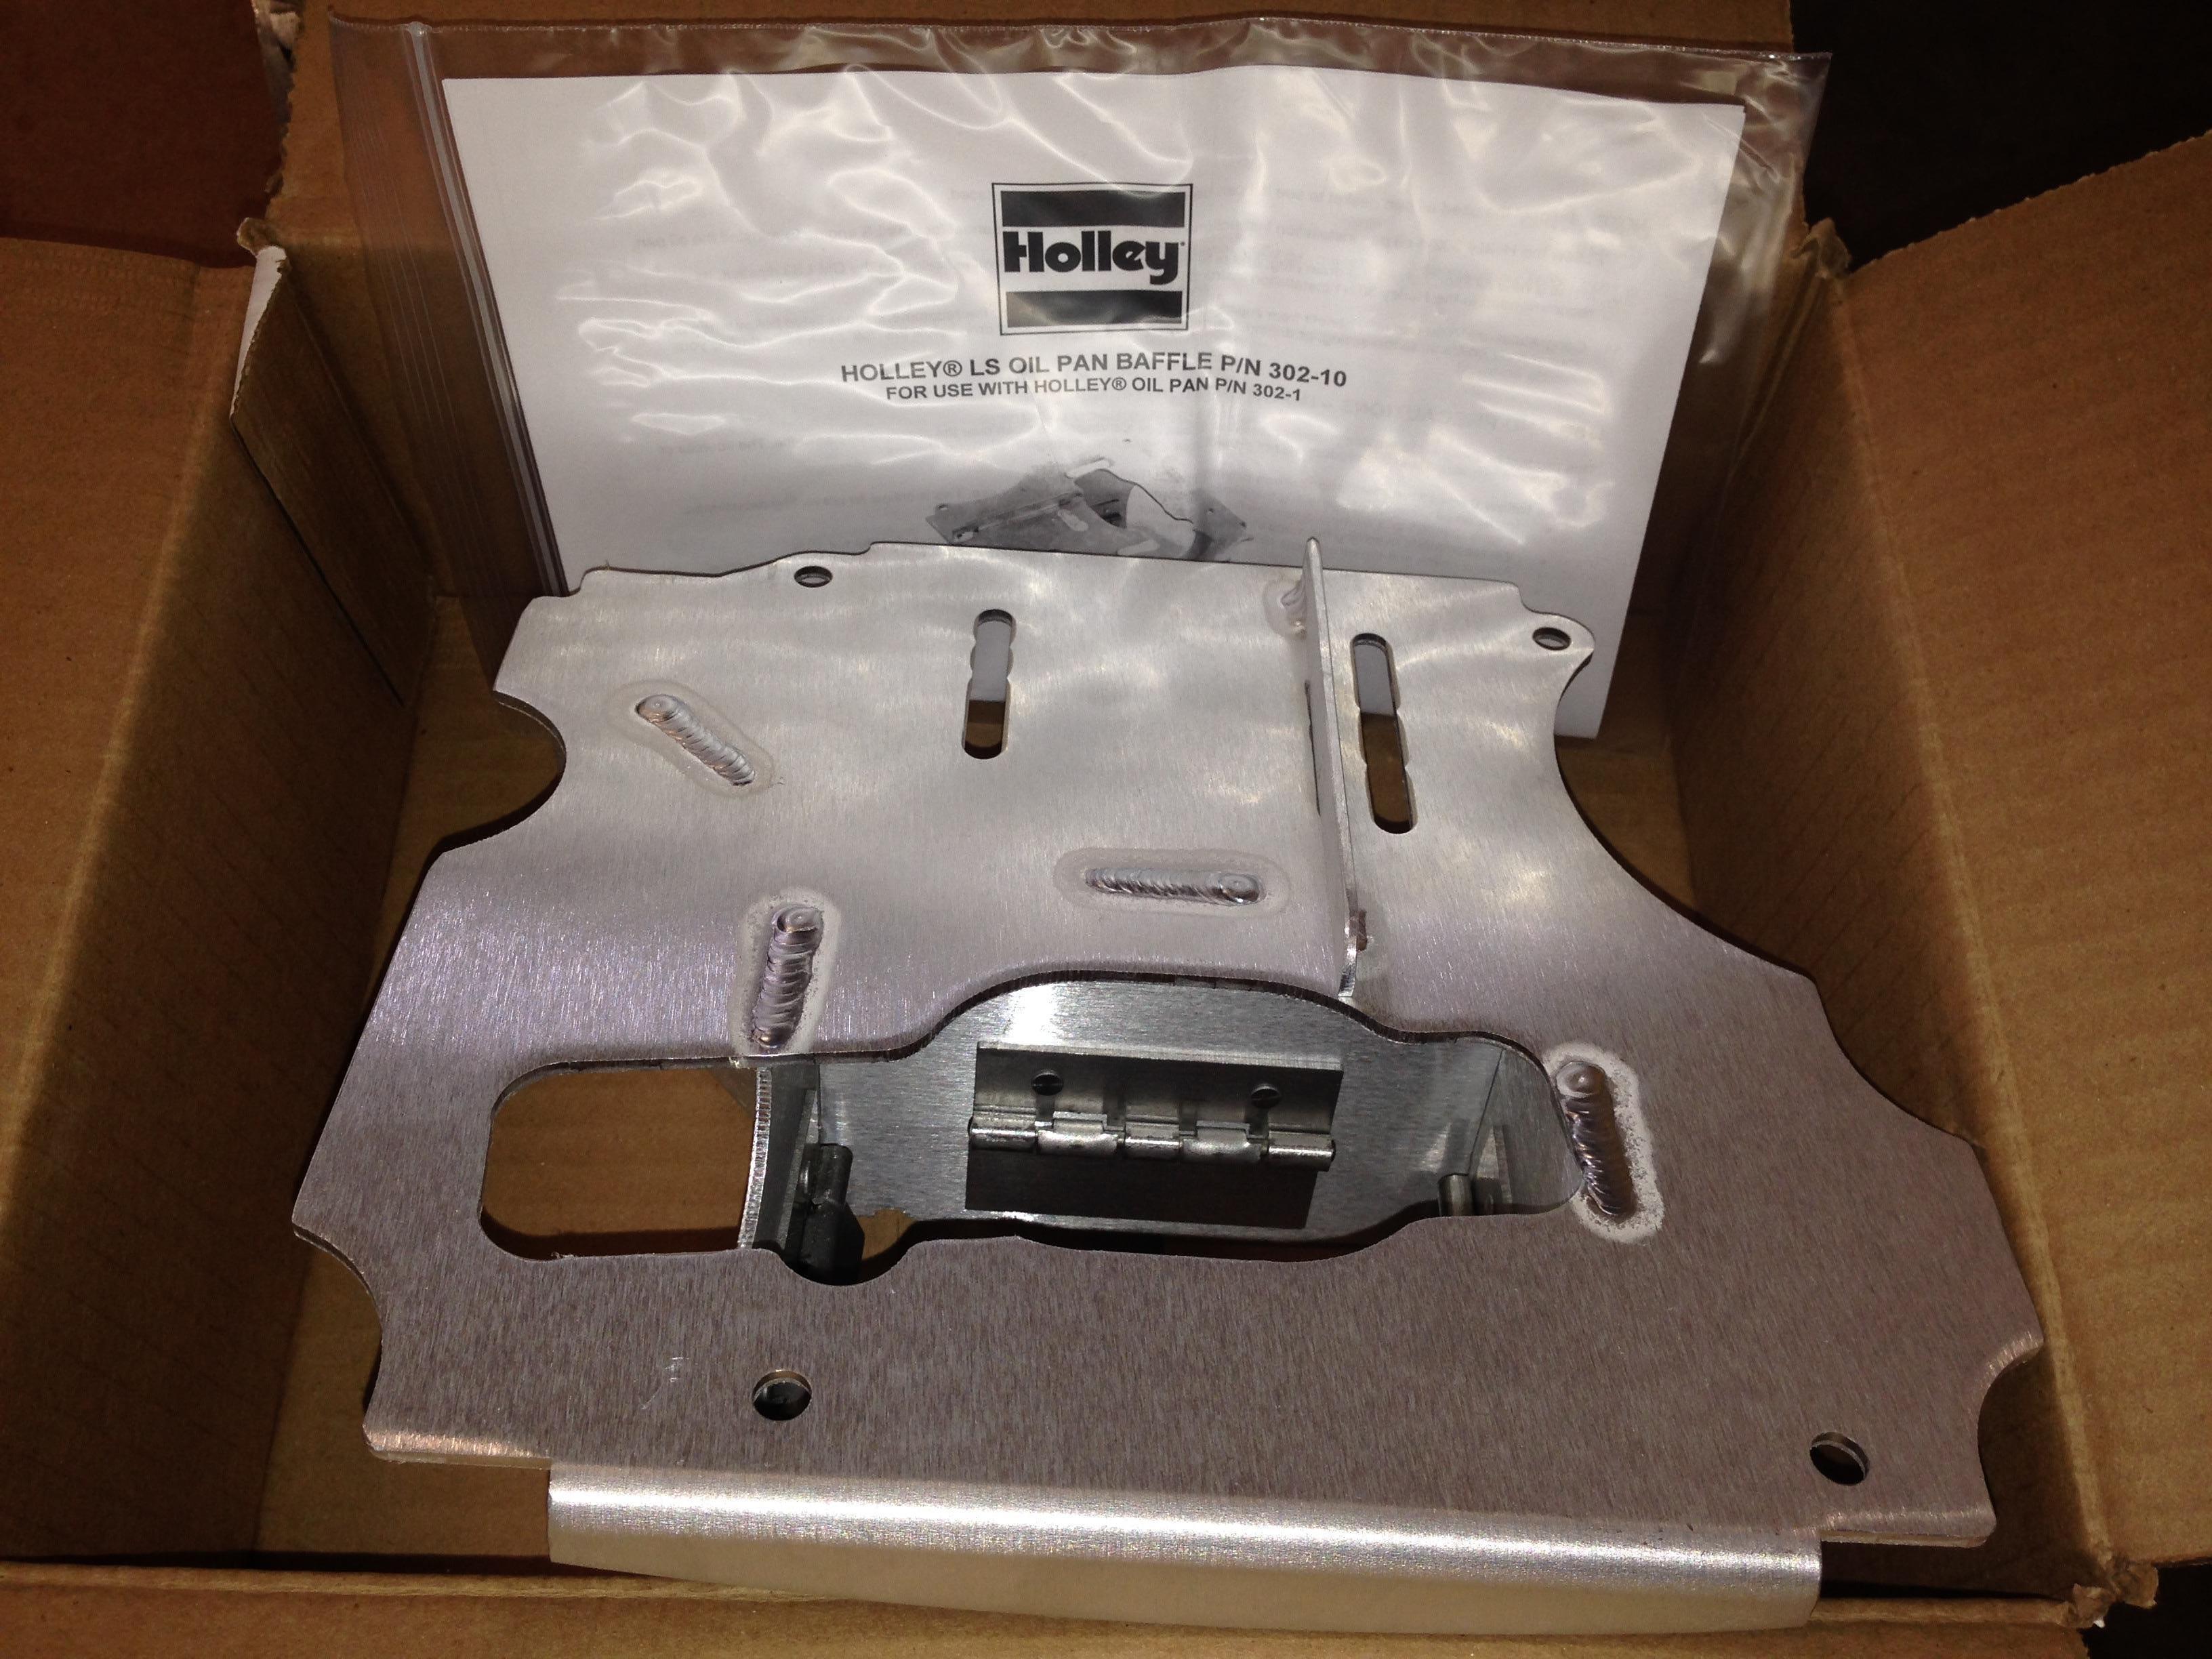
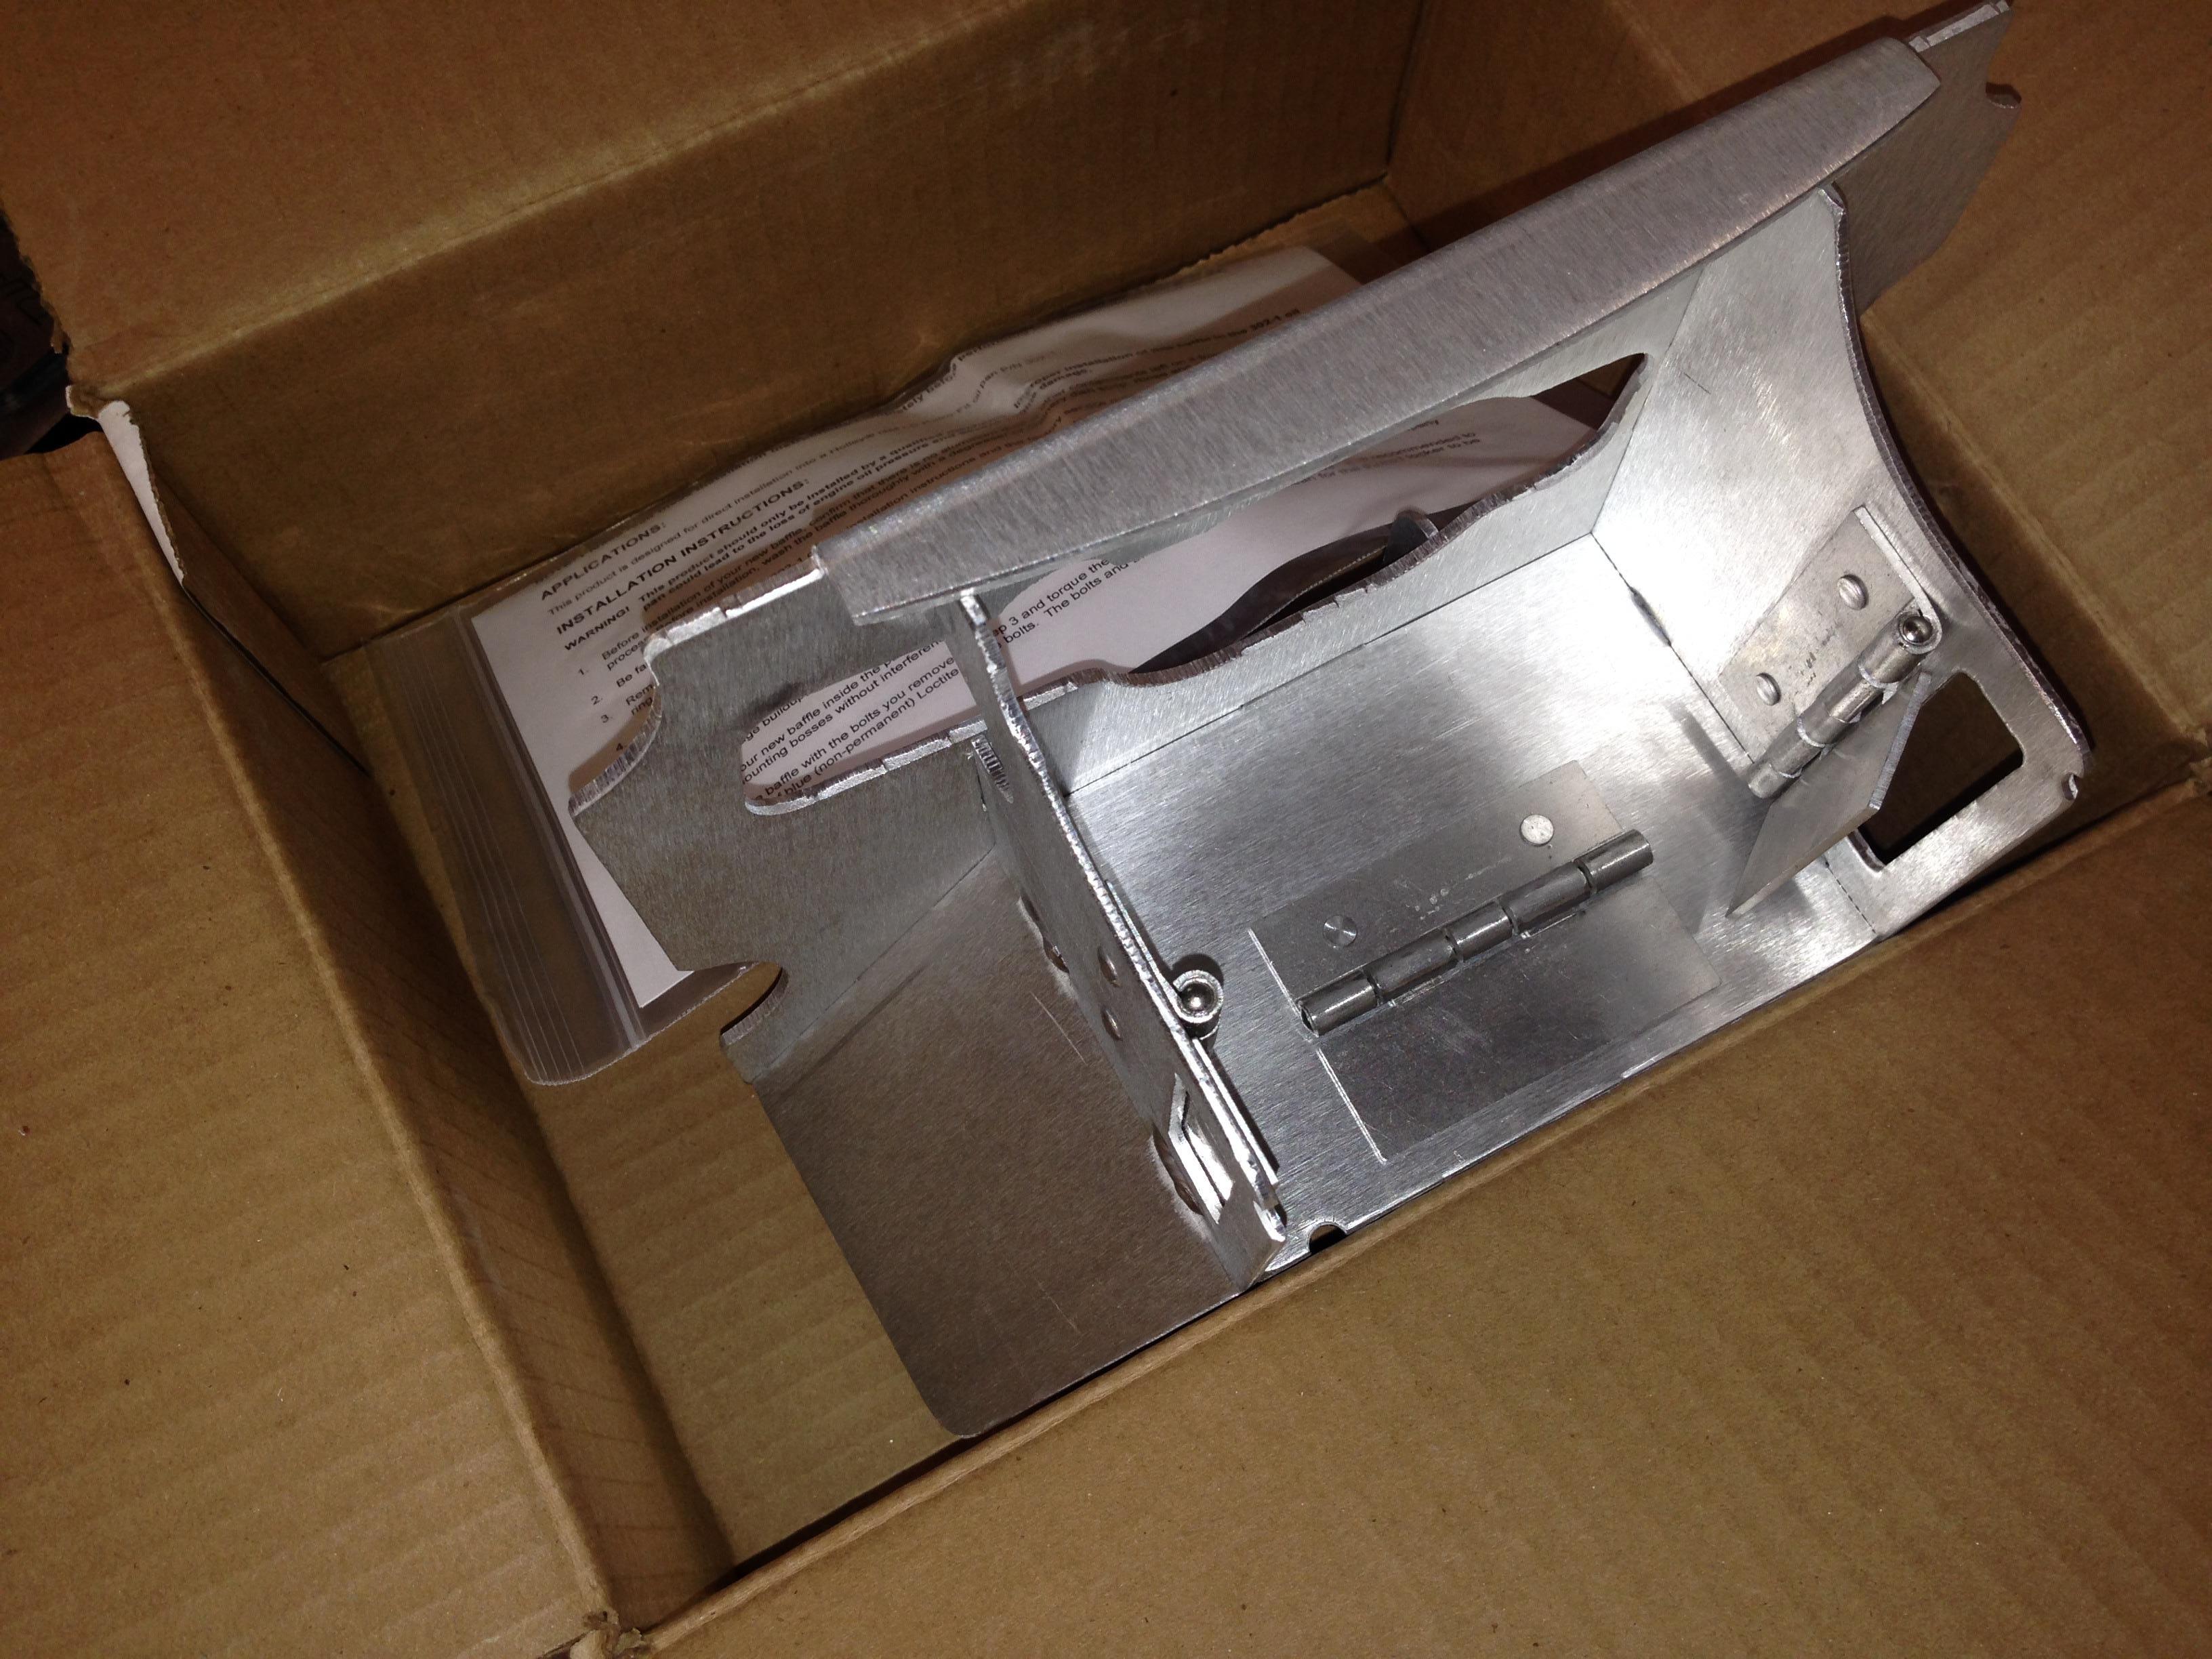
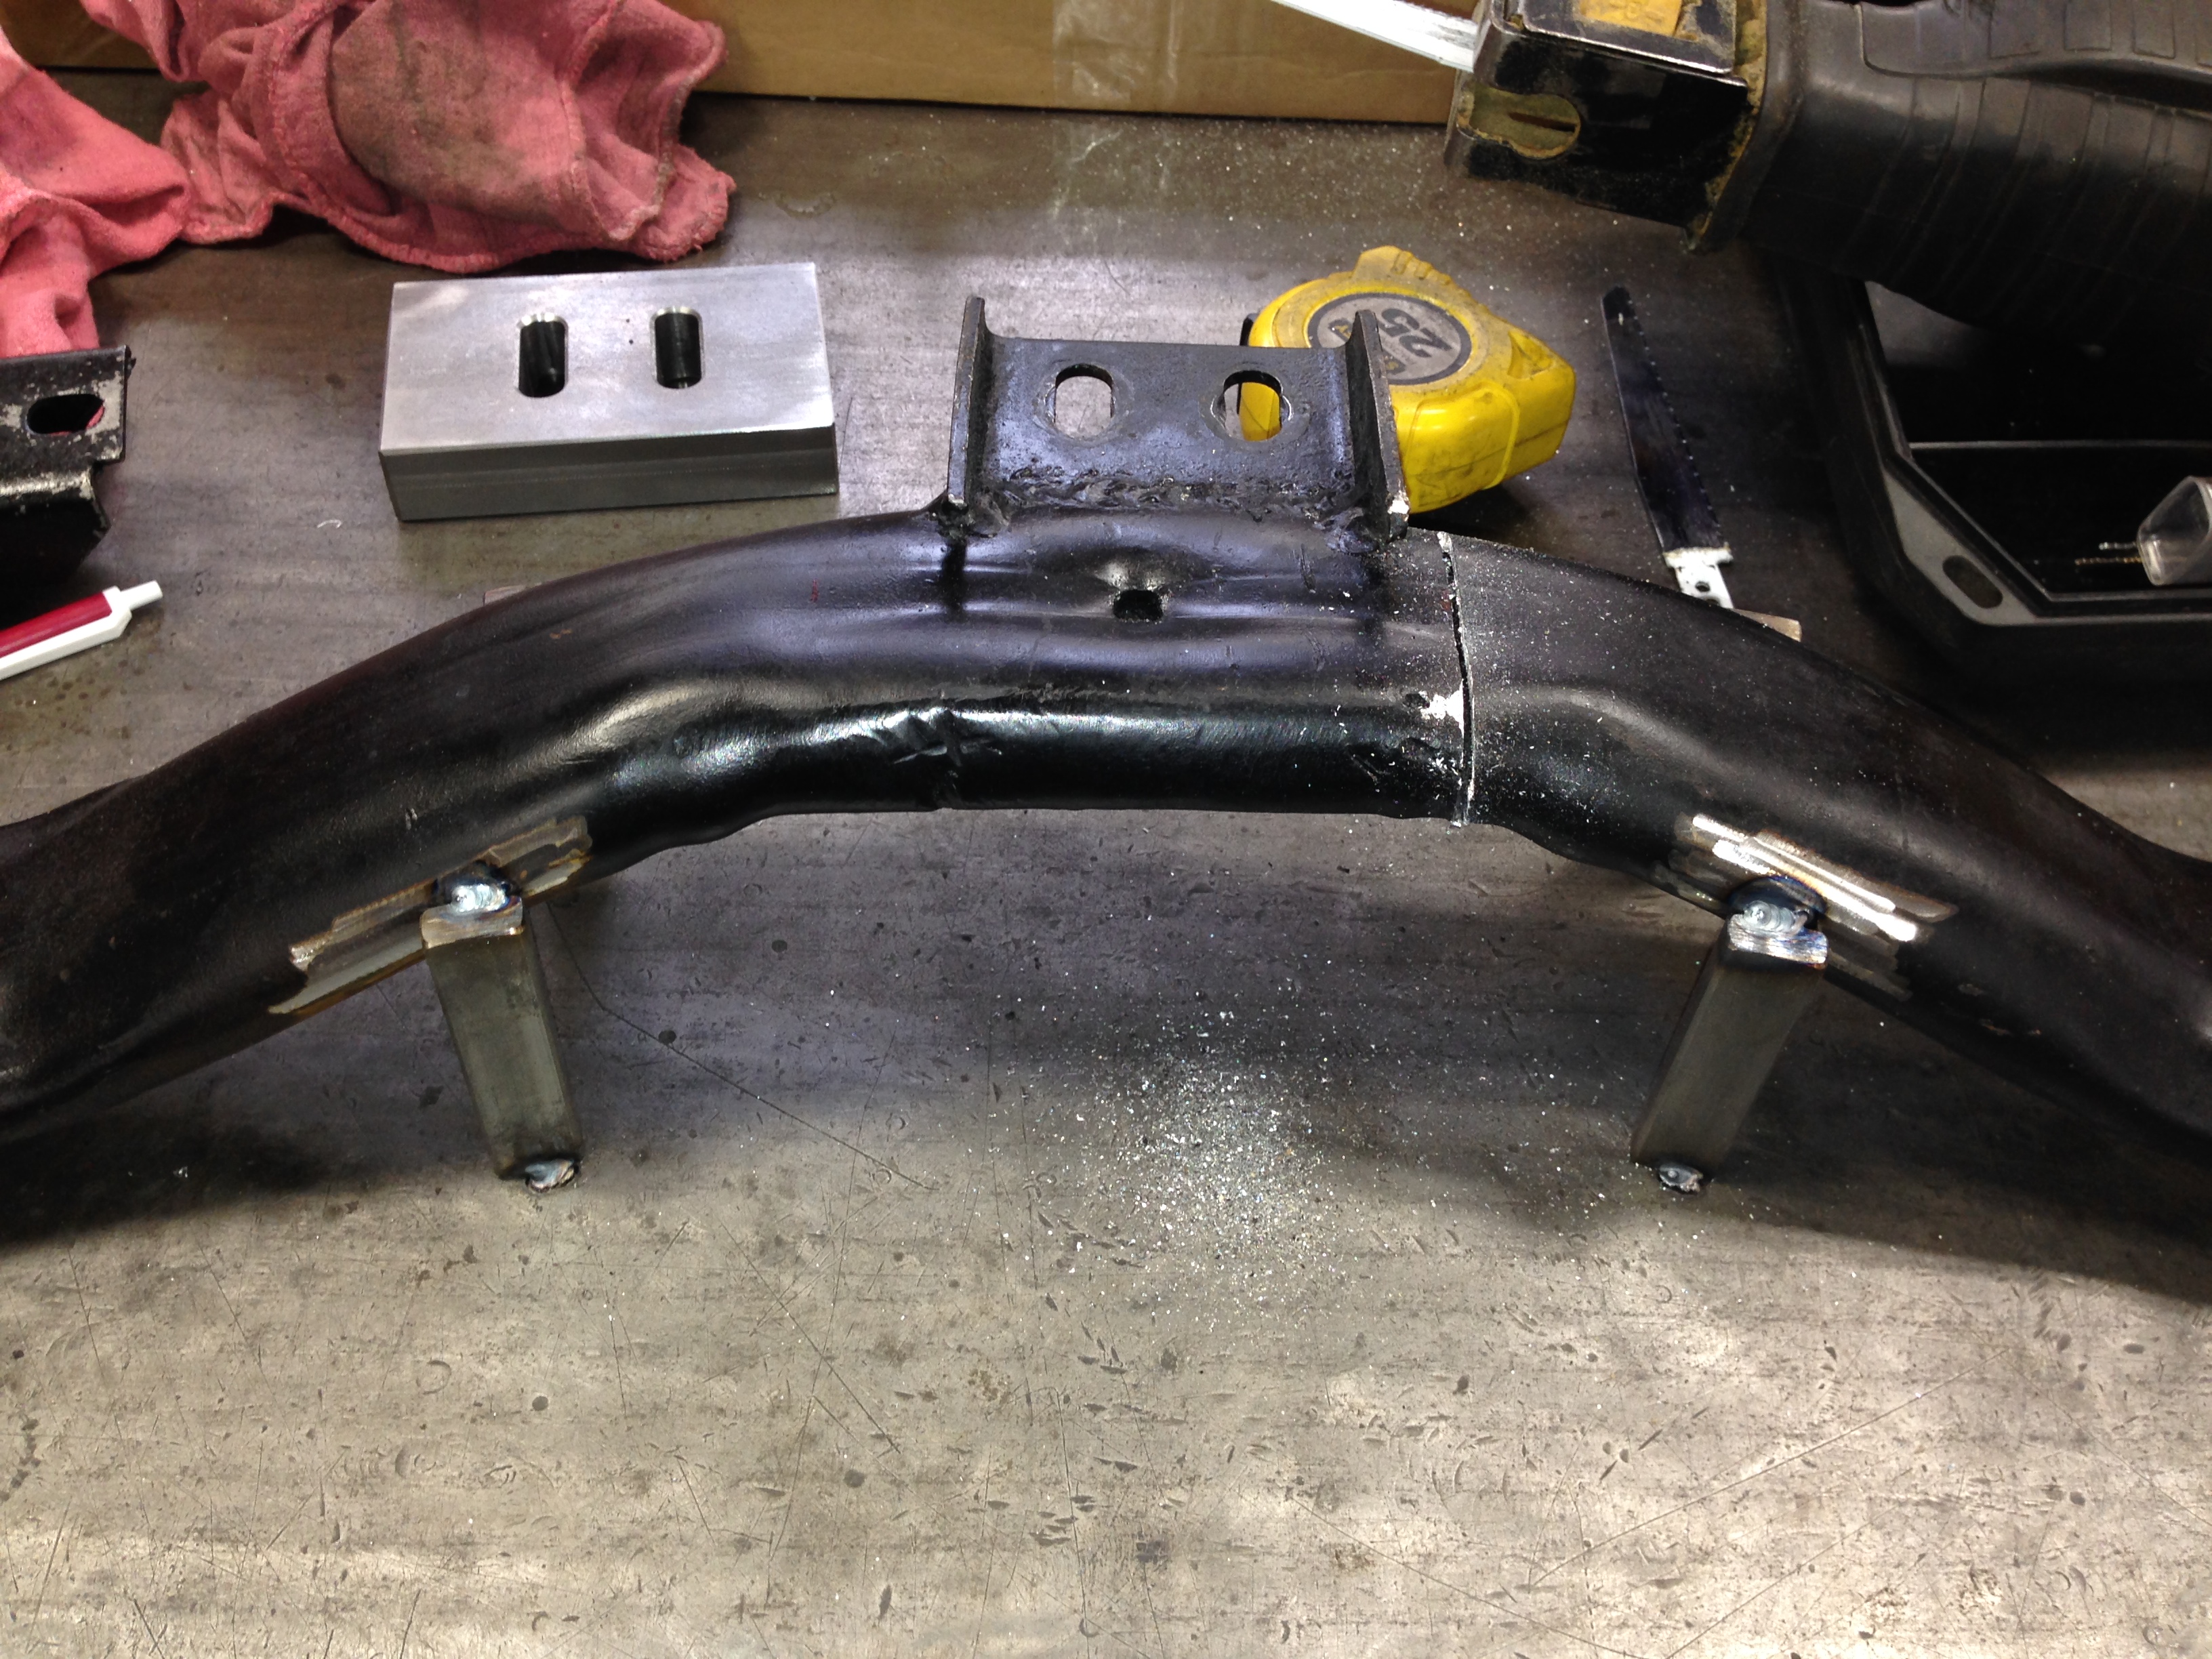
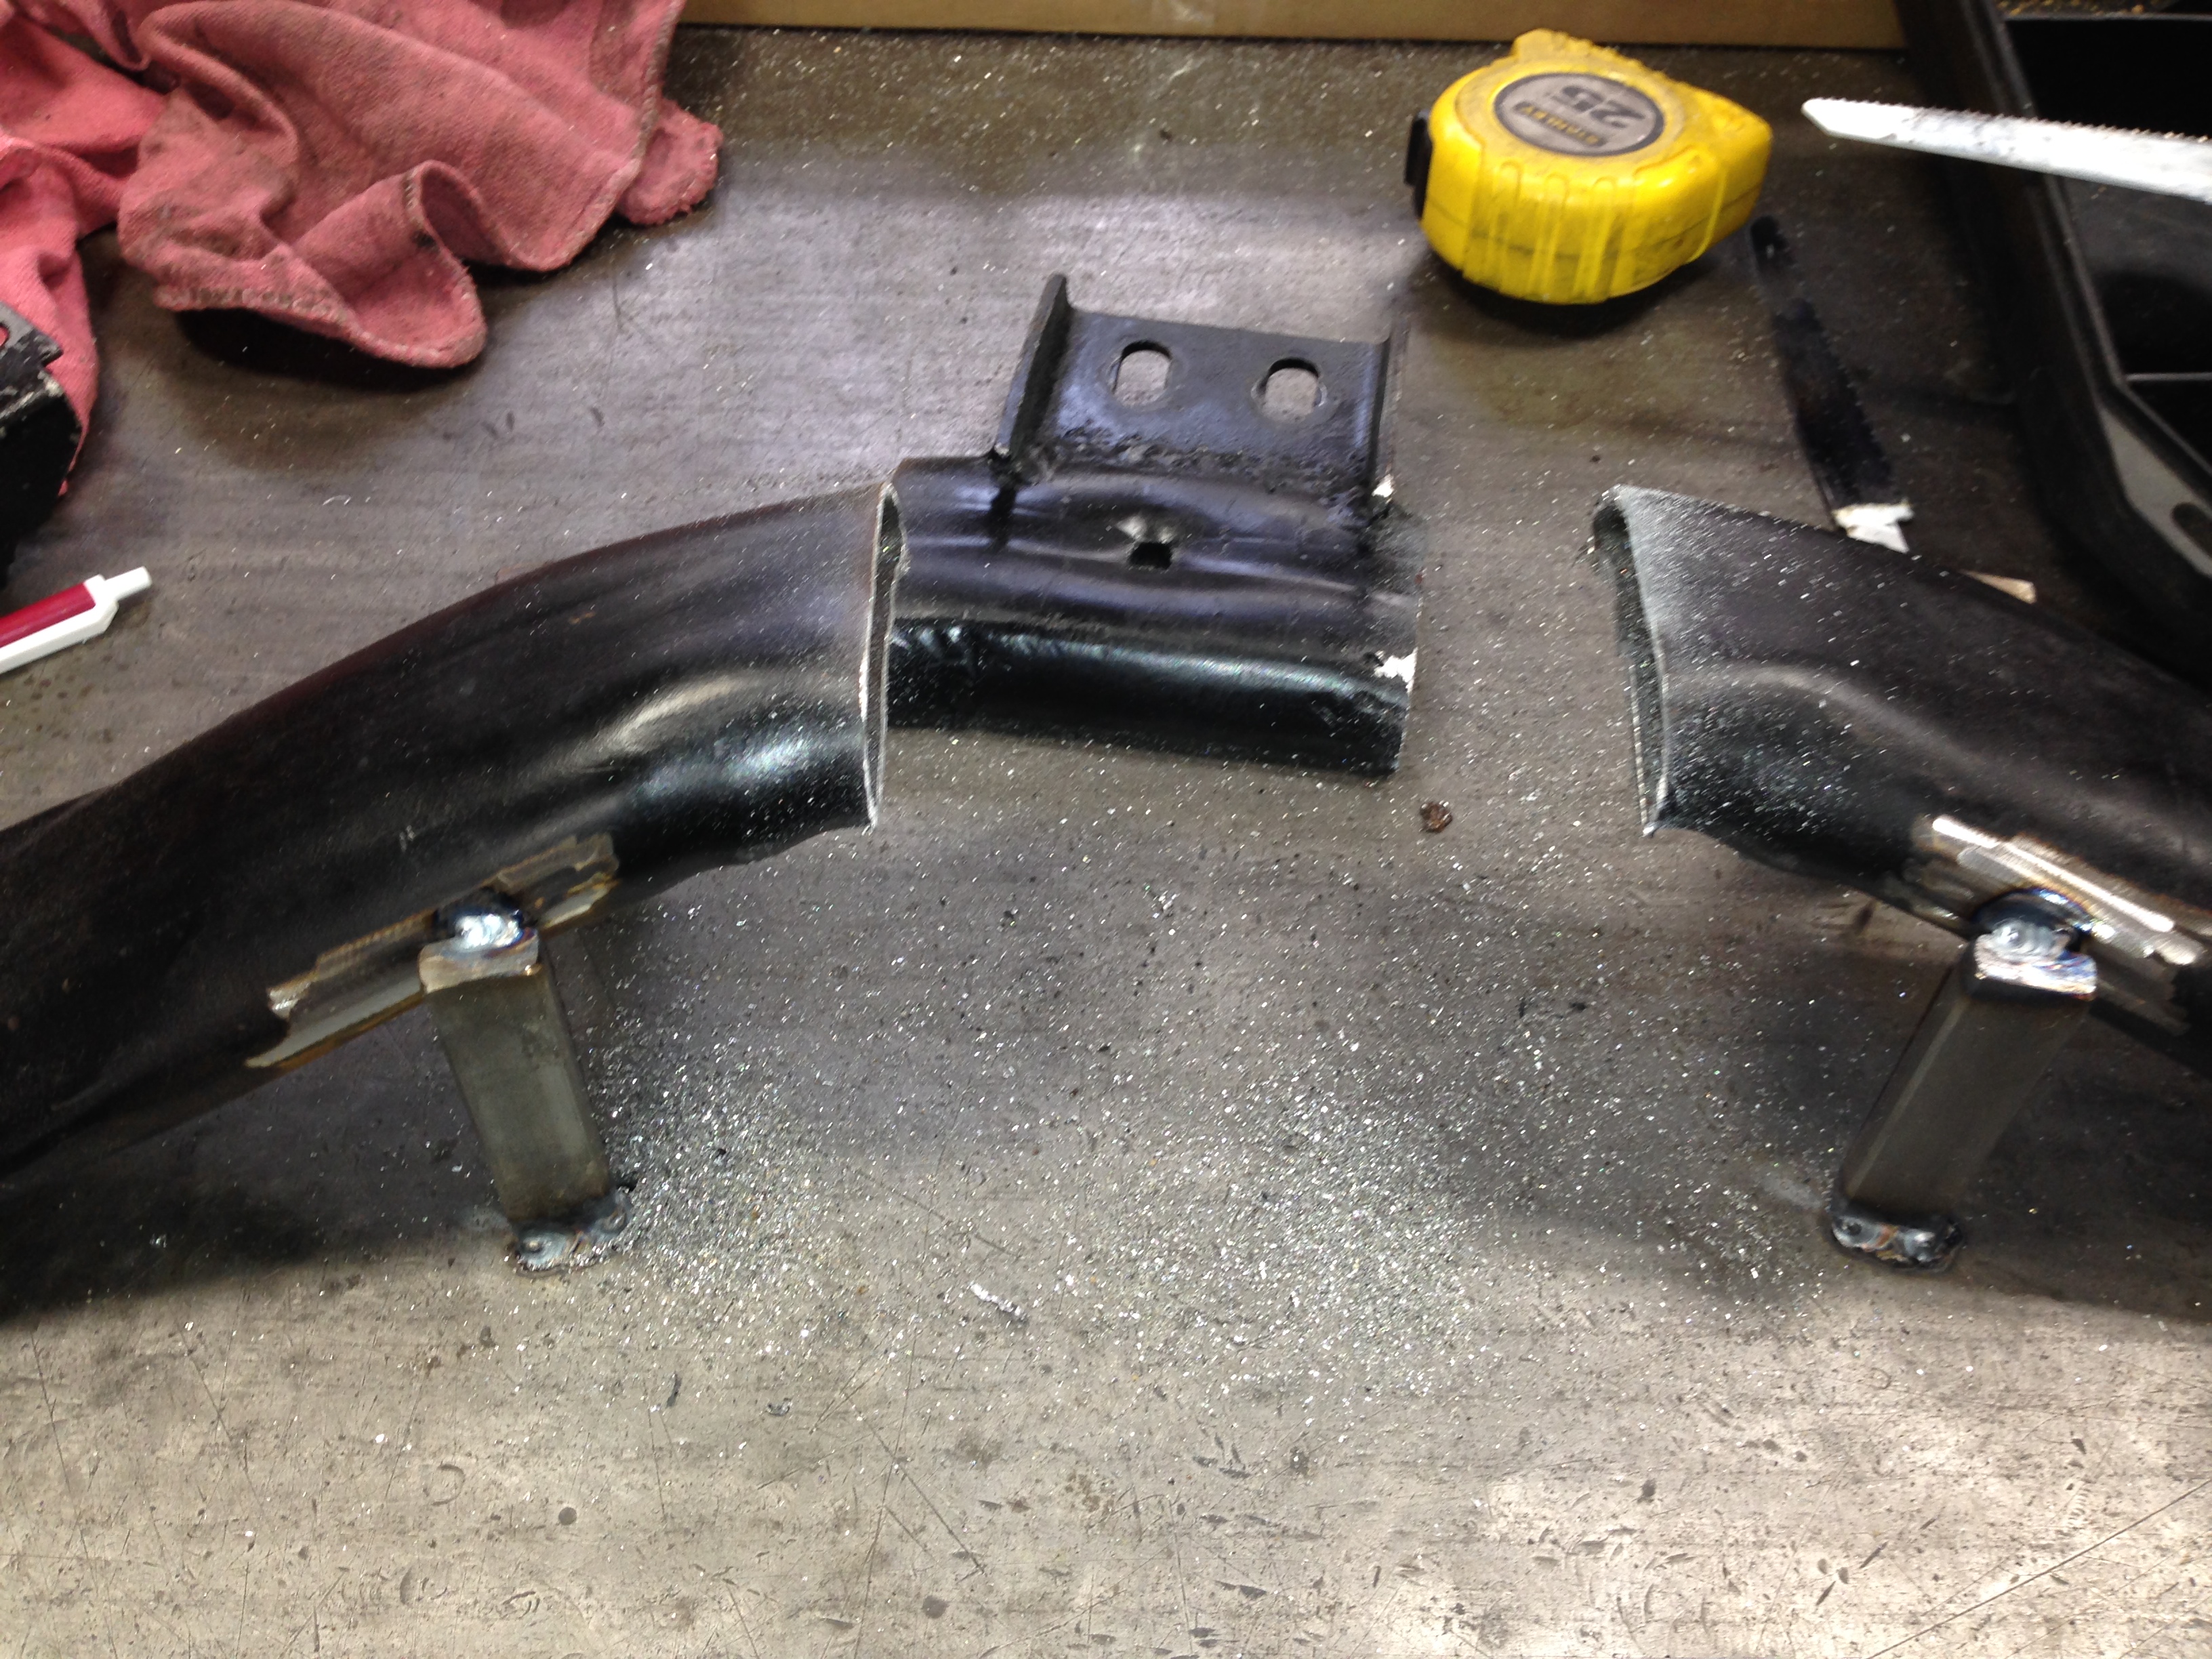
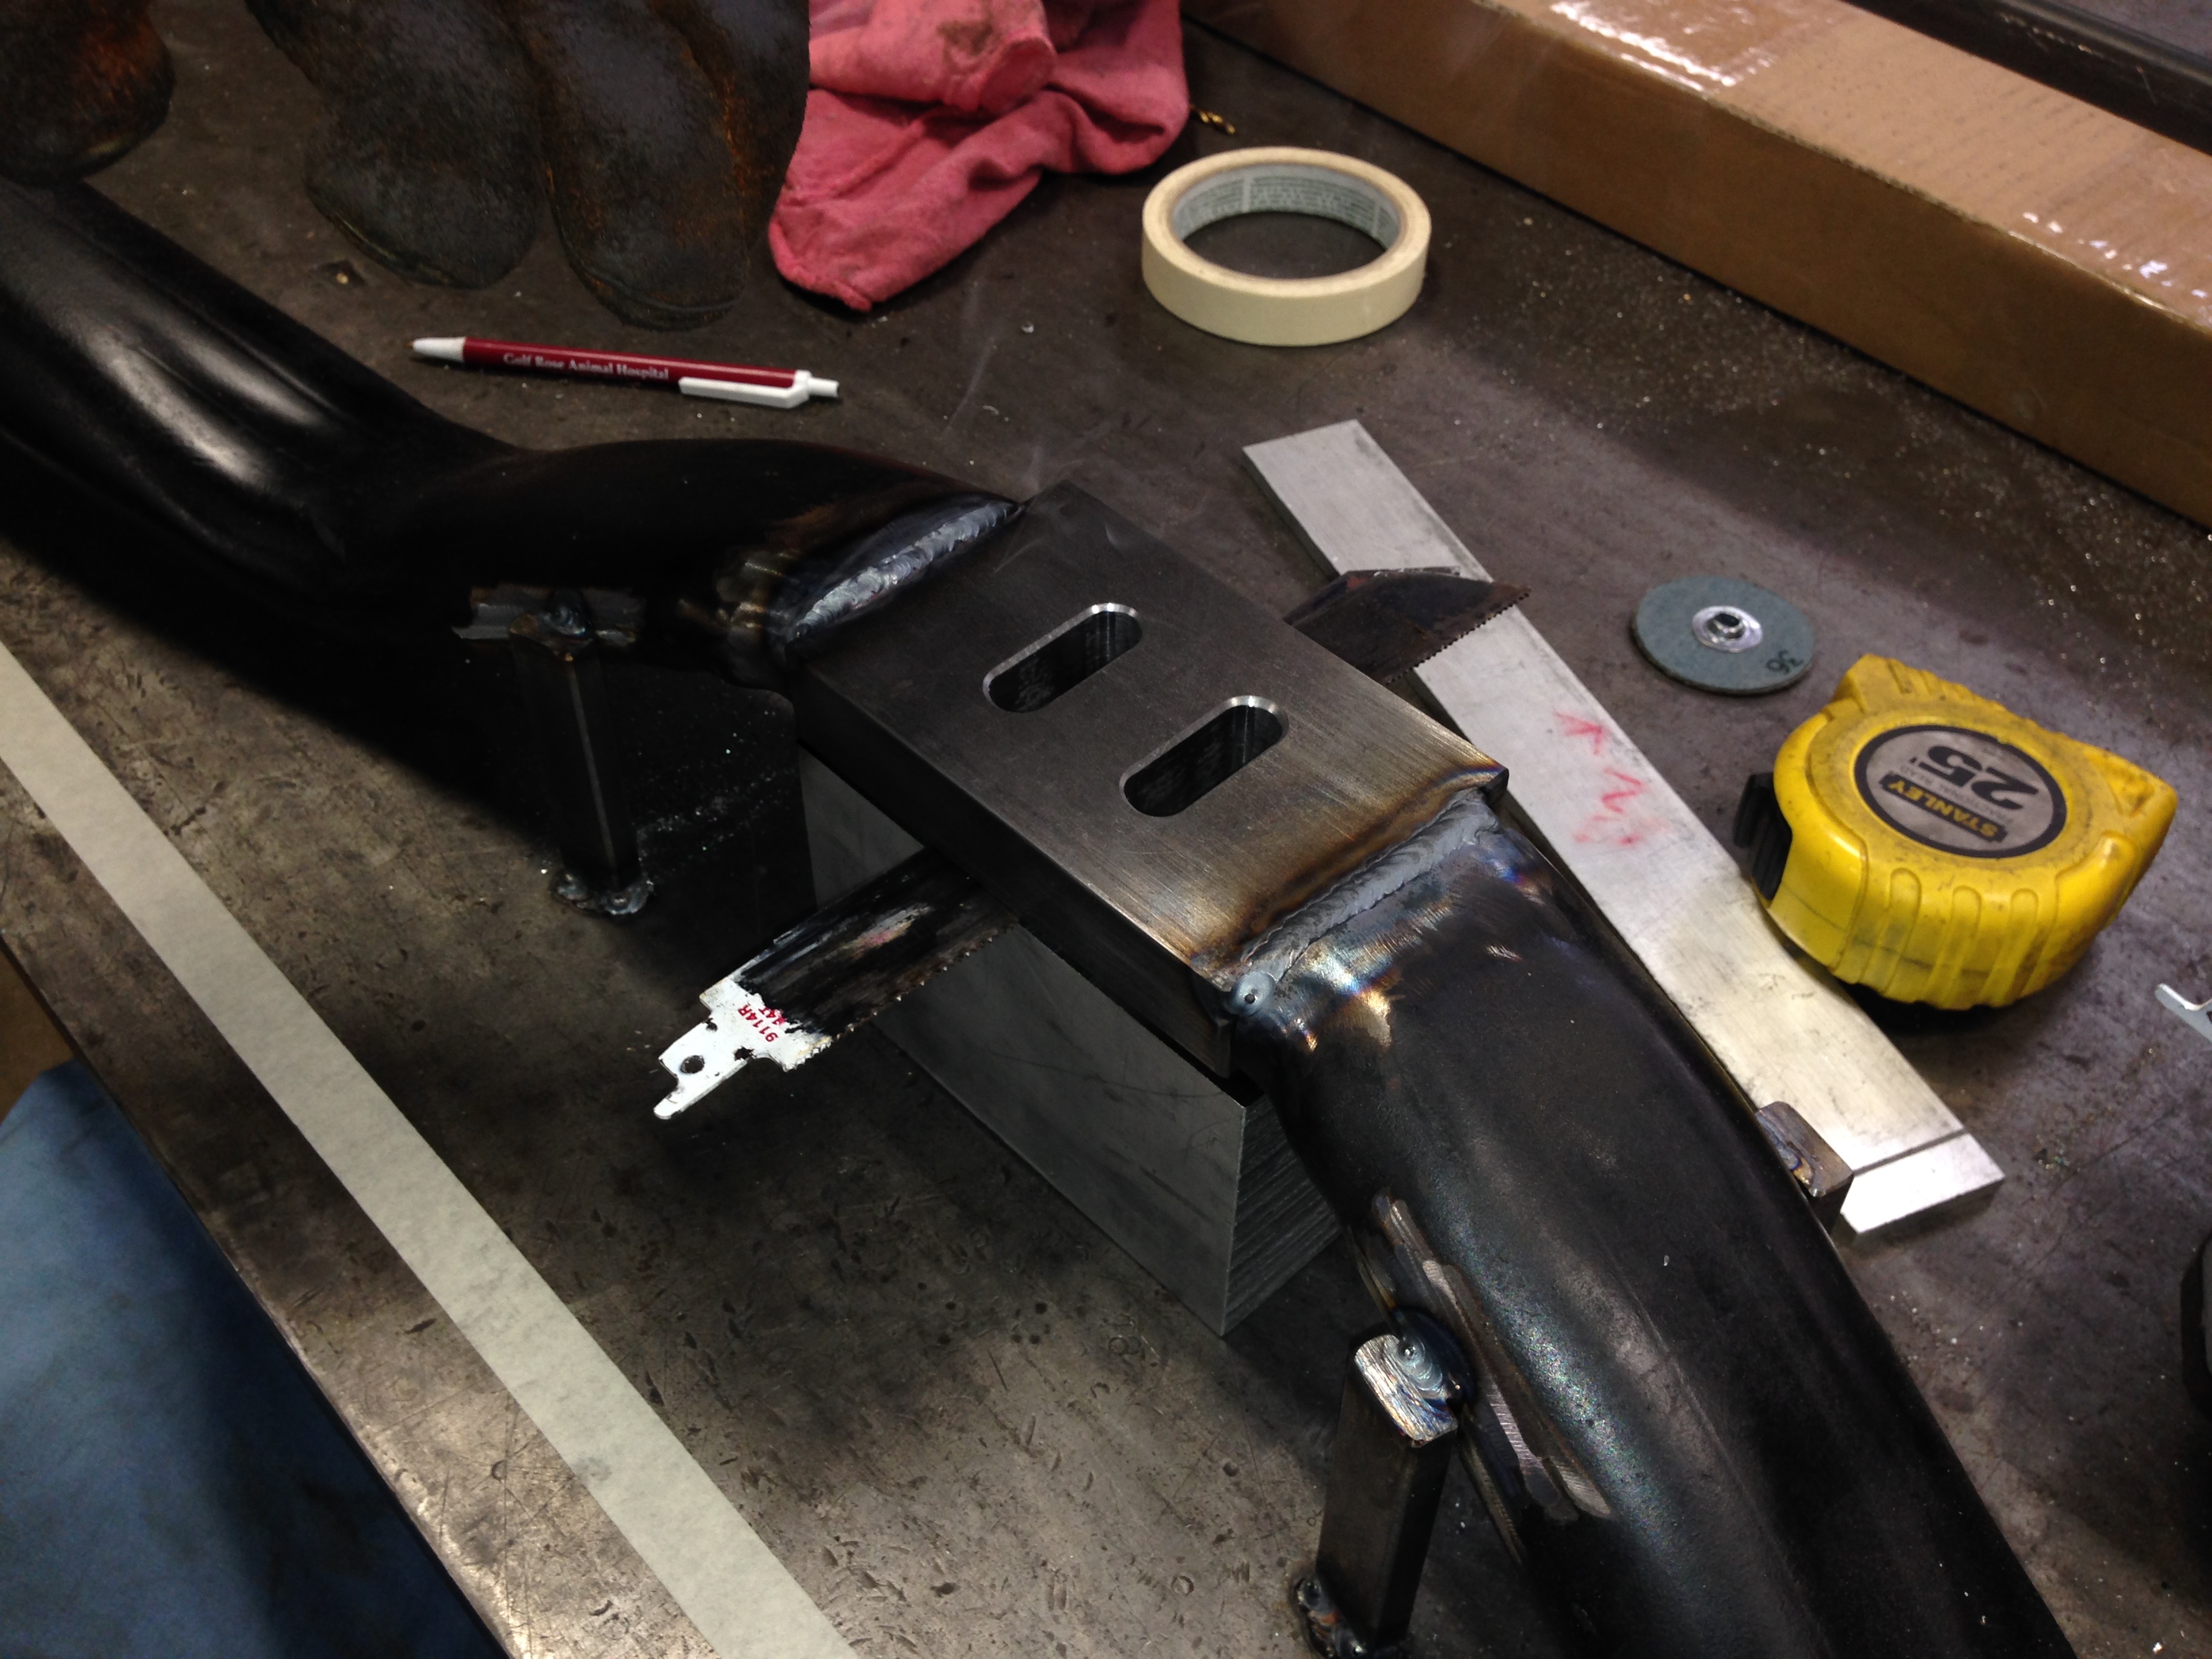
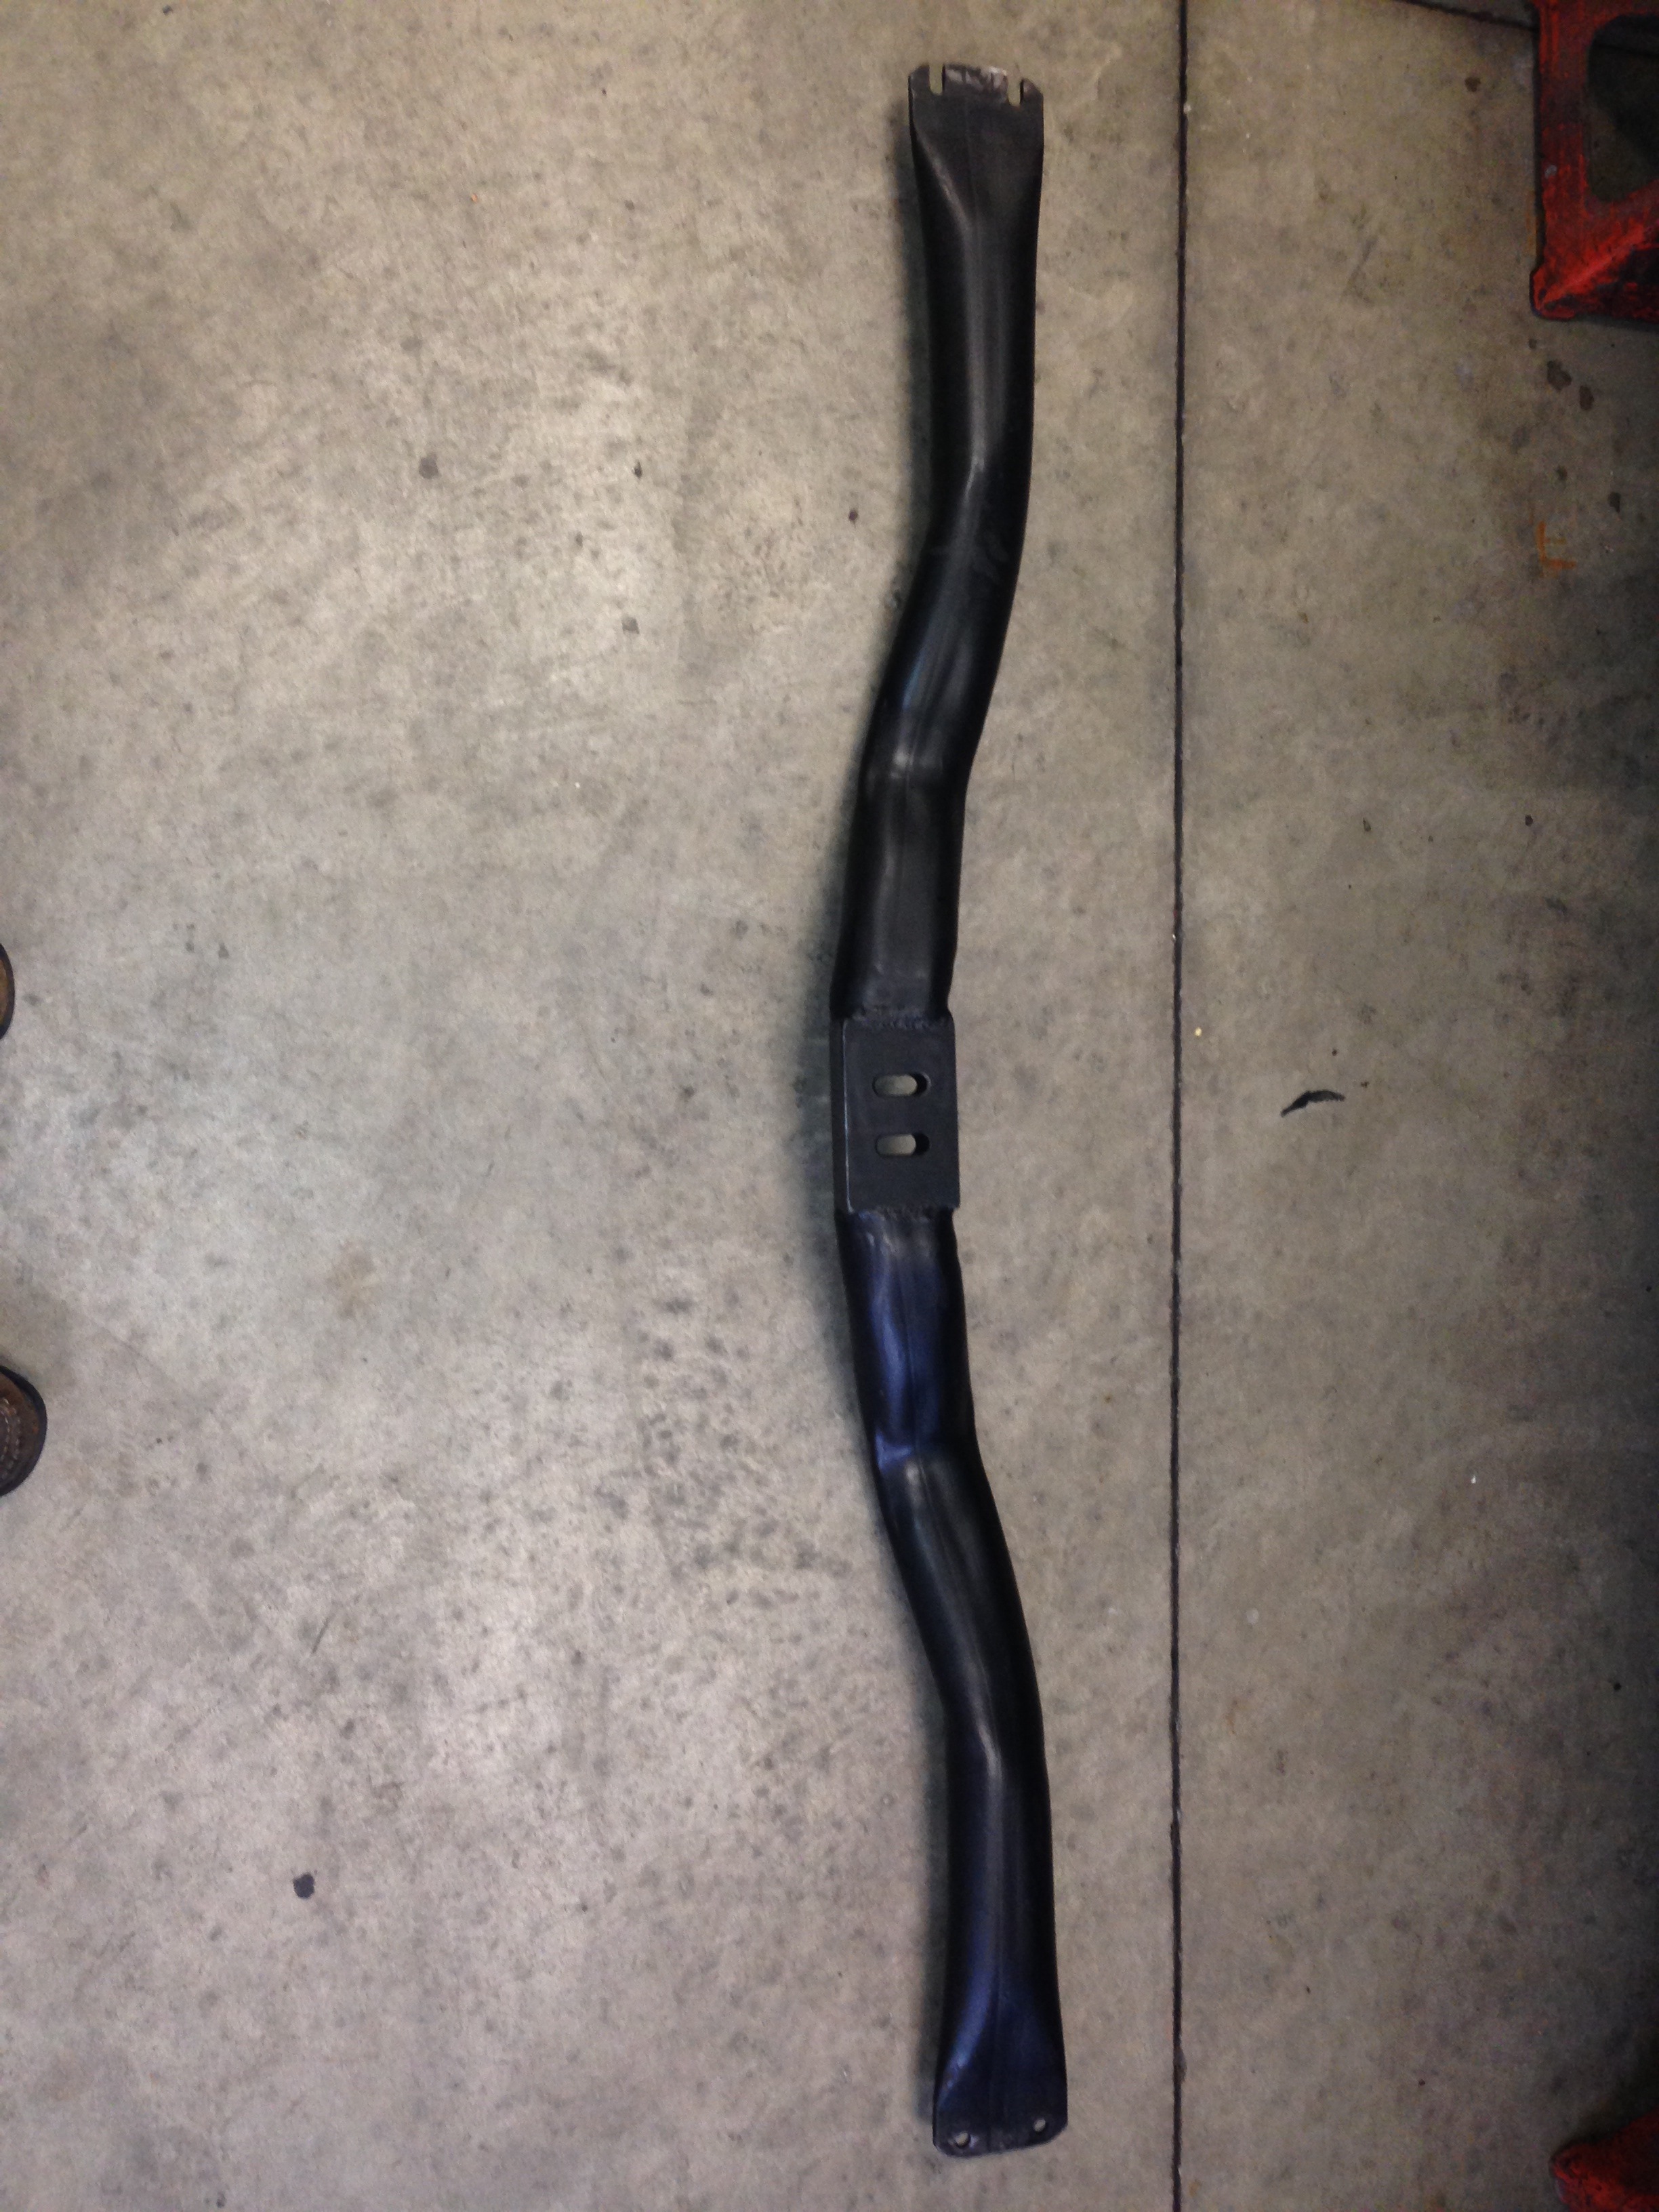
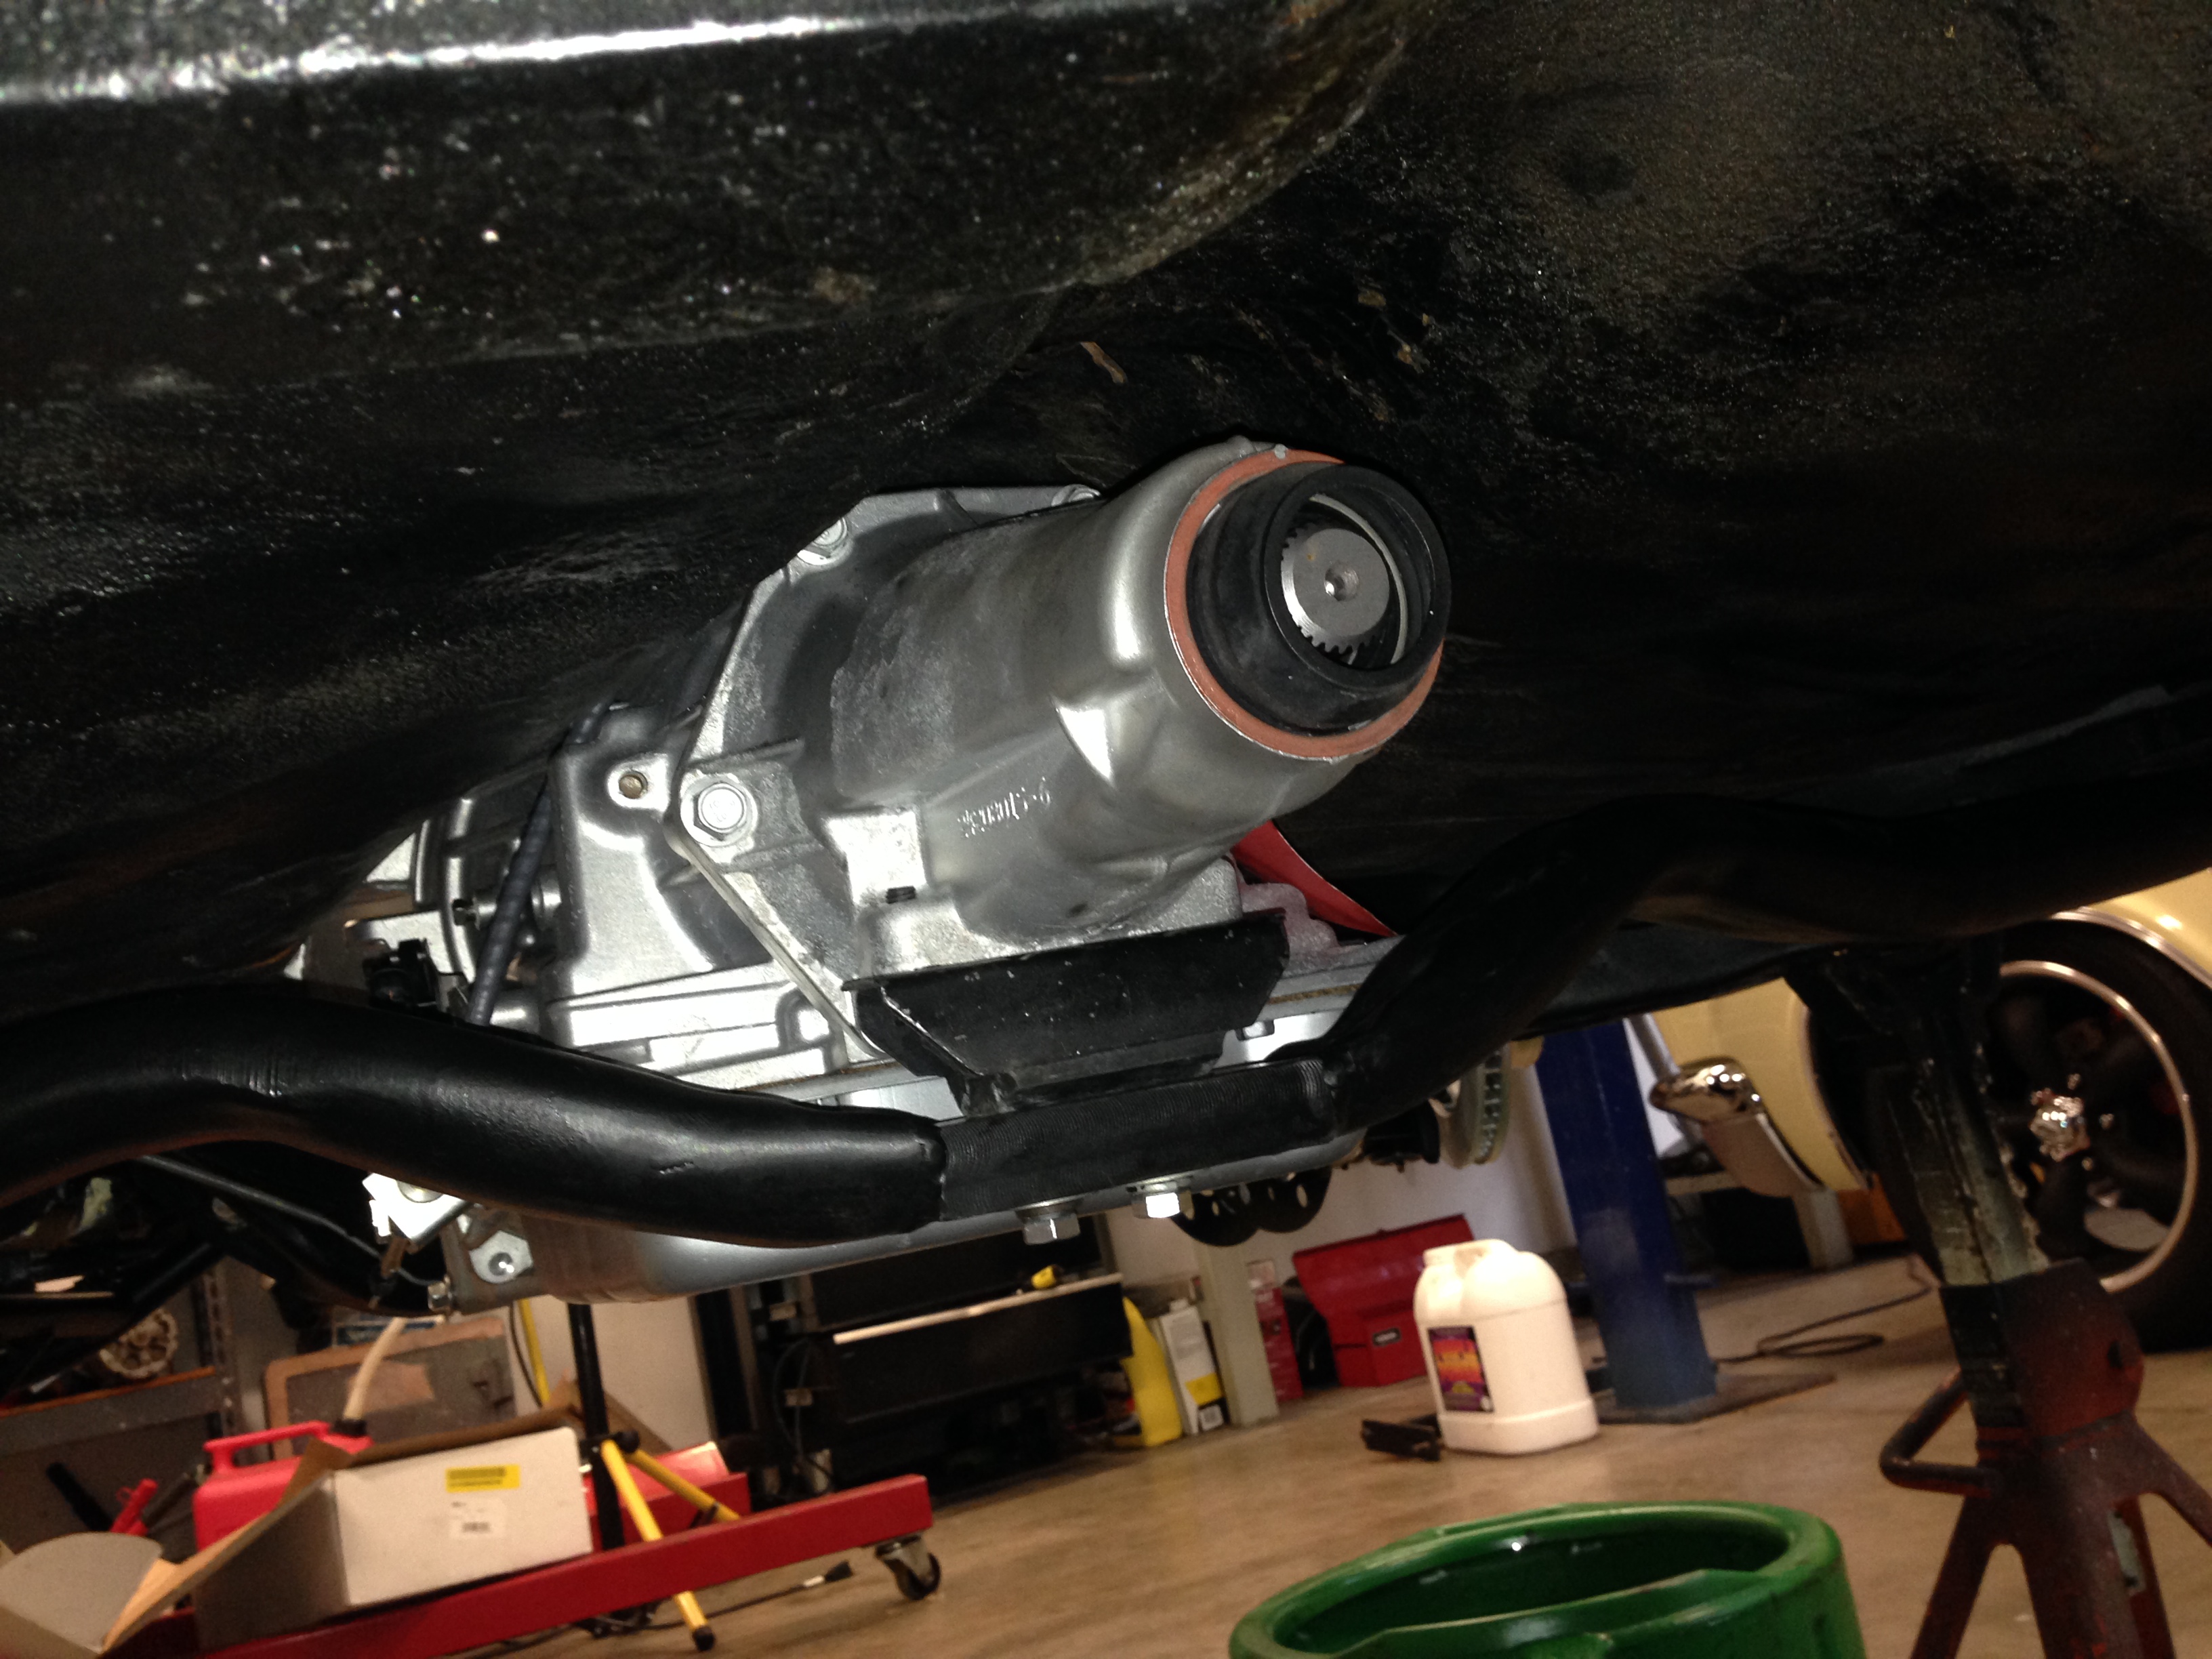
The next issue was the trans cross member.........It seems that when the previous owners added the Turbo 400 trans they did the Hillbilly cut and weld to make it fit......so after looking and figuring out what to do with it.......I decided to make it bolt into the stock frame location and holes......and it ended up that the rubber trans mount ended up right in the middle of the crossmember...........so we made a new detail and cut and welded it together.....brought it home and it fell into place........then..........the new Wilwood Master cylinder showed up.....I knew the old one had some issues ( cause I are Smart)........opened up the new one , Bench bled it for a half hour .........not a hint of air and it seemed this one has more flow to the rear chamber.....so.....I knew this was gonna be easy..........Stick it on the car , bleed the fronts....no problem.......go to do the rear.........Same thing........no pedal drop while bleeding and just a few drops of fluid out of the bleeder and No clamping pressure at all on the rear rotors.........Darn!!!..........Time to start breaking the new lines apart and look for a restriction somewhere...........(a smart person would have probably done that B4 buying a new Master).......I also got the new Holley Pan Baffle assy that was recommended.......