When you click on links to various merchants on this site and make a purchase, this can result in this site earning a commission. Affiliate programs and affiliations include, but are not limited to, the eBay Partner Network.
Nice progress. Did your trunk lid come with the 1 pc spoilers holes are ready in or did you have to locate them?
thanks,
Jim
The trunk did have holes and they actually fit the center piece of the 3 piece OEM spoiler good (I had borrowed one from a friend to check fitment). The car had no holes for the side pieces in the quarter panels and it didn't come with a spoiler at all. This one piece is an OER. It fit all the holes well, but I did have to oblong the outer most 2 on the edges by about an 1/8 of an inch to make it fit. It looks good on it though. A bit heavier than the trunk hinges can support.
Thanks for the info. My/Bross GM trunk lid had slight rust on the inside so it was replaced with a AMD pc and we are going to get a 1 pc spoiler. I was a little concerned about locating the holes and making the holes without making them look butchered, LOL.
Thanks again. I must of missed it, but what spray gun and paint did you go with? Keep up the great work.
My paint guns that I use for actual paint are Iwata's LPH400-LV, 1 with 1.2mm tip, the other with 1.3mm tip. I love my Iwatas. I have had devilbiss before which were nice but hand me downs.
I used trans-star paint this time and autoextra ultimate overall clearcoat(really is sherwin-williams clear coat). Trans-star flowed very nicely and shot easily, much like the sherwin-williams Ultra7000 which has been my favorite paint (although very expensive).
I will get some pictures later of the progress. Got my door handles on, passenger door opens and closes beautifully. Driver's door closes nicely, lines up great. does not open without a small amount of pressure pushing down on the door. I am thinking its a latch problem. Could be alignment. I have adjusted the striker all over, up, down and around. Even switched out to another striker, made no difference.
I just received my new weatherstripping kit for the trunk and doors. I am going to install the weatherstripping kit on the door before any further adjustment since I have been reading that it can affect the door opening and closing.
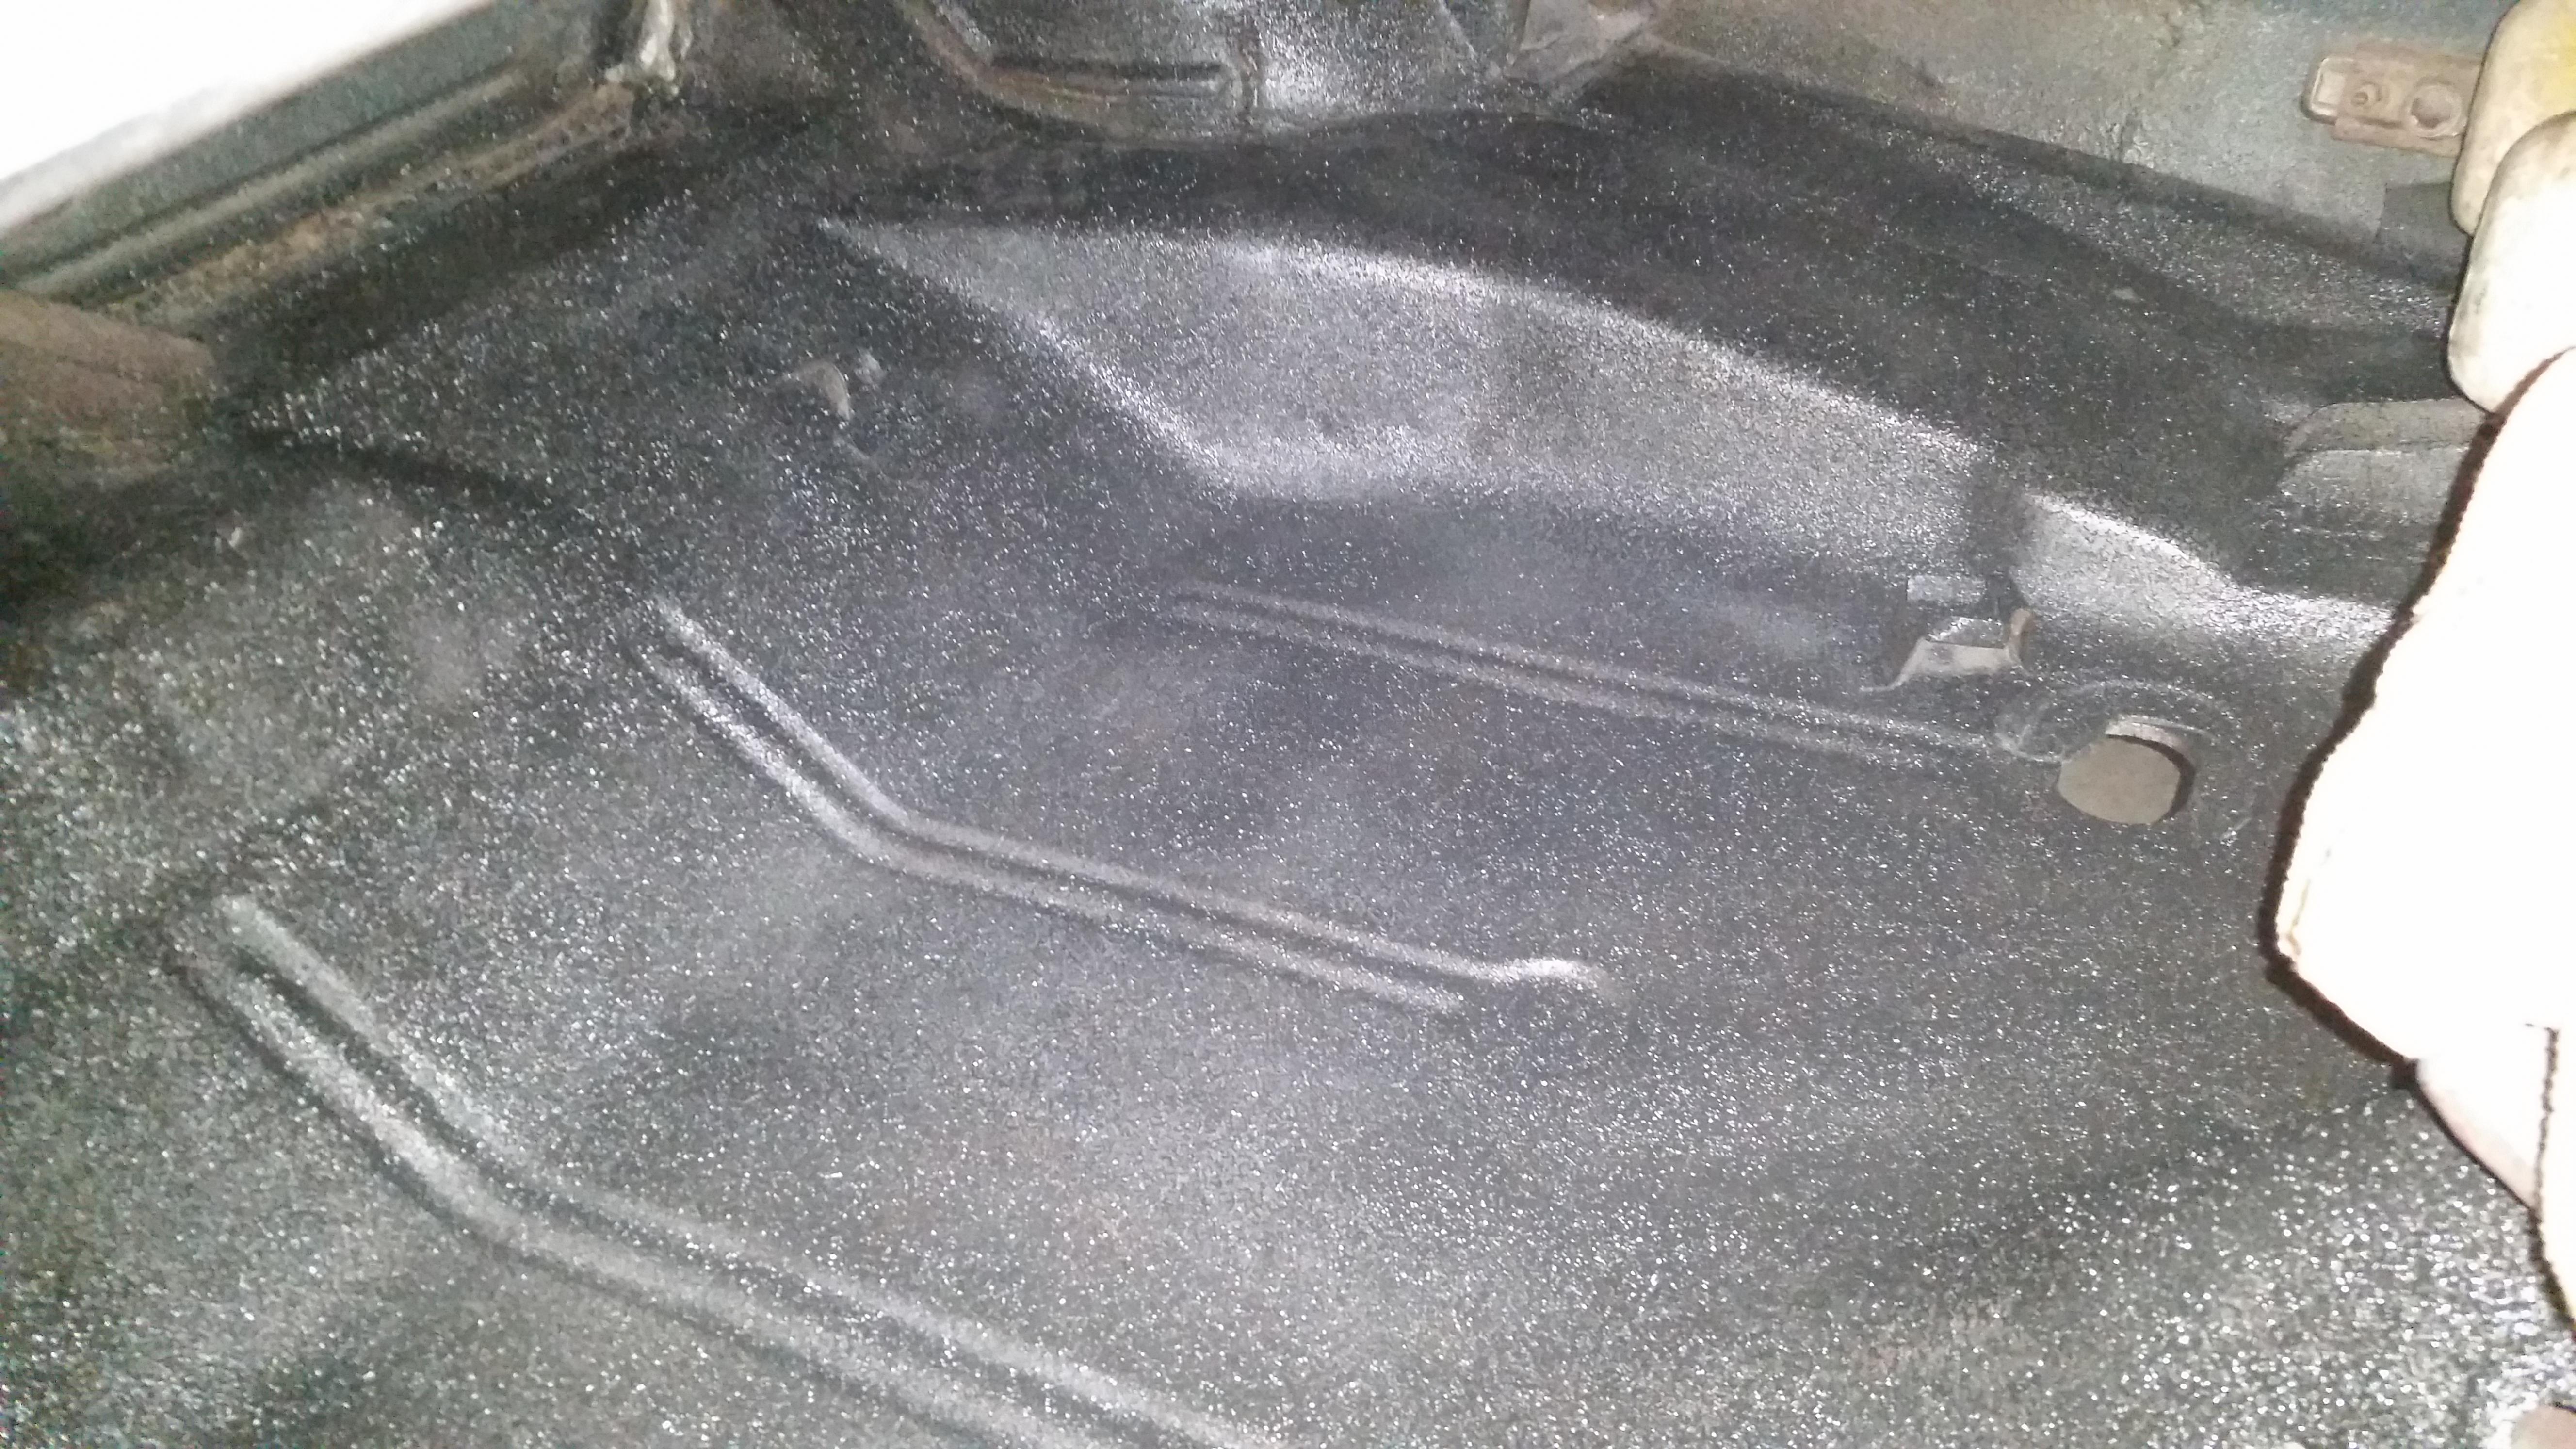
I painted the trunk with splatter paint, looks much better.
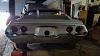
I touched up and repainted the front grille SS emblem, looks good from 5 feet away.
Ran into an issue with the bumper brackets. The original rear bumper brackets are larger than what my new tail panel is designed for. I had a set of brackets from a 71 camaro that fit perfectly. So I just refinished them and painted them for my new rear bumper. Only to find that the body shop that installed the rear panel did not line up the holes on the passenger rear corner so I now have to drill it out to accomodate the hole.
Although I test fit a lot of panels and things before I painted. I should have test fitted the entire car.
I got my driver's door situation figured out. An OE door pin solved the problem. Opens and closes with no problem. Next step I think will be putting my mirrors on. Spent an hour trying to figure out where I set down my passenger glass, still scratching my head over where I set it down. Then put the window regulators and glass in followed by the door panels.
It was nice weather so I put my last coat of splatter paint in the trunk.
Got the front bumper brackets on and both bumpers.
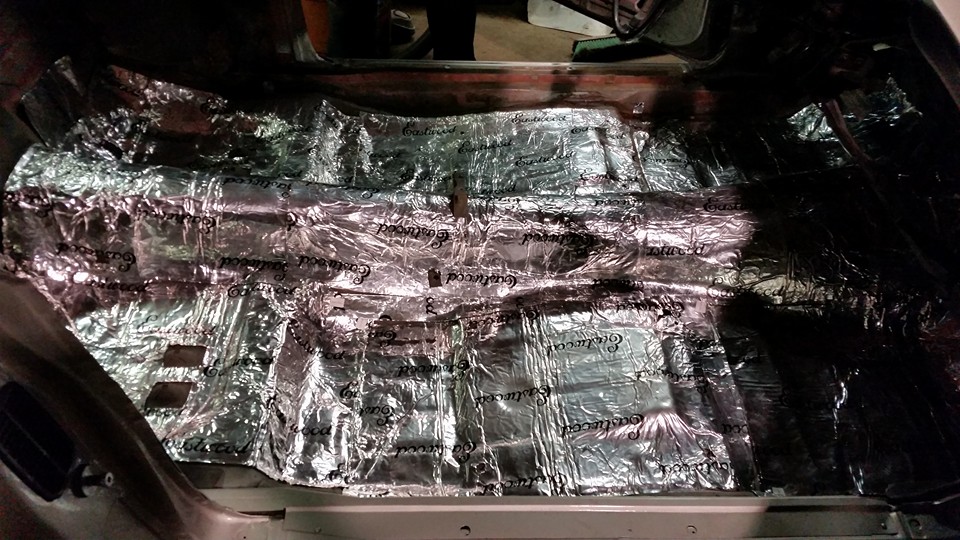
cleaned out the interior. Going to lay out some east wood sound detonated and insulation. Has anyone used this stuff before?
Going to put the insulation down, then lay out the wiring on top of it so my new black rug will cover the wiring.
Are the rear speakers 5" x 8"? I picked up a pair of 6x9 from a friend for nothing and they are to big.
Got the 70 Camaro on the lift. Started working on getting my rear end switched out for my other 10 bolt that I have with 3.73 gears that I purchased 4 years ago...
I am going to be going to LS1 style rear brakes. Got the brakes from a donor rear end awhile ago. Will factory wheels work with the ls1 style disc brakes? I figured I would try once I got the swap done and over. Don't worry, I don't have tires for the factory 15" wheels.
What have people done for the emergency brake cables since the factory go through the body?
I got out my trans cross member. I was told to flip it 180 around for my 4L80e and cut out the holes for slots. Anyone else have any experience that they would like to add. I am going to try and fabricate with what I got because I don't have the cash right now for a swap cross member.
Fenders are in primer sealer. Really not a fan on this eastwood stuff. looks fine for 15 minutes then starts to sag. Just going to wet sand it out and put the urethane primer builder over it Though next weekend hopefully, or put in the new body bushing.
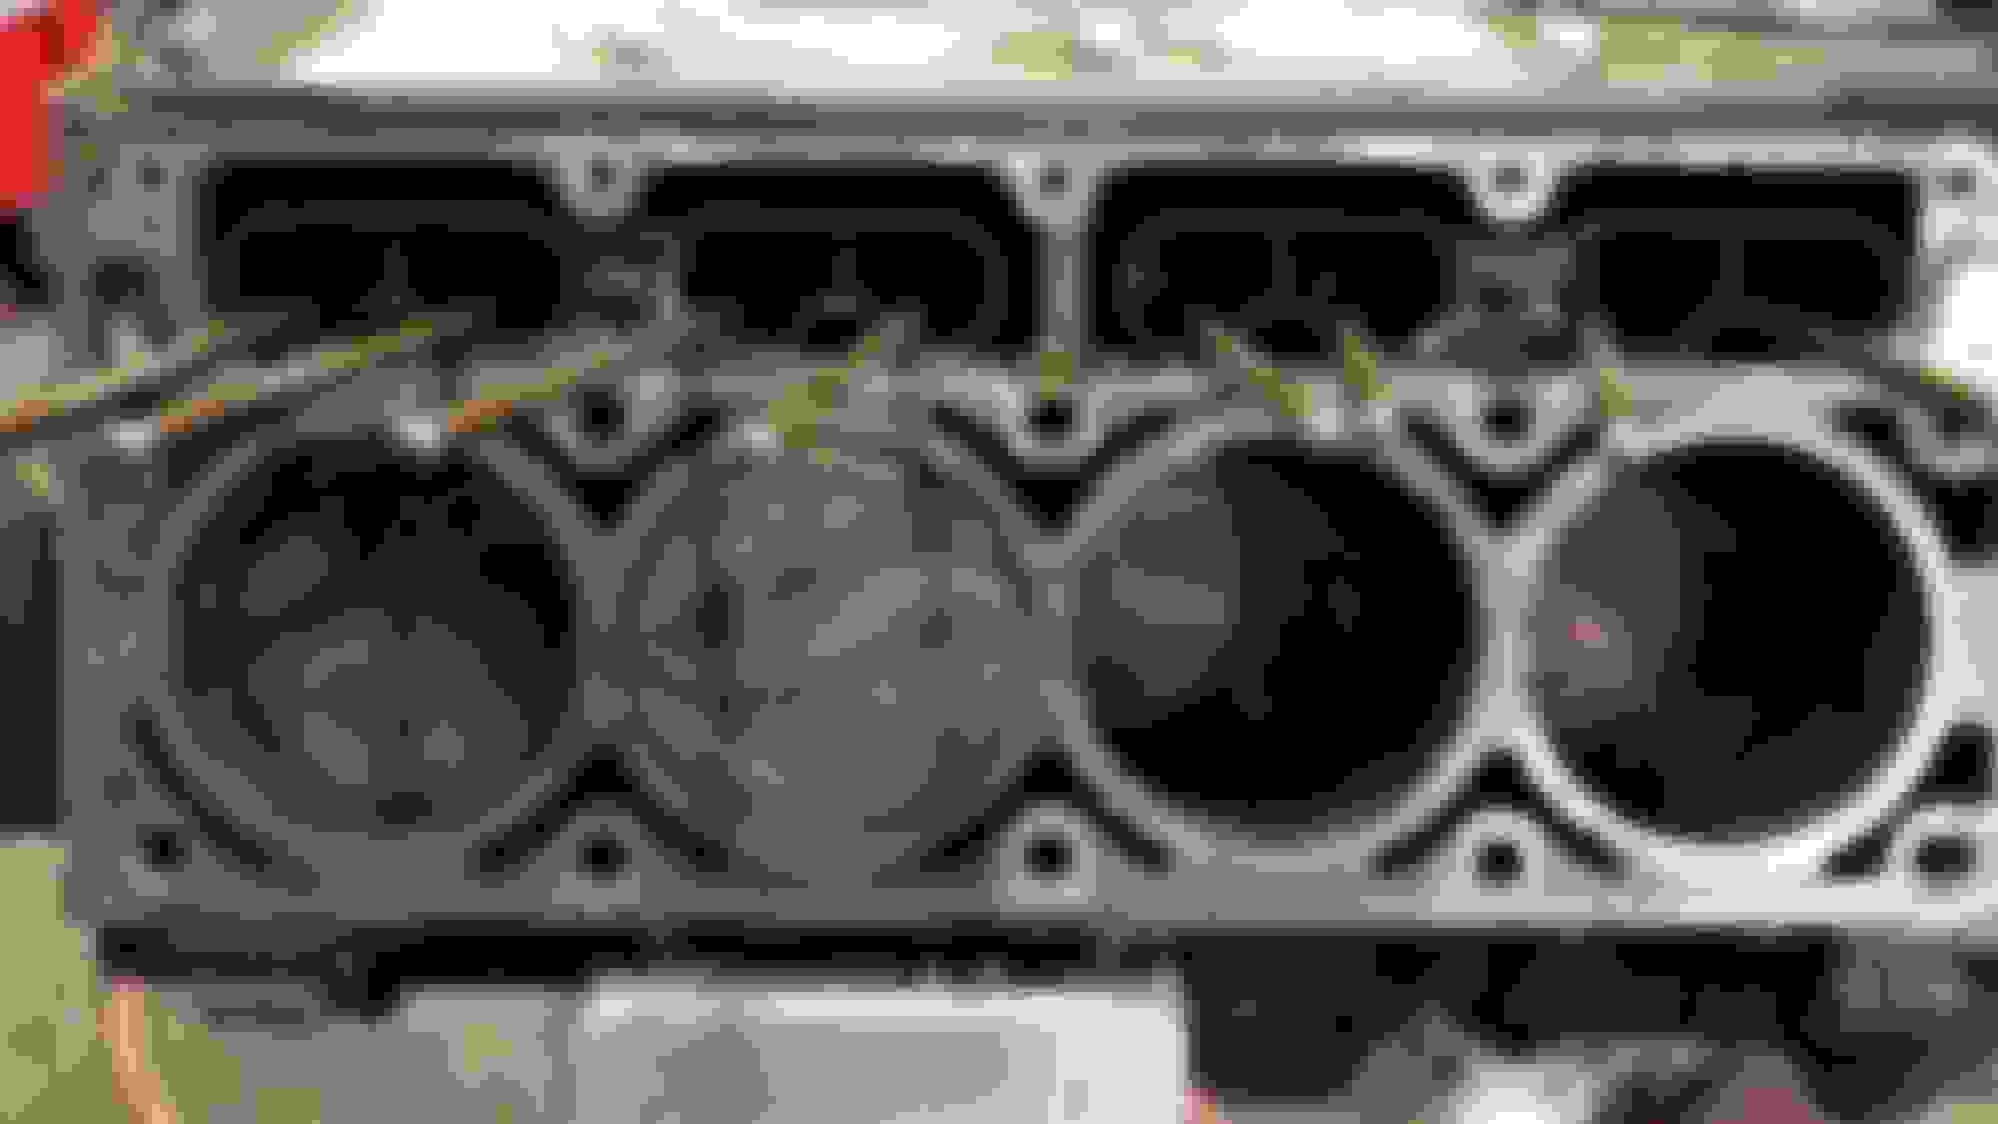
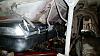
Also started disassembling the motor.
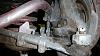
This is exactly how it looked when i removed the heads. Strange the one cylinder is much more cleaner.
I didn't see anyone else point this out for you, but when you see a piston cleaned like that, it's usually an indication that particular cylinder was burning antifreeze. Might want to take a close look at your engine.
I didn't see anyone else point this out for you, but when you see a piston cleaned like that, it's usually an indication that particular cylinder was burning antifreeze. Might want to take a close look at your engine.
The engine ran good actually. I noticed that when I took the heads off and found the head gasket was cracked going into that particular cylinder. So yeah, its been a bit steam cleaned. I am hoping it to be okay since it was running good before it was pulled.
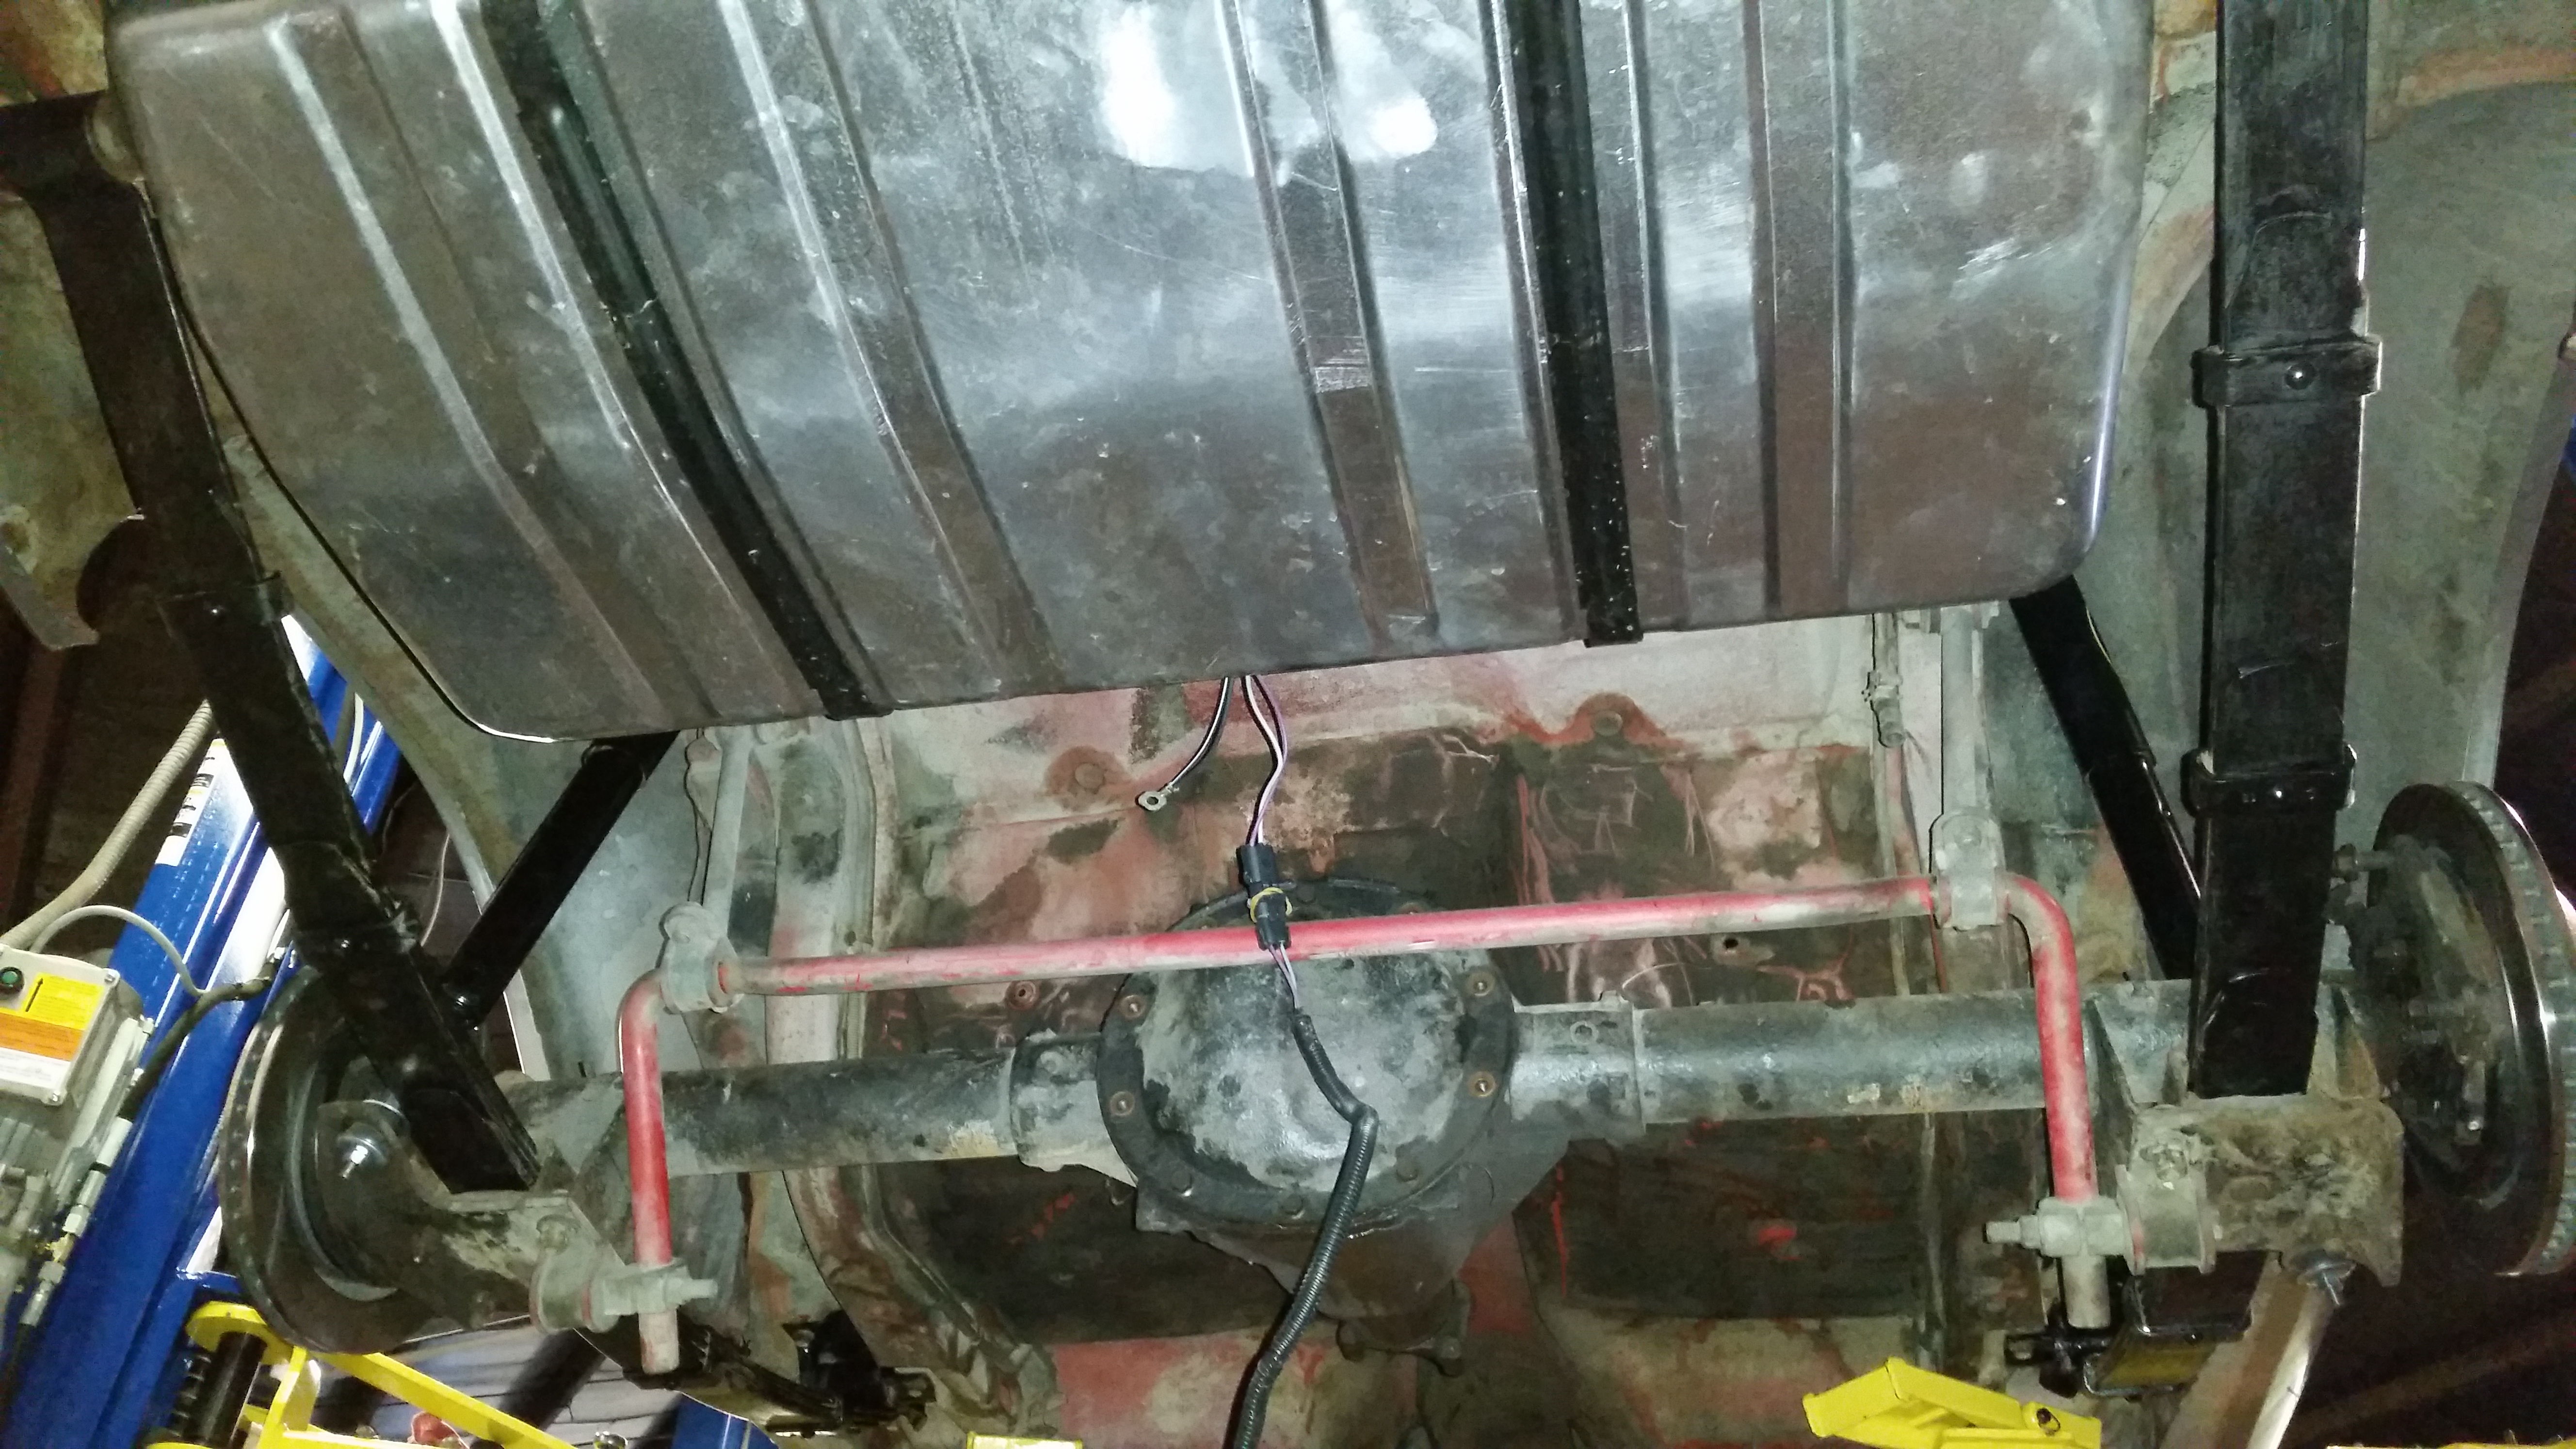
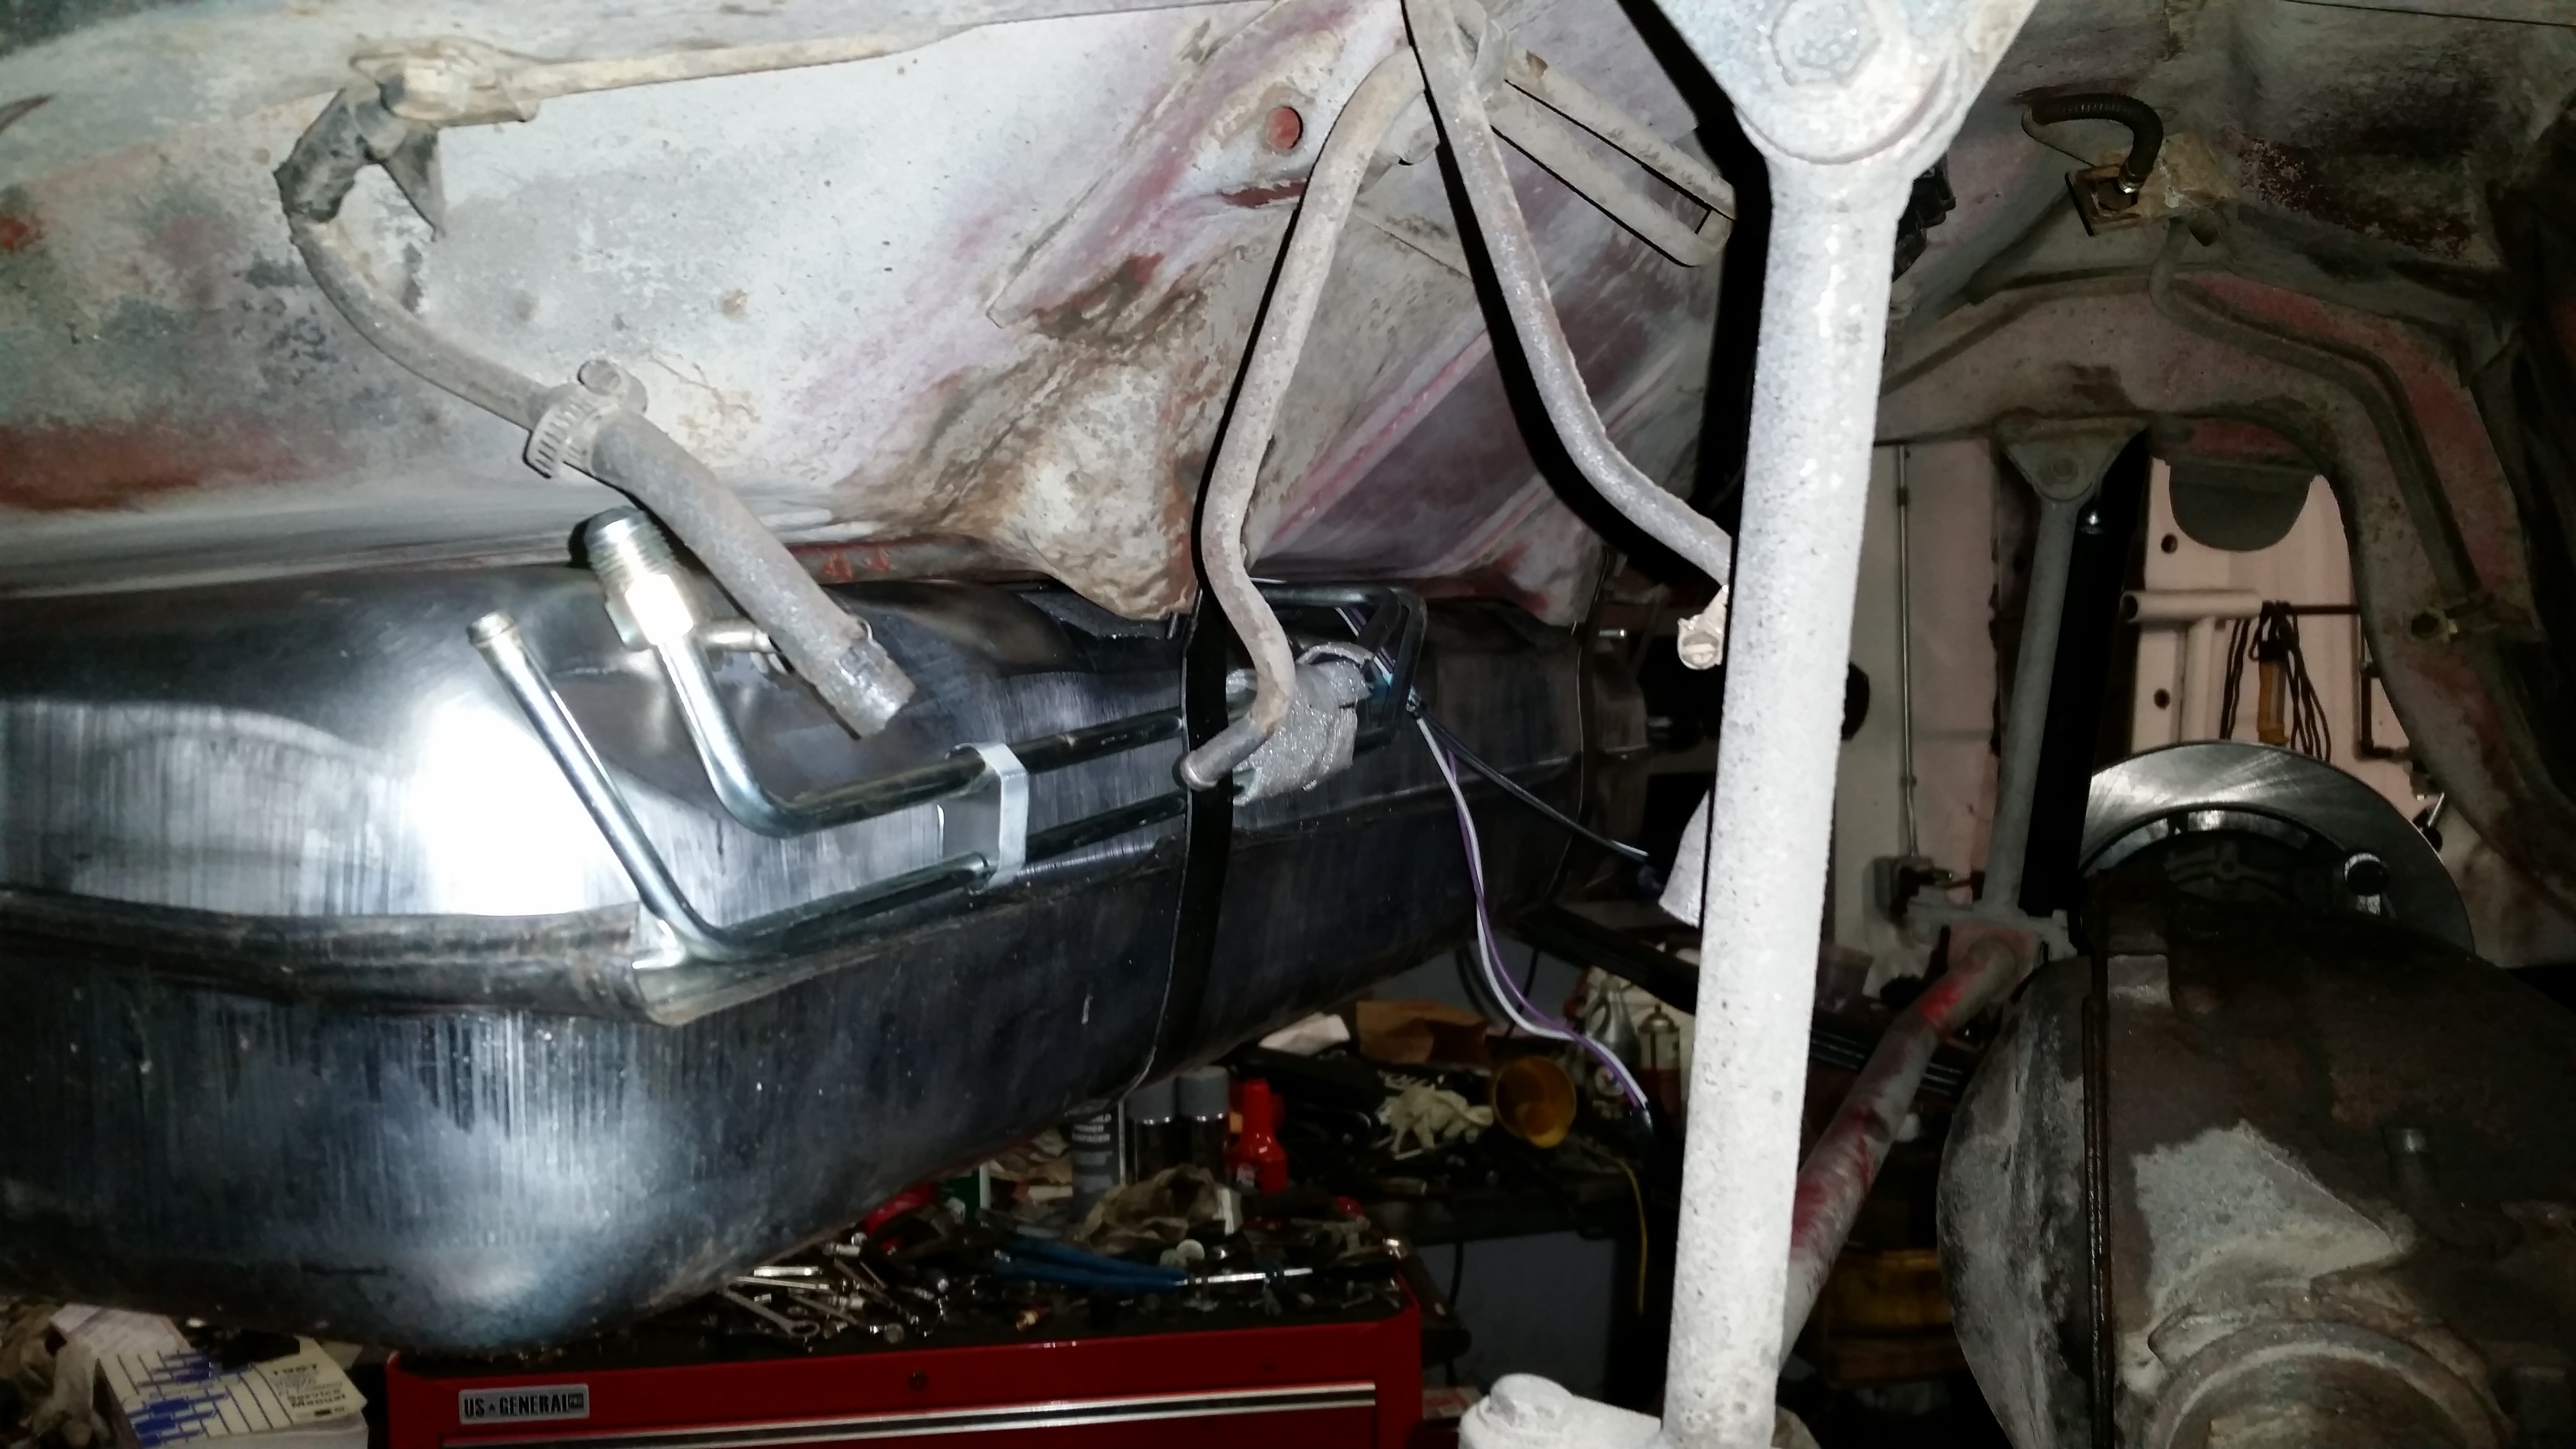
I got my rear end only connected by the rear shock absorbers so can drop the whole assembly tomorrow. Got my fuel tank straps sand blasted, primed and painted satin black. Hoping to get a friend to help me switch out the rear ends and put the fuel tank in.
Picked up a small roller for helping get the sound detonator smoothed out in the interior before I put down the rug.
Got a quote for finishing recovering the seats $400, trying to find a wiring harness I can use for the conversion swap, also trying to figure out Electrical gauge wiring for mechanical gauges or just switching out my speedo and rpm tachs for electrical. I was given a brand new complete front to rear wiring harness for a factory 70 camaro as my only christmas present which I am thankful for, just want to use as much of it as I can.
Been spending some decent time this past week on the 70 camaro. Got a truck engine harness and ECU.
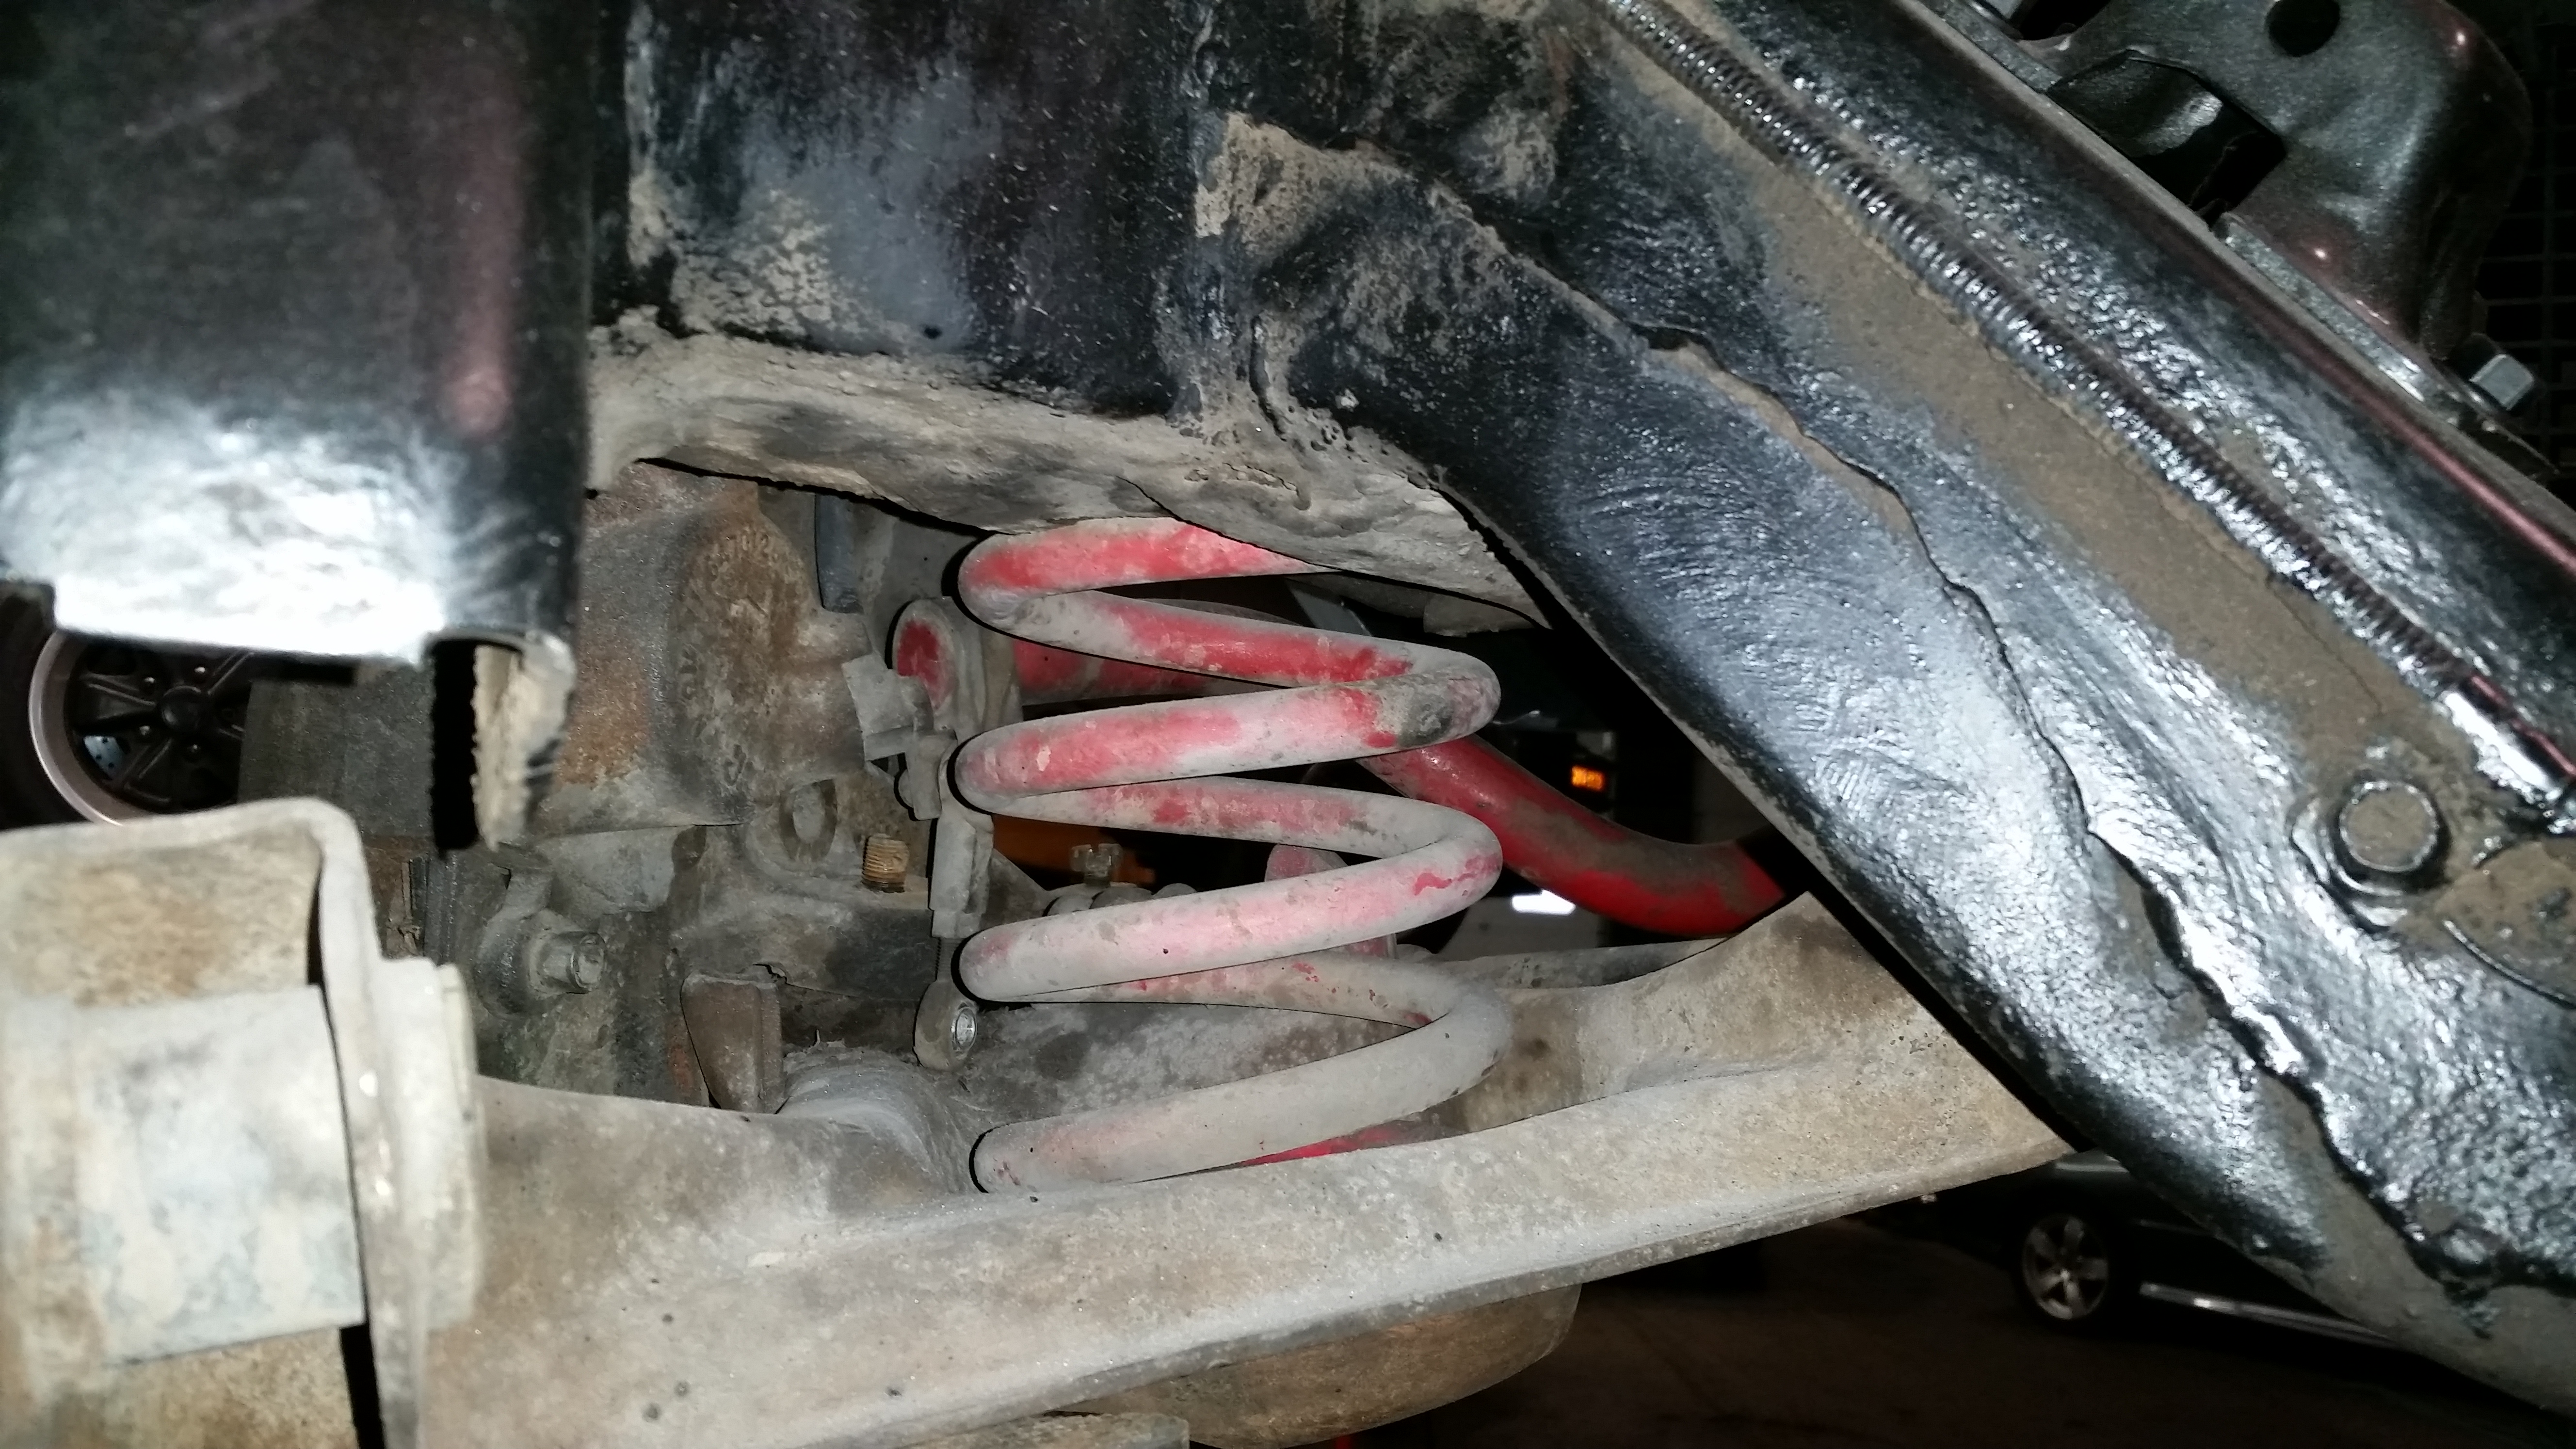
Got the old rear end out, got the fuel straps painted. Got the new rear end ready to go. Got my LS1 rear disc brakes ready to bolt onto the rear end, I choose to drill the 2 new holes in the right side plate. Also corrected the passenger side e-brake hook position to pull correctly. Painted the leaf springs. Sprayed simple green and washed off the undercarriage 3 times and I got one more to do. Trying to get all the sand and dirt off the underside of it.
Also got my new rear shocks installed and engine mount holes drilled out for the BBC mounts.
Tomorrow night, going to get a friend to help me get the rear end assembly and fuel tank installed.
Started on putting in the new BBC motor mounts since this frame came with no motor mounts. There is no physical way for me to get my hand up through the lower control arm to nut the bolts. So I have started to remove the lower control arms from the car. Seems at this time I had also best replace the control arm to frame bushings and the front shock absorbers. So I will be ordering those on monday. Also going to be getting a new ball joint and a new pickle fork so I can remove the ball joint from the sprindle.
Since its bloody cold I took home my rear seats, and started to put on my seat covers myself in front of the fireplace. Trying to save some money where I can. I will be paying for the fronts to be installed professionally. No one will probably ever seat in the rear seats anyway.
I am also now for looking for some 17" wheels since the factory 15" inner wheel barrel is making contact with the rear LS1 brake caliper bracket. Or I would have to put a spacer in between the wheel and the rotor so the factory 15" rally wheels would come out a bit. Not to keen on the spacer idea.
Got new front shocks, rebuilt the control arms with new bushings and ball joints, sand blasted/primed/painted them. Got 1 spring installed last night, the other control arm is just hanging.
Hopefully Going to get the other spring in tonight and make it rolling. Friend wants to pay me to take his motor and transmission out of his 97 Camaro. Need to make the money for this project.
I think I am going to go back to putting down the insulation on the interior and rugs followed the wiring harness while the other car is on the lift. Makes the most sense to start running the interior harness with just the rugs in it and the exterior while the motor is out. Easy to work in the engine bay when I can sit in it.
I attempted to grind down the caliper a bit to make the wheel fit, bracket with the pins is still in the way, stuck with going with a bigger wheel.
For wheels, I am thinking of getting 2 of year one's 17" rally wheel replacements. Running 2 factory 15" up front and 2 17" ones in the back. Staggered look, would be nice and I like the factory wheels. Price wise though, I am going to be the same as if I bought a set of other 17" wheels and tires since those year one 17" replica's are $450 for a pair.
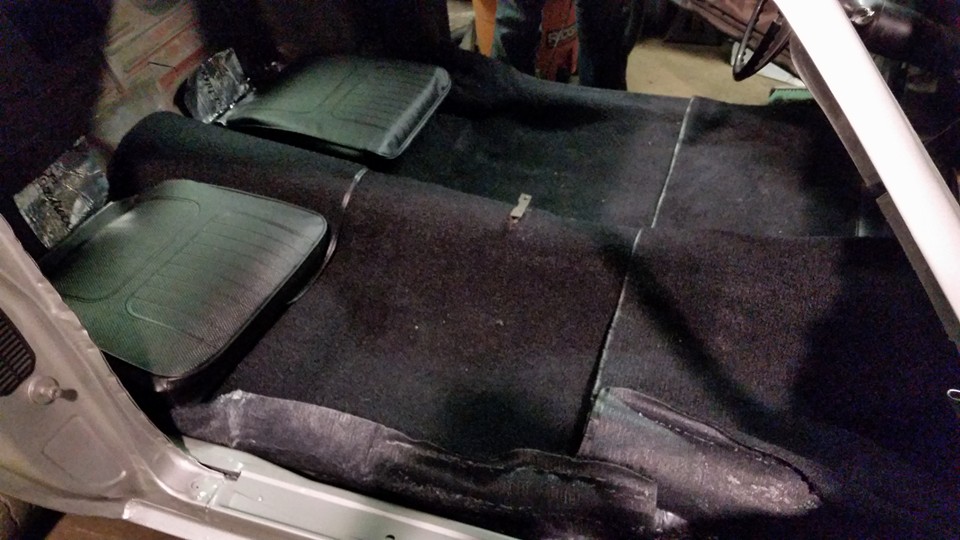
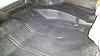
Feeling excited about the interior. Got all the old wiring harness out. Insulation is in and got the rugs laid out. Need to trim the rugs.
Suspension is in and done. Car is a rolling chassis again so I can start my friends 97 z28 tear down. Need to start that project so I can make some money for this project.
Back onto my 70 Camaro. But its 12 degrees. Brrrr.
Front seats are done, so the seats are all done. YAY!
Minor things: made 2 center consoles into 1 (one had a broken tray that I fabbed another into), got the front spoiler started (just have to drill the holes into the lower valence panel in the wheel wells and I got my front turn signals in.
I started repairing and working on my ECU Wiring Harness. Was cut at the transmission when removed as well as a couple other spots that were pinched. I got it nicely soldered and shrink wrapped back together. Working out the what I need and do not need parts. I am going to install cruise control and kept a cruise control module from a 98 and a 95 Camaro incase one does not want to work for some reason. I also butchered a 95 camaro column so I could have the cruise control stalk to transfer over to the 70.
Looking for LS Truck to LS1 injector adapters. Looks like ebay has some for $40?
Got a new dash pad in, came with an aluminum plate for the gauges to hold the pad in place. So I am going to just use it for my custom gauges so I don't have to hack up the original trim panels. Going with electric gauges for the swap.

 11-27-2015, 05:07 PM


 Good luck on the rest of your build!


 and got the rugs laid out. Need to trim the rugs.
 and got the rugs laid out. Need to trim the rugs.