
John's 69 Chevelle LS1/4L60E
 01-01-2014, 08:46 AM
#1
TECH Fanatic
Thread Starter
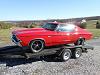
Here we have a beautiful '69 Chevelle with a 350/TH400 that is getting a LS1/4L60E.
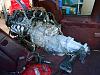
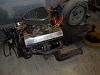
The 1998 F-body engine and trans getting loaded in the truck.
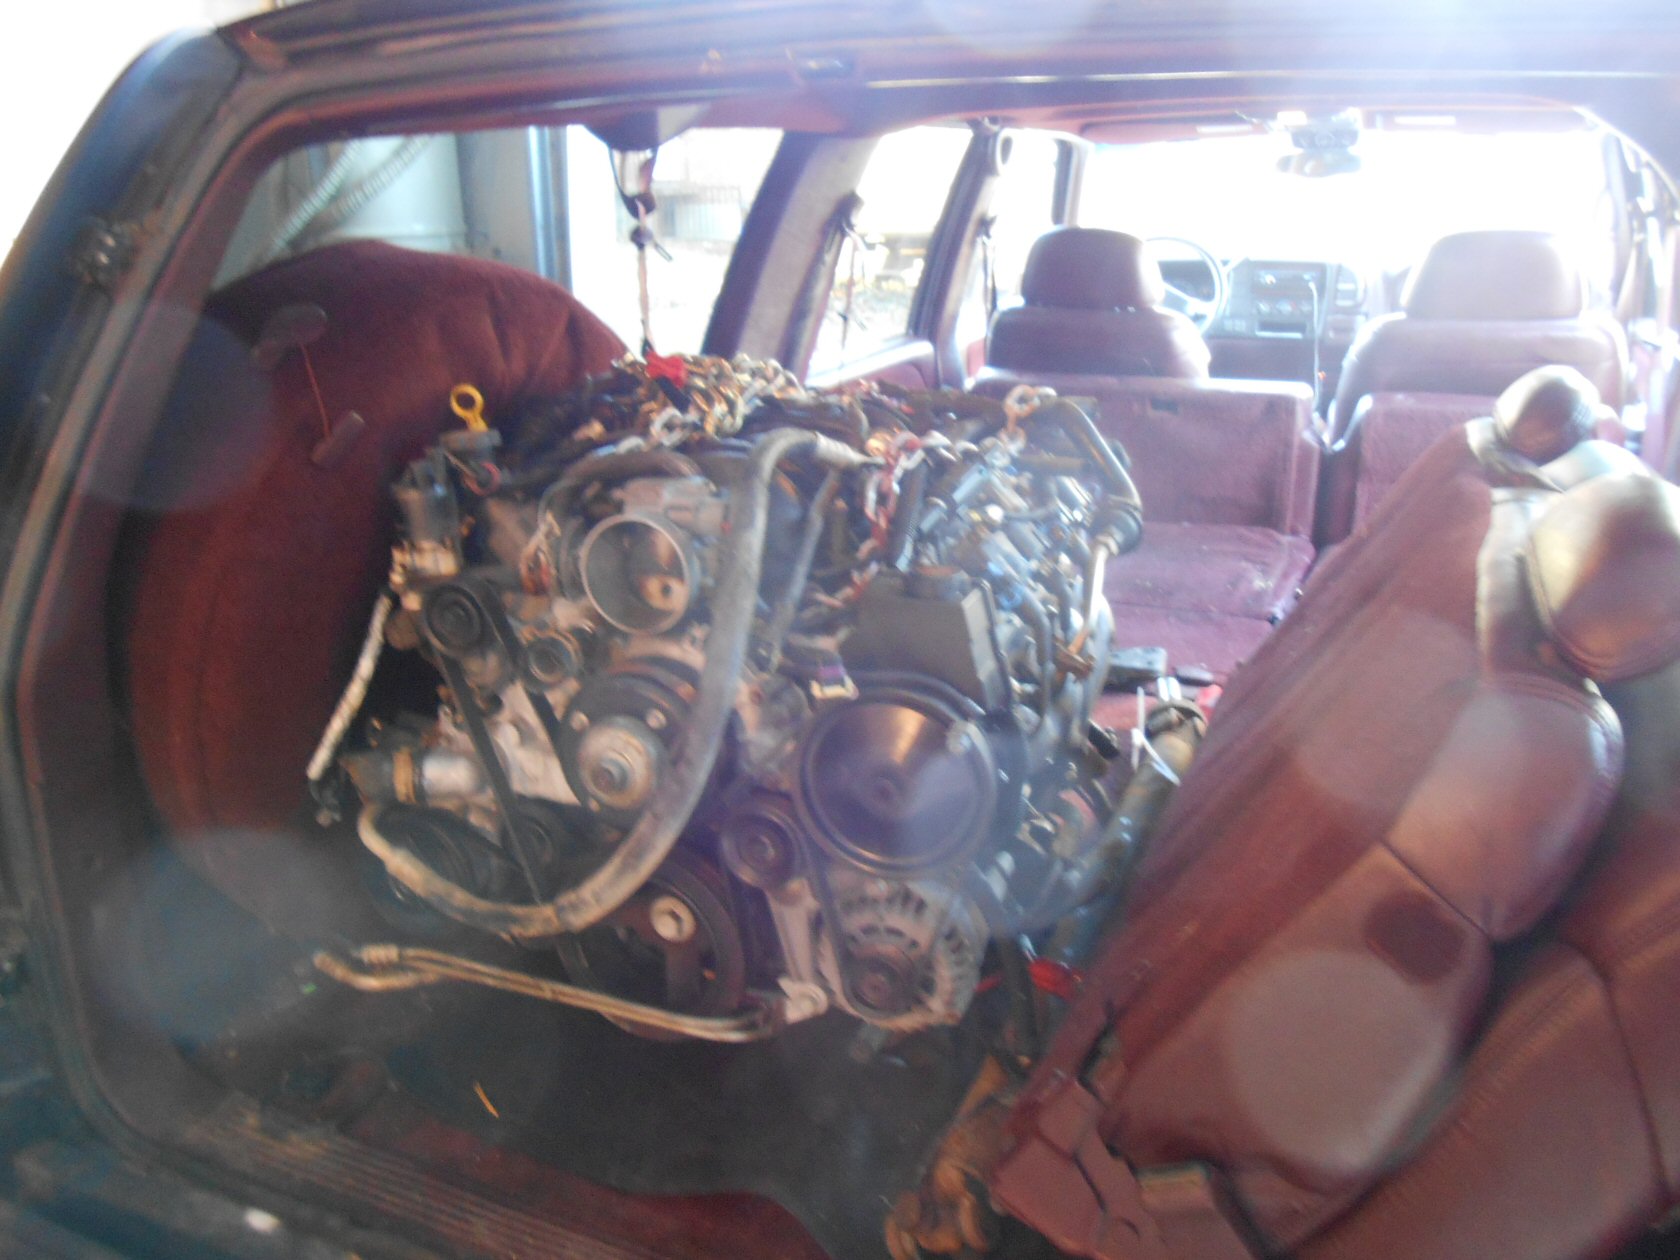
The patient!
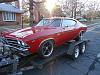
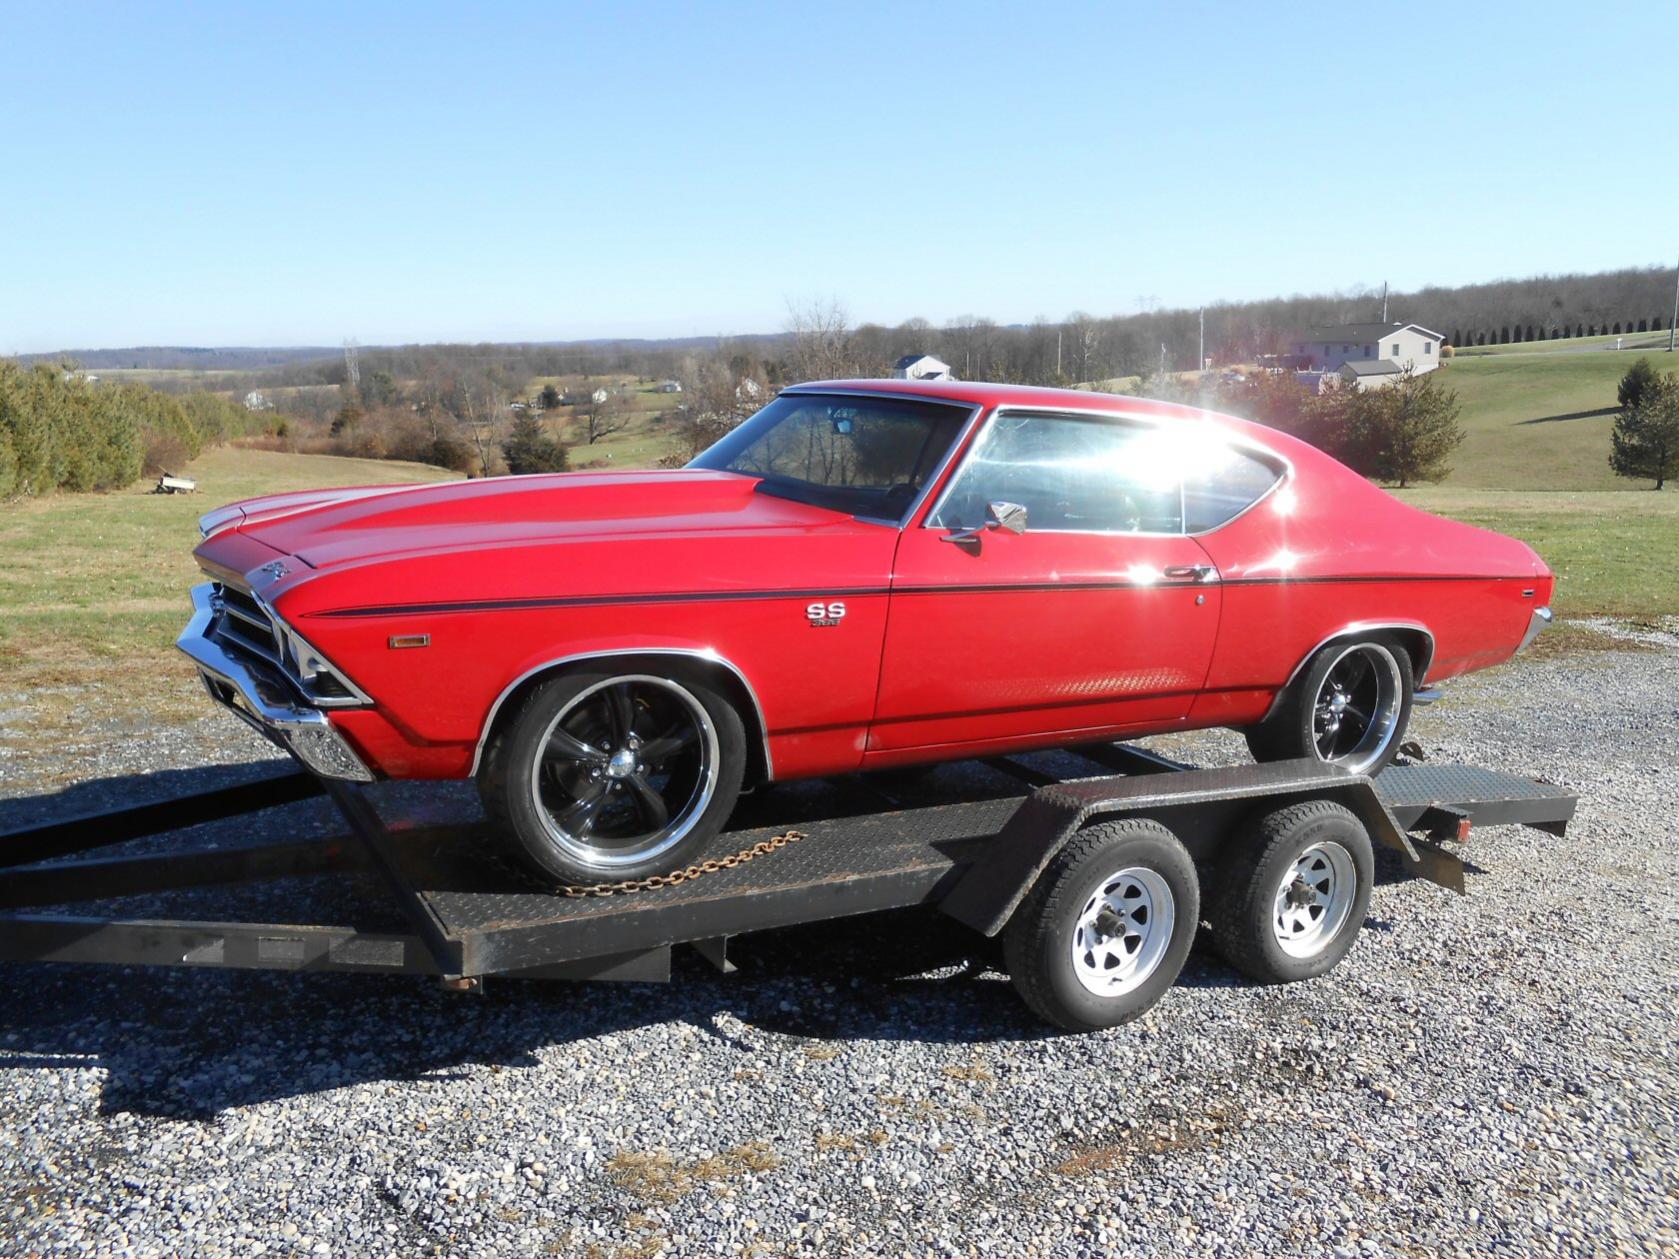
On the trailer to be transported.
Arriving at Garage Art Muscle Cars in Airville Pa.

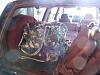
The factory F-body harness off the engine waiting to be rewired for use in the older car.
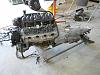
The engine and trans waiting to get cleaned up for install.
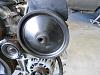
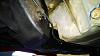
Found the power steering pump pulley and reservoir are cracked.
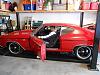
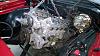
Got the hood off and starting to pull the old drivetrain.
The old drivetrain on the floor and ready to be picked up.

The 1998 F-body engine and trans getting loaded in the truck.
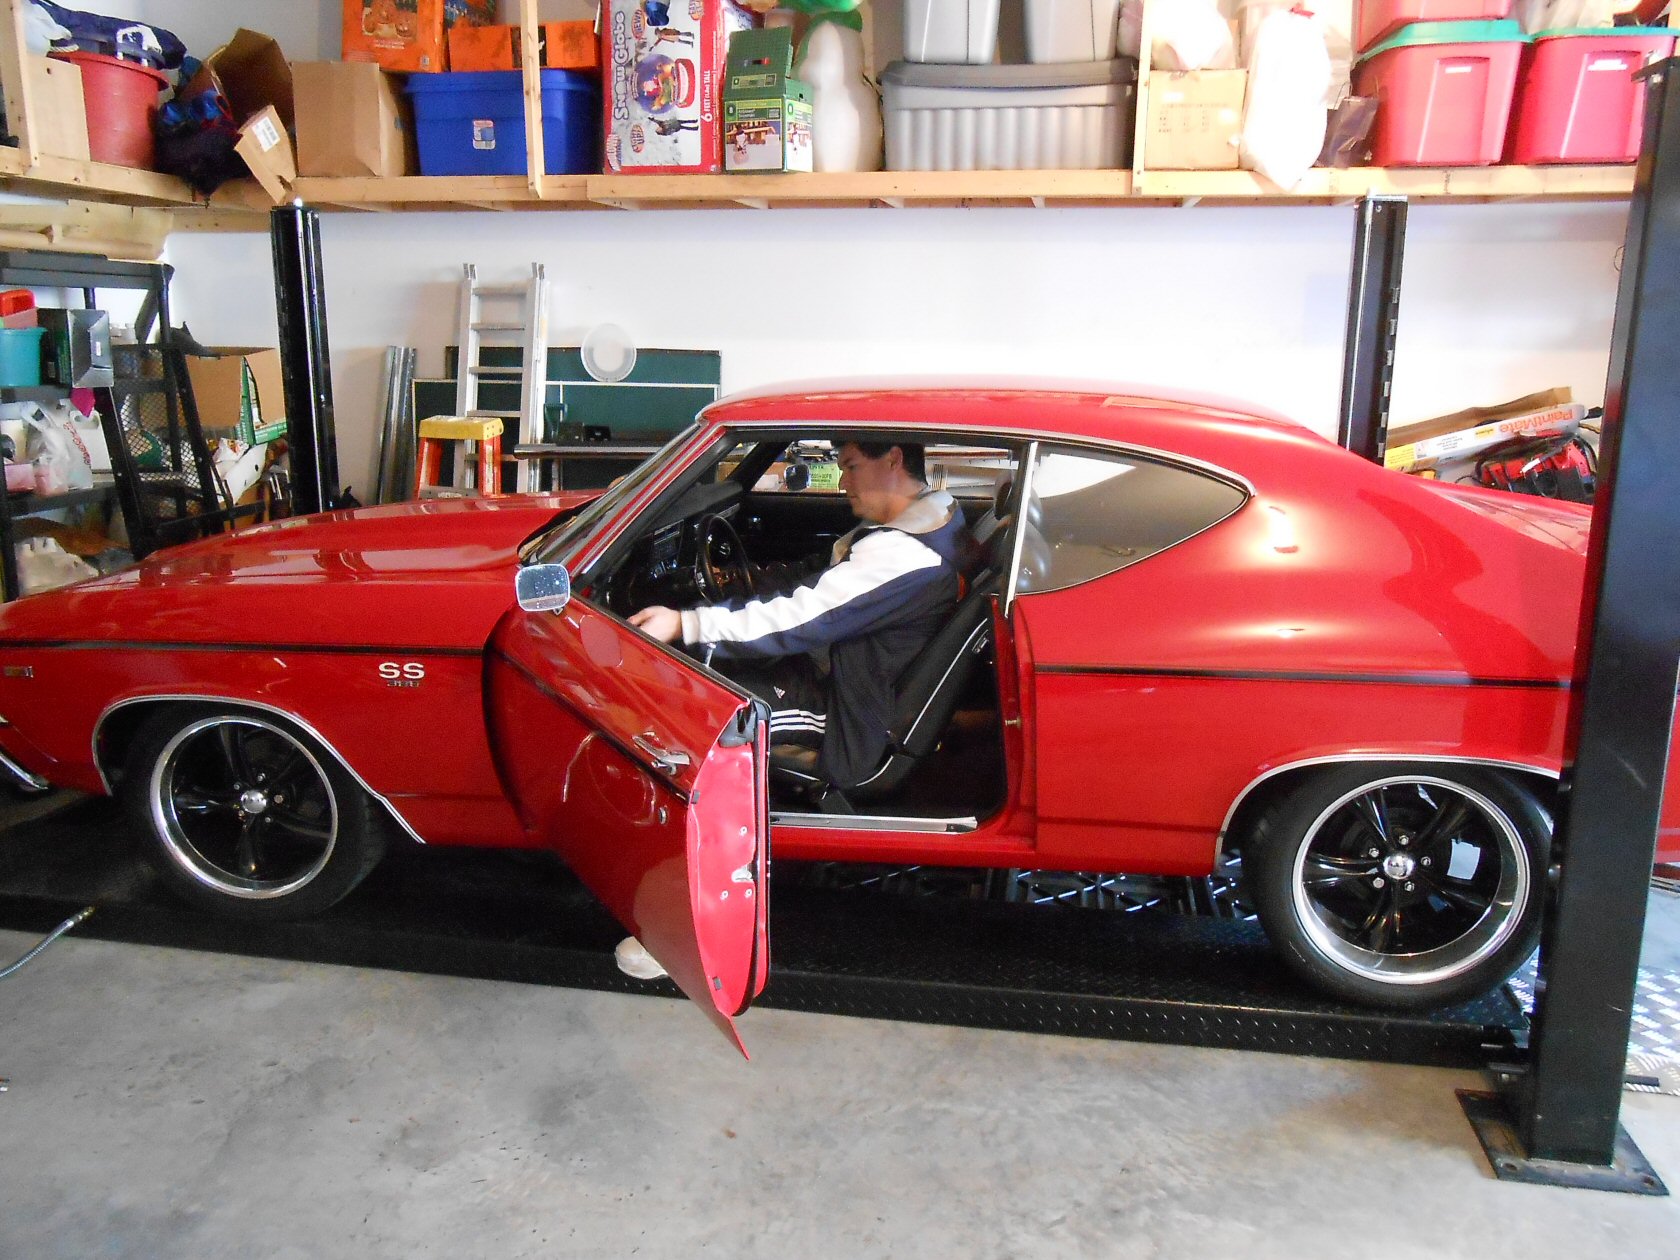
The patient!

On the trailer to be transported.
Arriving at Garage Art Muscle Cars in Airville Pa.

The factory F-body harness off the engine waiting to be rewired for use in the older car.
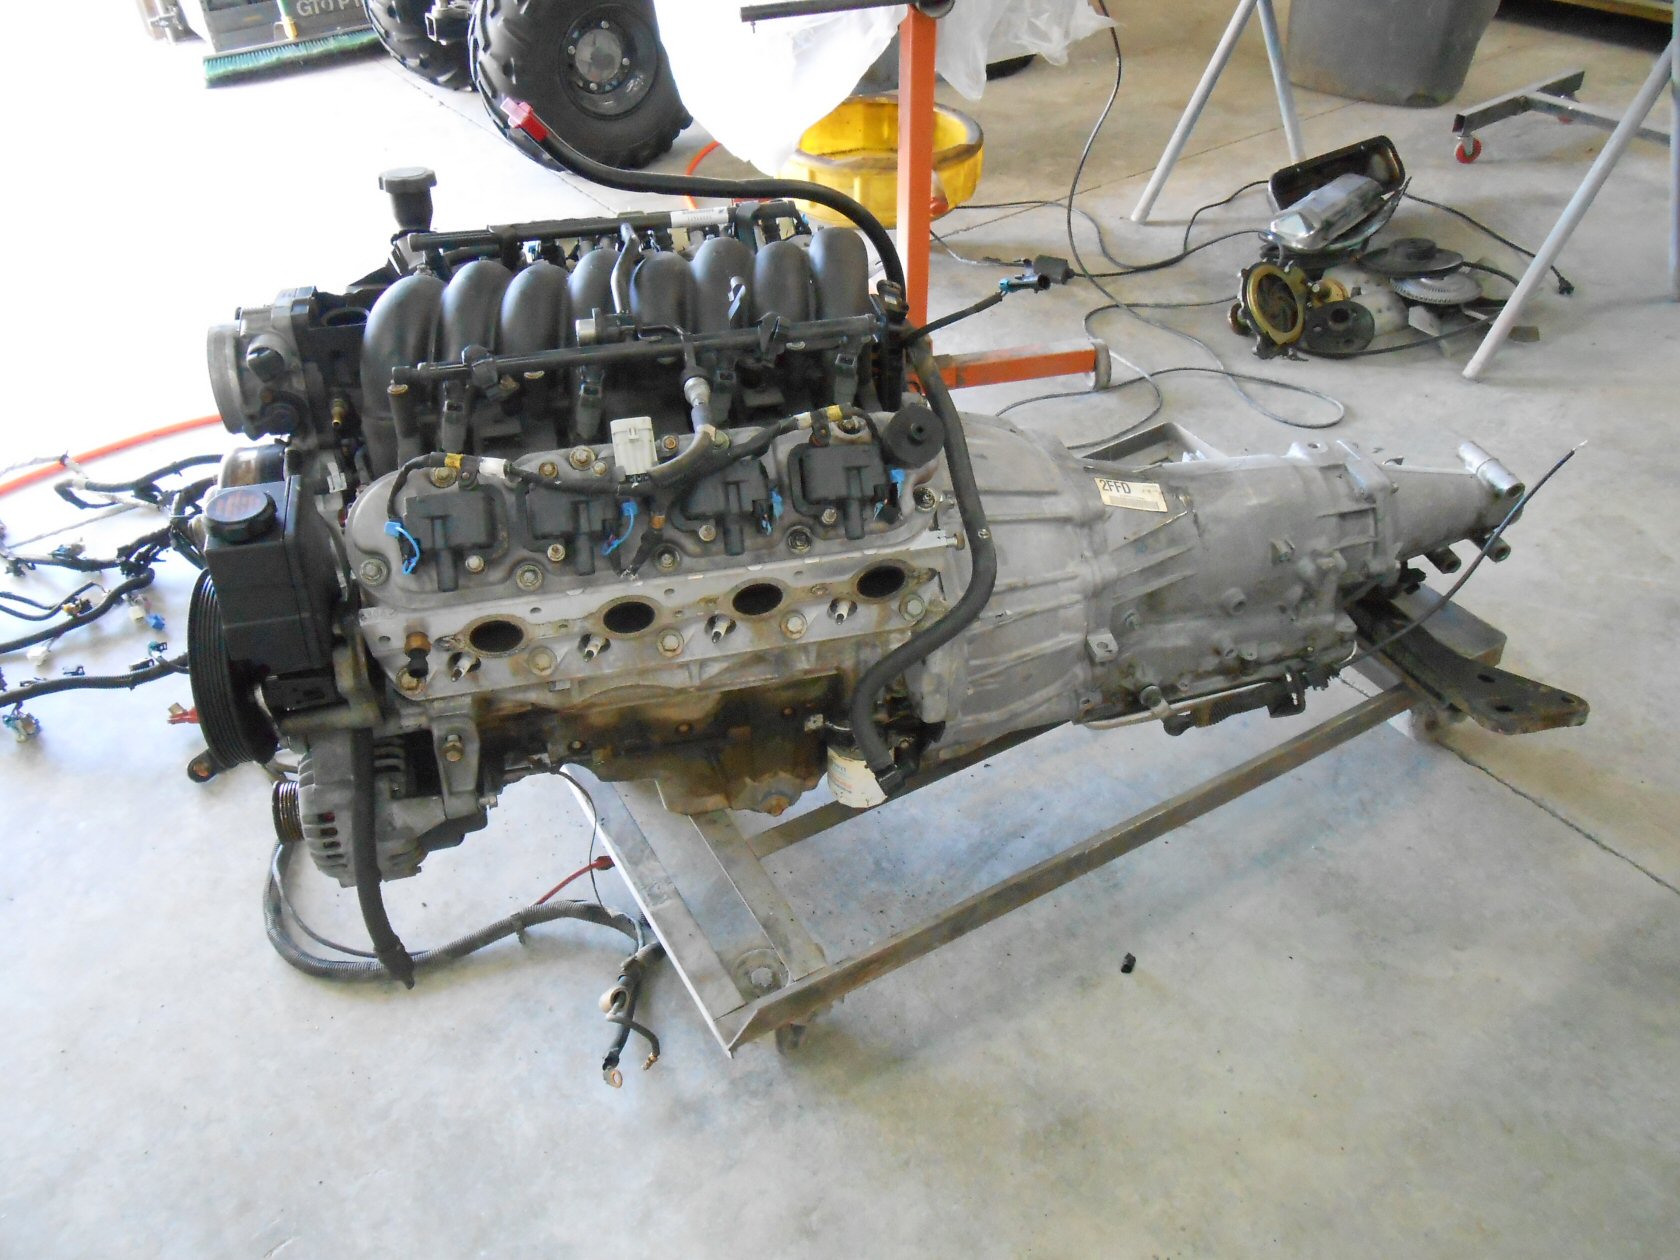
The engine and trans waiting to get cleaned up for install.
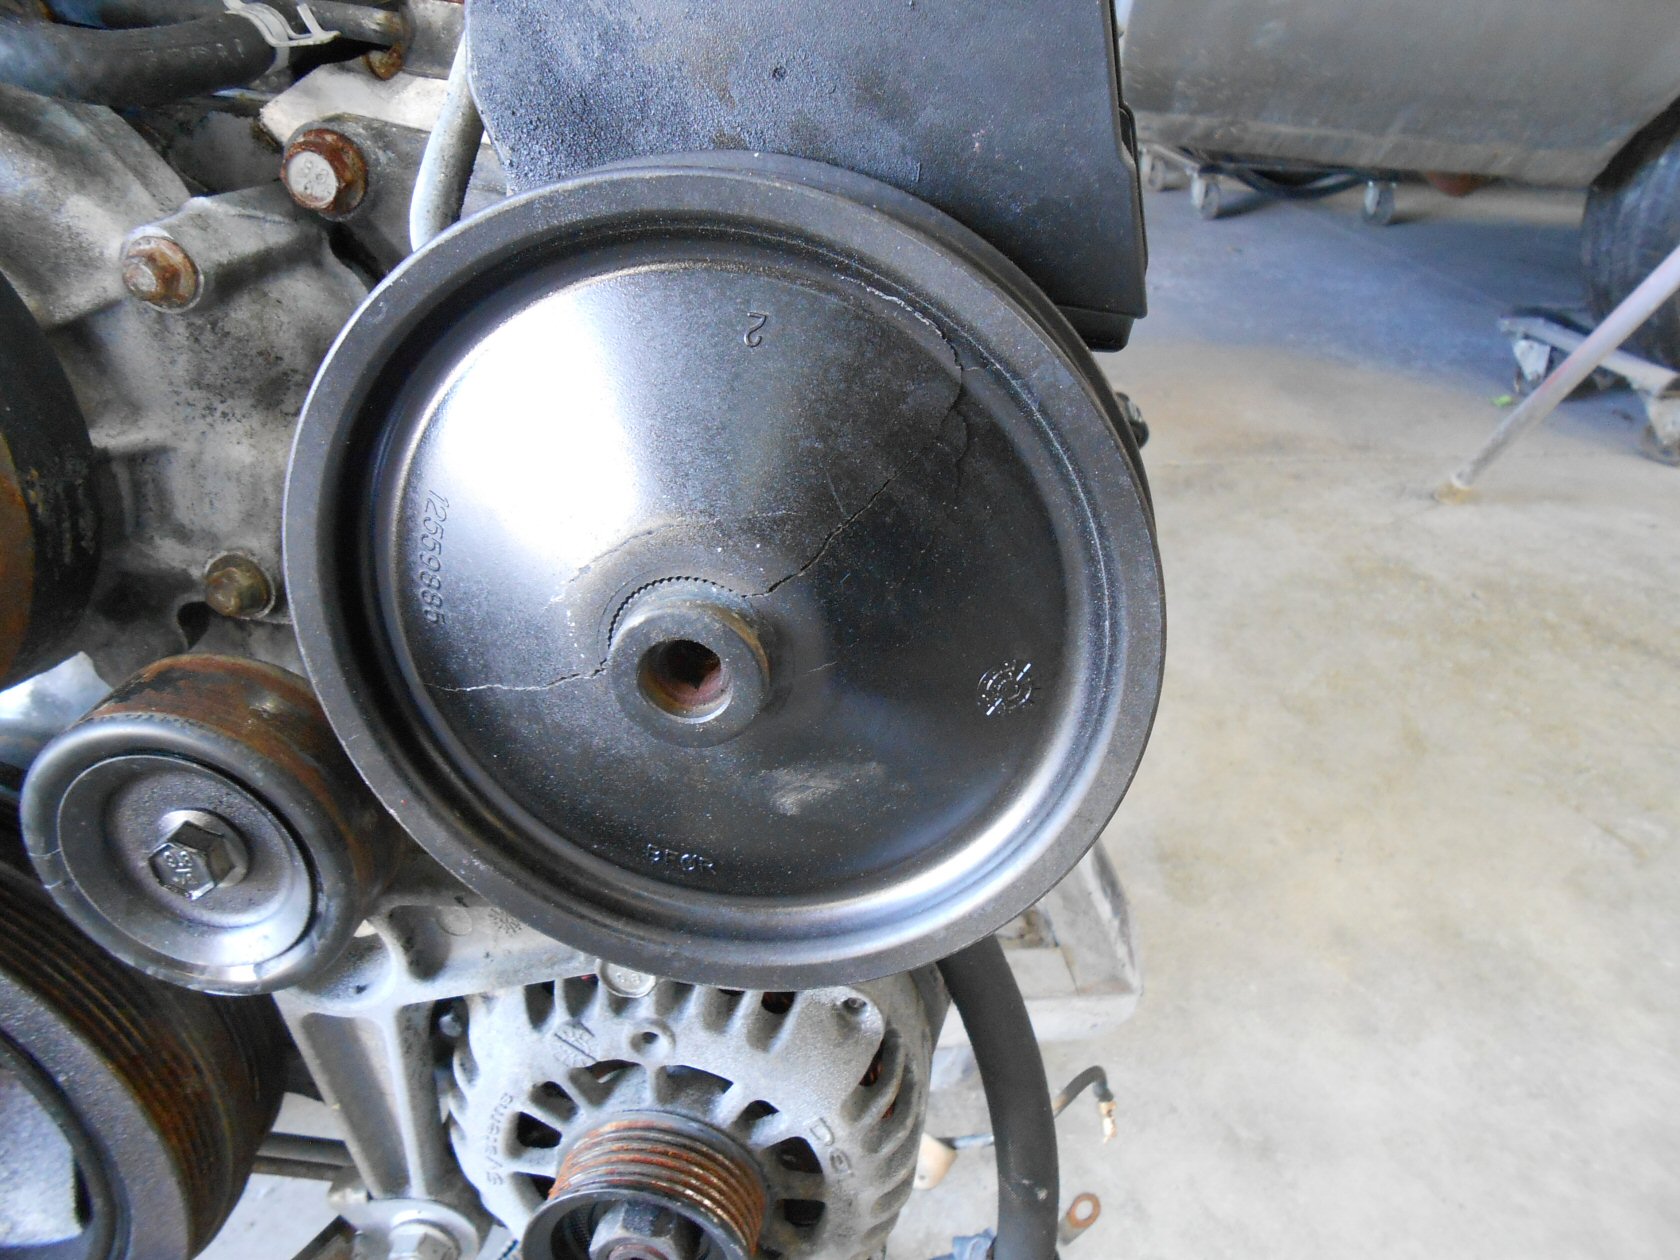
Found the power steering pump pulley and reservoir are cracked.

Got the hood off and starting to pull the old drivetrain.
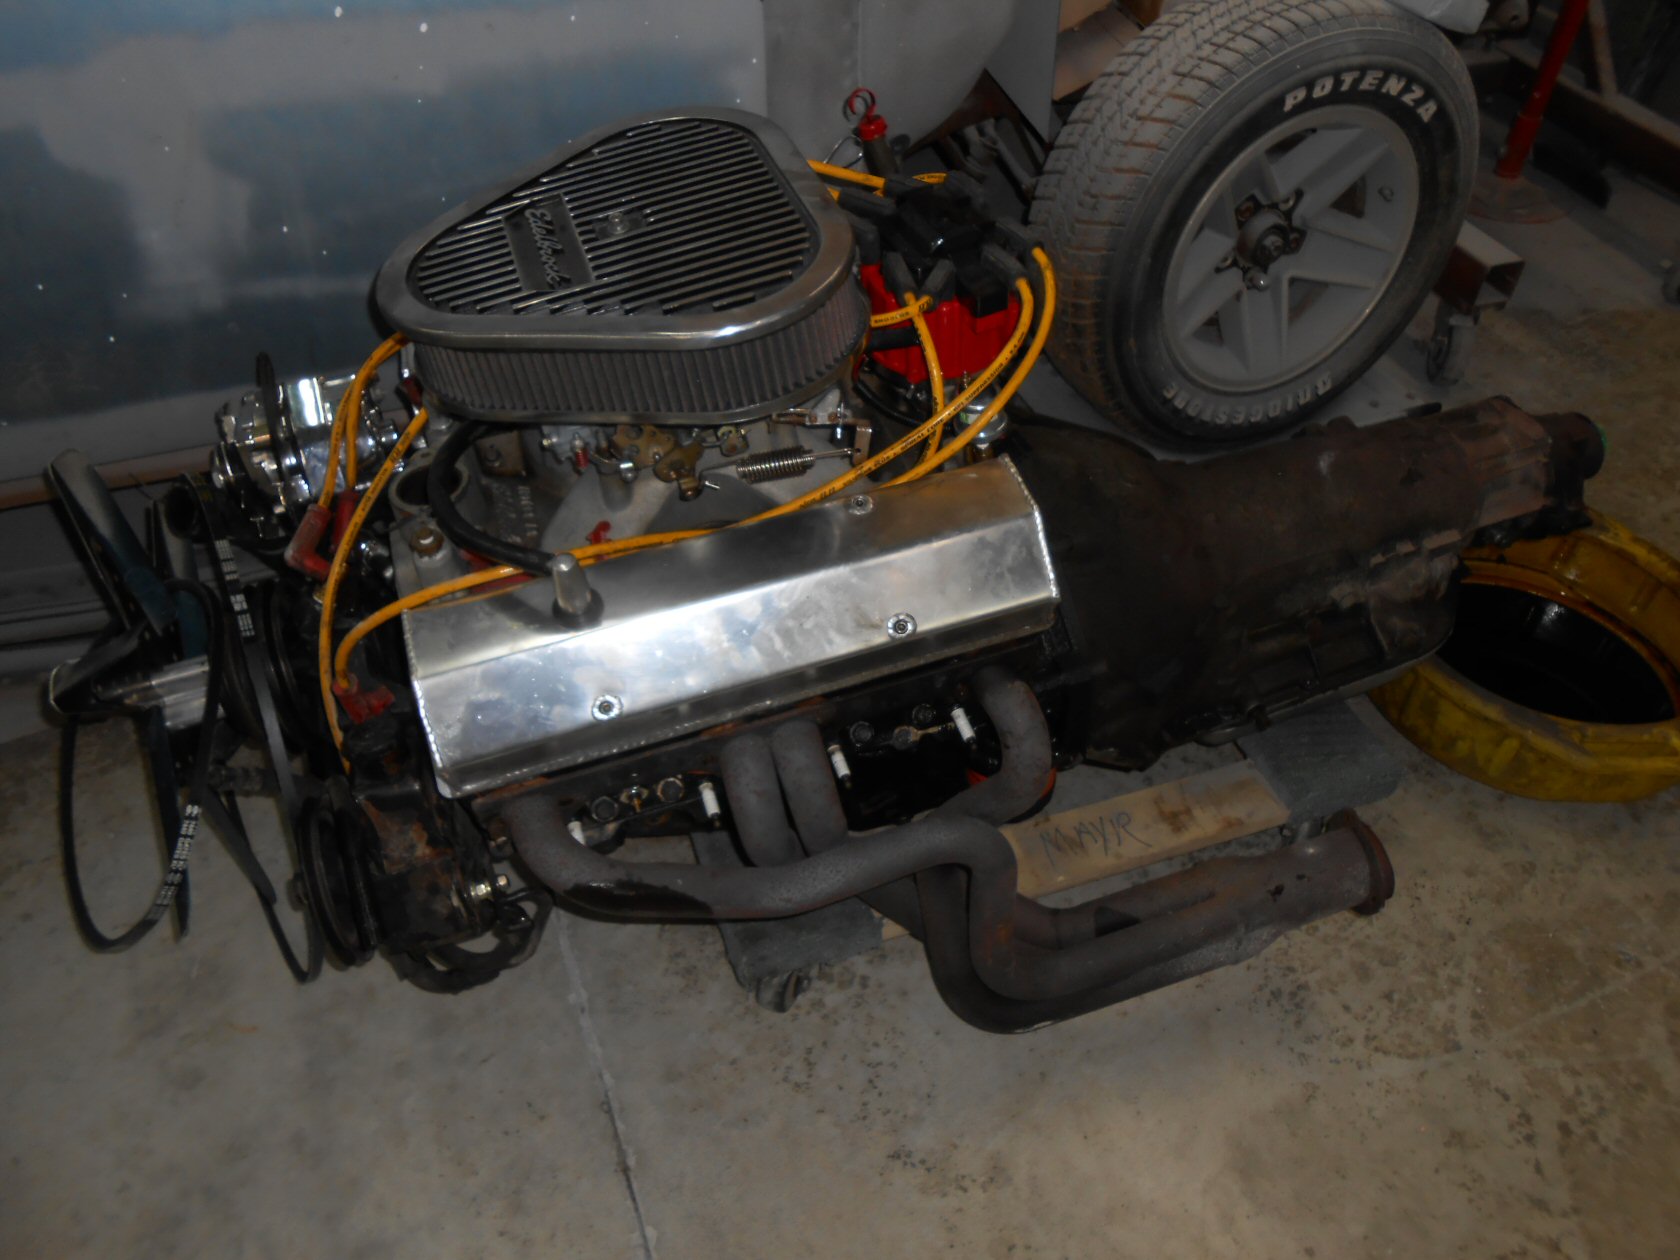
The old drivetrain on the floor and ready to be picked up.


Trending Topics
 01-06-2014, 10:19 AM
#9
TECH Fanatic
Thread Starter
Here are the LS engine mounts adapters. Using adjustable adapters to position the engine where I want it.
And bolted to the engine with the SBC solid mounts loosely bolted.
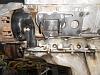

And bolted to the engine with the SBC solid mounts loosely bolted.
 01-07-2014, 06:42 AM
#11
TECH Fanatic
Thread Starter
Not sure yet, the engine is going in tonight. I've read most people use 1" setback but I am using the adjustables this time because I am using F-body oil pan and accessories and I want to be able to set the engine where I want. I will post pics after its in the car.
01-07-2014, 09:12 AM
#12
On The Tree
iTrader: (2)

Join Date: Apr 2012
Location: San Jose, Ca
Posts: 184
Likes: 0
Received 0 Likes
on
0 Posts
I have dirtydingo 1" set back plates in my 69 Chevelle with the Fbody pan. Pan kissed the crossmember pretty good, won't really let you have the 3' angle. I was going to have my pan modified but now I'm thinking of notching the crossmember. If your plates give you 1 1/2" it should be enough.
01-09-2014, 06:57 AM
#13
TECH Fanatic
Thread Starter
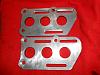
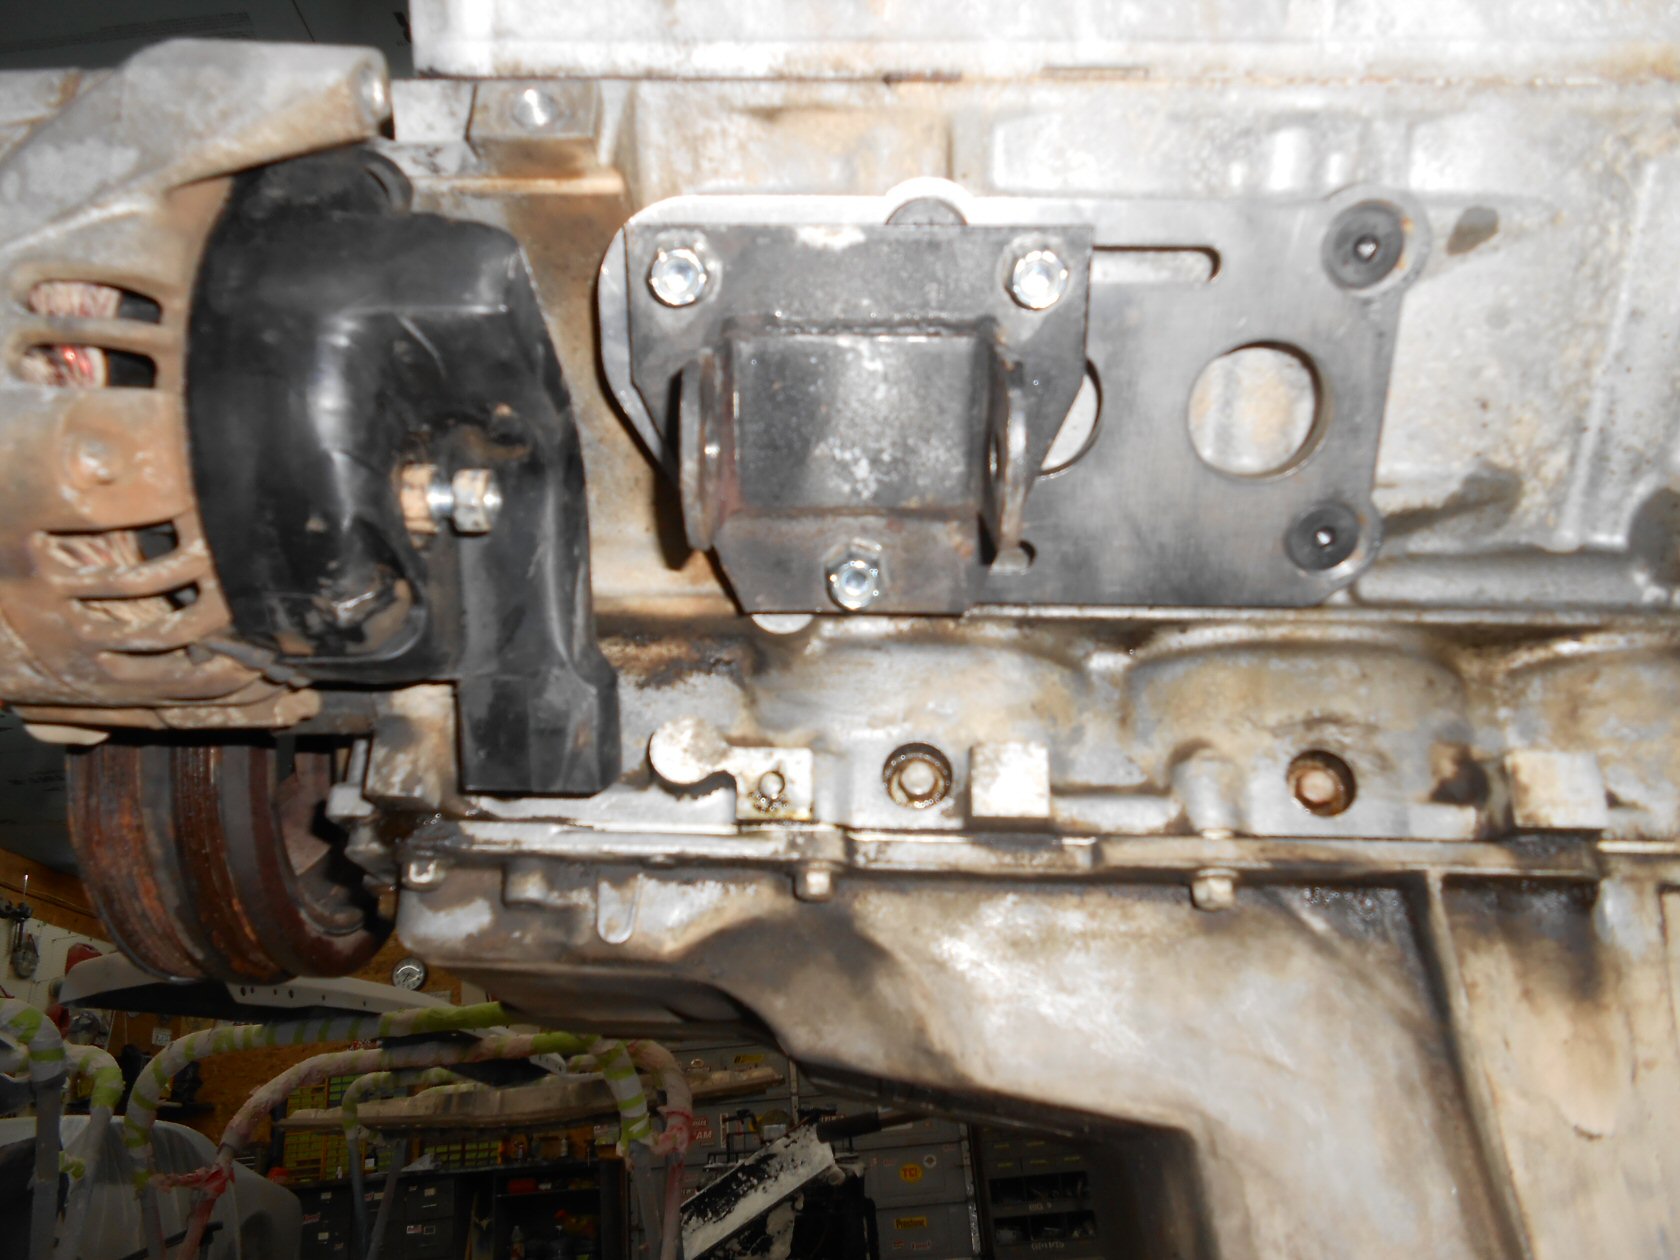
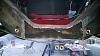
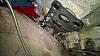
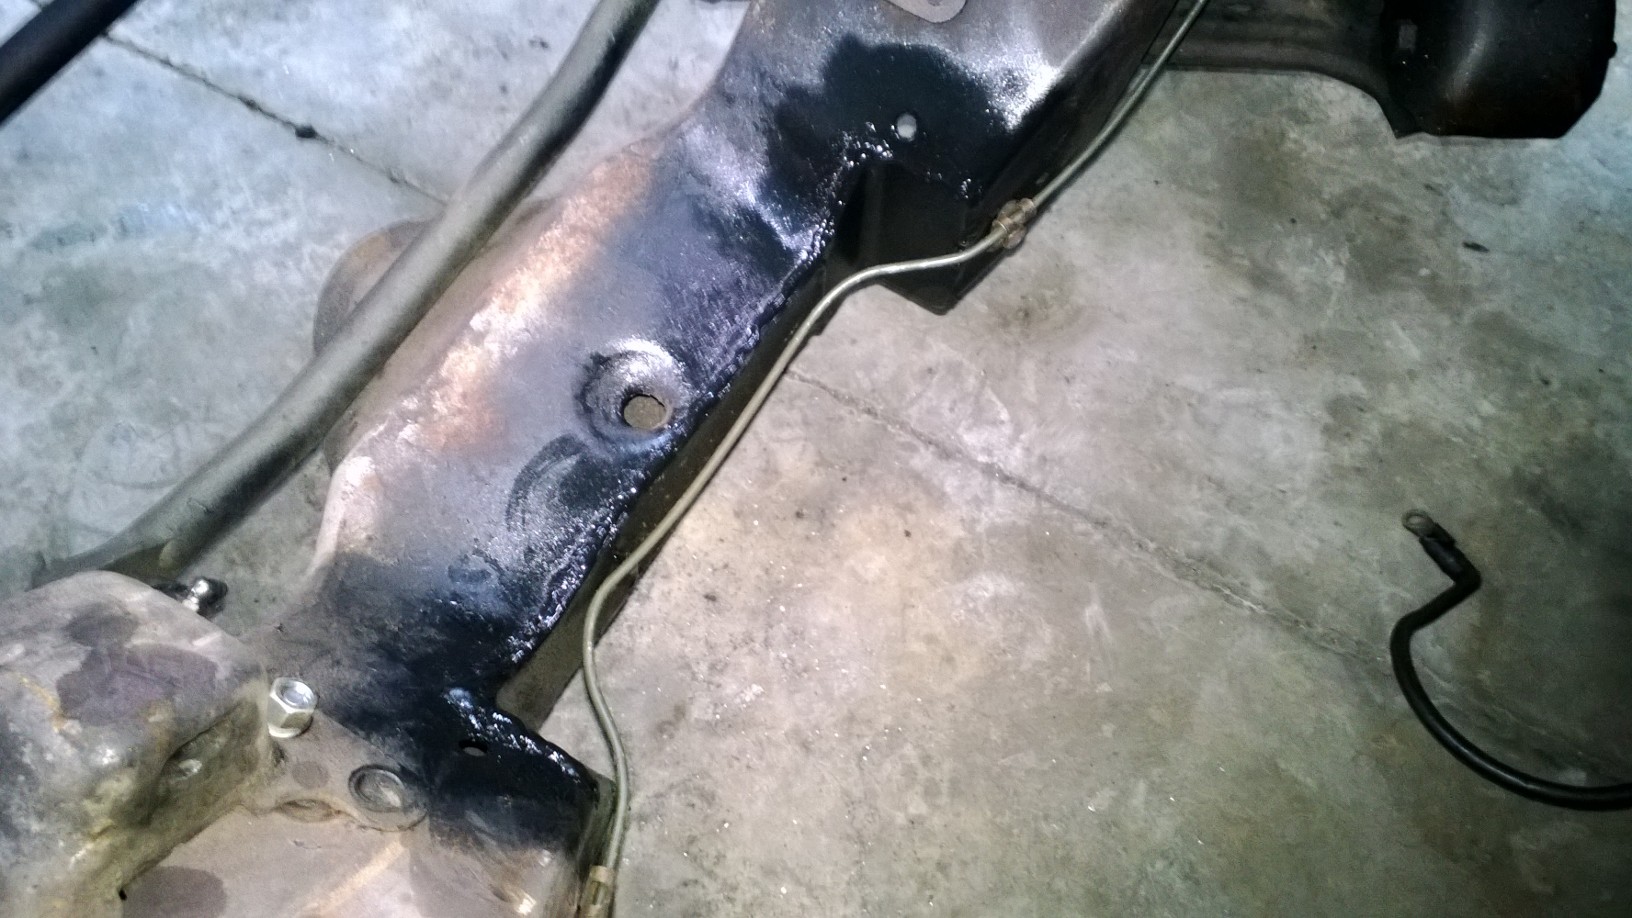
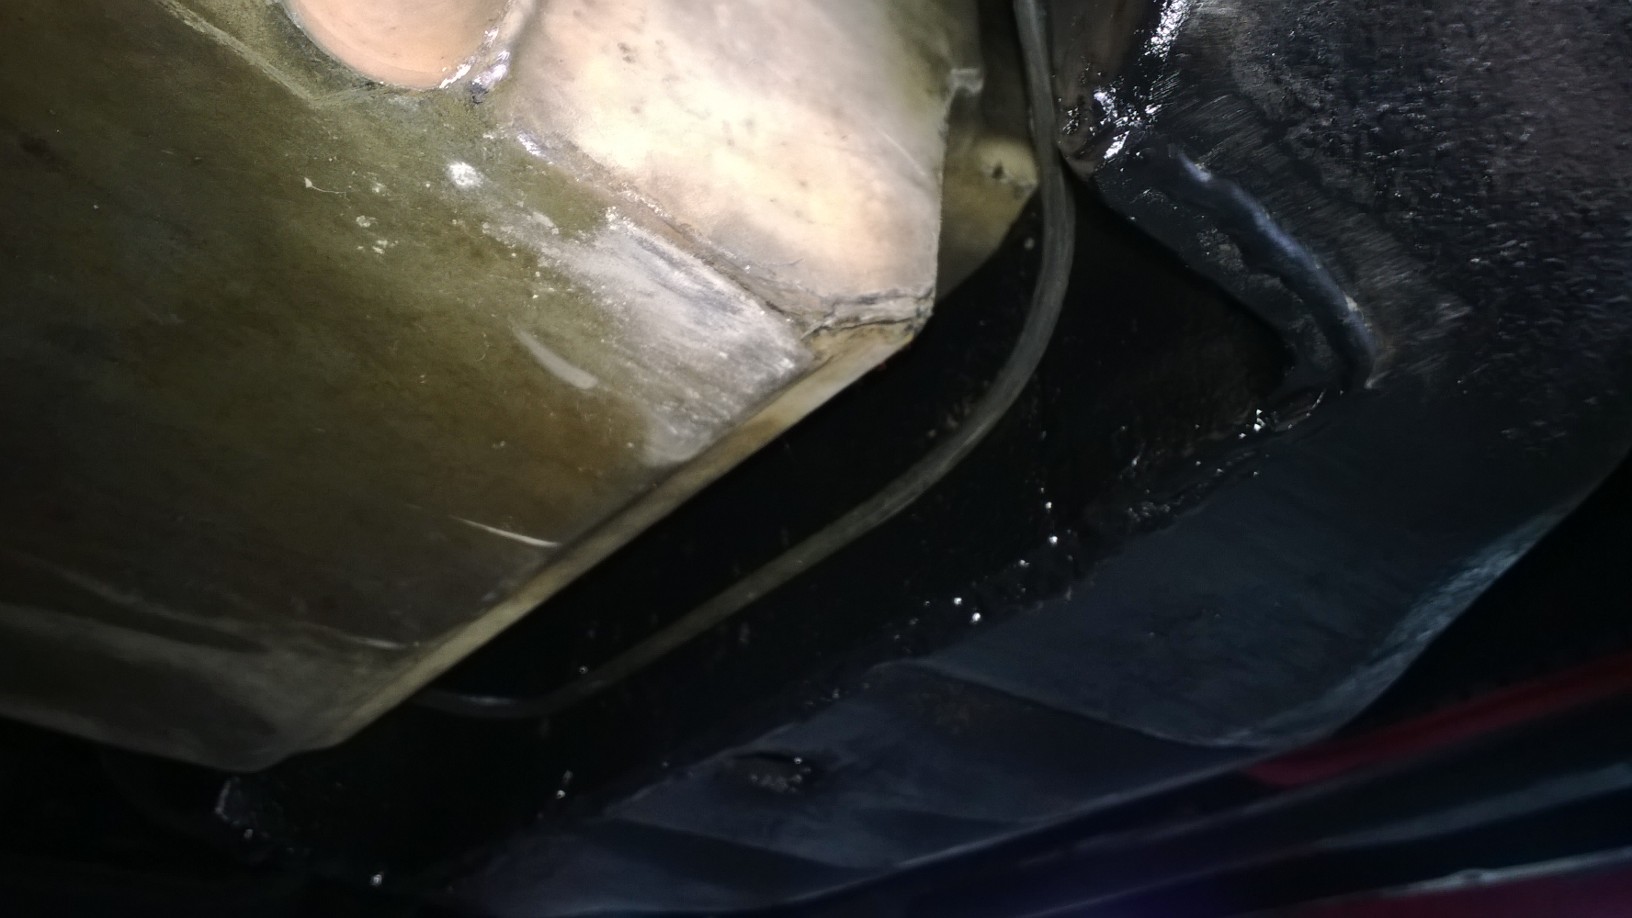
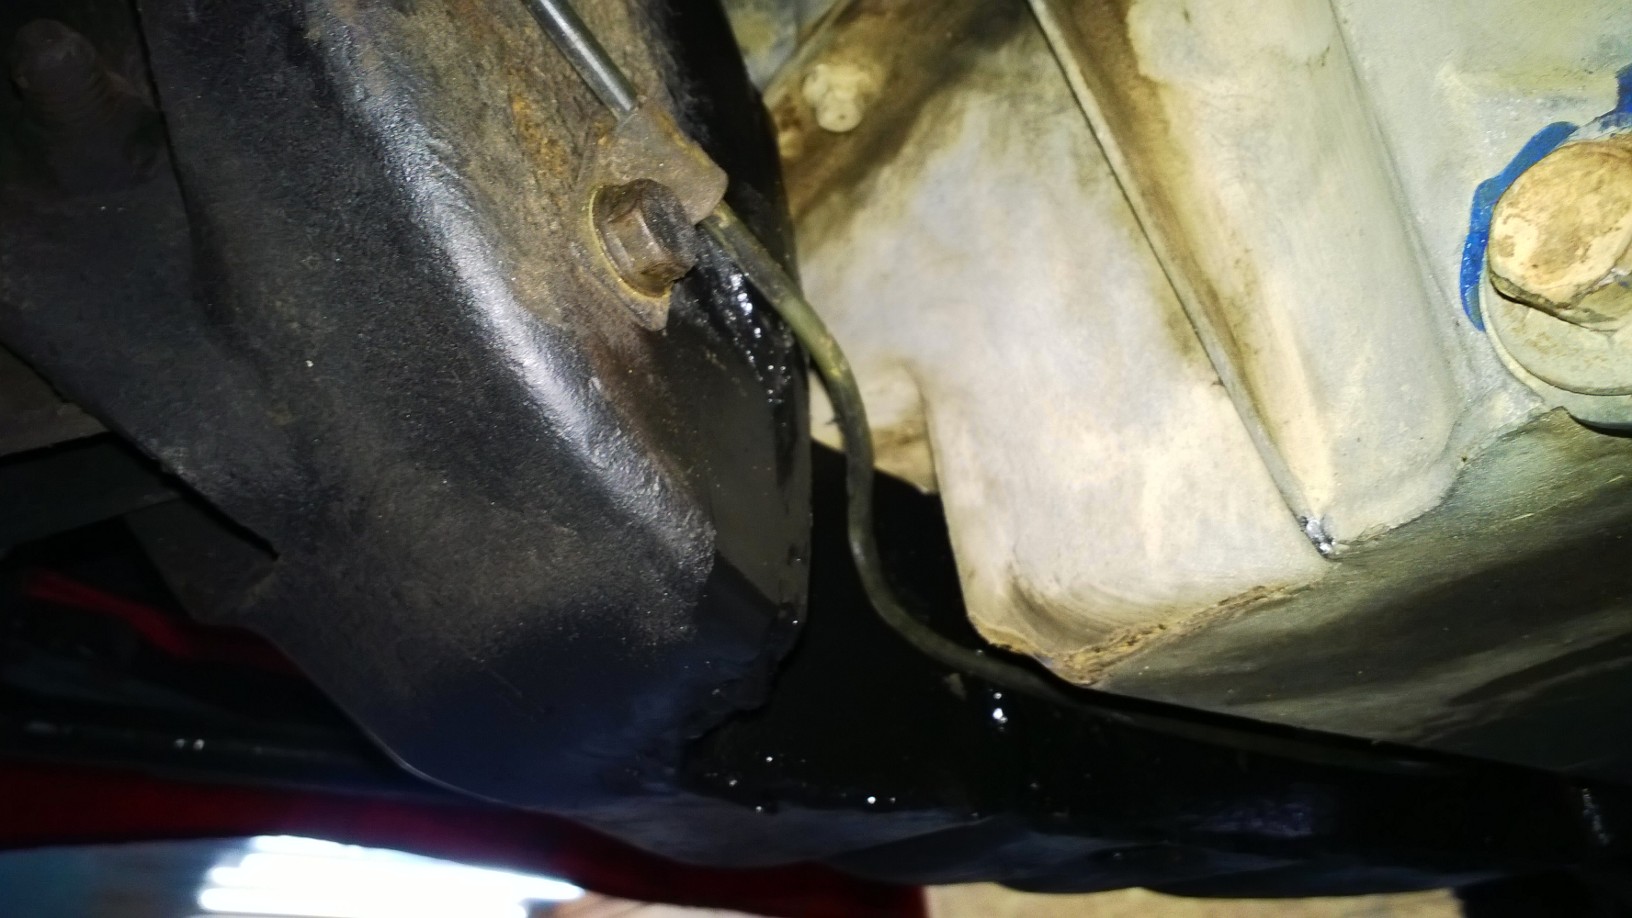
Even with the adjustable mounts the oil pan hit the chrossmember. I decided to notch it. I used a sawsall and a plasma cutter. I have to grind the cuts clean and then weld in the plates. I am using 1/4" steel to make the plates so it should be plenty strong enough.

 01-09-2014, 10:02 PM
#14
TECH Fanatic
Thread Starter
I got alot accomplished the tonight.
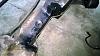
I welded in the crossmember plates and did some grinding. Shot some paint on the welds so they wouldn't rust.
Setting the engine, hopefully for the last time.
The passenger side mount bolted tight.

The F-body oil pan has plenty of clearance with the crossmember notched.
Driver side mount bolted tight.
I welded in the crossmember plates and did some grinding. Shot some paint on the welds so they wouldn't rust.

Setting the engine, hopefully for the last time.

The passenger side mount bolted tight.
The F-body oil pan has plenty of clearance with the crossmember notched.

Driver side mount bolted tight.
01-09-2014, 10:17 PM
#15
TECH Fanatic
Thread Starter

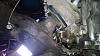
The alternator is pretty close to the steering box but the car has solid mounts so the distance between the alternator and steering box won't change under accelleration.

Plenty of firewall clearance.

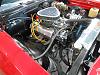
I set the intake on the engine to see what it is going to look like.
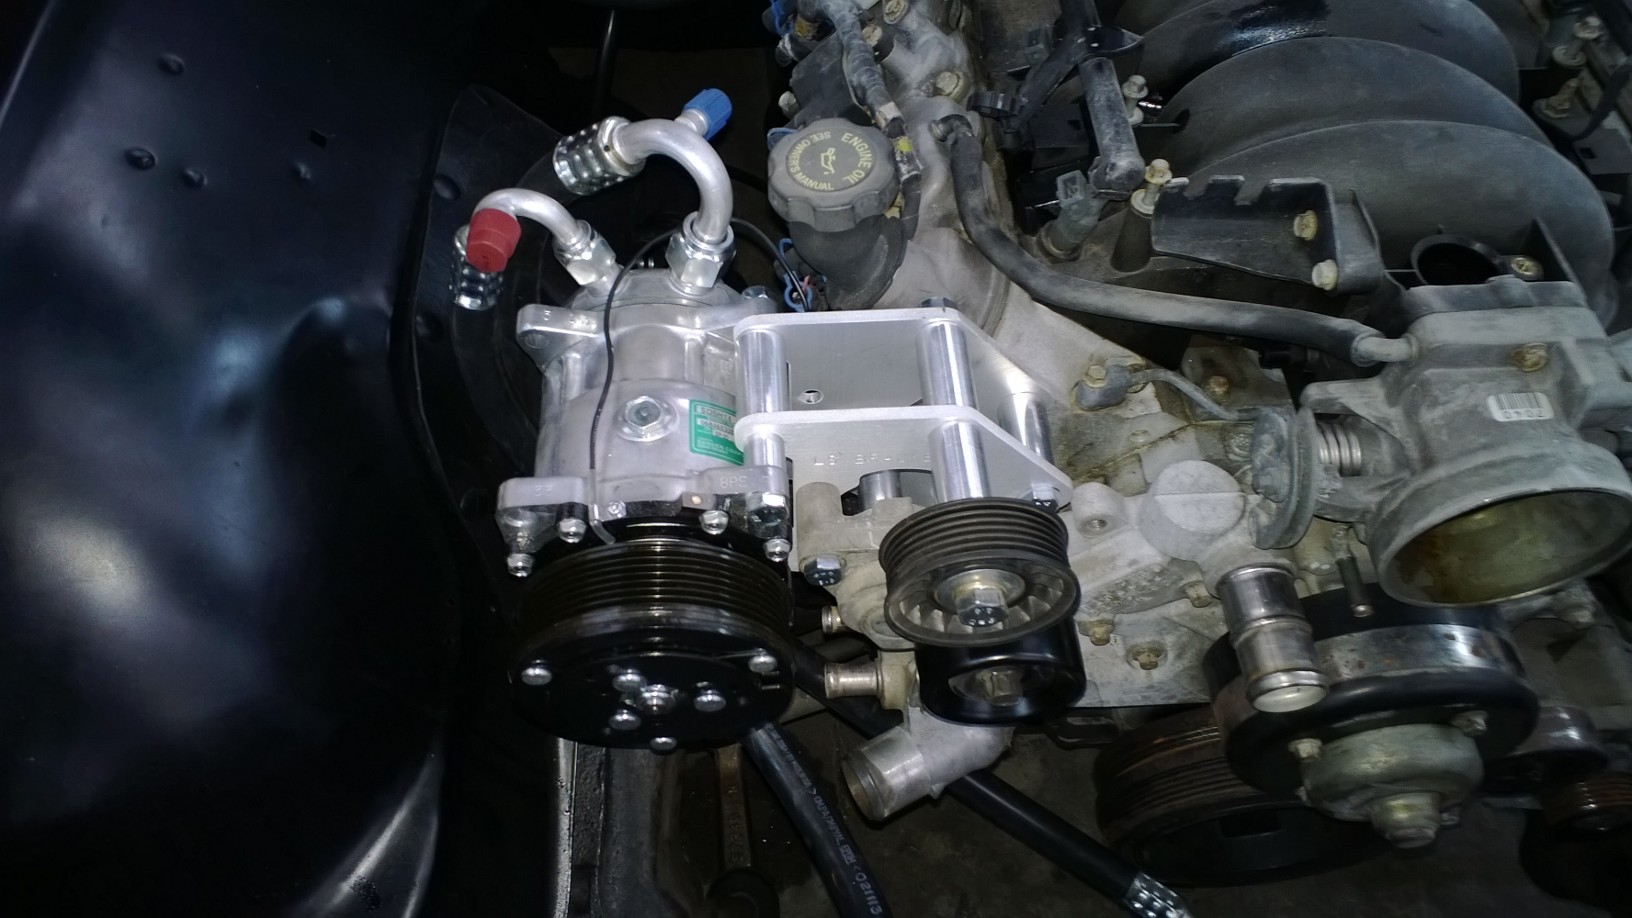
There was already a Vintage Air A/C system installed on the SBC. I reused the Sanden compressor. I had to change the pulley and clutch to a serpentine belt from the V-belt that it origionally was. Then installed the compressor with the bracket we got from Ebay.
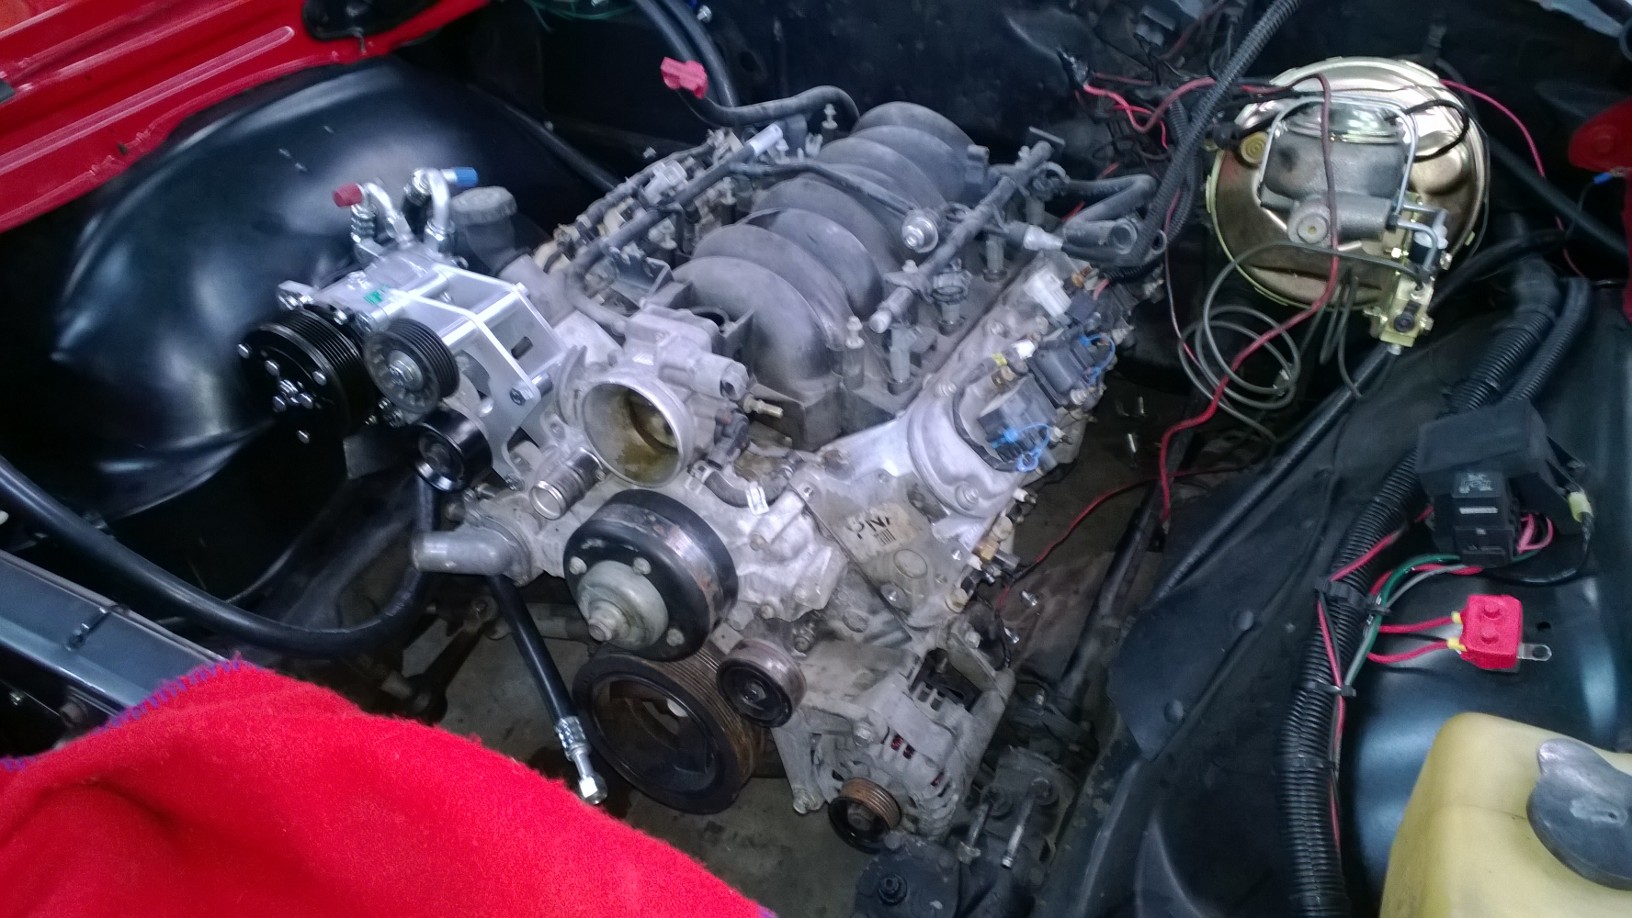
This how the car looked when I finished tonight.
Sorry for the quality of the pictures in the last few posts as I used my cell phone. I forgot to charge the camera.
01-10-2014, 12:30 AM
#16
On The Tree
iTrader: (2)
Join Date: Apr 2012
Location: San Jose, Ca
Posts: 184
Likes: 0
Received 0 Likes
on
0 Posts
Allot of progress in a few days. The 1/4" steel you put in place where you notched the crossmember, is that in 3 pieces or did you use one and bend it?
I see that line next to it too is that the fuel line you crossed over?
I see that line next to it too is that the fuel line you crossed over?
01-10-2014, 05:56 AM
#17
TECH Fanatic
Thread Starter
I actually have a piece of 3"x3" angle steel, i cut pieces off usin the bend in the corners and then cut a flat piece off for the center. Yes I used 3 pieces but I didn't bend it, I used the existing bend. Worked very well, I pleased.

