When you click on links to various merchants on this site and make a purchase, this can result in this site earning a commission. Affiliate programs and affiliations include, but are not limited to, the eBay Partner Network.
Looking great. I assume that's epoxy primer? WHat brand rotissery (SP) is that? How do you like it? Any reason you didn't remover the cowl (what ever the panel is between the windshield and firewall) since you were blasting/priming?
Looking great. I assume that's epoxy primer? WHat brand rotissery (SP) is that? How do you like it? Any reason you didn't remover the cowl (what ever the panel is between the windshield and firewall) since you were blasting/priming?
Thanks Jimbo. Yes it epoxy. The rotisserie is an Auto Lift CR-3000. i really like it for the price, except we had to remove all the powder coating from the vertical tubing in order for it to lower with weight on it. Also the rotation lock pins are cheap pot metal and bend easily. will eventually machine new ones.
This round of blasting, was the second time.. primarily to clean up roof supports and some spots that were flash rusted from touching certain areas. the roof was not intended to be replaced when we blasted the first time, so the skin was still on. EDP coating was all removed from new sheet metal with DA's. So.. the upper cowl was already blasted when the car was just a roof and A-B pillars. I didn't post any of those pics, as there are plenty of those floating around.
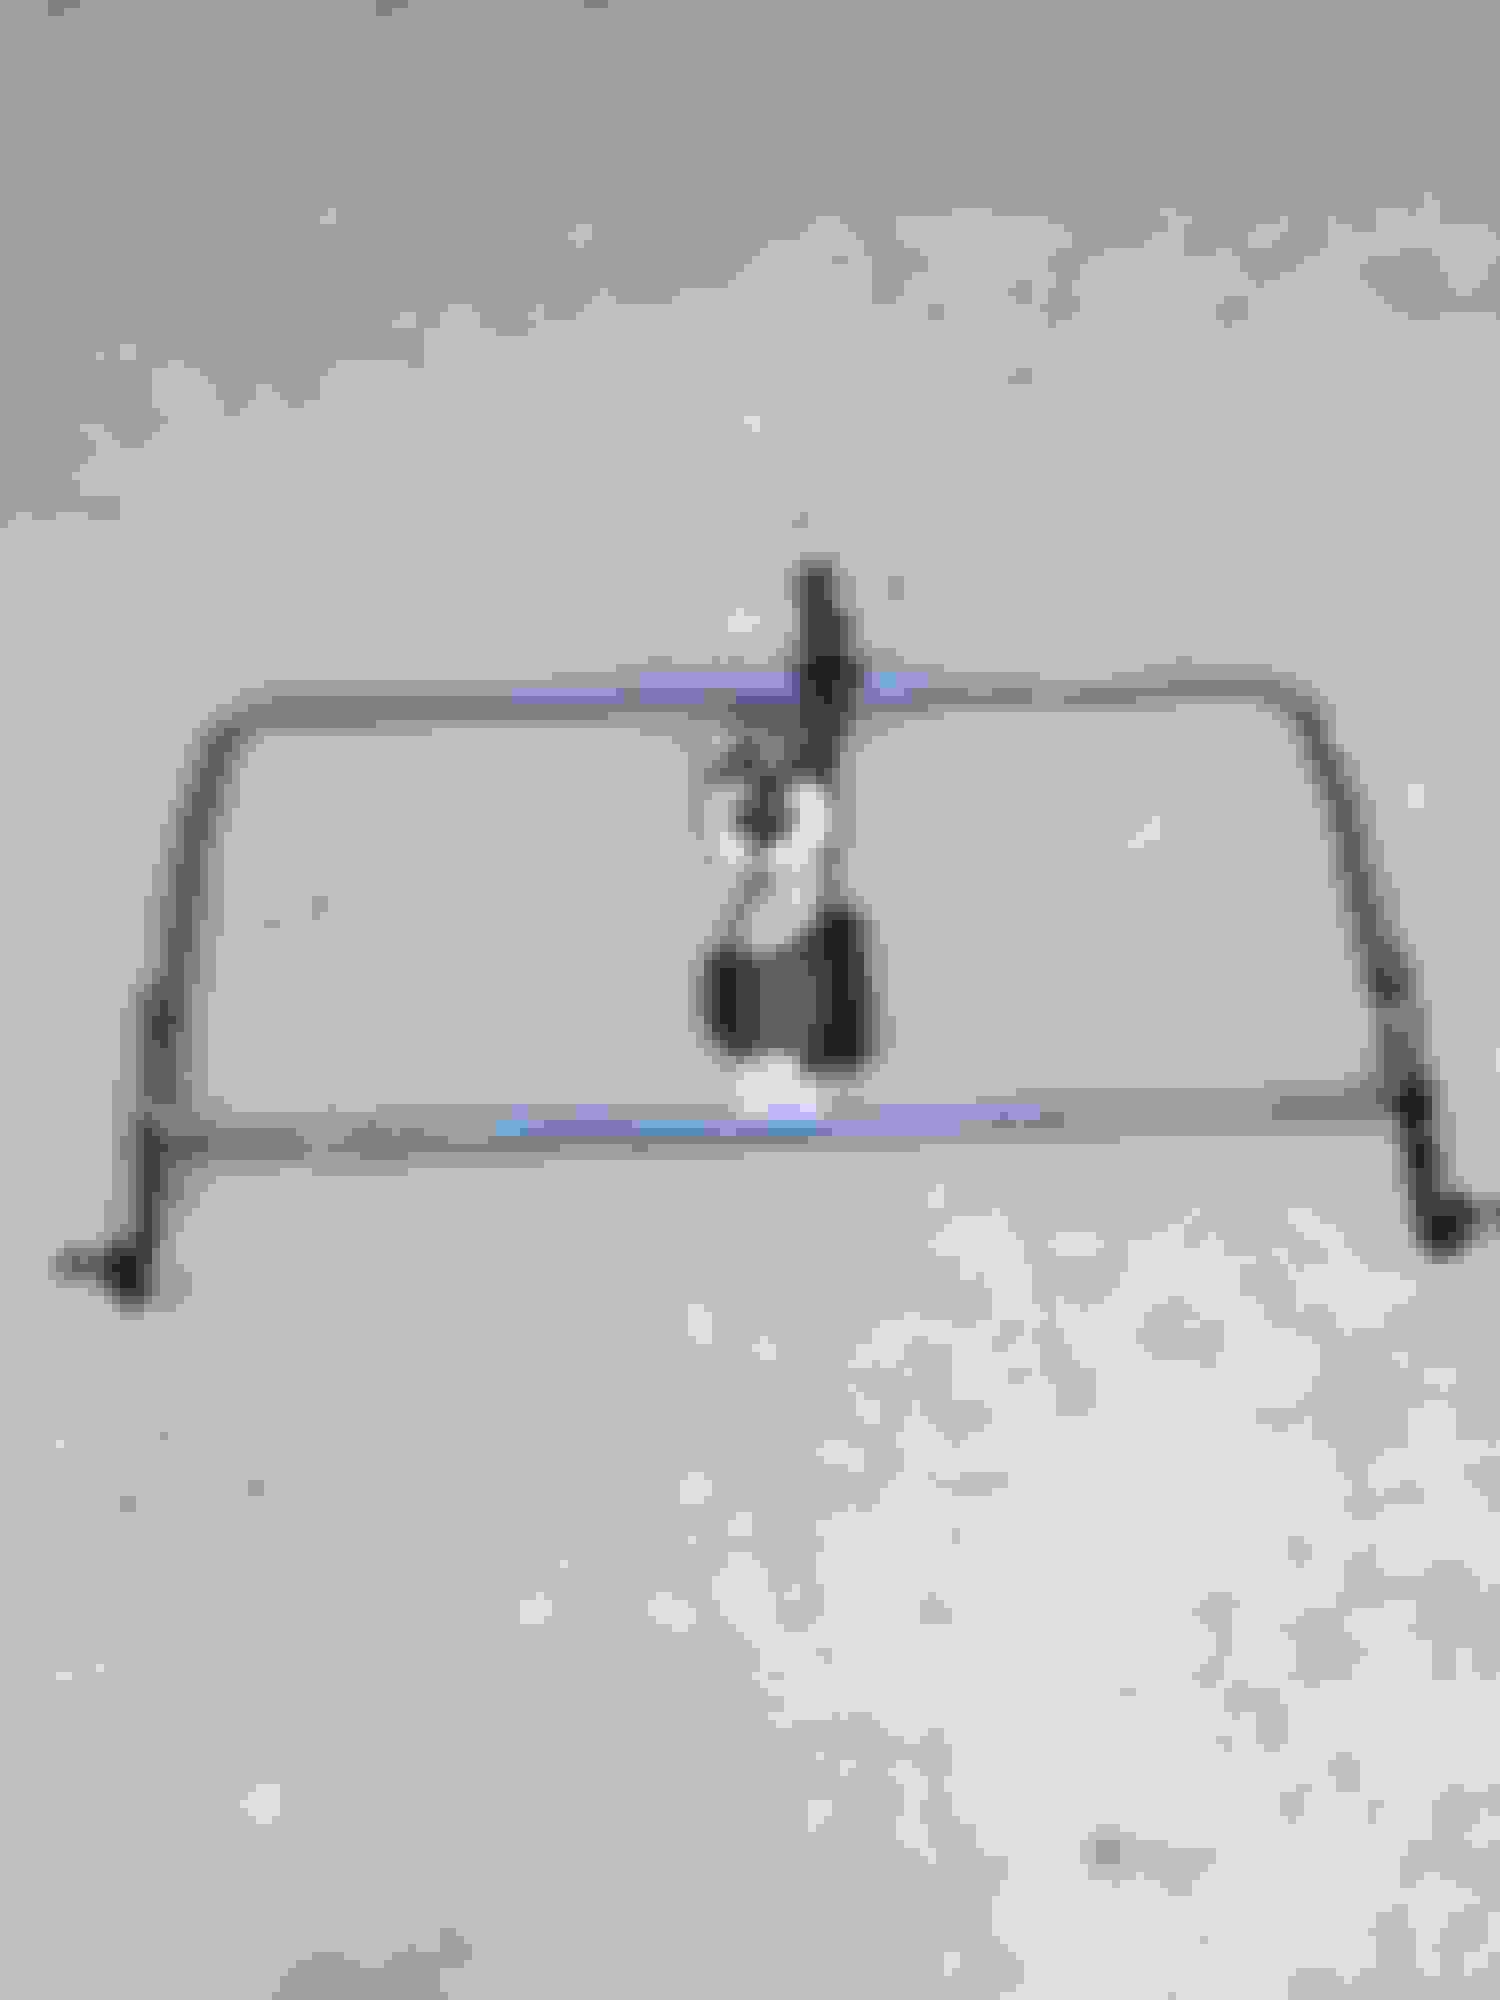
GReat work. I'm glad to see the rotissory pic. W/O 1/4s; roof and tail panel. I want to do this to my bros 70 Cam. and I figured I'd have to stiffen it before.
What did you line the inside of the 1/4 with? It kinda looks like truck bed liner.
GReat work. I'm glad to see the rotissory pic. W/O 1/4s; roof and tail panel. I want to do this to my bros 70 Cam. and I figured I'd have to stiffen it before.
What did you line the inside of the 1/4 with? It kinda looks like truck bed liner.
Thanks Jimbo. I'd be hesitant to put stock camaro on rotisserie like that. ours had door bars welded on, and welded to a jig until the floor, wheel tubs, frame connectors and trunk pan were all final welded...Bead welded in a lot of places. Our transmission tunnel is also way beefier than stock, due to the upper corner reinforcements that run the length. As a note... the frame rails are also the thickest I've seen. sourced them from Brian at Screamin Performance. Dunno which manufacturer makes them, but i haven't seen another that thick at any of the swap meets. and of course the rockers have been sectioned and boxed at the seat area.
Most would comment that it was not a good idea.....but all 165 lbs of me was also sitting in it on the rotisserie. LOL....Its solid! all our alignment screws lined right back up when i was welding on quarters and roof.
The coating inside the quarters is plain old rattle can rubberized undercoating. Dust coat. on top of epoxy primer.
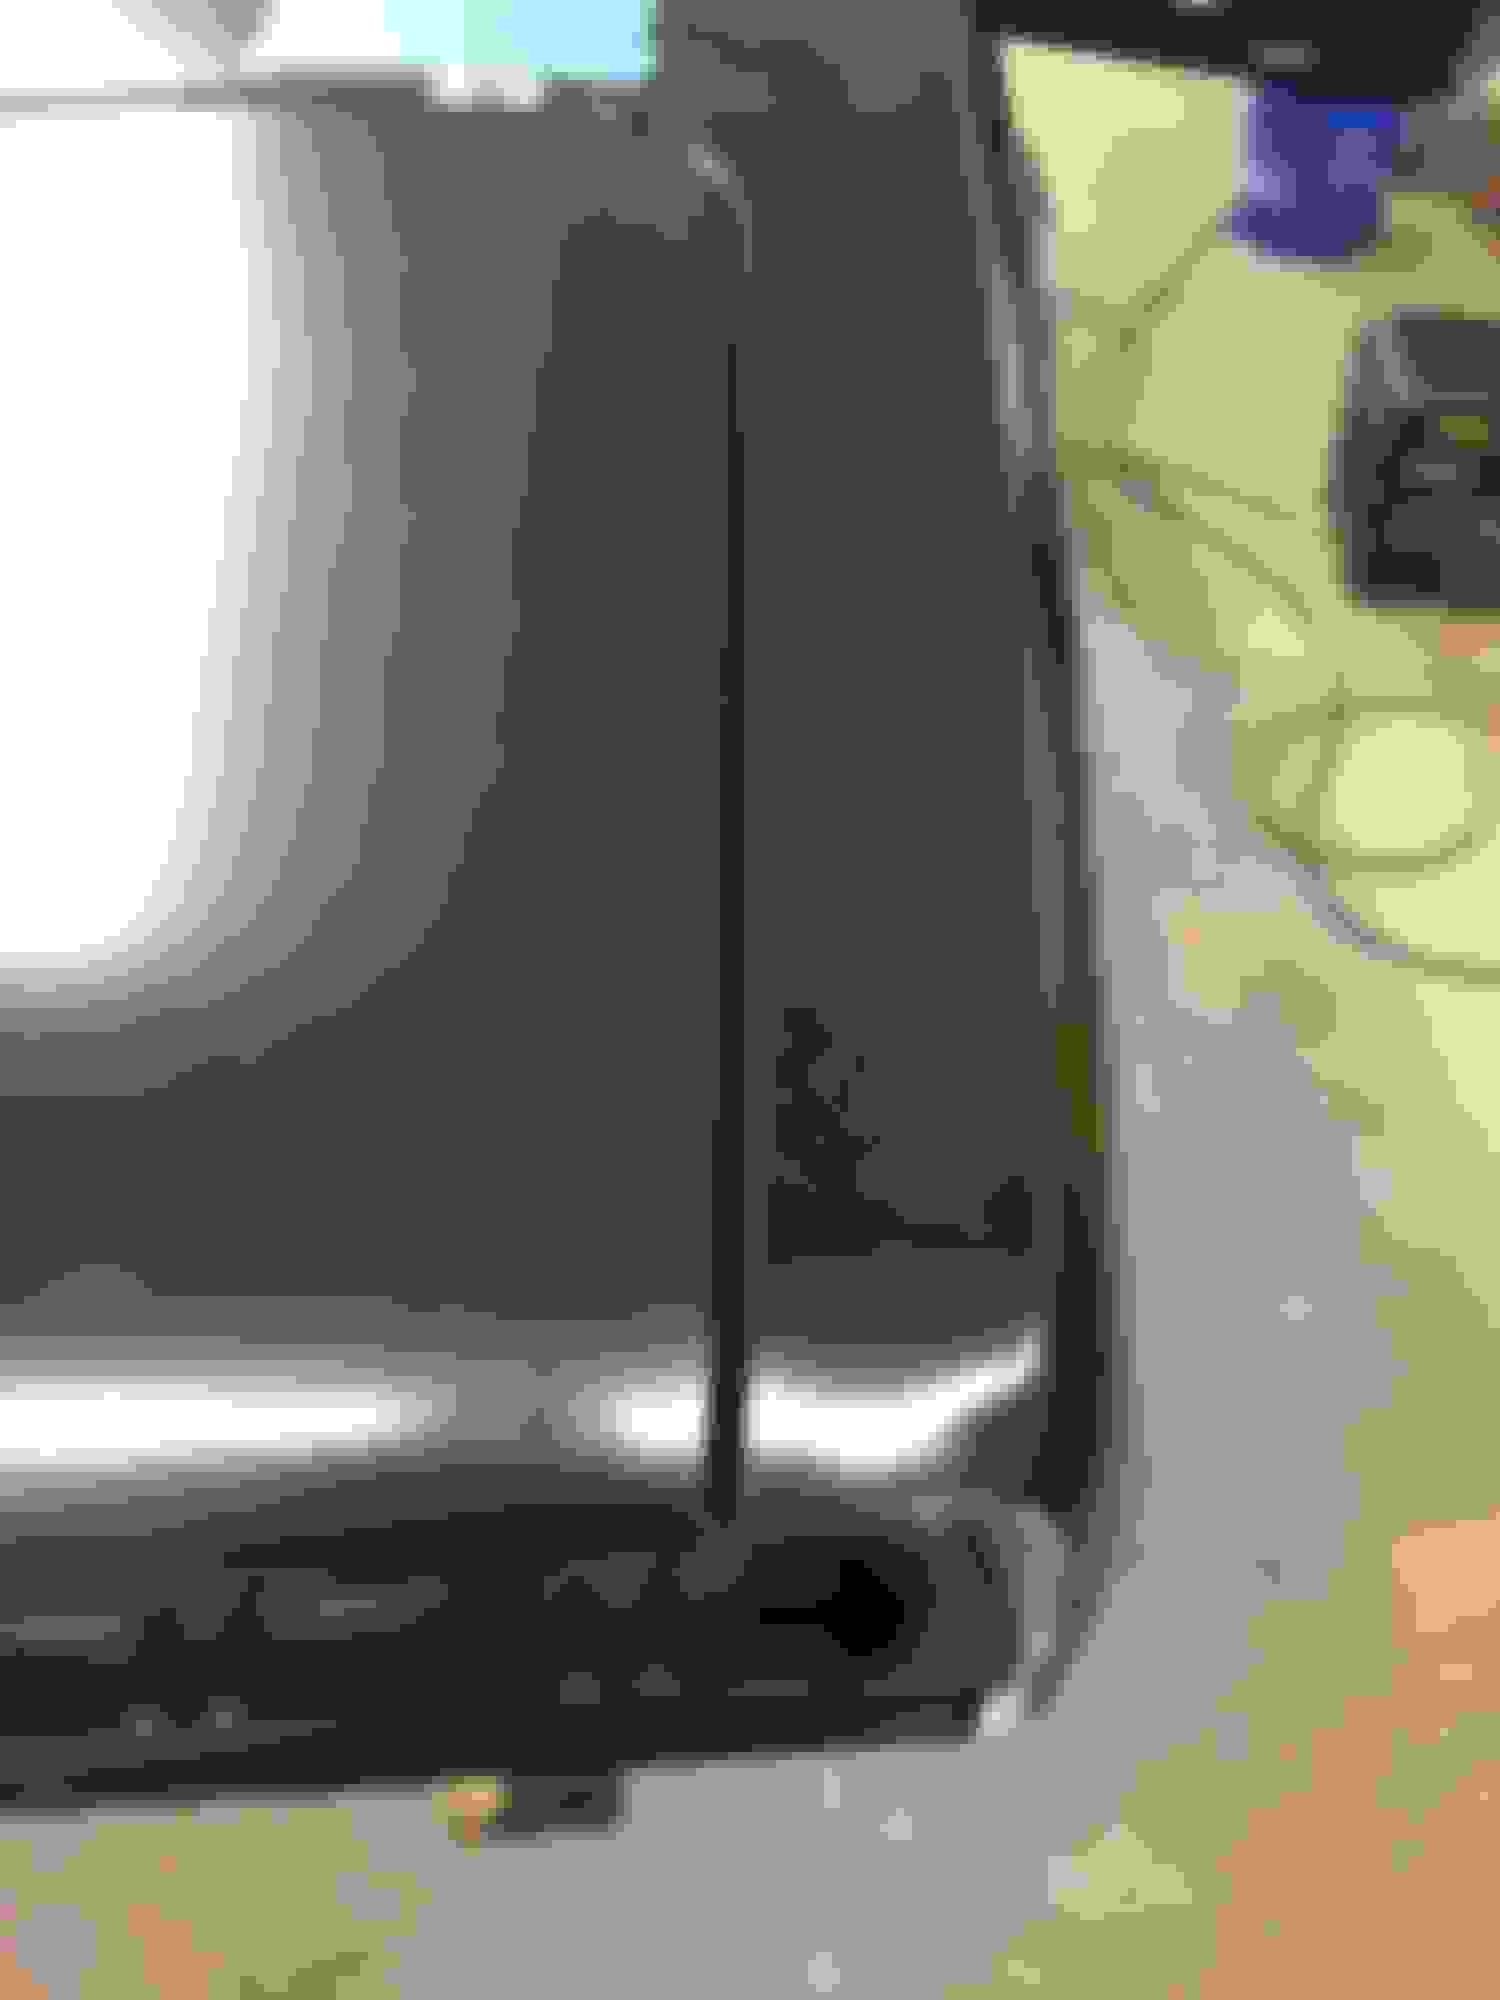
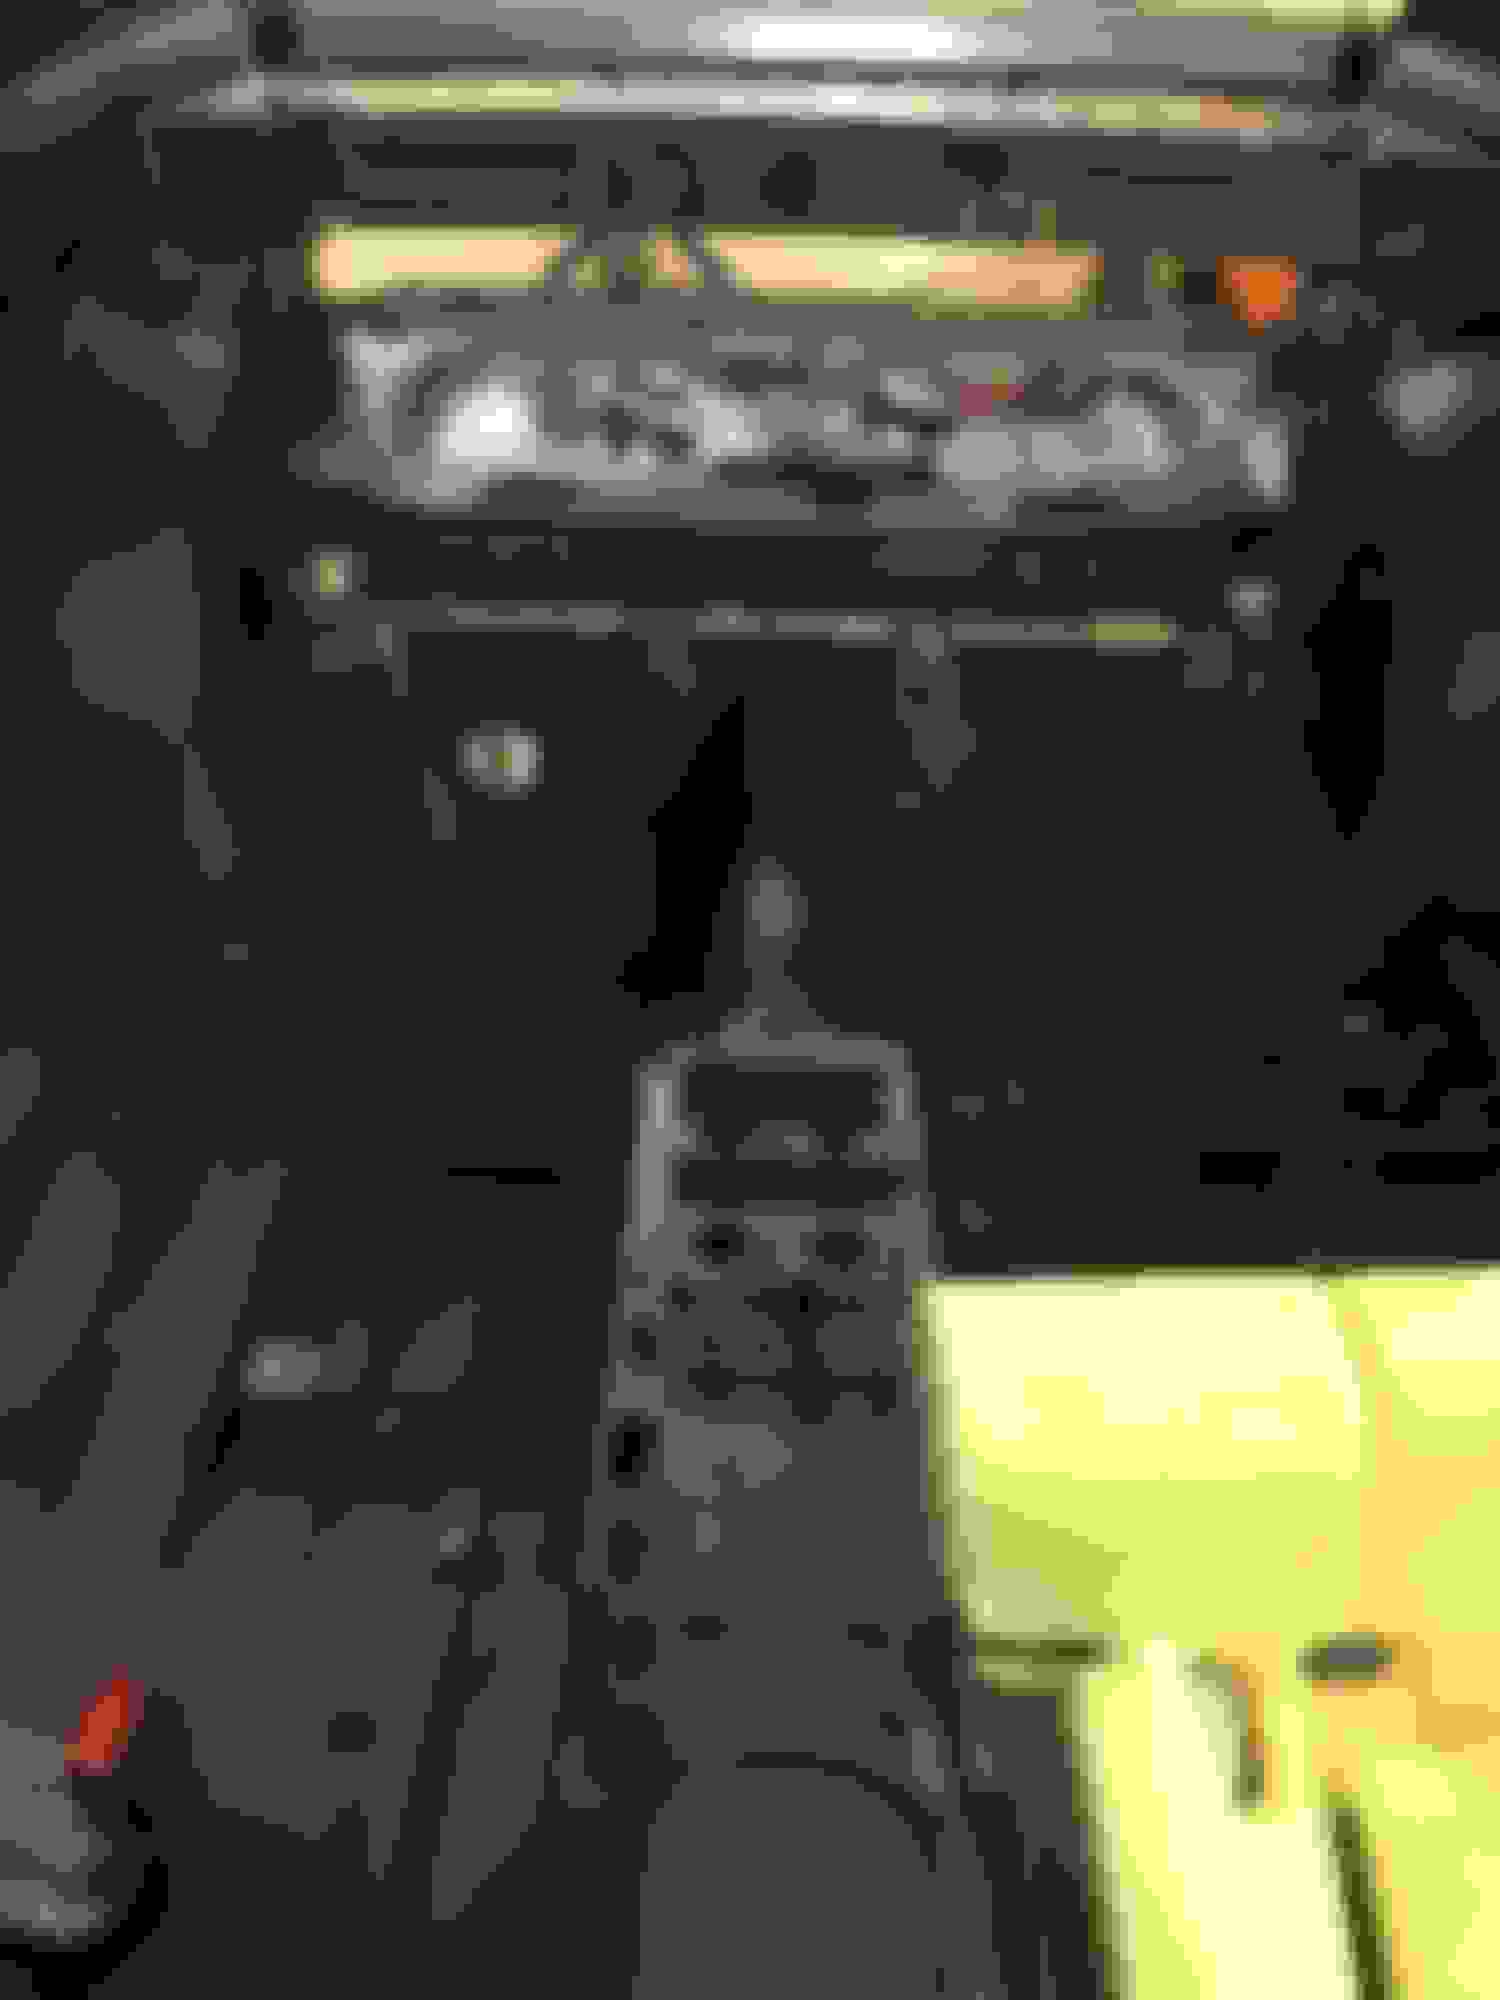
Fitting trunk..need some work, but not bad. Mods for back seat, as well as modeling interior quarter trim for fabrication in 5th gen styling. The package tray will be modded to recline the seat back another 3". Last pic is me sitting in the back seat!
Last edited by cryptonomad; 10-25-2015 at 09:01 PM.
WOW. GREAT work dude !!! Just think how much cash you as saving doing it yourself. LOL.
Thanks as always Jimbo! If we weren't doing it ourselves, it wouldn't be cost effective, and would most likely have to settle for what's off the shelf aftermarket wise..that in most cases are 70% solutions with many compatibly gaps. Objectives still remain...a cool, reliable, serviceable, driver!


 10-13-2015, 03:04 AM