When you click on links to various merchants on this site and make a purchase, this can result in this site earning a commission. Affiliate programs and affiliations include, but are not limited to, the eBay Partner Network.
This is the part where I try my hand at my first build thread. I think it will help me, and I hope that it helps anyone else that might have questions on their builds.
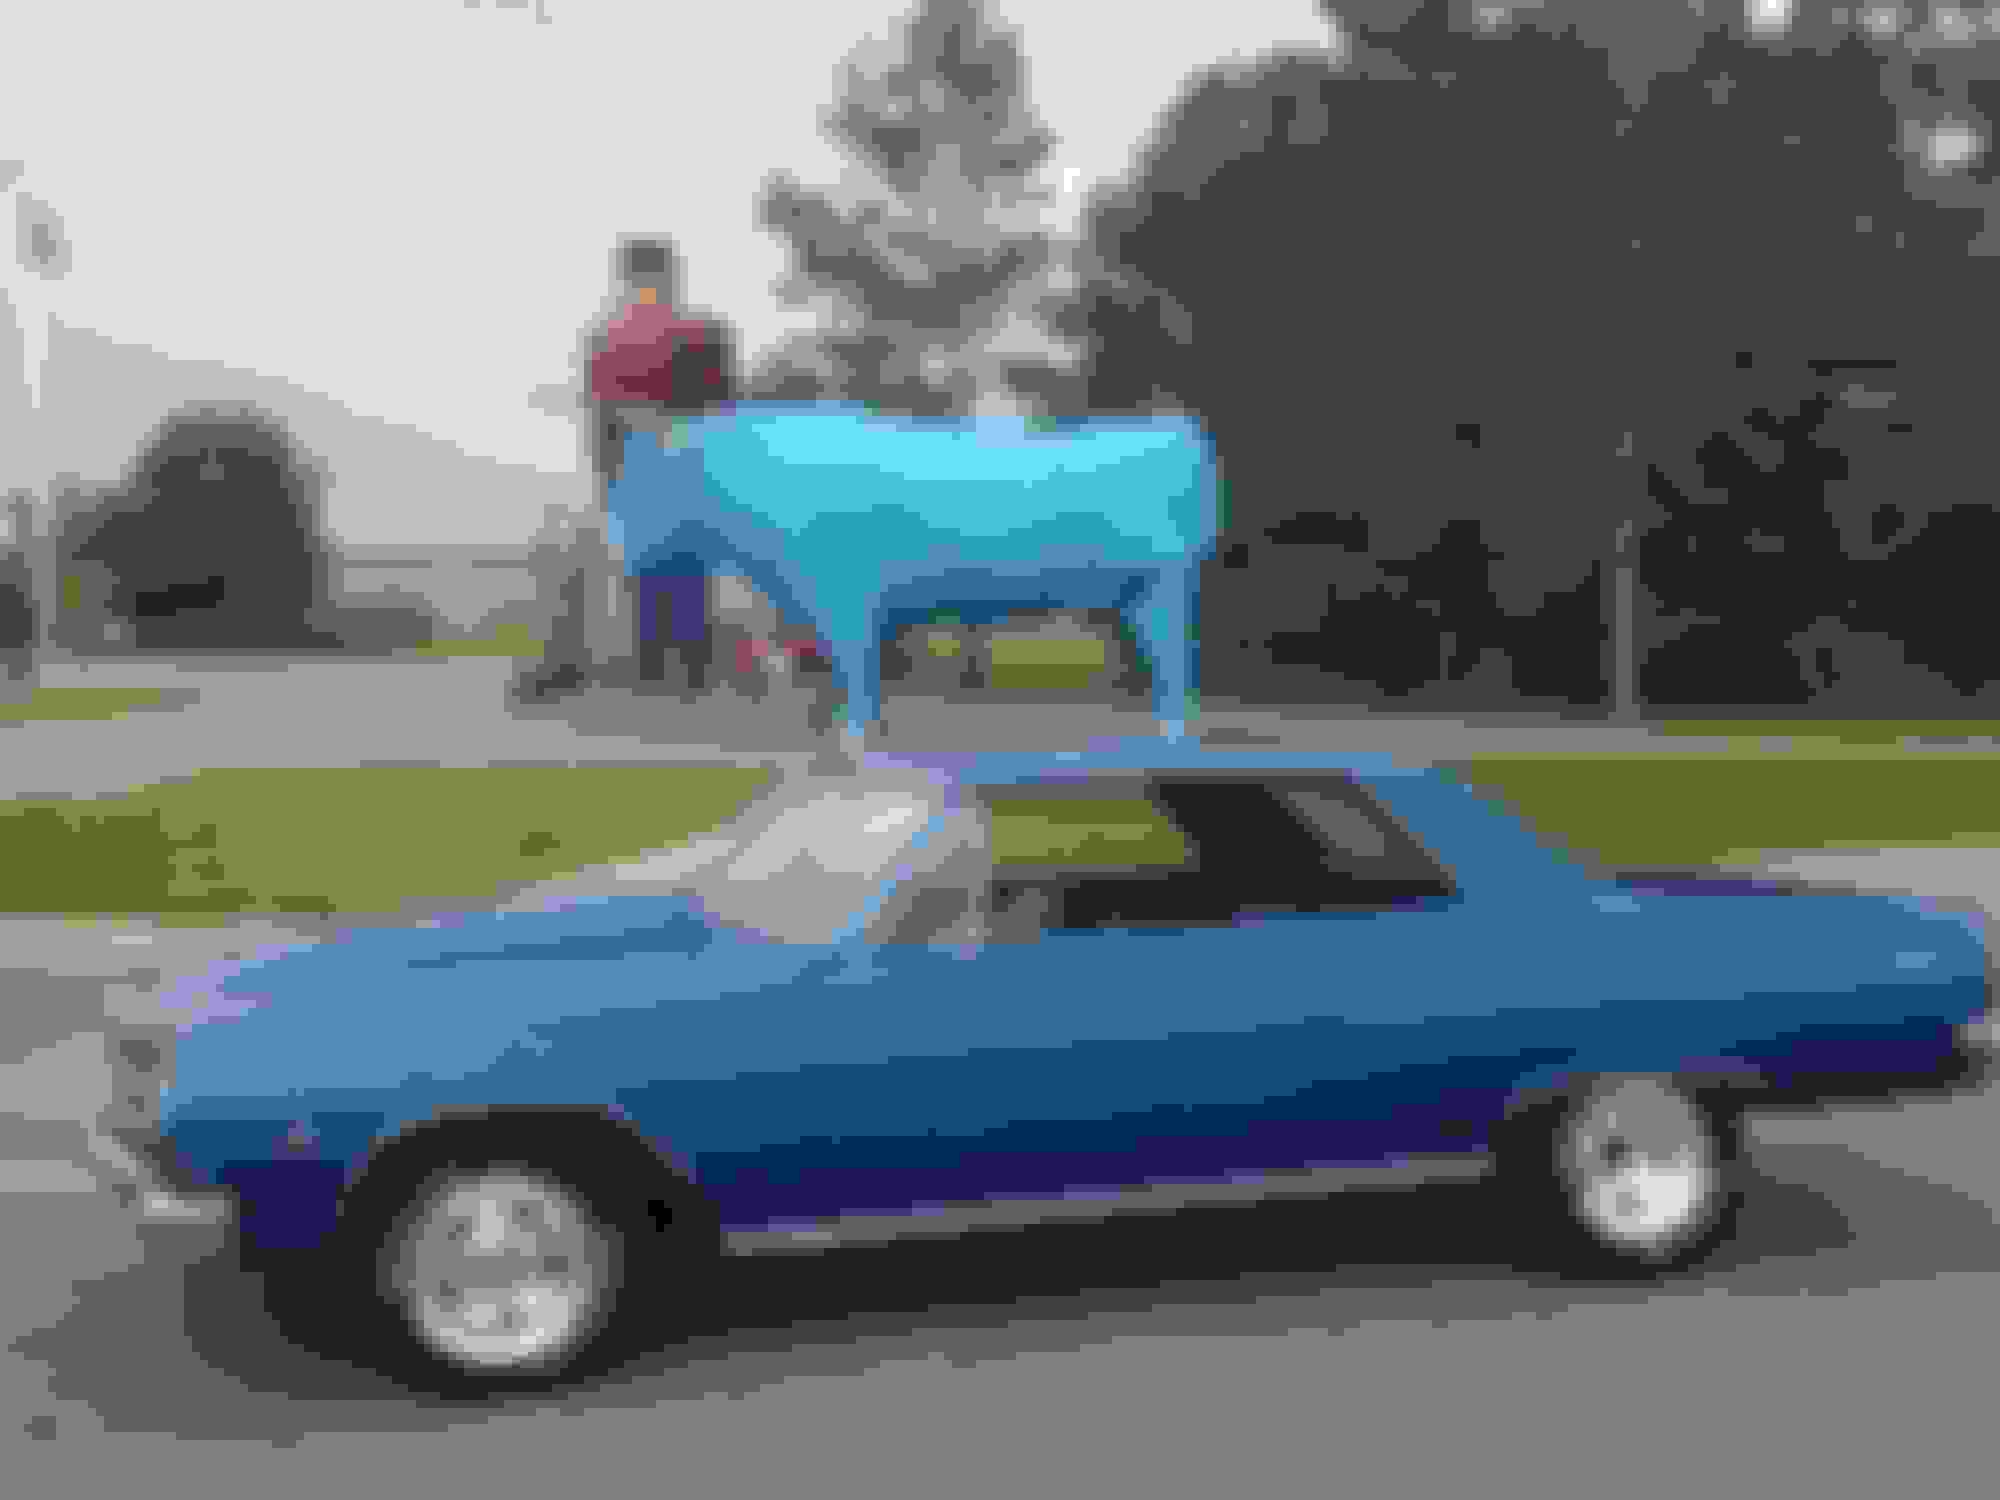
Some background on myself and the car. This is my very first attempt at a restoration project, so I tried to find a car with a nice body, and interior. The car I found was up in Bemidji, MN. The guy I purchased it from wanted to keep his Big Block/Power Glide setup, so I felt this car would make a really good candidate.
Car as it was in MN in front of Paul B and Babe. We named the car Babe
So after getting the car down here I was a bit overwhelmed, and really did not know where to start. Once taking a breath and reading on here and talking to many of you guys I decided to start poking around on craigslist for a motor and trans. I found a pullout motor/trans LQ4 with the 4L80E.
I ended up finding a local engine builder that came highly recommended from this site. I do not believe he is a sponsored vendor, but if you want his info just PM me. So far he has been great. We are taking the 6.0L and making a stroker motor out of it. It will go from a 3.62 stroke to 4.1 stroke. We obviously will be replacing all the internals with forged components.
We ditched the old truck intake in favor of a EFI Super Victor with the FAST 4150 Throttle body to keep a bit of the old school look.
After talking with many members here, I decided to ditch the factory wiring harness, b/c it looked pretty rough, and went with Painless Wiring Harness (part #60217). I am wondering who on here has had experience working with this harness, and what I need to be aware of with it. When I opened the box, it is pretty damn scary!
Got the car to the shop where all the work will be happening. We removed the front clip for a closer inspection.
Front Clop off
We ordered Energy Suspension Short and Wide mounts, power brakes and power steering. I want to change the rag joint to a U joint setup. I have been instructed to call either Borgeson or Flaming River. I will try to reach out to these guys tomorrow to figure out what we need here. If anyone has any suggestions here please let me know.
Also the brake lines that were in the old master cylinder where crap. Can I run stainless steel flex lines directly to the master cylinder or do they need to be the solid 3/16 bent steel lines?
Also I am shopping for headers. It seems like this is a big problem with all these A Body cars. If you guys have suggestions please let me know.
Been shopping for headers lately. I am planning on running those DD Dirty Dingo mounts, and Brent there recommended me calling American Racing Headers.
I will keep you posted once I talk with Steve over there. Thanks.
Good looking car! I hope the roof is alright after the bull stepped on it though!
Thanks I appreciate it.
We started on the rear disc conversion this weekend. Never had done one before, and it went fairly smoothly. Some of Summits directions were bad, but all in all not too bad.
Rear disc brake conversion.
I know, I know there not the Wilwoods I have seen many of you guys running, but I did not find out about those until a bit late. Anyway, this will be an improvement over the stock drums.
One question that I do have is on the steel brake lines. Now that I have the rubber brake line that is running from my caliper to my existing steel lines, my existing steel lines are too long. What do you guys do in this situation? I think I am going to get new lines to length, but do most of you bend and flare your own brake lines, or where do you get them? Thanks
If you need them shorter, just cut and double flare. Get a reasonably good flare tool, at least a mid price sears. I'm sure you can find a youtube video on double brake line flares. If they're stainless, they'll be a pain though.
Btw, nice car, big project for first restoration.
If you need them shorter, just cut and double flare. Get a reasonably good flare tool, at least a mid price sears. I'm sure you can find a youtube video on double brake line flares. If they're stainless, they'll be a pain though.
Btw, nice car, big project for first restoration.
Can someone recommend a good double flaring tool, bender, and cutter? I am looking at them on Amazon, and not too sure which ones are quality and which ones are junk.
Also on the lines that go directly into the master cylinder, do those need to be solid lines, or could they be that flexible stainless? If they need to be solid lines, that is fine, but I could get the ones that transition from solid to flexible stainless.
Since you're starting out on car restorations and working with LS motors and fuel systems, check out the hydraulic Mastercool 71475 (ebay). It might seem overkill, but I have more than that in a 37 and 45 degree manual flare tools. And it does the quick disconnect fuel lines too.
Stick with hard line to the master cylinder.
Thanks guys, for all these brake lines I am going to try to pick up already flared lines, and then just bend them. I bought an Eastwood Bender Kit
I think eventually I will have to break down and buy the Mastercool set or Rigid. Those two seem to be the leaders in the club house.
On the steering side I decided to ditch my rag joint and go with an upper and lower ujoint setup on a telescoping shaft from Borgeson. Here is a picture of the installed setup on another car.
Optimal steering setup.
Last edited by Mike Blanco; 11-12-2014 at 10:14 PM.
Reason: Spelling Error
The engine should be done in the next few days. We just have a few things to button up. I am very pleased that we went with the Super Vic for the old school look. I can not wait to slide it into place w/ the 4L80E.
I have a feeling we will have a bit of tunnel massage for the transmission, but hopefully we can overcome that.
414 CI, EFI Super Vic
Last edited by Mike Blanco; 11-12-2014 at 10:15 PM.
Well I need you guys help again. I have the motor ready to go, and I have sent the transmission off for a rebuild. We are going with the 4L80E, I understand there might be some tunnel massage to get her to fit, and I think we can overcome that.
What I am looking for is a crossmember for the 4L80 in a GM A Body. I contacted G Force and they do not have an offering for me. I looked on the summit site, and they have many there, but not sure how well they would work. Does anyone have one that is hands down the one to go with?
If push came to shove I could fabricate one, but for $250 it might make sense just to order one that I know is right.
I was able to use the stock crossmember with my T56. You just need to cut off the tab for the trans mount and weld it at the height you need for correct driveline angle and re drill the frame for bolting up. You should be able to do the same thing with a 4L80.
Good luck on getting that 4l80 in there! I had to beat on the tunnel in my 65 just to get a 4l60 in it. And when I say beat I'm talking about with a sledge hammer!
I'll need the luck. I did see a 1976 era stingray at the shop the other day that the guys put a 4L80E into, and they said it was pretty tight but it had 0 problems. I would have suspected a smaller car like that would have a much smaller tunnel than a 65 Chevelle.
That stingray should have had a T400, or at least a T350, which are considerably smaller than the 4L80. Your car had a glide, which is smaller again. I believe your going to be doing some surgery to make it fit right.

 11-02-2014, 02:57 PM