
LS Conversion under hood pics how/where you ran the harness
 11-18-2014, 11:45 PM
#1
Staging Lane
Thread Starter

Join Date: Sep 2014
Posts: 58
Likes: 0
Received 0 Likes
on
0 Posts
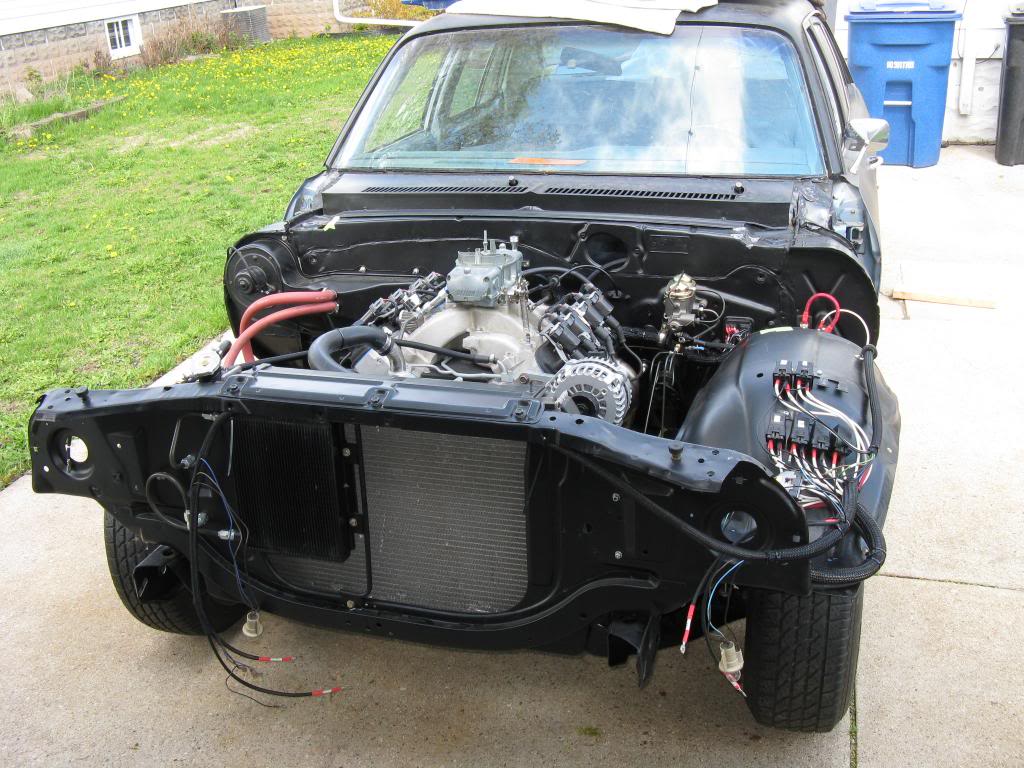
I'm mocking up my harness on the LS conversion for my 66 C10 and I'd like to see some shots of how you guys ran your harness just to ensure there isn't a better way to do it. Also after mock up, did you guys just drill a hole in the firewall and feed it through from inside out? What size hole was needed? Where did you run through? Thanks


 11-19-2014, 11:19 AM
#4
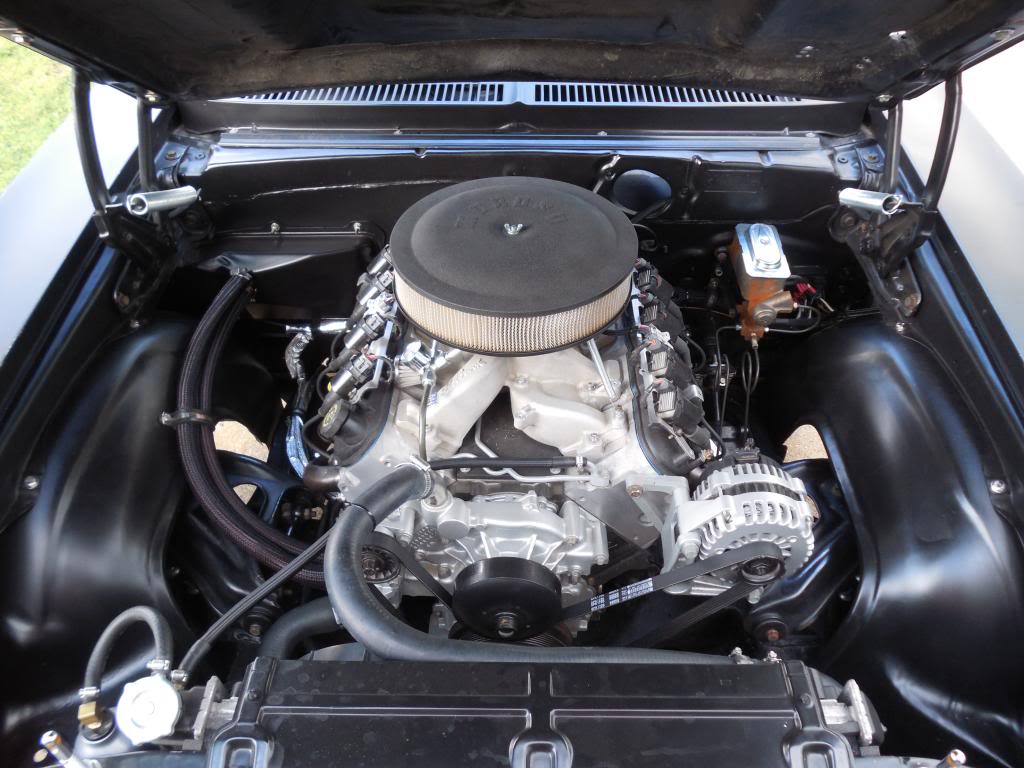
I did the same as 64SS and ran my wiring through the firewall. I made the cover large enough to pass the entire MSD harness through. Almost all the wiring is concealed under the left fender and the battery is in the trunk. I hate clutter. It was more work but the finished product was worth it.


 11-19-2014, 02:27 PM
#5
Teching In

Join Date: Nov 2014
Posts: 29
Likes: 0
Received 0 Likes
on
0 Posts
Chris Cool project. I just subscribed to your build thread. I have a 66 Chevy long box I'm getting ready to swap a 5.3 in. Are you a member on 67-72 chevy truck website?
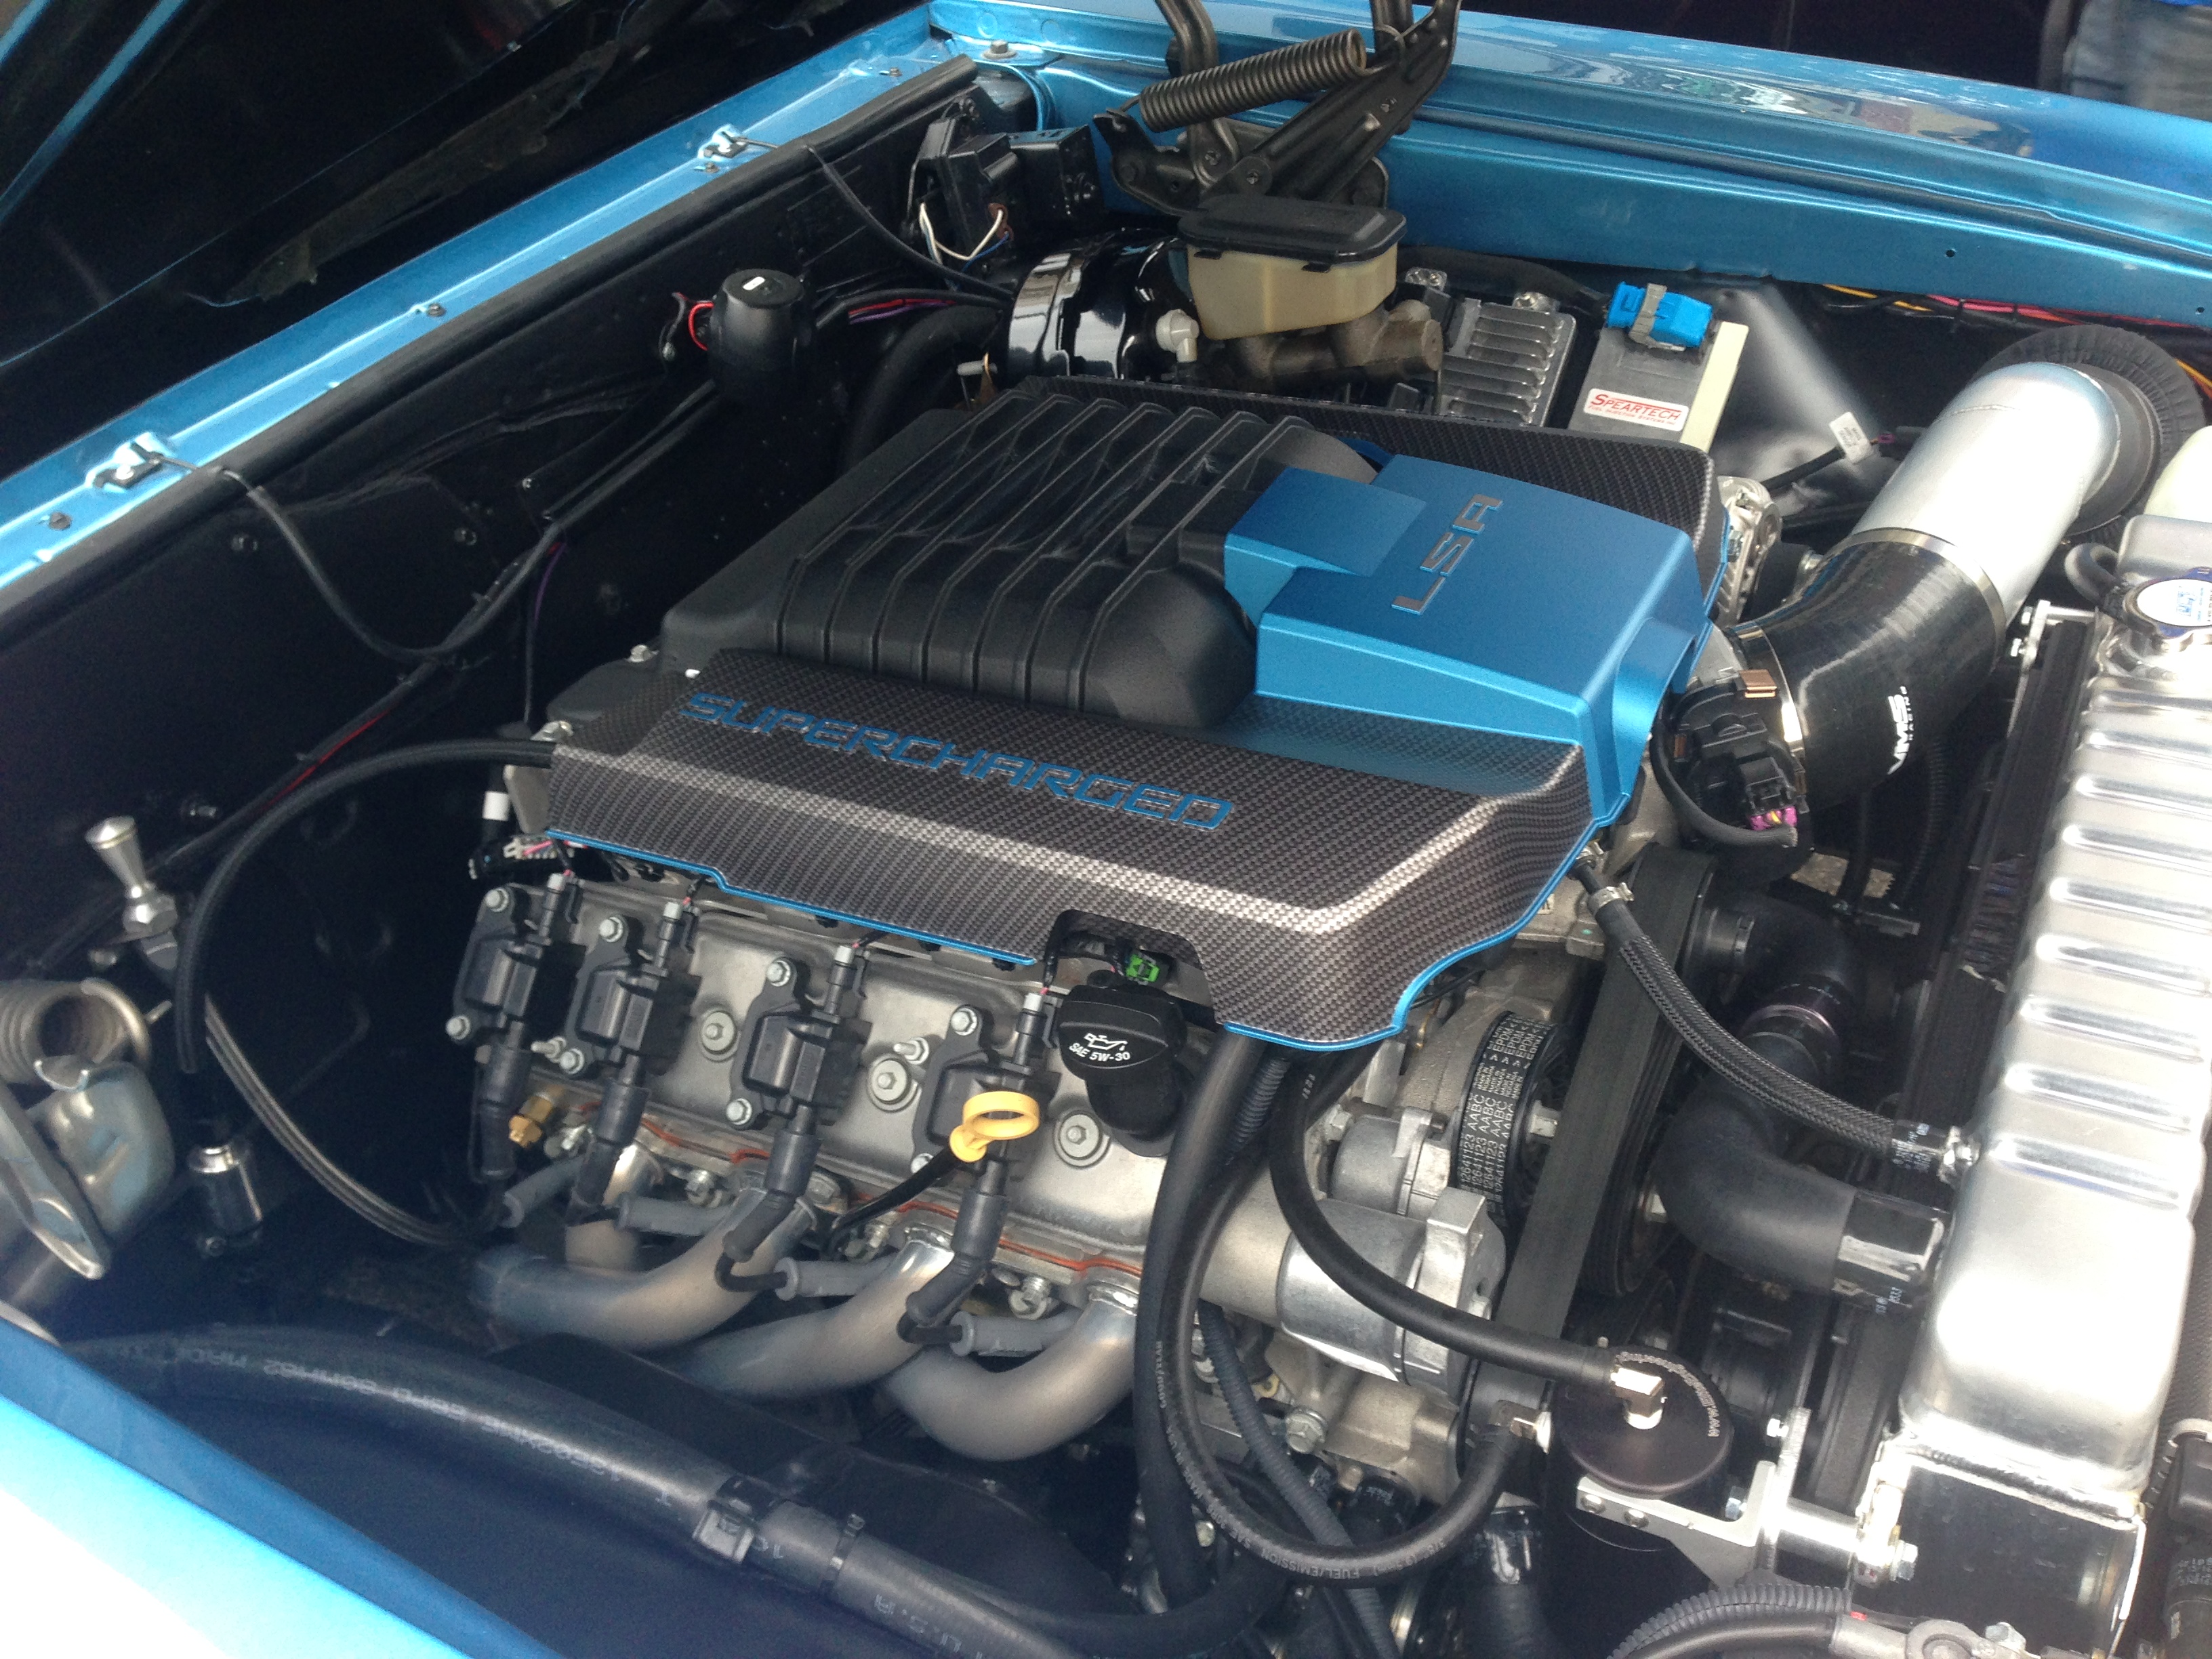
crusin'73 real clean install. Your engine bay looks great.
crusin'73 real clean install. Your engine bay looks great.
11-19-2014, 06:18 PM
#7
TECH Regular
Join Date: Oct 2009
Location: Whitehall,PA
Posts: 482
Likes: 0
Received 0 Likes
on
0 Posts

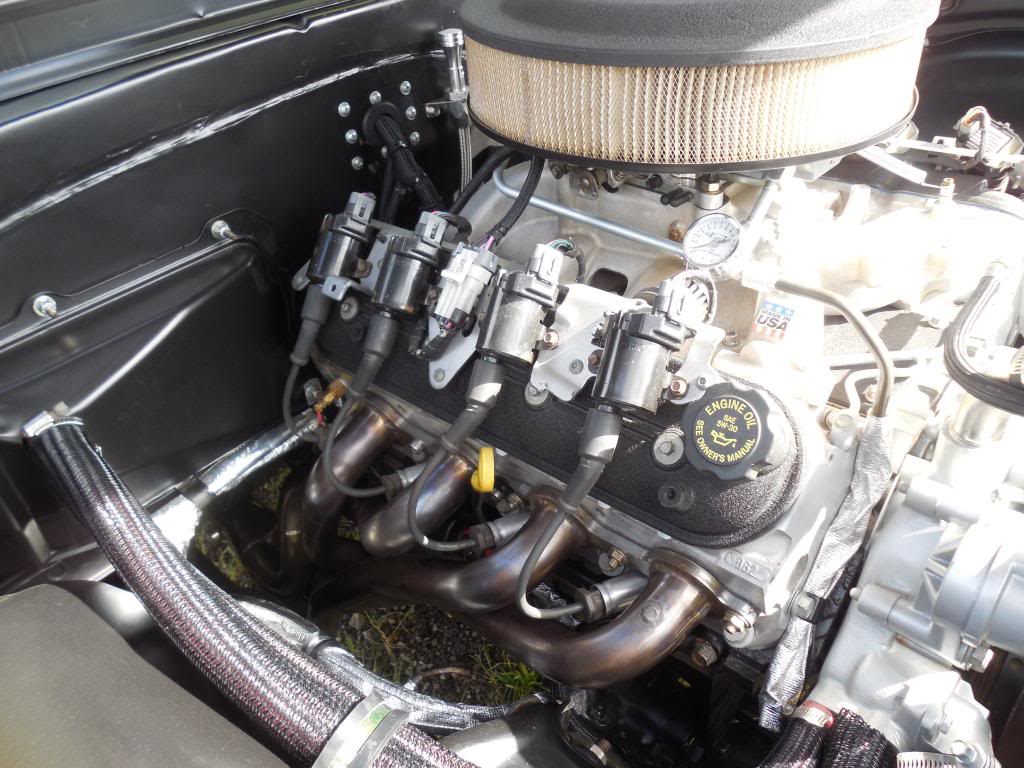
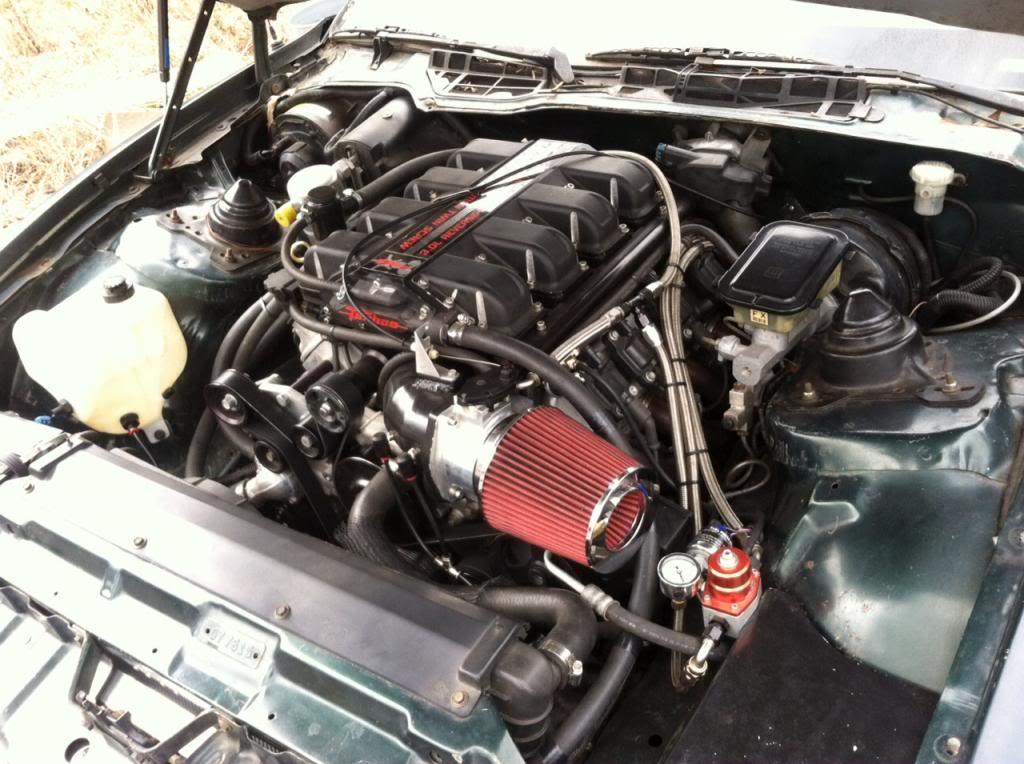
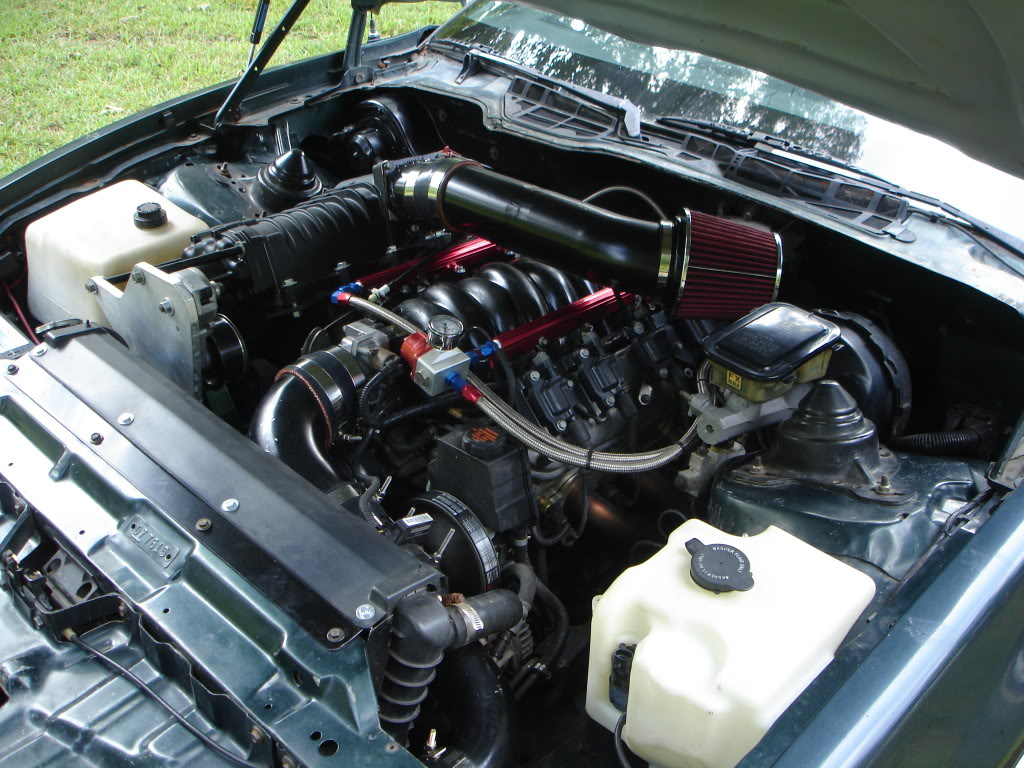
Kinda hard to see from this pic but I went for the clean look on this install. I will try and find a better pic. The Mustang has a large hole in the pass side fender area to run all the wiring through, my ECU is in the glove box.
Trending Topics
11-19-2014, 10:59 PM
#8
TECH Fanatic
iTrader: (7)
I'm kinda' with oldgoat on this one...
I went the route that I wanted all of my wiring out in the open, where if I had an issue, I didn't have to hunt for an answer...
But...I also wanted mine to look as much like a "sleeper" as I could...


 11-20-2014, 12:56 AM
#9
Staging Lane
Thread Starter
Join Date: Sep 2014
Posts: 58
Likes: 0
Received 0 Likes
on
0 Posts
Yep I'm a member over there as well under this same screen name. Have a build thread here and there.


 11-21-2014, 07:54 AM
#12

Homemade87,
That looks clean. Any build threads/pics?
That looks clean. Any build threads/pics?
11-21-2014, 08:27 AM
#13
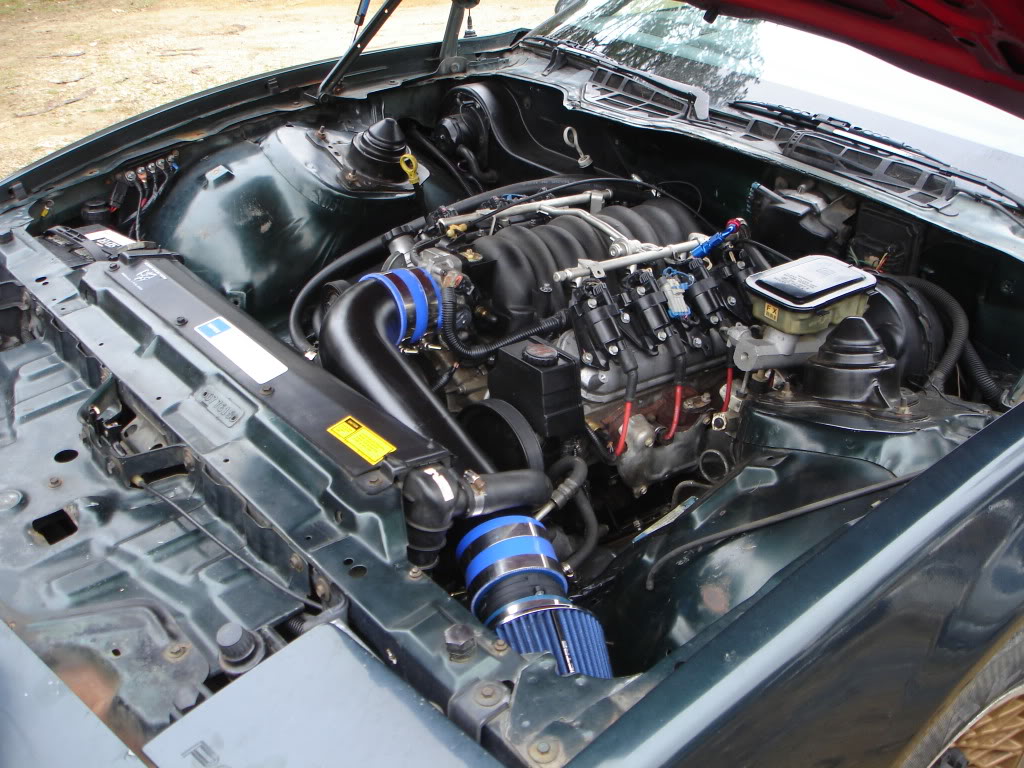
I do not have a build thread. It was a total resto. It was painted apart and then assembled. It really did make a difference on the out come.It is just as nice from bumper to bumper. I do have pictures but I don't want to clutter this threat. Here's just a couple.
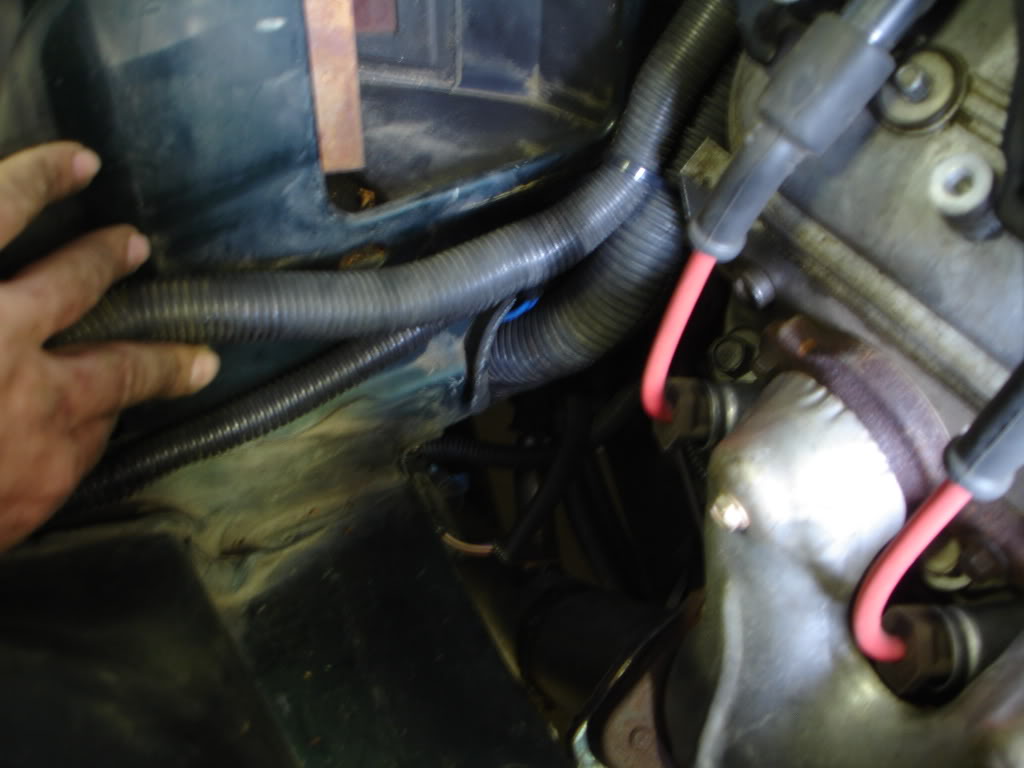
I did find another picture of the grommet I used to go thru the firewall. I took it off and old harness and split it to make it work on the harness. Worked out good.
I did find another picture of the grommet I used to go thru the firewall. I took it off and old harness and split it to make it work on the harness. Worked out good.
11-21-2014, 12:28 PM
#14
TECH Apprentice
Join Date: Aug 2010
Location: Melbourne, FL.
Posts: 381
Likes: 0
Received 0 Likes
on
0 Posts
Chris,
The harness will usually fit through a 1-5/8" hole (minimum) in the firewall. That said a 2" diameter (panel hole) grommet might be easier to find. A quick search on fleabay for 2" Rubber Grommet will get you what you need if you can't find one that big at the local hardware store.
Feed engine and trans ends from inside to out starting with the biggest connectors first. The last ones to poke through should be the ECT, VSS and ISS. It will seem like they all won't go but they should.
Being that your harness began life as a truck harness it will be predisposed to a location on the left side of the truck and your Alternator plug might come up a bit short if you go in cab with the PCM. It's not a big deal to add a few inches to the two wires though. Let me know if you need a care package sent with the wires for custom lengthening.
Considering the original length of the harness, if you want the PCM in the cab, it will need to be on located near the center of the dash or toward the driver side. You can do a test of PCM location by getting a piece of rope 42" long. Tape it to the driver side coil pack main connector and that is your "leash length" for the PCM and your harness.
I'm not on here all of the time so if you have other questions just give me a call.
Regards,
Last edited by Docked Wage; 11-21-2014 at 12:53 PM.
11-21-2014, 07:45 PM
#15

Not really the same application but maybe you can get a few ideas. Here is my '39 with a clean firewall and harness passthru kinda hidden by the fuel rail. Also note the body wiring passthru. Bittet passthru on the other side to balance.
11-22-2014, 09:58 AM
#17

Ken
11-22-2014, 03:15 PM
#18

I build wiring and despise seeing it in an engine bay. If there is a problem, it can be removed entirely in about the same time it takes to change the plugs/wires for easy diagnostics and repairs
2" hole the harness passes through the firewall. I use 3/8 hose split long ways, but common grommets also work
2" hole the harness passes through the firewall. I use 3/8 hose split long ways, but common grommets also work
 11-22-2014, 05:12 PM
#19

I am not a fan of visible wiring, so I use heat shrink on the connector ends and top side harness to keep it as thin as possible, then use other parts to block as much visibility of the harness as possible.
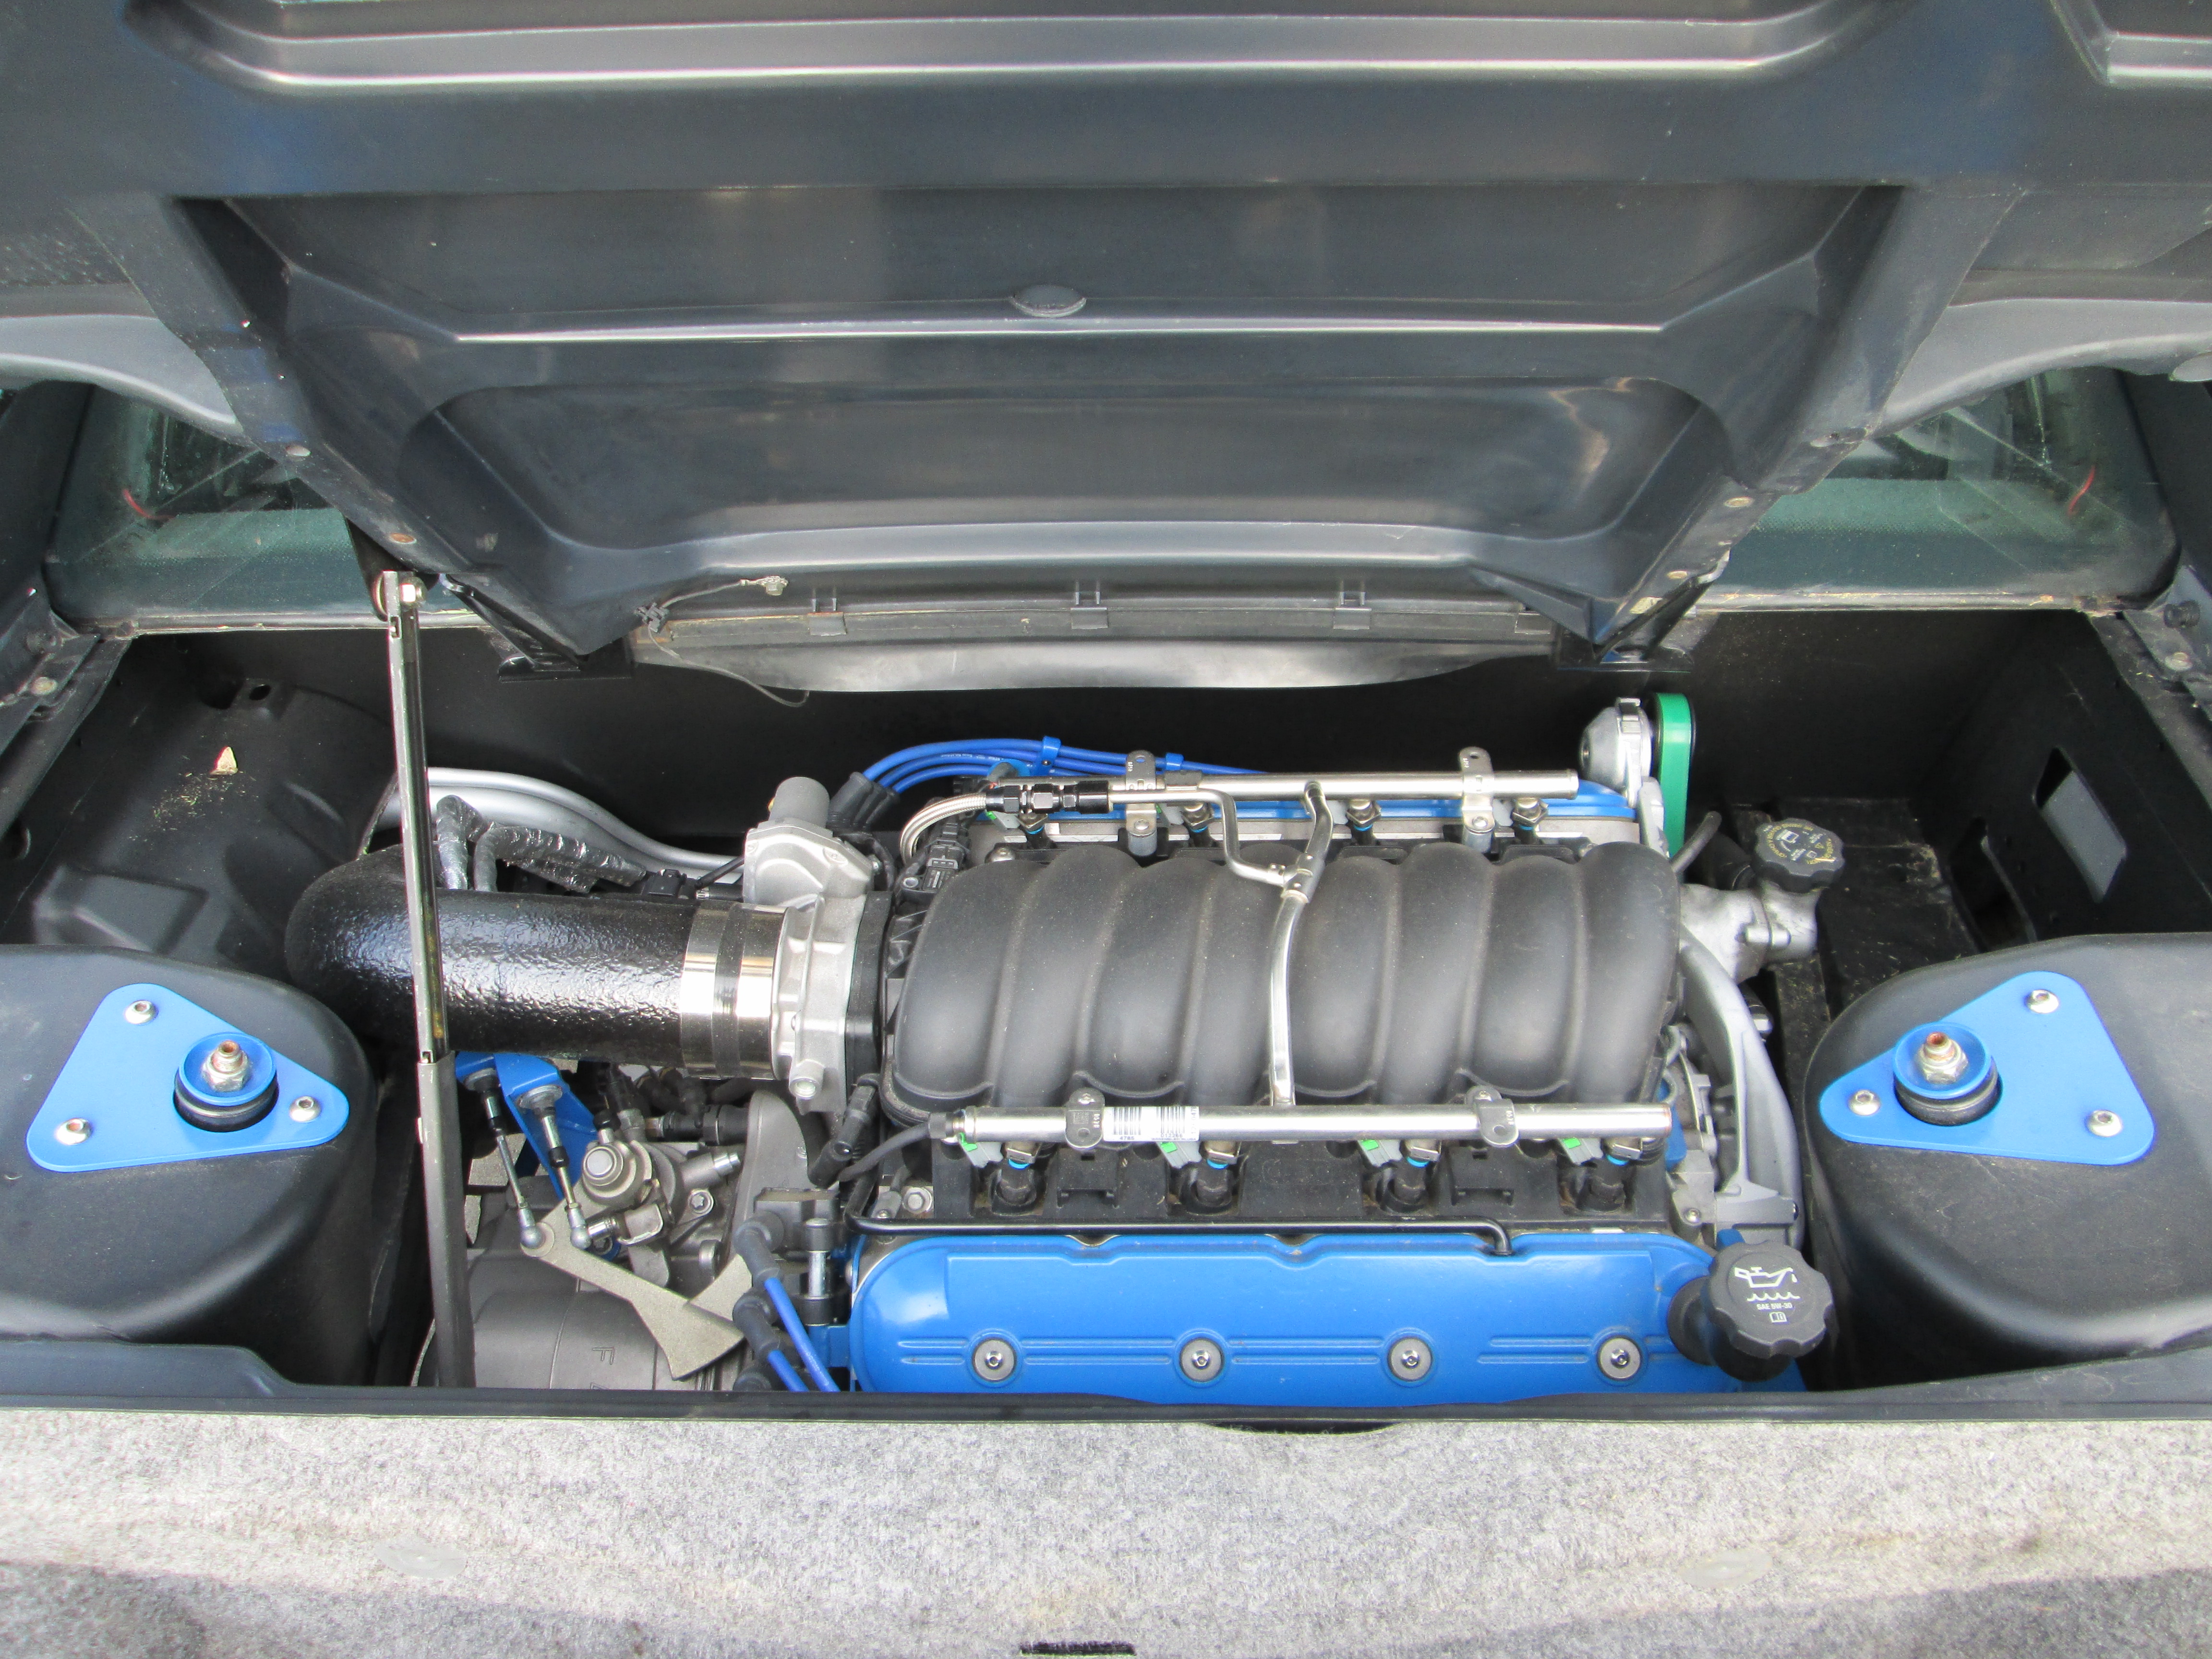
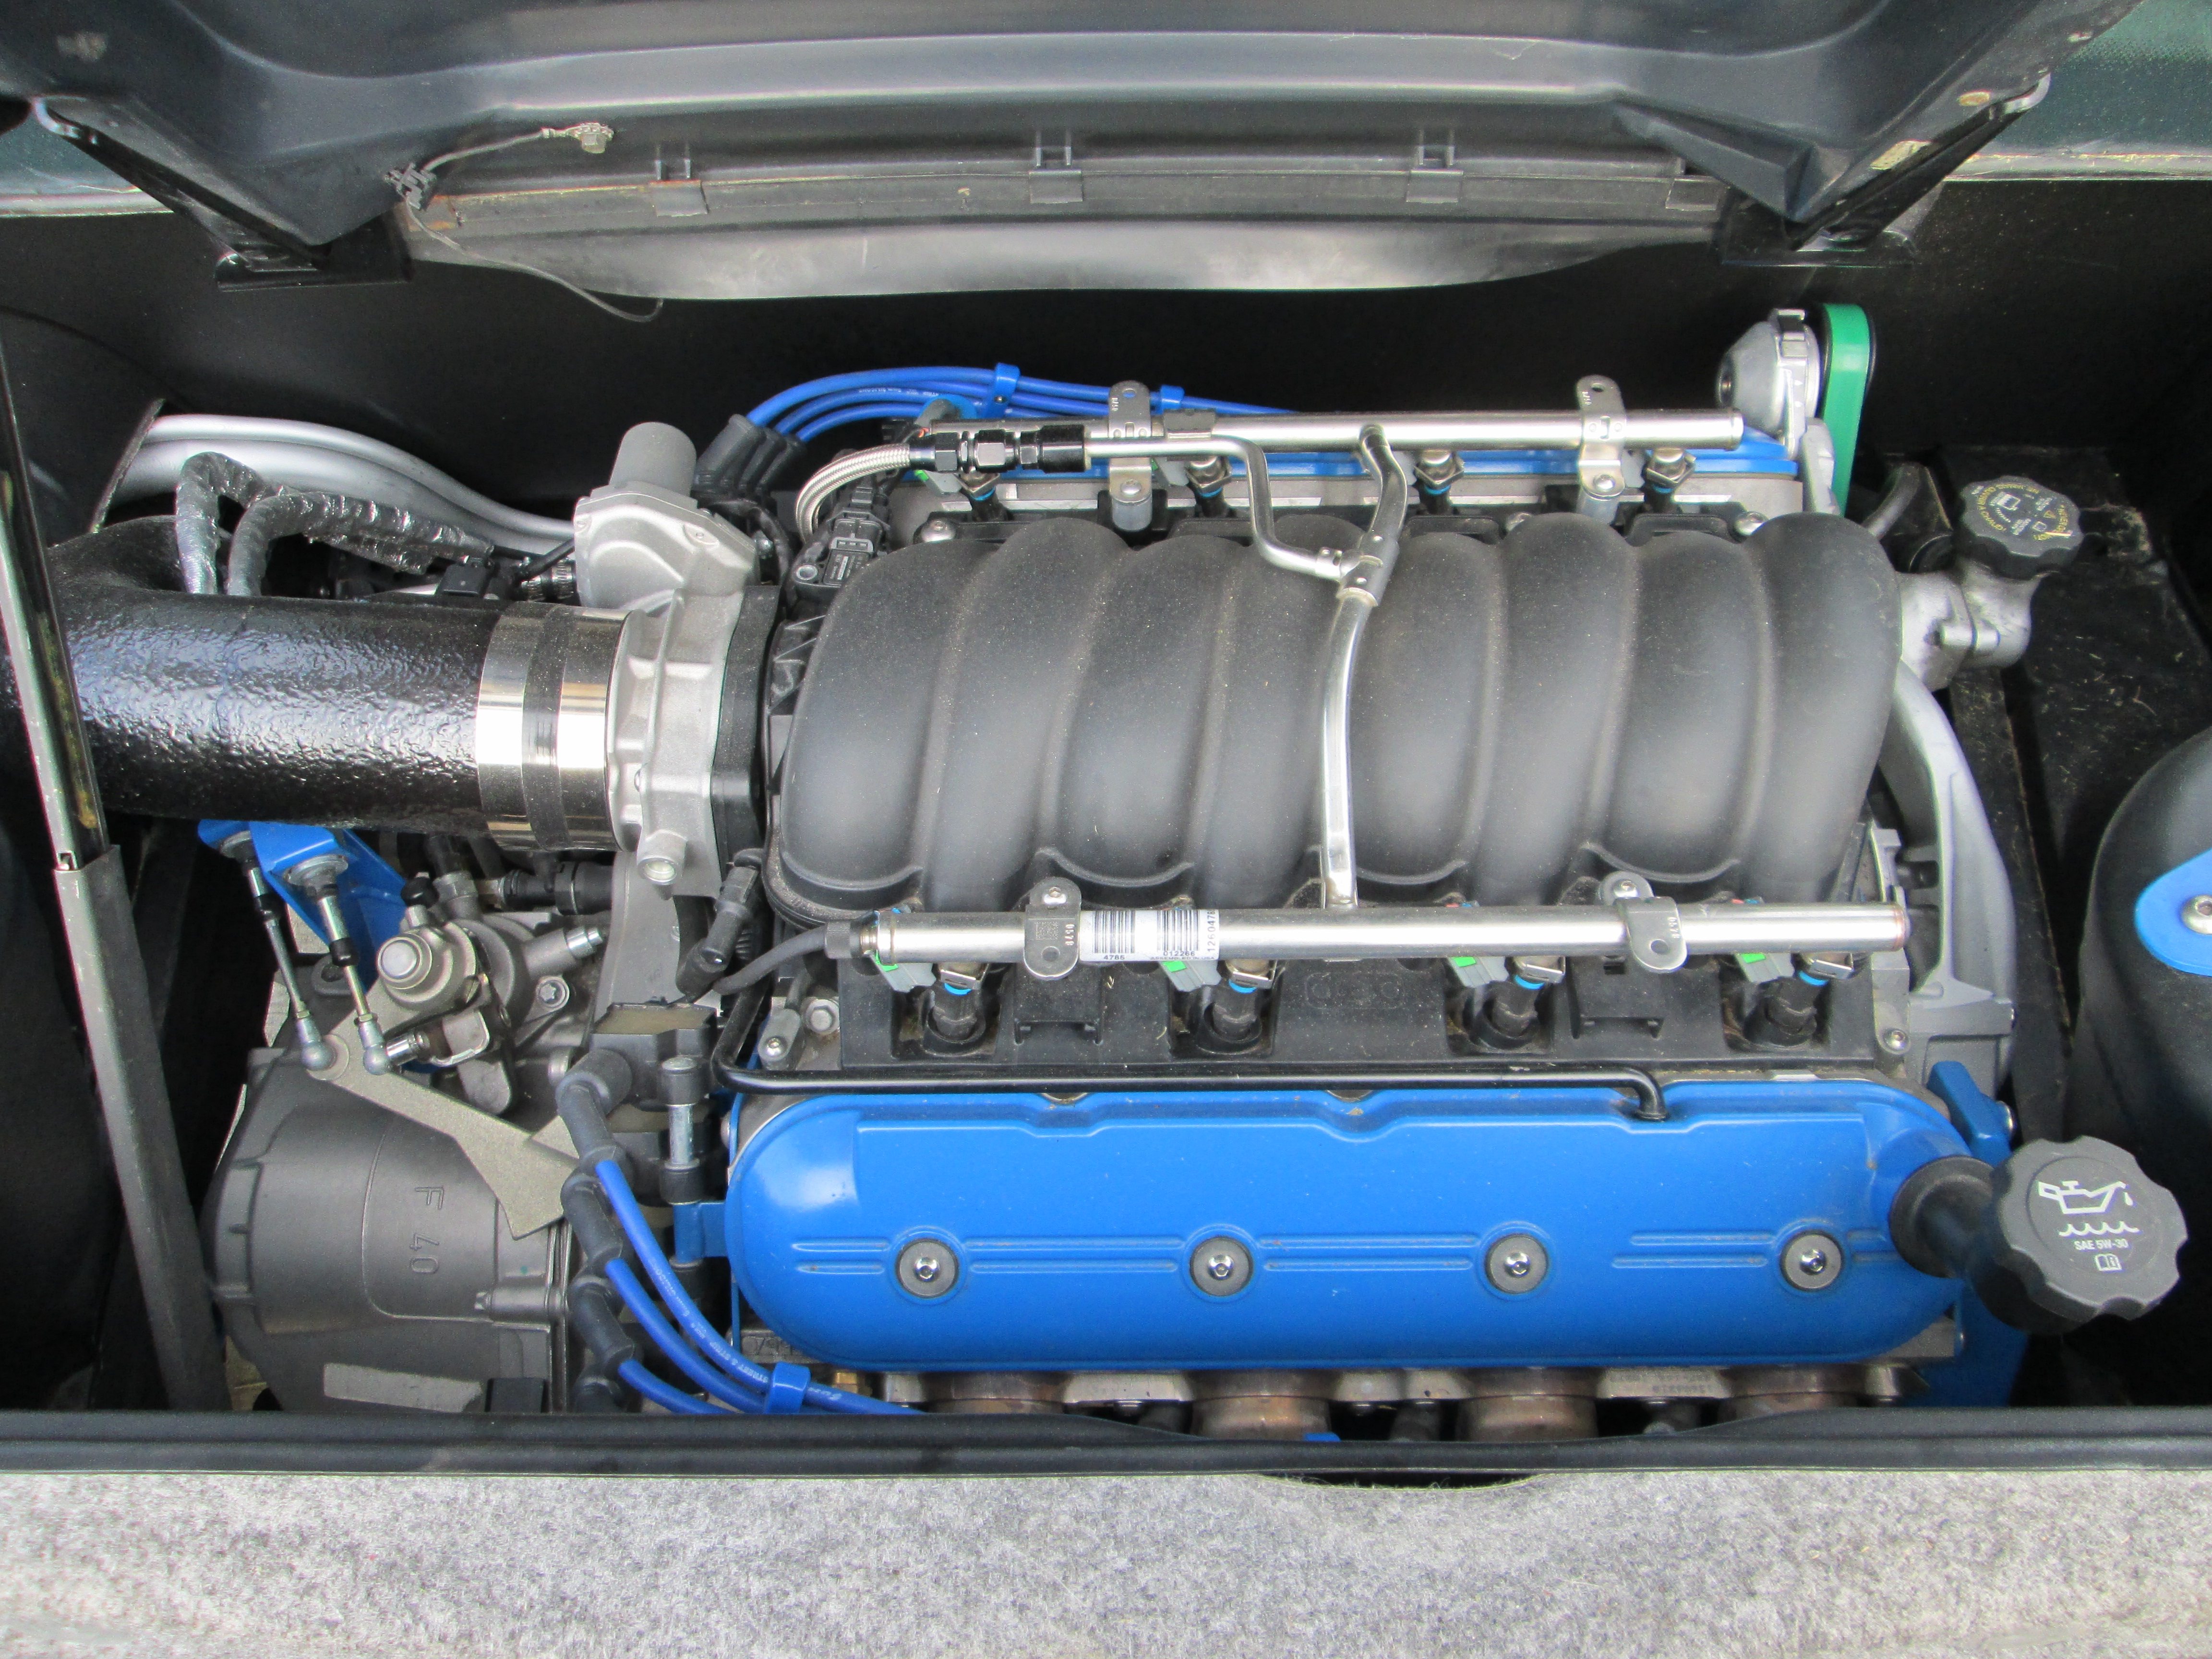
At the firewall, I use the stock Fiero part to protect and retain the harness as it passes through a square hole in the firewall (plastic retaining clip on other side):
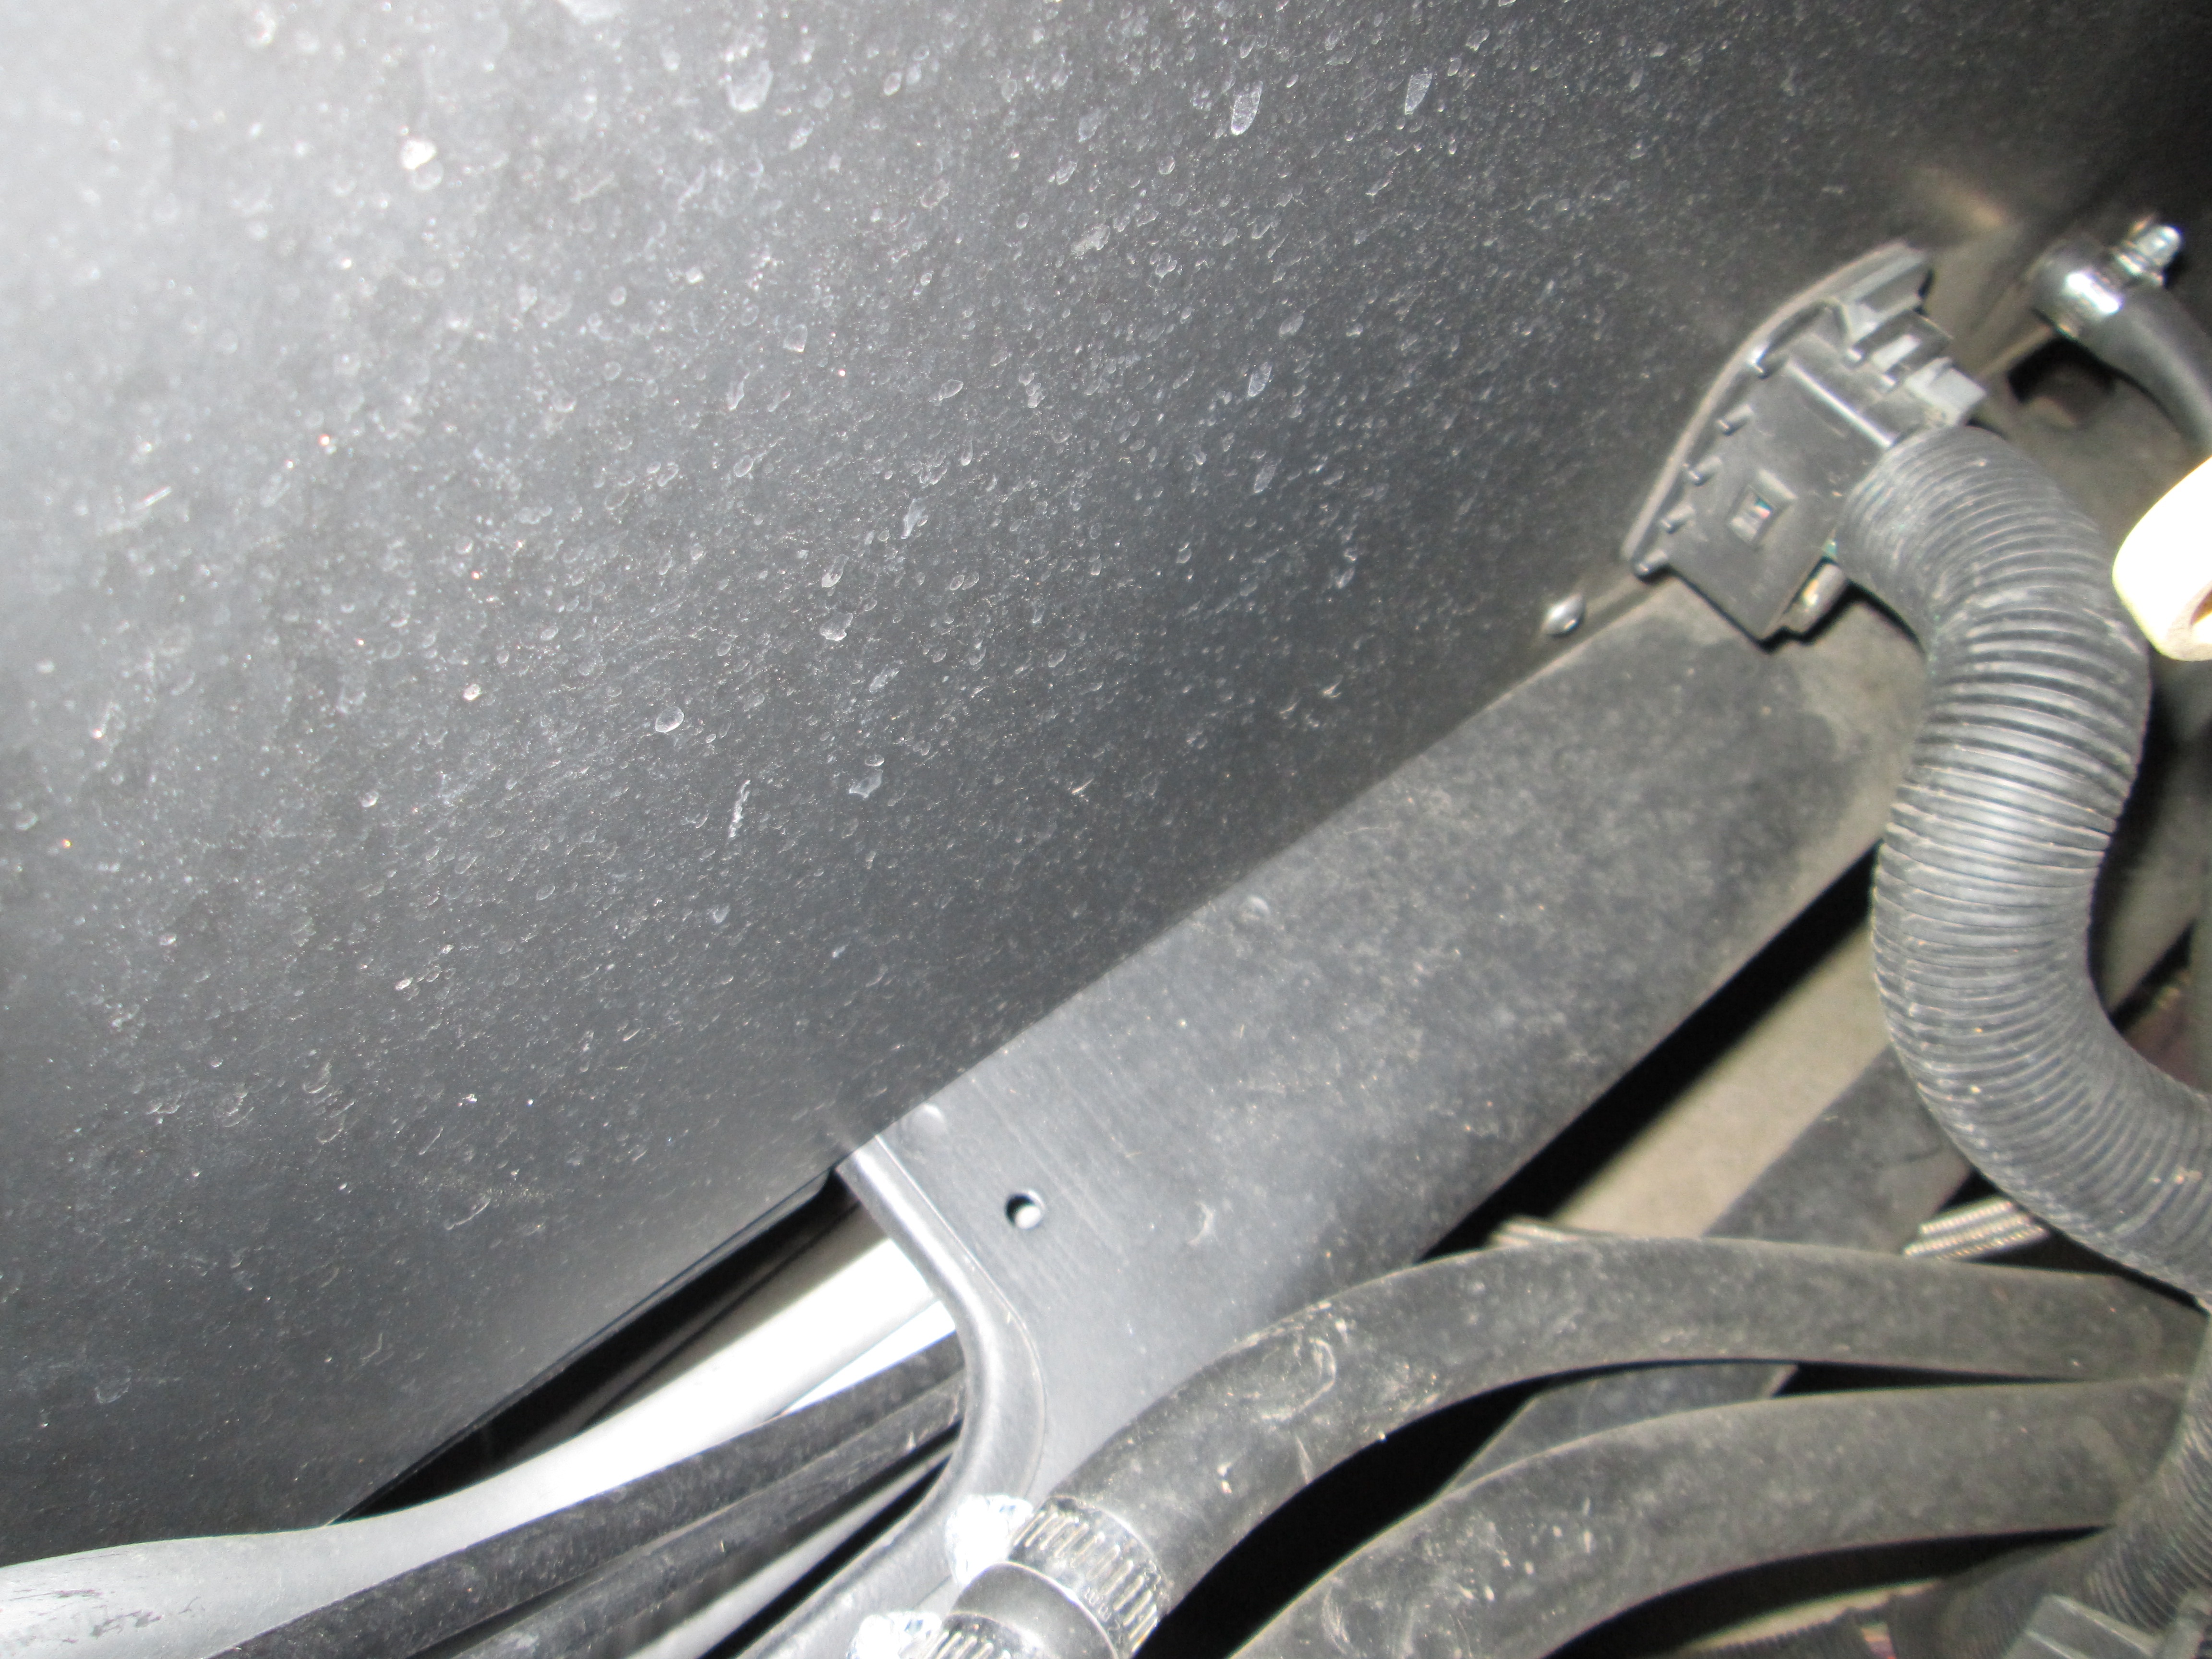
At the firewall, I use the stock Fiero part to protect and retain the harness as it passes through a square hole in the firewall (plastic retaining clip on other side):