
My Turbo LSX Z31 Build.
 08-05-2015, 01:26 AM
#1

I've been in the Z31 community since the Z31.com days. Mostly just a lurker but still a Z31 enthusiast. Over the years I've owned about 10 z31's. My 1st Z31 was 87N/A. I originally purchased it for 1500. Did repair after repair. Enjoyed it for a bit. At one point I started losing interest so I sold for 2800$ to a high school classmate. Well then I ended up buying it back not running from the same guy for only 250$. Come to find out the only thing wrong with it was 3 bad injectors. What began with a simple injector change escalated into a NA2T. Stayed stock turbo a while with minimal modifications. And once again started losing interest due to the fact I had ended up getting several other cars over time (49 Chevy truck, S2K, Suburban, Turbo prot�g�) while still owning my 1st z31. But at the end of the day I always found the Z31 more exciting. Then the mod bug bit me. I went through several variations of my car but continusally got bored. I began switching from turbo to turbo ended with 60-1 when it was last running. Then the car was stolen from my garage while I was moving. It went missing almost an entire year. I caught word it had surfaced at an impound yard. Luckily I got the car back mostly in tact with just a few major pieces missing. I began building what I hoped to be a 800hp vg. But bad luck struck again. This time I had lost everything in a fire. Including all motivation. Fast forward a beautiful daughter and couple years along with the rest of life. I planned on starting over with the purcahse of a semi known 88T. It was just going to be a mild bolt on car. Apparently someone else had other plans. I came home from work to find it stolen from my gated community. A couple my friends fellow Z31 owners found this one about 6 months later in 1 of our Pick-N-Pull yards here in San Antonio. Unfortunately it was already too late. Basically the only thing that remained was my dash and a few interior pieces. We figured whom ever stole it knew what it was. It was at this point my interest was at an all time low. Hoping that a 3rd time's a charm I started my search for another Z31. Not just any. I was wanting a slicktop this go around. I found a few but ended up I purchasing a filthy 300$ 84 slicktop. When I bought it had been sitting out the middle of a 100+ acre property for the past 18+years. I literally had to machete 7ft tall weed stalks from around it. Then pull it several acres with a tractor to the front of the property. But now I'm back. I now own a 84 slicktop and still own a 85T, 86T. While my 84 looks rough but it's a solid straight shell. It's got a little rust in the normal Z31 spots but much of the body is straight. I personally believe it's a perfect platform for my build. I don't have deep pockets same as 90% of Z31 owners . But do plan on building the best car I can within my financial limitations. With that being said this build may be slow going but I assure you it's moving in the right direction. Up until recently I felt I hadn't really done much for the Z31 community. Even though I've always did my best to help local Z31 owners. I've always wanted to contribute more to the Z31 community. When I chose to go to the LSX platform for my 84 I told myself that I'd do what ever I could to make it easier for other's to do the same. Originally the plan was to make custom mounts and show how I did it every step of the way. I quickly realized a majority of people don't have access to a welder or knowledge to properly operate one. That's when the search started for company that could help bring my vision to life. While keeping the product affordable. Dirty Dingo stood out. So I contacted Brent with my idea and the rest is history. If you were unaware of the existence of the bolt in LSX Z31 mounts do a Google or Bing search for dirty dingo nissan z-31 mounts. And they'll be the 1st result. I would've posted a link but I'm sure that would violate ls1tech rules. Sorry guys.
I invested a great deal of time and finances in these mounts. I never expected these to help 100's of people accomplish their goal. But I figured it'll be worth it as long it helps at least 1 person. Since the beginning this venture wasn't started for financial gain. But for the hopeful expansion and enhancement of the Z31 community. I've never been much of a poster but I plan fully documenting this build. Unfortunately I had lost couple hundred pictures of the beginning of this 84 slicktop. But you'll still get the idea. For a majority of the LSX swap the Z was on side of San Antonio, I lived on another, and all my tools were on the opposite side. That was one of many obstacles I've had to over come. Luckily now everything is in all under 1 roof. Now the major obstacle is having the time to turn wrenches on the z. I work 12hr shifts and drive 75 miles each way . So this will be a slow moving build. Just bear with me.
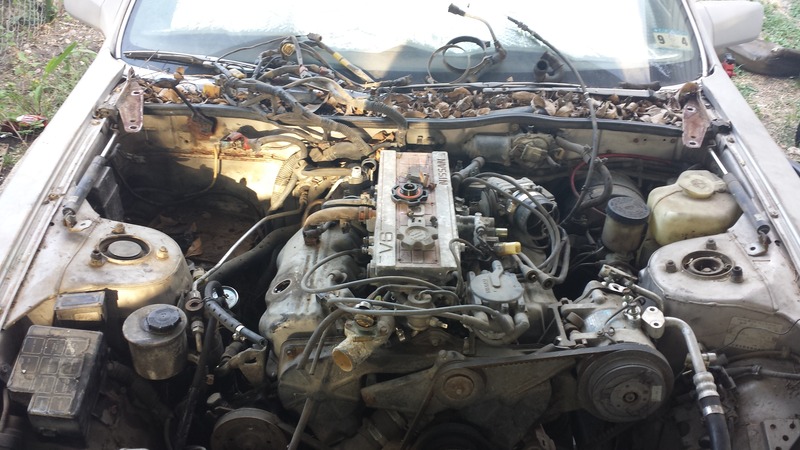
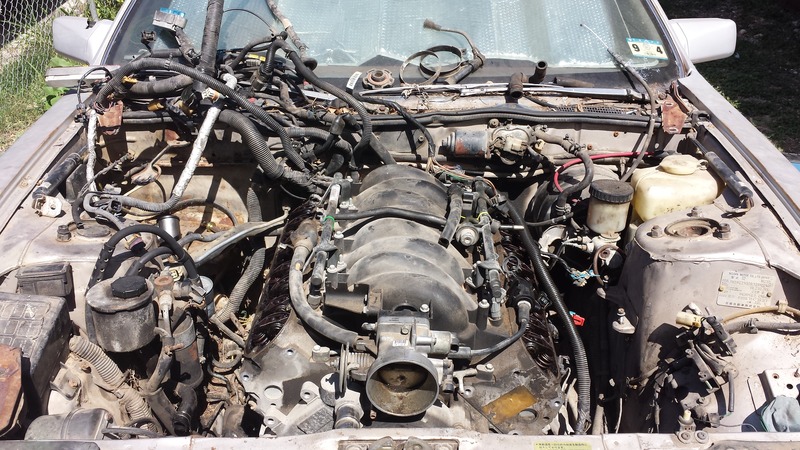
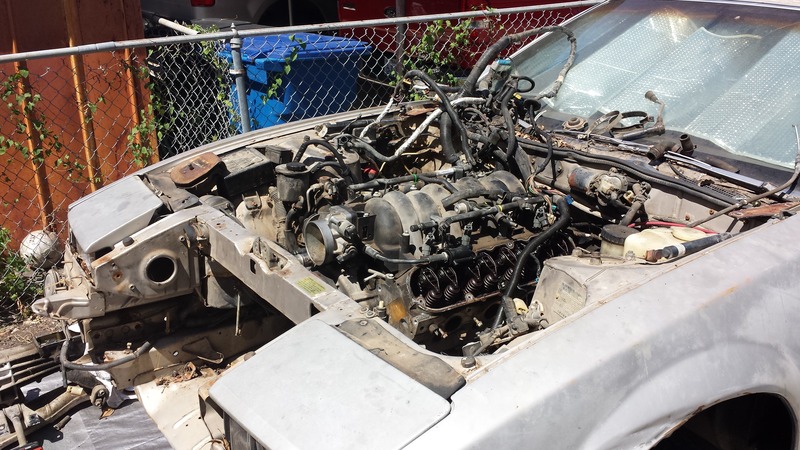
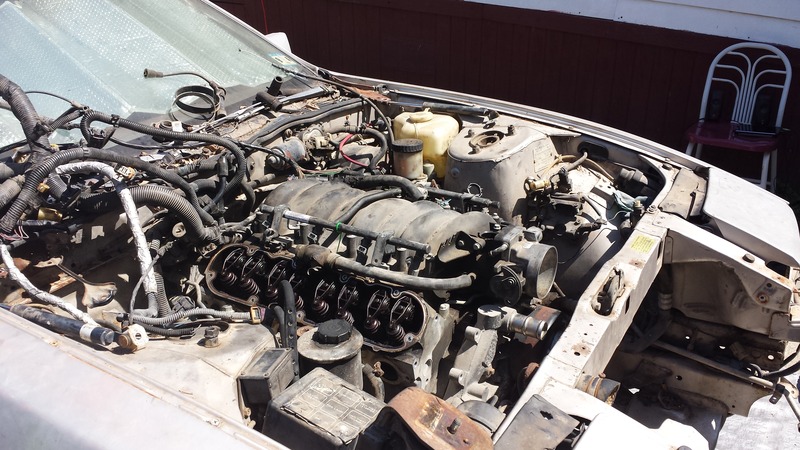
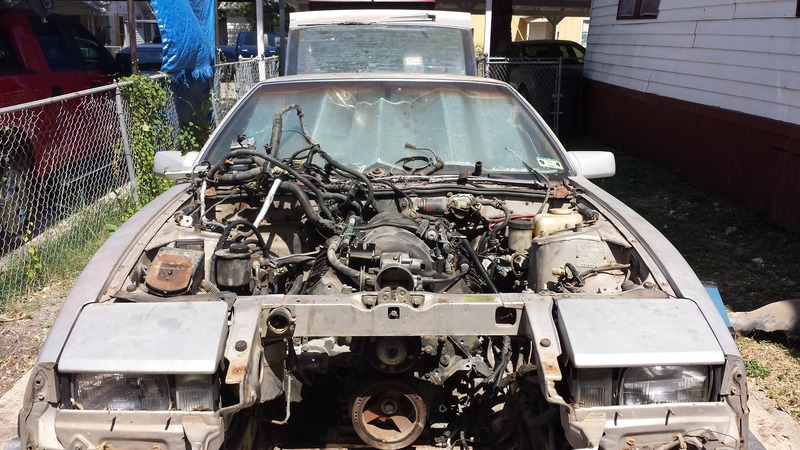
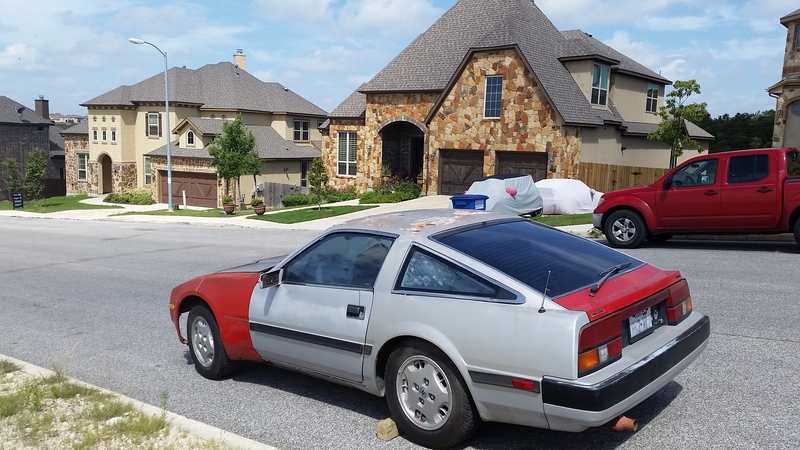
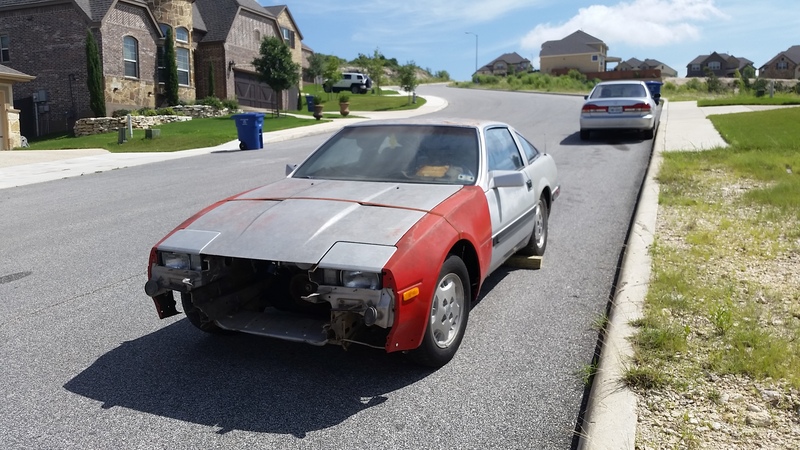
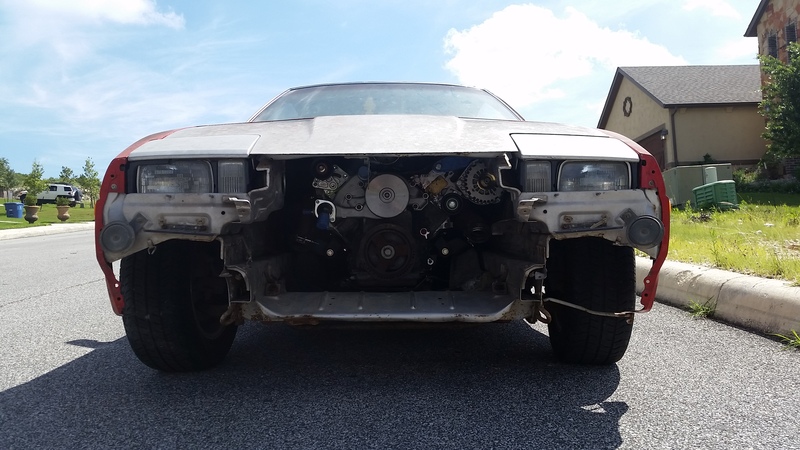
Here's how the car pretty much started.
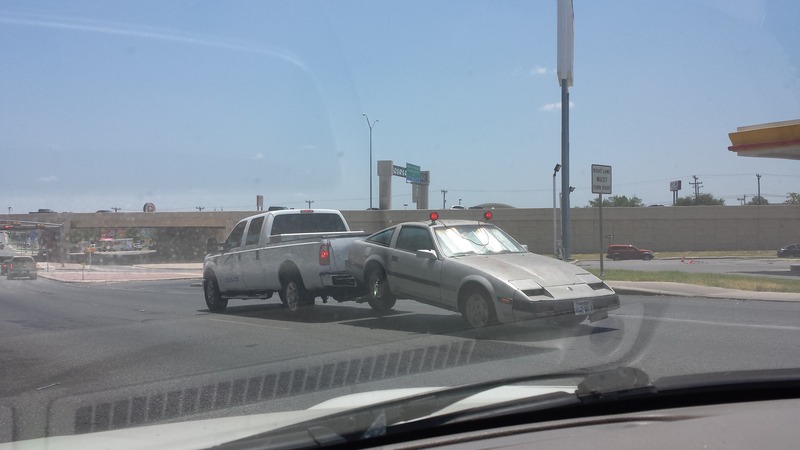
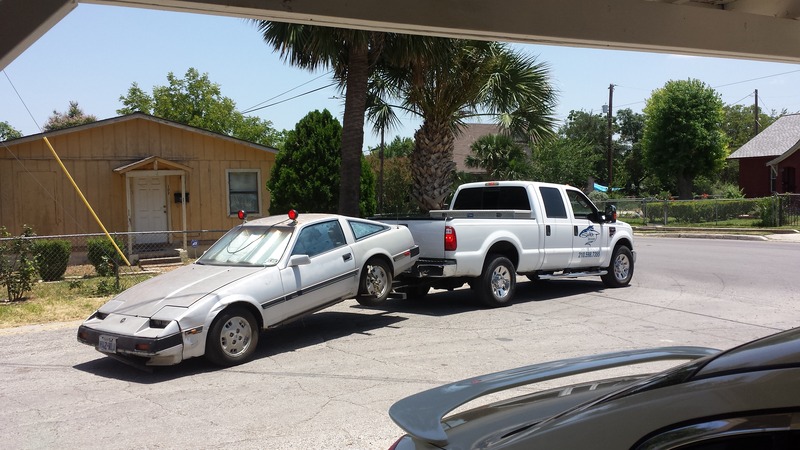

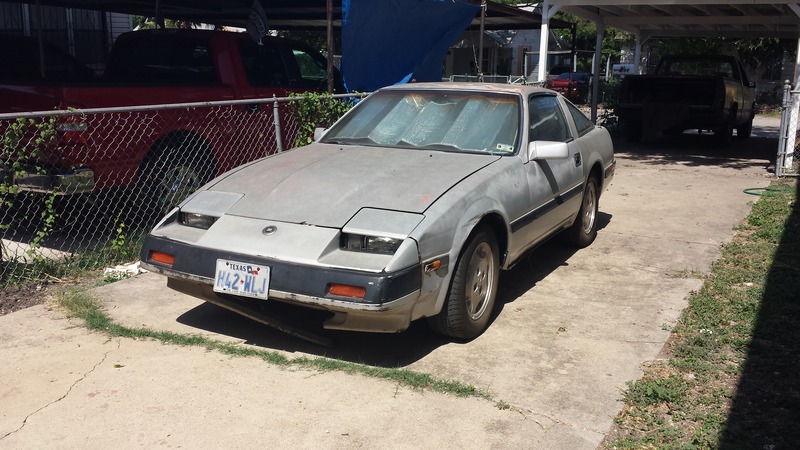
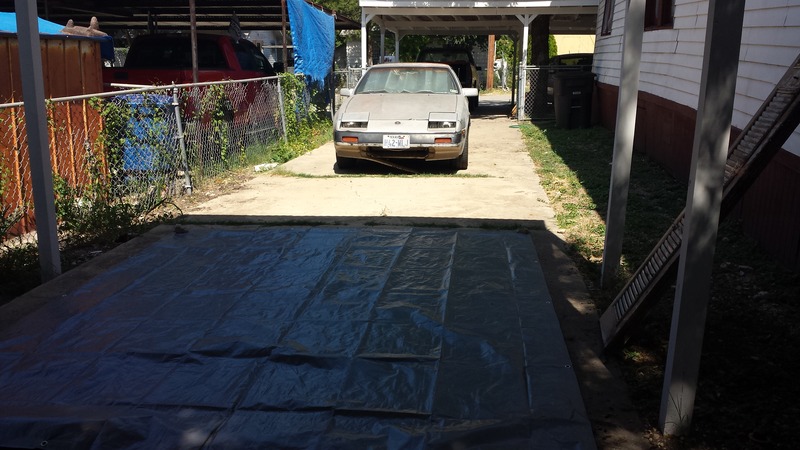
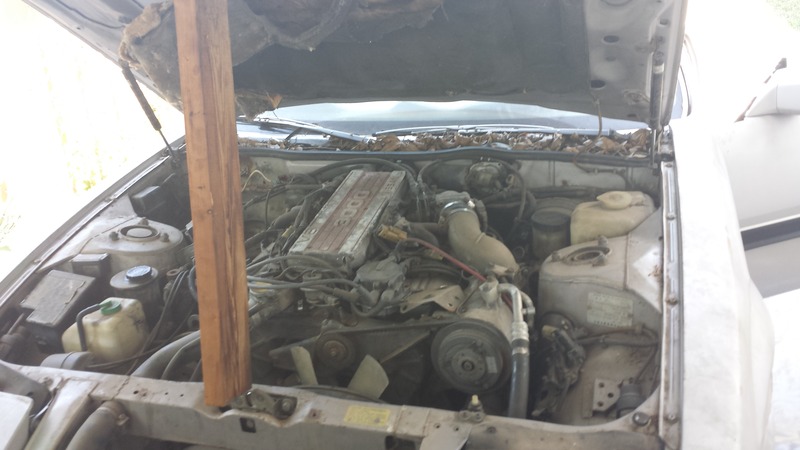
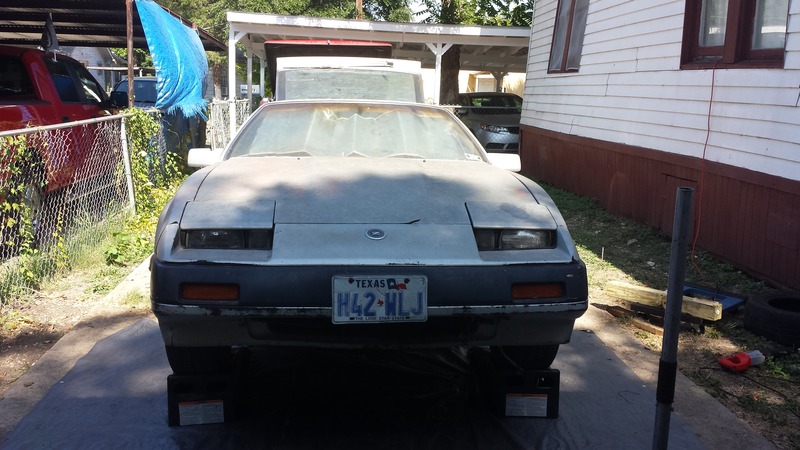
I don't have the pictures for most of this stuff sorry. I lost a thumb drive that several hundred pics of my build stuff on it. The first thing on my a list was slapping some tires on it that would hold air. Then I removed about 60lbs of dirt, feces, nests, and random animal remains. Then figured why not try to get the car to run with the VG30E. The fuel tank was a varnish filed rust vessel. A friend(FlaweZ) donated a replacement tank. Then I slapped a old Walbro 255 I had laying around in. Bought a battery, fuel filter, oil, oil filter. Tried starting it but no luck. Replaced the cracked ignition coil. Still nothing. Began diagnosing it and found a fried ECU & CAS. I quickly decided not to waste any more funds on power plant I had no intentions of using. The removal of the VG30E began.
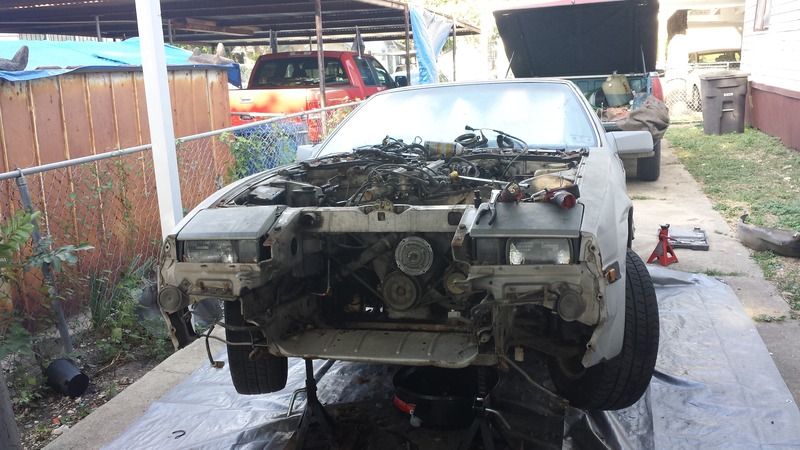
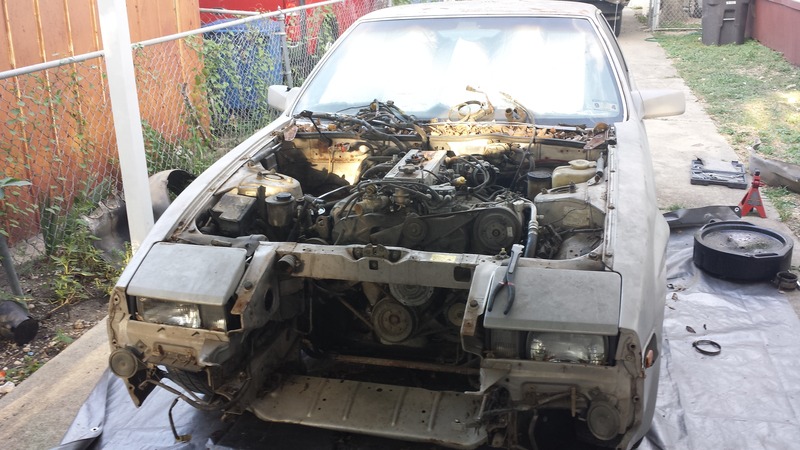
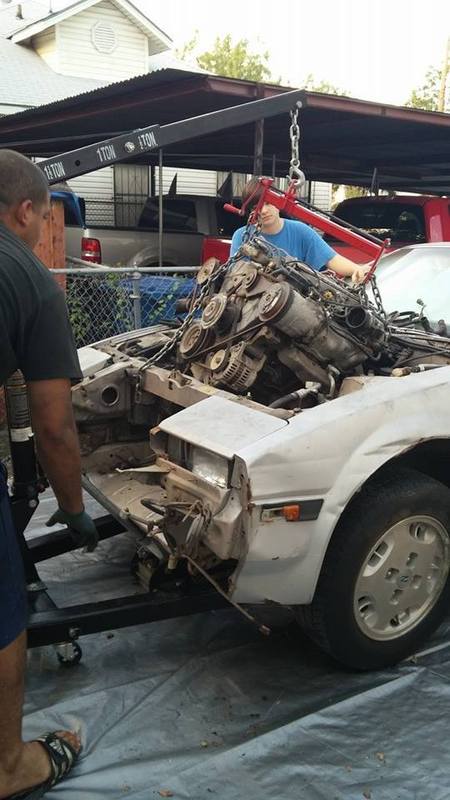
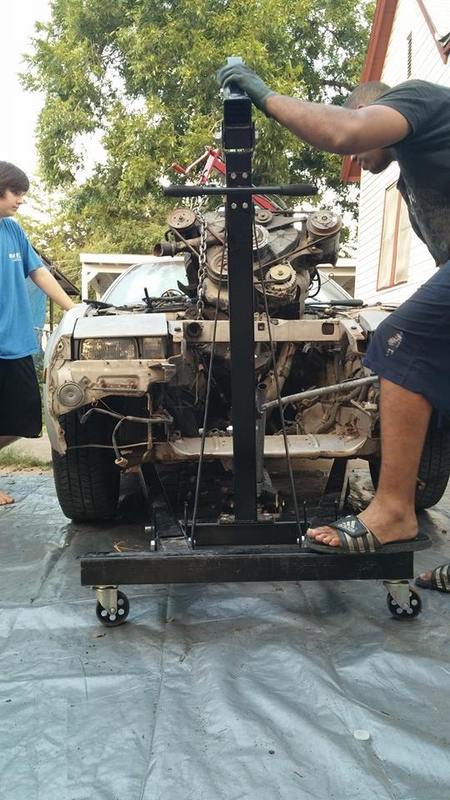
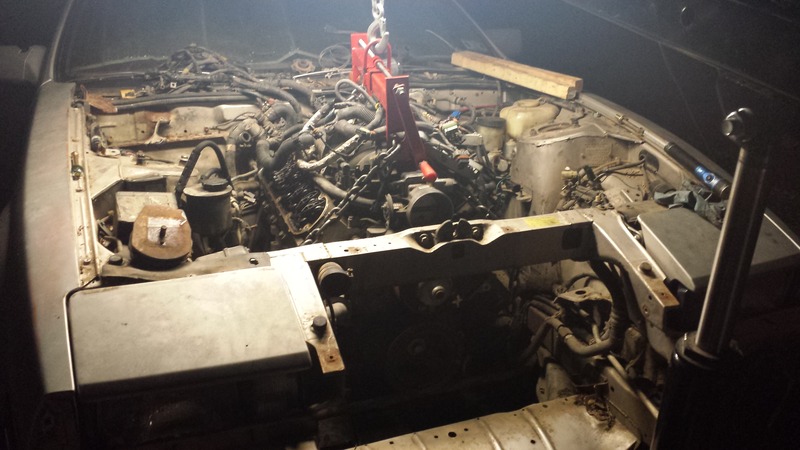
Here’s me with my slave feet pulling the VG30E out(kid in the background is my girlfriends little brother)
I invested a great deal of time and finances in these mounts. I never expected these to help 100's of people accomplish their goal. But I figured it'll be worth it as long it helps at least 1 person. Since the beginning this venture wasn't started for financial gain. But for the hopeful expansion and enhancement of the Z31 community. I've never been much of a poster but I plan fully documenting this build. Unfortunately I had lost couple hundred pictures of the beginning of this 84 slicktop. But you'll still get the idea. For a majority of the LSX swap the Z was on side of San Antonio, I lived on another, and all my tools were on the opposite side. That was one of many obstacles I've had to over come. Luckily now everything is in all under 1 roof. Now the major obstacle is having the time to turn wrenches on the z. I work 12hr shifts and drive 75 miles each way . So this will be a slow moving build. Just bear with me.
Here's how the car pretty much started.


I don't have the pictures for most of this stuff sorry. I lost a thumb drive that several hundred pics of my build stuff on it. The first thing on my a list was slapping some tires on it that would hold air. Then I removed about 60lbs of dirt, feces, nests, and random animal remains. Then figured why not try to get the car to run with the VG30E. The fuel tank was a varnish filed rust vessel. A friend(FlaweZ) donated a replacement tank. Then I slapped a old Walbro 255 I had laying around in. Bought a battery, fuel filter, oil, oil filter. Tried starting it but no luck. Replaced the cracked ignition coil. Still nothing. Began diagnosing it and found a fried ECU & CAS. I quickly decided not to waste any more funds on power plant I had no intentions of using. The removal of the VG30E began.


Here’s me with my slave feet pulling the VG30E out(kid in the background is my girlfriends little brother)


 08-05-2015, 01:27 AM
#2
The VG30E was donated towards a great cause getting a 85T back on the road. Here's a video of it installed in its new chassis. Not bad considering it had sat for over 18 years.
Here's some of the building blocks of building a "budget" car.
1. Plan the entire build. Be realistic with power goals and your budget. Find proven combos of parts that work together, as a complete system. Don't just wander aimlessly and buy random parts, cobbling things together. Define the plan and stick to it.
2. Don't waste money buying **** that doesn't fit your plan.
3. If you haven't yet, learn to work on your own car. Be a man, own a nice set of tools. This hobby is more enjoyable and affordable when you can diagnose and repair issues yourself. Plus, you'll never get put on the back-burner waiting list with shops, if you can do it yourself.
My real life experiences with builds I've done it hasn't gone as planned. I ended up setting a budget just double it. Then tripling that. Followed by doubling that. Things add up fast believe me.
Then LSX swap had now commenced.
Started with some mock up and tons of measuring.

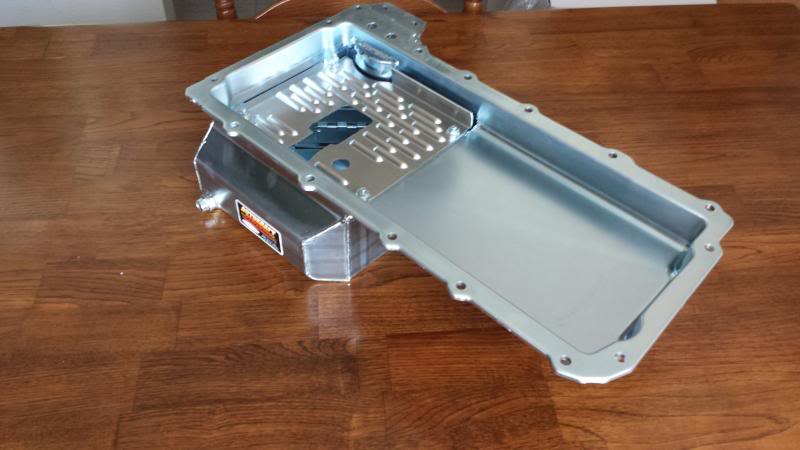
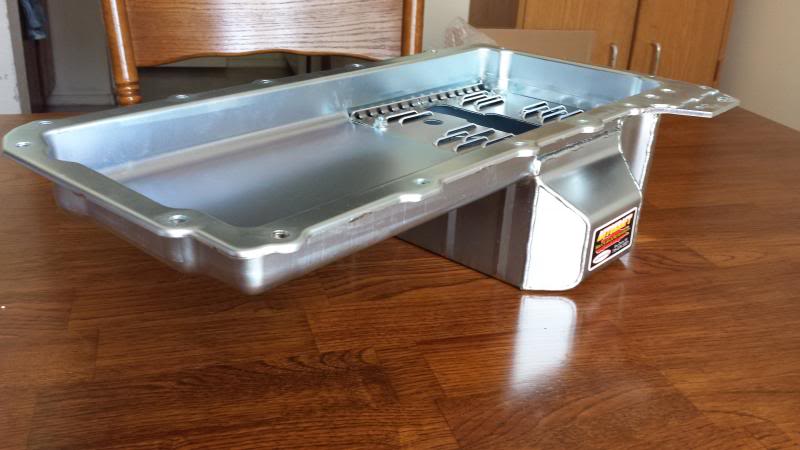
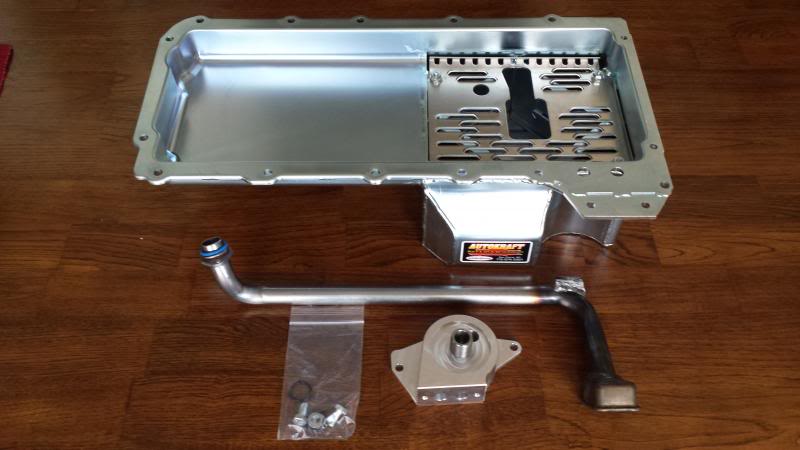
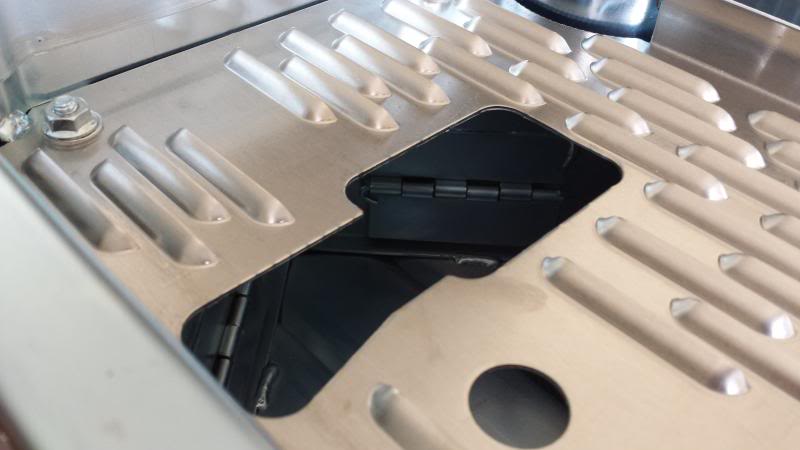
I prematurely bought a awesome Auto Kraft oil pan but discovered it was too large to fit my application. It was only after that I realized to get the engine orientation and fitment of the is need to use the 4th gen camaro oil pan. So I sold it and used a camaro pan I hand laying around.
The unusable Auto Kraft pan.
1. Plan the entire build. Be realistic with power goals and your budget. Find proven combos of parts that work together, as a complete system. Don't just wander aimlessly and buy random parts, cobbling things together. Define the plan and stick to it.
2. Don't waste money buying **** that doesn't fit your plan.
3. If you haven't yet, learn to work on your own car. Be a man, own a nice set of tools. This hobby is more enjoyable and affordable when you can diagnose and repair issues yourself. Plus, you'll never get put on the back-burner waiting list with shops, if you can do it yourself.
My real life experiences with builds I've done it hasn't gone as planned. I ended up setting a budget just double it. Then tripling that. Followed by doubling that. Things add up fast believe me.
Then LSX swap had now commenced.
Started with some mock up and tons of measuring.


I prematurely bought a awesome Auto Kraft oil pan but discovered it was too large to fit my application. It was only after that I realized to get the engine orientation and fitment of the is need to use the 4th gen camaro oil pan. So I sold it and used a camaro pan I hand laying around.
The unusable Auto Kraft pan.


 08-05-2015, 01:29 AM
#5
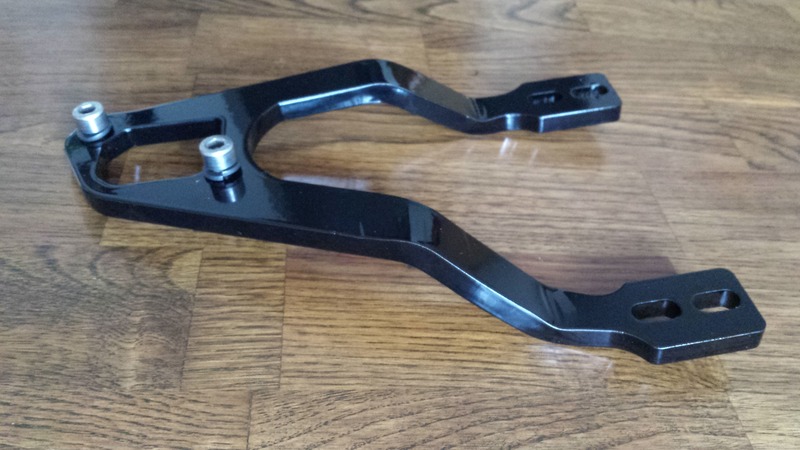
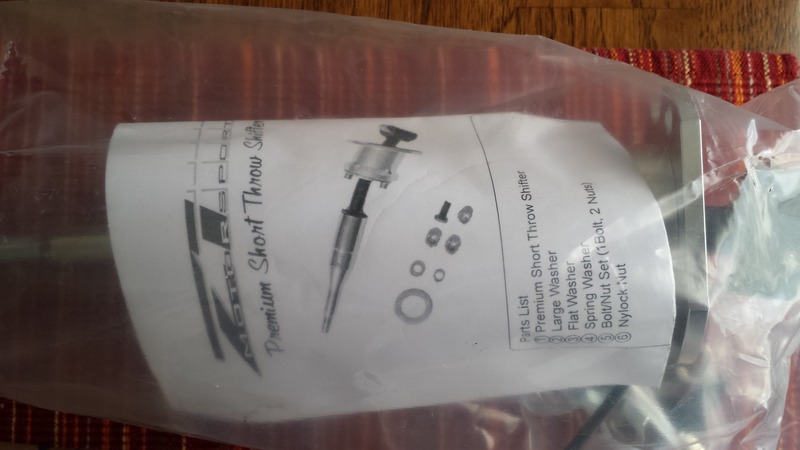
CZP billet shifter bracket & Z1 Motorsports short shifter.
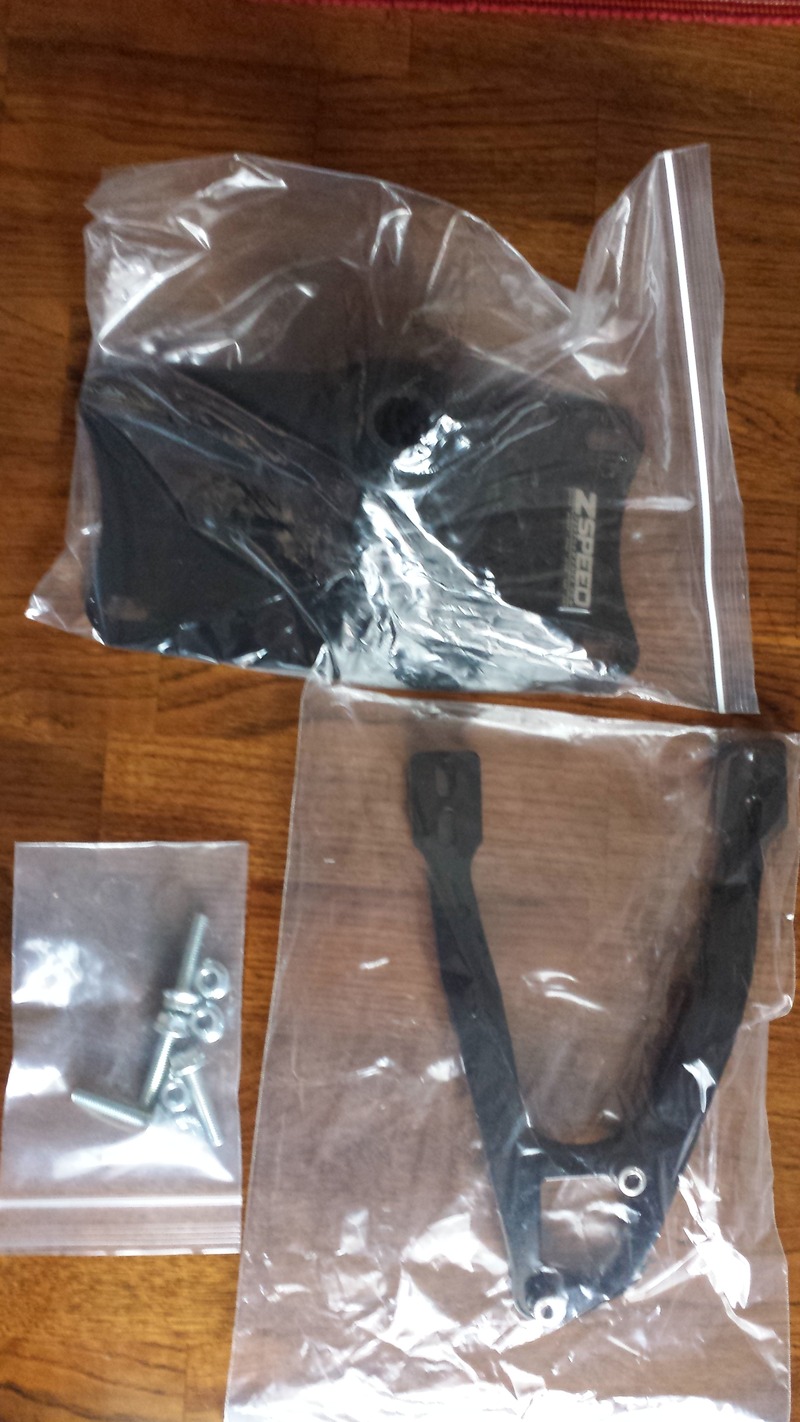
Old shifter & bracket
CZP shifter bracket installed
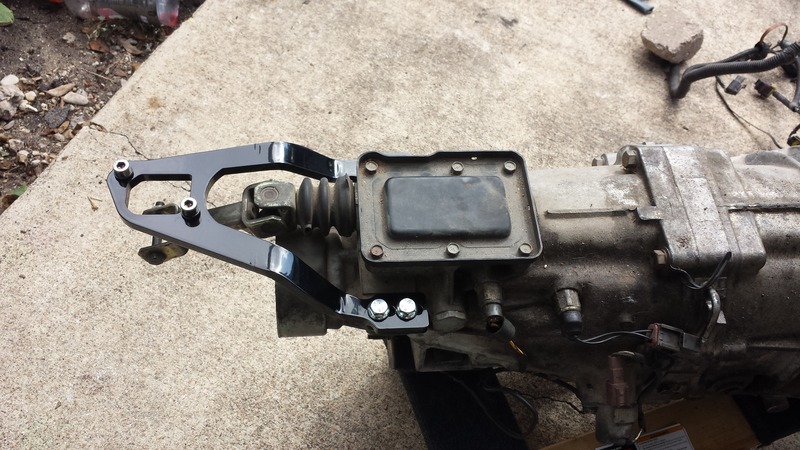
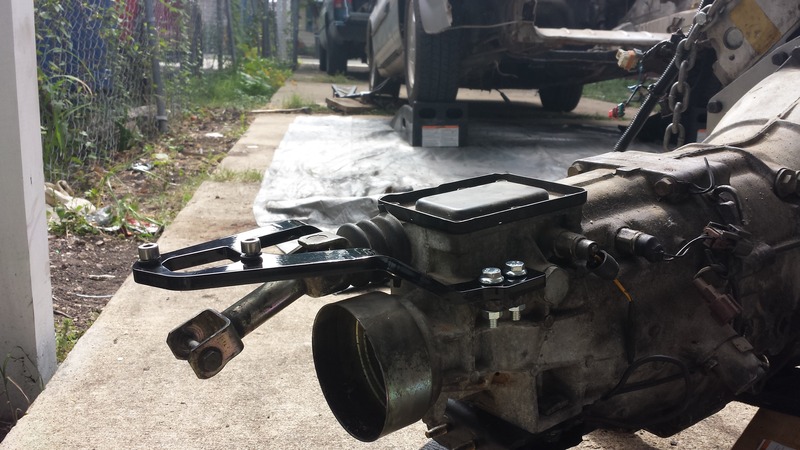
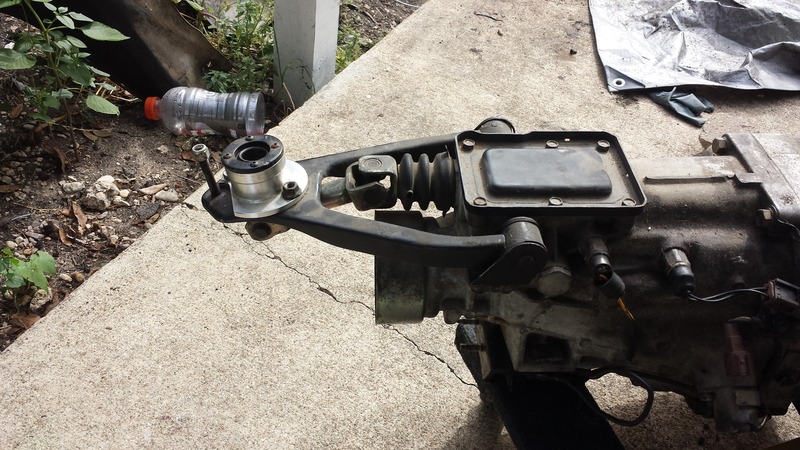
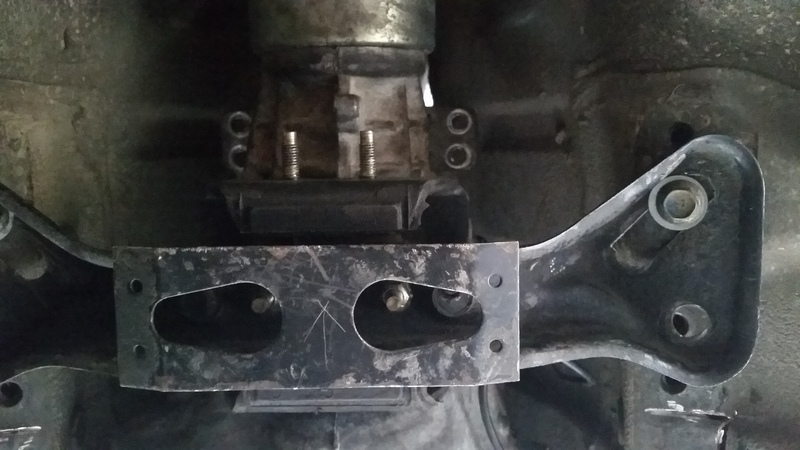
I half *** modified one of Z32 transmission mount/member to fit in the Z31 temporally. Trust me I plan on making a tubular unit.


Old shifter & bracket

CZP shifter bracket installed


I half *** modified one of Z32 transmission mount/member to fit in the Z31 temporally. Trust me I plan on making a tubular unit.


 08-05-2015, 01:32 AM
#7
After those shifter pics I moved the engine for better weight distribution. Which moved the shifter too far back for my liking. So it looks like I'm going to be modifying my shifter linkage & CZP bracket. Having seen the Xcessive Manufacturing set up fail on a handful of cars first hand. I'll pass on that hunk of junk. (It flexes badly causing a sloppy feeling shifter and cracks)
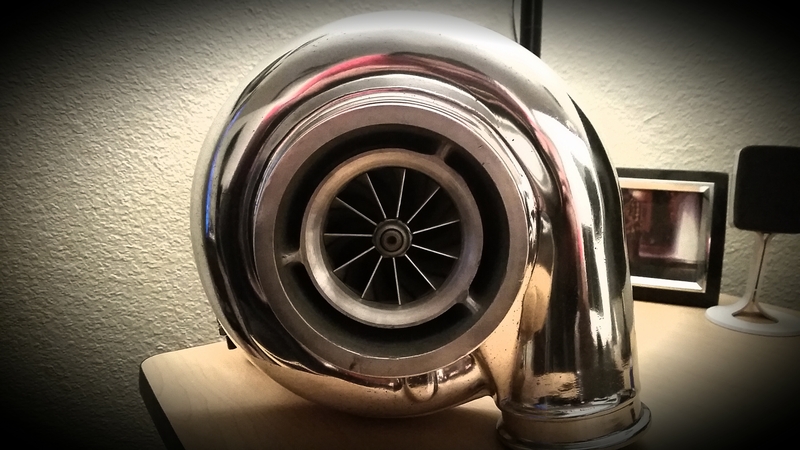
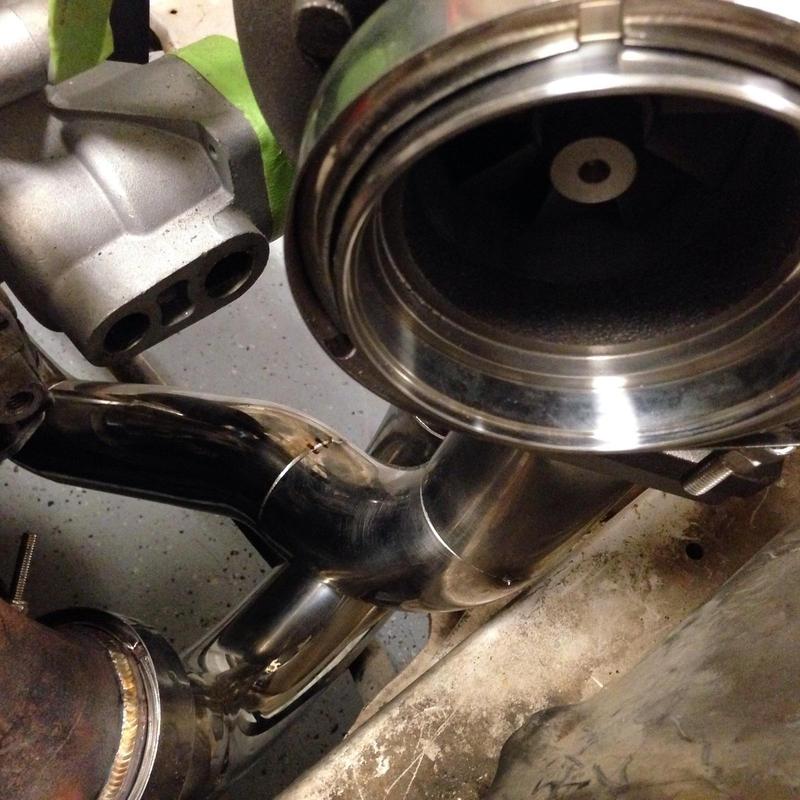
With the acknowledgement of the "budget car building blocks" I knew I needed to find a turbo that would suit my needs without breaking the bank. The turbo I'm using is a APT built Borg Warner S400 based billet "S471" that's fitted with a 71mm extended tip billet 11 blade compressor wheel. It also has S410 Compressor cover.
Here's some more specs on the turbo.
Compressor wheel - 71.06mm/101.45mm
Turbine wheel - 77.5mm/87mm
Compressor inlet - 5" hose Ported Shroud
Divided T4 1.10 A/R
Turbne outlet for 4" v-band
My experience with APT ( Apex Performance Turbos ) was horrible. On the listing it instructed to request your desired A/R along with allowing 2-3 days to ship. 10/3/14 I purchased it and requested a 1.1 A/R. No response. 10/9/14 Asked to be notified when the turbo shipped and to include tracking number of available. He said will do. 10/20/14 Asked for an update on the status of my order. Got no response. 10/21/14 I inquired on the status of my order again. He informed me that he was waiting on the cover to be polished. I received the turbo 10/30/14 with a .90 A/R and notified him of the mistake. He offered to send me the correct turbine housing. As of 11/16/2014 I hadn't even gotten as little as a message yet alone the correct housing. 11/18/14 I sent a email inquiring about the replacement turbine housing. I got no response. 11/19/14 I resent the email. He sent this "Hey sorry about that I have the housing here the note got buried on my desk I’ll get it out to you today!" 11/26/14 I finally received the correct turbine housing. So all in all it took almost 2 months to get what I ordered. I had been super flexible with him. The last thing I wanted was a slapped together turbo. I just didn't want to tarnish his image. A little communication goes a long ways. But after it was all said and done he offered no partial refund or even a simple thank you for my patience. He did give plenty of excuses and said sorry once. The customer service is lack luster if there's any at all. They don't answer/return calls. They don't really respond to ebay messages either. I had to got out of my way to find a email to attempt to contact them. Even then it's like pulling teeth to get a response. So if you want to take the chance on waiting for months for your unit, go for it. My unit appears to be nicely constructed but I haven't ran it yet. So long story short price=good, unit=good (appears to be), service=terrible.
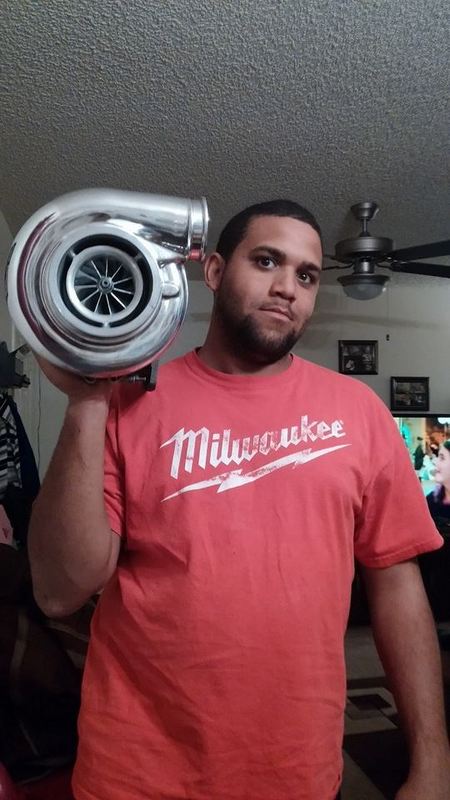
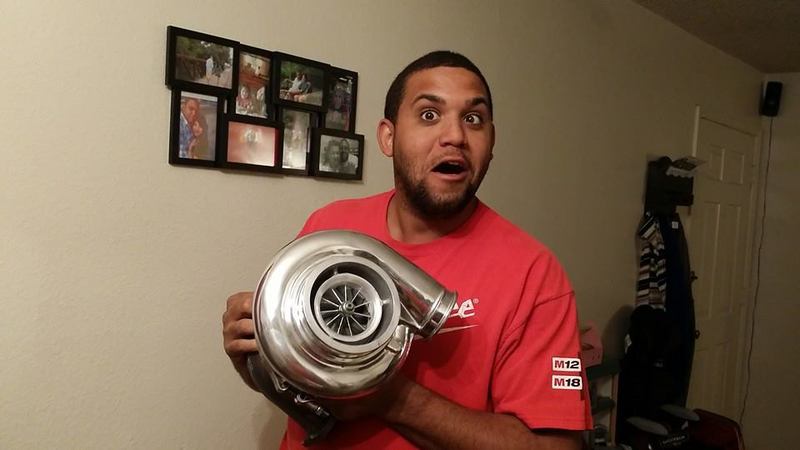
Decided to take a goofy pic.
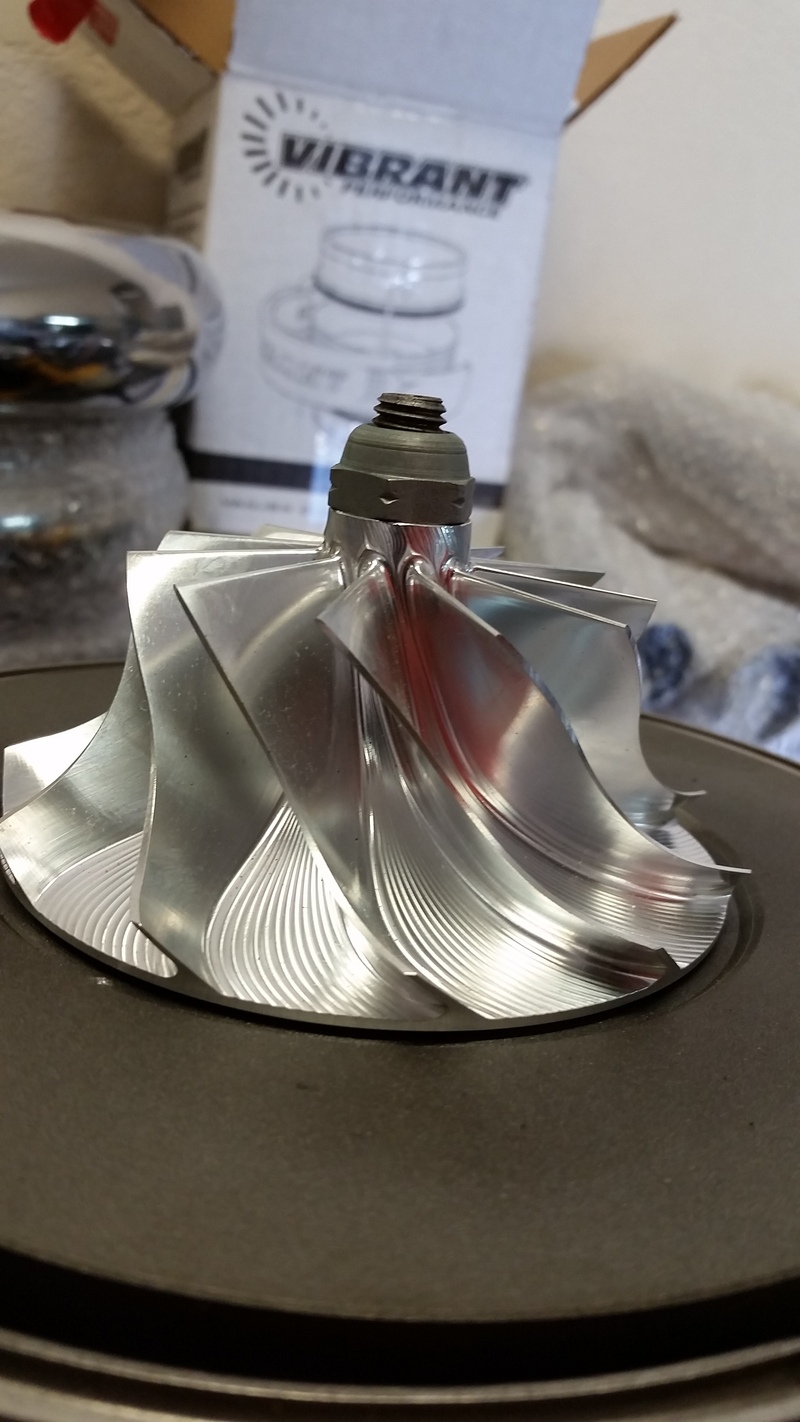
Billet wheel goodness.
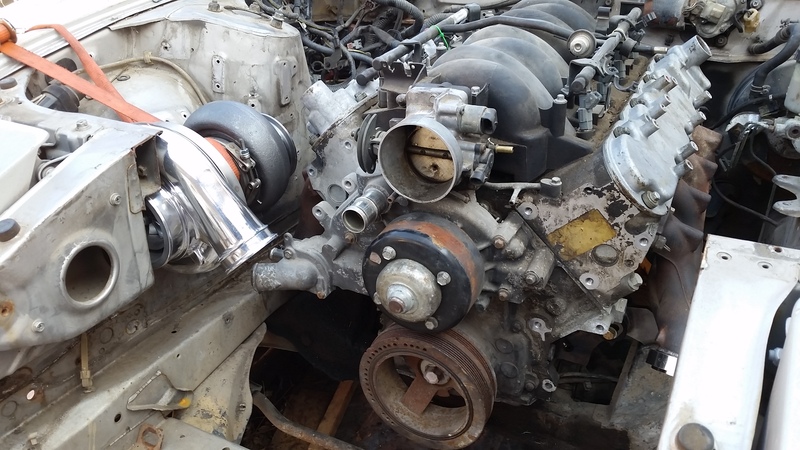
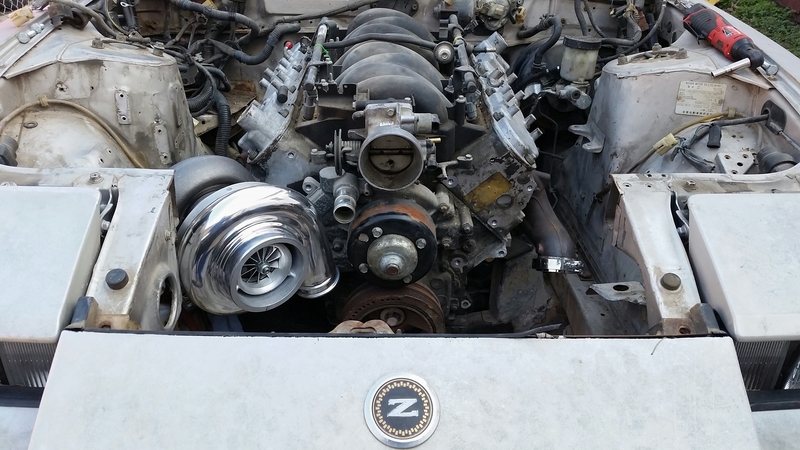
Once I received my entire turbo I began envisioning where I thought the turbo fit best. I did a couple half *** mock ups and took these pics.
With the acknowledgement of the "budget car building blocks" I knew I needed to find a turbo that would suit my needs without breaking the bank. The turbo I'm using is a APT built Borg Warner S400 based billet "S471" that's fitted with a 71mm extended tip billet 11 blade compressor wheel. It also has S410 Compressor cover.
Here's some more specs on the turbo.
Compressor wheel - 71.06mm/101.45mm
Turbine wheel - 77.5mm/87mm
Compressor inlet - 5" hose Ported Shroud
Divided T4 1.10 A/R
Turbne outlet for 4" v-band
My experience with APT ( Apex Performance Turbos ) was horrible. On the listing it instructed to request your desired A/R along with allowing 2-3 days to ship. 10/3/14 I purchased it and requested a 1.1 A/R. No response. 10/9/14 Asked to be notified when the turbo shipped and to include tracking number of available. He said will do. 10/20/14 Asked for an update on the status of my order. Got no response. 10/21/14 I inquired on the status of my order again. He informed me that he was waiting on the cover to be polished. I received the turbo 10/30/14 with a .90 A/R and notified him of the mistake. He offered to send me the correct turbine housing. As of 11/16/2014 I hadn't even gotten as little as a message yet alone the correct housing. 11/18/14 I sent a email inquiring about the replacement turbine housing. I got no response. 11/19/14 I resent the email. He sent this "Hey sorry about that I have the housing here the note got buried on my desk I’ll get it out to you today!" 11/26/14 I finally received the correct turbine housing. So all in all it took almost 2 months to get what I ordered. I had been super flexible with him. The last thing I wanted was a slapped together turbo. I just didn't want to tarnish his image. A little communication goes a long ways. But after it was all said and done he offered no partial refund or even a simple thank you for my patience. He did give plenty of excuses and said sorry once. The customer service is lack luster if there's any at all. They don't answer/return calls. They don't really respond to ebay messages either. I had to got out of my way to find a email to attempt to contact them. Even then it's like pulling teeth to get a response. So if you want to take the chance on waiting for months for your unit, go for it. My unit appears to be nicely constructed but I haven't ran it yet. So long story short price=good, unit=good (appears to be), service=terrible.


Decided to take a goofy pic.

Billet wheel goodness.

Once I received my entire turbo I began envisioning where I thought the turbo fit best. I did a couple half *** mock ups and took these pics.


Trending Topics
08-05-2015, 01:32 AM
#8
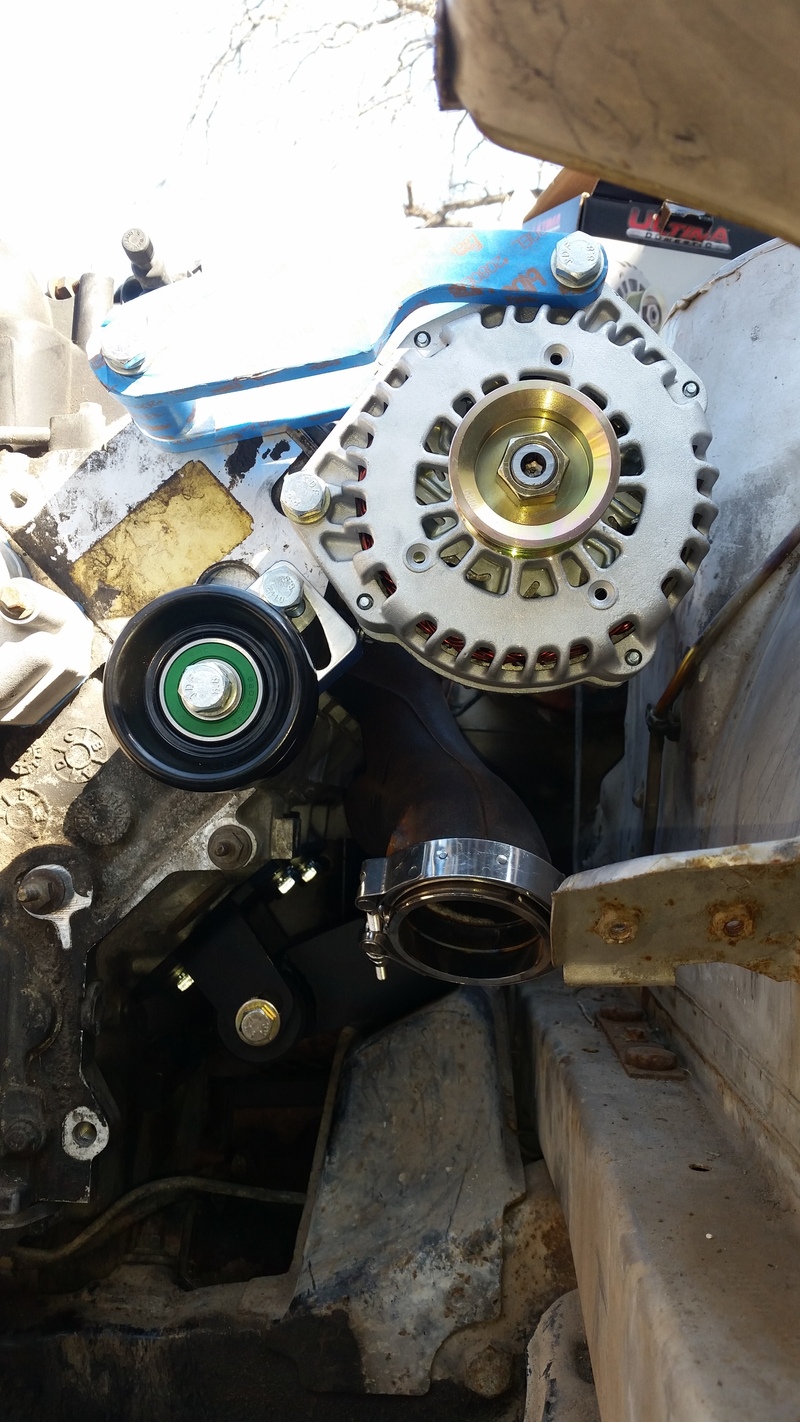
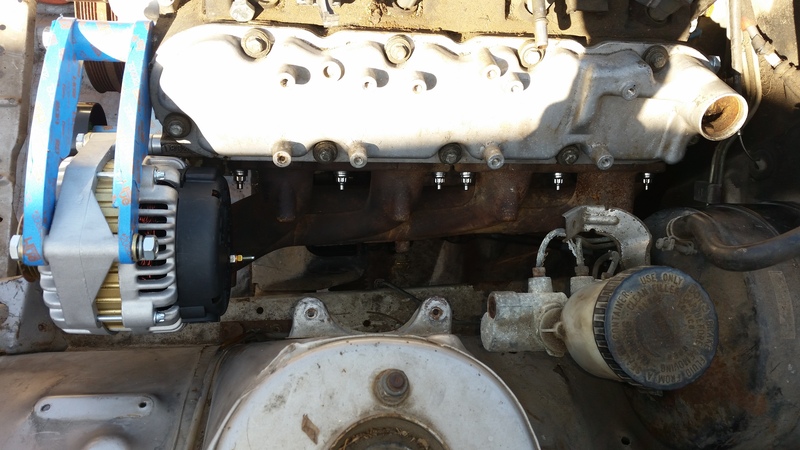
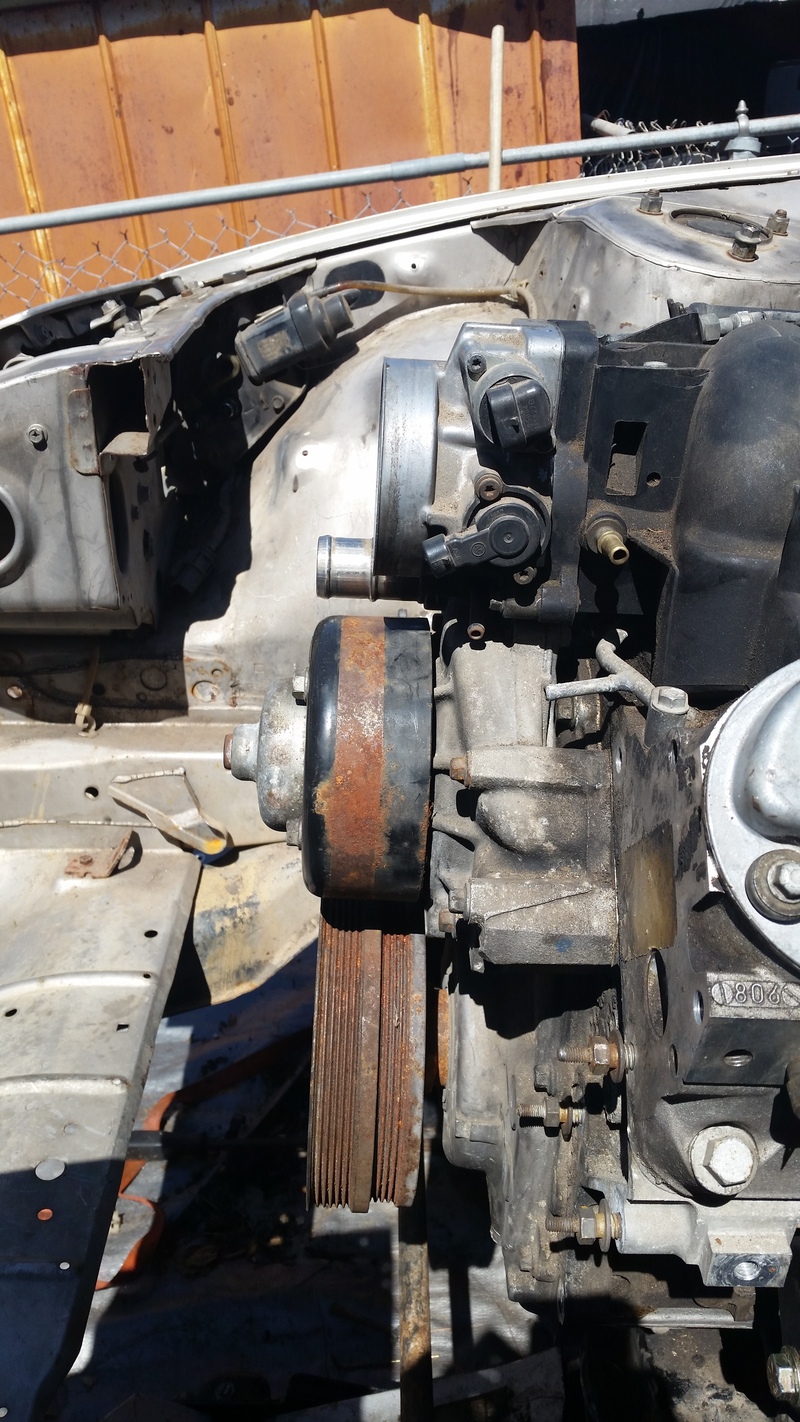
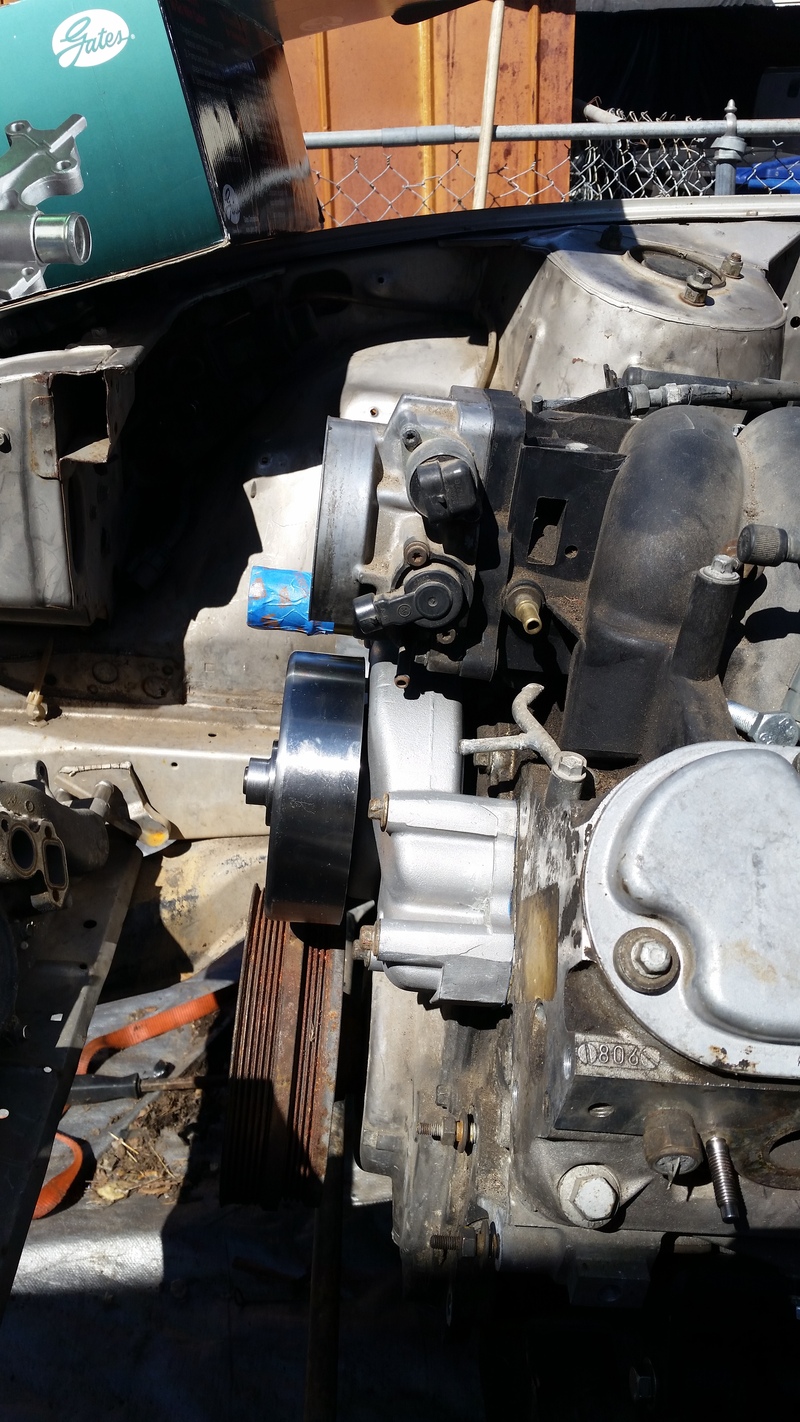
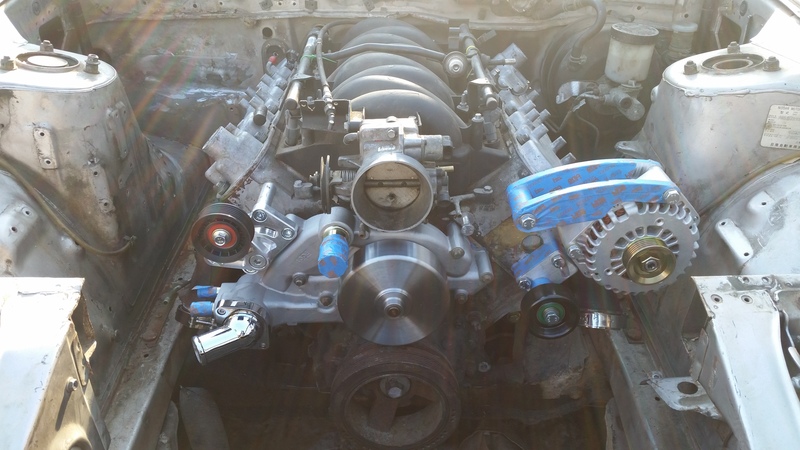
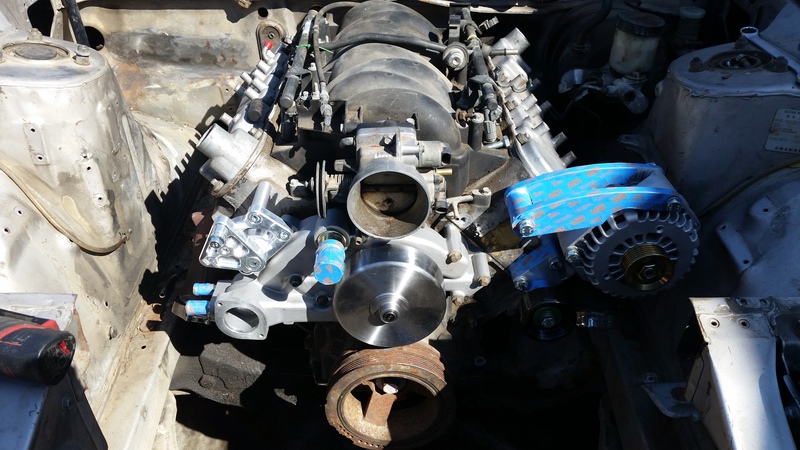
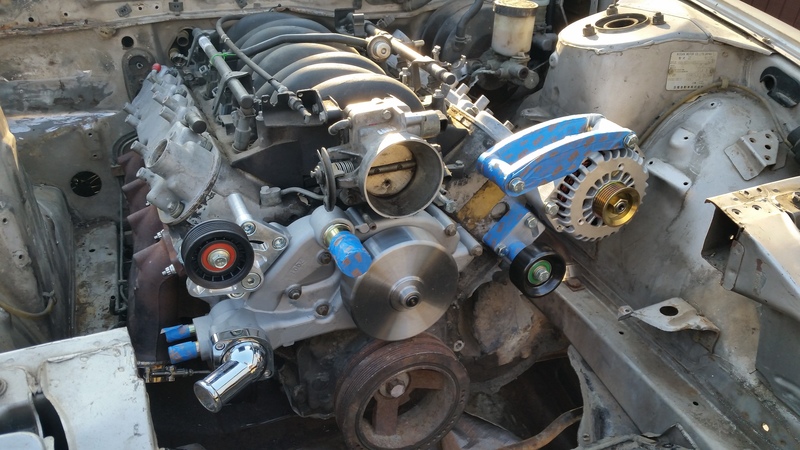
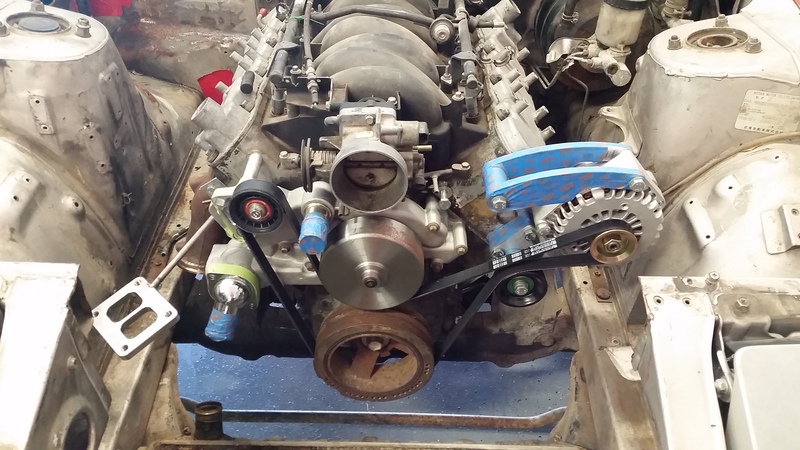
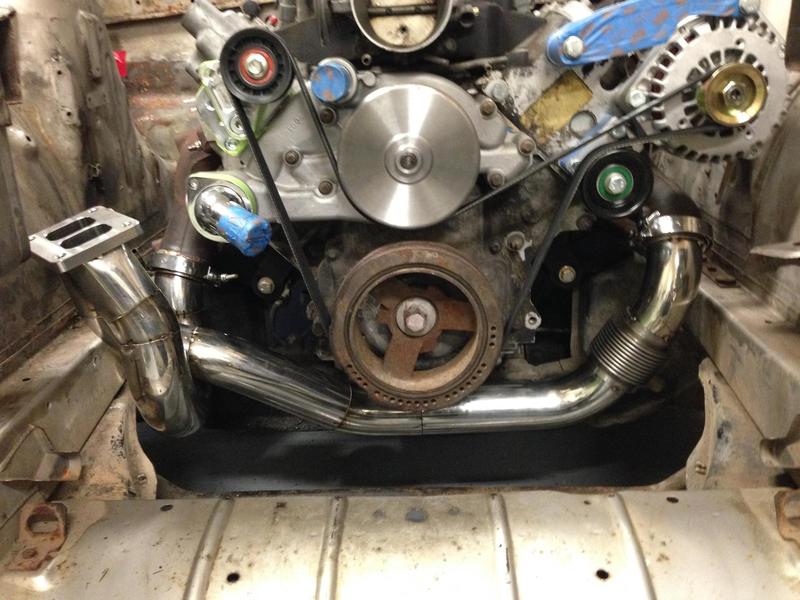
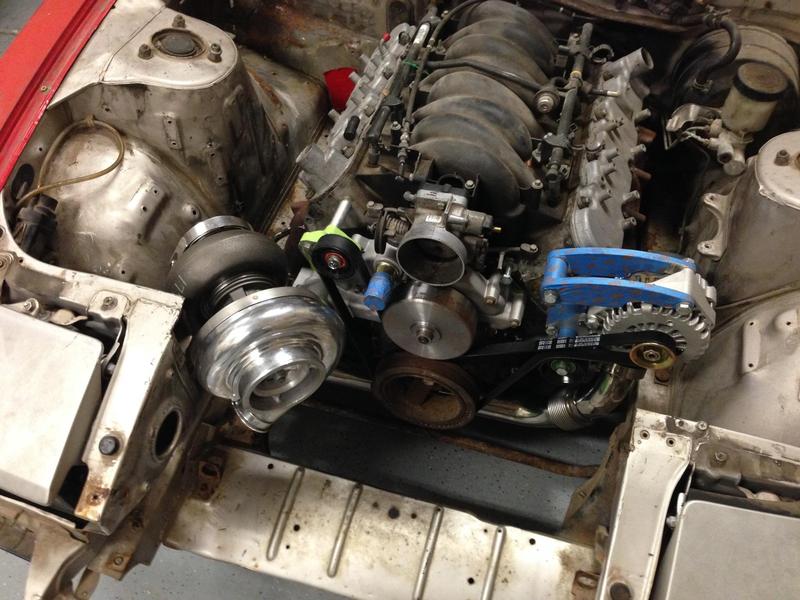
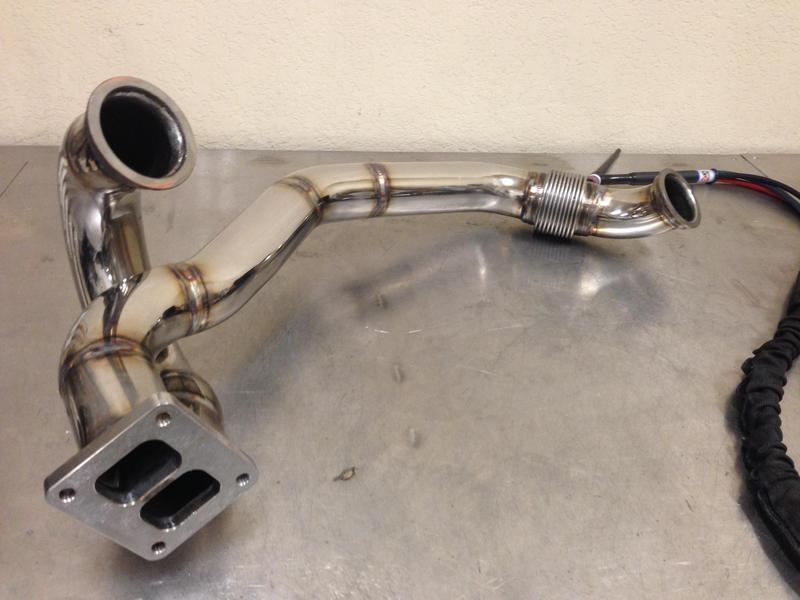
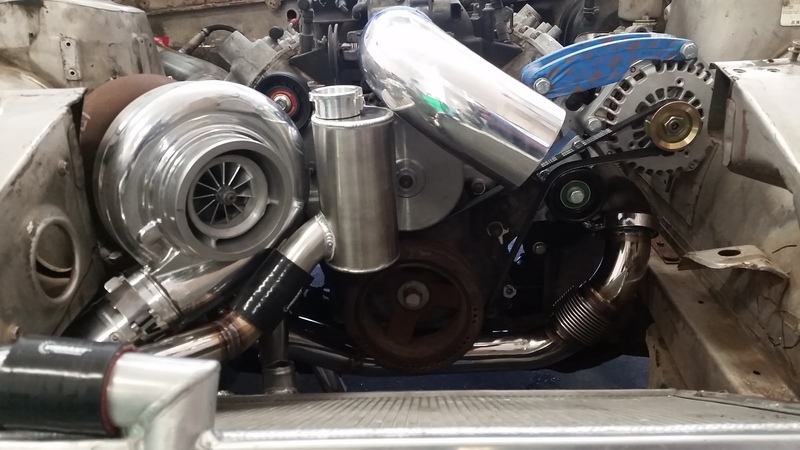
If I had planned to stick to my budget I knew I would need to find some budget friendly manifolds. While browsing the FS section on a forum I stumbled on some truck manifolds with welded 2.5" V-bands for a deal. They were cheaper than what I could even source the materials for. With out hesitation I bought them. It had been previously determined that I could free up engine bay space by deleting P/S & A/C. That left me with several possible alternator locations. Considering heat kills alternators I wanted them as far as possible from high heat sources(like exhaust manifolds, turbo, and the downpipe). The best spot in my opinion was of the driver side head. The search was on for a nice compact alternator relocation bracket. My solution was a Billet - Speed relocation bracket. What stood out was is size and the fact it comes with a tensioner/idler. It allows you to run just the alternator with our the use of the water pump pulley. That way if I decide to run a electronic water pump I won't have to source a solution. The alternator I'm using is a 145amp O’Reilly Ultima unit that’s for a 06 Avalanche 2500 part#01-1873M
Another space saving solution was the adaptation of 2007 LS2 corvette water pump. The pump I'm running is a Gates 45011. Paired with Mr. Gasket 360� Swivel Aluminum thermostat housing. Part #720-2670. Since the exact orientation of the thermostat was unknown.
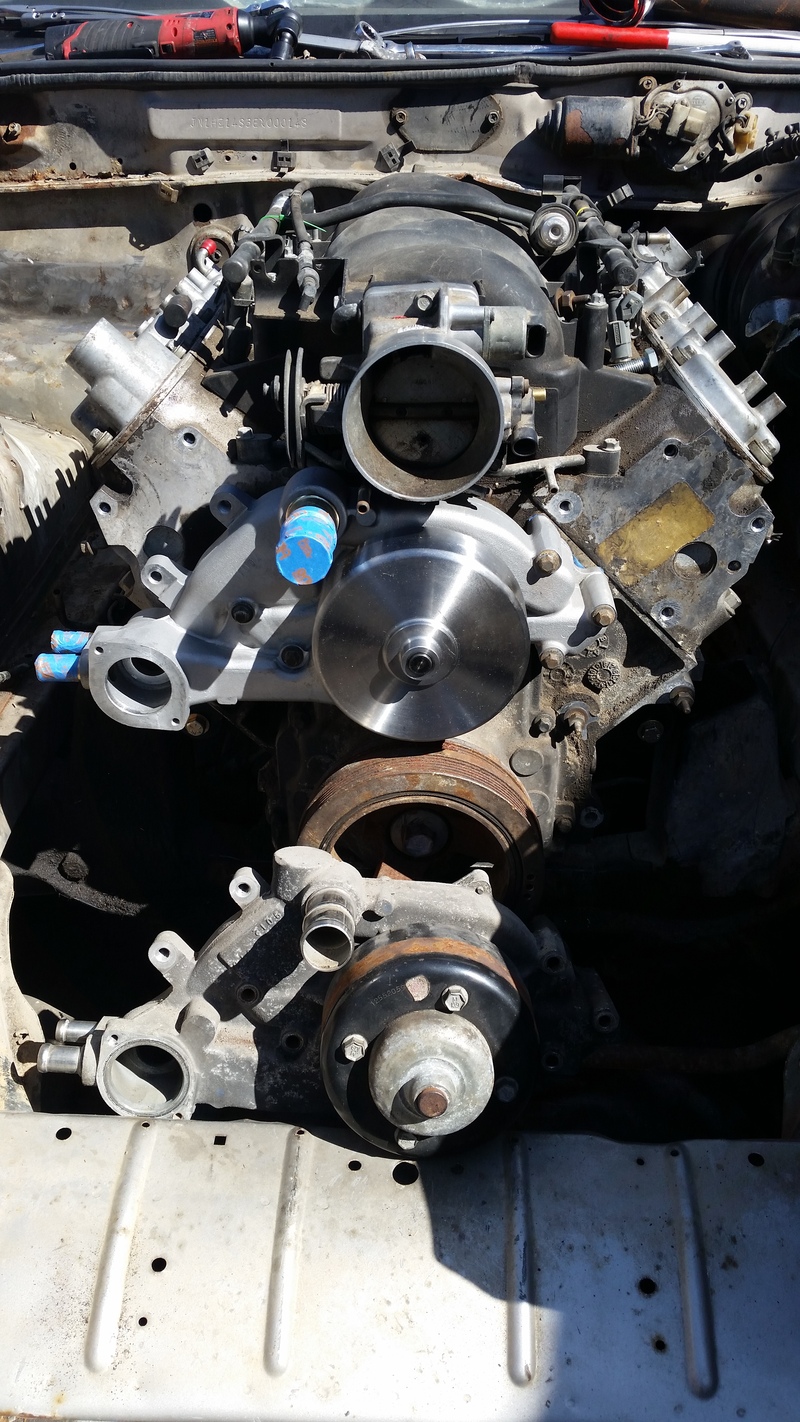


Another space saving solution was the adaptation of 2007 LS2 corvette water pump. The pump I'm running is a Gates 45011. Paired with Mr. Gasket 360� Swivel Aluminum thermostat housing. Part #720-2670. Since the exact orientation of the thermostat was unknown.


 08-05-2015, 01:33 AM
#9
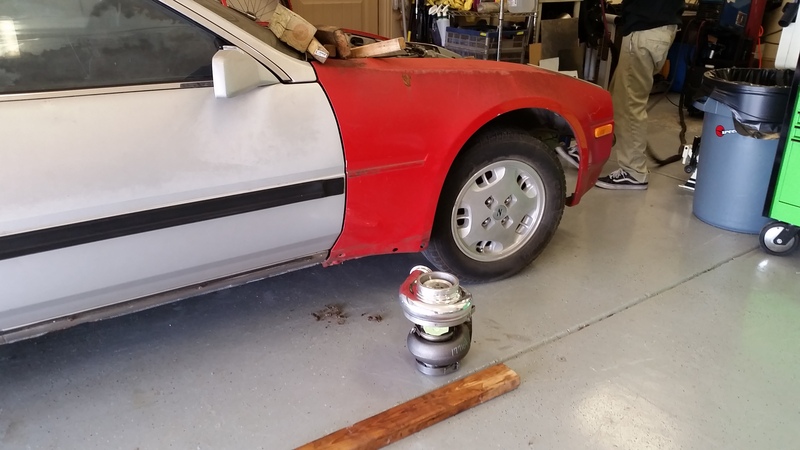
With the accessories out of the way I could move forward to the planning of my turbo kit. Once had my plan of attack figured out I contacted a good friend of mine and fellow Z31 owner darkzschneider . Which so happened to be a former(keyword) fabricator. We brain stormed/collaborated. Then established a timeline, needed materials, and compensation. I chose this avenue for simple fact I refused to dig into my budget to aquire the equipment I lacked. The funds I saved could be used to obtain my goals. I immediately purchased all my materials and parts.Patiently I waited for the phone call to bring the Z. Then the call came. Within hours my Z was on a flat bed heading to his garage. Here's some pics from its journey.
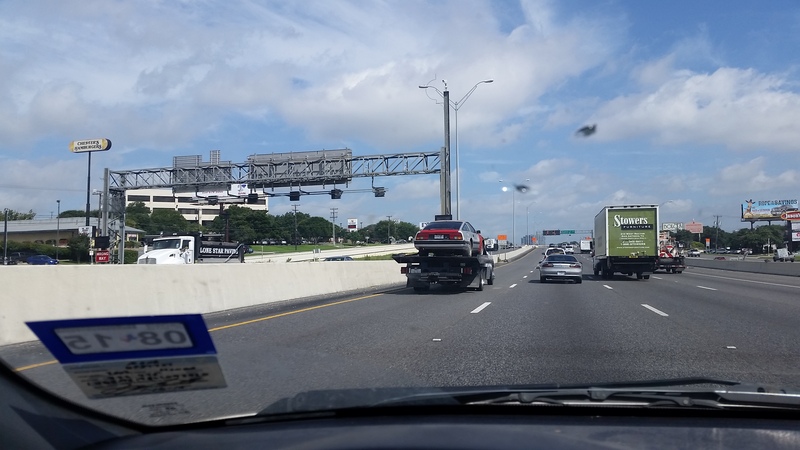
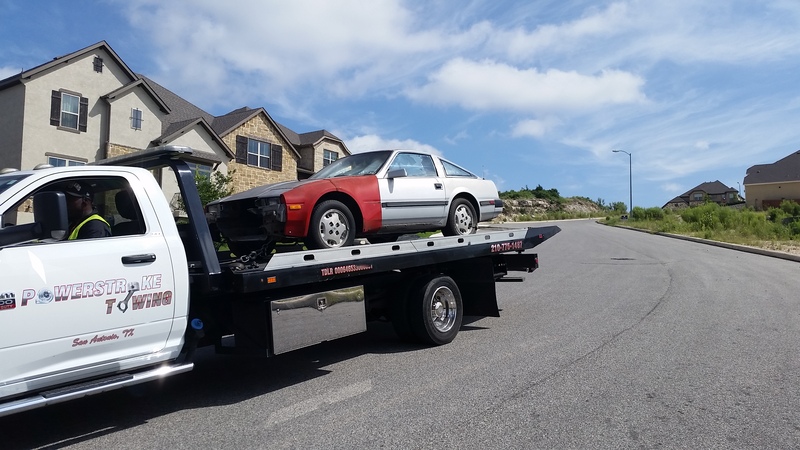
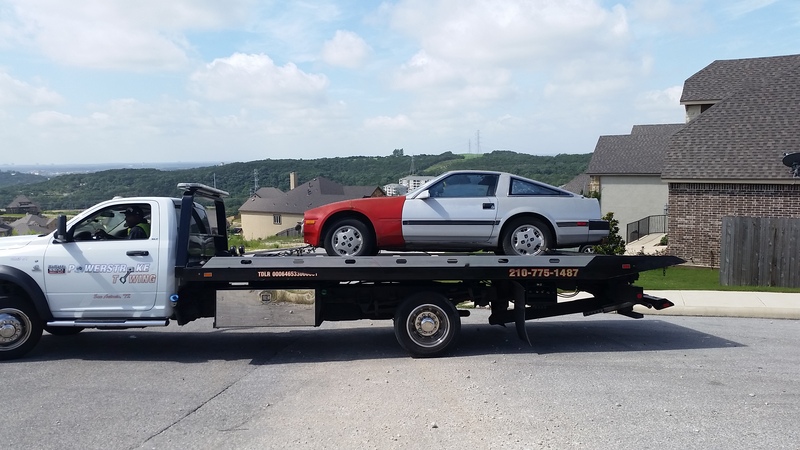
The arrival
Work started before we knew it.


The arrival


Work started before we knew it.


 08-05-2015, 01:33 AM
#10
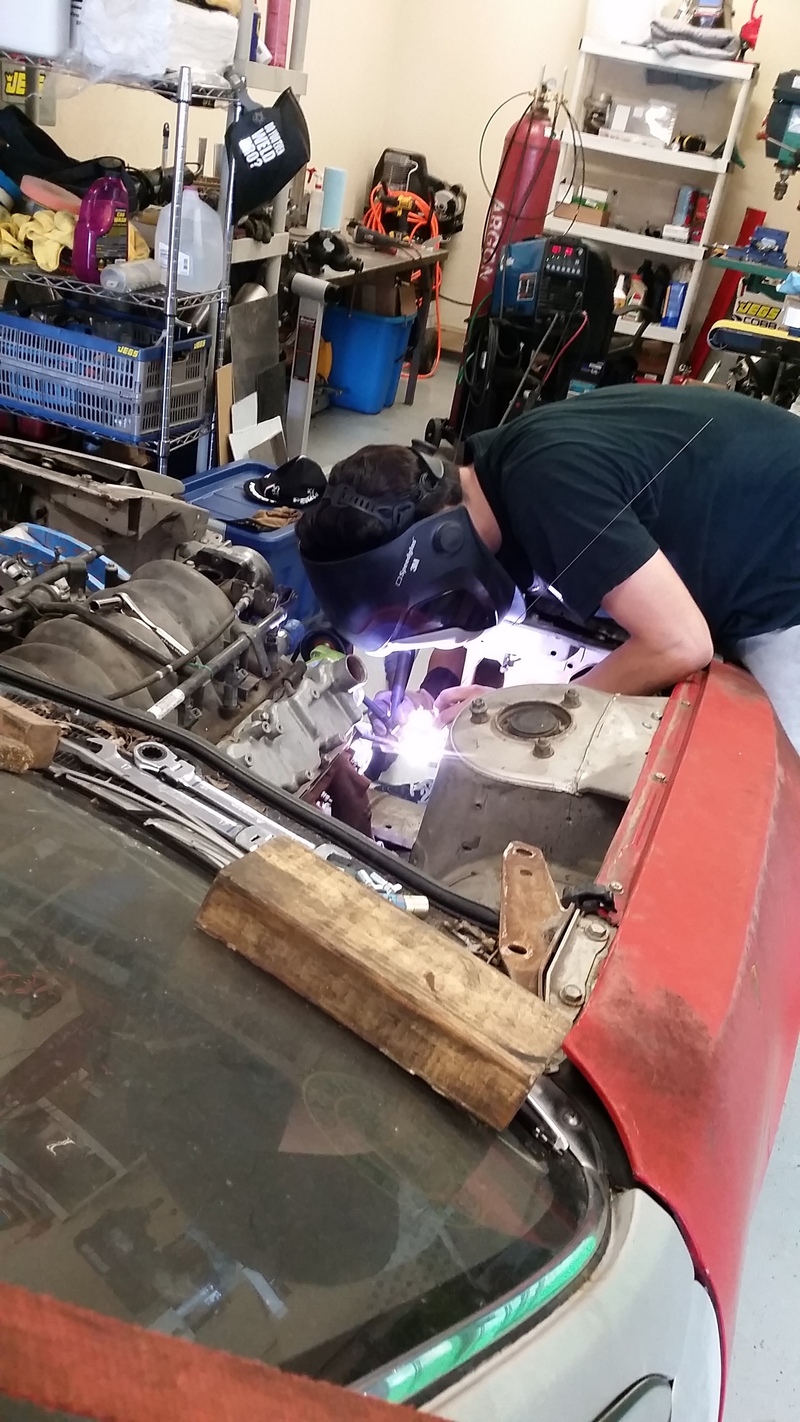
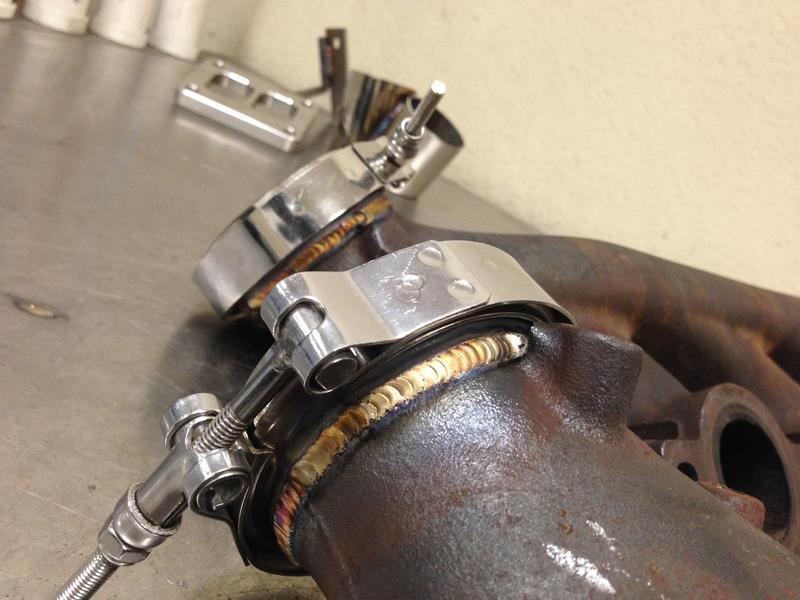
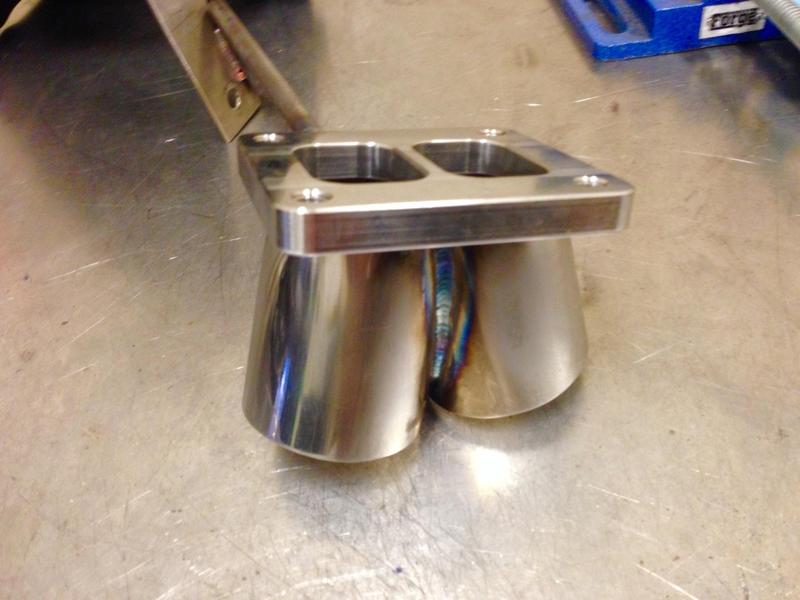
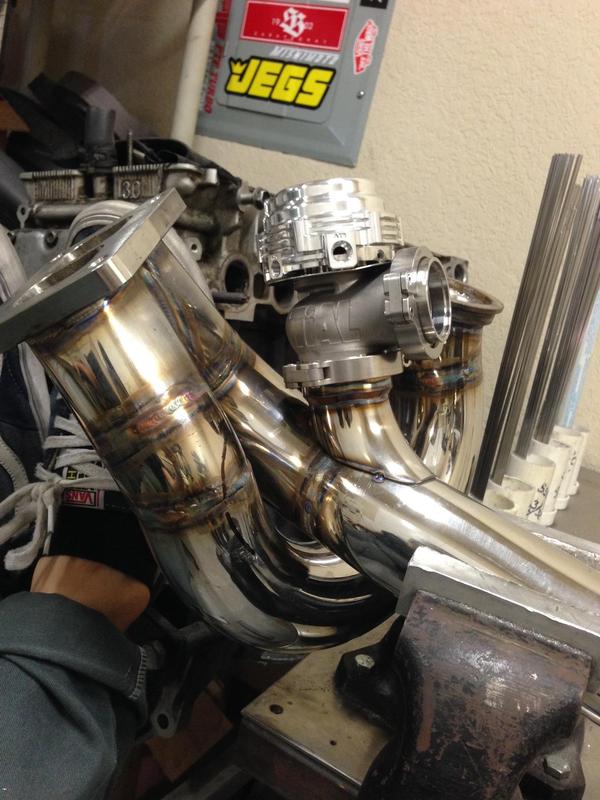
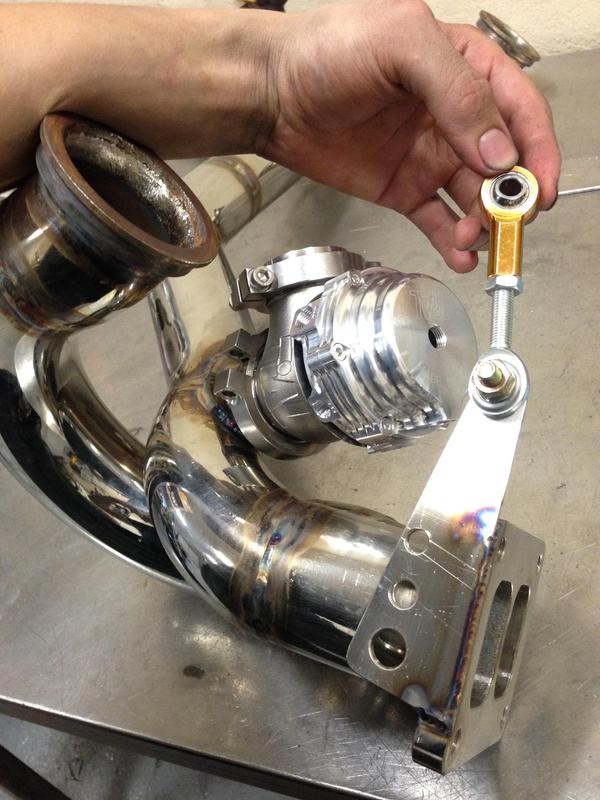
Next thing I know darkzschneider is making progress like a mad man. He's went full beast mode for sure. Even though they had the V-bands already welded on they weren’t welded on the inside. That was corrected and all welds were gone back over to ensure optimum strength. Several times a day for the next few weeks I received updates without missing a beat. I was floored by the amount progress I witnessed every visit. I'll let the pictures do the talking.


 08-05-2015, 01:35 AM
#14


As for the cold side it's 3inch tubing from the compressor housing into a backdoor entrance on intercooler. Then 4 inch tubing was used from the intercooler to the throttle body.The entire cold side is constructed from aluminum. All but 1 connection is assembled with Vanjen clamps. The only V-band is located on the charge pipe that goes from the intercooler to the throttle body and is hidden . Which is finished off by a 50mm Tial BOV.
08-05-2015, 01:36 AM
#15
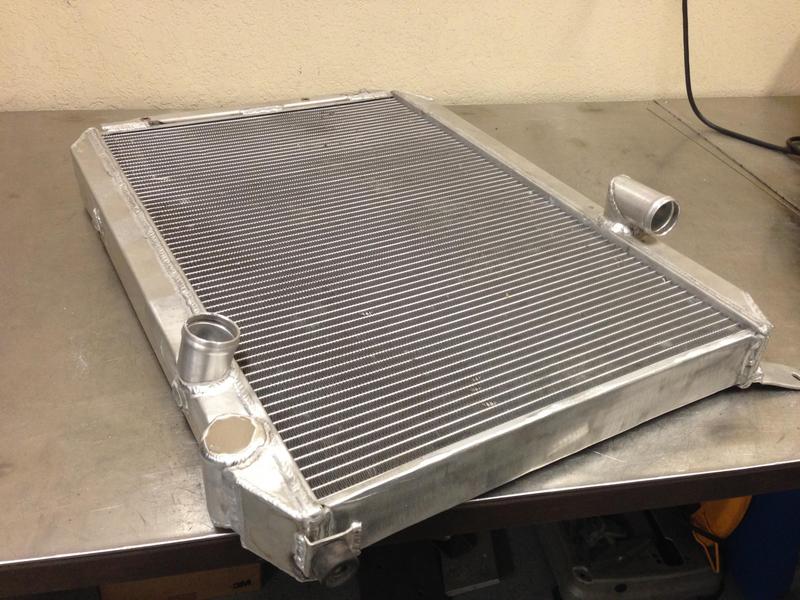
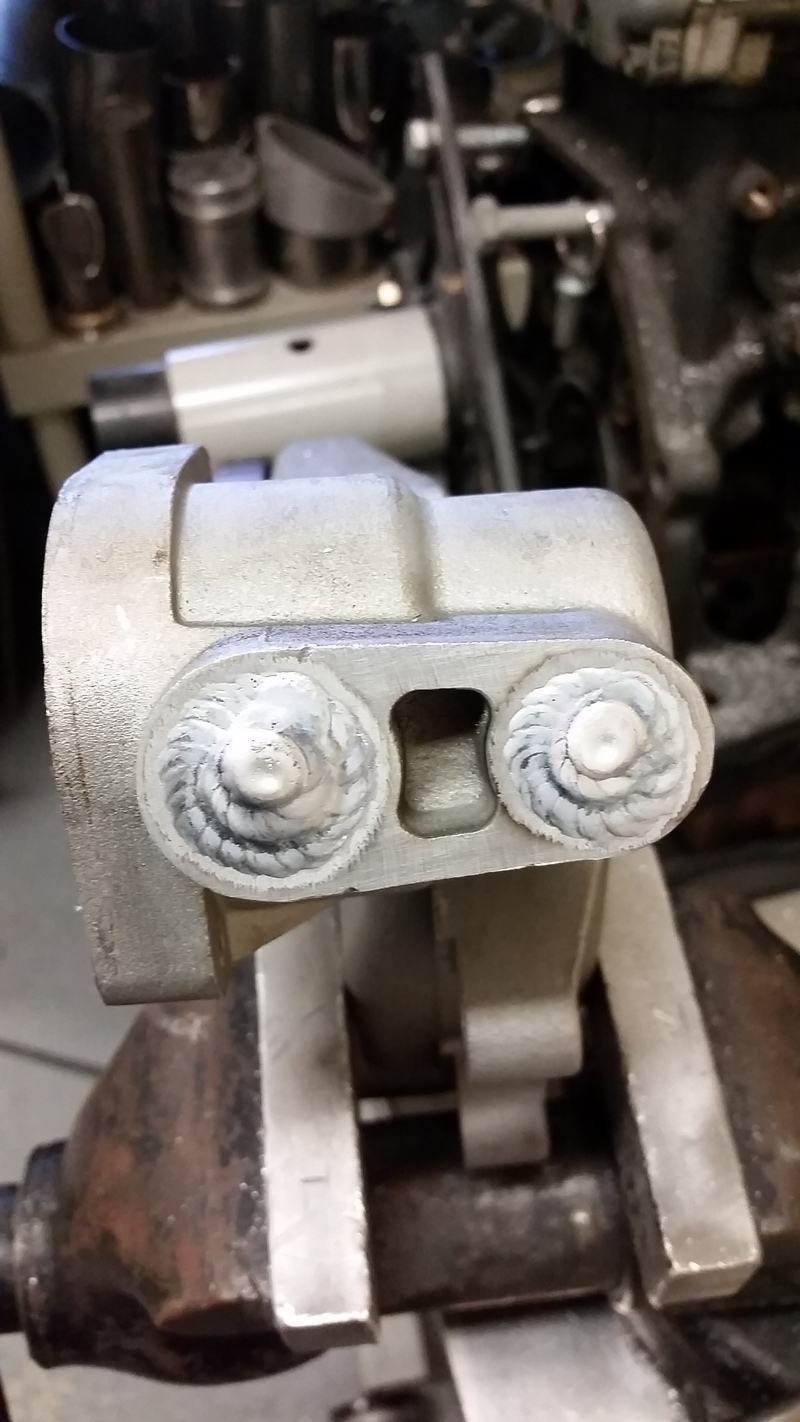
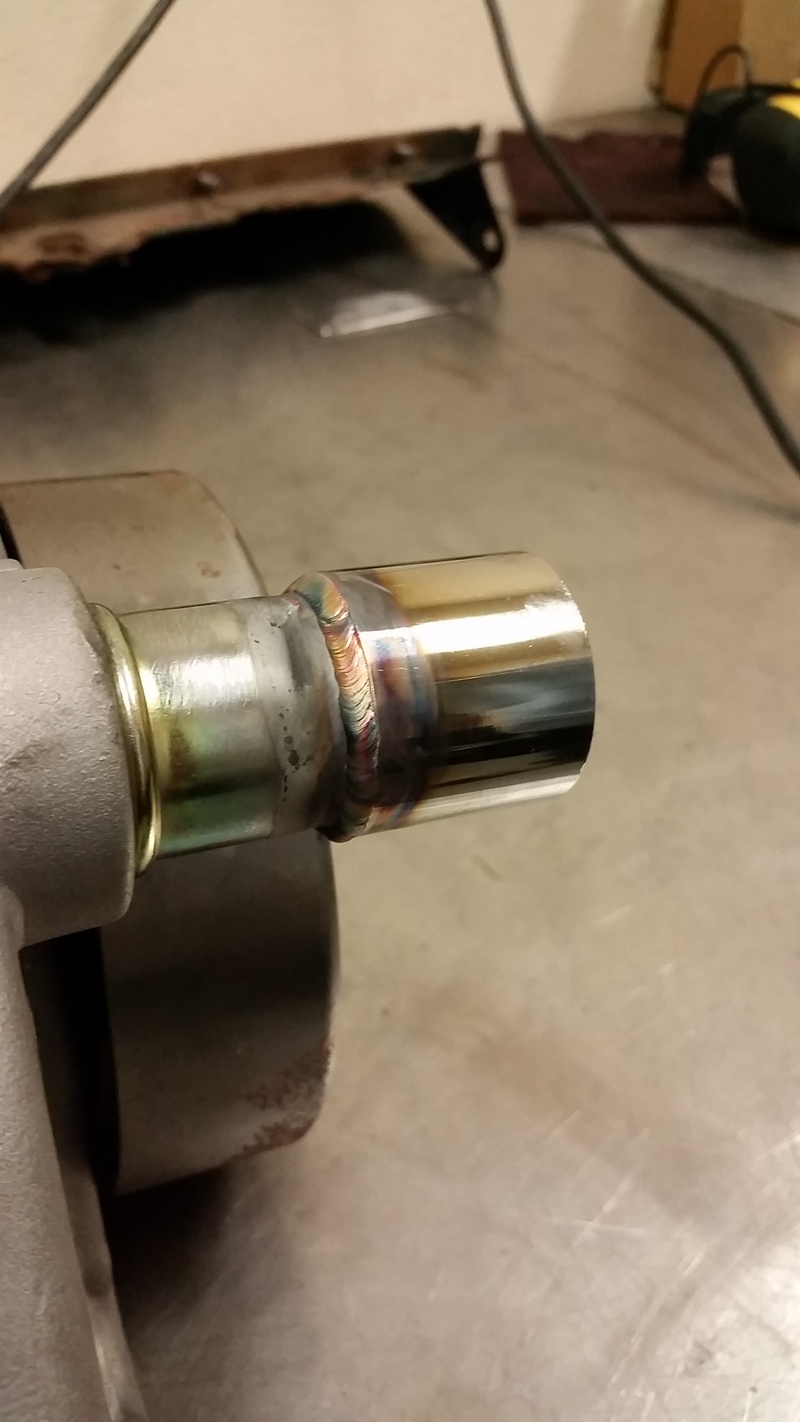
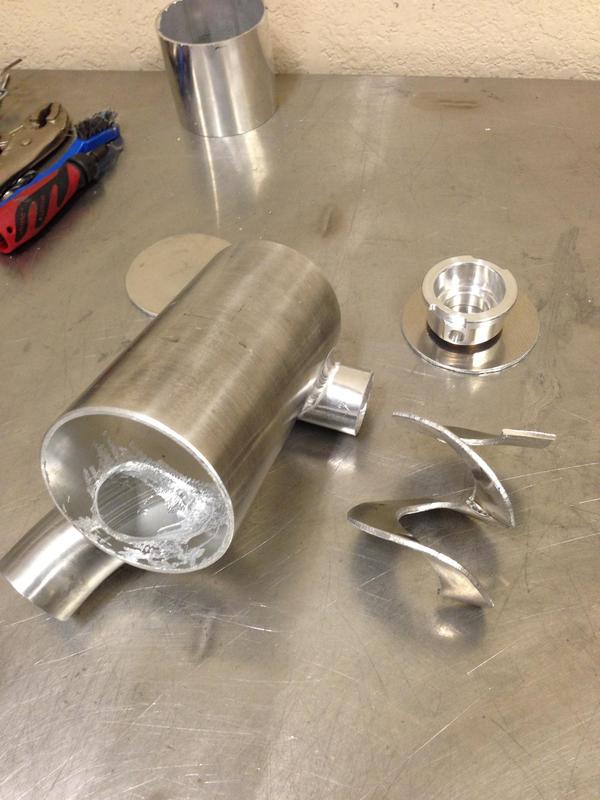
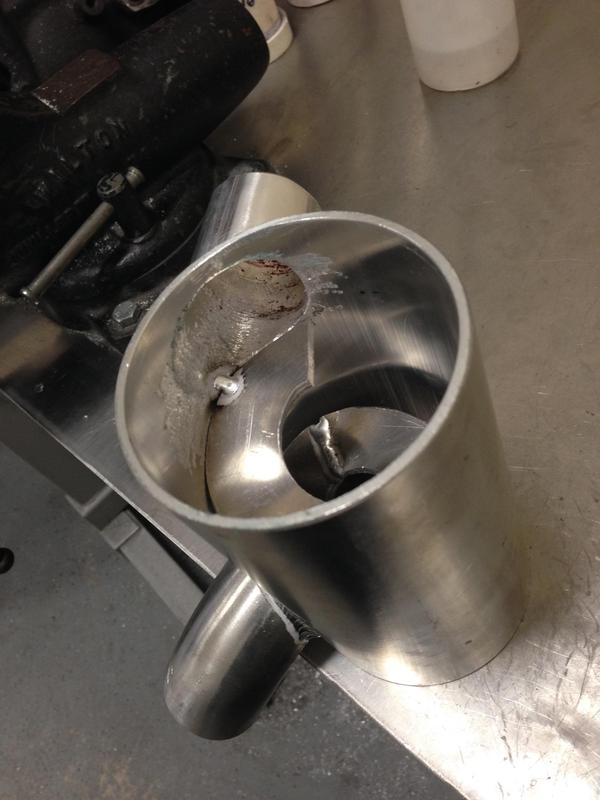
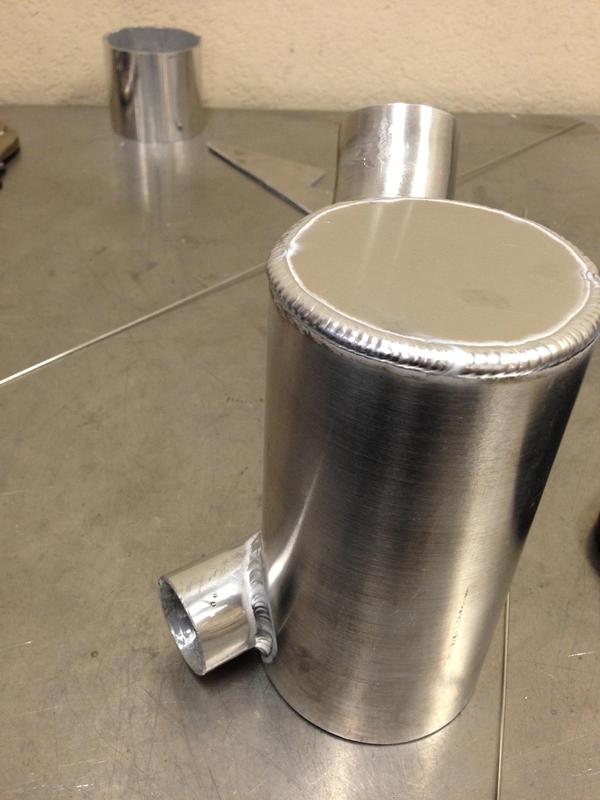
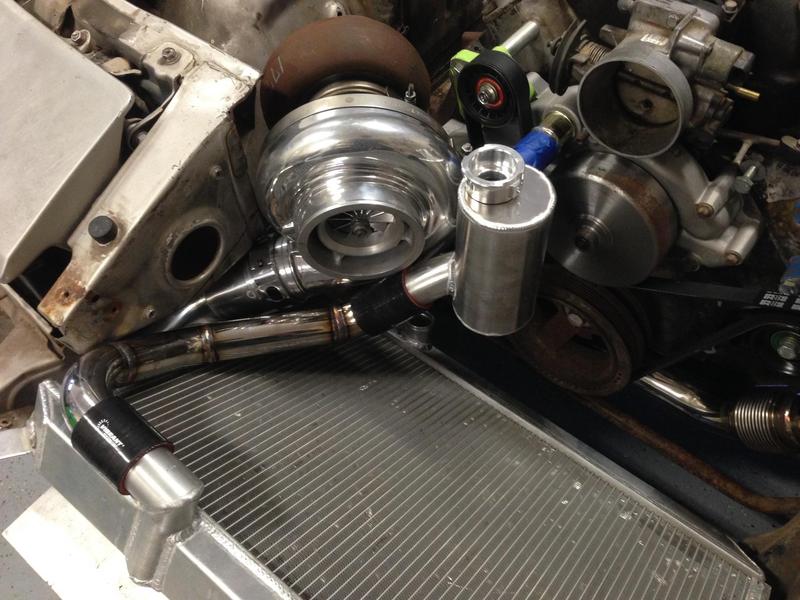
To keep my engine cool I'm using a fully aluminum constructed Champion 3 core radiator. That was purchased from MSA. We had to relocate one of the water necks but other than that is the same off shelf unit. The radiator is connected by fully stainless steel coolant pipes along with a coolant swirl pot. All connections are done with Vibrant silicone couplers and T-bolt clamps. There was a couple modifications made to the water pump as well. One of them being heater core tubes were welded shut. As for the other a piece of tubing was welded to the water pump outlet.


 08-05-2015, 01:37 AM
#18
Here's a few teasers of modifications soon to come
Front end conversion
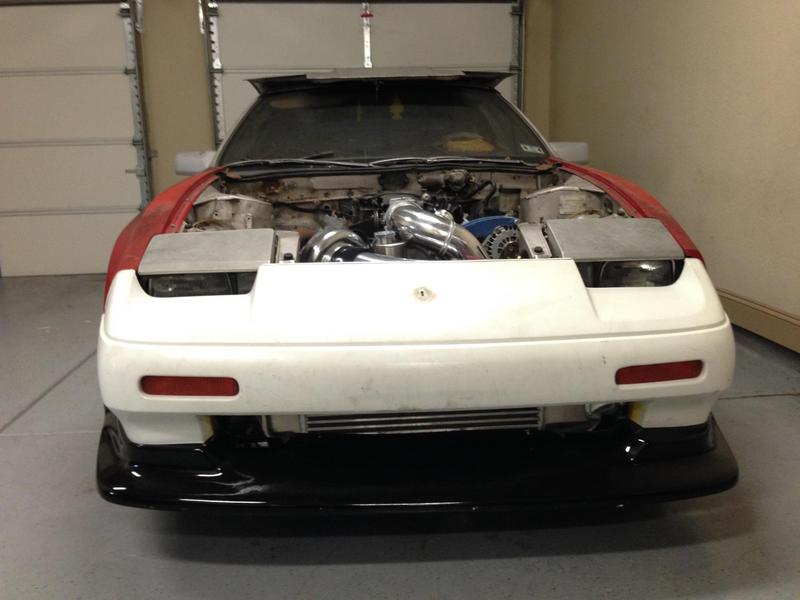
S13 subframe swap
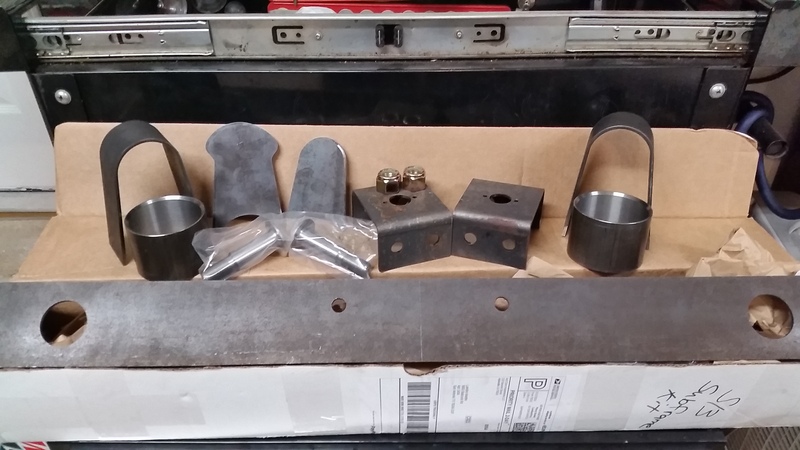
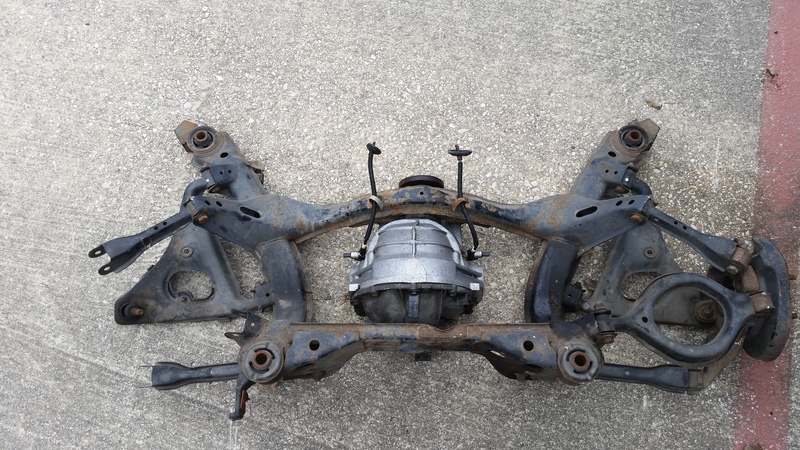
Trust me there's much more to come. I have quite a collection of parts.
I'd like to give a special thanks out to a few people.
First is darkzschneider.
I don't just let anyone touch my car. I've been doing all my own work since for a very long time. I'm very pleased and honored to say darkzschneider did my fabrication. I feel we have the same amount of attention to detail. He's by far the best fabricator in San Antonio. I'd like to say one best in the entire state of TX. Your work is truly fanonimal.Thanks again man.
Second is Andrew84zx
I really appreciate loaning me the radiator at last minute. My car would have been at a stand still if it weren't for your kind gesture. Thank you
Third is FlawleZ
Thanks for lending me a hand with the removal of the VG30E and the relocation of my car. It helped out a lot. Thank you.
I'd also like to thank my all my friends & family for the motivation. This project is far from being completed but it has came a long way.
Last but least I'd like my loving girlfriend Katy.
She has not move batted an eye or uttered a complaint about this project. Hell she's given me much needed parts for gifts over the years we’ve been together. I’m truly a lucky man. Thanks love. (Ps don't let her know I put her last Rofl. Just kidding she wouldn't mind)
That's it folks. Sorry for the long winded build thread. Check back for updates and feel free to post any comments or questions you may have. Thanks for checking my build out. Here shortly I’ll post a parts list that will be simultaneously updated with the status of each modification/part installment. Until next time take care.

