When you click on links to various merchants on this site and make a purchase, this can result in this site earning a commission. Affiliate programs and affiliations include, but are not limited to, the eBay Partner Network.
So i finally decided (and by decided i mean had the time) to make a build thread on what i have been working on for the past few months. I plan to add tons of pictures and measurements to this thread and share some of the ideas i have come up with for the car. If anyone has any questions or needs a part number or measurement just send me a PM or post here and will do my best to get you an answer.
My background is in electrical engineering but i have been tinkering with cars forever. I came from the 4 cyl turbo world and previously owned and tuned a built motor/GTX35R ~700WHP AWD Mazdaspeed 6 which bested an 11.3@131. I finally had enough up's and down's with that car and it was time to try something new. I knew i needed something that was simple and had TONS of aftermarket support so that i wouldent have to struggle getting parts or figuring out how to make power. I knew the LS was an awesome platform and always had a thing for Foxbodys so it was practically a no-brainer.
Old Car:
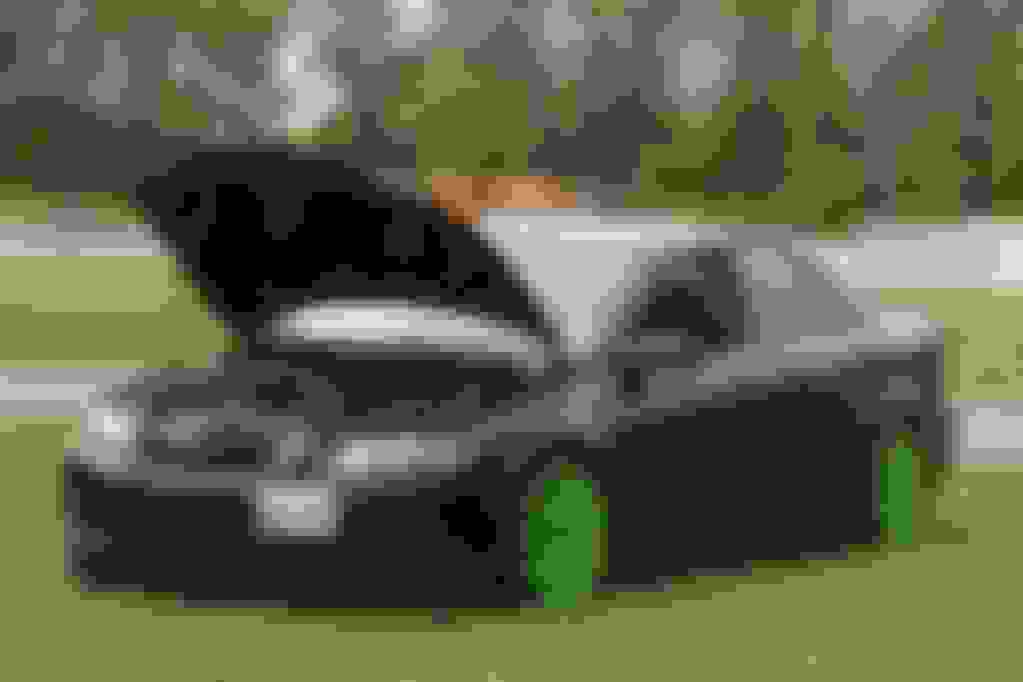
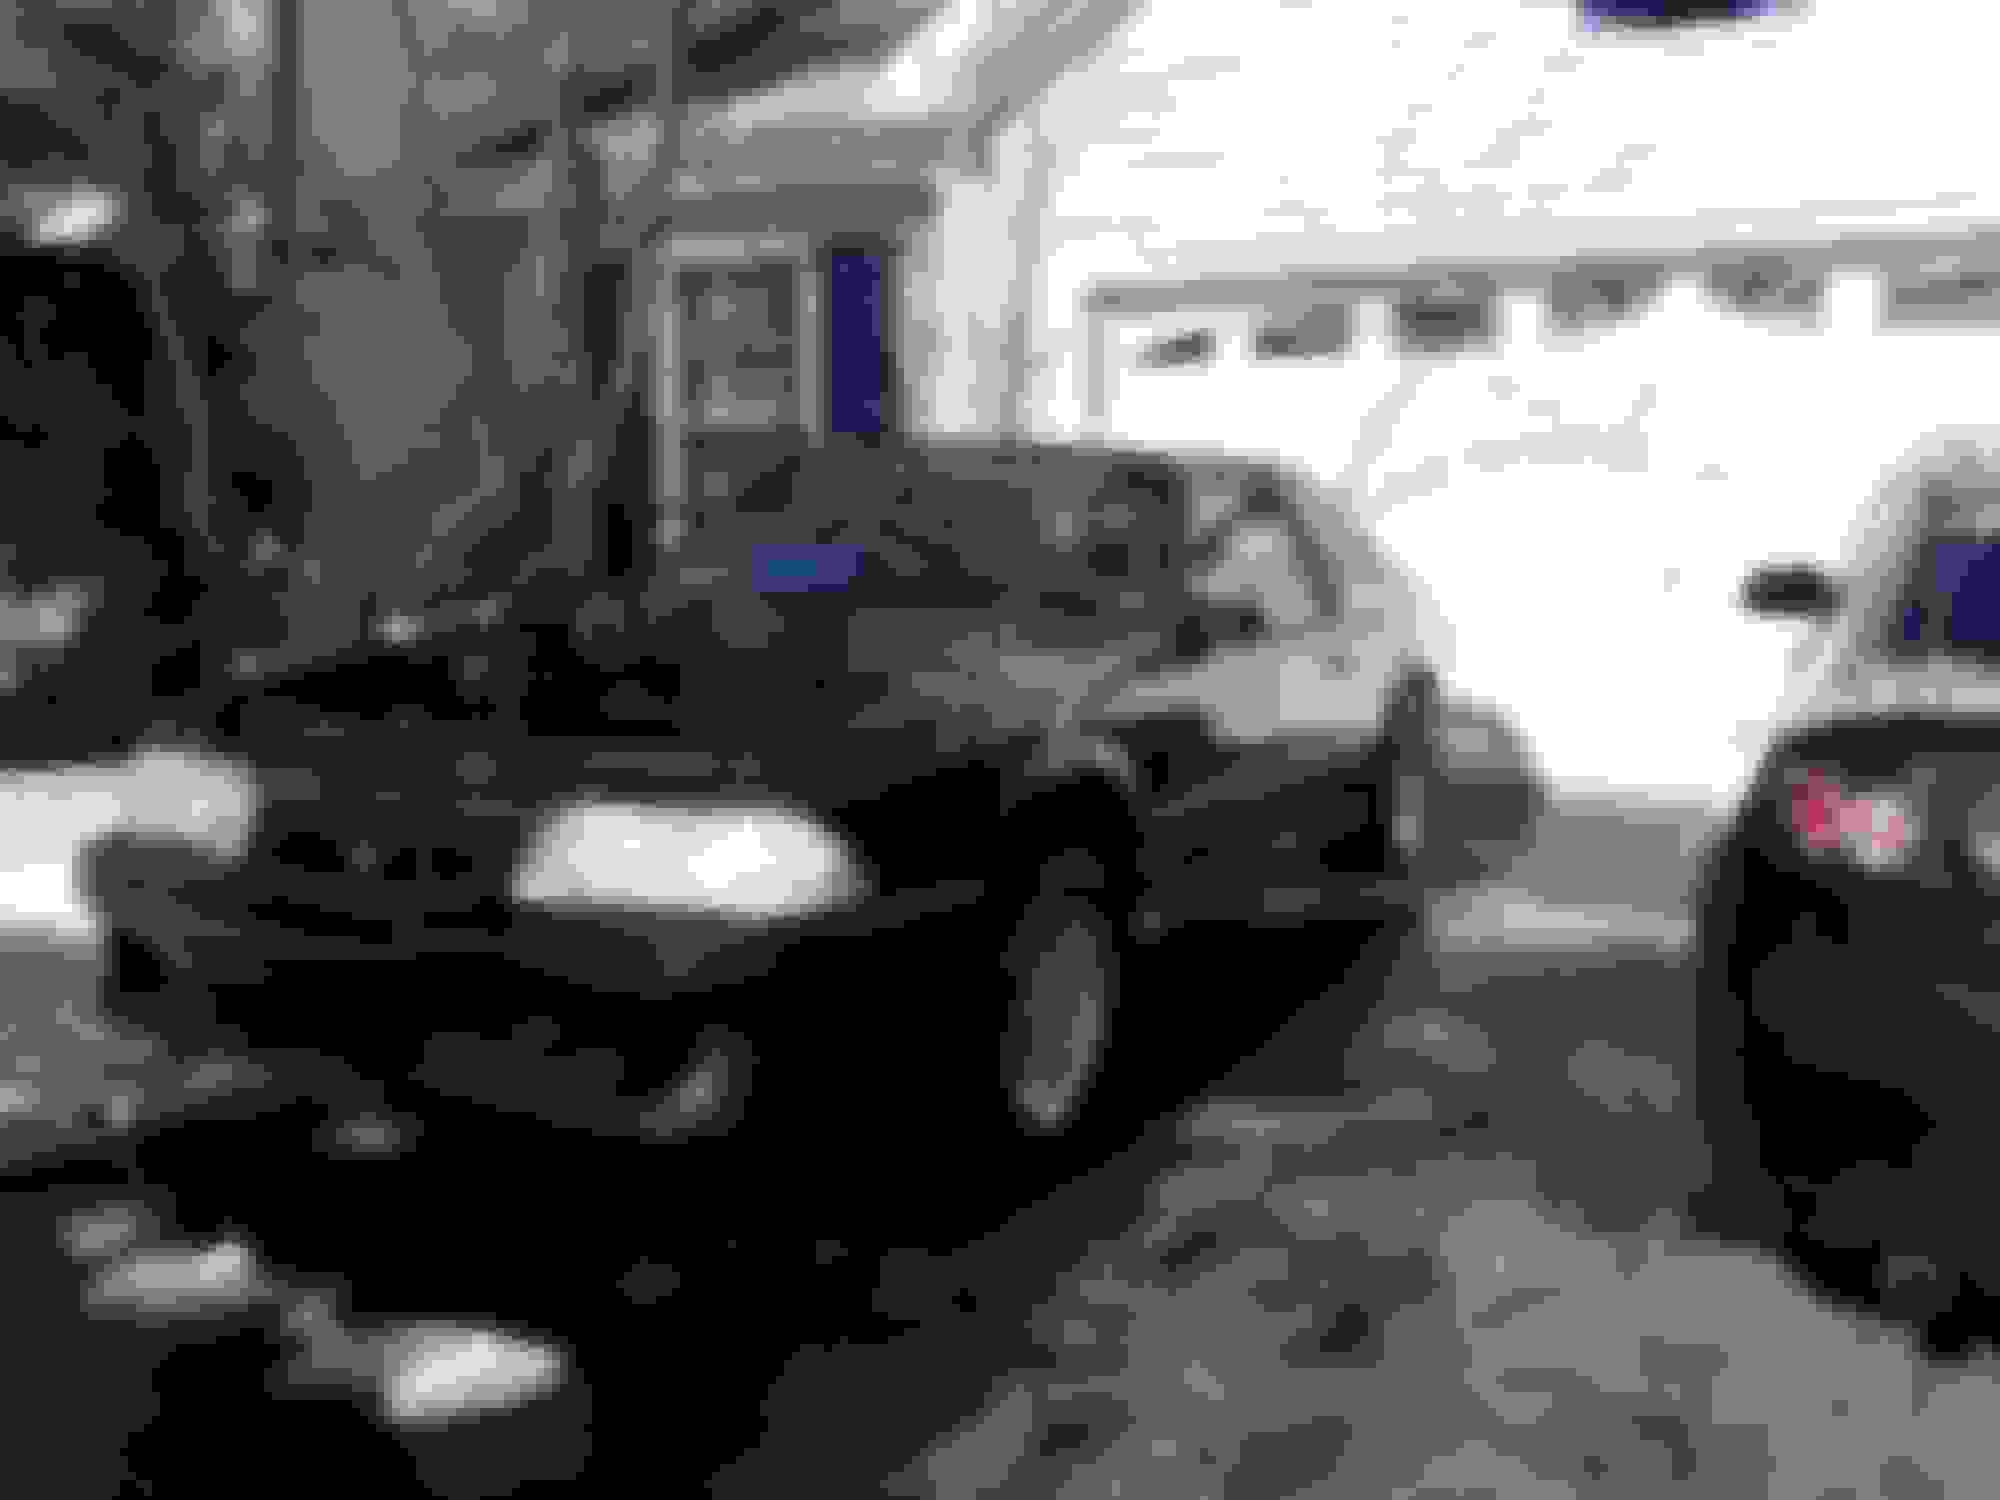
New Car:
Purchased the car in PA in feb as a roller. Its a 1989 LX that was originally an Auto. The previous owner drag raced it with his wife and owned it for most of its life but had too many toys so he decided to sell it. It was freshly painted and did not have an ounce of rust anywhere. It already had an 8-pt S&W cage, weld wheels, ET streets, rear uppers/lowers, Eibach drag springs, lakewood shocks, and a FR LSD. I knew i wanted a roller seeing that i was going to rip the motor/trans out anyway and i wanted something super clean that i did not have to do any bodywork to. The goal for the car was to build a streetable drag car that i could drive 7 days a week if i wanted (its not my daily) and still make an 8 second pass. I spent more time not driving my MS6 then driving it and that was something i did not want to happen with this car. I know that's the nature of the game sometimes but reliability was my #1 goal so i wanted to make sure i did things right with no shortcuts.
The day i brought it home
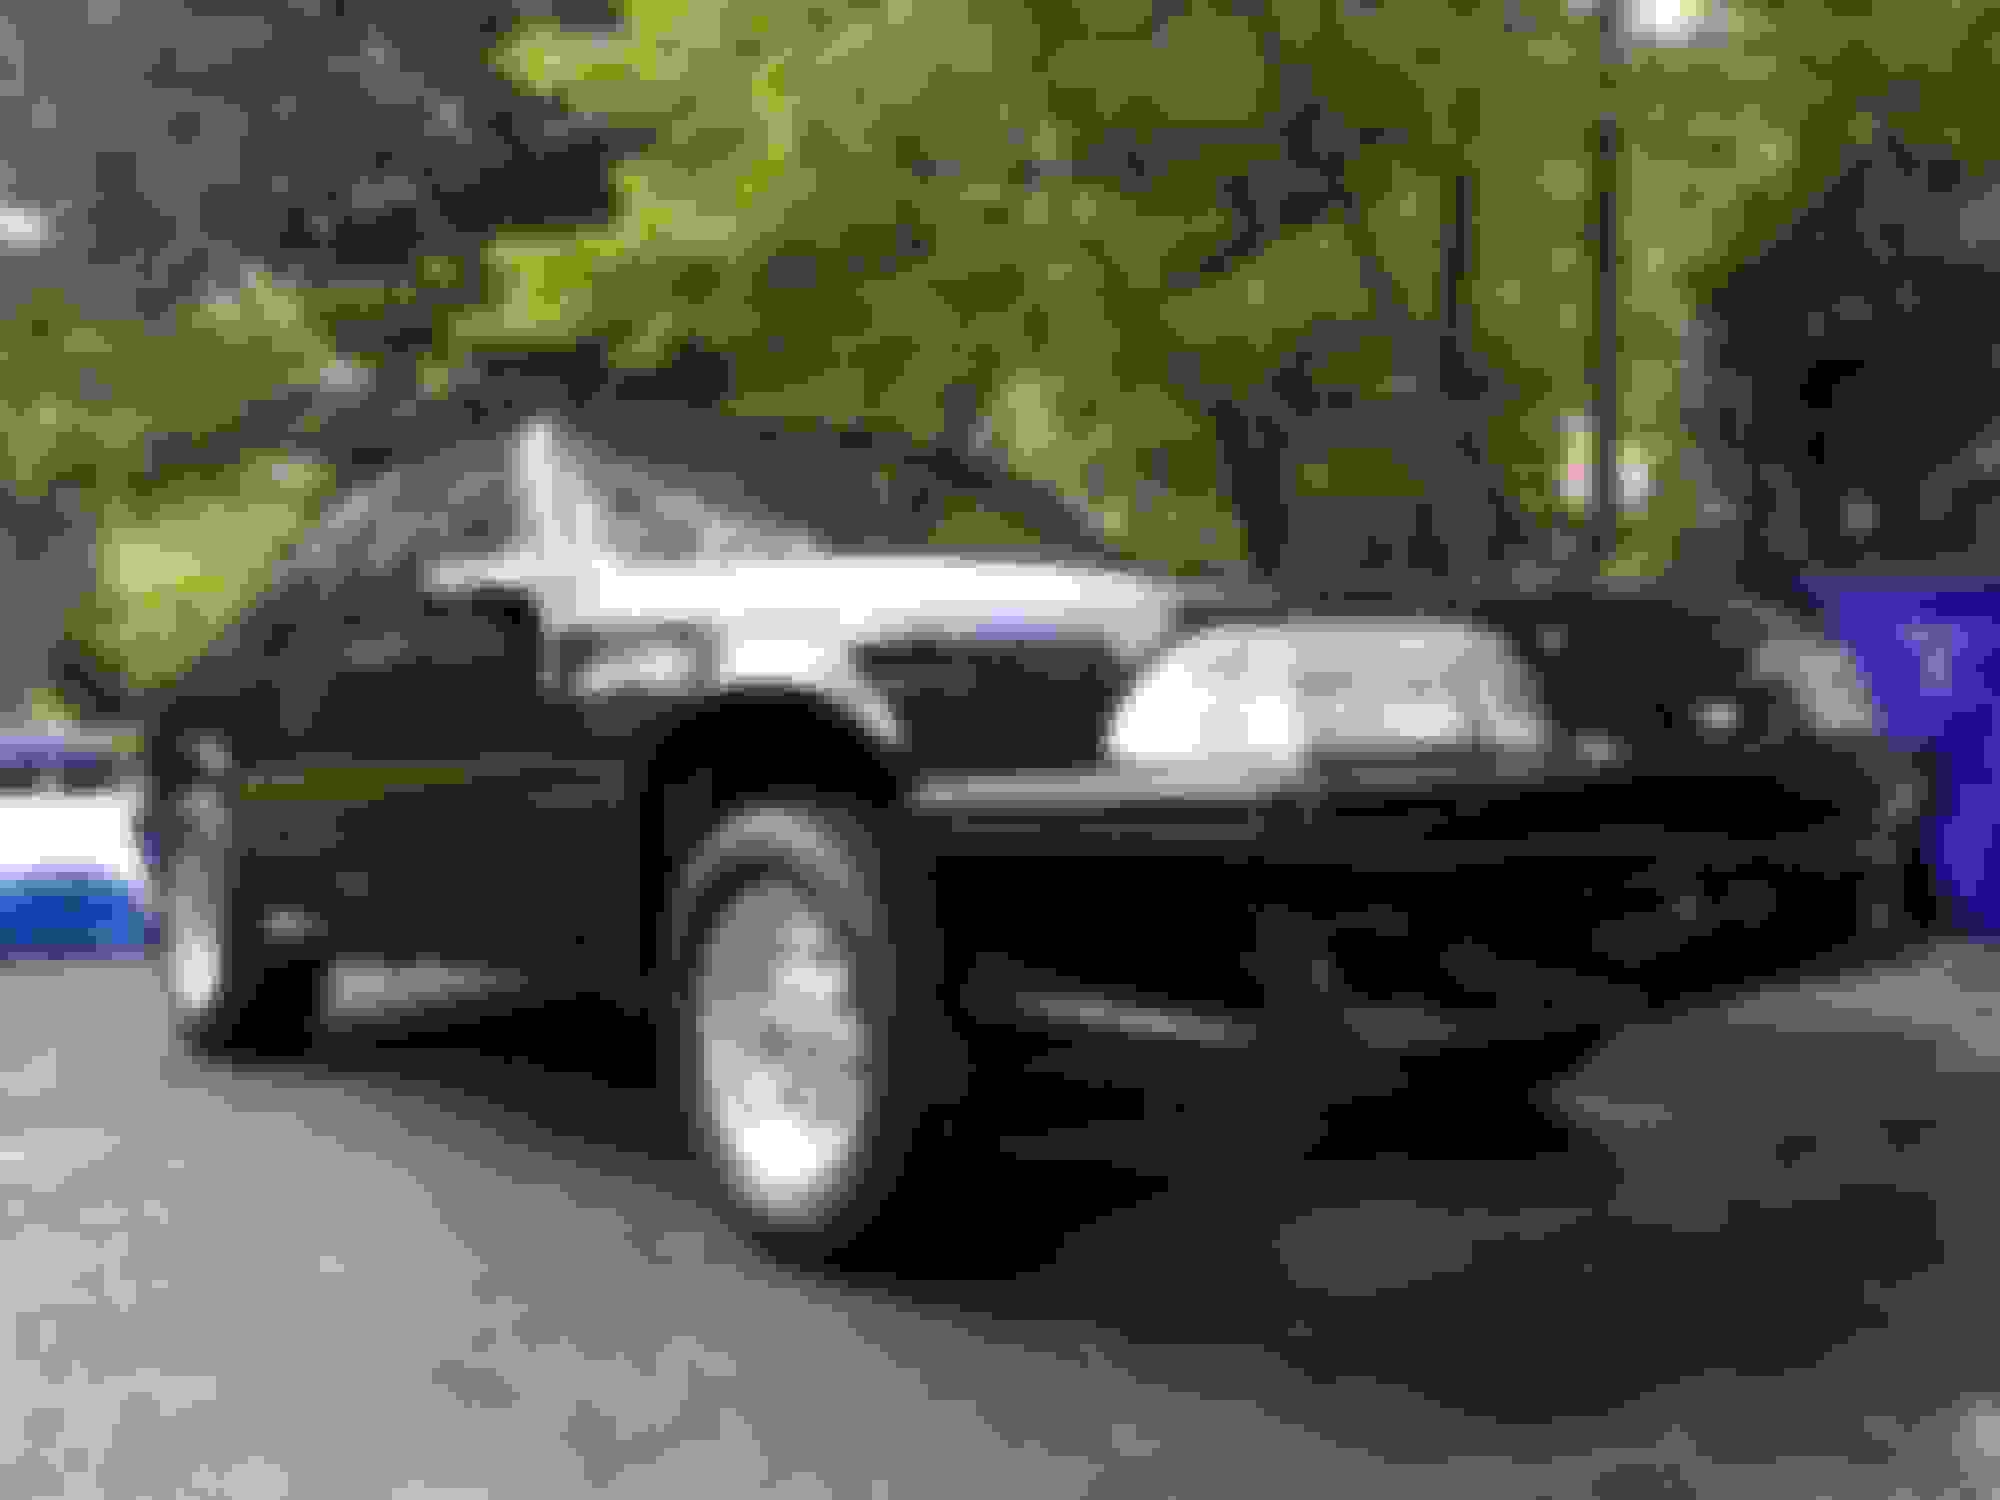
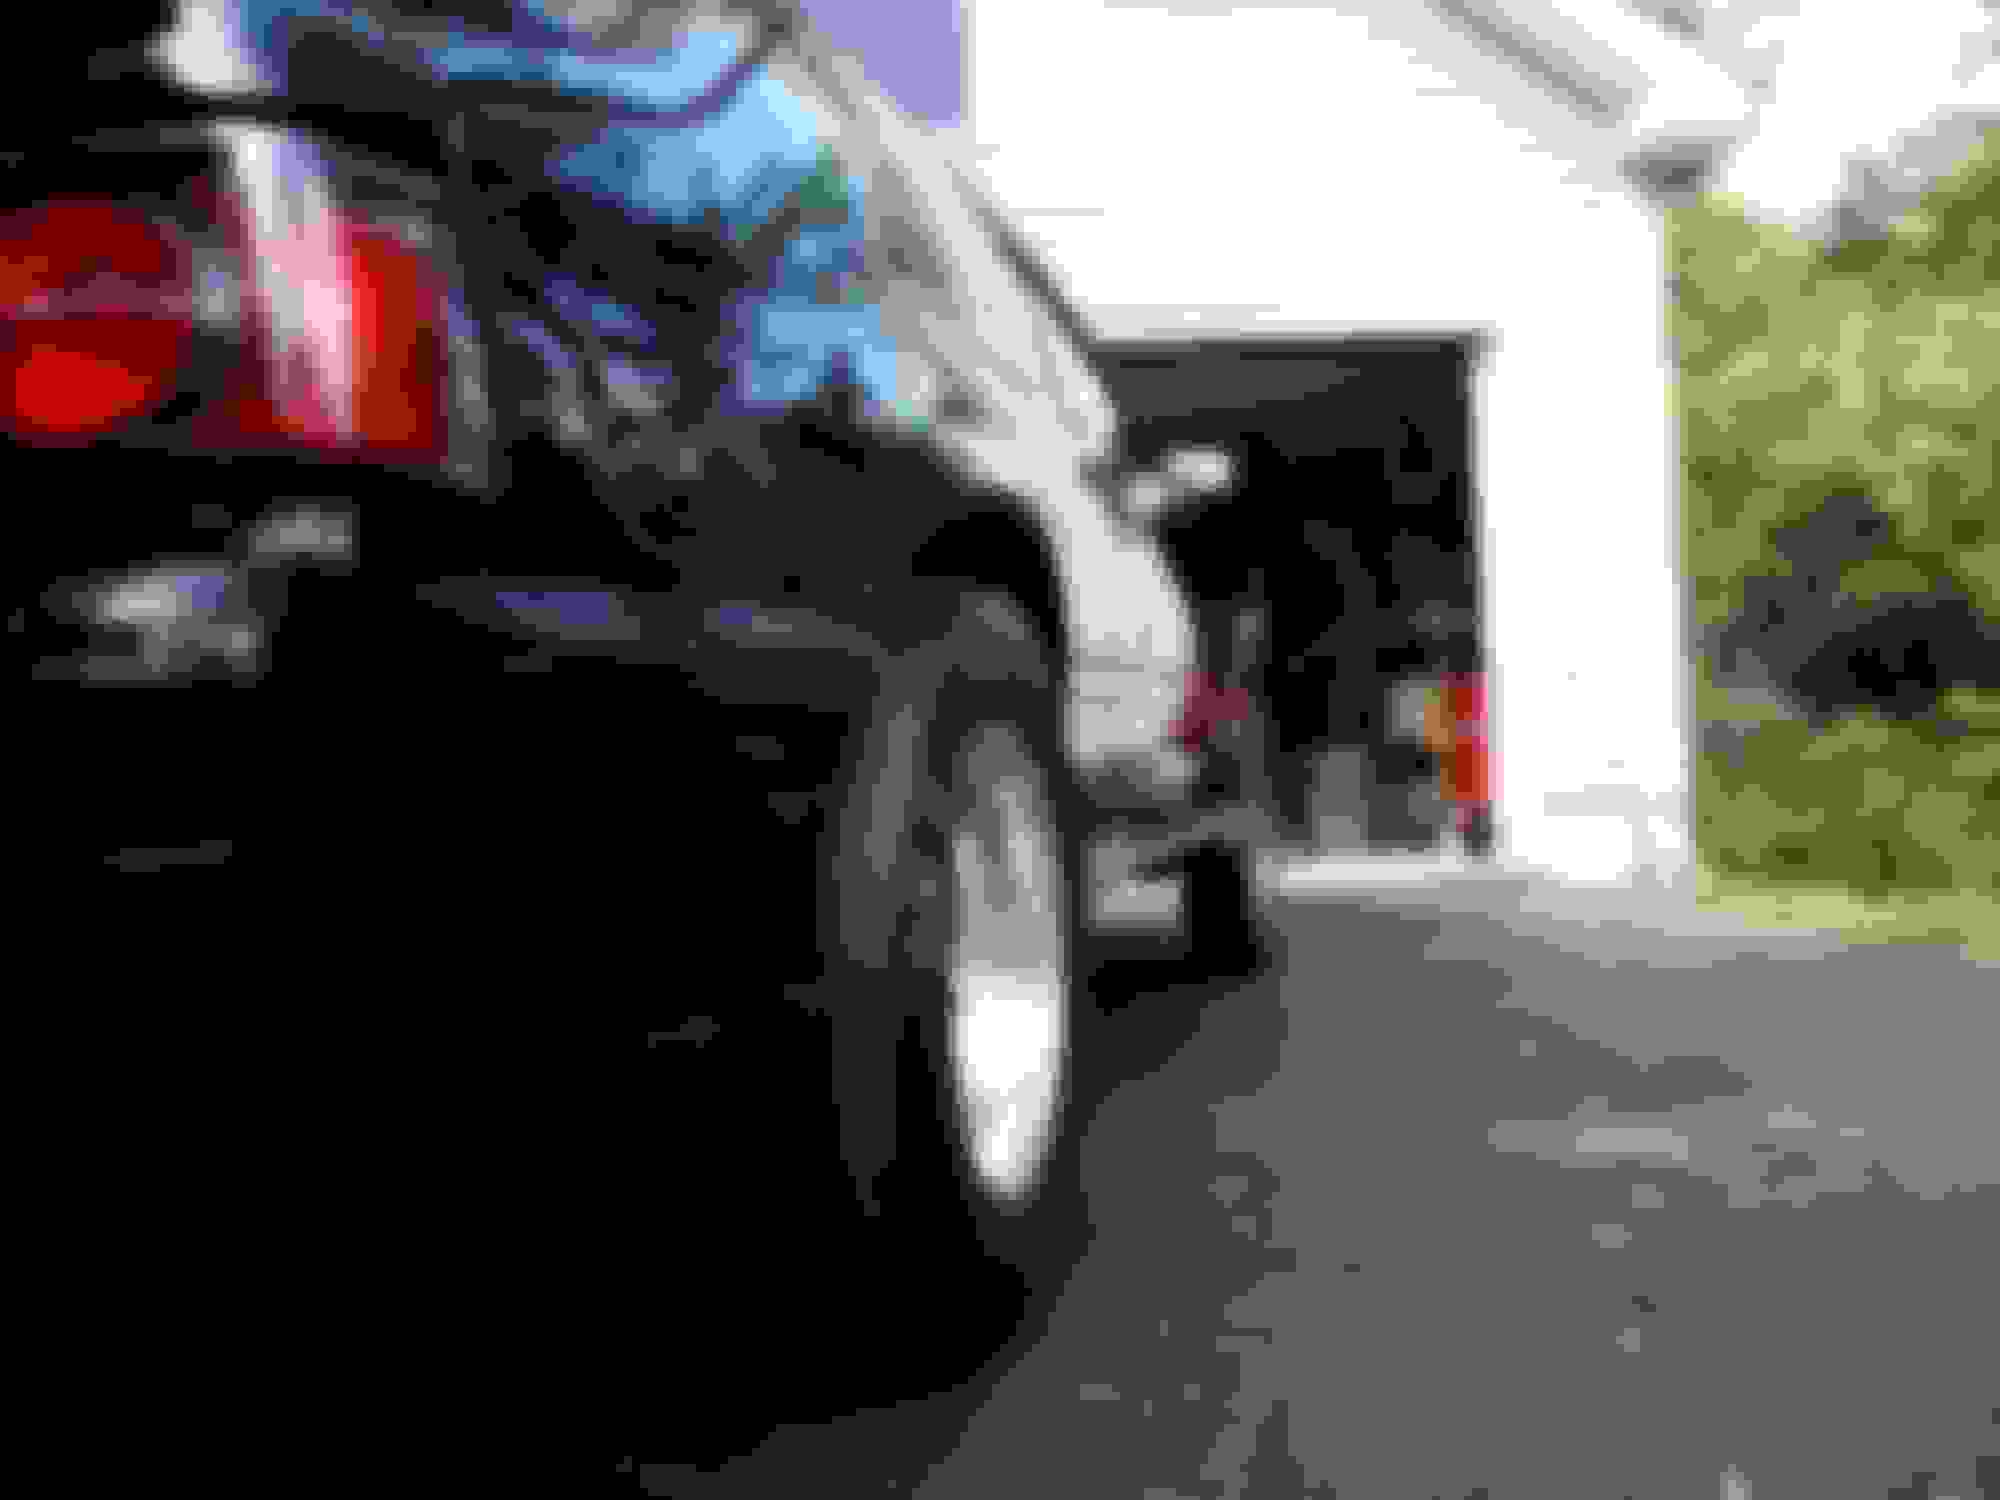
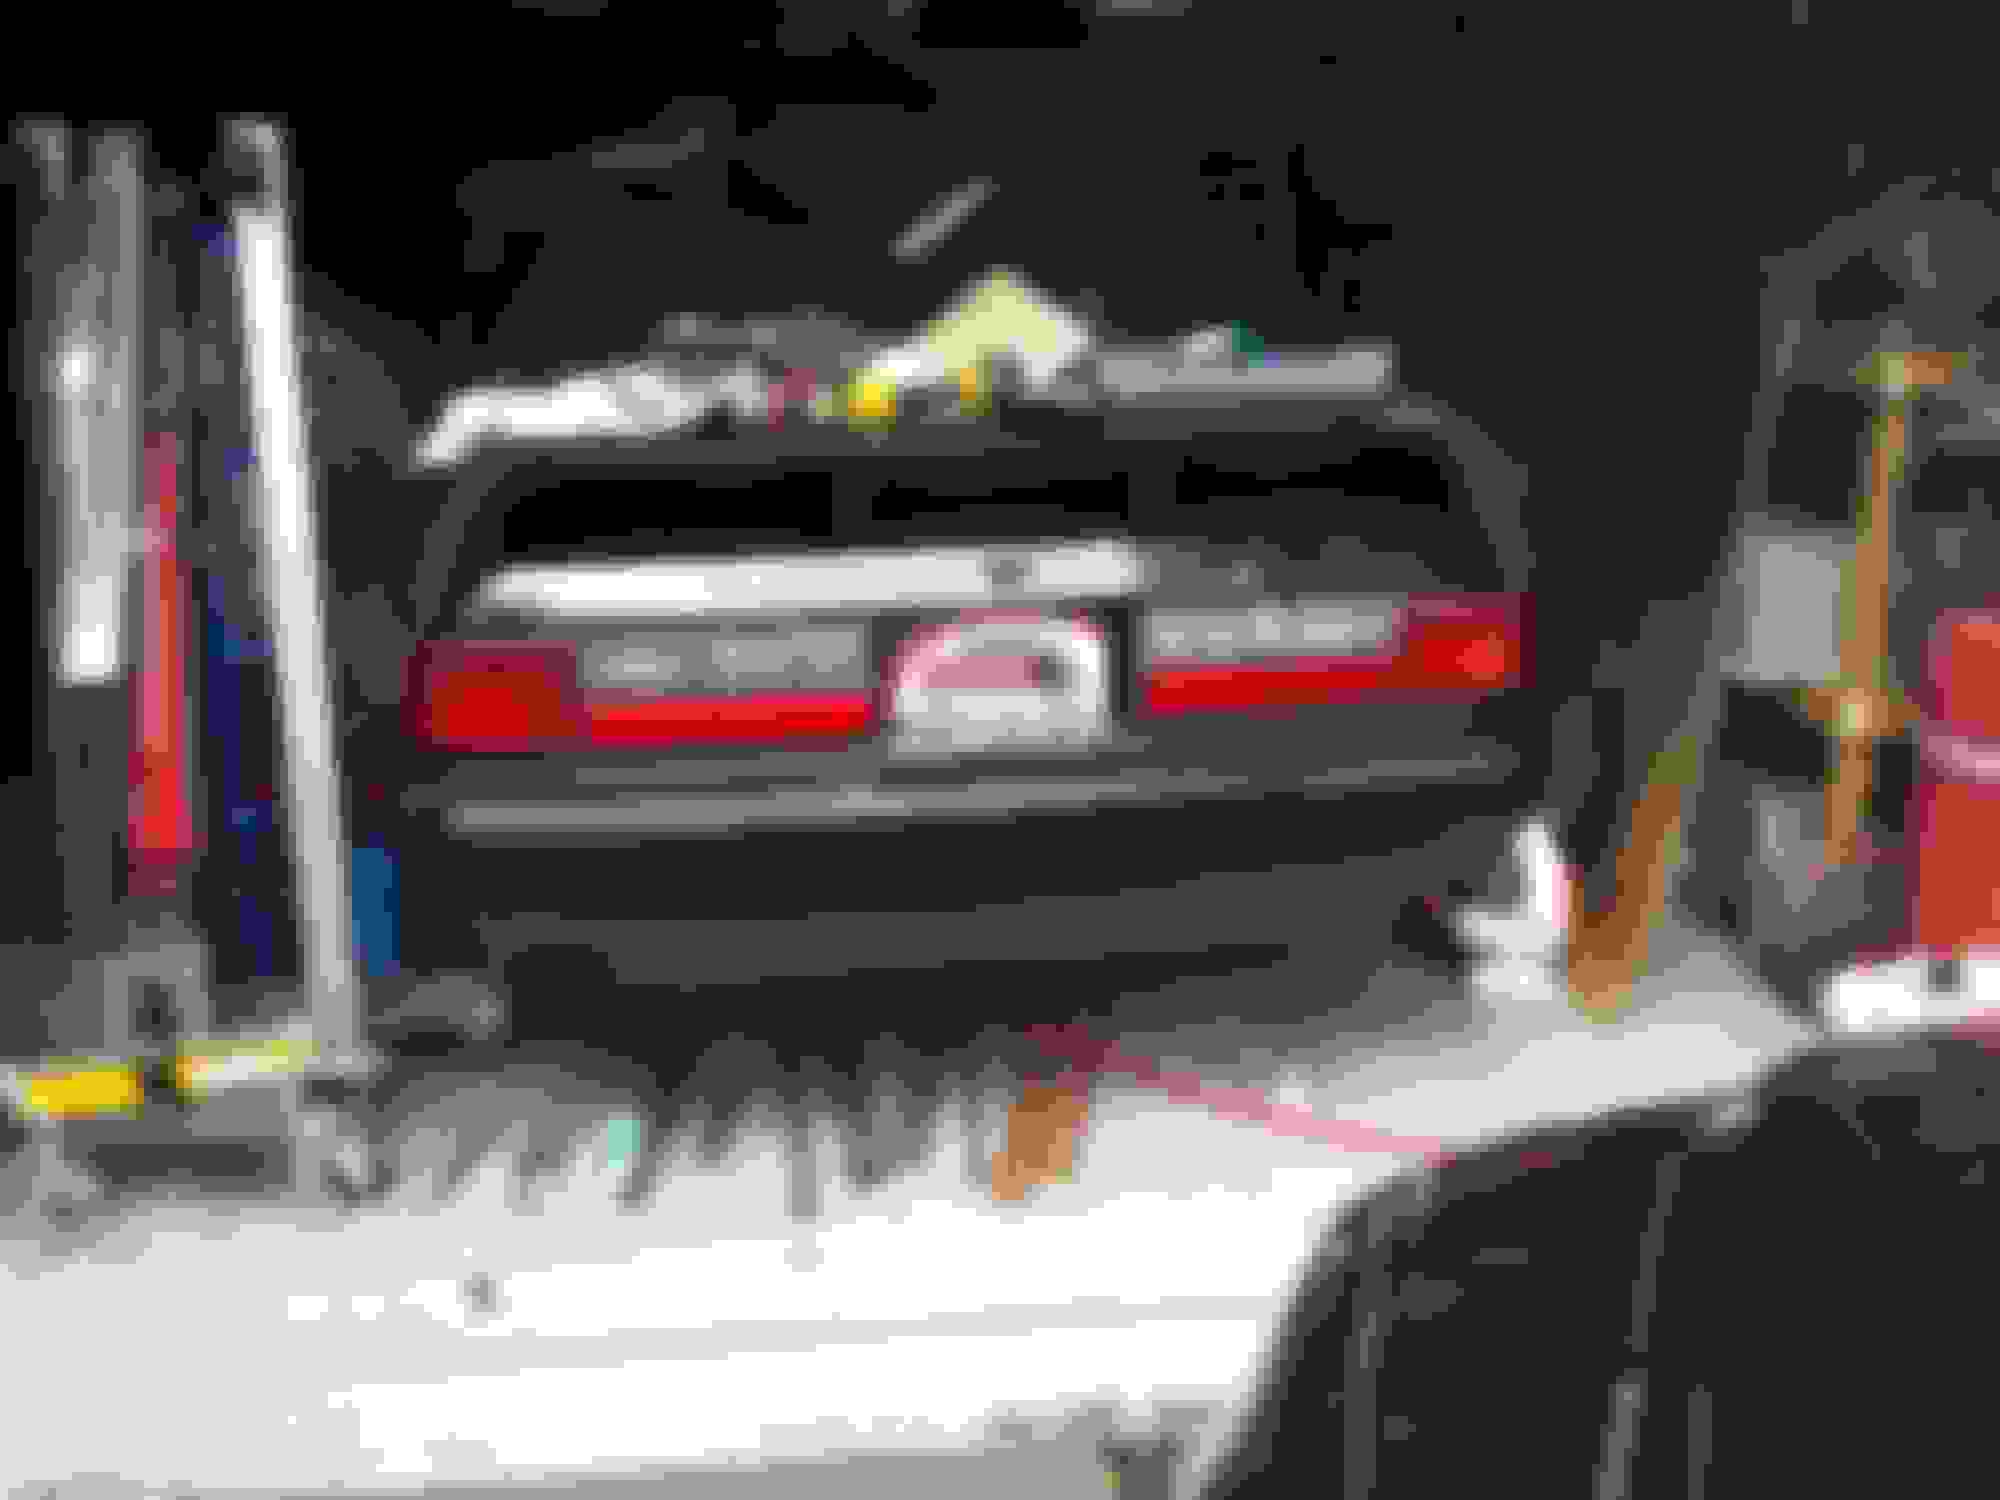
some more picts of it cleaned up
Performance Parts:
Here is a list of parts i have purchased so far:
Engine/Trans:
- Junkyard 6.0 LQ9 From 2004 Silverado 1500
- Manley I-Beam Rods
- Manley 10:1 CR Pistons (.030 Over For 408)
- Manley Forged Crankshaft
- Manley Oil Pump
- Manley 660 Dual Valve Springs/Retainers/Locks
- Manley Double Roller Timing Chain
- Comp Cams Trunion Kit
- Comp Valve Seals
- Comp Lifters
- Comp Pushrods
- ARP Head Studs
- ARP Main Studs
- LS9 Head Gaskets
- Mahle Gasket Kit
- Comp Custom Cam
- Mahle Rod/Main/Cam Bearings
- MSD Plug Wires
- NGK TR7IX Plugs
- LS6 Intake
- ebay 3 Bolt to 4 Bolt Throttle Adapter
- Griffin LS Swap Radiator
- Ebay Straight Water Pump Adapter
- Tick Performance Level-5 T56 Magnum (TR-6060)
- Quicktime SFI Bellhousing
- McLeod RXT Twin disk
- F-body Shifter
- American Powertrain Hydraulic Master Cyl Clutch Kit New From GM:
- Lifter Trays
- Truck Water Pump
- Harmonic Balancer
- LS2 Timing Cover (Swap to 58x/4x)
- Oil Pickup
- Thermostat
- Crank Sensor (58x)
- Gen IV Knock Sensors
- LS2 90mm DBW Throttle Body
- Pilot Bearing
- Belt Tensioner
- Alternator
Suspension/Chassis/Brakes:
- TeamZ LS Swap K-member
- TeamZ Adjustable LCA's
- LMR Reman Power Steering Rack
- Steeda Bump Steer Kit
- Flaming River Steering Shaft
- PS Pump Flow Restrictor Fitting (GM pump to Ford Rack)
- Maximum Motorsports Camber Plates
- LMR Stainless Brake Lines
- Wilwood Brake Proportioning Valve
- Hydratech Hydroboost
- Strange SA Front Shocks/Springs
- American Muscle Racing Seats
- Corbeau 5-point Camlock Harness
- Ruffstuf DOM Bushings For Custom Trans Mount
- Scott Drake Hood Pins
- Strange 3" Chromoly Driveshaft
- Strange 1350 Pinion/Trans Yokes
- Strange Pinion Spacer
Still need:
- Fuel fittings/FPR/Filter
- Battery Mount Kit
- Washer tank
- Horns
- Custom Serpentine Belt
Future Wishlist:
- 8 Second Rear Suspension Setup
Journey Thus Far:
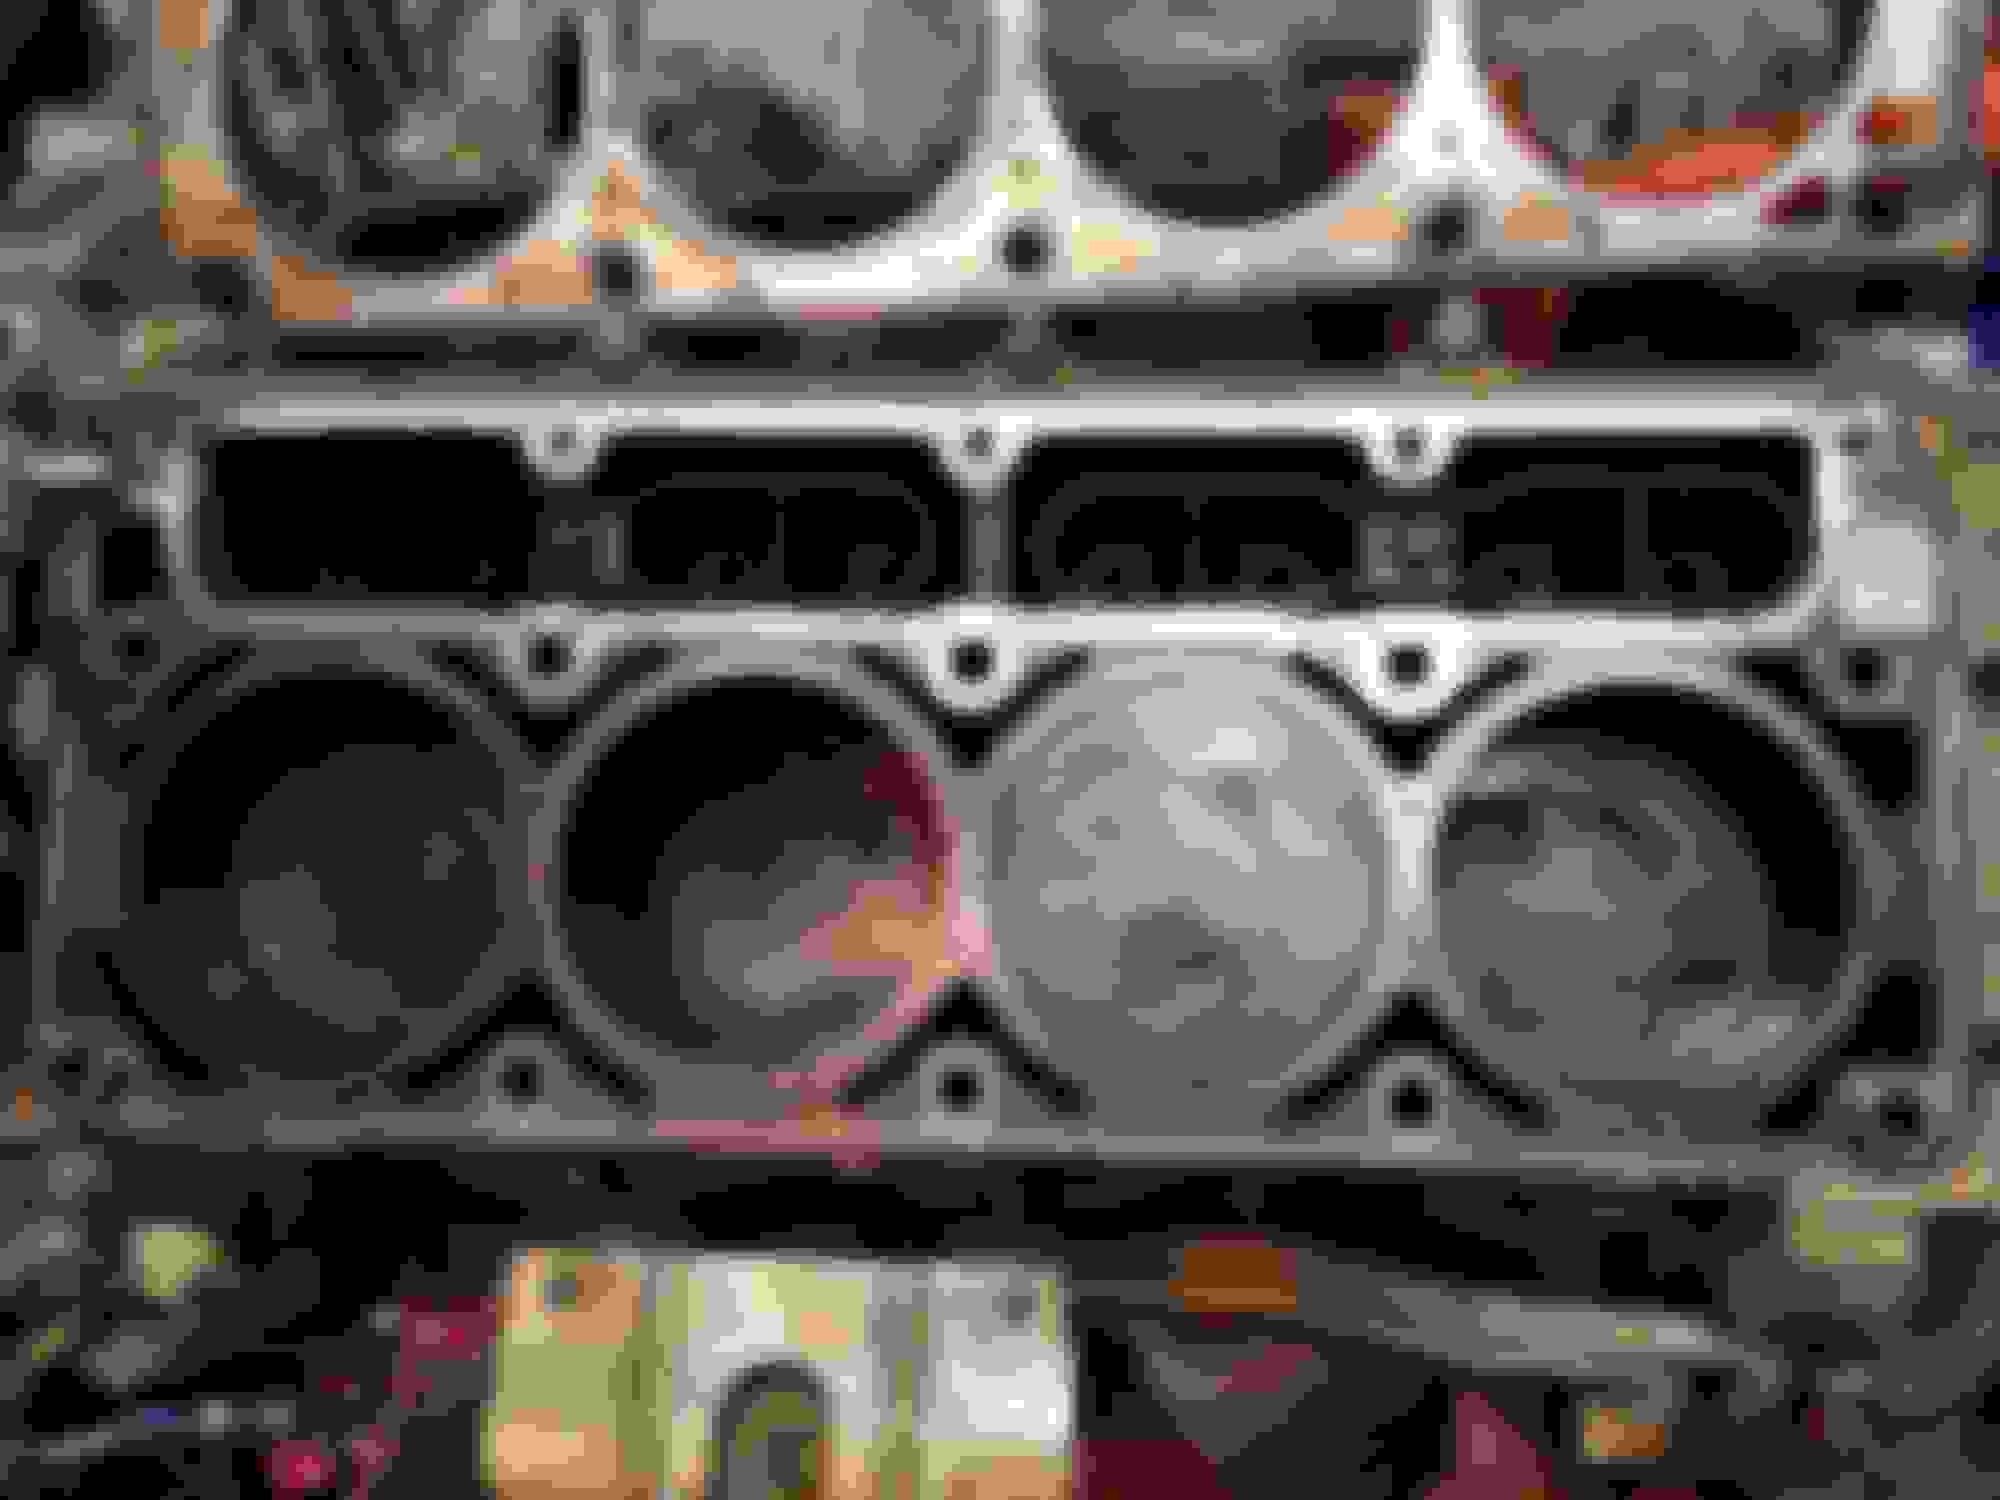
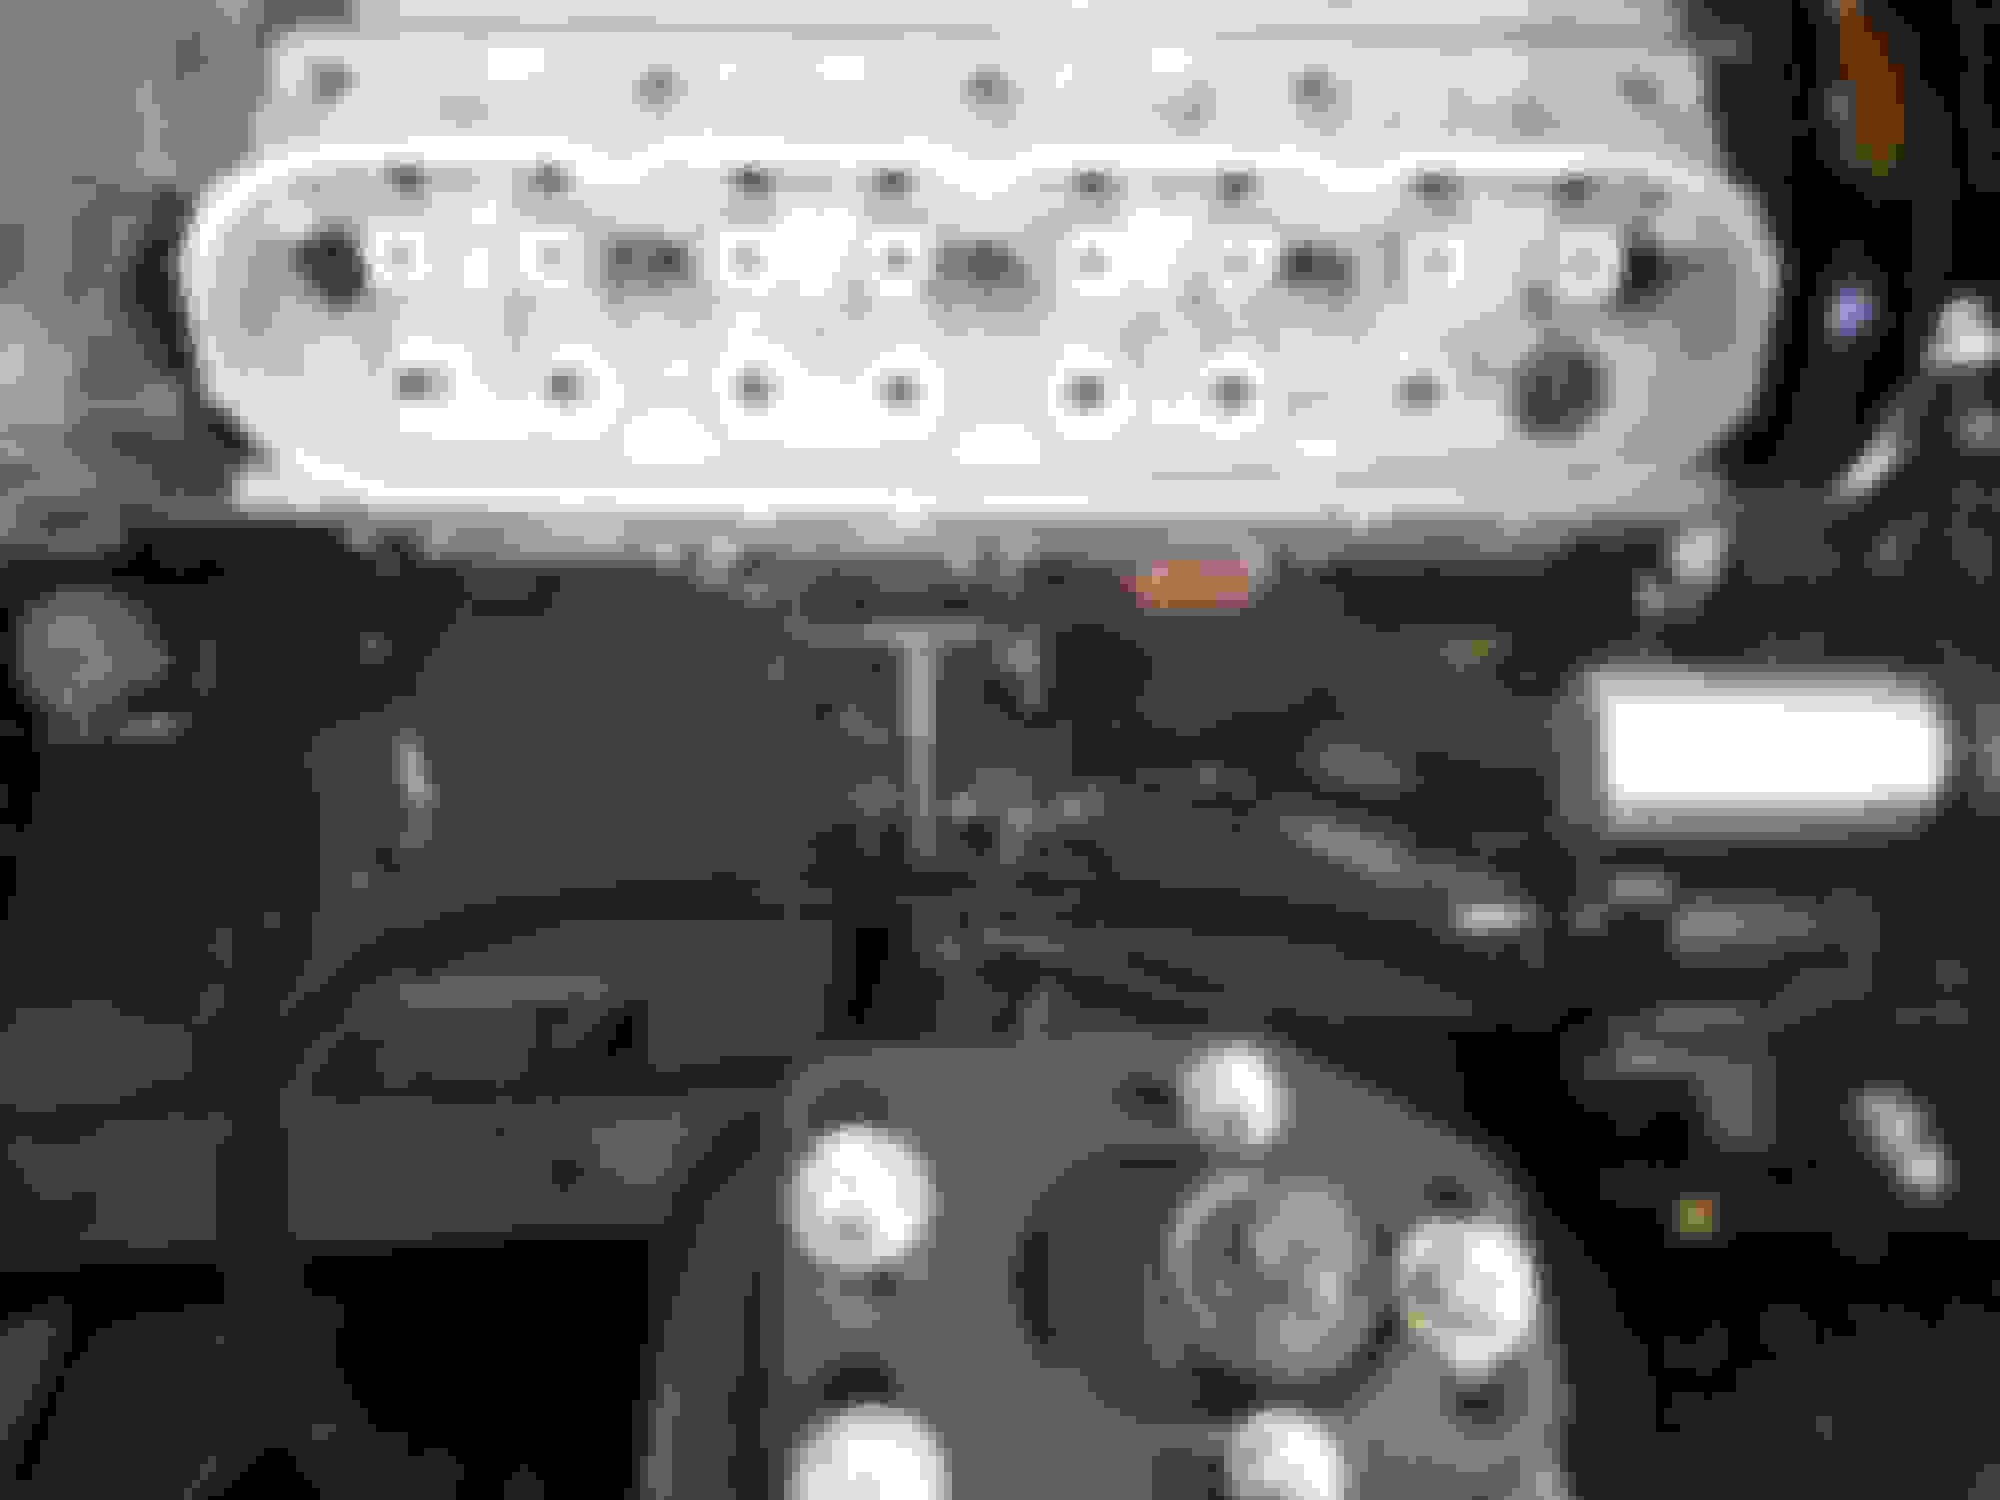
So i was off to search for a heart and found a complete LQ9 out of a 2004 Silverado 1500 at a junkyard. It had everything from oil pan to intake with a full harness and ECU. I opened it up and everything looked great inside so it was off to the machine shop for a bore and cleanup.
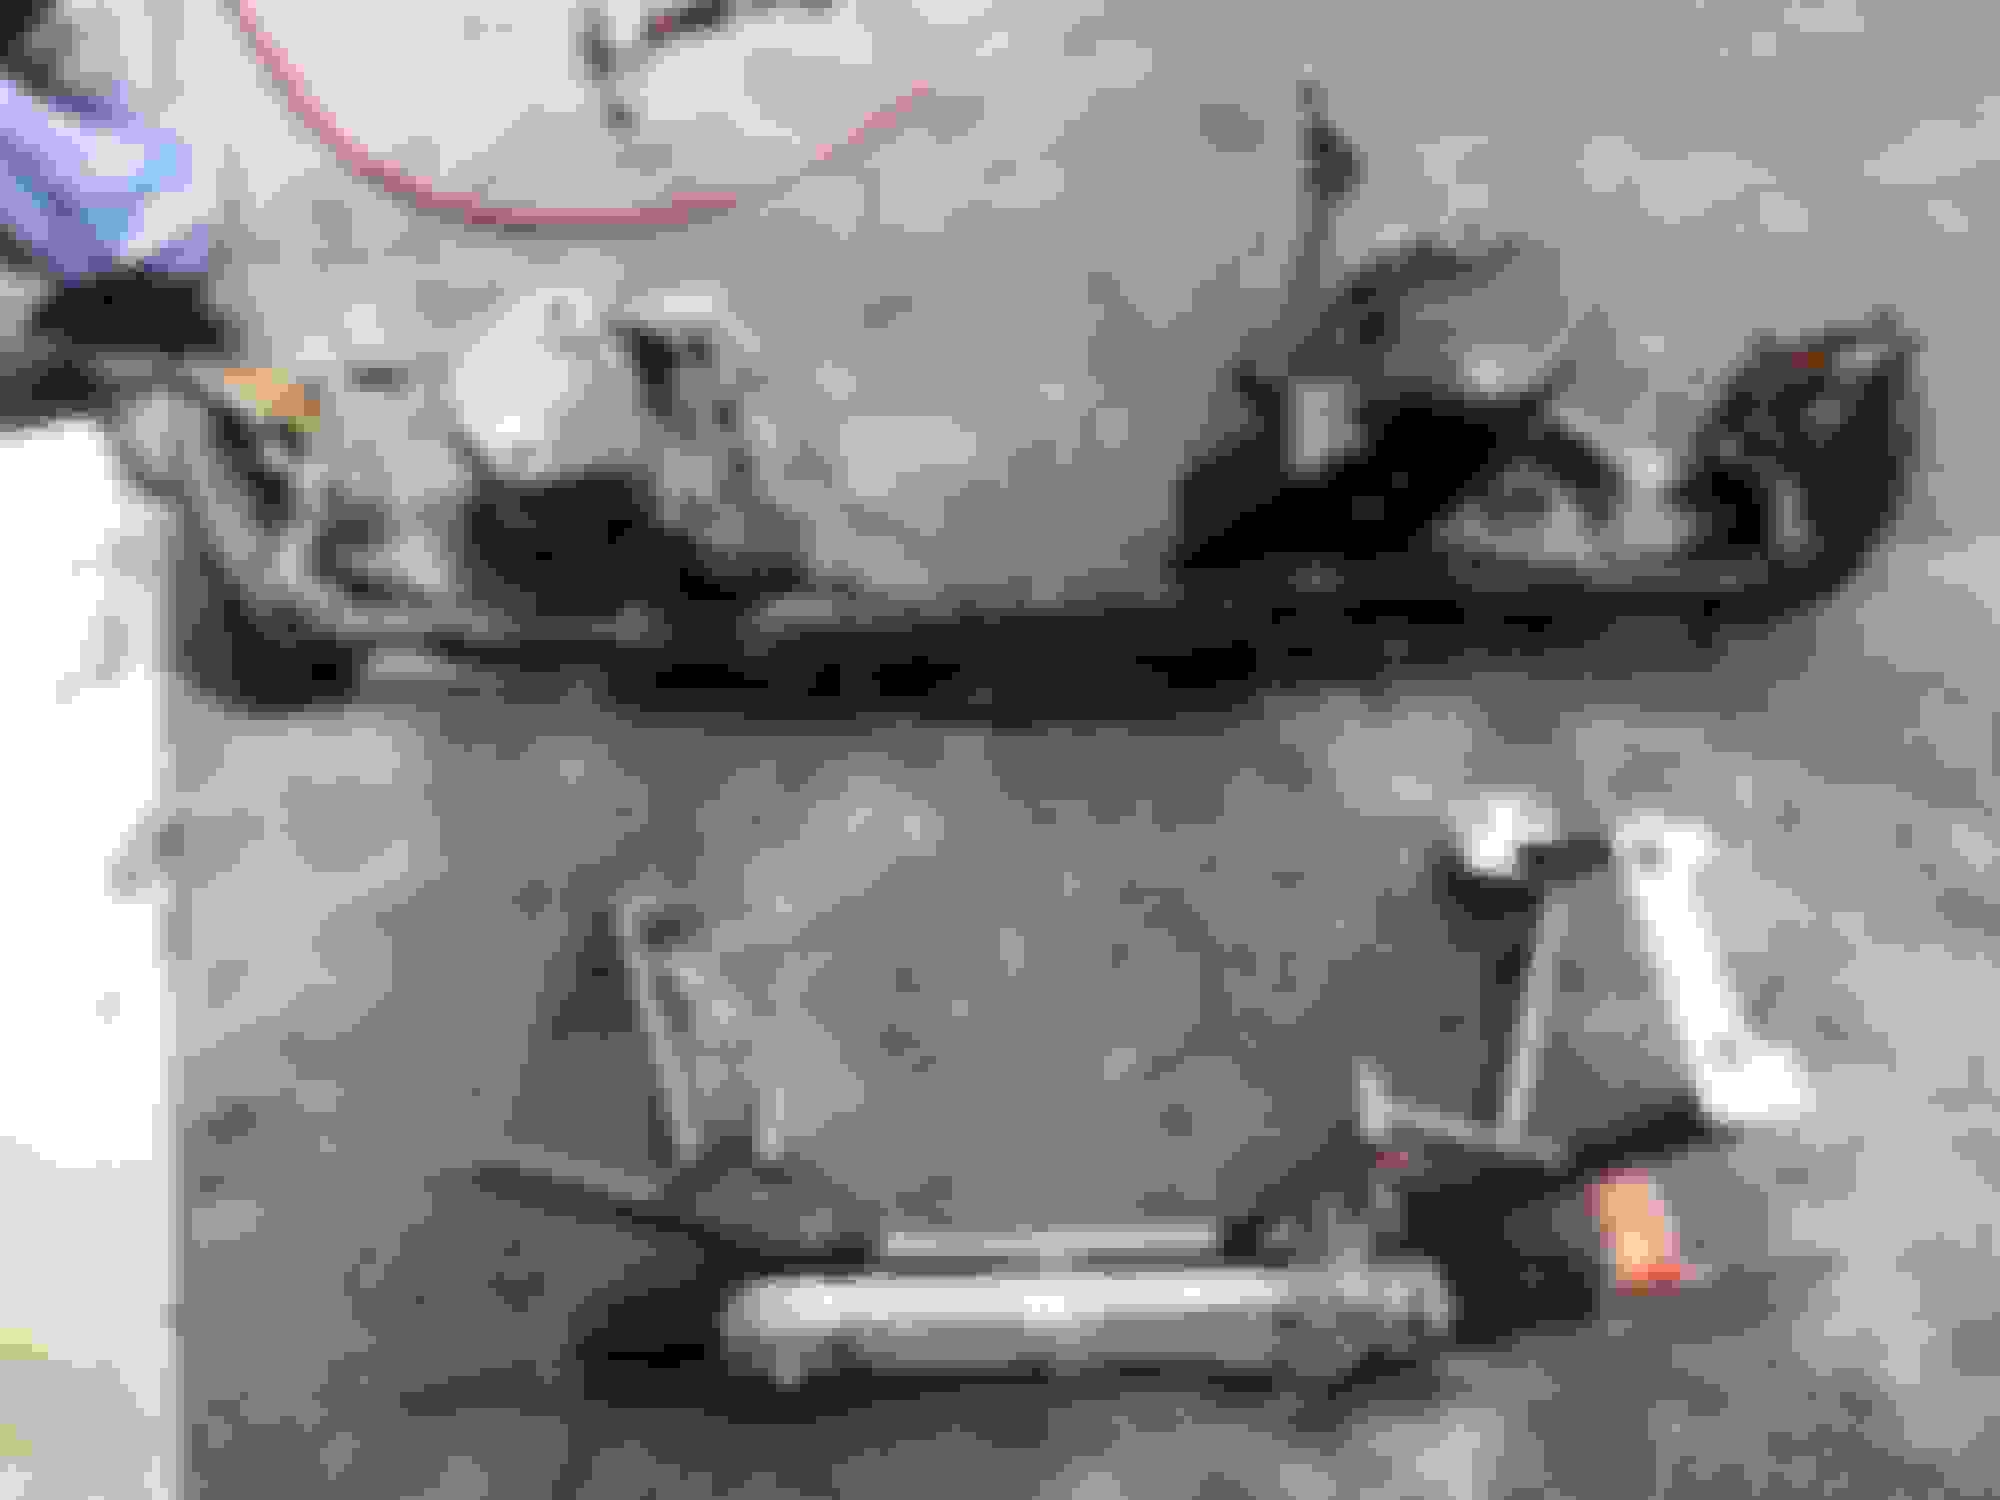
Here is the old k-member/rack vs the new
When i finally got the k-member on the car i had an issue where the inner tie rod on the passenger side was shorter then that of the drivers side but overall the rack was too long which caused the car to have too much toe out. Turns out the TeamZ adjustable LCA's are 1 inch shorter then stock and are meant to be used with a manual rack and not a power rack. After weeks of trying to figure this out and trying different things i ended up cutting down the drivers side inner tie rod and lengthening the LCA's using the threaded heim joints which gave me just enough adjustment to allow for 0 toe.
With the rack centered, here is the pass and drivers side with the outter tie rods dialed in as much as possible.
I began to install the american autowire replacement chassis harness because the stock harness had some sketchy modifications to it and i did not want to tempt the electrical gremlins or cause a fire. I ran into a problem with the rear tails where the inner most light socket would not fit into the hole due to the angle of the casting on the tail lights. I hated these ugly Euro tail lights anyway so i replaced them with LX lights and everything fit perfectly.
Before i started the engine bay work i gave it a quick re-spray as it had a few chips here and there and just looked horrible compared to the rest of the freshly painted car.
Last edited by superskaterxes; 06-16-2016 at 11:12 AM.
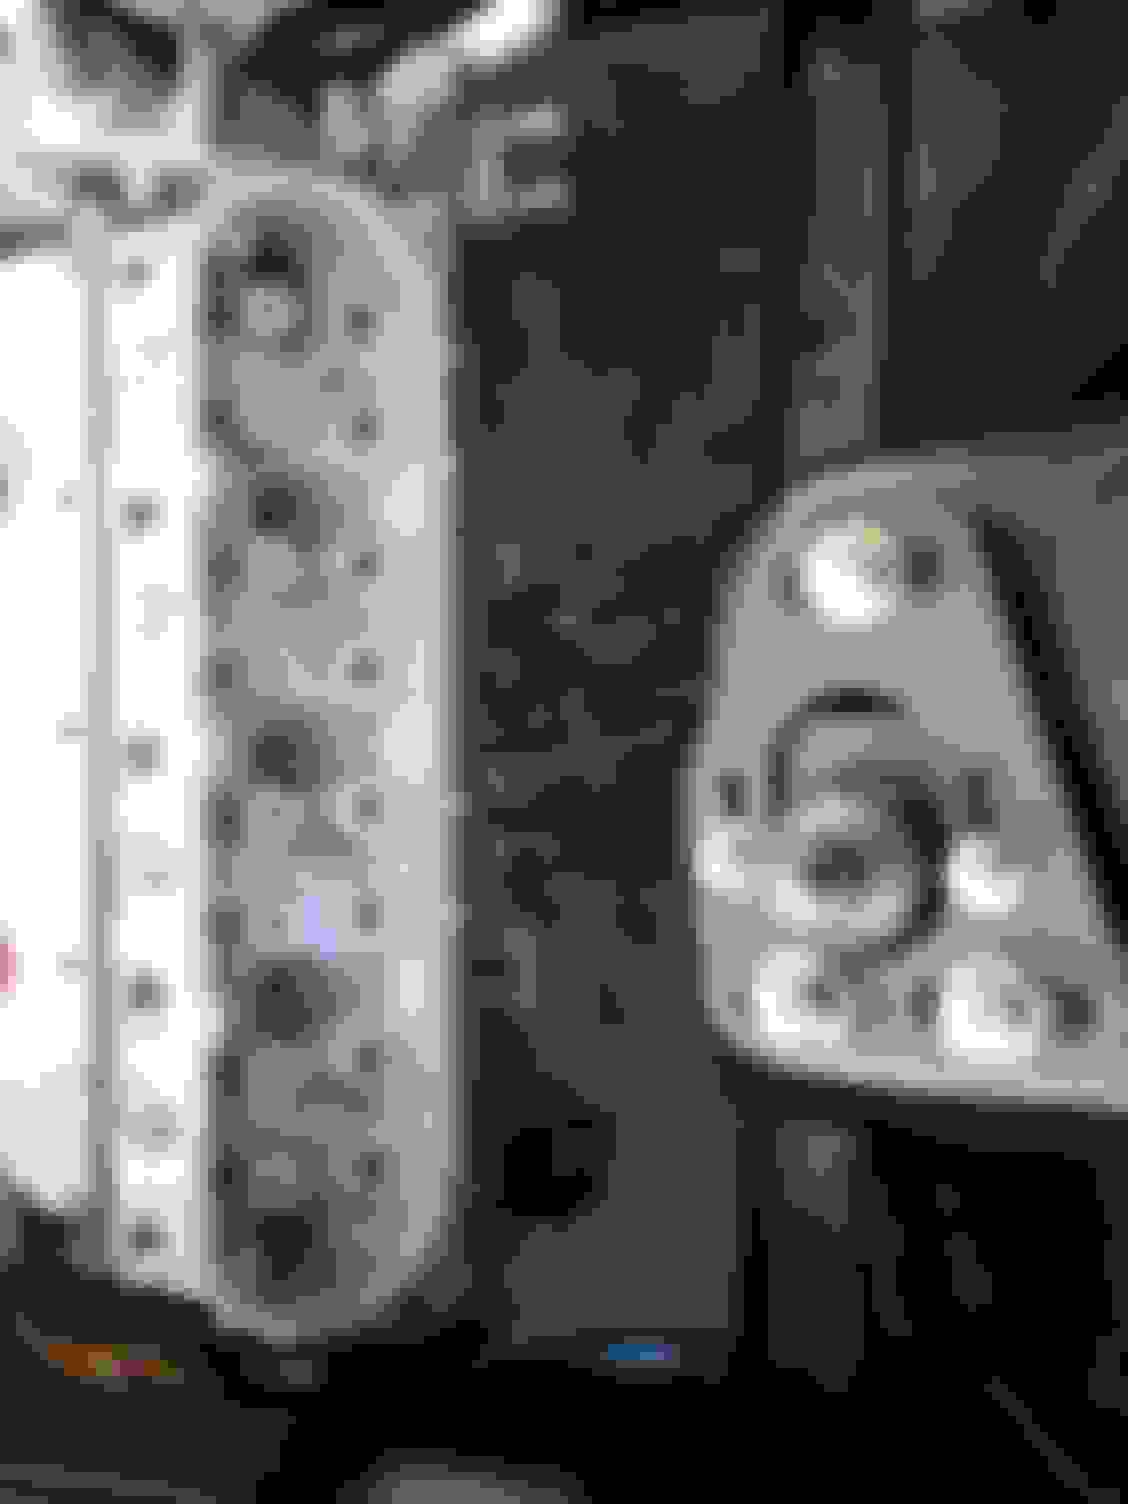
There are 2 other projects i am working on. The first is a way to mount the gen IV knock sensors in the gen III location. My Iron block did not have the bosses on the outside to mount them and i did not want to use the gen III sensors because they are not as good. I've seen some people drill and tap the outside of the block but the locations for the sensors were not very good (read: near the cylinders).
I had some boss's made that take the M10x1.5 thread in the block and convert it to a M8x1.25 for the knock sensor bolts. I used stainless steel because after a little research i discovered that sound propagates faster in steel then it does in aluminum.
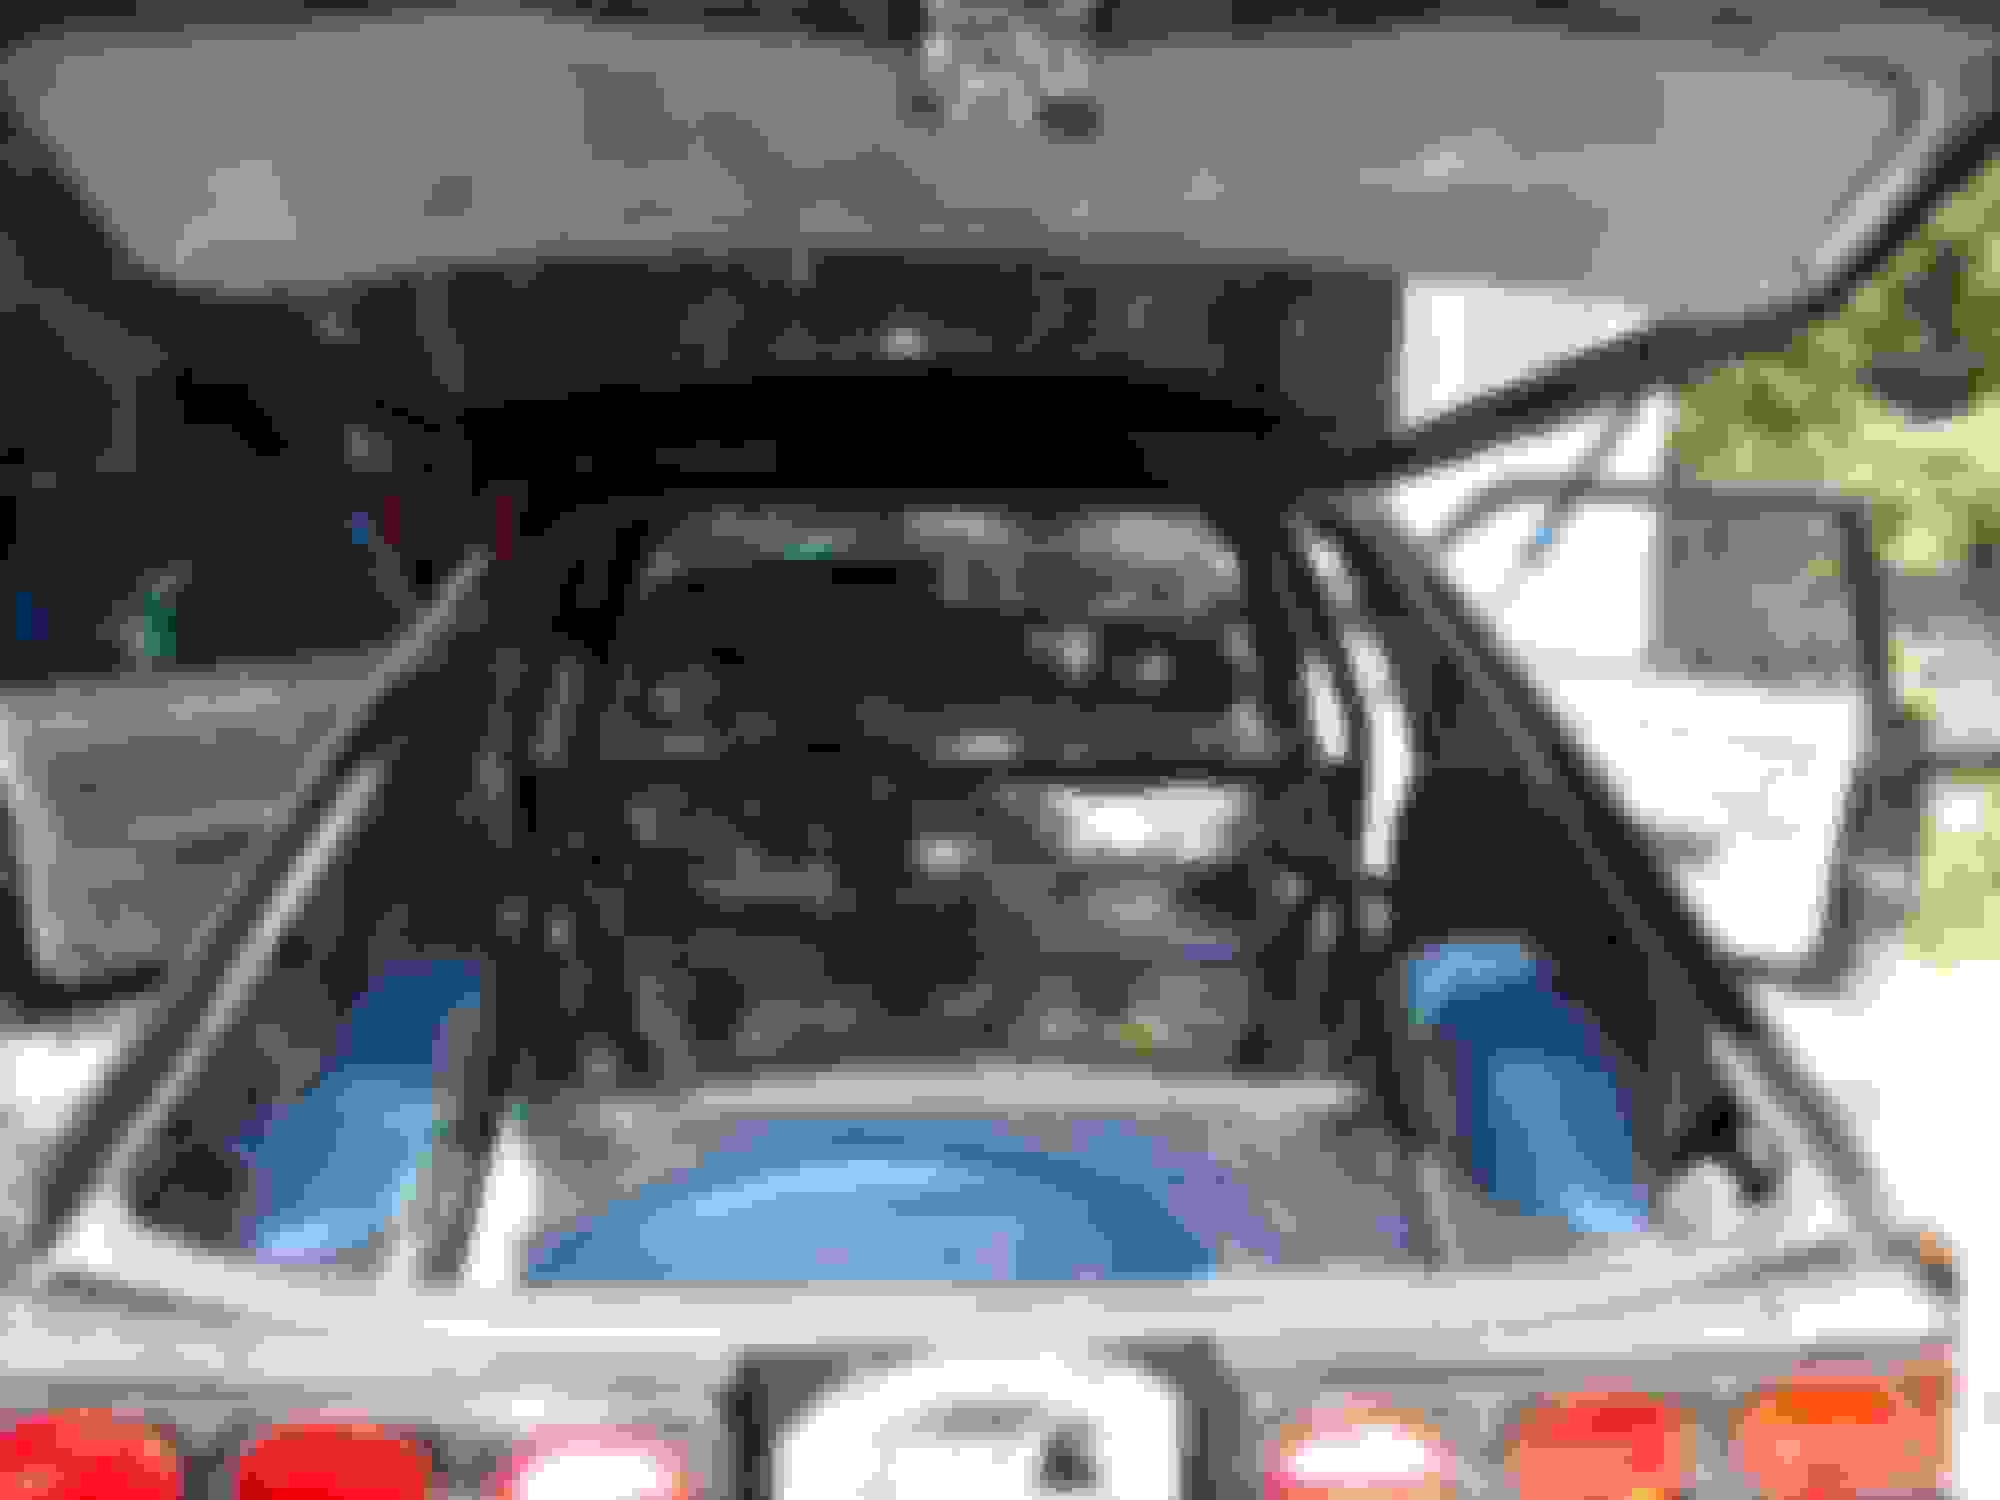
All i had to do was thread these into the stock location of the gen III sensors and everything would be perfect right? I mocked everything up on the stand using the truck intake which had plenty of clearance underneath for the sensors to sit above the valley cover. After putting the motor in the car i found out the intake would not clear the hood!!!
So i decided to modify the valley cover to get the sensors to fit. I basically cut a tunnel in the middle which would allow the sensors to sit lower and for the connectors not to stick up.
I still need to have the spacers cut down to the right length but it should work out fine. I am going to be using a standalone which has tons of calibration tools for the knock sensors so that shouldent be an issue either.
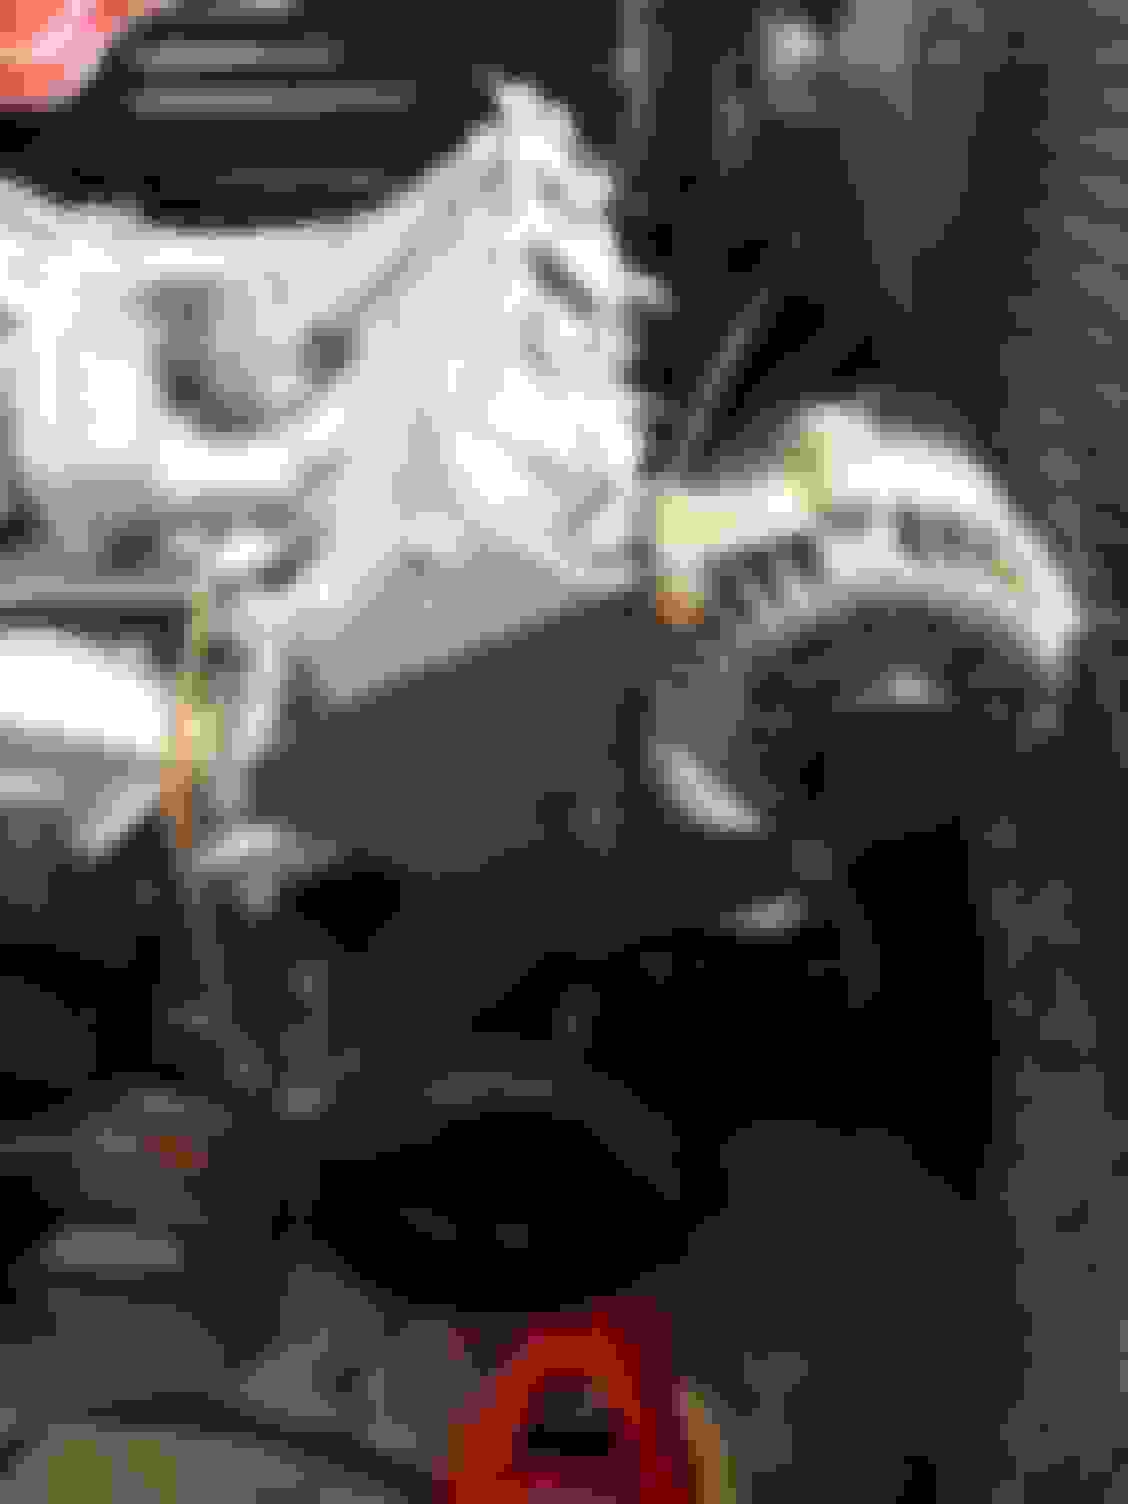
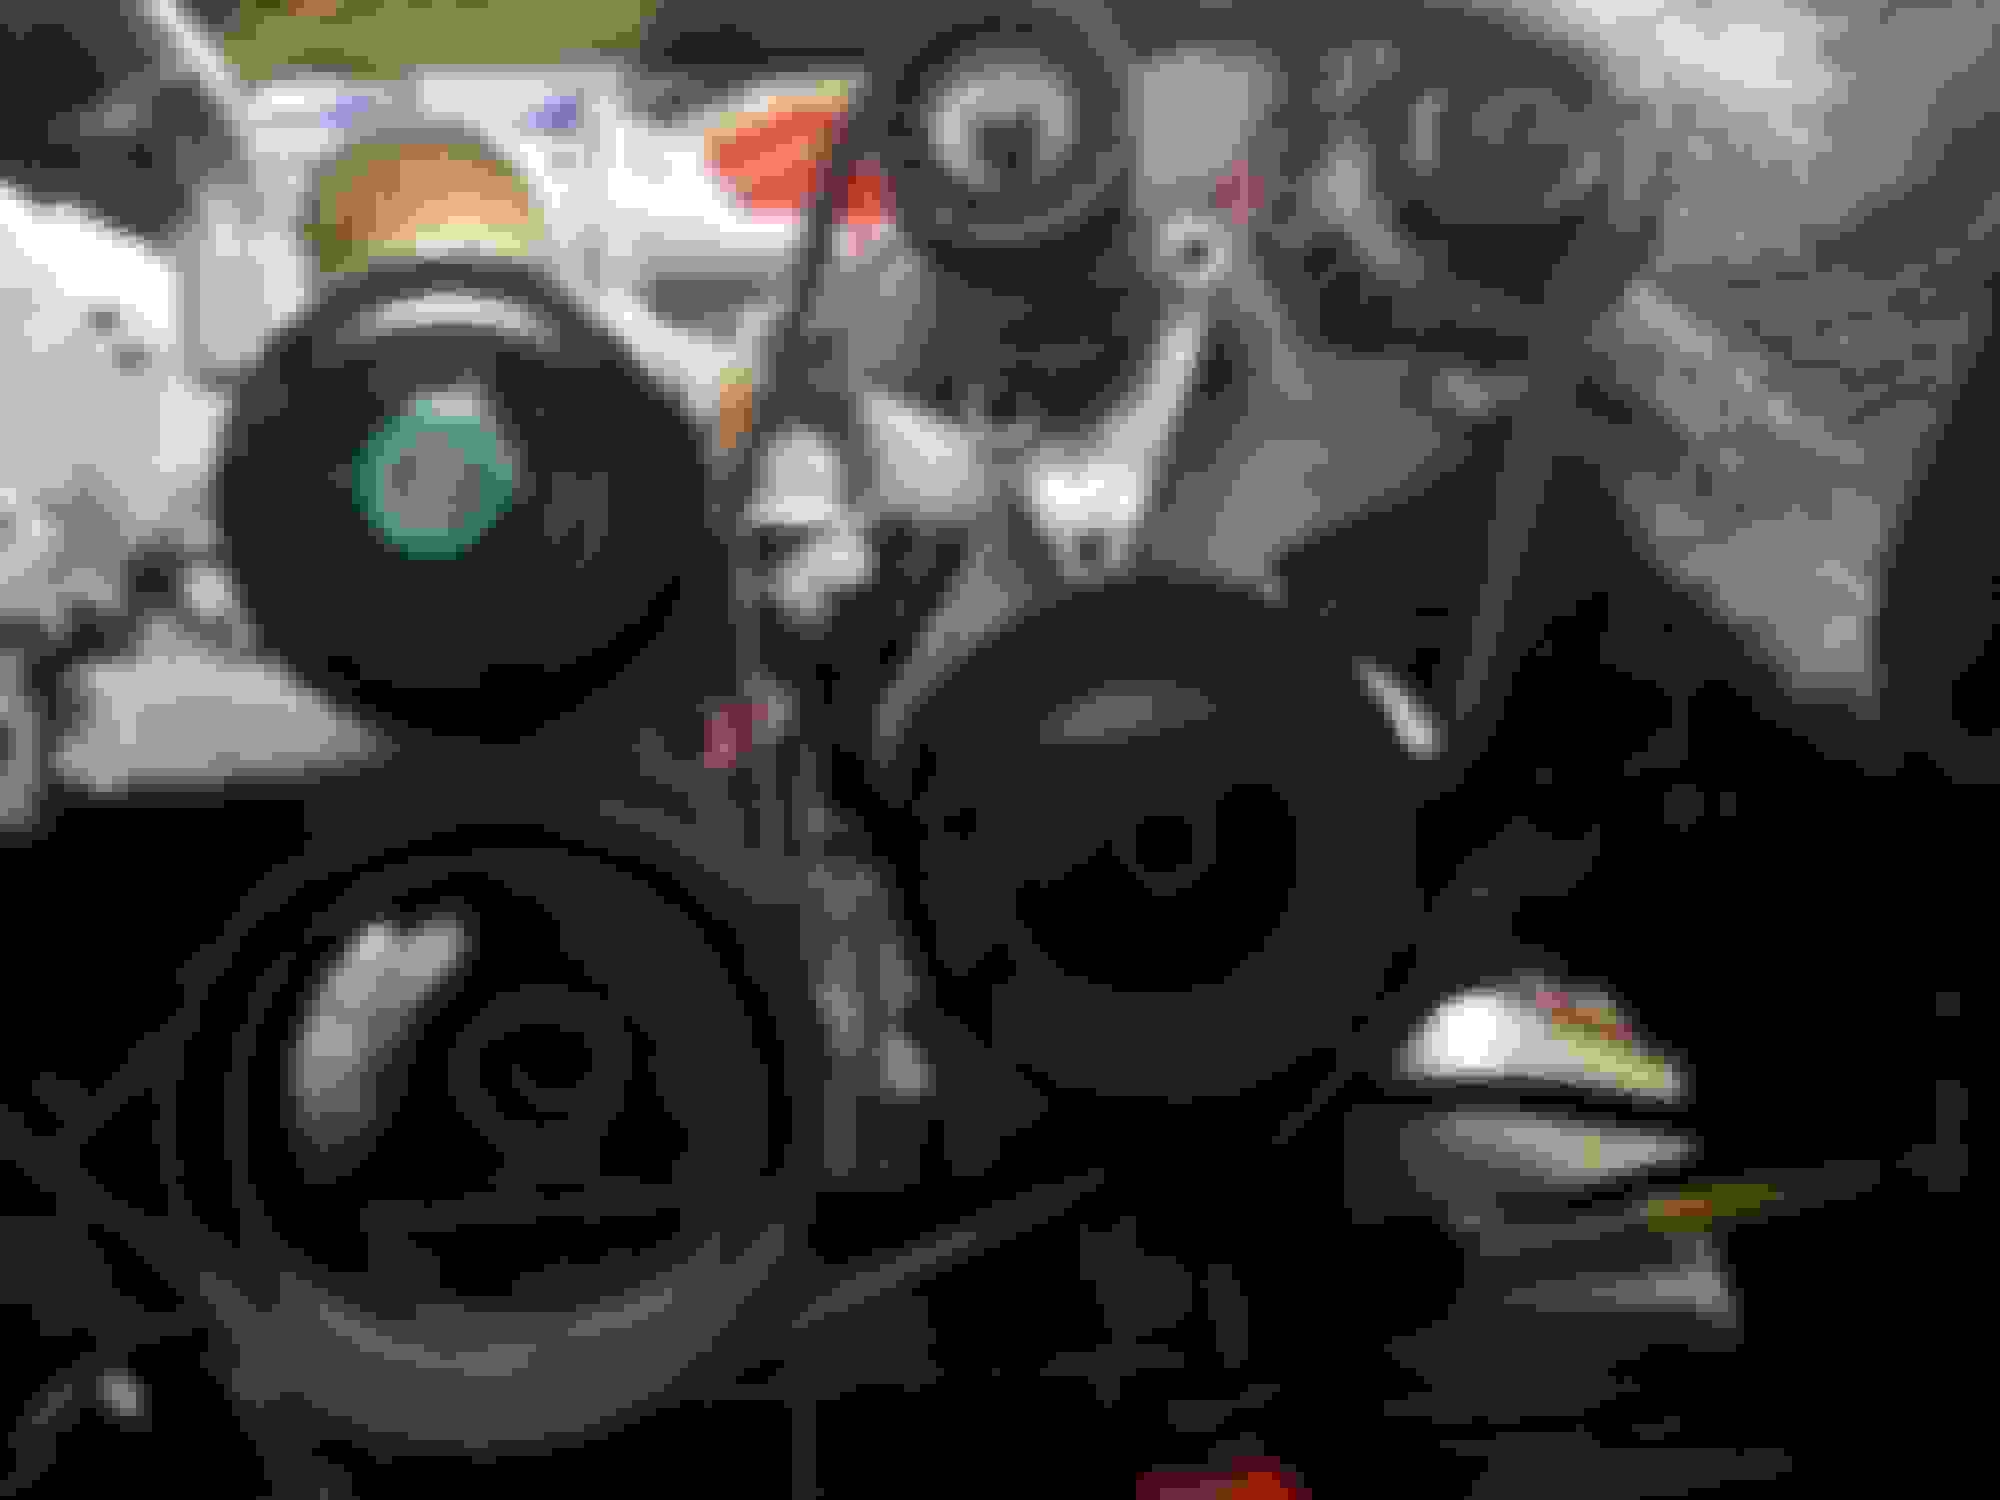
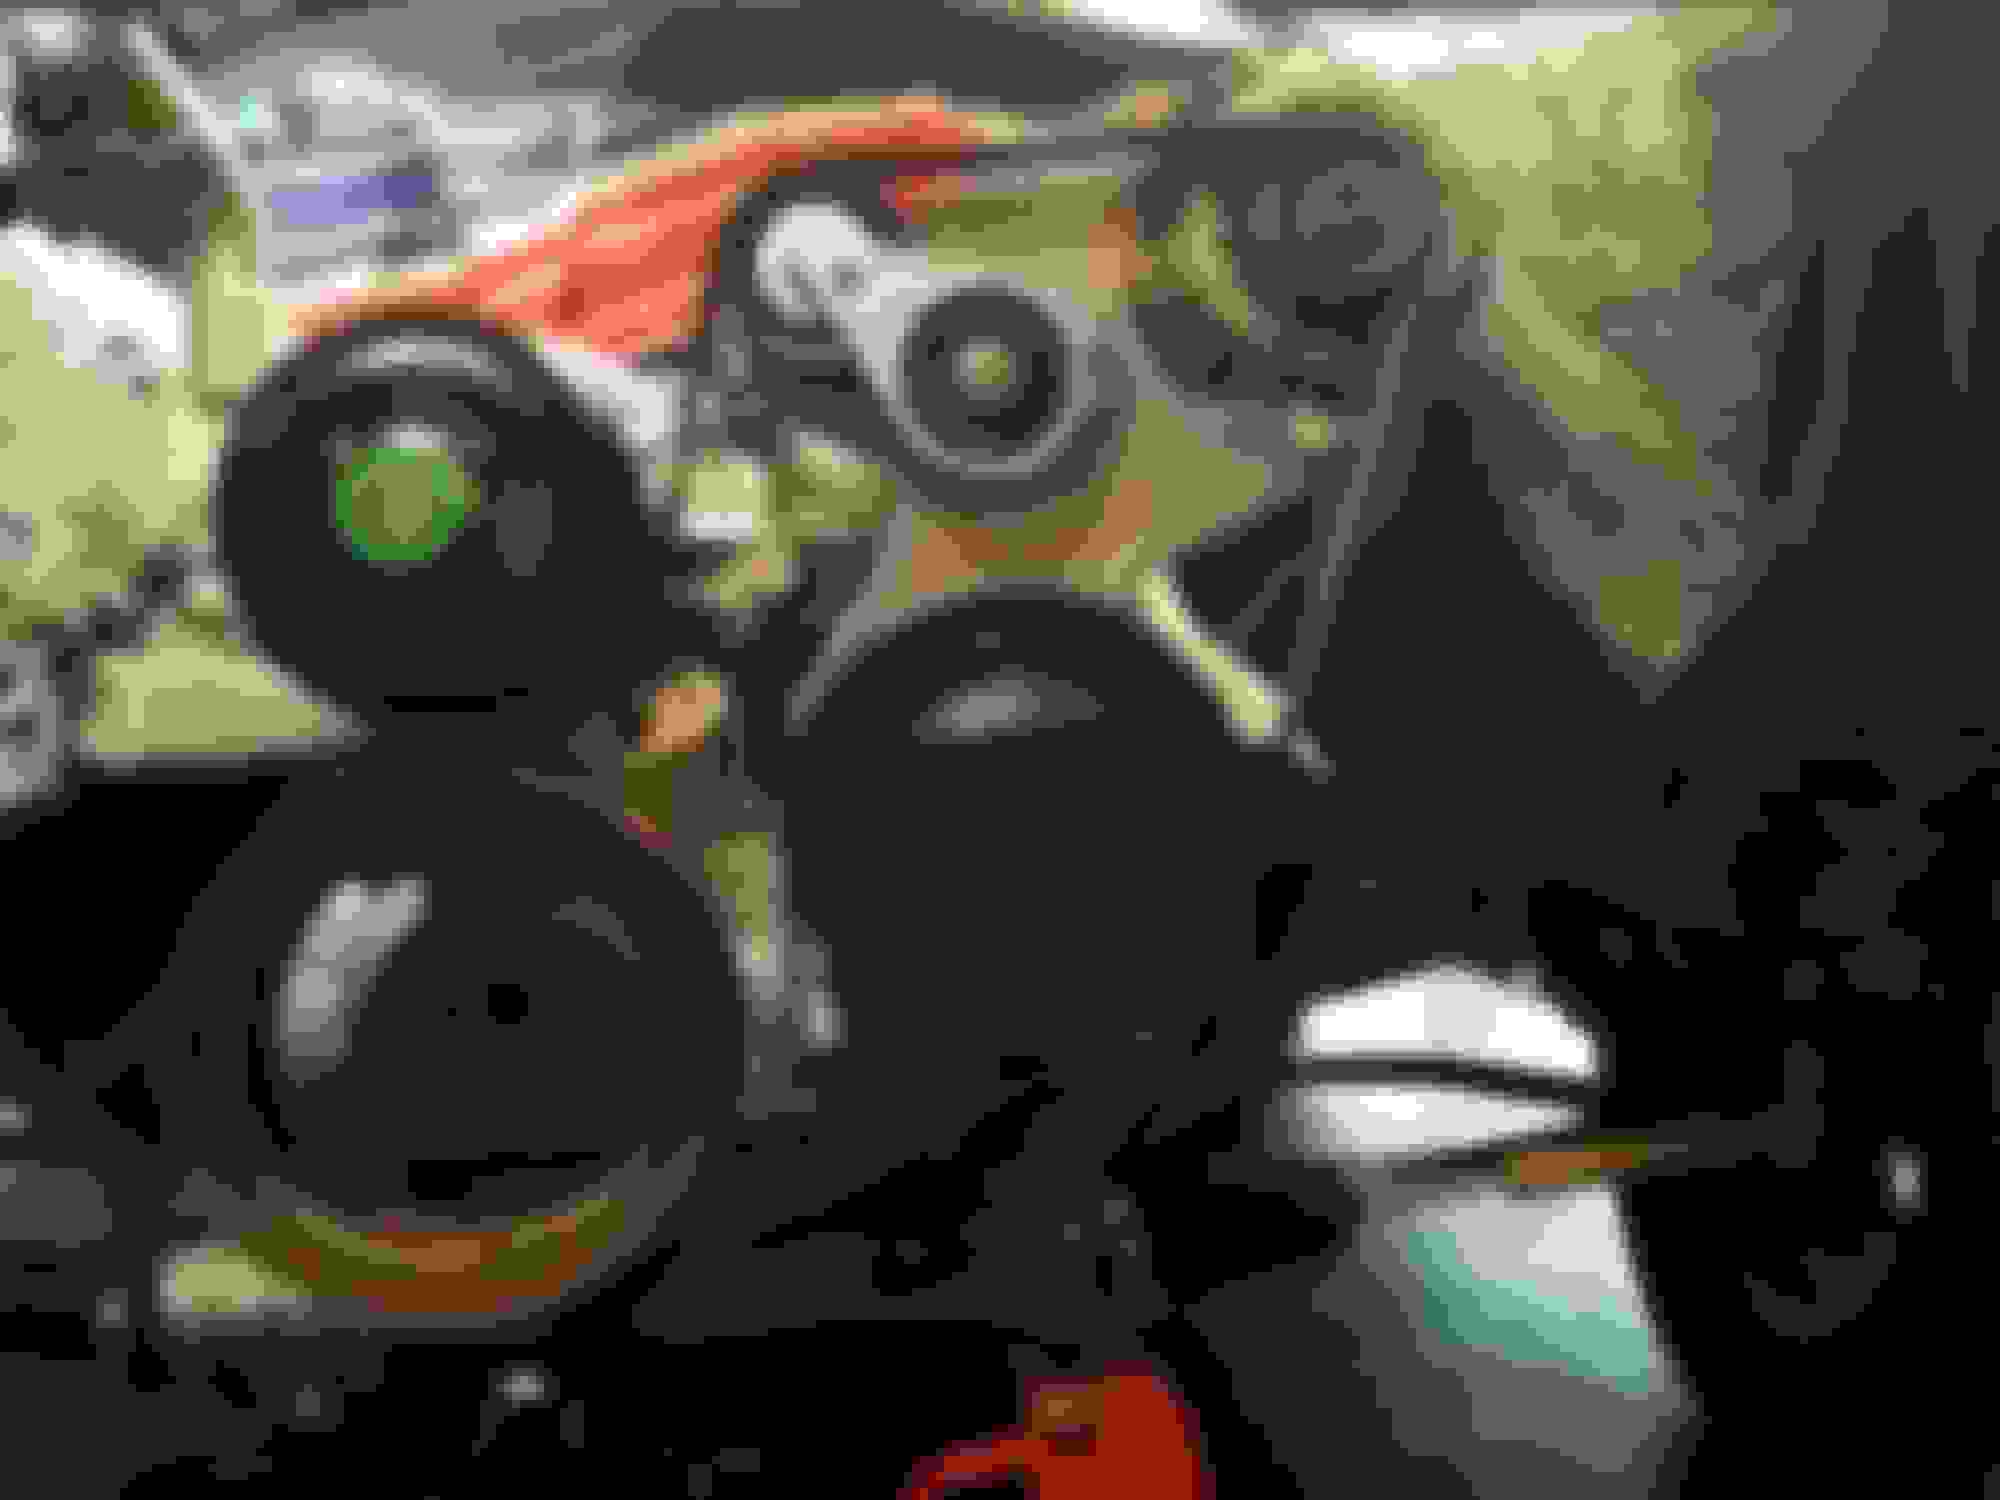
My second project is relocating the accessories to better fit the turbo on the passenger side and also due to this entire problem of the truck intake not fitting. I know i wanted DBW when i got the motor and assuming from the beginning that the truck intake would fit i ordered a new truck water pump. Well after finding out the truck intake wouldent fit i now had a clearance issue with the LS6 intake/TB and the outlet of the truck water pump. I was determined to find a different solution other than buying a new water pump so i ordered an LS2 90mm TB and flipped it over so that the motor was on the drivers side. This gave me enough clearance from the water pump.
I traced the stock accessory bracket and made a prototype out of 1/8" steel to re-mount the accessories where i wanted them
Since the tensioner was not the right depth for the spacer i ordered one from a 98 Sierra and mocked that up as well
I found a member on garagejournal who was willing to CNC my design out of 1/4" steel and also make the spacers along with it. I just got it last week so i havent had a chance to test fit it yet. Once i get some time i will update this post with the installed pictures.
I've also been busy installing this puppy to prepare for working in the garage this winter!!!
Last edited by superskaterxes; 10-16-2015 at 12:08 PM.
I see u didn't do your research before you bought that teamz k-member..
hopefully you mean because of the LCA issue but im learning alot in the whole process its just not something LMR or TeamZ makes evident on their website product descriptions.
..Not going to fit, motor is going to sit to high,,,Your going to have to make new motor mounts and lower the motor........samething if you use a 4l60 or 4l80 transmission.....Teamz was asked to put a note on there web site but never did..
Should have went Aje k-member and Aje transmission cross member then your motor and trans would have sit at the right angle and have more clearance......But not sure if someone has done a Ford Magnum with QuckTime bell housing and adapter.......If i remember right the guy with the teamz LS k-member with the magnum t56 had to use a adapter ......The Magnum is set up for a Ford so I think he had to get an LS adapter and input shaft and then a bellhousing and crossmember..
..Not going to fit, motor is going to sit to high,,,Your going to have to make new motor mounts and lower the motor........samething if you use a 4l60 or 4l80 transmission.....Teamz was asked to put a note on there web site but never did..
Should have went Aje k-member and Aje transmission cross member then your motor and trans would have sit at the right angle and have more clearance......But not sure if someone has done a Ford Magnum with QuckTime bell housing.......If i remember right the guy with the teamz LS k-member with the magnum t56 had to use a adapter ......The Magnum is set up for a Ford so I think he had to get an LS adapter and input shaft and then a bellhousing and crossmember..
I reserved 2 more posts above as i have a TON more picts and info to post but just incase you were wondering i had ZERO fitment issues with the QTP housing and a T56. I only had to trim about 1/2" of material from the back of the shifter hole for the shifter to fit too. Theres tons of room everywhere. Granted i couldent fit the truck intake (stock hood) but the LS6 intake has more then enough clearance. From what i have read the AJE member is hit or miss and after seeing some of the pictures of the quality its pretty easy to see why. FWIW i have seen the AJE member sits the motor lower then the TeamZ but i cant speak enough about the quality of this one.
Last edited by superskaterxes; 10-16-2015 at 06:06 AM.
Looks like your motor sits to far forward maybe.....Maybe teamz got sick of all the guys bitching and changed it maybe ?.. if they changed it so that the motor sits lower then conversion headers are not going to clear the steering shaft..but with a turbo it won't matter..
Looks like your motor sits to far forward maybe.....Maybe teamz got sick of all the guys bitching and changed it maybe ?.. if they changed it so that the motor sits lower then conversion headers are not going to clear the steering shift..but with a turbo it won't matter..
From what i read they did revise the design several years ago to account for people bitching. I actually have it pushed all the way forwards so that the shifter lines up better with the tunnel opening. ZFG about headers as this is whats going in =D
it hangs about an inch or two below the k-member. I can get a pict for you later.
posts 3 and 4 updated with more picts just FYI
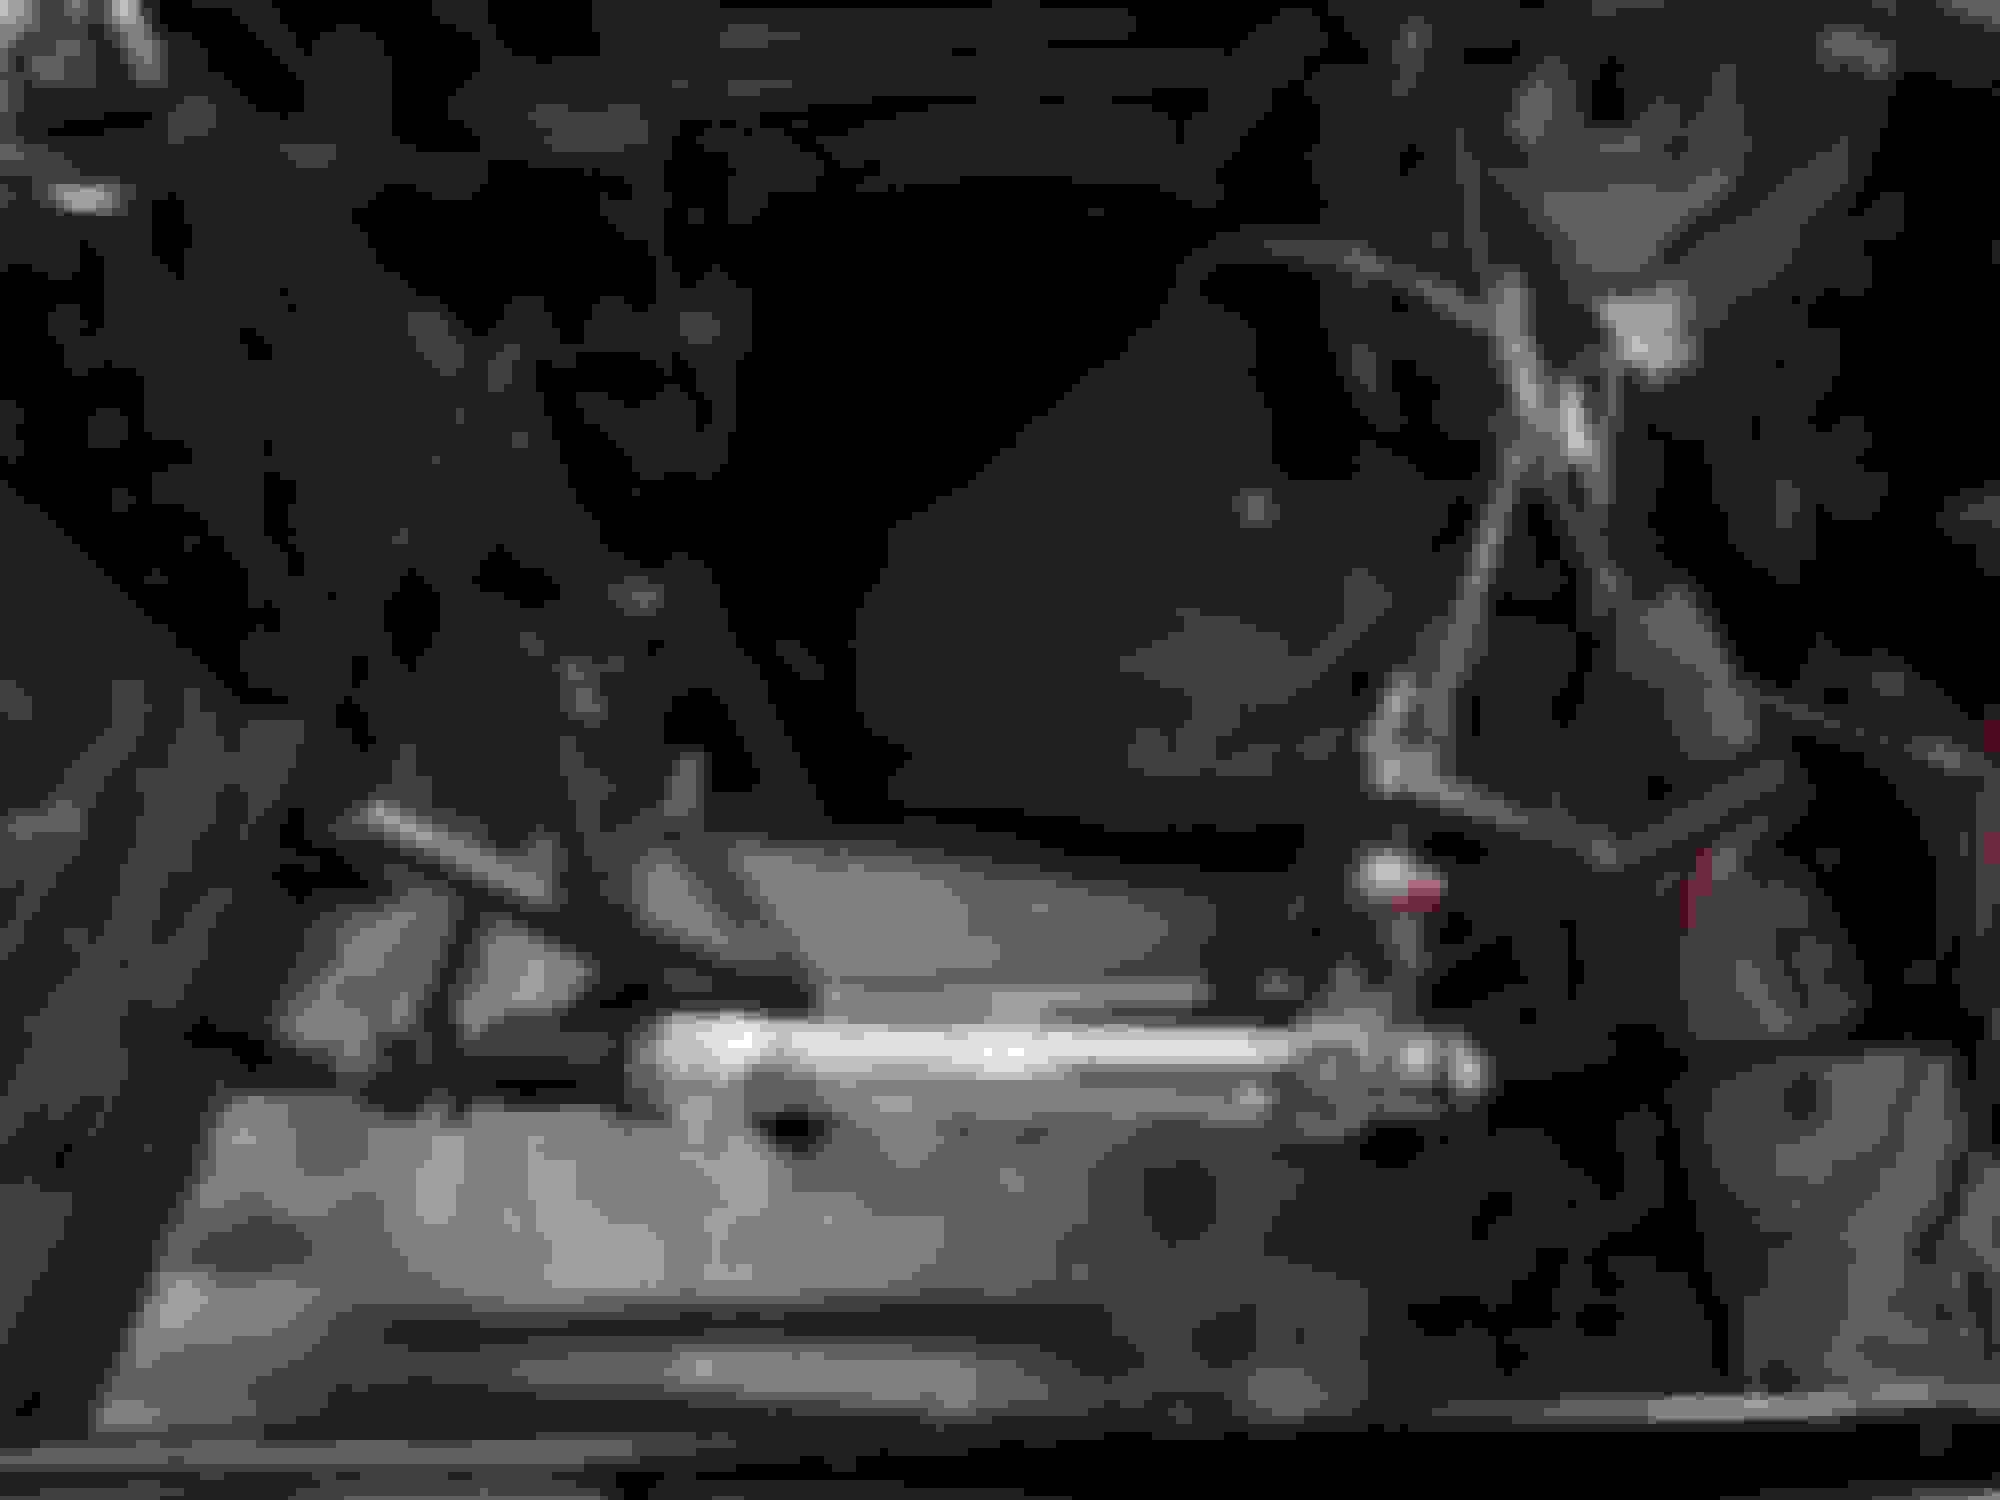
The most recent thing i made was a crossmember for the trans. I ordered some custom DOM bushings from ruffstuff and just used some 1" box steel (1/8" thick) to create a frame between them. I made sure to leave extra room for the downpipe. The only thing i have left to do is finish weld and box the ends in.

 10-14-2015, 09:33 AM