
Petro's ERL Superdeck 427 w/ Whipple 2.9L


 11-26-2017, 12:02 PM
#245

I hope thats not your household oven. You wife/GF will kill you. LOL

 11-26-2017, 04:05 PM
#248
I used my vacuum former as a small downdraft table since the core is so thick and dense. I placed a trashbag over it to seal the vacuum former off and had the intercooler poking through. It pulled the coating straight through. There wasn't any coating on the vacuum former top so it all had to of coated the intercooler.
The coating works!!! I did simple before and after tests. Before: intercooler temp 70* / ice water temp 35*....filled with ice water and watched surface temps for 2min...58*.....After: intercooler temp 70*/ ice water temp 35*...filled with ice water and watched surface temps for 2min...45*
The coating works!!! I did simple before and after tests. Before: intercooler temp 70* / ice water temp 35*....filled with ice water and watched surface temps for 2min...58*.....After: intercooler temp 70*/ ice water temp 35*...filled with ice water and watched surface temps for 2min...45*
11-27-2017, 11:11 AM
#249
That's pretty cool. WHat brand coating are you using?
 12-02-2017, 07:18 PM
#252
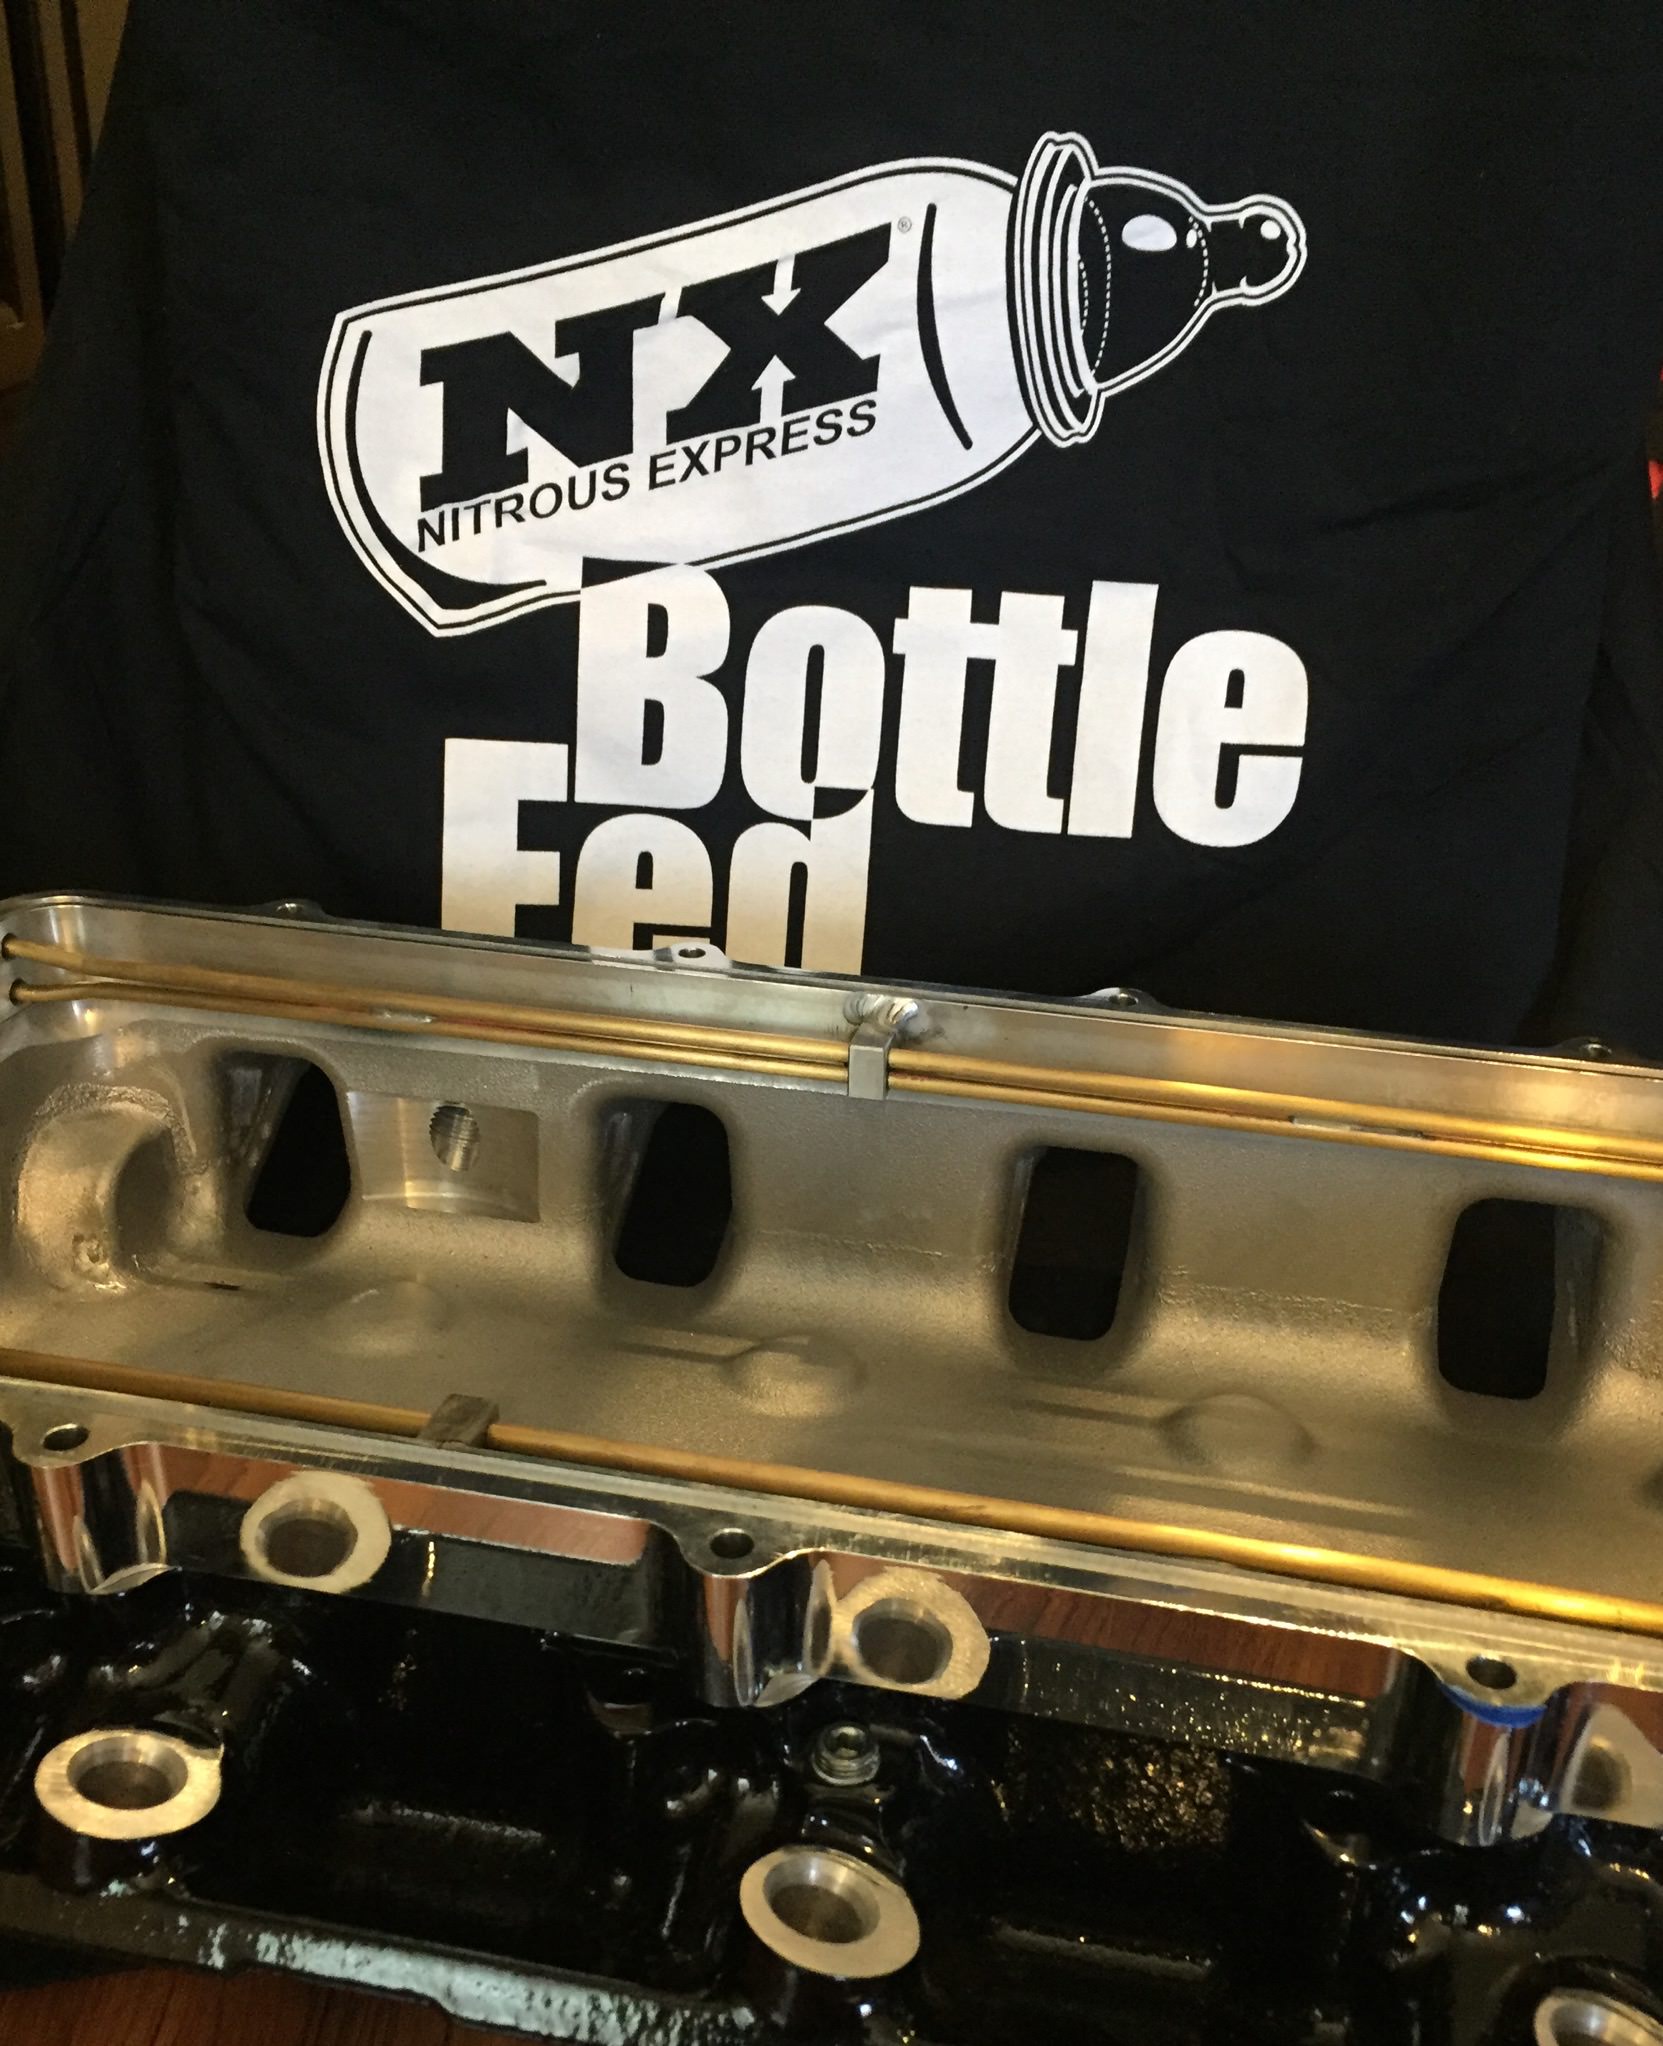
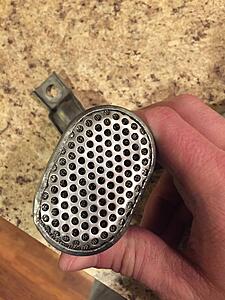
I'd call the and tell em they could of at least sent a whole samwhich.
wtf
wtf
12-10-2017, 07:27 PM
#253
I worked on the truck all weekend. I got the cab as square on the frame as it can possibly be. The front end is very very close to being squared away with all the body gaps evenly matching. (I may just rip the front end off another truck to see if I run into the same issues as I’m having now. It just doesn’t want to go back together the way it came apart. Now for the bed....it sits level and the front holes line up and so does the rearmost corner holes...however the inner rear holes are sitting about 1/4” from the frame rail where before they sat on the frame rail. The cab to bed gap gets larger from top to bottom...about .5” top to 1.5” bottom. This is when it’s sitting on the ground under its own weight. When I put truck on the lift the gap evens out from top to bottom and the bolt holes that had the 1/4” gap are about 1/16” . So something is pushing the rear of the frame up by a large amount when it’s on the ground.
Got this in the mail as well
Got this in the mail as well


 01-04-2018, 02:52 PM
#255
The last few weekends I’ve been smoothing the crankcase. It’s taking longer than I expected it to but no biggie as I have plenty of time left to do it. I softened the bottom edges on the piston skirt and bottom of the oil ring groove before I coated them. My thought process was that the sharp edges on the skirt could scrape oil off the cylinder wall especially on the major thrust side. I am thinking about putting a chamfer/softer edge on the bottom of the liner like what’s at the top to possibly help reduce skirt wear. I also softened the edges on the top and bottom of the lifter bores along with the openings inside the lifter bore to the oil passage. My thought process was that it would help prevent oil shear and scraping the lifter. I also noticed on my old lifters that they were worn/scratched from the sharp edges on the bottom/top/oil passage opening so that was another reason for it. Hopefully we’ll be measuring the lifter bores this weekend. It’s getting close!!!
Spray bars installed....now to tinker with the ports and floor design

Spray bars installed....now to tinker with the ports and floor design
 01-08-2018, 11:24 AM
#257
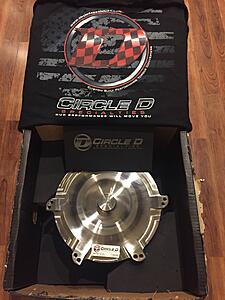
Cool deal. Buy a $ 900 t-shirt and get a FREE converter. LOL
01-15-2018, 06:28 PM
#258
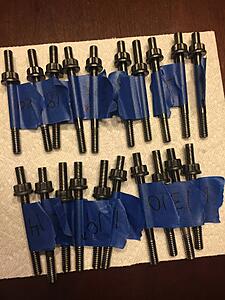
Almost done wire wheeling and polishing every bolt/stud for the engine:
Putting the final touches on the valvesprings...chamfer on both ends of each spring...that’s 64 ends total!!! This prevents the springs from digging into the seats/retainers and creating metal shavings/wear. I have another tool to chamfer the inner diameter as well to complete the process. Titanium galls easily so the coating helps prevent galling and the chamfer is another failsafe.
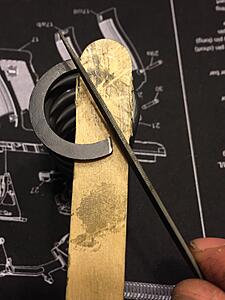

Putting the final touches on the valvesprings...chamfer on both ends of each spring...that’s 64 ends total!!! This prevents the springs from digging into the seats/retainers and creating metal shavings/wear. I have another tool to chamfer the inner diameter as well to complete the process. Titanium galls easily so the coating helps prevent galling and the chamfer is another failsafe.
 01-17-2018, 08:03 PM
#259
Testing pressures on each spring was bringing up differences of +/- 8lbs so I ran each individual spring down to coil bind and waited 1 minute before releasing it. I then pressure tested them again and got more consistent results. I matched each spring to get 178 or 180lbs @ 1.800” height. This netted a consistent 200 or 202lbs @ 1.740”
Not quite done but you get the idea....roughly 24% increase in open area to compliment the 18% greater flow rate of the Melling 10296 pump.
Not quite done but you get the idea....roughly 24% increase in open area to compliment the 18% greater flow rate of the Melling 10296 pump.

