
Shift linkage modification how-to
 06-14-2016, 07:05 AM
#1


I don't know about others, but getting to the shift linkage part of the build is always frustrating for me. Usually, the drivetrain is in, and ready to go, but the shift cable or linkage you have isn't going to work. There aren't many threads on this, so I will post mine. Please critique, I would like the feedback.
Thanks
Transmission linkage.
The basic plan for transmission linkage, in my opinion, is as follows:
1) I try to avoid changing the original shift cable. The main reason for this is that I hate crawling under the dash. Period.
2) Establish a firm point for the transmission end of the cable. This has to be much more stout than you would think. If it begins to deflect, it will be hard to get the trans in the correct gear.
3) Conversion from shift cable to transmission lever. In my opinion, this is easiest done with welding. Using the parts you have, and adding or removing length seems to be the best way to go.
Here is how I did the Durango. It had a 46re transmission, being replaced with 6l80. The 46re shift cable connects at the front pointing back, the 6l80 is the opposite.
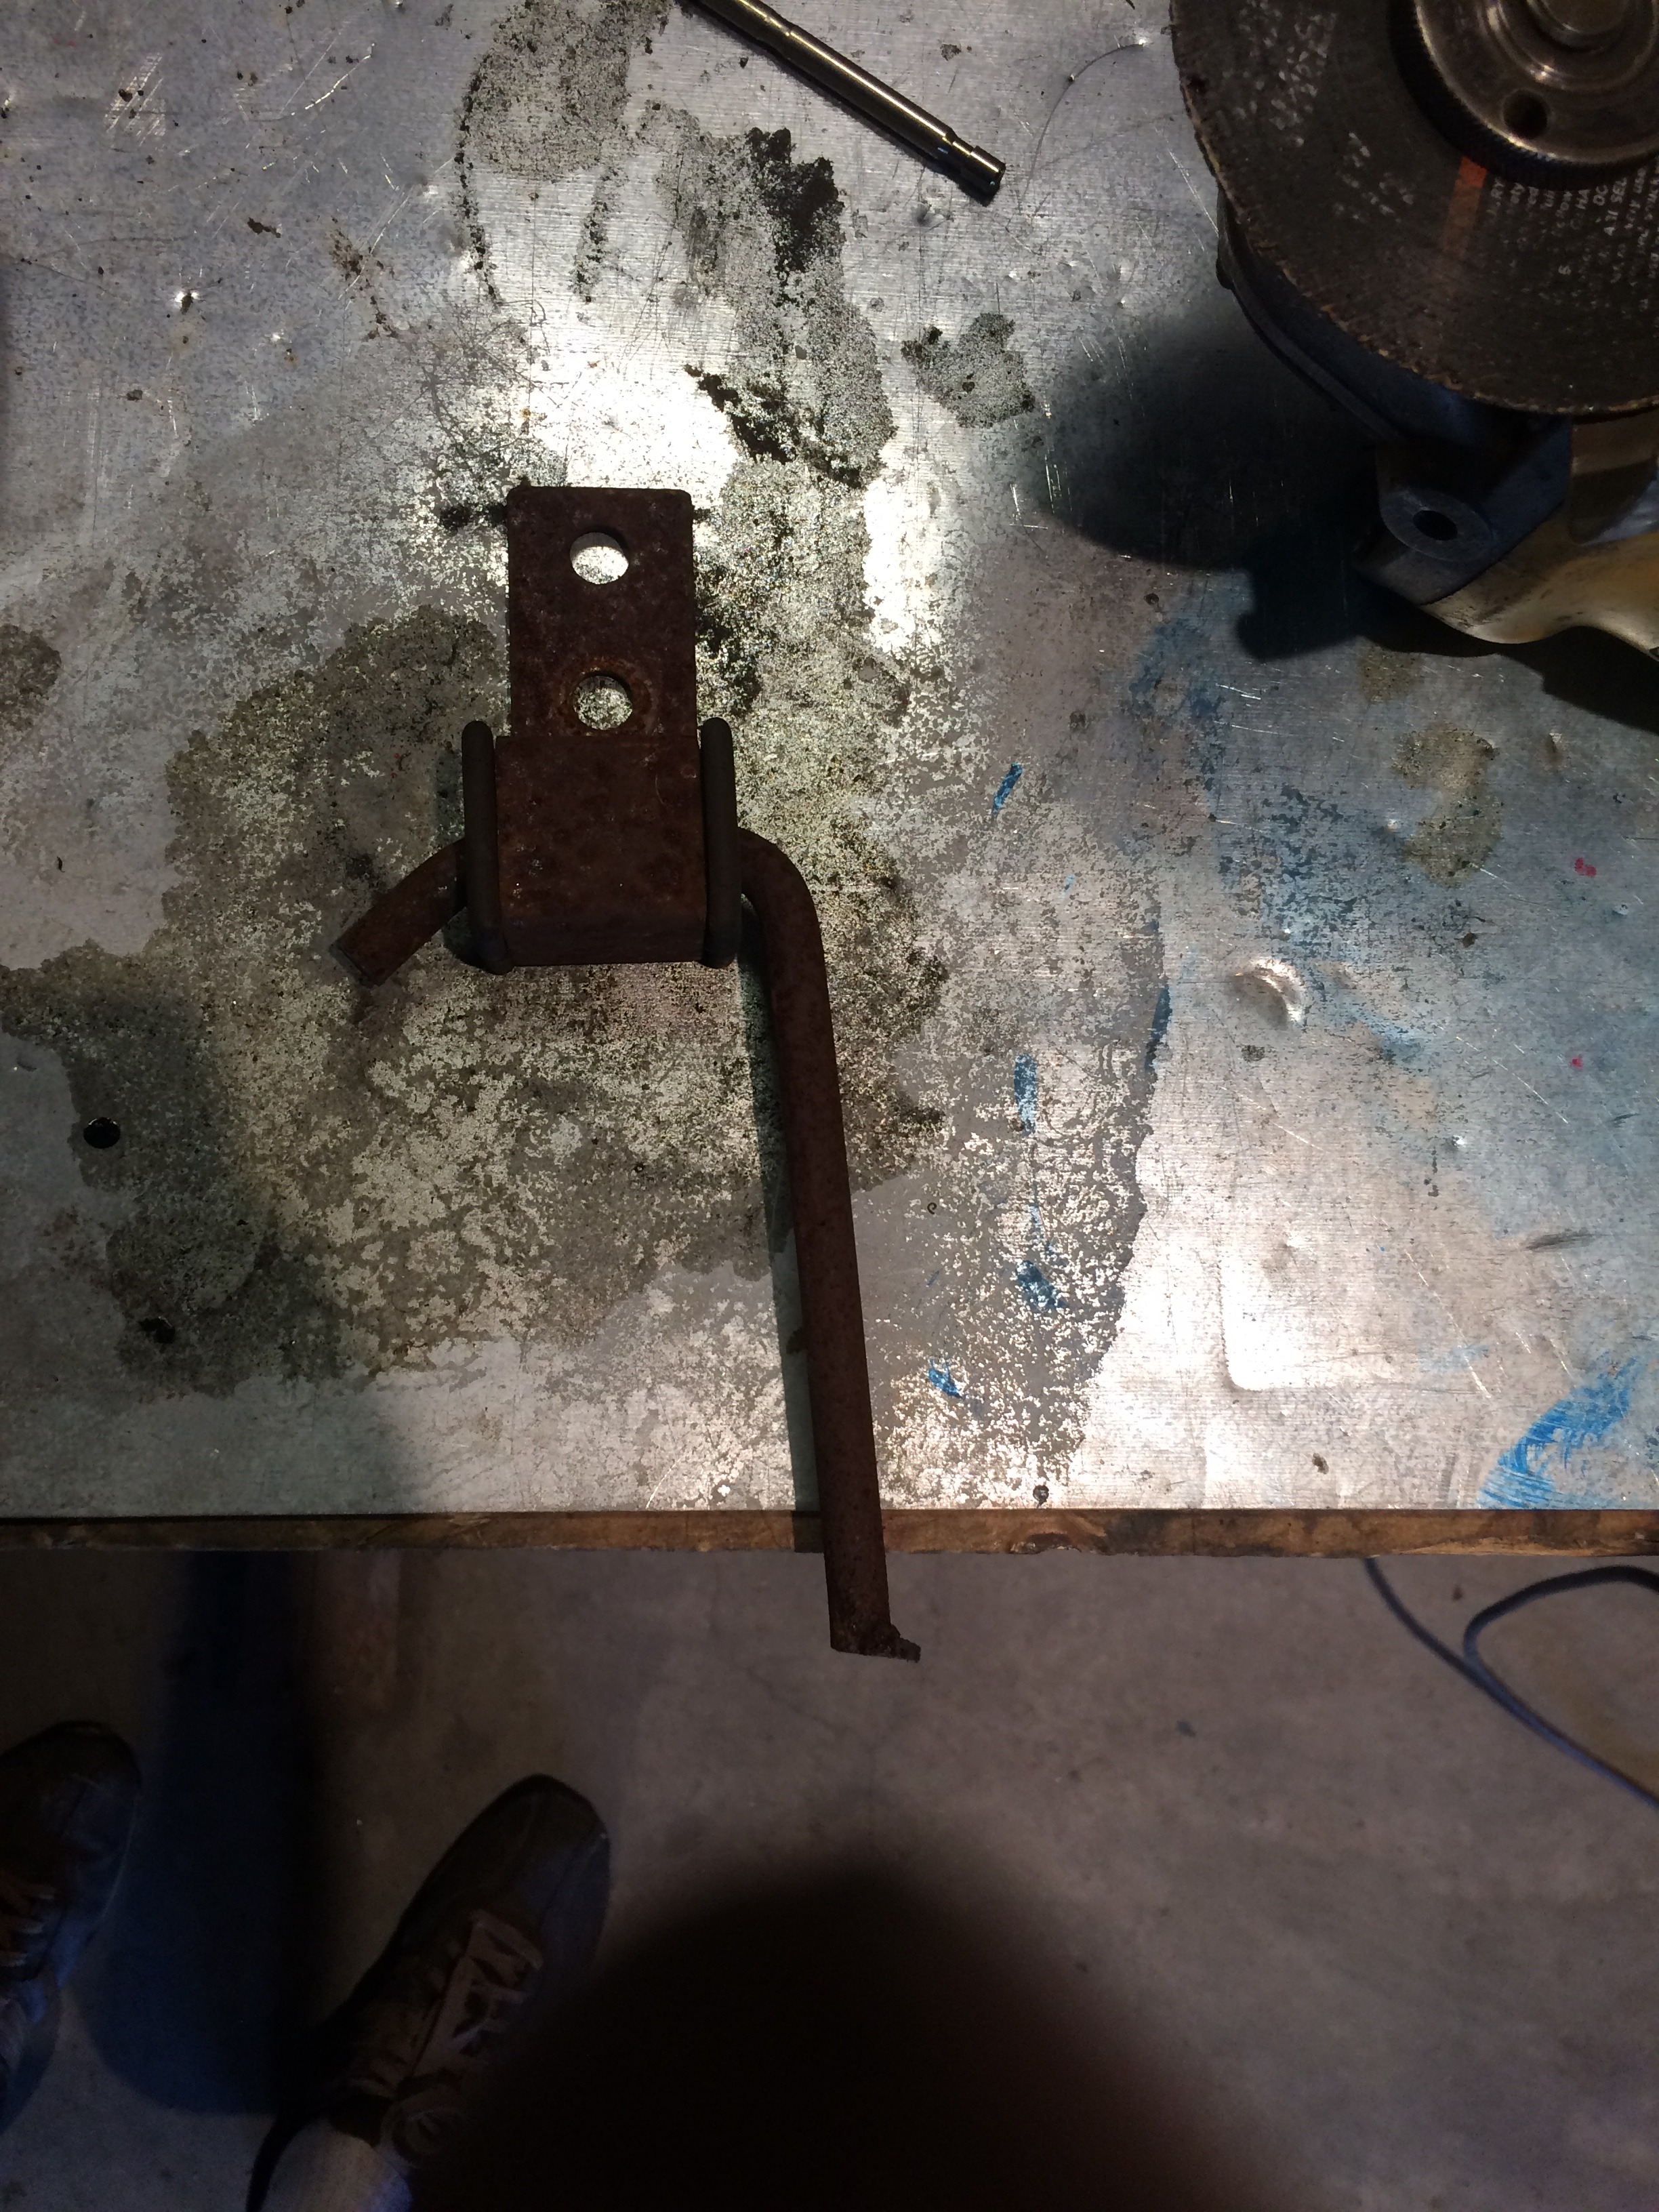
Original Dodge cable and bracket on the Durango. This is typical of the 46re mounting bracket for 2wd and 4wd.

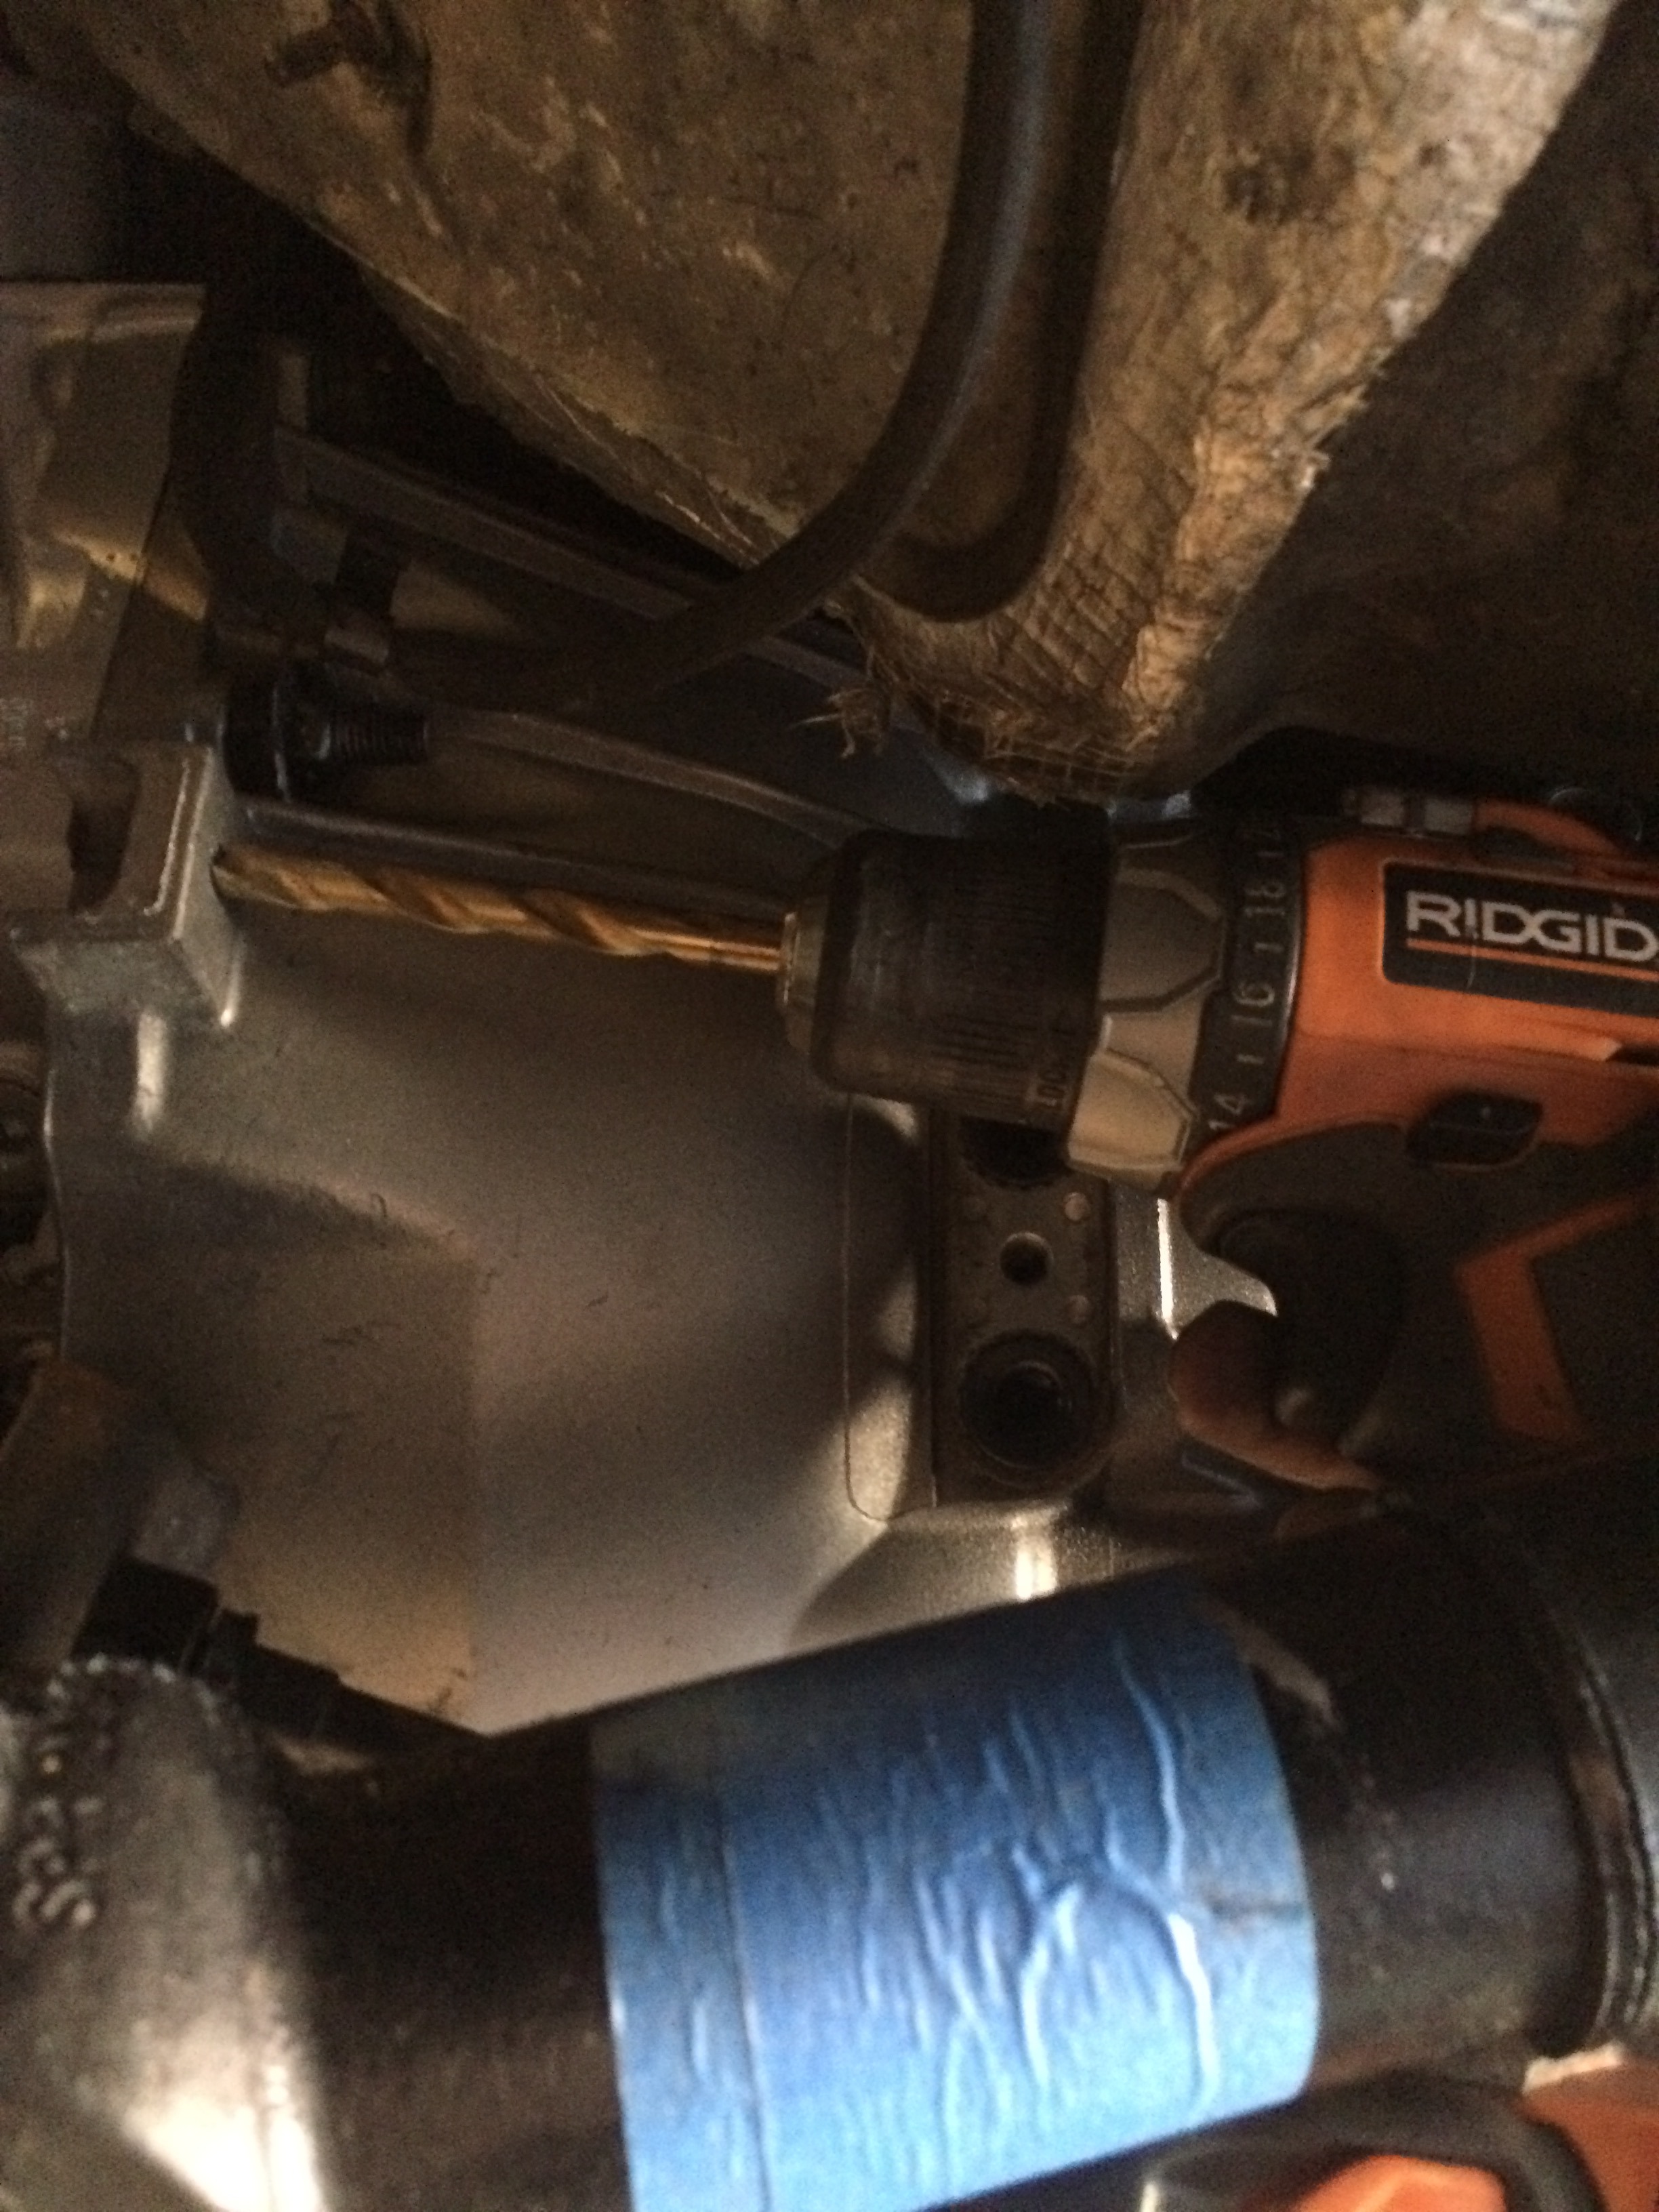
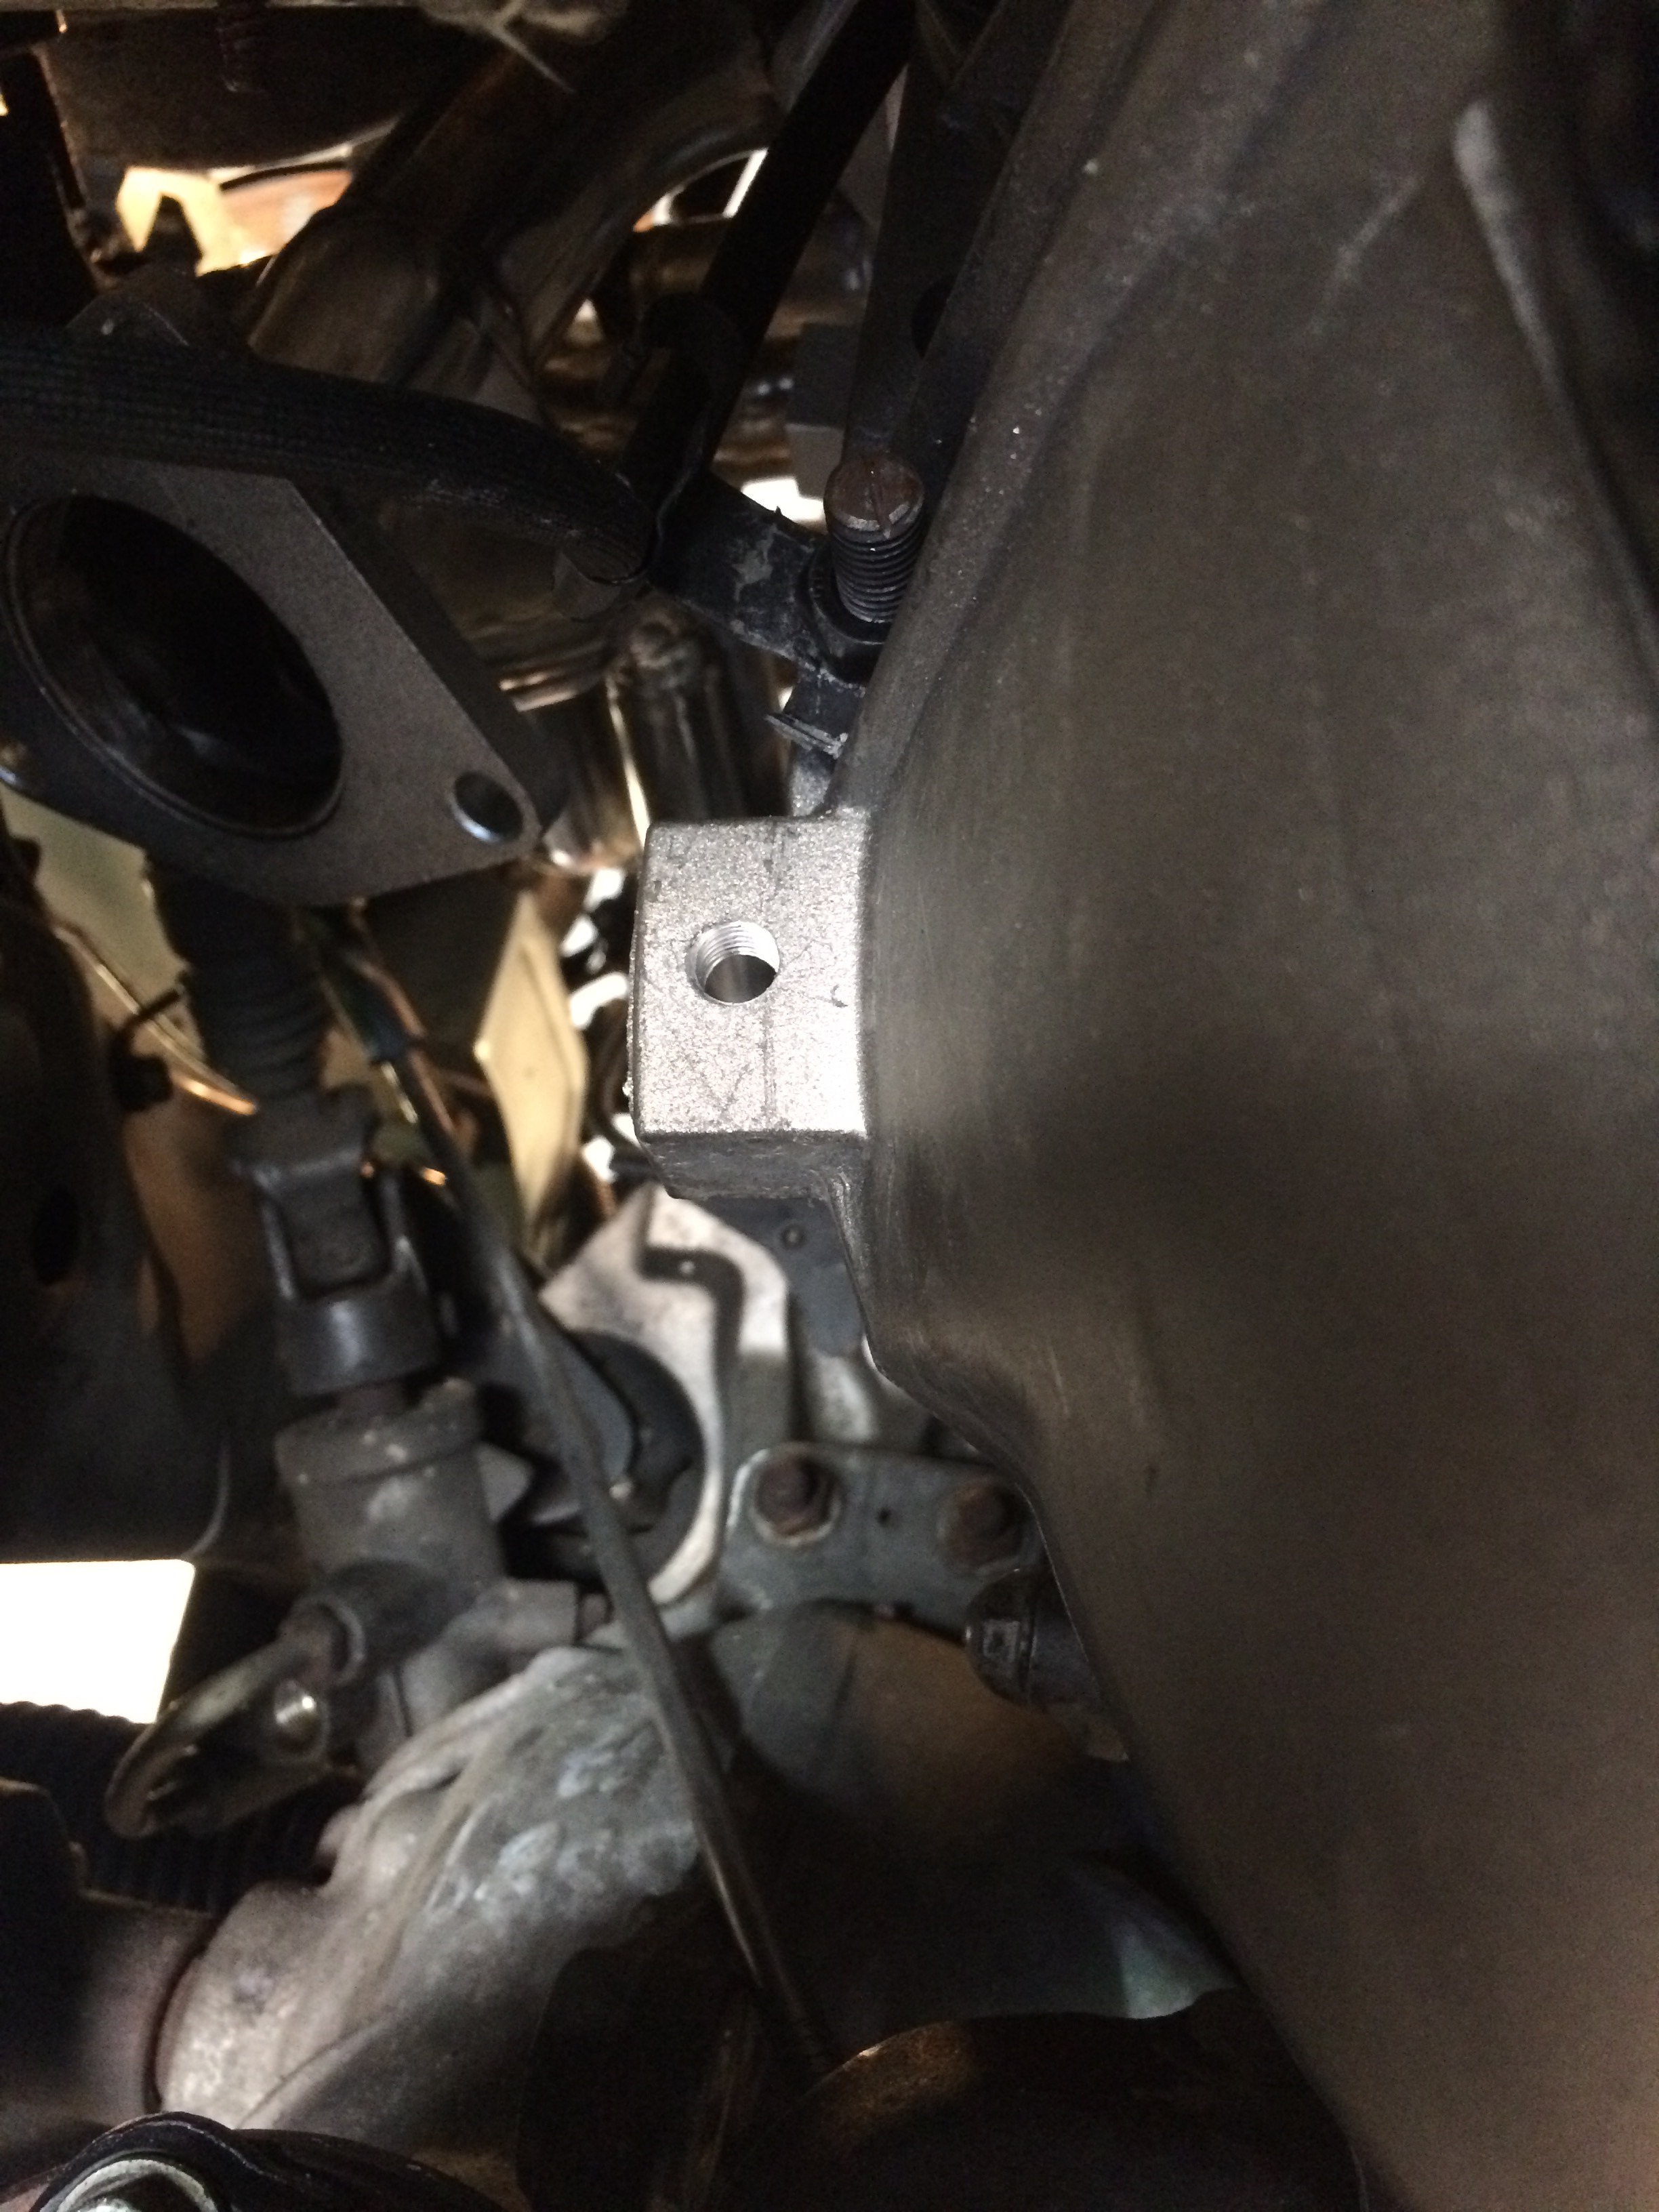
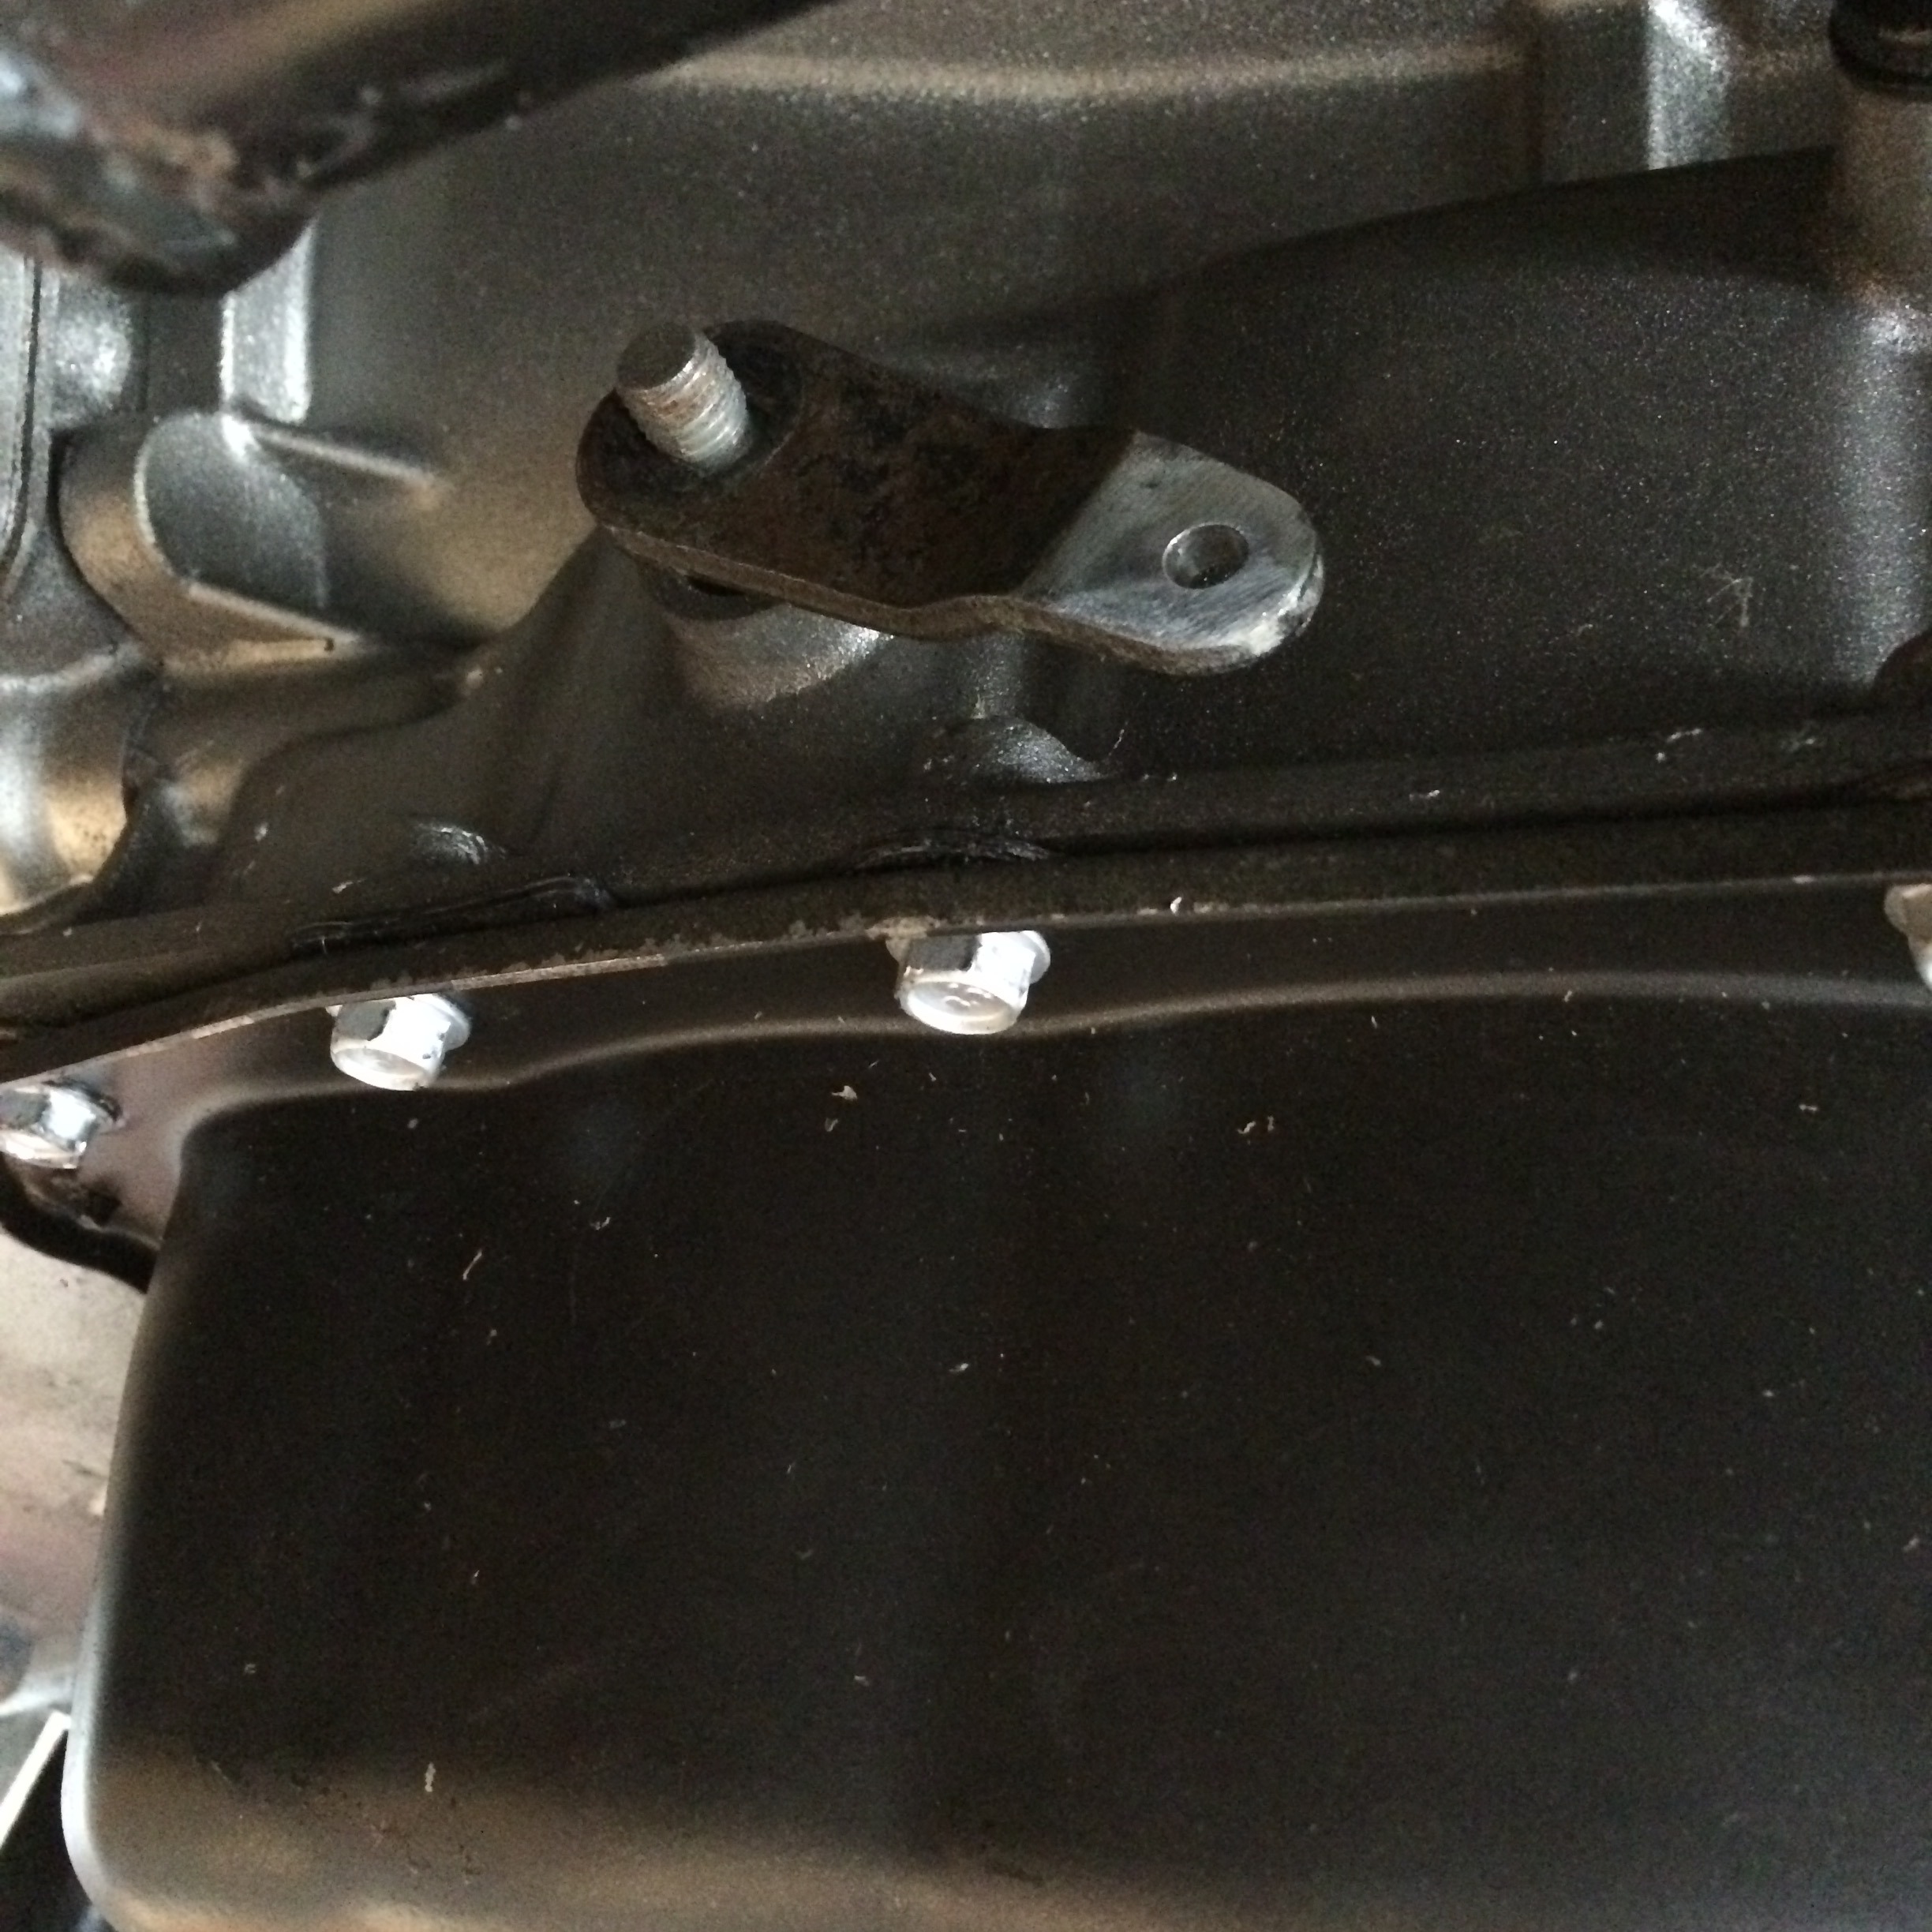
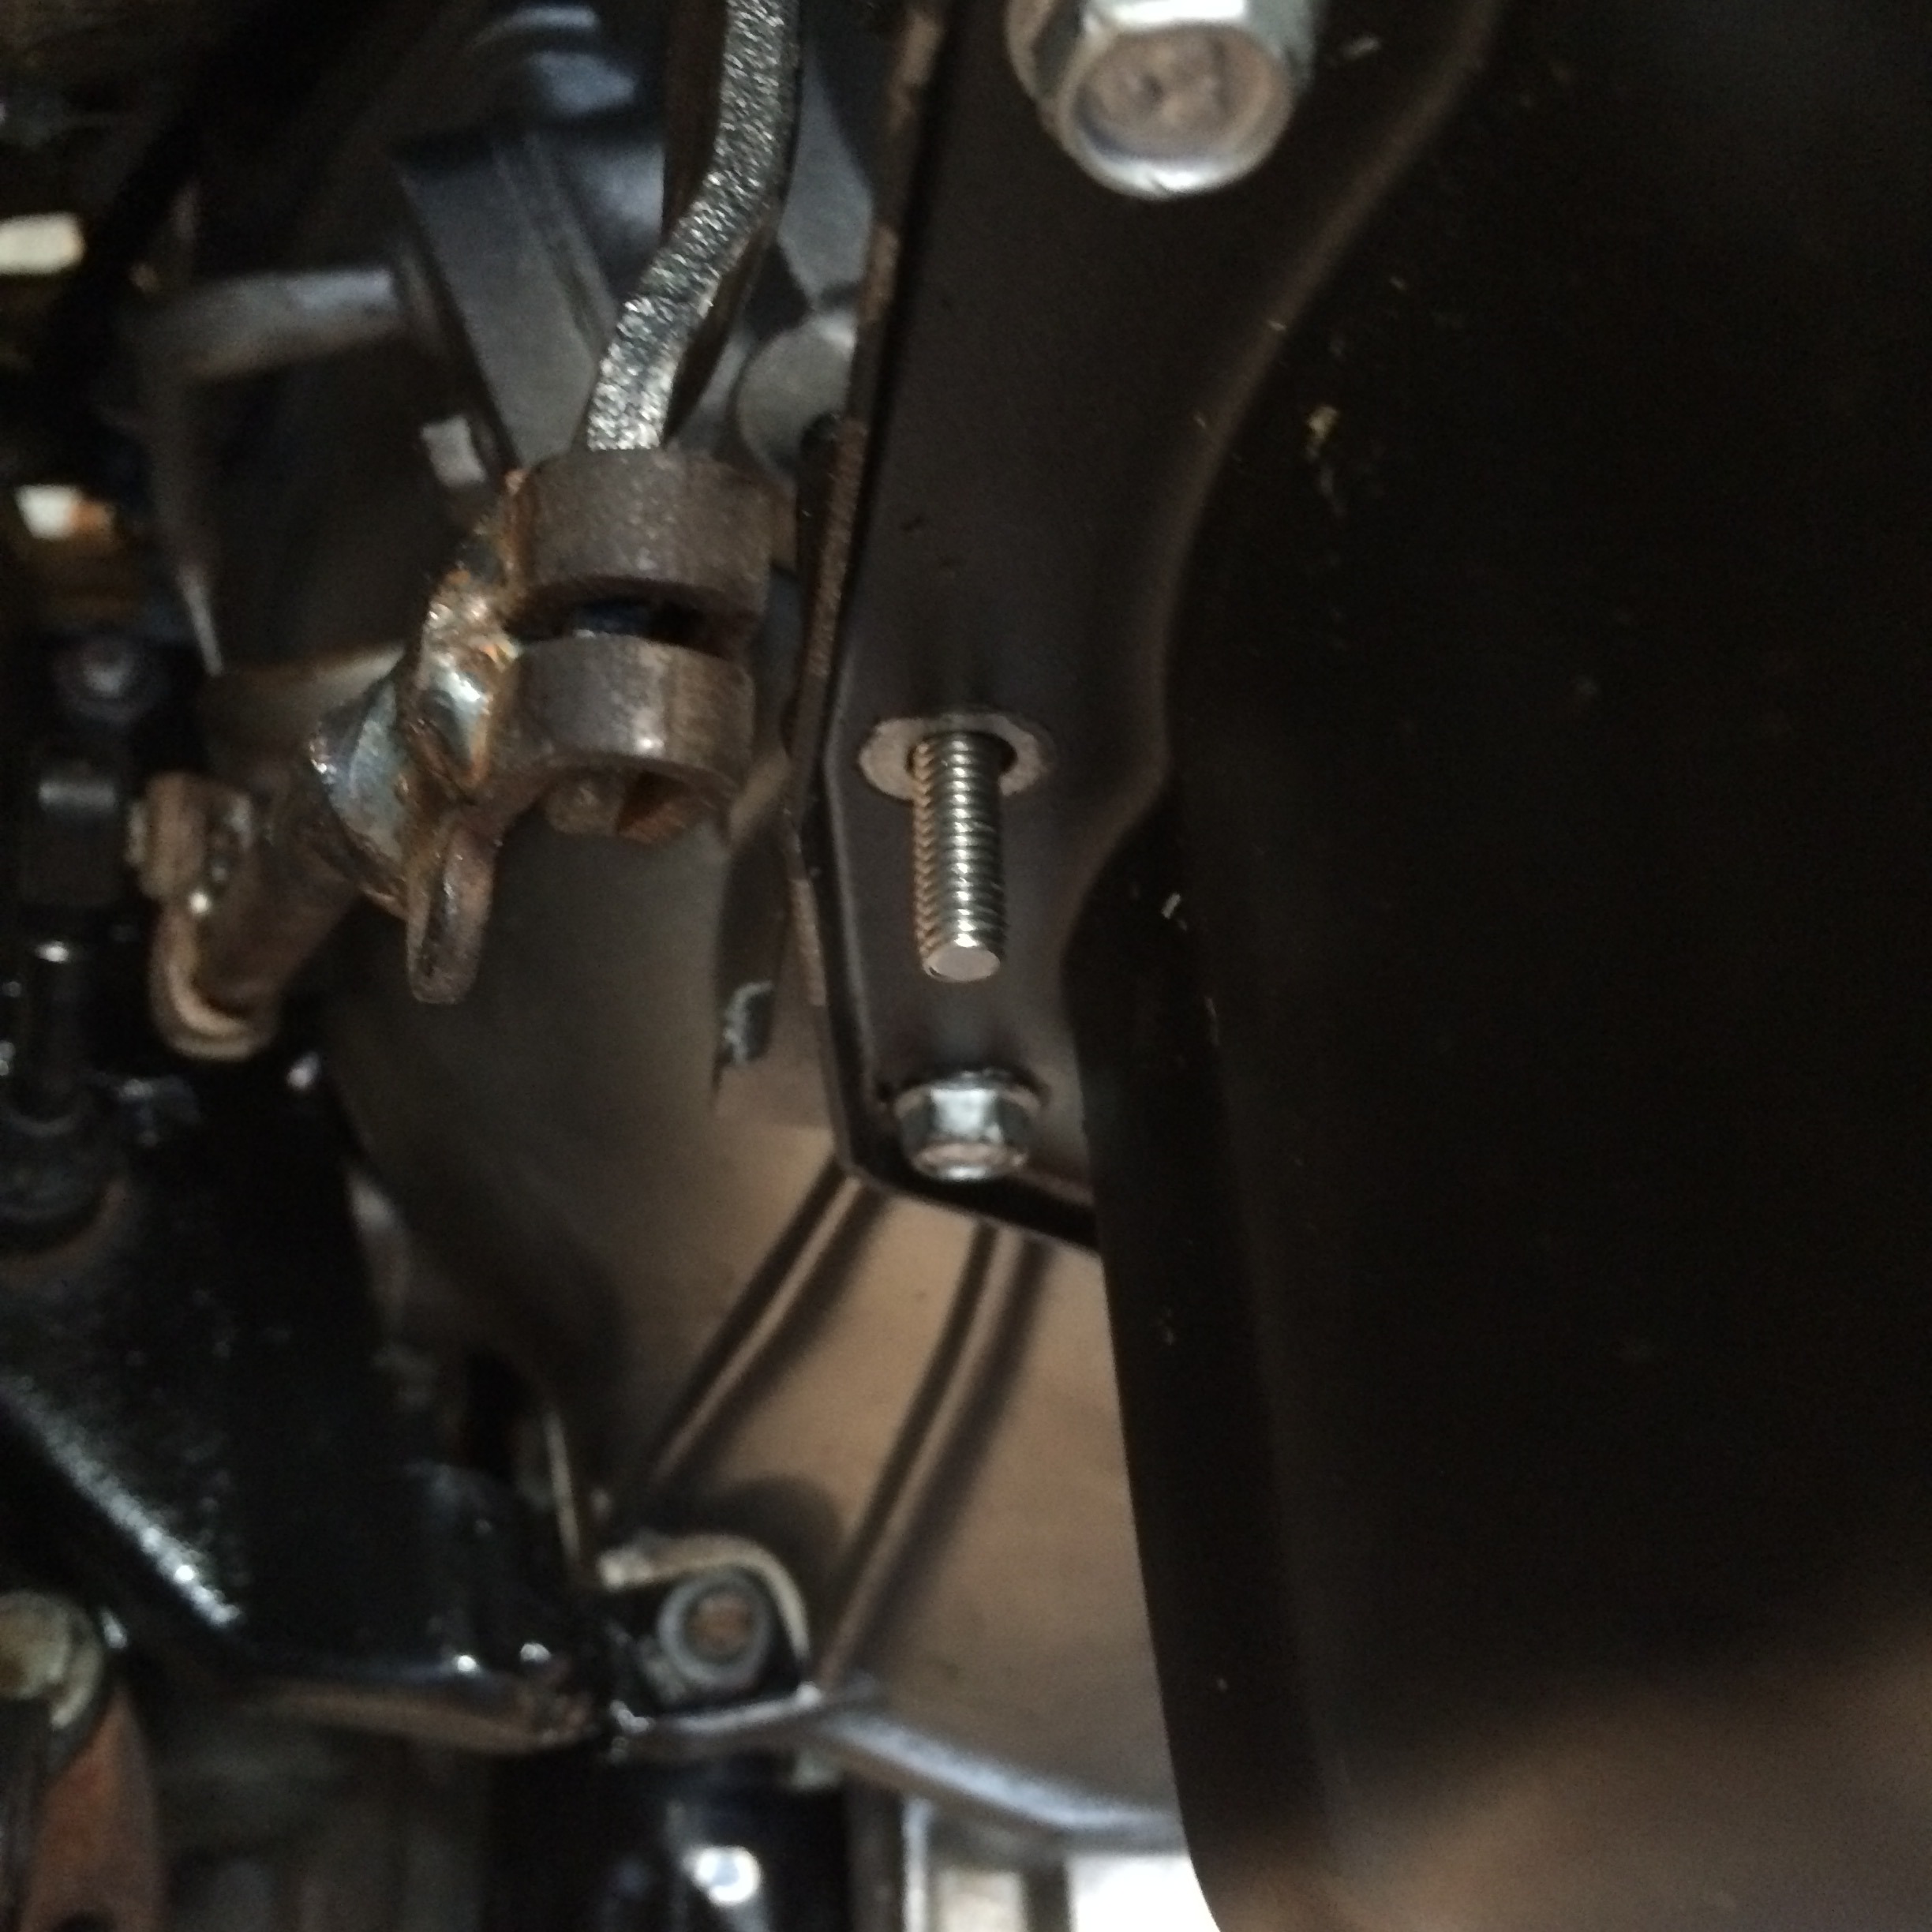
Locate a place to mount it. On my 6l80 transmission, I used this flat whatever it is to drill and tap for M10 bolt.
 \
\
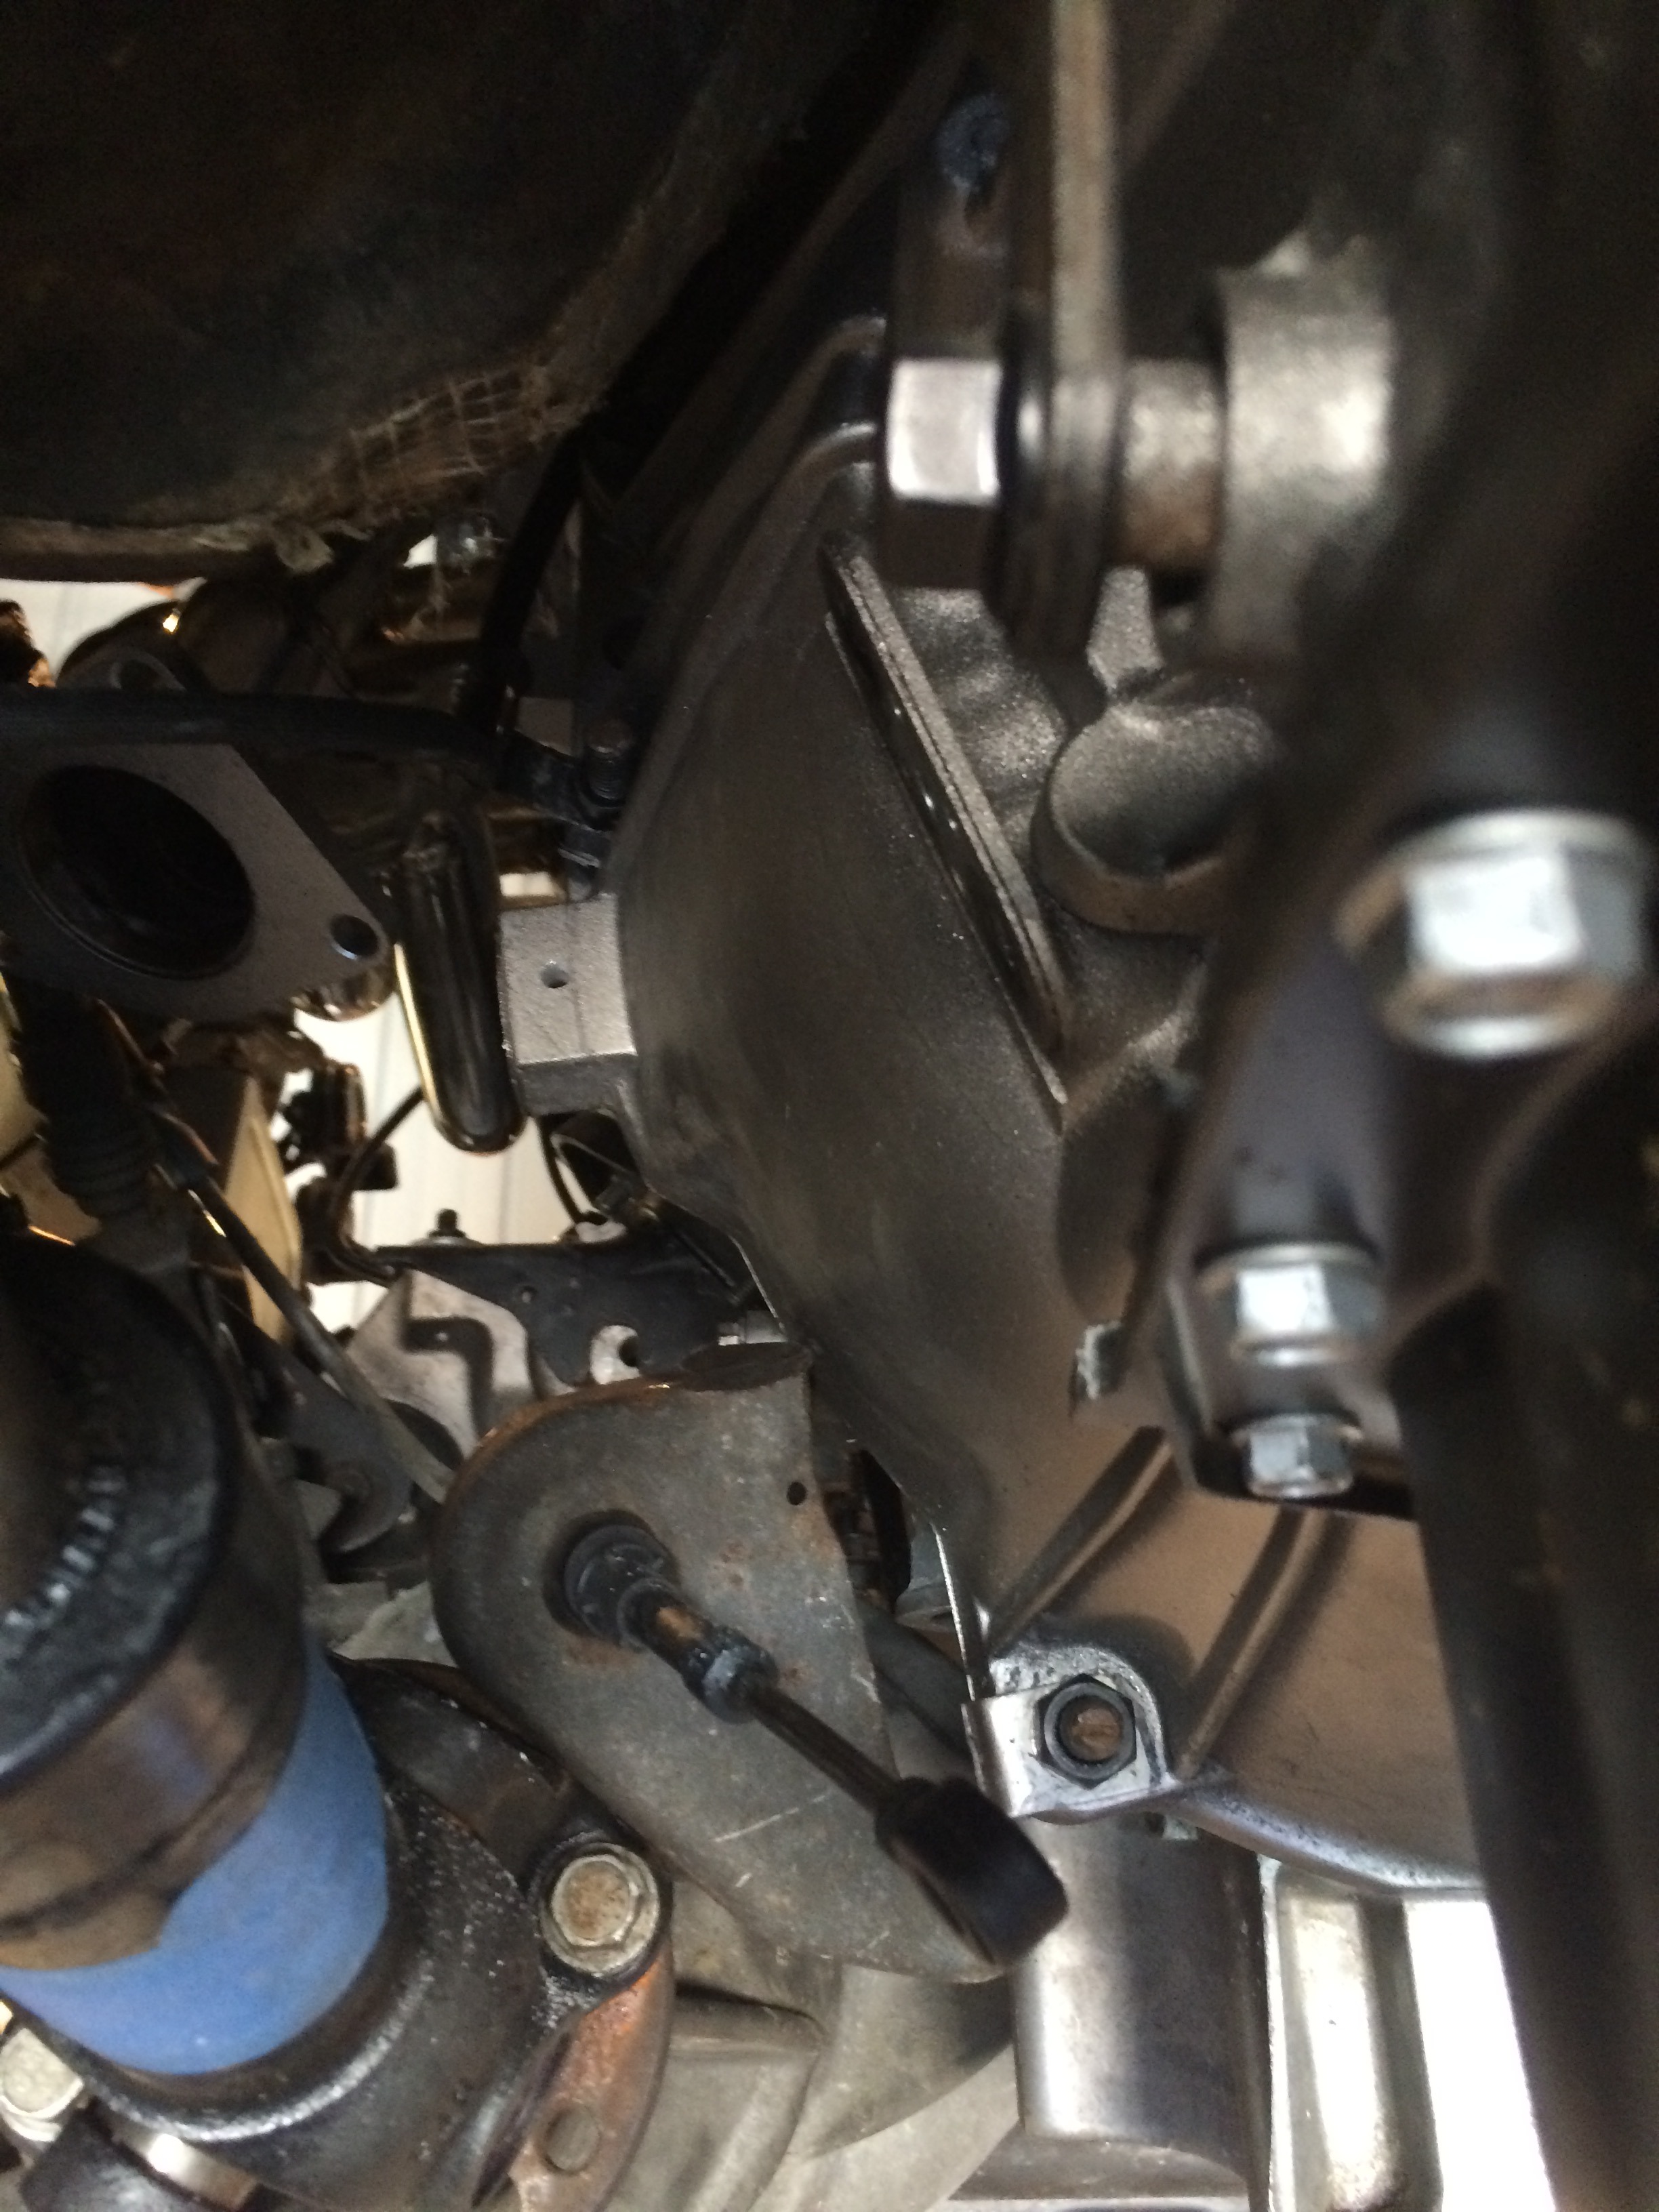
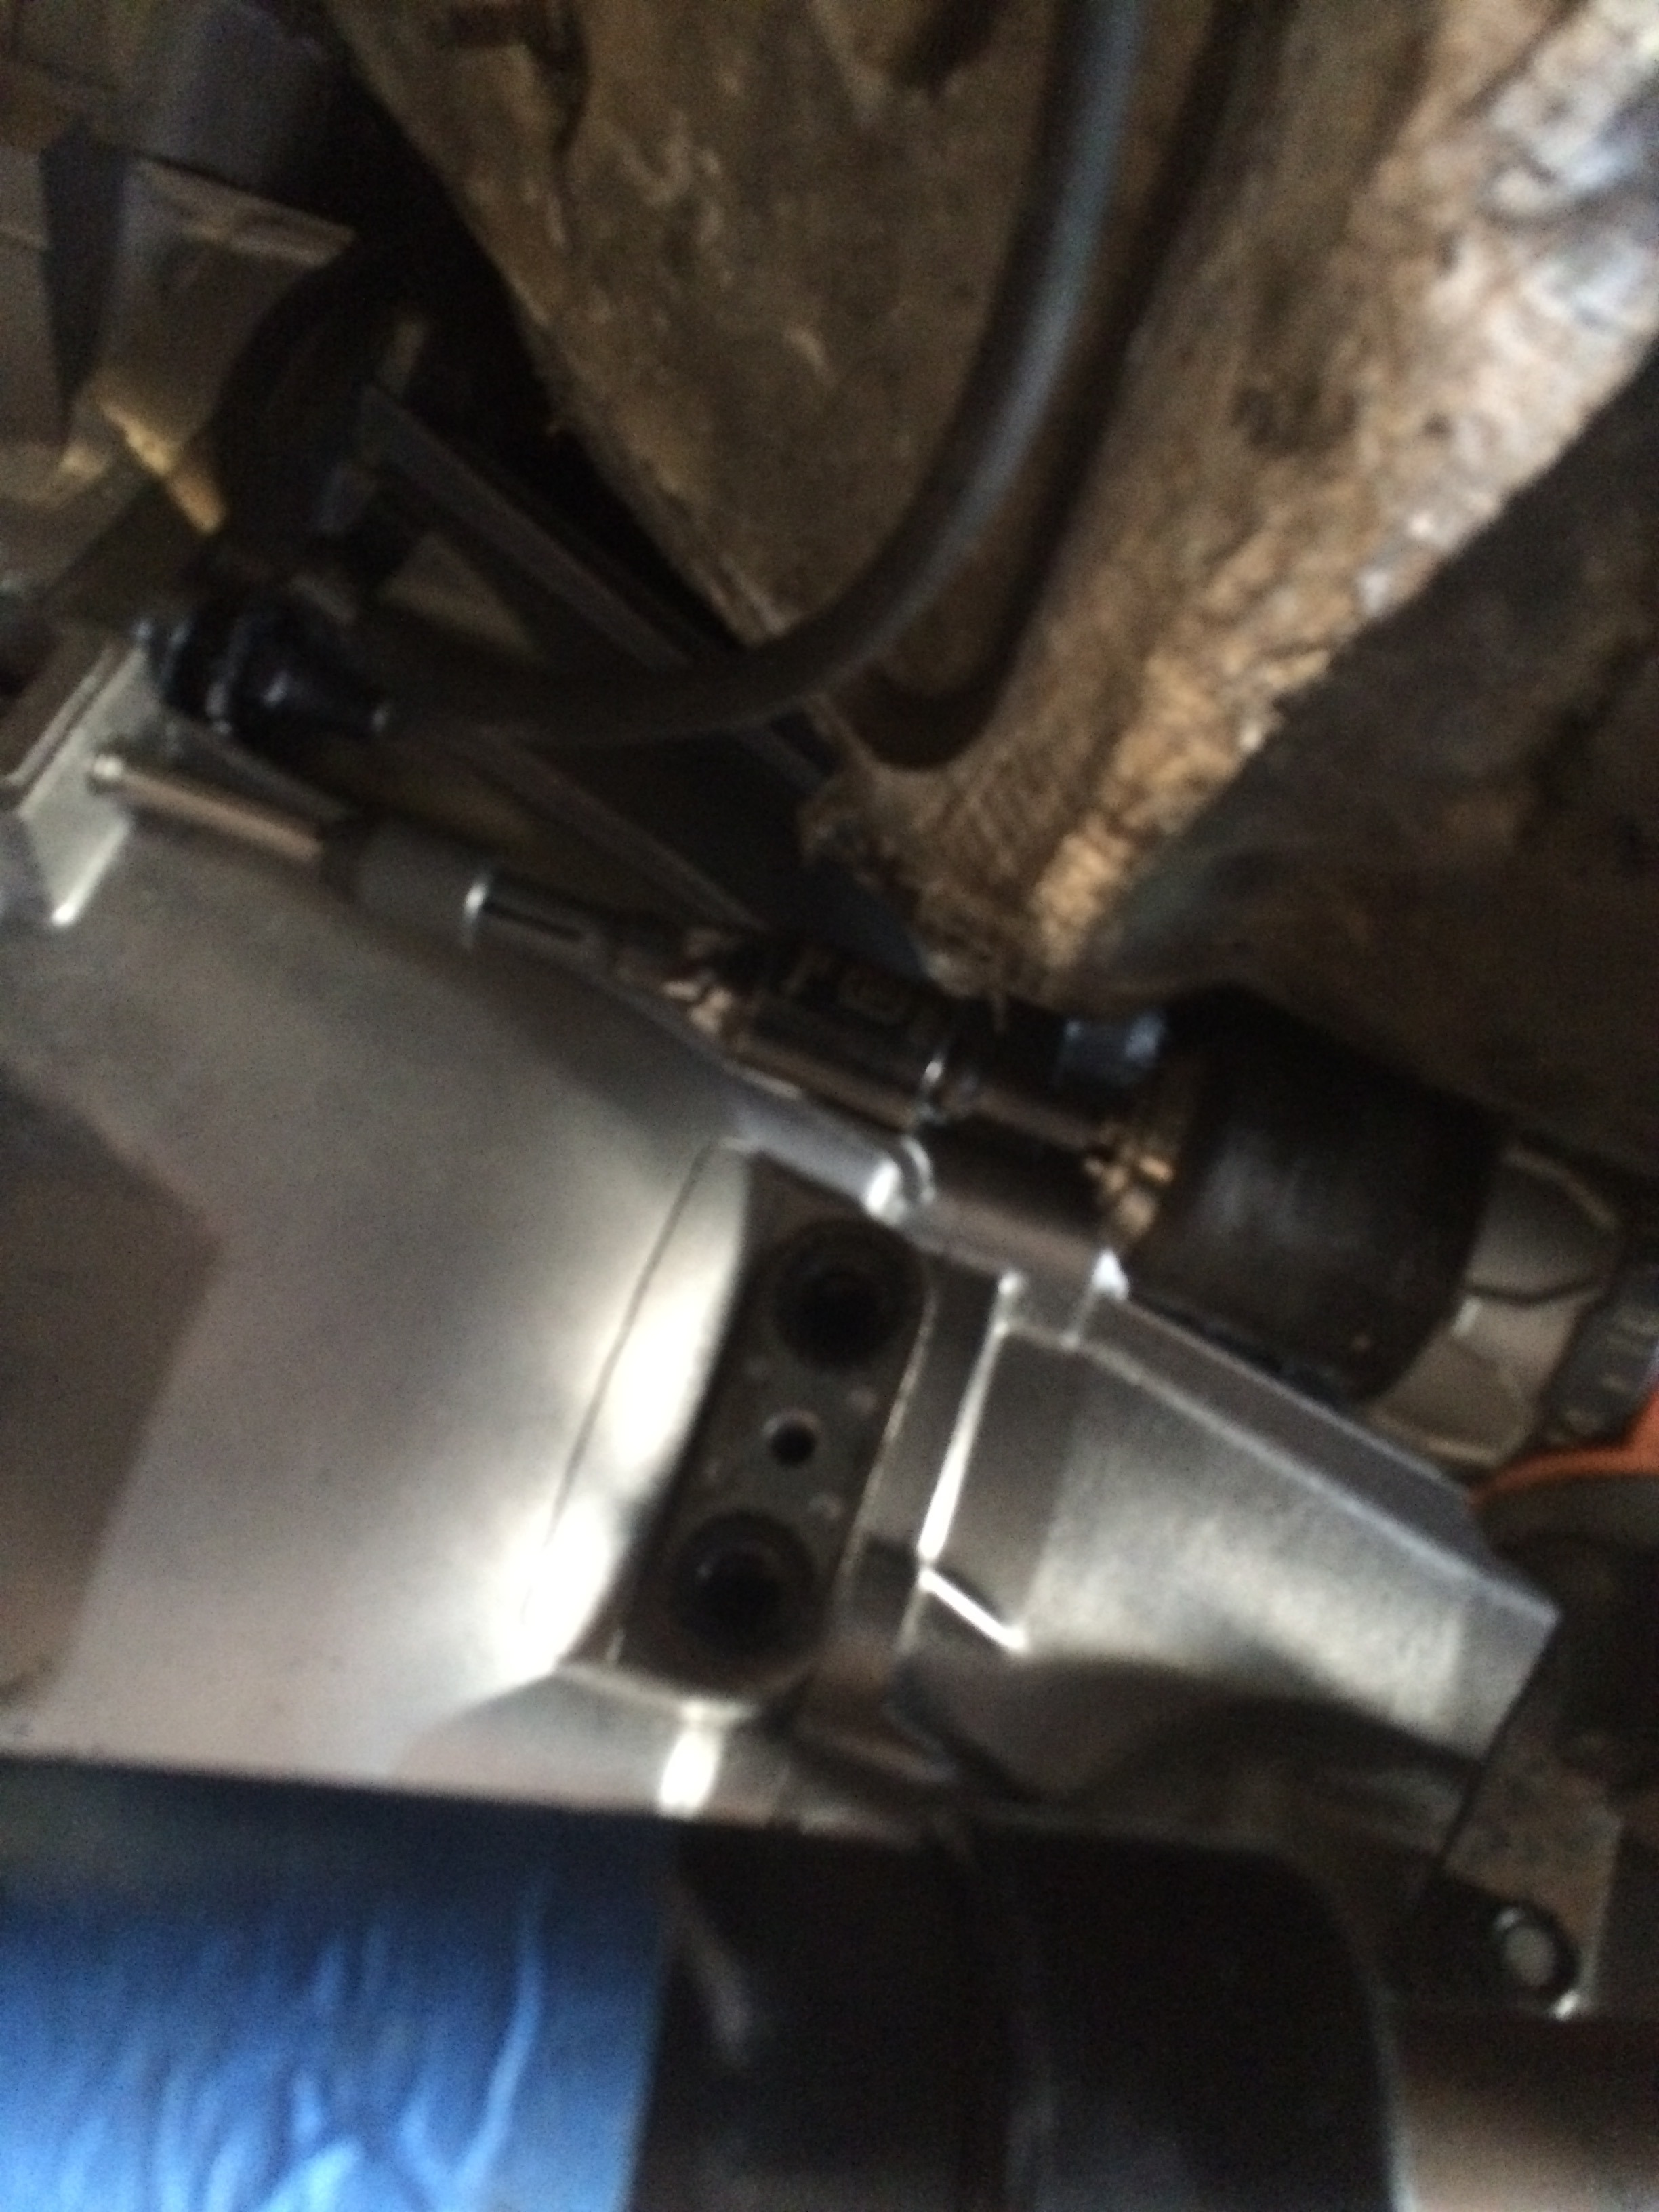
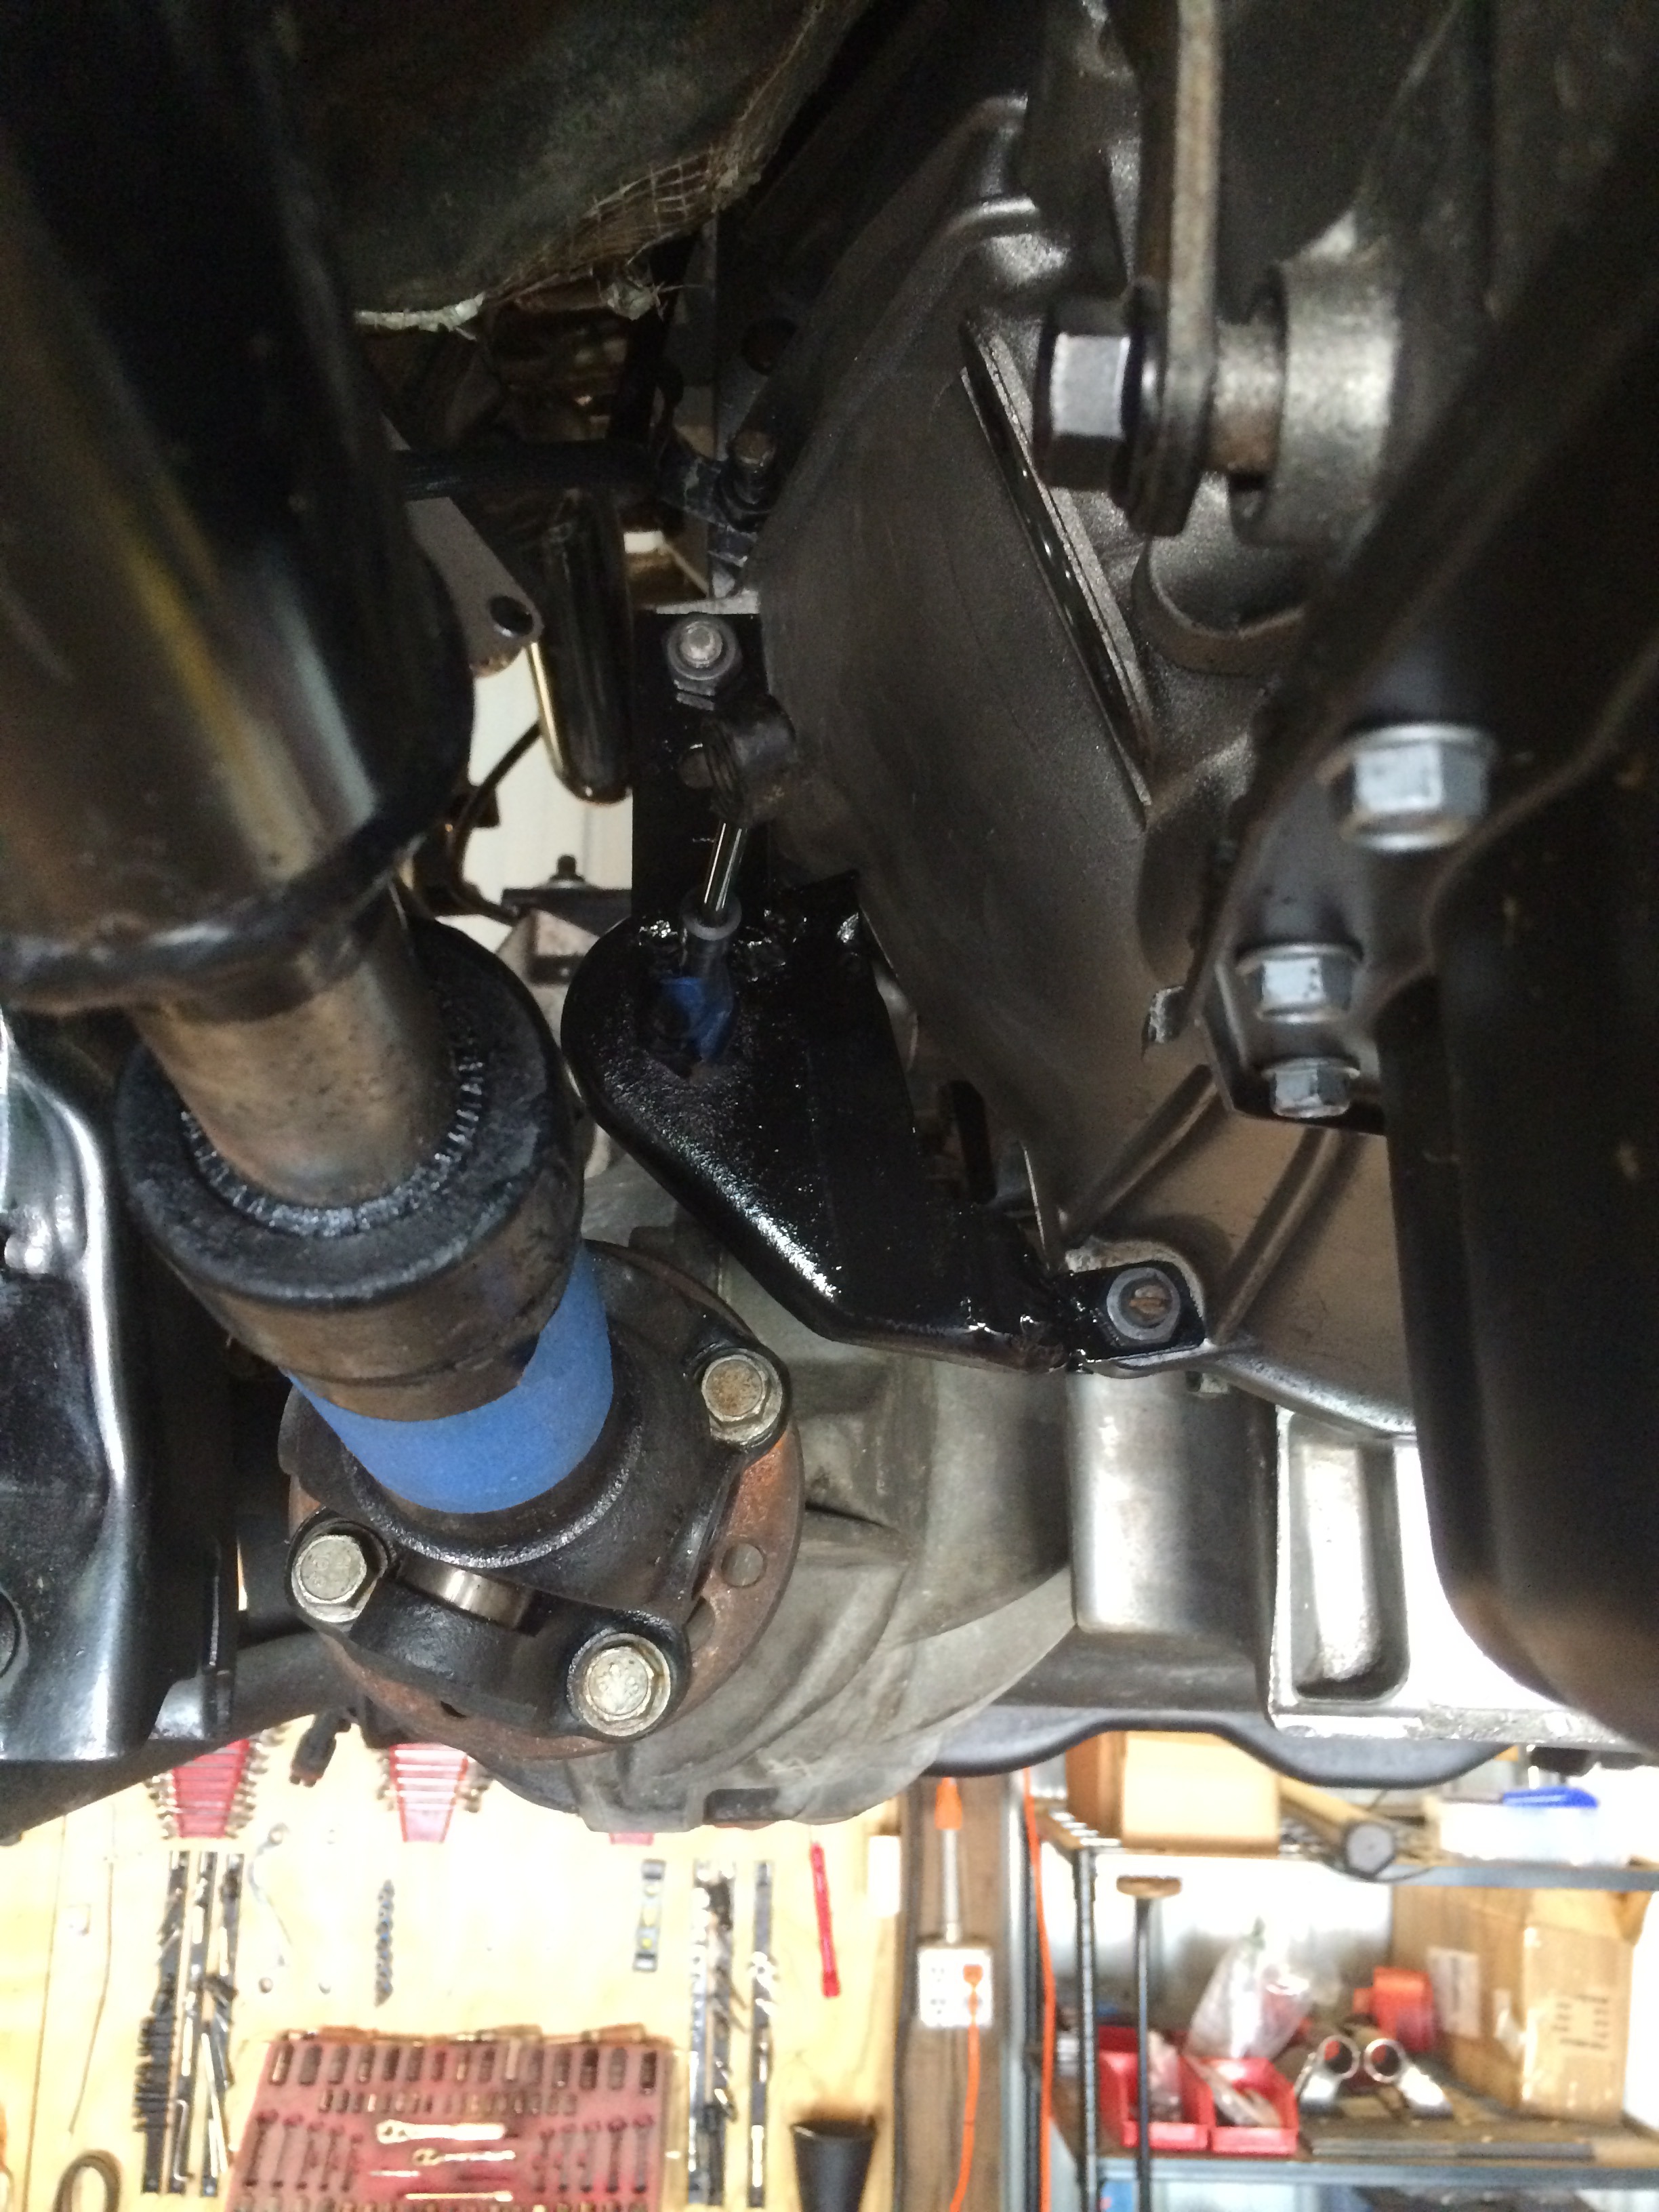
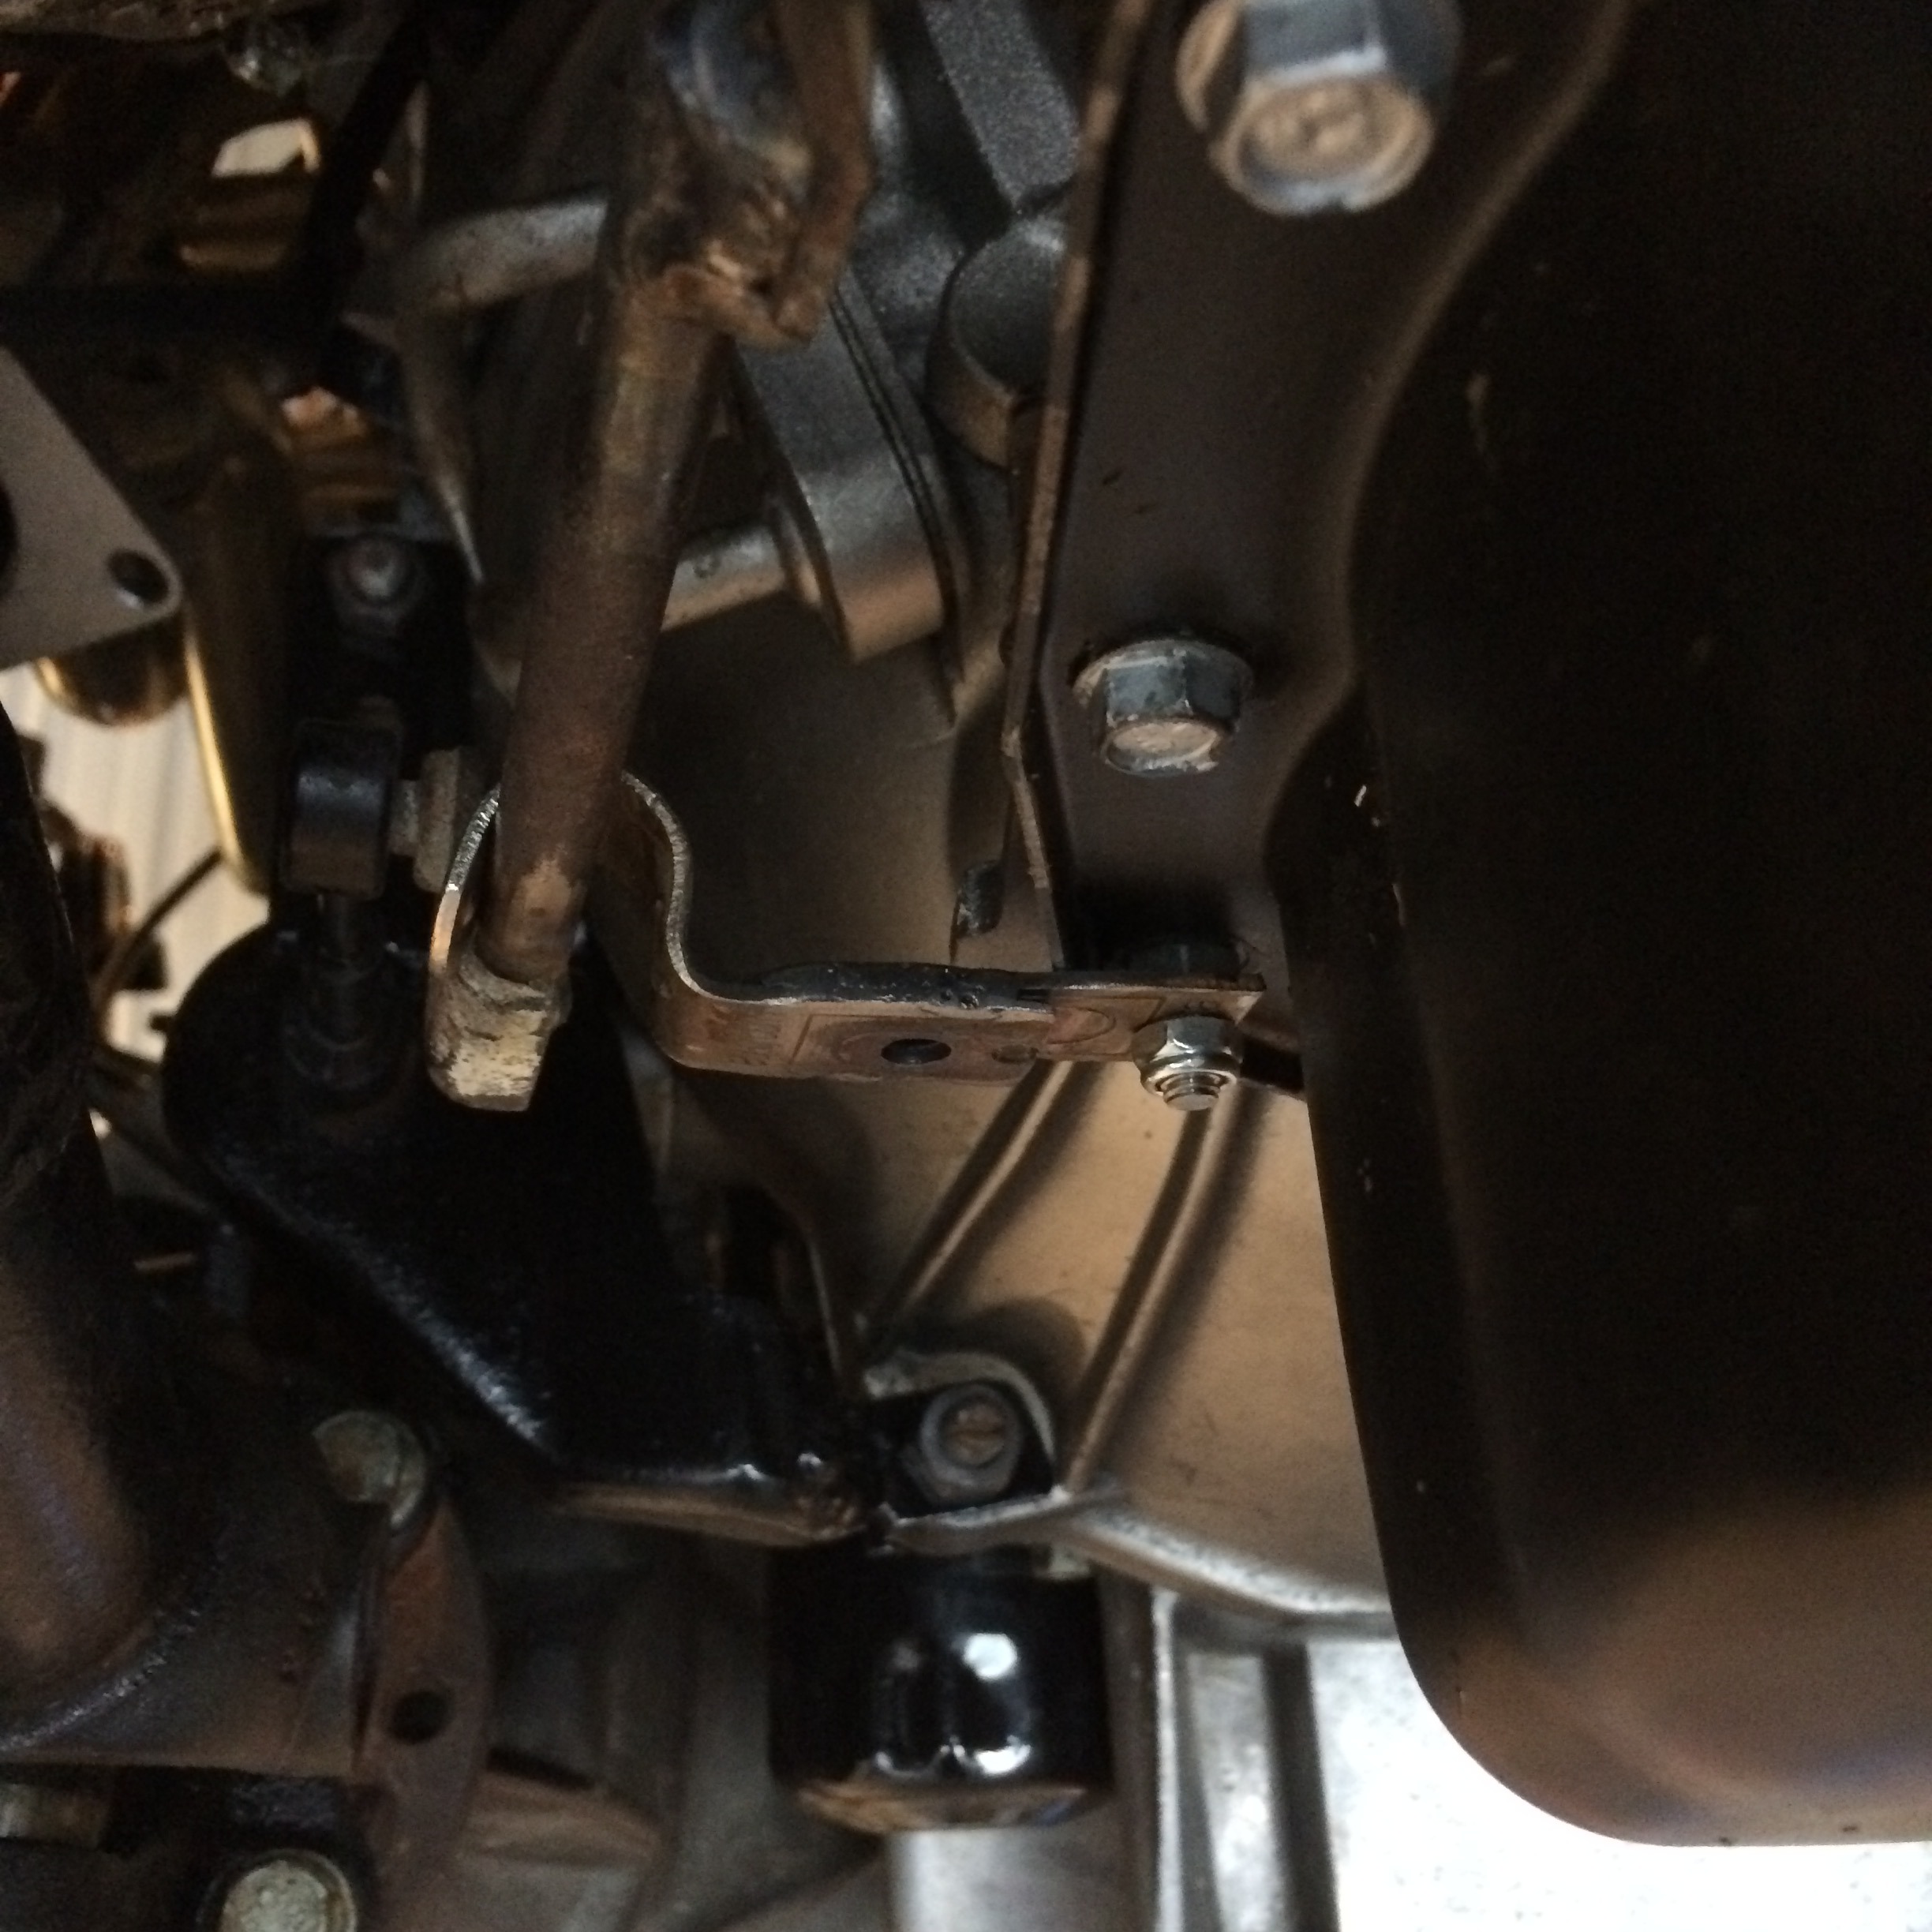
Attach the bracket at one more point. I used leftover exhaust hanger to attach the top of the bracket to the hole I created. The other end was attached to the bottom bolt on the transmission bell housing.Cardboard templates come in handy here, so you can cut pieces to fit. Creativity is key.
Here, you can see the top of the bracket with a the exhaust hanger welded on, attached to the top hole that I made using a M10 bolt. The bottom has a tab welded on, and is attached to the bottom driver's side bolt on the transmission bell housing.
Original shift lever on the 6l80, flipped over (And the link ball, whatever you call it, has been ground off). Man I love new GM stuff. A reversible shift lever. How easy is that? No place to mount the cable though. A boss would have been nice.
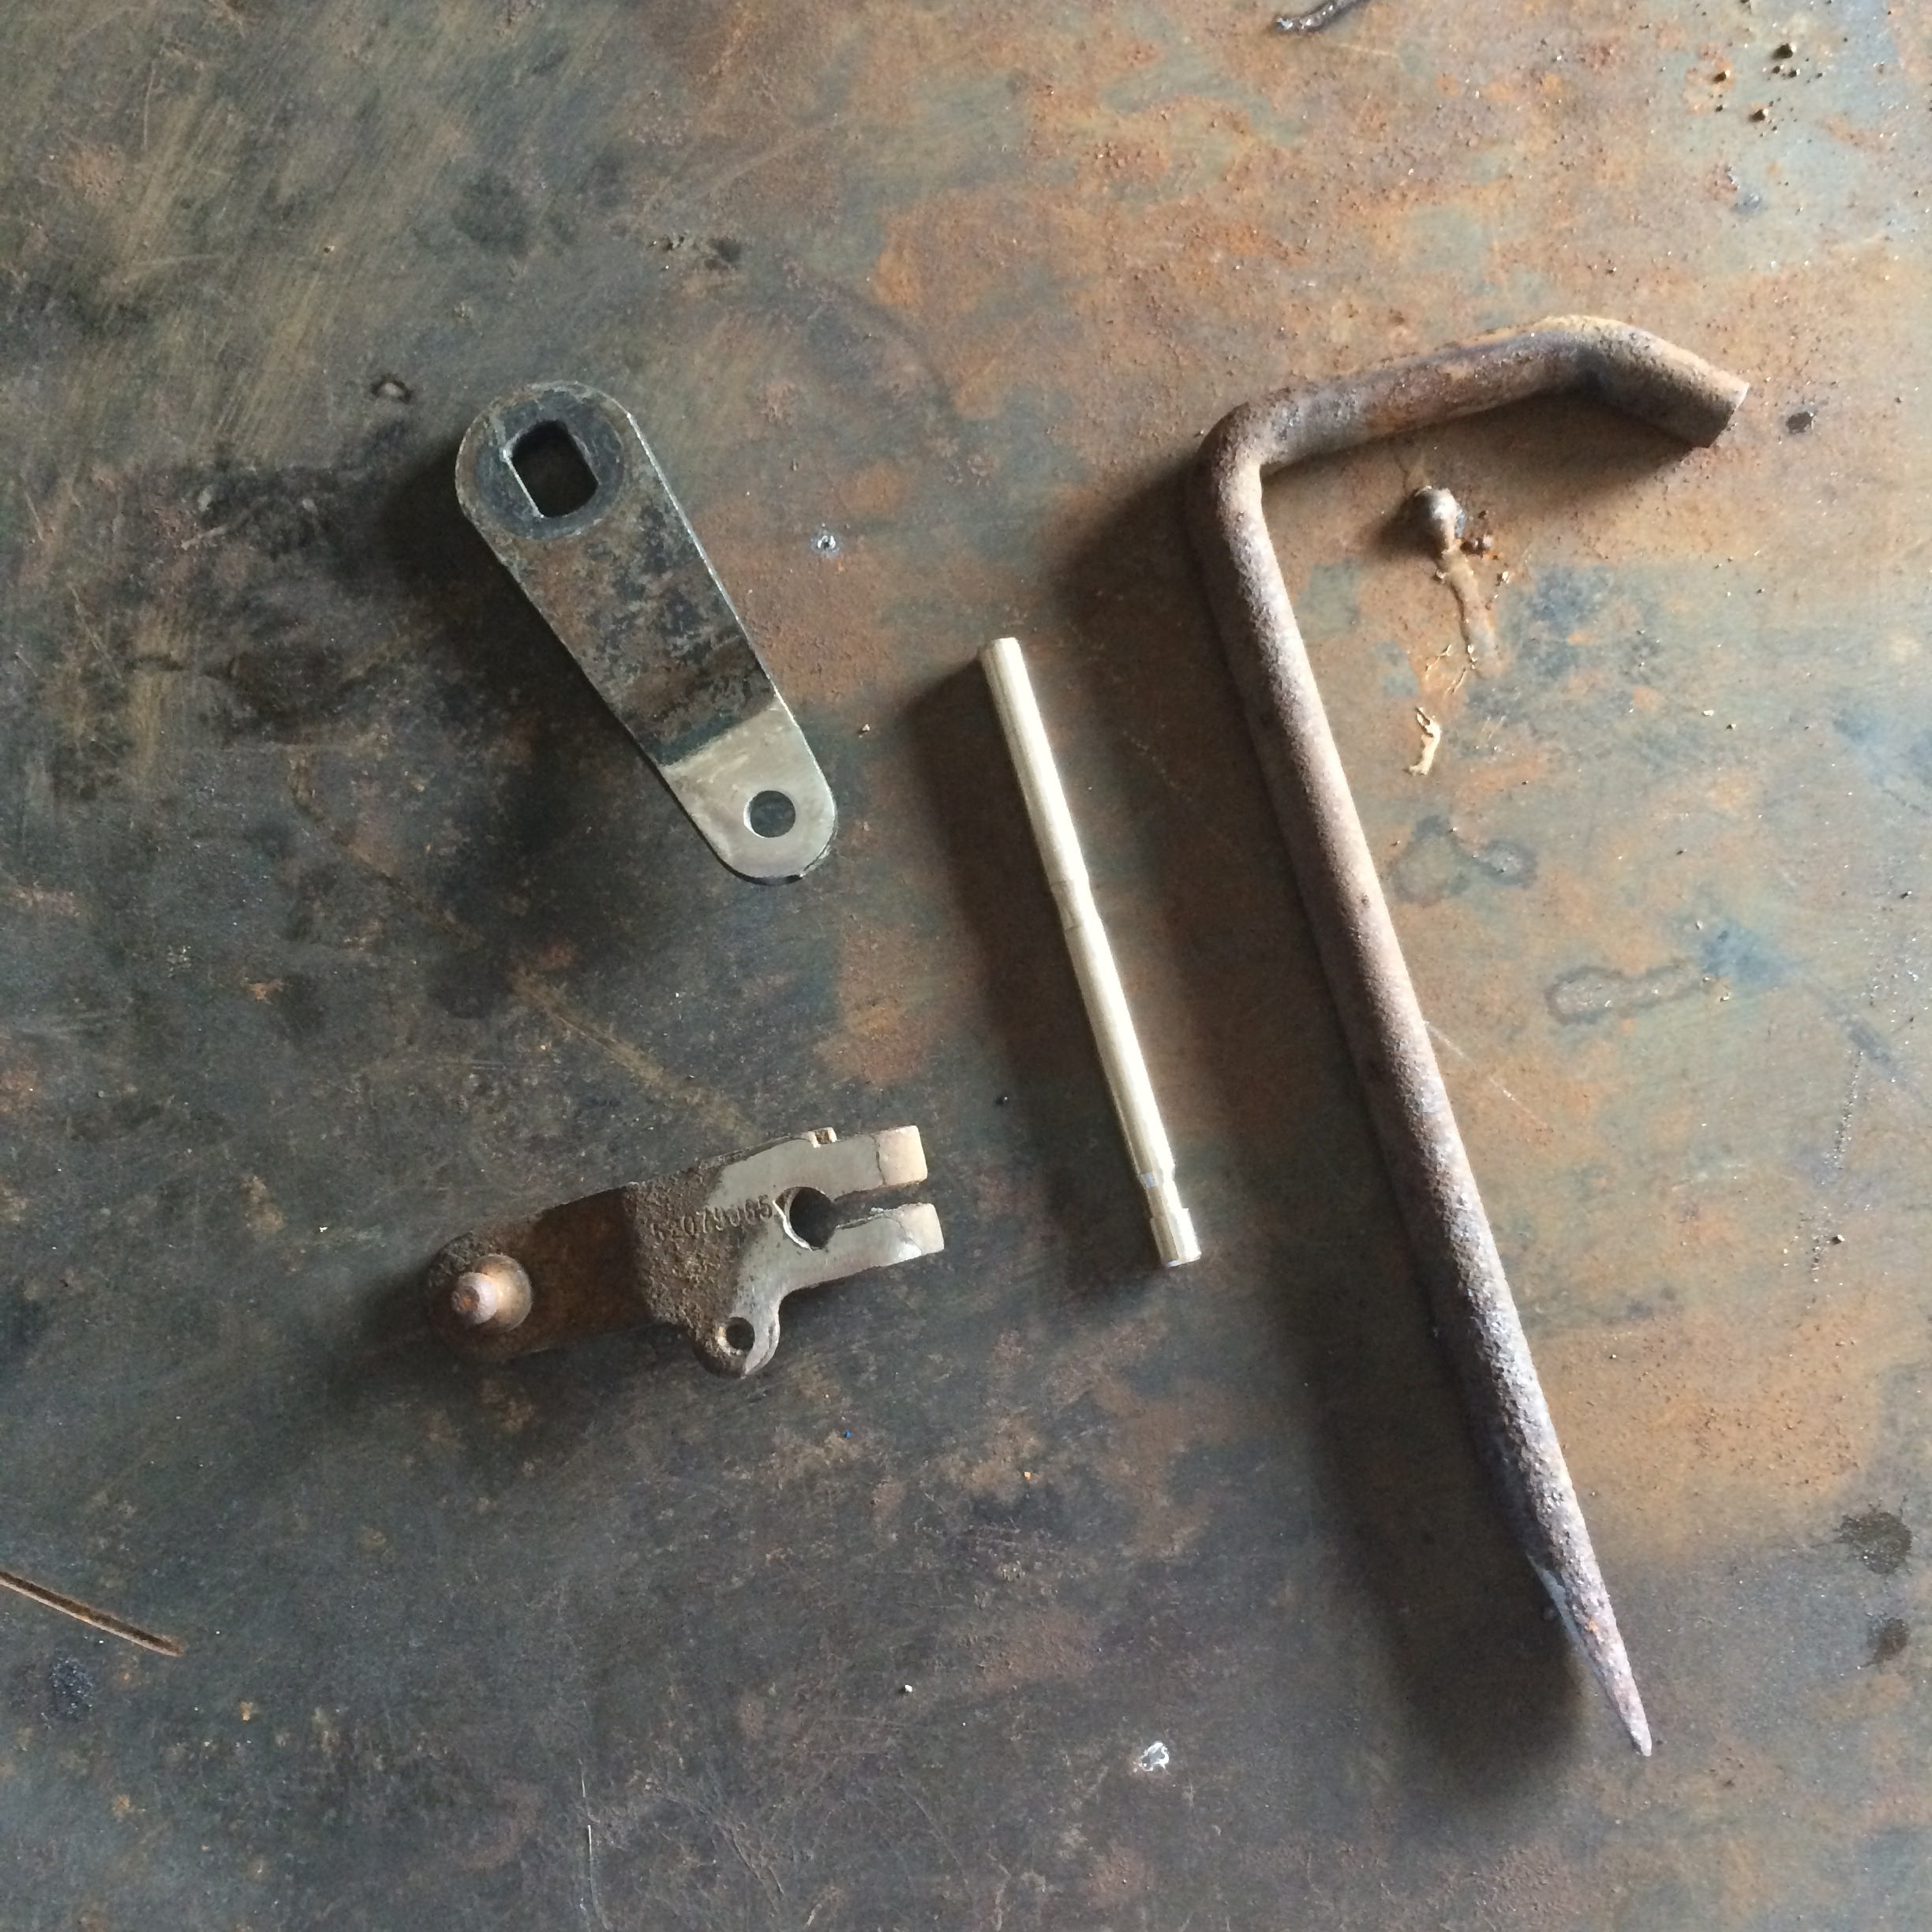
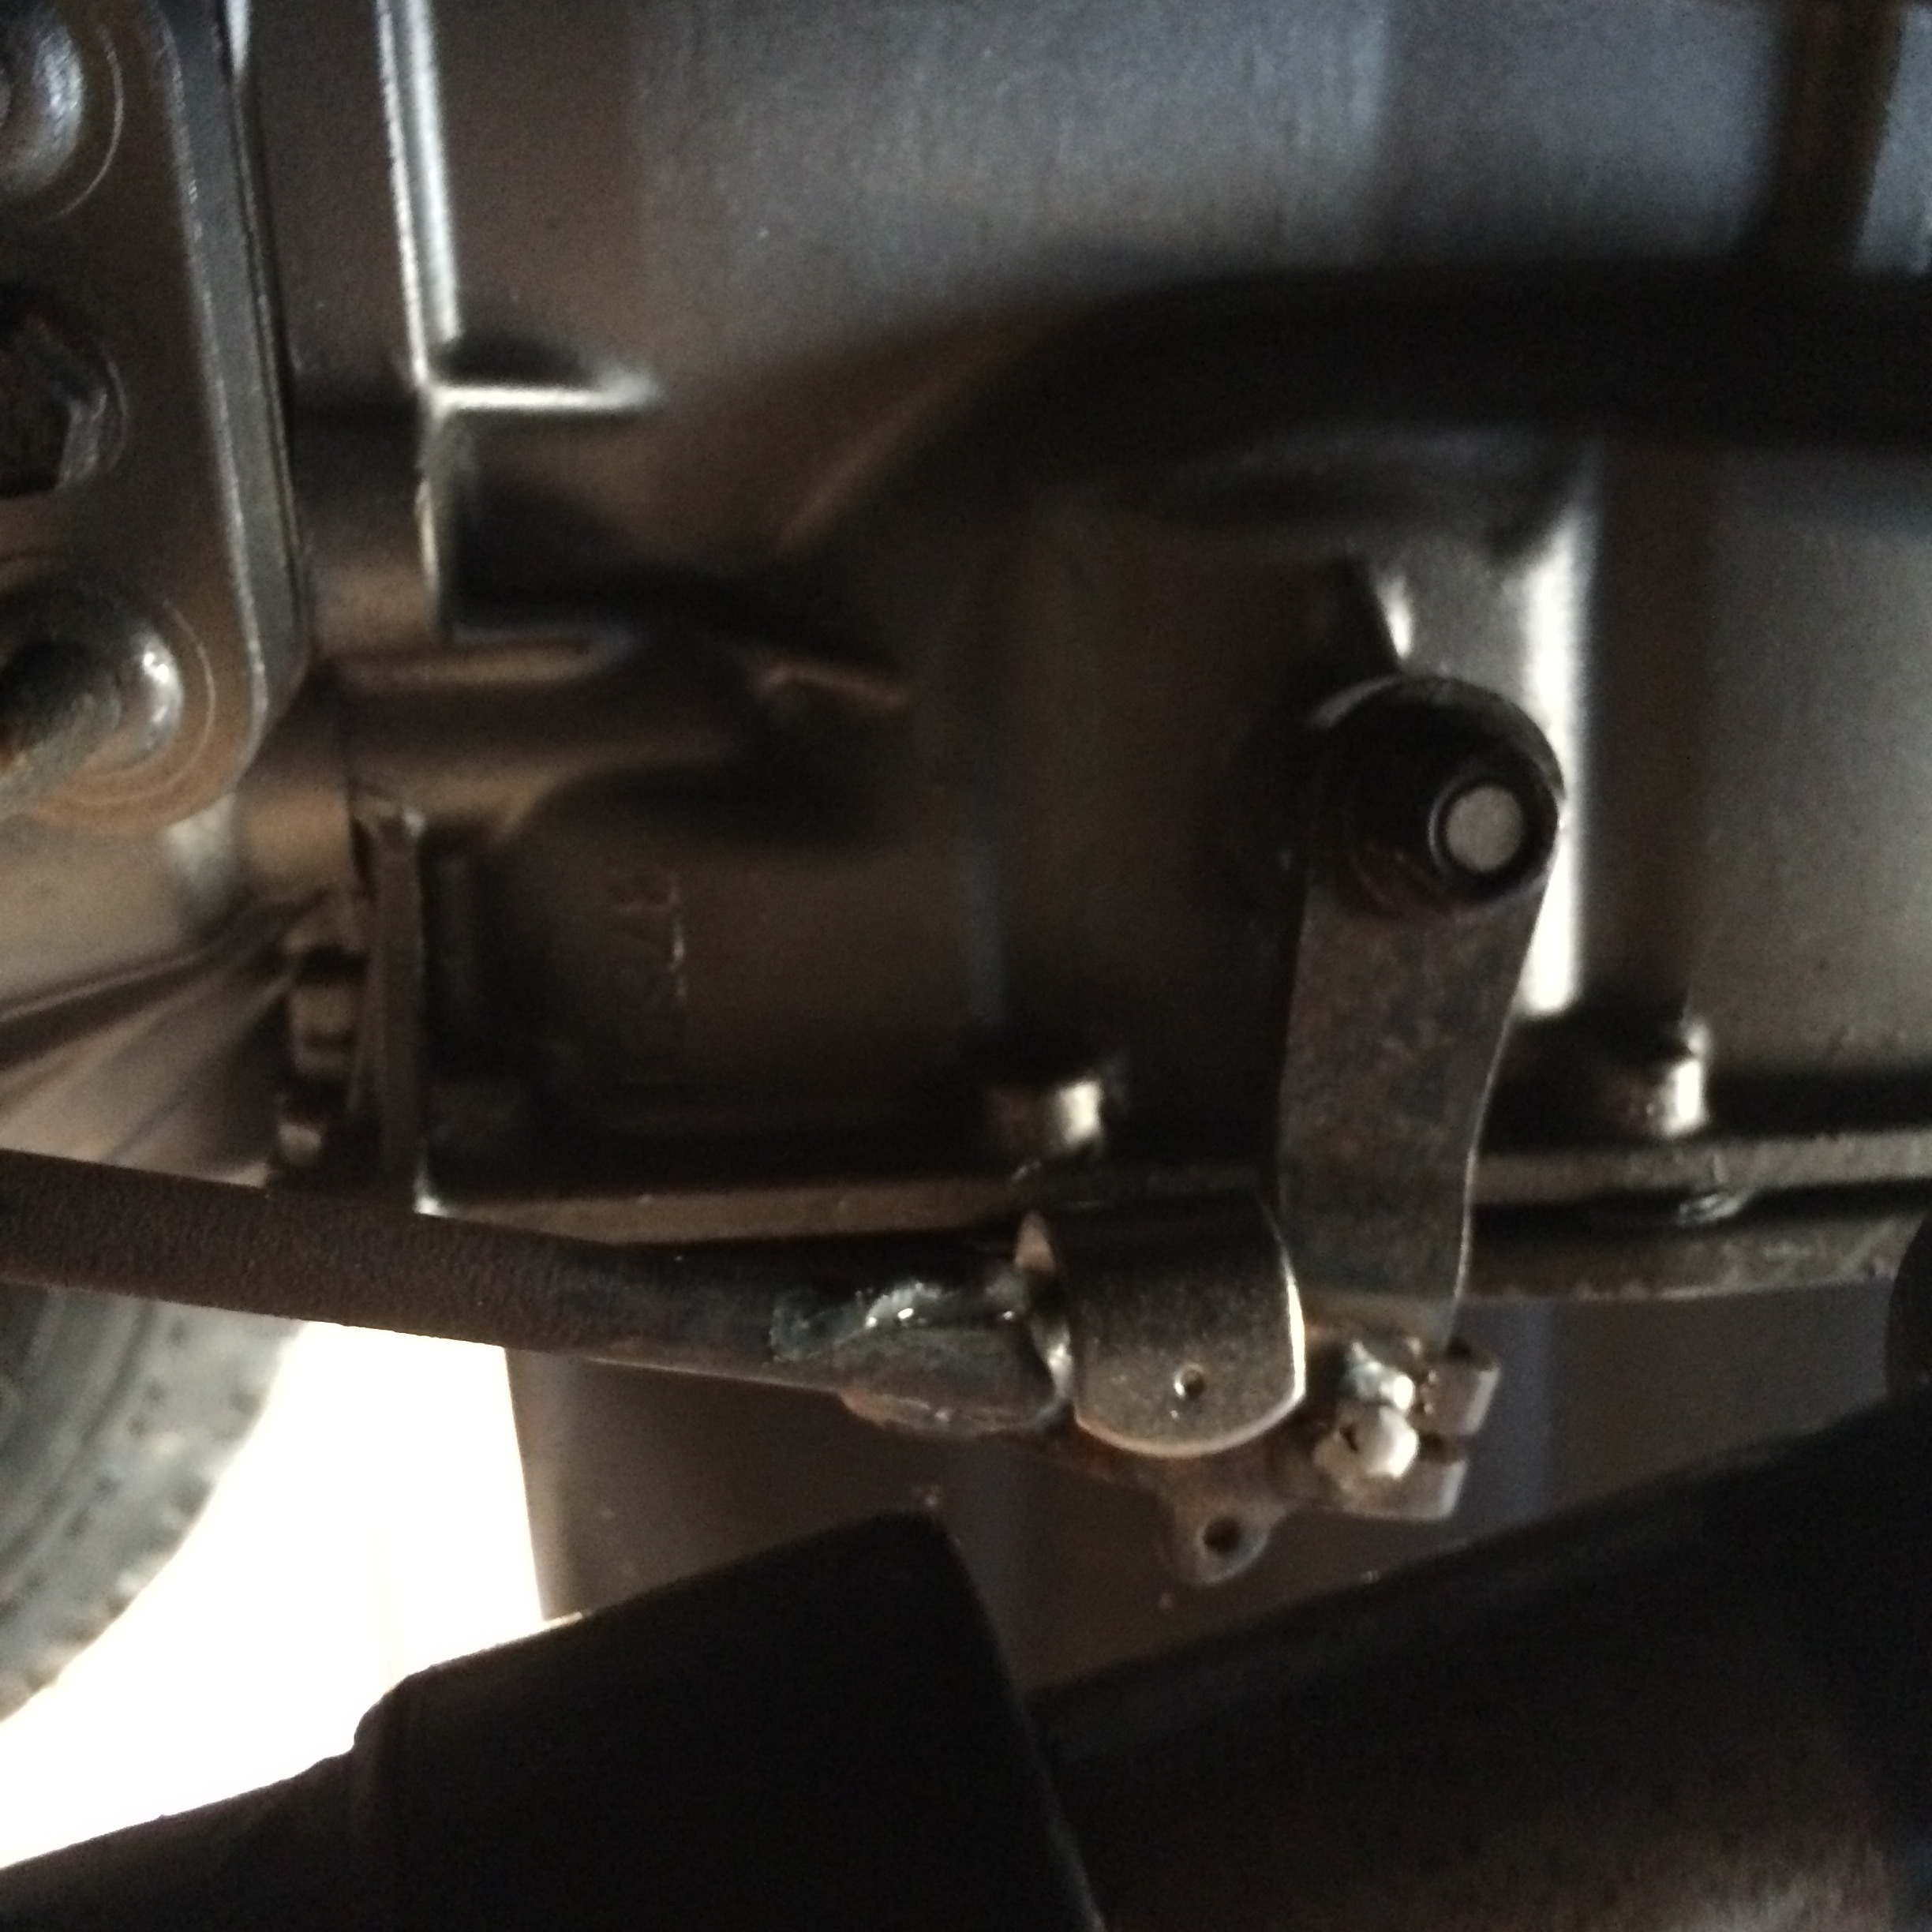
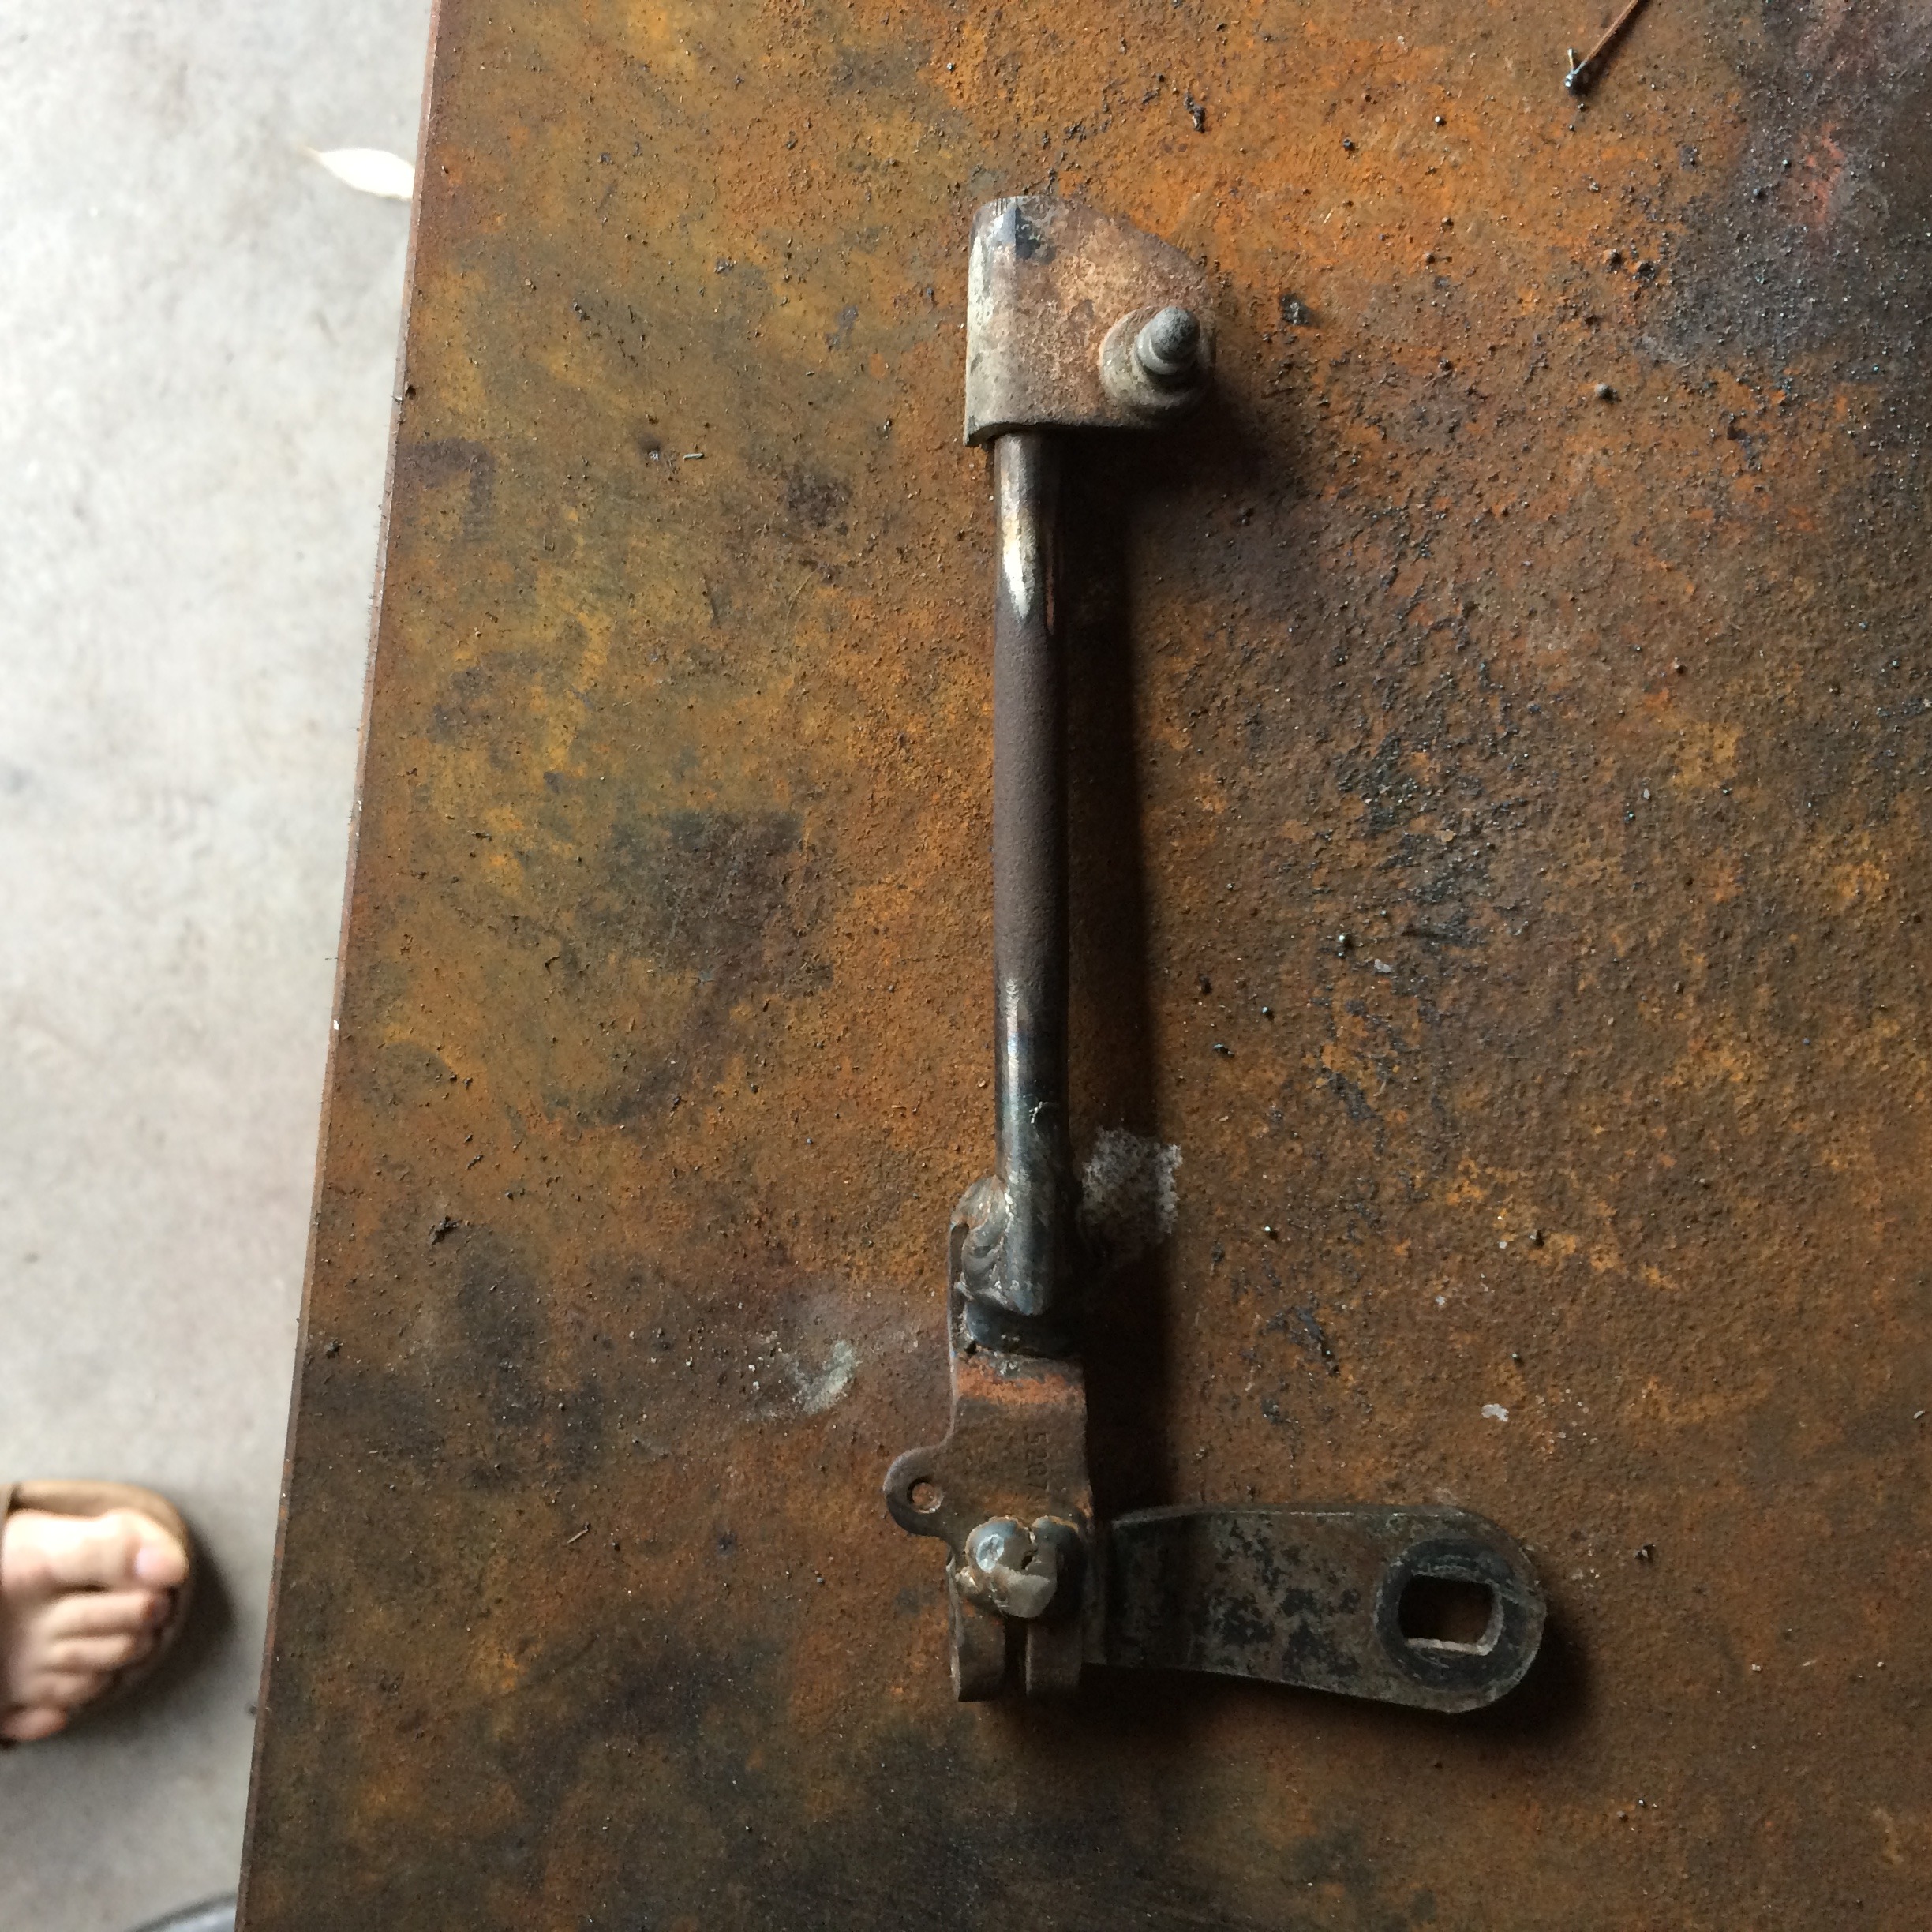
Parts are assembled. I have the shift lever from the 6l80 with the attachment ball ground off, leftover piece of exhaust hanger with the rubber mount removed, leftover T handle from the tap I converted for use in my drill (see post above), and the kick-down lever from the 46re transmission.
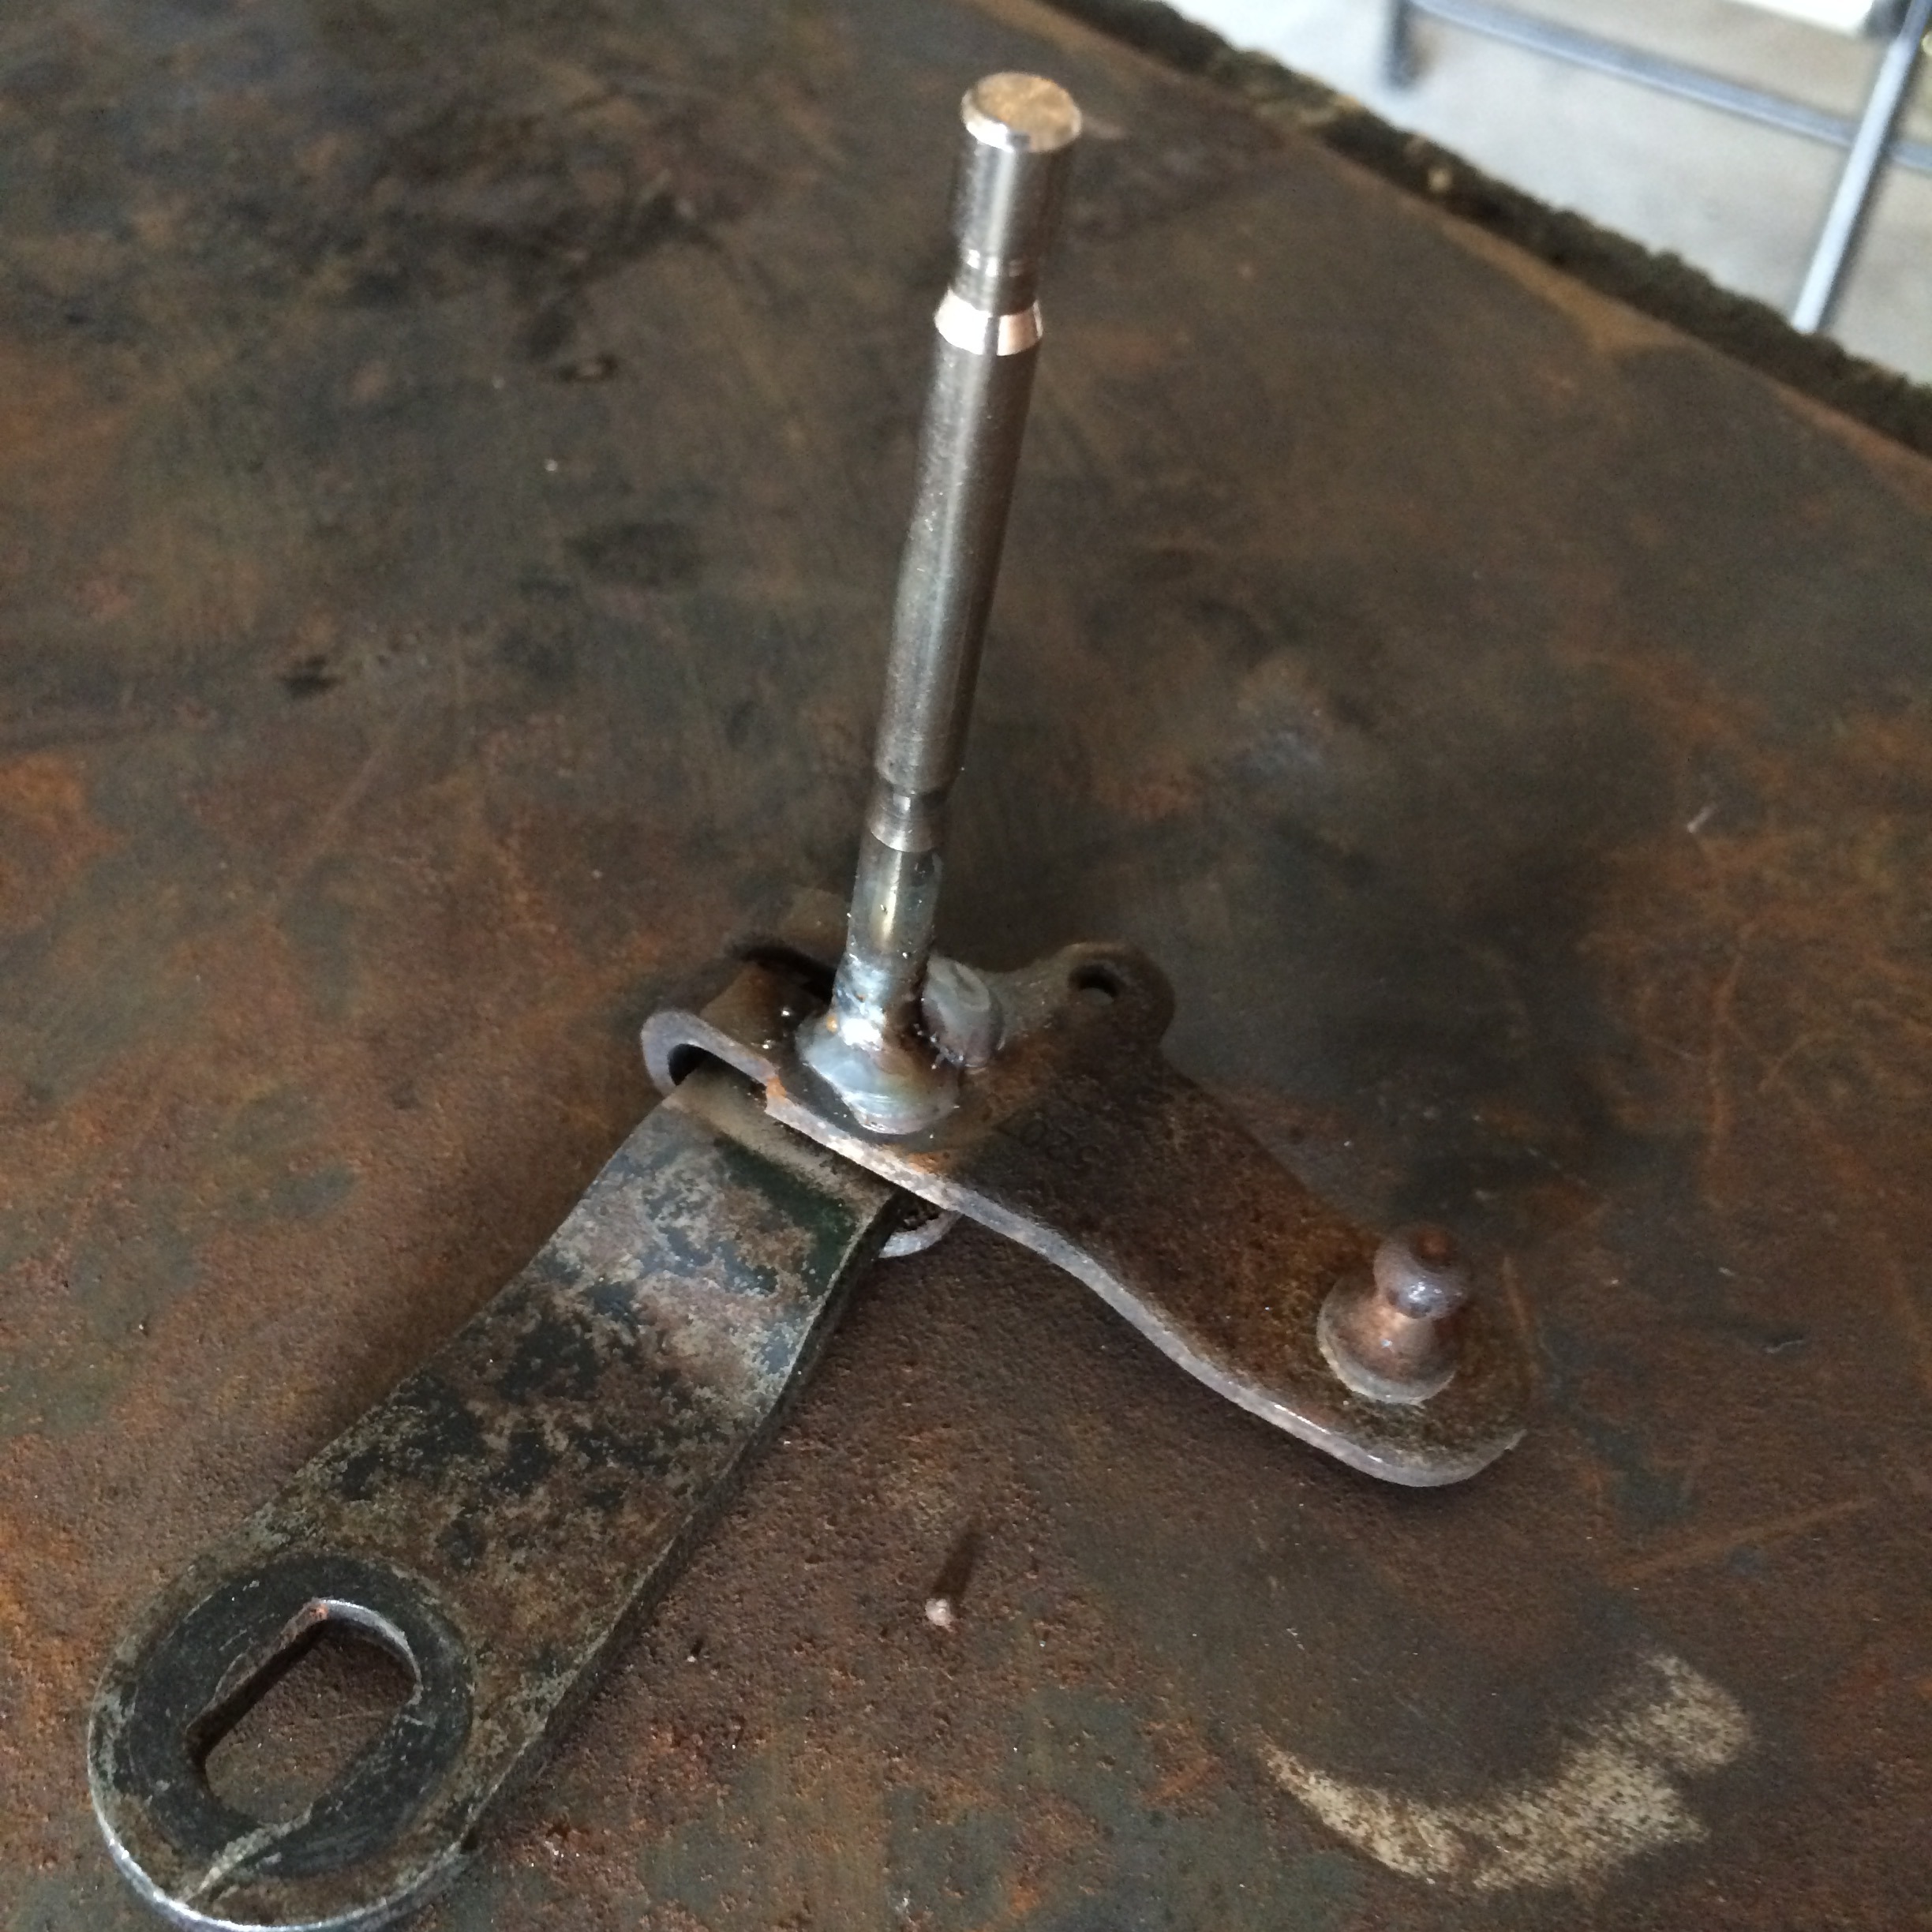
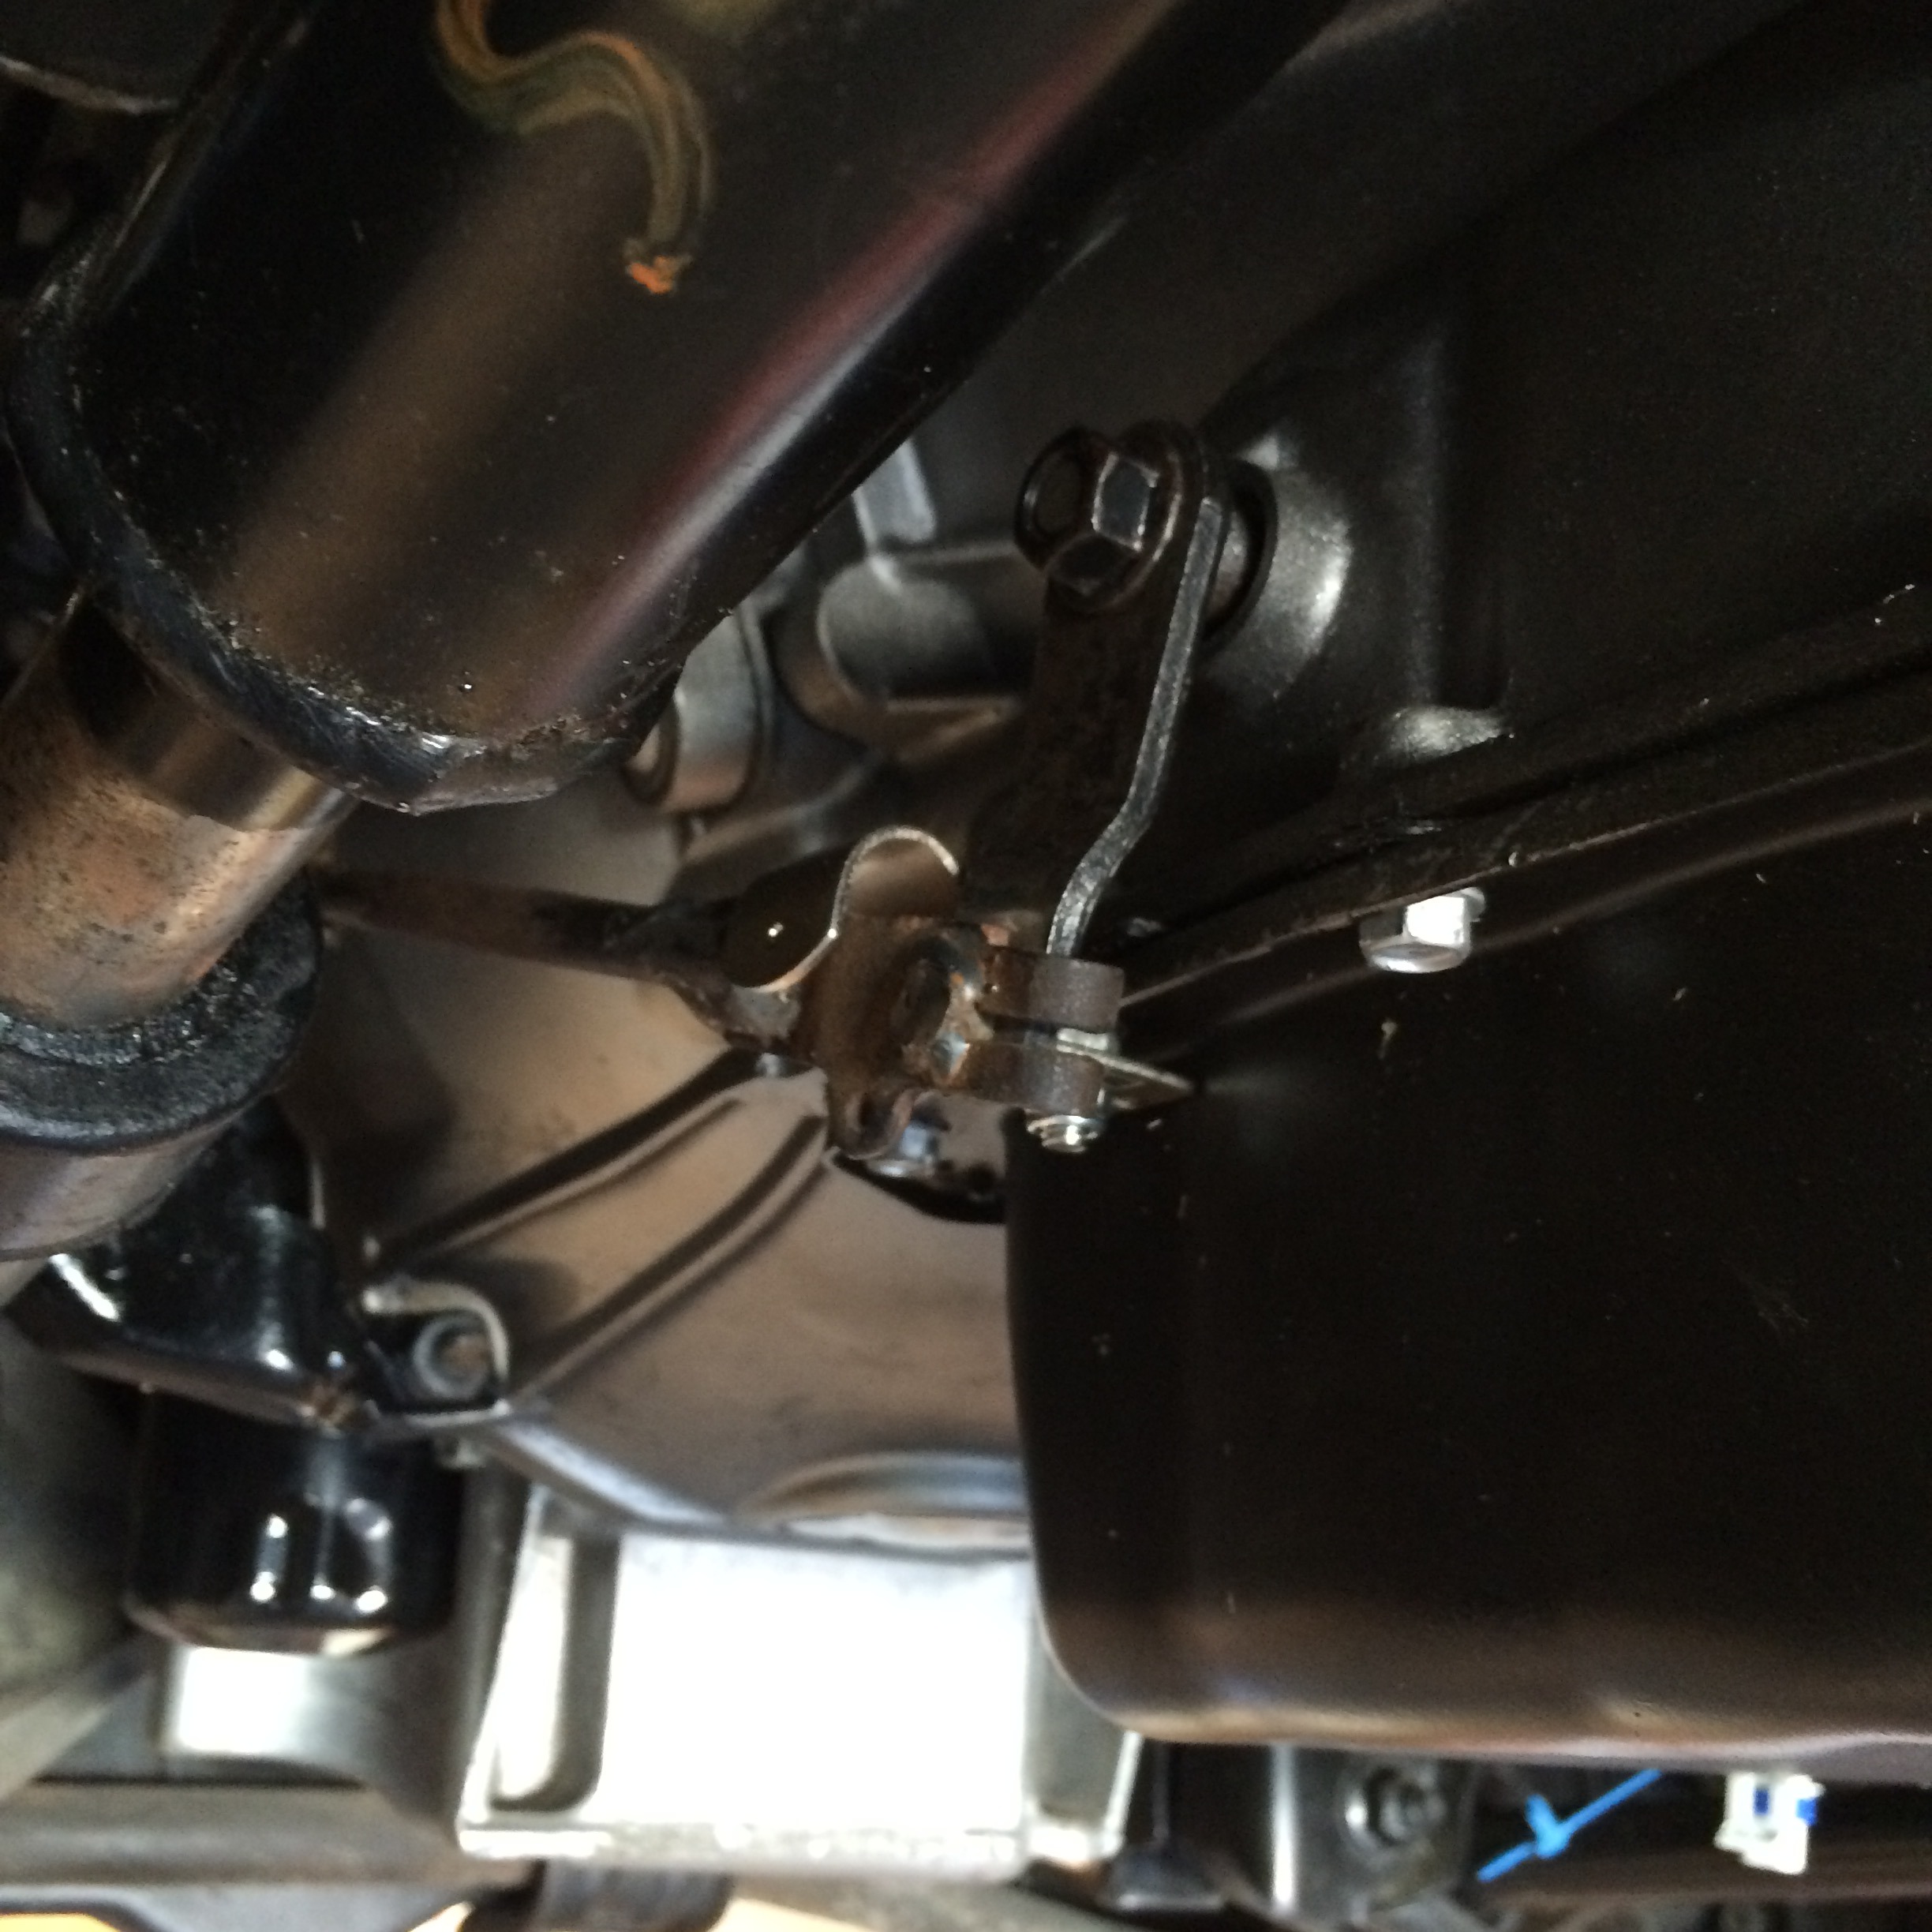
GM lever attached to kick-down lever, using the T handle as a pin. This is spot welded on both sides, and cut off flush, allowing these two pieces to pivot.
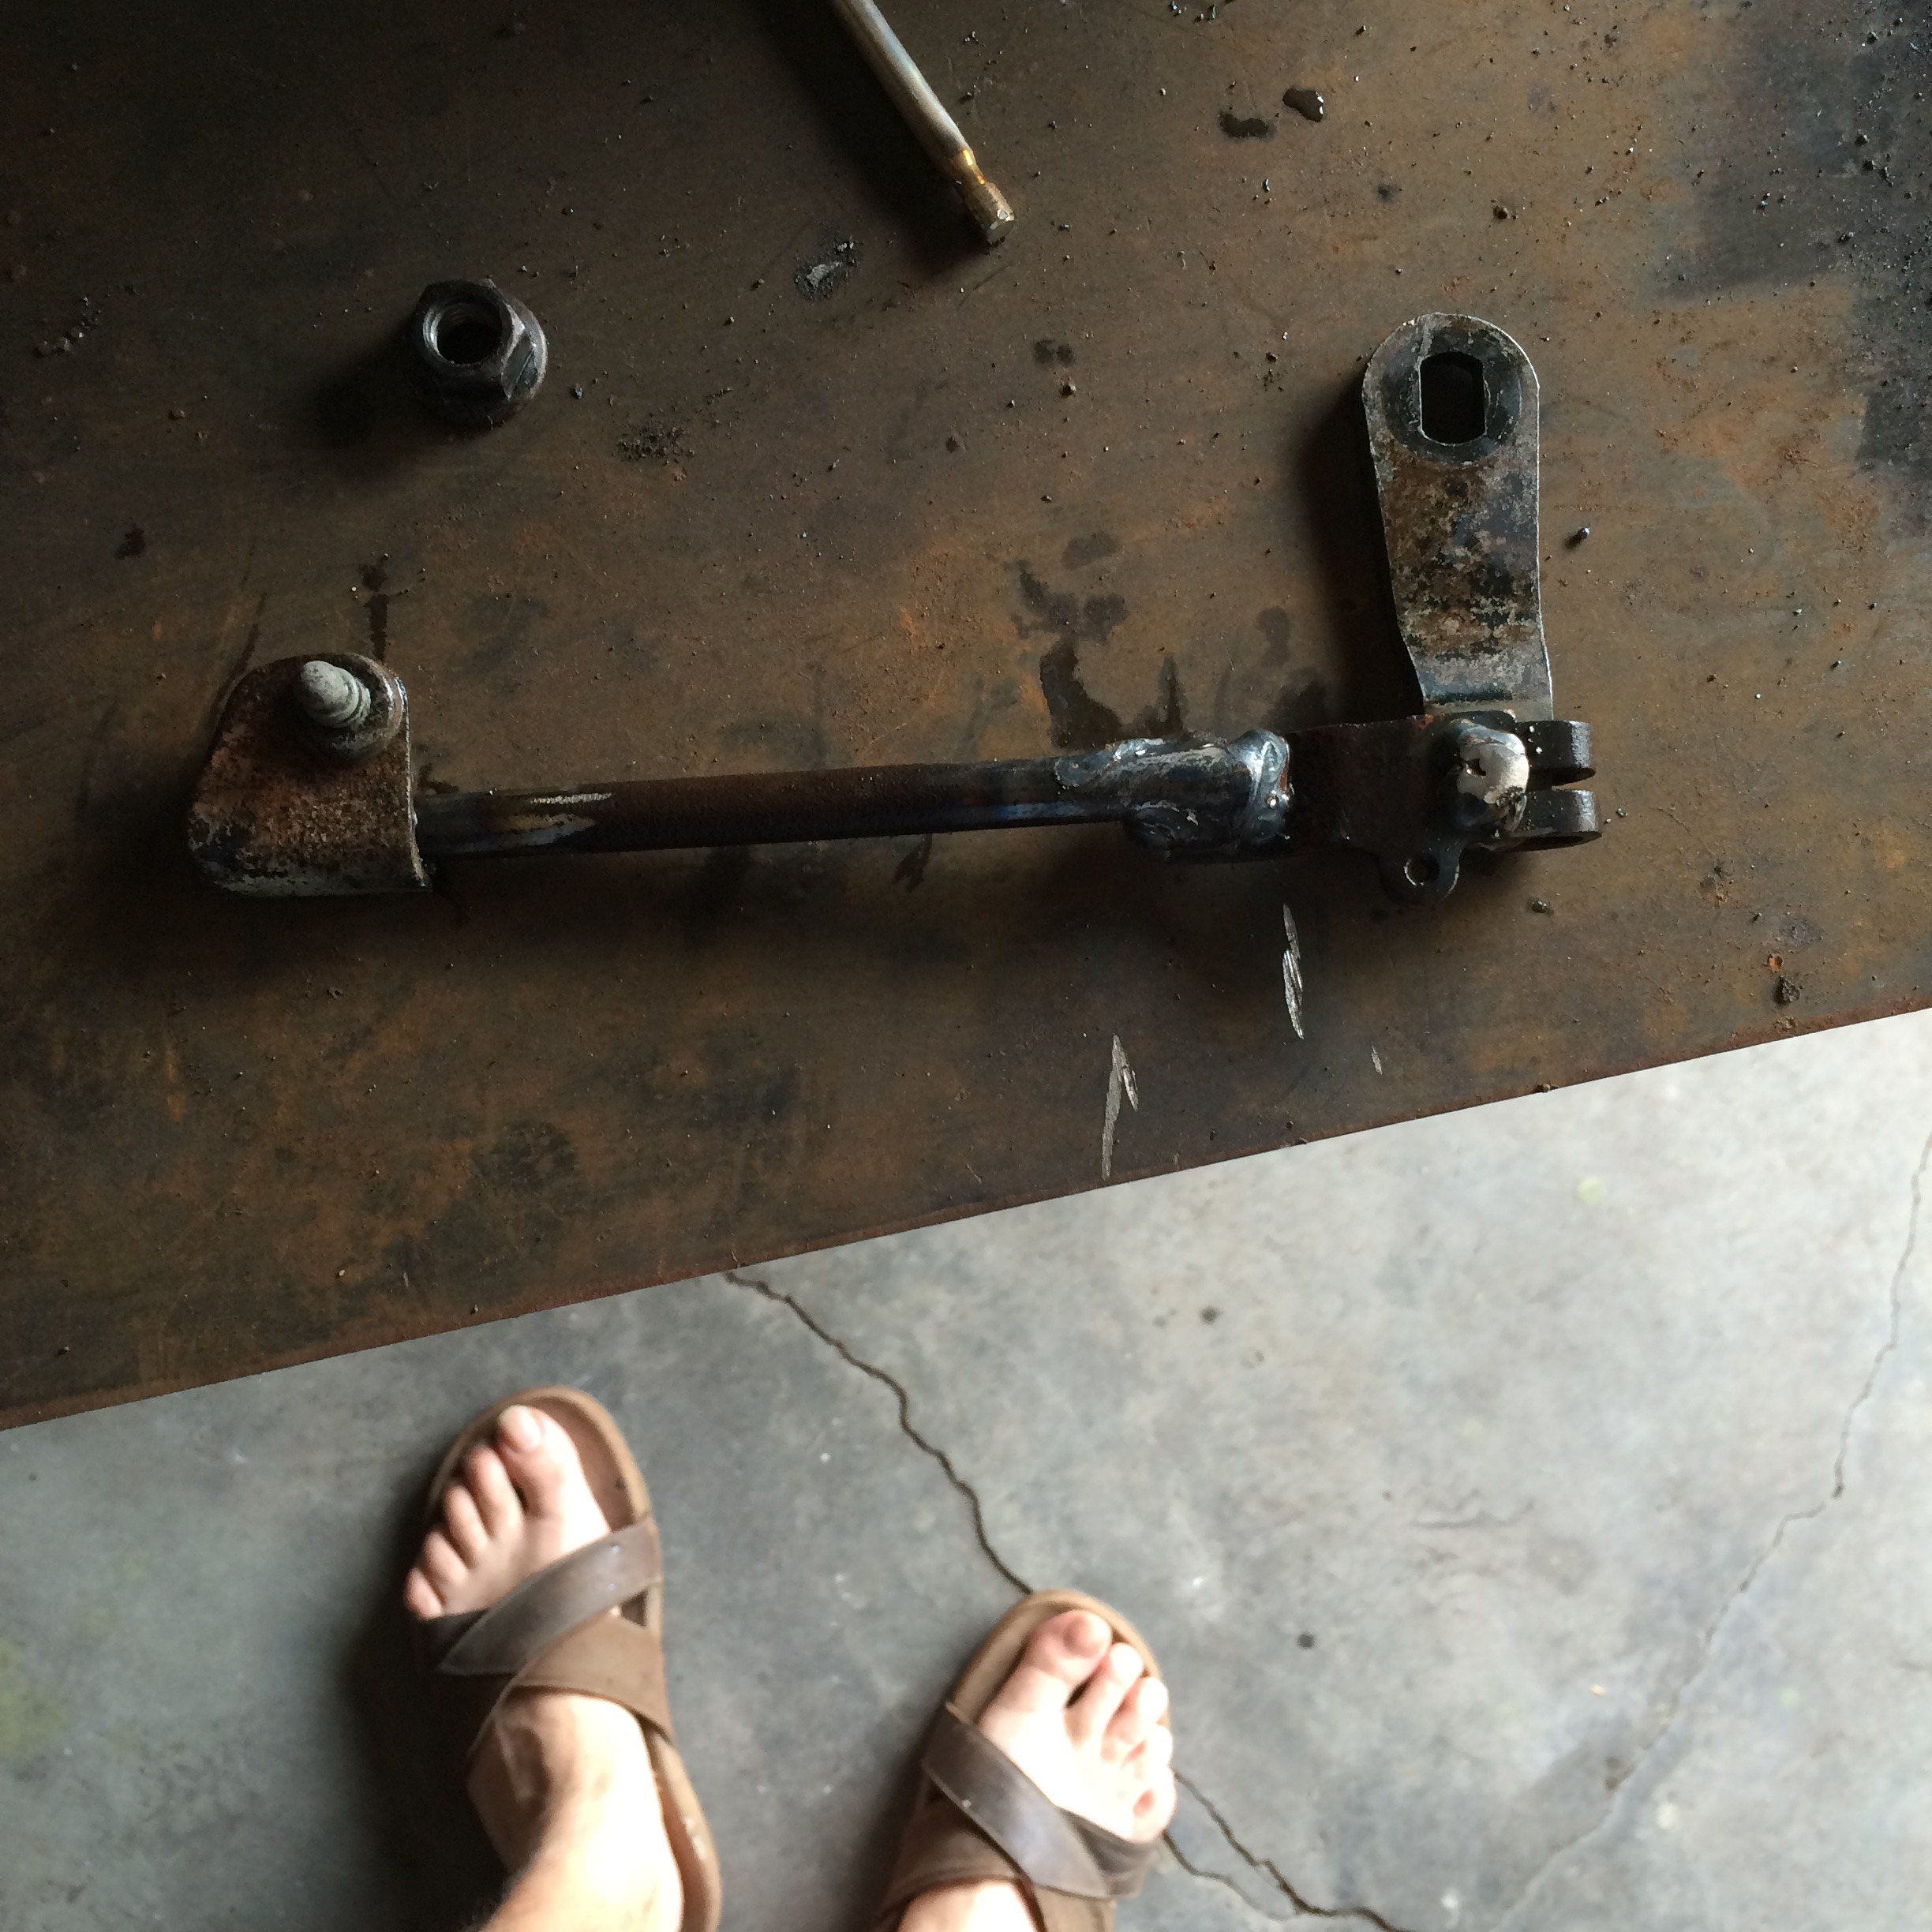
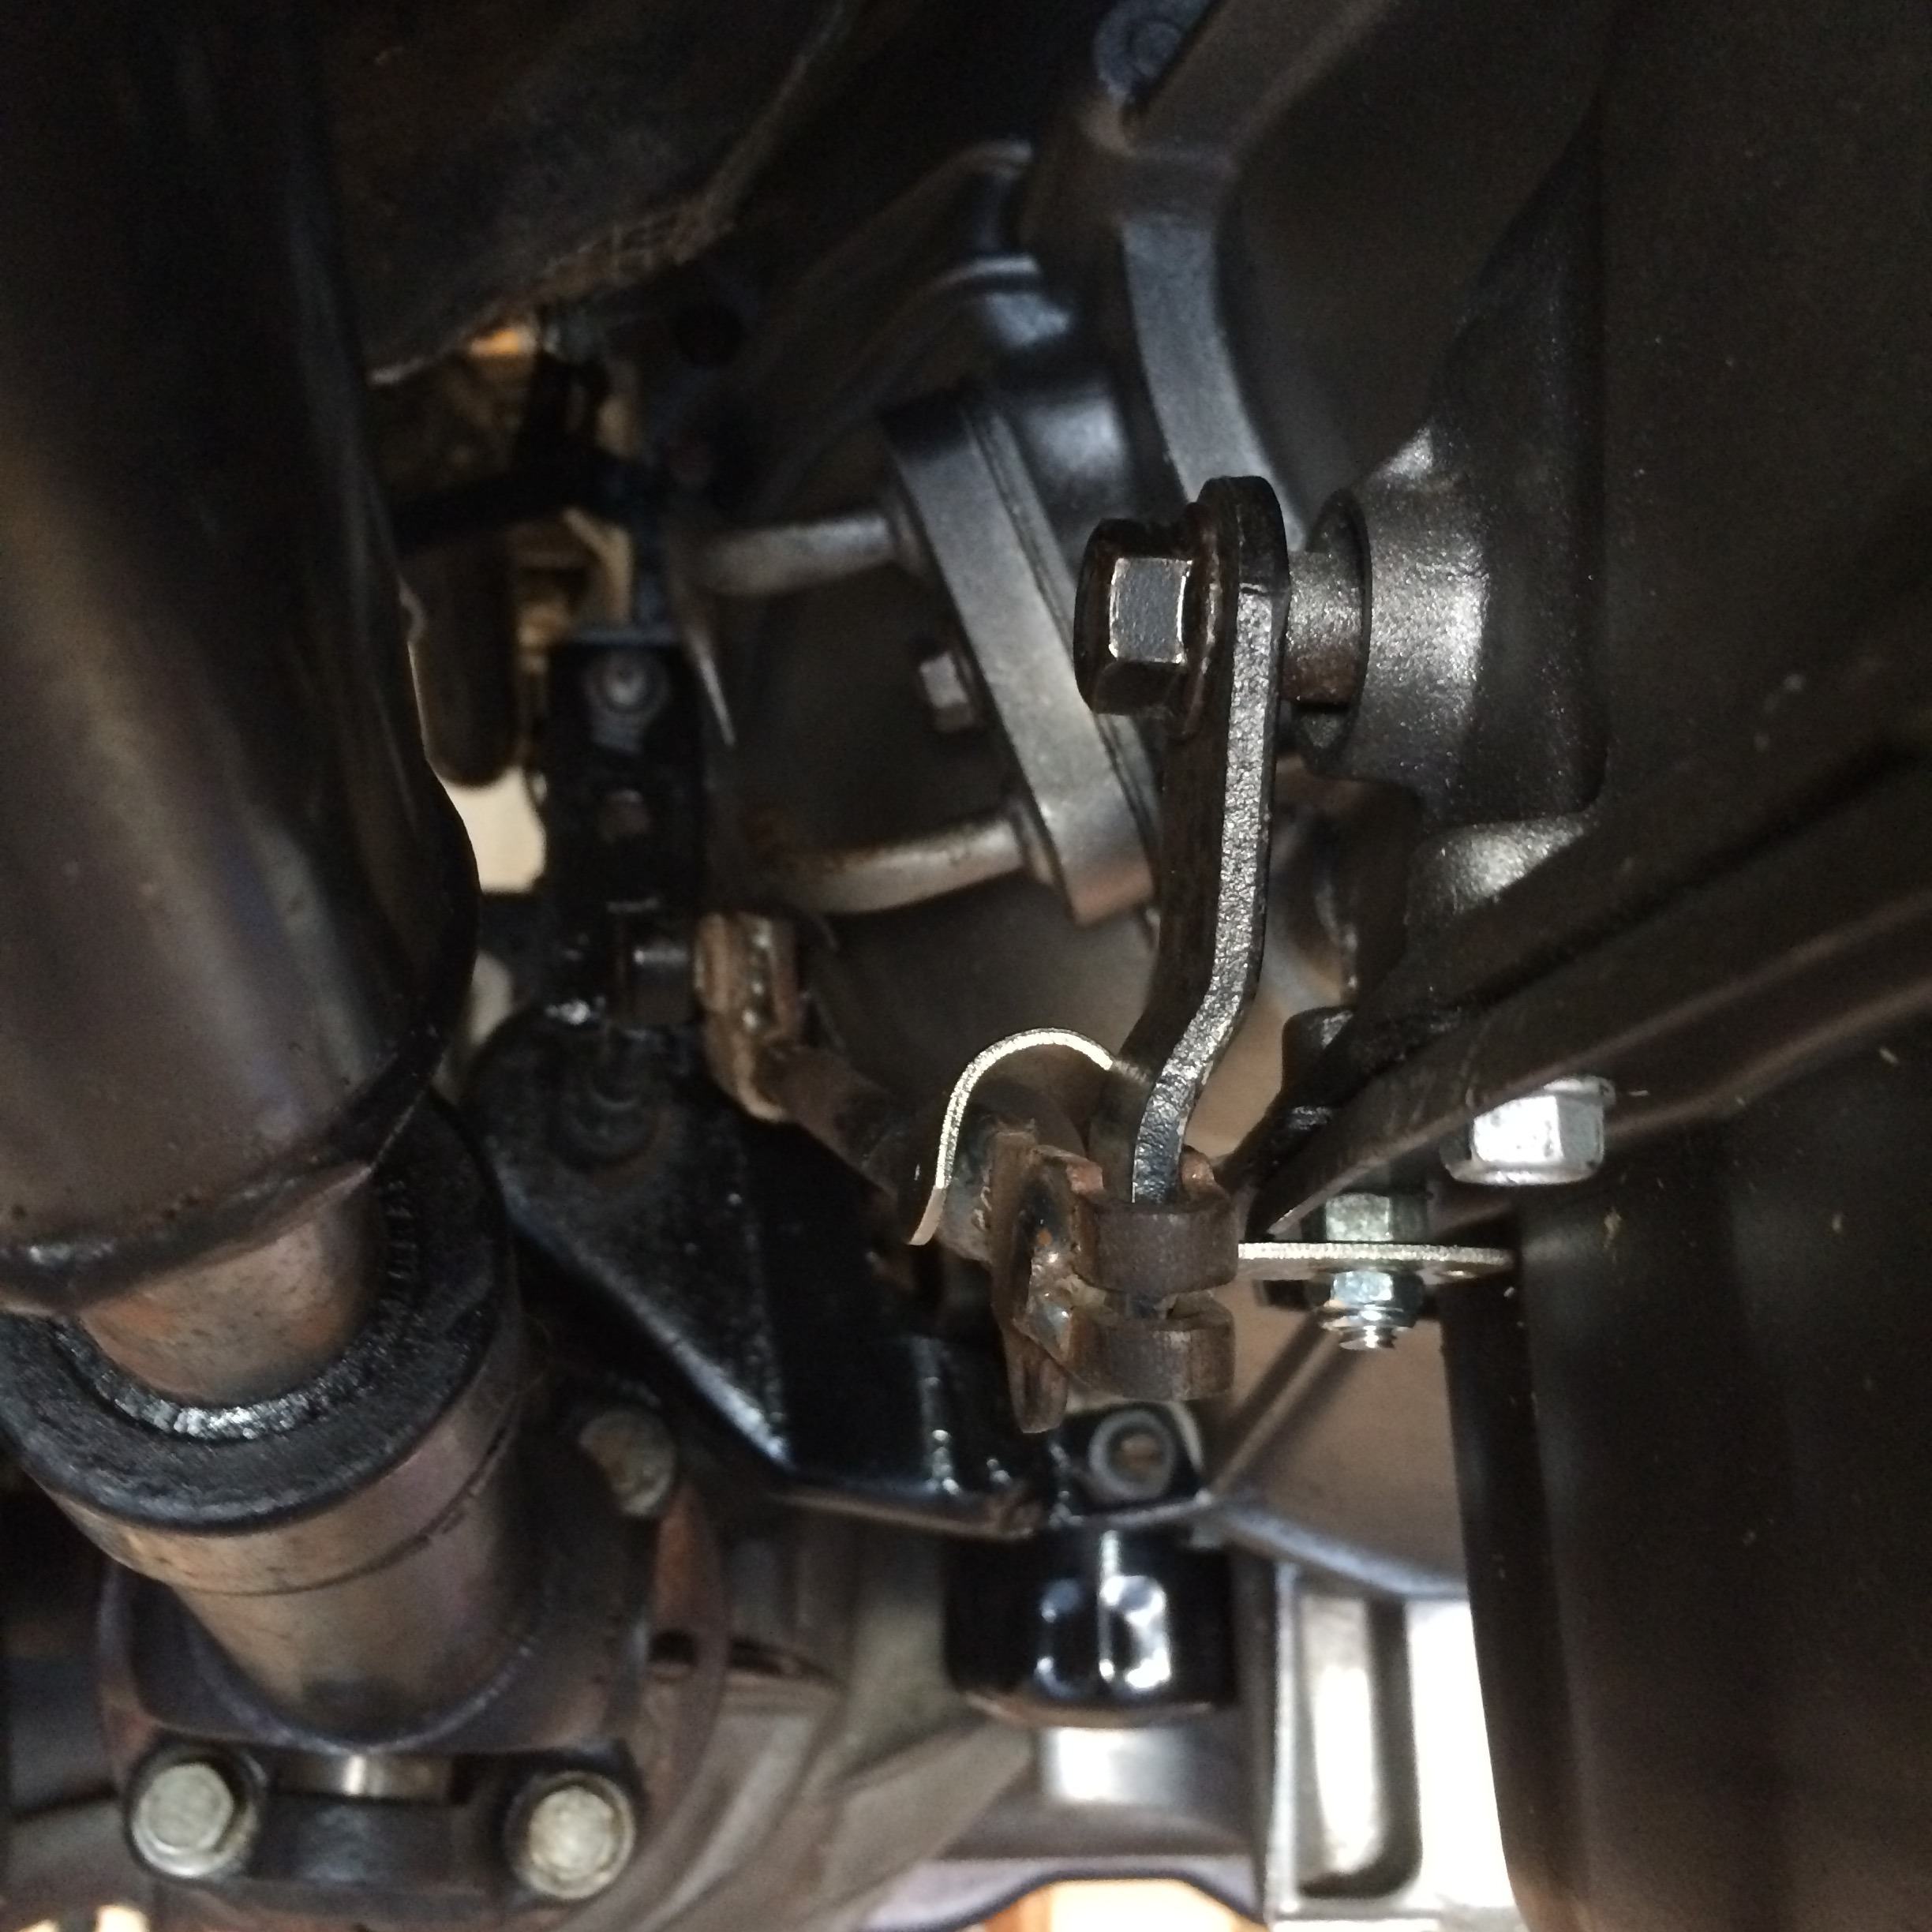
Exhaust hanger rod used as extension, welded on with front half of old shift linkage from 46re welded to the front. This way, I know the attachment ball matches the cable. Easy.
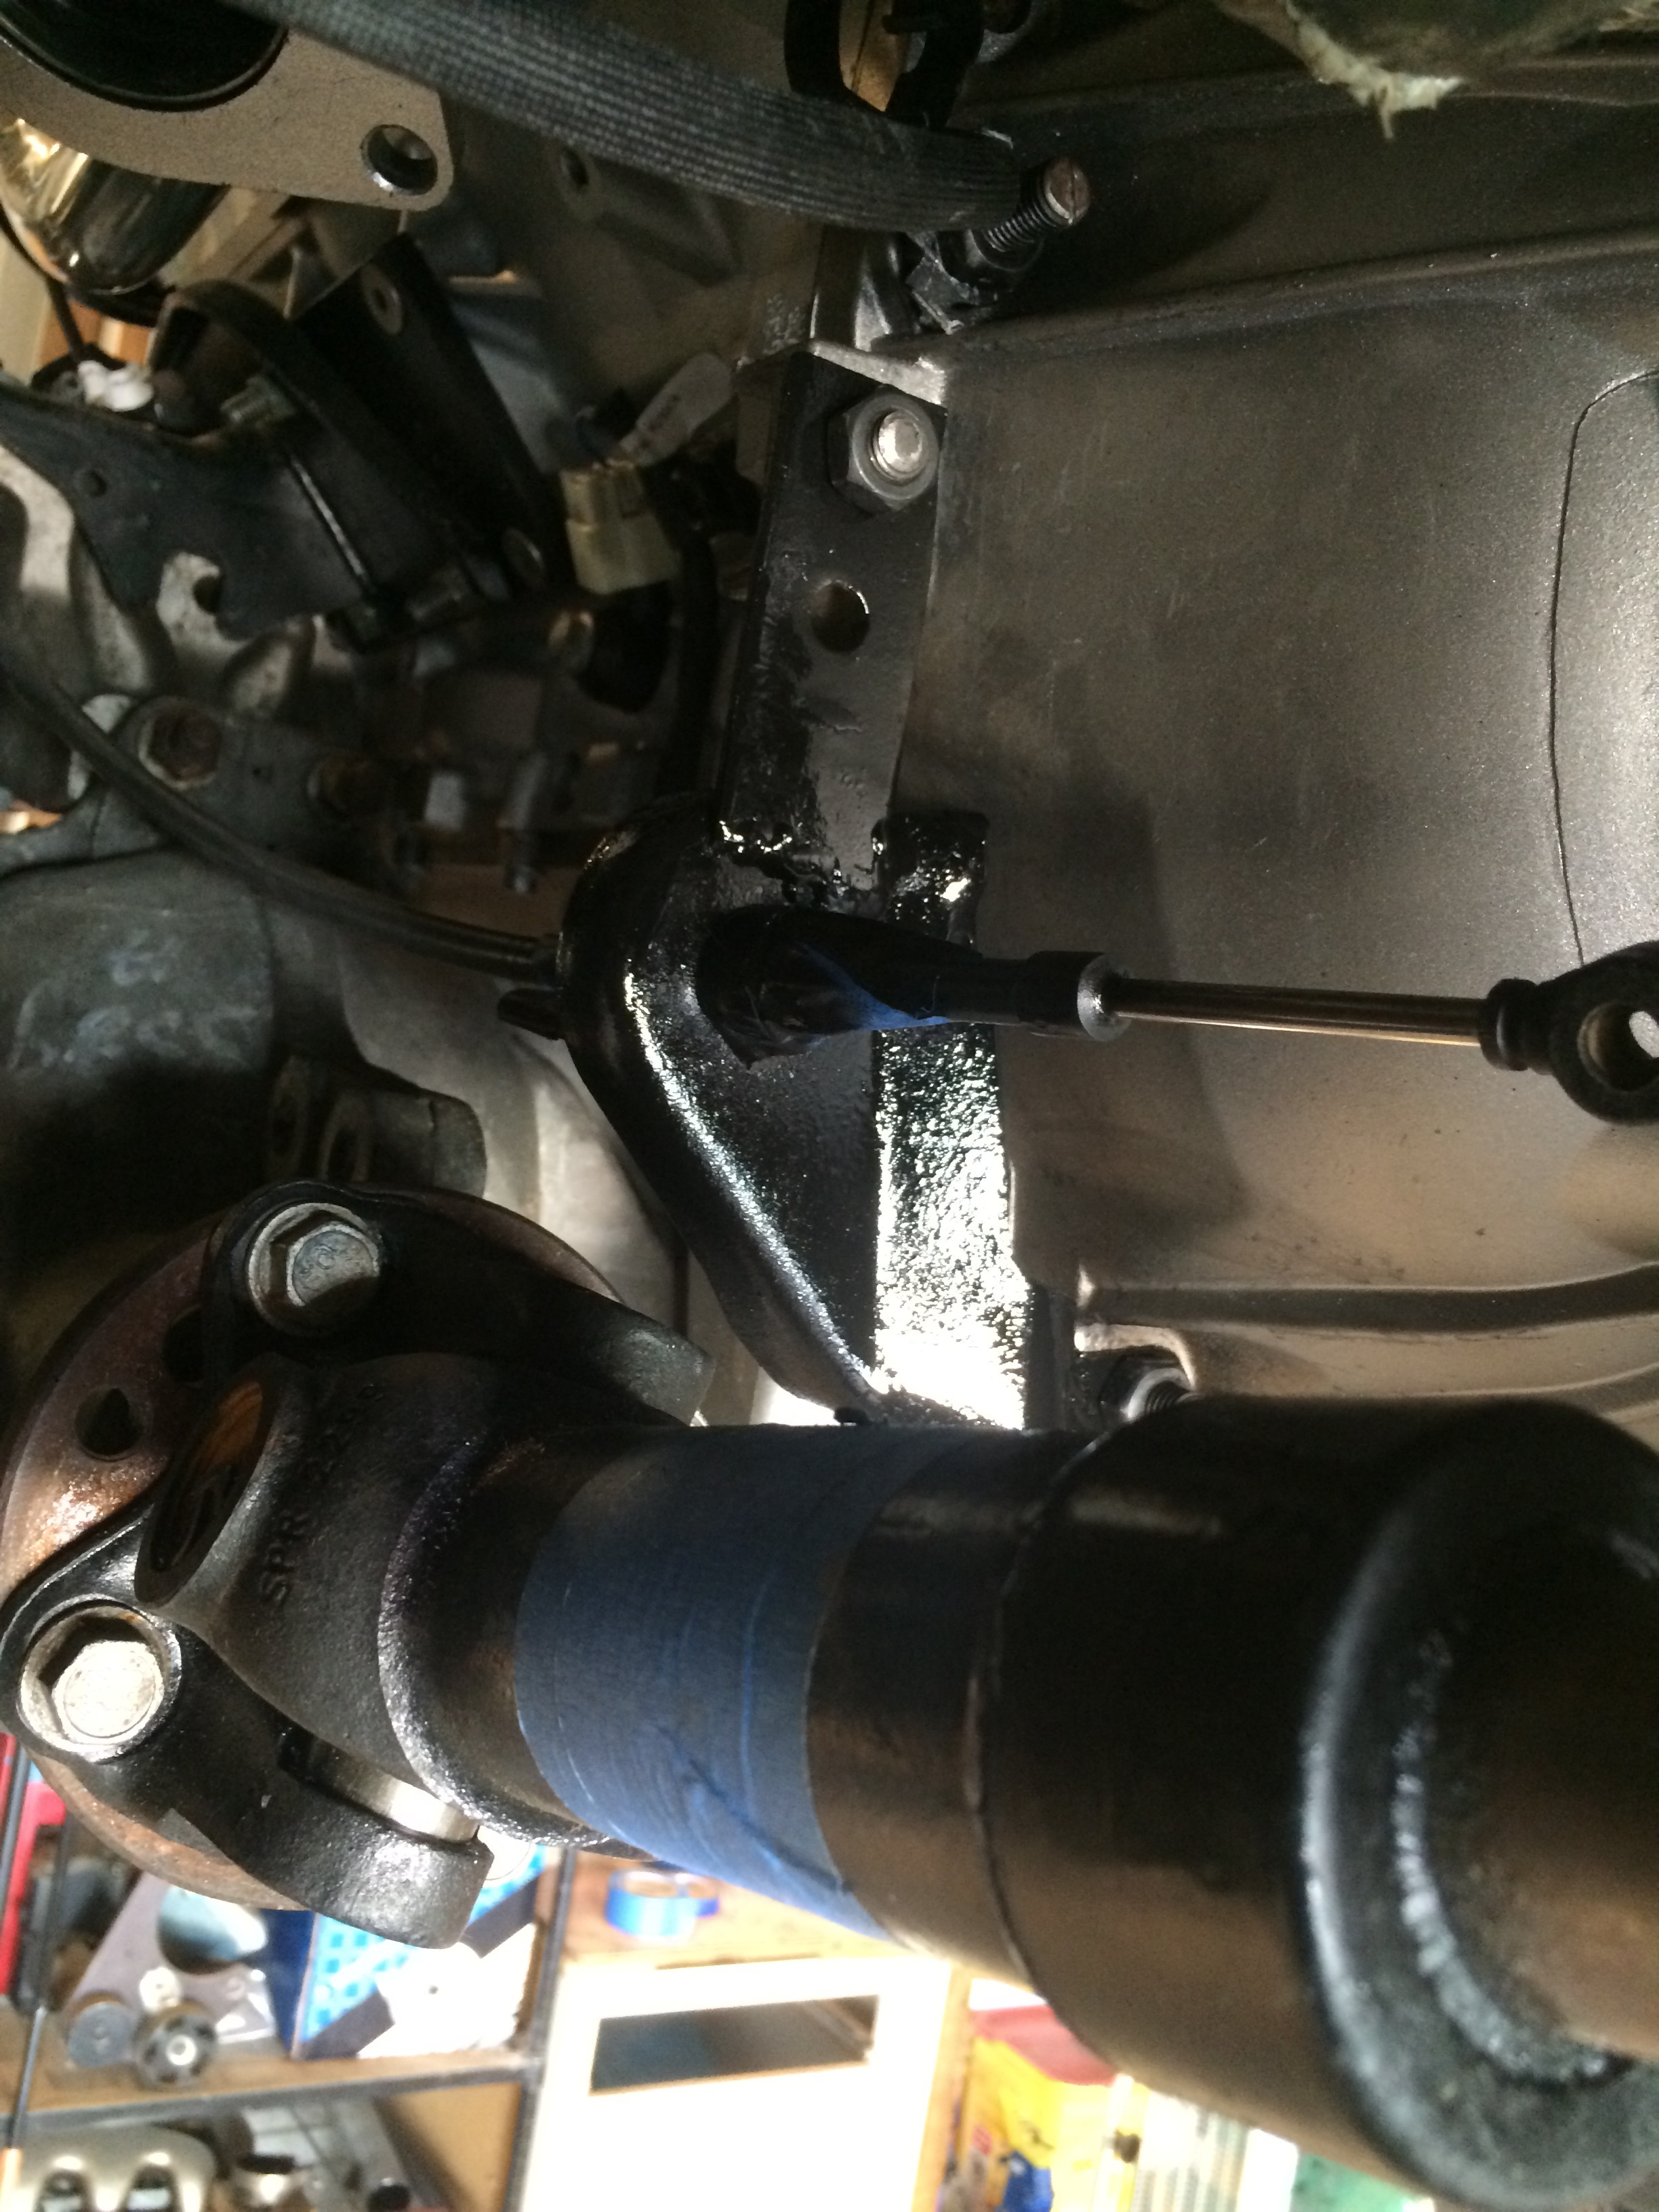
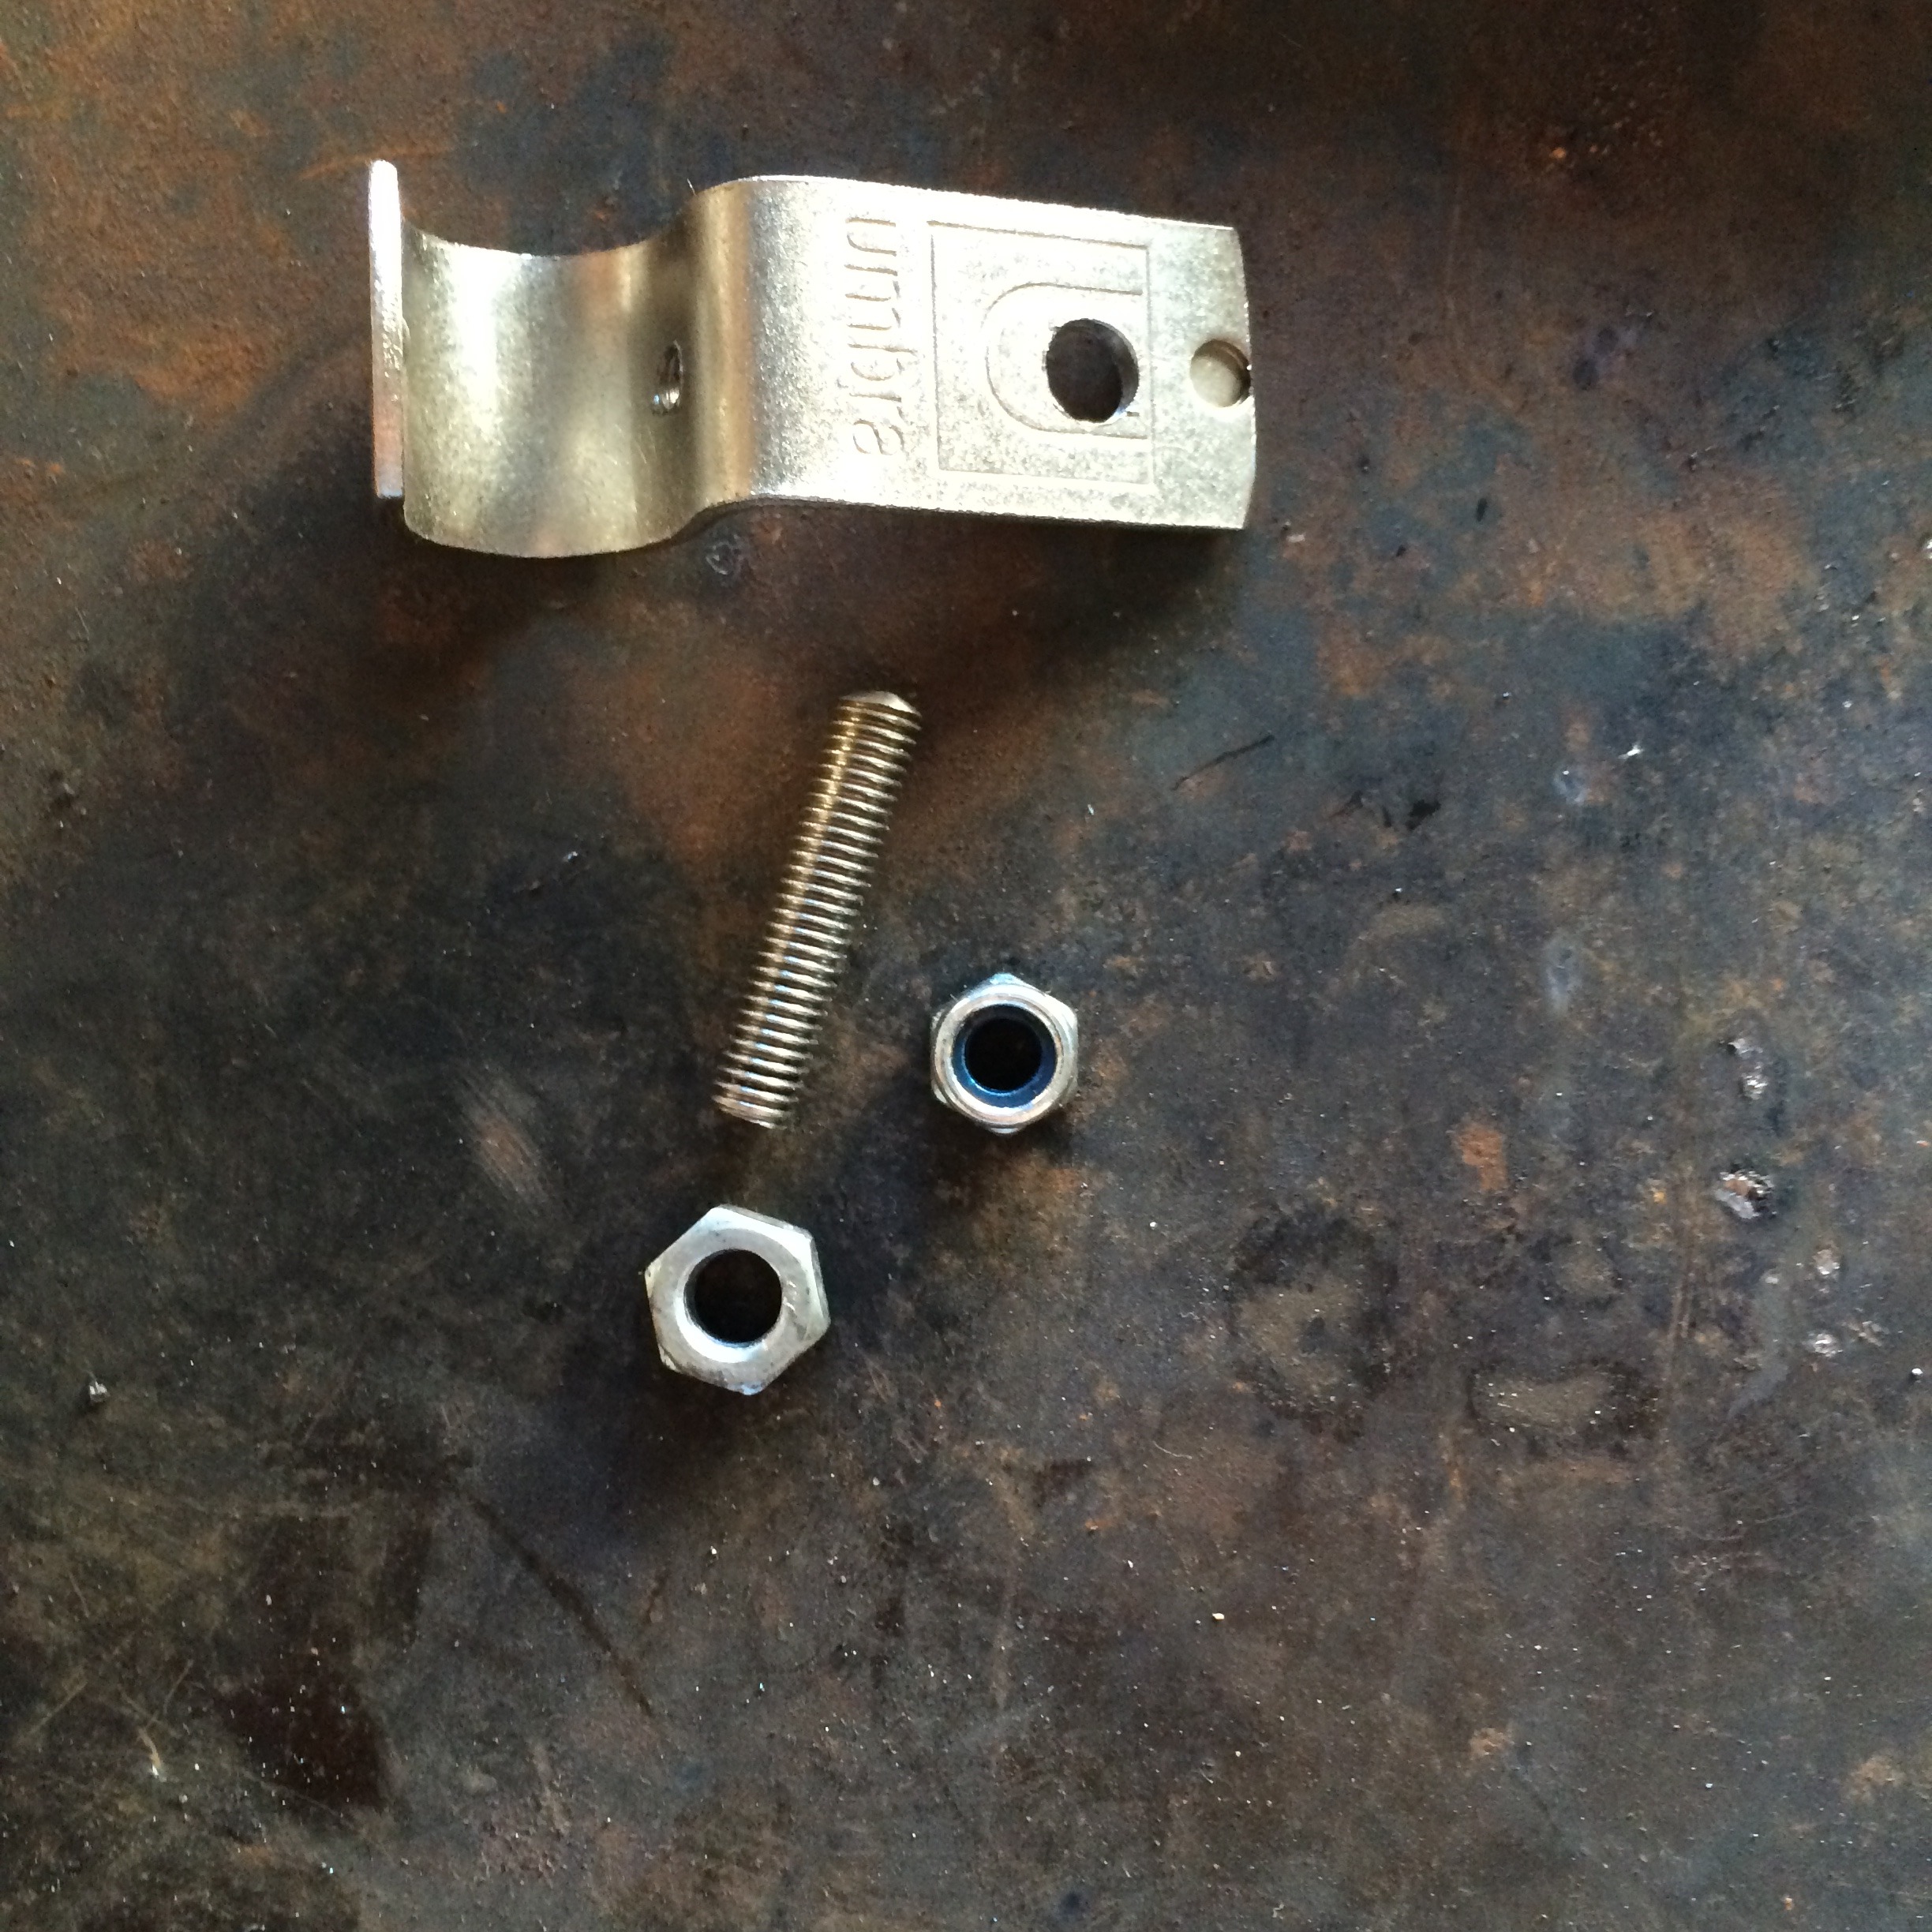
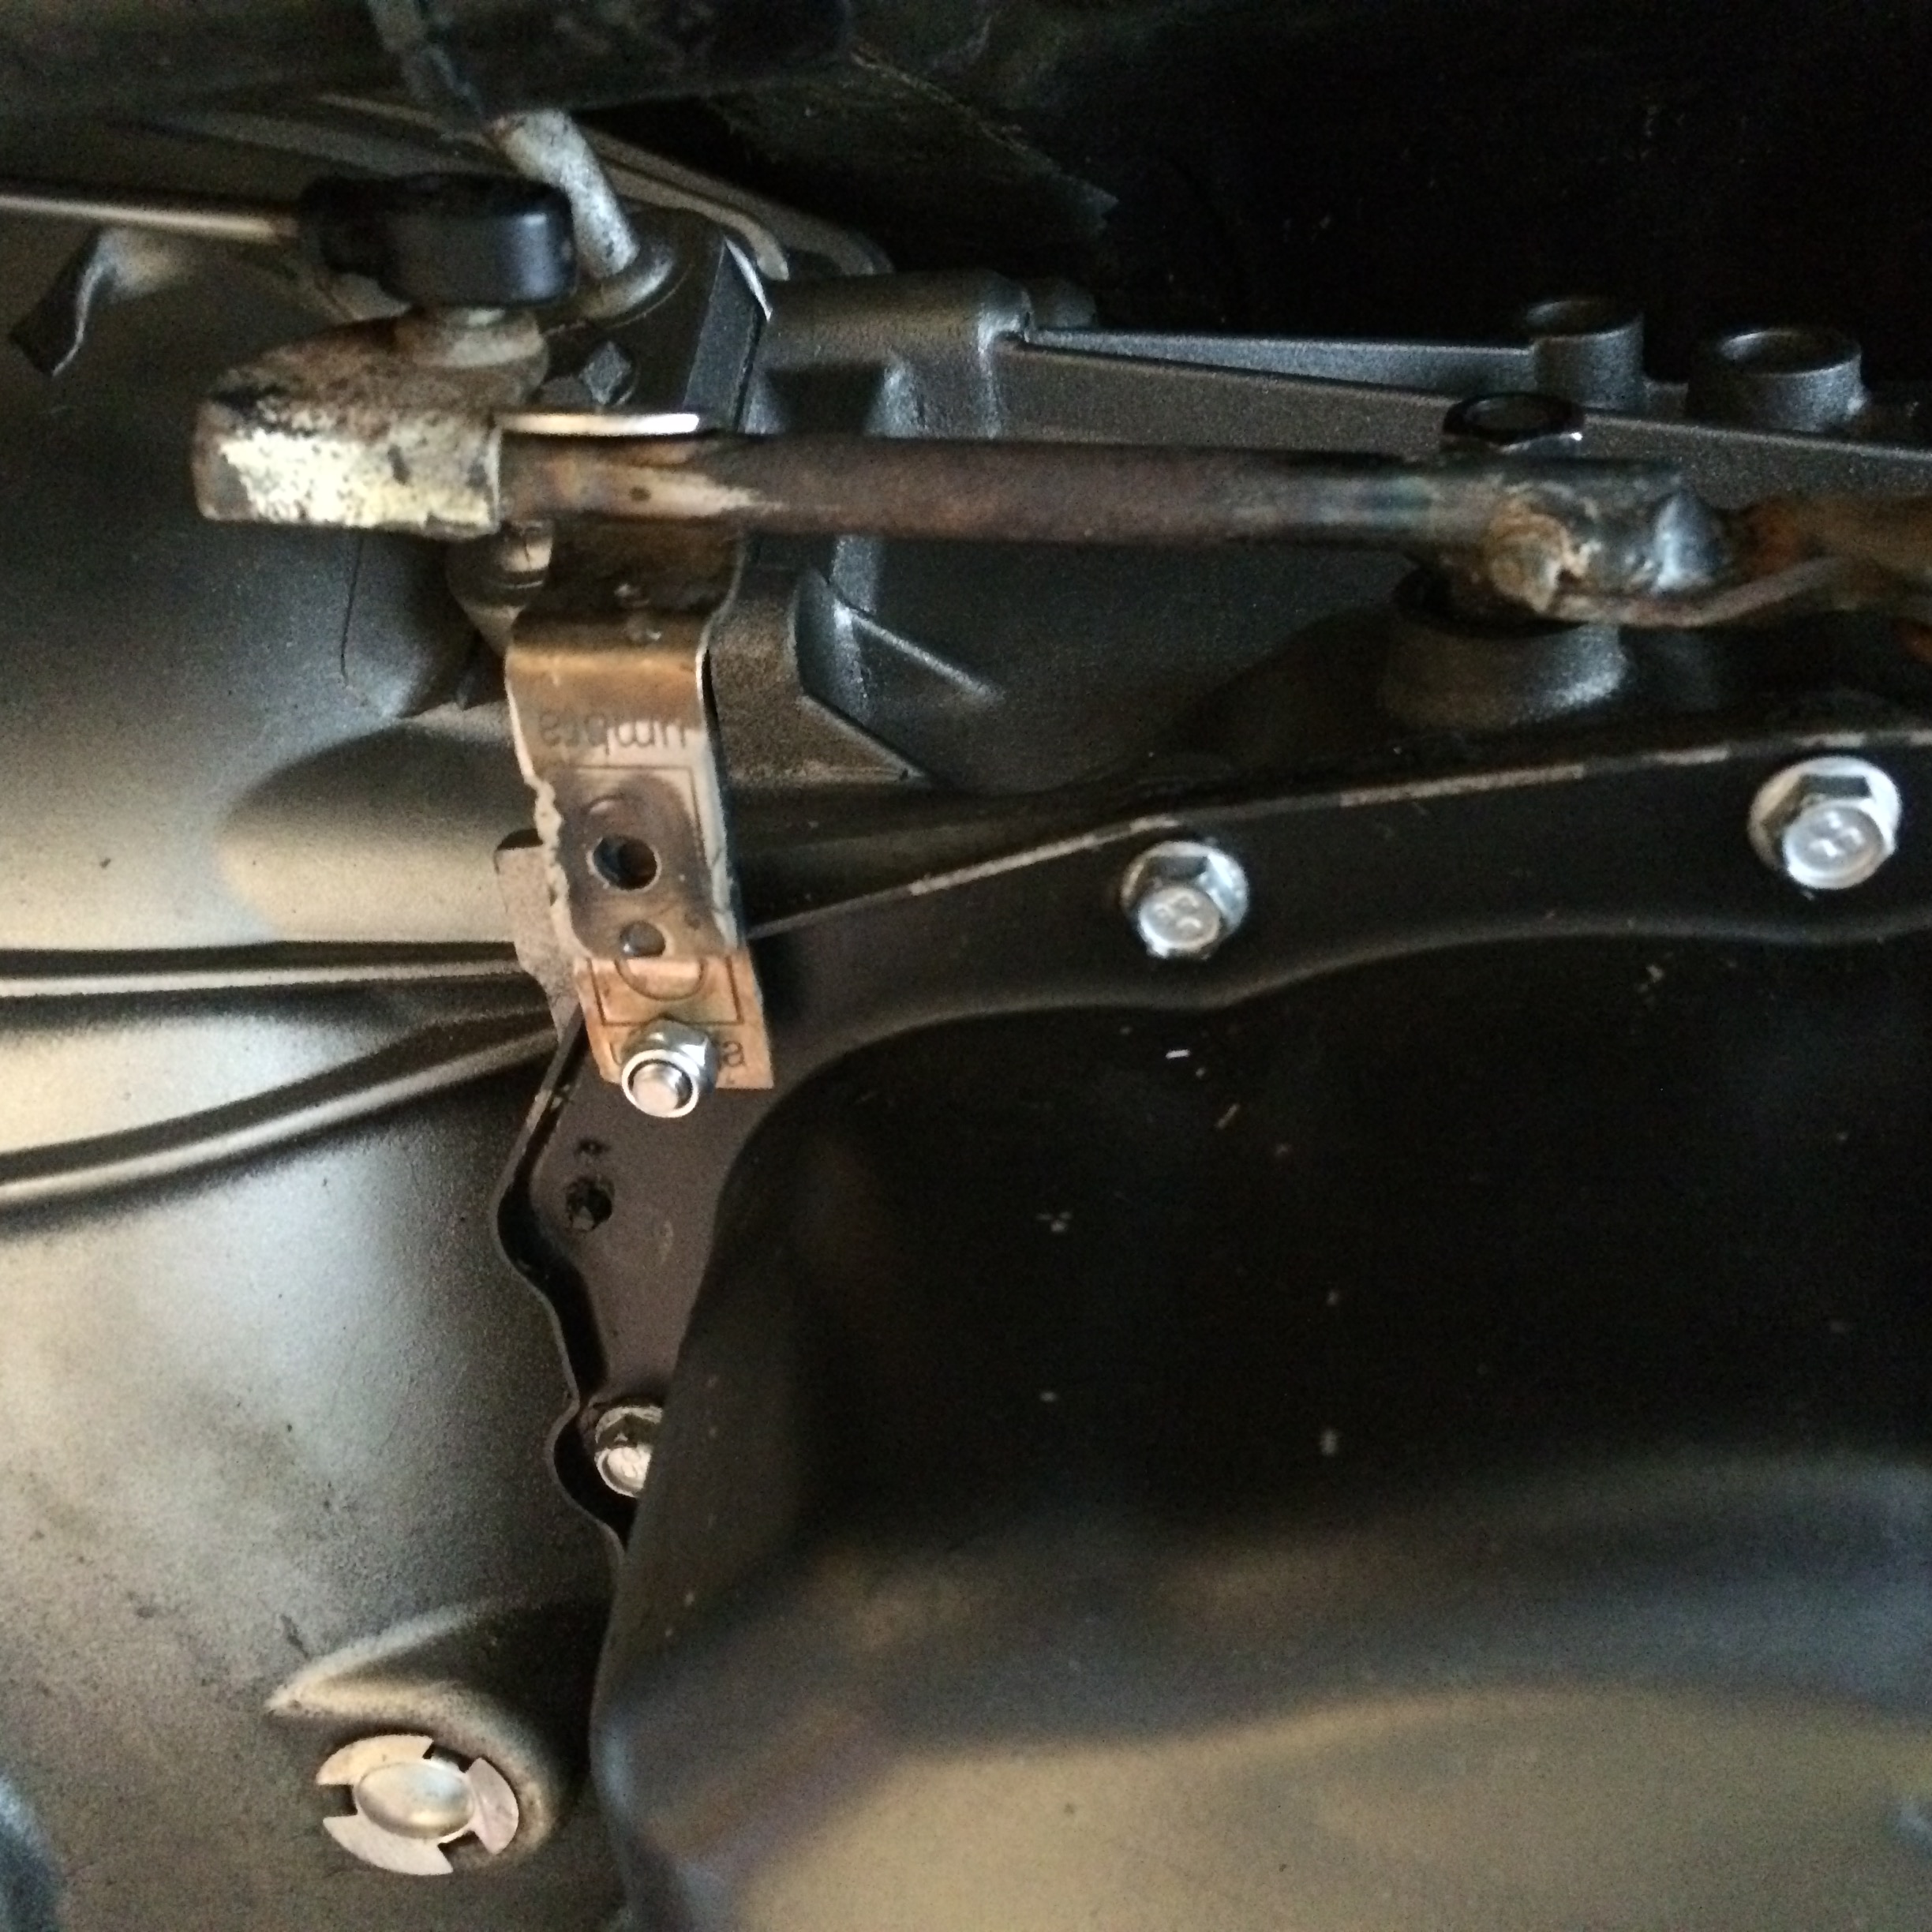
When I fit it up, I realized that the shift linkage needed something to bump on when it was extended past drive. Otherwise, it would flip up on itself. Back to my massive supply of Umbro curtain rod brackets. Along with a 6 mm stainless bolt with the head cut off, a nut that is larger than the 6 mm bolt to act as a spacer, and a 6mm nyloc nut. Followed by a bunch of pictures.
Stud threaded in. Nut as spacer. linkage installed in final position.

Thanks
Transmission linkage.
The basic plan for transmission linkage, in my opinion, is as follows:
1) I try to avoid changing the original shift cable. The main reason for this is that I hate crawling under the dash. Period.
2) Establish a firm point for the transmission end of the cable. This has to be much more stout than you would think. If it begins to deflect, it will be hard to get the trans in the correct gear.
3) Conversion from shift cable to transmission lever. In my opinion, this is easiest done with welding. Using the parts you have, and adding or removing length seems to be the best way to go.
Here is how I did the Durango. It had a 46re transmission, being replaced with 6l80. The 46re shift cable connects at the front pointing back, the 6l80 is the opposite.
Original Dodge cable and bracket on the Durango. This is typical of the 46re mounting bracket for 2wd and 4wd.

Locate a place to mount it. On my 6l80 transmission, I used this flat whatever it is to drill and tap for M10 bolt.
 \
\


Attach the bracket at one more point. I used leftover exhaust hanger to attach the top of the bracket to the hole I created. The other end was attached to the bottom bolt on the transmission bell housing.Cardboard templates come in handy here, so you can cut pieces to fit. Creativity is key.

Here, you can see the top of the bracket with a the exhaust hanger welded on, attached to the top hole that I made using a M10 bolt. The bottom has a tab welded on, and is attached to the bottom driver's side bolt on the transmission bell housing.


Original shift lever on the 6l80, flipped over (And the link ball, whatever you call it, has been ground off). Man I love new GM stuff. A reversible shift lever. How easy is that? No place to mount the cable though. A boss would have been nice.

Parts are assembled. I have the shift lever from the 6l80 with the attachment ball ground off, leftover piece of exhaust hanger with the rubber mount removed, leftover T handle from the tap I converted for use in my drill (see post above), and the kick-down lever from the 46re transmission.

GM lever attached to kick-down lever, using the T handle as a pin. This is spot welded on both sides, and cut off flush, allowing these two pieces to pivot.

Exhaust hanger rod used as extension, welded on with front half of old shift linkage from 46re welded to the front. This way, I know the attachment ball matches the cable. Easy.

When I fit it up, I realized that the shift linkage needed something to bump on when it was extended past drive. Otherwise, it would flip up on itself. Back to my massive supply of Umbro curtain rod brackets. Along with a 6 mm stainless bolt with the head cut off, a nut that is larger than the 6 mm bolt to act as a spacer, and a 6mm nyloc nut. Followed by a bunch of pictures.

Stud threaded in. Nut as spacer. linkage installed in final position.


