
LS swapping my LS - L92/LS3 into C5
 02-19-2018, 05:27 PM
#61
Coming along nicely!!!! Looking forward to more progress posts and the outcome. Helped a buddy this weekend remove the body from frame on his '72 Triumph GT6, and build an engine-stand rotisserie for restoration. Learned a ton and had a blast -- reading your posts during breaks!
 02-19-2018, 10:47 PM
#62


Coming along nicely!!!! Looking forward to more progress posts and the outcome. Helped a buddy this weekend remove the body from frame on his '72 Triumph GT6, and build an engine-stand rotisserie for restoration. Learned a ton and had a blast -- reading your posts during breaks!
Tonight's work sucked! Everything is so dirty.
Valve cover to throttle body vacuum hose removed
Throttle body removed
Intake manifold removed (needed to access OPSU harness).
Knock sensor disconnected
OPSU disconnected
Cam Sensor Harness disconnected
A/C Belt removed
Top and bottom AC lines removed (at firewall and at bottom of condenser)
Bottom 2 AC compressor bolts removed
Dipstick removed, Header (longtube) unbolted and moved down.
Starter removed. 3 large wires to main stud, 1 small purple wire to solenoid.
Crank position sensor unplugged.
Passenger rear block ground (15mm) unbolted. NOTE: This consists of 1 large ground wire and one very small ground wire (black with white stripe).
Passenger longtube header removed.
2 brake lines leading from master cylinder to EBCM removed
NOTE: This was a mistake! I ended up keeping the EBCM in the car.
3x pigtails disconnected from T56
1x pigtail removed from diff
wiring harness unclipped from retaining spring/clip on rear diff cover
4x 10mm EBCM bracket bolts removed, 1x 18mm bolt/nut for driver's side steering rack/EBCM bracket removed.
Removed 15mm bolt on lower rear driver's side of block, under header. Wire harness retaining bolt only (not a ground)
Removed 15mm bolt on lower front driver's side of block, under header. Wire harness retaining bolt only (not a ground)
Removed 15mm bolt on upper rear driver's side of block. 2x ring terminals (GND).
Rested cradles, front and rear, on evenly spaced jackstands.
Removed 8x cradle nuts.
UP 1"
Disconnected driver's side wheel speed sensor at front lower cradle. The other end of this harness snakes all the way into the battery box and beyond.
UP 1"
Removed torque tube harness from L-hooks on top of TT.
Removed 15mm ground (2 wires into 1 ring terminal) from rear of driver's side head.
Removed 13mm bellhousing bolt, driver's side, that also holds wire harness in place (approx 10am position when viewing from rear of car).
Disconnect passenger front wheel speed sensor at lower control arm.
02-22-2018, 09:16 AM
#63
coolant fan wiring harness removed from retaining clips and unplugged from fans
Top condenser line bolt removed, condenser removed
Radiator removed (both will need power washing but are in good shape)
Since the brake system was already opened to install stainless lines, I disconnected the RF brake line from the ABS module to avoid having to drop the rack separately.
Rear large plug above T56 unbolted from retaining ring (T56 to TT)
Rear 9 o'clock TT to bellhousing wire retaining clip bolt removed
removed Battery box udder
4x TT harness large pigtails disconnected under battery box, unroute and droop down onto floor.
Raise body off drivetrain.
WOOHOO!!!!
02-22-2018, 11:46 AM
#64
These pics are going back about a month.
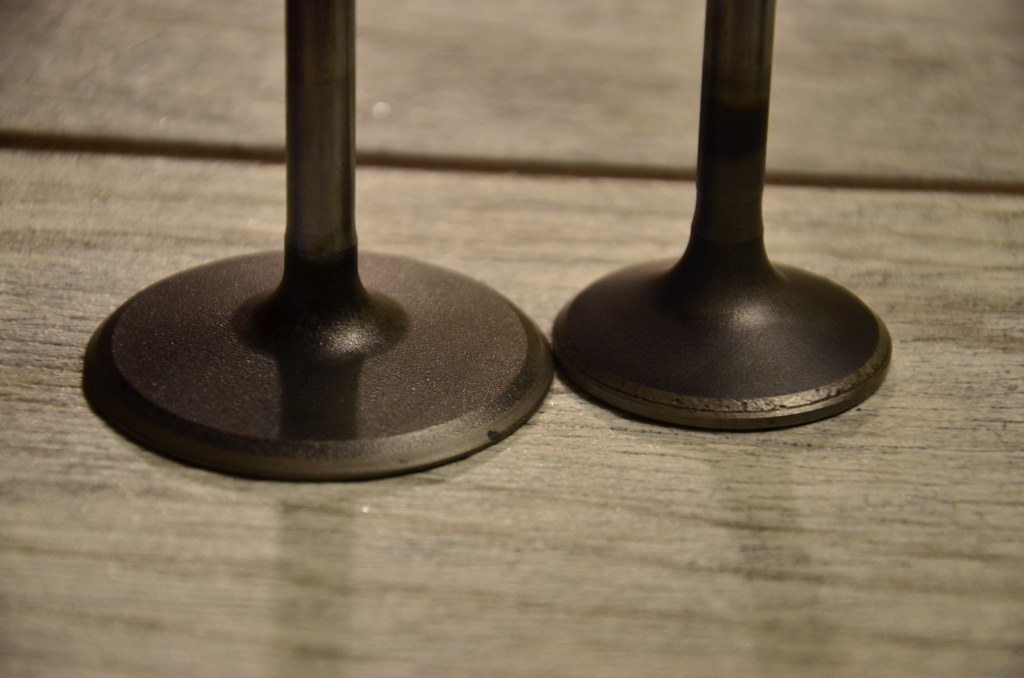
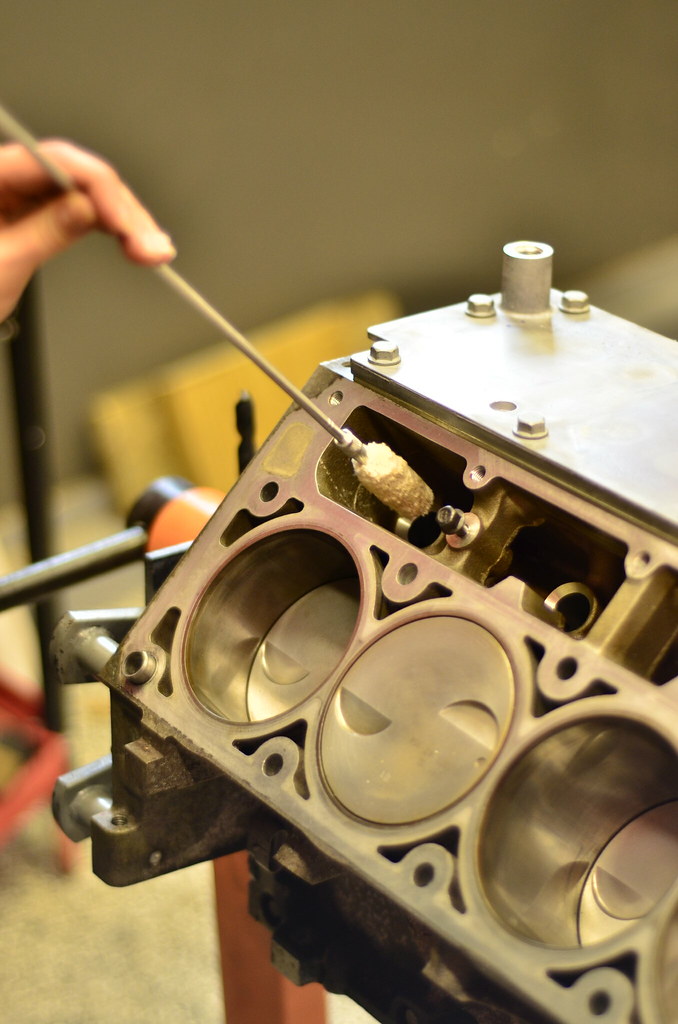
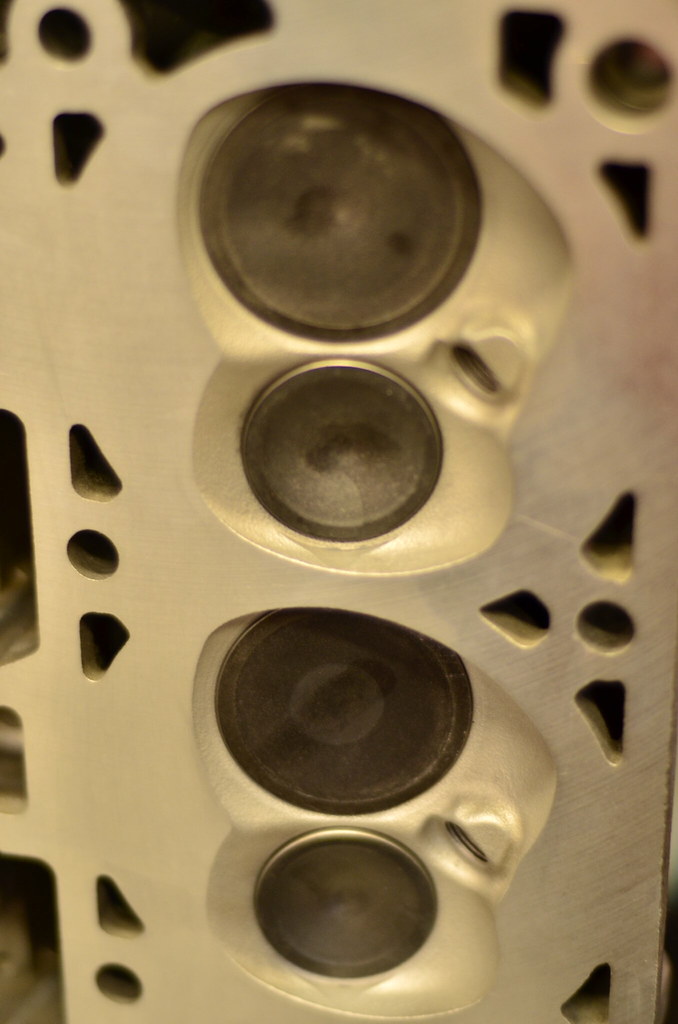
I inspected the valves and found that there was some minor pitting on the seat surfaces. Never lapped in valves before, so here we go. How hard can it be? Actually easy enough that I had my wife do it...
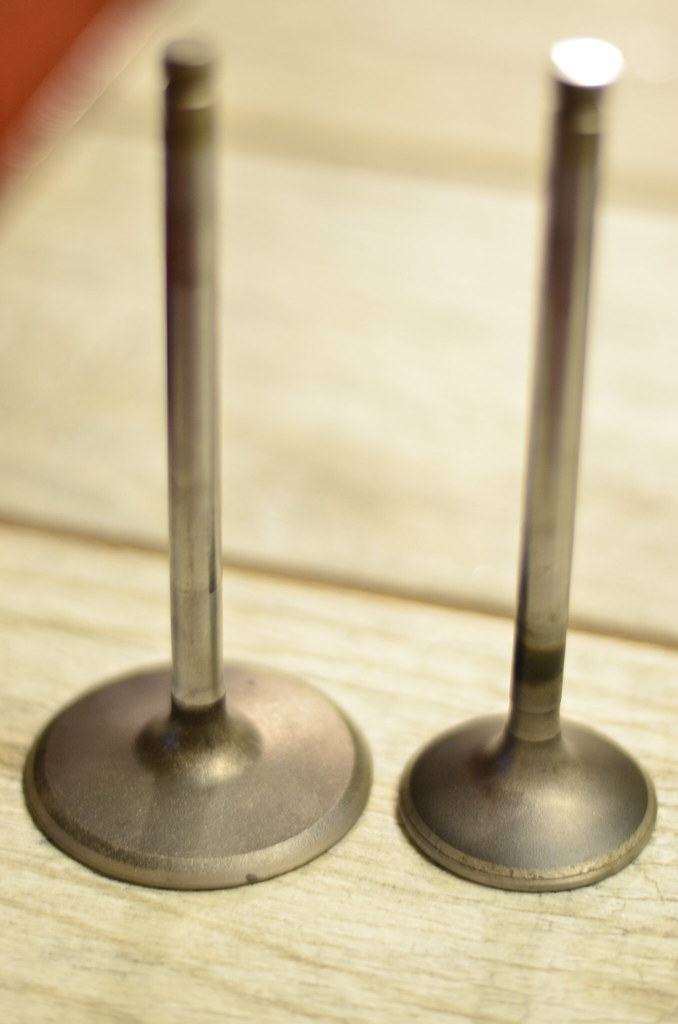
The left (intake) is after, the right (exhaust) is before. Night and day
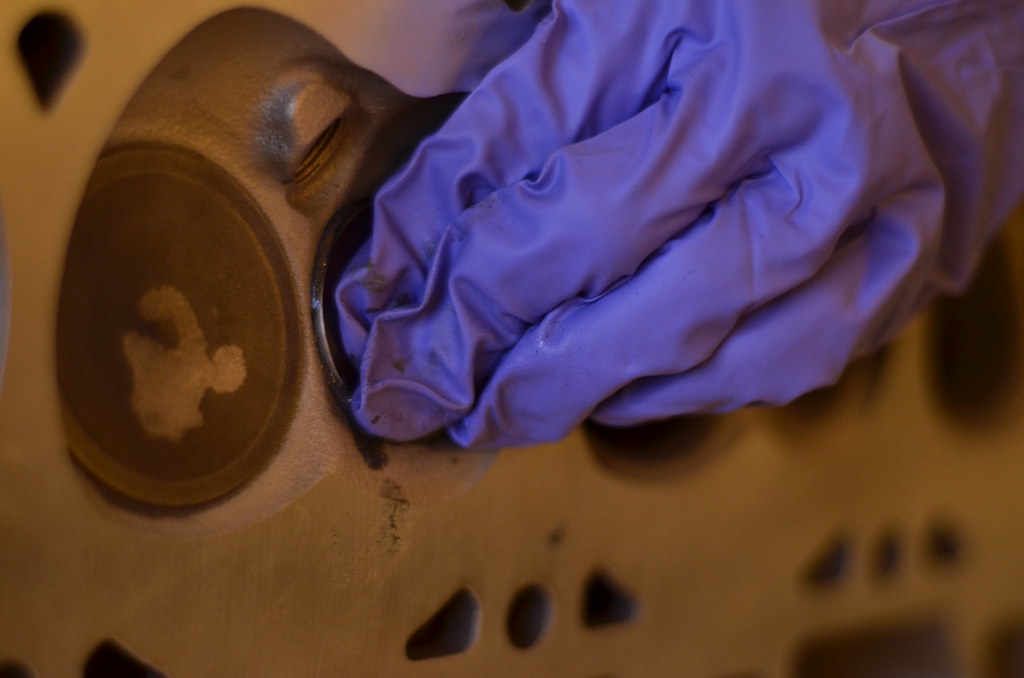
Apply magic goo
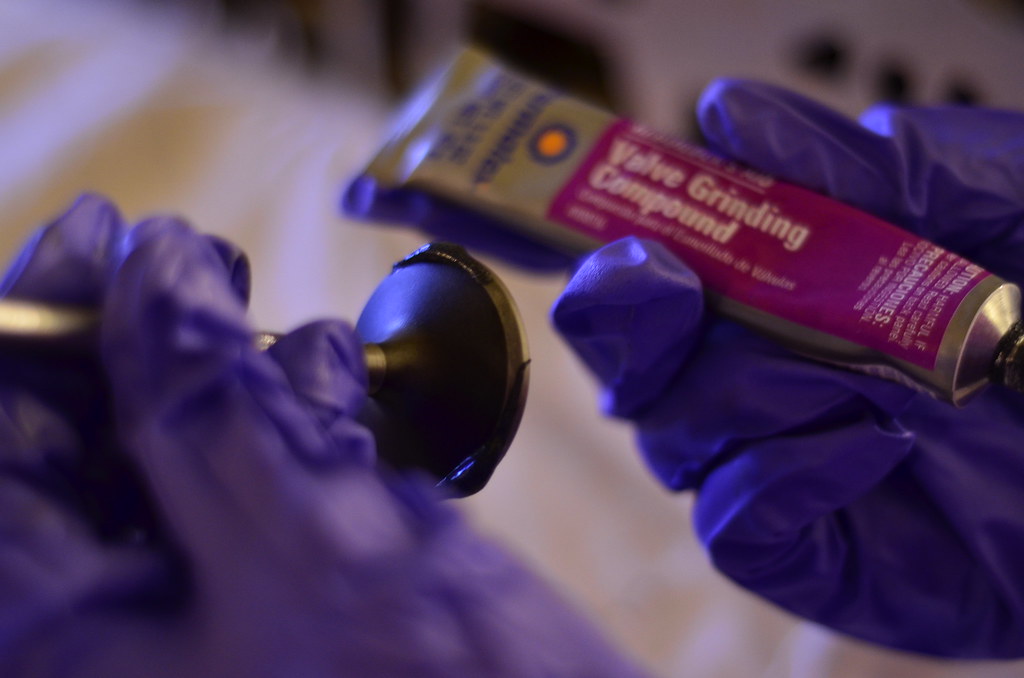

Insert valve into head, oil stem lightly.
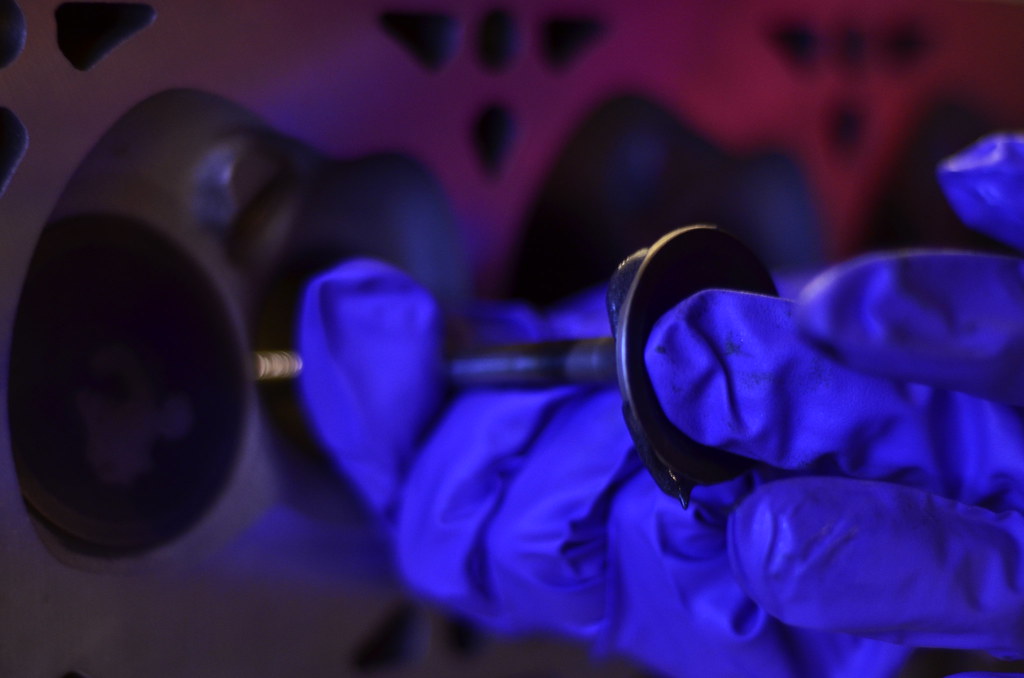
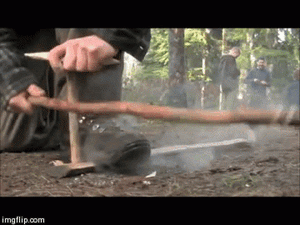
Use the wooden tool for 10 minutes until you realize there has to be a more effective way than the Tom Hanks Castaway method of starting a fire
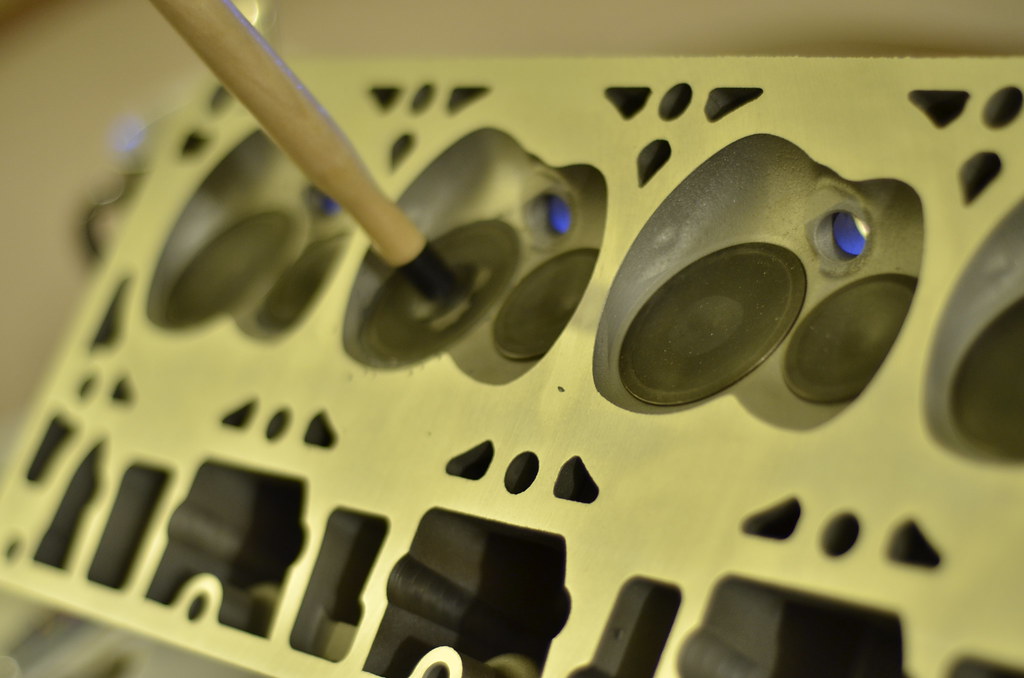


Break out the power tools and a length of old vacuum hose


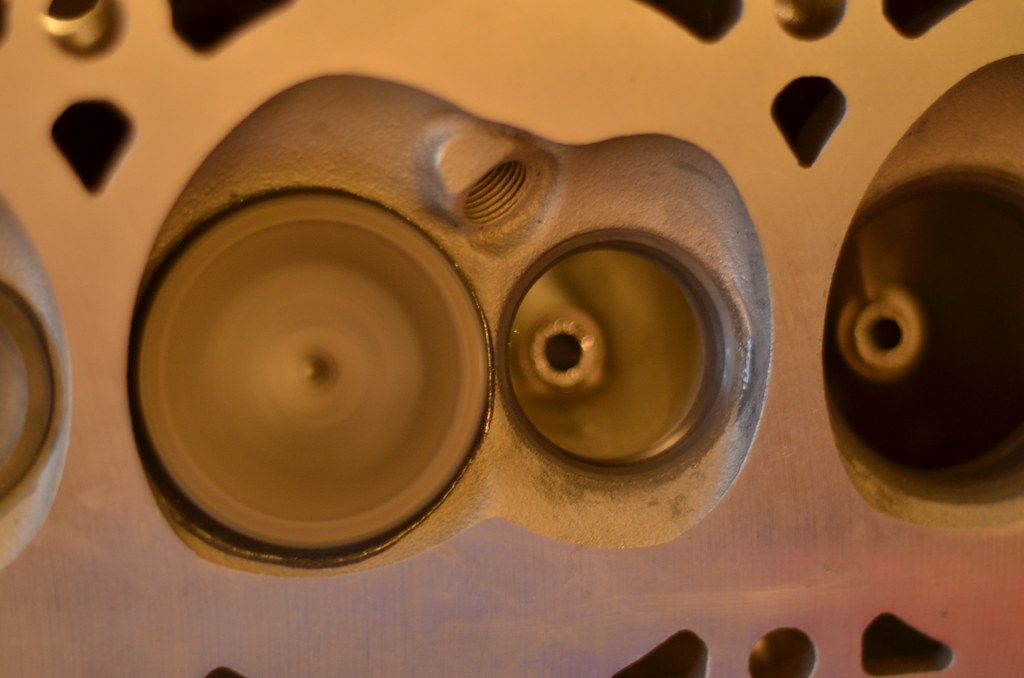
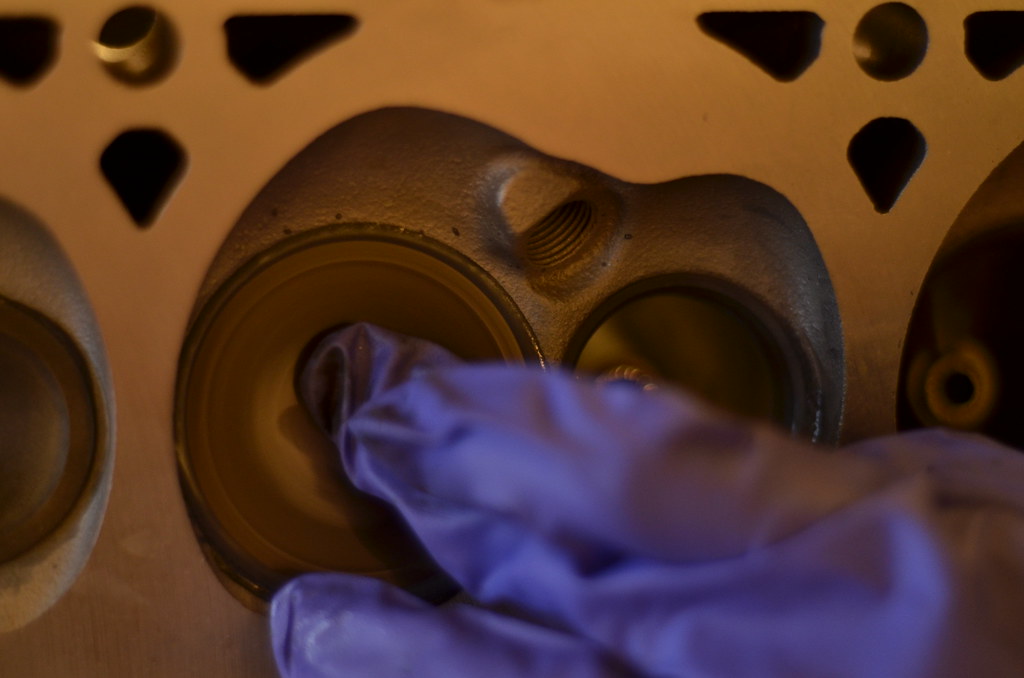
After all 16 were lapped in they were removed (in order) and cleaned out with hot soapy water and a brush.
I inspected the valves and found that there was some minor pitting on the seat surfaces. Never lapped in valves before, so here we go. How hard can it be? Actually easy enough that I had my wife do it...
The left (intake) is after, the right (exhaust) is before. Night and day
Apply magic goo
Insert valve into head, oil stem lightly.
Use the wooden tool for 10 minutes until you realize there has to be a more effective way than the Tom Hanks Castaway method of starting a fire


Break out the power tools and a length of old vacuum hose
After all 16 were lapped in they were removed (in order) and cleaned out with hot soapy water and a brush.
02-22-2018, 12:02 PM
#65
Anyhow, moving to the fun stuff:
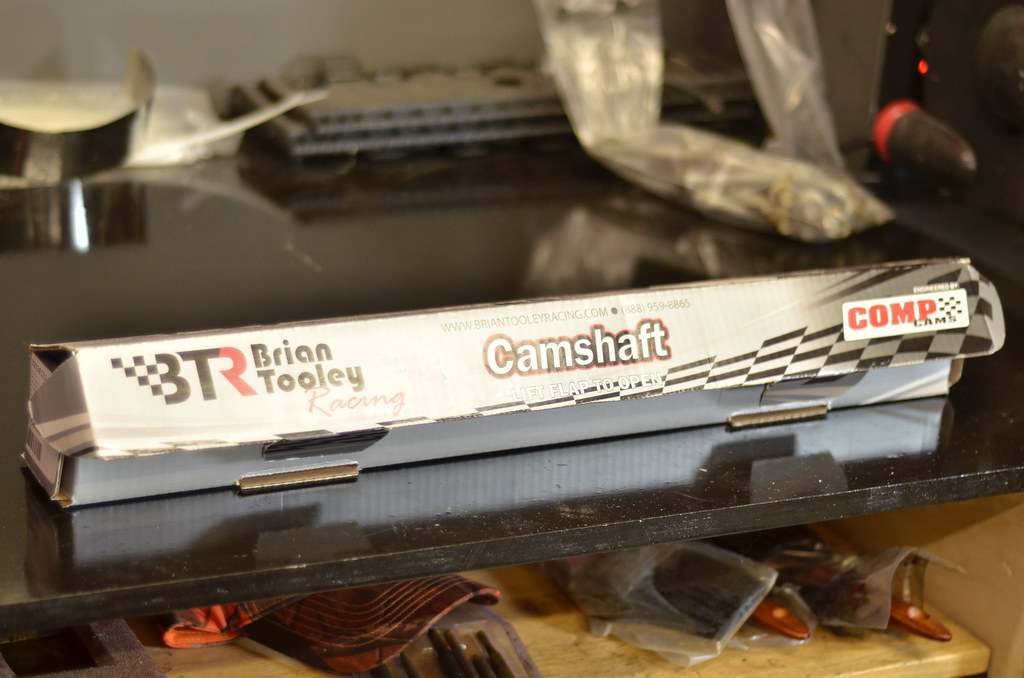
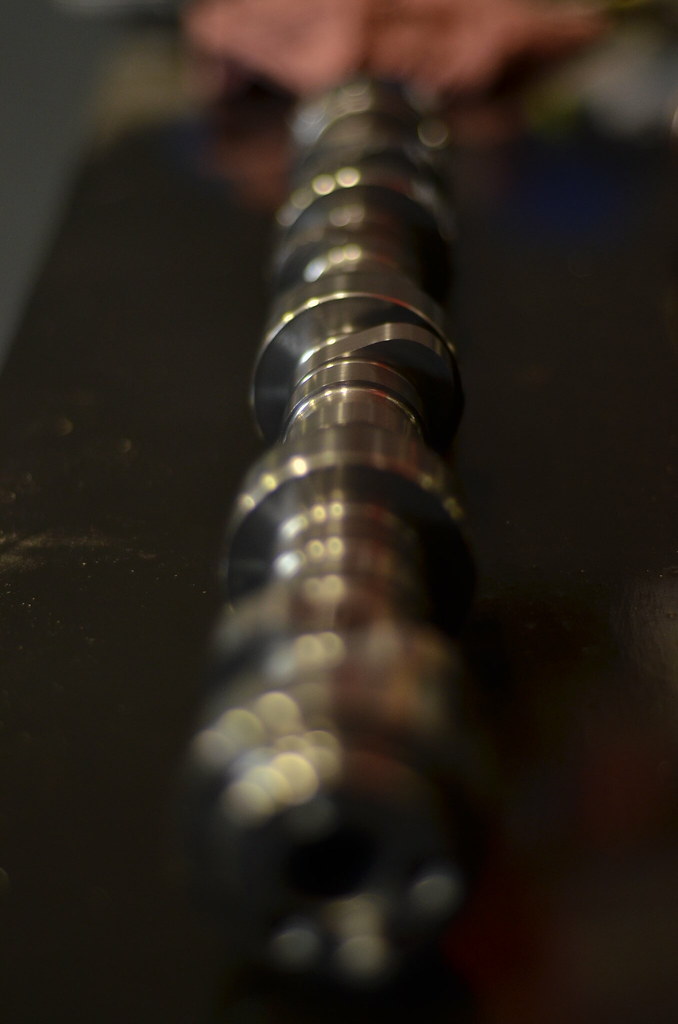
LS3 Stage II 3 Bolt Cam 225/238 .612"/.585" 113+3

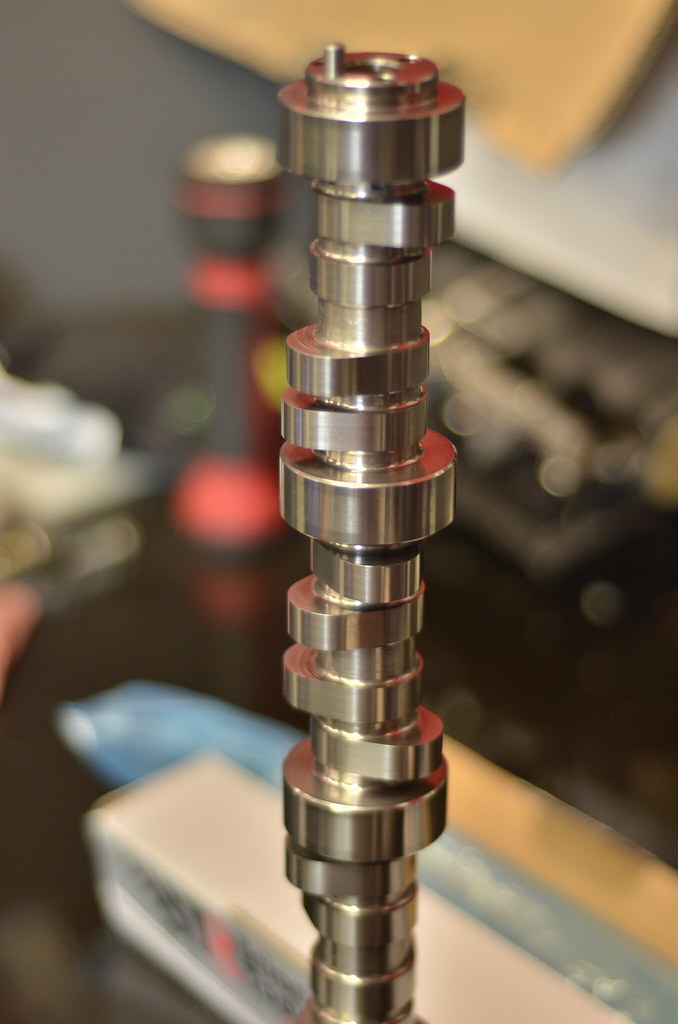
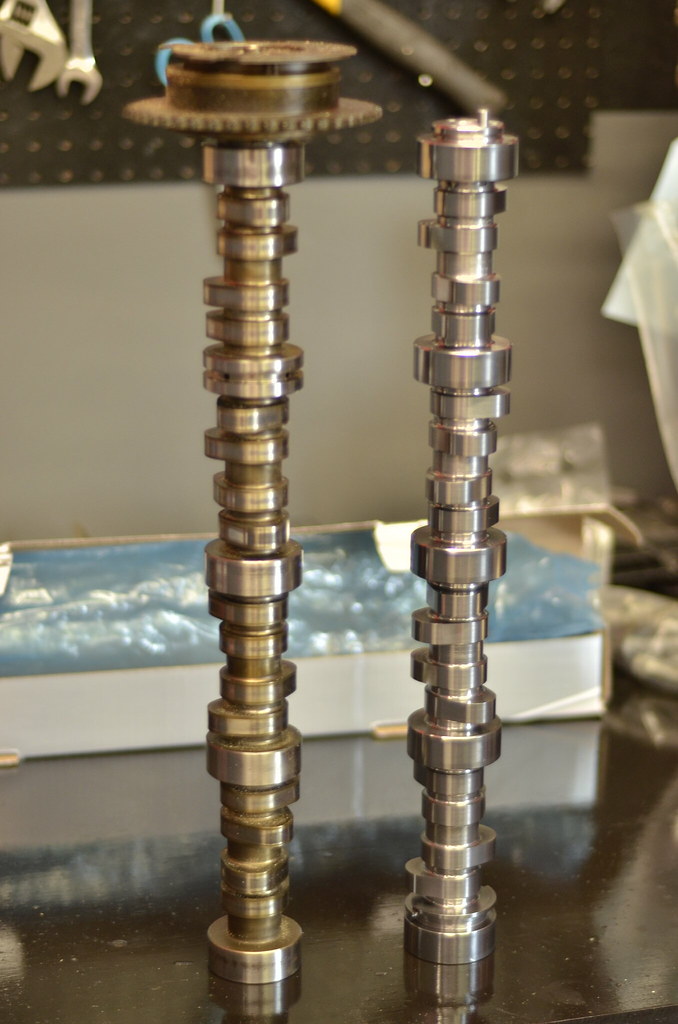
VVT Comparison

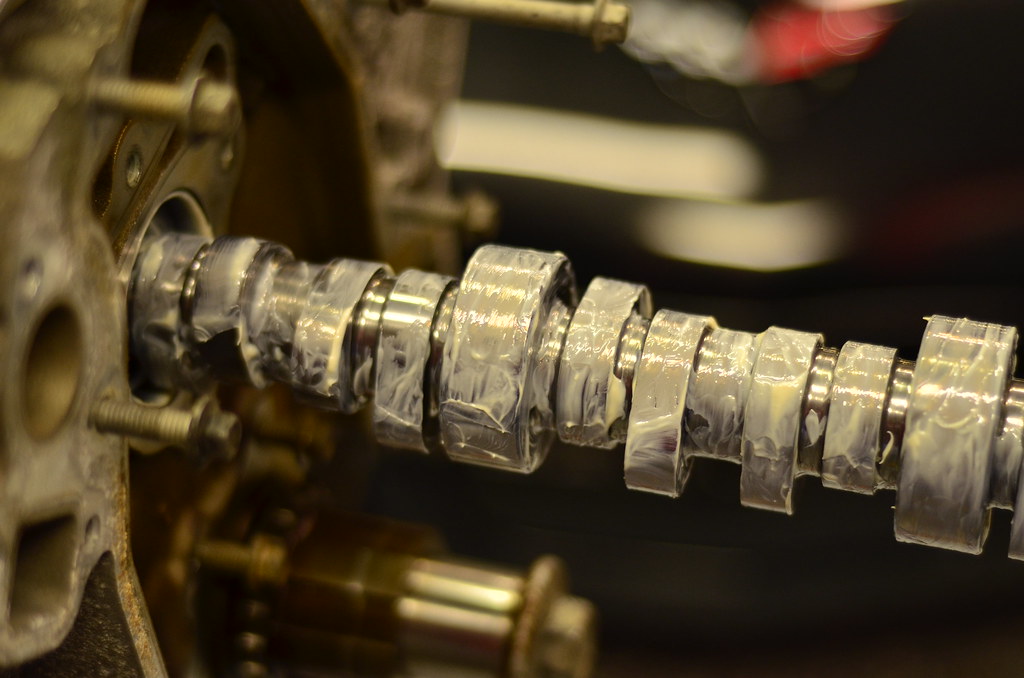
Installation Prep

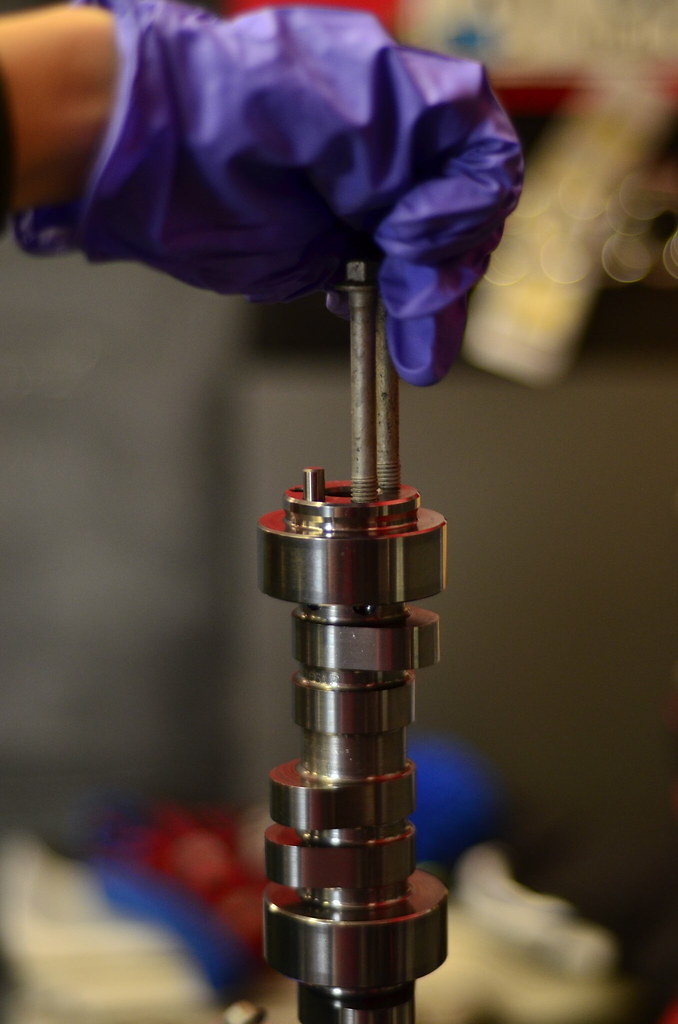
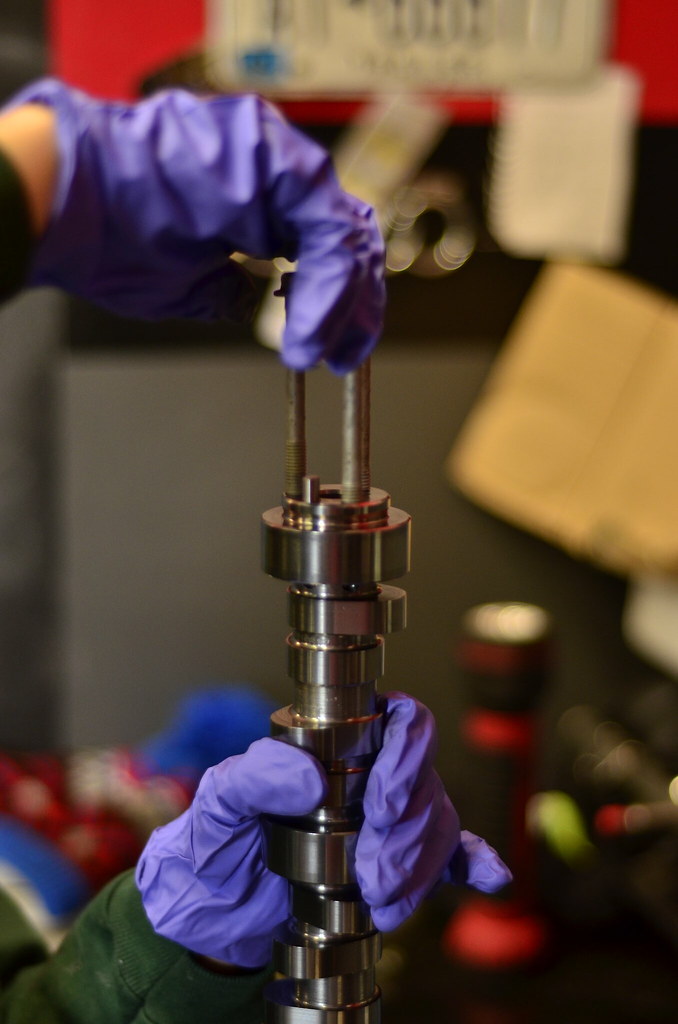

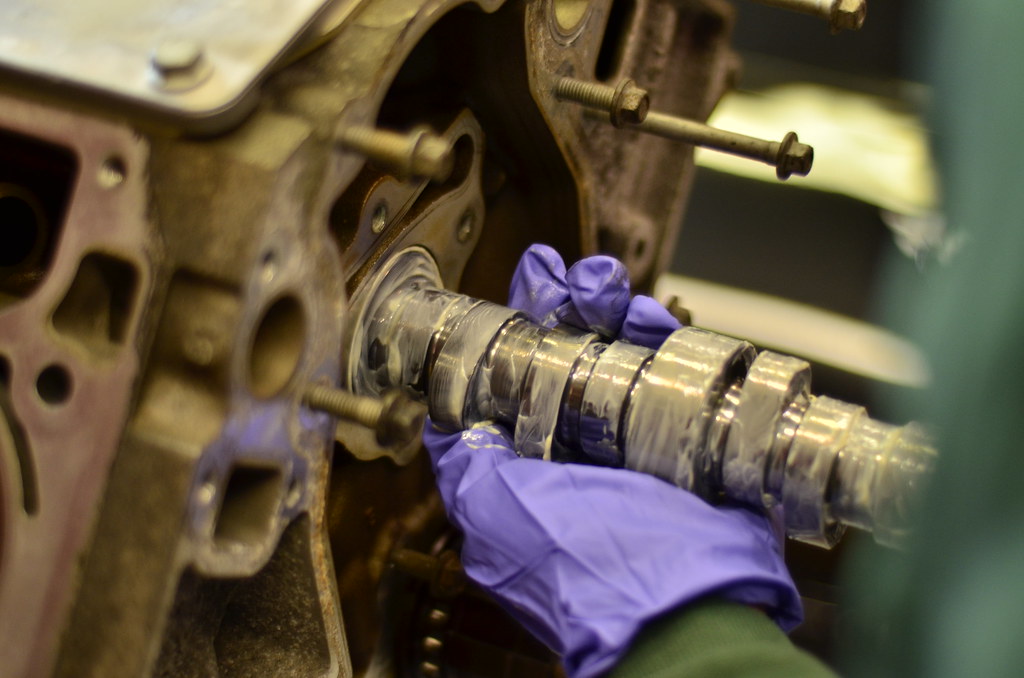

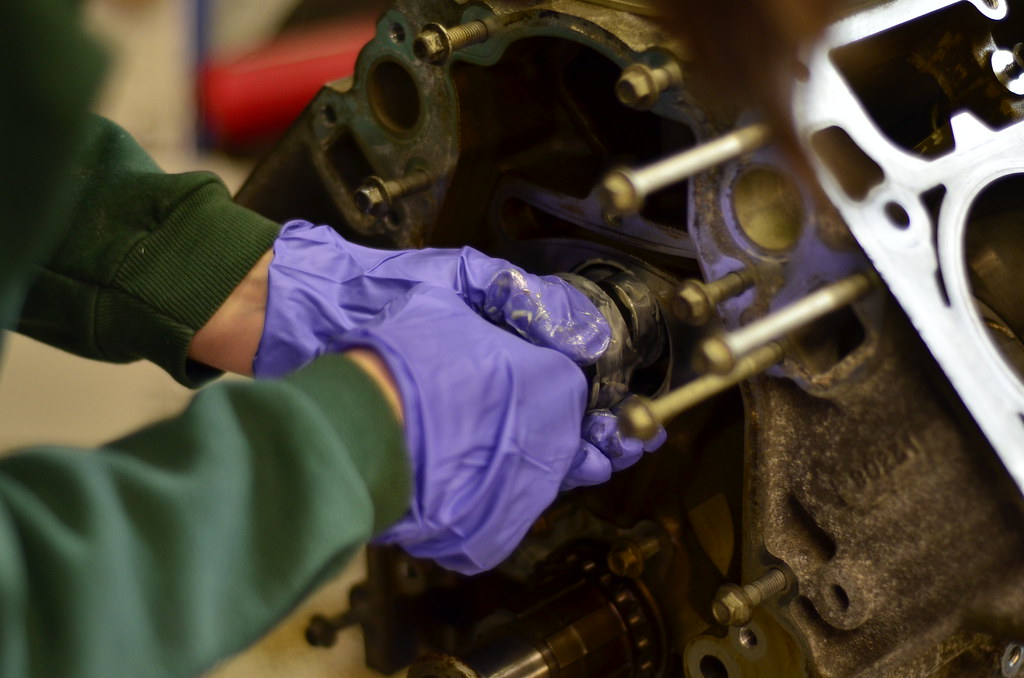
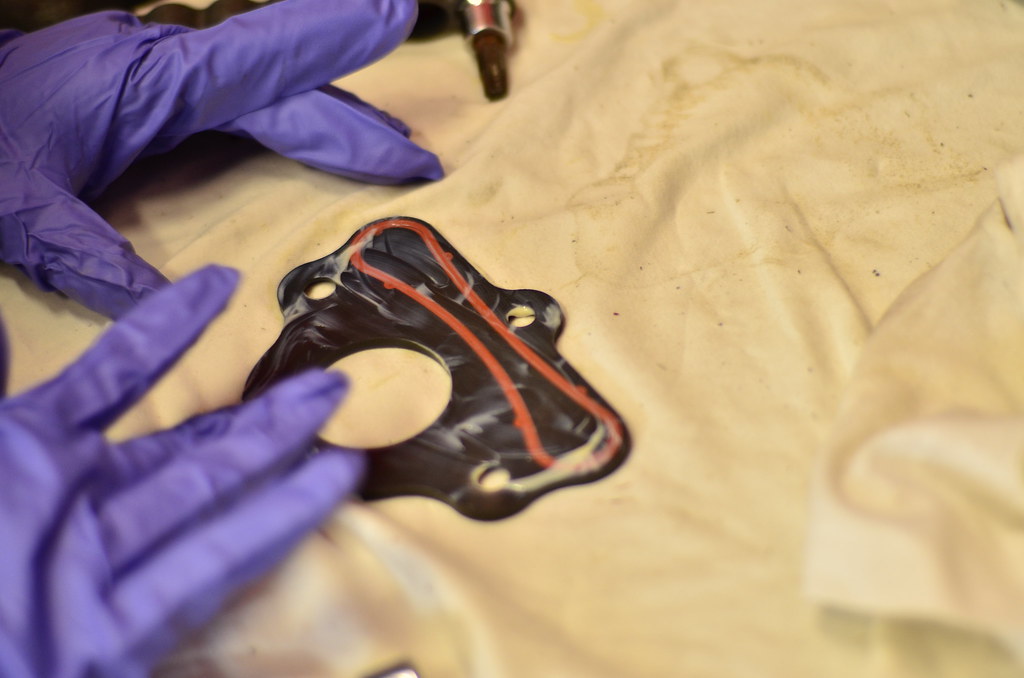
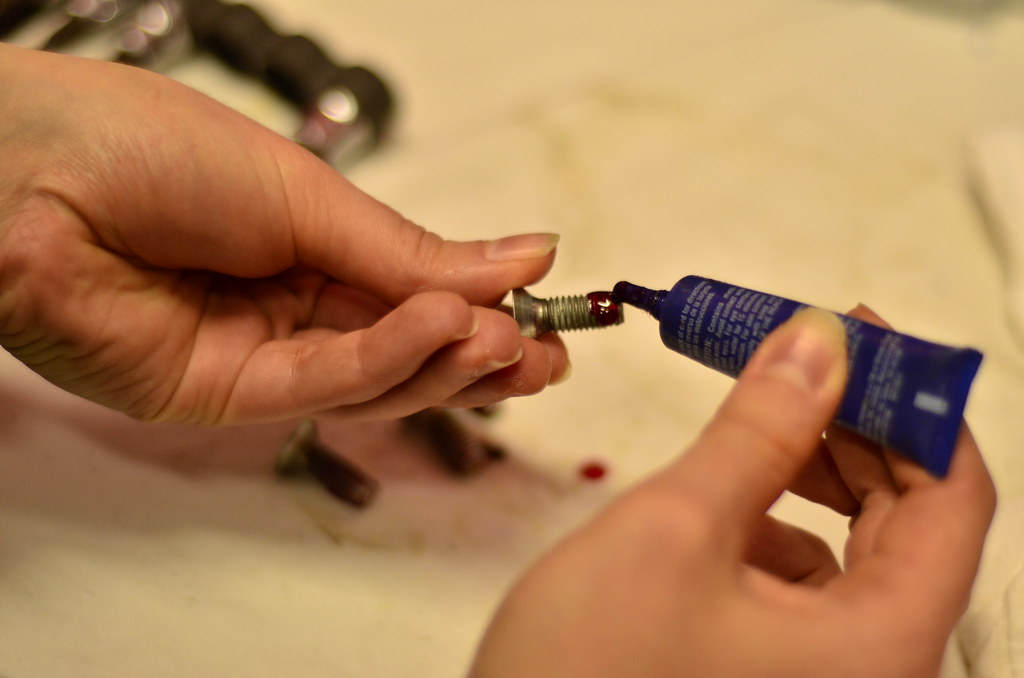
Hanging the Cam Retainer Plate by a bolt or two, and installing the bolts with red loctite.


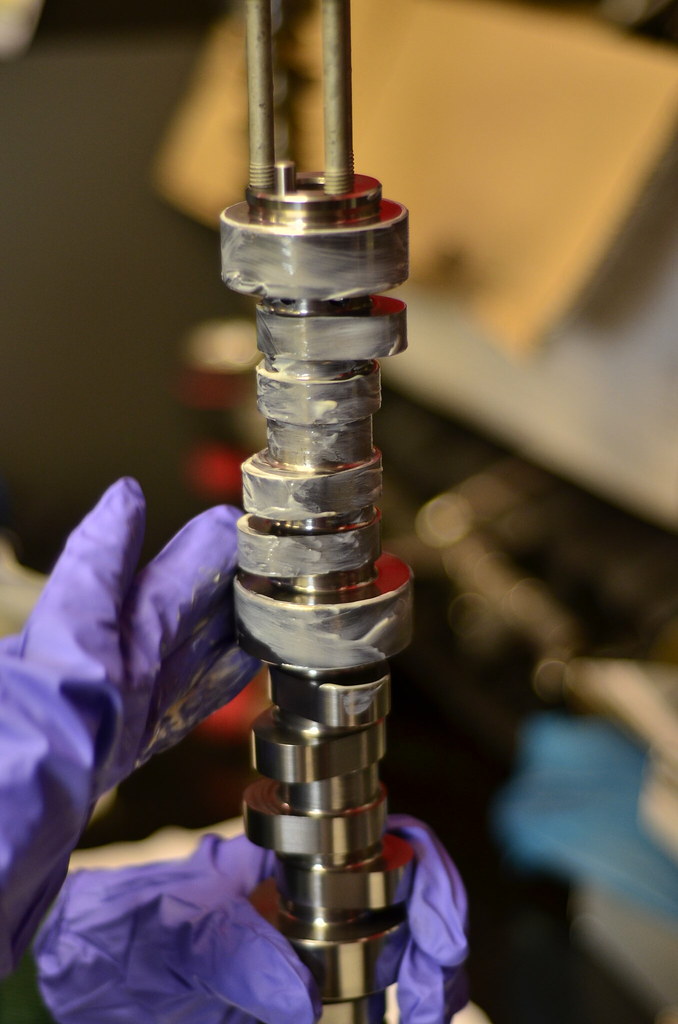
Final Torque in a cross pattern.

LS3 Stage II 3 Bolt Cam 225/238 .612"/.585" 113+3
VVT Comparison
Installation Prep
Hanging the Cam Retainer Plate by a bolt or two, and installing the bolts with red loctite.
Final Torque in a cross pattern.
02-22-2018, 12:20 PM
#66
4x Cam gear, ARP hardware, and a simple LS2 chain damper. No spring loaded tensioner to fail.
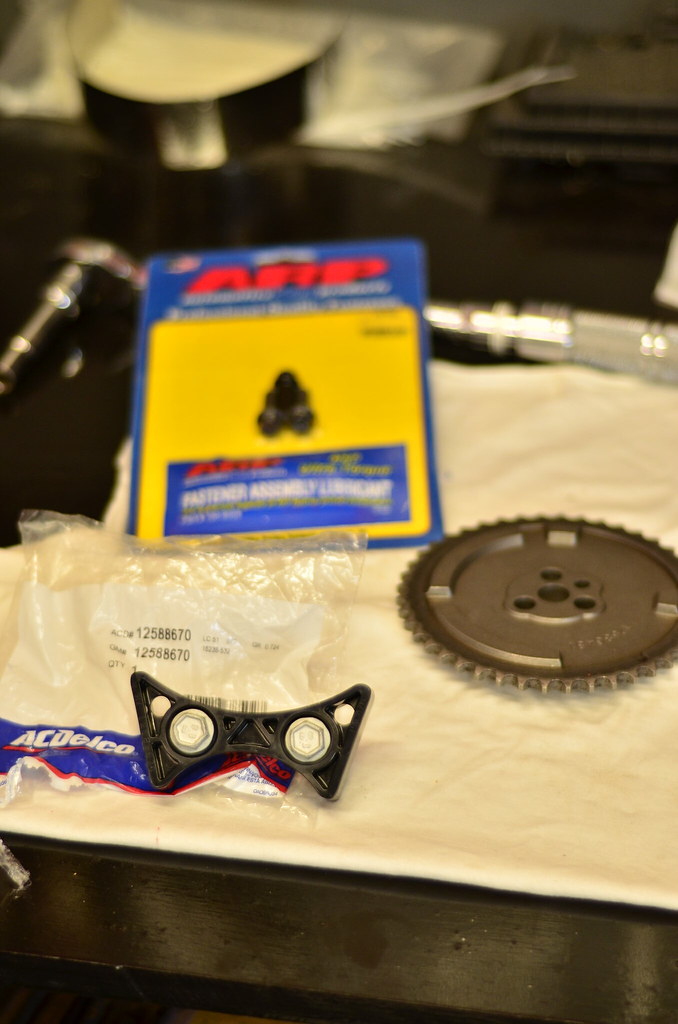
Loctite and torqued to spec
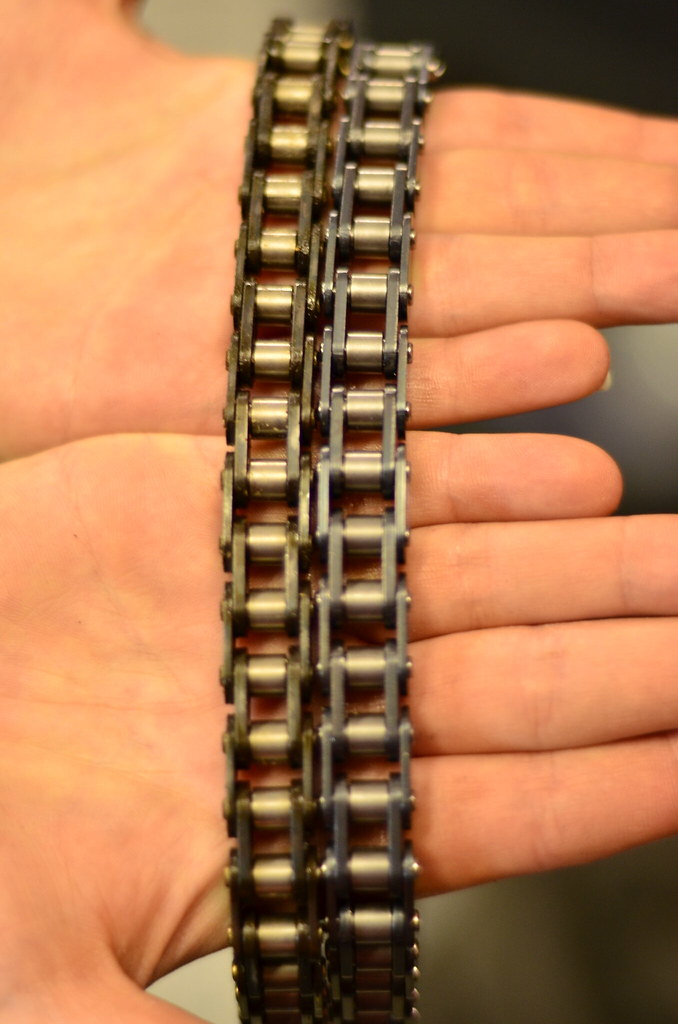
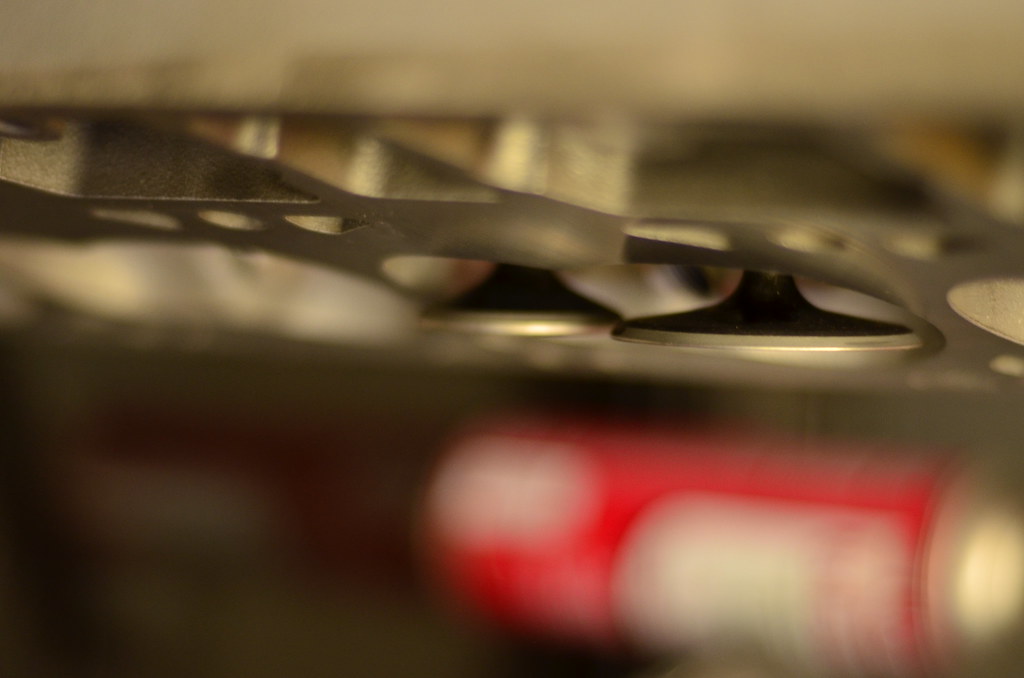
L92 chain on left, LS2 on right. I don't think there's a difference. Didn't have a Gen III chain to compare to, but I'm sure it's wimpy compared to these two.
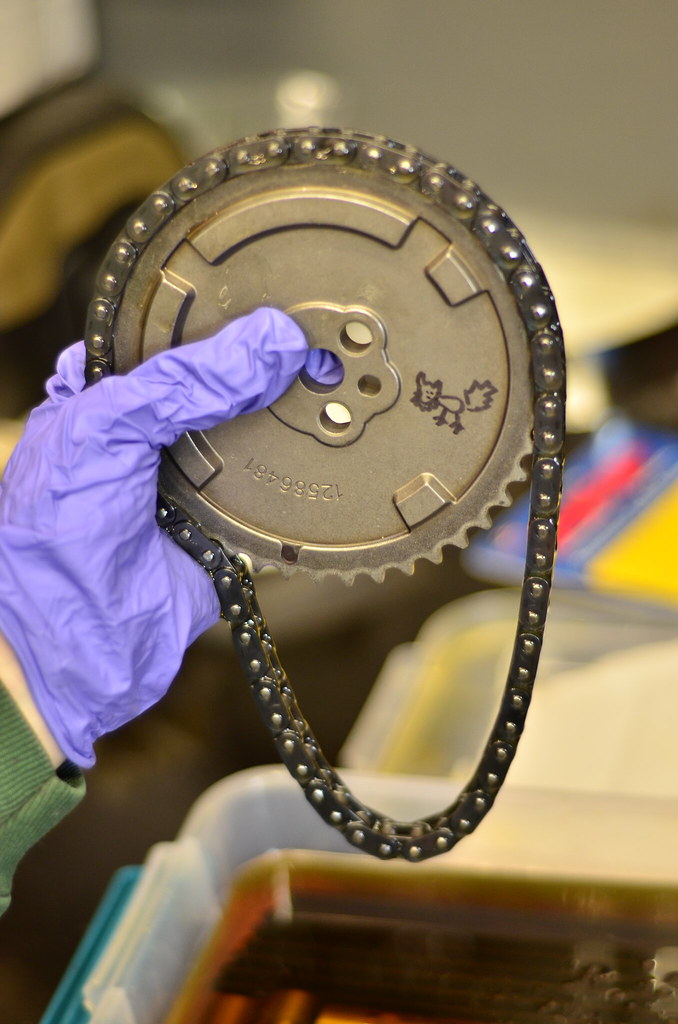
Some graffiti courtesy of the wife to let this engine know we mean business. (....it's a cat...) sure honey, whatever you like
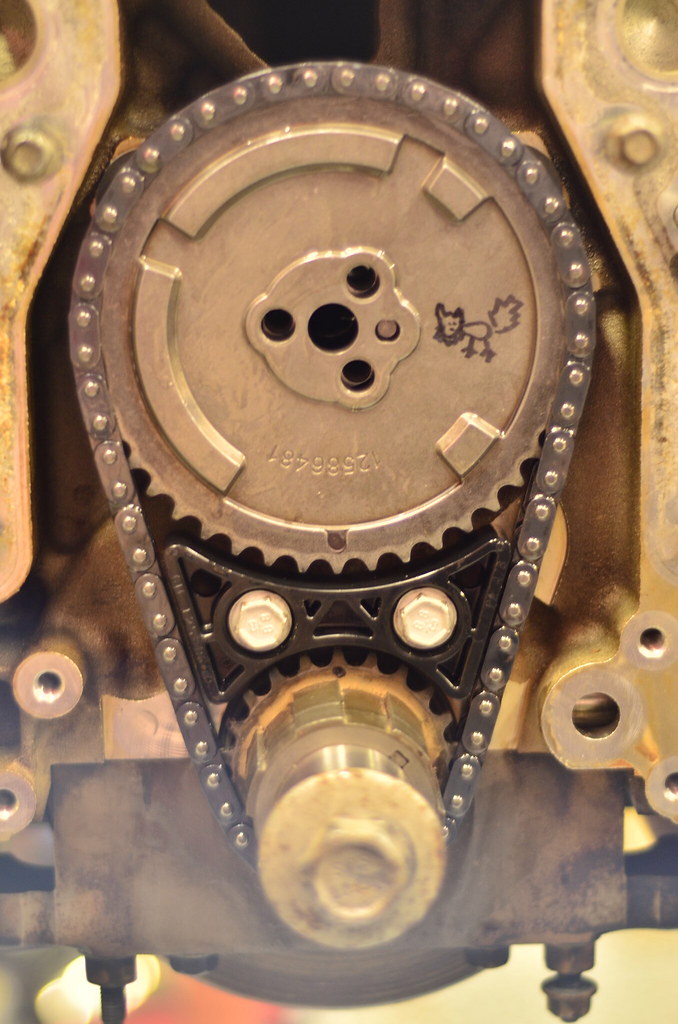
Obligatory "Dot to Dot" timing photo as evidence of correct timing if I have issues down the road.
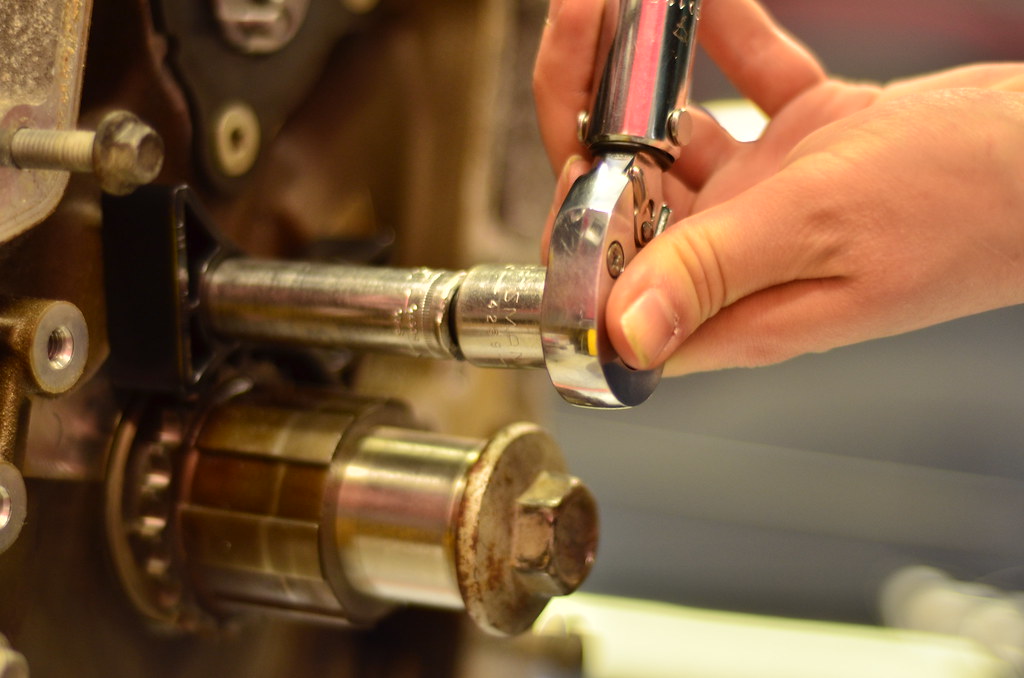
Forgot to snag a pic of the cam gear being bolted down, but we used ARP bolts with red loctite torqued to spec.
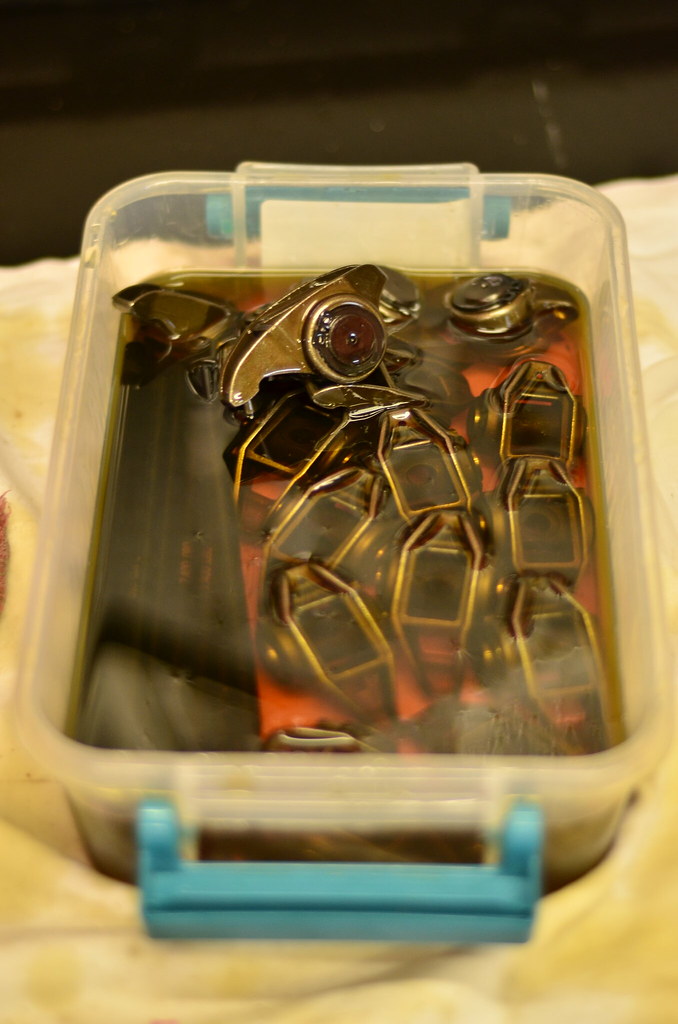
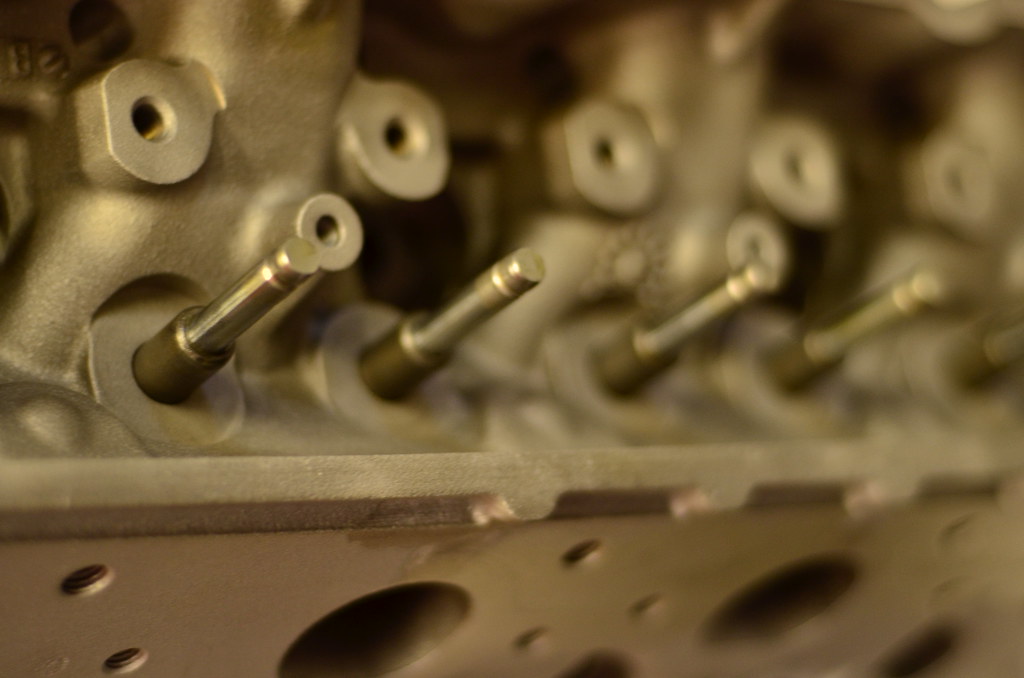
LS7 lifters soaking for a few weeks ahead of assembly. Note the drainback holes in the lifter trays. When those get installed, they have to go towards the outside of the block to facilitate drainback.

Fun fact - a bore brush I normally use on my 870 12ga is perfect for cleaning and then oiling lifter bores.

Assembled into trays, which were scrubbed clean and blown out with brake parts cleaner and compressed air.

All oiling holes face towards the front of the engine (probably not necessary since the oil galley passes through on both sides, but that's the way the originals came out).
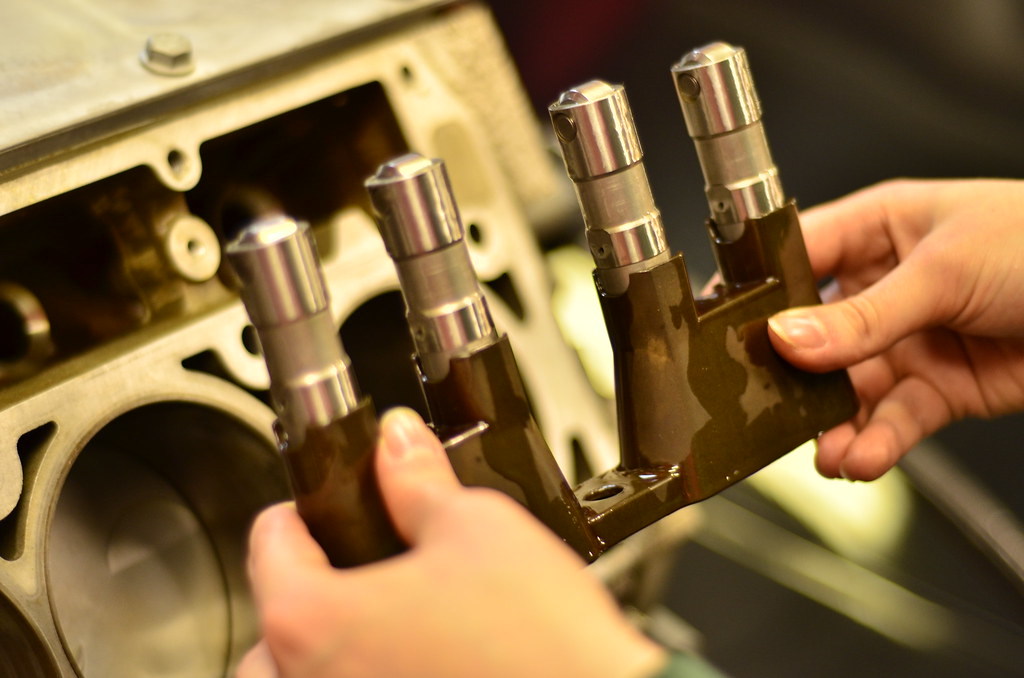

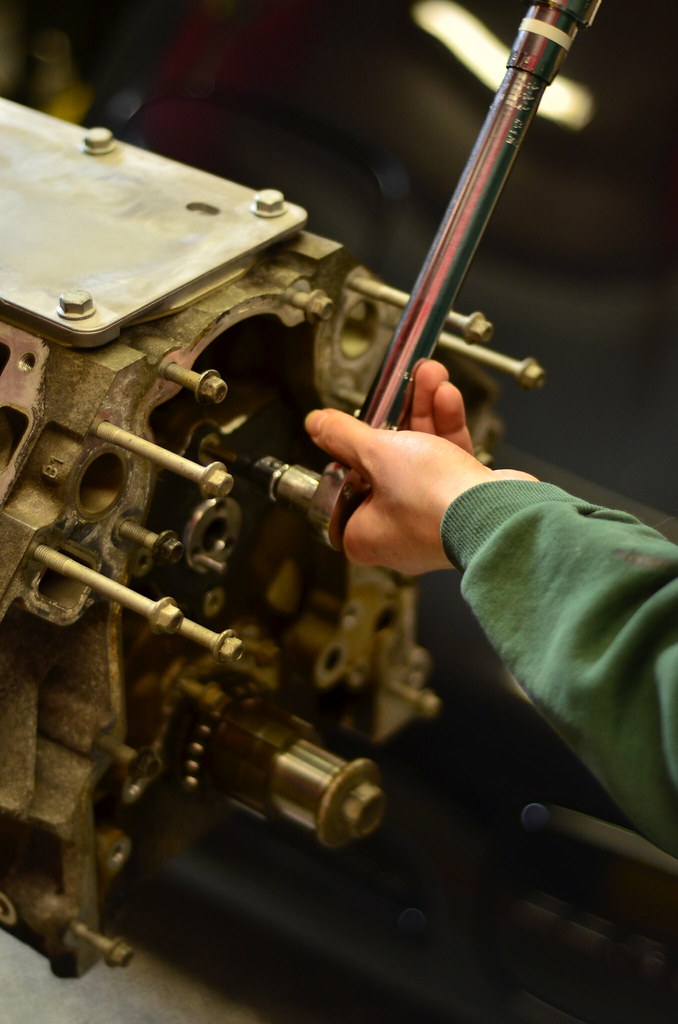
Torqued down.
Loctite and torqued to spec
L92 chain on left, LS2 on right. I don't think there's a difference. Didn't have a Gen III chain to compare to, but I'm sure it's wimpy compared to these two.
Some graffiti courtesy of the wife to let this engine know we mean business. (....it's a cat...) sure honey, whatever you like
Obligatory "Dot to Dot" timing photo as evidence of correct timing if I have issues down the road.
Forgot to snag a pic of the cam gear being bolted down, but we used ARP bolts with red loctite torqued to spec.
LS7 lifters soaking for a few weeks ahead of assembly. Note the drainback holes in the lifter trays. When those get installed, they have to go towards the outside of the block to facilitate drainback.
Fun fact - a bore brush I normally use on my 870 12ga is perfect for cleaning and then oiling lifter bores.
Assembled into trays, which were scrubbed clean and blown out with brake parts cleaner and compressed air.
All oiling holes face towards the front of the engine (probably not necessary since the oil galley passes through on both sides, but that's the way the originals came out).
Torqued down.

 02-22-2018, 03:35 PM
#68
More nice work!
You’re probably aware - but a dot to dot install is no guarantee of the valve events matching what’s on the cam card. Lot’s of variables and potential tolerance stacking can and frequently do cause surprises. I’ve seen dot to dot installs result in being as much as 6-8 degrees away from cam card valve events. You gonna measure p to v clearance?
You’re probably aware - but a dot to dot install is no guarantee of the valve events matching what’s on the cam card. Lot’s of variables and potential tolerance stacking can and frequently do cause surprises. I’ve seen dot to dot installs result in being as much as 6-8 degrees away from cam card valve events. You gonna measure p to v clearance?

 02-22-2018, 09:45 PM
#71
TECH Senior Member

The pistons are reversible side for side
02-23-2018, 08:42 AM
#76
Well, of course peak lift has virtually no bearing on p to v as the piston is well down the cylinder when the valve is open to peak. It's the exhaust closing event (as adjusted by VVT or otherwise) that's the issue -- as the piston chases the exhaust valve closed on the exhaust stroke. I've just never seen a set up so - asymmetrical (int vs exh). In any event, were I putting it together - I'd degree the cam to confirm/adjust the valve events to the cam card and then measure p to v....perhaps that's all in the future.
02-23-2018, 09:43 AM
#77
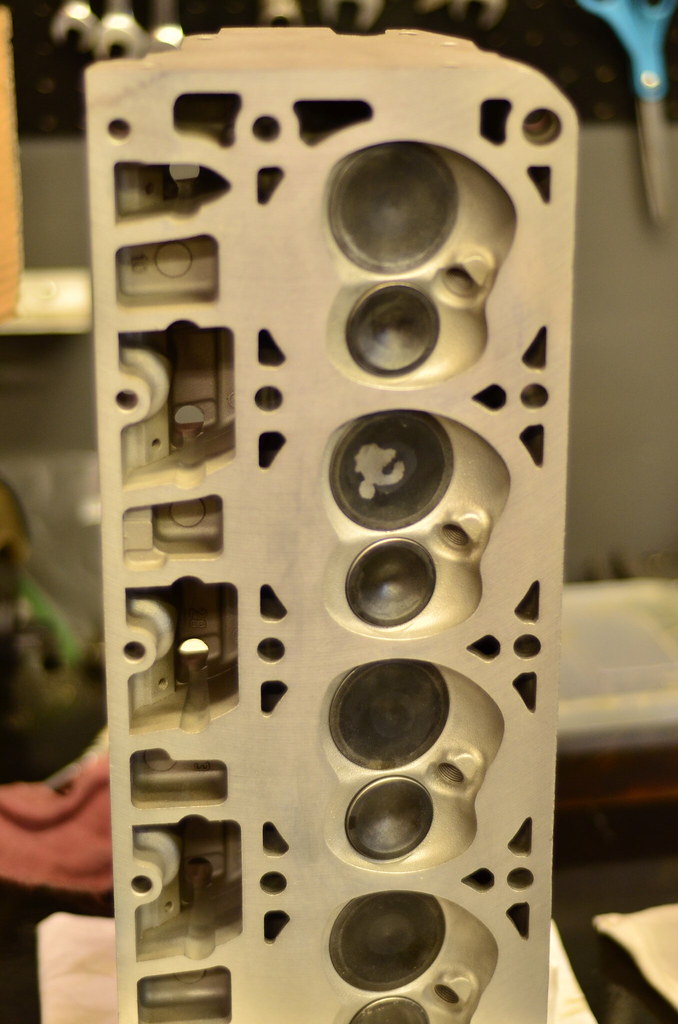
While the top end was getting put together I cleaned up a couple things.
Borrowed a friend's HF blast cabinet.

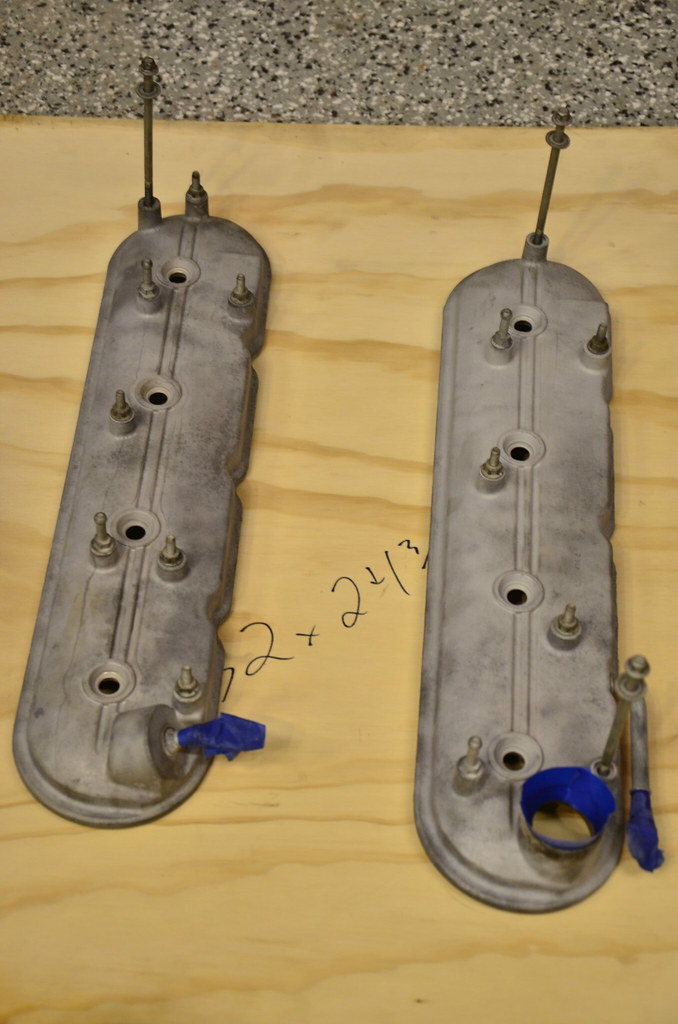
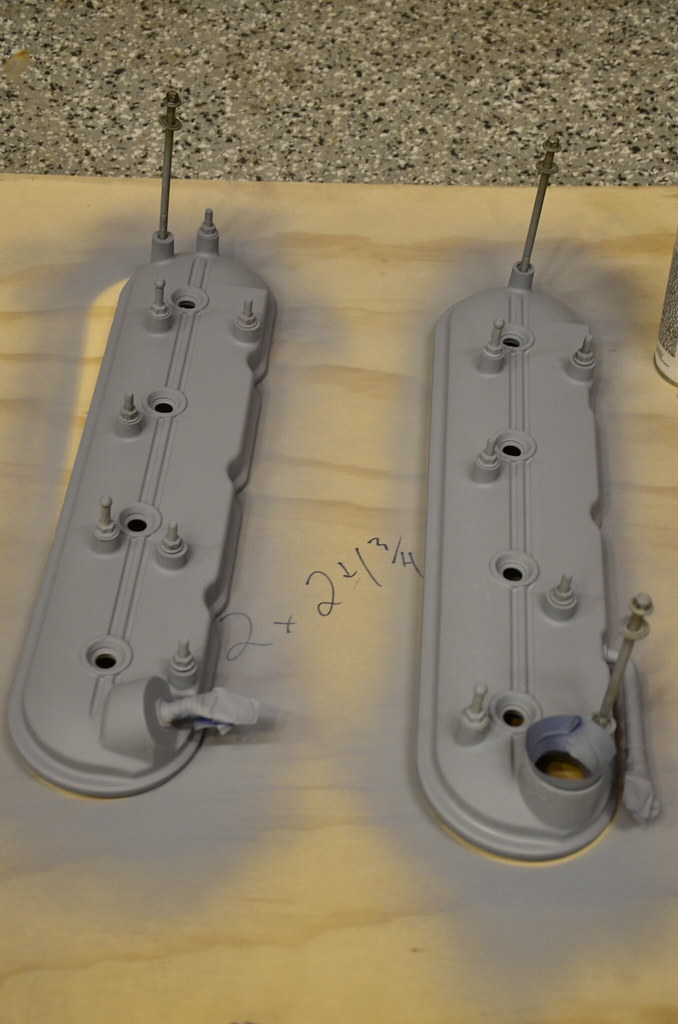
Valve cover bolts, before and after.

Valve covers after a bunch of blasting and scrubbing
High heat primer.
Used some old hardware to keep paint out of the threads.

I sprayed them with a nice VHT Wrinkle Red like I have on my LS6 intake manifold - makes for a nice pop without being tacky. Pics to come later
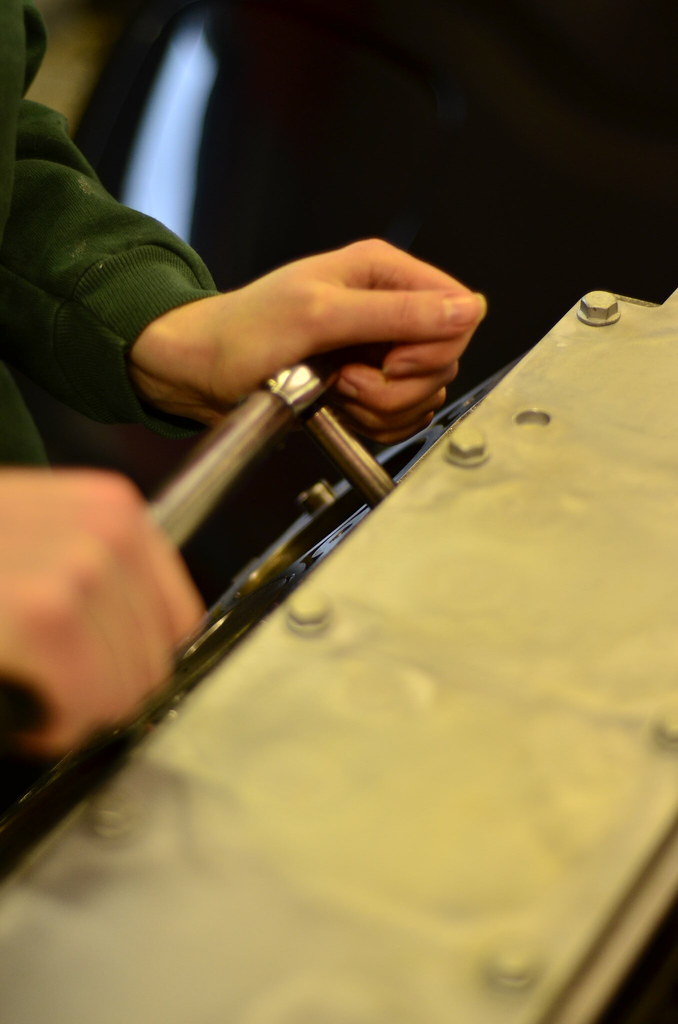
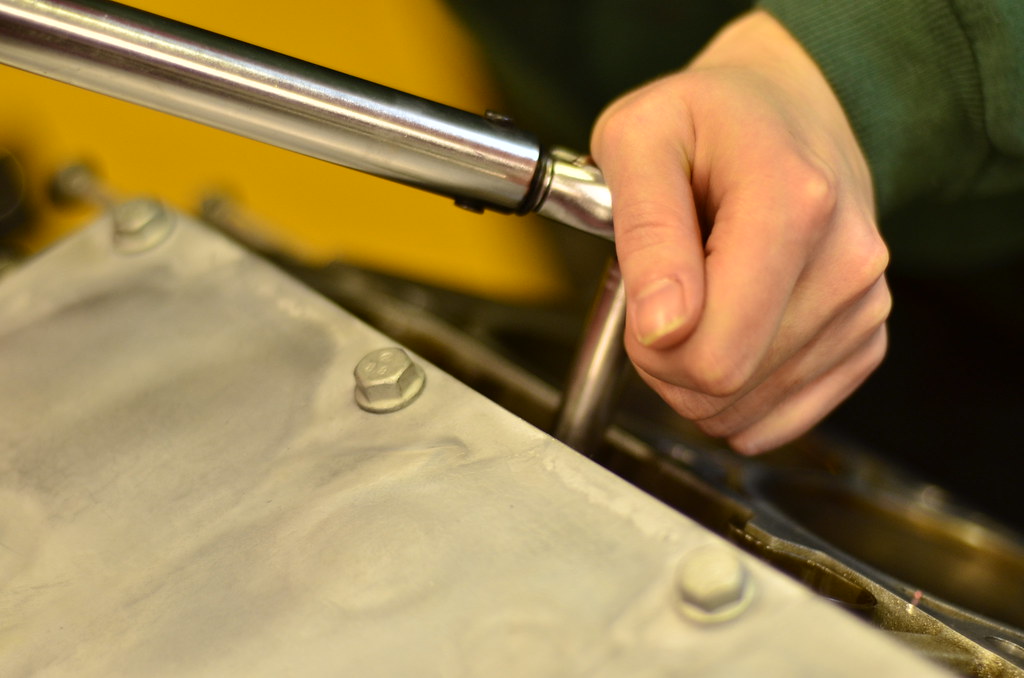
Checking for pushrod length. The 7.400" units that came with the cam kit ended up being the correct length.
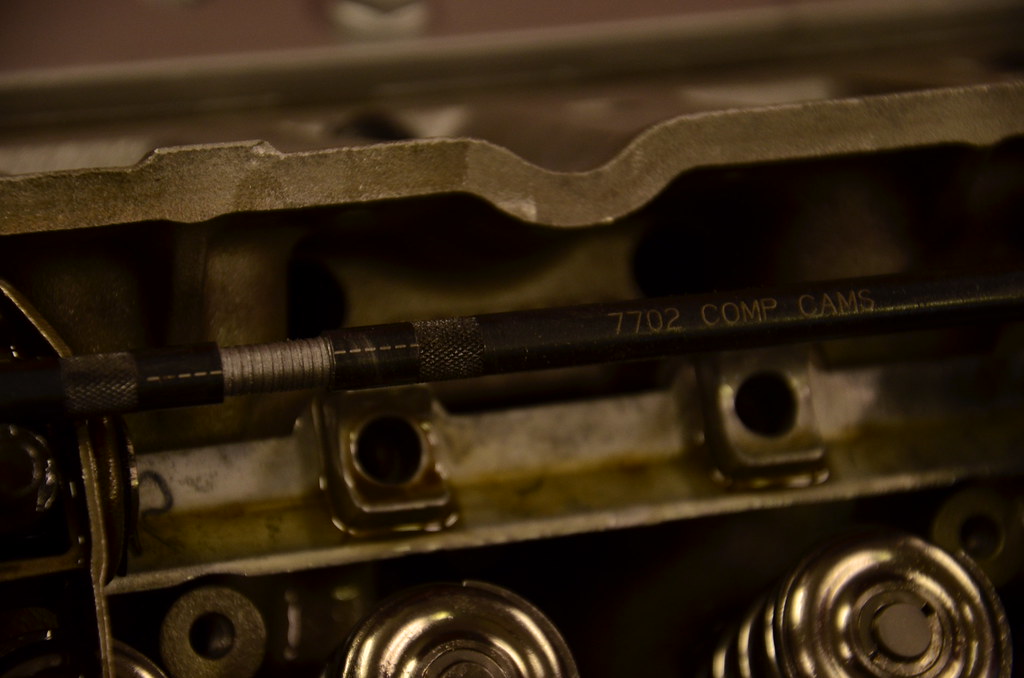
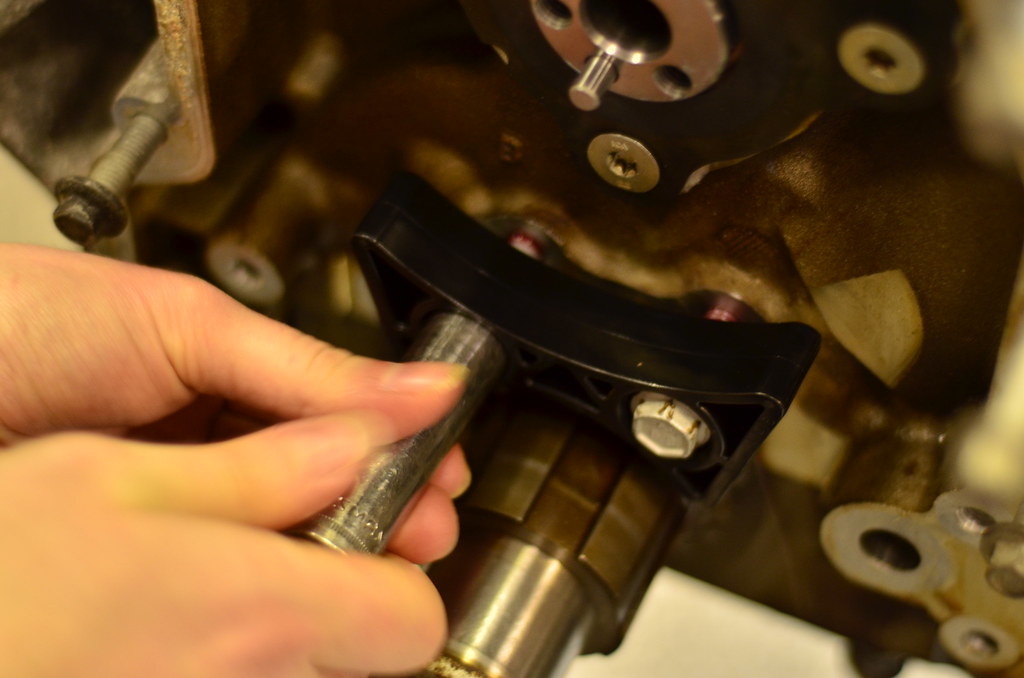
Engine got rotated to get each cylinder on the base circle of the cam (compression stroke) for both valves, and the stock rockers with BTR Trunion upgrade were torqued down with the goofy 8mm 12 point bolt.

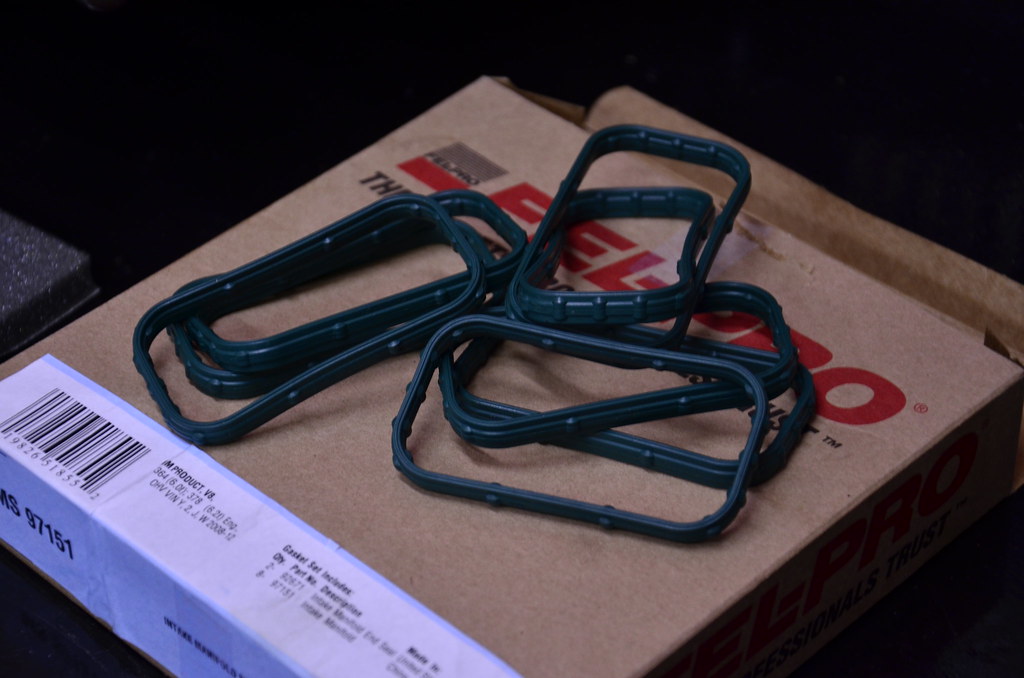
The new intake manifold gasket kit was picked up locally since I forgot to order it in my big blanket Rockauto order; it included the noise absorbing foam that goes under the intake.
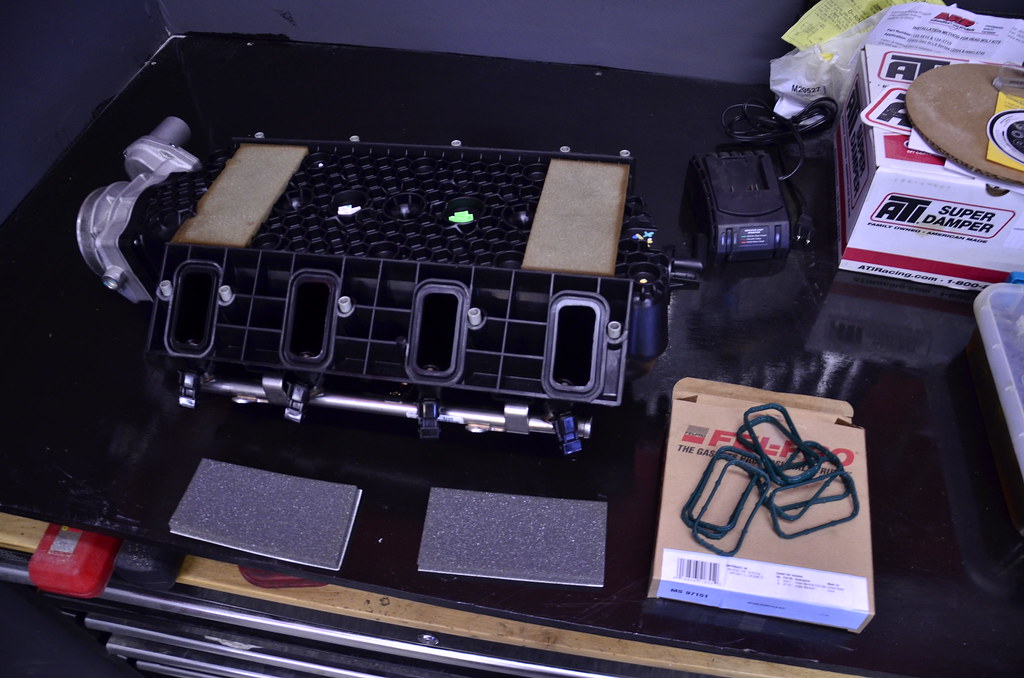
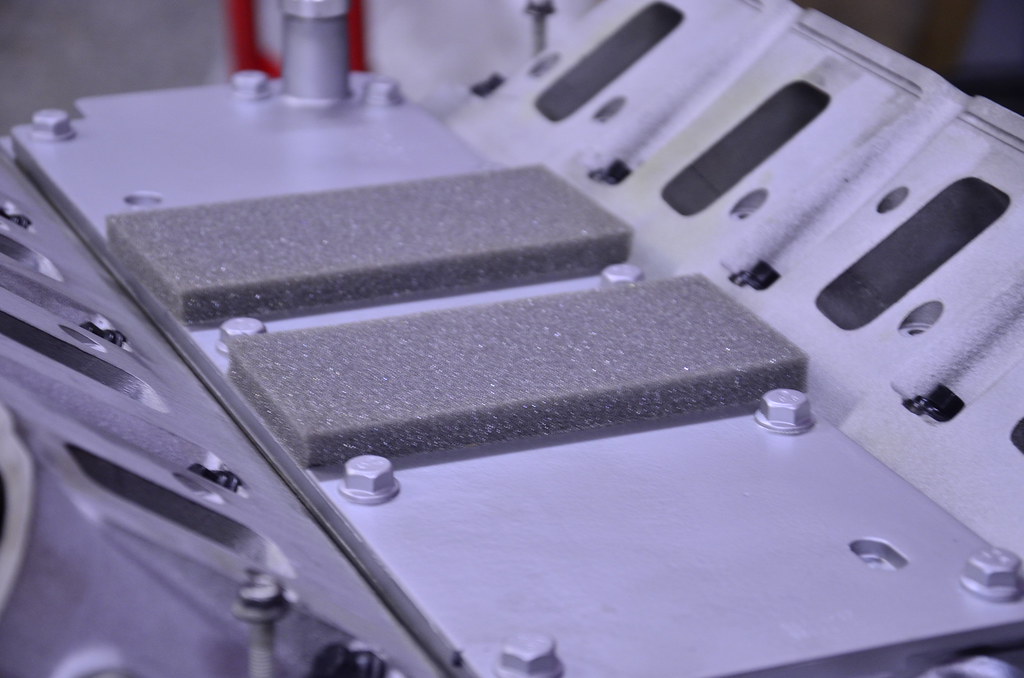
Since the foam on the old intake was still in great shape, I just applied the new foam to the valley cover in the blank areas from the intake. I am really hoping I can fit the LS3 acoustic cover to keep valvetrain noise down. Don't mind trimming the back a bit so that it doesn't hit the cowl.


The intake manifold bolts got dusted off in the blaster also. Before:

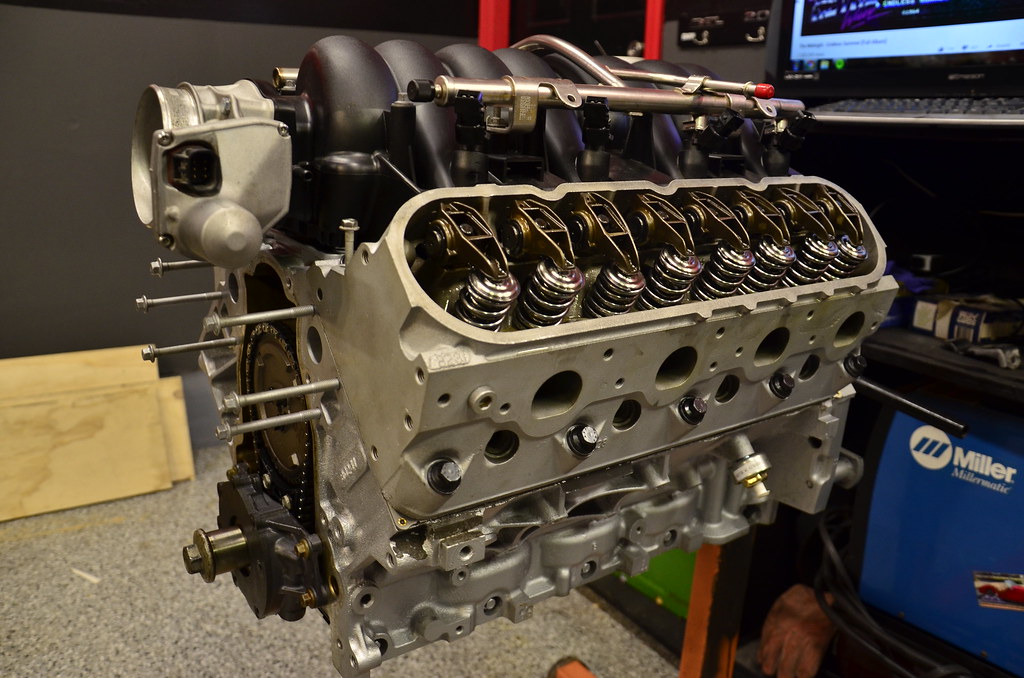
LS3 intake manifold on:

Borrowed a friend's HF blast cabinet.
Valve cover bolts, before and after.
Valve covers after a bunch of blasting and scrubbing
High heat primer.
Used some old hardware to keep paint out of the threads.
I sprayed them with a nice VHT Wrinkle Red like I have on my LS6 intake manifold - makes for a nice pop without being tacky. Pics to come later
Checking for pushrod length. The 7.400" units that came with the cam kit ended up being the correct length.
Engine got rotated to get each cylinder on the base circle of the cam (compression stroke) for both valves, and the stock rockers with BTR Trunion upgrade were torqued down with the goofy 8mm 12 point bolt.
The new intake manifold gasket kit was picked up locally since I forgot to order it in my big blanket Rockauto order; it included the noise absorbing foam that goes under the intake.
Since the foam on the old intake was still in great shape, I just applied the new foam to the valley cover in the blank areas from the intake. I am really hoping I can fit the LS3 acoustic cover to keep valvetrain noise down. Don't mind trimming the back a bit so that it doesn't hit the cowl.
The intake manifold bolts got dusted off in the blaster also. Before:
LS3 intake manifold on:
02-23-2018, 10:00 AM
#78
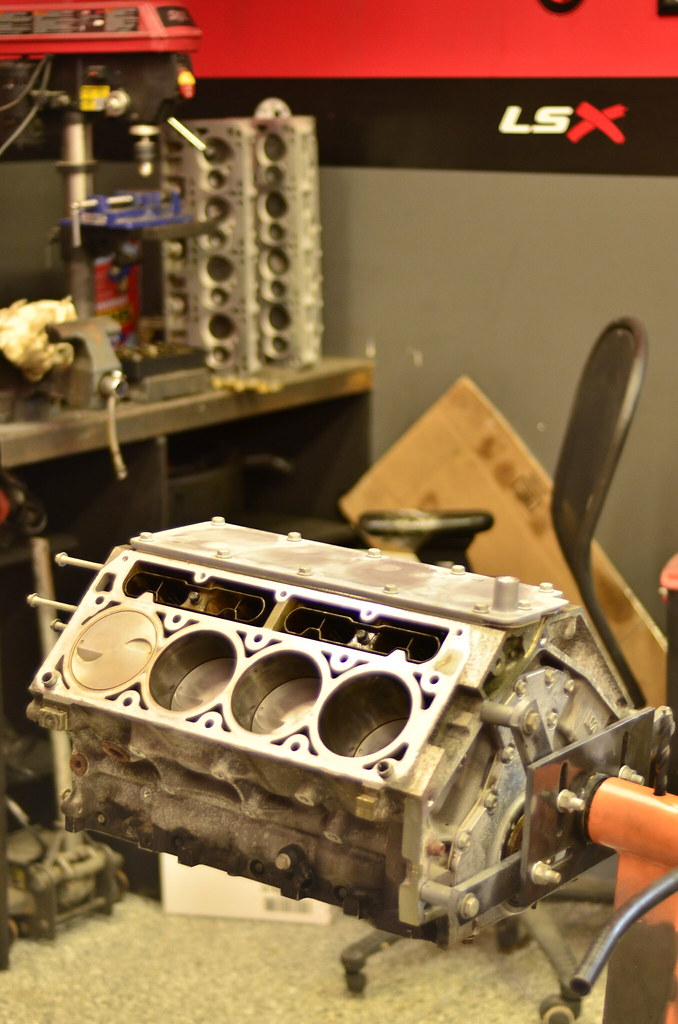
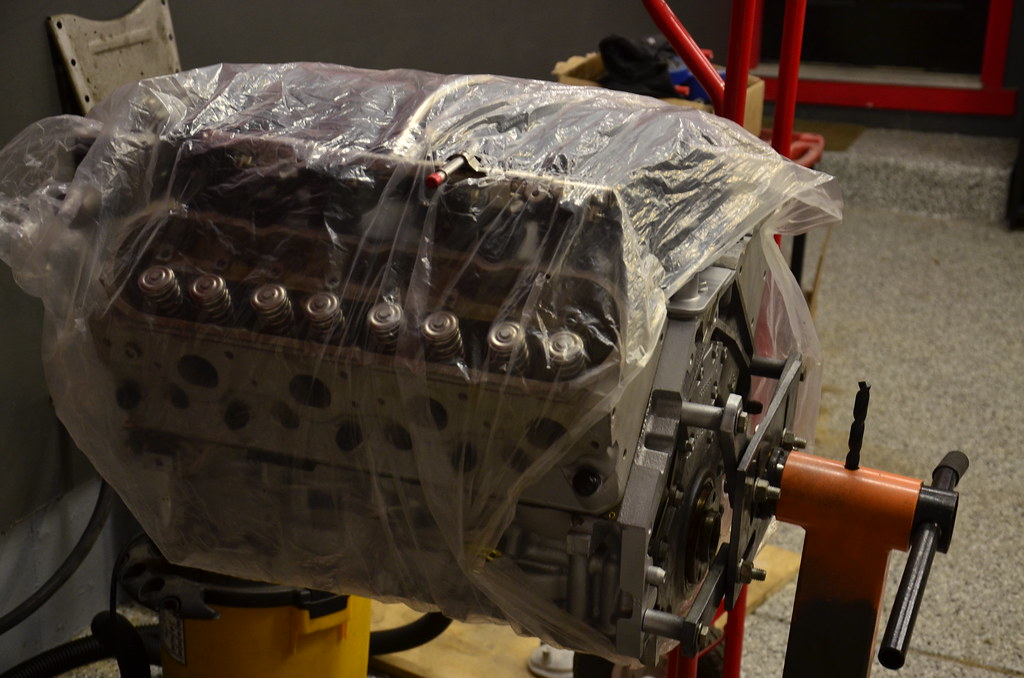
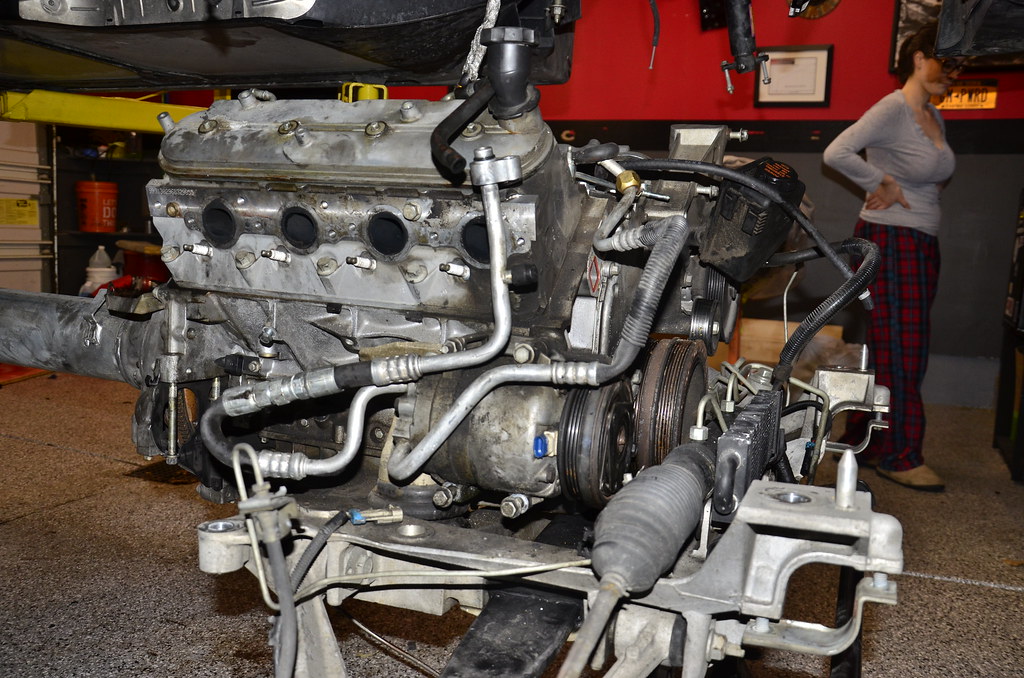
That's as far as I could get on the motor for the day, so I wrapped it up and shoved it out of the way
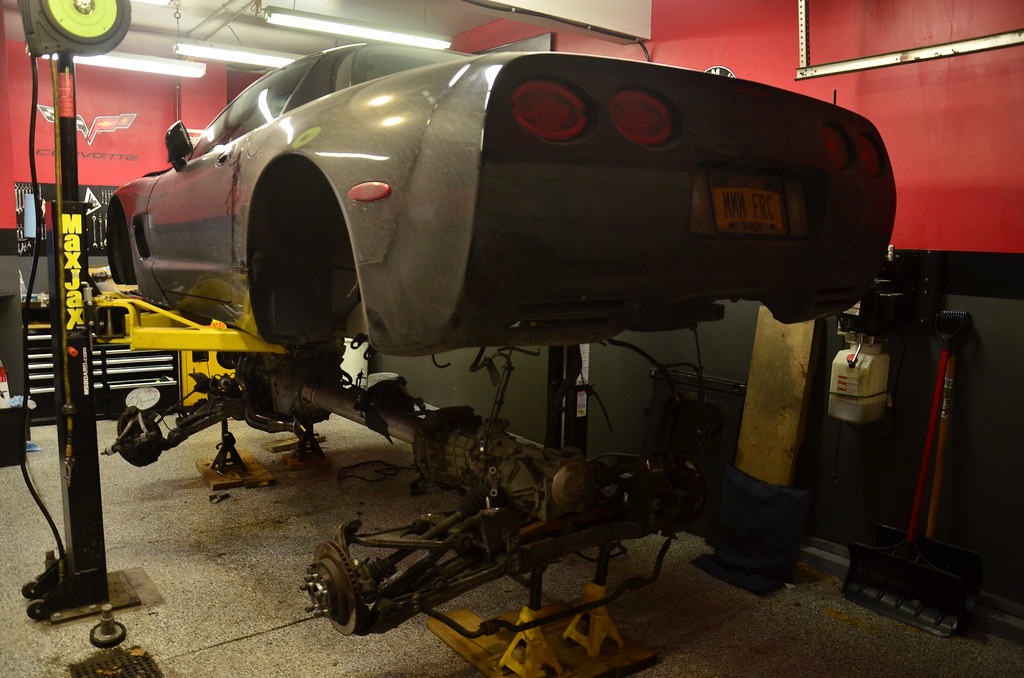
The car went up on the lift and I started to tear it down. From a running, driving car to drivetrain out, it took me about 20 hours going slowly and labeling connections, taking notes about every disconnected wire, bolt, etc.

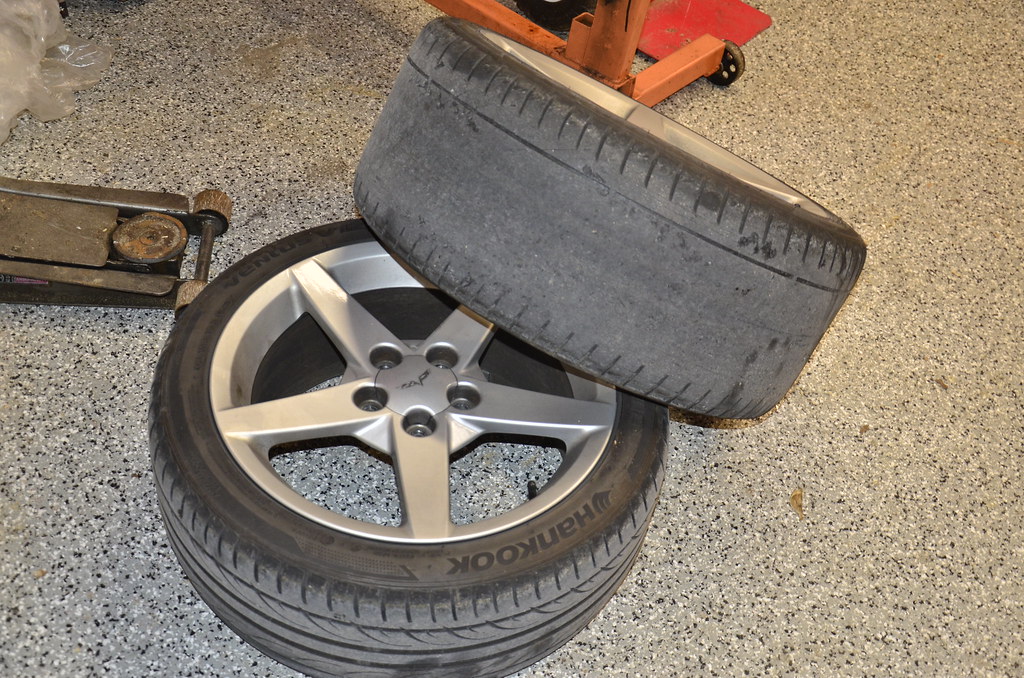
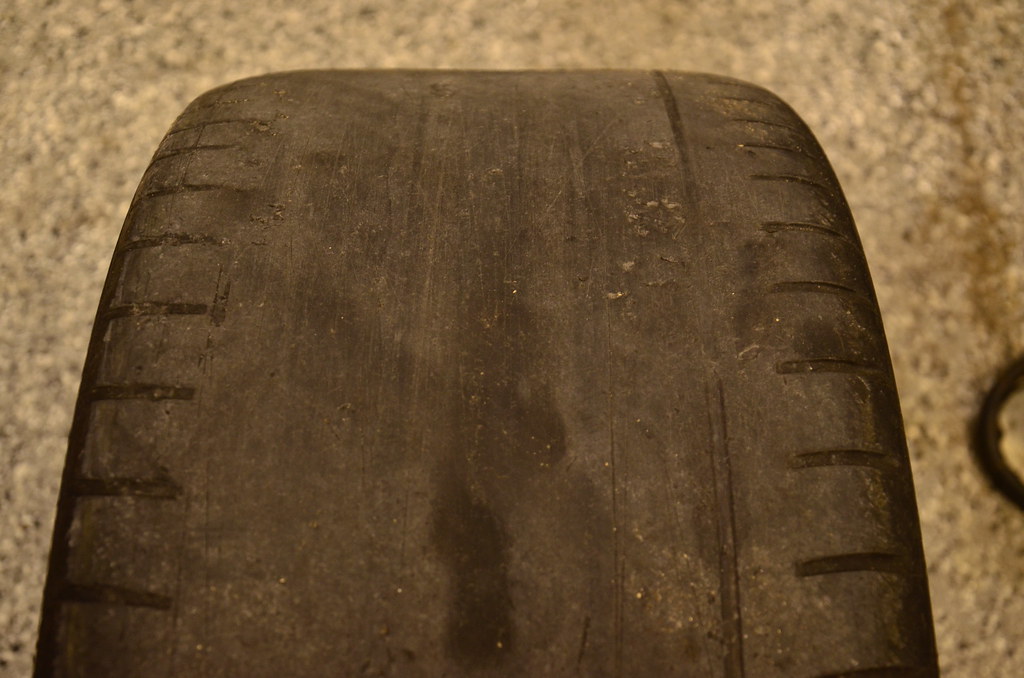
Rear tires are ready for a couple more months of use. These are Hankook Ventus V12s in a 285/35/19 and make for a great street tire. I even ran a few track days on them.
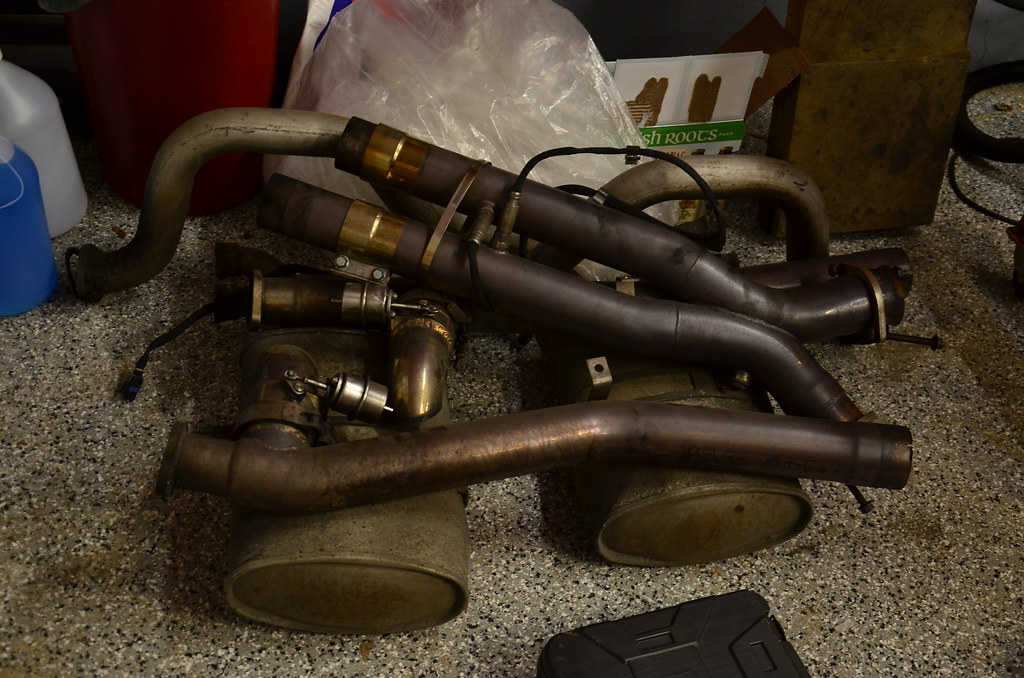
Exhaust components removed. Once I have the car up and running I'll be relocating the cutouts to the rear mufflers to do a "bypass mod on demand".
Finally:
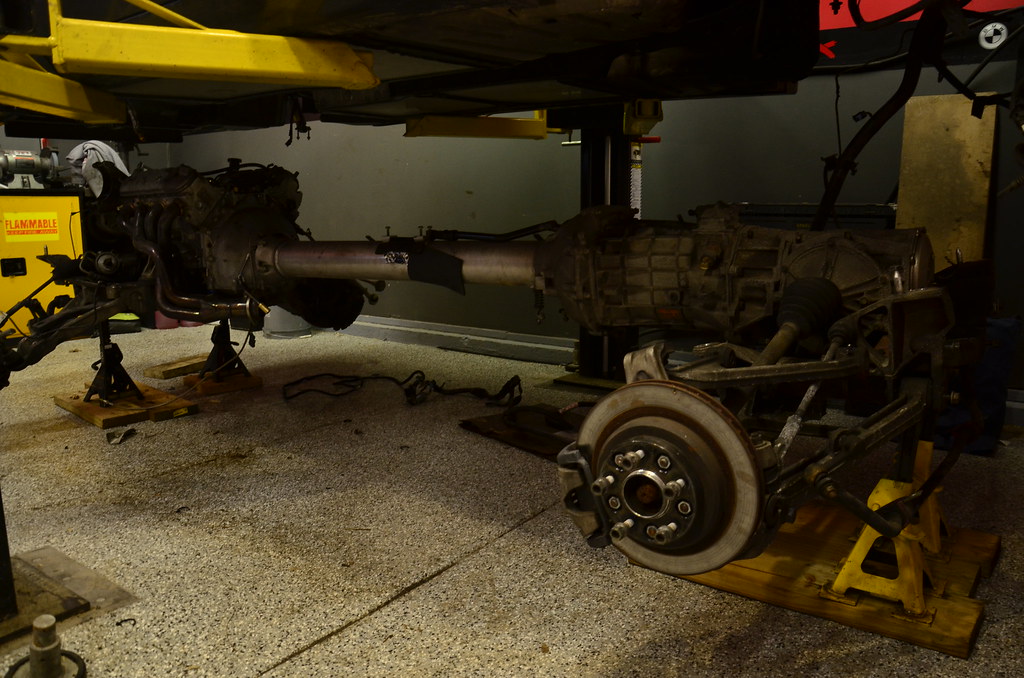


Just some notes about dropping the drivetrain:
-It's easier to disconnect the rear diff, trans, and torque tube harness underneath the battery box and let them drop with the drivetrain than it is to leave them with the car.
-I left the EBCM/ABS module attached to the body (tied up with a string) but disconnected the brake line leading to the RF wheel so that I didn't have to remove the steering rack.
-If I was only doing the engine swap I would have probably pulled the engine alone, out the top. However, since I need to replace my whining 4.10s, I thought it would be easier to drop the whole assembly.
That brings us to current day progress.
-My passenger inner half shaft rubber boot is leaking, I need to replace it.
-Need to measure the depth of the Y-Body LS1 balancer against the ATI Super Damper I bought and make sure it's the same.
-Need to remove the batwing oil pan, clean it thoroughly, install the Improved Racing trap door baffles and Oil Cooler Thermostat block.
-AC condenser and radiator need to be pressure washed.
-My garage is a mess.
The car went up on the lift and I started to tear it down. From a running, driving car to drivetrain out, it took me about 20 hours going slowly and labeling connections, taking notes about every disconnected wire, bolt, etc.
Rear tires are ready for a couple more months of use. These are Hankook Ventus V12s in a 285/35/19 and make for a great street tire. I even ran a few track days on them.
Exhaust components removed. Once I have the car up and running I'll be relocating the cutouts to the rear mufflers to do a "bypass mod on demand".
Finally:
Just some notes about dropping the drivetrain:
-It's easier to disconnect the rear diff, trans, and torque tube harness underneath the battery box and let them drop with the drivetrain than it is to leave them with the car.
-I left the EBCM/ABS module attached to the body (tied up with a string) but disconnected the brake line leading to the RF wheel so that I didn't have to remove the steering rack.
-If I was only doing the engine swap I would have probably pulled the engine alone, out the top. However, since I need to replace my whining 4.10s, I thought it would be easier to drop the whole assembly.
That brings us to current day progress.
-My passenger inner half shaft rubber boot is leaking, I need to replace it.
-Need to measure the depth of the Y-Body LS1 balancer against the ATI Super Damper I bought and make sure it's the same.
-Need to remove the batwing oil pan, clean it thoroughly, install the Improved Racing trap door baffles and Oil Cooler Thermostat block.
-AC condenser and radiator need to be pressure washed.
-My garage is a mess.