When you click on links to various merchants on this site and make a purchase, this can result in this site earning a commission. Affiliate programs and affiliations include, but are not limited to, the eBay Partner Network.
So you're bringing it to cruisin' the coast or do you live in the area?
We're driving my 55 over from Texas, should be there on the 3rd. Staying in Biloxi.
My in-laws live in Pass Christian, I'm a MSplaced Texan. They have a small plot that a friend lets them camp out on, just East of 49. Pretty good spot, right on 90 and near the stoplight in front of the hotel where everyone "loses traction" fairly regularly. I'll plan to see you out there!
My in-laws live in Pass Christian, I'm a MSplaced Texan. They have a small plot that a friend lets them camp out on, just East of 49. Pretty good spot, right on 90 and near the stoplight in front of the hotel where everyone "loses traction" fairly regularly. I'll plan to see you out there!
I can (unofficially) now say the wiring is complete on the chassis/body! The PCM harness is tied in, the PSI conversions fuse block mounted, wiring loomed, alternator rewired for 4 pin vs 2 pin, and even the battery cable ends are soldered in place. Doesn't look like a lot, but I think that's part of the objective of wiring... I don't WANT to see a whole bunch.
Also, the seat covers are removed from the existing rear bench seat and they're on their way to Cali for replication of the work done on the front seats. Meanwhile, my mother tried a few samples of the materials on her machine to see if it's feasible to attempt the upholstery for the door cards and console. Looks promising, some material walk, but we should be able to work with this. Taking apart the frame for some refurbishment and powdering.
I discovered this weekend I lied to myself last week when I said the body harness was finished... I had ignored 5 wires associated with the HVAC as well as the HVAC harness from the inside unit. I figured I'd get the car running and address them later, but then realized a couple had to do with the radiator fans. When I went to wire the fan relays, I realized this was the appropriate time to address it. So, I blew a few hours on that and knocked it out. HVAC, fan relays and "ambient lighting" under the seats are all done. Also, I bought a GPS module for the Dakota Digital gauge cluster and mounted both the GPS portion and the cluster IO controller.
Big thanks to my little helper!
Also, I test fit the hydroboost lines. Since I measured for those lines, I've added brake lines and 2" worth of wiring harness in roughly the same area. Fortunately, it looks like they should be able to avoid any serious interference. I installed a dash speaker. That shouldn't be listed as an accomplishment, but the first speaker I bought had no chance of fitting. This second one had several interference points and I made it fit. All those companies out there claiming a drop in are lying, and I don't appreciate it. Sid helped (or did all the work) installing carpet on the wheel well humps, looks nice! And finally, it's become somewhat a tradition that I end my weekend car work by messing with the 61 year old back seat. Here's how the bottom portion looks now, it'll definitely require a new base board but that spring looks like a good candidate for a blast and a satin black powder coat job!
Thanks, gents! Mom brings him out a couple times a day when I'm on it, he likes sitting in car seats. Too early to tell, but we'll make sure he knows lefty loosey from righty tighty when he grows up.
Yesterday I had a nice surprise, locospl made his way over and we took the opportunity to take care of the steering shaft. The Unisteer rack and pinion limited adjustment of the rack input, we have it rocked all the way back. Meanwhile, the steering column has some adjustment, but the header primaries on 3 and 5 limit how far back the shaft can go. All in the balance was whether the upper u-joint would bind... there was some rubbing and the wheel wasn't smooth. In the end, there were many test fits with me under the column pulling it in and out, up and down and every which way to get the angle to be right to avoid binding while clearing the primaries. And that left me with the shaft about 1.75" short. So, locospl made a couple cuts, mocked it up and welded it out. We ended up cutting 1" to remove the existing notch and adding 3" from a remaining piece at the shop. A couple more test fits and trims, and it's just right. After we were set, I counter sunk some set screw recesses, blasted it and powder coated it satin black. It was cooling when we left... thanks, locospl!
Cruisin the Coast is looming, so more work. The whole family is getting involved! My lovely wife traced the new door cards and designed an insert for my mom to sew. My father in law is good with wood, so he replicated the existing seat bases with fresh plywood... no easy task, there are plenty of holes, counter sinks and notches associated with supporting brackets. No pics of the father in law in action, you don't want to see that.
Meanwhile, I finished the body mounts. So much metal... wish the factory had thought to leave notches to access the nut, should it ever seize or strip. In the end, 3 of the mounts required removing broken bolts and extracting the nut.
Also, the guy who lengthened my steering shaft pointed out a potential issue with the hydroboost. He said my brakes could drag if I vent the boost unit to the same line that feeds back to the reservoir as the return from the steering cooler. I had them Teed and returning to the Corvette reservoir by the factory nipple, 3/8". He talked me into it, and I ordered a Concept One hydroboost reservoir with dual returns. Should be a nice piece.
And the hard brake lines are beating me. Previously, I thought CuNi lines were the good stuff with how easy they were to work. However, when every fitting leaked, I decided to replace them. I bought stainless tubing... never worked with it before, and now I know why it's not used more commonly. I could not get a double flare with the Rigid tool for my life, the tube always slipped out. After having it slip out of the clamp on the bench vise, I gave up and ordered CS zinc coated lines. Not pretty, but I will have other stuff to look at rather than brake lines. With no brake line pictures, here are some other pictures I haven't posted. Also, brake lights and bumper corners loosely installed to ensure wiring was sufficient.
What problems did you experience with the NiCopp lines? I've had excellent luck with them. New flares can leak if they are not perfect, but also sometimes they just need to be snugged up more.
Stainless is very hard to work with. It is almost impossible to do a double flare with a hand held flaring tool. Stainless work hardens, which makes it hard to work with. I have stainless lines on my GTO and almost every fitting leaked when I first filled the brake system. A little extra tightening fixed it.
Andrew
The CuNi line flares broke on each one, either during flaring (a few times) or when installed. I suspect the Rigid flaring tool isn't the best and blame it a little, as well as my own "calibrated" application of torque. Truthfully, I'm usually pretty soft on brake line nuts, but I'm clearly breaking these flares. I've had success in the past with CS, I just wanted to try something new. Showed me...
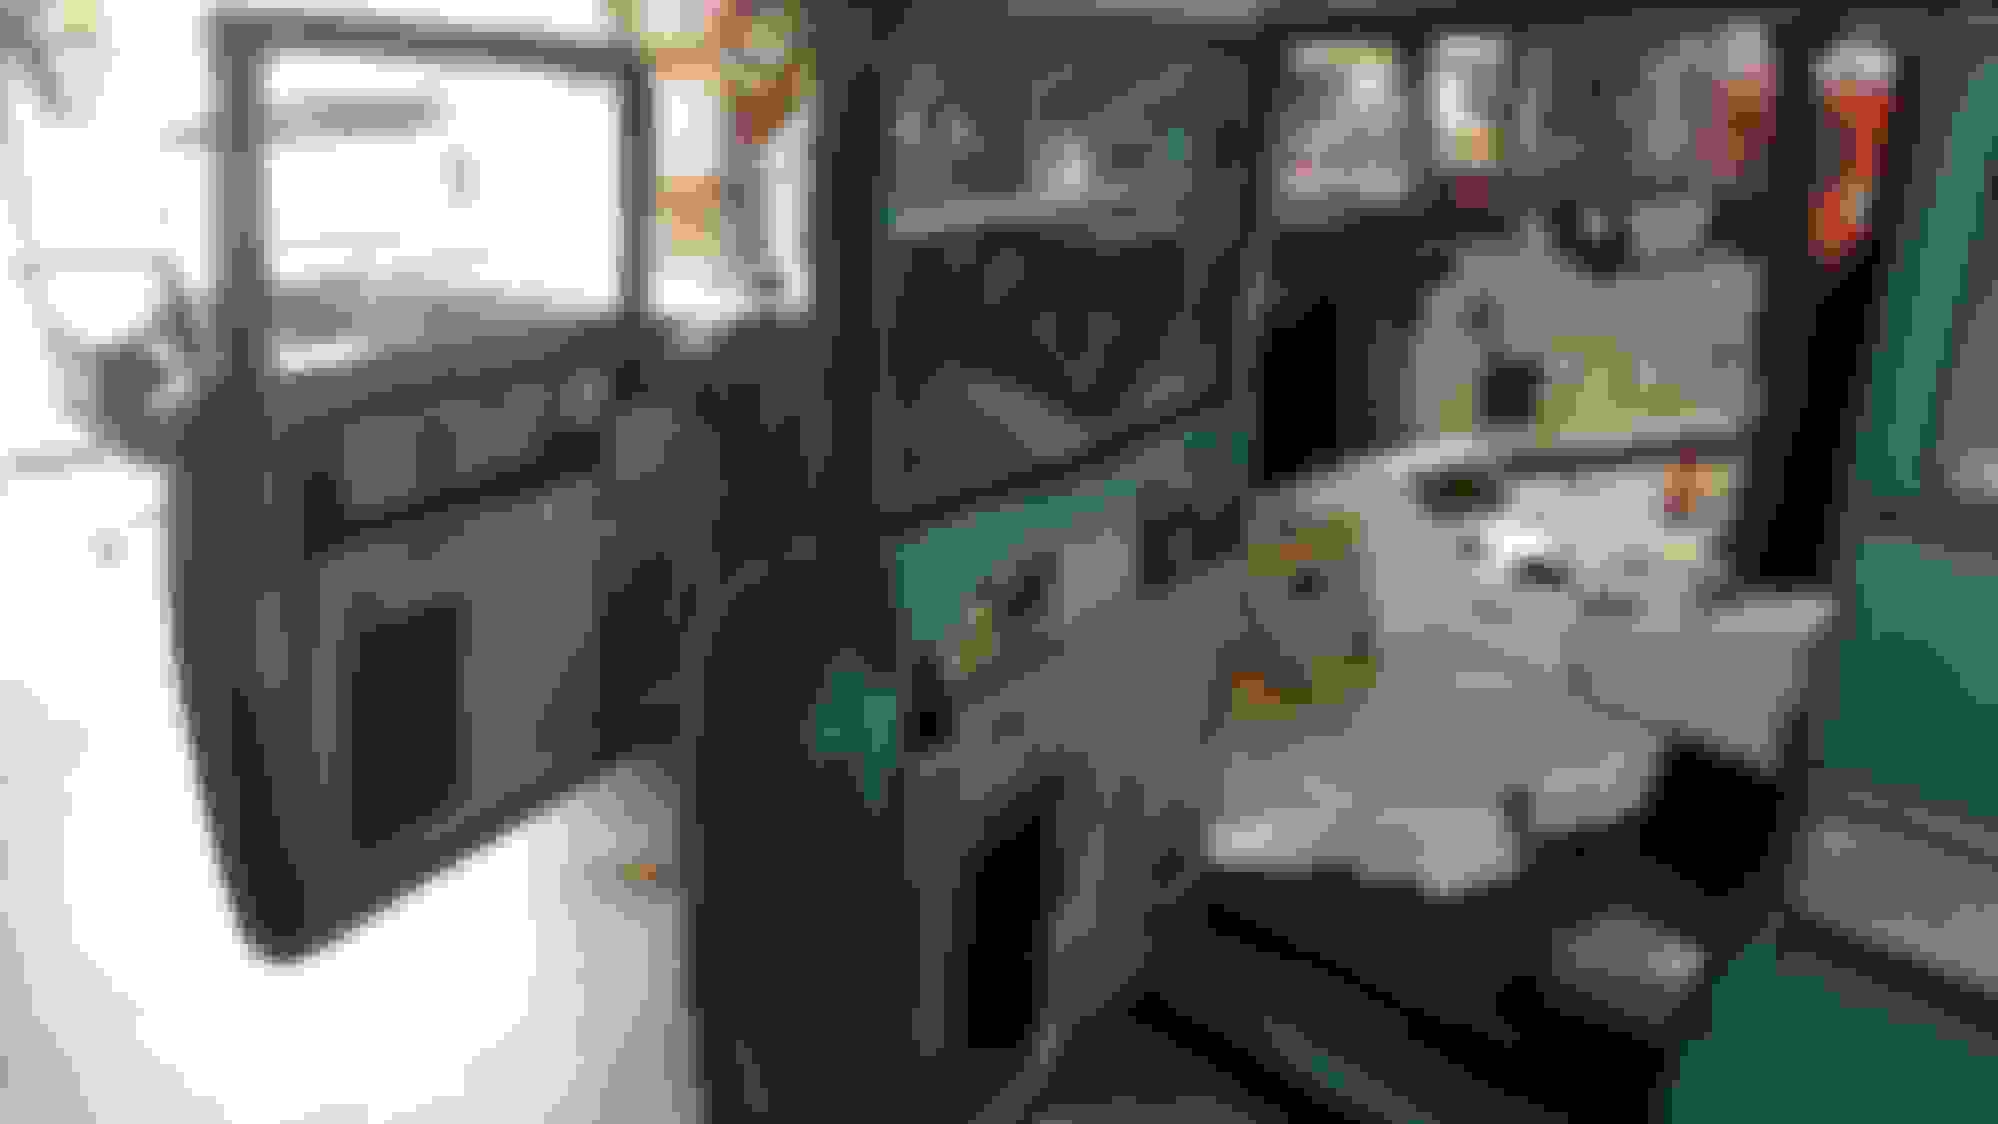
The shop isn't mine, and occasionally, I'm kicked off the lift. This weekend was such an occurrence. Not a problem, plenty to take care of off the lift. I spent entirely too much time making brackets to mount the turn signal/parking lights. Lots of test fit and trimming, but I'm pleased with it for now. Only thing I wish it incorporated was some form of a bumper for vibration, but it's pretty solid in there. The GPS antenna for the speedometer is mounted on the glass, along with the powered radio antenna. The wires are tucked in place and connected under the dash. The instrument cluster is in for now as well.
New weather stripping on all 4 doors, the lift gate and tailgate, and the hood cowl. The stuff wasn't the worst to work with, but it wasn't exactly easy. It's a rubber gasket with nylon tabs that pivot inside more than I like. The pivot made lining up the tabs for a solid insert pretty tough. I added some weatherstrip adhesive, but due to the uncertainty in the tabs, I ordered another tube and will dedicate it to following all the already installed stripping to make sure it's good.
I redid the hard brake lines for the 3rd time, and installed all but the 93" long one running to the back brakes. I feel a lot more confident in these lines, making sure the tool didn't slip and the resistance "felt" right... well, as I would have expected. I took a look at some of the flares on the lines removed, they didn't appear broken, just uneven. Maybe slipping? The new flares look better IMO. Maybe next week I'll be allowed back on the lift to remove the trans and motor, then thrash through the final stretch!
What flare tool are you using? I used the Eastwood tool and while quite expensive I didn't have a single issue with any of the flares I did. Like you I also re-did every line on the car.
What flare tool are you using? I used the Eastwood tool and while quite expensive I didn't have a single issue with any of the flares I did. Like you I also re-did every line on the car.
No idea what tool I'm using, but it worked on every flare on my ABS delete for my Hombre and Camaro. As mentioned, switching to the CS tubing made it feel a lot more familiar and I'm more confident in those flares. Nonetheless, I looked up the Eastwood and looked around. Jegs runs a "10% off" sale occasionally, and I bought their tool (looks identical with good reviews) during this week's sale. For future use, and it had BETTER not be on this car!
I'm making a habit of using 1 week day night a week for powder coating to keep my Saturdays open for the car. I work a 9-80 schedule, giving me every other Friday off to work on the car. This is relevant... including tomorrow (Saturday), I have 13 "working" days to get the car driving for Cruisin the Coast. Yikes! At least one of those days, maybe two, are ear marked for upholstery as my parents are coming in to help with it. That's 11ish days if I maintain the current work schedule.
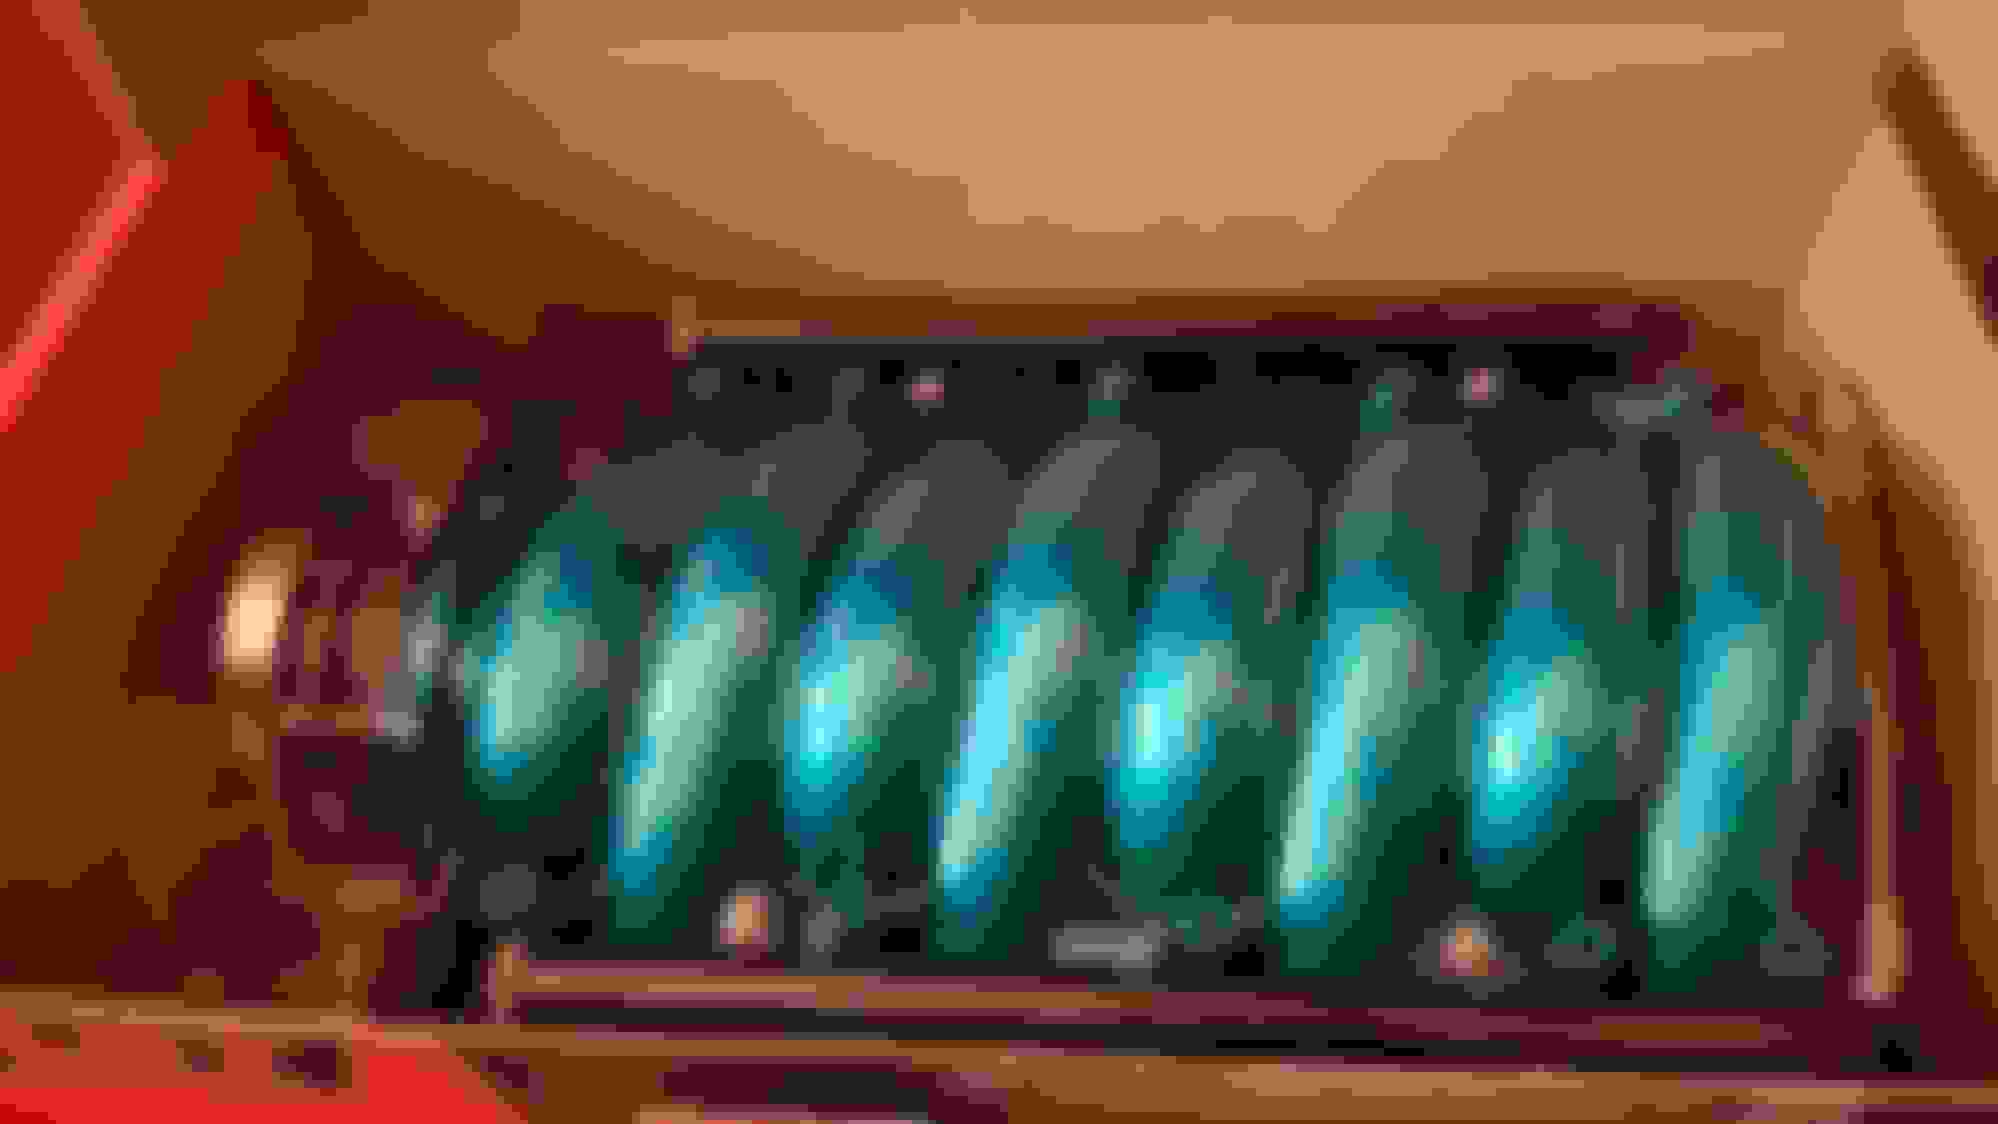
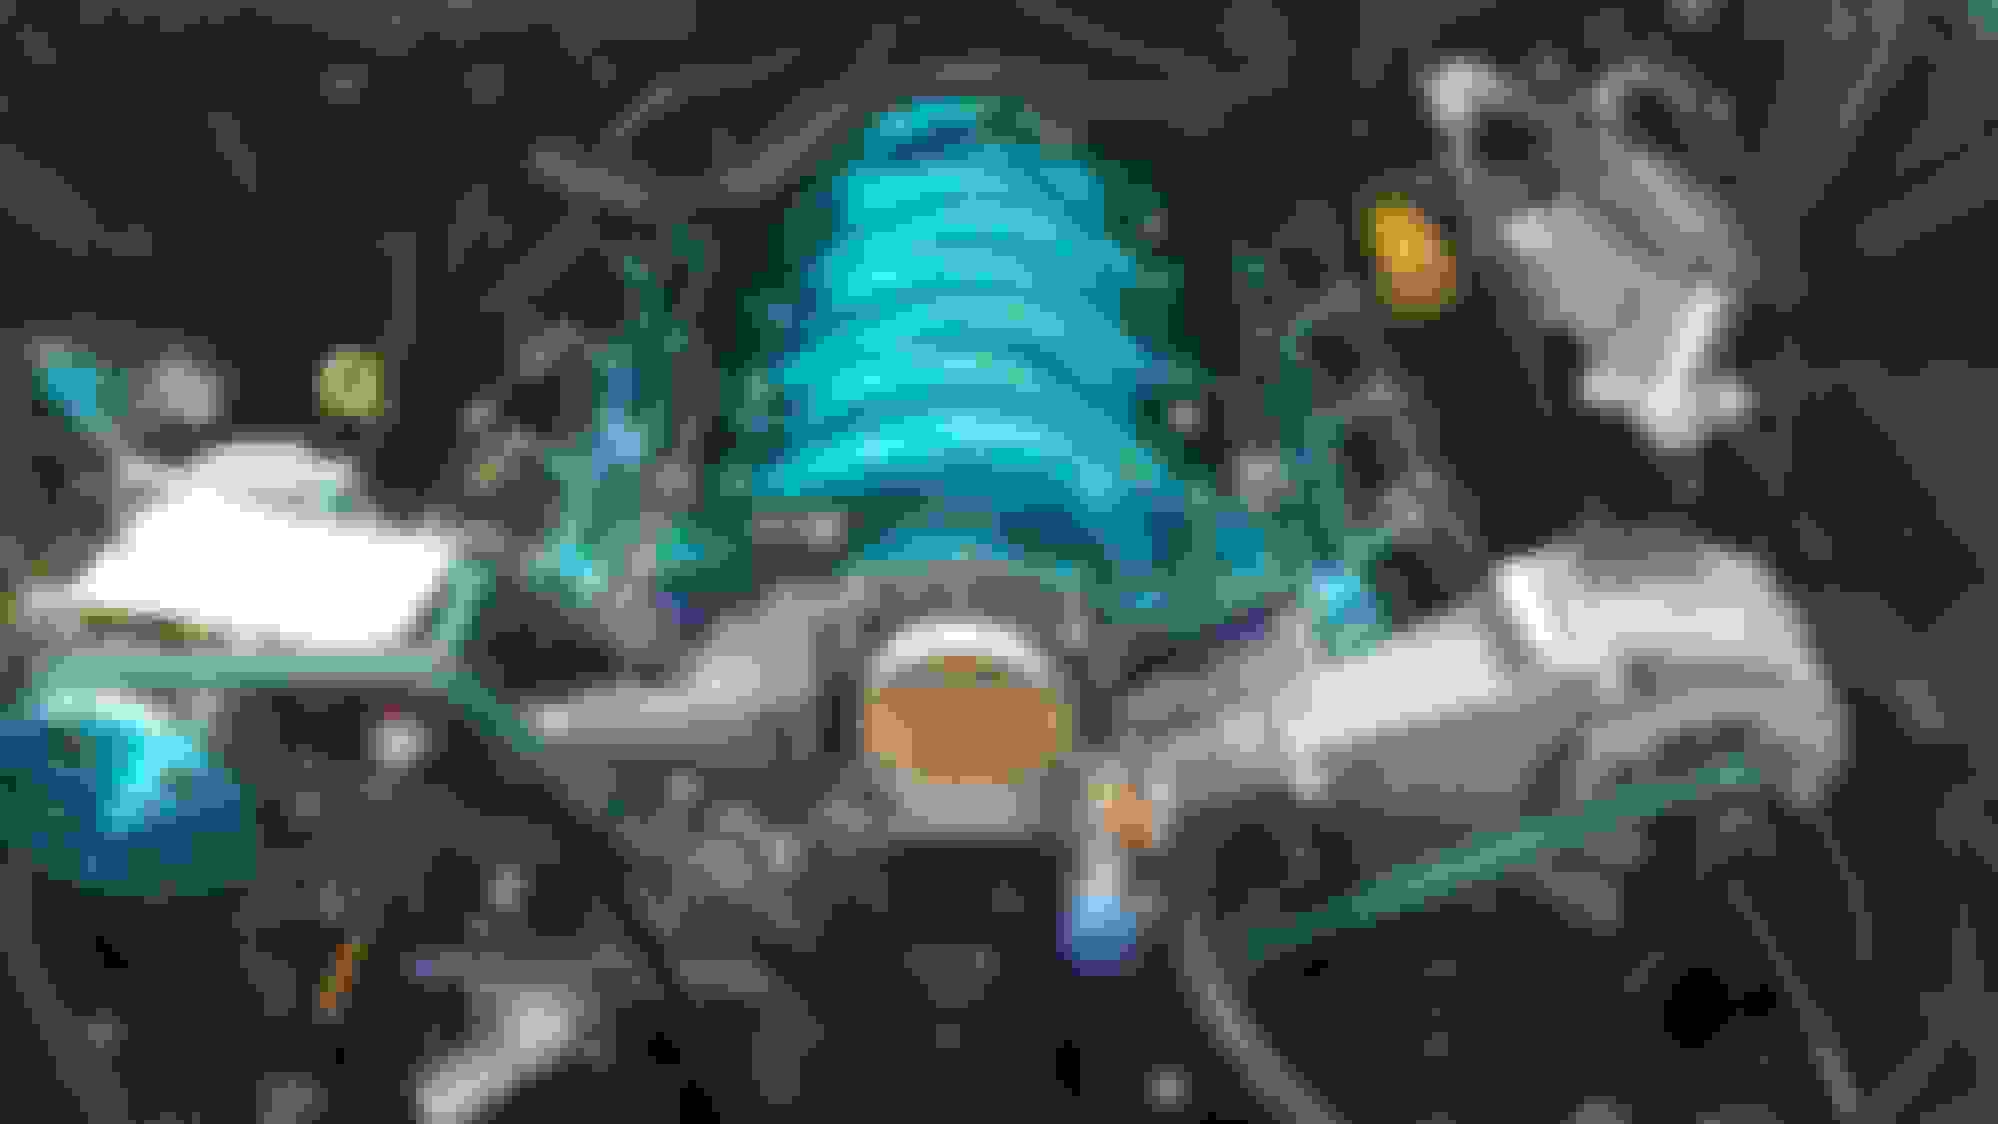
So as mentioned, powdering happens on work nights now. I have a box for staging parts to be coated in the shop, and the box was getting full, so I took a chunk out last night. Most of the steel brackets in the rear seats are no longer rust brown but gloss black. Some of the stainless seat framing and the rear view mirror is now gunmetal. The switch bezels, hood rockets and PS reservoir are now candy teal. And I did a koozie for a customer while I had the equipment out and the ovens hot. The black and grey isn't all that appealing, they're brackets and trim. The candy teal deserves a pic, though! And the koozie for giggles.
Also, received some AN fittings and lines to finish the Trans cooler and PS reservoir lines.
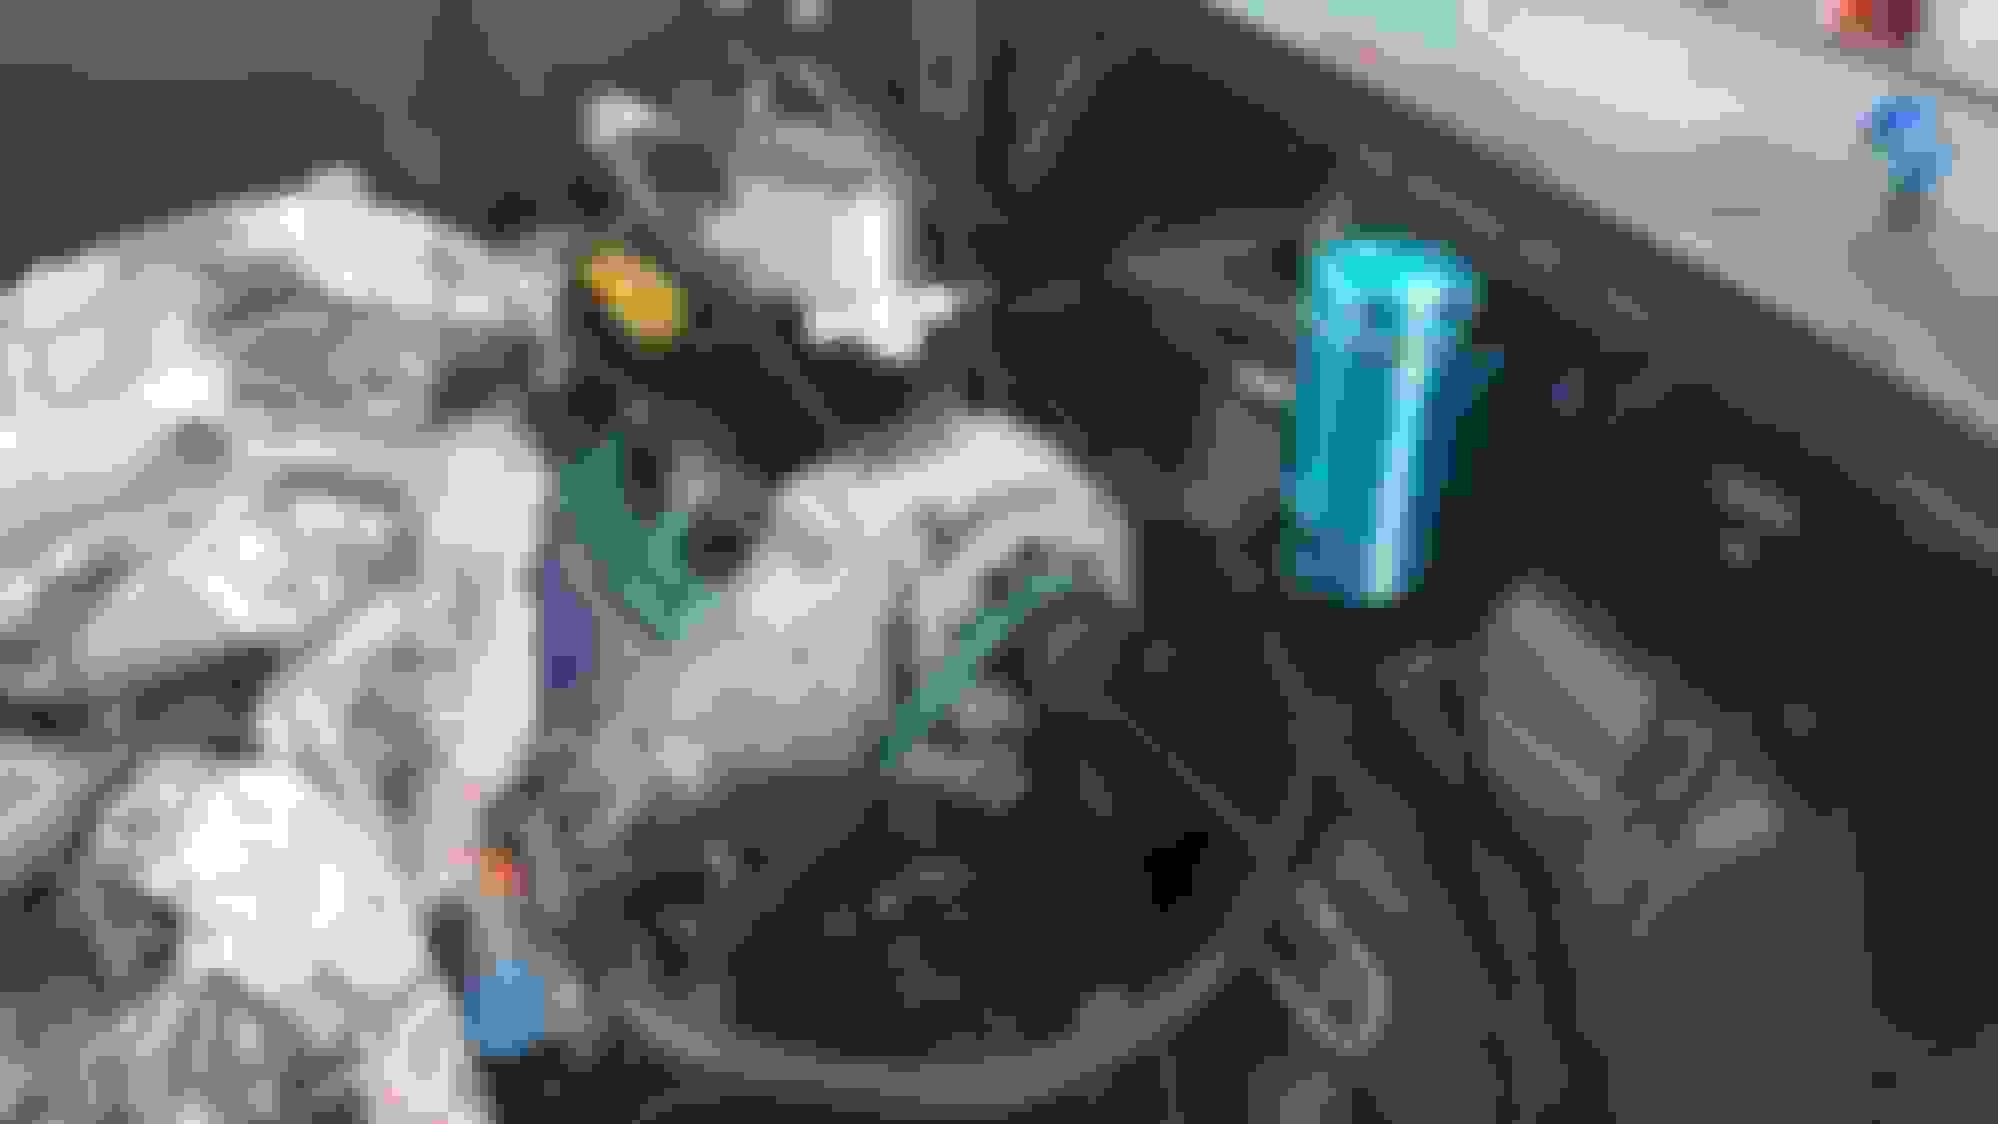
Lots of items marked off the list this weekend. First, the PS reservoir is mounted with lines for hydroboost return, PS rack/cooler return and pump supply. Next, I added the banjo bolts for the PS lines at the rack and oriented them, then tightened all the lines except the one from the pump to the boost. Also, I had the intake out, so I gave it a nice little test fit. Next, the trans and motor were removed to do engine bay stuff and for the oil pan swap. The oil pan was swapped from the GM Muscle Car kit to the Holley 302-1. The toughest part was getting the girdle off the oil pump pickup, not a bad thing IMO. The shifter was installed, and I wrapped up the day by replacing the brake line from front to back and the three lines associated with the rear end. I like the route a lot more now. Next up is welding up holes in the engine bay, some details that are best done with the engine out, put it back in and hopefully crank it up!


 07-09-2018, 12:10 PM