When you click on links to various merchants on this site and make a purchase, this can result in this site earning a commission. Affiliate programs and affiliations include, but are not limited to, the eBay Partner Network.
As the title says the car is a 1988 Mustang LX Notch my brother and I are building this year. We previously had an 82 GT hatch roller we were going to build but it needed more paint and bodywork then we wanted to tackle aside doing the engine, trans, rear end, cage and so on... So we picked this roller up for a pretty good price local. out intentions are to do a 370" twin turbo forged motor with either a TH400 or 4l80e behind it and controlled with an MS3Pro
. Undecided on the trans yet since we do want to participate in drag week and street drive the car on occasion. Goals are to make in the neighborhood of 1200-1400 RWHP on E85 and water meth. We picked up 10 sticks of 1.625" Chromoly tubing from AED motorsports for the cage and tubular front end (yes we know we will not need all that for what we are doing it was a good price lol) We have a full team z k member and front suspension setup to go under it with a strange manual brake master cylinder kit and manual rack. We are shooting to keep the car under 2800 lbs it has a glasstek bolt on hood and everything else is OEM. We intend to do all the 25.5 C required bars that are easy to do now along with the rest of the cage minus the funny car cage and we will add that in later since this is a street car. I will update pictures and the thread as often as I can. Any questions or advice to pass on lets here it. Thanks
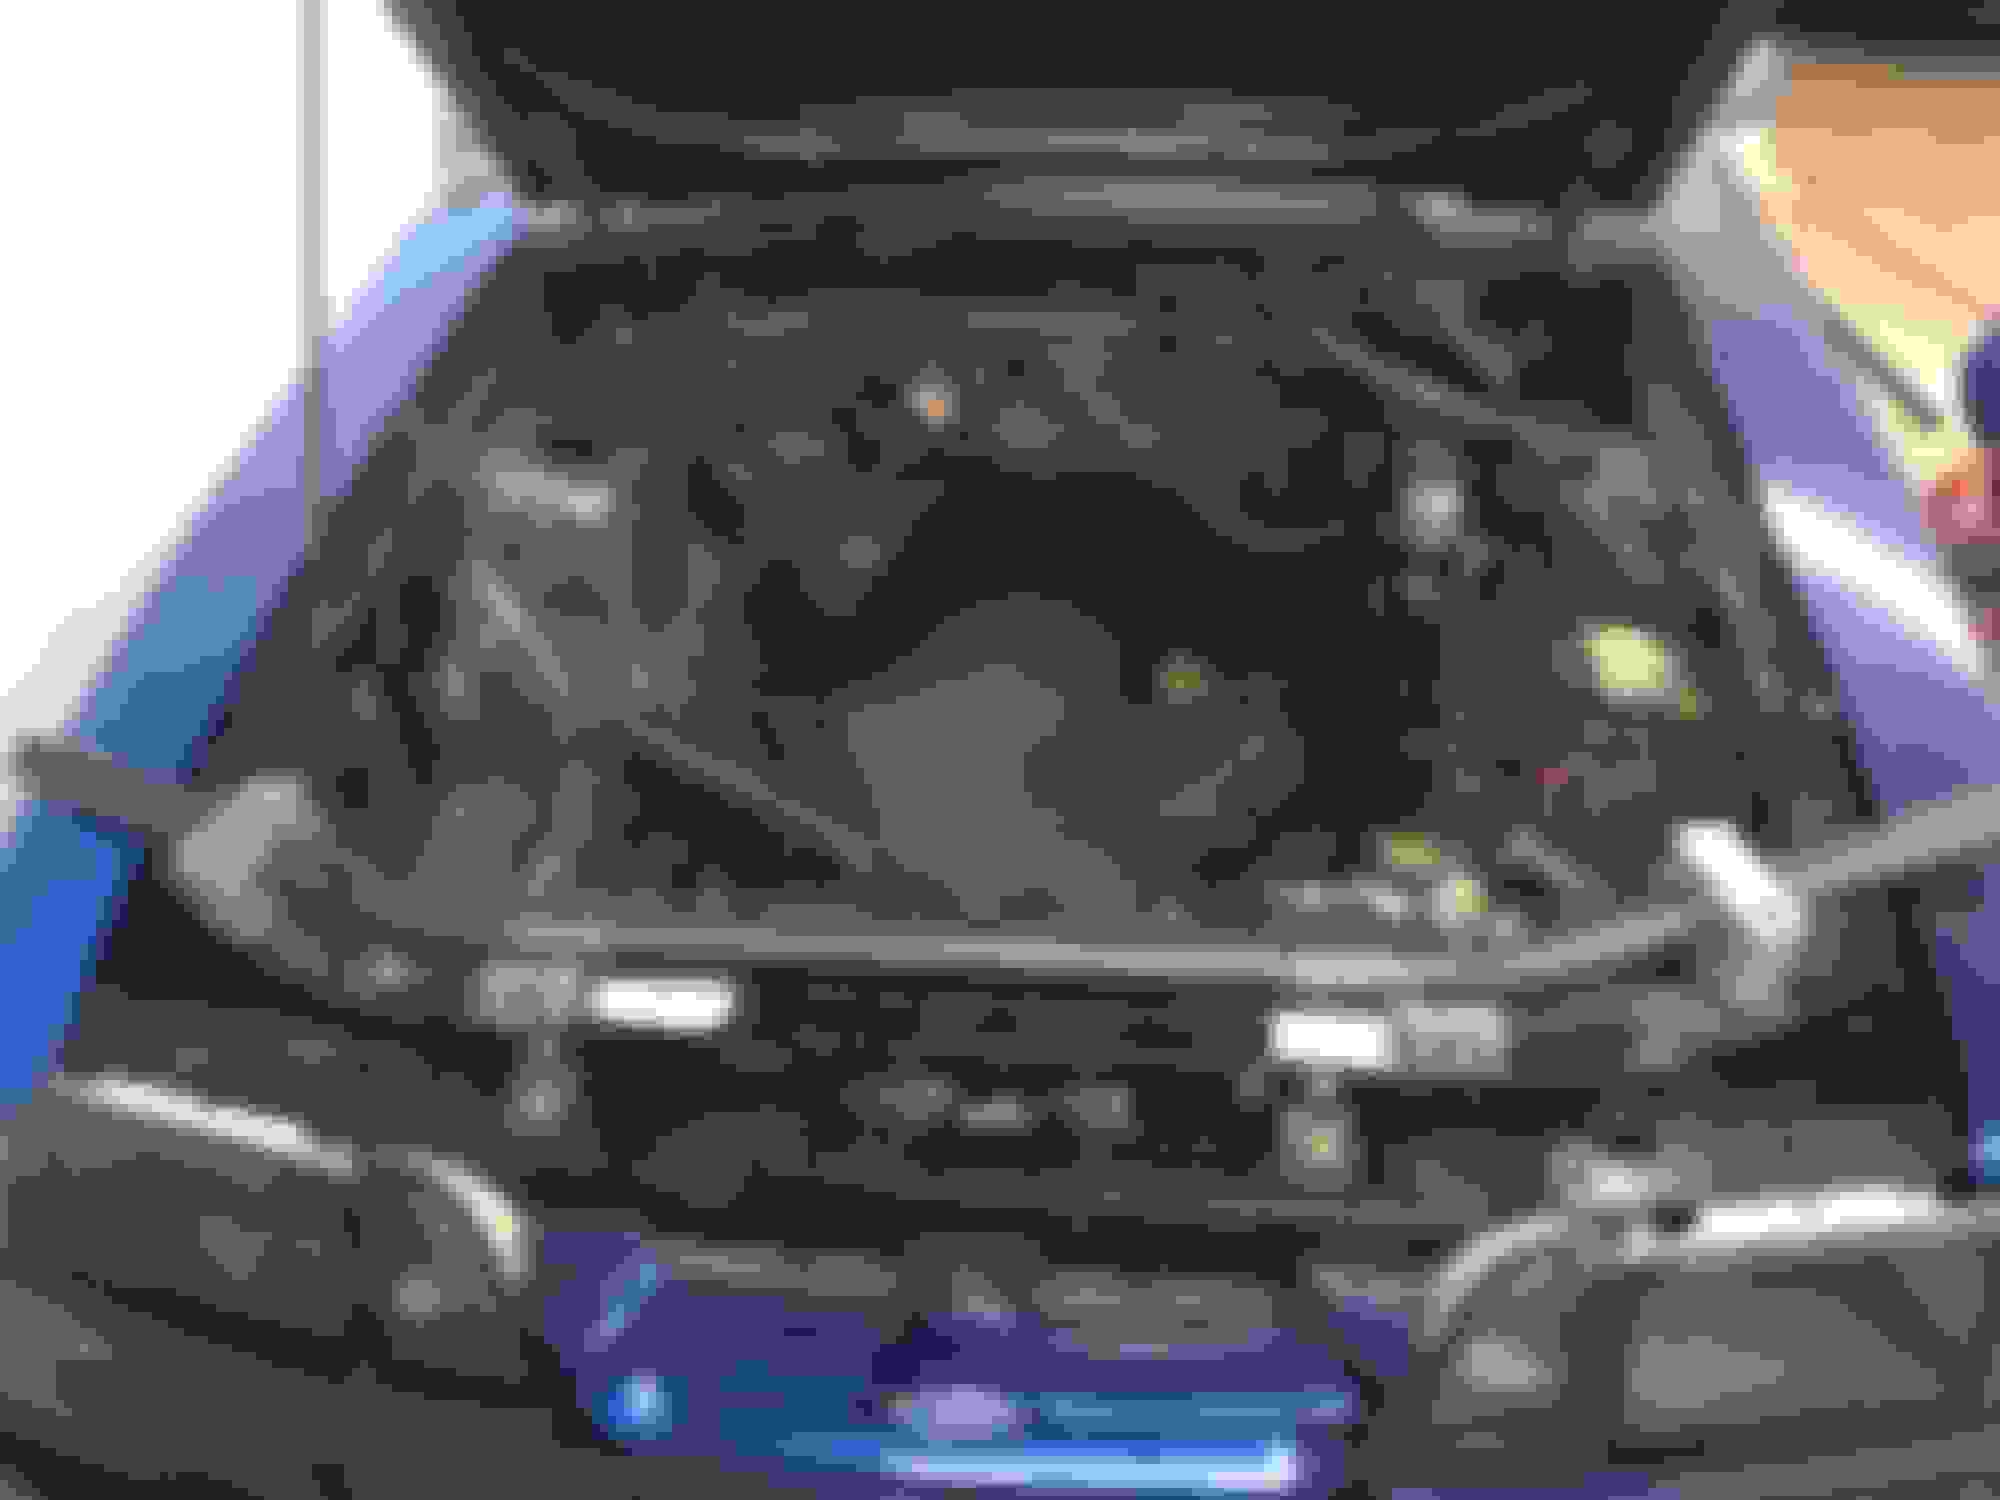
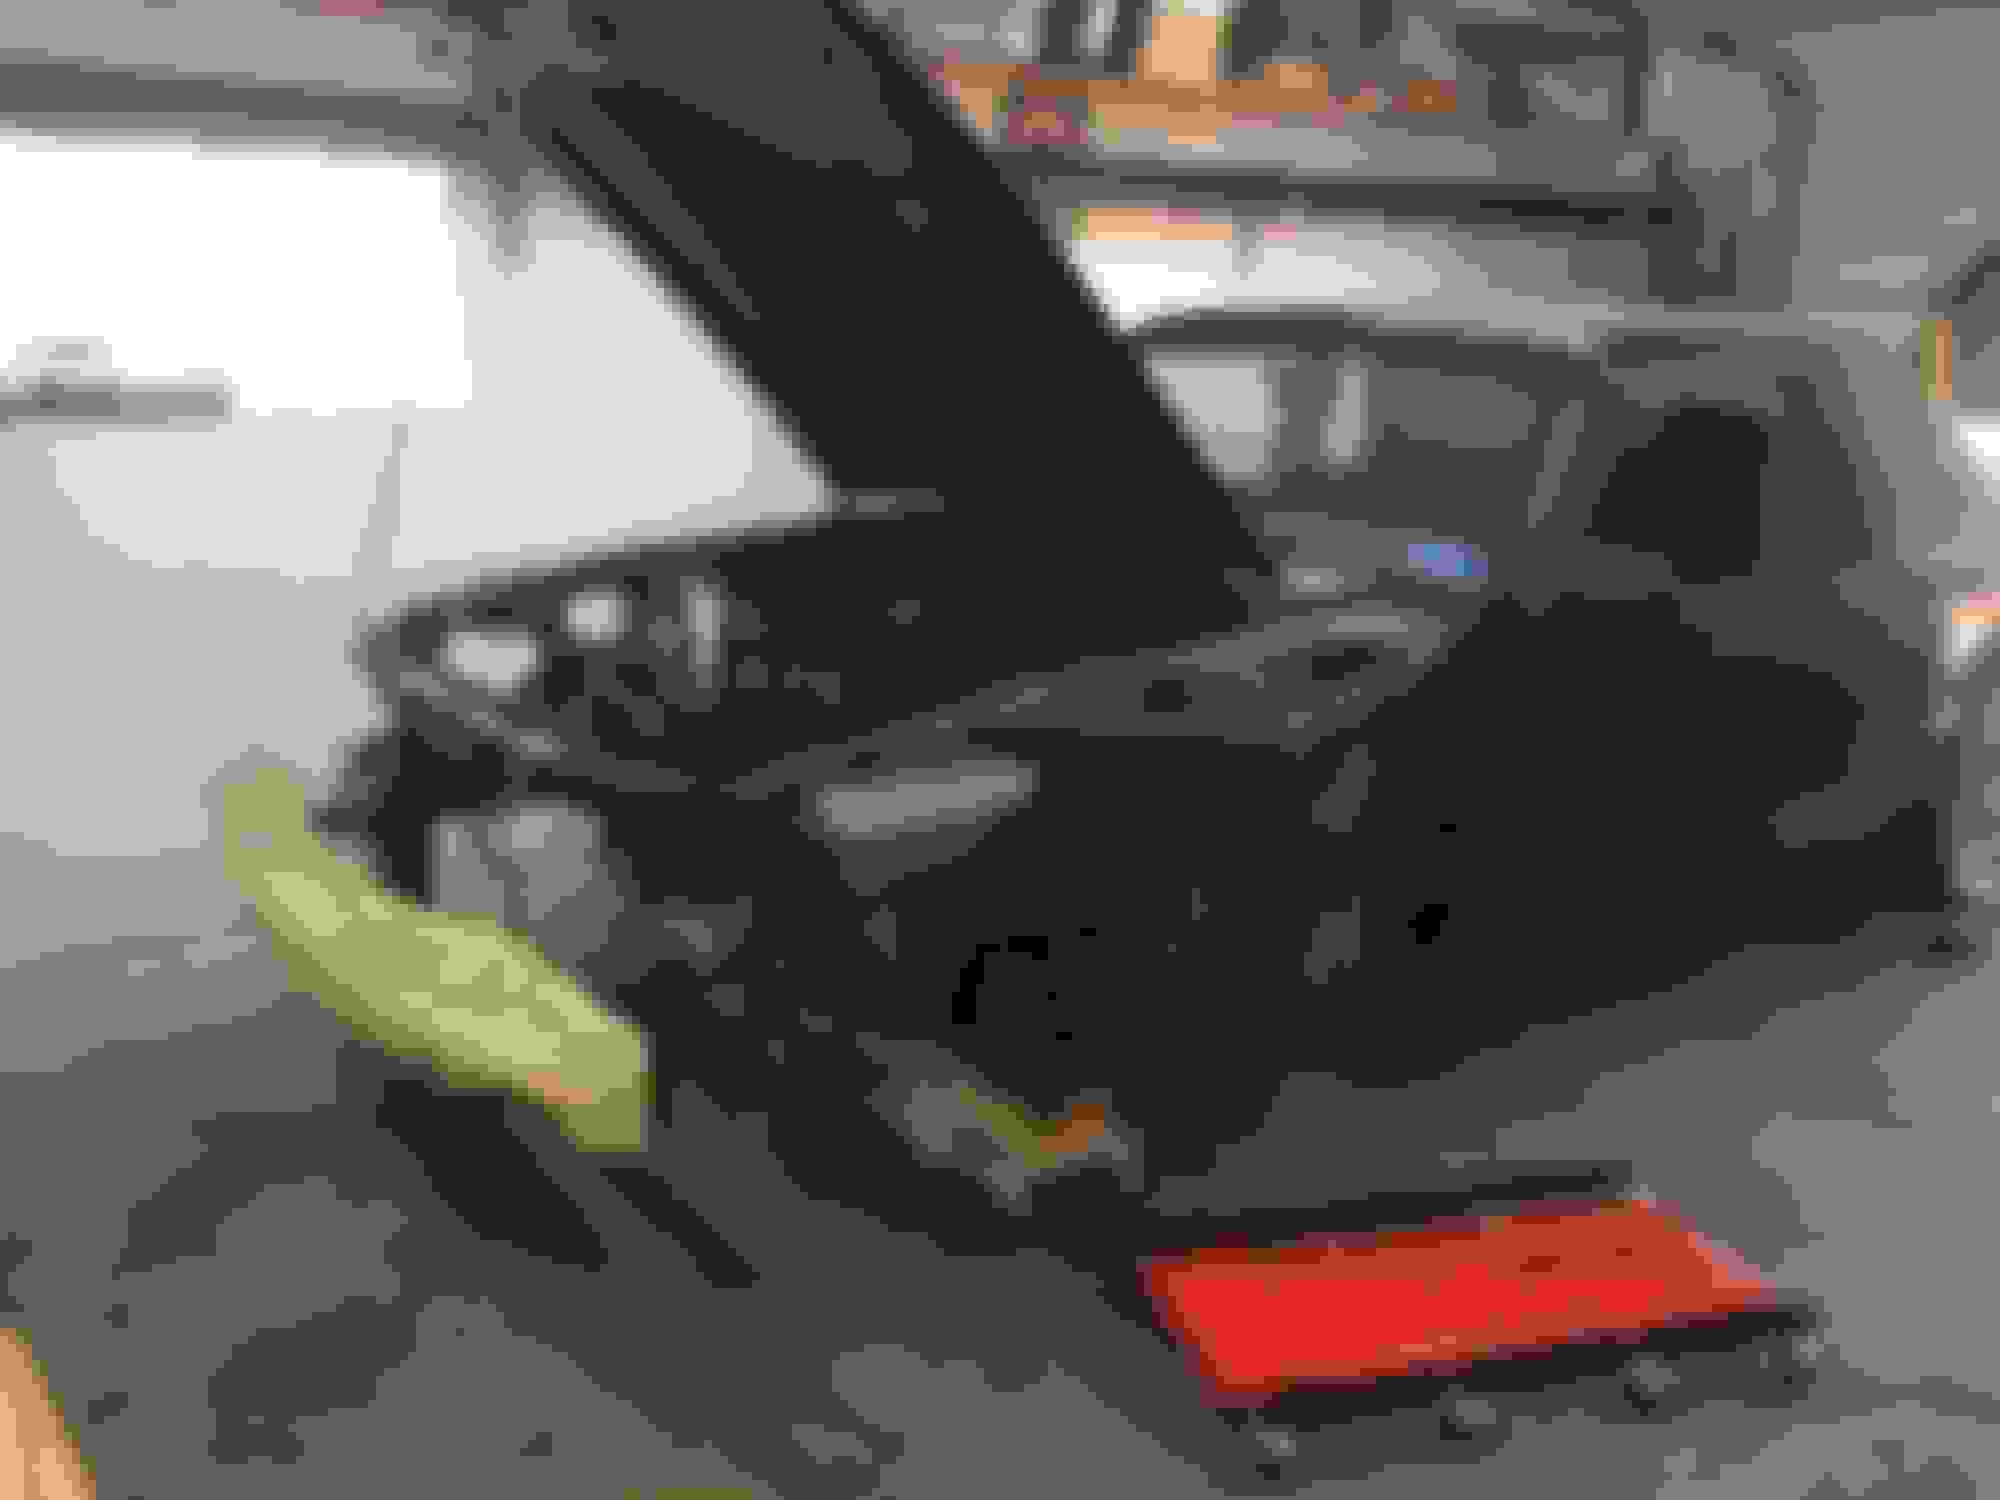
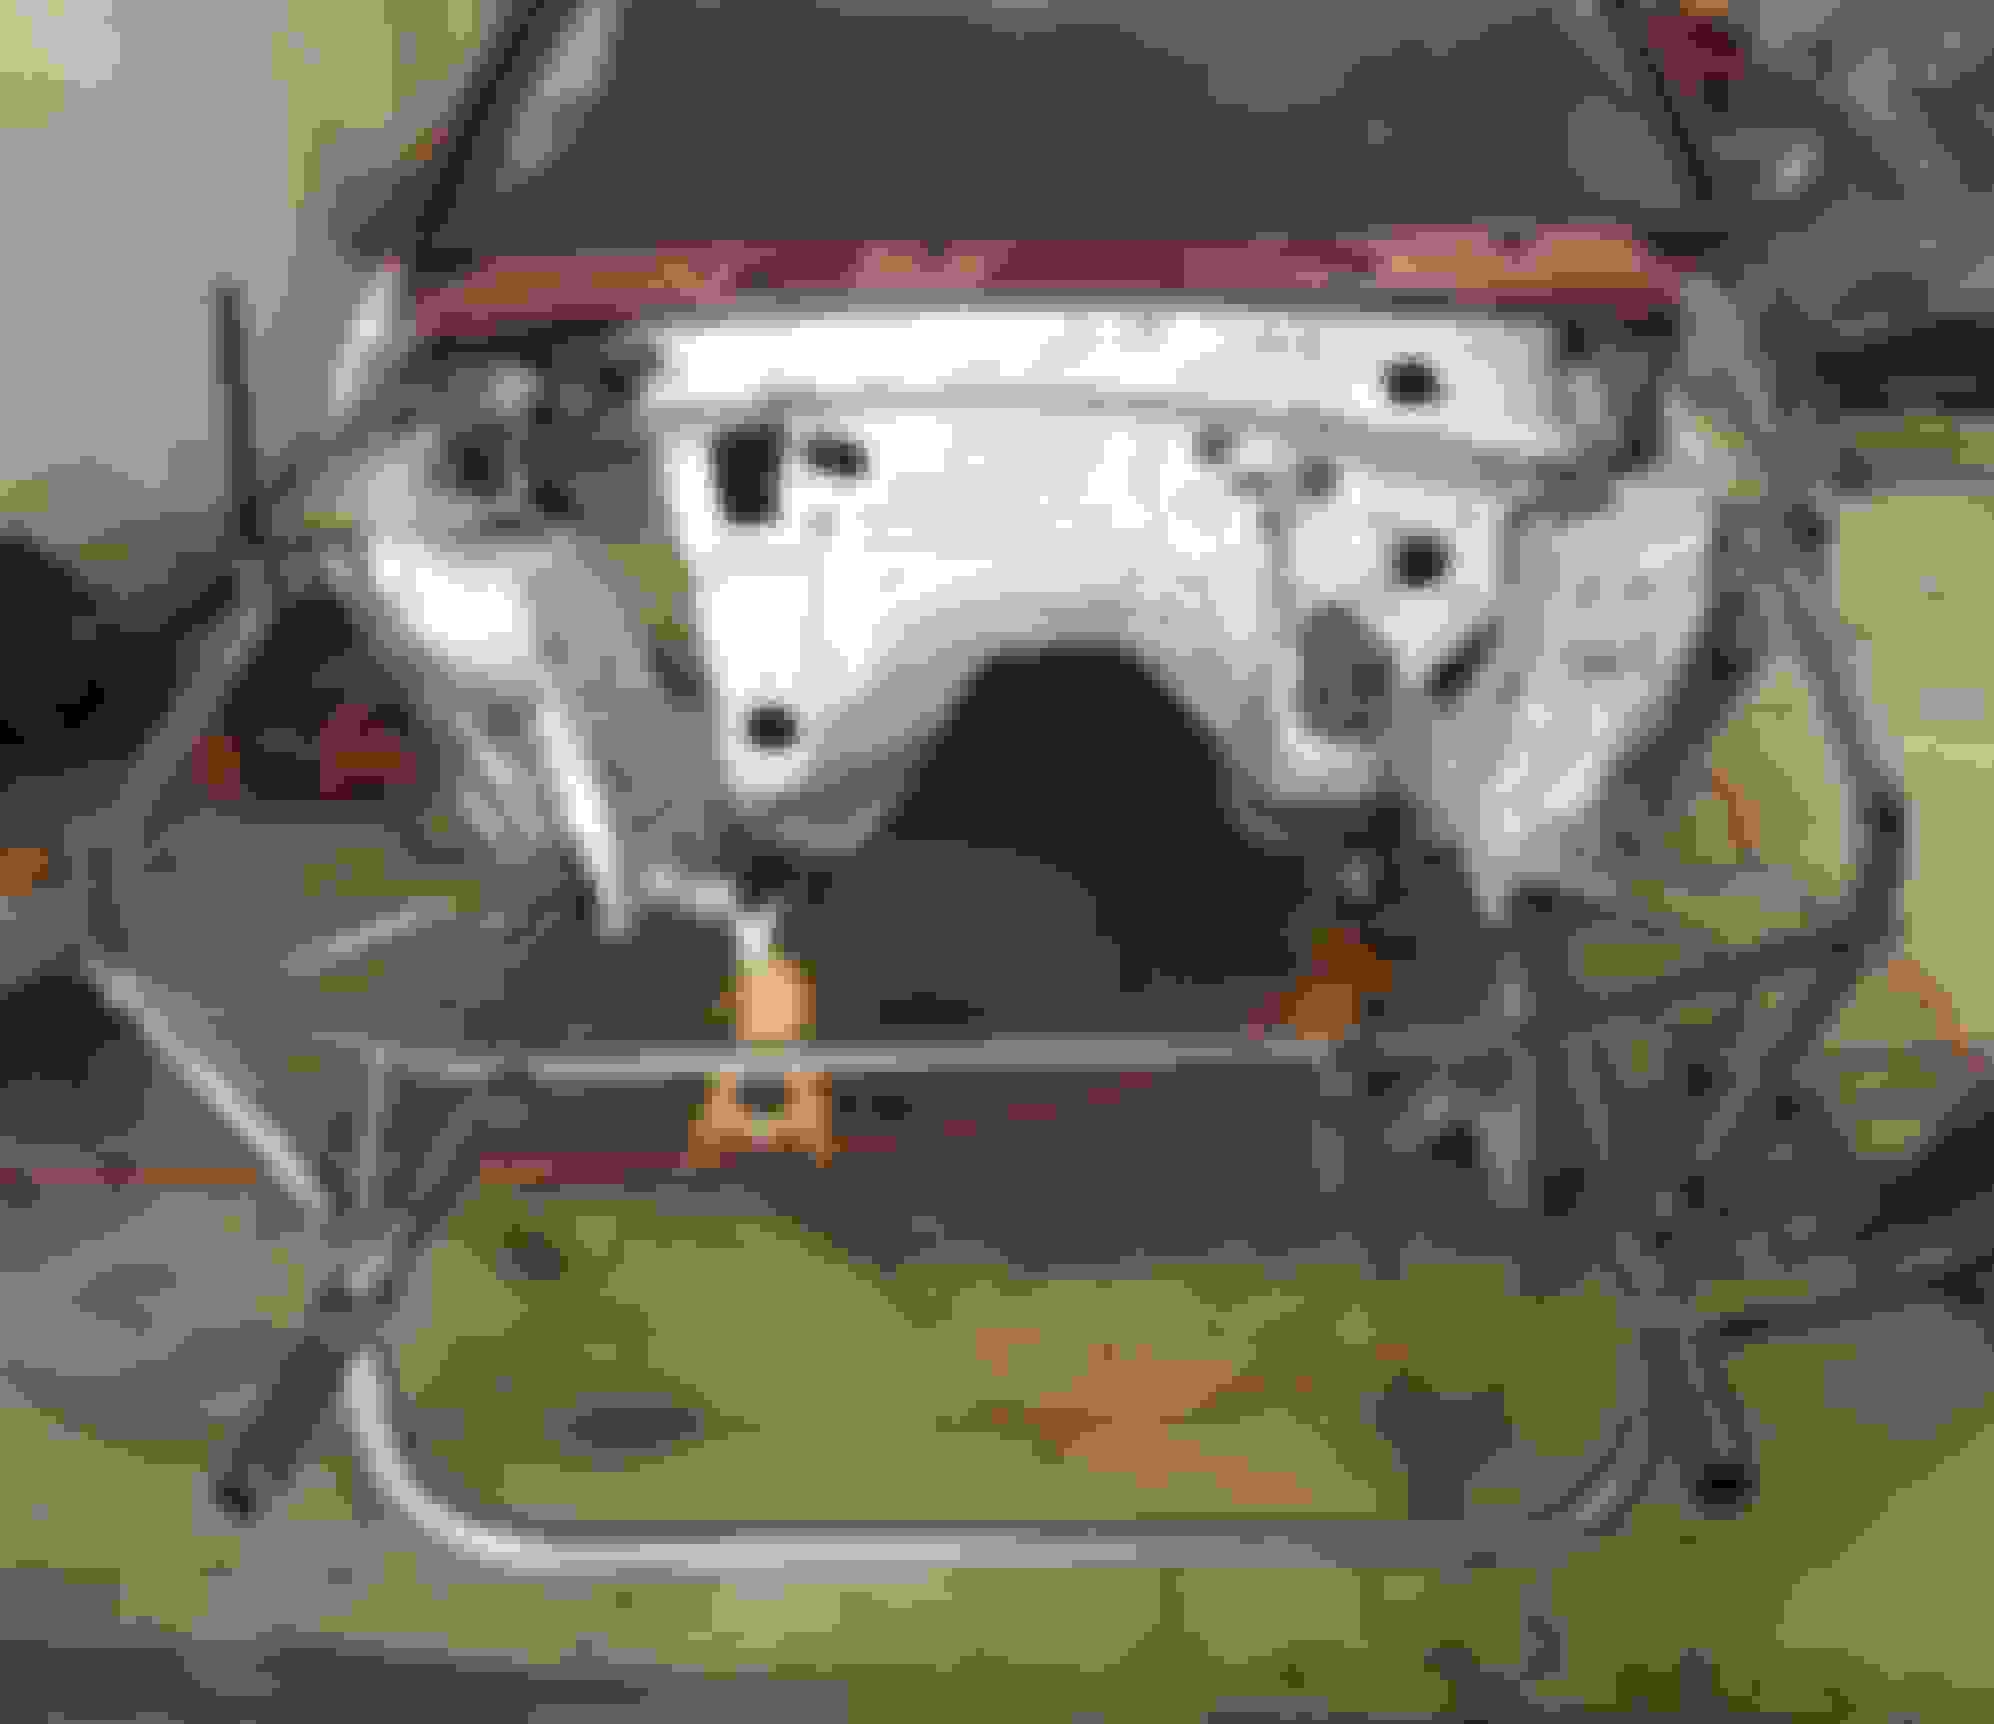
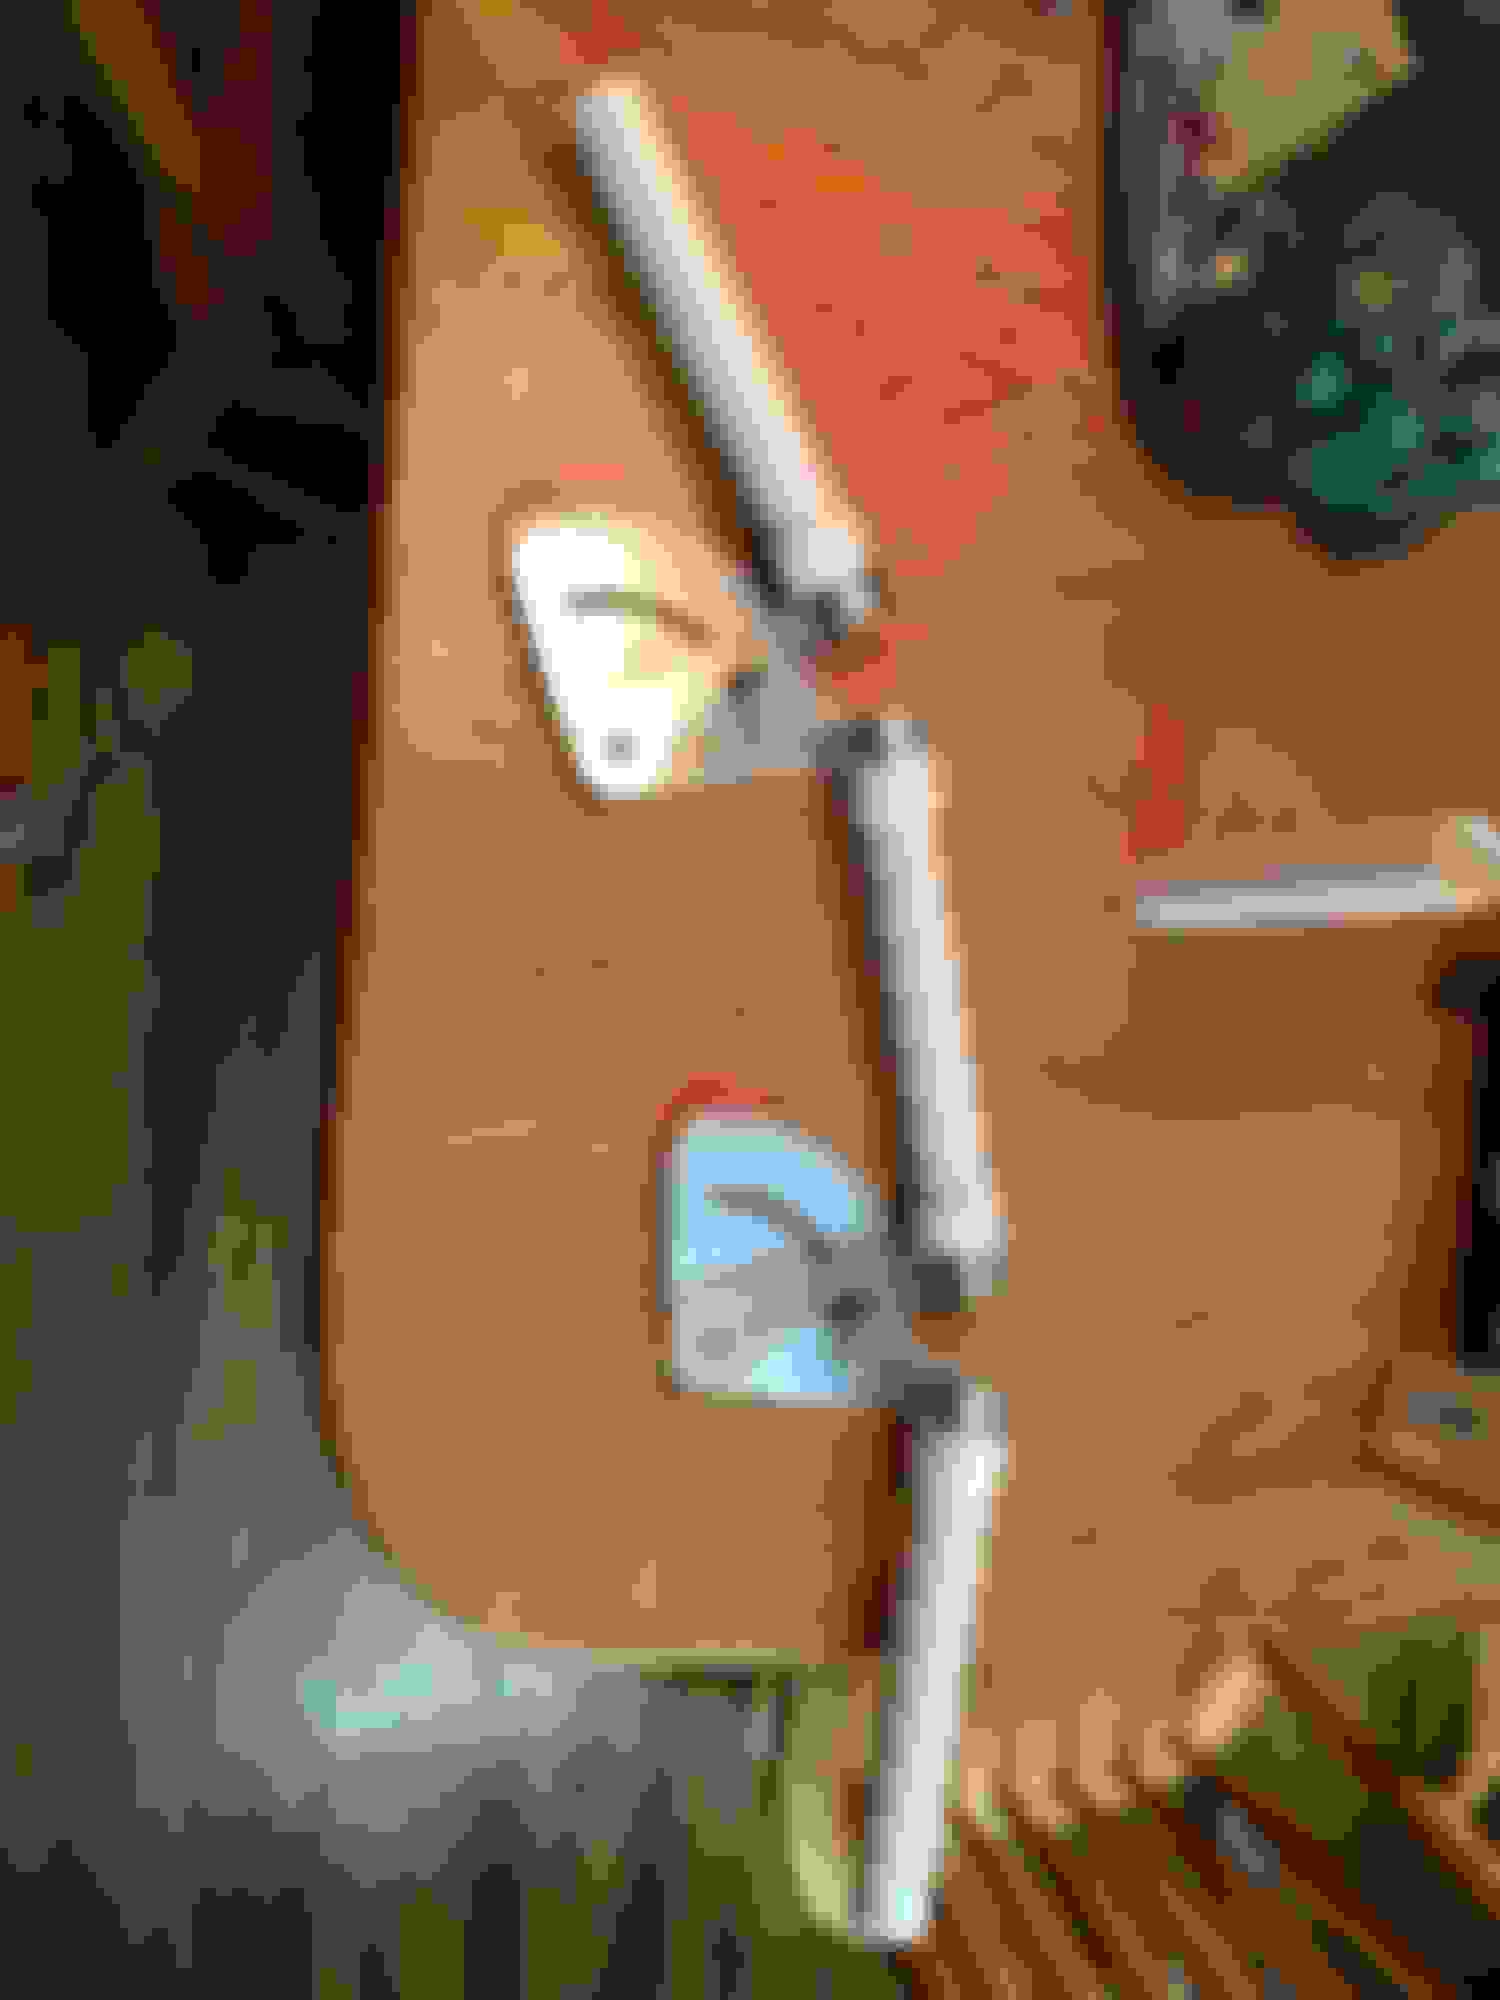
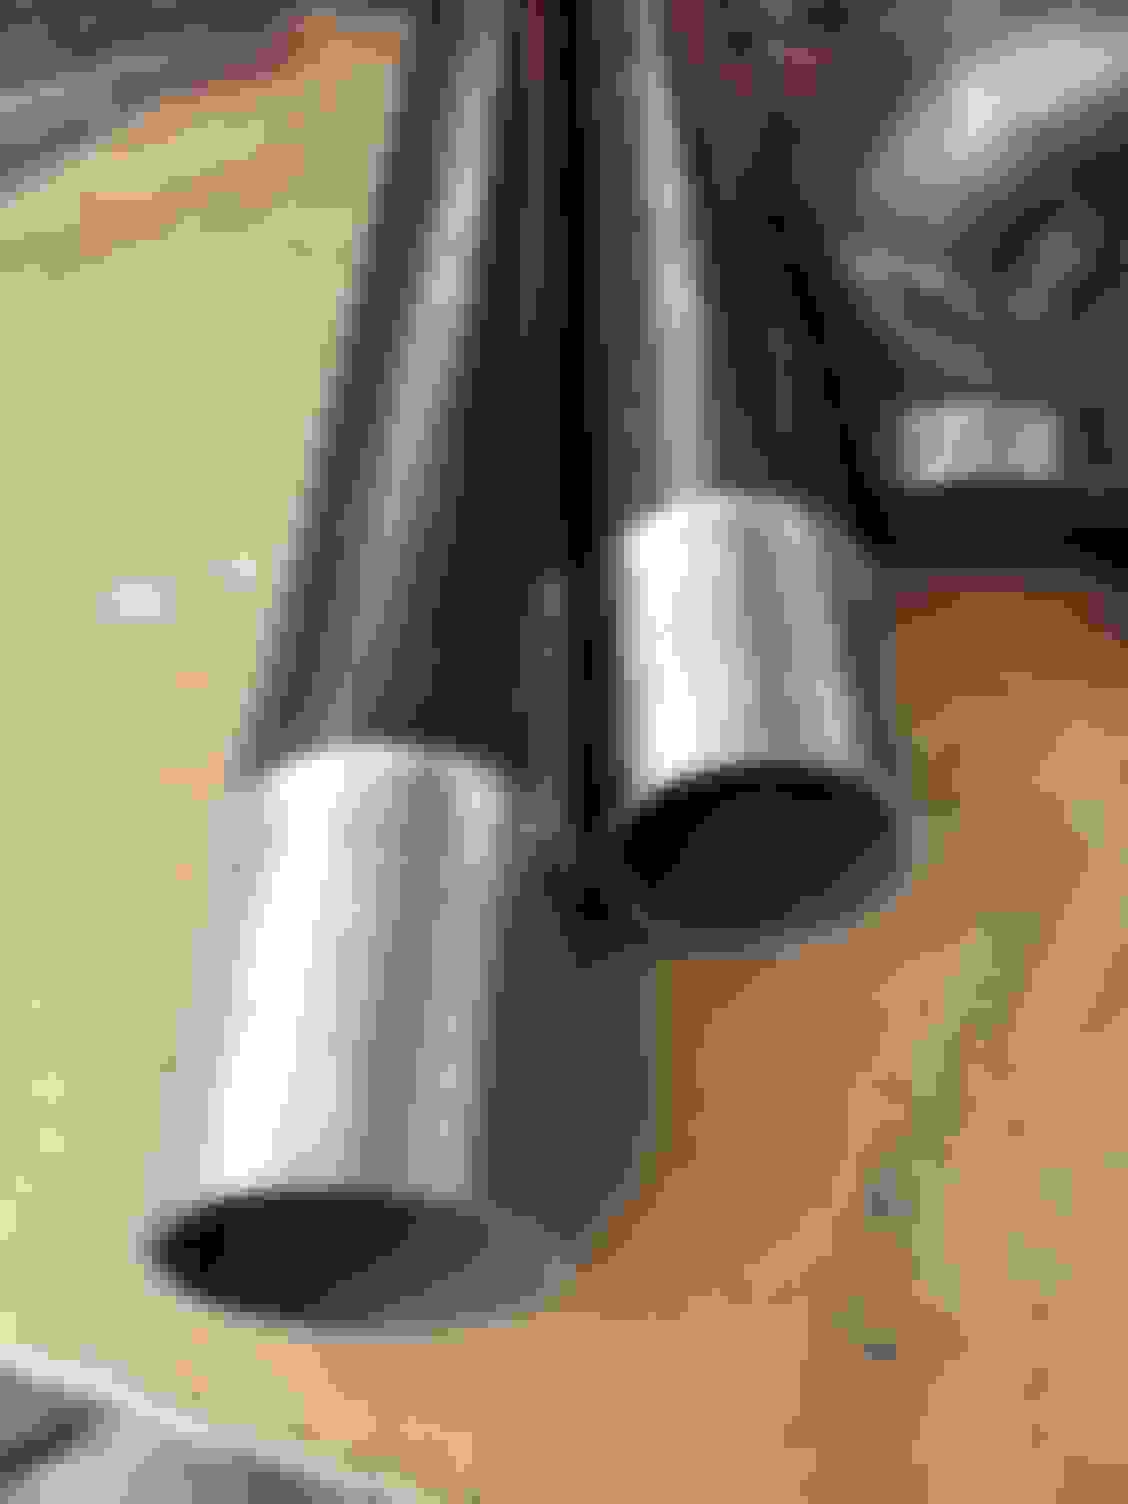
We purchased a Rogue Fabrication Model M600HD Bender, RF Versa Notcher, RF Thin wall Attachment, Bendtech Pro Software, and 2 Cage Gages (basically bend protractors (1-1/4" PVC can be attached to mock tube work up and make life easier) so we can design and Fabricate all of our own tube work on the car instead of buying pre bent and notched kits or paying a ton to have it done for us since we have a Tig as well we figured why not. So far the bender has worked great zero complaints and the manufacturing instructions Bendtech generates after you draw/design your parts make it very user friendly once you have the bender calibrated to the program. here are a few progress pictures from last Friday the 6th we had a chance to put in some time and get the upper radiator support tube bent just needs final trimming and notching once the forward bars are done. We also pulled the front clip off and cut the factory front end off the car just in front of the strut towers at the seam. If all goes as planned we will have everything leveled squared and tacked up this weekend and then onto mocking the suspension up and fitting the engine and trans. The last picture is of someone else's car we used for a basis of our tubular front end design for reference.
Scored a set of Kirkey Pro Street Drag seats for $100 from a guy selling an unfinished project. He had them powder coated black so their kind of sharp looking but we are going to get the Grey tweed Kirkey seat covers for them to match the interior. Every little bit helps we want the car as light as possible but it will still have a radio with 2 door speakers, wipers, all lights, horn, will be an aluminum Rhodes Race Cars fuel cell recessed in the trunk and all tube work will be chromoly with the exception of the sub frame
connectors.
Last night we decided to weigh everything cut off so far, weigh the new parts and document it all for reference. The stock inner aprons and front frame with bumper as pictured weighs 62lbs, Stock cloth seats with tracks weigh 70 lbs for the pair, the Kirkeys are 28lbs 10oz. for the set. For the tubular front end i weighed the parts already bent and the un-bent parts i took their weight from the component weight my Bendtech software provides. It does this by weighing a 1" piece of tube and enter weight per inch and as you build it update the part weight. So it comes out to 30lbs 11oz with the plates, 4 pieces of 1/16" Tig filler rod to be conservative. So weight saved so far about 73lbs 5oz. I will continue adding weights for parts used vs parts removed. I am weighing everything on a calibrated 120lb capacity refrigerant scale used for A/C servicing.
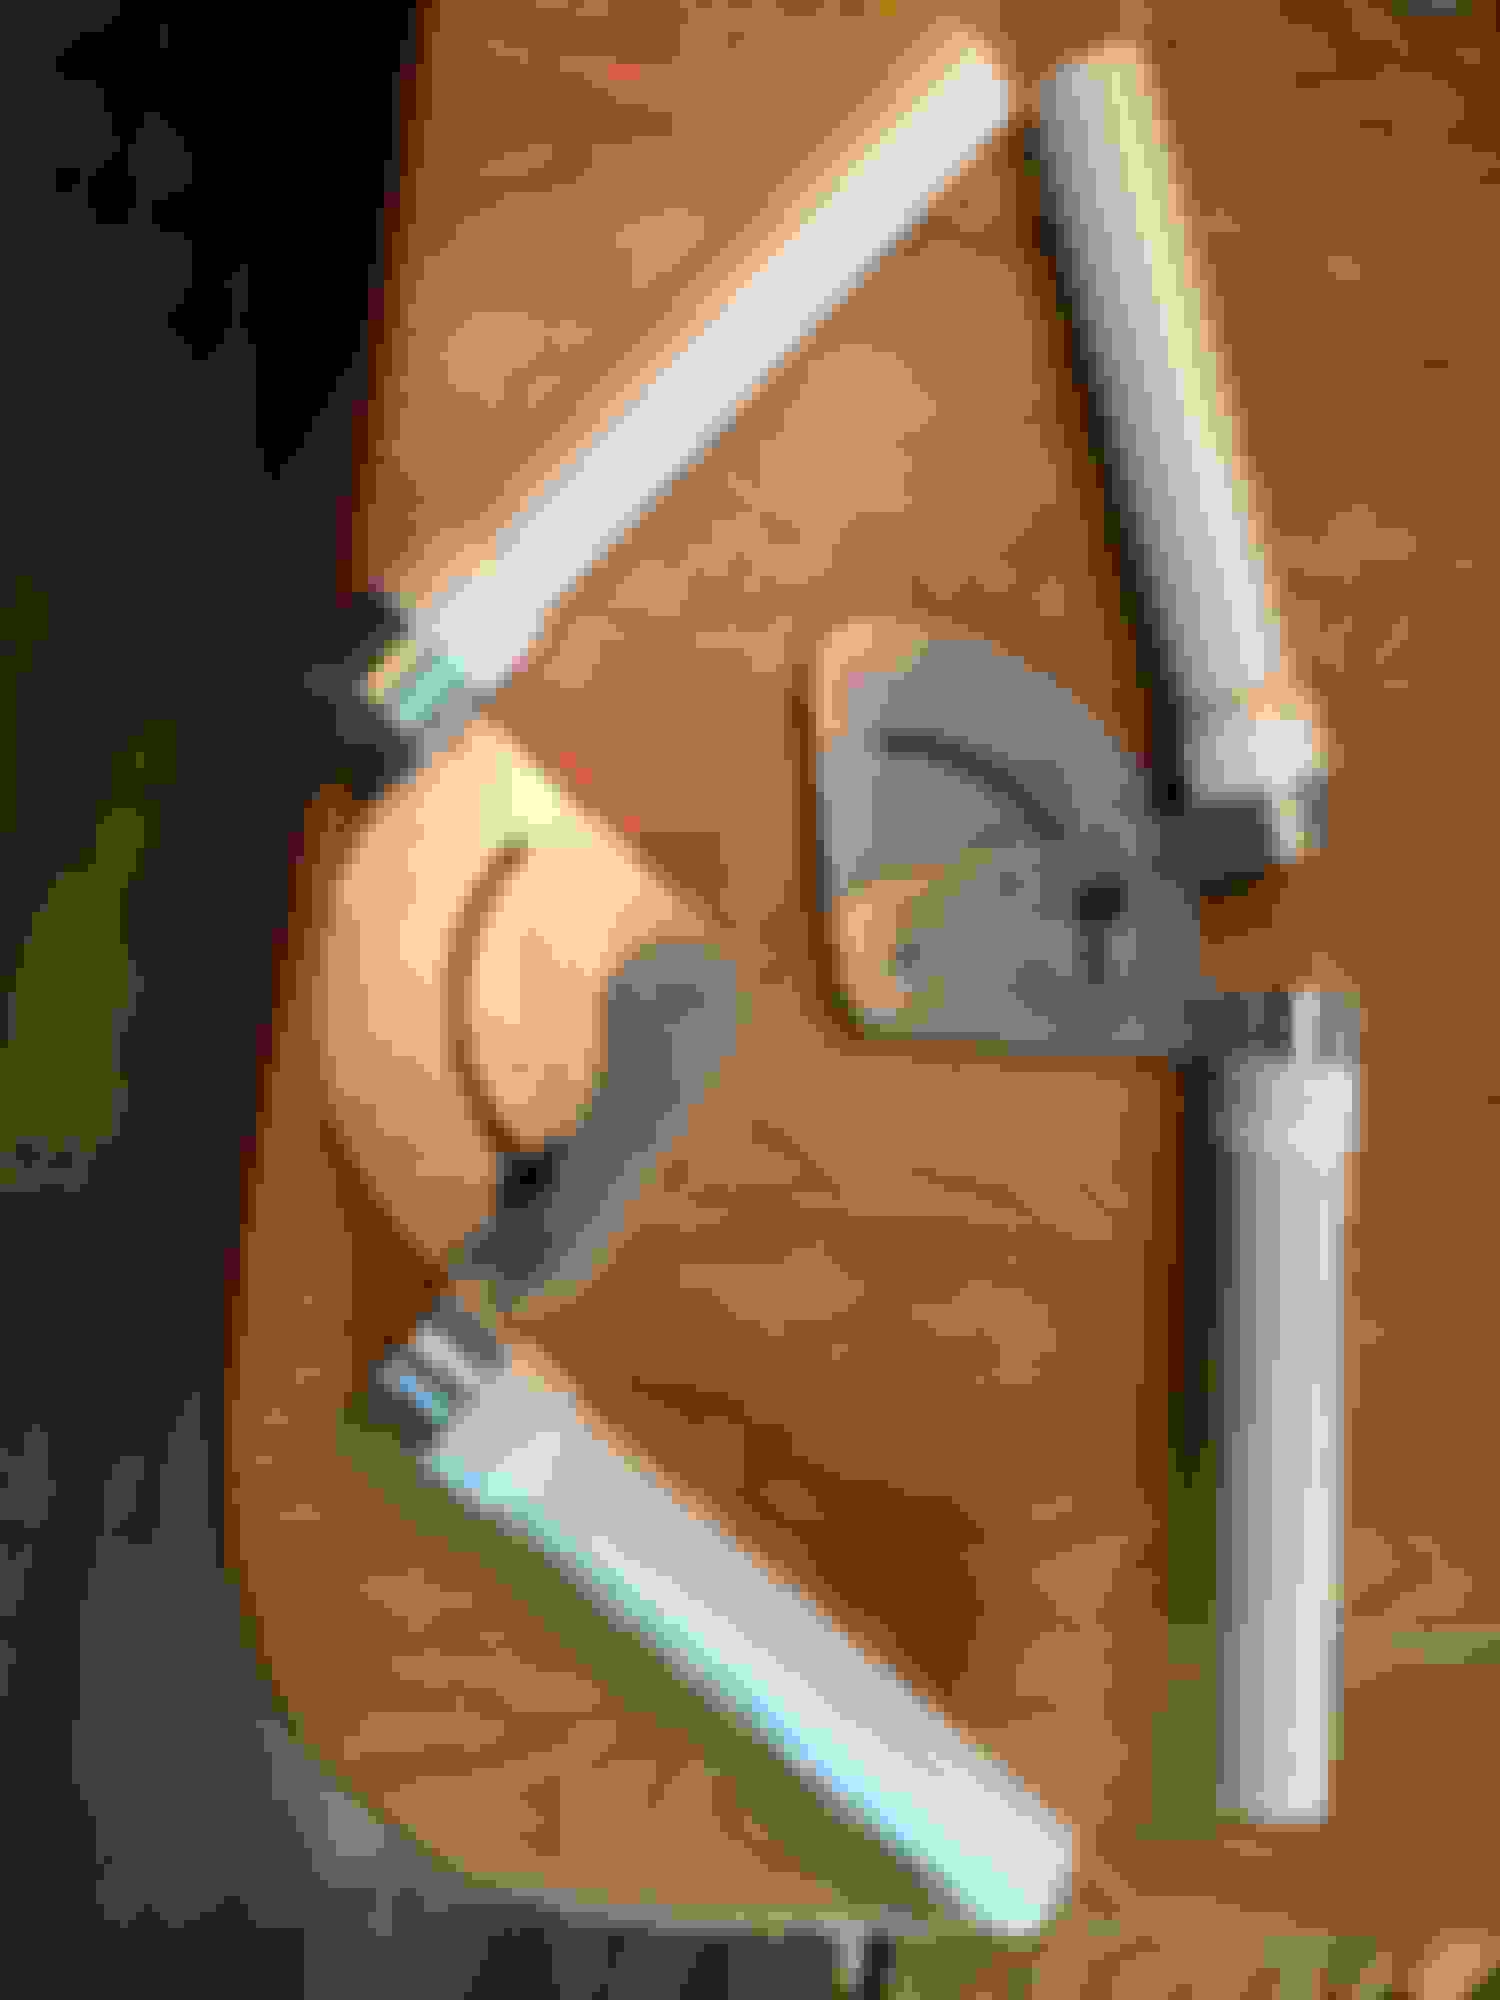
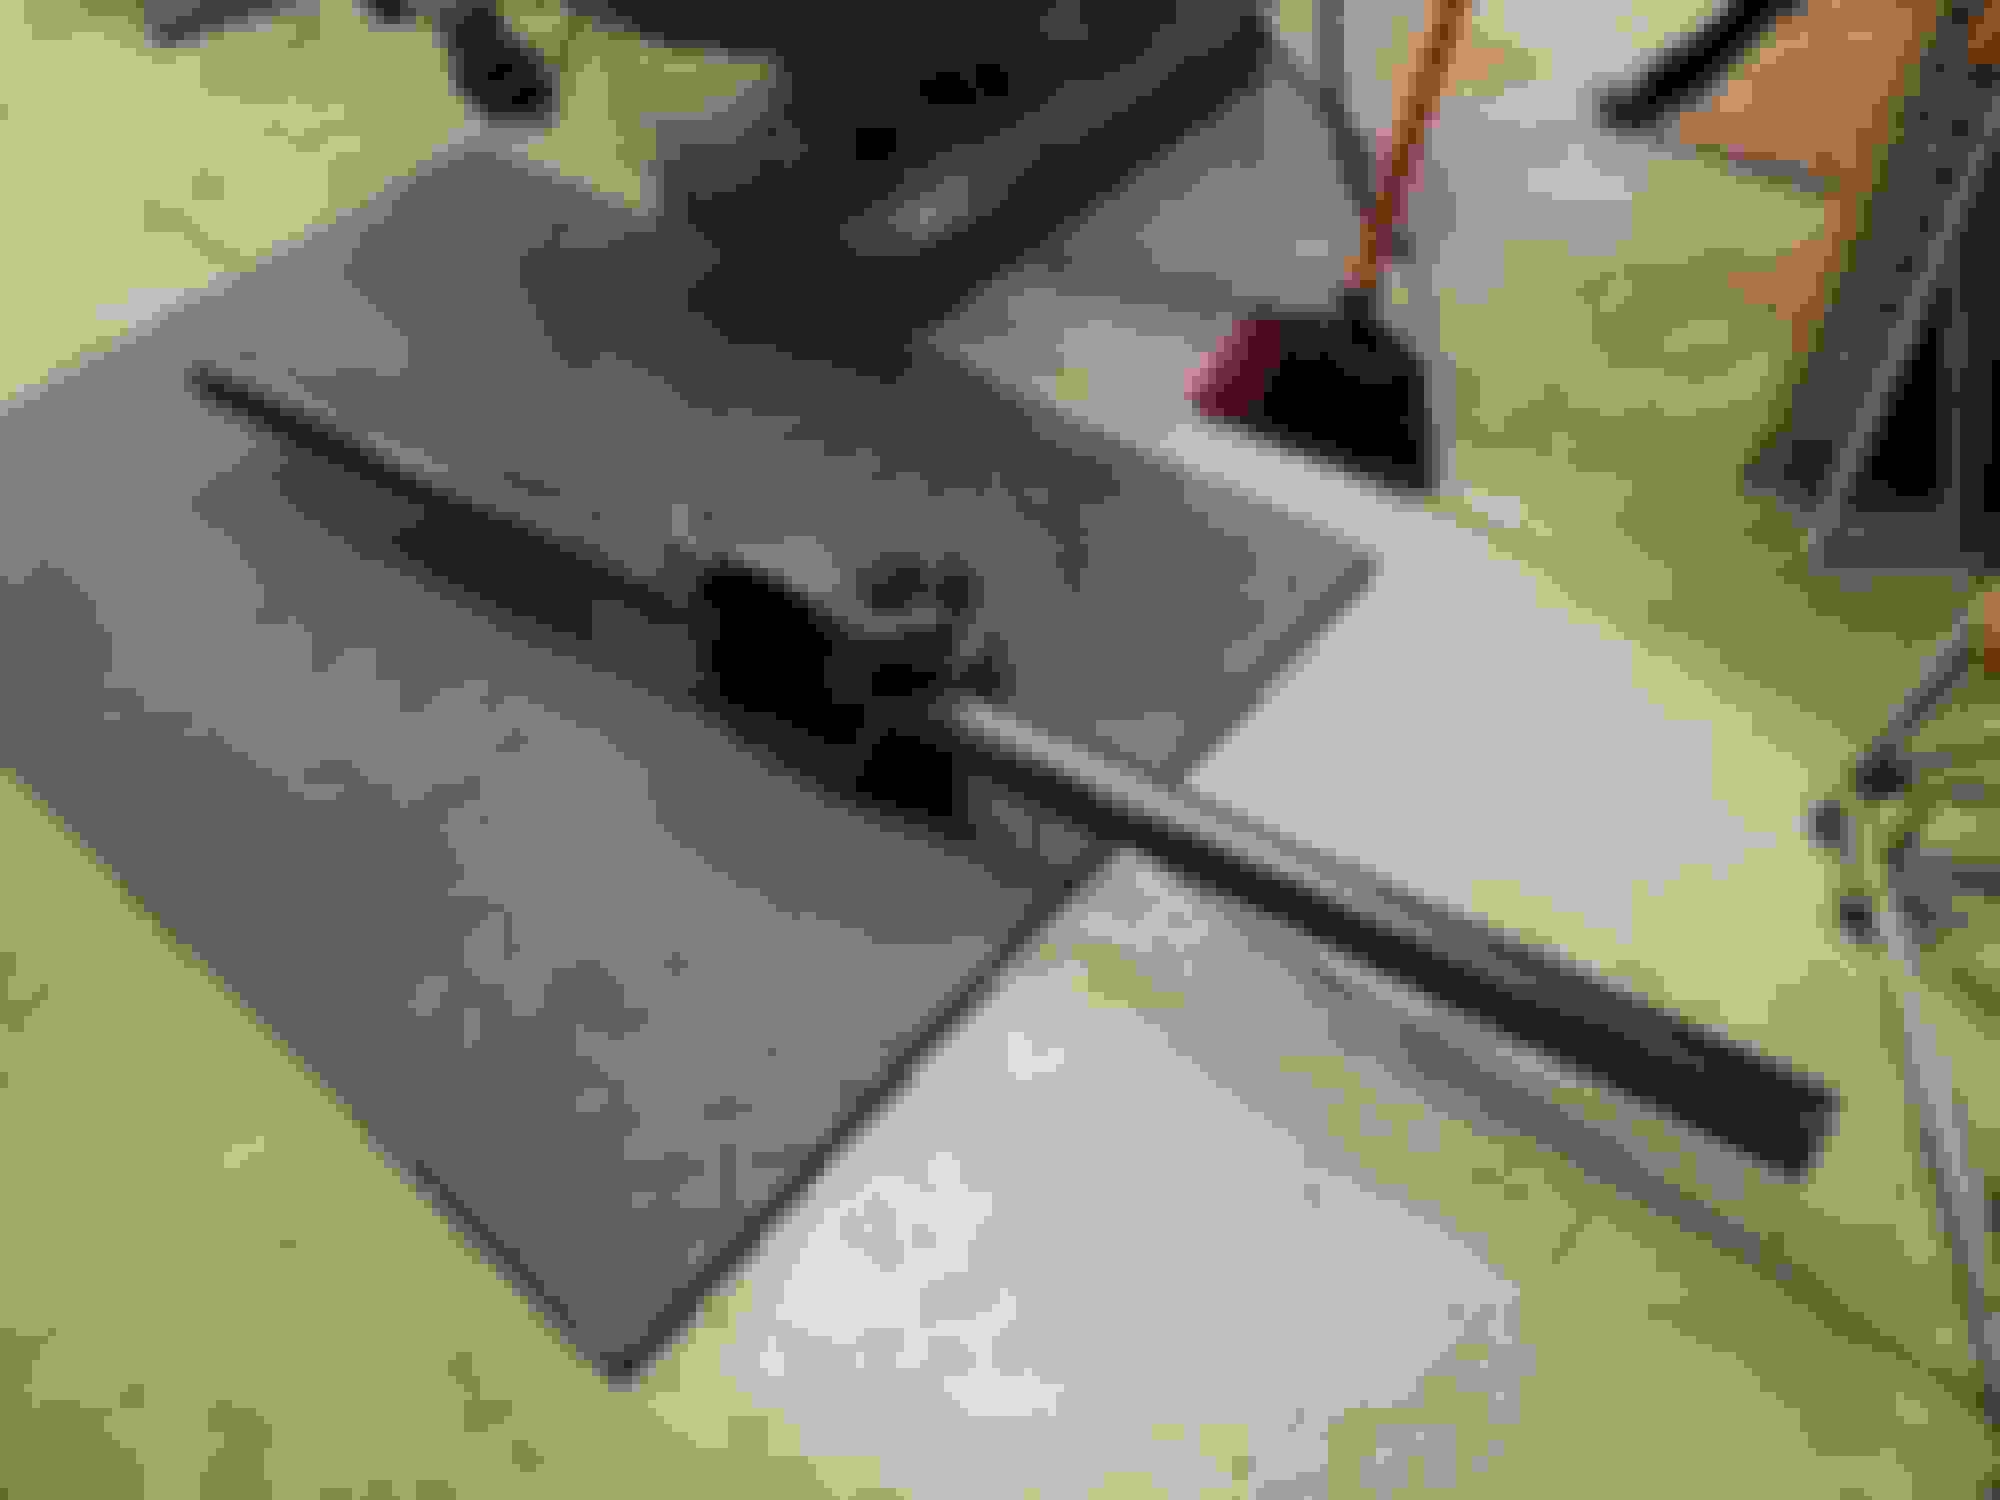
I just wanted to show what I am using to aid in measuring my cage and chassis parts. Now mind you I am not an expert in tube work that�s why I picked two of these cage gages up to keep waste to a minimum we all know 4130 isn't cheap. I am impressed with the accuracy and quality of these tools and the fact you can connect them together with 1-1/4" PVC to make pieces with multiple bends before ever bending to ensure accuracy is a great feature in my opinion their extremely versatile. I stumbled across these and have never seen them advertised so I figured I�d throw my opinion of them so far up with a few pictures so you guys can see what their about if you too haven�t heard of or seen them. There for 5", 5.5", 6", & 6.5" CLR as well. I am using 6" CLR so I just had to flip the blocks to the right position not hard at all.
This weekend I was able to get the carpet pulled out and stripped the sound deadener out. I weighed the material I pulled out and was very surprised at the weight. The stock front seat belt retractors, Parking brake handle, and sound deadener that is stuck to the floor of a fox body weighed in at 28 lbs. Once my SFI Chassis Spec books arrive I will determine if we are going to roll ahead with 25.5 or step up to 25.3. Made some more progress cleaning the strut towers up and on the front tube work. I'll try to post some pictures later this week.
This summer has been hectic with work and building a few engines.. We made some progress mocking the K Member up so we can get a long block sitting in their and finish bending the front end and get going on the 25.5 Cage. Also a change in plans on the engine size I scored an overstocked 4.00" Eagle 58X forged crank from a distributor for $400.00 shipped to my door so it was really hard to pass up so 403 cubes it will be. So for turbos I am looking at either the Borg Warner SXE S369's or the S371's so we will see on that. Here are a few pictures. The weight savings was right at 49 lbs. for just the K member and Control arms.
The Spindles are from a 1994 Mustang to keep track width close to the fox as well as the wheel bearing hub assemblies, The caliper bracket mounting holes in the spindle needed to be opened up to 14mm since that's the size of the bolts on the corvette brackets and the stock mustang bracket bolts are 12mm and the spacing is 1mm off which you can slightly offset drill them .5mm each to adjust the spacing to match the bracket. The calipers are C5 Corvette PBR calipers from any parts store and the rotors are 13" cobra rotors to retain the mustang bolt pattern. The catch is you need Z51 optioned corvette brackets to clear 13" rotors because standard C5 rotors are 12.75" but the Z51 optioned cars have 13.4" rotors so they work perfect and the GM Part number for the Z51 brackets are 88964166 . I've been told you can use the standard C5 brackets that come with the calipers and use 12" Crown Vic rotors but I had the Z51 brackets already so went with the 13" cobras and whatever flavor C5 brake pads you want to use their are no difference in pads for the Z51 vs standard C5. You also have to mill about 3/16" off the pad where the caliper bracket mates to the spindle to center the caliper and pads on the rotor. It was parts I already had laying around and decided what the heck ill try it out I know Its over kill for a street/drag car in the front and I am doing wildwood or strange in the rear. In short I still saved weight and with purchasing everything I am in the whole setup with spindles from the junkyard and new wheel bearings brackets calipers rotors and pads about $300.00. Long winded and kind of bounced around but I hope this helps answer your question. Oh and you need 17" front wheels to clear the 13" and I've been told you can clear the Crown Vic rotors with the standard c5 bracket and 16" but never confirmed it.
I am also using traction control on the MS3Pro like I did on my 74 corvette which was another reason I wanted to use the newer spindle with hub assembly because it has the hole for the ABS speed sensor and reluctor ring on the wheel bearing for me to pick up in driven wheel speed.
Great info!!! Didn't know about the vette brakes, I was going to with the cobra setup, but it will be cheaper to go with vic rotors with vette calipers. What year vic rotors, pre-2003, or post 2003?
No problem, as for the Vic rotors I am not sure which ones to use. All I researched was people have used 12" rotors and never dug any deeper because I was bit by the bigger is better bug so hell lets do 13" rotors haha.. Looking back 12" would have been more then sufficient and lighter live and learn.
I am using the jegs kit part number 555-631400K, spring they had a sale on it plus an extra $20 off jegs brand brake components deal so I picked it up. I'm told its comparable to the strange manual master conversion.
Last edited by OEF14vette; 09-21-2018 at 09:20 AM.
So i am building an 8.8 for the car and thought hey i can buy a housing already narrowed and be time ahead...... wrong wound up on the wrong side of a bad deal bent axle tubes and quality wasn't their. sooo i decided i am going to pull the tubes and turn some 3" .250"wall DOM down and use that for the tubes will be much stronger and their are millions of brackets for 3" tubes out their so here are some pics ill post more once i get the housing ends and get it welded up and braced. I left the tubes extra long until i determine how wide i want it, thats why they look so wide.

 07-11-2018, 03:45 PM