When you click on links to various merchants on this site and make a purchase, this can result in this site earning a commission. Affiliate programs and affiliations include, but are not limited to, the eBay Partner Network.
I sure do, but I am in the process of moving. When I get a chance I will post them. I would recommend getting the individual pieces cut like I did because there was some tweaking that was needed
No problem i figured it out on my own trust me lol. i had ordered the ISR Engine mount and trans kit for my 240sx and it was for a t56 and i just had to cut to slots and it fit perfectly! didnt have a issue or anything!!
i just ordered the ACT 6puck clutch disc and the HD gm015 Pressure plate. rated together for 908tq! and gonna order my fuel system now ! lol
panda, do you have any photos or links to other posts that use a t56 mount for the cd009?
i'm starting to put together a list of parts and price out an e36 build (1997 323is). would be great for my budget if i could use a cd009. i dont have the fabrication skills (nor the tools) to make my own. perhaps @TNspeed1 could sell me one or the schematic that i can take to a machine shop?
mouseandcat, if you are willing to wait until January I can make you a trans bracket. I ordered a CNC plasma table today, but it won't be ready until January 2020. Let me know.
On a side note I thought I would provide an quick update. I have been swamped with work, getting into the new house, and finishing up my garage.The good news is that I have had my car out of storage for about two months, and have be making slow and steady progress.
Here is the car coming out of storage. It was a great sight to see.
Here she is sitting in her new home.
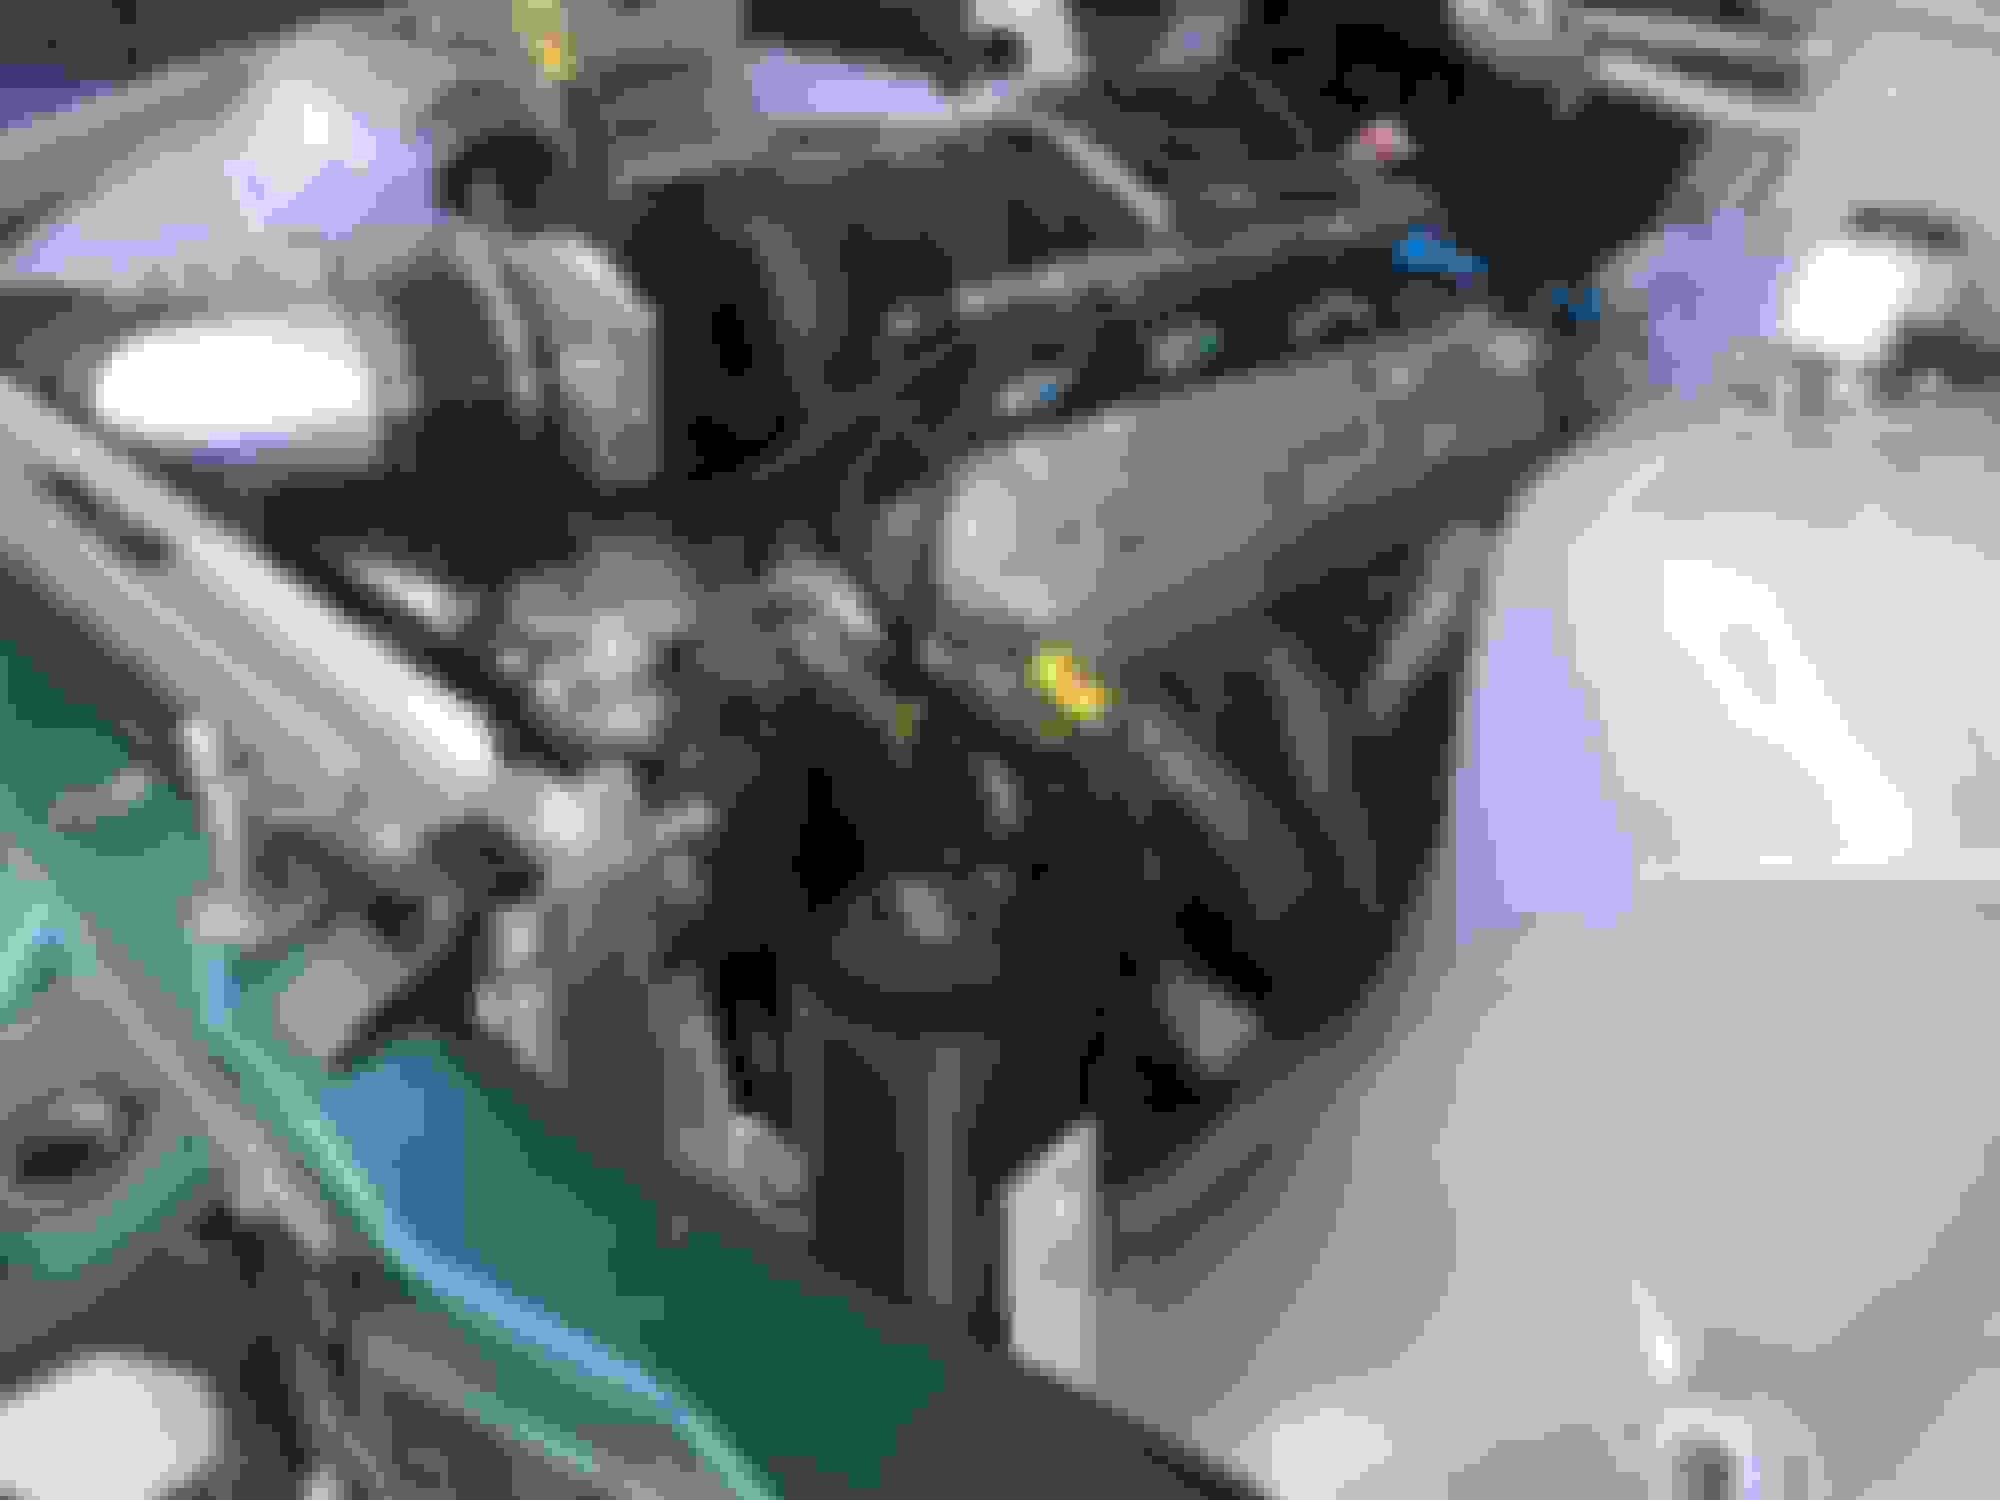
I haven't made a ton of progress since I am still trying to get everything in its right place, but I have started to reassemble the front clip of the car, and have installed the radiator as well.
I also wrapped one set of headers, and got them on the engine. I plan to try and get the other set wrapped this weekend and back on the car.
I also was able to pick up a complete E36 M3 rear end. I plan to strip it down, sand blast, and refinish all of it. Once the rear end is installed the car will have complete M3 suspension.
Next steps are as follows.
1. Wrap and install headers
2. Plumb the radiator.
3. Plumb the power steering system.
4. Plumb the fuel system
5. Relocate the coil packs
6. Clean up the wiring, and install gas pedal.
7. Install rear end
8. Plumb the break system
mouseandcat, if you are willing to wait until January I can make you a trans bracket. I ordered a CNC plasma table today, but it won't be ready until January 2020. Let me know.
On a side note I thought I would provide an quick update. I have been swamped with work, getting into the new house, and finishing up my garage.The good news is that I have had my car out of storage for about two months, and have be making slow and steady progress.
Here is the car coming out of storage. It was a great sight to see.
Here she is sitting in her new home.
I haven't made a ton of progress since I am still trying to get everything in its right place, but I have started to reassemble the front clip of the car, and have installed the radiator as well.
I also wrapped one set of headers, and got them on the engine. I plan to try and get the other set wrapped this weekend and back on the car.
I also was able to pick up a complete E36 M3 rear end. I plan to strip it down, sand blast, and refinish all of it. Once the rear end is installed the car will have complete M3 suspension.
Next steps are as follows.
1. Wrap and install headers
2. Plumb the radiator.
3. Plumb the power steering system.
4. Plumb the fuel system
5. Relocate the coil packs
6. Clean up the wiring, and install gas pedal.
7. Install rear end
8. Plumb the break system
Hope you guys enjoy the progress.
PM sent. thanks for the updates. oh sure, january 2020 will be plenty of time. perhaps even too early even. i'm just starting to collect information on the wiring harness. (aside from rough pricing. i have a 1996 328IS as of last week).
i'm thinking of LQ4/LQ9 or L33/LM4 (see: https://help.summitracing.com/app/an...gine-do-i-have) since those seem to be abundant on craigslist or junkyards in my area. i am going for cheapest for the initial 'pull' hoping i can get as much of the engine, heads, wiring harness with the assumption I'll have it rebuilt (torn down/stripped and taken to a machine shop for my own car edification).
there seems to be many people doing LS-T56 builds for E36s but few single-source and clear wiring harness tutorials. There are even fewer doing LS-CD009 builds with an explanation of the wiring harness. I believe there are a few places that I can outsource the wiring harness but have yet to contact them to see if if CD009 makes a big difference.
honestly i didnt like the way the cd009 felt and the shifters and clutches ect.
i had the collins adapter plate which requires you to cut the bellhousing on the cd009 plus i needed a fbody bellhousing, a custom clutch ( LSX spline with 350z disk diameter ) then ontop i had to add a shifter that was an added 350$ and still didnt even sit right and shifting was horrible.
i mean if you cannot find ANY t56 then yeah but ill never do it again. at the end i ending up paying as much as a t56 or maybe even a little more..
oh and the gearing was horrible too. i had a 4.08 stock 240sx diff and i HATED driving the car on the street but i bet track it would had been a little better. when i switched to a 350z diff then the problem kinda went away! and also the transmission are known for howling and being loud ect.
sorry to hijack: interesting. do you mind sharing the clutch that you bought? i didn't think about the narrow (thus expensive?) selection of clutch set ups due to the LS + CD009.
so you're saying all-in, for your CD009 setup set you back between $2,500 and $3,000? i was leaning towards the CD009 for its cost but perhaps I should find savings elsewhere? @TNspeed1 is really the only detailed build i have been able to find is: https://www.bimmerforums.com/forum/s...S3-CD009-Build
Hey guys I am getting to the point in my swap where I am sorting out the fuel system. I am replacing the old worn out Walbro fuel pump with a pump from rally road. When I started to get things ready I noticed that the return line from the passenger side fuel pump was routed over to the diver side fuel level sensor area and the line was just plugged with a bolt (see attached picture). Can anyone tell me where this line is supposed to go? My car is a 93 325 coupe
If that's the 'return' line from the pressure regulator - it should pass through the plate and go to the bottom of the tank, best if it can put fuel back into the tank at the bottom to reduce vapor pressure in the tank. The back pressure regulator works by bypassing fuel to maintain a certain pressure -- 58 psig in this case. If the regulator can't return fuel to the tank, it can't regulate.
That�s awesome man! What did you do for a drive shaft? Looking under mine I still have the stock two piece BMW drive shaft with the carrier bearing. I was wondering if I could use that drive shaft, and just have a small shaft made from the output of the trans to the splined portion of the drive shaft at the carrier bearing?
I will post some update pictures tonight showing the progress of the car. I have been slacking.
the vorshlag ds is 1 pc al. Had to clearance a bit for it. Beat w bmfh!
had major nvh w the direct bolt thru vorshlag trans x member. Swapped to a mod cx racing t mt which allows use of factory style poly mount. Now less nvh can actually hear my ex!
took my swap on business trip to Houston this week from s Antonio. No hiccups!
lmk any ?? I just went thru this... did all work myself on jack stands in my gar.
also had to shim the driver side mm 1/4� to clear b booster. Guess each car is a little different.
sidenote-// don�t want to bash vorshlag but to pay a premium I was wrongly assuming for the price I would not have to shim things.
and they were reluctant at times w tech support saying they take a different support route if you diy and only buy the parts. I appreciate the honesty but didn�t like the answer.
just my single data-point if you are shopping swap kits.
Last edited by one4torque; 11-21-2019 at 10:04 AM.
So a quick update since I have been delinquent on them.
I am getting pretty close to being able to fire the engine in the car.
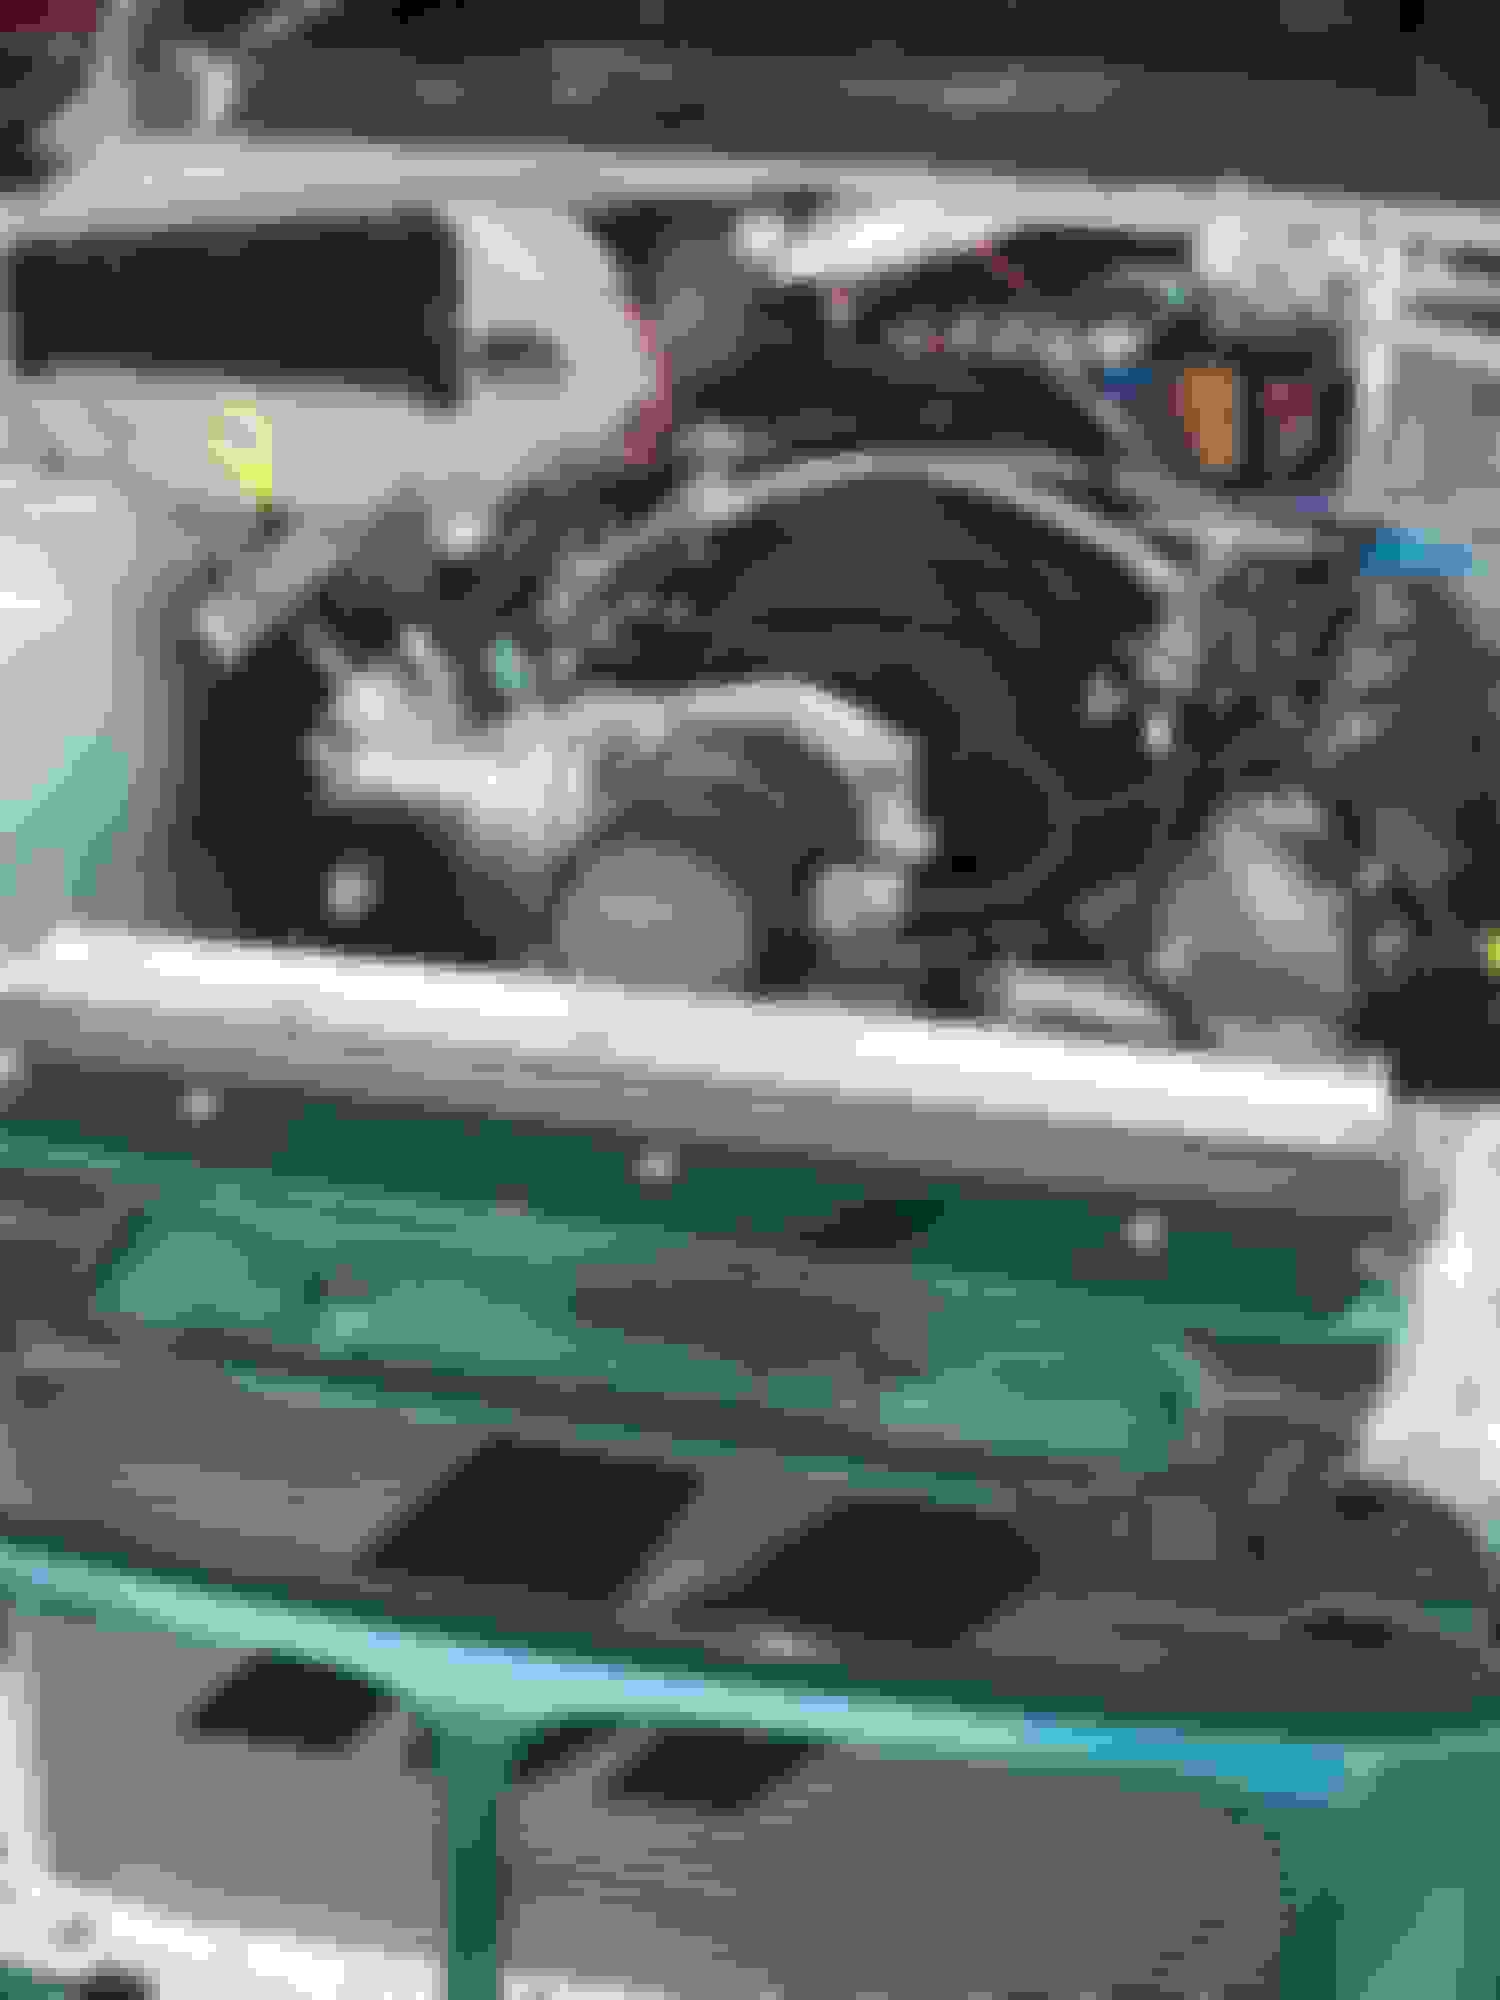
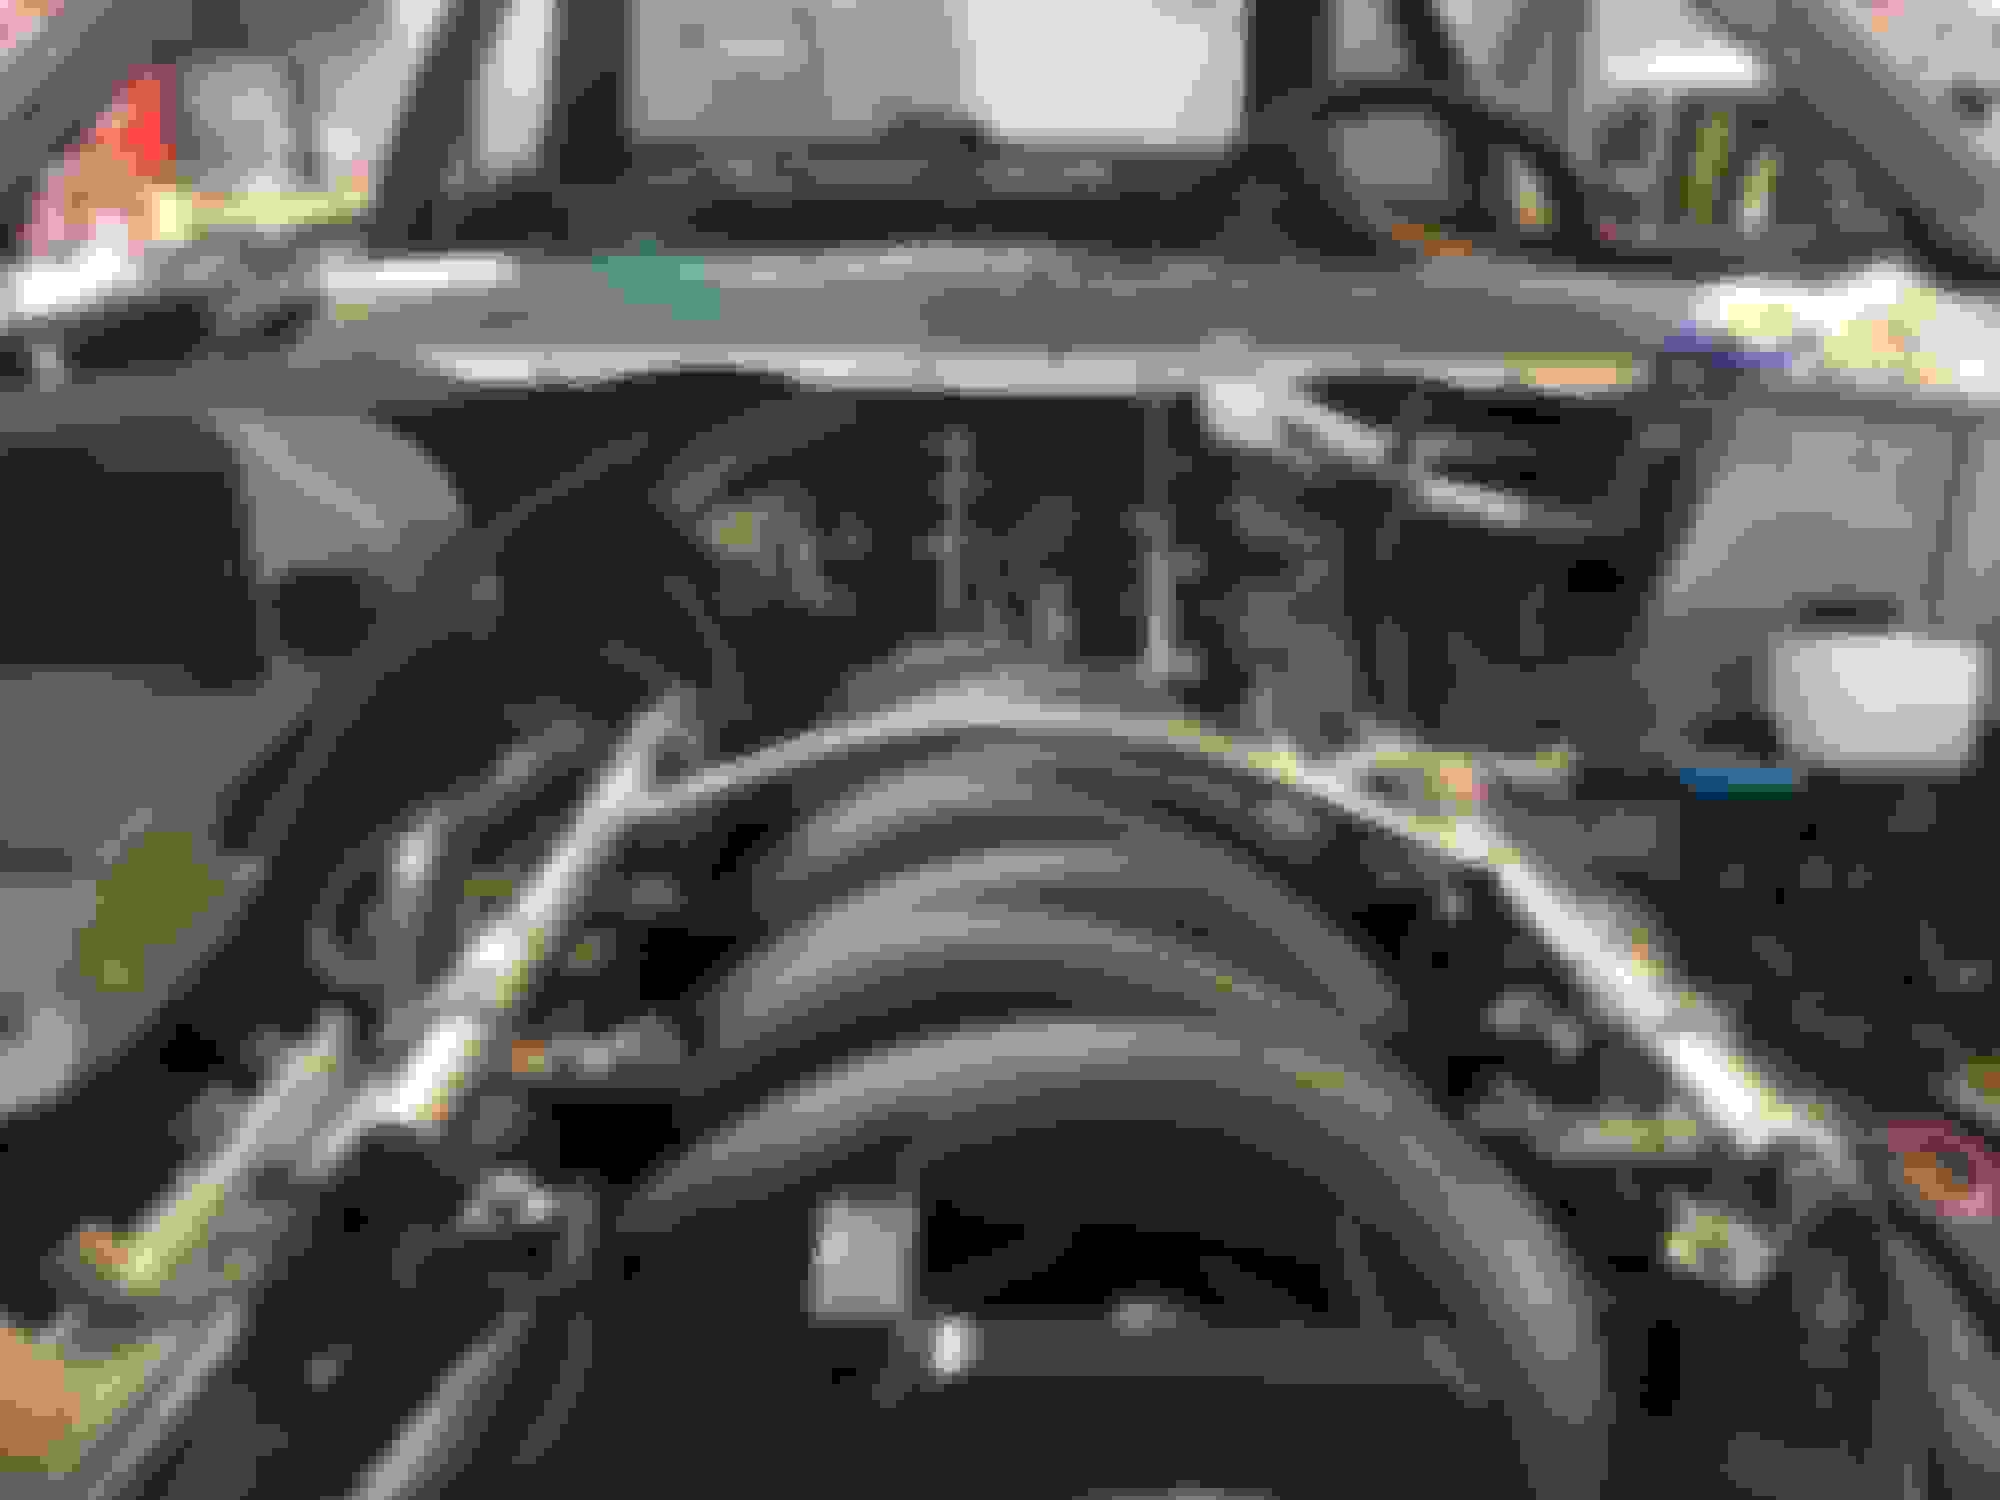
The radiator is in, and everything is plumbed up. I got the radiator fans installed as well, and just need to wire them up. Also the power steering is wrapped up, and the intake just needs another 90 bend and the filter.
Currently I am working on the fuel system, and I am planning on getting everything wrapped up tonight. I pulled the old fuel pump and cleaned out the tank. The gas was very old and there was a good amount of junk in the tank. The good news is the interior of the tank seems to be in good shape. I decided to go with a fuel pump of Rally Road, and it seems like a really solid piece.
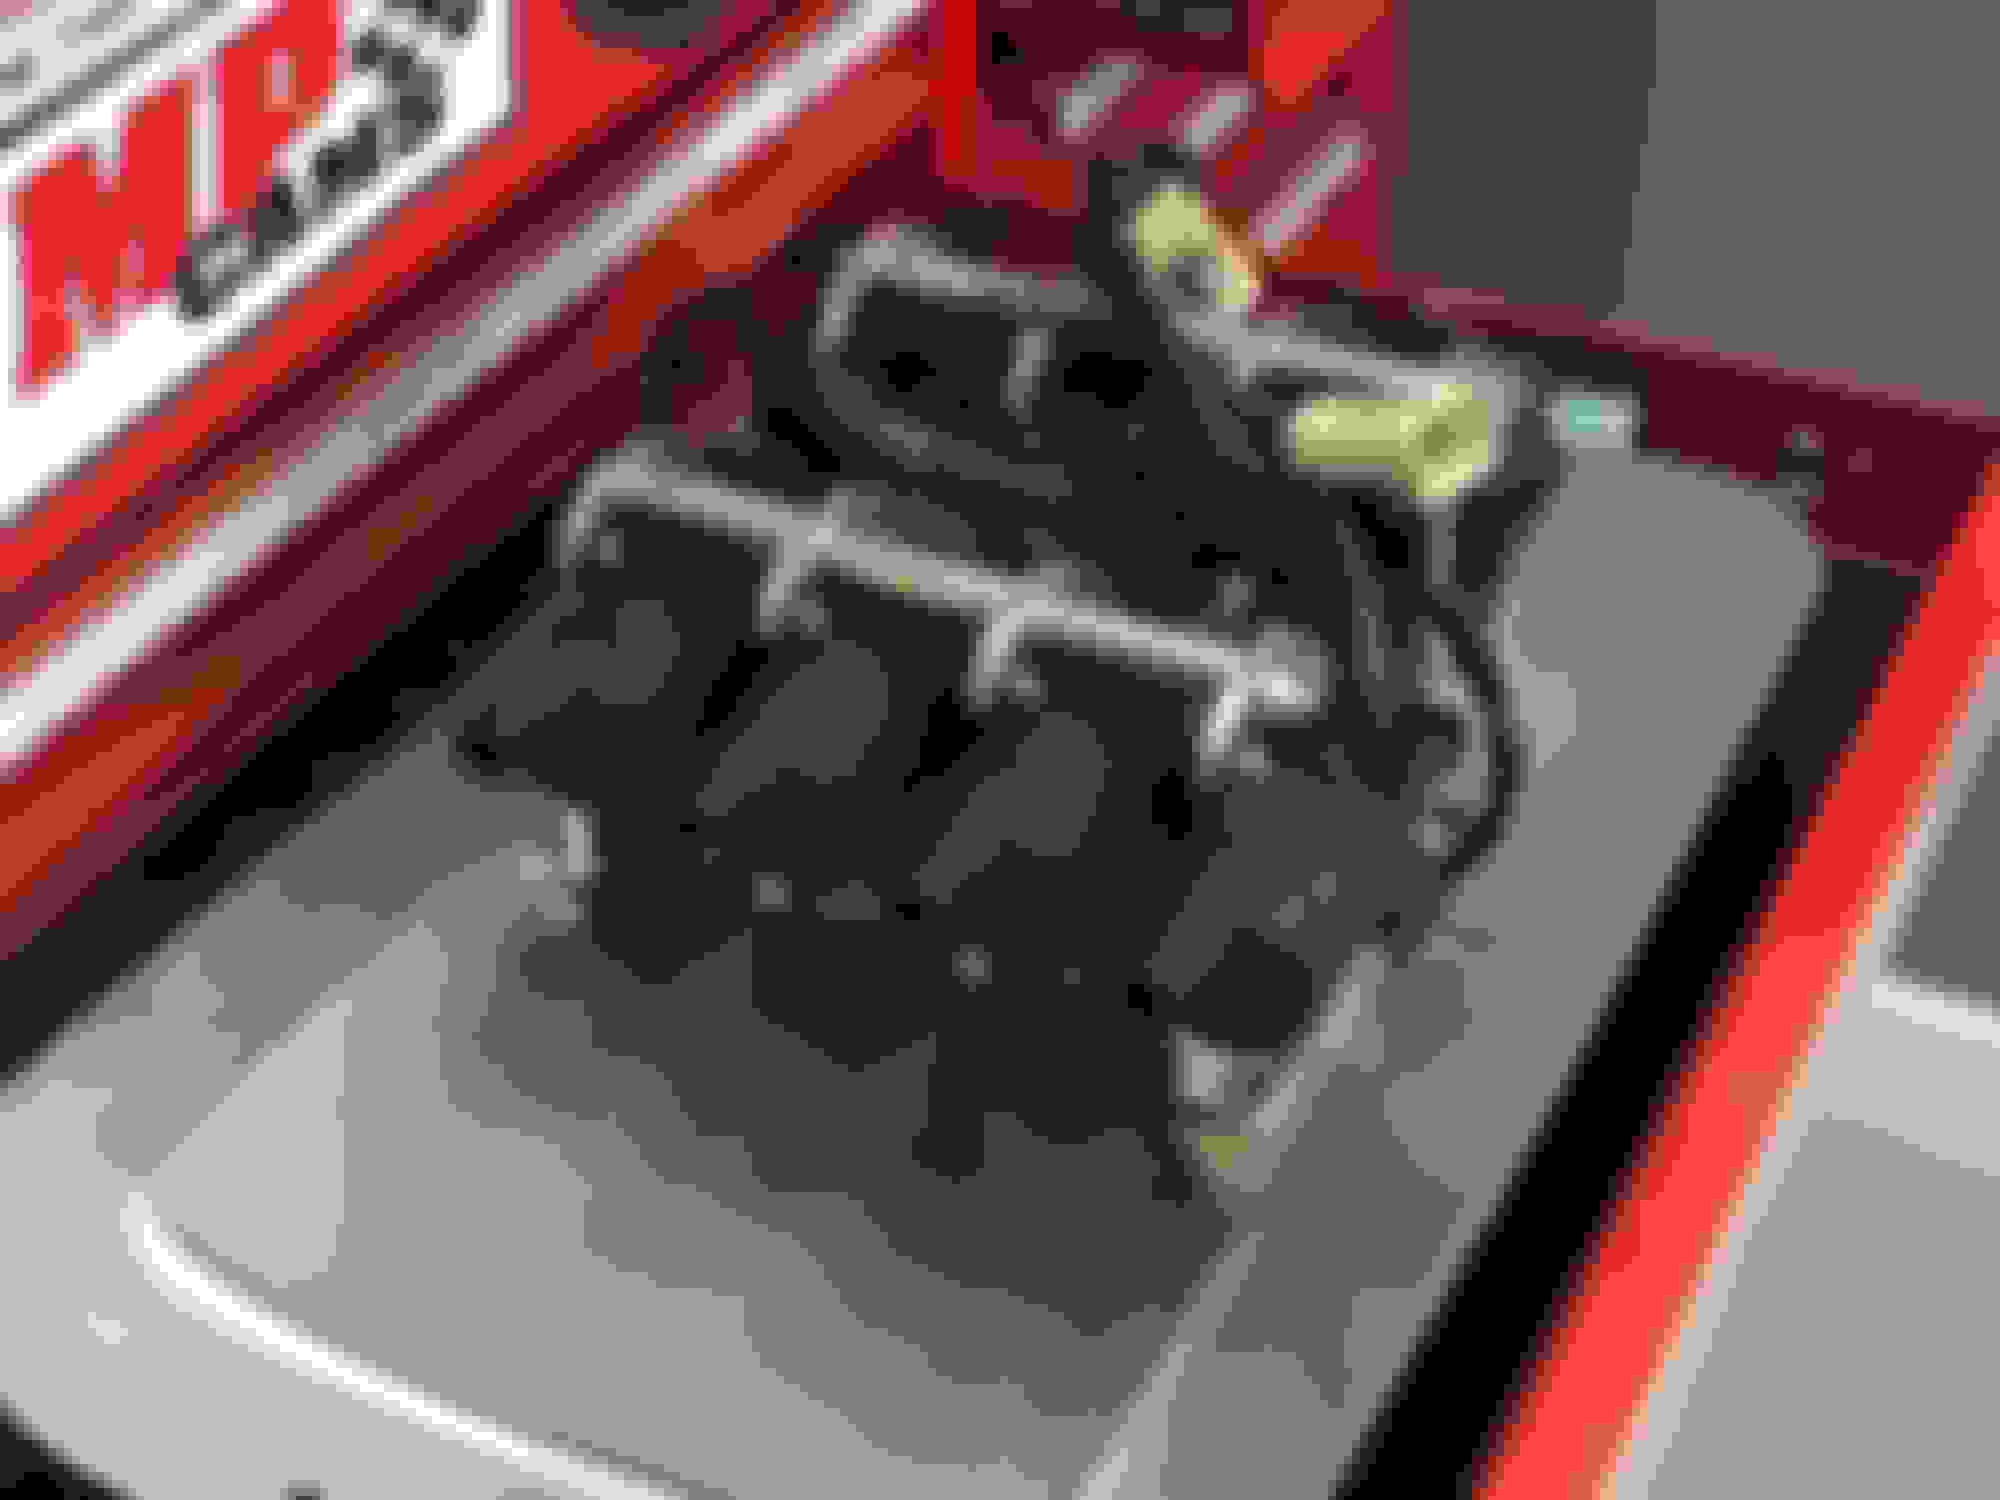
Also I decided to relocate the coils to help clean up the top of the engine. I relocated the coils to the interior fire wall, and made new plug wires. I am happy with how it turned out, but I have my fingers crossed that the spark plug wire I made will work. We will find out shortly.
Lastly I have started to get everything wrapped up with the trans. Since even with a relocated shifter position the shifter will still not hit the factory opening I decided to remove the top of the trans tunnel, and relocate the opening. I still need to order the shifter relocation kit, and once that happens I will fab up the new tunnel top.
The next items on the list are as follows.
1. Finish up the fuel system.
2. Wire up fans, and install relay for the fuel pump.
3. Clean up the wiring, and mount the ECU, Fuse block, gas pedal, and OBDII port.
4. Fill all the Fluids, and fix any leaks.
5. FIRE ER UP!
Thank you for the kind words man! I�m just hoping everything doesn�t come apart when I start it up haha. When I started the engine out of car it seemed to run okay.
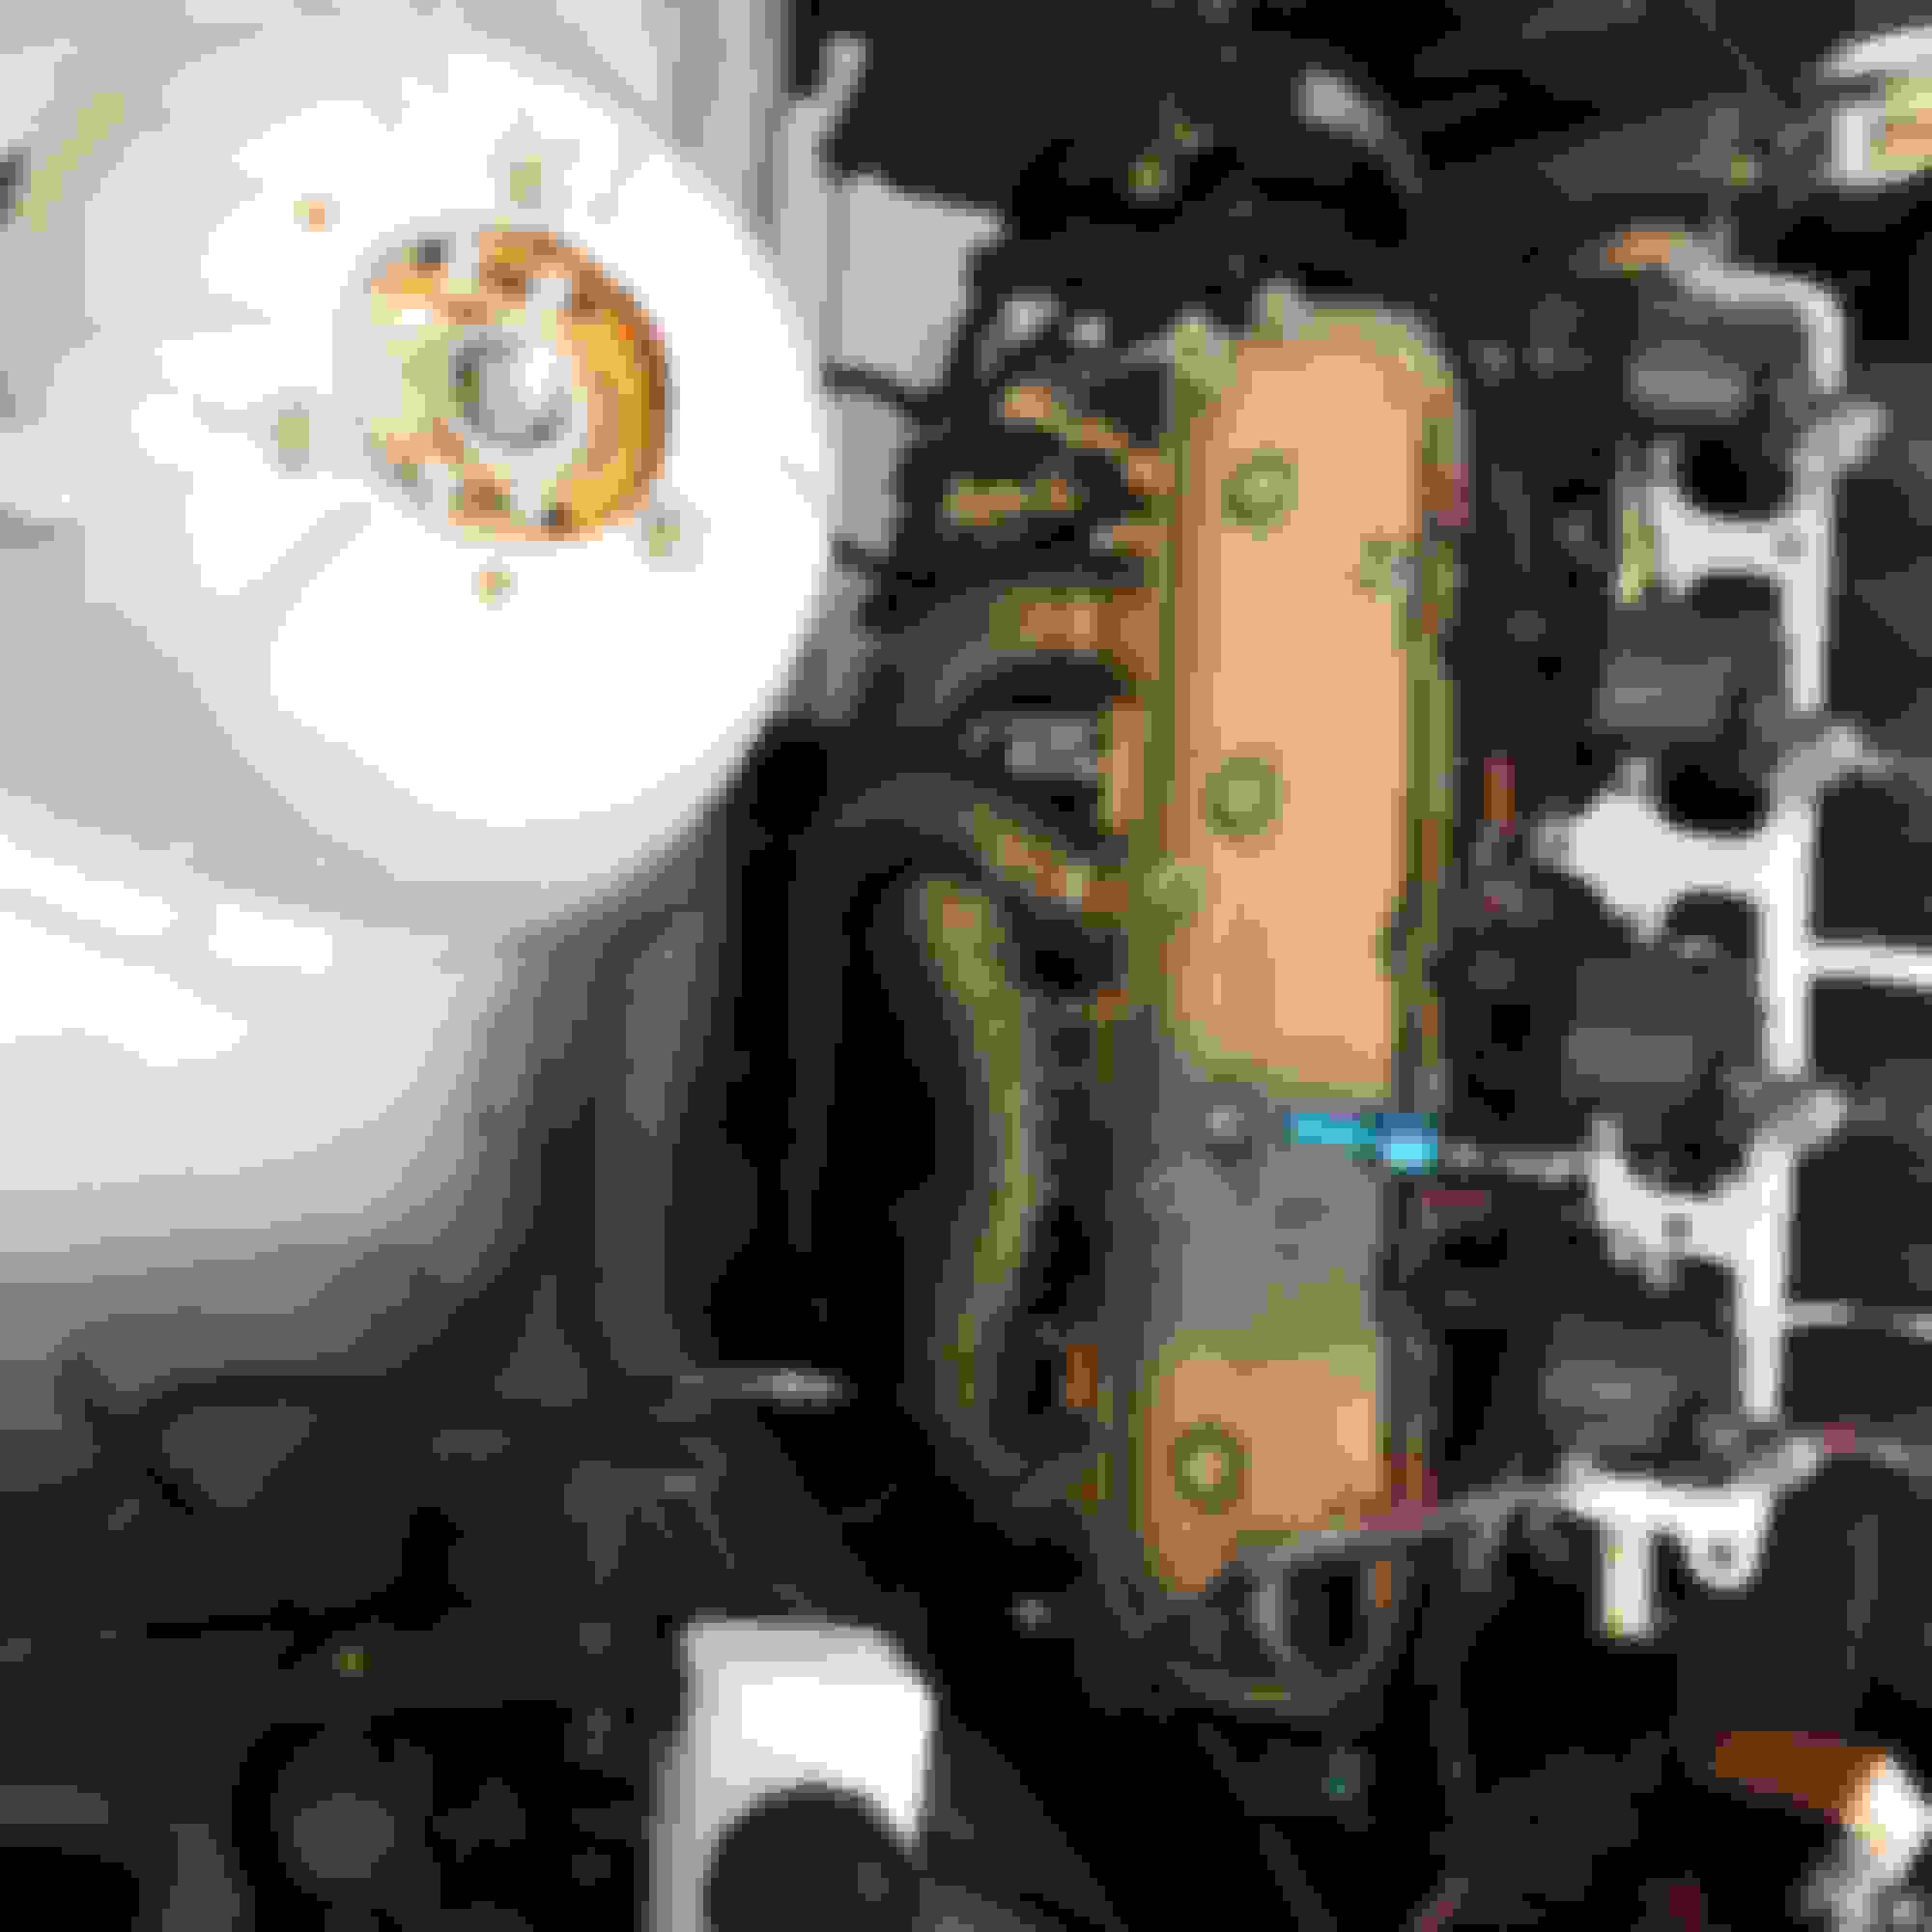
Well I think I figured out where the missing fuel tank line went. Pre 95 cars have a different fuel level sensor unit on the drivers side. The pre 95 units have two ports on the top, one for the return line and one that goes to a siphon line in the tank. The siphon line then goes back to the return line on the pump. Apparently the prior owner put a post 95 sensor unit in and then plugged the old siphon line. Here is a pic of the correct unit with the line attached.
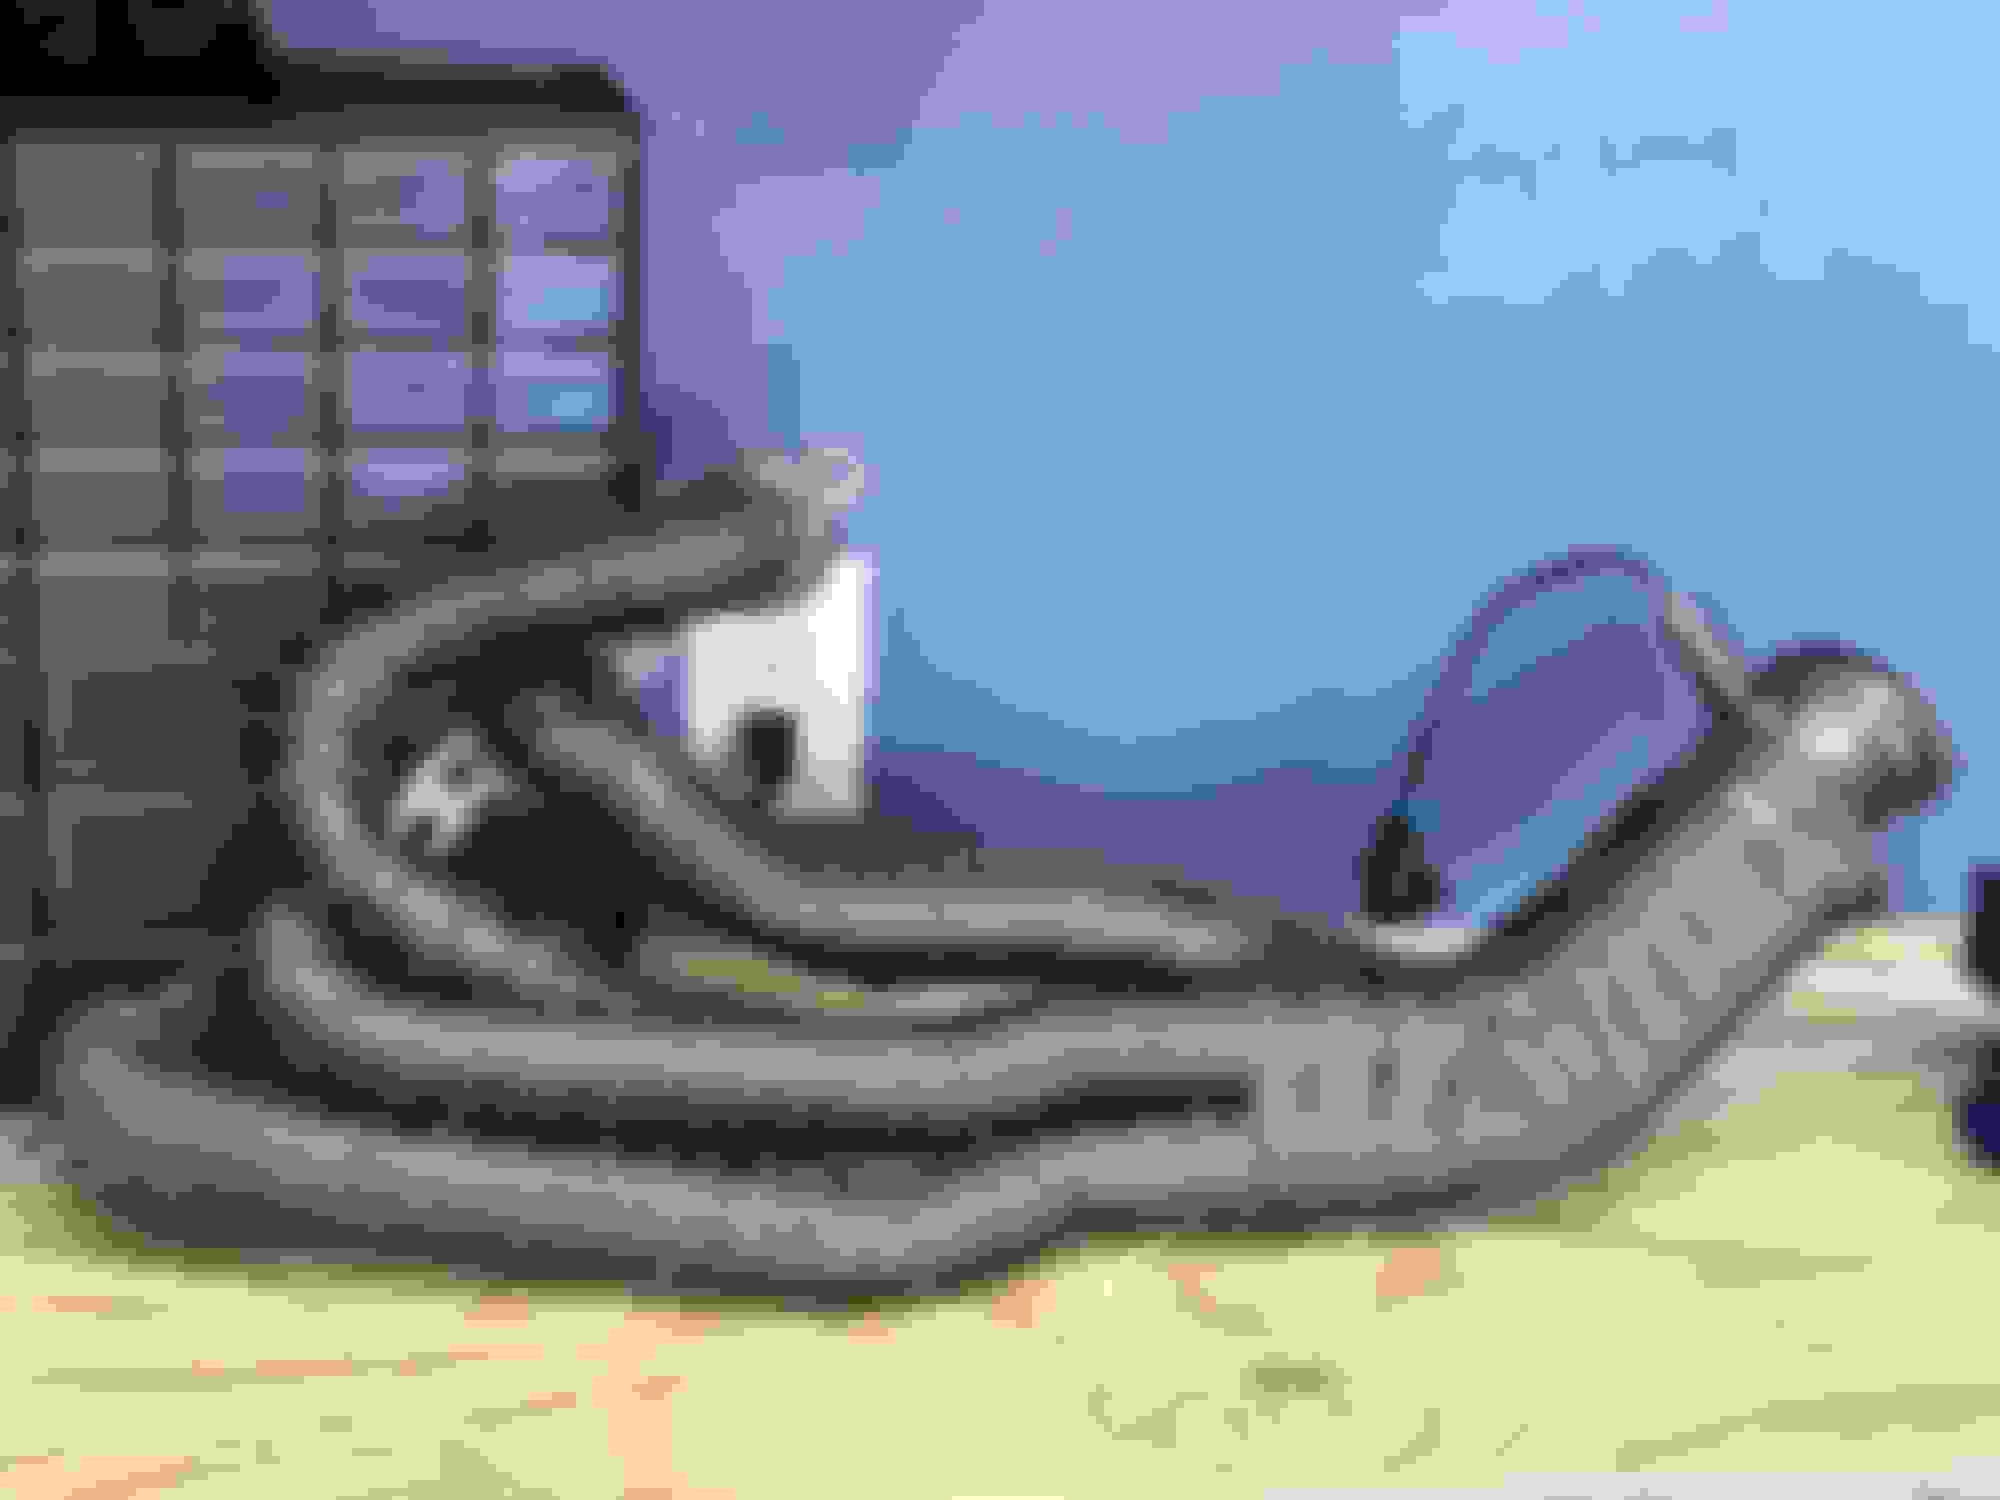
Also I got the corvette FRP/filter installed and plumbed from the tank to the engine.


 09-23-2019, 01:41 AM