When you click on links to various merchants on this site and make a purchase, this can result in this site earning a commission. Affiliate programs and affiliations include, but are not limited to, the eBay Partner Network.
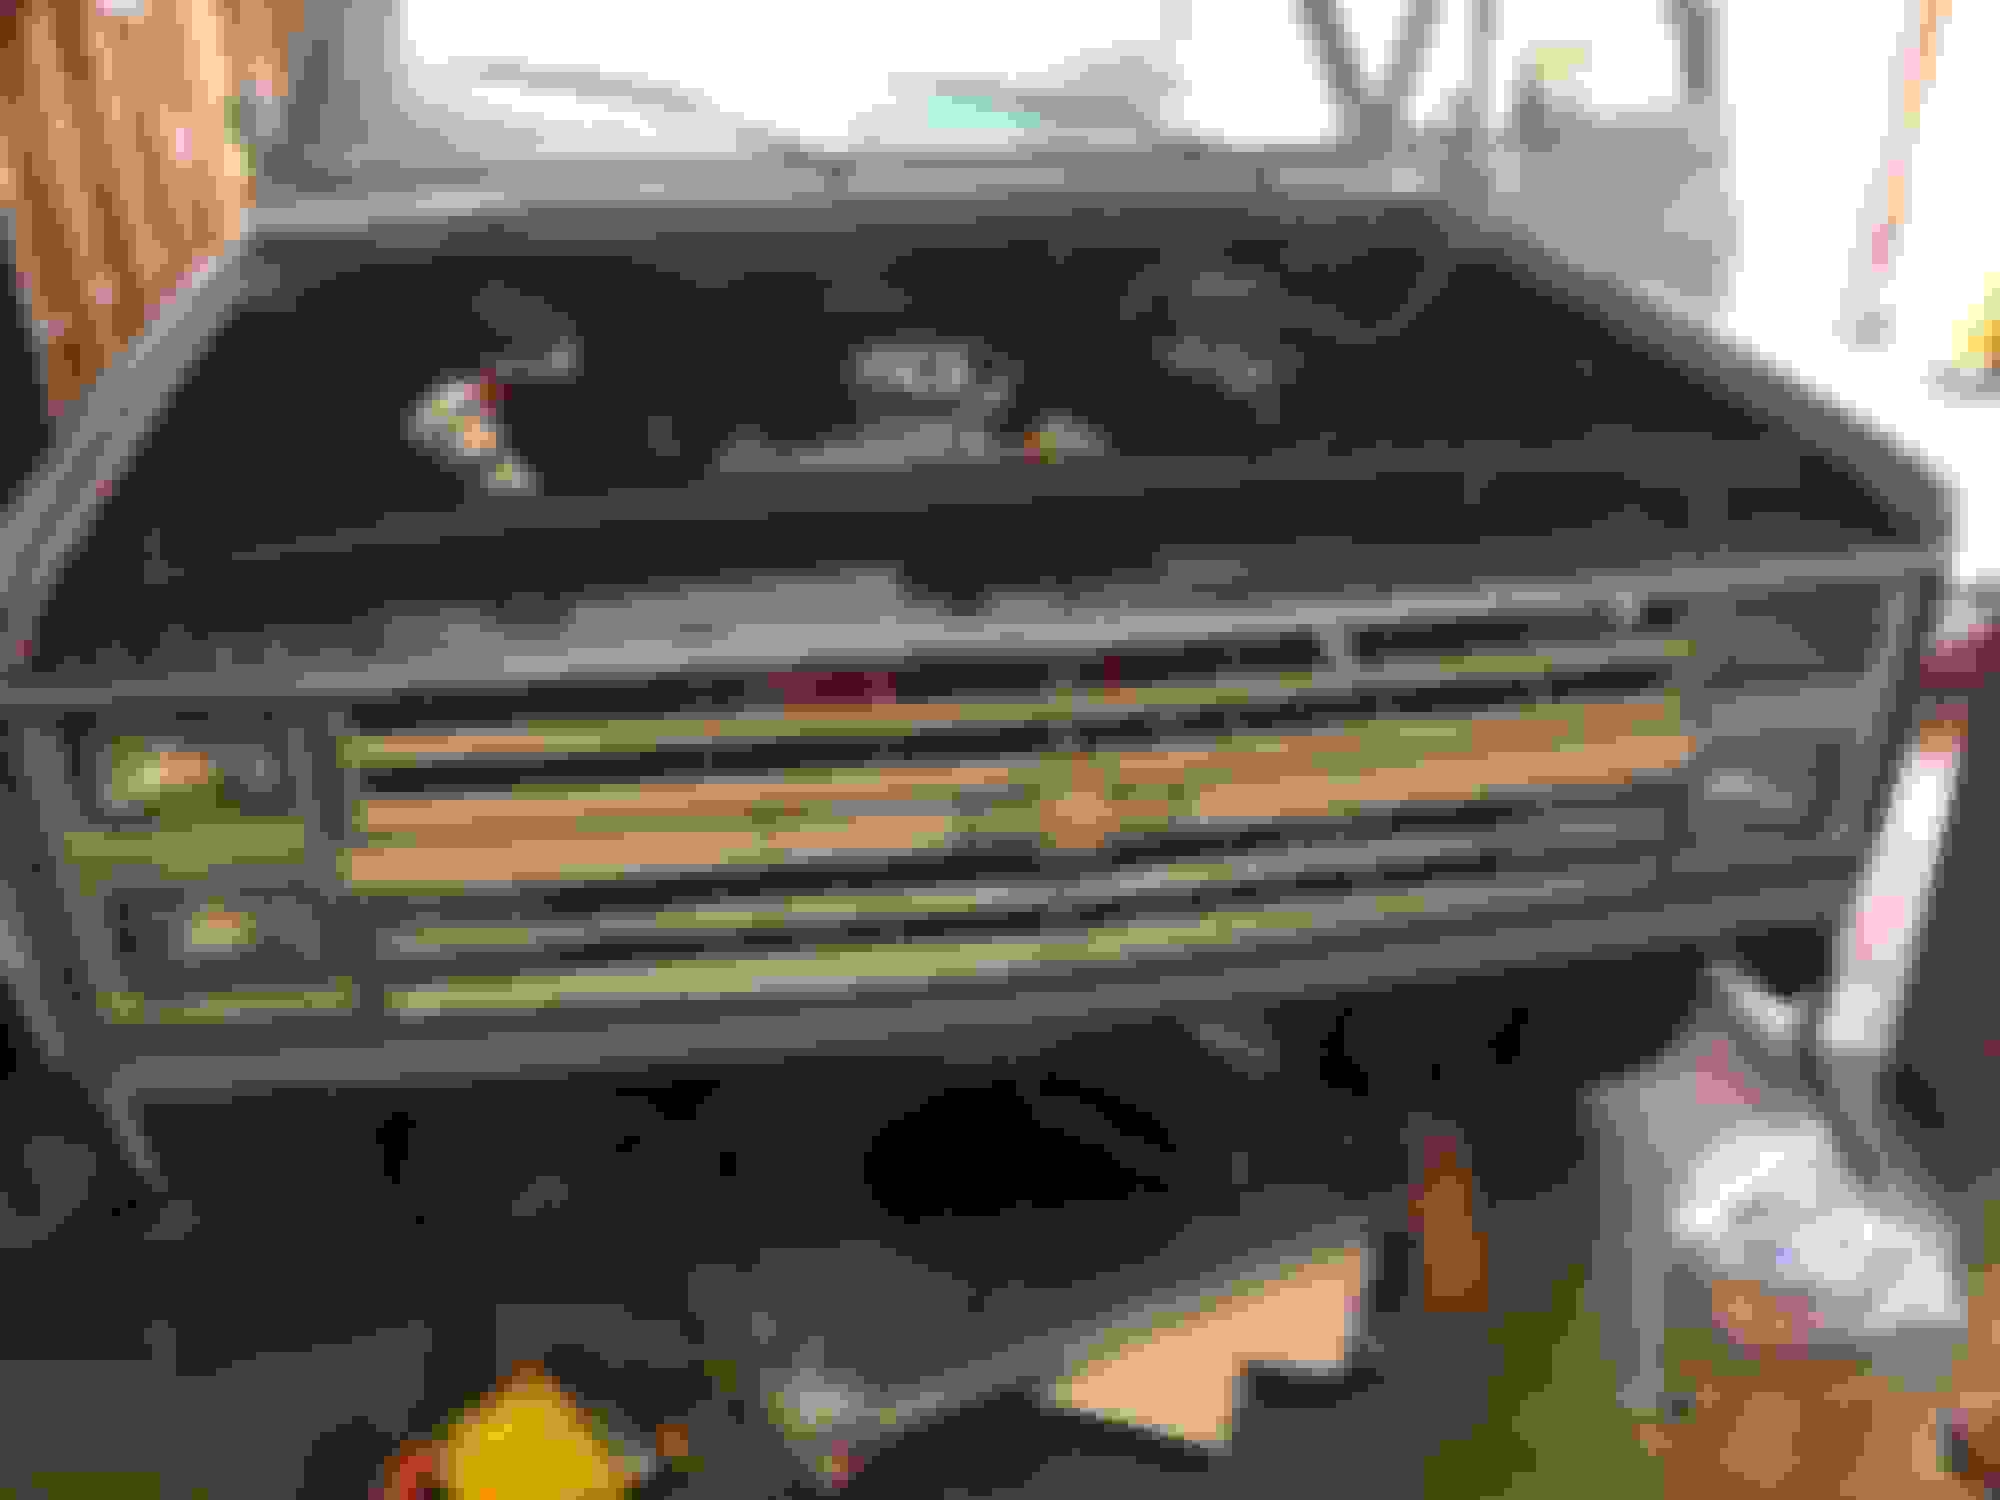
So I am creating this thread to tell a story of my 1986 c10. I bought the truck from a local guy that bought it in Oklahoma and moved here to Chattanooga. I met him at his storage unit and when he opened the door, the hood of the truck was off. I immediately noticed the big ol heads on the motor. I asked him if he knew what the engine is. He said man I don't have a clue what the motor is. I instantly knew that he couldn't know much about cars if he didn't even know the motor was a big block. We fired it up and it was hard to start but the battery was dead and the timing was way off. After looking the truck over, I knew I was going home with it. One of the most solid bodies I have seen in a square body. He had stripped the interior out of it and had started a custom interior. He said he had the intentions of learning old cars and wanted to restore this one but had got in over his head and just wanted to get out from under it. I told him I would take it after agreeing on a price. He gave me enough LMC sound control mats to wrap the whole truck. Also included was TMI door panels, bucket seats, seat bracket, vinyl mat, and carpet ( I don't know why he had both) carpet insulation and fire wall insulation as well as some original interior parts he had taken off during his restore. These are some pics the day I brought it home.
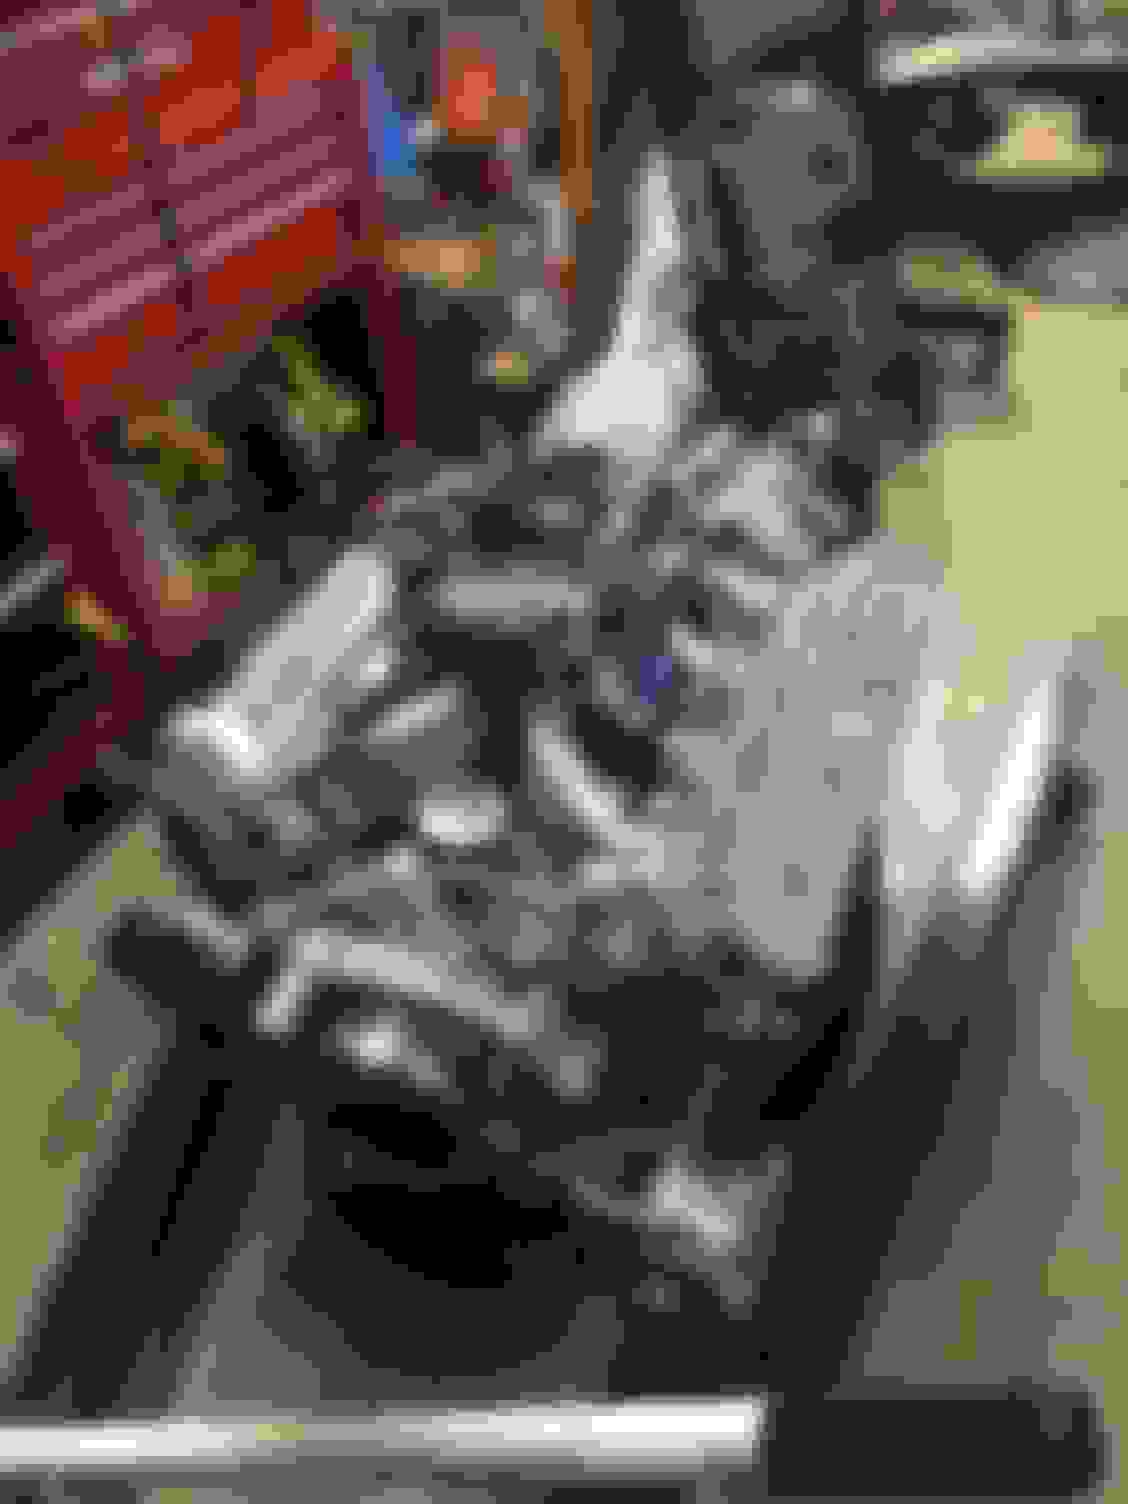
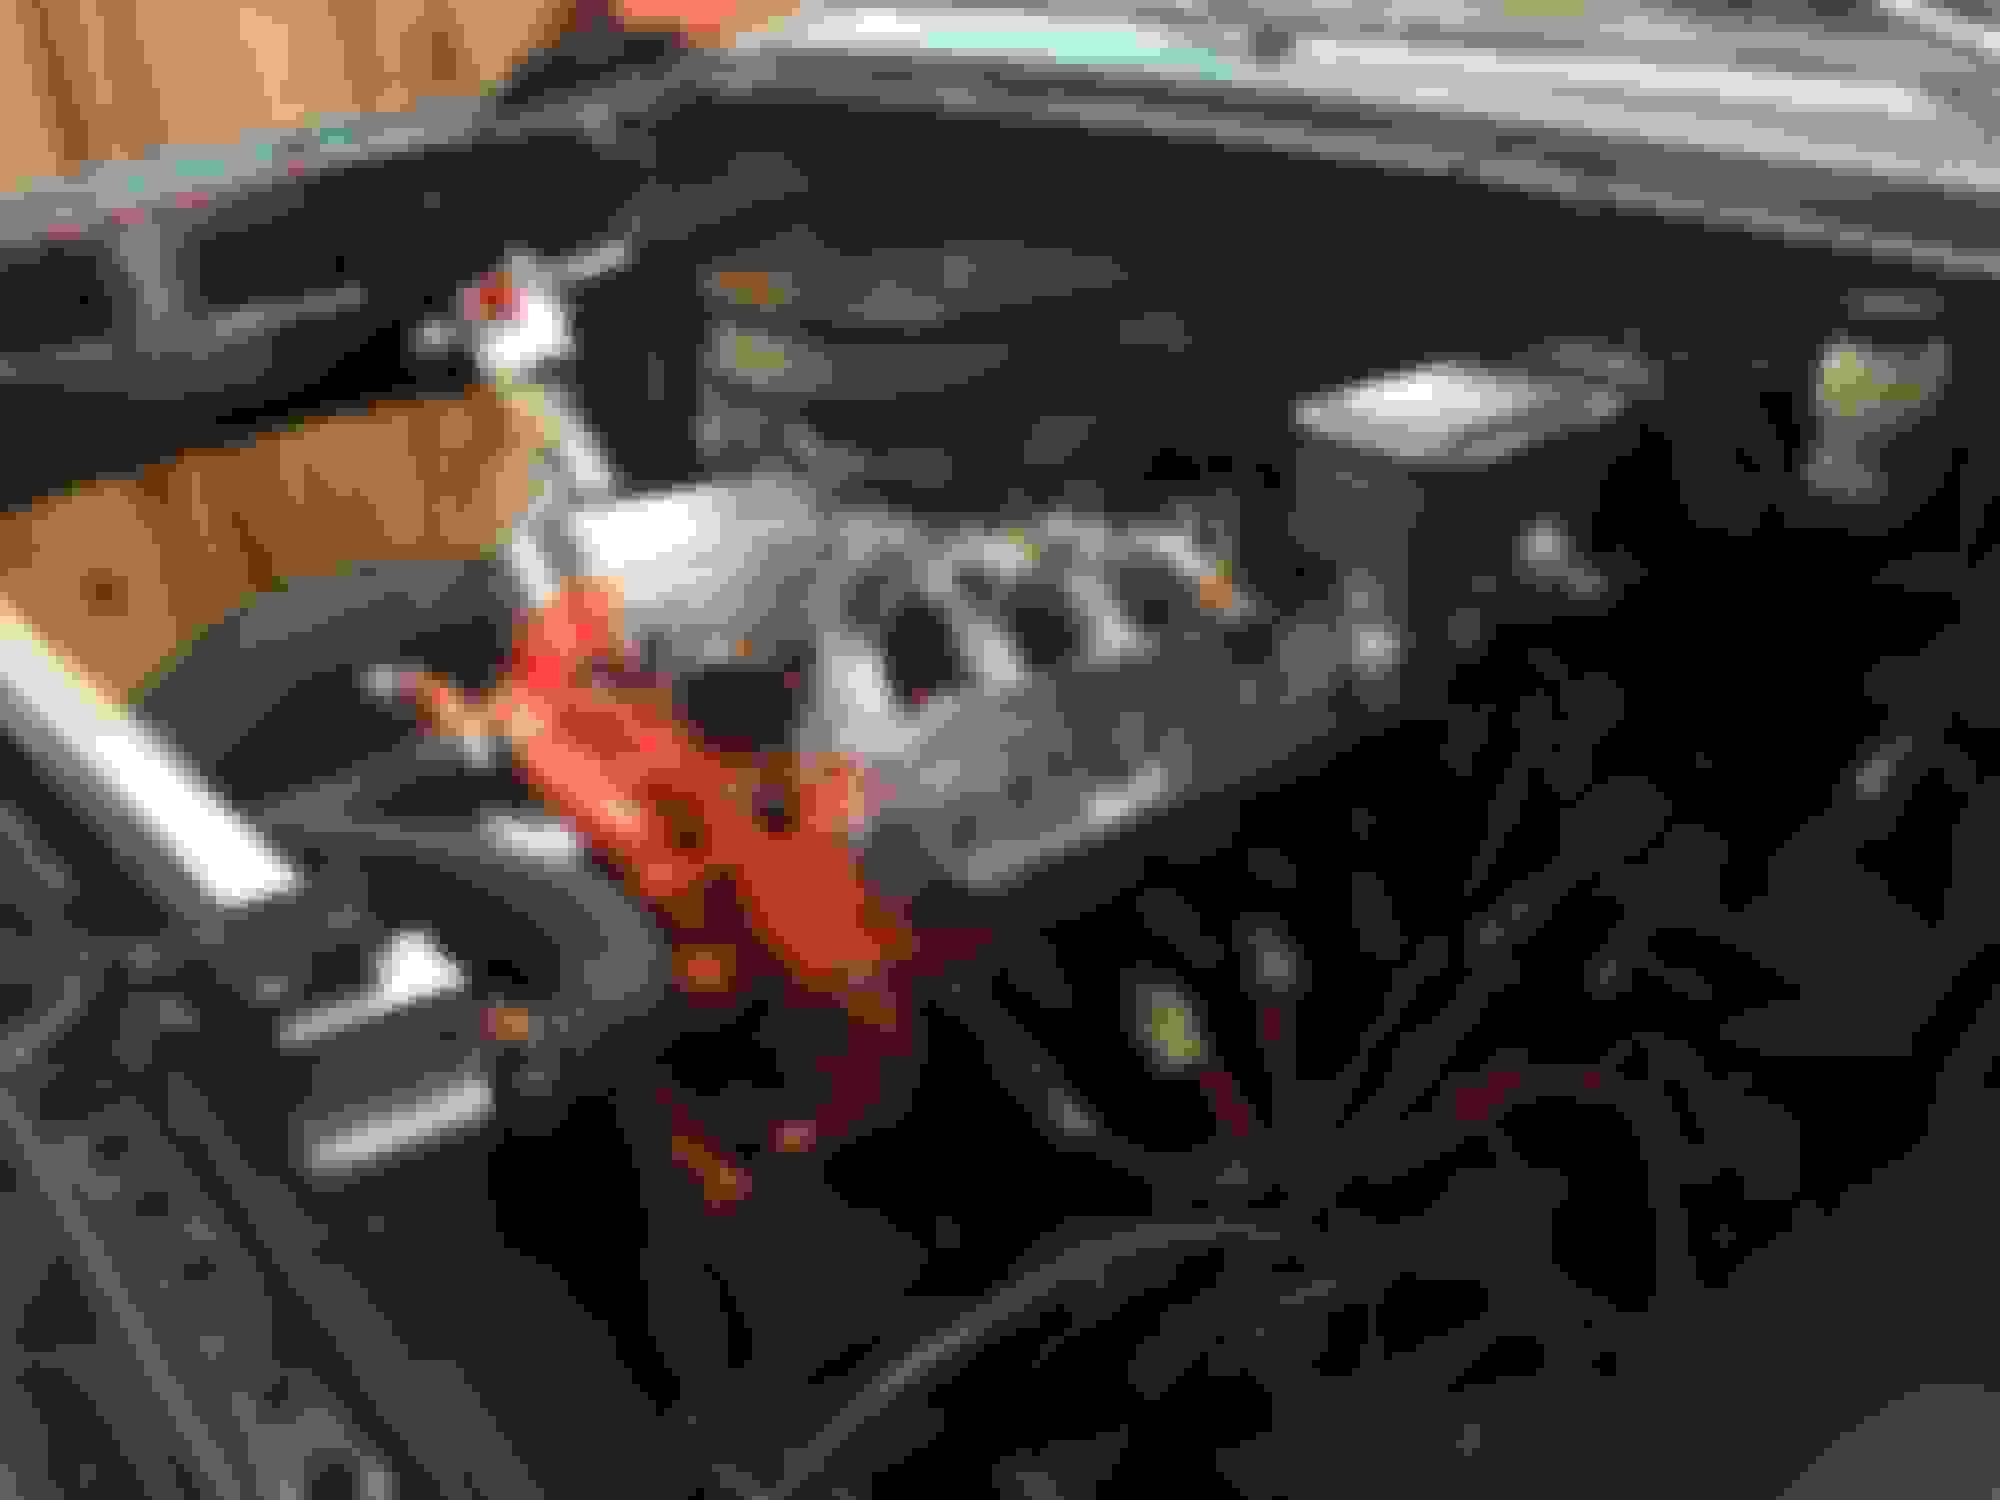
So I towed baby blue home and got to work. I set the timing and ran a few tests and did a tune up. I got her running like a top. This big block was something else. I loved it.... until it started smoking from one tail pipe ( The day after I finally got it running right.) It scared me so I took off the valve covers and found nothing. Then I took the heads off and everything checked out... until I looked into cylinder number 6. I found a crack in the block. My guess is that it has been this way for a while as the block showed some serious water pitting. I believe this is why the previous previous owner got rid of it and sold it to this kid that I got it from... poor guy knew nothing about cars but I ended up with it in the end. This only means one thing..... LS SWAP! I'll be honest, I priced having the big block machined and made right but it was more than the value of the motor so I decided to part the big block and allow it to fund my LS swap.
So I got to it. I pulled the motor, trans, and everything on the fire wall to paint it while the motor was out, gutted what was left of the interior and pulled the wiring harness out. I decided to do either a 6.0 or 5.7, 6 speed so I pulled the pedal assembly as well.
I found a built LS1 with a built t56. Luckily the seller had receipts to prove the build. Here are the specs on motor and trans: Started life as a 1998 ls1, has forged bottom end h beam rods, forged pistons, comp 595 cam, 317 truck heads that have been ported and better valves and springs. Rocker arm trunnion upgrade. Has carb conversion on it with msd 6ls box and wiring harness. T56 trans with lightweight flywheel and monster stage 3 clutch with tilton hydraulics conversion and a bowler shifter. Also came with msd atomic efi box that is new to switch it to efi. 525hp on the engine dyno, 472hp to the tires. Cant wait to see the HP after fuel injection.
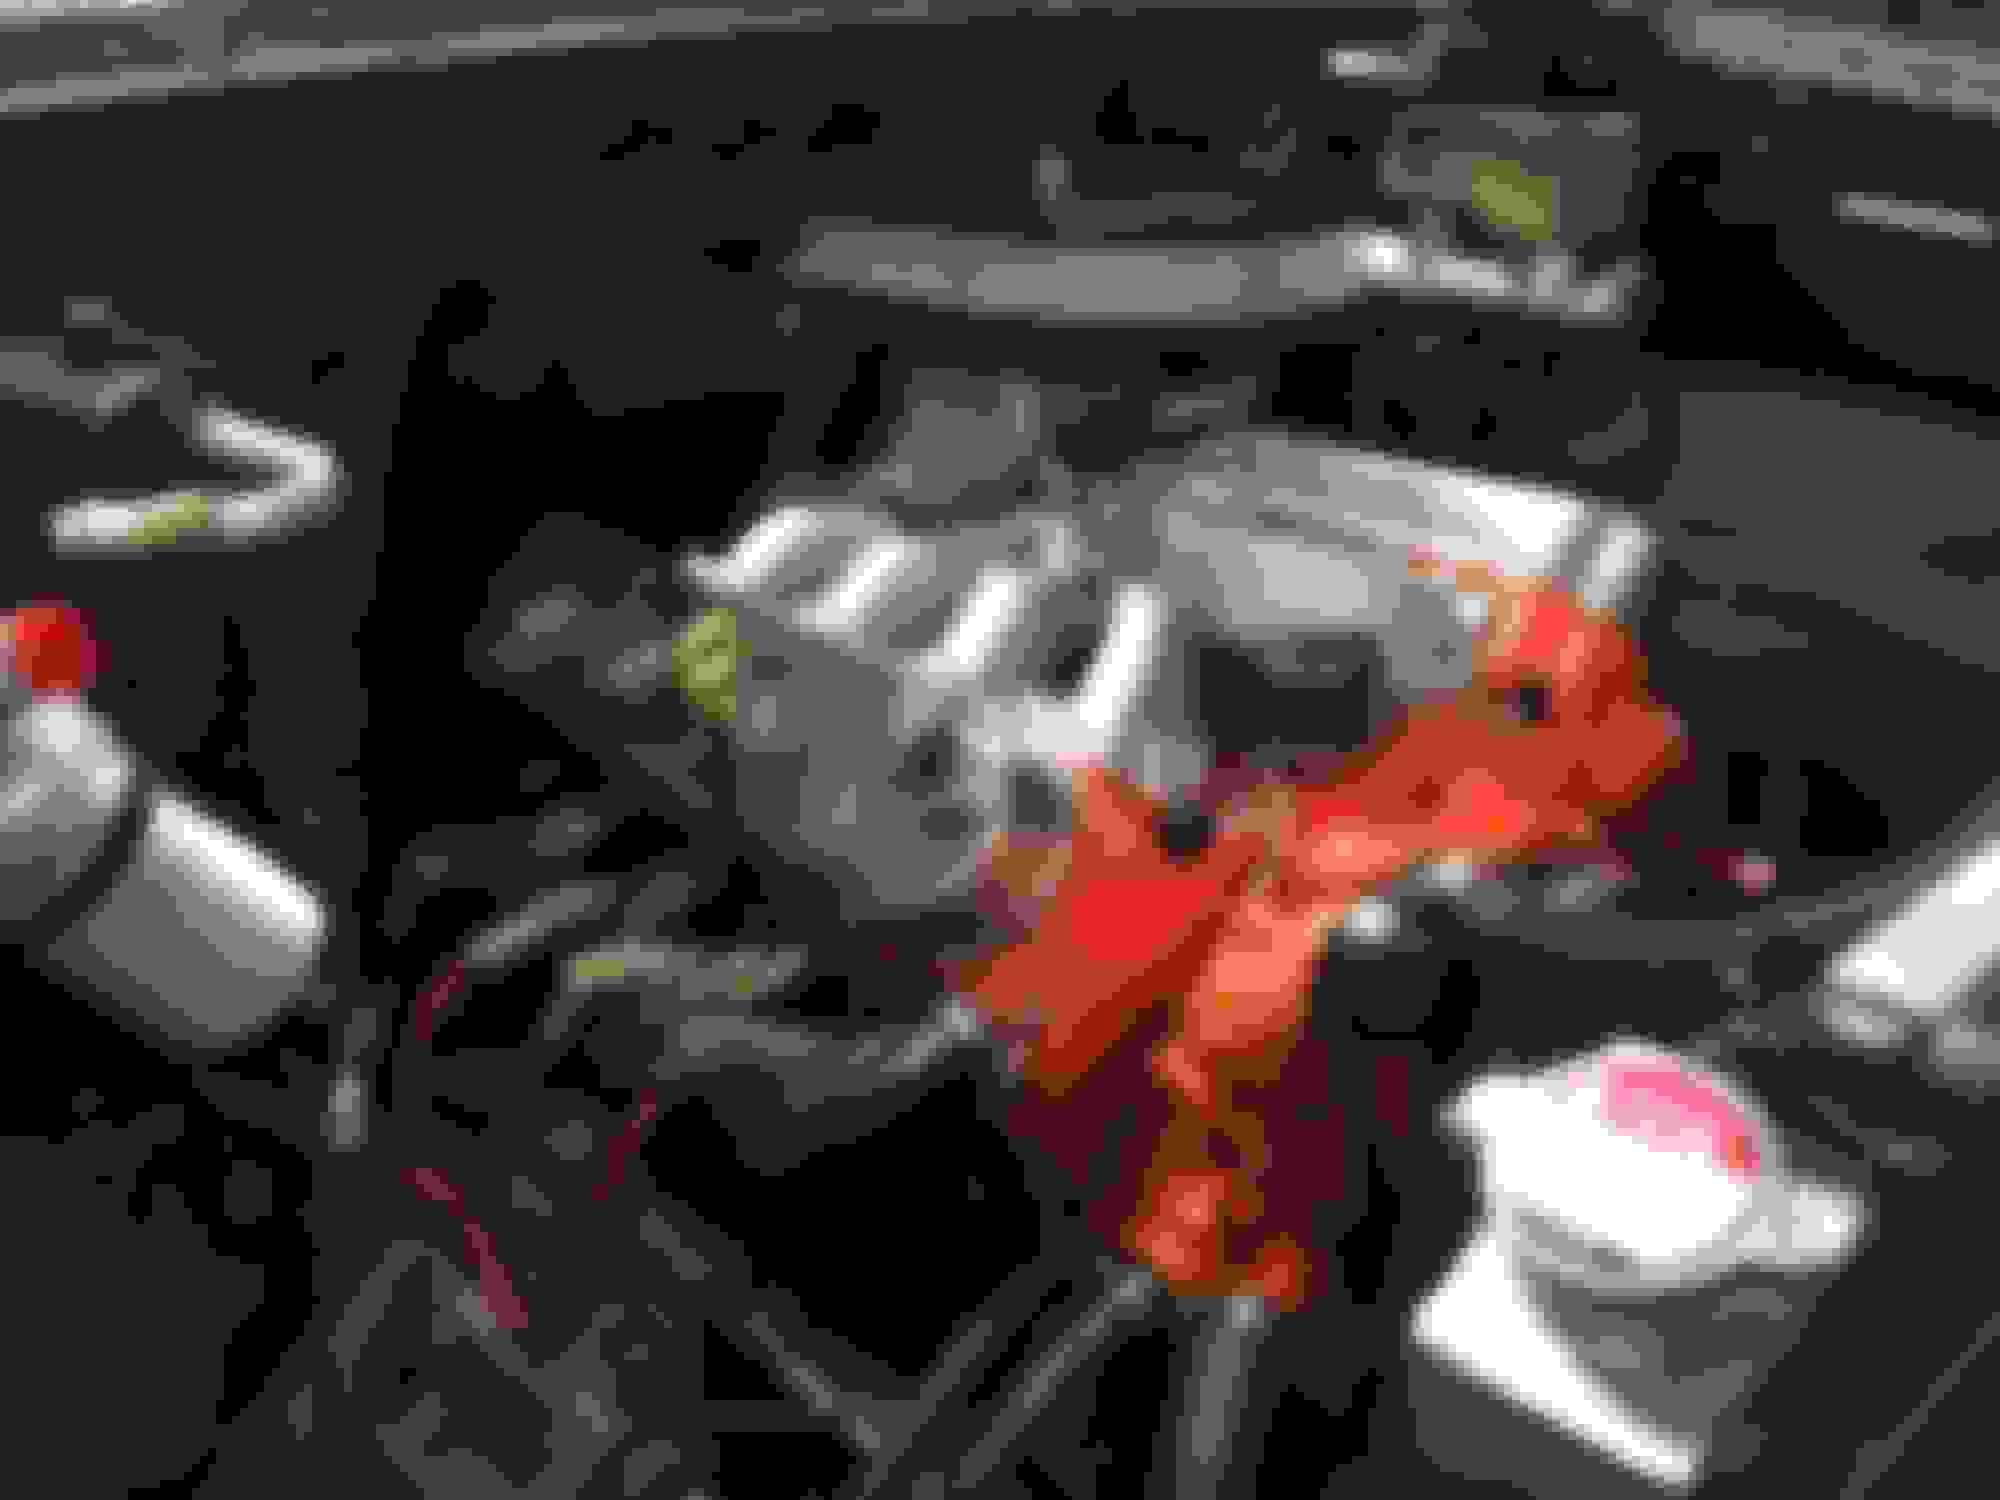
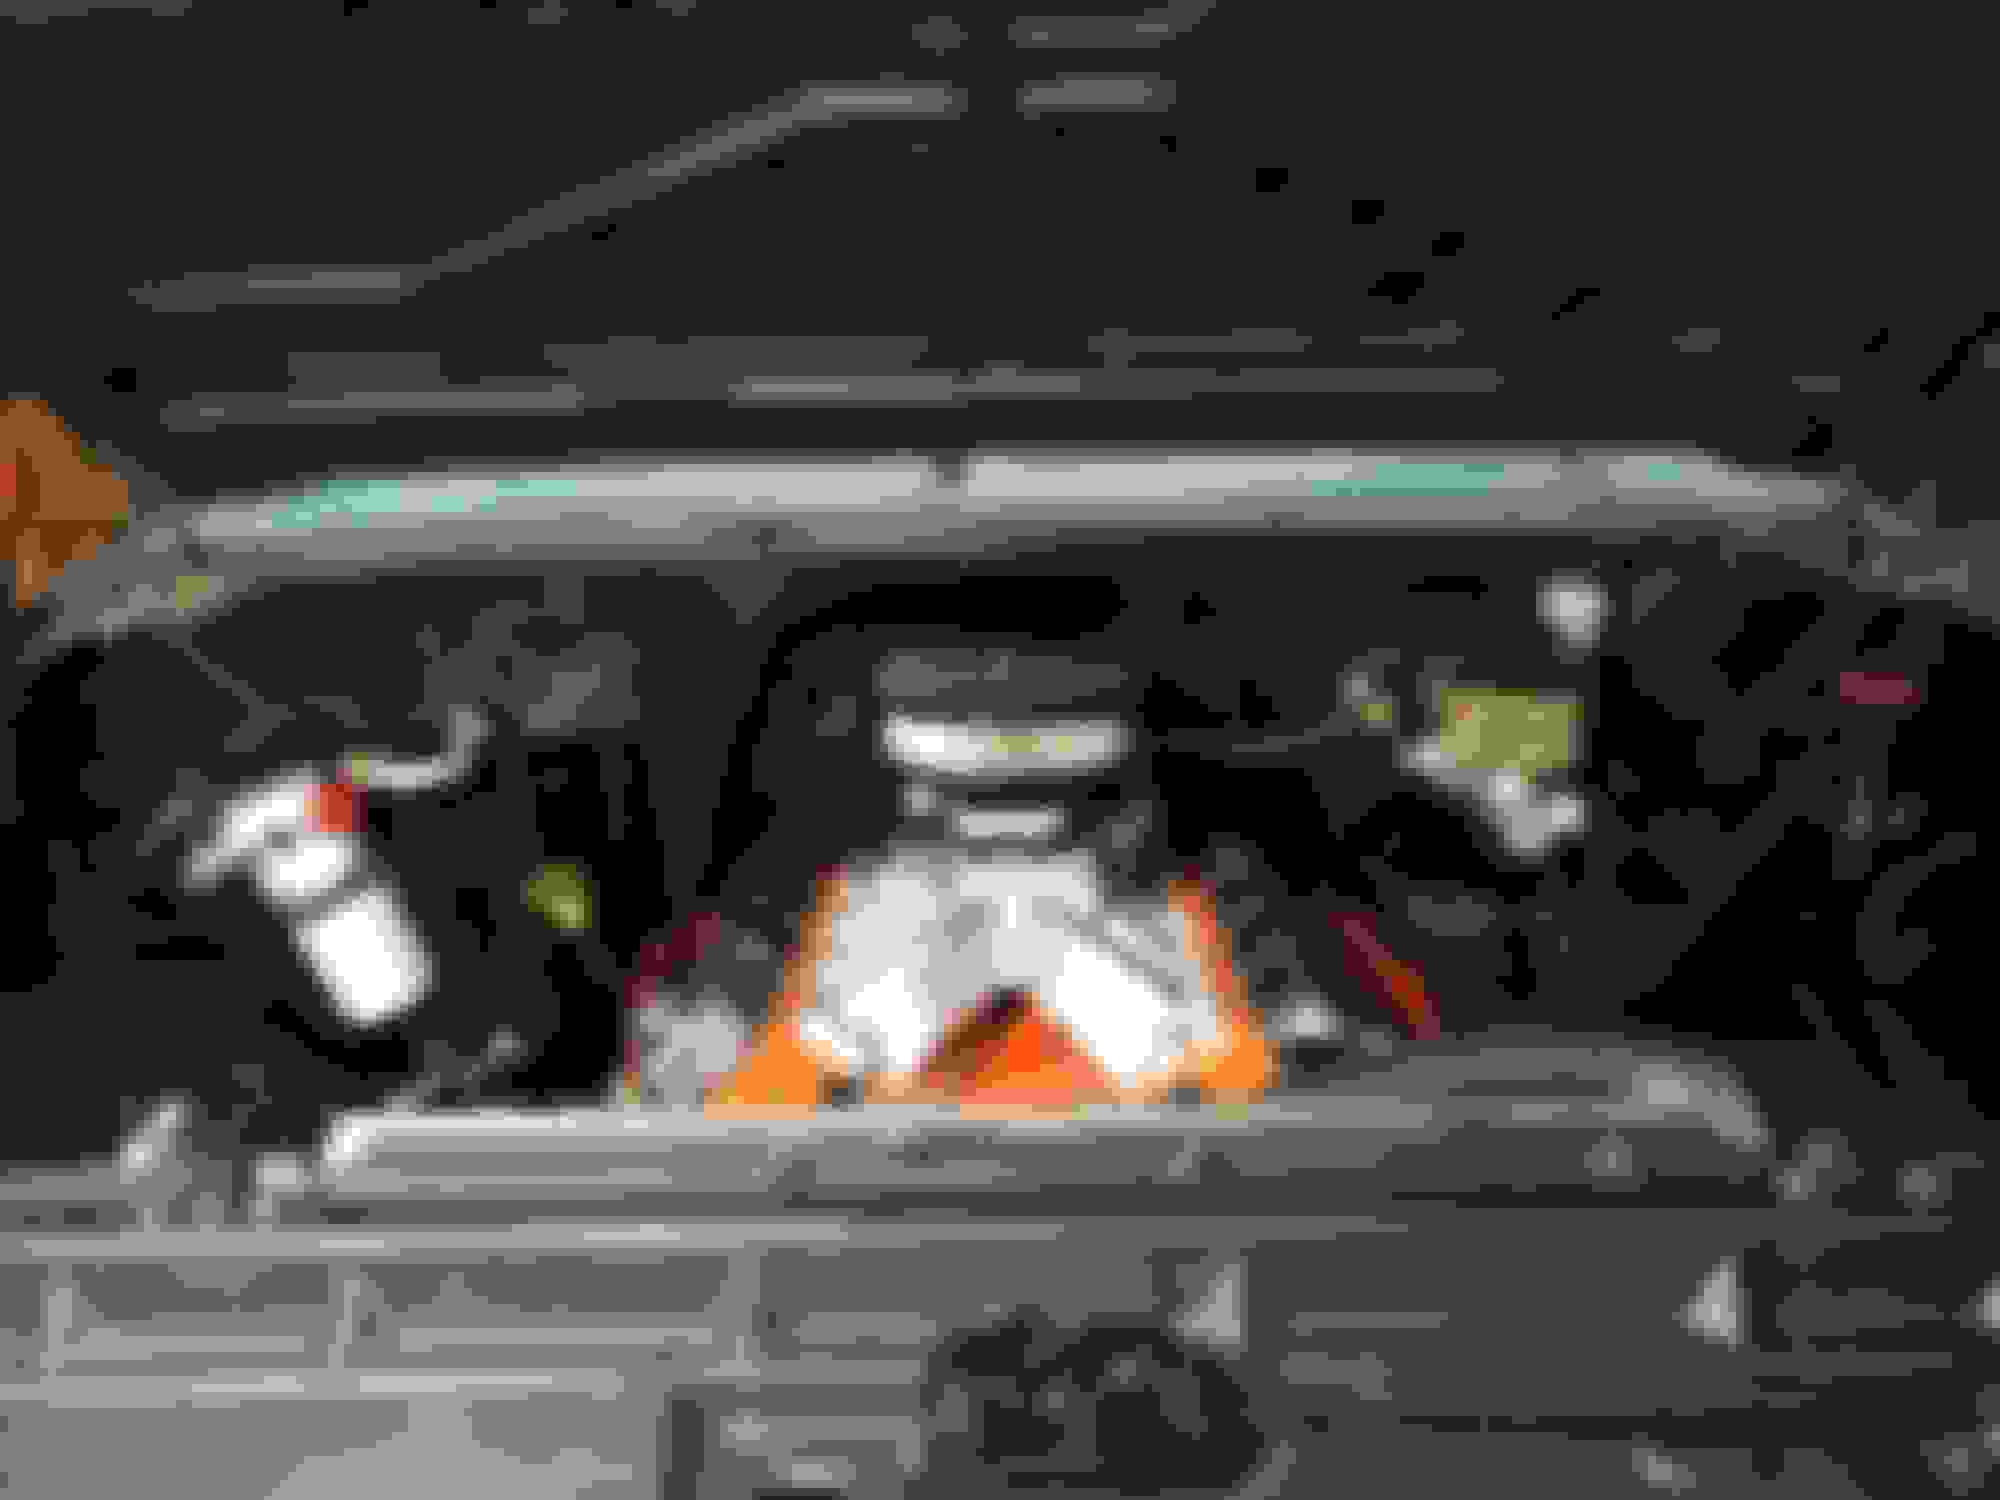
Got the engine bay painted today. I used Eastwood chassis black paint, satin. I think it came out nicely. I could have spent a lot more time wet sanding and getting it all super nice but I'm going with the shop truck style and my goal was to have a clean, black engine bay and so far I am going in the right direction. I think it turned out okay. It was also my first time every spraying with an automotive paint gun and it was a blast! I also got the inner fenders painted and they look great. There are goodmark brand. They are much more flimsy than the OEM one's but mine were shot. Next, I'll get the radiator core prepped and ready for paint. I also got the headers in today. Can't wait to see how they fit. I have been told they fit perfectly.
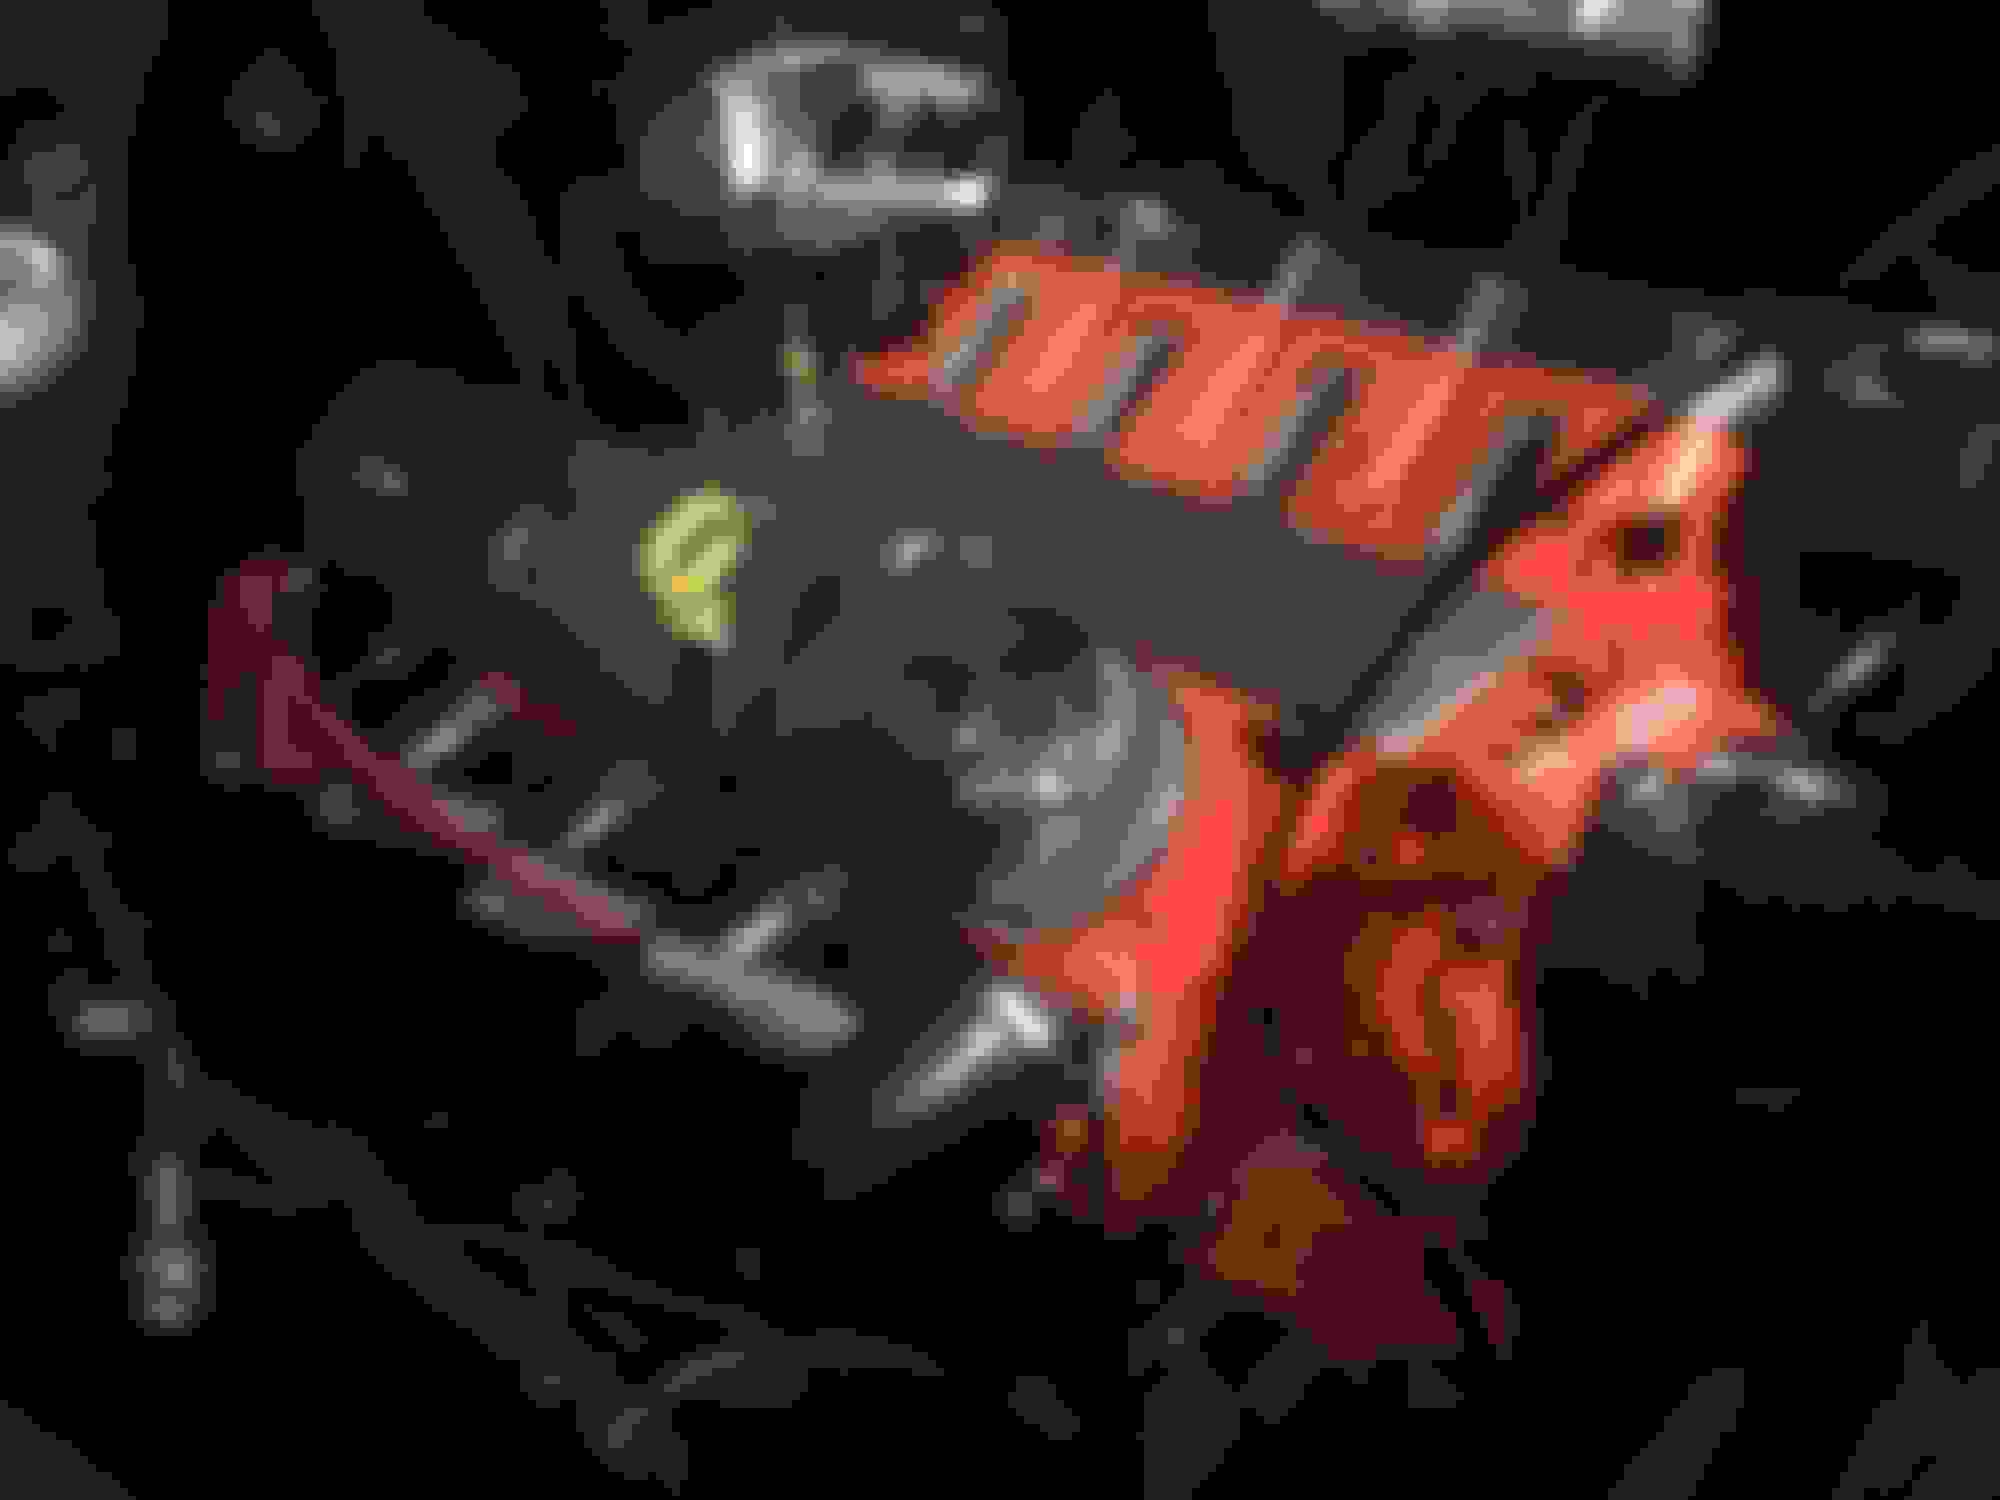
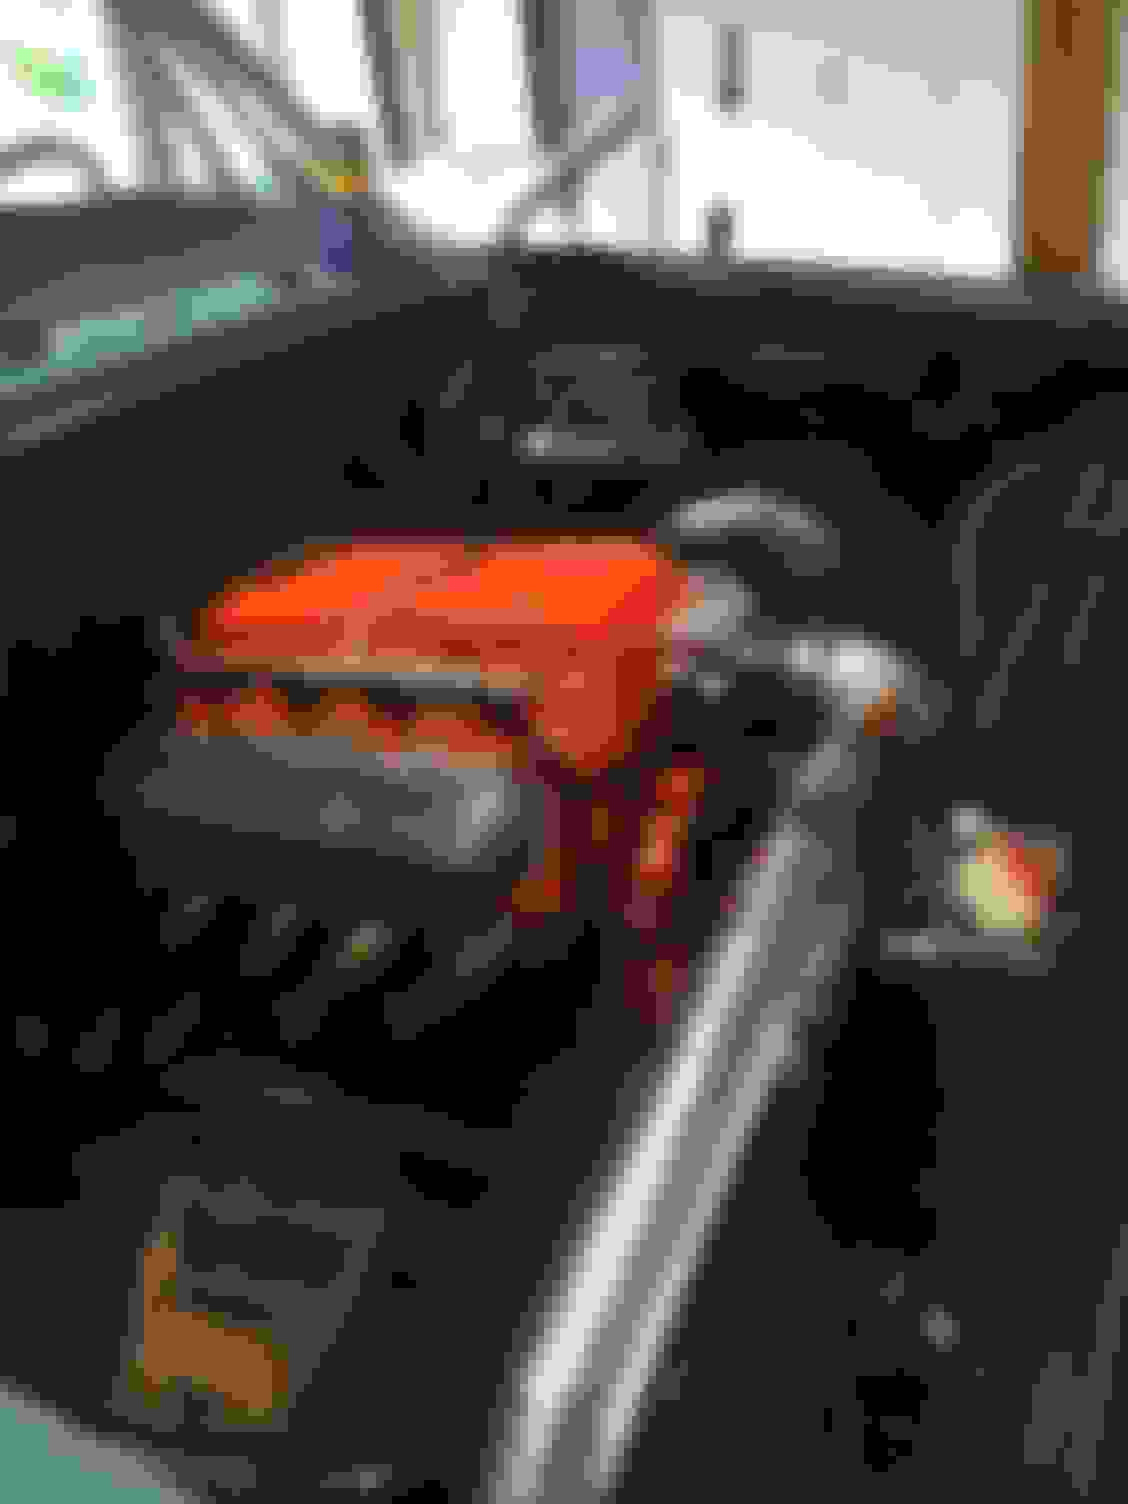
Got some more things painted and mounted. Making progress. BTW I highly recommend Eastwood chassis satin black. It does a great job and super durable. Got the pedals and clutch master cylinder mounted last weekend. I ended up getting a set of original pedals on ebay for 200$ They were rusty but I used Eastwood converter to make the surface paint ready. Started painting the motor and accessories Chevy engine orange ( POR 15) and gave the intake a fresh coat of aluminum paint.
I bombed the front crossmember with satin black because when I started cleaning the front end up and removing the grease, the paint came with it.
Super excited about this Tilton MC because it has such a short throw. Should be fun to grab some gears.
Okay so Wednesday, the real fun began. Dad and I dropped the motor and trans in. Here are the parts I went with and if you are looking to do this swap, these parts worked great together. No rubbing or scraping. No clearencing for ac compressor, headers or oil pan. nothing. I used Tejas motor mounts and the anchor 2292 motor mounts. I used dirty dingo's ac compressor package( the motor didn't come with that or power steering). Dirty Dingo does great work. Their brackets worked great. I have about 2-3 inches between the ac compressor and the upper frame. I used speed engineering headers and they fit great. They look awesome and hug the engine well. I put them in with great ease. Still have a long ways to go but it's getting there.
I haven't had a chance to take many pictures lately but I was able to trans in place. Like a few others did, I used a big freaking hammer to beat the trans tunnel up to get the trans to sit under the trans mount. I ended up saving the turbo 350 c10 tubular trans mount that the previous owner put in before I bought it and I thought I'd try and make it work. Well it worked perfectly. I am doing bucket seats and I'll probably make a console so I wasn't too worried about where the gear shifter landed in the cab. I am using TMI seats and seat brackets and the shifter looks like it landed in the perfect spot.
I took a gamble on not doing the forward shift conversion but I felt like it would clear with my seats. I have also been working on the wiring harness. I HIGHLY recommend american autowire. 90% of the work is done for you. I have been very pleased with the wiring harness to say the least. My dad is the wiring guru and has done numerous ls swap harness and other harnesses and he couldn't how much time went into making nearly all the connections for the buyer. I also got the 87 fuel tank(baffled) in this week and installed the MSD atomic EFI fuel pump in the new 87 sending unit I bought. It was a little tall but got it to work with some modification. Should be able to make some serious progress next week. Just got out of the hospital yesterday from viral meningitis. Crazy stuff but I'm feeling better now. LS fest is this weekend and can't wait to get some more parts and ideas.
Here with a few updates. Been working on the wiring pretty heavily, which is super time consuming when you are wanting a perfect engine bay haha. So I was able to mount the box for the dakota digital gauges. I bought some signature gauges from AZperformance. Met them at LS Fest, super cool guys. I enjoyed doing business with them. I'll post some pics of the gauges when they are in. They are the best looking gauges for 715$ I have seen. The needles light up orange. They are essentially the standard black face VHX gauges with white needs that illuminate orange and a better looking tach. ENJOY THE VIDEO OF THE FIRST START UP
I was able to get the newly painted radiator support in and it turned out great. After it was all assembled I was very glad I took the time to paint the entire engine bay black. It came together nicely.
Got the new grill in( Was a GMC grill)
I think I am the most proud of the wiring harness. It's not finished yet but I have done my very best to hide all the wires. Still have some tiding up to do and put the t6 wire loom on.
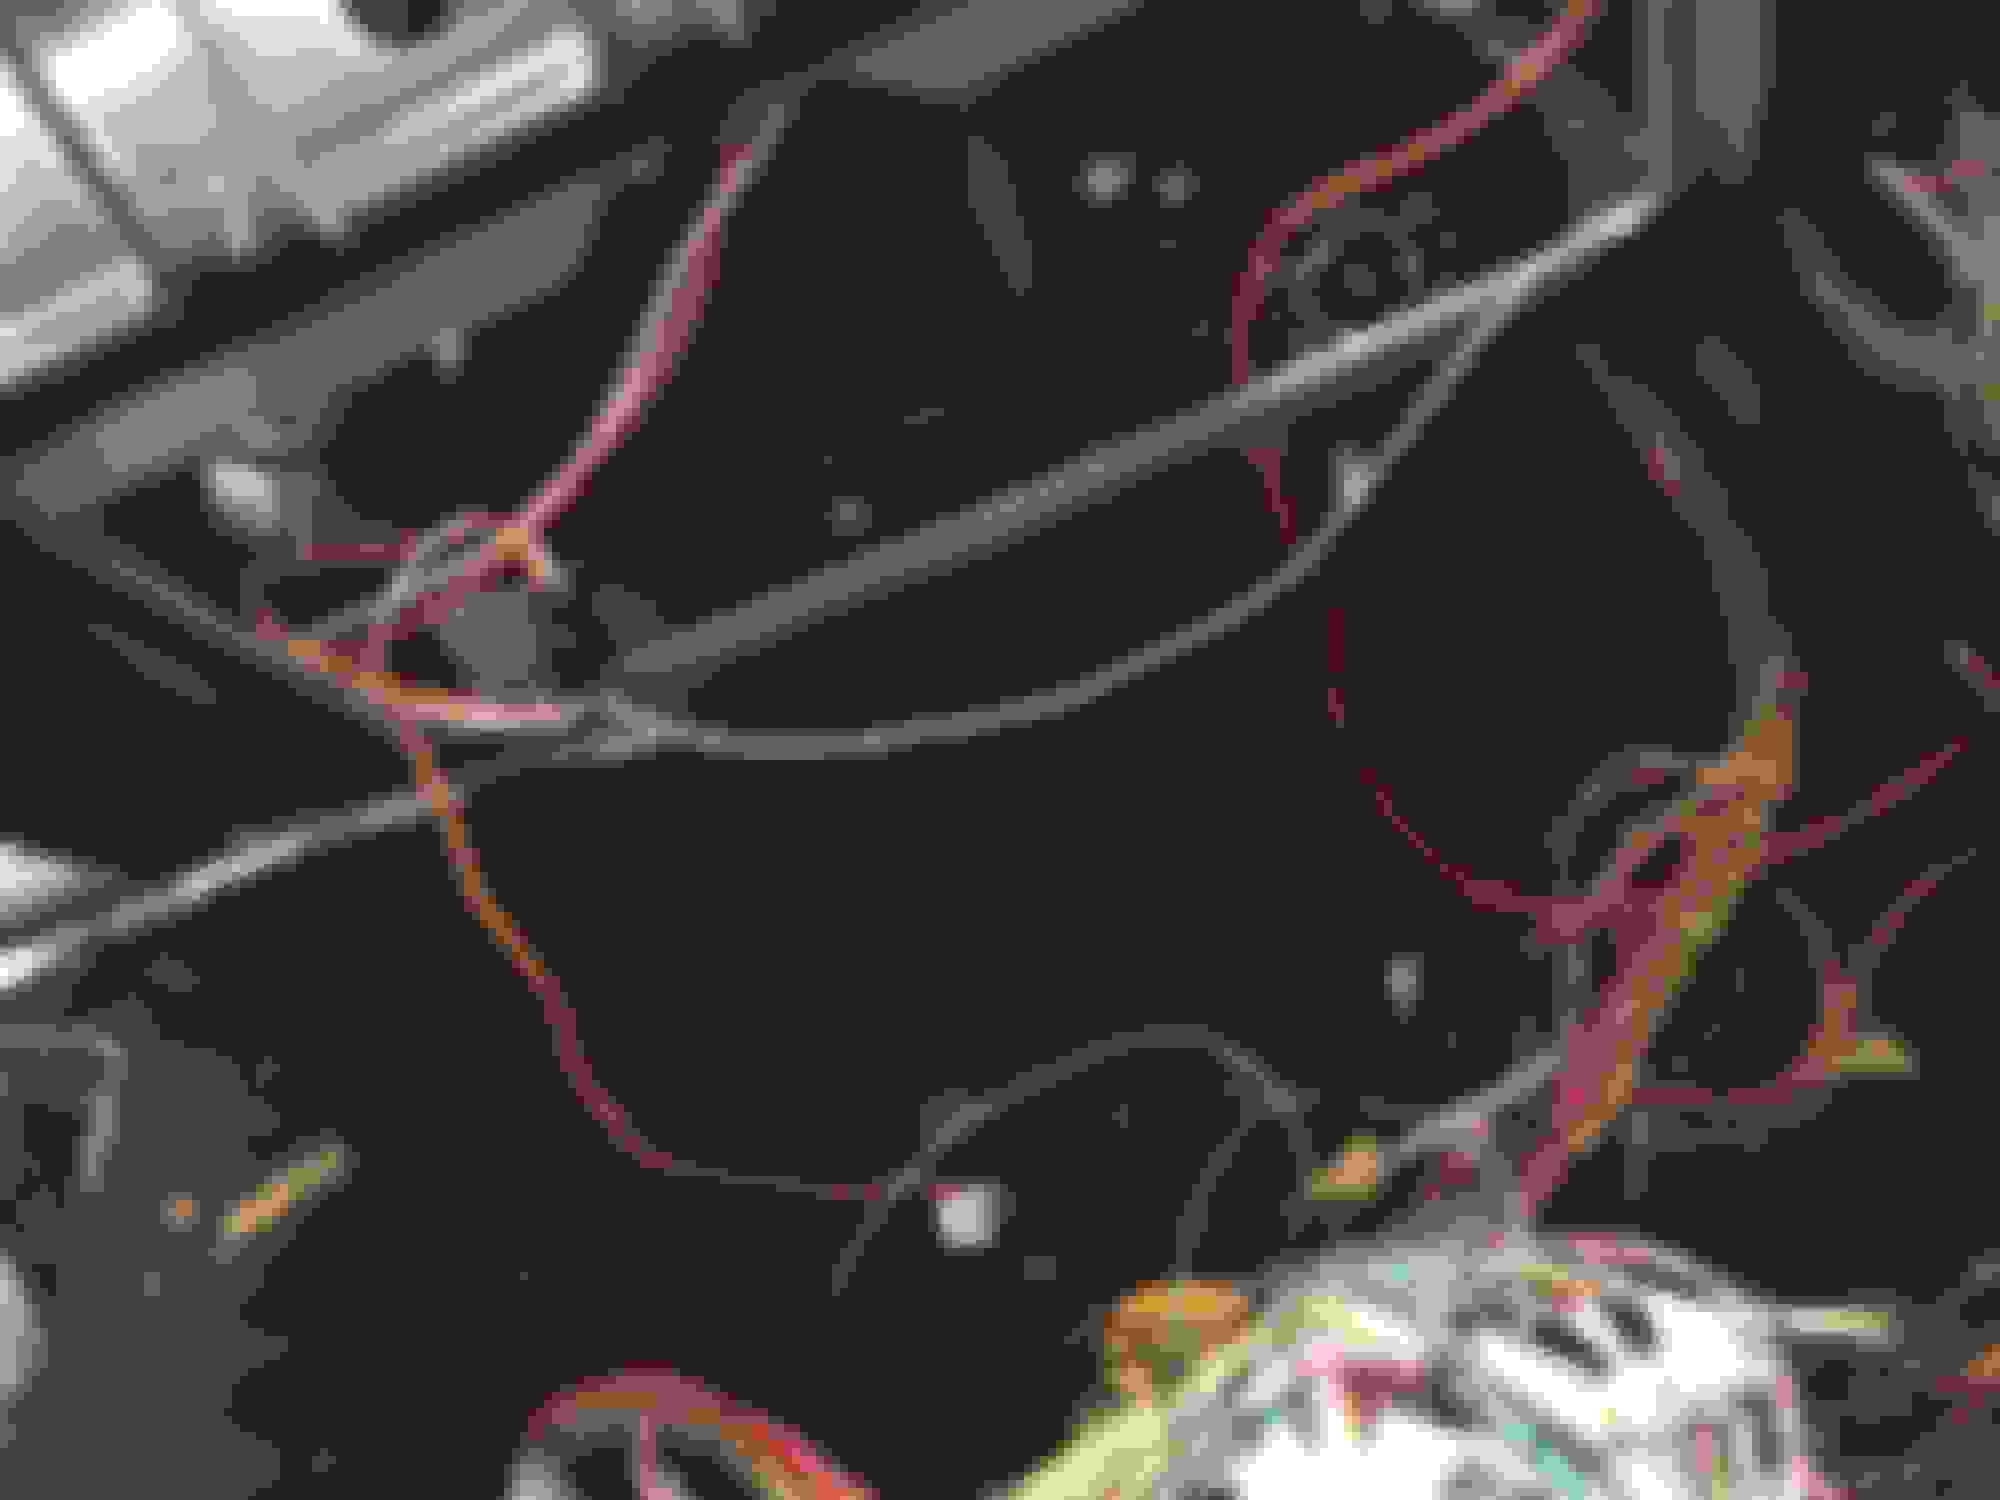
I've been trying to keep up with the forum but I've been doing a lot of "cleaning up." Putting wires where I want them and doing the wiring harness. Trying to finalize a bunch of stuff because I'm getting close to buttoning it up( Which is a long process in itself). I pulled the rear diff cover because I knew I would probably have to get a different gear set. I counted the gears and turns out it was the factory open 2.73 gear. Sucks but I needed a driveshaft made so I went ahead and had it made for 1350 U joints. Went to a 3 1/2 diameter tube. I went with a 4.10 gear yukon posi traction differential. I had 28 spline axles so went ahead and upgraded to 30 spline axles. All new bearings and seals. 1350 pinion yoke too. When I pulled the rear end, the drivers side brake drum was covered in axle grease so I went ahead and did a full brake job and hardware kit. I have also done a lot of wire loom lately. Attached are some pics.
Got the MC reservoir mounted
Today I changed the location of the coil pack location. I had them mounted on the outer frame rail below the firewall but I wasn't crazy about the thought of water getting to the coils and causing issues. So I started searching for what people were doing. I saw a neat idea. Someone made a bracket for ls3 coils that mount to the back of the head but I thought I'd try my truck coil and bracket before I went and spent 400$ for ls3 coils and a bracket. I had to alter mine a tad but I was able to mount them and I like how it turned out. After getting them mounted I realized that I'm going to have to notch the firewall seam near the drivers head. The coil pack wiring harness won't clip in. I'll do that soon. I was also able to get the clutch and master cylinder bled. I had a tilton Master cylinder but couldn't get the linkage right. I went and bought a parts store MC for an 86 c10 and it turned out perfect. Also attached are some pics of the valve covers after I polished them.
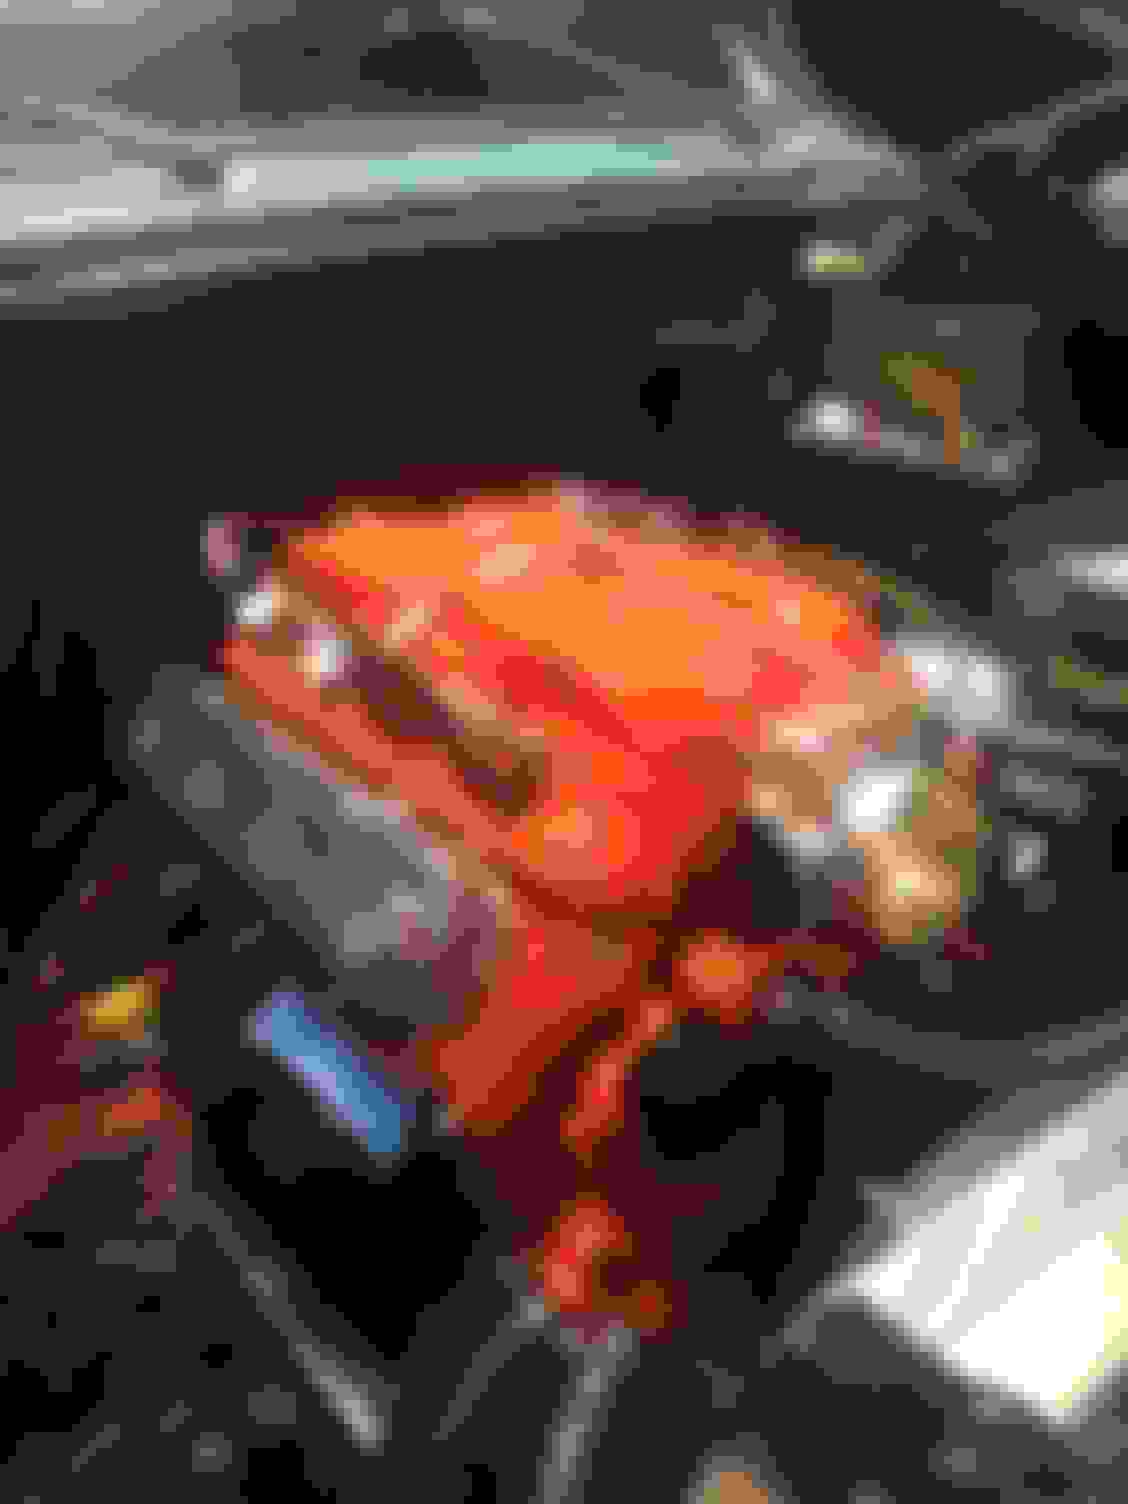
Over the last month I have put the fenders in, put the hood on, finished up the fan wiring and relays, bought a new radiator with e fans and fan shroud. I was able to drive the truck a few miles around town about 2 weeks ago. During my drive, I noticed I was dumping oil from the breather in the valley cover. The PCV system the previous owner was running was no where near sufficient. I also kept blowing the valve cover gaskets and it would leak like crazy. I ended up deciding on a different set of valve covers with pcv nipples. I got a smooth valley cover to replace the valley cover with the hole drilled in it from the breather they installed previously. I also bought a mighty mouse solutions catch can and mounted it. I haven't done much with the interior yet. I'm now working on a relay mod for the power windows. I also chose what wheels I wanted. Decided on truck rallys. Lowering it will be next, after the interior is finished. and of course getting rid of the black wheels that came on the truck. Attached are some updated pics.
So it's fine a hot minute since I've posted but a lot has happened and changed since the last time I posted. I ended up getting to drive the c10 for around 600 miles. During those 600 miles of driving. I ended up having a misfire and idle, high RPM's and a backfire on deceleration. Upon much research and talking with MSD engineers, We had determined that the intake I was using would not work well with a throttle body injection. MSD engineer says a high rise single plane intake wouldn't work with the throttle body. I proved that by reading the plugs. The plugs on the 1,2,7,8 cylinders (furthest from the throttle body) would always run very lean and the 3,4,5,6 cylinders would run rich. Making me realize that the intake was eating up the fuel before it made it to the cylinders. The AFR was alway inconsistent. I honestly got sick of it so I pulled it off. While I had the intake off, I went ahead and took the heads to the machine shop to have them test them. Everything came back great. I decided to change my entire top end. I basically started from scratch and ended up with this.
Things I have done in the last 7 months:
Pull top end.
GM ECU
Painless wiring Harness
F6 wire loom
Relocated catch can
Vintage Air
Rerouted half the wires.
Intake
Pulled heads
New gaskets
Fuel Rails
fuel pump
Rerouted fuel lines
Cold Air intake with ls7 MAF/IAT
Tilton Master Cylinder
Tilton Slave Cylinder
Some random progress pics
This is what the motor looks like as of last week. After 7 months of work( Basically doing everything to go to multipoint injection. ie. Fuel pump, computer, wiring harness, random other odds and ends etc) I am getting to the point to start it up again. I am tuning it myself and hope to fire it up this weekend.
Still didn't have full interior or AC but man was it fun. I kept blowing our slave cylinders so I pulled the trans to replace it with a Tilton adjustable Hydraulic Throwout bearing. I think I was overextending my stock throwout bearing.

 08-06-2018, 08:41 PM