When you click on links to various merchants on this site and make a purchase, this can result in this site earning a commission. Affiliate programs and affiliations include, but are not limited to, the eBay Partner Network.
@ ls1nova71 Very nice work. I would have never figured out the '96 S10 angle on the speedo.
Originally Posted by gofastwclass
Looking good.
Thanks guys!
Originally Posted by aggie91
I really enjoy your builds. Make me rethink some of the ways I do things.
What exhaust manifolds do you use on these trucks?
For you engine mounts, I see you used the stock mounts on the block and then modified the frame side from a donor truck. Do you have any details on how/what you do for those modifications? Do you use the stock LS truck oil pan? Where does it end up in relation to the bottom of the front crossmember?
I was not a fan of the Light Yellow, but this one might just change my mind.
I make my motor mounts out of part of the donor truck that unbolted out of them, then just build.the rest. If you look at either the build thread on my blue truck or green truck there are better pics of how I do it. The last couple builds I have been using the GM muscle car pan, or Hummer pan as it actually is. They are just about flush with the bottom of the front crossmember. Exhaust manifolds are Trailblazer SS, or in this case, a 5.3 equipped Envoy that the local pick a part had that someone stripped for the block and left everything else, so I didnt even have to unbolt them!
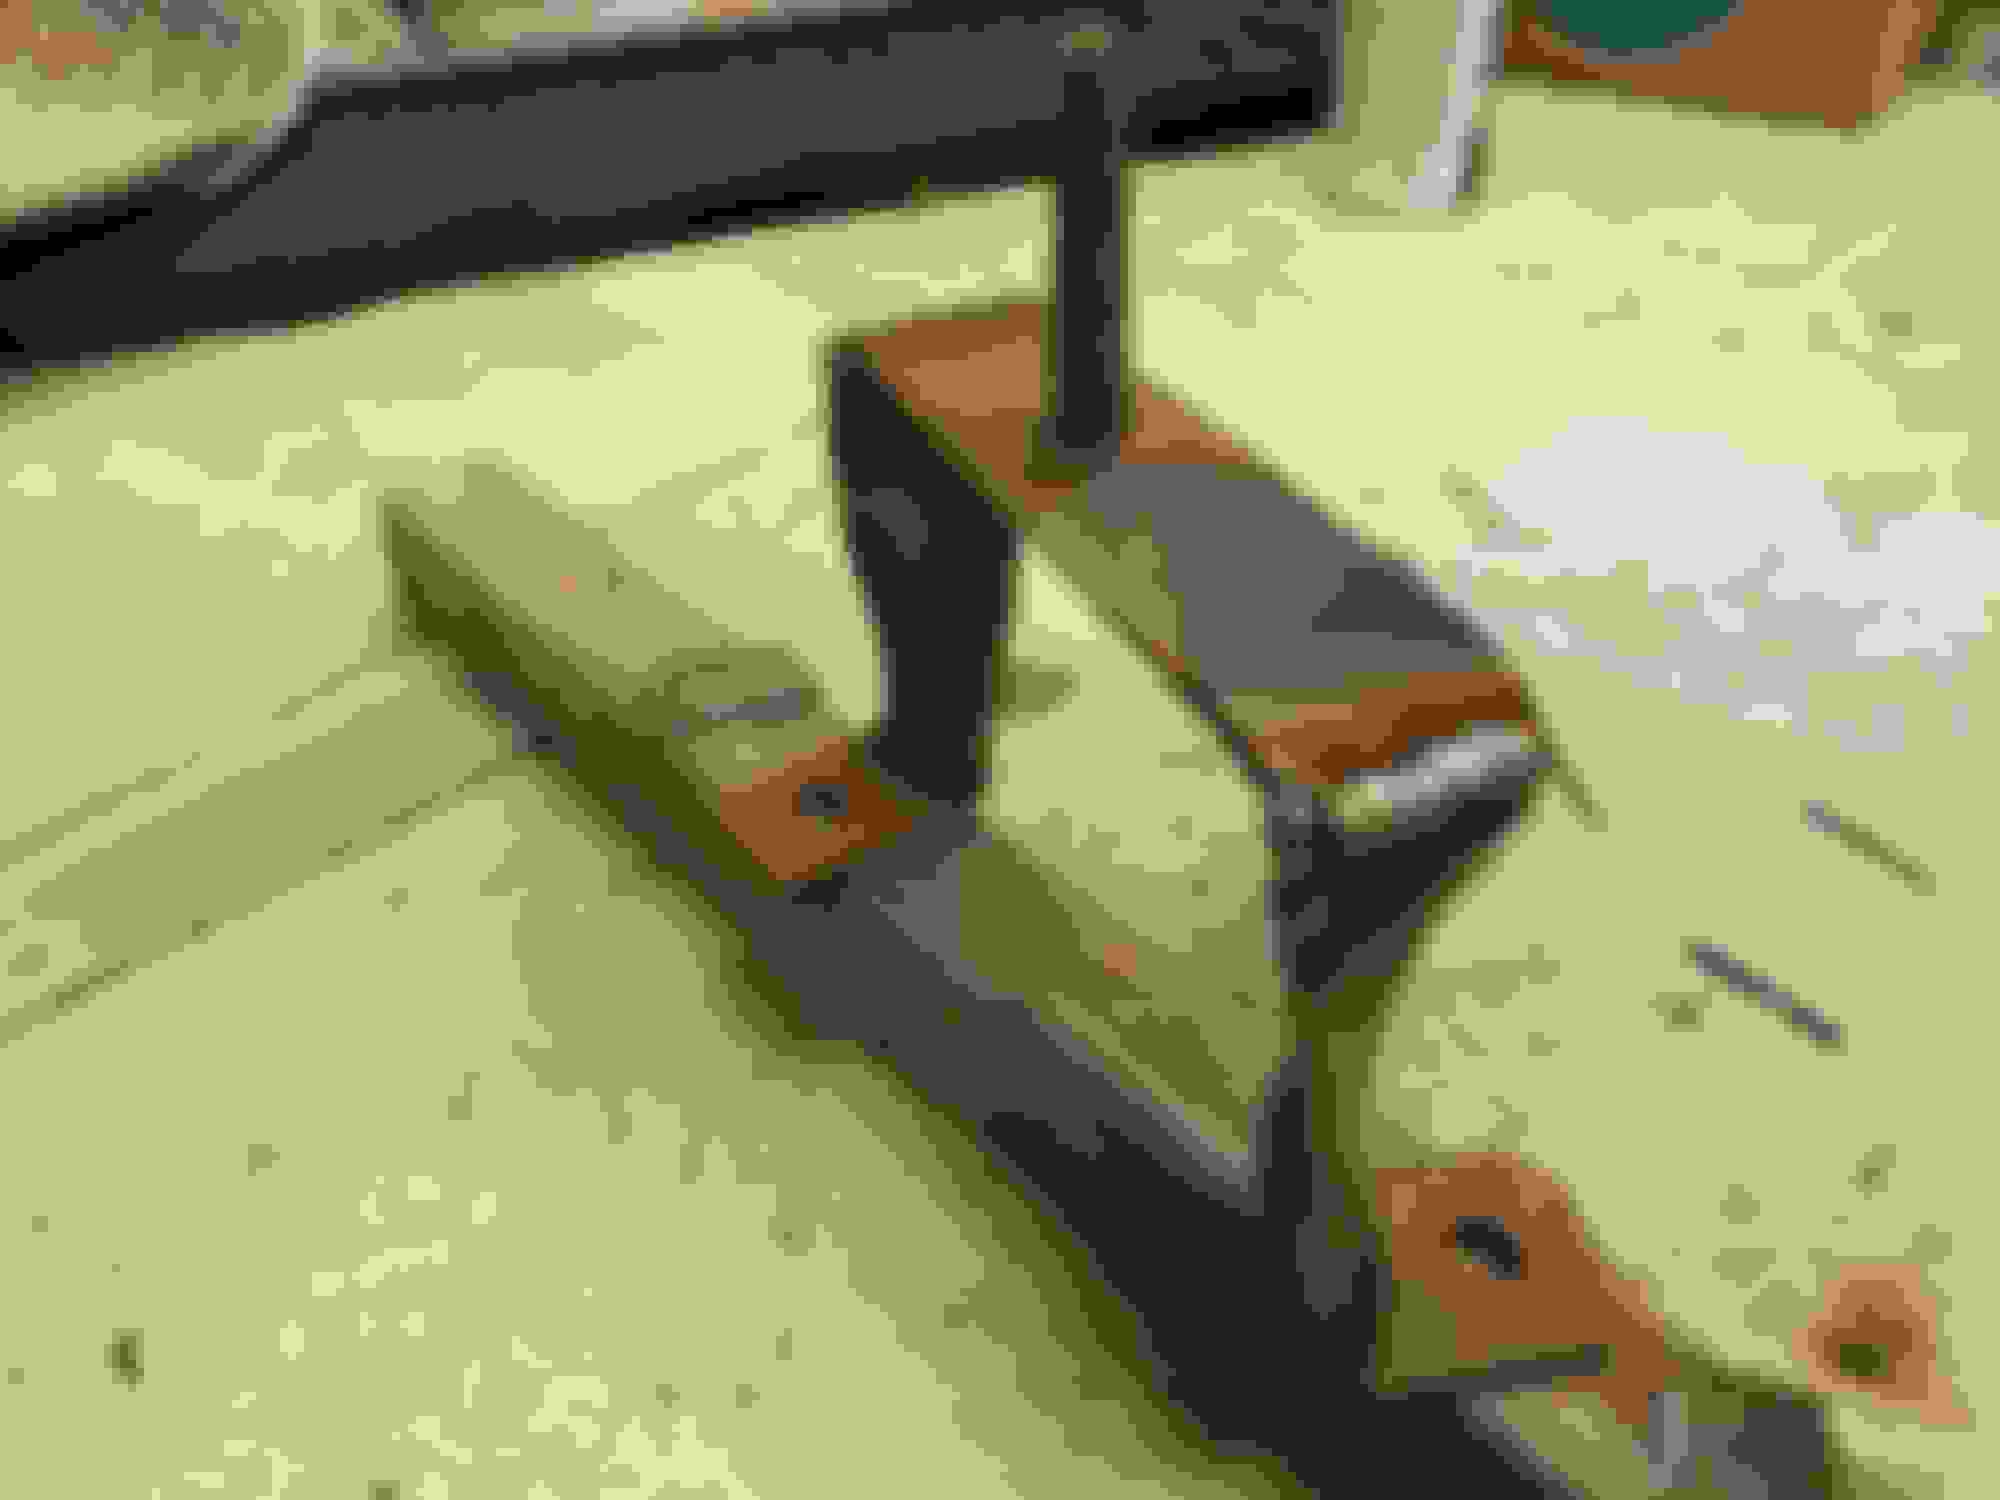
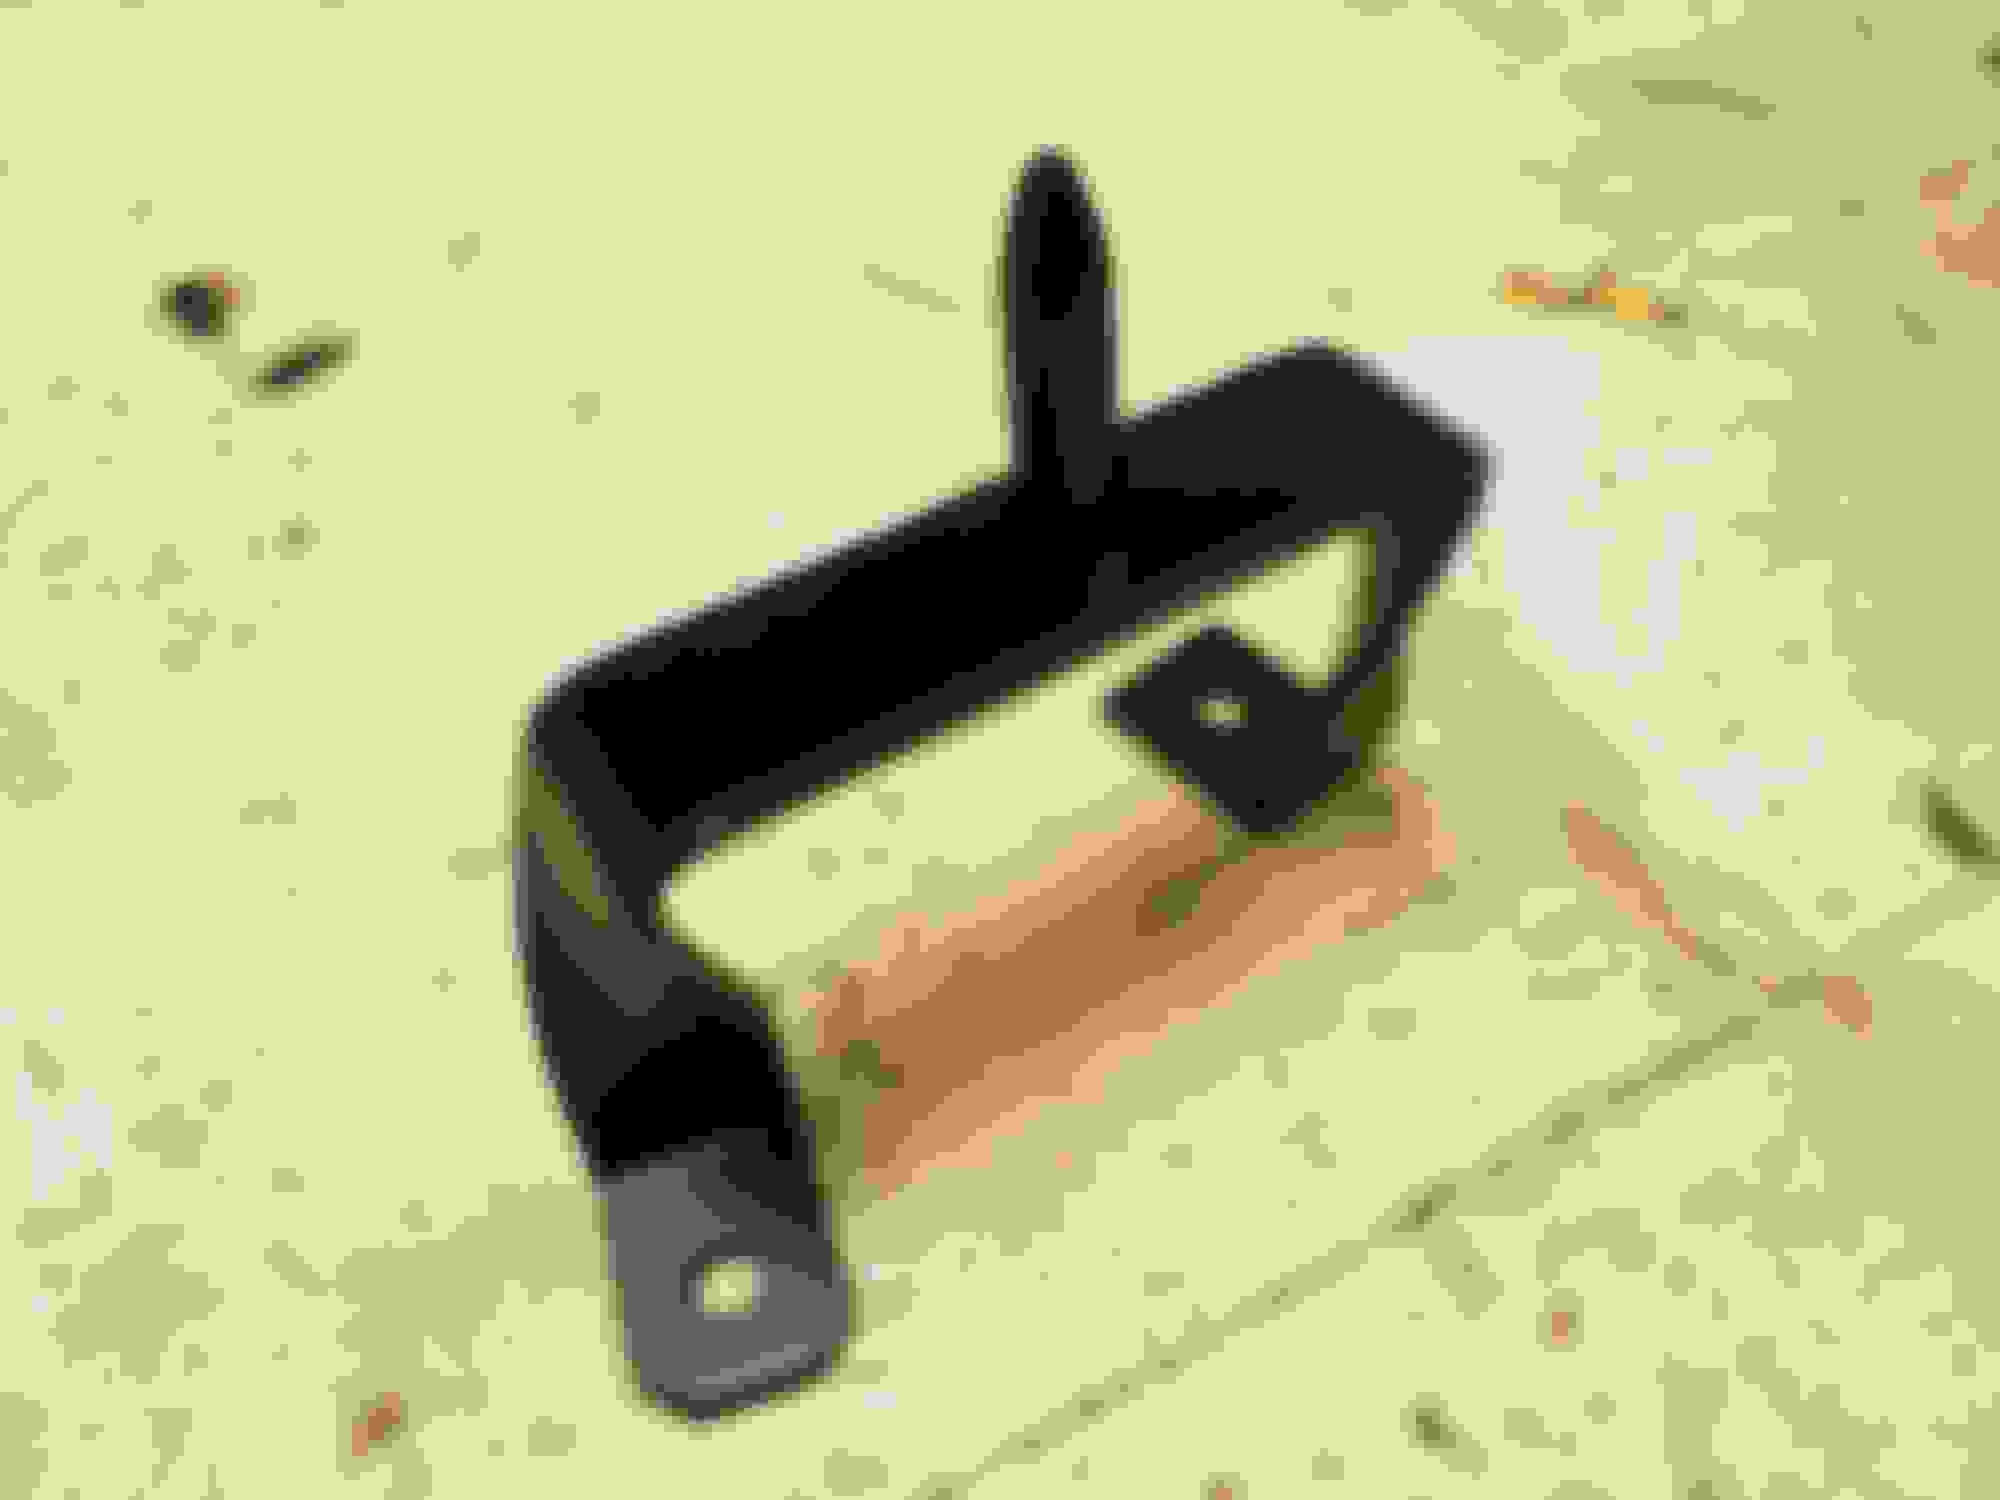
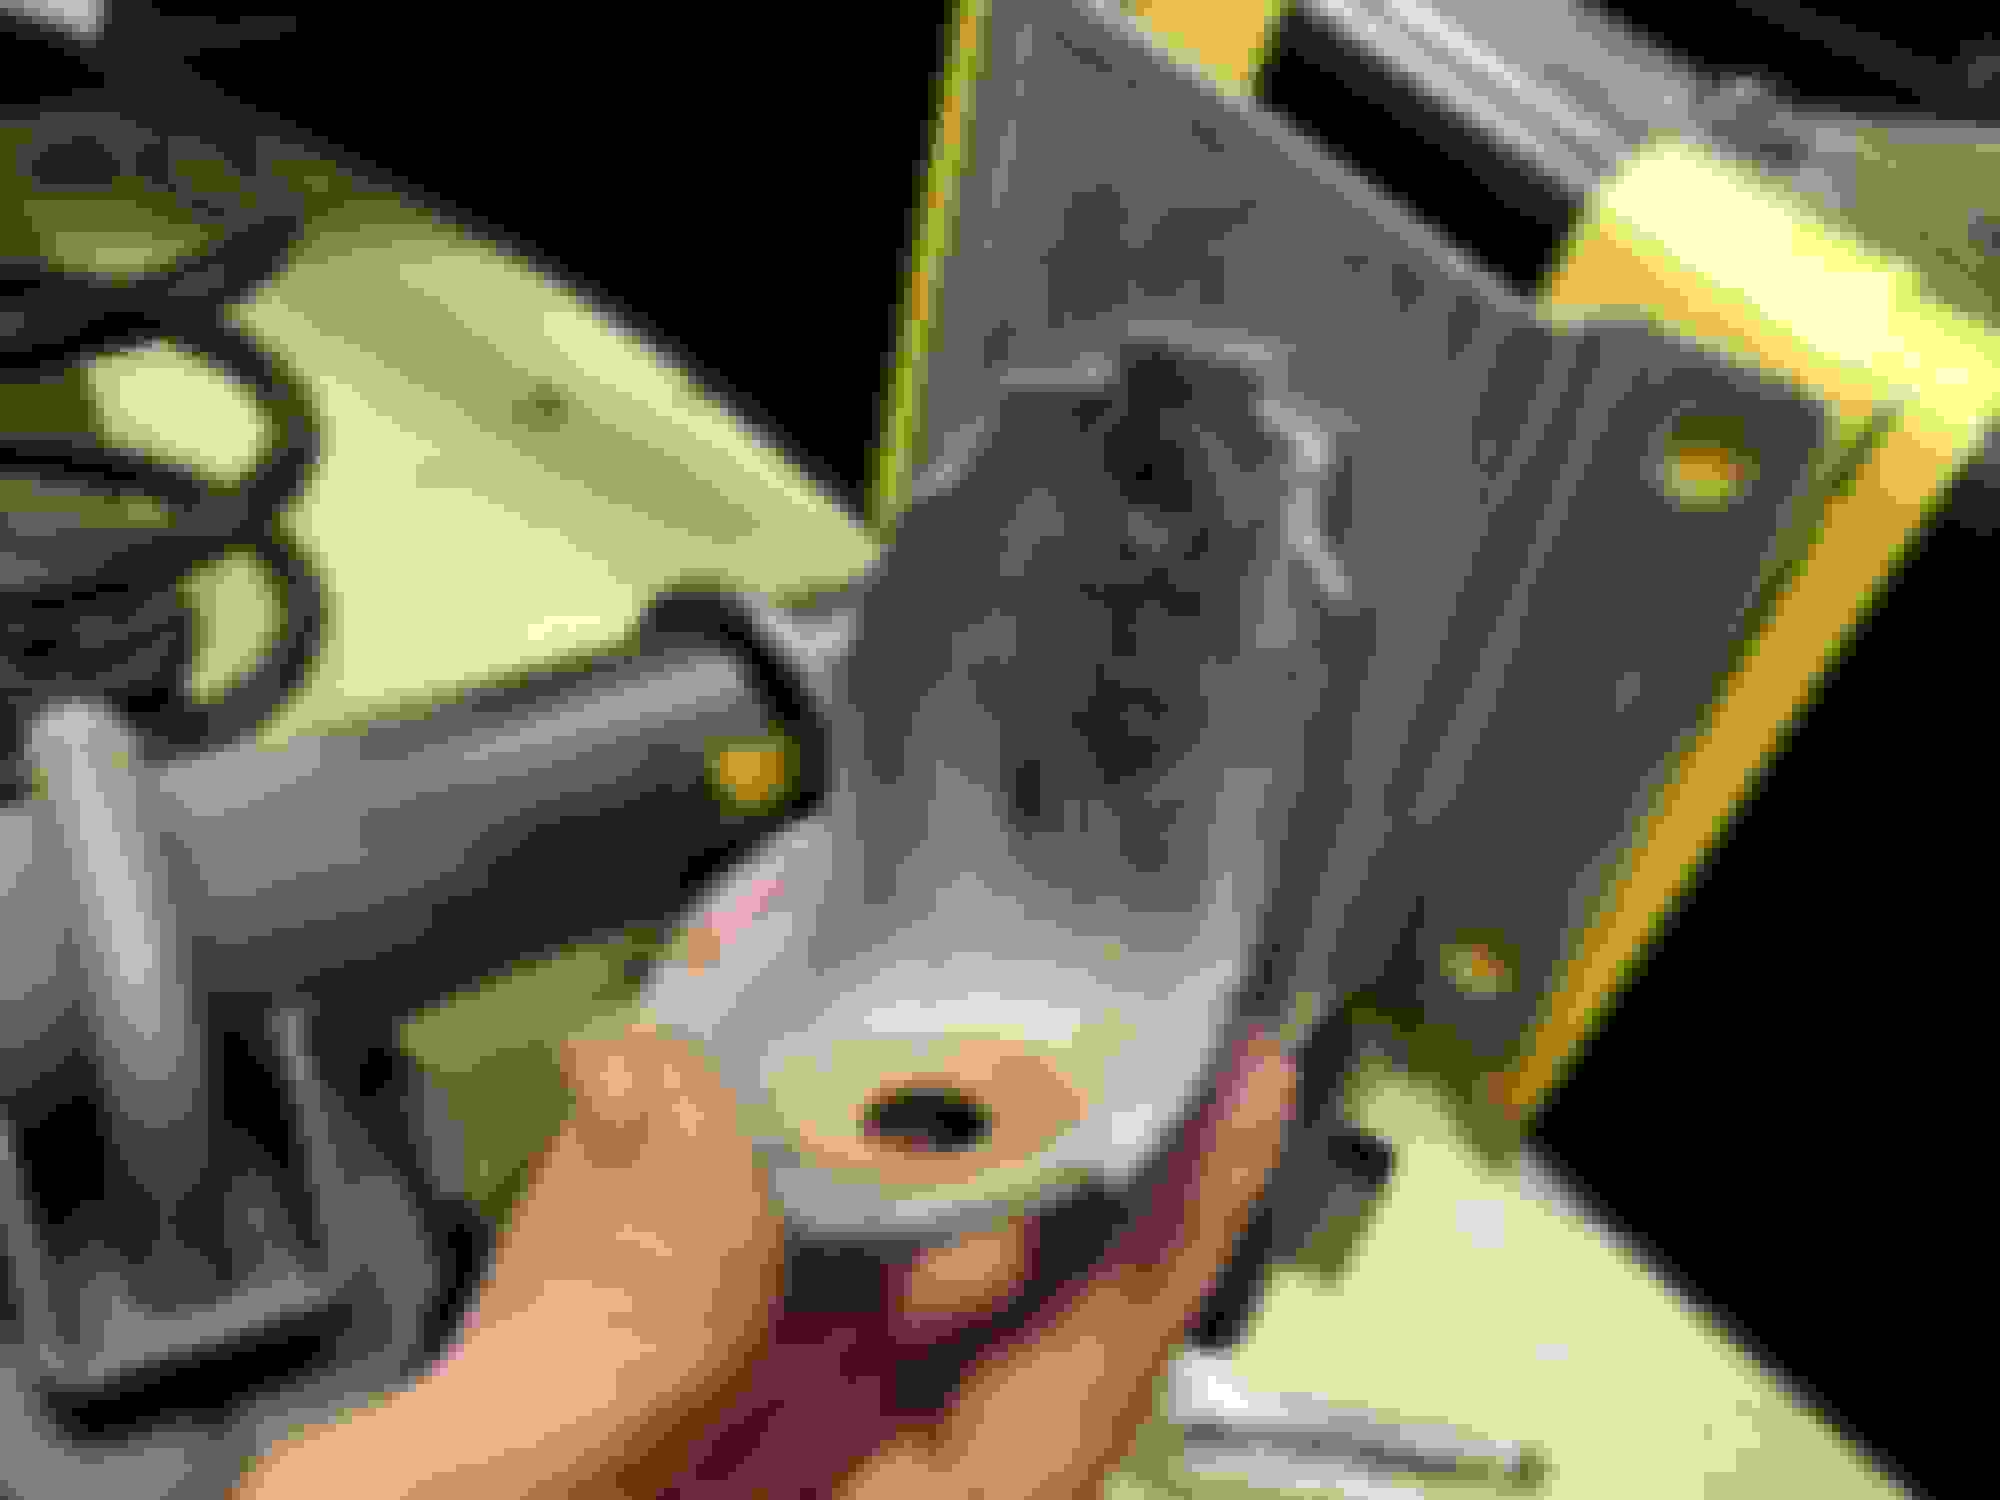
Had to modify this bracket that bolts to the frame for the shift linkage because it is hard to get the rest of the linkage if you dont since the shift shaft is longer on newer transmissions.
CleqCleaned up and painted.
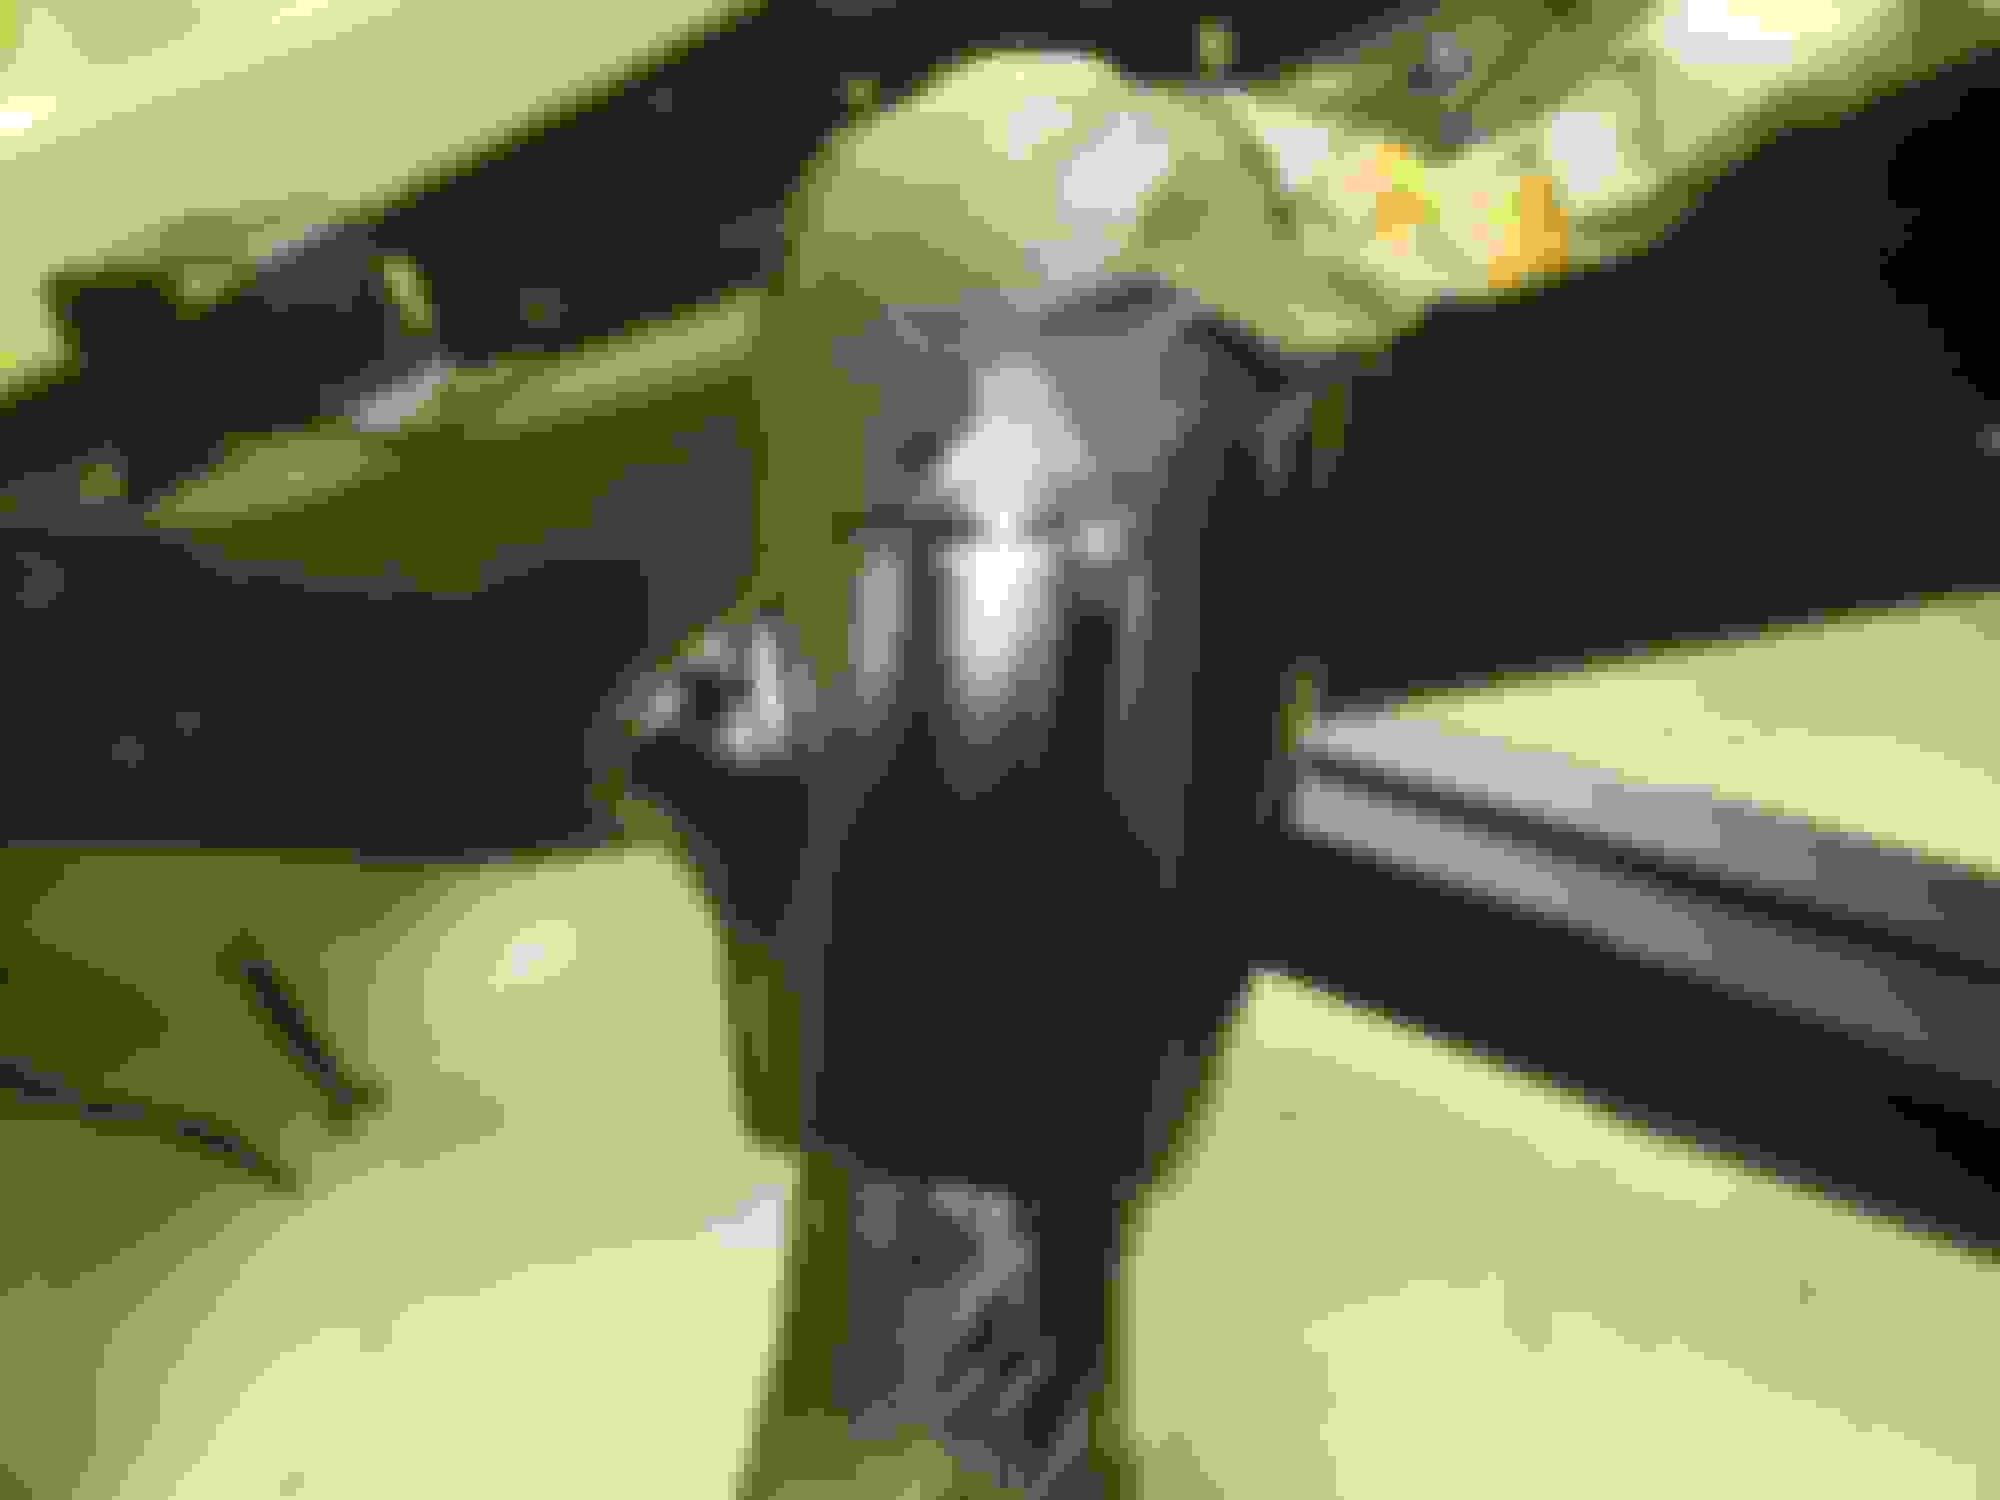
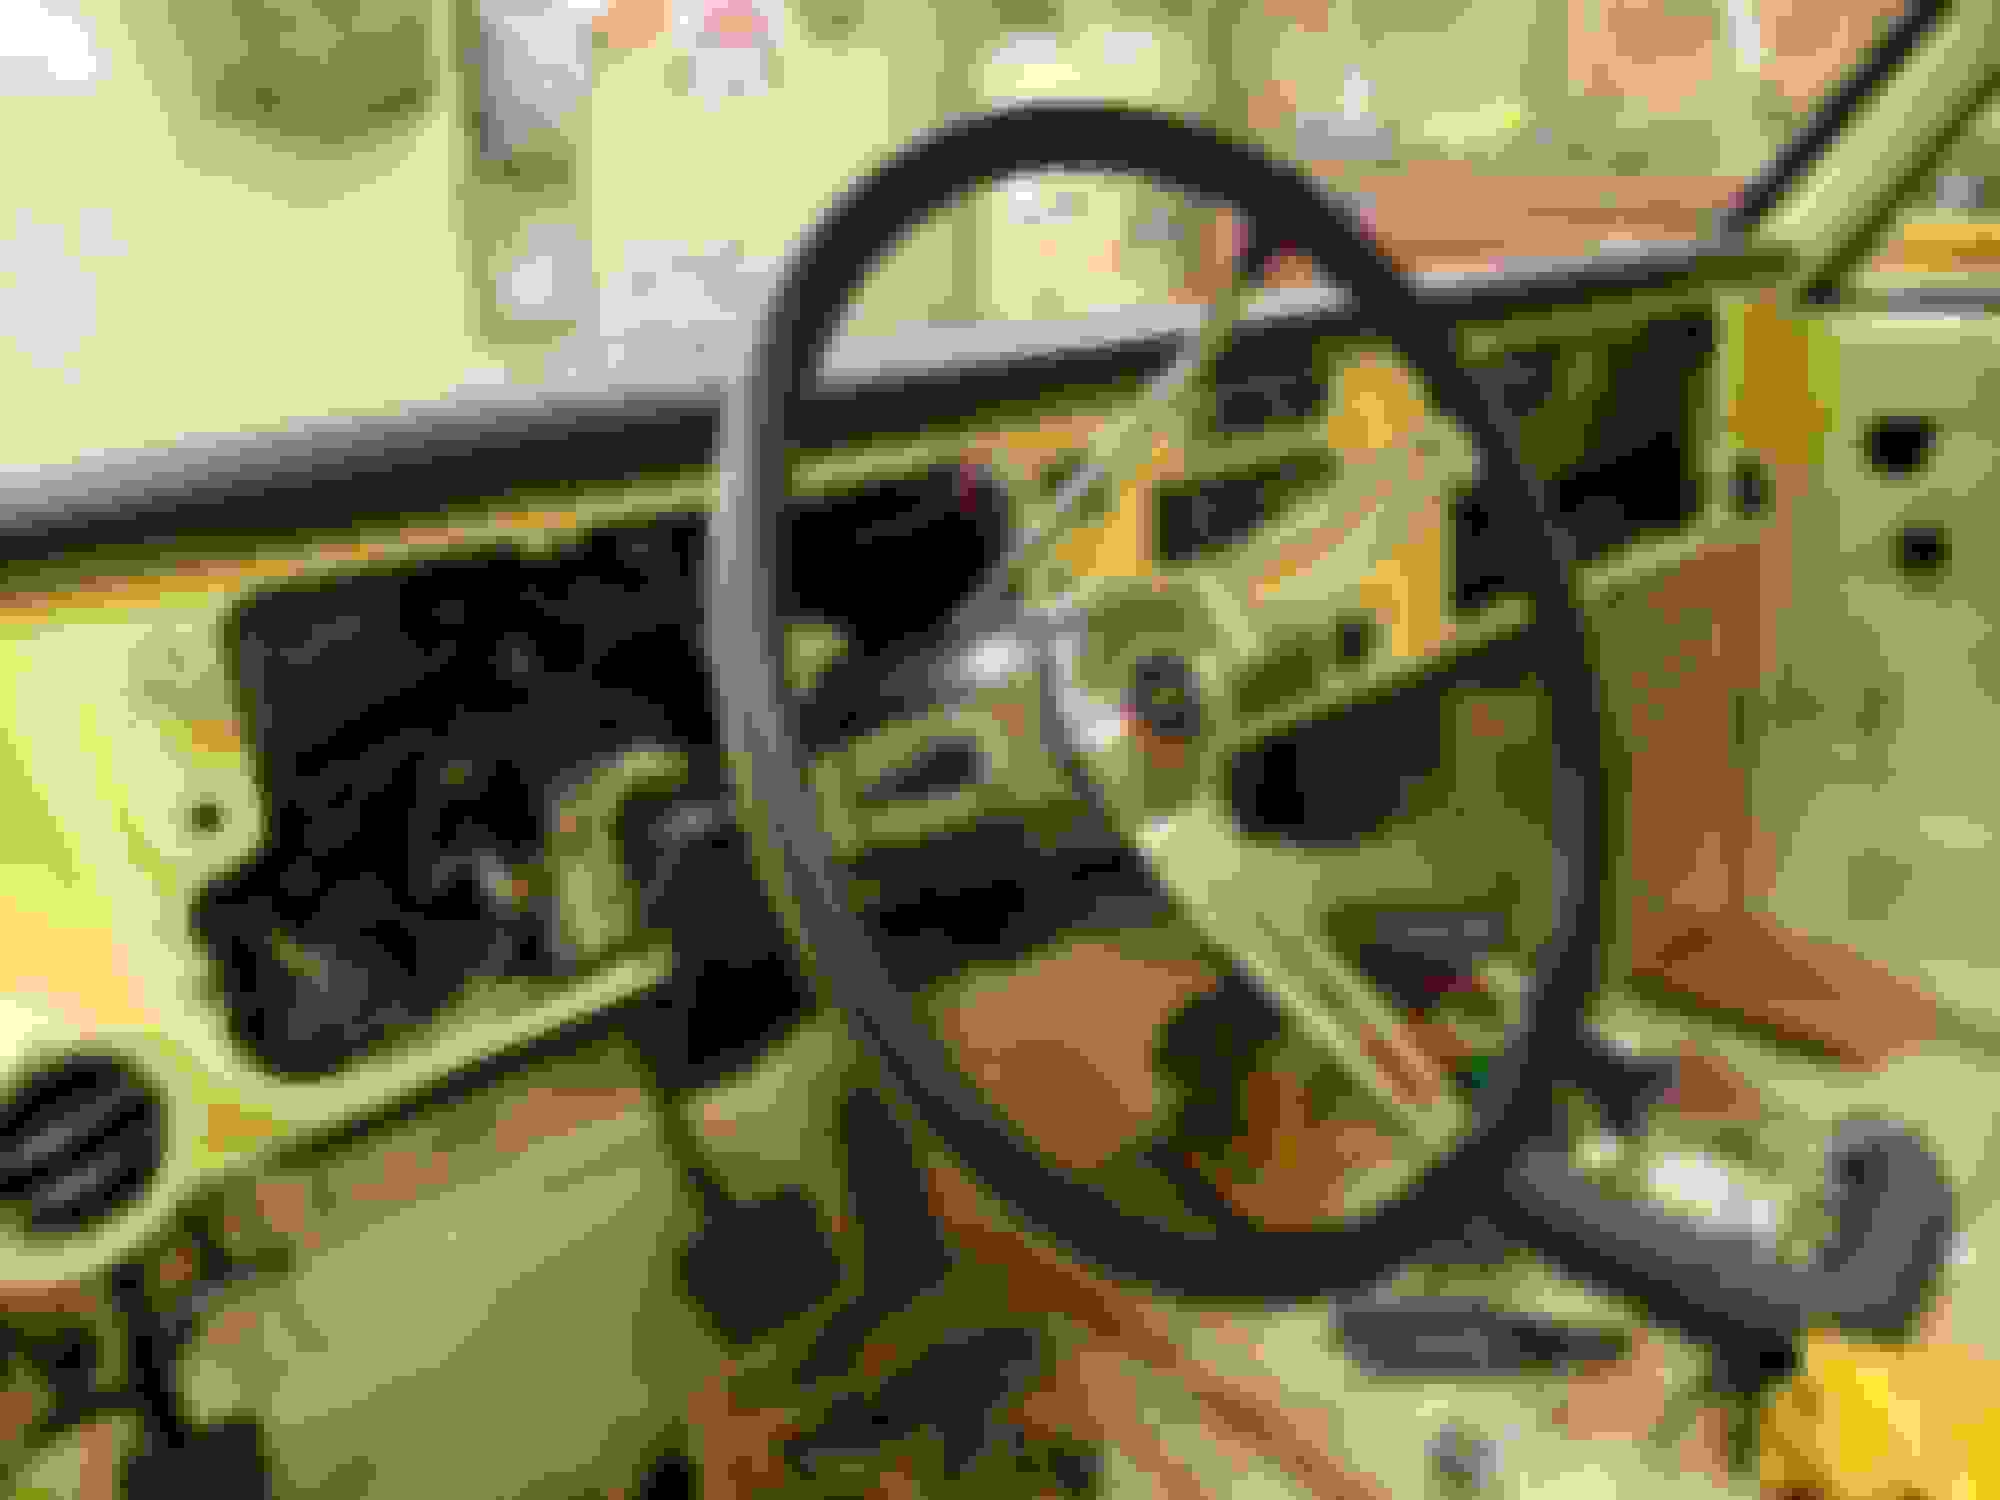
While I was painting things I repainted part of the steering column I rebuilt a couple years ago. It had been leaned up against the wall in my kitchen for a couple years and literally a month before I go to use it, it falls over and messes up the paint.........
Didnt want to take it all the way back apart, so the shift bowl got painted on the column.
Column installed and the wheel put on just because. It will be taken right back off though.
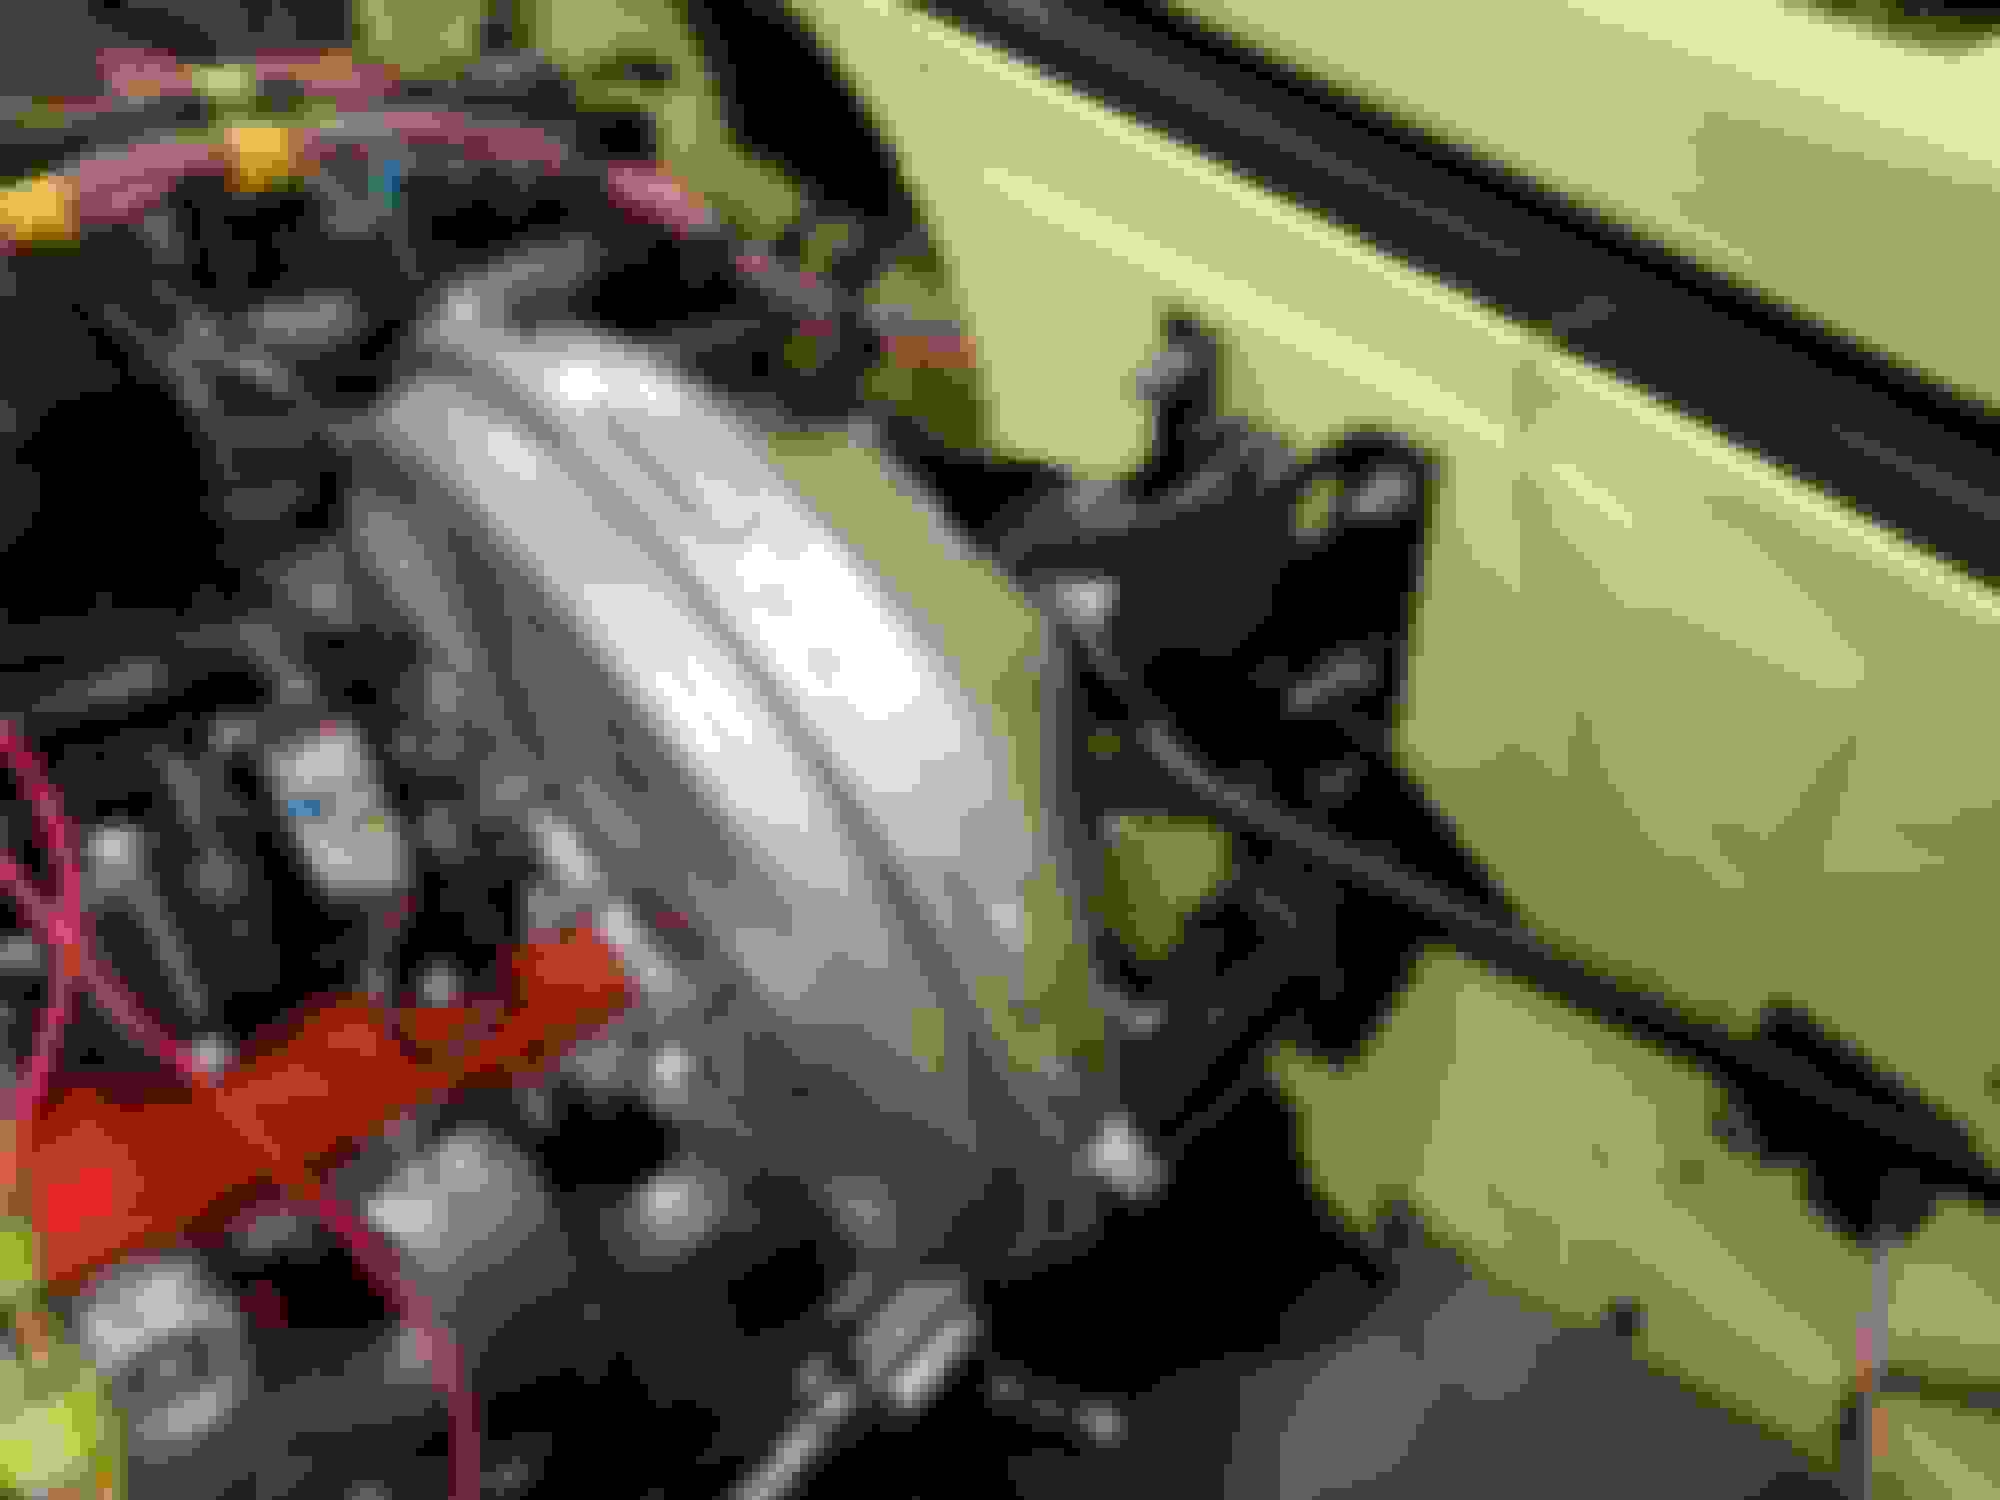
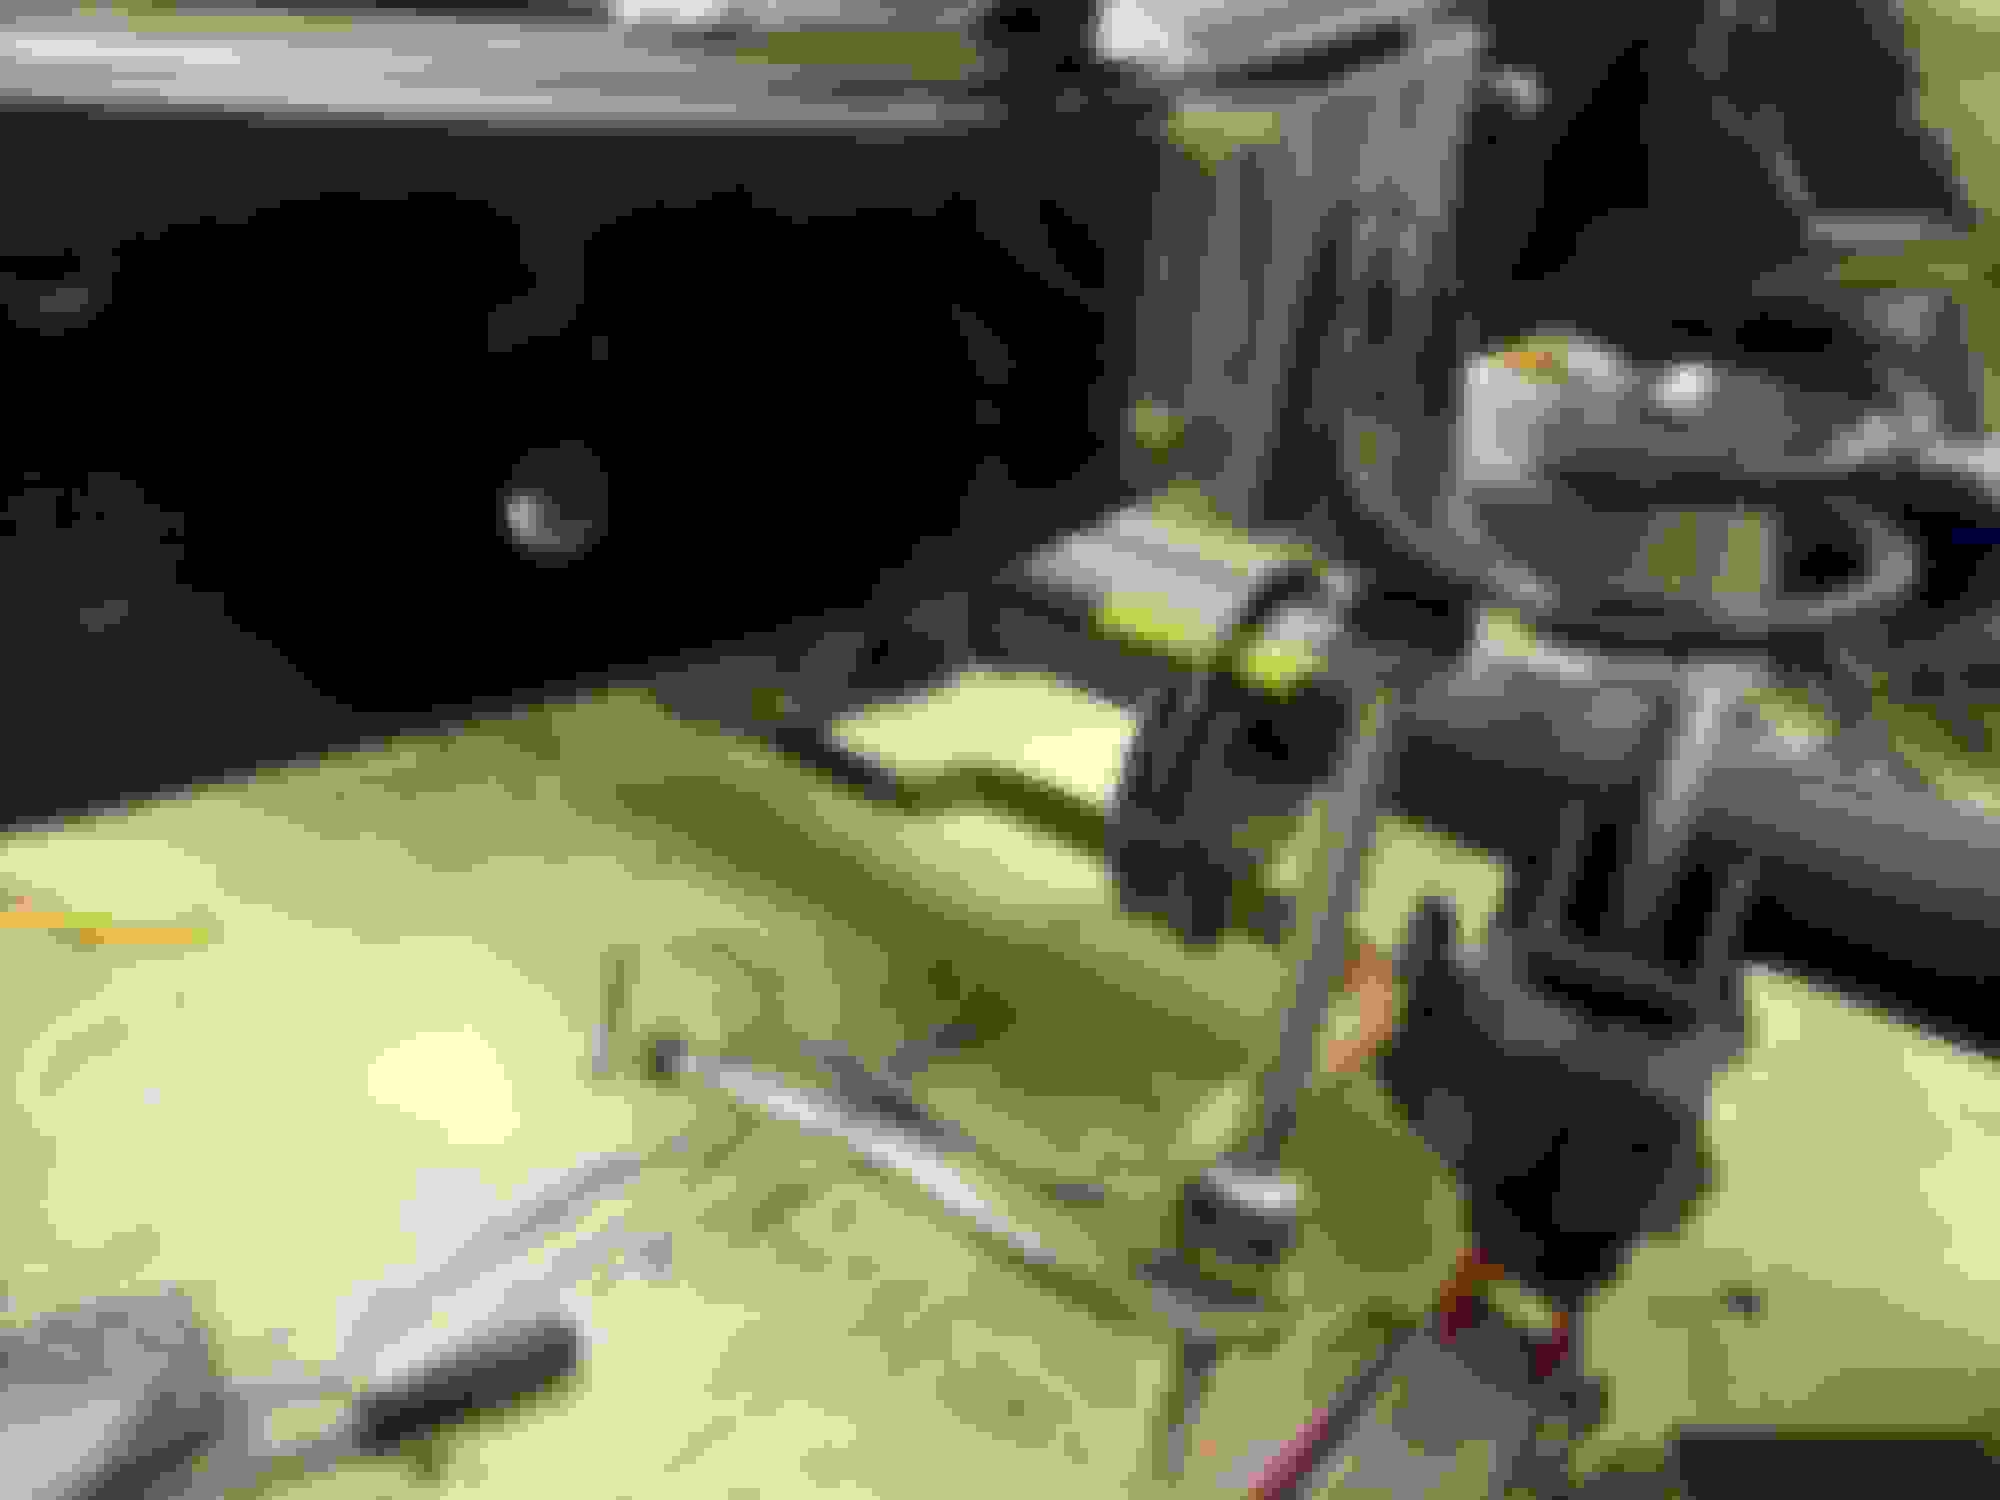
Also cleaned up and painted the brake booster so it could be permanently installed. I'll be changing the nuts that hold it to the firewall though with some flange nuts.
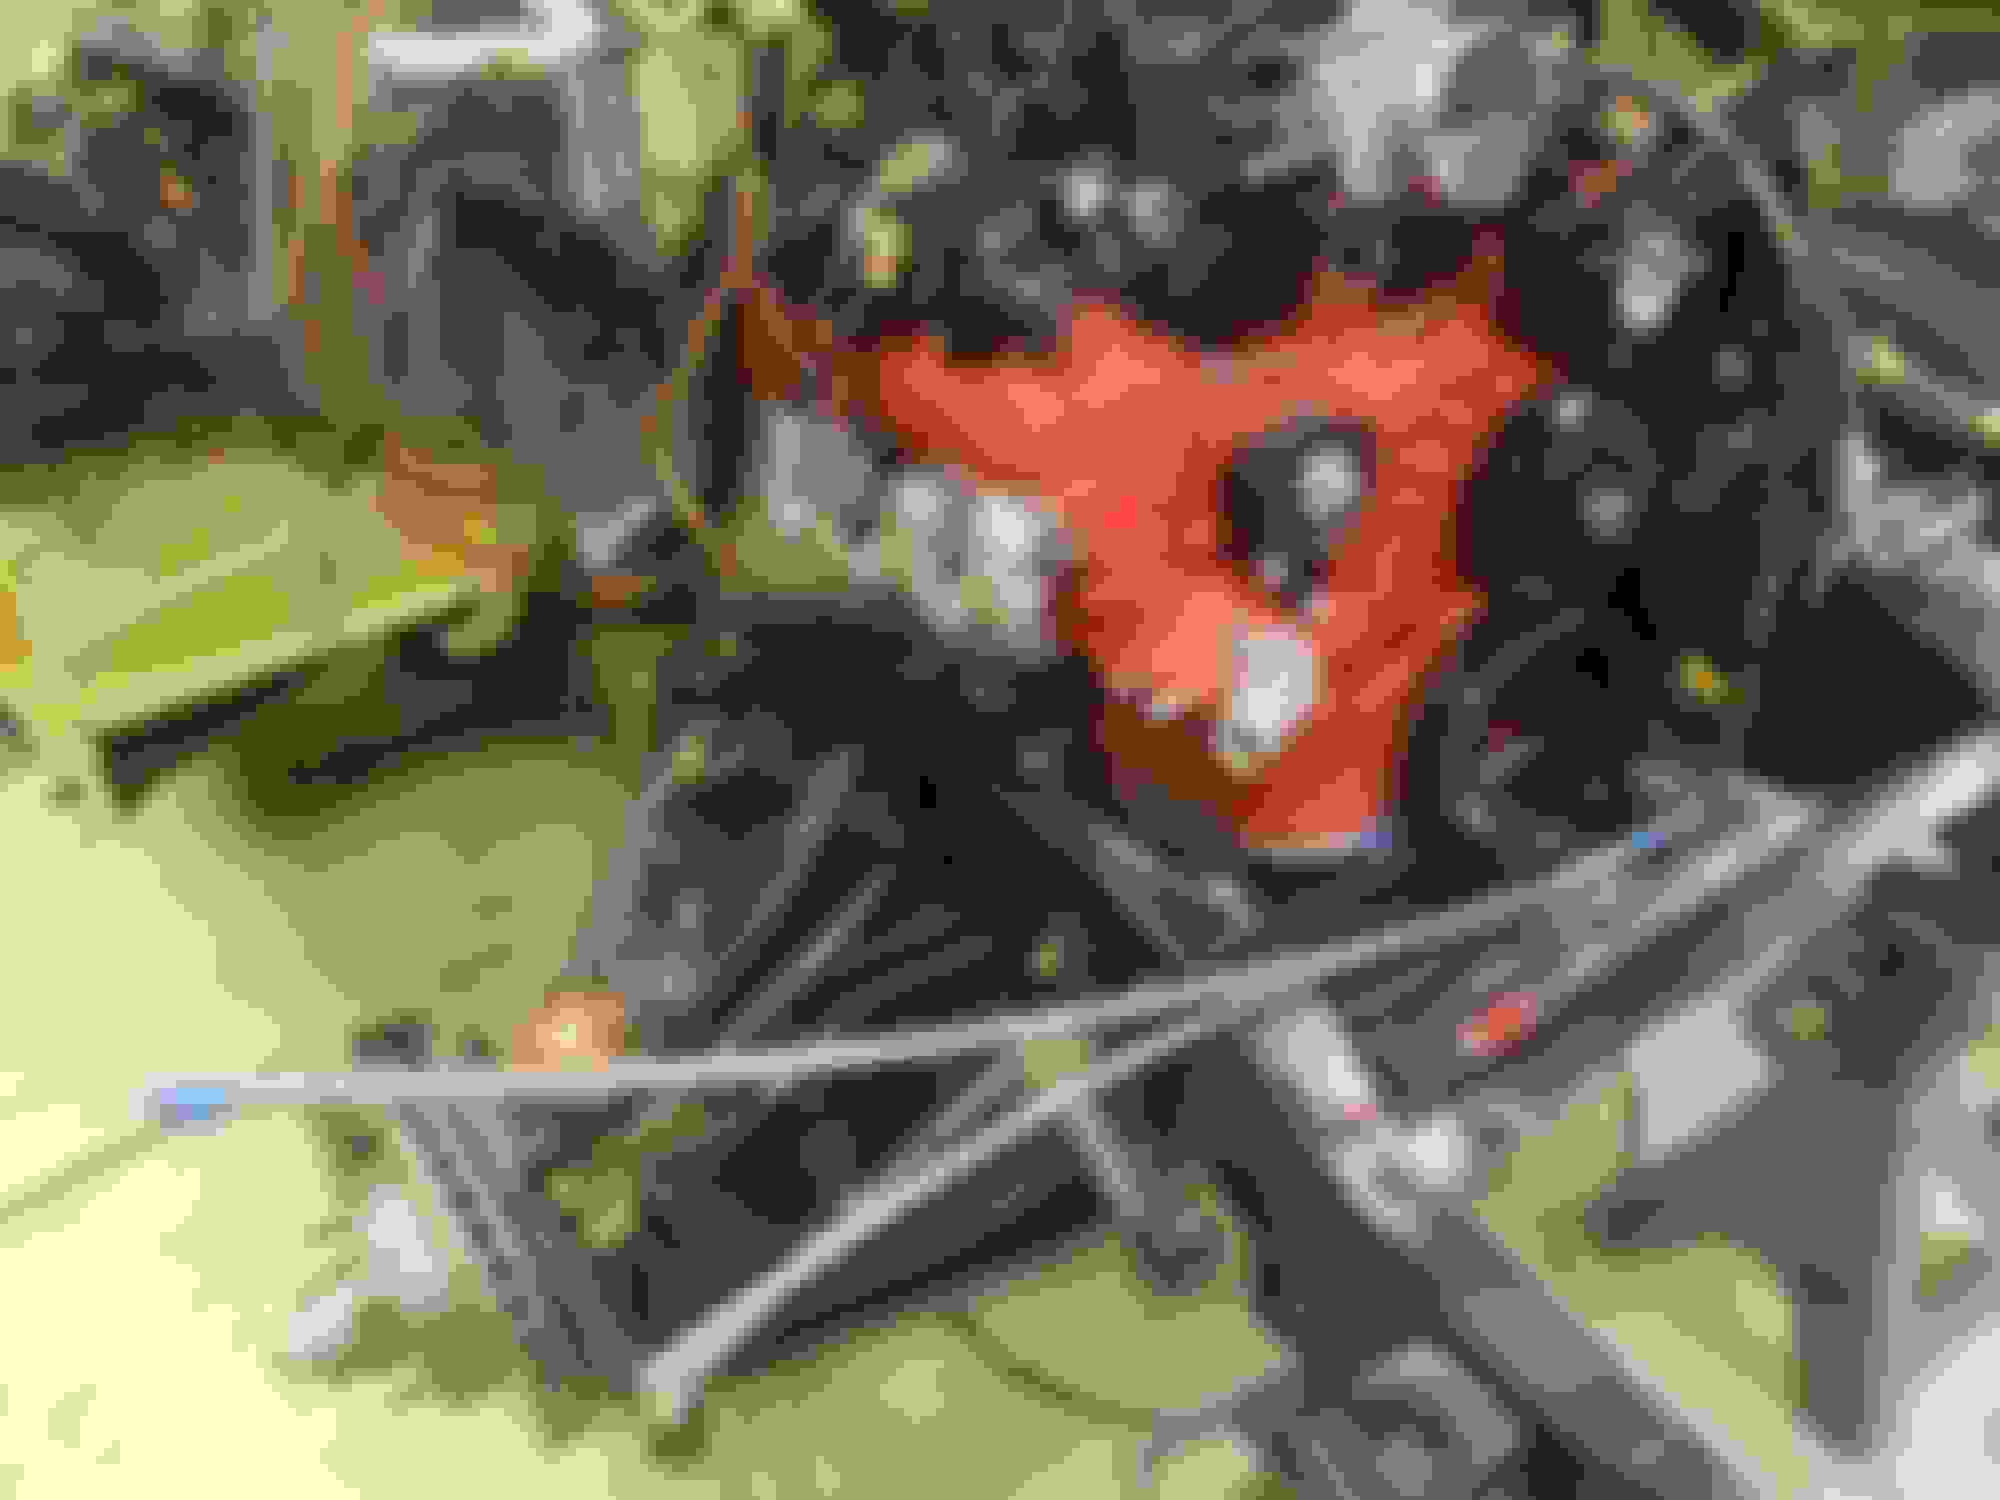
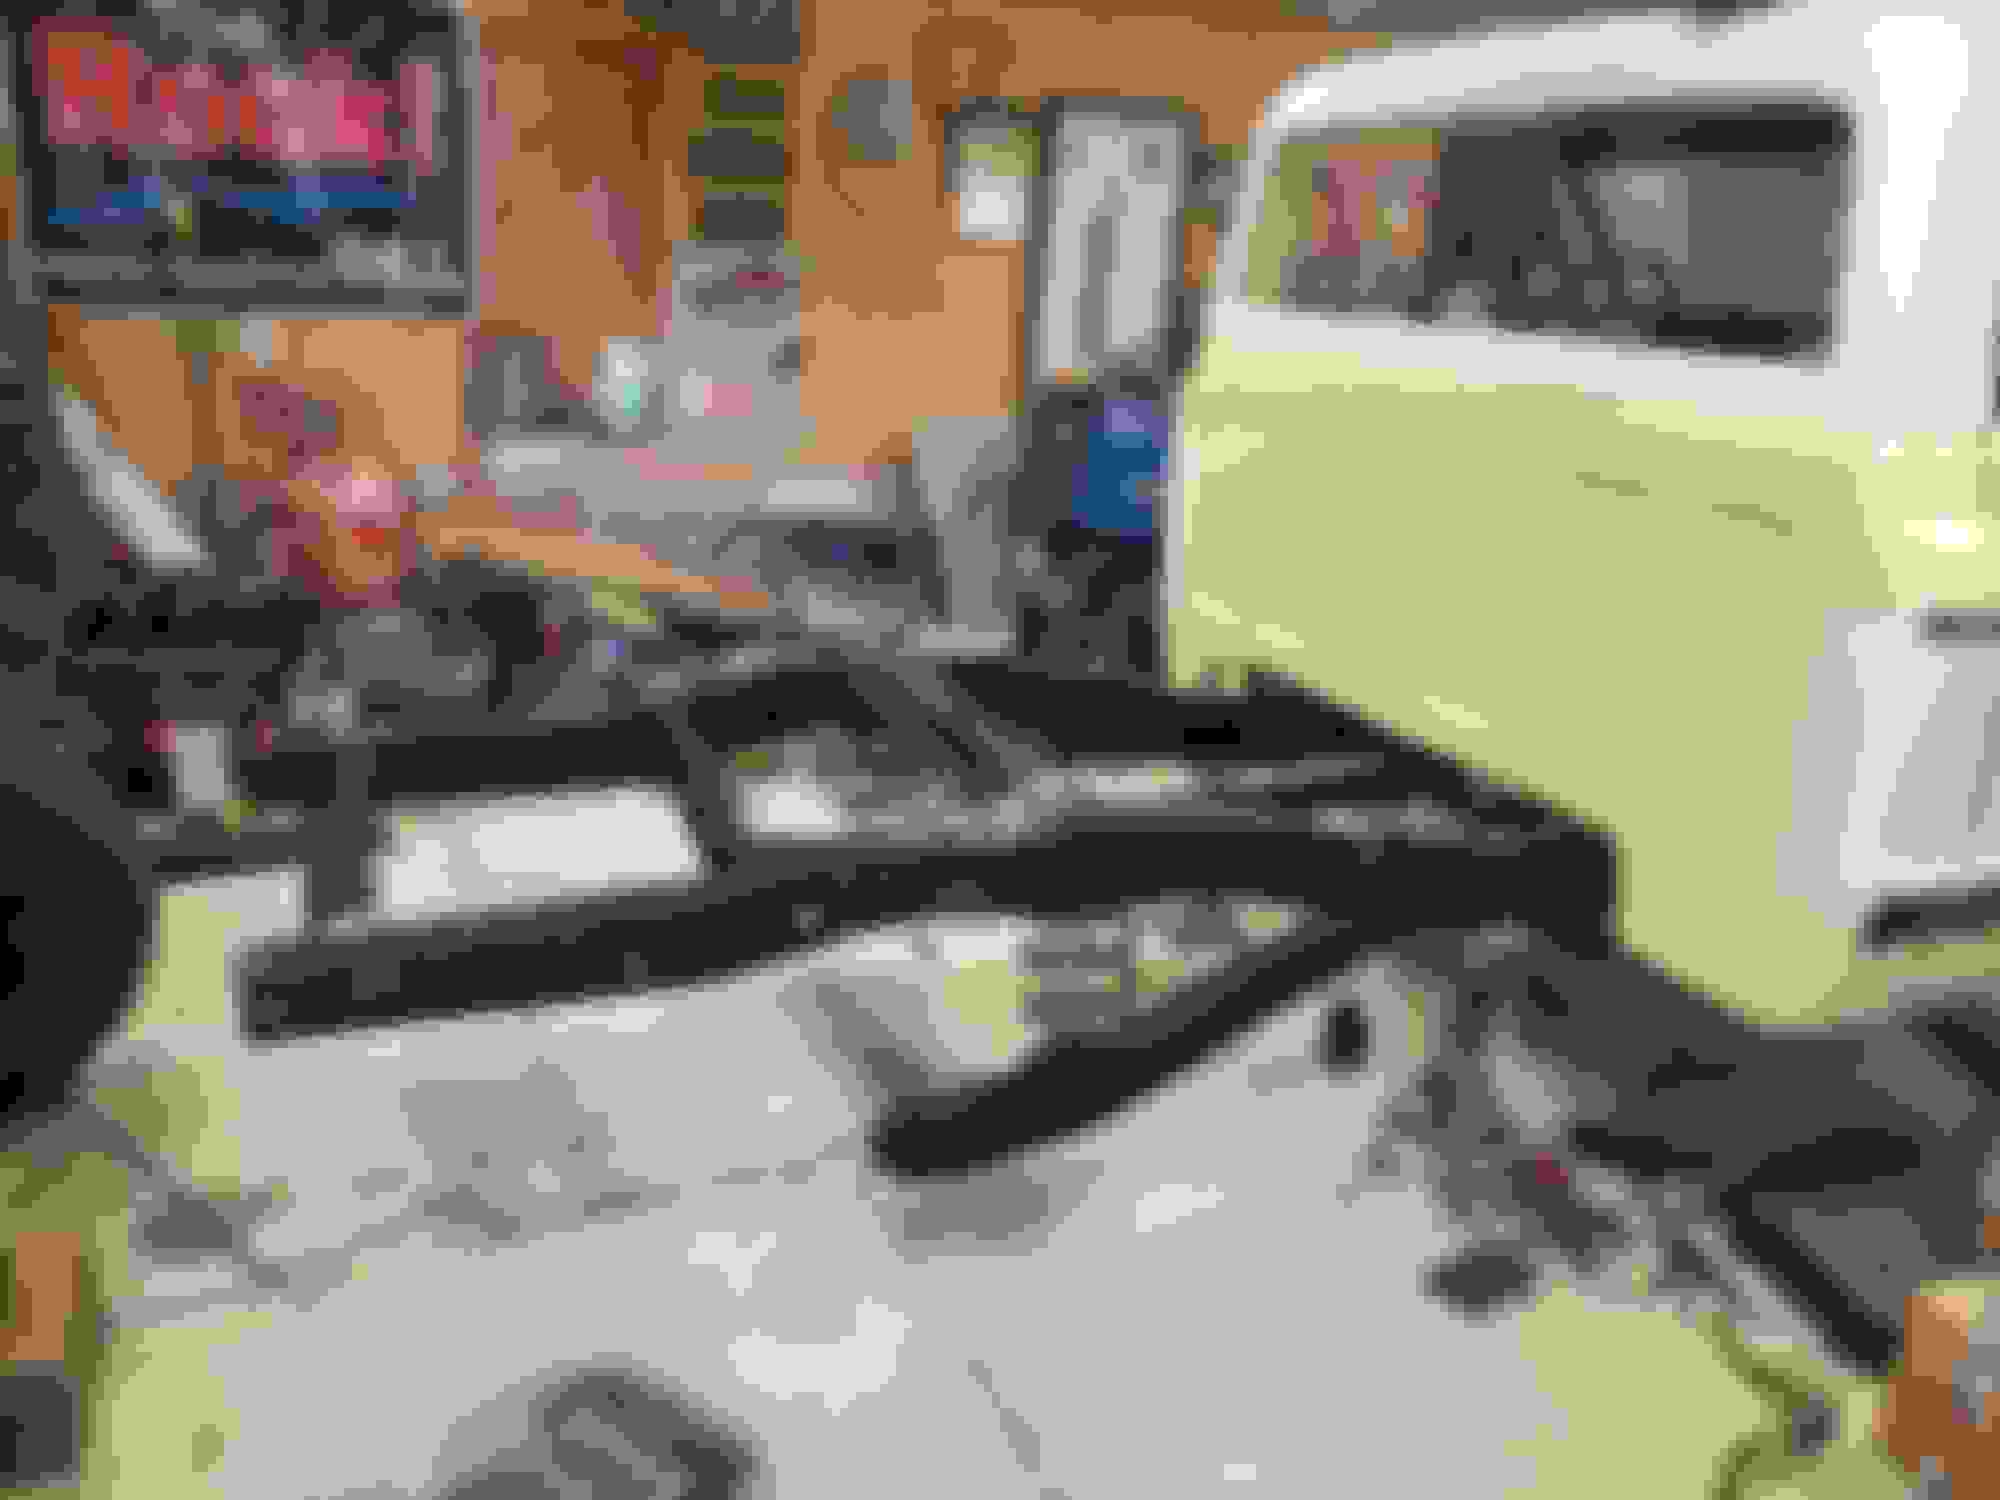
It was at this point that trying to go as fast as I could on the build came back to bite me..... Normally I will make the transmission lines while the engine is on the garage floor, but this time I decided it was going to stop me from getting the engine in and the frame out of the way, so I decided to wait...... Never again!
One line almost done. Found a clamp to bolt them to the engine. The small piece is to take up the space of the other line that has yet to be made.
Transmission lines suck.....
I lost track how many times I had the lines in and out to make them fit. I go to the left around the balancer because it's easier to clear the A/C compressor and it gives you more slack in the lines which helps them thread in the radiator.
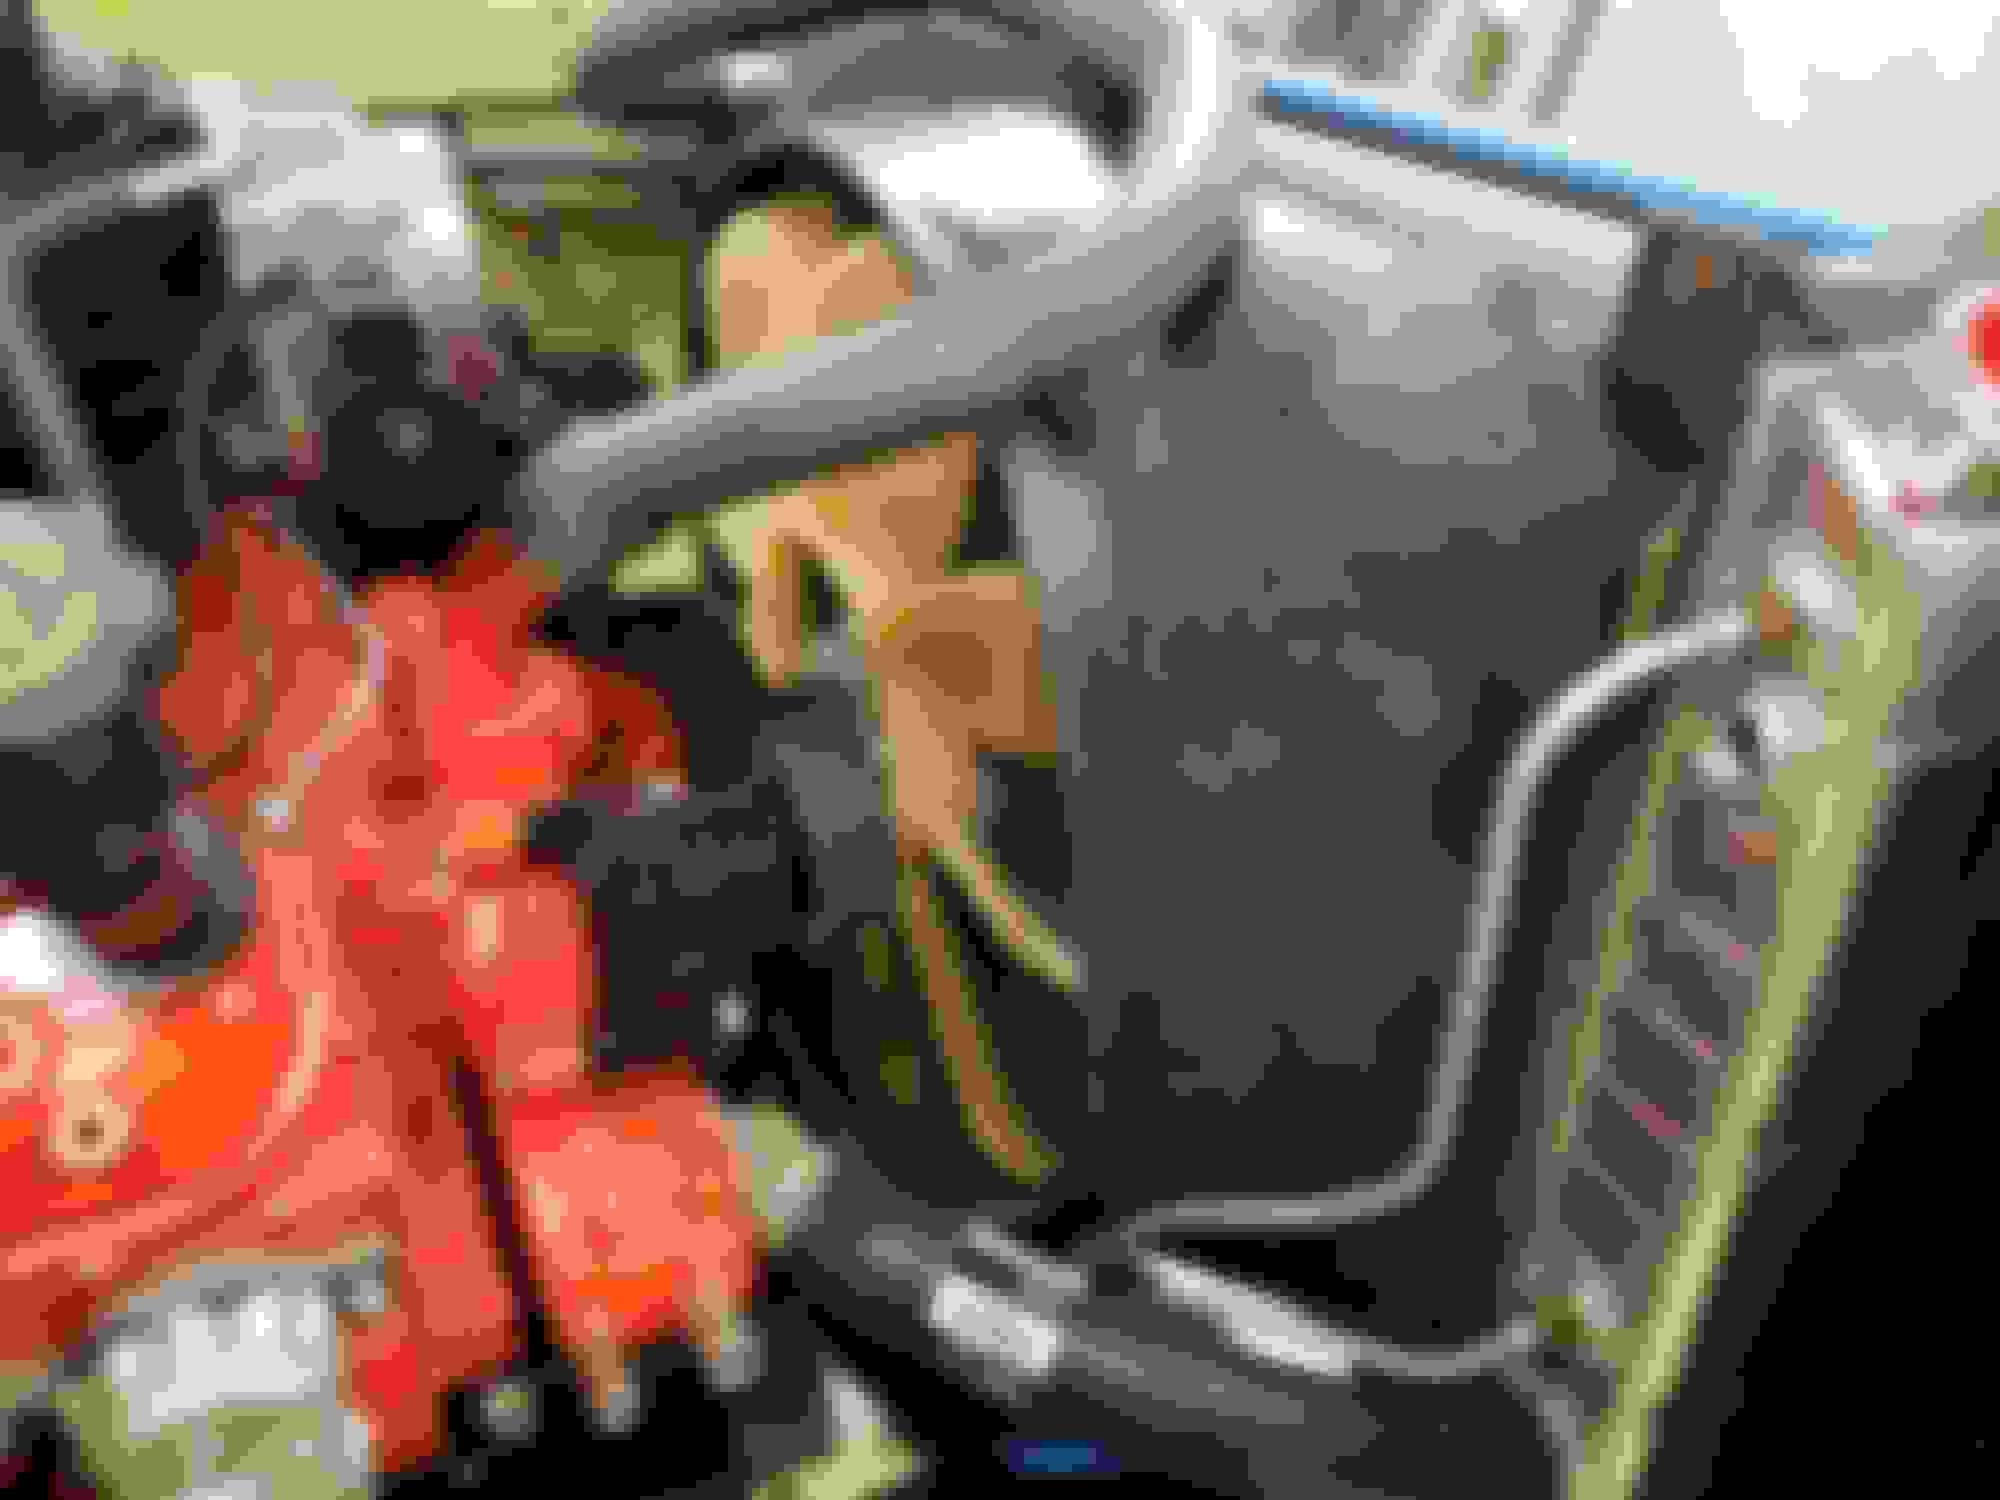
Now to make an identical one for the next one.
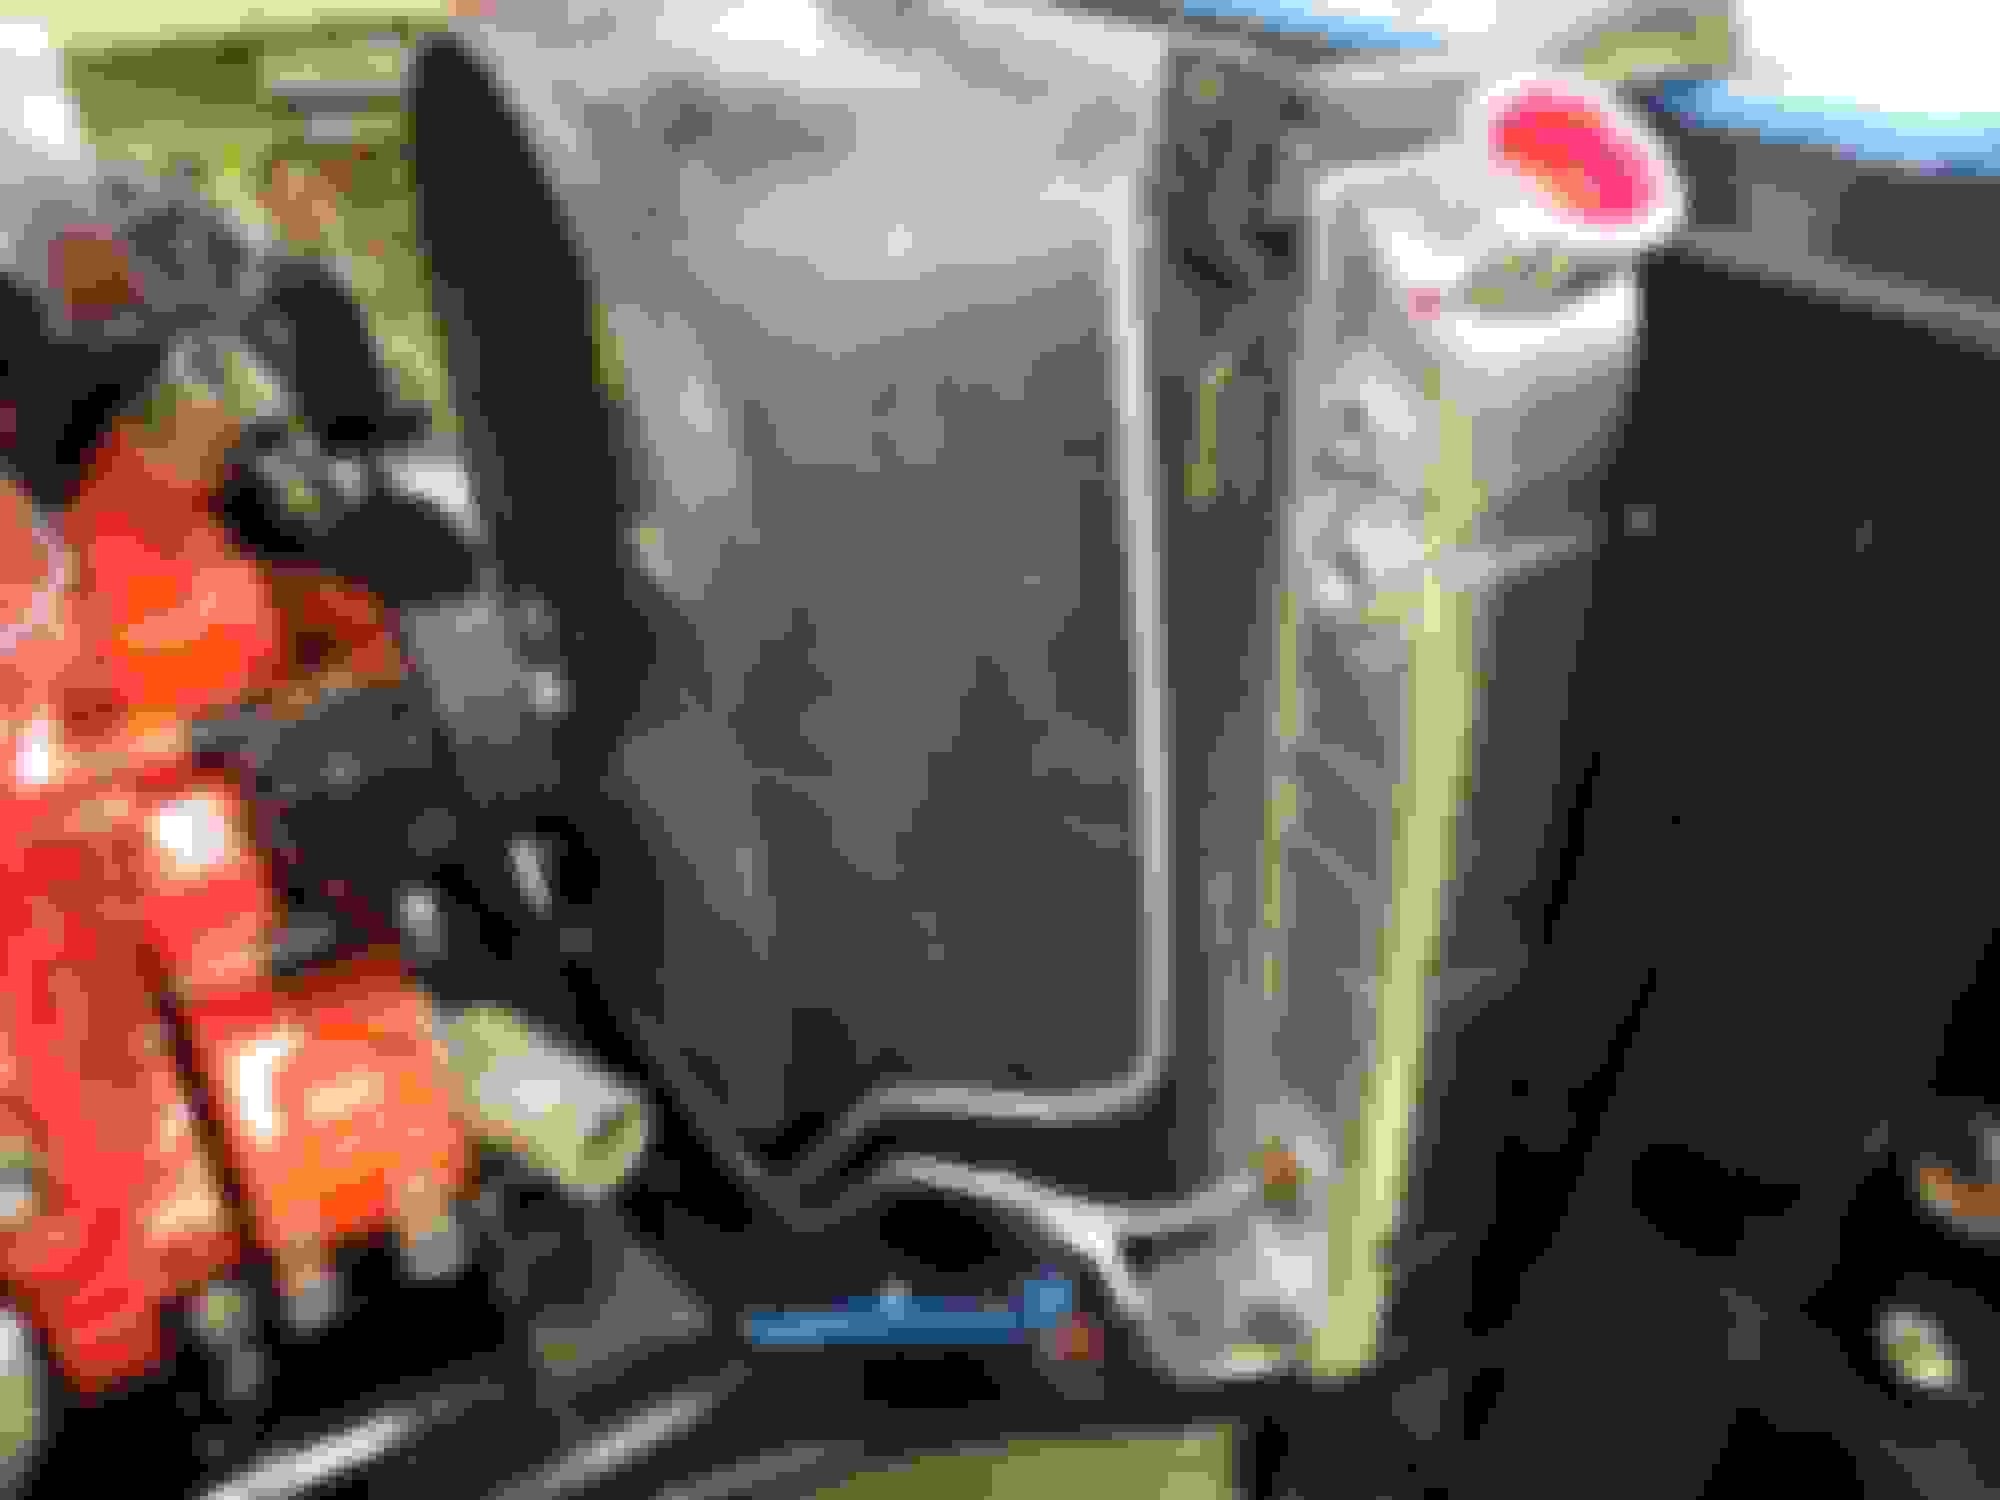
Now they just have to fit the radiator and clear the fan shroud.
And done! This only took like 4 hours!!!!
One piece lines front to back. Got real good at twisting them just right to get them in and out....
What size are the threads in the radiator where you screw the fitting in to accept the trans lines? I'm using a LS1 radiator and am having a hard time figuring out what size to use.. 5/16 inverted flare??? Thanks
Well I have an aftermarket radiator so it didnt come with fittings, but I put some in that are the same size as the ones I put in the transmission. Not sure what the thread size is but yes, the lines are 5/16 inverted flare
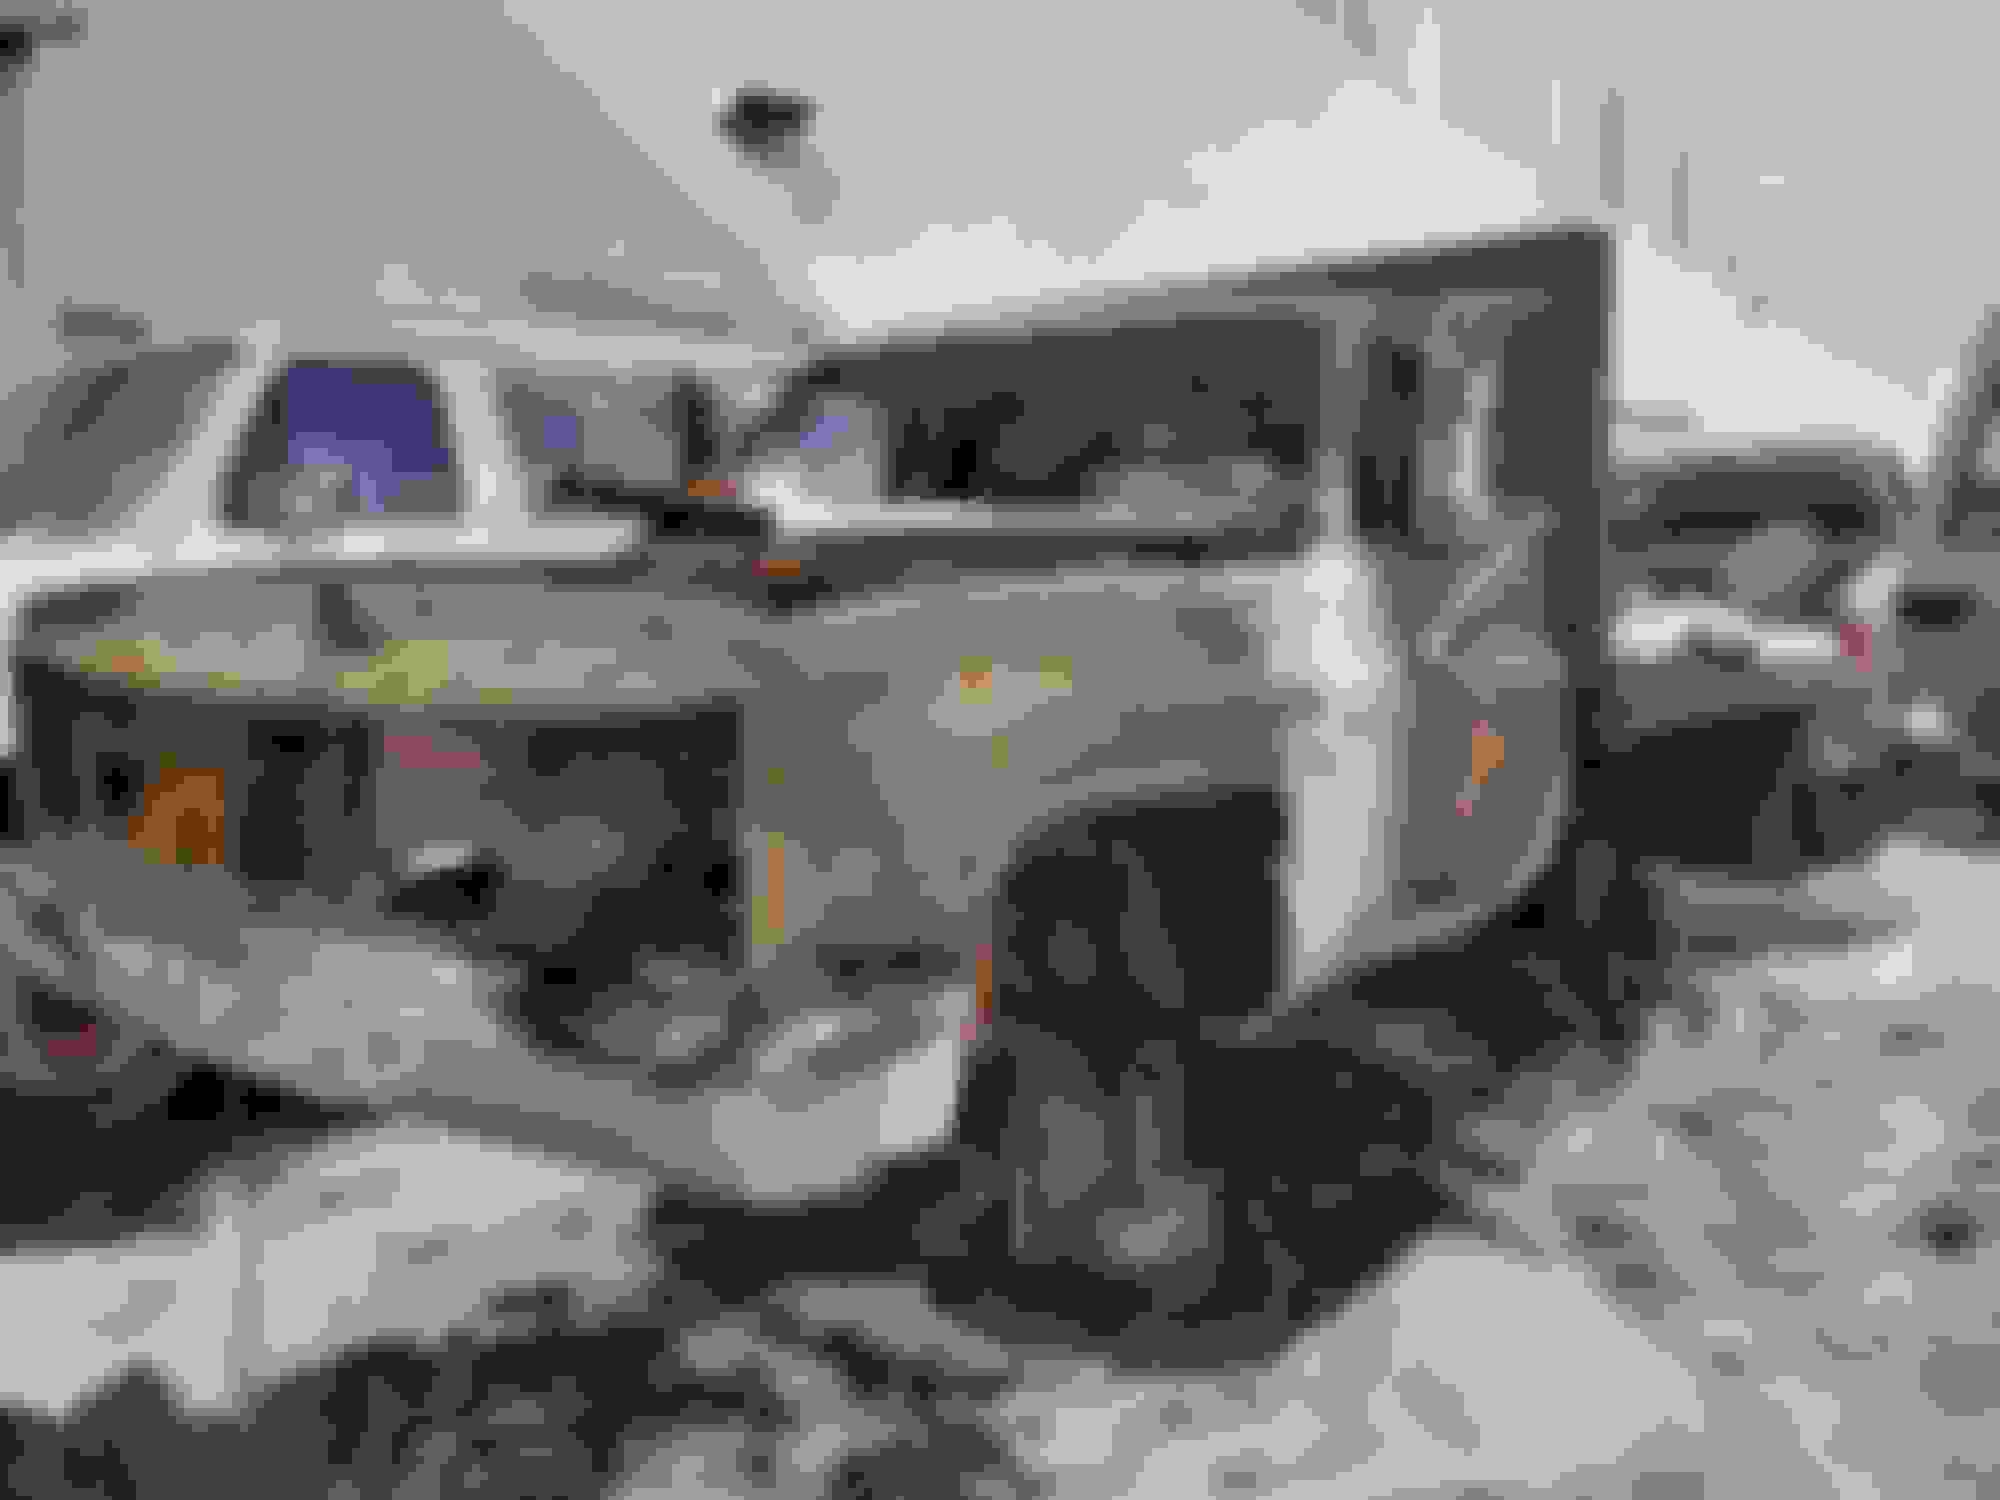
Was wandering around the local Pick n Pull a while back, and ran across this burned out hulk of a one ton,
Looked under it and it was still there, 1 1/4" front sway bar, so I snagged it!
Just needs cleaned up, painted and some less burned up bushings...
A buddy of mine came over and said a 3rd gen F body rear sway bar is a good compliment to it, and that I should get one. I didn't figure I would find one, but a while later at another Pick n Pull there was a Camaro and Firebird, back to back. The Firebird had the bigger bar so I snagged that one too.
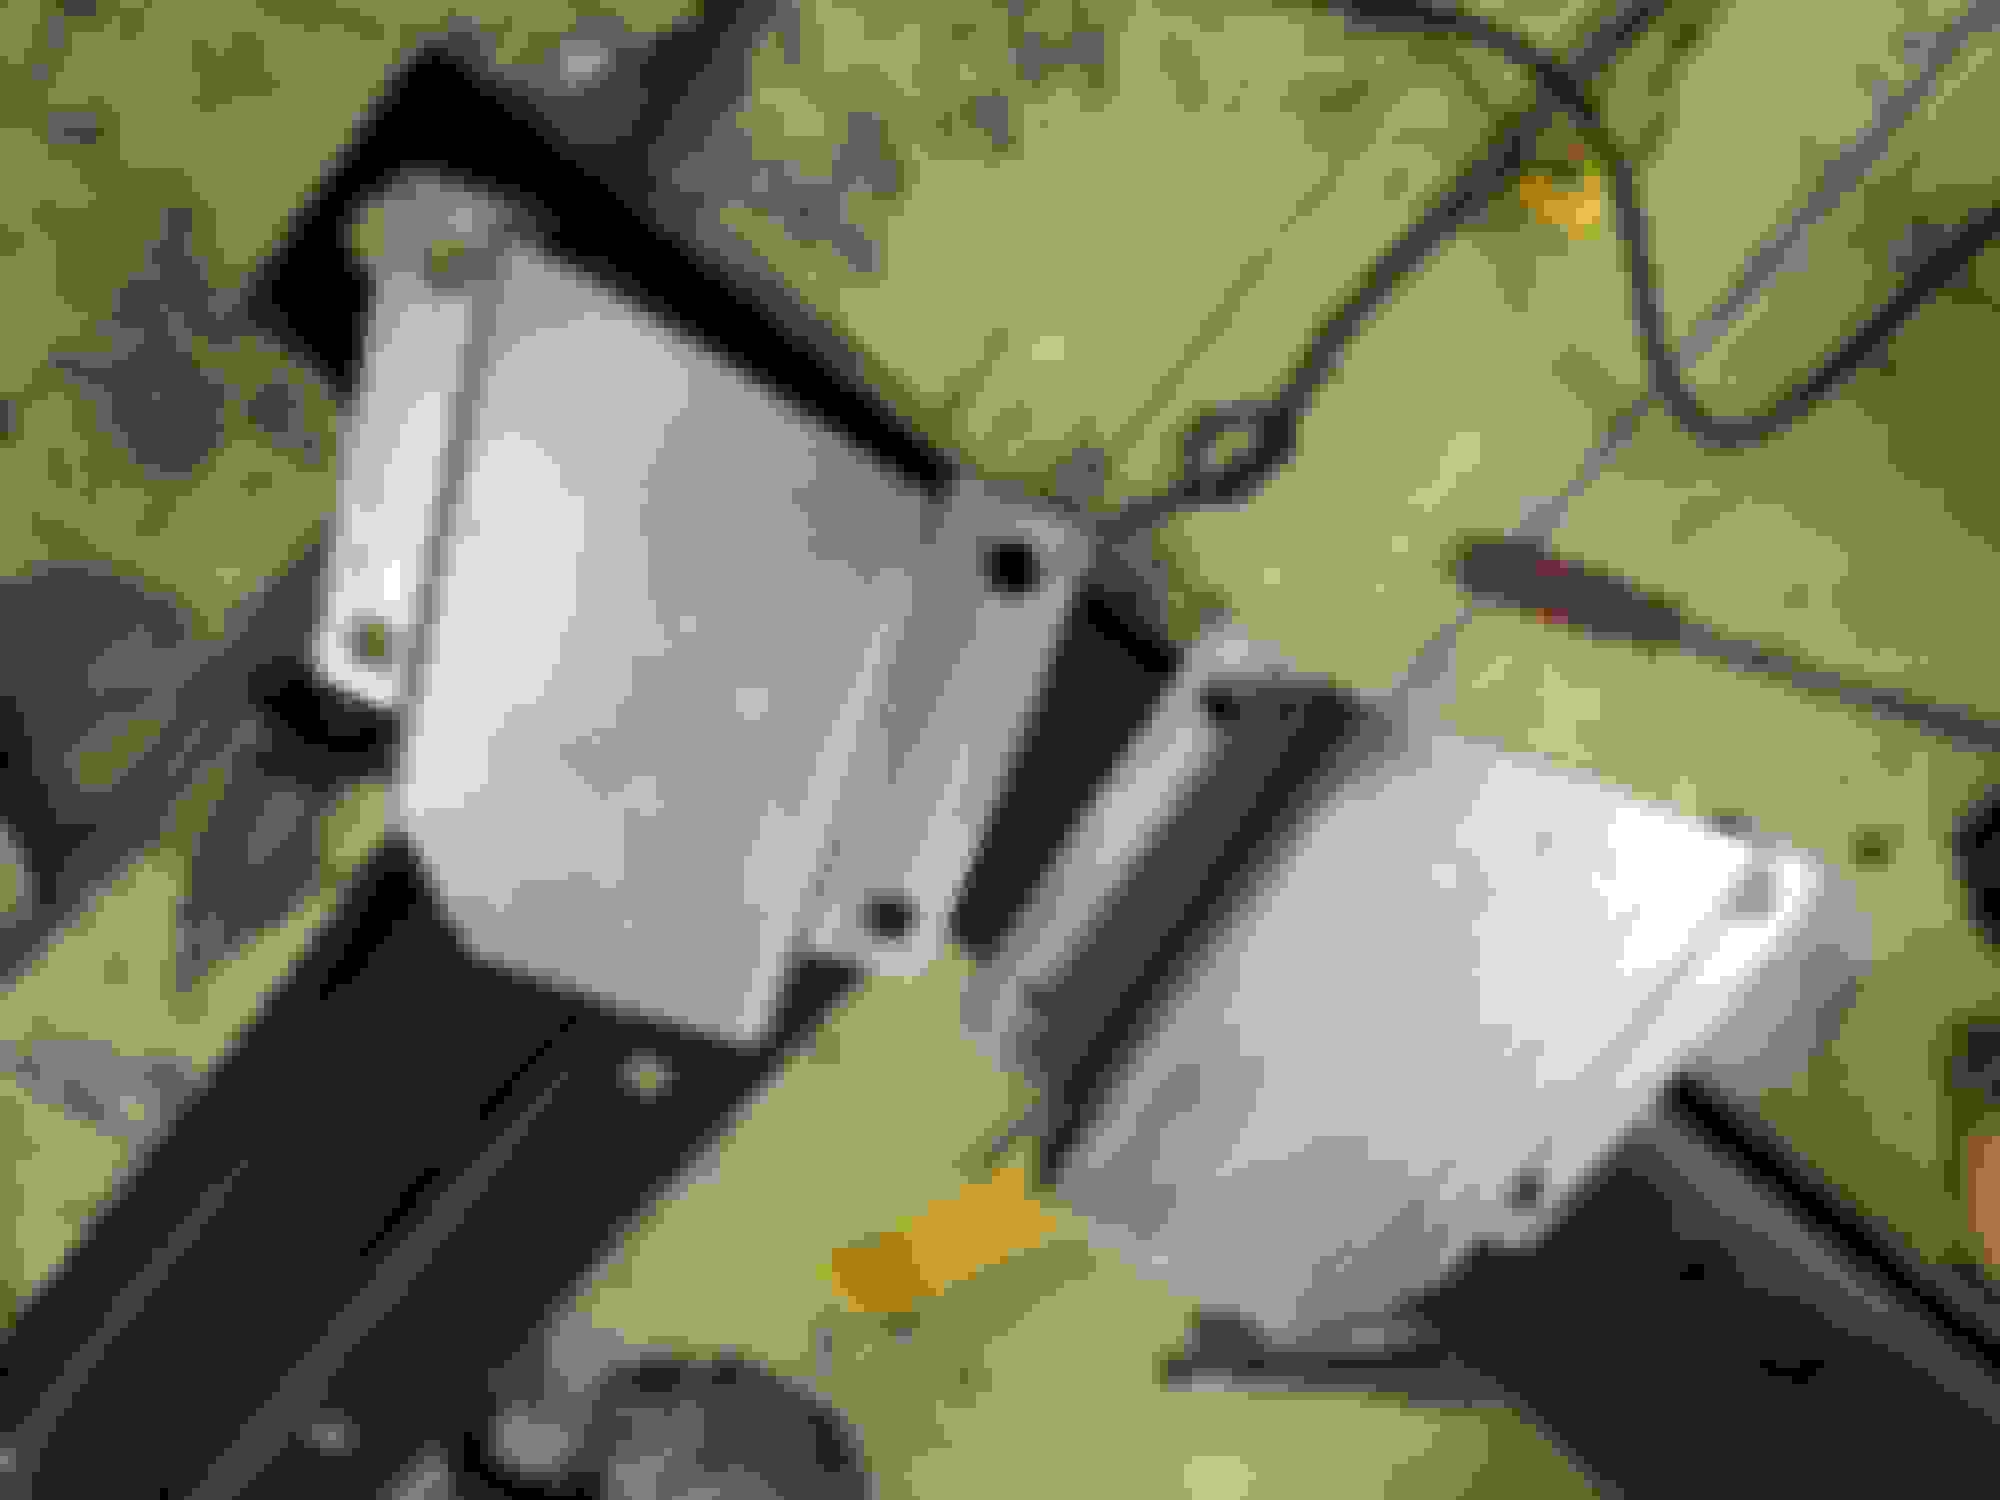
Had to make some new axle mounts because they needed to be a bit longer to space the bar down a bit and also because the truck axle tube is bigger.
Cutting these out with my caveman tools wasn't fun.....
This is how it looks mocked up and held on with masking tape!
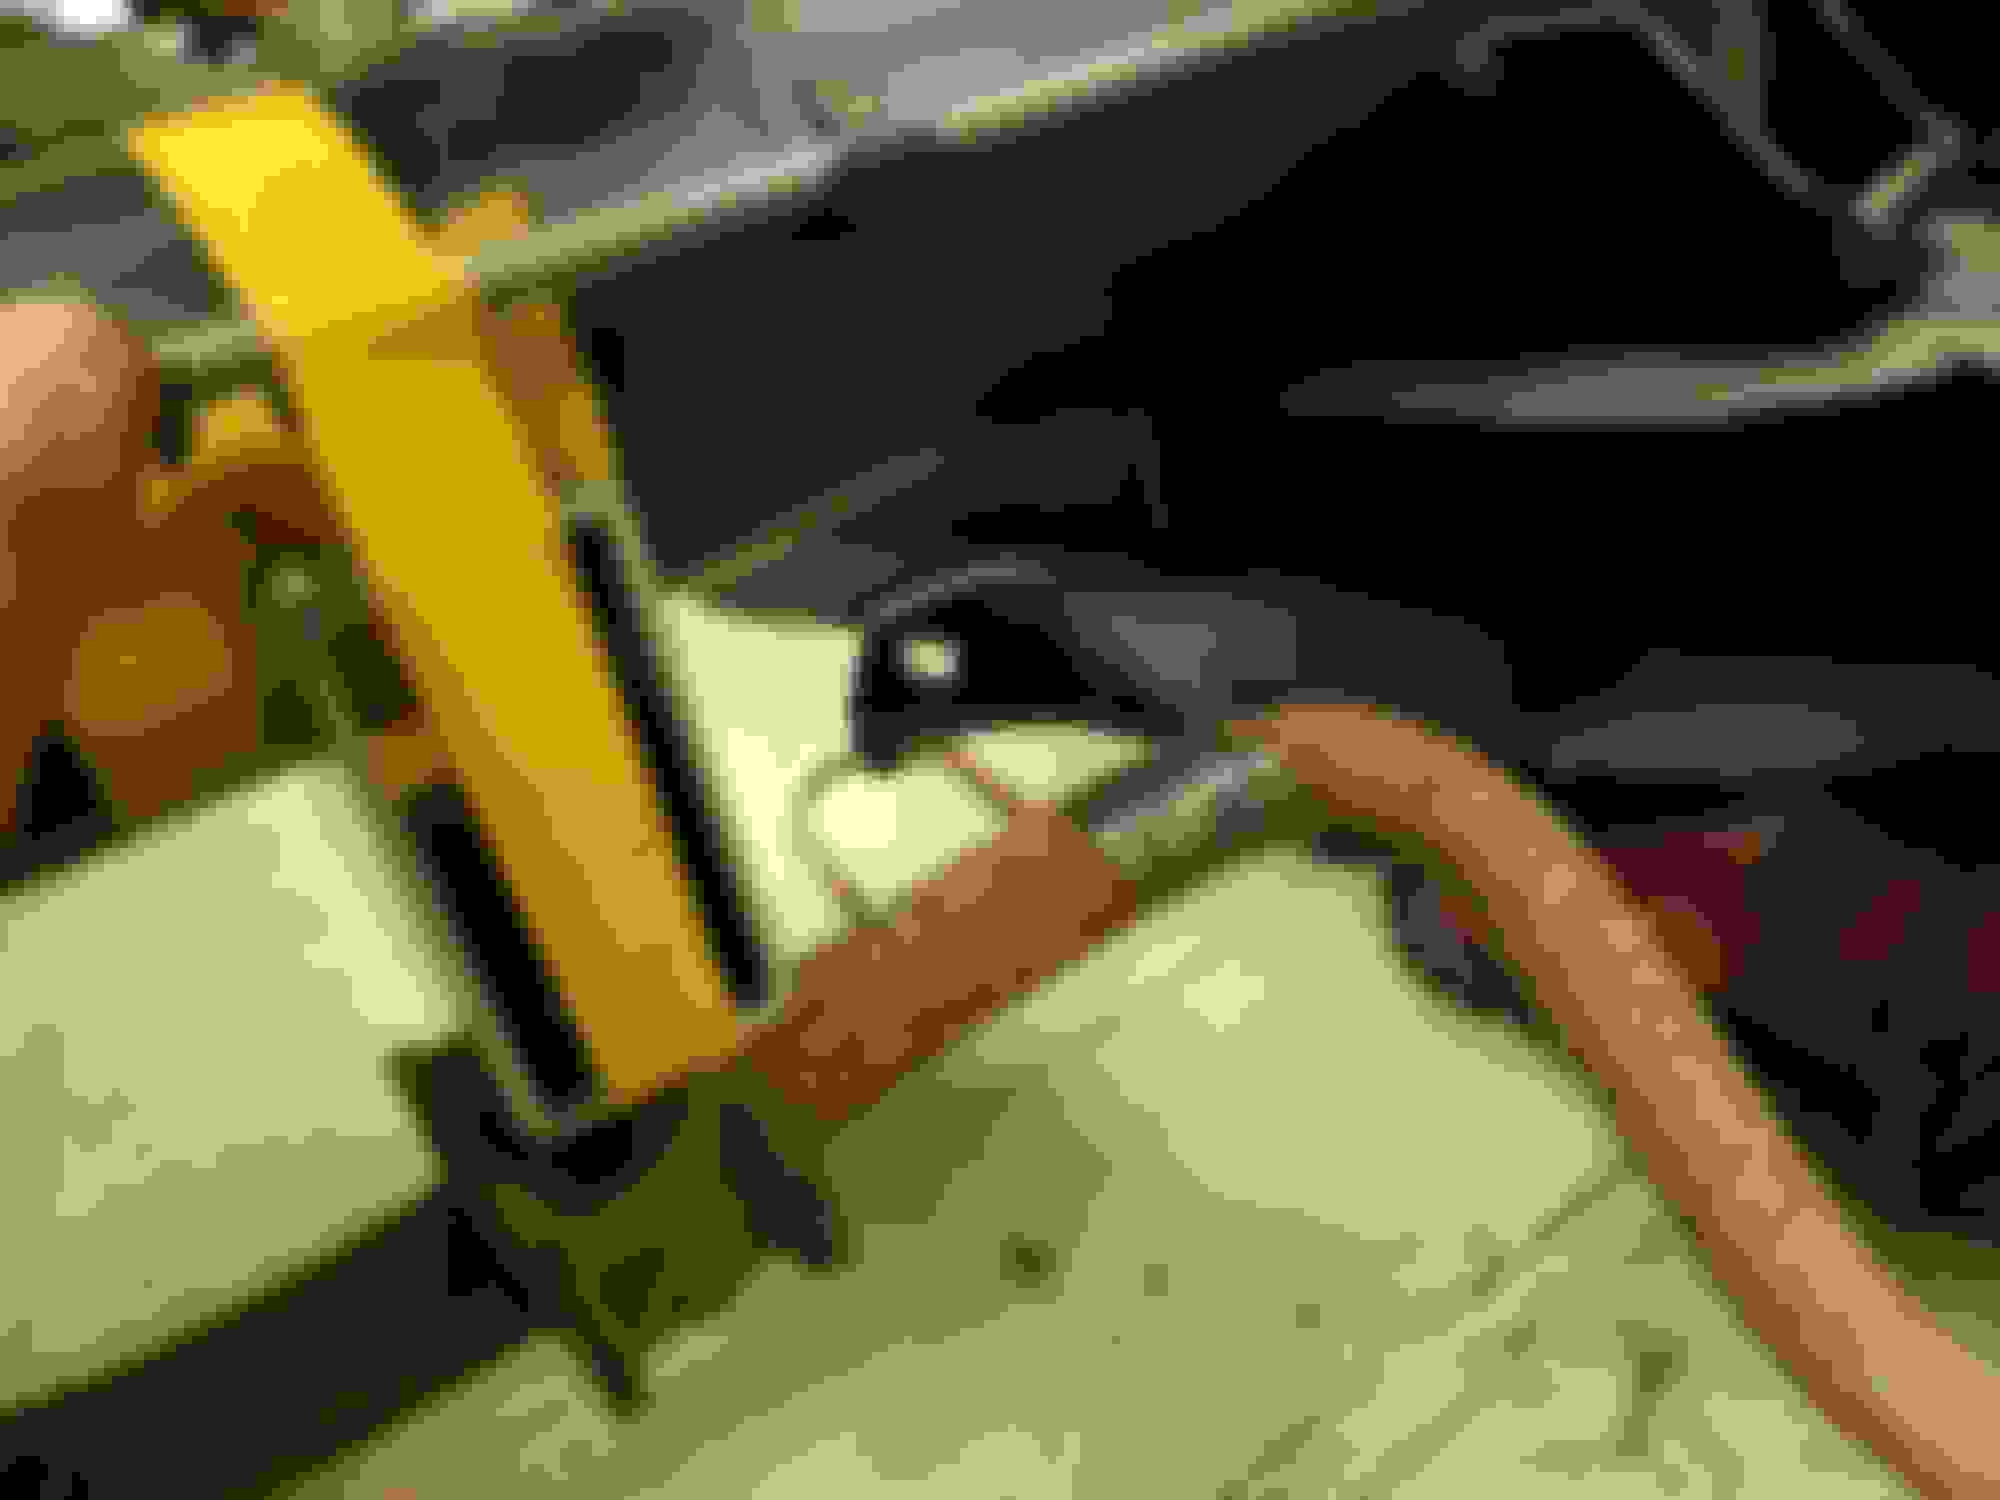
Made some brackets to bolt to the frame to bolt the F body brackets to, since the frame is a couple inches too narrow for the bar.
They will bolt to the frame, then the F body brackets will bolt to them like this.
Bolted on and the bar mocked up with an old sway bar link.
Nice work but I don't know why you suffer. You could have come over, cut those out with my plasma cutter then we could have BS'd for a bit and you been on your way before you finished all the sawing, grinding, filing and such with the caveman tools.
Nice work but I don't know why you suffer. You could have come over, cut those out with my plasma cutter then we could have BS'd for a bit and you been on your way before you finished all the sawing, grinding, filing and such with the caveman tools.
I'll have to keep that in mind for the next time. My problem is, I get to that point and have to get it done right then and there, so I break out the cut off wheel and die grinder. Although thinking about it now you're right, I could have called you, drove over, cut them out, BS'd and drove home in less time....
I had planned on tack welding those brackets to the rear axle, then touching up the paint, but after all the mock up, those U bolts had scratched the paint up pretty good, so I said screw it, and pulled the rear end back out, welded them solid, then repainted both axle tubes.
I actually painted it outside when my neighbor wasn't home, so I had to do it quick! LOL
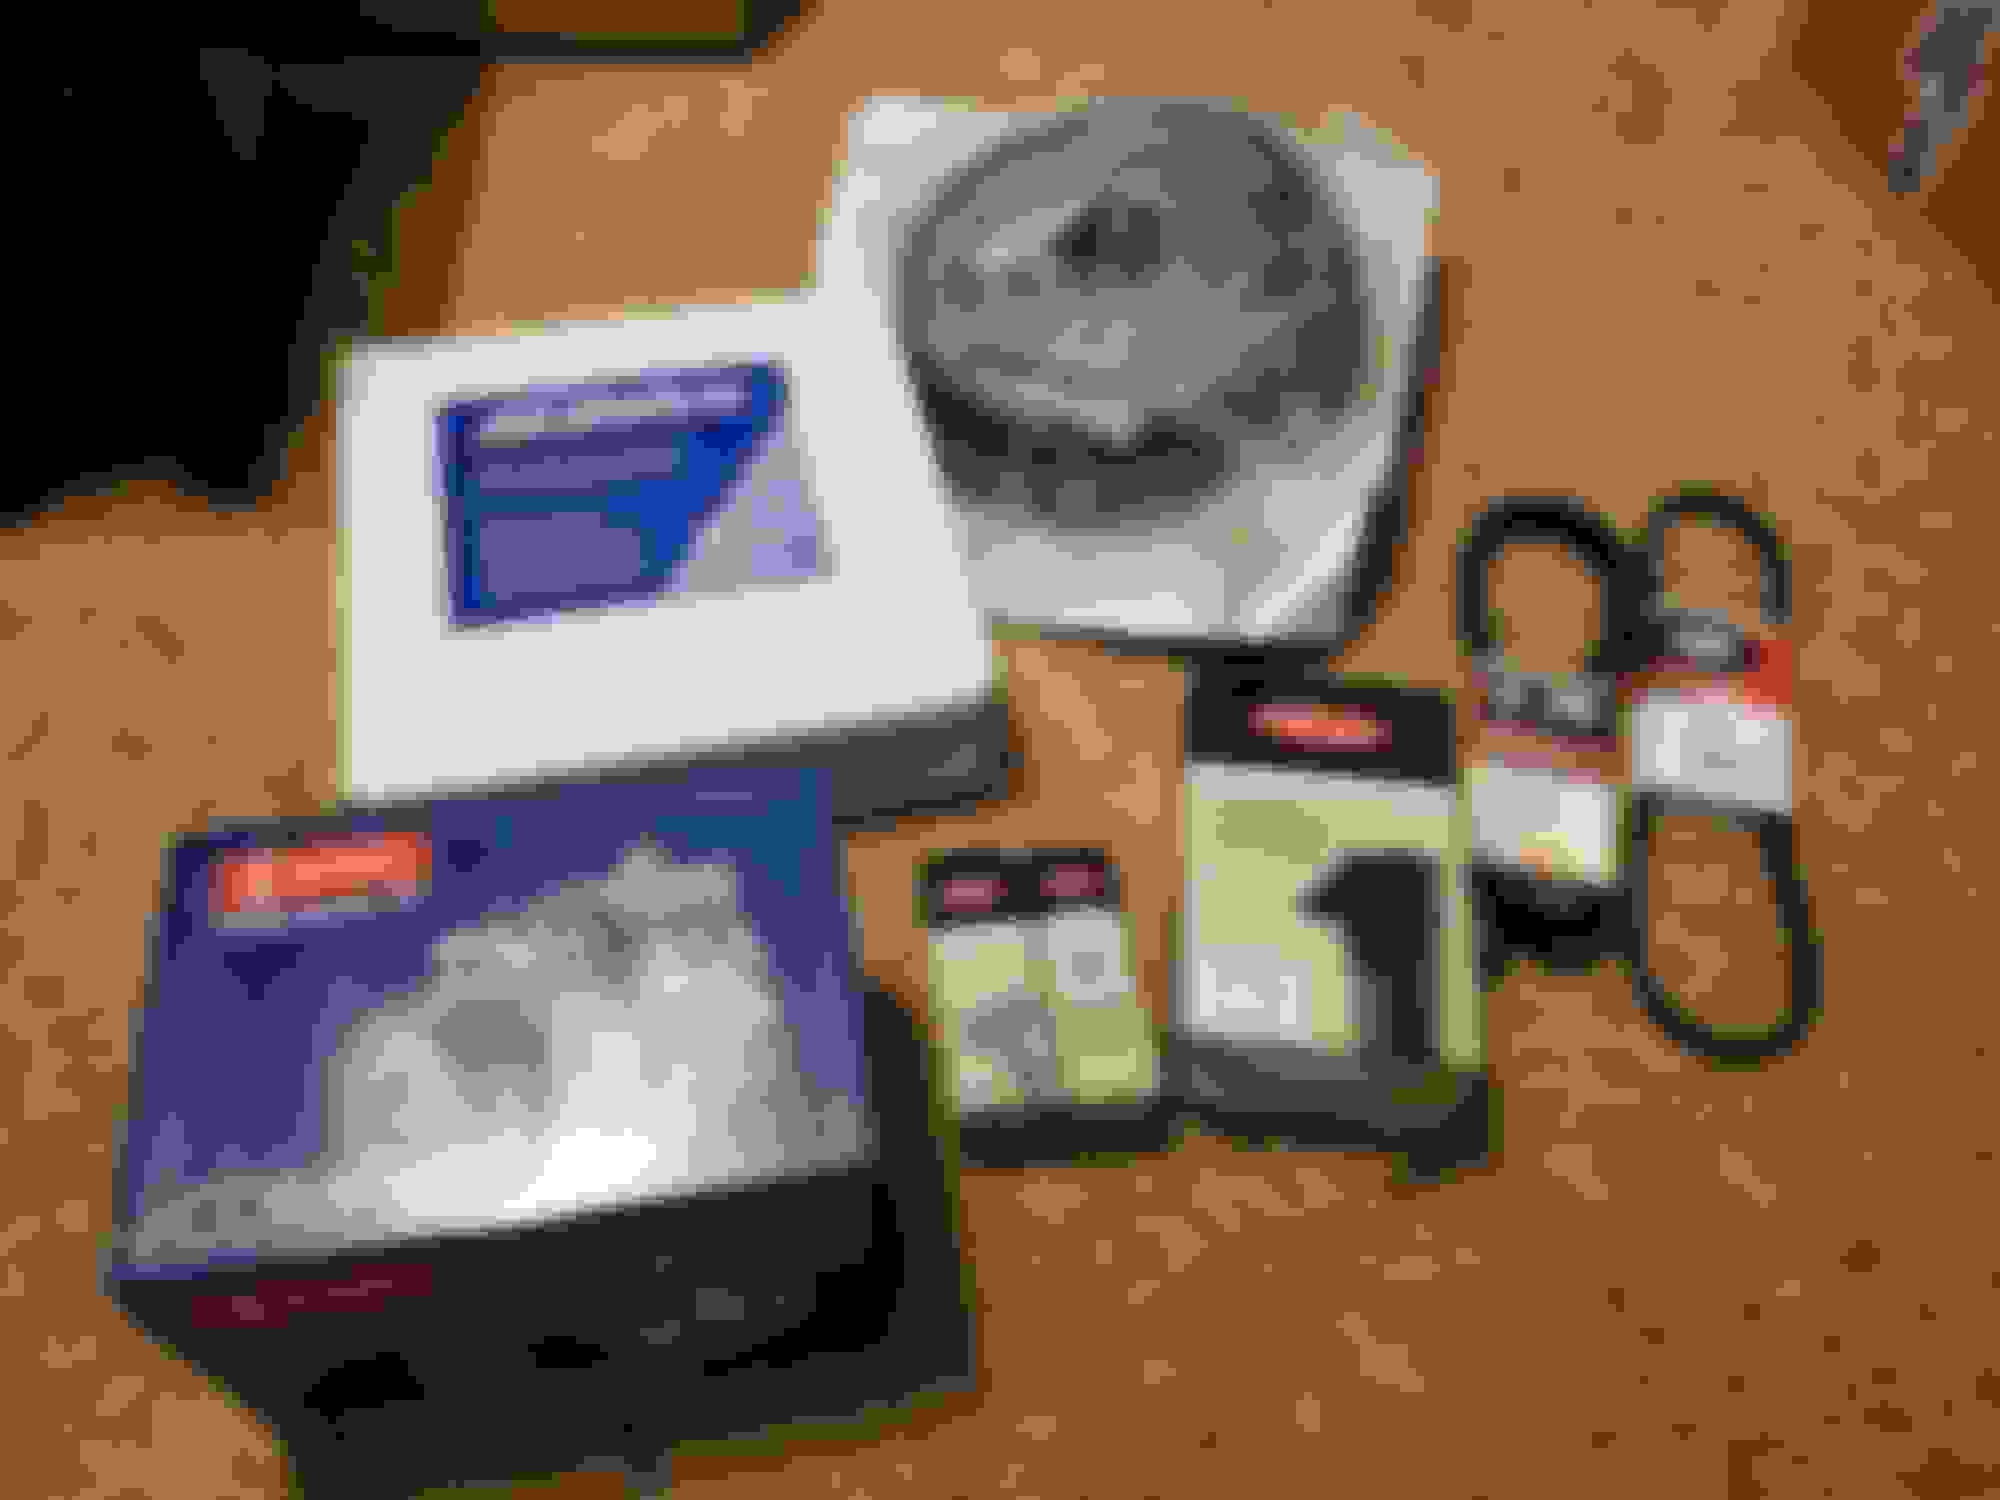
Got some parts from Rockauto.....
So while I was painting stuff, I painted the new rear brake drums.
With the drums on and the brakes bled, I needed to move the truck outside to be able to paint some other small parts, so I got it running and its maiden voyage was about 20ft out of the garage!
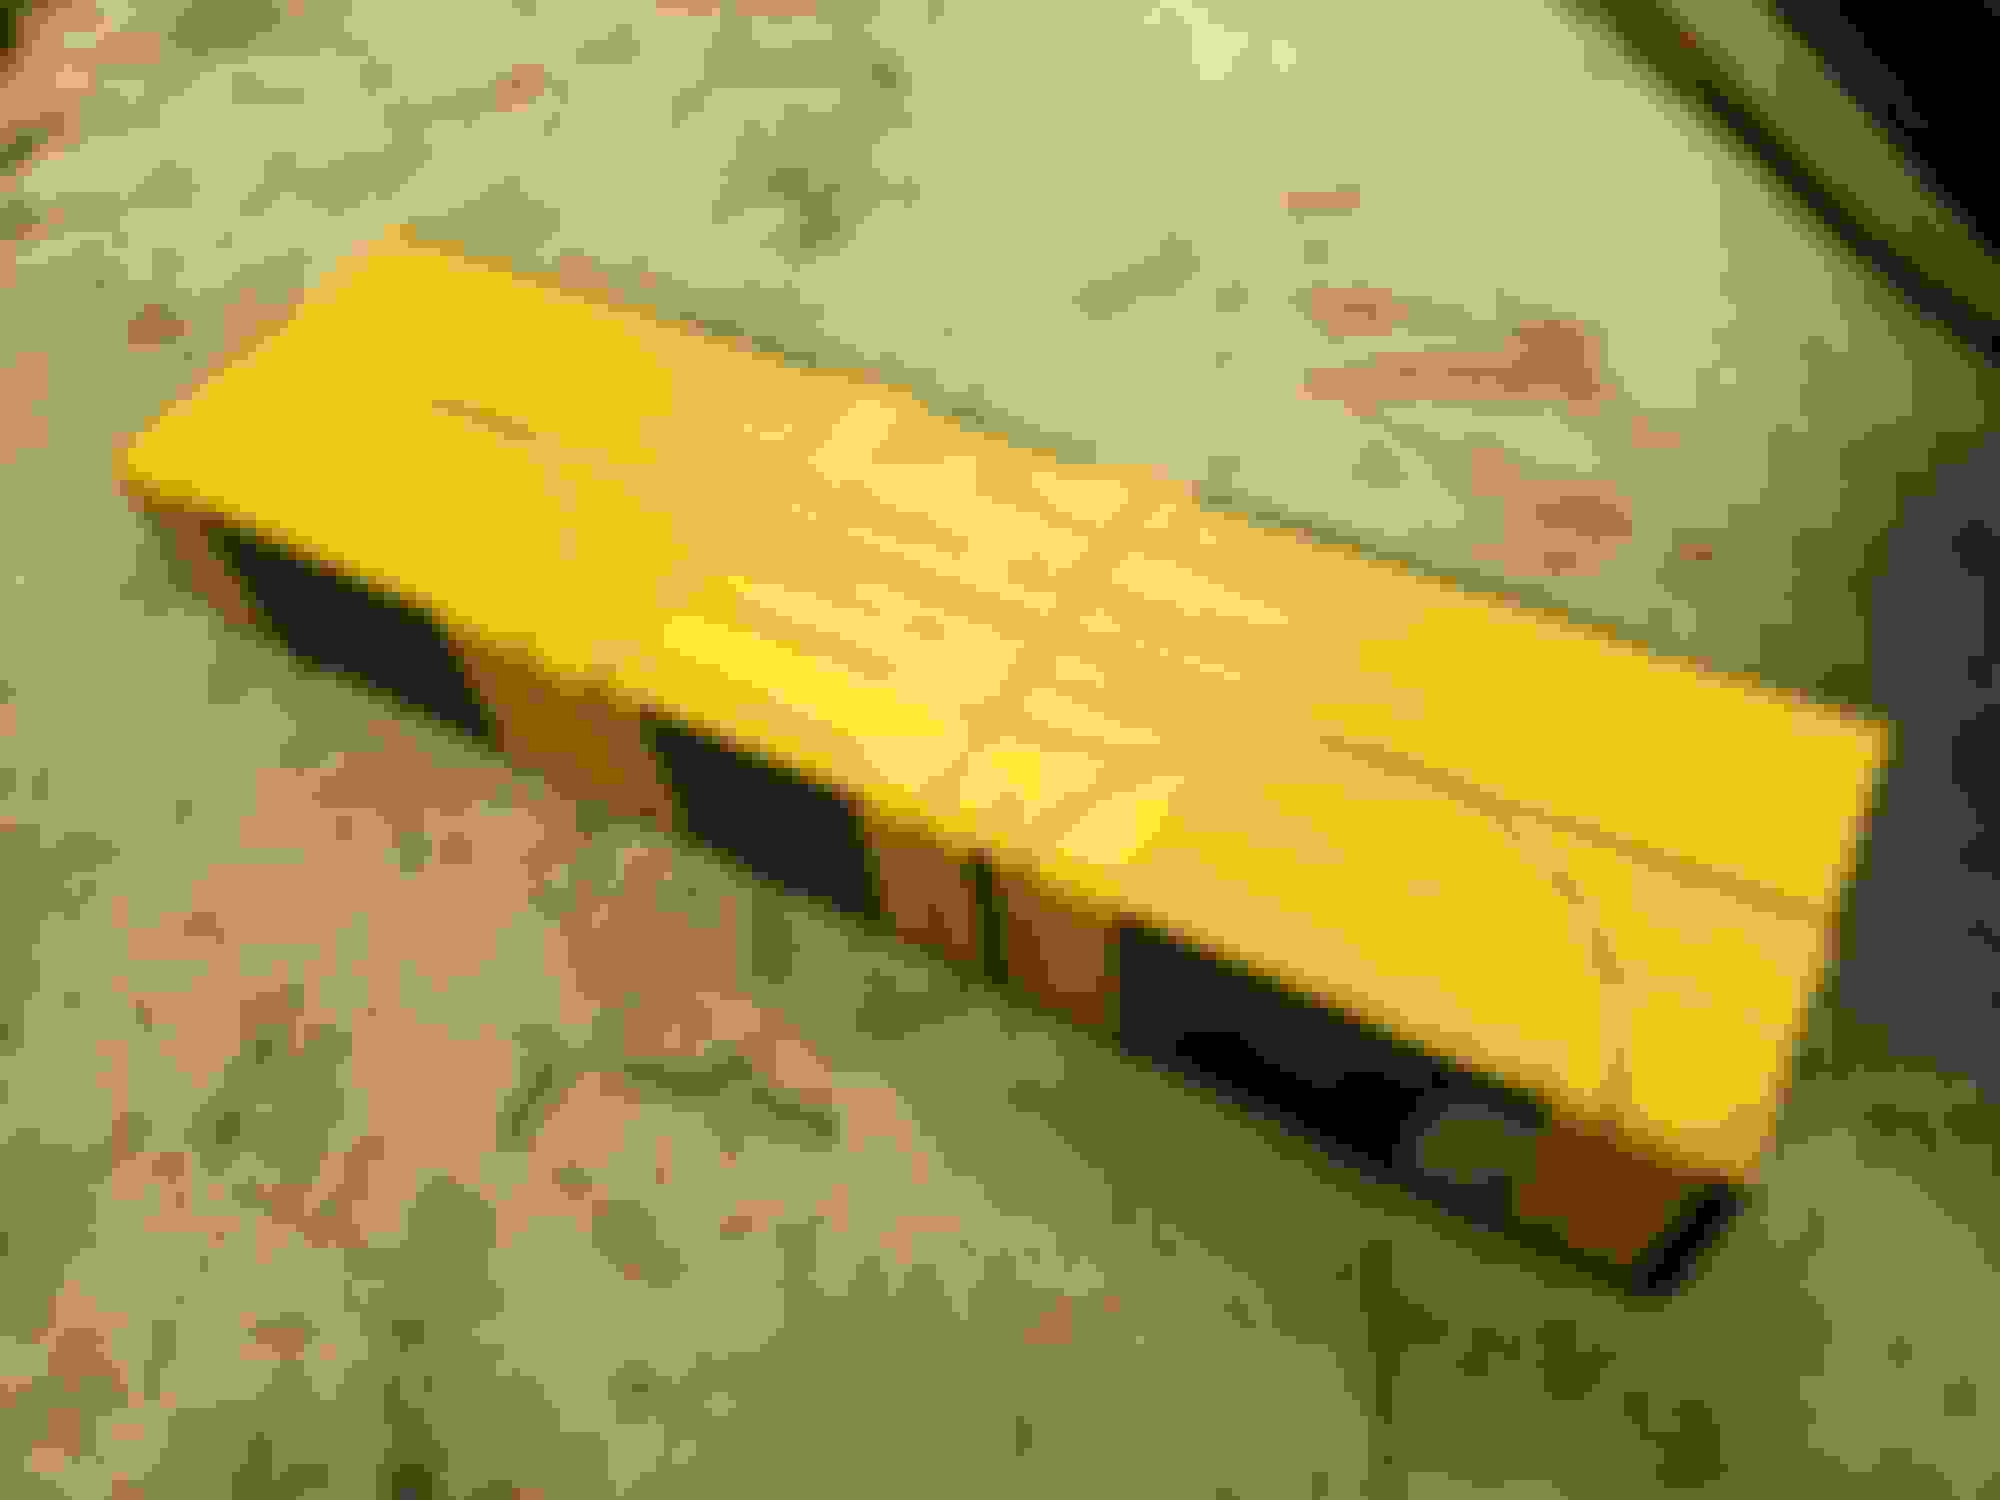
Cleaned up both sway bars, and are in primer here...
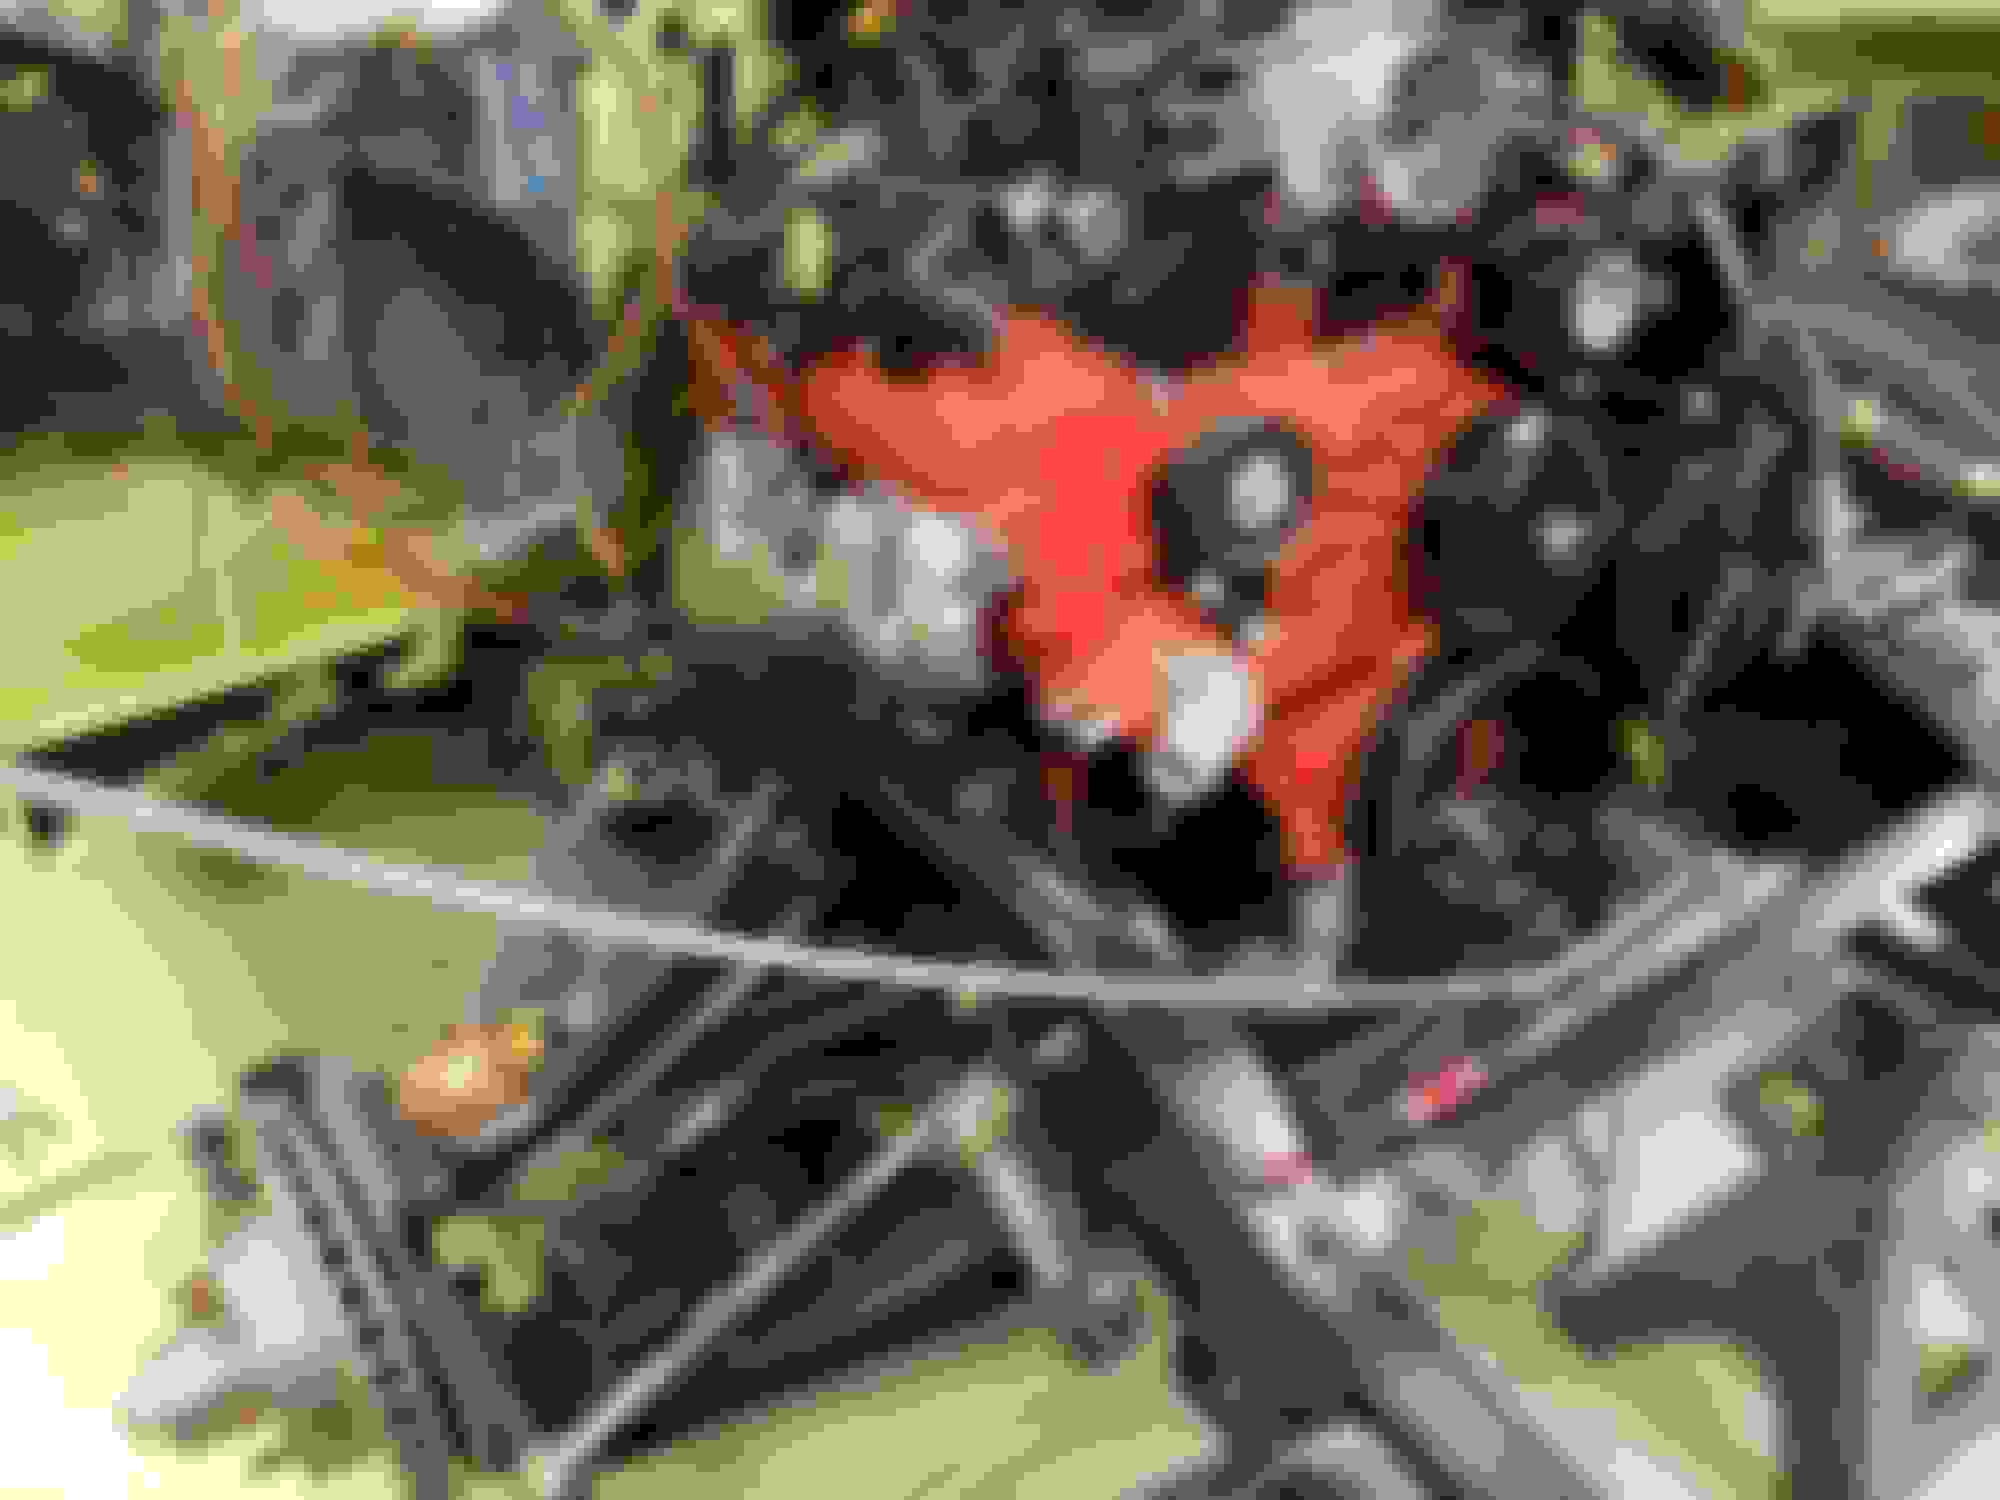
Sway bar brackets, radiator hold downs and PCM mount getting painted.
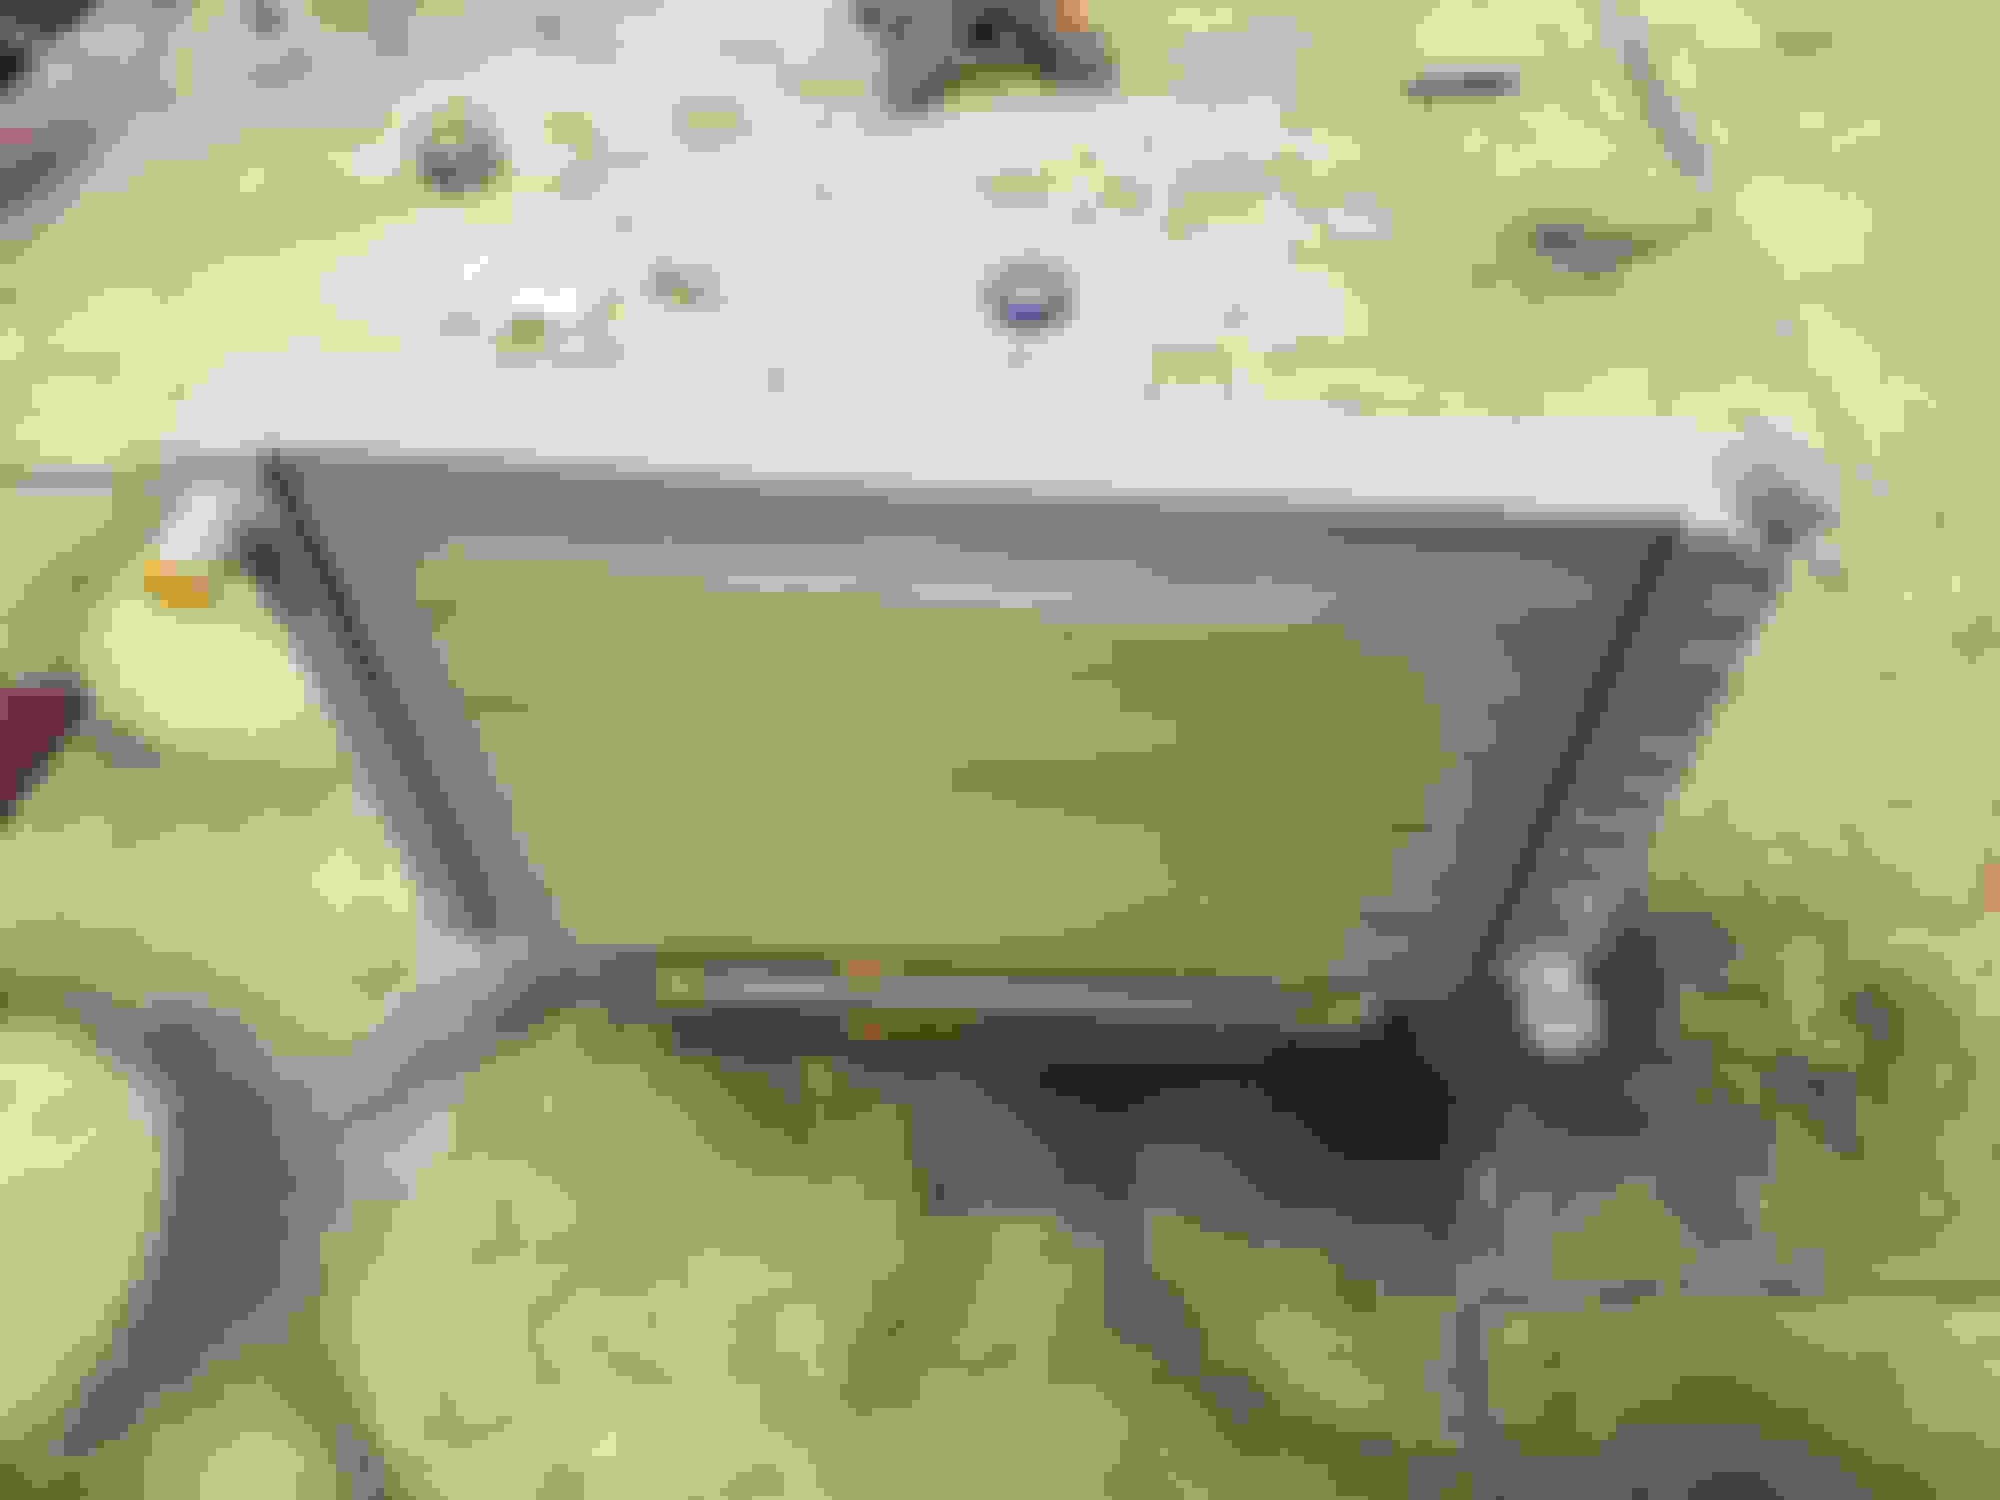
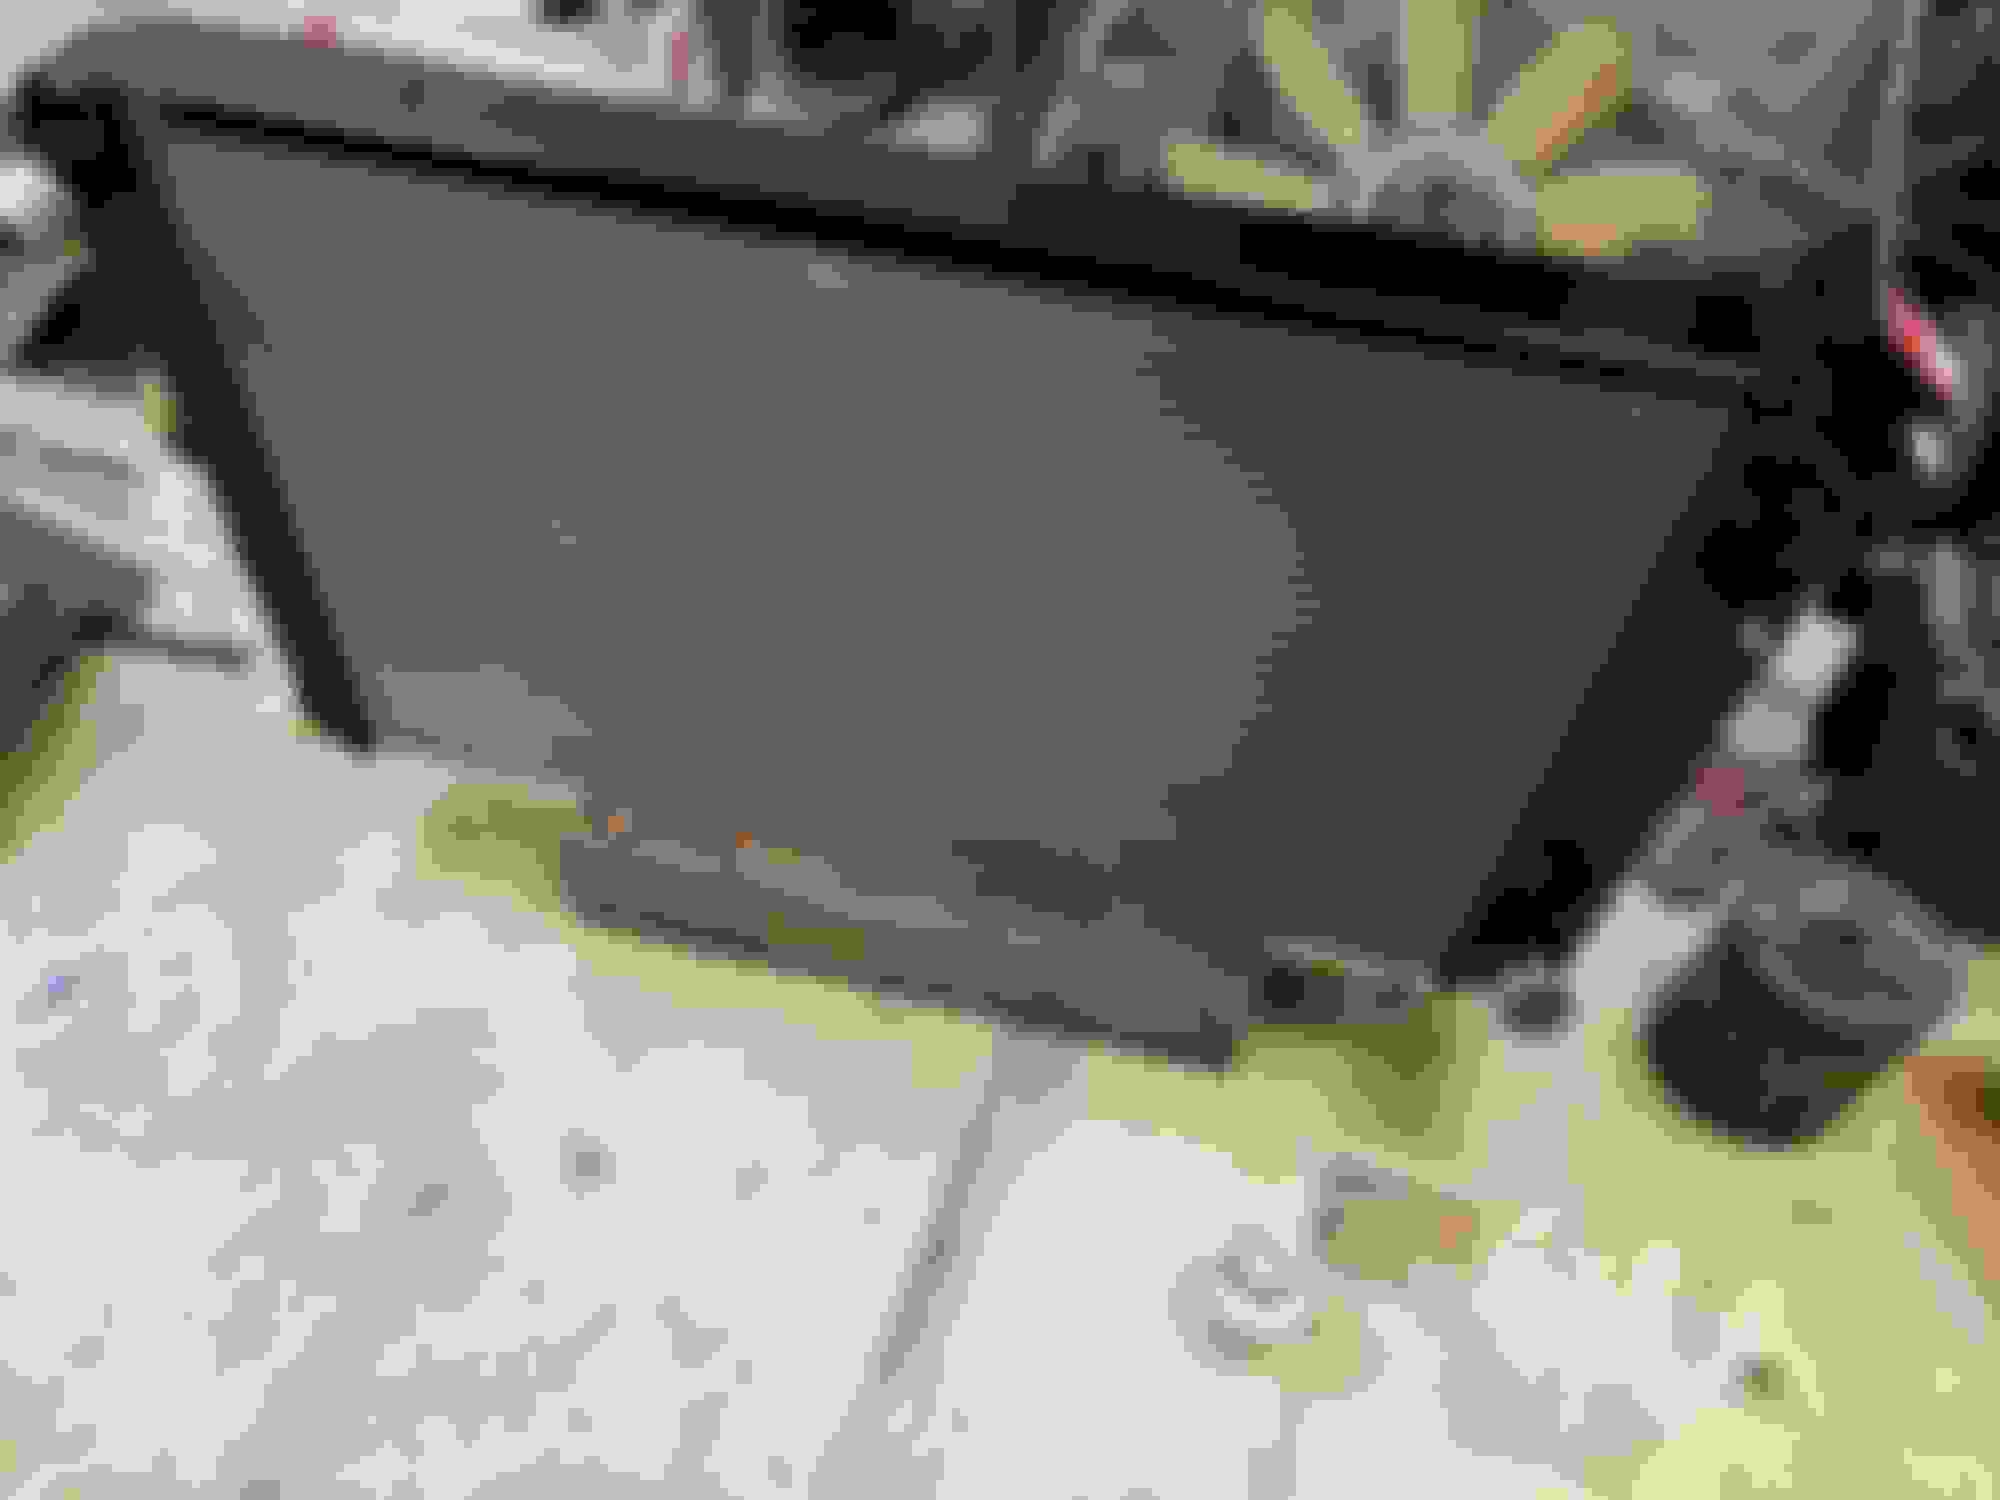
And since I didn't like the look of the aluminum radiator, I painted it as well.
Radiator all painted.
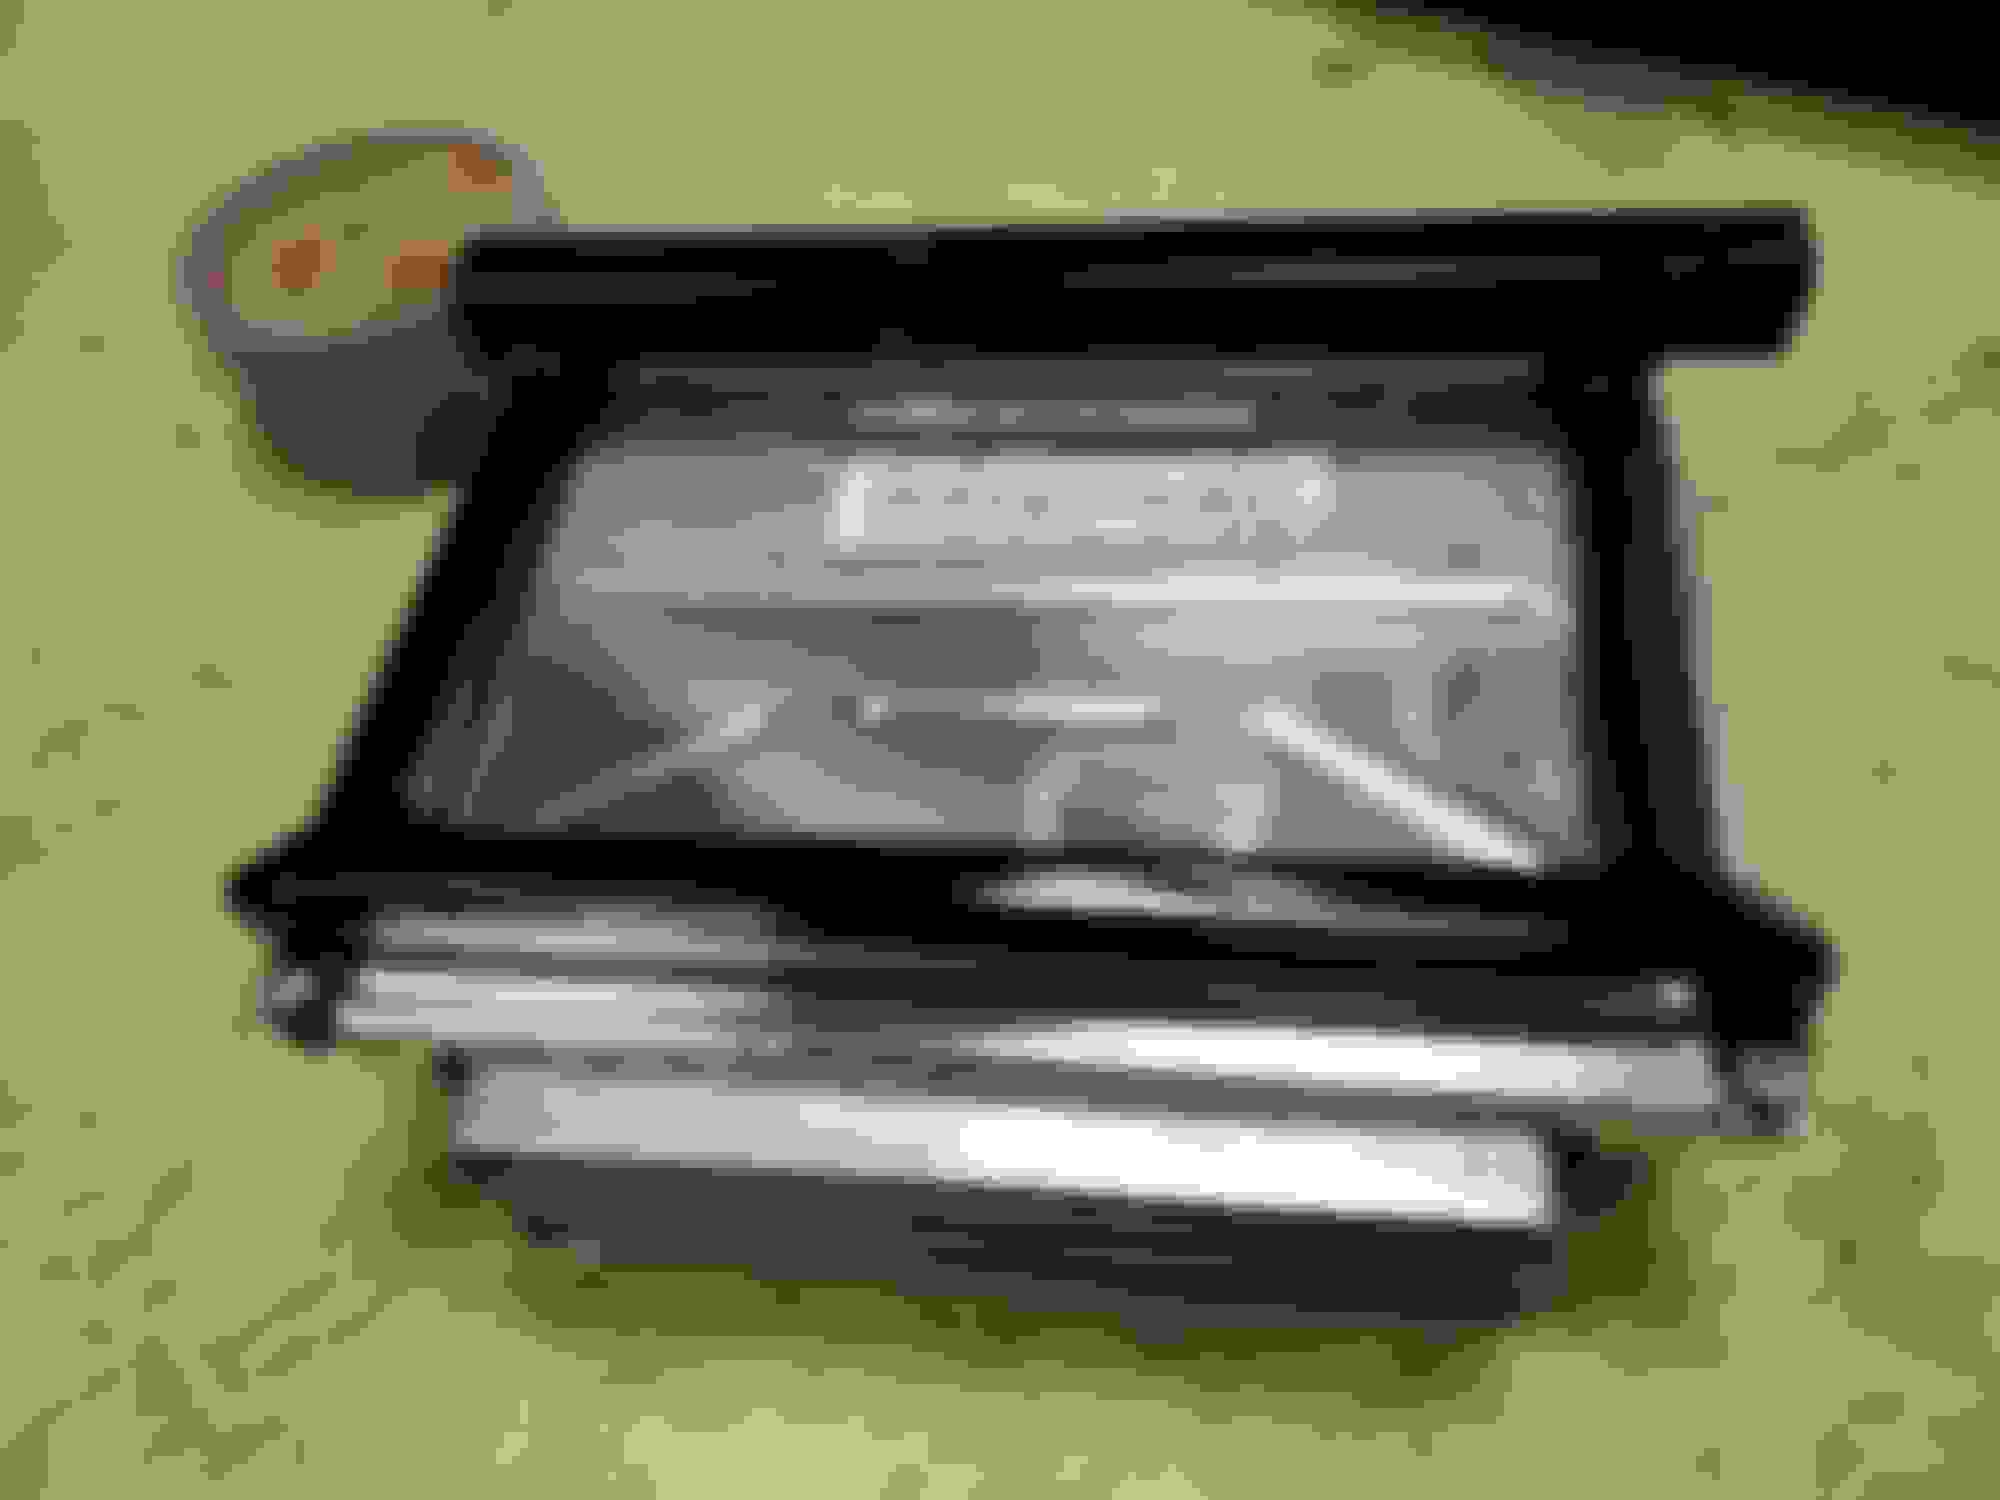
You can see a small portion of the PCM when its mounted in the left fender, so I polished up that part, then bolted the painted bracket to it.
Nice work!
A maiden voyage of 20 feet with purpose is a successful maiden voyage none the less. Some people don't get that far without problems and drama. Haha!
Well, I did, but now you've got me second guessing myself.. Maybe I'll add some gussets and a couple more cross bars. Don't want to have to start one of those "My PCM fell out on the highway and now my car wont start" threads....
Eric I've been lurking on your build and admiring your work. I believe you are approaching Kwhizz speed on this one! Enjoying the stories behind your build. Thanks for taking the time to post the pics and details! Kharp
LS1nova71,
What are you painting these small pcs with? How long does it take you to clean your spray gun? I would assume doing a though job would be time consuming and a major pain in the ***. Do you paint the alum. radiator with anything special paint wise? Sorry for all the questions. Just trying to learn.

 02-12-2019, 01:41 AM