When you click on links to various merchants on this site and make a purchase, this can result in this site earning a commission. Affiliate programs and affiliations include, but are not limited to, the eBay Partner Network.
Moving on to the fuel system, this is the pump, which is a Walbro255. Apparently TI Automotive bought Walbro out years ago, but only recently started using their name rather than Walbro, so this isnt a knock off like I was afraid of when it showed up.
The whole fuel system is basically the exact same as my green truck. It gravity feeds from the tank into a 100 micron prefilter, then to the pump, to a standard EFI fuel filter, then to the rail. From there it's just a return to the tank through the original fuel sender.
Broke out the old Mastercool flaring tool to make the fittings for the fuel filter.
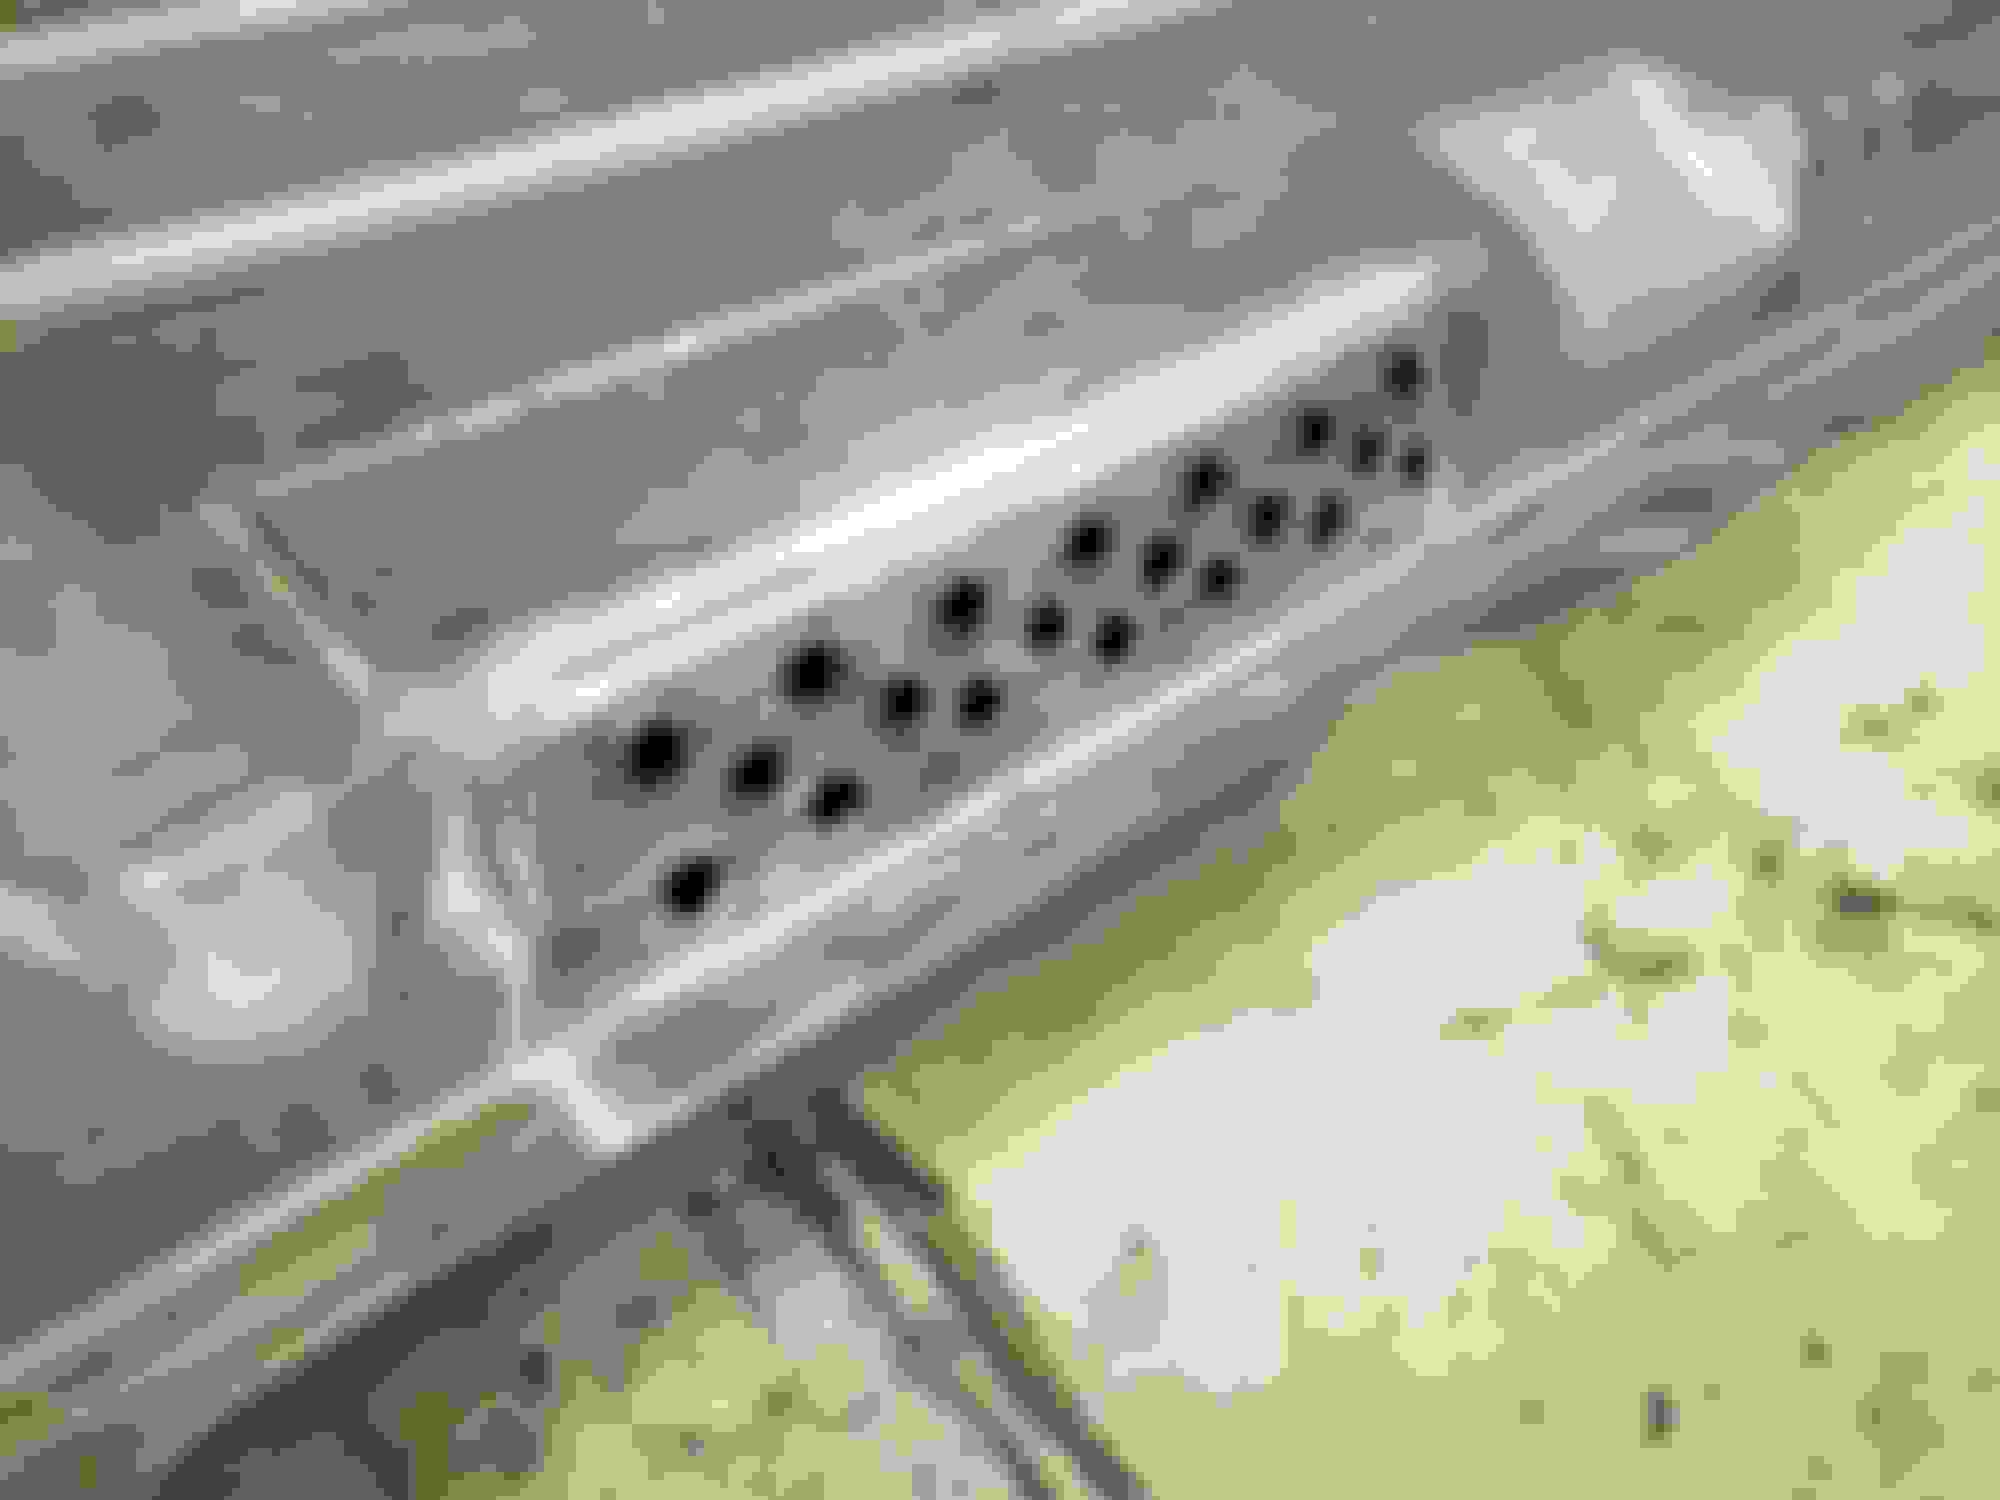
For the tank sump I made a cardboard template, then bent some sheetmetal up on the brake.
Test fitting it against the tank.
Then welded the sides on it.
Would probably be nicer if I had a TIG welder, but I dont, so I make due.
Getting the tank ready for welding.
Guess I didnt take any other pics of the tank.... Will get a finished pic in a bit.
For those of us with a bit longer legs, in cab fuel tanks don't work very well. Before you suggest it again, no I'm not going to saw my legs shorter so we can be the same height either.:Hahaha!
I've heard people say they take the in cab tank out for more leg room, but in reality, the seat hits the cab before the tank, so removing it does nothing for leg room unless you cut the back of the cab out. Sawing your legs off sounds like a better option.
That’s a nice design on that tank. Saw your first post on that tank build. What do you do to the tank when welding on it ? Just to make sure it doesn’t blow.
I've heard people say they take the in cab tank out for more leg room, but in reality, the seat hits the cab before the tank, so removing it does nothing for leg room unless you cut the back of the cab out. Sawing your legs off sounds like a better option.
Crap, I forgot about that.
You're just jealous of my height!
I'll take my plasma cutter to the frame, sawzall cab and stretch the whole thing so an adult will be able to drive it. ...or I could start with a long box, shorten the bed and move the difference to the cab. It would be like a 67 - 72 five window for adults. Hmmm...
Originally Posted by BlueMaxCougar
I did not know that EFI pumps could be ran externally. I thought they had to run in fuel to stay cool, like me.
Oh geez, another comedian. How have you been? long time.
That�s a nice design on that tank. Saw your first post on that tank build. What do you do to the tank when welding on it ? Just to make sure it doesn�t blow.
Wait, you're telling me they can blow up????
Haha! Seriously though, I would never suggest anyone weld on a used tank, and if you do, it's at your own risk! But I generally wash them out with water and Dawn dish soap. It makes a big foamy mess, but by the time the water comes out without any soap bubbles it's pretty clean and doesn't have any fuel or fumes left in it. Getting the water out is easy with the holes drilled in it.
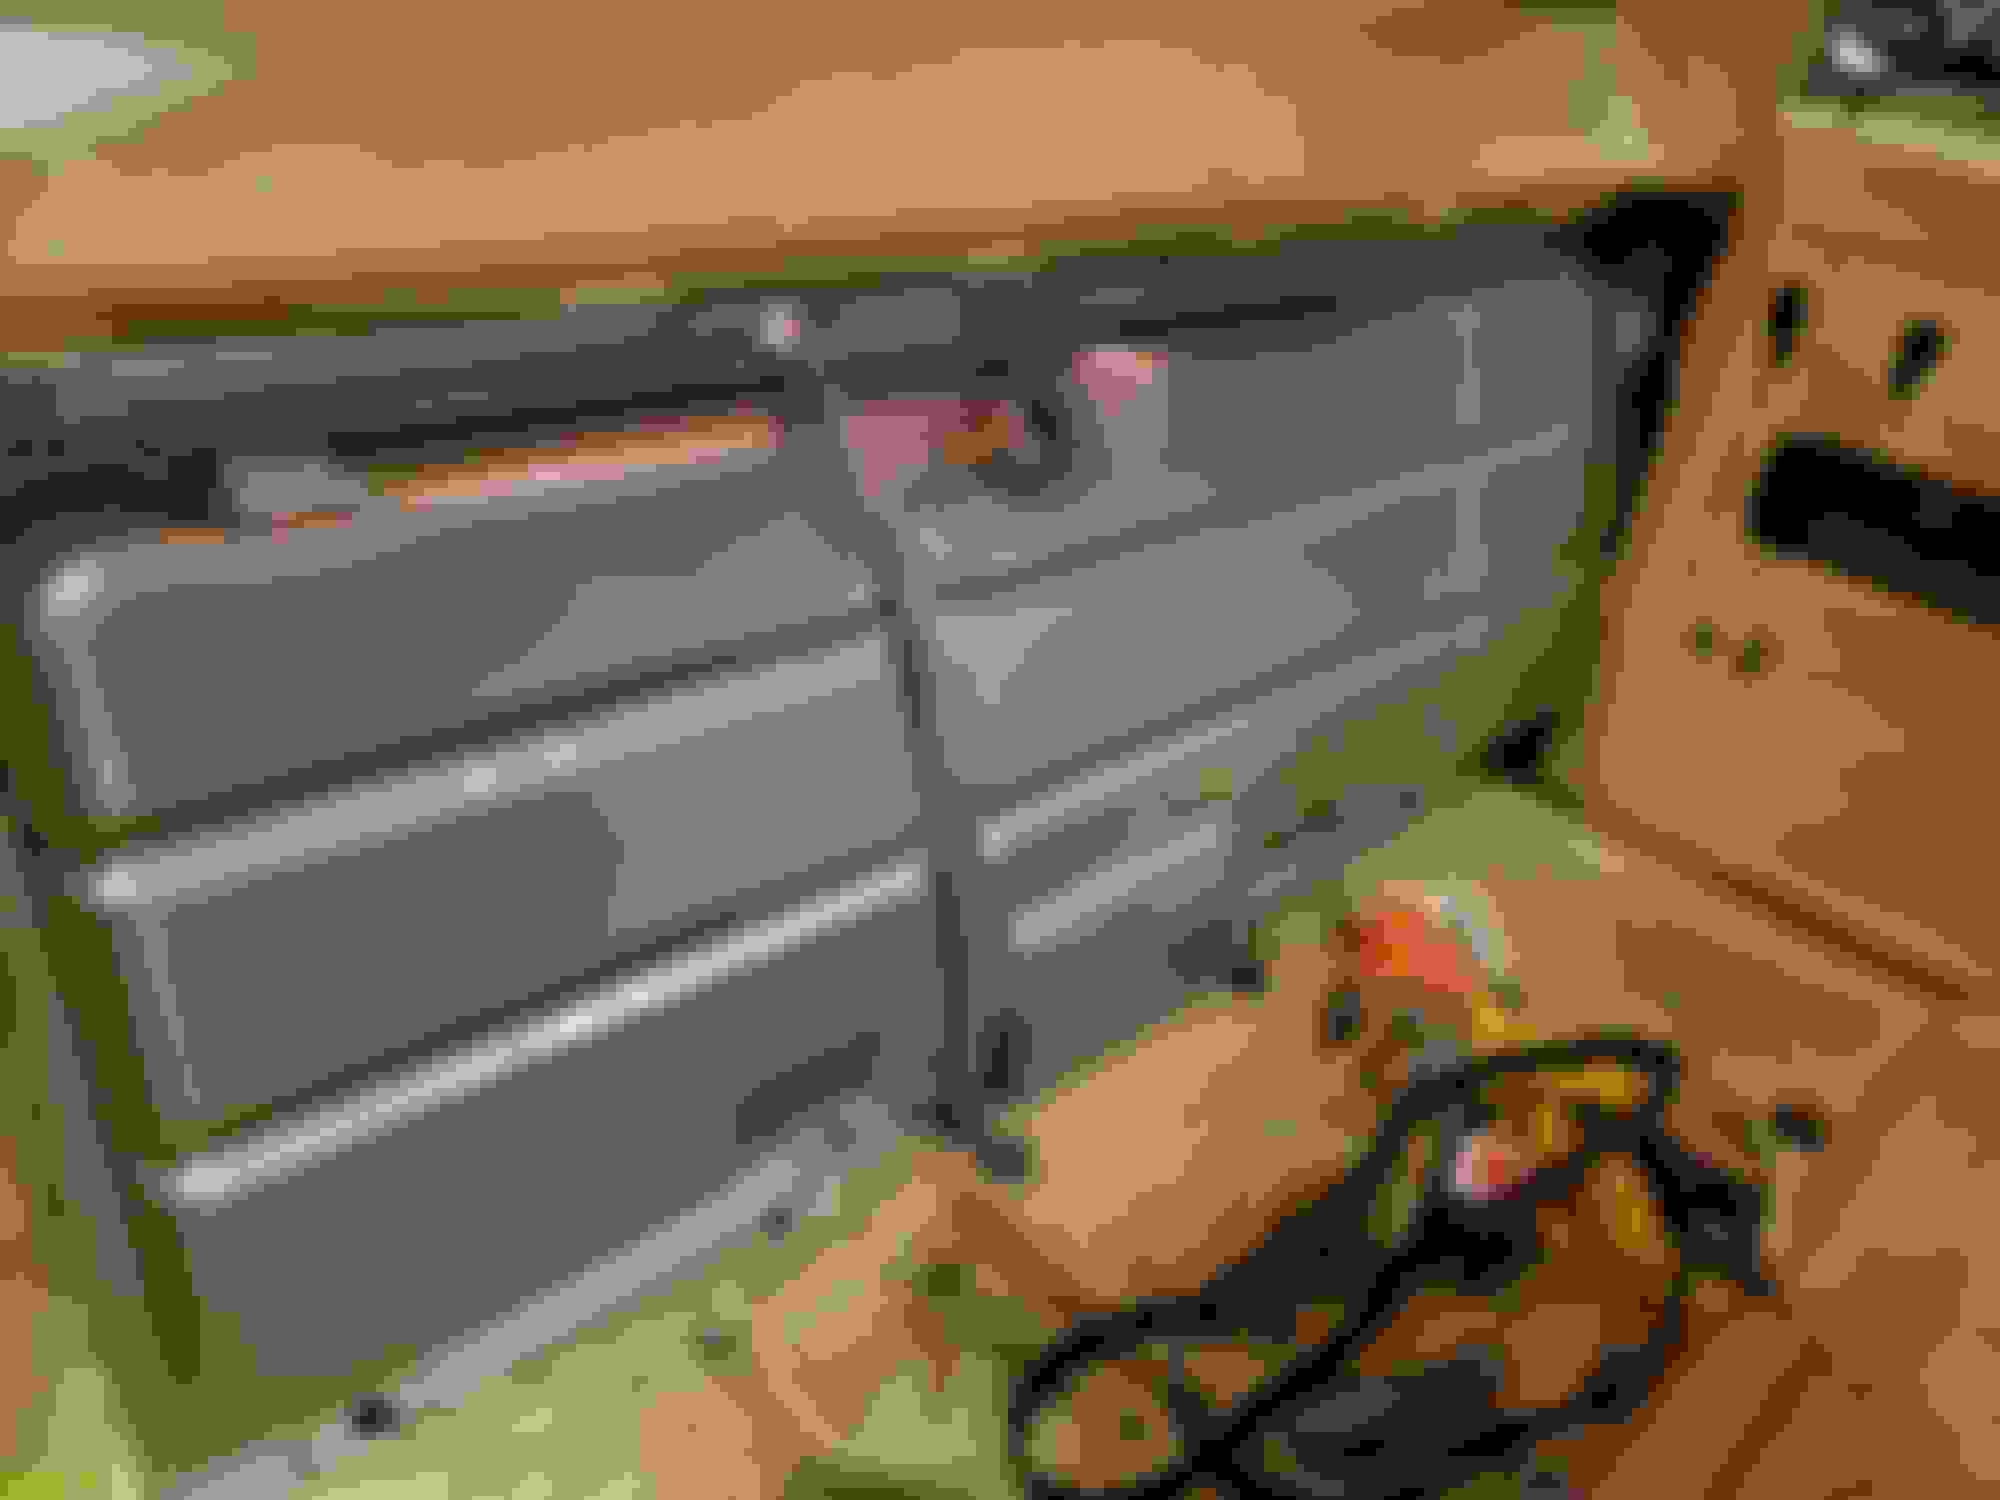
Guess I didnt take any pics of the tank welding, but it's just the sump welded on then checked with compressed air and soapy water on the welds. When I found a bubble I would hit it with the welder again. Then when I was all done welding I coated the welds in JB Weld for good measure. Did my green truck the same way and it's good 6 years later. I cleaned and painted the tank afterwards just to make it look a little nicer.
In this pic you can see the original sending unit I used as the return. Its actually a 67-71 sender since I wanted the lines to bolt together rather than have a piece of rubber hose that the 72's used.
Crap, I forgot about that.
You're just jealous of my height!
I'll take my plasma cutter to the frame, sawzall cab and stretch the whole thing so an adult will be able to drive it. ...or I could start with a long box, shorten the bed and move the difference to the cab. It would be like a 67 - 72 five window for adults. Hmmm...
Oh geez, another comedian. How have you been? long time.
I had some health problems but now I'm back and better. Hoping to finish some projects and build a big garage.
Originally Posted by ls1nova71
Guess I didnt take any pics of the tank welding, but it's just the sump welded on then checked with compressed air and soapy water on the welds. When I found a bubble I would hit it with the welder again. Then when I was all done welding I coated the welds in JB Weld for good measure. Did my green truck the same way and it's good 6 years later. I cleaned and painted the tank afterwards just to make it look a little nicer.
In this pic you can see the original sending unit I used as the return. Its actually a 67-71 sender since I wanted the lines to bolt together rather than have a piece of rubber hose that the 72's used.
That's a right tidy set up. I guess I've never worked on a '72. I thought all the C10's of that era had bolt in fuel lines.
It isnt that I get tired of them, it's just that I cant sit still and do nothing, so I sell them to make room for the next one and also to fund it. Now if I ever win the Powerball, watch out! Haha!
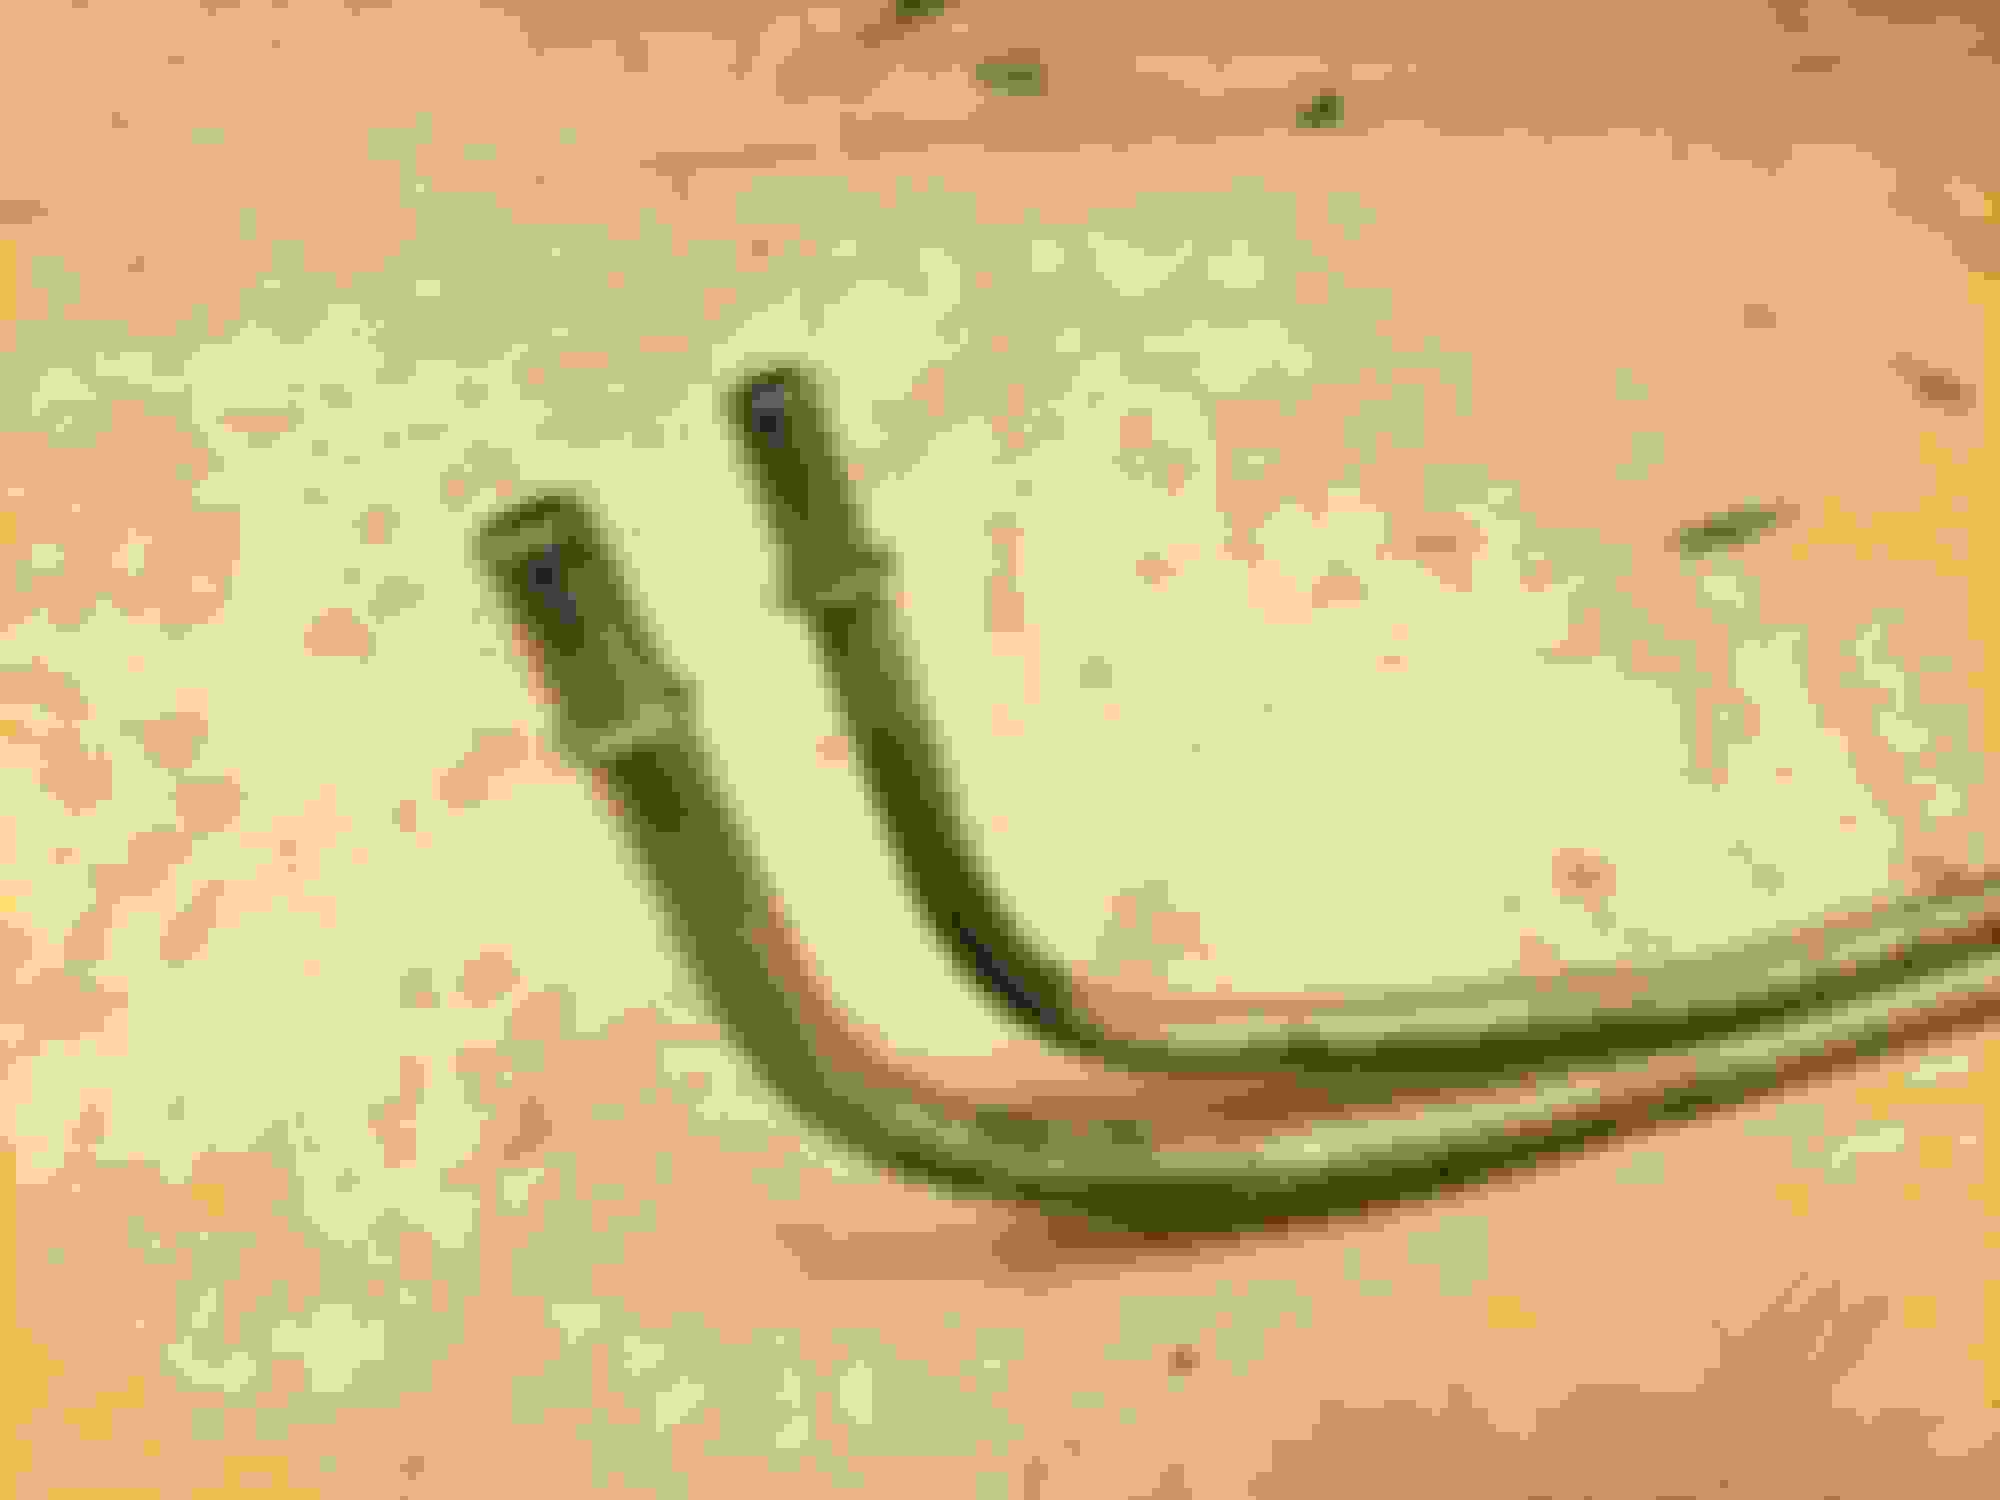
The last part of the fuel system is the original lines that run down the back of the transmission.
Cut the ends off of them and reflared the ends for the quick connects to hook to.
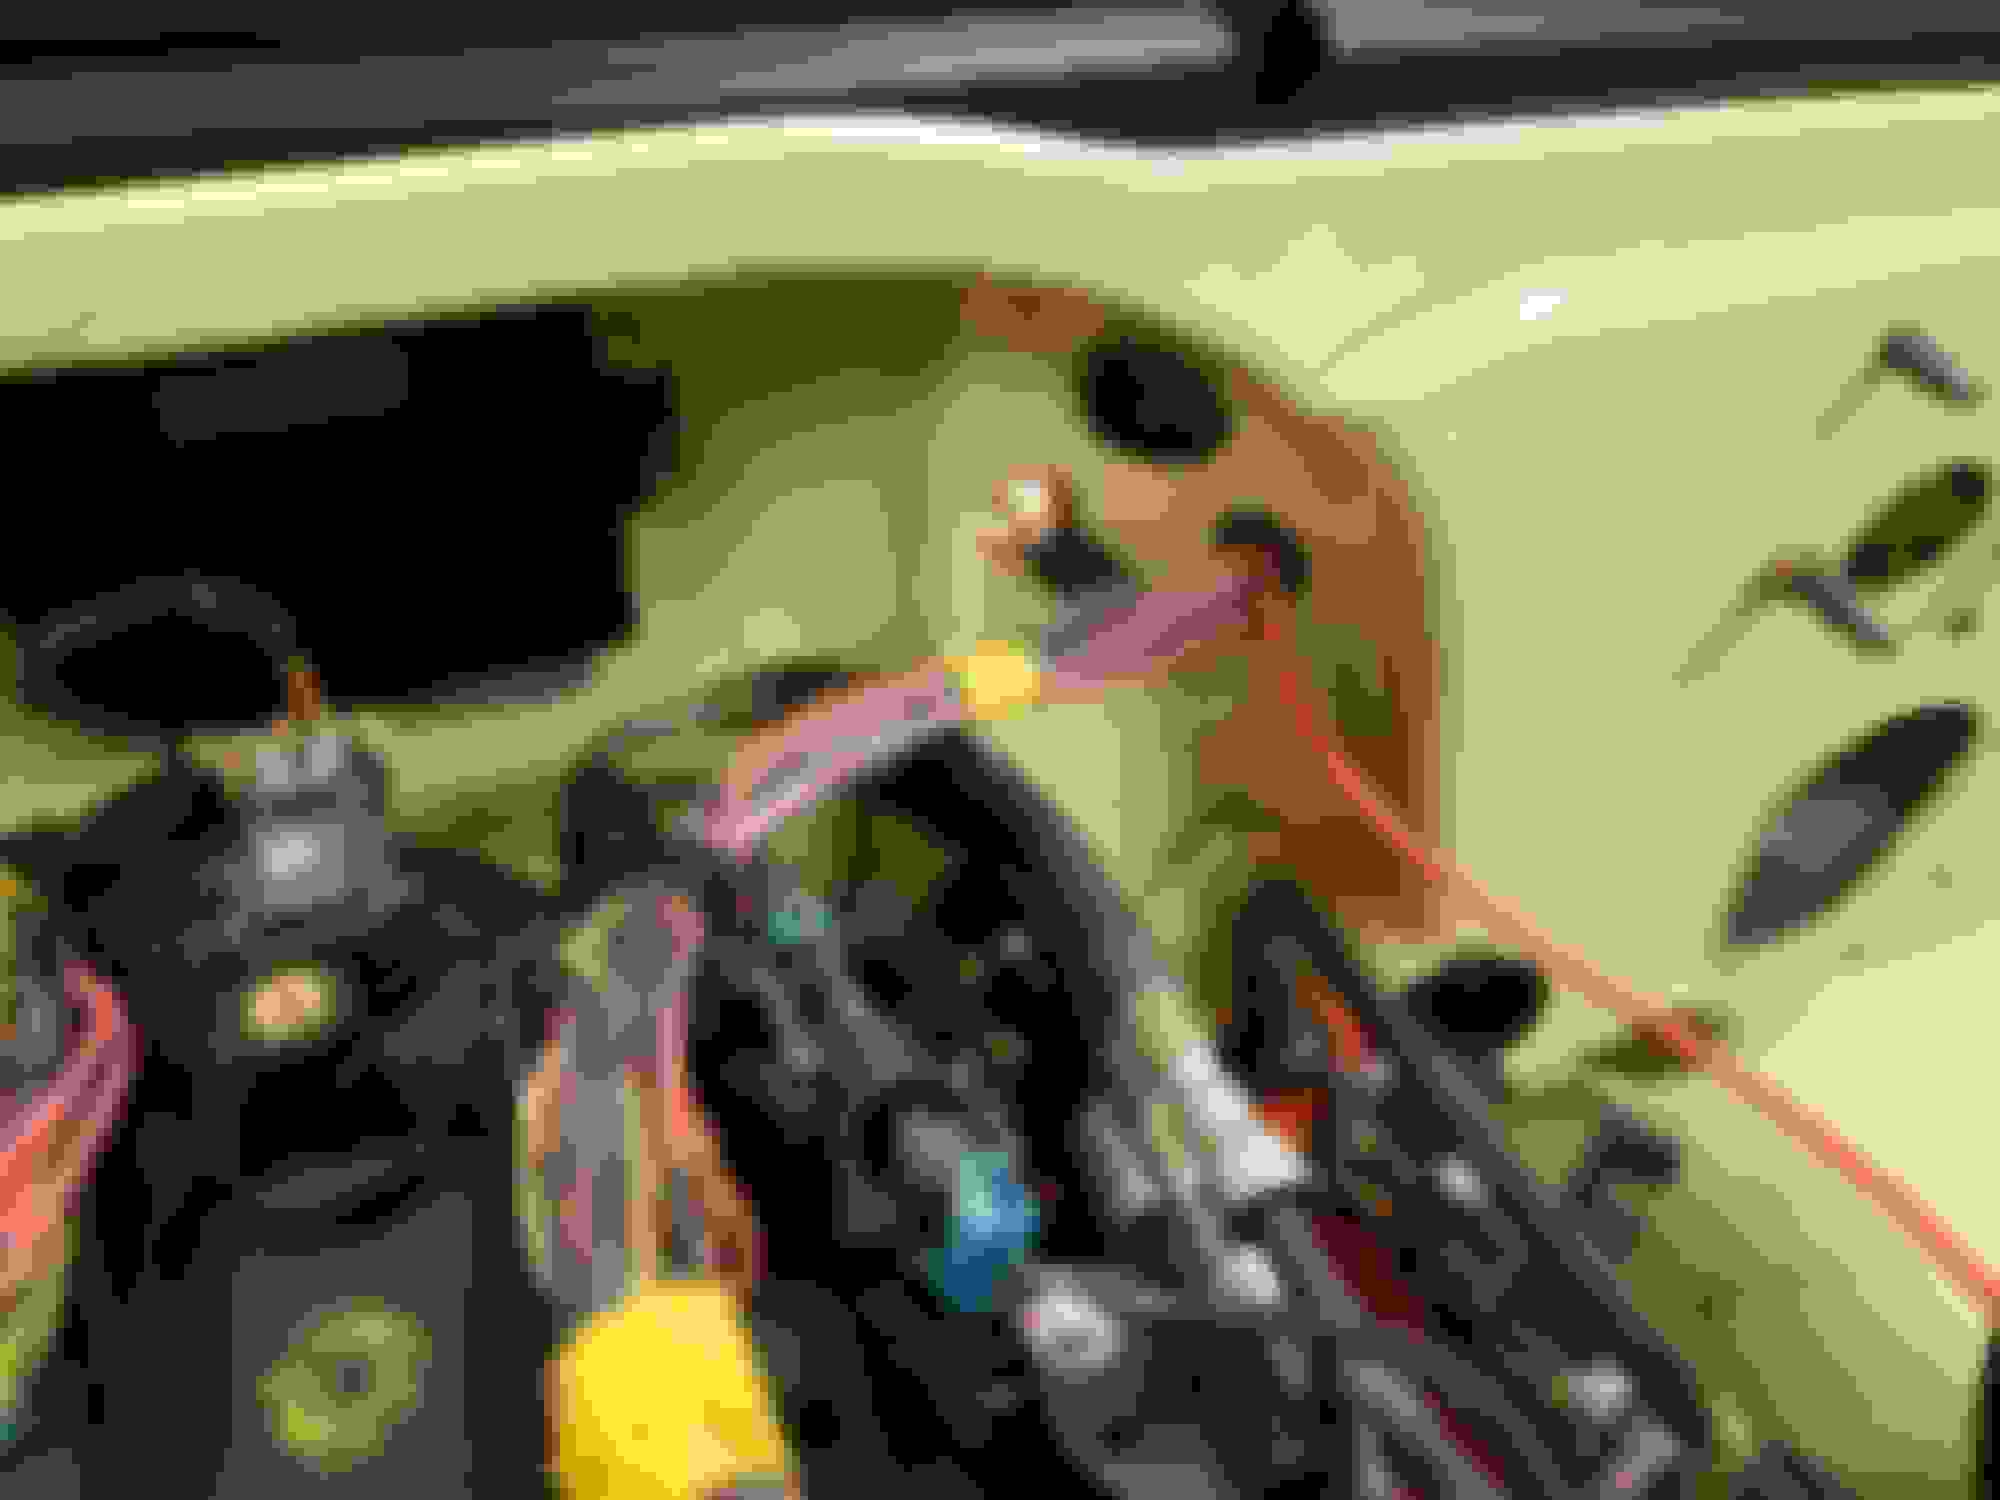
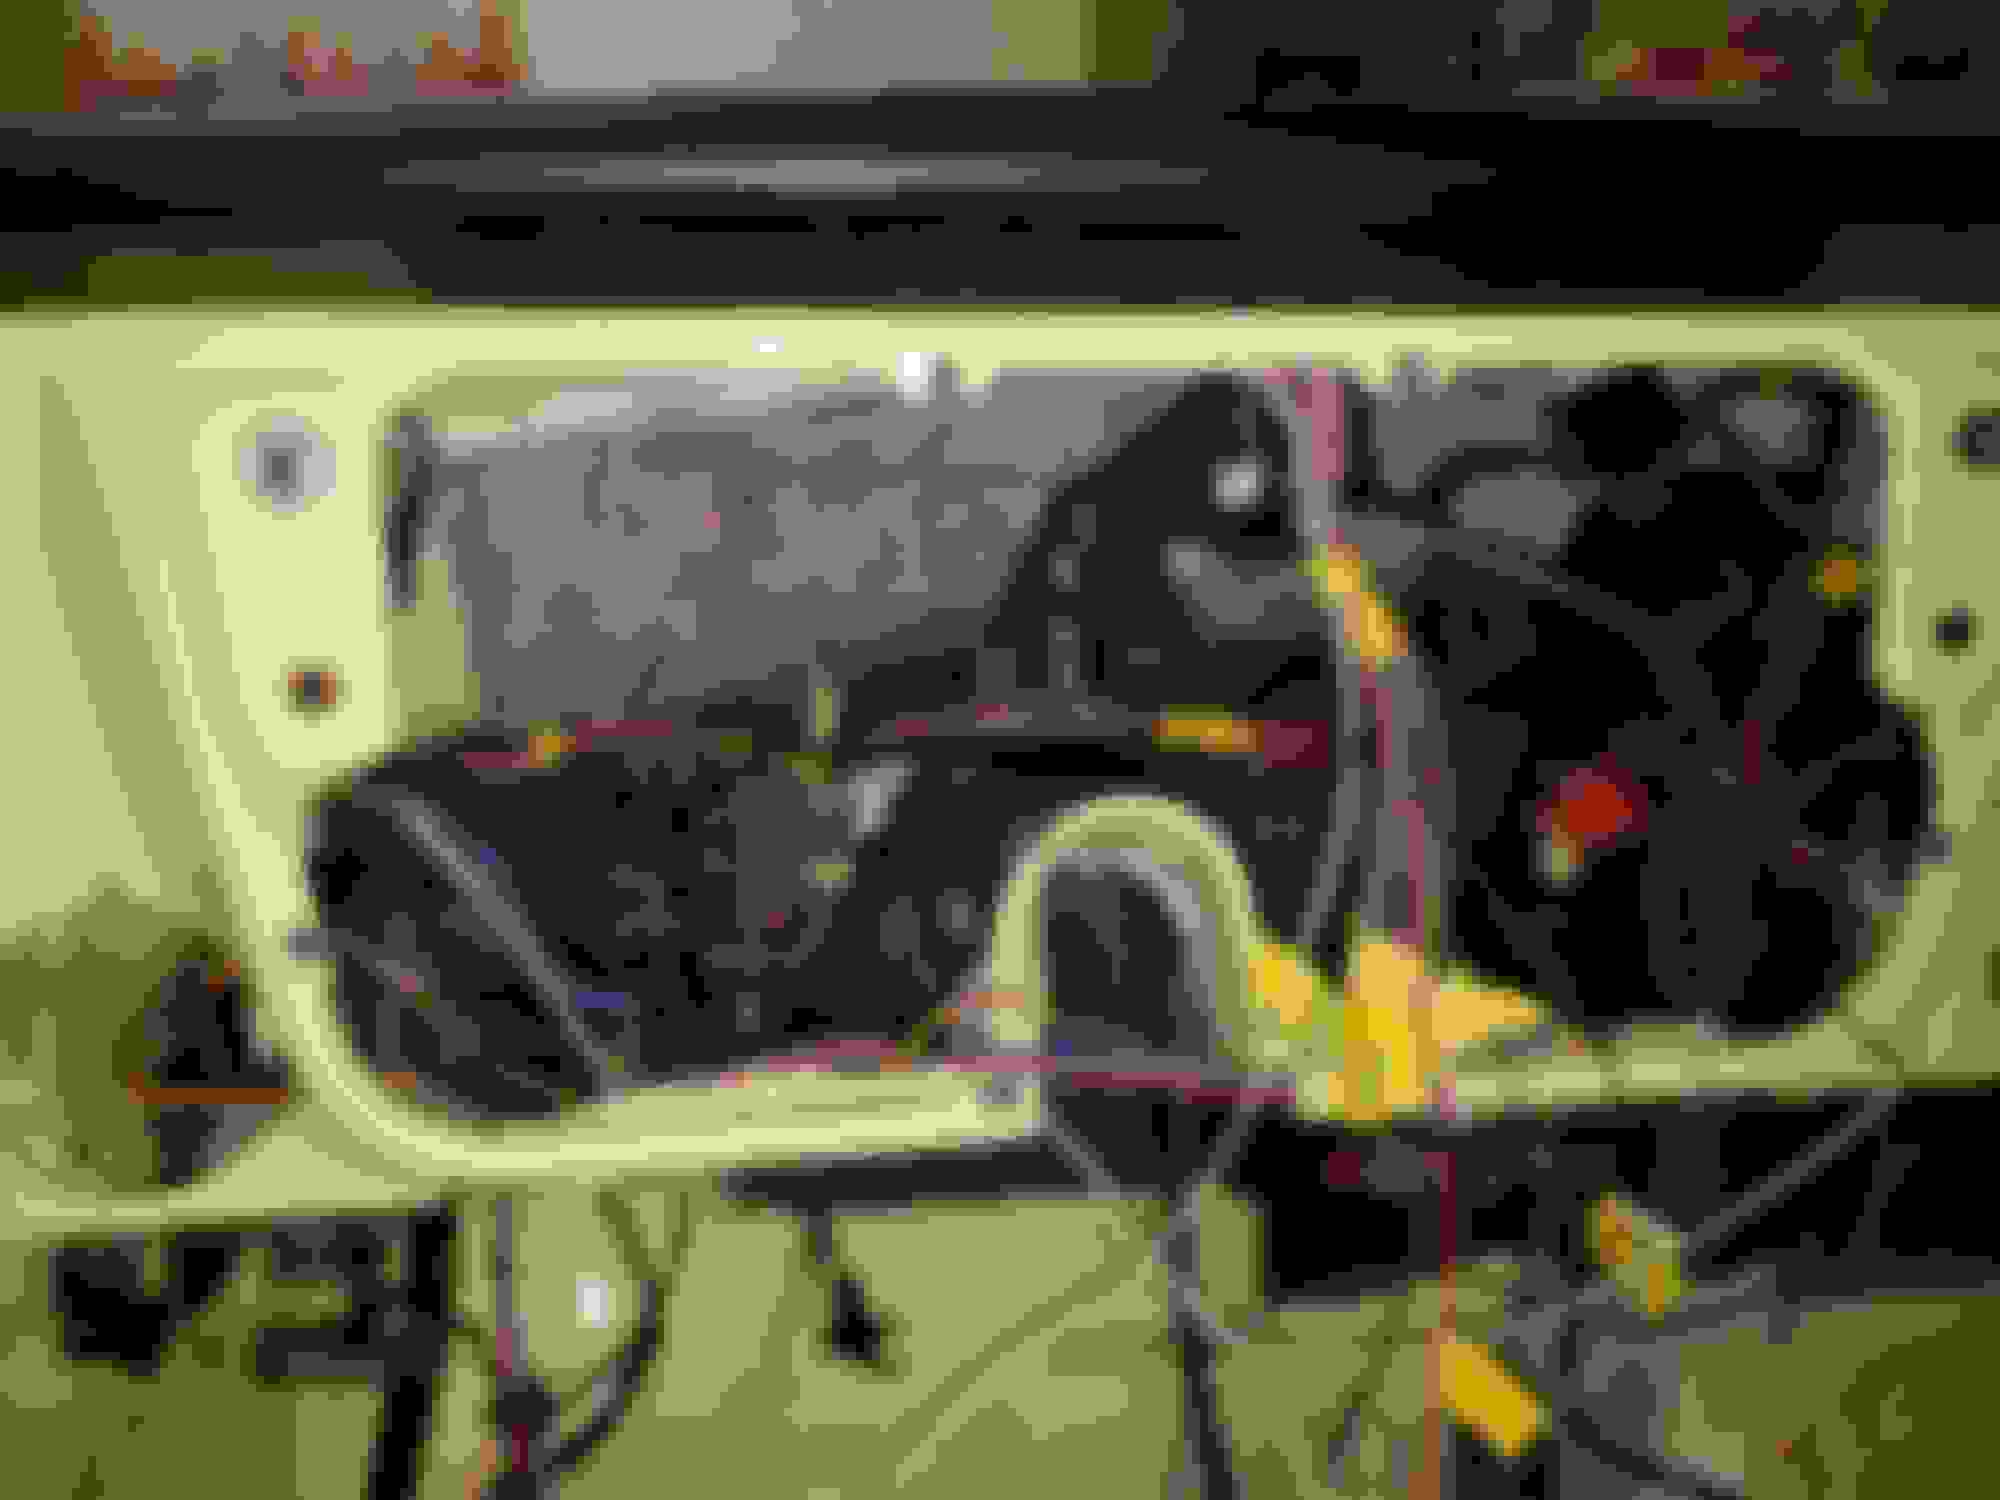
Then it was on to the harness. I went through it a while back before I started this project when I didnt have anything to do, so all I had to do was hook up the fuse box and cover it.
Running the wires inside the cab.
Wires under the dash prior to clean up...
Wired in the two fuse blocks.
Behind the fuse blocks is the main ignition relay that powers the engine harness.
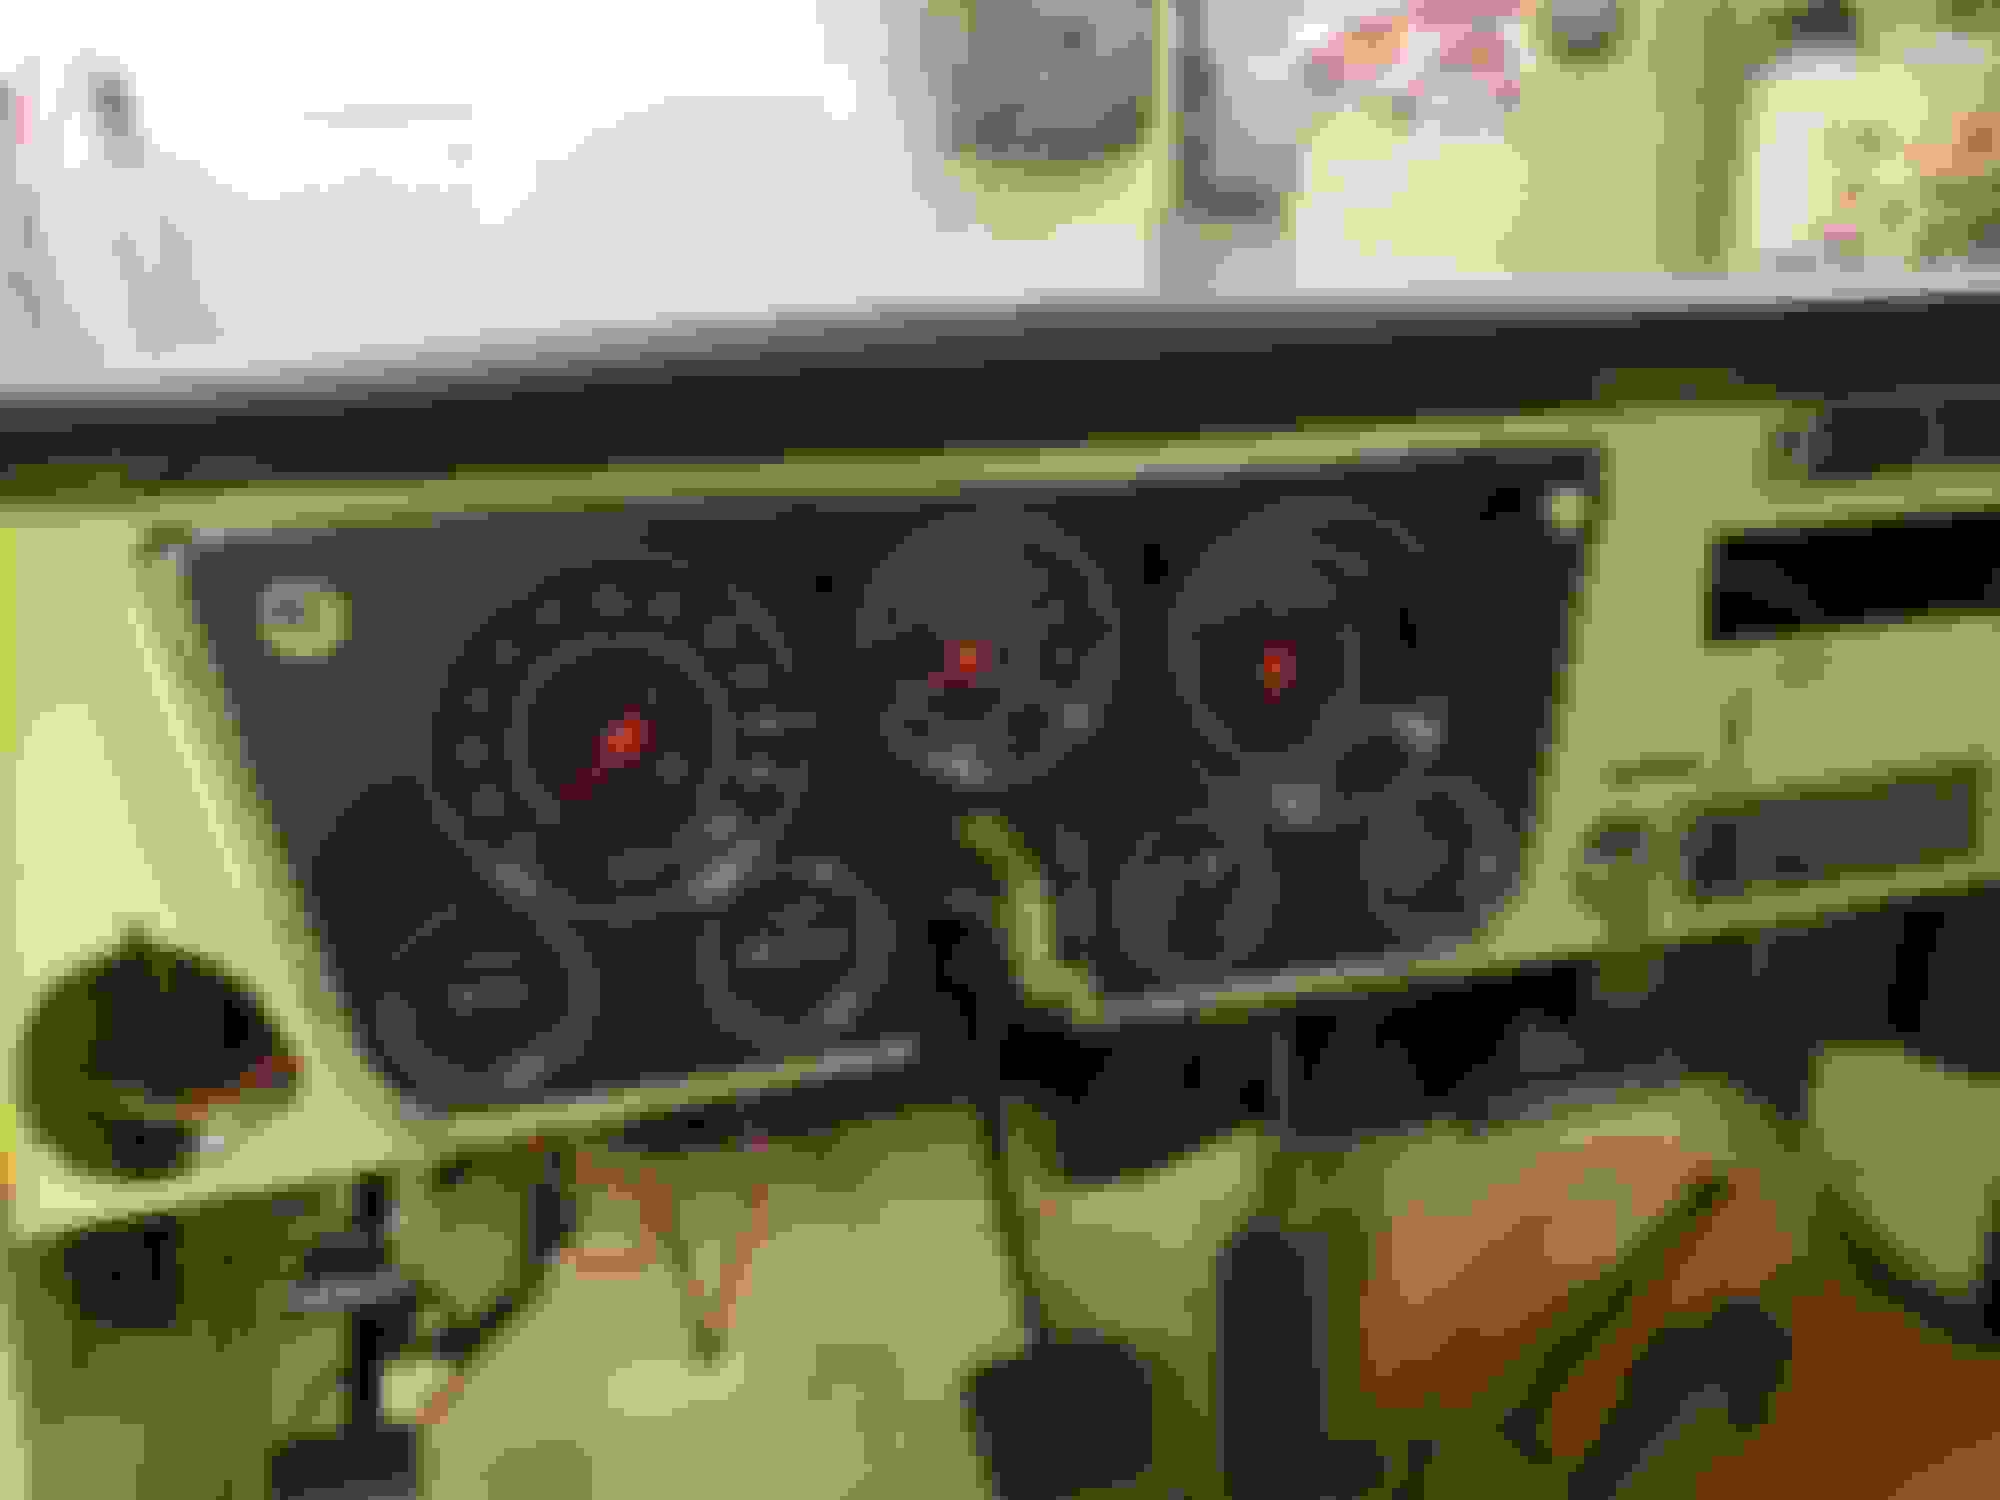
Got the wires for the instrument cluster all marked and ready for the plug to be added so it can easily be removed.
I had the speedomete done for a while waiting for the next truck. Just had to wire it. It has '96 S10 speedometer guts in it so its electric.
Hooked it up to make sure everything works. Will probably have it in and out a couple more times before the truck is done....
I really enjoy your builds. Make me rethink some of the ways I do things.
What exhaust manifolds do you use on these trucks?
For you engine mounts, I see you used the stock mounts on the block and then modified the frame side from a donor truck. Do you have any details on how/what you do for those modifications? Do you use the stock LS truck oil pan? Where does it end up in relation to the bottom of the front crossmember?
I was not a fan of the Light Yellow, but this one might just change my mind.

 02-08-2019, 05:57 AM