When you click on links to various merchants on this site and make a purchase, this can result in this site earning a commission. Affiliate programs and affiliations include, but are not limited to, the eBay Partner Network.
Yea, not looking drastically different is the point. The downside to that is the better it's done, the less people notice and realize just how much work was involved. The best compliment is actually someone not thinking much was done, but then it's easy to be disappointed when people just give a cursory look and move on thinking nothing of it. My other one has subtle mods that some people still don't see after yrs of seeing it unless I point them out.
Anyway, at this point of the build the British V8 conversion show was coming up. It's a show that is in a different state every year and was to be about 100 mi away from me this time... so I had to attend. Since there was no way I was even going to move the car, let alone take it there, I did the next best thing. I cleaned up, took a "glamour shot" of it and a friend printed up a couple of t-shirts for my buddy and I to wear at the show.
Subtle mods are a double-edged sword! It's cool when they don't notice the extent, yet kinda pisses you off when they think little is done! LOL Cool shirt, BTW!
I totally understand about people not noticing understated mods. I do custom car audio for a living, and my favorite compliment is when someone says "I didn't even realize you did anything."
I totally understand about people not noticing understated mods. I do custom car audio for a living, and my favorite compliment is when someone says "I didn't even realize you did anything."
Jay
There ya go. I like when they say that, then get shown all the underlying work. Then, "Oh WOW!"
Of course, sometimes it goes the other way with comments like "Why did it take so long?" or "Why was it so much."
A while back I did an audio system in a 63 Olds 98. I had made 23 pieces TO MAKE other pieces used in the install.
The 23 pieces were templates that I spent hours making. I posted a pic on my IG of "why it took so long/cost so much." lol
Since the wiper motor bolts directly to the back of this part, I have to move the captive nuts over the same amount I'm moving this section out from the center of the firewall. I cut little rectangles out, flipped them around and welded them back in to do this.
I cut it apart and added 3/4" to the middle and a 1/2" to the inside edge, as well as a 1/2" to the front edge as it's going back in 1/2" further back in the car.
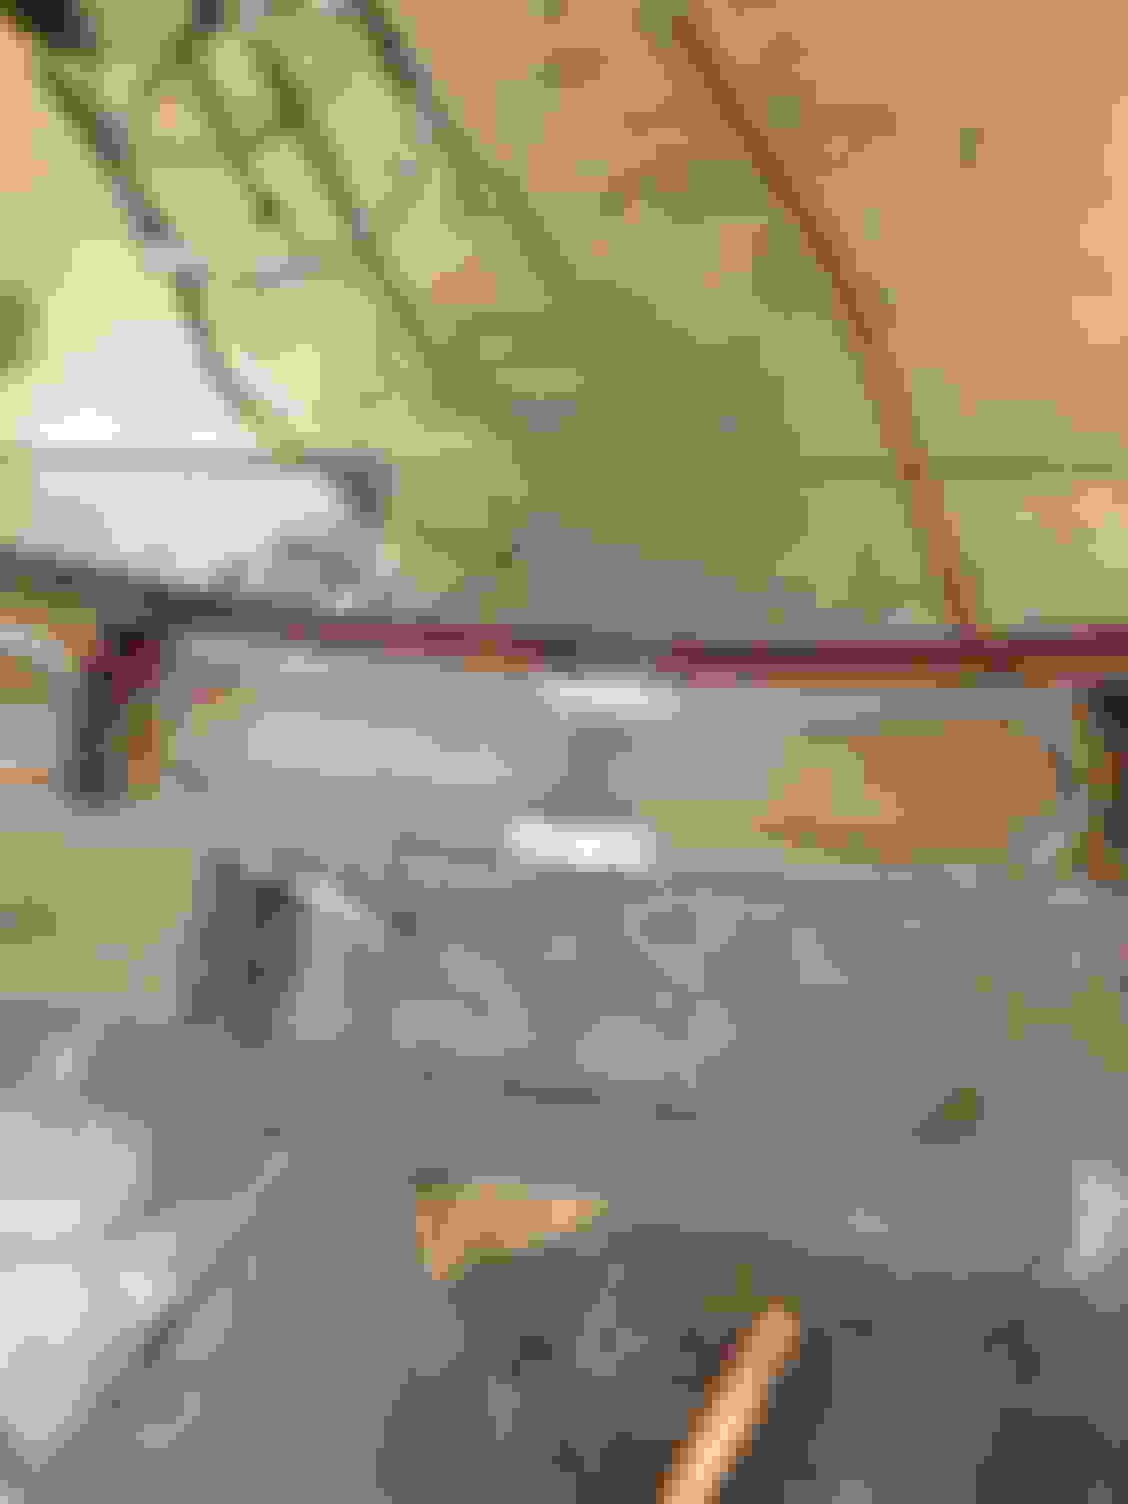
Before continuing on the firewall I put the doors back on and spent a fair bit of time with a tape measure and level getting them both to fit right. I removed the center of the firewall, did some welding to it, and cut the remains of the left side out. I then put the center back in and got it tacked in place (finally something going in, rather than getting cut out).
Starting in the left side upper section of the firewall. This will be a bit different than the right side as I'm moving the pedals back 1/2" further that the rest to stay in line with the lower firewall. That means offsetting that area from the rest because if I move the outer edge back that much it interferes with the fender mounting bolts.
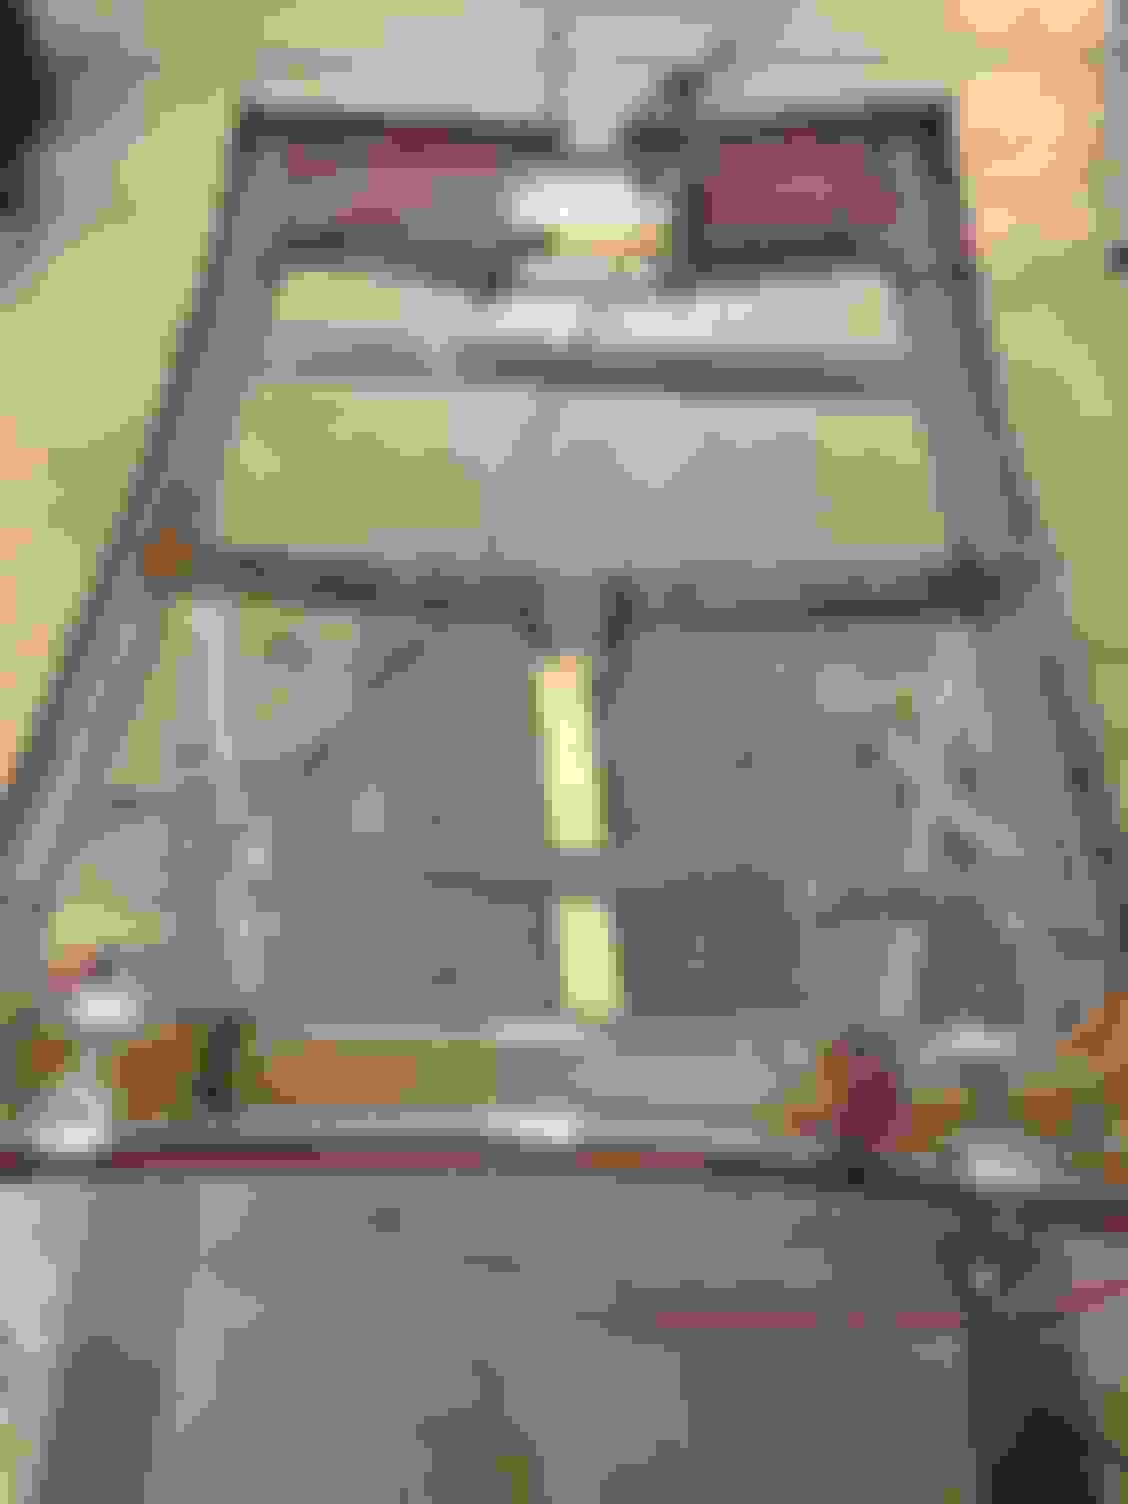
The inside edge can't go back with the rest as that is where the hood hinge mounts. To make that work I cut it apart, moved the hinge mount forward and tapered it back.
At this point I figured I would widen a hood frame to match the car before I redo the front rails and inner fenders, that way I can use the widened hood frame to check the fit of the front sheet metal as I'm putting it back together. I dug out a slightly bent hood, straightened it, cut the skin off and started cutting. It needs to be 1" wider between the hinges and then 5/8" on each side outside the hinges to match the car..
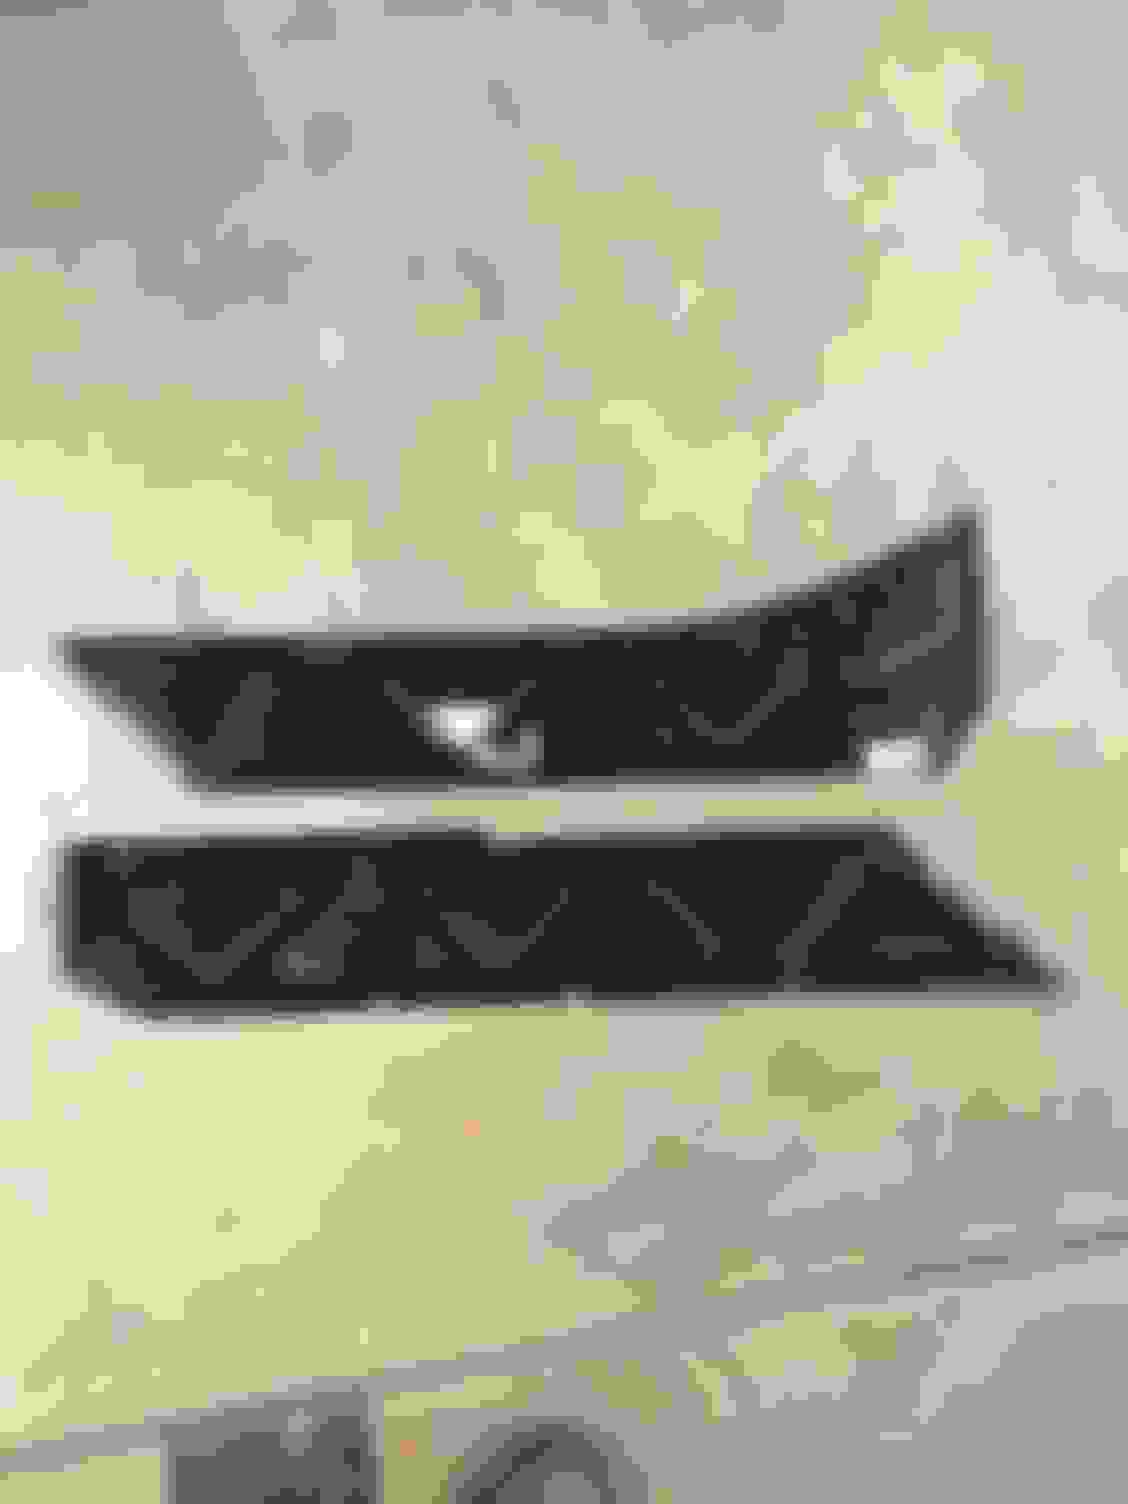
Starting to lengthen parts of the rockers. With the 3 in wheelbase stretch and moving the firewall back 1 in the rockers need to be 2 in longer than stock. I dry assembled them and marked them so none of my cuts would line up on any of the parts. These are the inner panels that go through the middle of the assemblies
Thanks Jimbo, with as long as I've wanted to do this car I am not rushing things and trying not to cut corners on the fab work. I am trying to keep as much of the e-coat intact as I can and will at least spray the insides of every box section with cold galvanizing.
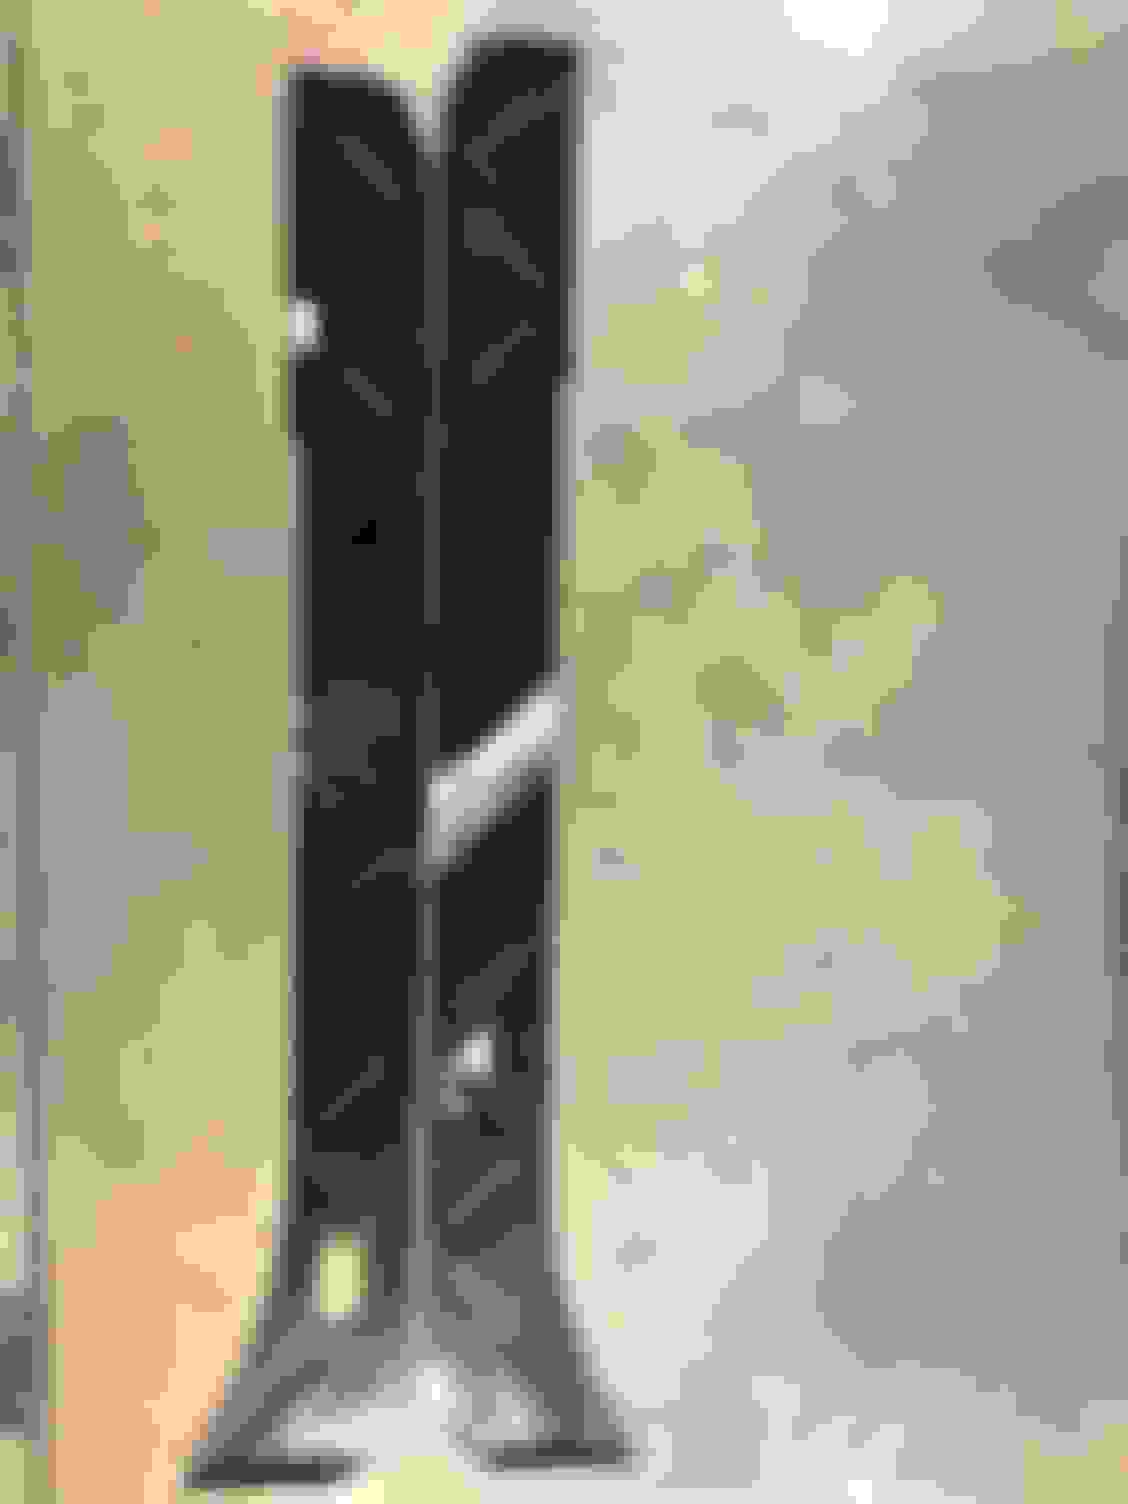
Heres the bottom part of the rocker (typically called the castle rail) I had to add 1 1/2" to the back and 1/2" to the front so that the flat area where the crossmember ties in lines up with the new crossmember position.

 04-26-2019, 09:28 AM