When you click on links to various merchants on this site and make a purchase, this can result in this site earning a commission. Affiliate programs and affiliations include, but are not limited to, the eBay Partner Network.
Hello, I wanted to share a little winter project that has carried over into this year. I’ve always wanted a B7 Audi RS4 with the high revving V8, 6-speed manual and AWD. Could never convince myself to buy one because they are expensive and only 420hp and there isn’t much in ways of upgrading to make more power. Picked up a clean rust free car from a local guy (it was his wife’s car) and it didn’t run. Figured I might be able to swap the engine out and I’d have a clean A4. Things went in a little different direction....
The car:
2008 Audi A4 3.2 V6 loaded with S-line trim. (factory big brakes and some bits to help it handle better).
The goal and considerations for the build:
The problem with most AWD LS Audi swaps is that the LS motor is far longer than anything Audi produces. The closest to it is the 5.2 V10 which they never put in an A4 chassis. The V8 they put in these cars had timing chains on the rear of the motor to make them shorter. So, when you combine that with the 01E transmission that many Audis come with, you get an engine that sits in the front bumper and handles like a pig. The key to pulling off this swap is getting the motor to hug the firewall. Which is where the B8 Audi transmission come into play.
The 0B2 and 0B4 transmission has the front differential in line with the bell housing face. The axle shaft actually goes through the bell housing and Audi has a weird flexplate type flywheel to clear it then a separate flywheel with the ring gear on it. The clutch module flexplate then bolts to the ring gear flywheel just like a torque converter.
Build specs:
LC9 aluminum 5.3
243 heads
BTR stage 4 cam and springs (probably too much cam for 5.3, I know).
Holley carb intake and elbow. 102mm throttle body
Custom one off bell housing adapter to use B8 Audi transmission
Currently using A5 6-manual transmission w/ 4.11 gears but plans for Audi S4/S5 in the works. (Plan C is a ZF 8HP90 / 8HP95 if manual transmission doesn’t hold torque)
-3.0 TDI factory twin disc clutch
-Custom single mass flywheel I designed and it was manufactured by my tool & die maker father. Made to OEM dimensions. (There isn’t an aftermarket single mass flywheel available for this clutch).
-Audi B8 S4 starter and ring gear (**being redesigned 1/28/23**)
-Custom brackets to use Audi PS, AC and alternator
-LS4 crank pulley
-Custom engine mounts (Bolts to Factory Audi engine mounts)
-Custom transmission mounts, axles and driveshaft.
-Clearanced factory Subframe
-Pierburg CWA400 electric water pump
-LS4 water pump manifold with fittings welded to it
-Moroso front sump oil pan
-Holley Terminator X
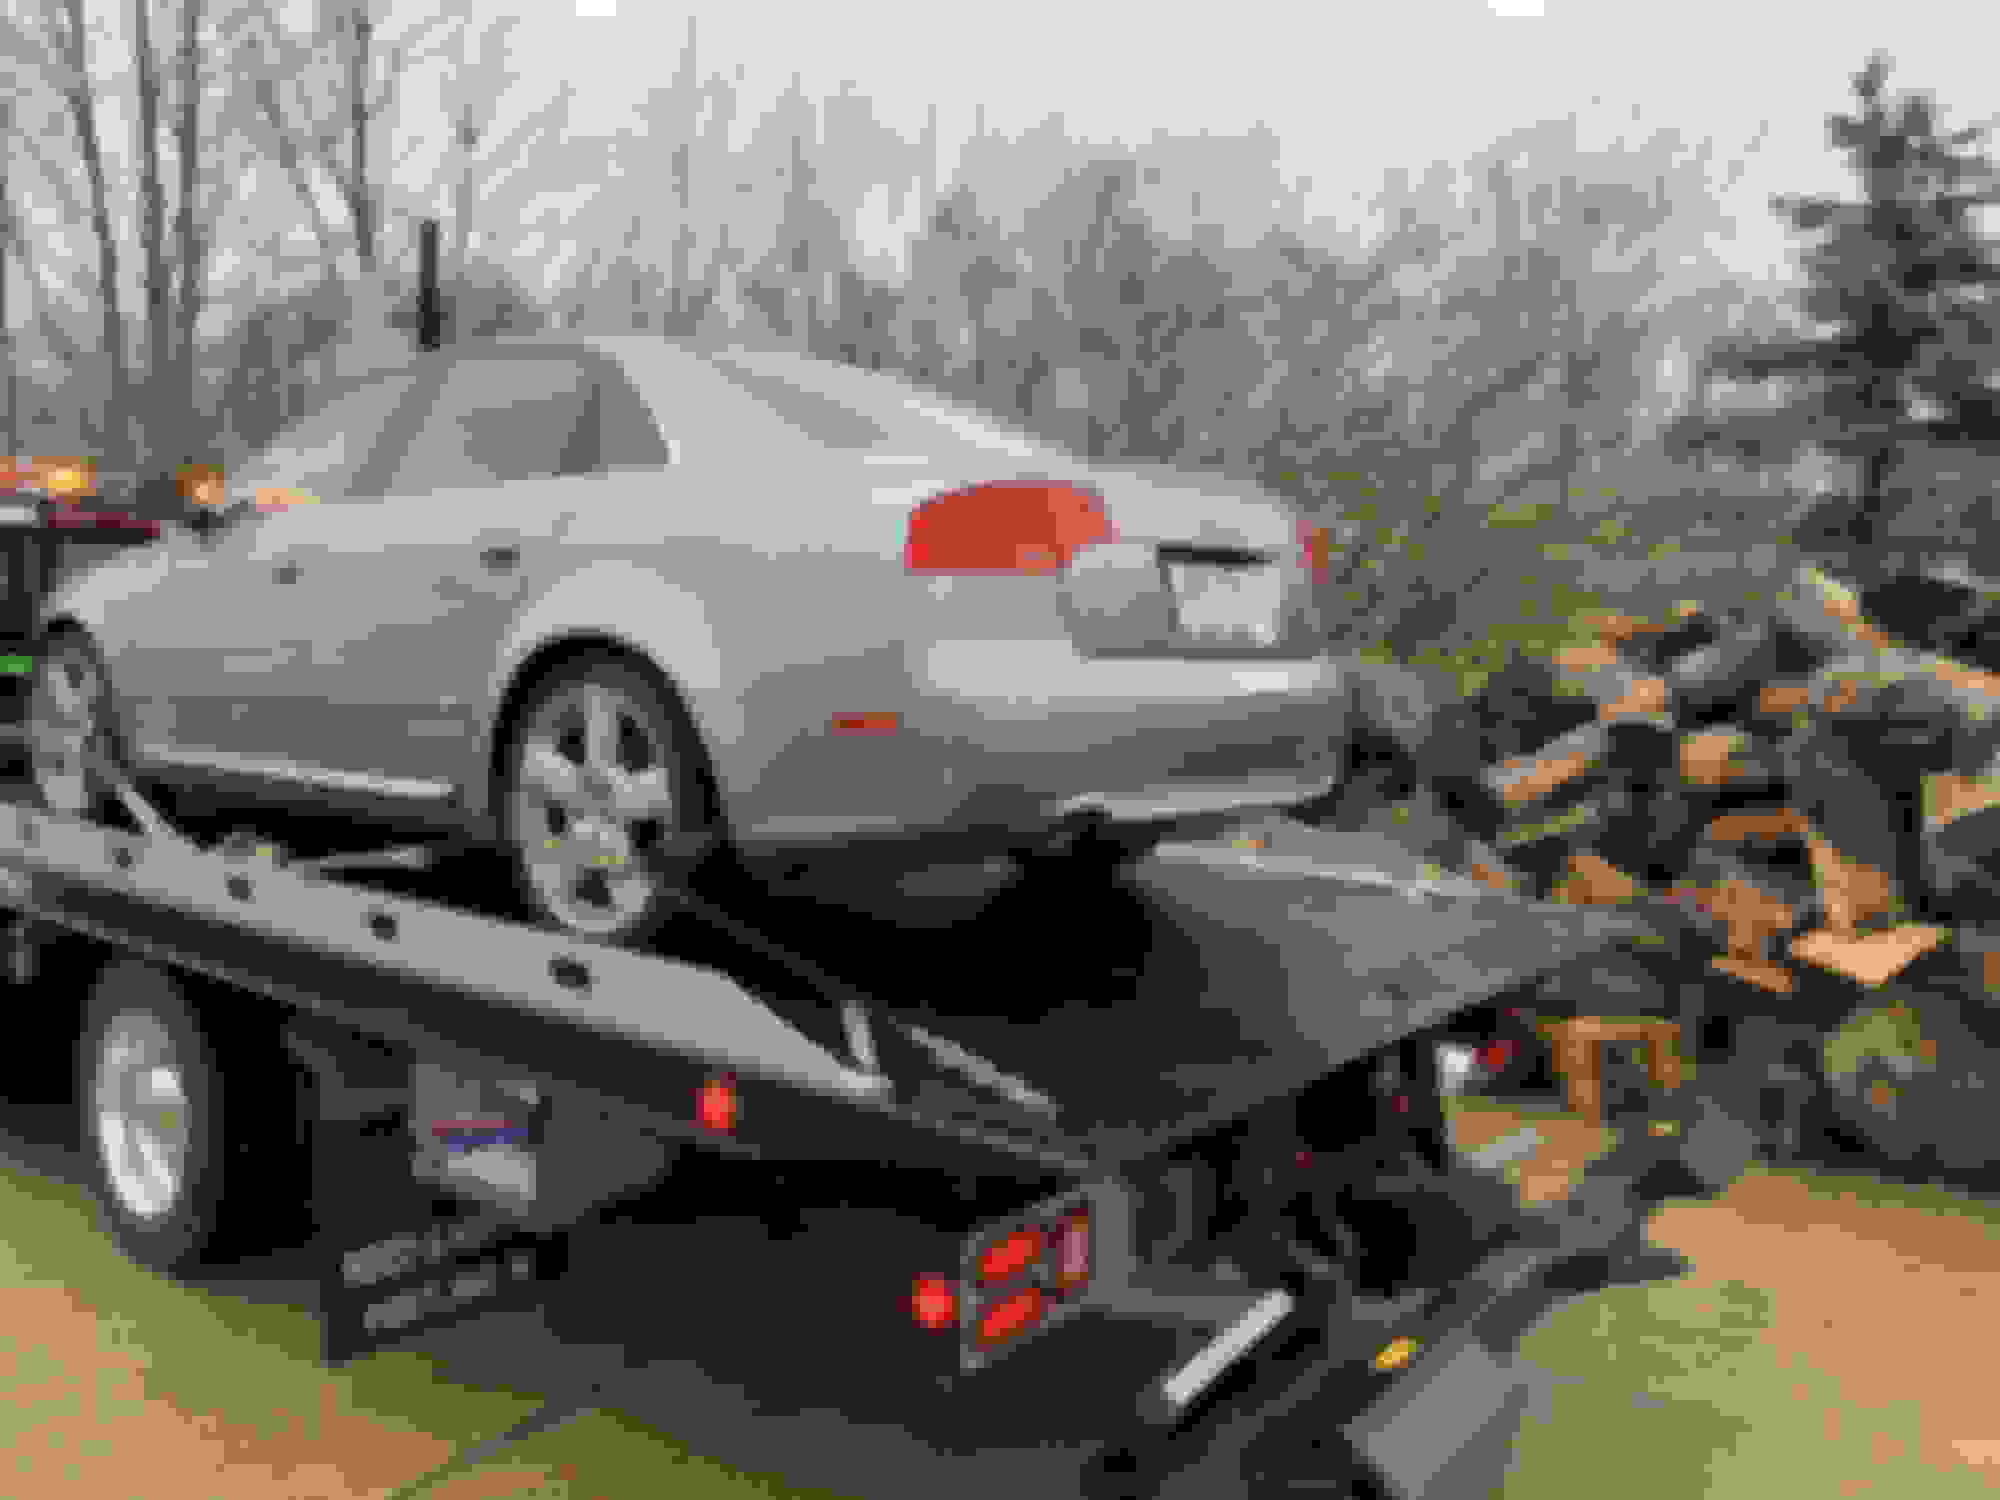
Picking up the car:
Mocking up engine mounts:
Bell housing adapter V1:
Version 1 crank hub adapter and bolted Audi ring gear flywheel to it (now being redesigned):
B8 Starter bolted to LS4. Had to clearance LS4 block for Audi B8 starter (now being redesigned to avoid this and now using LC9 block):
Fiirst test fit:
Version 1 Audi accessories mounted to LS4 (now being redesigned for normal LS blocks & changing belt routing):
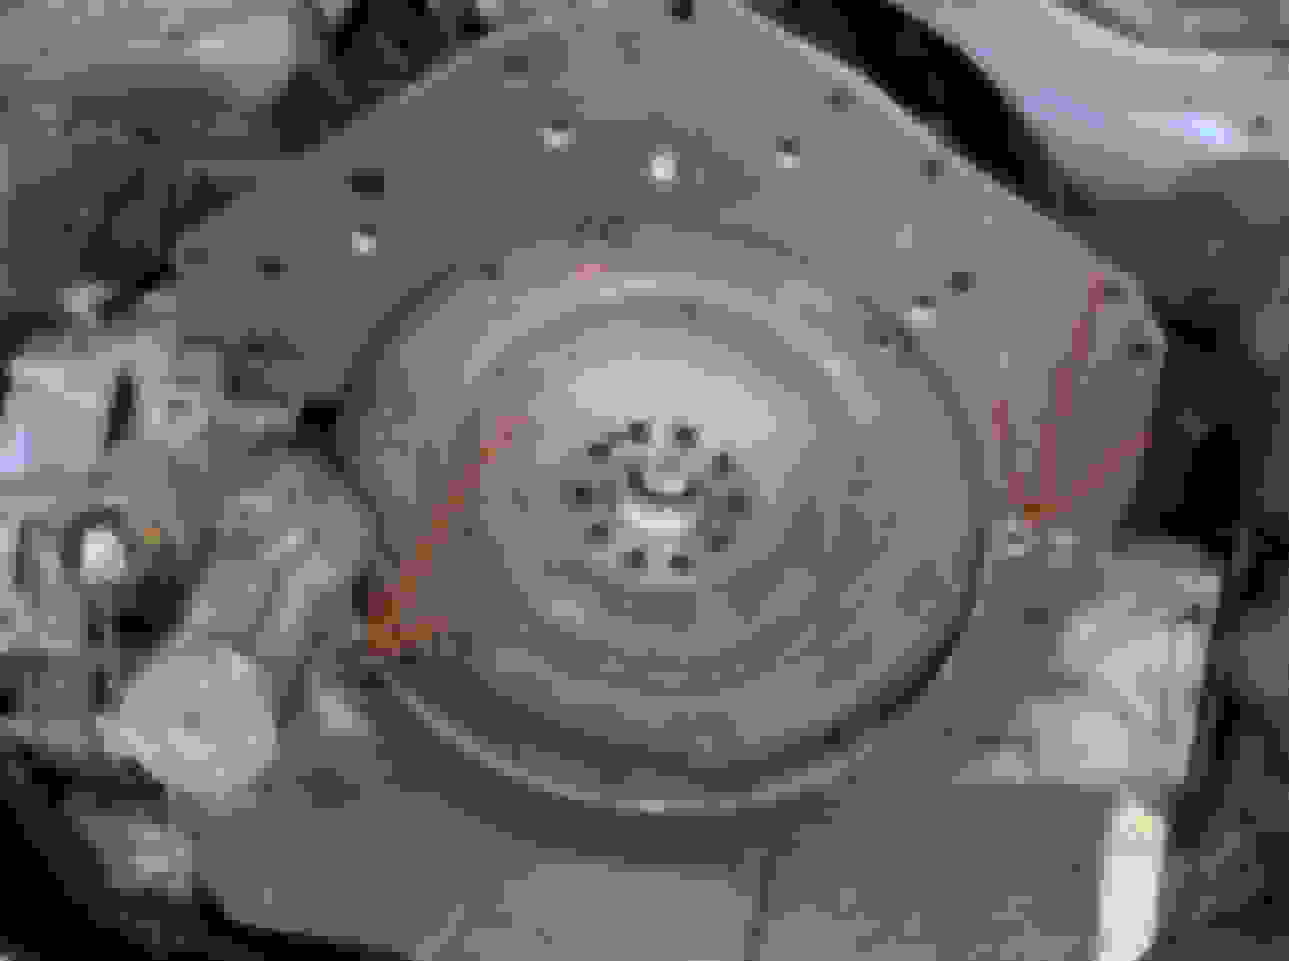
Custom Flywheel:
Putting motor in car:
Audi holding up LS for first time:
Testing different intakes in picture below (went with Carb intake later):
Carb intake fits better and hood clears by 1” or so.
Still left to do:
-Weld up water pump manifold and connect coolant line
-finish Terminator wiring
-front axle shafts
-driveshaft
-exhaust manifold down pipes and rear of exhaust.
still work in progress but hope to have it fired up soon!
Awesome swap. My wife drove a B7 A4 with the 2.0T for a bunch of years and it was a fun car. I really never understood the rationale behind the design of the 2nd firewall.
I like that. That is a really cool setup. I built something similar and with an aluminum block it made absolutely no difference in handling, my car actually became lighter up front.
Why LS4? Price and shorter crank flange?
edit: If you have the room, try to use a 4150 4 barrel throttle body and a carb hat. The difference in power is worth it.
Thank you. Found an LS4 for relatively cheap with 50k miles, gen 4 aluminum block is what I was looking for. Had to make bellhousing adapter anyway so didn’t bother me. Also came with crank pulley I knew I was going to have to use.
So i wanted to use the Audi starter since it bolted to the transmission, well the problem is that it hugs the block so close that the crank position sensor was hitting it. I thought I could get away with chopping the sensor and extending wires to the plug, well I’m not sure why but my ecu is seeing the trigger all the time, plug a new sensor in and it sees a piece of metal fine. I tested the resistance in the wires I soldered to it and got 0.4 ohms. Wiring in harness is fine, like I said testing a new sensor and it worked. Chopped new sensor thinking I had a dead sensor to begin with and now the new one does the same thing. I’m a mechanical engineer and by no means an electrical one. Anyone have any thoughts??
You might check the dimensions of the Crankshaft sensor to the Camshaft sensor. As long as the O-ring will seal and depth of the sensor is the same, you should be able to swap them with the right connector and proper wiring changes.
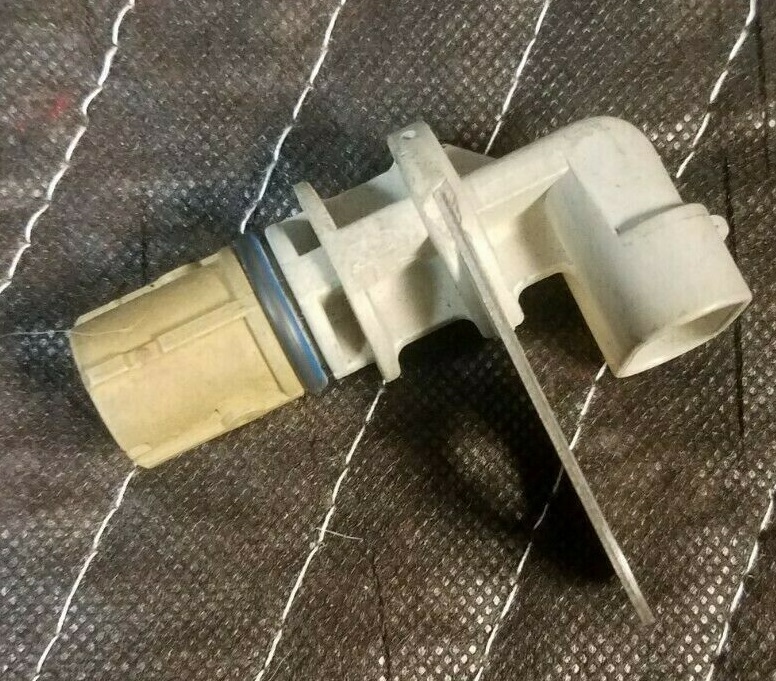
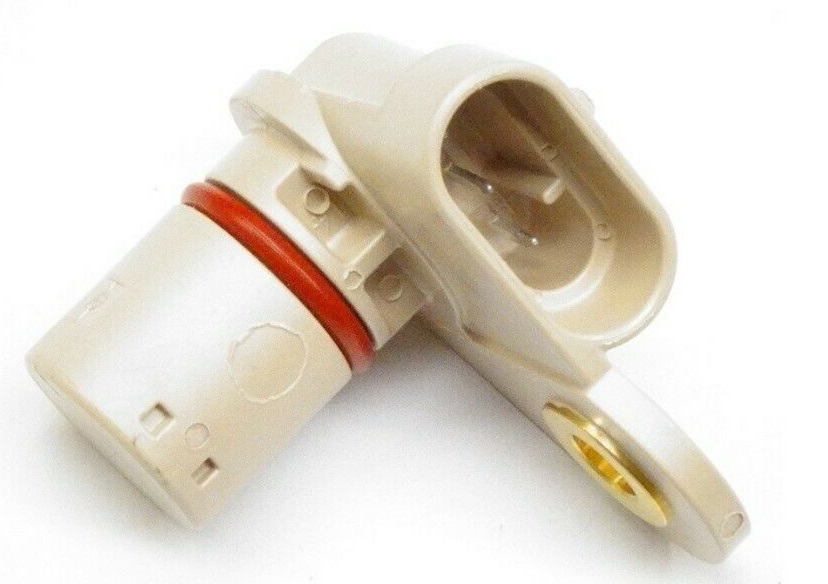
Crankshaft sensor that is too tall above the block:
Here is the LS3 camshaft sensor, much lower profile and close to what you likely need for fitment.
If the LS3 cam sensor isn't the right size, it would be good to start checking out the other cam and crank sensors from the GM family. I am sure there is another sensor that can be adapted to this application.
There are a couple of ways you can go about this search...
1. Go to ebay and search for GM position sensor and look at the pictures and write down the part numbers/applications of which ones are close.
2. Go to autozone.com and search for cam and crank position sensors w/o selecting an application. Again browse the pictures and note the ones that are close.
Once you have your list, go to the part store with some digital calipers and your critical fitment numbers and ask to see the ones in question and verify dimensions. It is a little bit of a needle in a haystack quest, but will be a great conversation piece once you figure it out.
Thanks Fieroguru, I will definitely look into that. For now I was able to depin my harness and connect the pins directly to the sensor and seems to be working, epoxied them on to keep them in place. A lot of things seem to end up as a short term solution and a long term solution is planned. I’m currently in the process of moving in two weeks so I’m trying to get this thing to the point that I can pull it up on a trailer so I don’t have to rent a storage unit.
Started her up today, only have downpipes right now and tune is rough. I’m still new to tuning and have a lot of learn. Coolant plumbing isn’t hooked up yet either. Axles will be here next week and drive shaft should follow shortly.
I like it! Now I want to see a 4 wheel burn out!
Good Job!
hahaha I need to get upgraded axles before that lol but it feels super torquey in 1st gear. I took it for a test drive on the road today and it feels smooth. Amazing considering all the custom parts. Tune is rough. I’m getting it Dyno tuned after I get all the little things wrapped up.
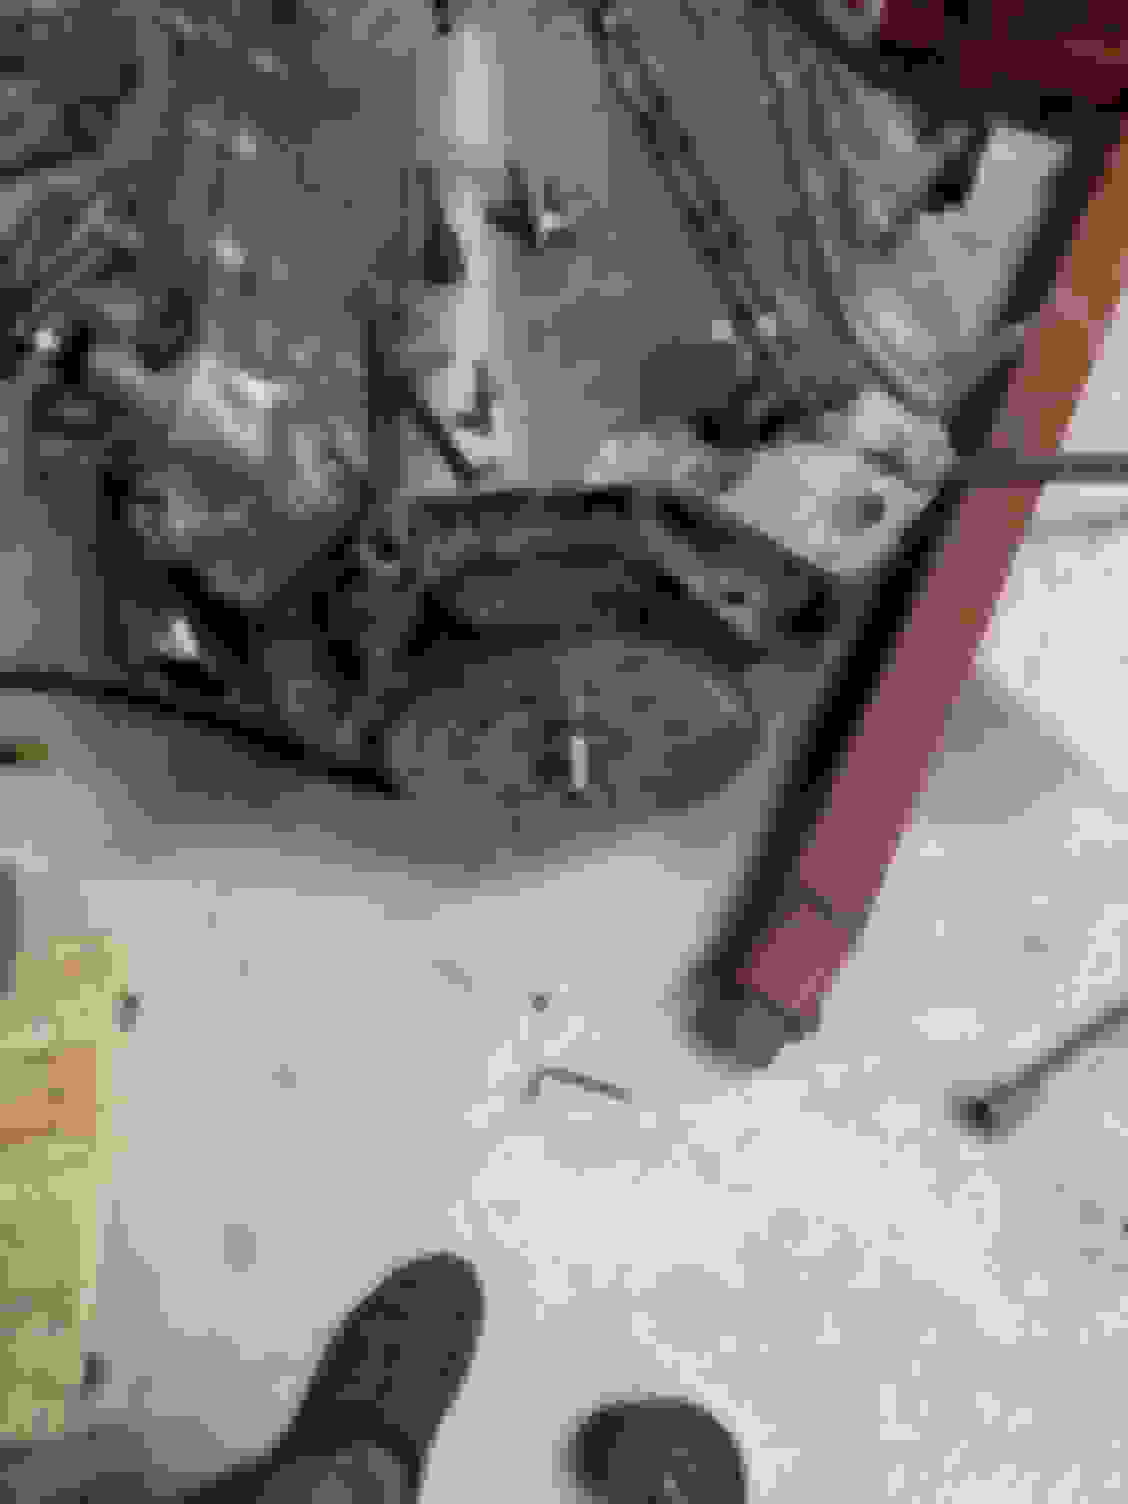
Took it for a test drive 1 mile up the road and back and wonderful JEGS remote oil filter line blew off. Hose fitting is hardly barbed so couldn’t take the pressure I guess. Pan was emptied during test drive. Threw some oil it and new filter ran for a little while and drained to find this:
time to park it in a storage unit until I get house built and actually have a garage to pull engine to rebuild.
Get another LS or do a bearing/ring swap on the one you have. Scratches on the crank don't mean anything, scoring/gouging is bad though.
I have ran out of oil completely on my 6.0 and 5.3 back when I had way too much ring gap. All I did was swap bearings and clean the crankshaft. The mains didn't even take a hit, only two rods had bearing wear.
It doesn't have to be perfect for a rebuild and you don't need to machine anything for it to work. Do that to a spare engine.
For sure, I am by no means giving up. Just don’t have a garage right now—had closing on my house and have to be out by July 13th. Dropping oil pan and replacing rods bearings is very doable; oil pan can’t come off without lowering the subframe which isn’t horrible but just takes time and money which I don’t have at the moment. At the end of the day it’s a $600 block with a cam in it. All of the hard work is done and I know the thing works. I was going to pull the engine this coming winter to gap the rings in preparation for a single turbo anyway. Hopefully I’ll have my house built before winter. Check back in a few months.

 05-19-2021, 08:25 PM