
1965 ls1 f85 project pic's
 12-29-2007, 09:34 AM
#1
TECH Resident
Thread Starter
Join Date: Nov 2007
Location: Texas
Posts: 816
Likes: 0
Received 0 Likes
on
0 Posts
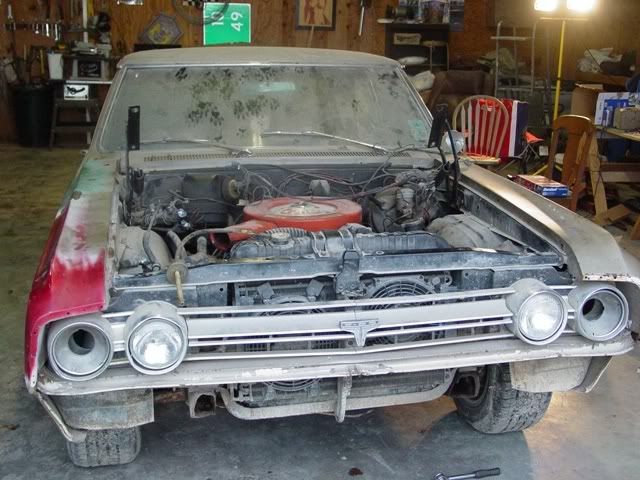
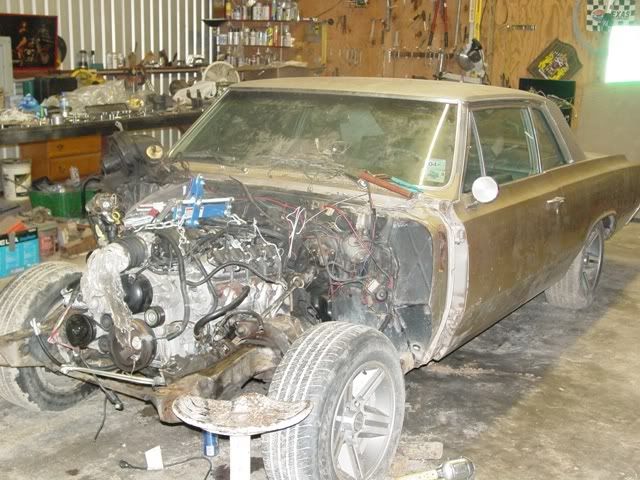
The ls1 transplant project is underway. After only 2-1/2 days progress has been good.
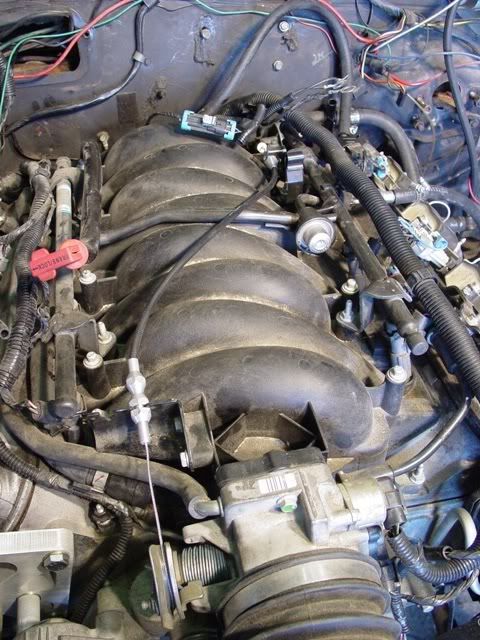
The original 330 power plant.
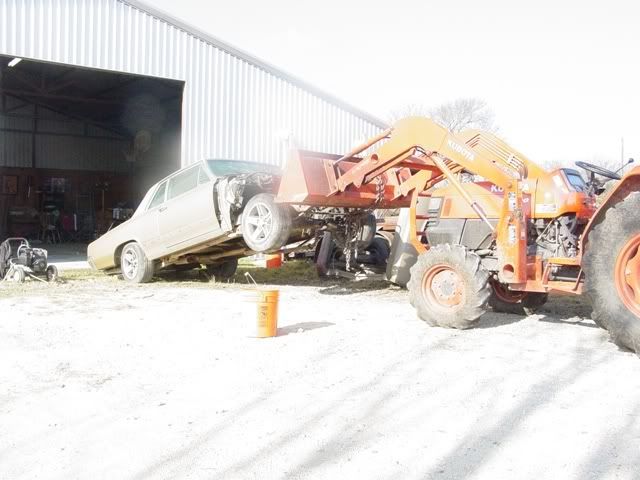
We got a little redneck cleaning the bottom end from years of oil and trans leaks
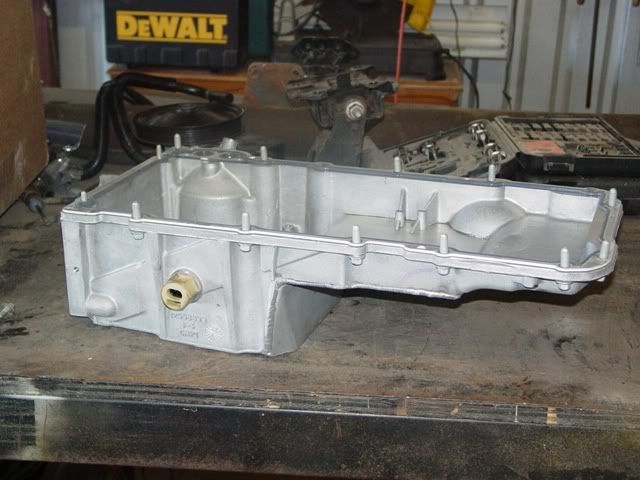
S&P oil pan
Pan being installed.
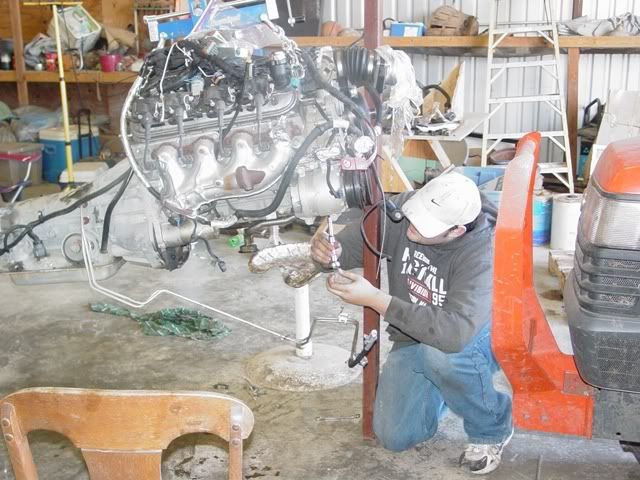
It took several hours even with the S&P pan to get the engine trans combo to set down and clear the cross frame. We had to totally clear the fire wall of everything even the throttle linkage which has to stay in place or no way to install with engine in. Once in place I had to grind the passenger side manifold to clear the frame rail. The curent issue is the alt bracket is hitting hard on the steering gear box. I'm amazed the factory column shifter linkage is already hooked up and aligned almost perfect and this is the first place we set the engine down with no adjustments yet.
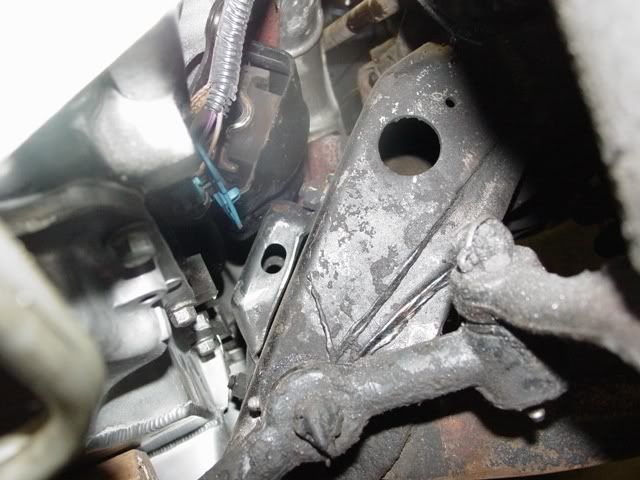
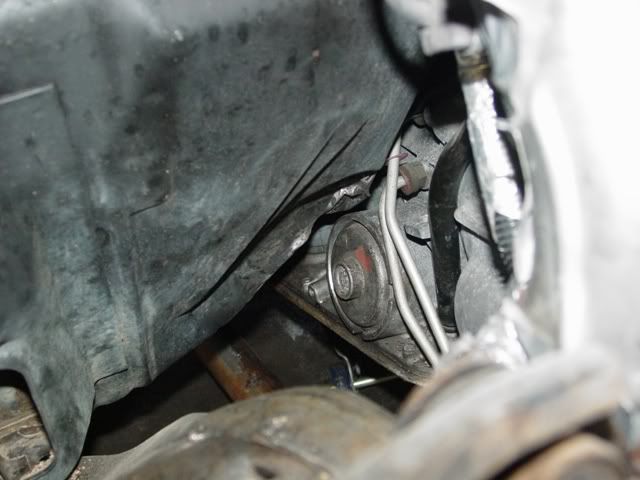
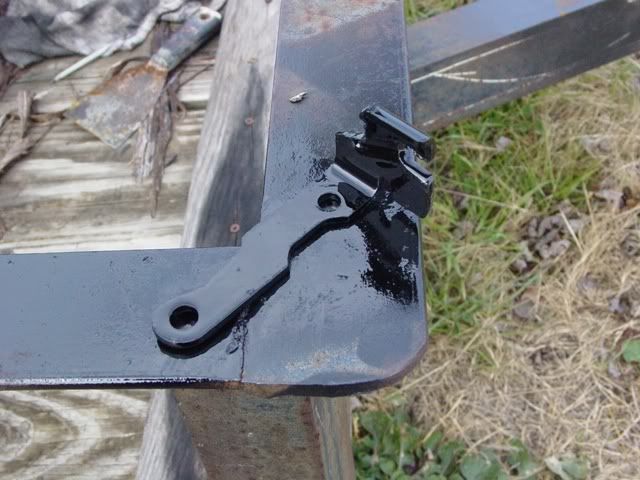
Here is a shot of the engine mount area. I have the f-body engine mounts attached and they are already hitting the oem frame mounts. As you can see from this photo I don't think any of the chevy mounts would work with this frame engine combo. I plan to remove the frame mounts and fab some new ones that will bolt to the f-body mounts. I think at this point the engine needs to drop about 1/2 inch.
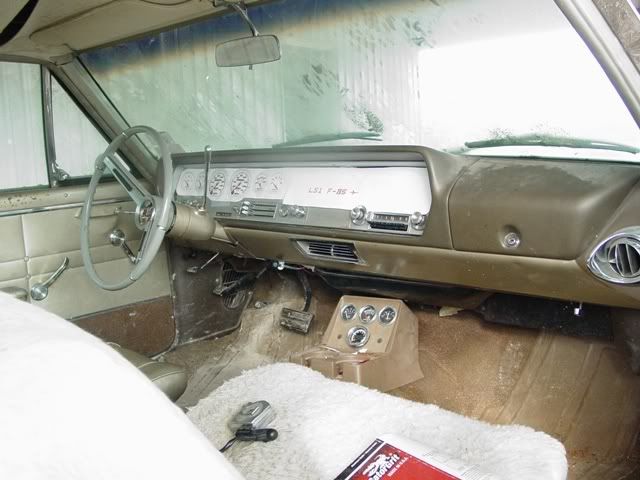
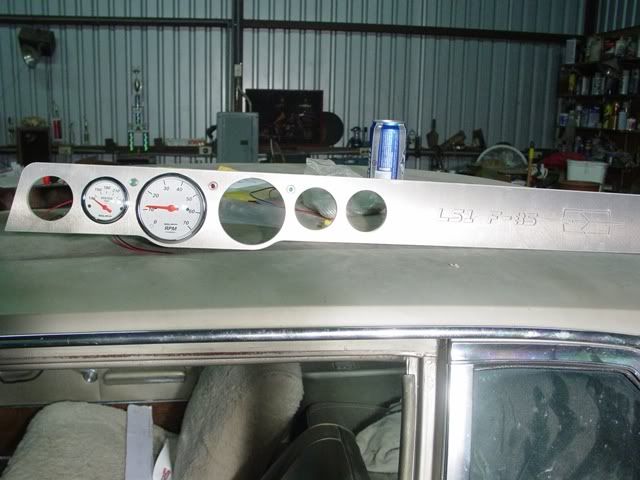
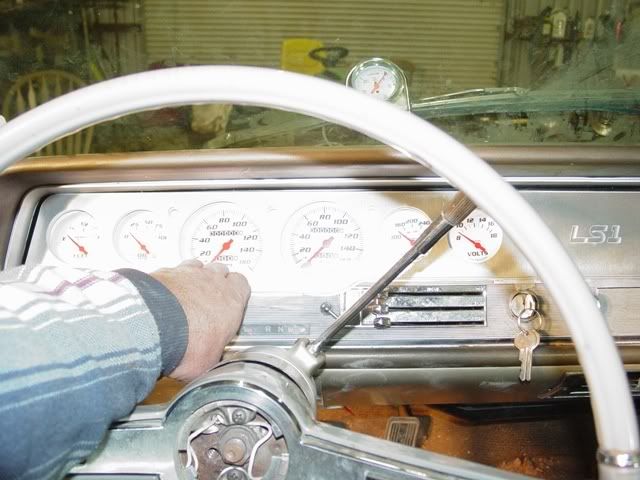
I thought I share this with you it is a mockup of my planed instrument panel using autometer gages.
The original 330 power plant.
We got a little redneck cleaning the bottom end from years of oil and trans leaks
S&P oil pan
Pan being installed.
It took several hours even with the S&P pan to get the engine trans combo to set down and clear the cross frame. We had to totally clear the fire wall of everything even the throttle linkage which has to stay in place or no way to install with engine in. Once in place I had to grind the passenger side manifold to clear the frame rail. The curent issue is the alt bracket is hitting hard on the steering gear box. I'm amazed the factory column shifter linkage is already hooked up and aligned almost perfect and this is the first place we set the engine down with no adjustments yet.
Here is a shot of the engine mount area. I have the f-body engine mounts attached and they are already hitting the oem frame mounts. As you can see from this photo I don't think any of the chevy mounts would work with this frame engine combo. I plan to remove the frame mounts and fab some new ones that will bolt to the f-body mounts. I think at this point the engine needs to drop about 1/2 inch.
I thought I share this with you it is a mockup of my planed instrument panel using autometer gages.


 01-02-2008, 08:16 PM
#4
TECH Resident
Thread Starter
Join Date: Nov 2007
Location: Texas
Posts: 816
Likes: 0
Received 0 Likes
on
0 Posts
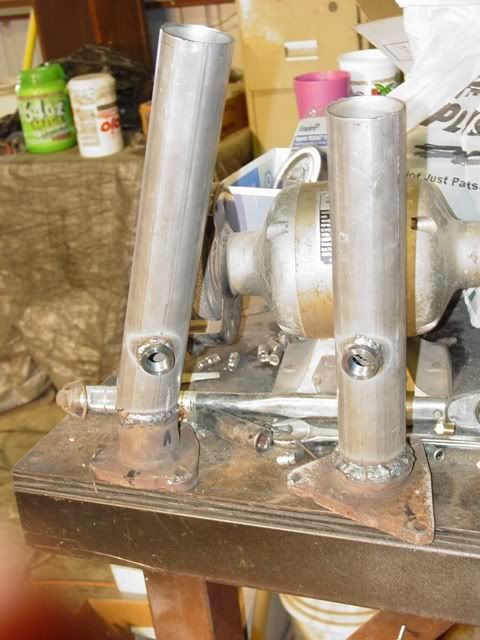
1 week sense the project started & Success! Engine is now installed and resting on it's mounts and trans mount. Here are some pic's of the custom engine frame mounts I constructed using the f-body mounts and some 1/4 plate steel.

The Ls1 installation has work out fairly good thus far. The factory trans cross member worked with out modifcation. The factory column shifter hooked right up and shifts the 4l60e thru all gears.
The Ls1 installation has work out fairly good thus far. The factory trans cross member worked with out modifcation. The factory column shifter hooked right up and shifts the 4l60e thru all gears.
Last edited by rockytopper; 01-03-2008 at 08:29 AM.
01-10-2008, 10:59 PM
#5
TECH Resident
Thread Starter
Join Date: Nov 2007
Location: Texas
Posts: 816
Likes: 0
Received 0 Likes
on
0 Posts
A few project updates.
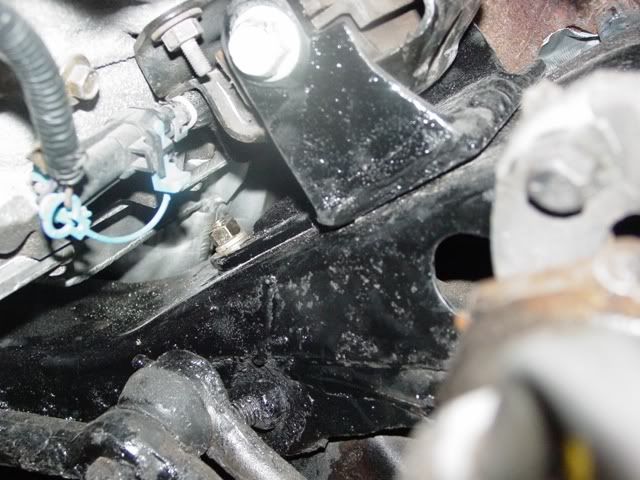
Pic of damage required to deform floor to clear 4l60E trans.
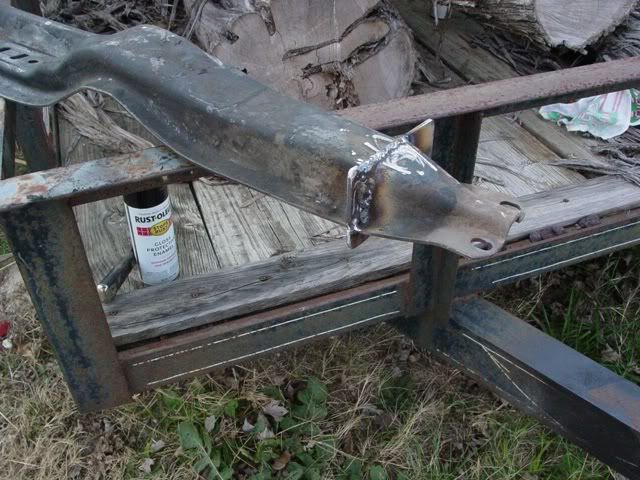
After futher review I had to drop the stock trans cross member and move it aft about 3 inches
cut & welded
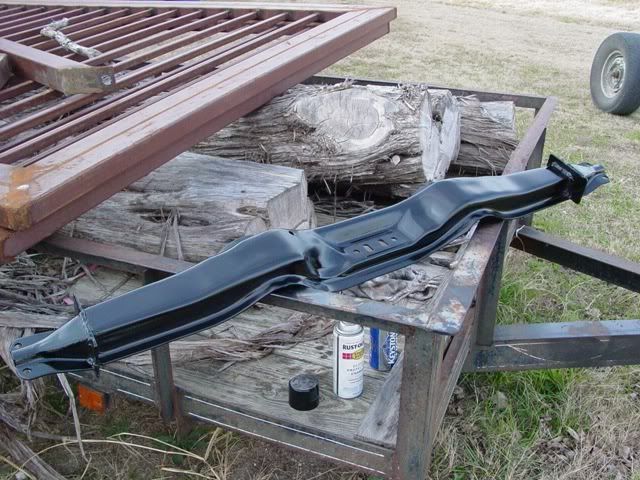
Fnished
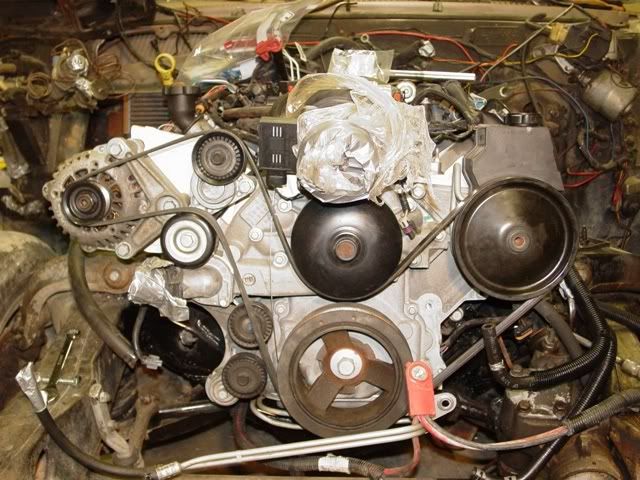
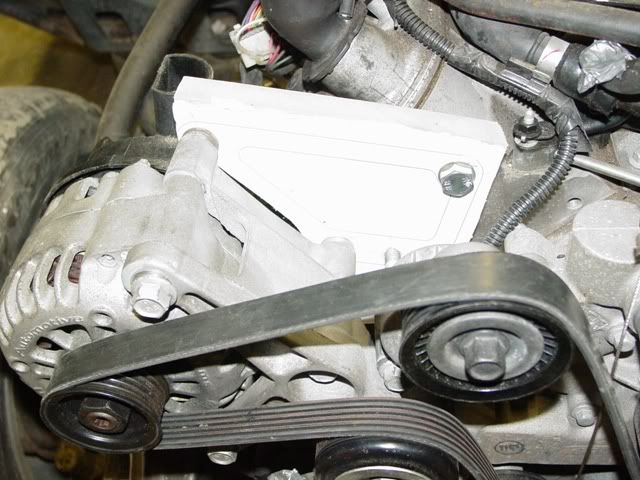
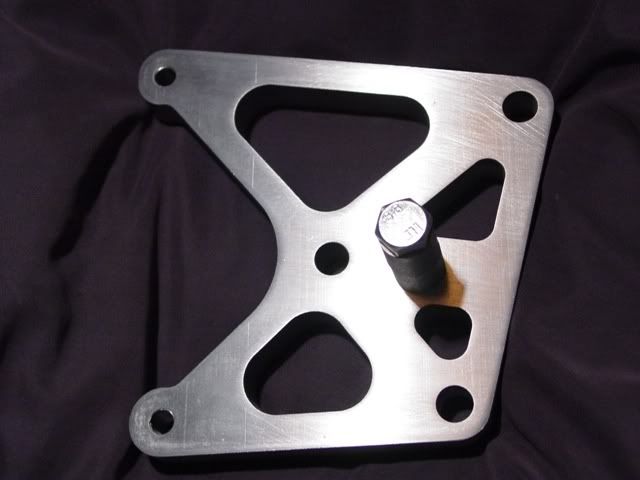
I have completed the design of my new altenator relocation bracket. I didn't like the brackets that locate it higher next to the TB. I was afraid it would not clear my hood. Also my alt has the long F-body plastic shell on the back which clashes up at the upper location. I was able to use the f-body stock cast mount and idler roller by flipping it around. I have mocked up the cad design using mfd board. I'll be sending the CAD file to the water jet next week. Bracket should look nicely cut out of billet. The stock belt is a little loose looks like i'll have to get one a size or 2 shorter.
Pic of damage required to deform floor to clear 4l60E trans.
After futher review I had to drop the stock trans cross member and move it aft about 3 inches
cut & welded
Fnished
I have completed the design of my new altenator relocation bracket. I didn't like the brackets that locate it higher next to the TB. I was afraid it would not clear my hood. Also my alt has the long F-body plastic shell on the back which clashes up at the upper location. I was able to use the f-body stock cast mount and idler roller by flipping it around. I have mocked up the cad design using mfd board. I'll be sending the CAD file to the water jet next week. Bracket should look nicely cut out of billet. The stock belt is a little loose looks like i'll have to get one a size or 2 shorter.

Trending Topics
01-28-2008, 09:21 AM
#8
TECH Resident
Thread Starter
Join Date: Nov 2007
Location: Texas
Posts: 816
Likes: 0
Received 0 Likes
on
0 Posts
More progress on the ls1 f85. The punch list is starting to get shorter.
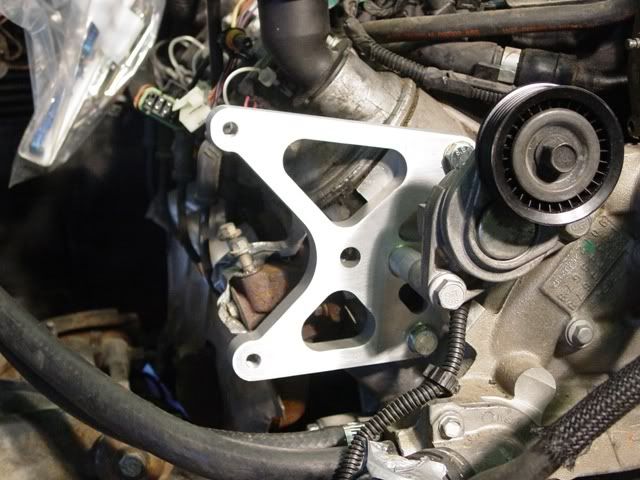
Here are a few pic's of the finished alt bracket fabricated, installed, and wired.

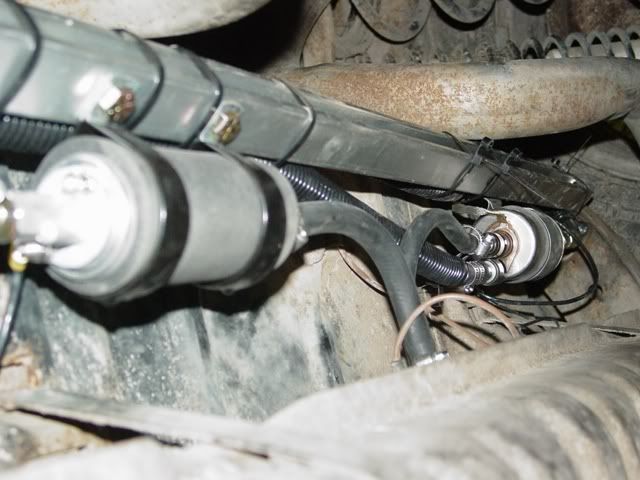
fuel system completed
I installed my lokar throttle cable. I was able to use one of the factory emission brackets by flipping it around 180 degrees and doing a little constructive fab work on it.
exhaust and 02's are now installed ready to go back the the shop to tie into the existing duals.
Here are a few pic's of the finished alt bracket fabricated, installed, and wired.
fuel system completed
I installed my lokar throttle cable. I was able to use one of the factory emission brackets by flipping it around 180 degrees and doing a little constructive fab work on it.
exhaust and 02's are now installed ready to go back the the shop to tie into the existing duals.
01-28-2008, 01:06 PM
#9

Great progress and engeineering of the Alternator relocation. How much would charge me for one !....
You should pickup one of the Eastwood or HarborFrieght Powder coating kits.. I did and have done all of my parts (as long as it fit in my spare oven). It is easy to do and cheap after the investment. I was able to get my lower A-Arm done in the spare home oven.
(I say Spare, cause you should not use your kithen one, my neighboor gave me one that I have in my garage).

 03-12-2008, 09:53 AM
#13
TECH Resident
Thread Starter
Join Date: Nov 2007
Location: Texas
Posts: 816
Likes: 0
Received 0 Likes
on
0 Posts
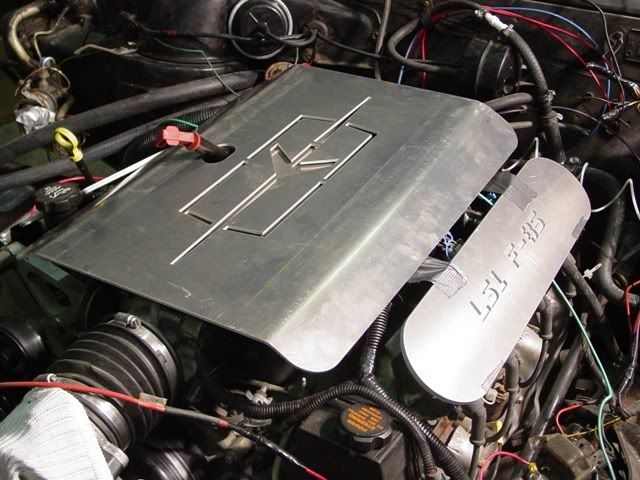
I mocked up some of the pieces I designed for my retro project yesterday. Parts seem to fit as planned thus far. The wording "LS1-F85" and the rocket emblem will he highlighted in red to match the factory emblems and the gauge cluster. I'm not sure about the engine cover finish, I'm considering a brush clear coat finish as planned for the dash panel.
You can see my fan shroud in one of the pic's. I currently have 2 fans that are pushers and are attached to the front of the A/C coils. I had these originally before this project in an attempt to help the a/c cooling. The plan for the shroud is to box it in and seal it to the radiator core. I have 2 puller fans to be installed. My question is what are you guys running pushers or pullers. Currently my engine idles at 190 deg or so. Only the first fan has been kicking on but temps are mild and the real test will be this summer when we reach the century mark. My thoughts are by removing the pusher from the front I should get better flow thru radiator going down the road because of the blockage from the fans in front. I'm hoping the closed shroud will increase flow with the fans operating. Any thoughts on this from real world experiences. I am considering not using the shroud and sticking with the pushers to see what happens. Reason is the area behind the radiator is already tight and I'm having issues getting my ram air intake plumbing to fit.
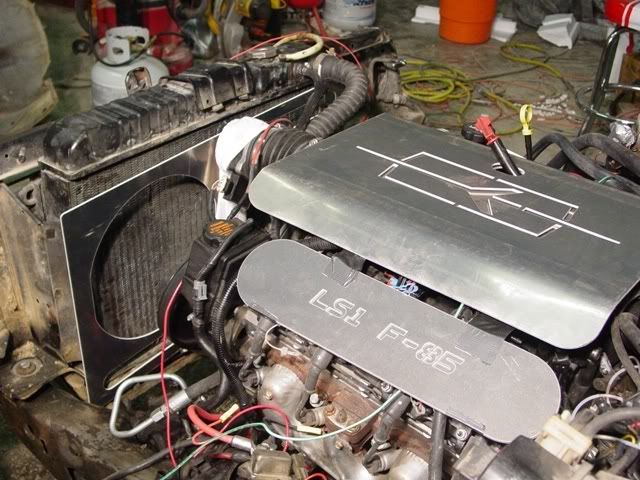
You can see my fan shroud in one of the pic's. I currently have 2 fans that are pushers and are attached to the front of the A/C coils. I had these originally before this project in an attempt to help the a/c cooling. The plan for the shroud is to box it in and seal it to the radiator core. I have 2 puller fans to be installed. My question is what are you guys running pushers or pullers. Currently my engine idles at 190 deg or so. Only the first fan has been kicking on but temps are mild and the real test will be this summer when we reach the century mark. My thoughts are by removing the pusher from the front I should get better flow thru radiator going down the road because of the blockage from the fans in front. I'm hoping the closed shroud will increase flow with the fans operating. Any thoughts on this from real world experiences. I am considering not using the shroud and sticking with the pushers to see what happens. Reason is the area behind the radiator is already tight and I'm having issues getting my ram air intake plumbing to fit.


 03-25-2008, 08:59 AM
#17
TECH Resident
Thread Starter
Join Date: Nov 2007
Location: Texas
Posts: 816
Likes: 0
Received 0 Likes
on
0 Posts
I completed my Ram Air intake setup. Originally I intended to have dual ram air thru the head lights. It is still doable but not practical. I think this single system will give me a better flow anyway. I'm going to have the other inlet just dump cold air into the engine bay.
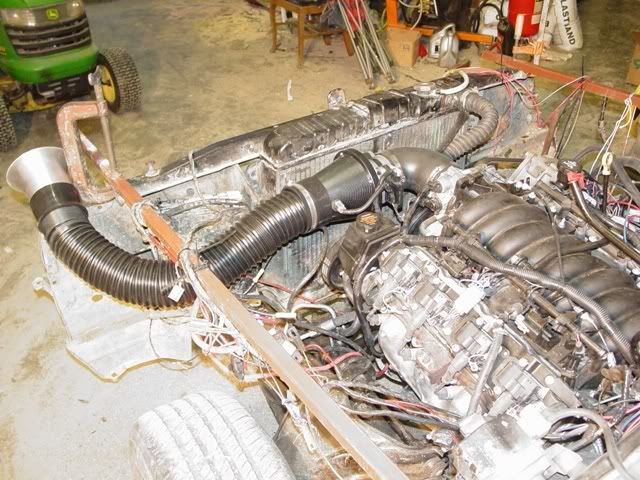
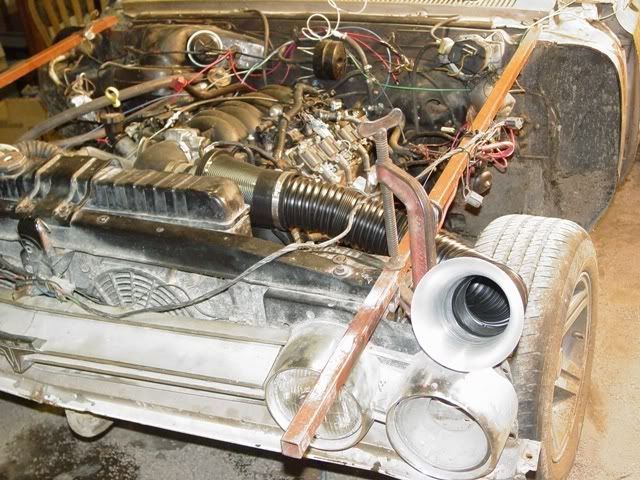

Next will be clean up, paint and then installing the new 4 wheel disc brake kit.
Next will be clean up, paint and then installing the new 4 wheel disc brake kit.
 03-25-2008, 02:17 PM
#19
Teching In

Join Date: May 2007
Location: Upstate, SC
Posts: 46
Likes: 0
Received 0 Likes
on
0 Posts
Looks nice, I really liek the covers and custom additions you have going. I keep considering the LSx for my 63 Chevy Bicayne ( Impala ) Wagon.
What are you doing/have done for wiring harness, PCM tuning, etc. Also anymor edetails on how to get the Column shift to work with the 4l60e would be great. How much did the alt bracket end up costing ya? Still have the CAD file.
What are you doing/have done for wiring harness, PCM tuning, etc. Also anymor edetails on how to get the Column shift to work with the 4l60e would be great. How much did the alt bracket end up costing ya? Still have the CAD file.
03-25-2008, 02:35 PM
#20
TECH Resident
Thread Starter
Join Date: Nov 2007
Location: Texas
Posts: 816
Likes: 0
Received 0 Likes
on
0 Posts
Yea I just sold my prized 455 and went ls1. NO regrets. I'll miss the low end stump pulling torque but I'll be smiling at the gas pump.
I used the factory harness that came with my engine. I sent my pcm to
wait4meperformance and Jesse did his magic for 84$. I purchased a stand alone ls1 fuse and relay box for 109$ via ebay. The wiring for me was the simplist part of this entire conversion and it is my first. The column shift hooks to the 4l60e same as the factory 2 speed I had did, no mods. I just removed the fork from my 2 speed jetaway and installed it onto the 4l60e. I still have the brackets available but I am not allowed to discuss prices on the open forum. Send me a PM and I will reply.