

Mark's LS1 2nd Gen Camaro build
 05-25-2009, 10:55 PM
#121
11 Second Club
Thread Starter
Join Date: Mar 2008
Location: New Westminster, B.C., Canada
Posts: 445
Likes: 0
Received 1 Like
on
1 Post

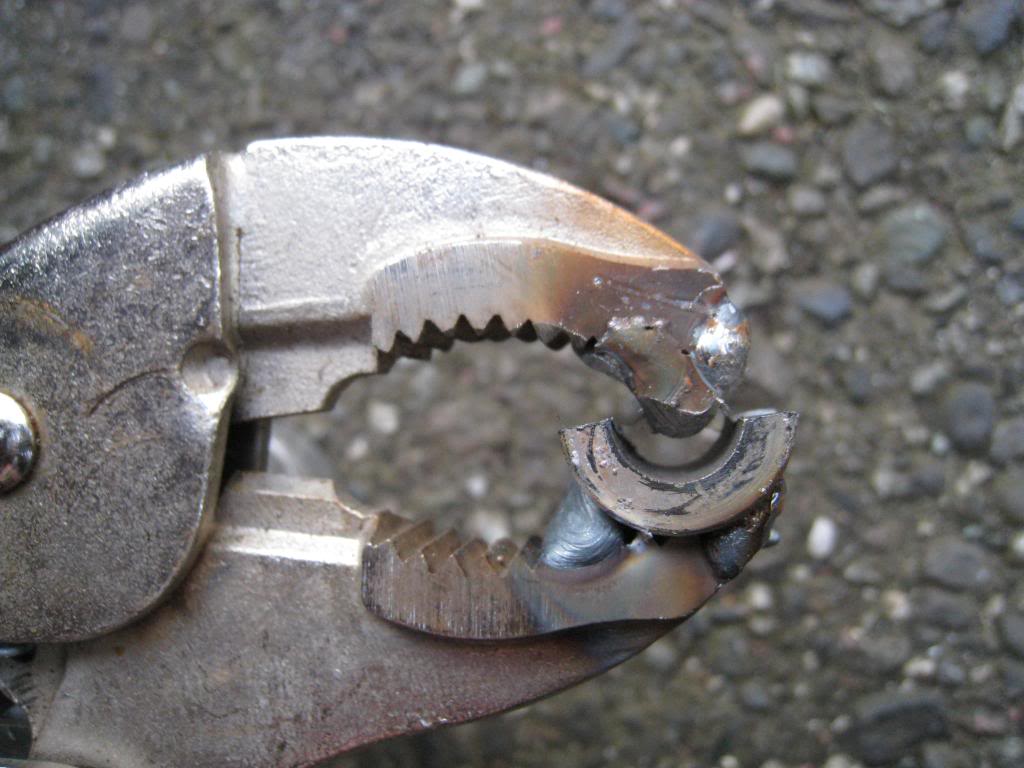
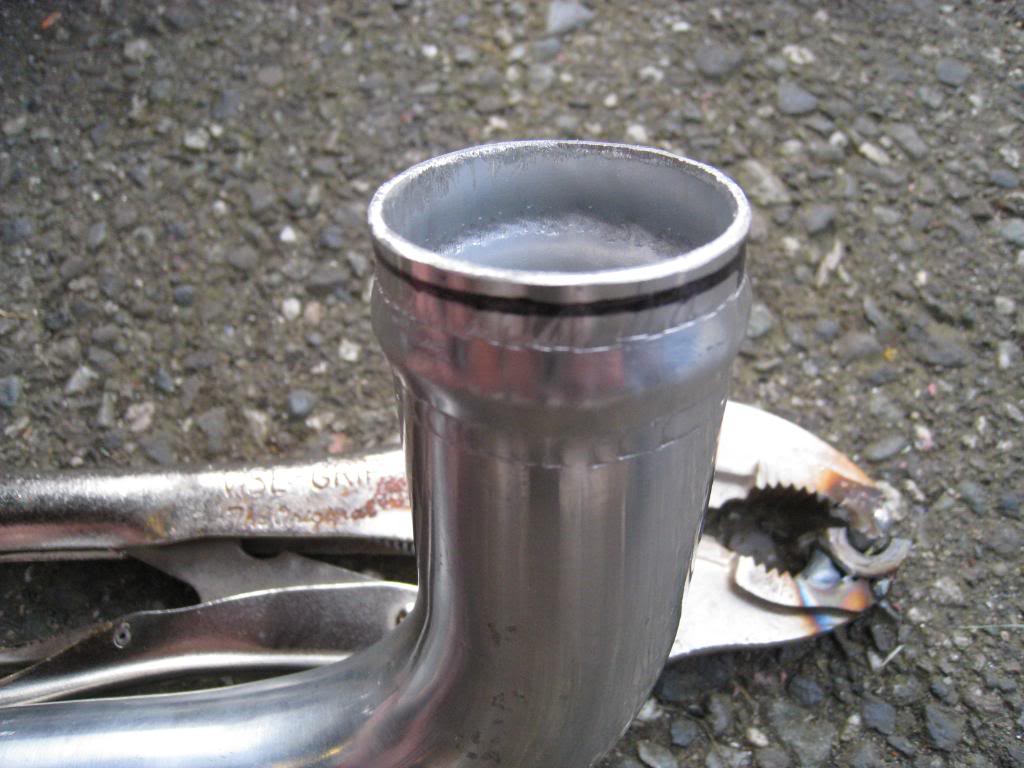
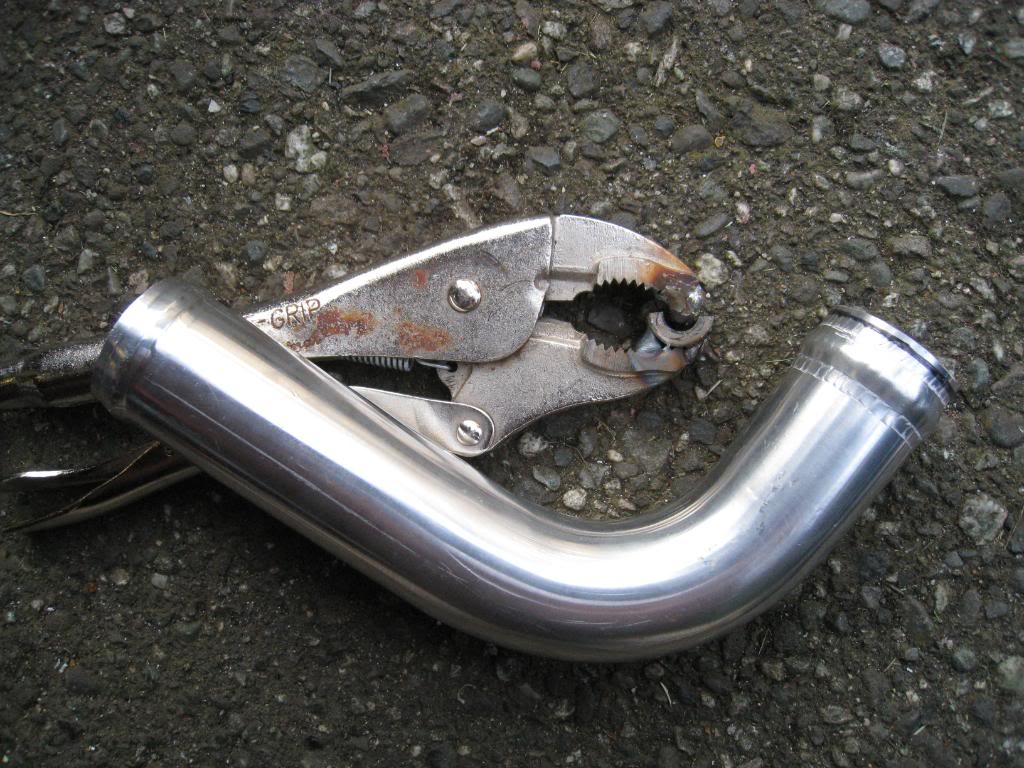
Did some work on the plumbing tonight. Needed to roll the edges of my coolant pipes so came up with this "special tool" had to sacrifice a pair of vice grips but in the end it was worth it. I'm going to change the pipe from the charger to the intercooler, I don't like the sharp bend.


 05-27-2009, 10:41 PM
#125
11 Second Club
Thread Starter
Join Date: Mar 2008
Location: New Westminster, B.C., Canada
Posts: 445
Likes: 0
Received 1 Like
on
1 Post
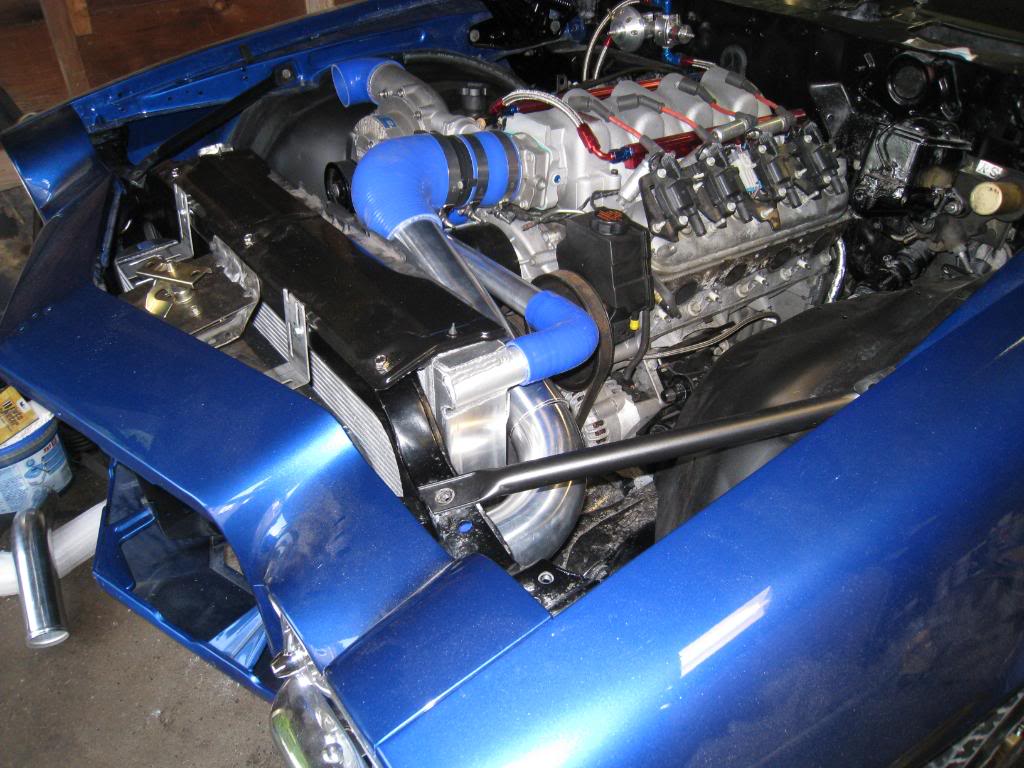
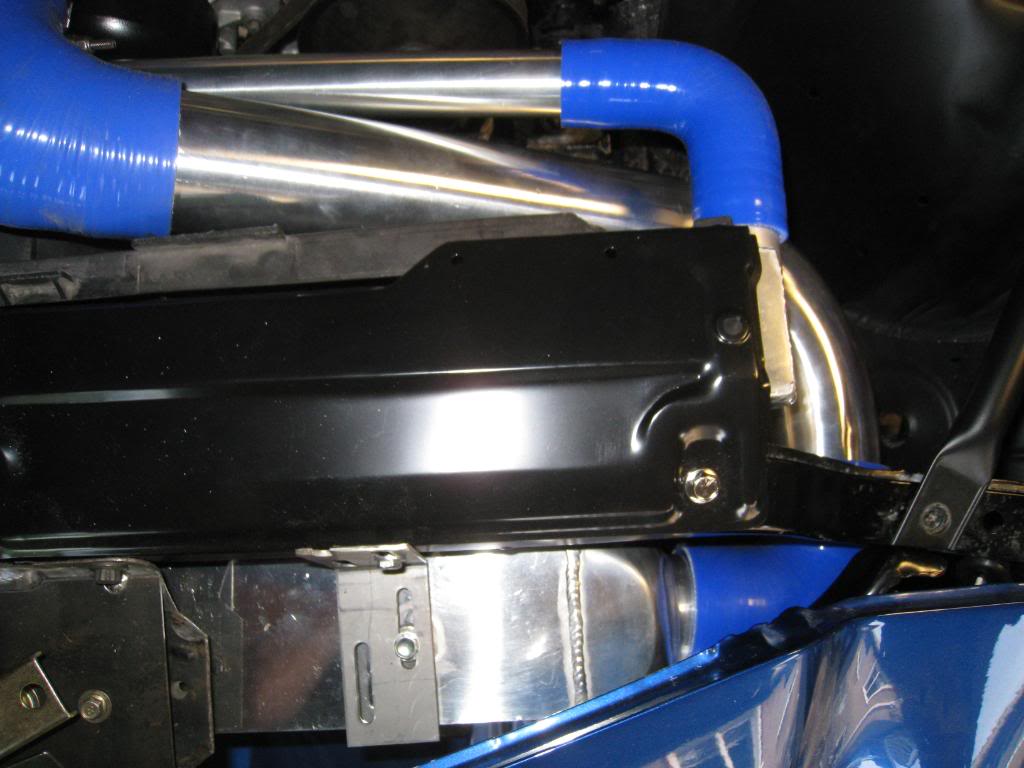
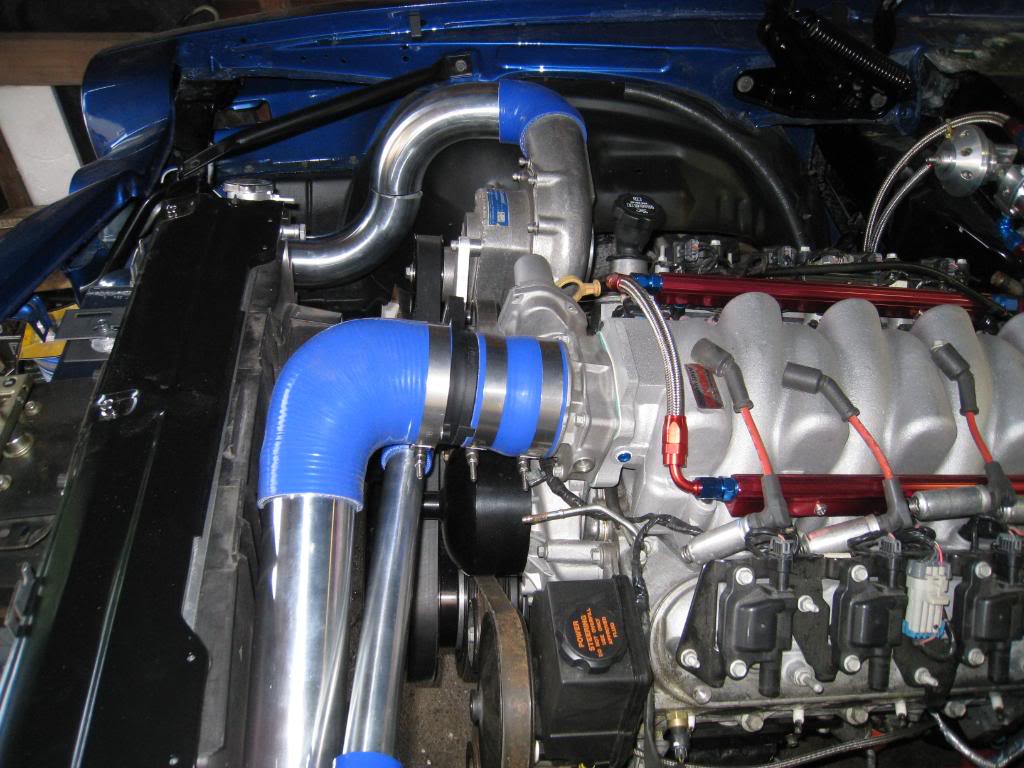
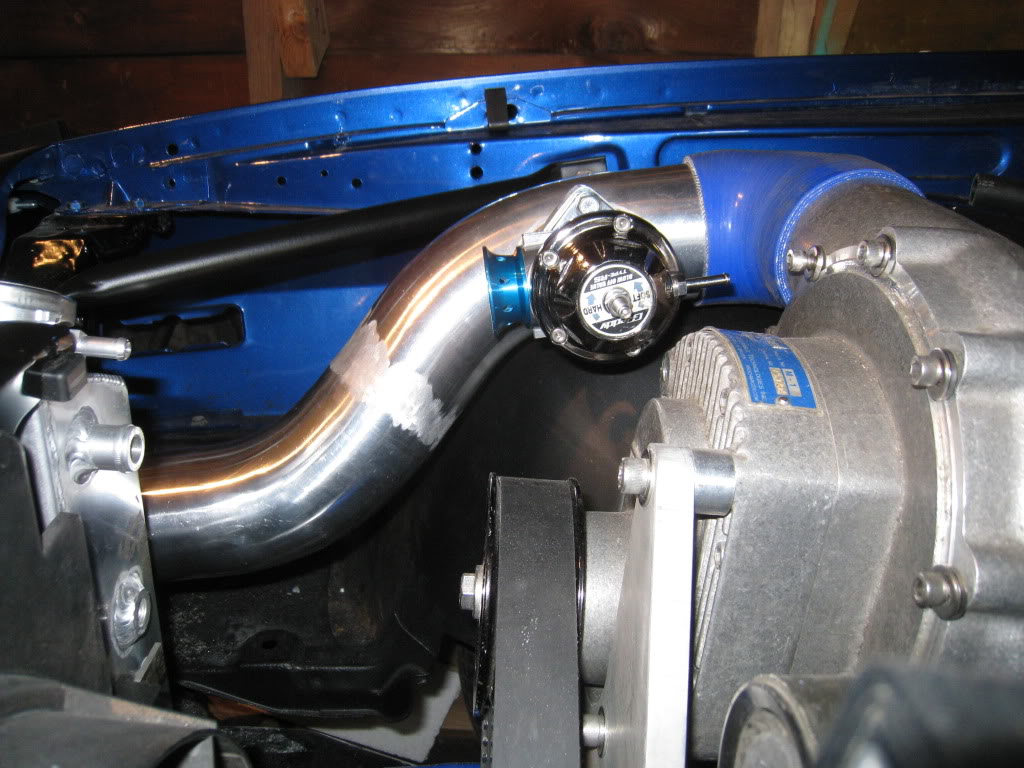
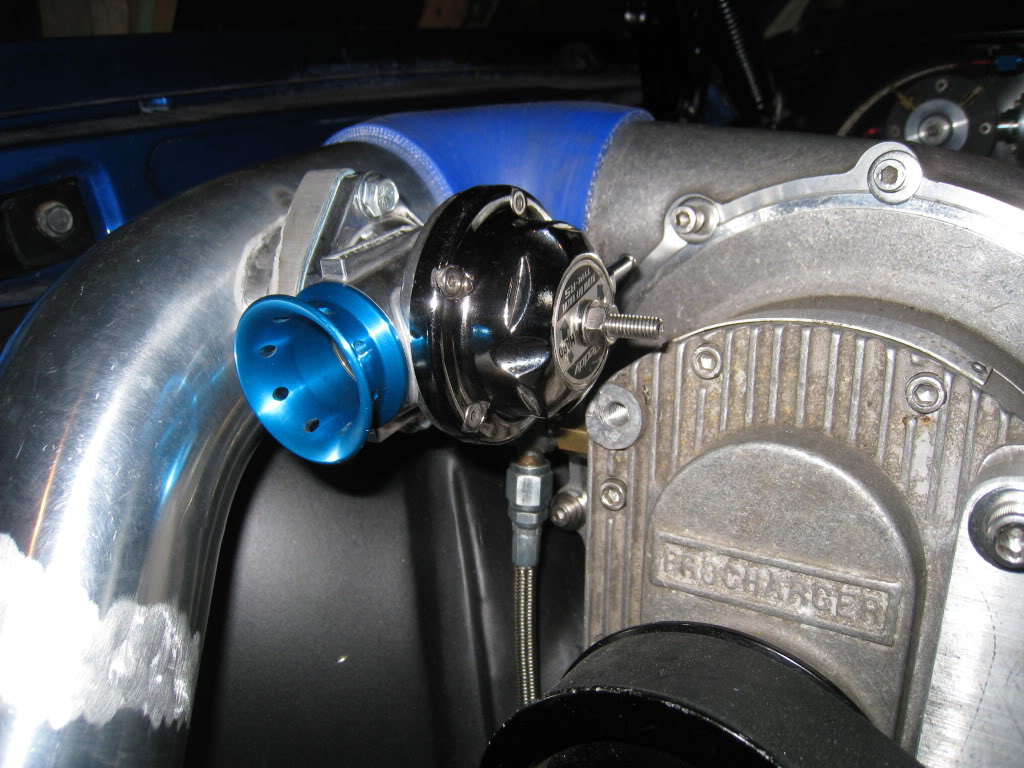
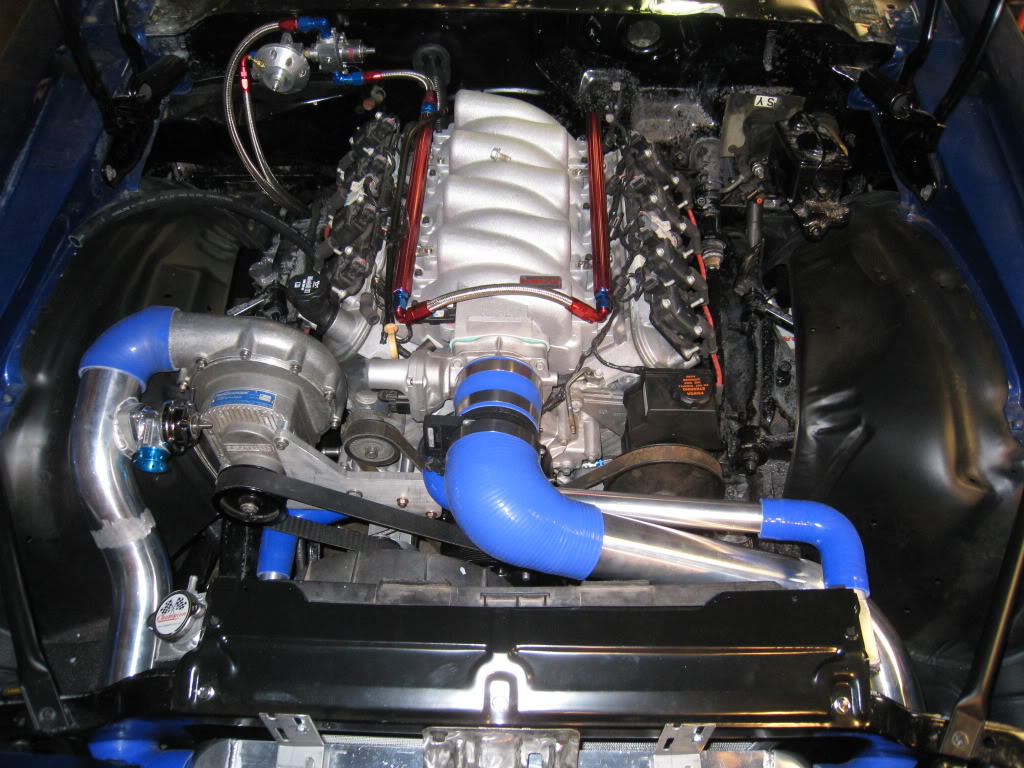
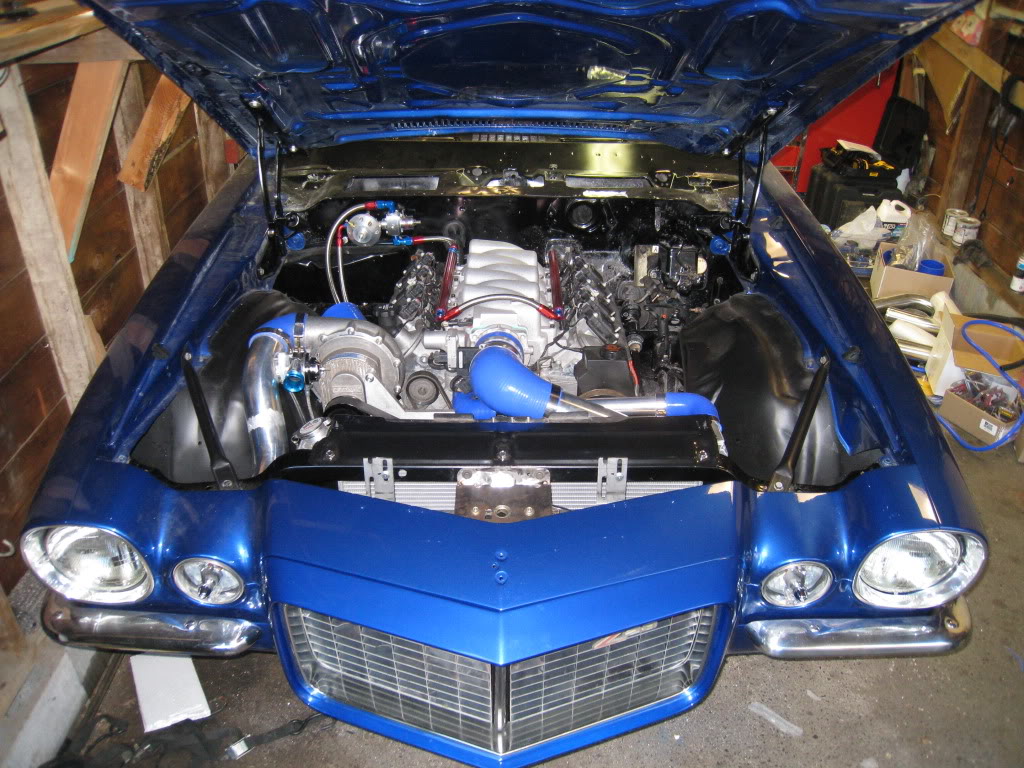
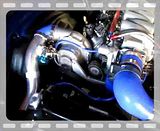
Got the last intercooler pipe finished today, or at least fabricated. Haven't decided on the actual finish for all this stuff yet... I think I may paint it all black with a heat blocking paint to try and keep the intake temps down. This build has been a rollercoaster of emotions. Some days it's just way too much, then others it seems like I just might make it!
05-27-2009, 11:06 PM
#126
TECH Resident

Got the last intercooler pipe finished today, or at least fabricated. Haven't decided on the actual finish for all this stuff yet... I think I may paint it all black with a heat blocking paint to try and keep the intake temps down. This build has been a rollercoaster of emotions. Some days it's just way too much, then others it seems like I just might make it!
 You are on the home stretch now!
 05-29-2009, 11:44 PM
#127
11 Second Club
Thread Starter
Join Date: Mar 2008
Location: New Westminster, B.C., Canada
Posts: 445
Likes: 0
Received 1 Like
on
1 Post
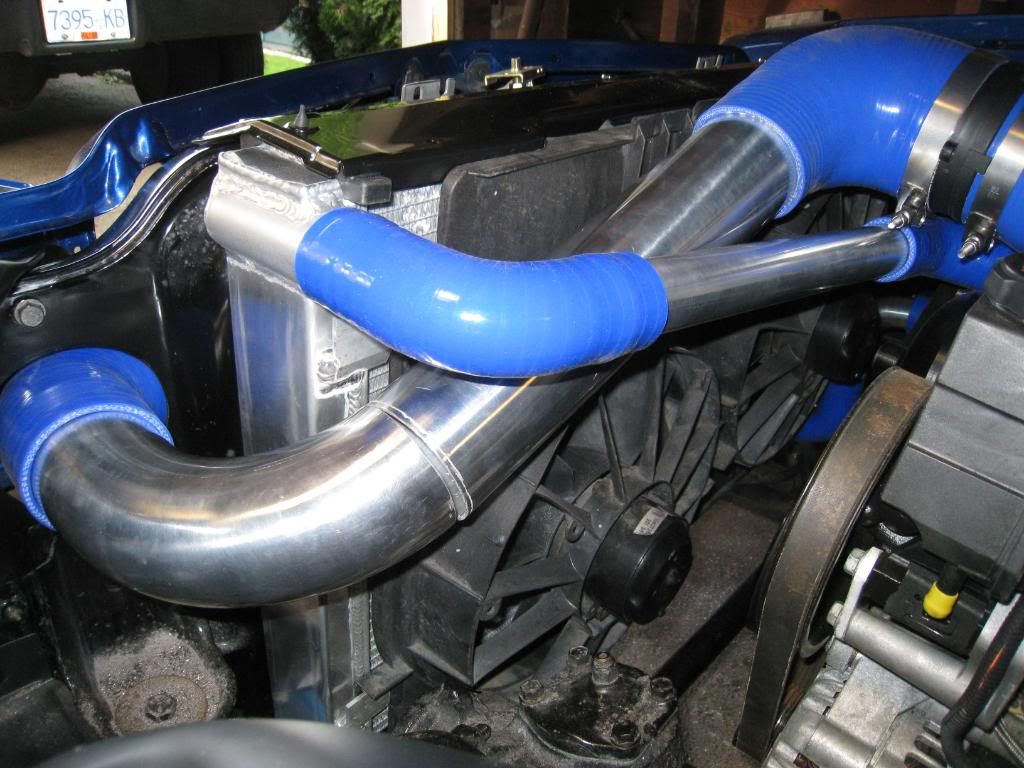
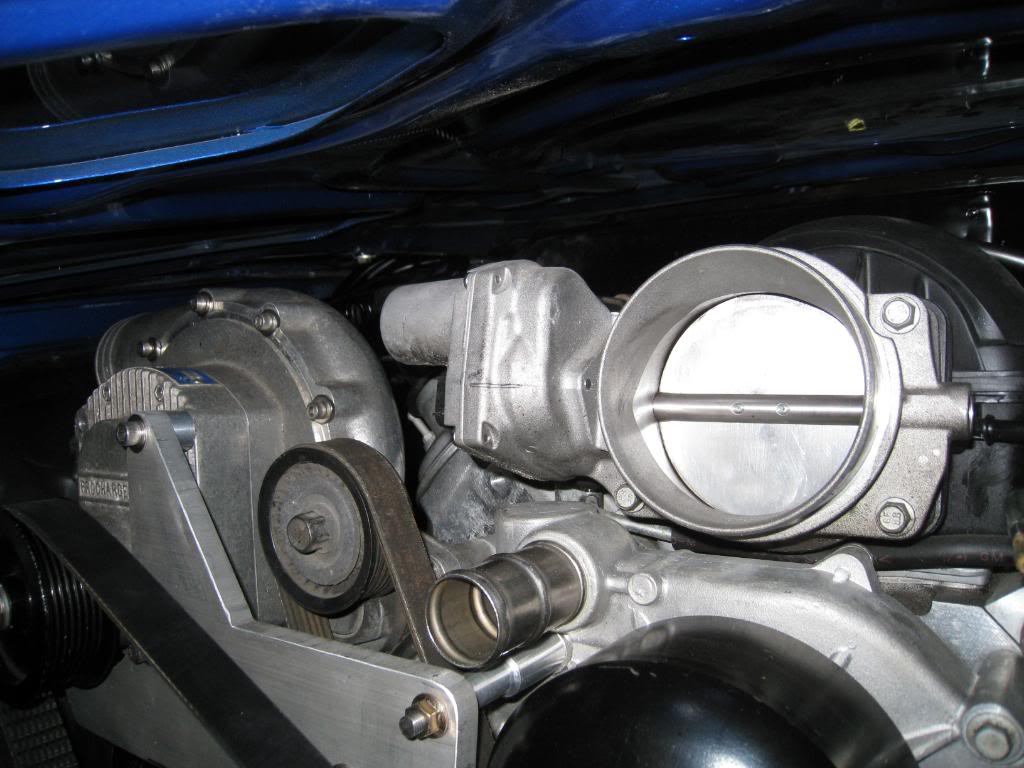
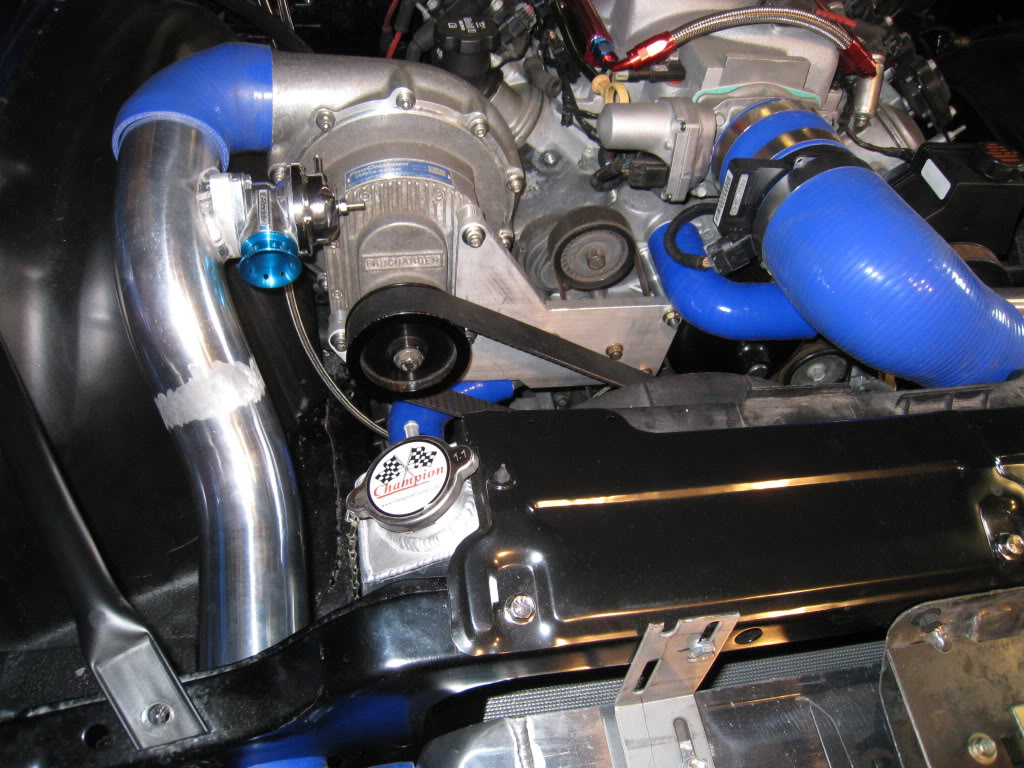
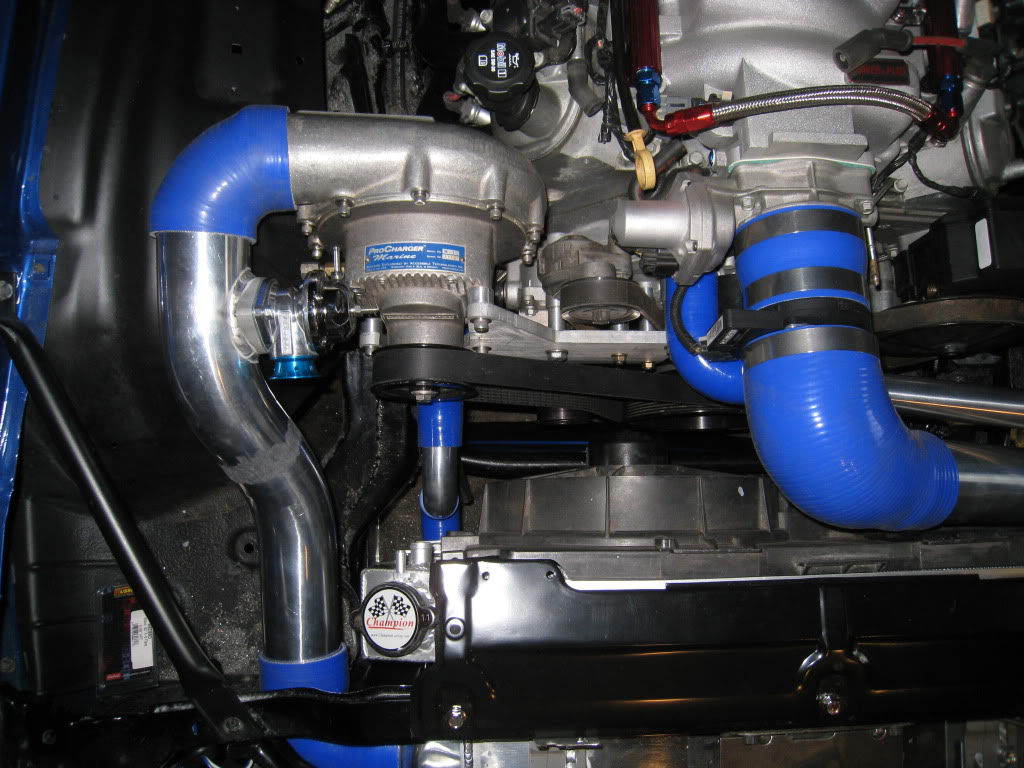
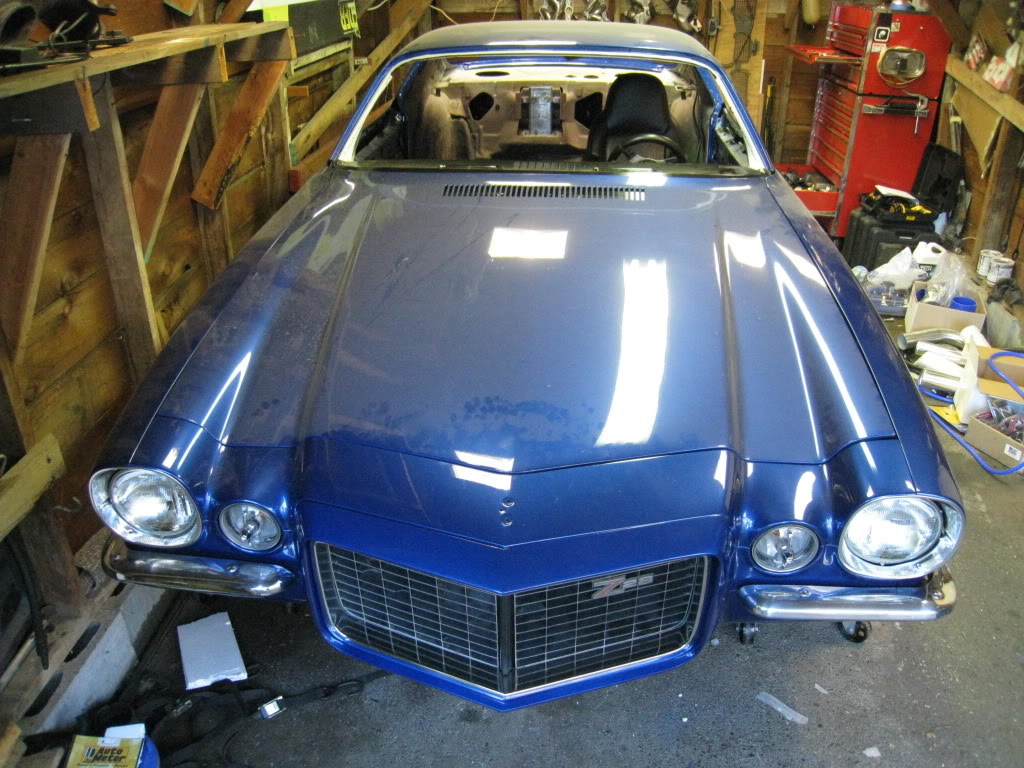
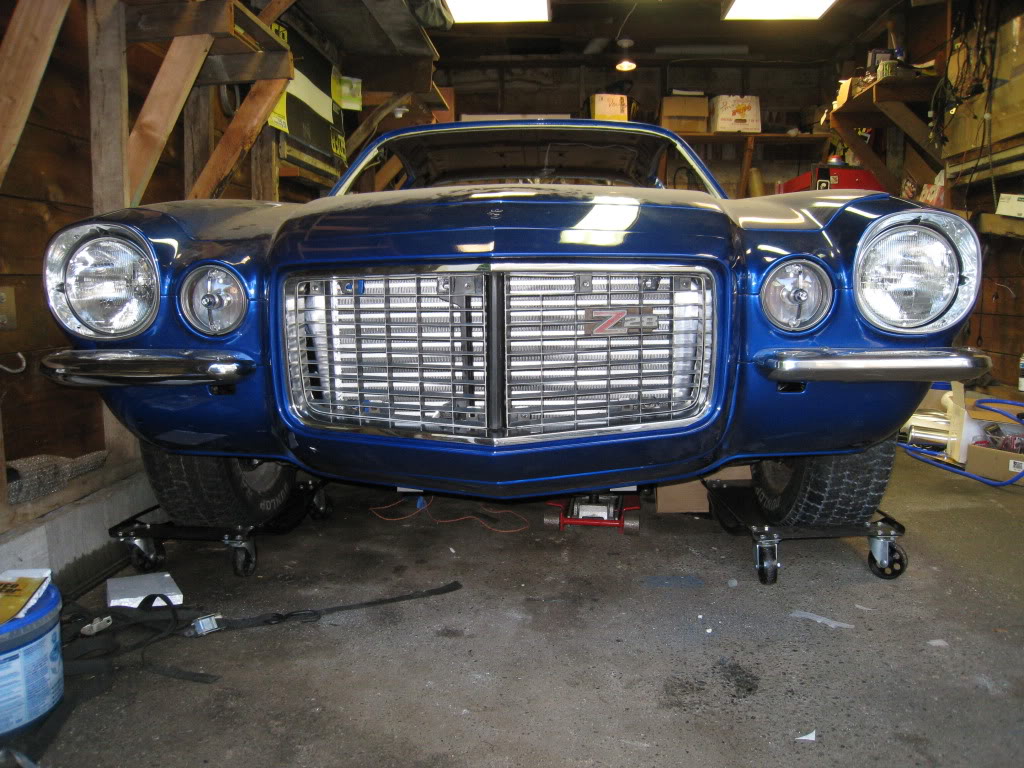
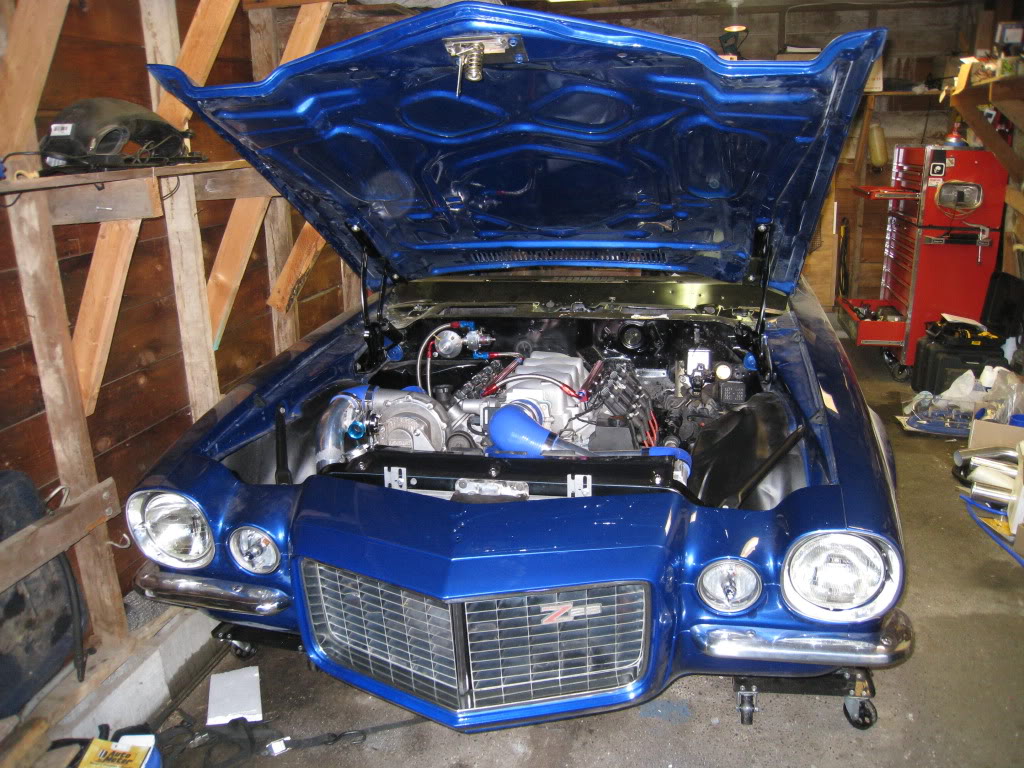
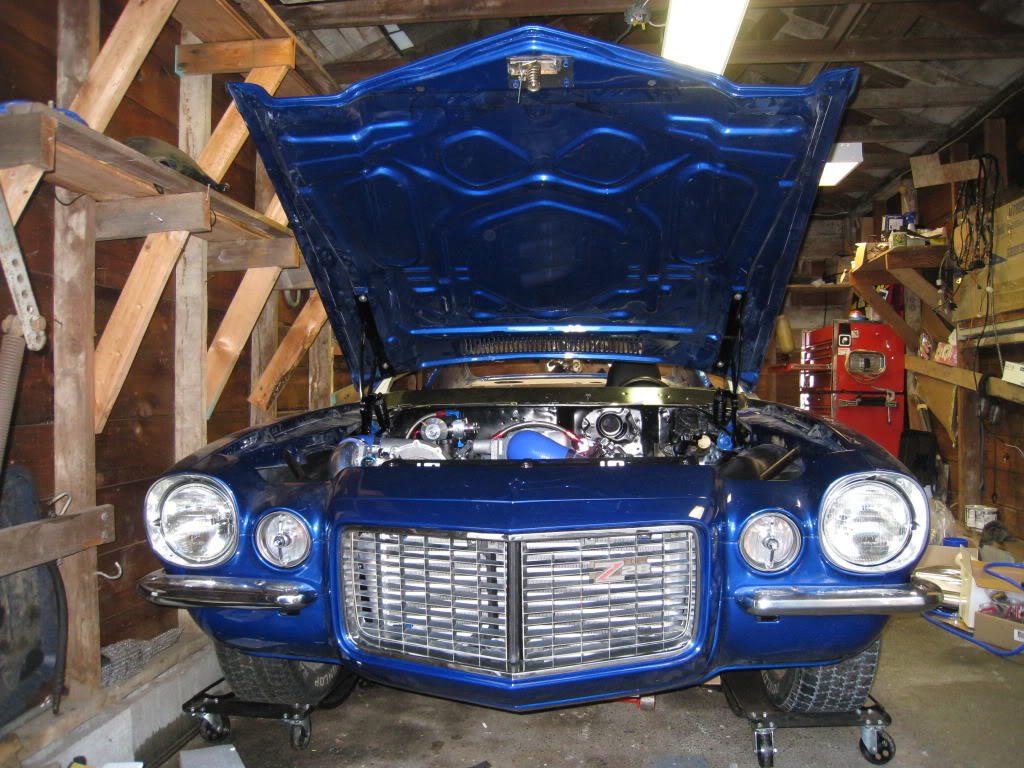
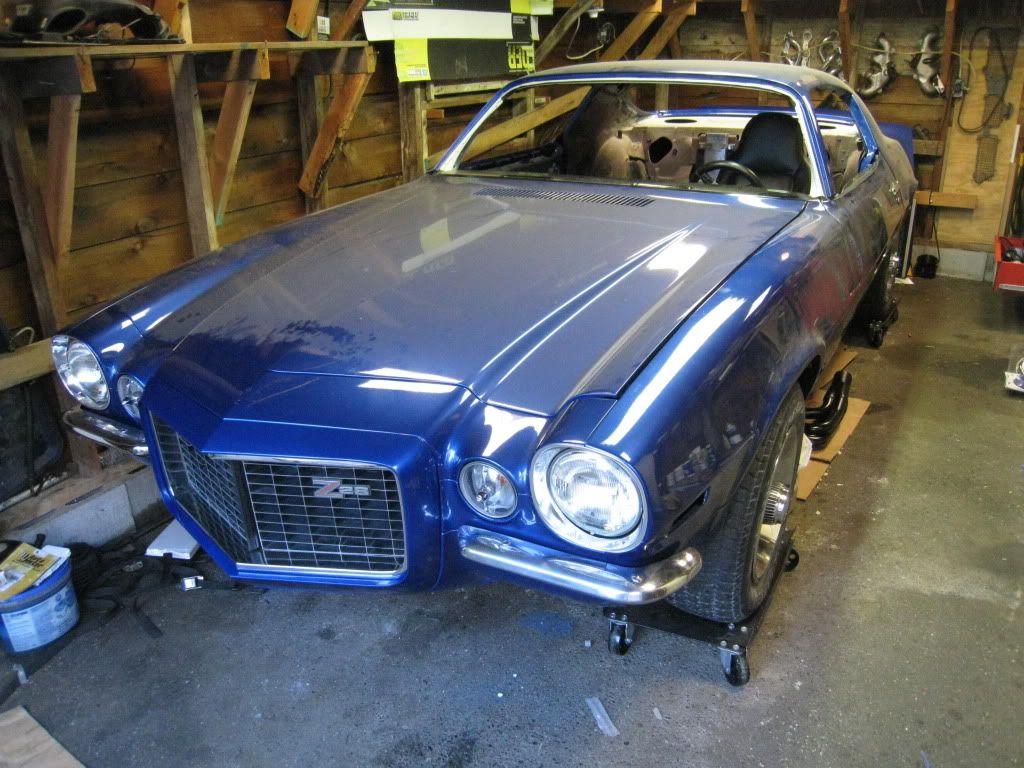
A little more progress over the last 2 nights. Plumbing all clamped down, hood latch tack welded and adjusted, eurathane bumper mounted and grille test fit. Still need to adjust the bumper part. (tricky)


Last edited by Marktainium; 05-30-2009 at 10:40 AM.
 06-05-2009, 11:25 PM
#131
11 Second Club
Thread Starter
Join Date: Mar 2008
Location: New Westminster, B.C., Canada
Posts: 445
Likes: 0
Received 1 Like
on
1 Post
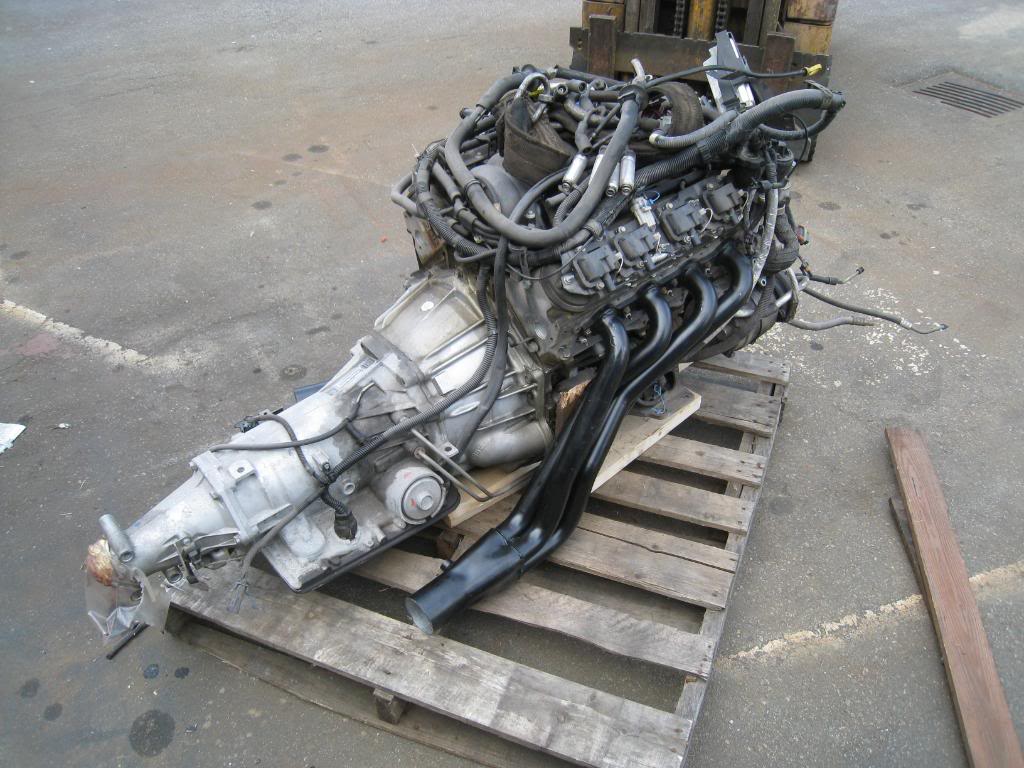
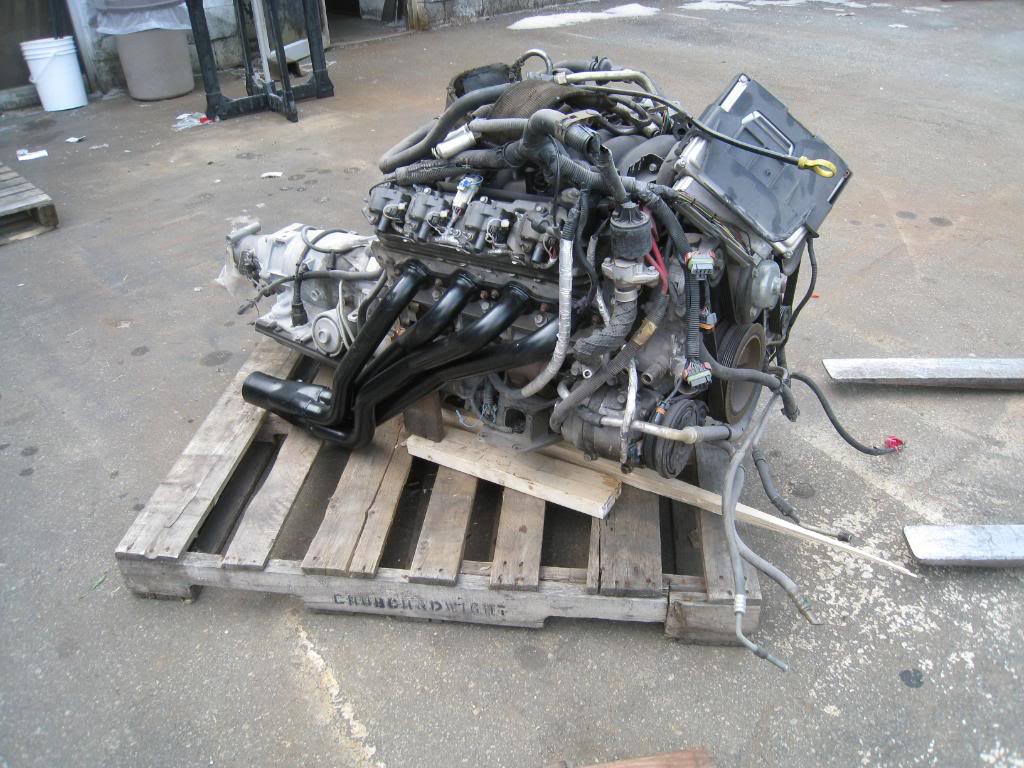
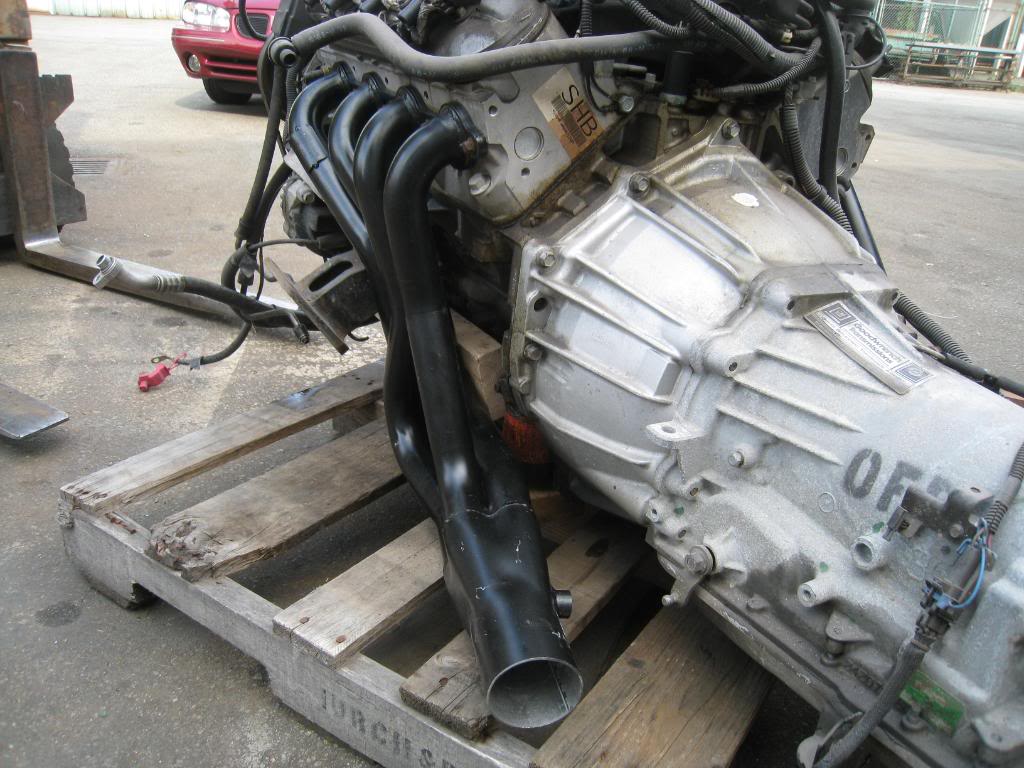
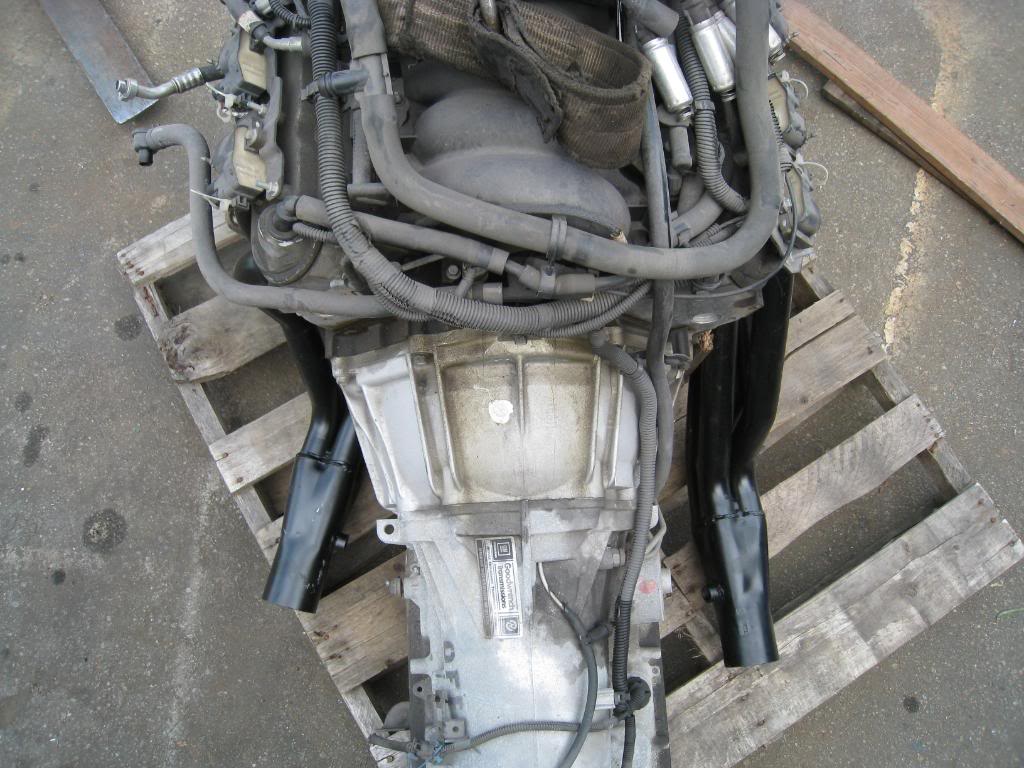
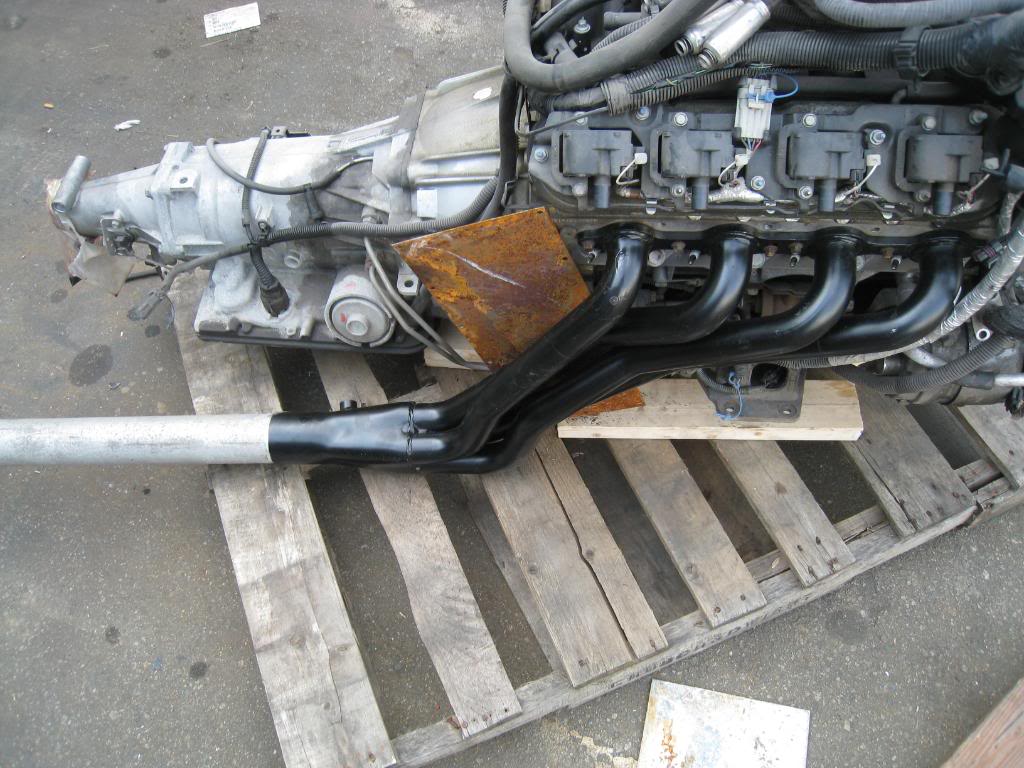
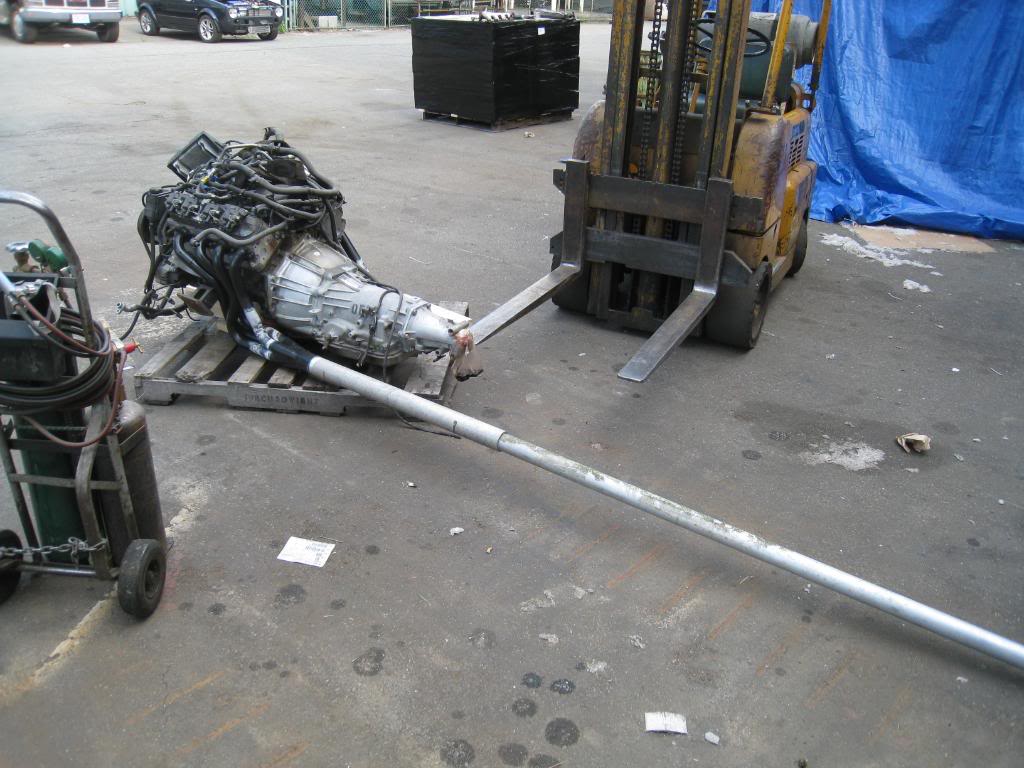
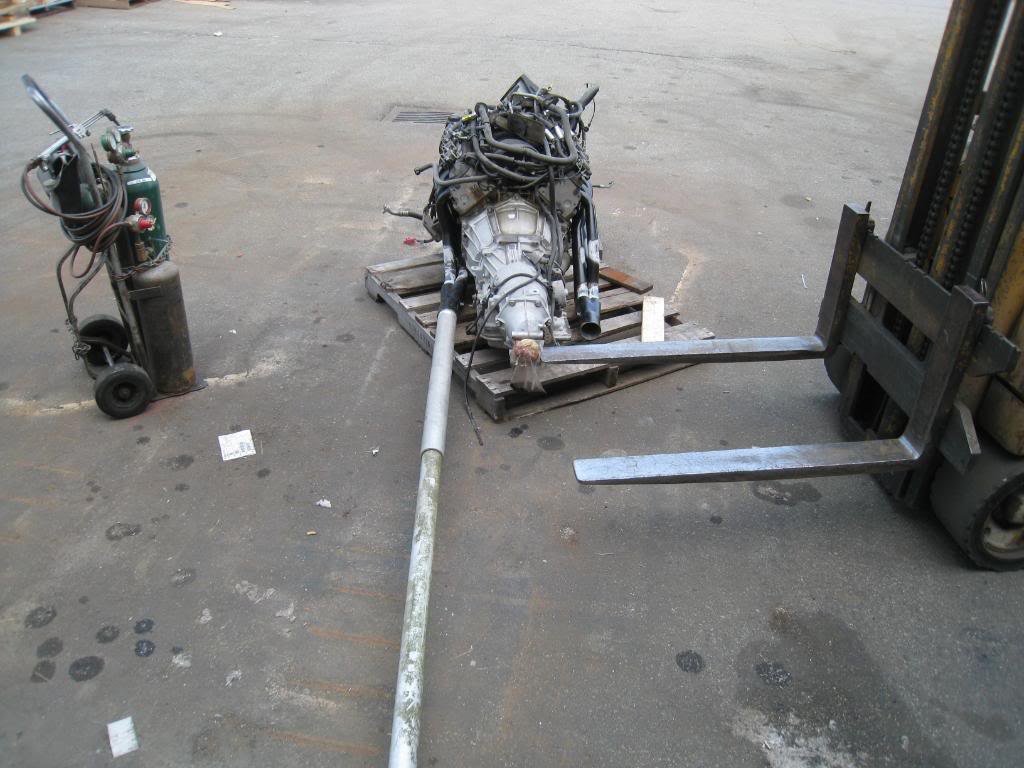
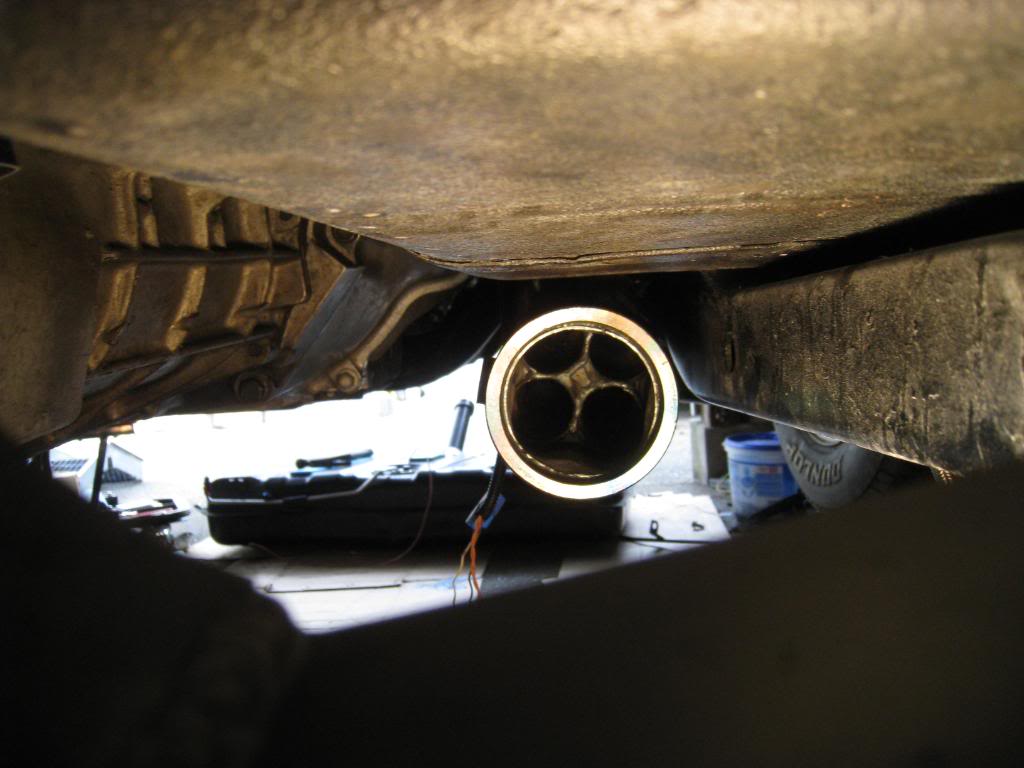
Worked on the Headers tonight. I decided to go with the heat and bend technique. I went down to K.M.S. Car Parts spoke to Richard there and he graciously let me borrow a LS1 with a transmission in order for me to 'adjust' my headers. I bolted my headers onto the motor, secured it with a forklift, found a piece of pipe that fit inside the collector perfectly, then heated and bent the pipes to where I wanted them. I used bits of wood and sheetmetal wedged into certain spots to make sure that the pipes didn't just wrap themselves around things that they shouldn't. Realisticaly the could have been used with very little bending, but I am trying to get them to line up more with my crossmember. Overall, I got the passenger side pipe to come in 3" and the drivers side to come in almost 4"
06-09-2009, 01:13 AM
#133
11 Second Club
Thread Starter
Join Date: Mar 2008
Location: New Westminster, B.C., Canada
Posts: 445
Likes: 0
Received 1 Like
on
1 Post
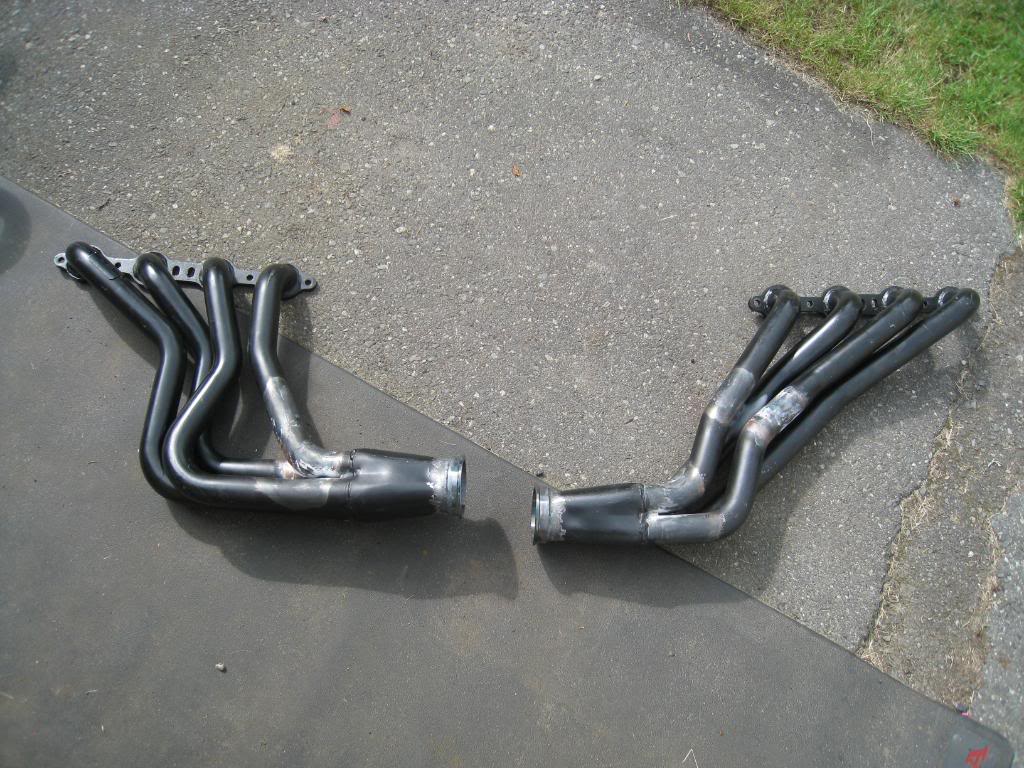
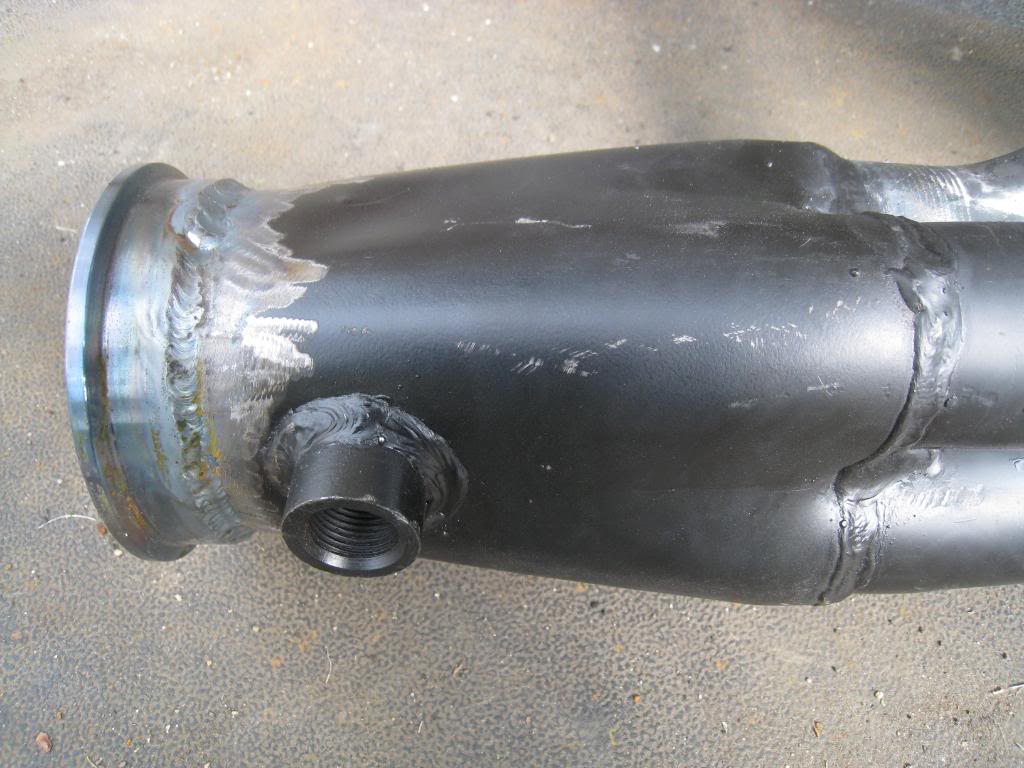
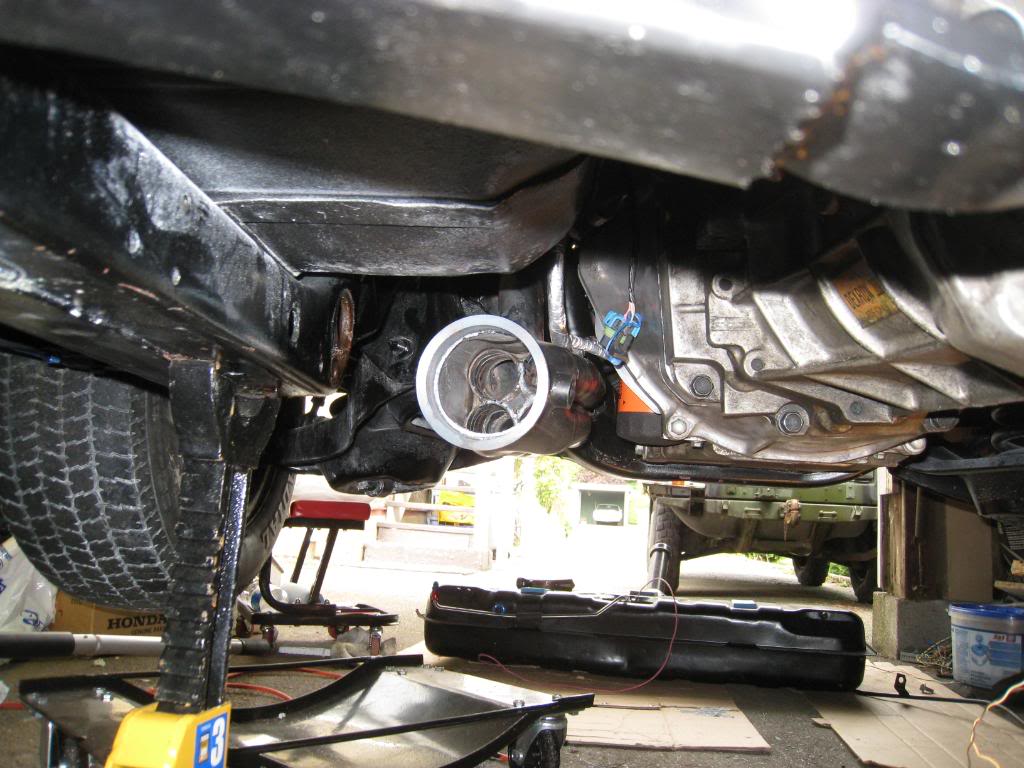
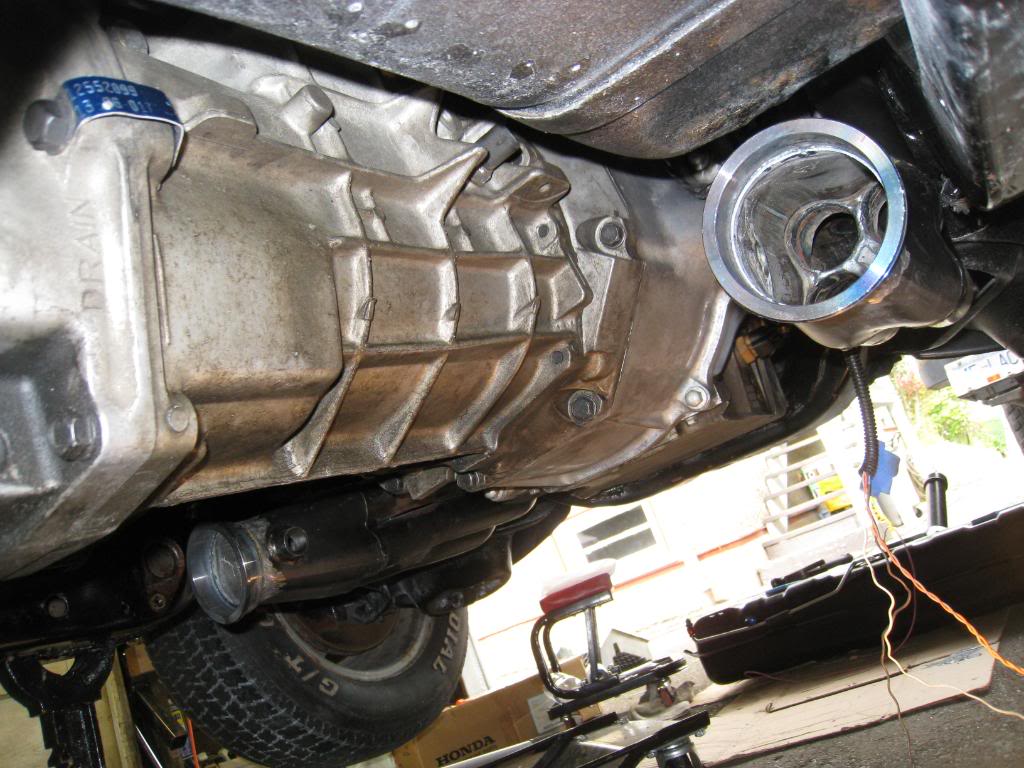
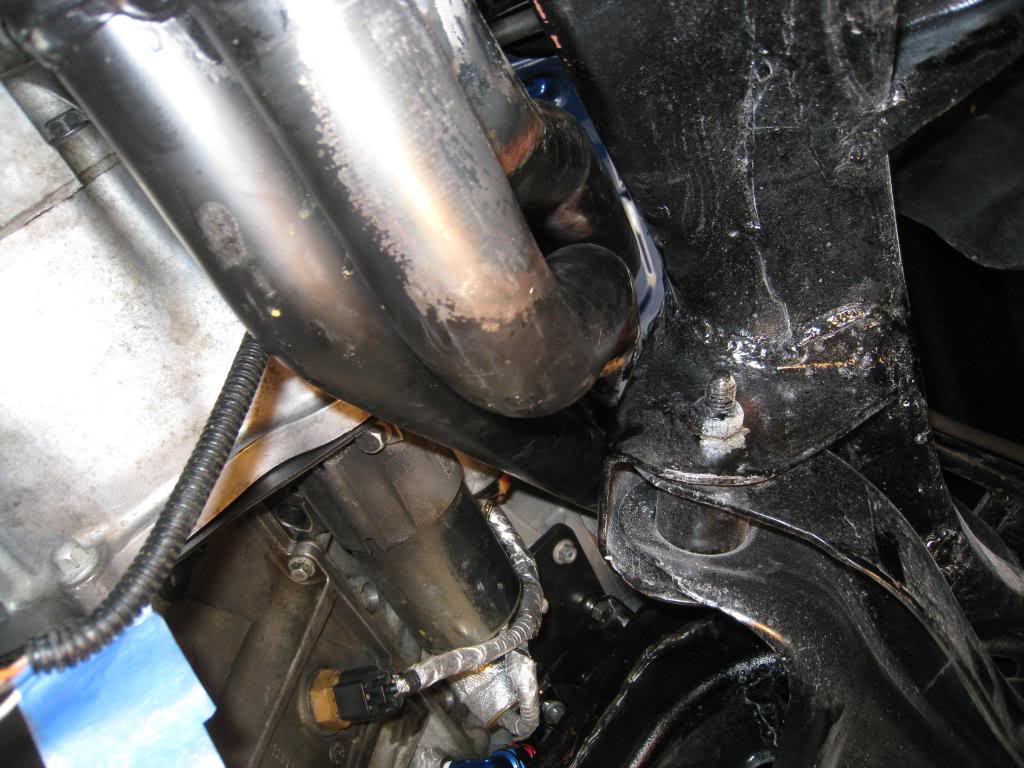
I dropped the headers off at my local metal cleaners today, getting them cleaned then I am going to coat them with a product called turboX. My brother used it on his turbo housing and it is a very effective heat blocker. Plus it stays nice and black and doesn't discolor. Here's some more pics.
06-09-2009, 11:21 PM
#134
11 Second Club
Thread Starter
Join Date: Mar 2008
Location: New Westminster, B.C., Canada
Posts: 445
Likes: 0
Received 1 Like
on
1 Post
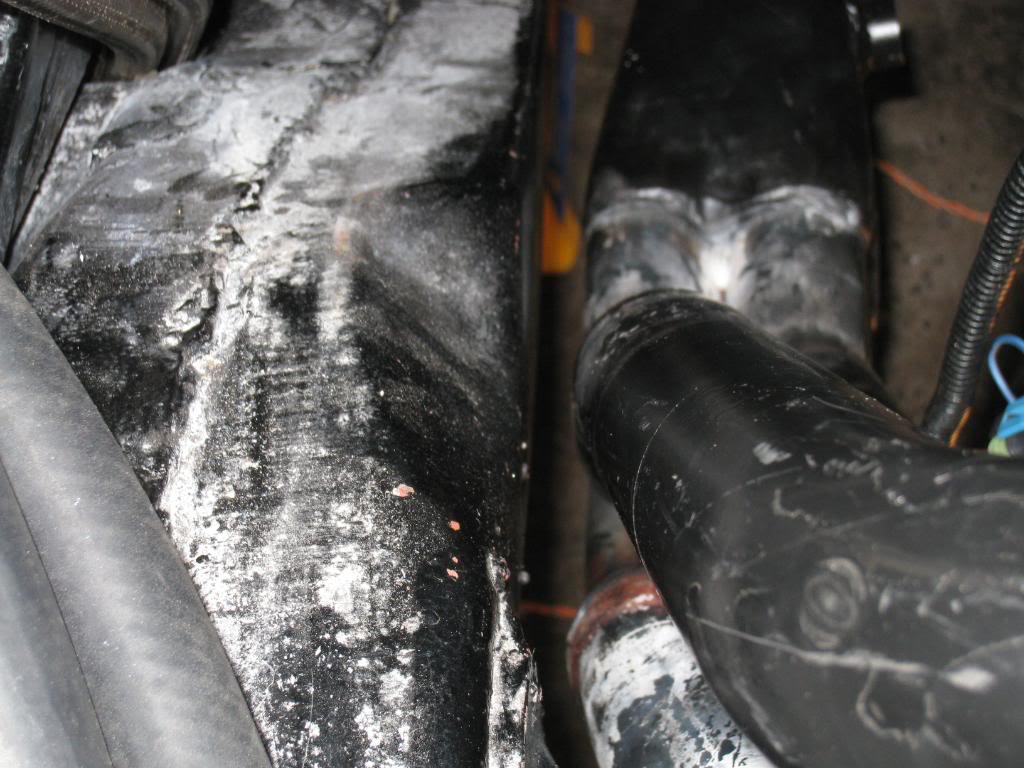
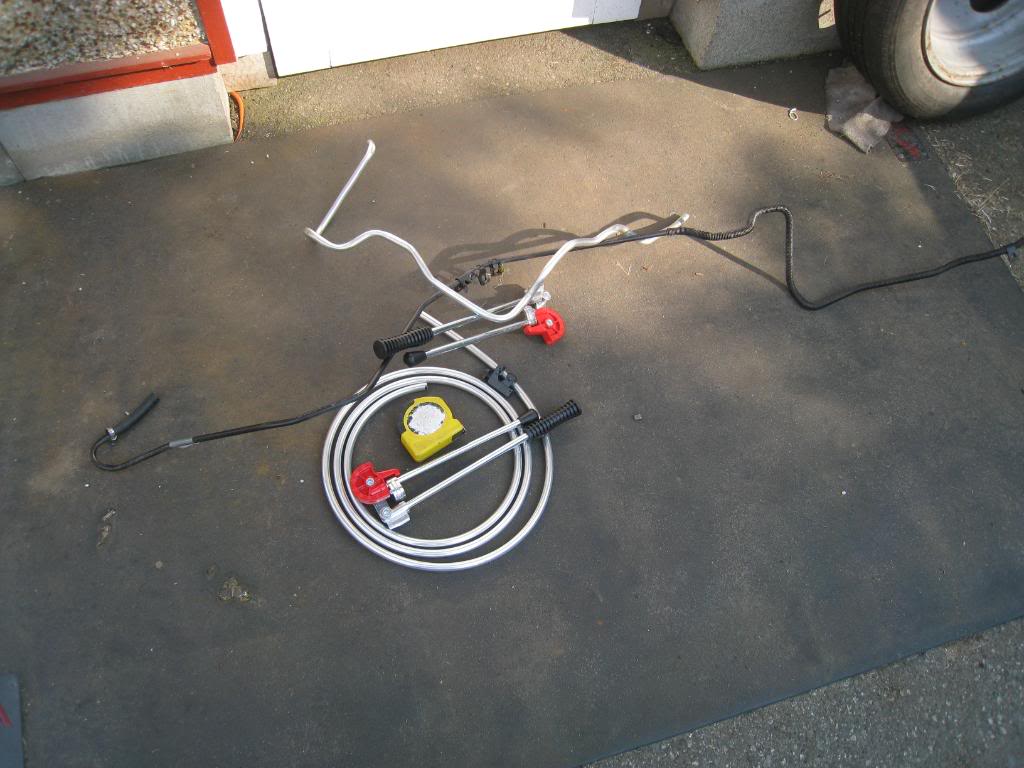
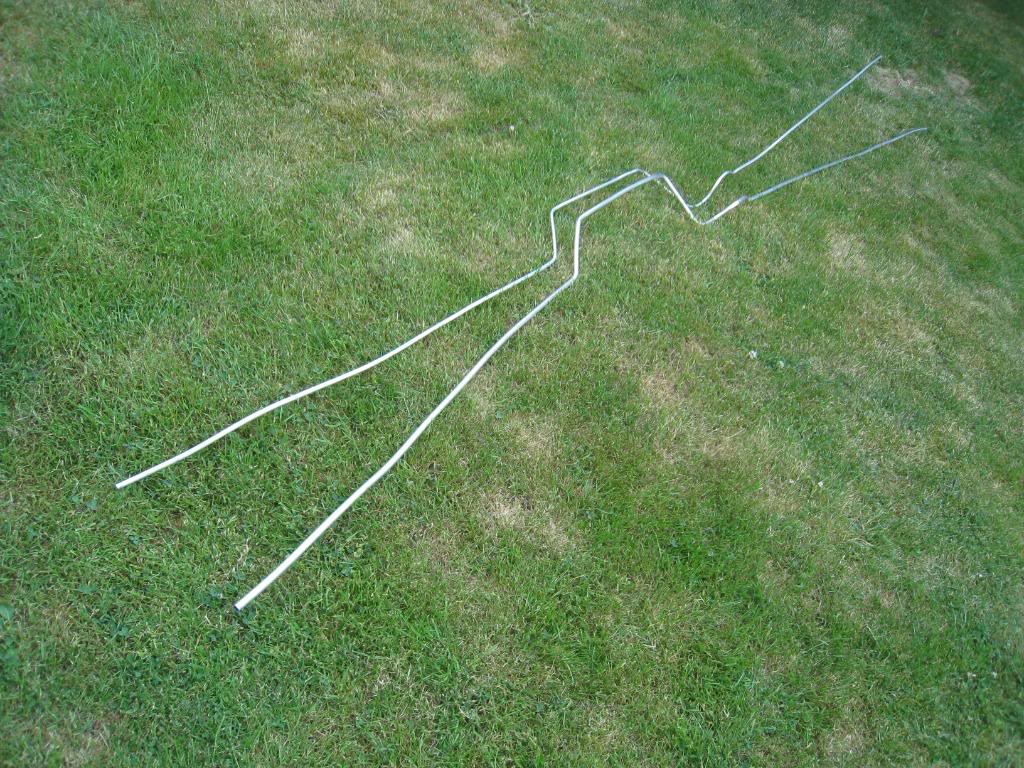
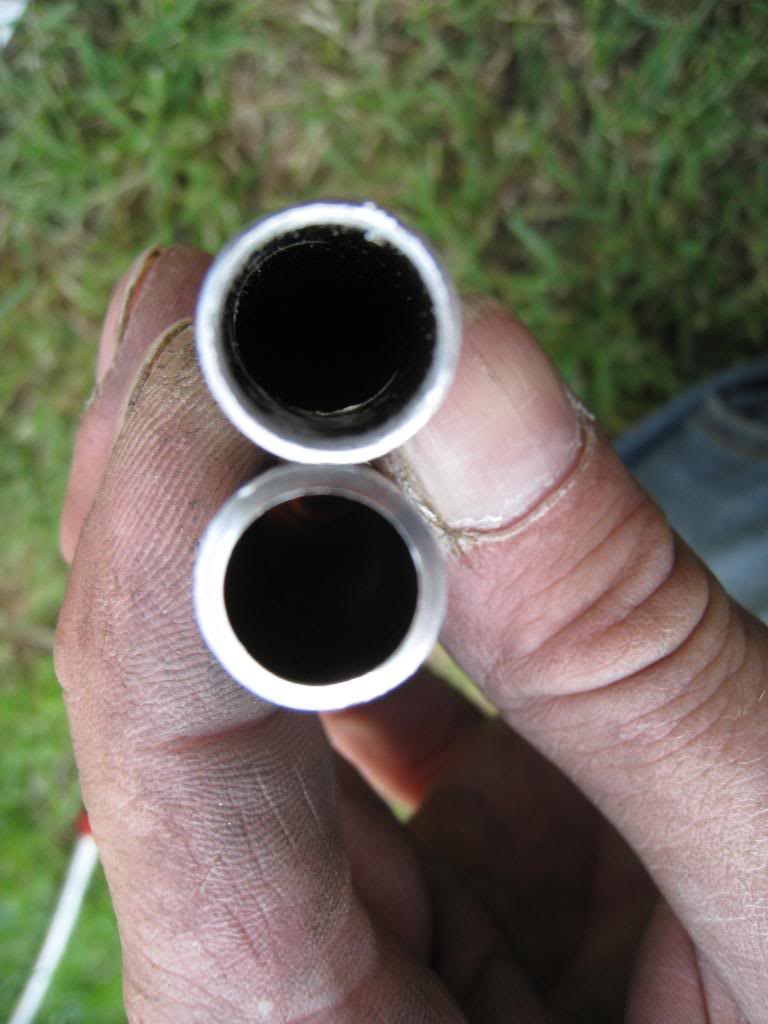
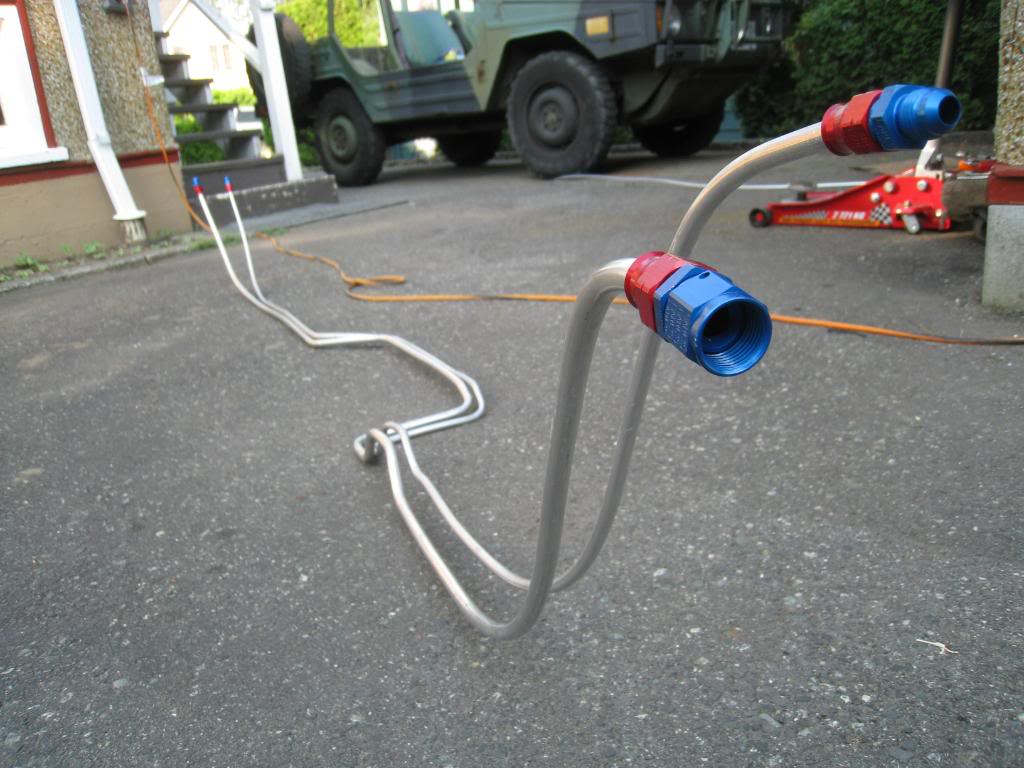
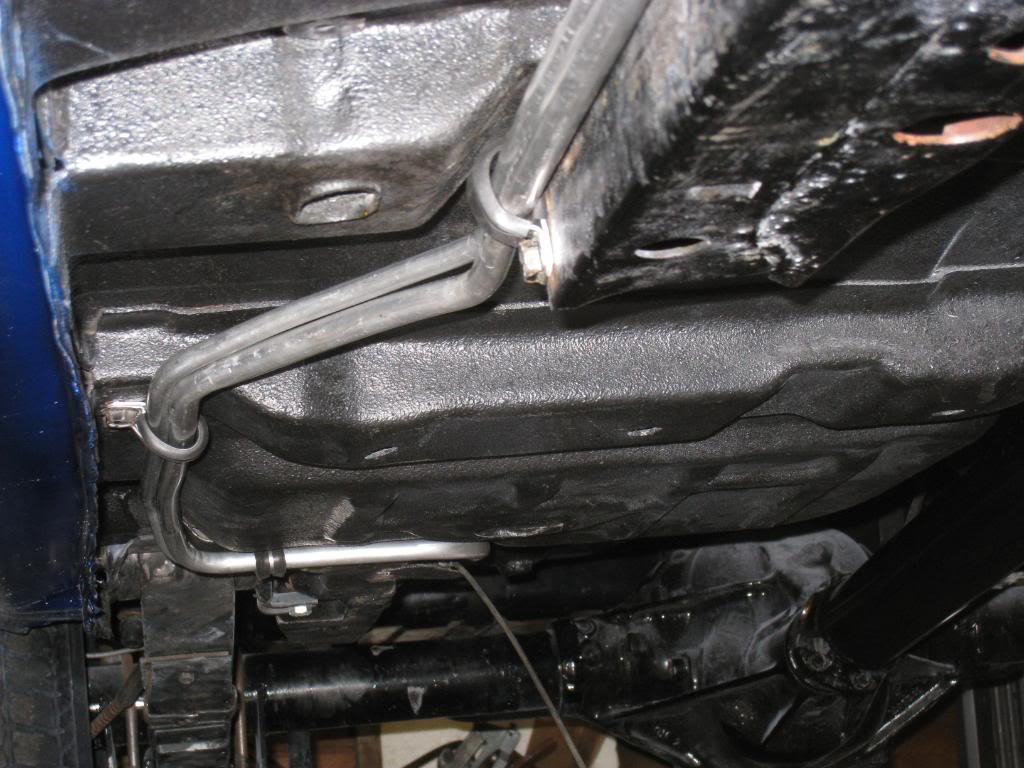
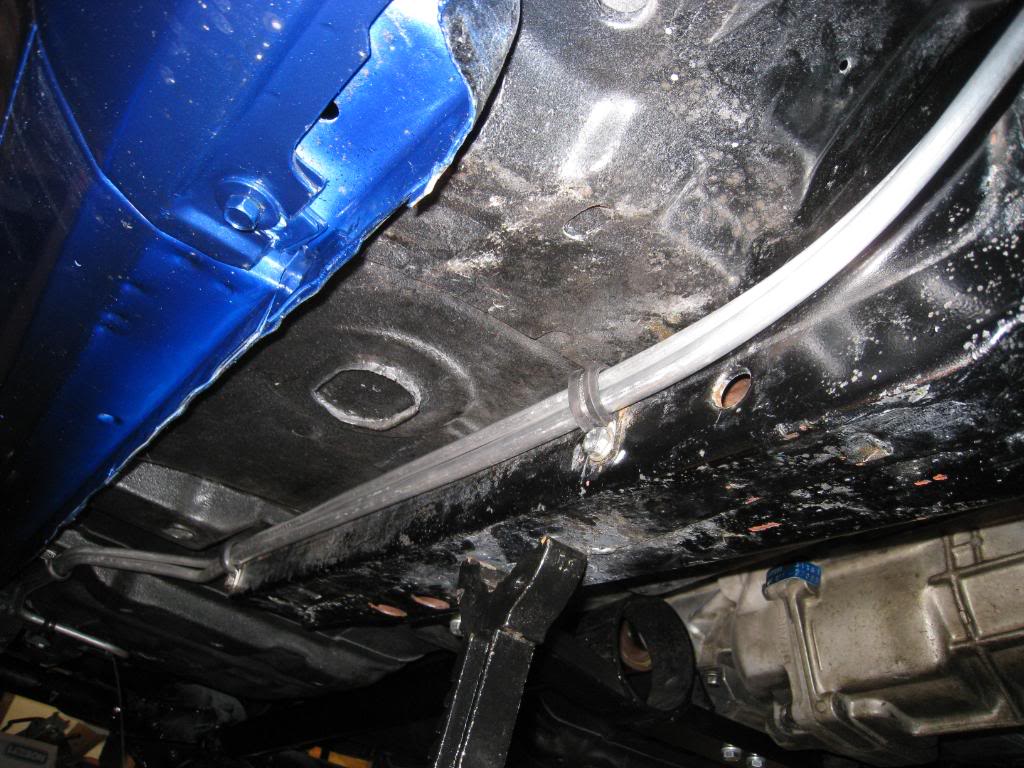
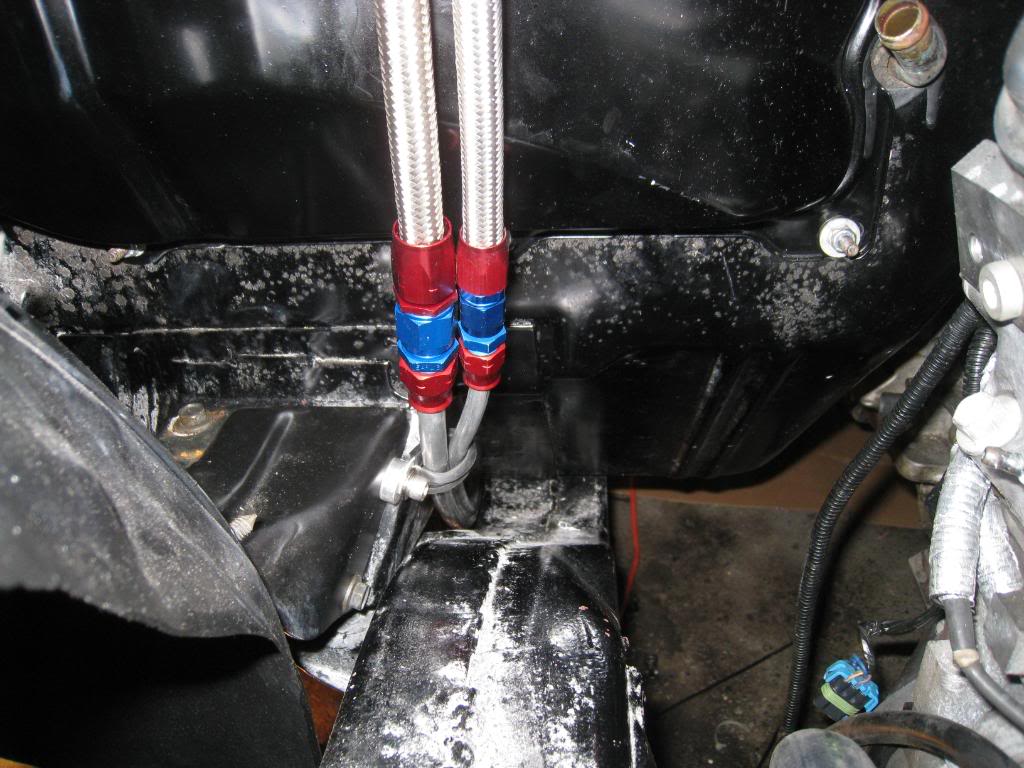
Built hard fuel lines this afternoon. Not an easy task with the car only 2 feet off of the ground. For those of you who might do the same, don't forget to ream out the line after you cut it. The pics show just how much the line collapses after a spin cutter. Also, a good tip is to copy your old line before you go under the car. I went with a 1/2" feed line and 3/8" return.

06-11-2009, 12:53 AM
#135
11 Second Club
Thread Starter
Join Date: Mar 2008
Location: New Westminster, B.C., Canada
Posts: 445
Likes: 0
Received 1 Like
on
1 Post
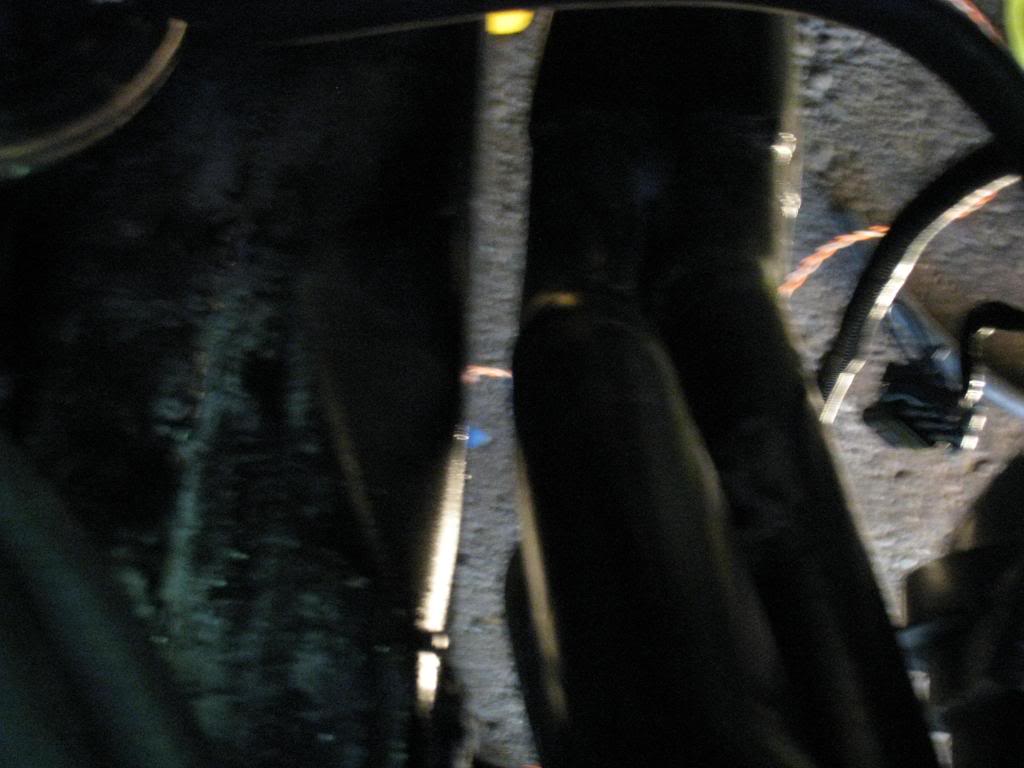
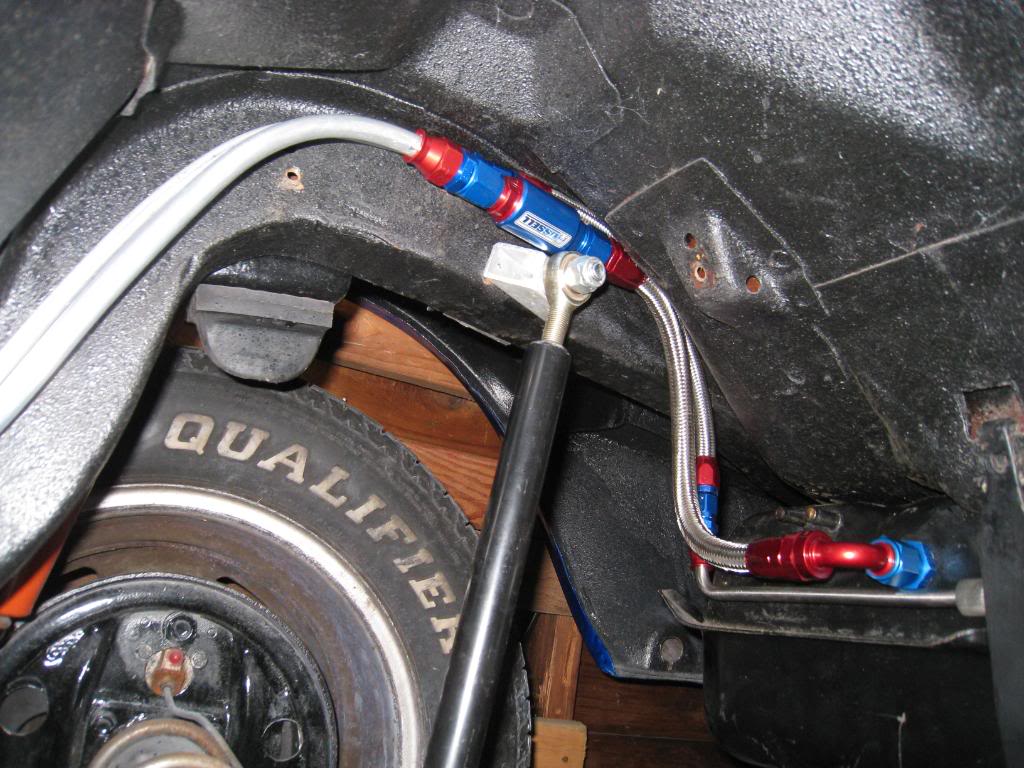
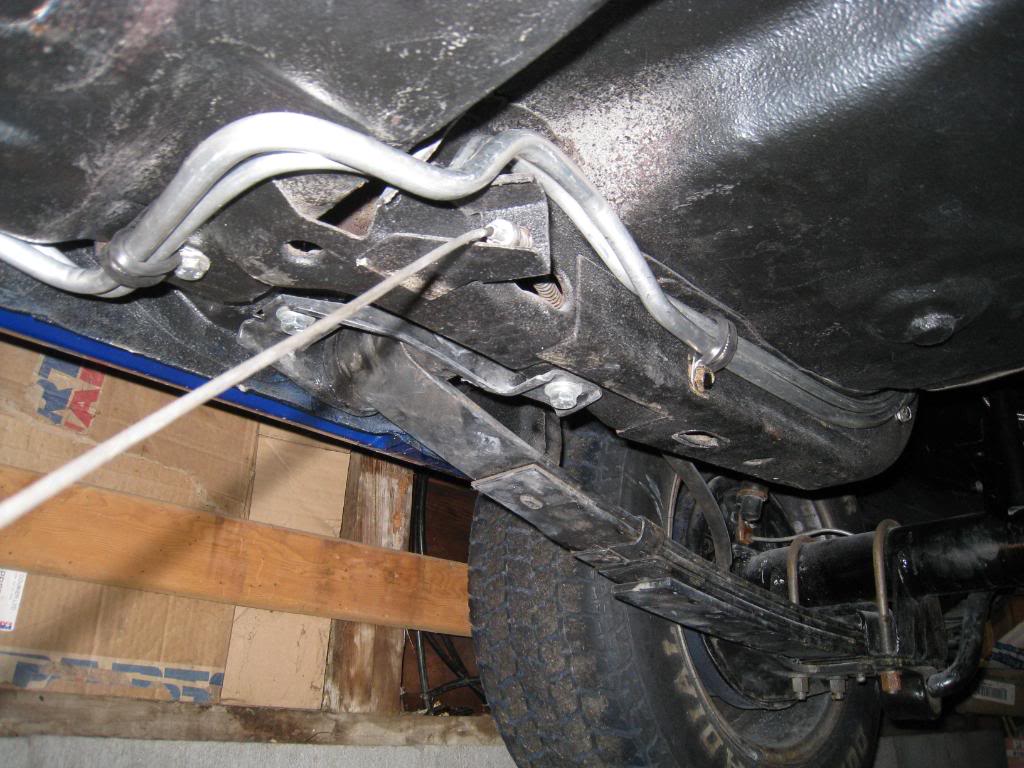
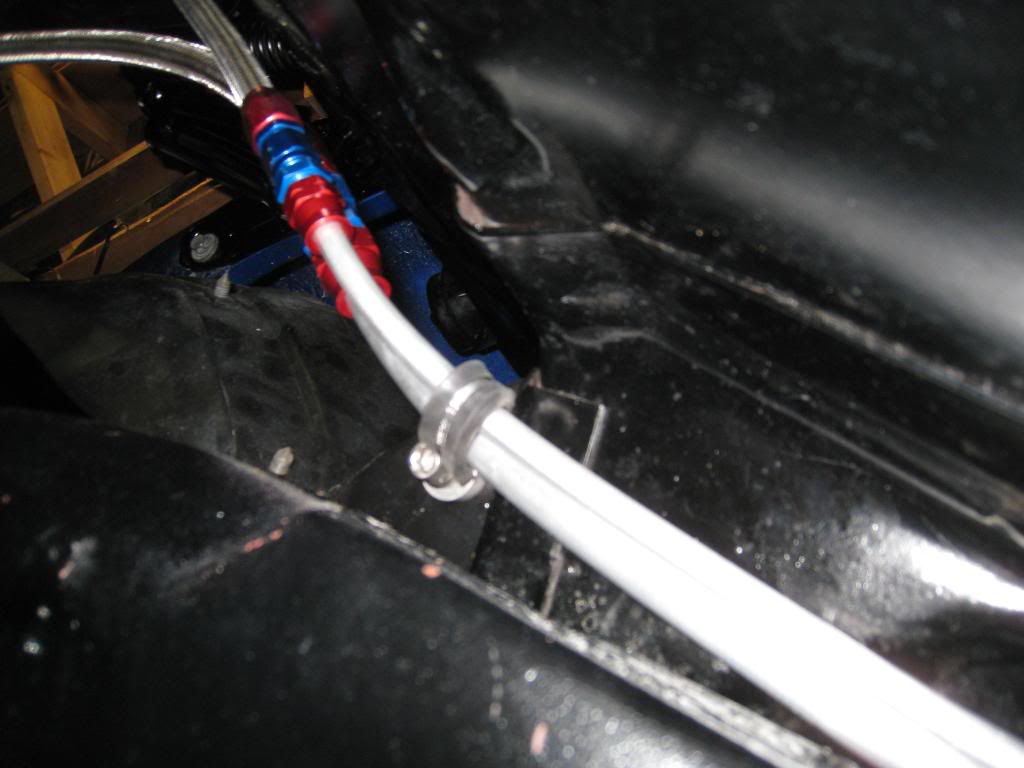
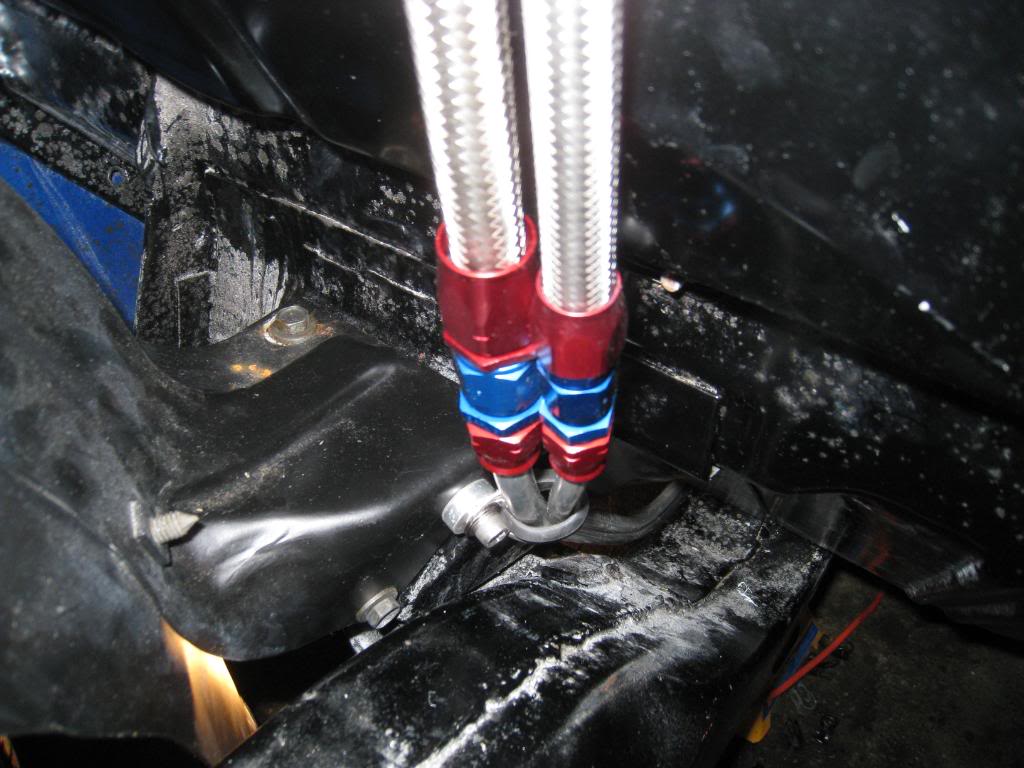
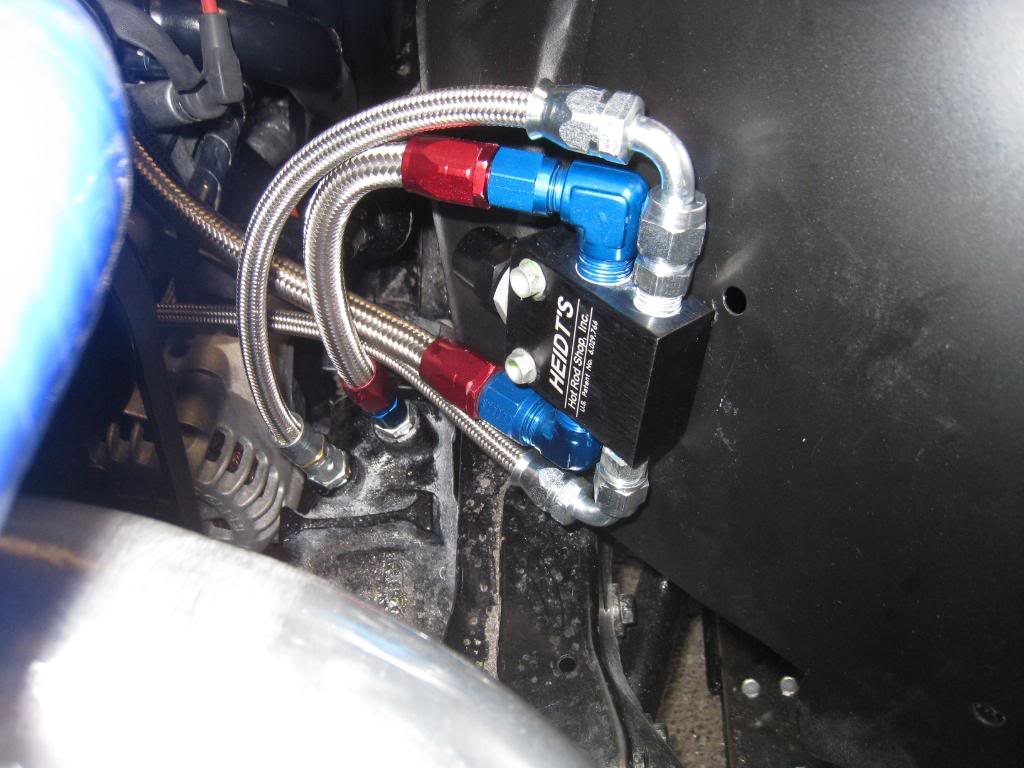
Got my hardlines clipped in. Purged and pressure tested the system. Damn! leak at the regulator. Turns out it was a bad fitting that galled the regulator as it went in, then removed the threads when I took it back out! I disassembeld the regulator and ran a tap into the bad hole as deep as I could and replaced the fitting. Fingers are crossed. Will retry it tomorrow.
06-11-2009, 11:45 PM
#136
11 Second Club
Thread Starter
Join Date: Mar 2008
Location: New Westminster, B.C., Canada
Posts: 445
Likes: 0
Received 1 Like
on
1 Post
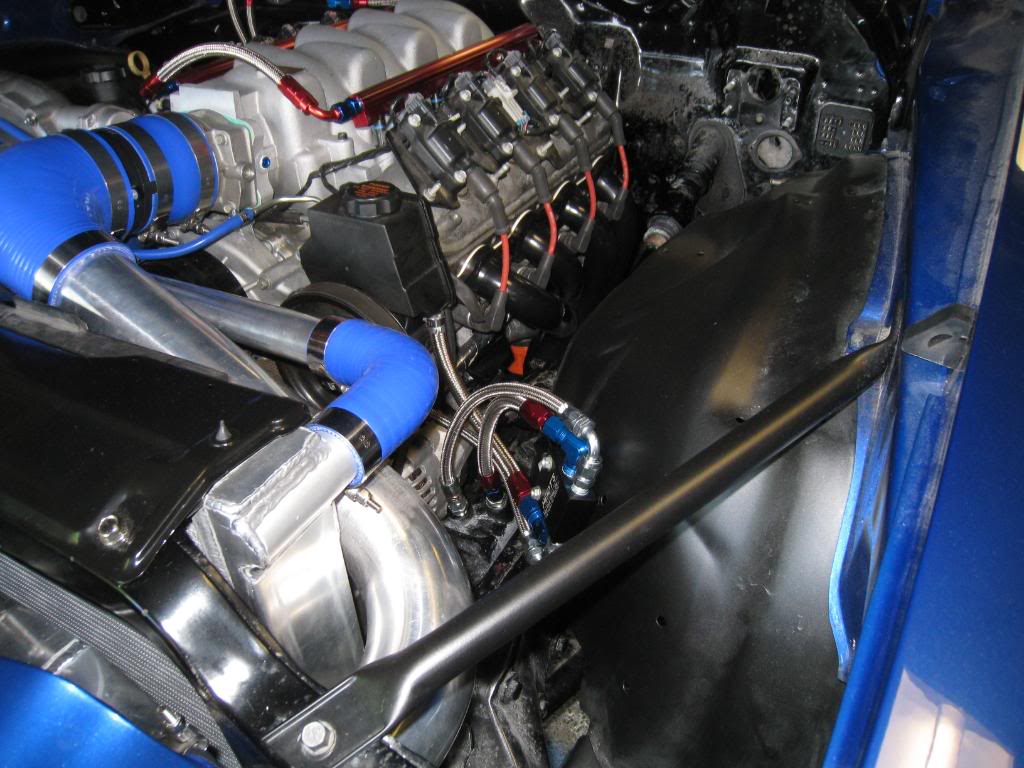
Success! Installed my regulator assembly and pressure tested. No leaks. Regulator is set at 54 psi. Does that sound about right? I think I have heard 56psi...
06-12-2009, 07:58 PM
#137
Teching In
iTrader: (1)
Join Date: Jun 2006
Location: Jackson, Mississippi
Posts: 14
Likes: 0
Received 0 Likes
on
0 Posts
Awesome build. Gives me inspiration for my 71 camaro.
I think LS1 and LS6's run at 58 psi fuel pressure. Not sure about the newer stuff. Probably won't matter where you set it just as long as you account for that in the Injector Flow Rate table, when you start your tuning. But don't take my advice....I'm definitely no tuner!
I think LS1 and LS6's run at 58 psi fuel pressure. Not sure about the newer stuff. Probably won't matter where you set it just as long as you account for that in the Injector Flow Rate table, when you start your tuning. But don't take my advice....I'm definitely no tuner!
06-14-2009, 12:35 AM
#138
11 Second Club
Thread Starter
Join Date: Mar 2008
Location: New Westminster, B.C., Canada
Posts: 445
Likes: 0
Received 1 Like
on
1 Post
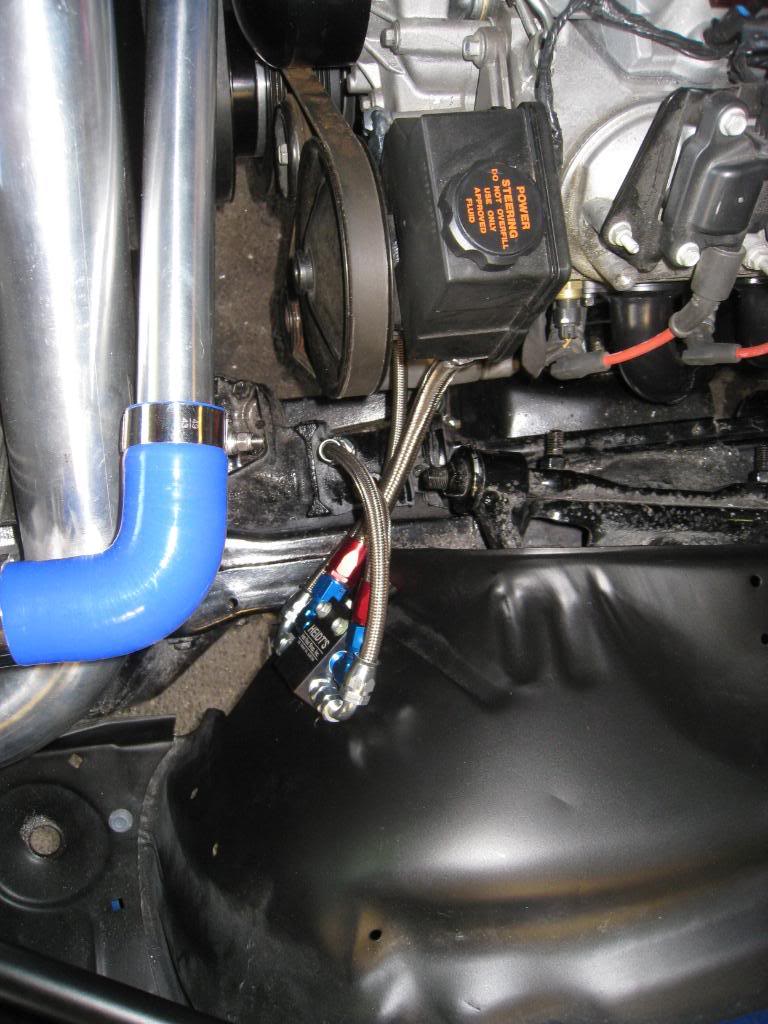
Installed a power steering regulator today. Plus, FIRED IT UP!!!!! thats right, I ran the motor today! open headers, but oh well, been over a year in the making. Sounded great. more on that later!
Last edited by Marktainium; 06-14-2009 at 09:19 PM.
