

1973 RS Camaro LSX Swap


 01-23-2011, 12:36 PM
#263

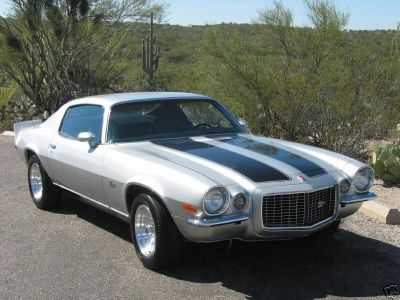
Lots of pictures this time. Last Friday I dropped my car off at F-R-E in Gilbert AZ to have my roll bar installed and Clay called yesterday and said it was ready for pickup. I didn’t get home until late last night (6hr round trip) so I left the car on the trailer last night and unloaded it this morning.
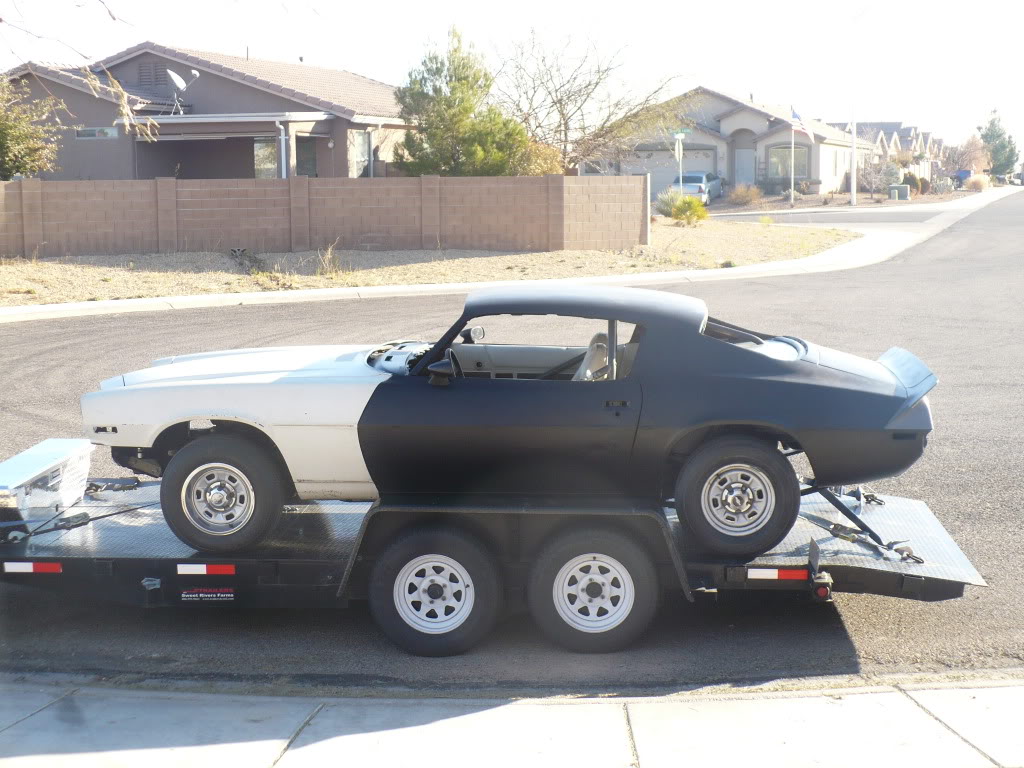
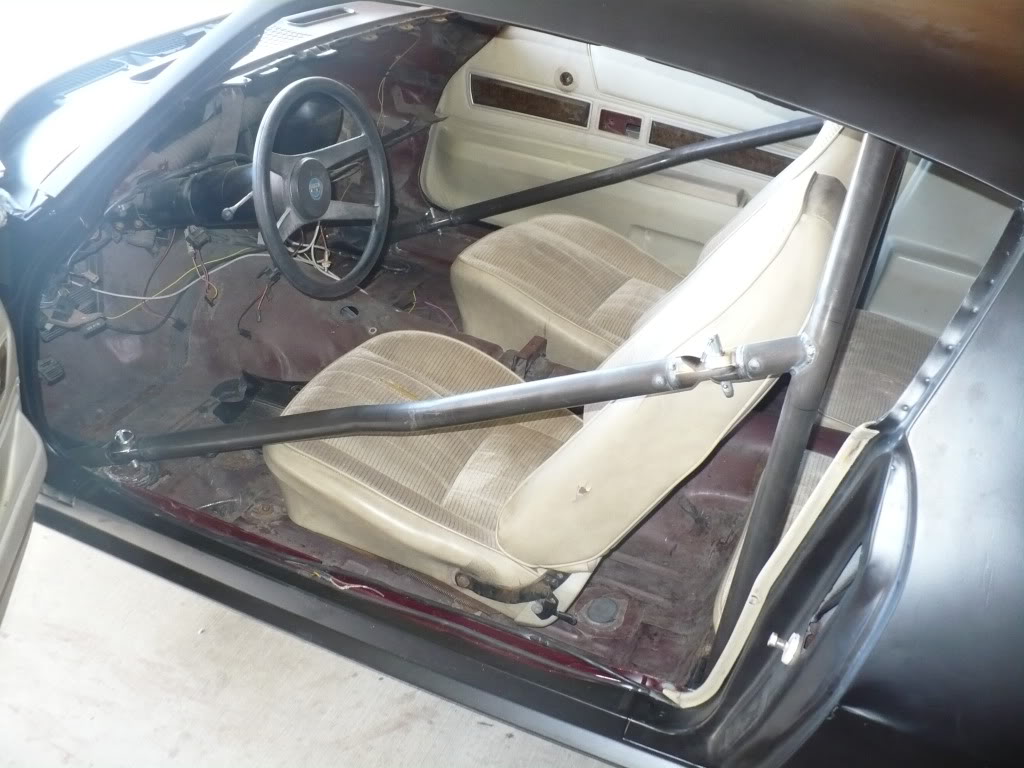
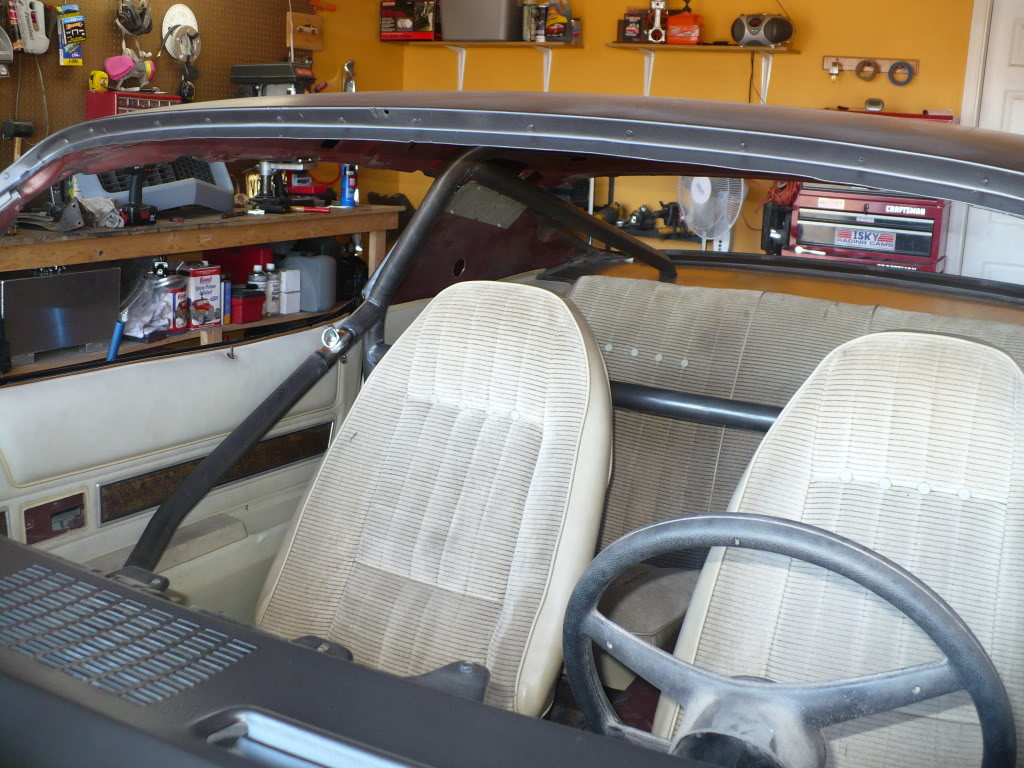
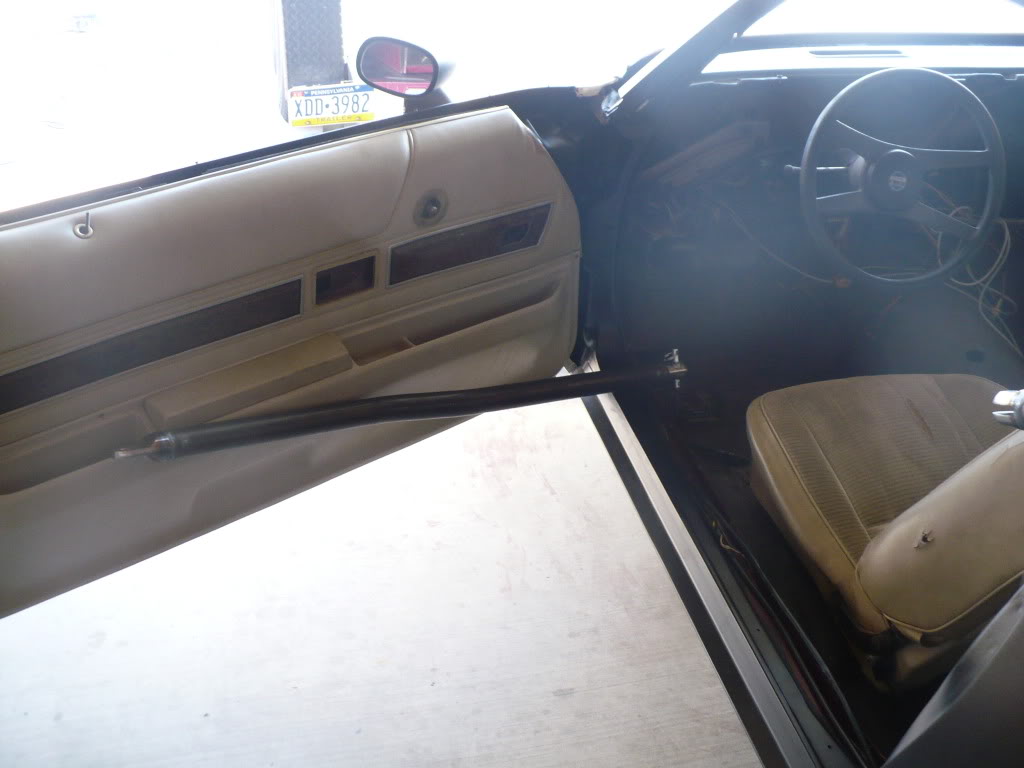
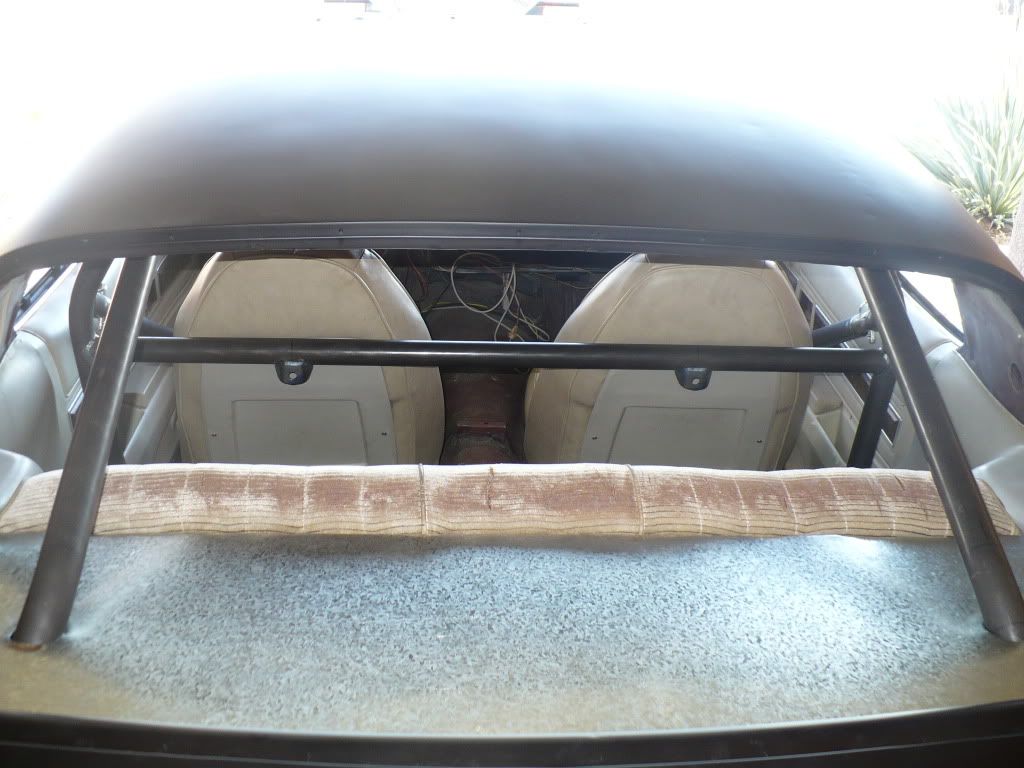
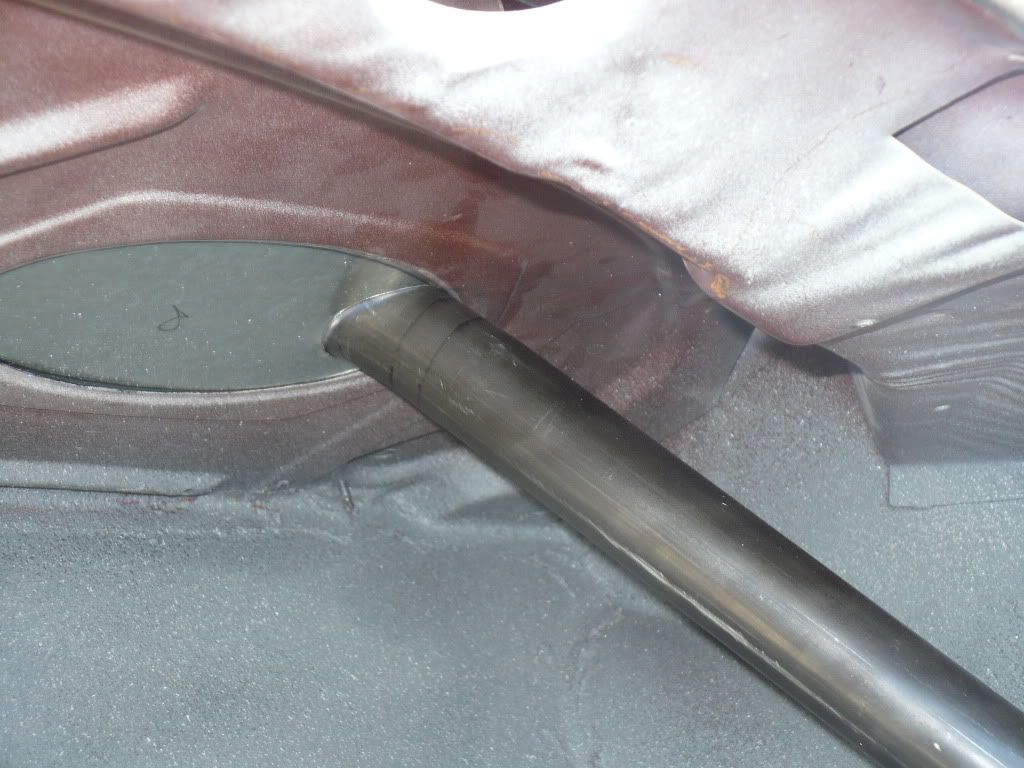
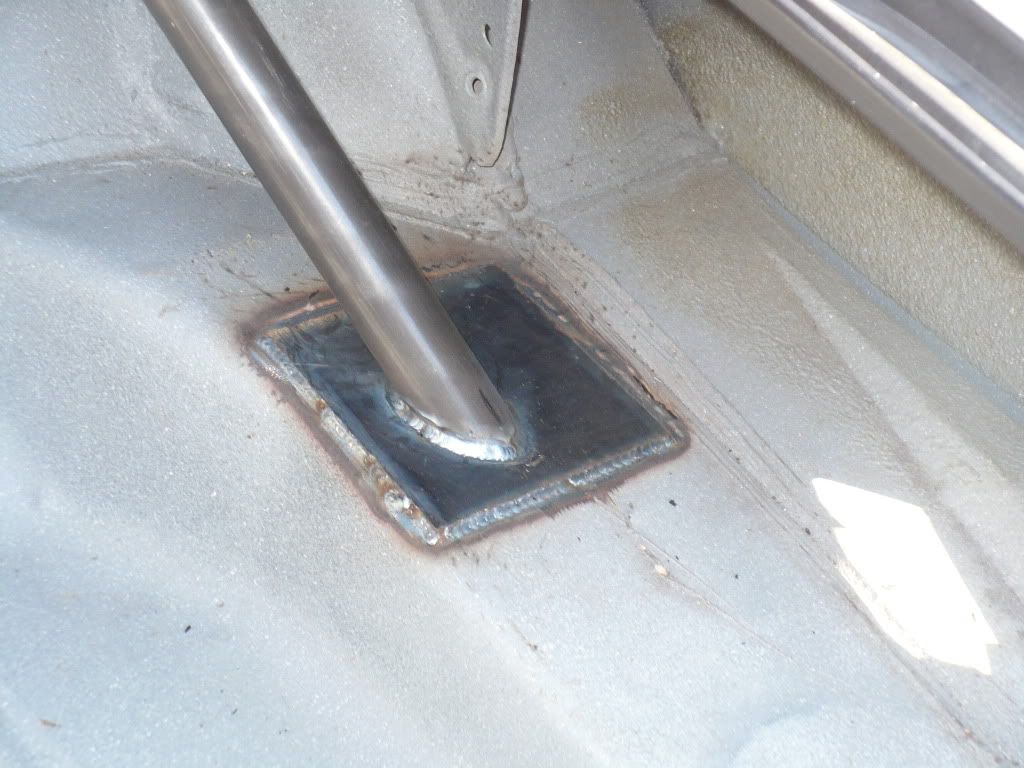
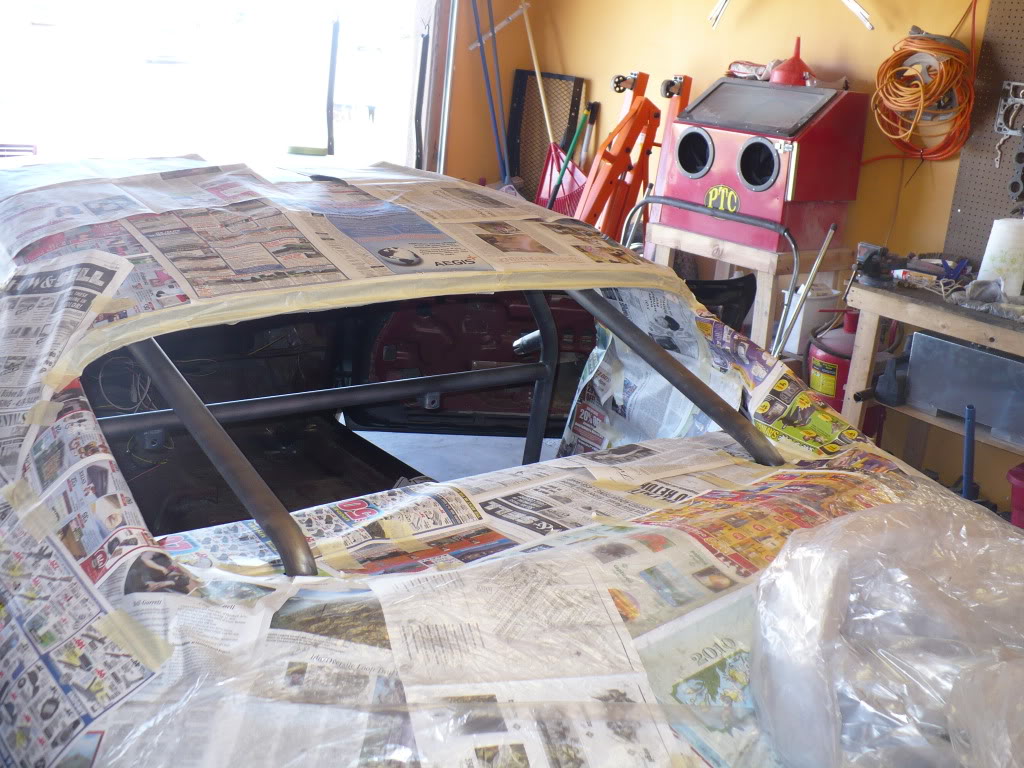
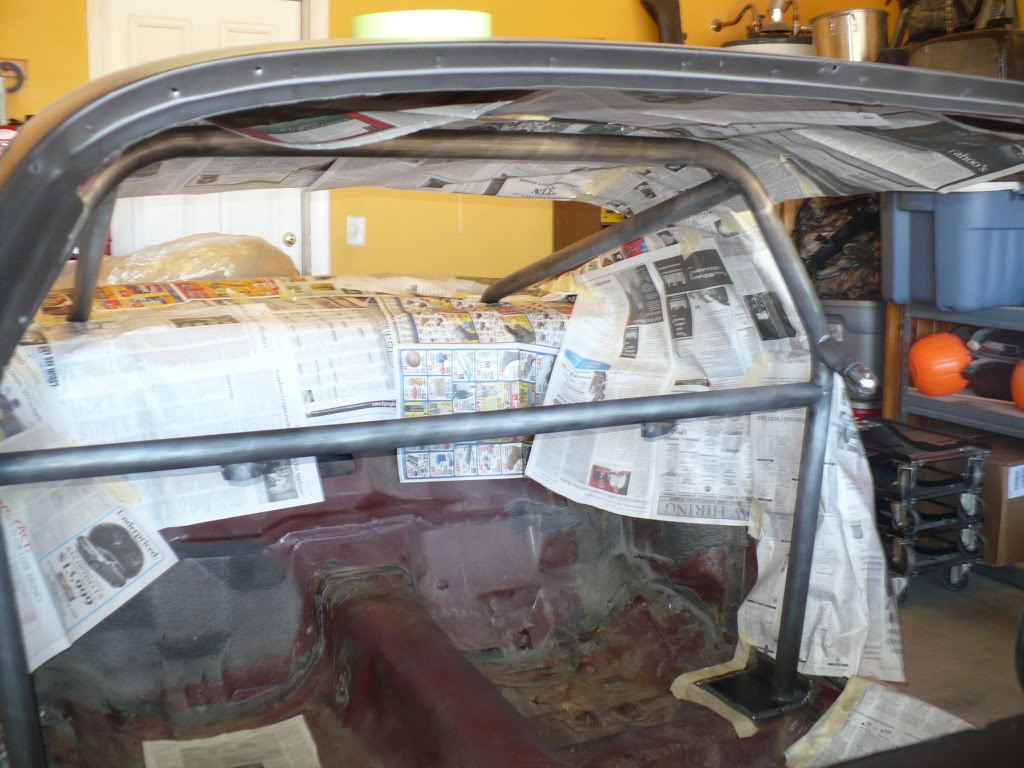
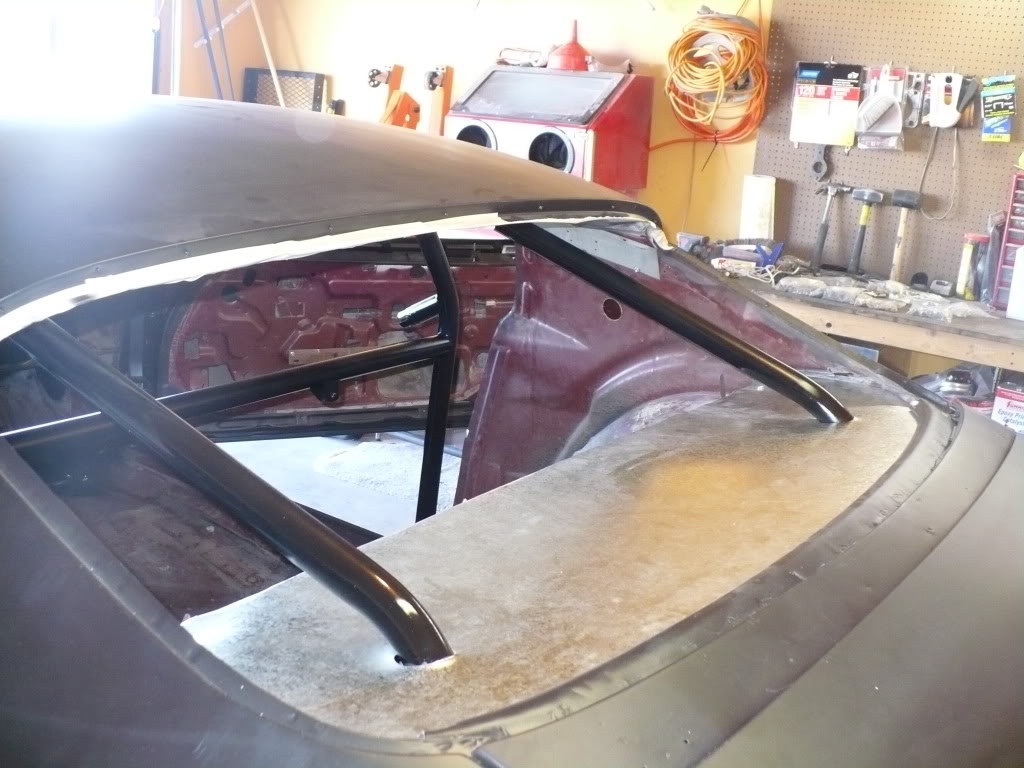
I couldn’t be happier with this roll bar. It is all custom bent and TIG welded chromoly tube. The swing-out mechanisms are from Chris Alston’s Chassis Works. They were kinda pricey but well worth the money for the quality in my opinion. The side bars are fully removable by simply pulling both pins, but of course they also swing out for easy entry and exit by just removing the top pin. I love how he contoured the door bars around the door panels to give perfect shoulder and elbow room and I had him route the rear bars down through the rear package tray/speaker holes so I could keep a back seat in the car for a more complete appearance. He also built the main hoop to be pretty tight up against the headliner. Since this car is a later 73 with the cardboard headliner, it’ll slide right in through the windshield opening and the bar will be tight against it. Well, enough talk….here are some pictures.


More updates to follow shortly..........
I couldn’t be happier with this roll bar. It is all custom bent and TIG welded chromoly tube. The swing-out mechanisms are from Chris Alston’s Chassis Works. They were kinda pricey but well worth the money for the quality in my opinion. The side bars are fully removable by simply pulling both pins, but of course they also swing out for easy entry and exit by just removing the top pin. I love how he contoured the door bars around the door panels to give perfect shoulder and elbow room and I had him route the rear bars down through the rear package tray/speaker holes so I could keep a back seat in the car for a more complete appearance. He also built the main hoop to be pretty tight up against the headliner. Since this car is a later 73 with the cardboard headliner, it’ll slide right in through the windshield opening and the bar will be tight against it. Well, enough talk….here are some pictures.
More updates to follow shortly..........
01-23-2011, 08:49 PM
#266
Last week before I dropped the car off at the chassis shop I swung by a guy’s house and picked up a passenger side inner fender. My original passenger inner fender had been cut open by someone, apparently to make replacing the blower motor easier. I tried closing the “flap”, welding it shut, and grinding it smooth, but a combination of the extremely thin steel these things are made of and my lack of welding skill led to an epic failure on that fix. I’m sure someone with better skills and a TIG machine with better heat control could probably fix my original, but by the time I paid them for their time, I’d be down money for sure.
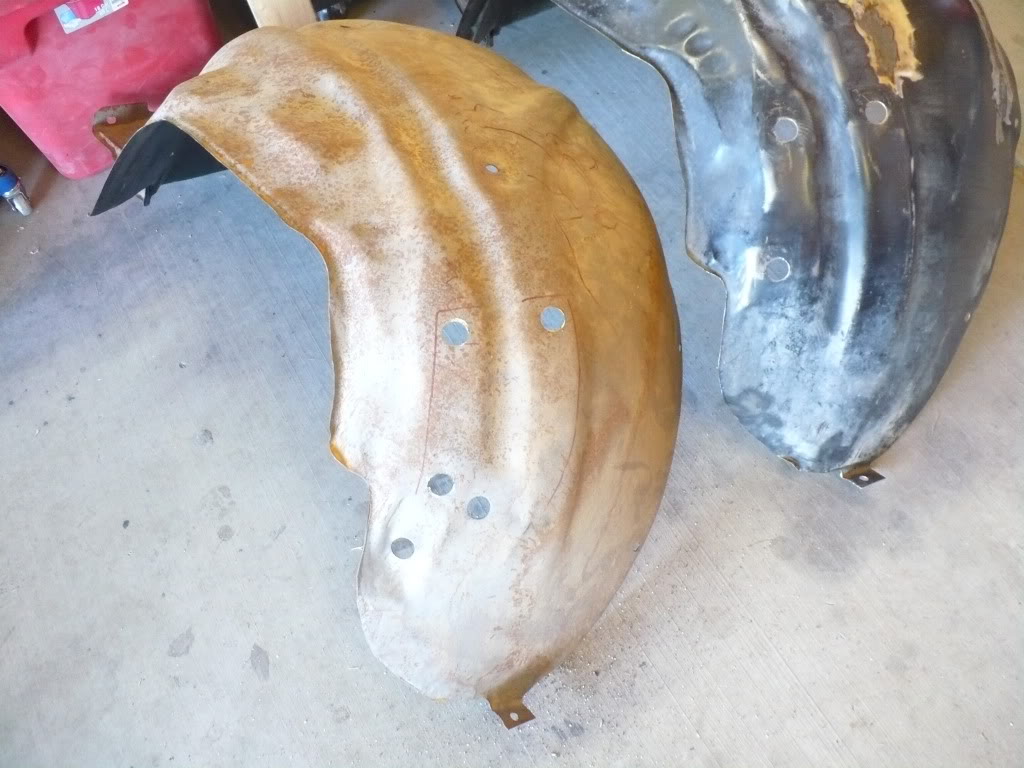
The one I picked up was believed to be from a 72 Camaro, but the seller wasn’t positive because he had acquired it with some other random parts. It had been blasted at one point and the topside was never re-painted or otherwise coated so it as a lot of surface rust, but nothing deeper than that. At first glance it looked to be the same as the one from my 73. But once I got it home and looked closer I noticed the large mounting holes on the rear of it were in a different location, and there were only two holes vs the three holes on my 73.
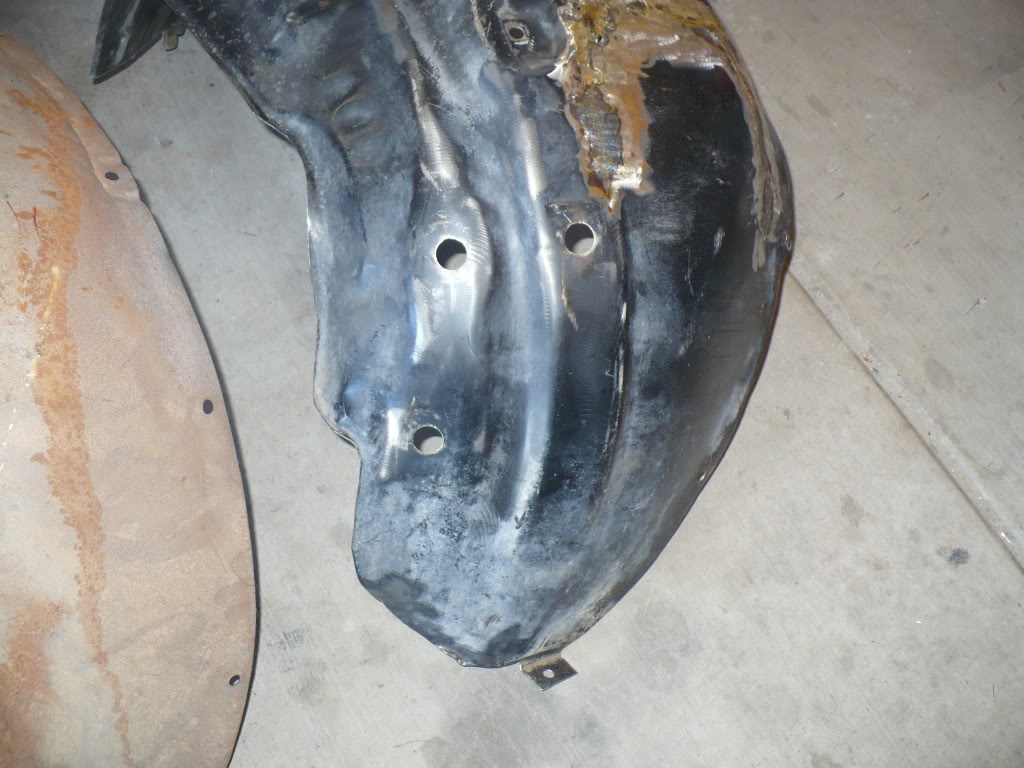
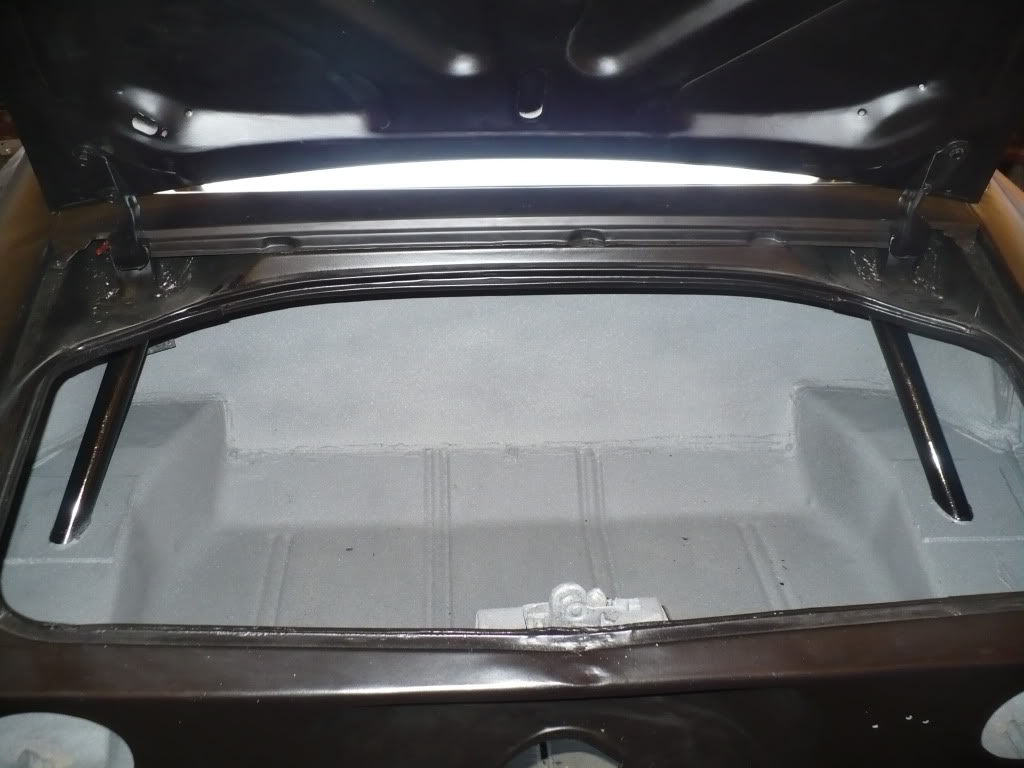
Here is the mounting hole arrangement on my 73 inner fender.
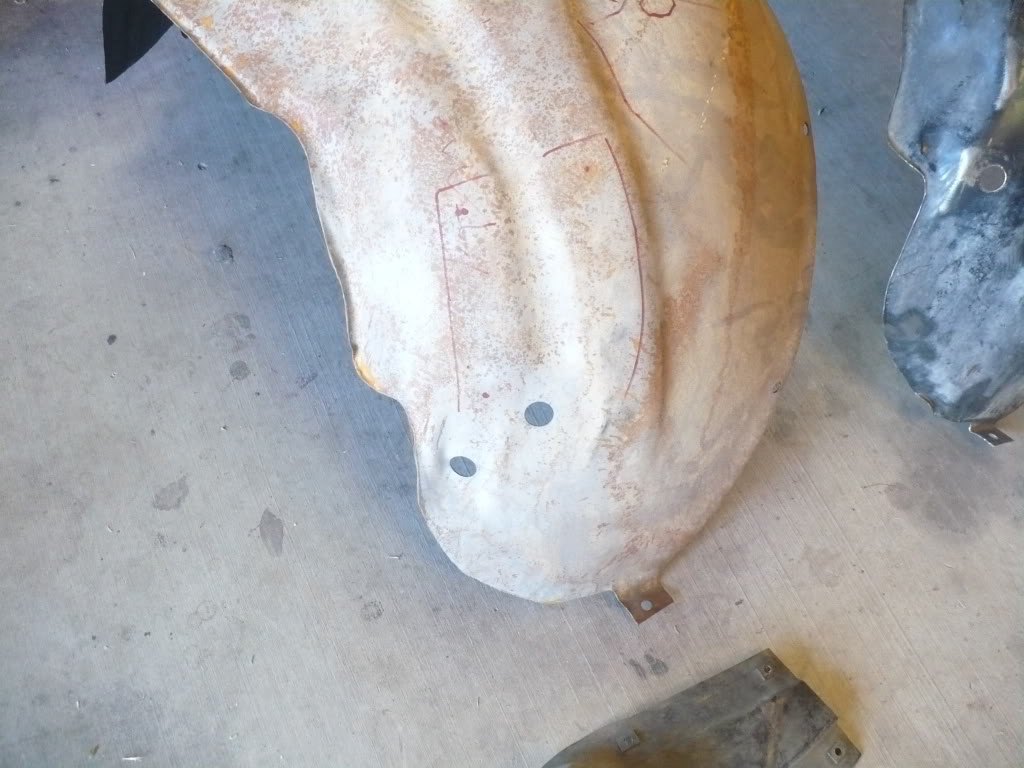
And here is the arrangement on the (presumed) 72 inner fender.
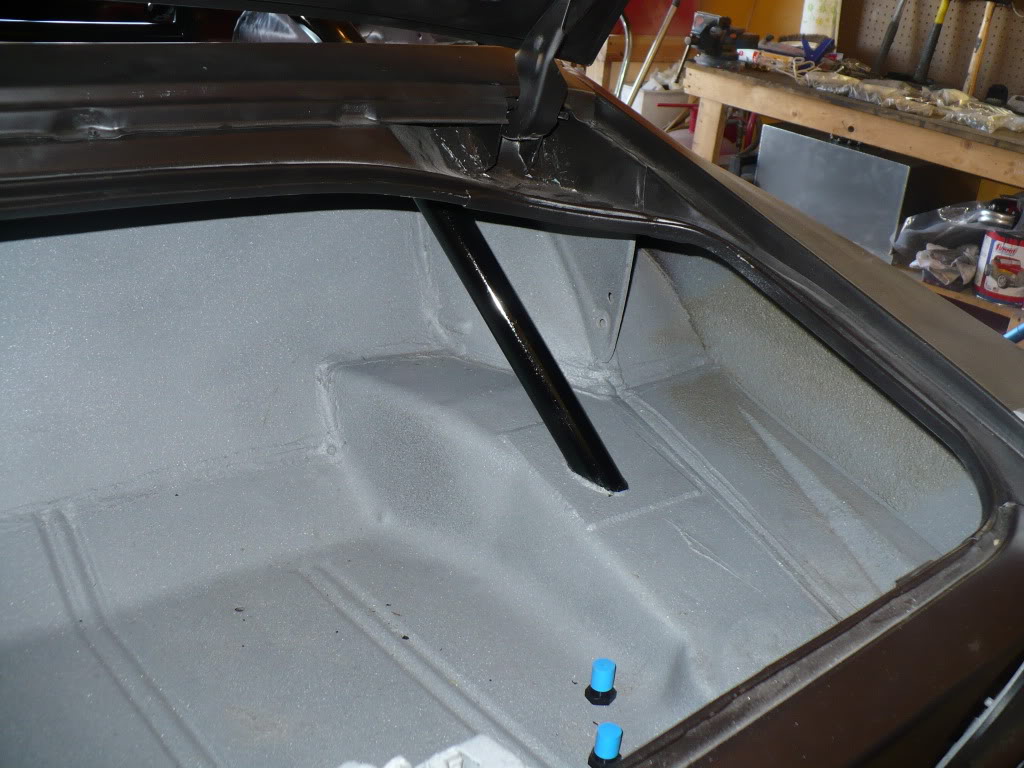
And here is what the mounting bracket looks like for my 73.

So I took some measurements, marked out the hole locations on the new inner fender and drilled them out with a 7/8 hole saw. The new one will have a few extra holes in it, but other than that it should work just fine.
I also received my new fiberglass RS nose piece from Custom Works on Friday. I really haven’t taken any pics of it yet, but I’ll get some up once I get it fit to the car. Right now the lower valance is still off, so I need to put that back together first. I also called Friday and ordered a 4-inch cowl hood from Glasstek. Hopefully that’ll be here within the next few weeks.
The one I picked up was believed to be from a 72 Camaro, but the seller wasn’t positive because he had acquired it with some other random parts. It had been blasted at one point and the topside was never re-painted or otherwise coated so it as a lot of surface rust, but nothing deeper than that. At first glance it looked to be the same as the one from my 73. But once I got it home and looked closer I noticed the large mounting holes on the rear of it were in a different location, and there were only two holes vs the three holes on my 73.
Here is the mounting hole arrangement on my 73 inner fender.
And here is the arrangement on the (presumed) 72 inner fender.
And here is what the mounting bracket looks like for my 73.
So I took some measurements, marked out the hole locations on the new inner fender and drilled them out with a 7/8 hole saw. The new one will have a few extra holes in it, but other than that it should work just fine.
I also received my new fiberglass RS nose piece from Custom Works on Friday. I really haven’t taken any pics of it yet, but I’ll get some up once I get it fit to the car. Right now the lower valance is still off, so I need to put that back together first. I also called Friday and ordered a 4-inch cowl hood from Glasstek. Hopefully that’ll be here within the next few weeks.
01-29-2011, 06:54 PM
#267
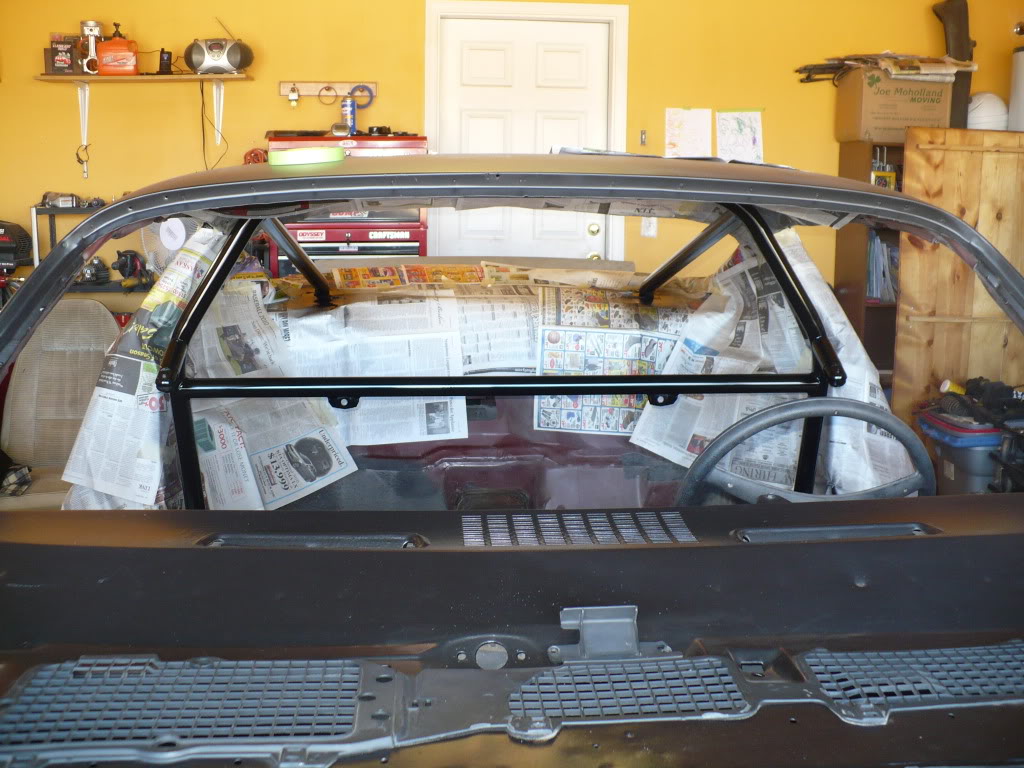
I painted my roll bar today. I used black appliance epoxy paint. This stuff seems really durable for rattle can paint and the guy who built and installed the bar recommended it. He painted the cage in his car with it several years ago and it still looked great, and he climbs over his door bar to get in and out.
First I masked everything, scuffed the bars with 120 grit and wiped them down with wax and grease remover and surface wash. Then I let the paint fly.
Here’s how the door bars turned out.
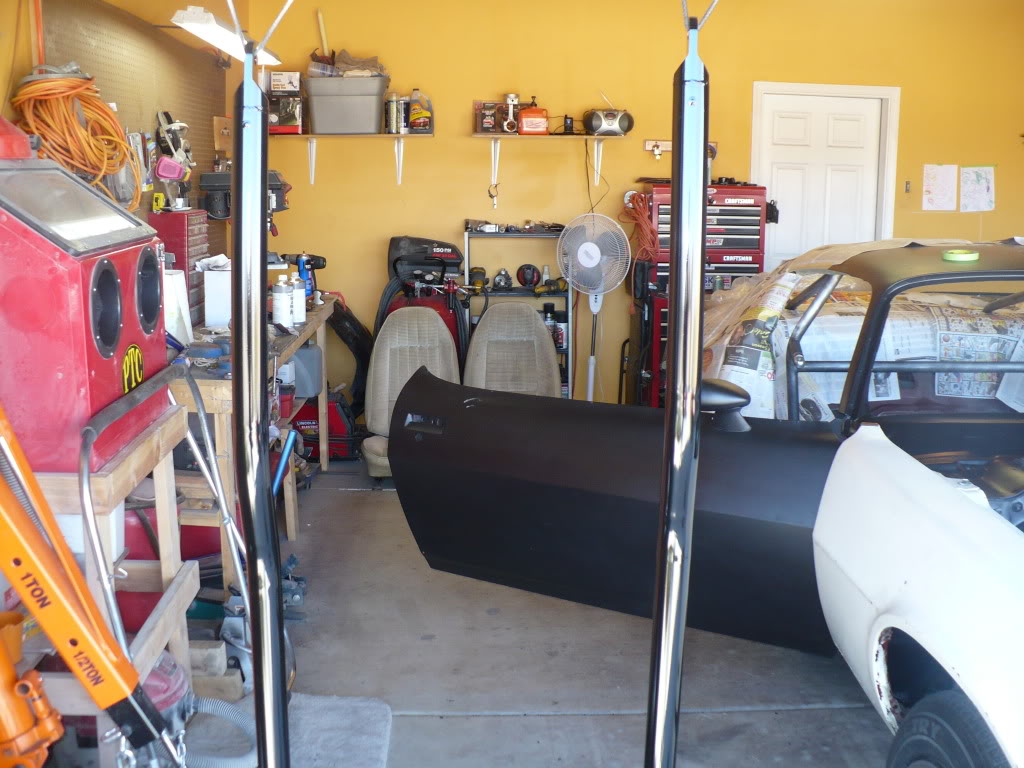
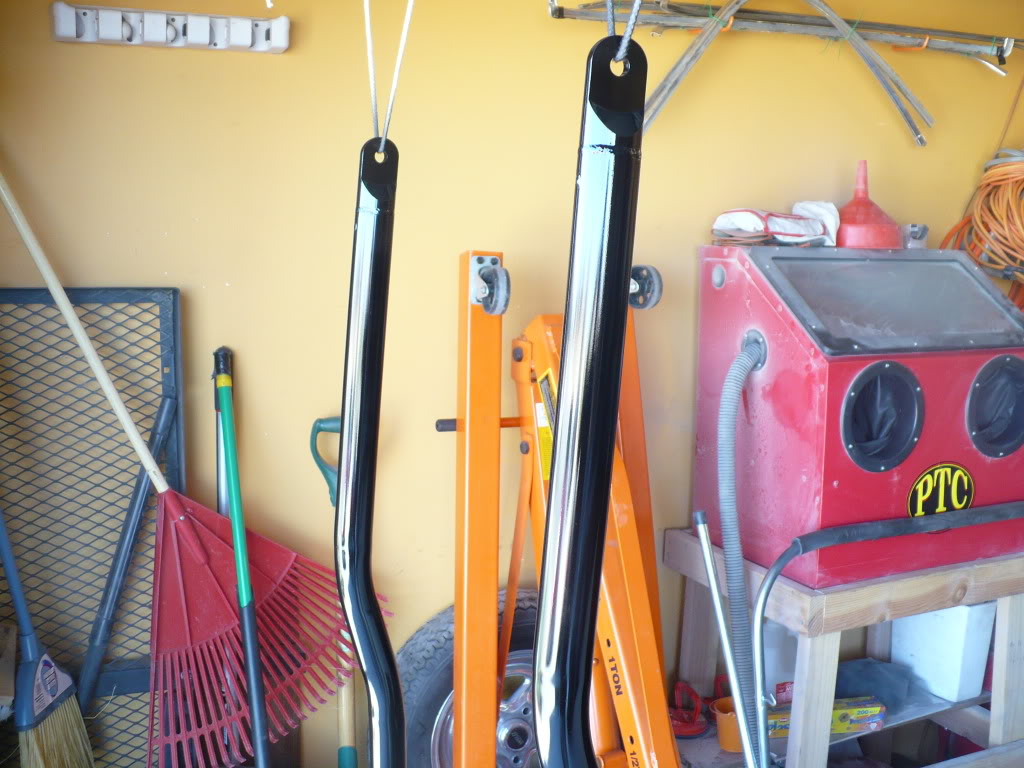
And here’s the rest of it.

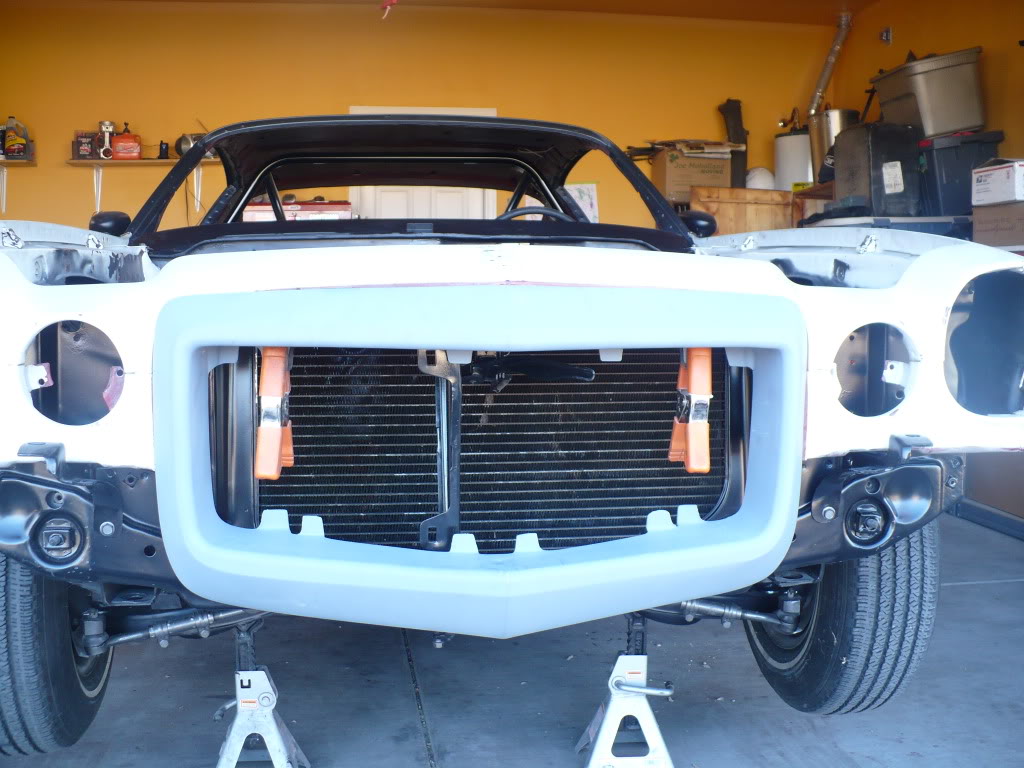
And lastly here’s a shot of my Custom Works fiberglass RS nose. I just clamped it in place for this picture. It still needs some work to fit it to the car.
I also took my inner fenders and hood hinges to be blasted and powder coated earlier this week, so hopefully I'll be getting those back early next week.
First I masked everything, scuffed the bars with 120 grit and wiped them down with wax and grease remover and surface wash. Then I let the paint fly.
Here’s how the door bars turned out.
And here’s the rest of it.
And lastly here’s a shot of my Custom Works fiberglass RS nose. I just clamped it in place for this picture. It still needs some work to fit it to the car.
I also took my inner fenders and hood hinges to be blasted and powder coated earlier this week, so hopefully I'll be getting those back early next week.
01-31-2011, 07:42 PM
#271
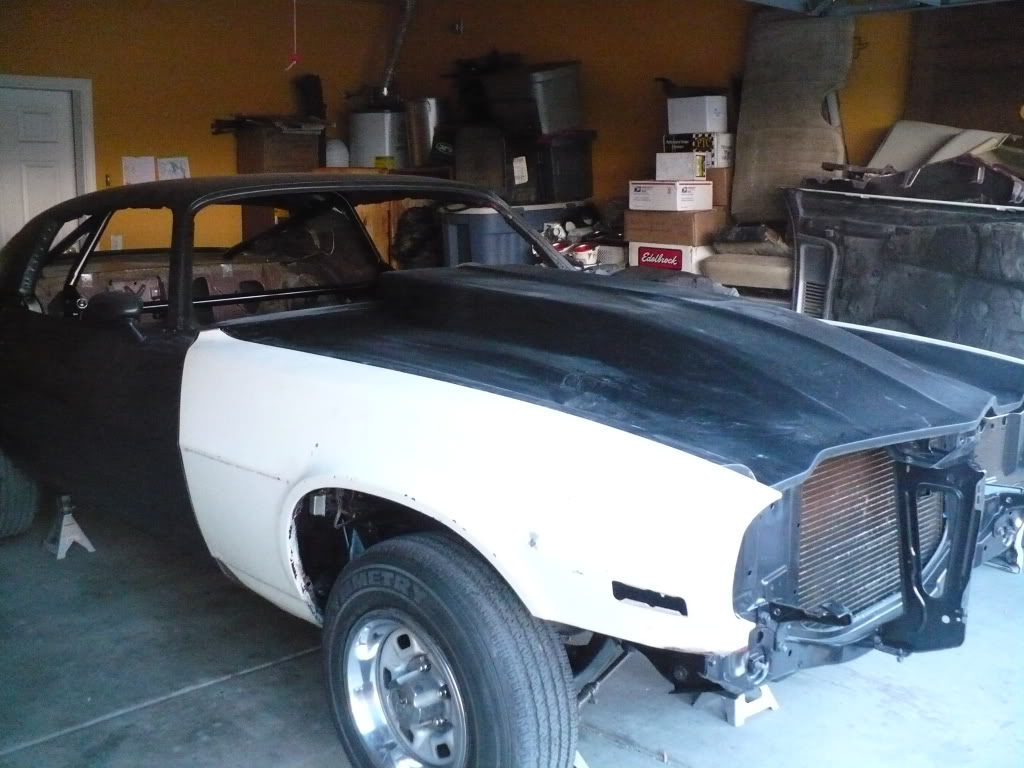
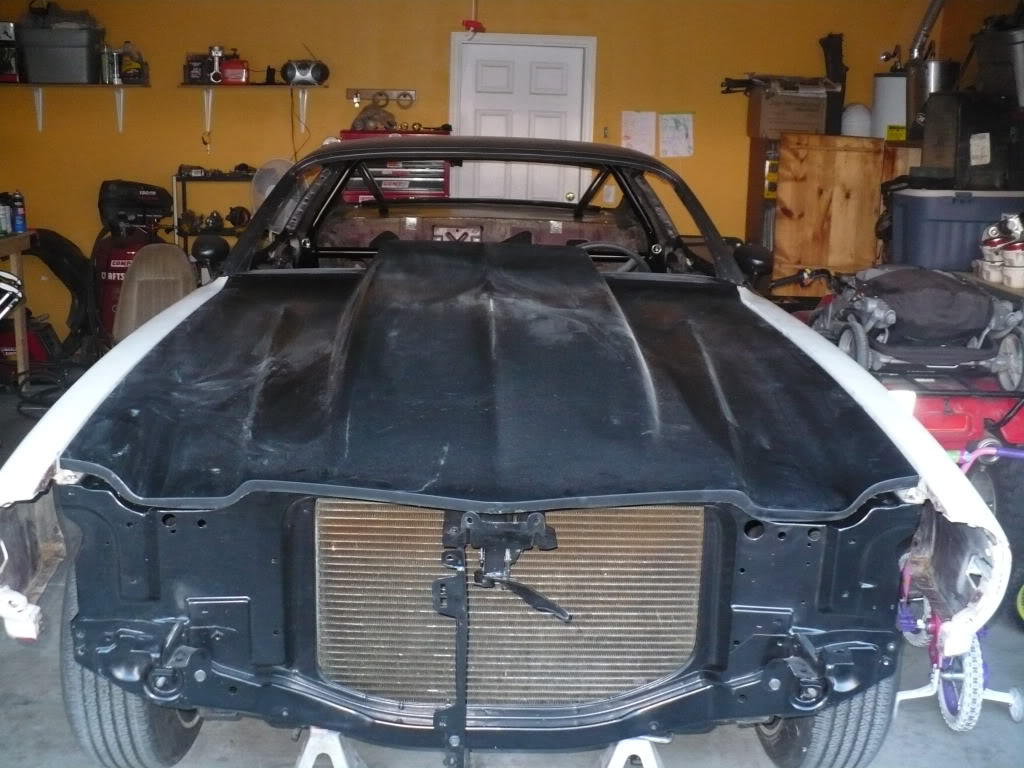
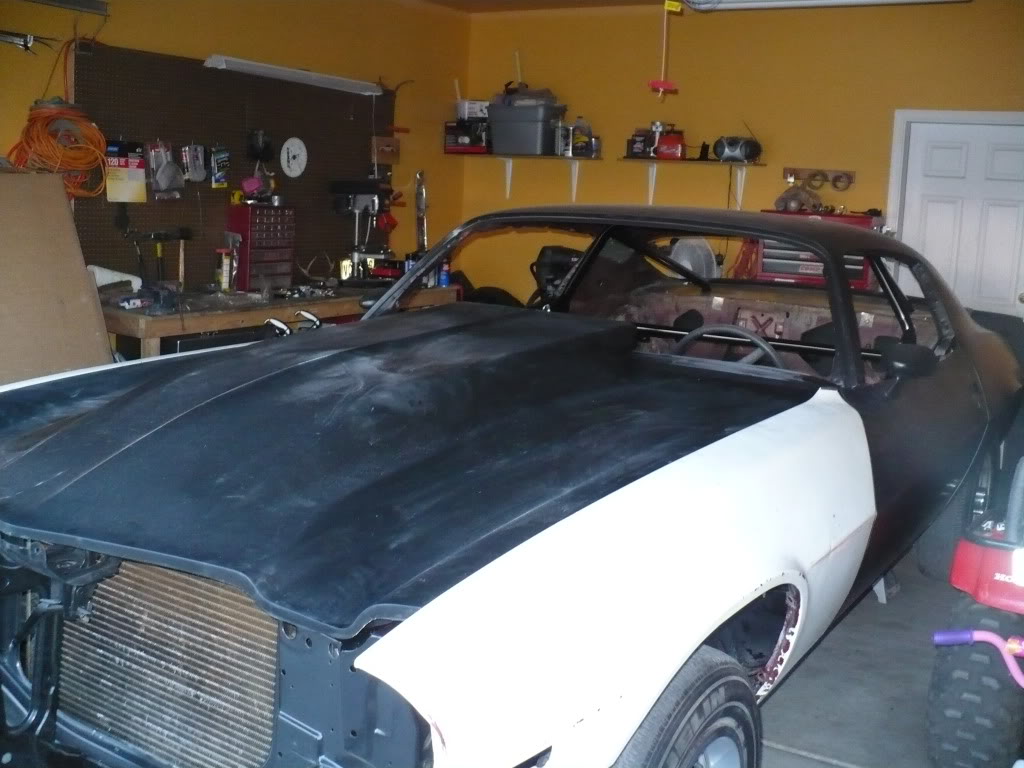
Just a quick update.....my 4-inch bolt-on cowl hood arrived from Glasstek today. It's fresh out of the box so it's still plenty dusty and my hood hinges are still with the powder coater so for now it's just resting on there. But my initial impression of this hood are great! It appears to be a high quality hood and it doesn't look like there'll be any major fitment issues....but time will tell on that I guess. Anyway, here's some pics.
02-03-2011, 11:29 AM
#274
10 Second Club
Join Date: Apr 2005
Location: Clarksville, IN
Posts: 685
Likes: 0
Received 0 Likes
on
0 Posts

This is a nice looking build. You have done some nice touches. I am considering a 2nd gen LSx build as my 4th gen LTx is leaving in 2 weeks for a new home .
.
.
02-03-2011, 07:53 PM
#276
10 Second Club
Join Date: Apr 2005
Location: Clarksville, IN
Posts: 685
Likes: 0
Received 0 Likes
on
0 Posts
 02-04-2011, 07:07 PM
#278
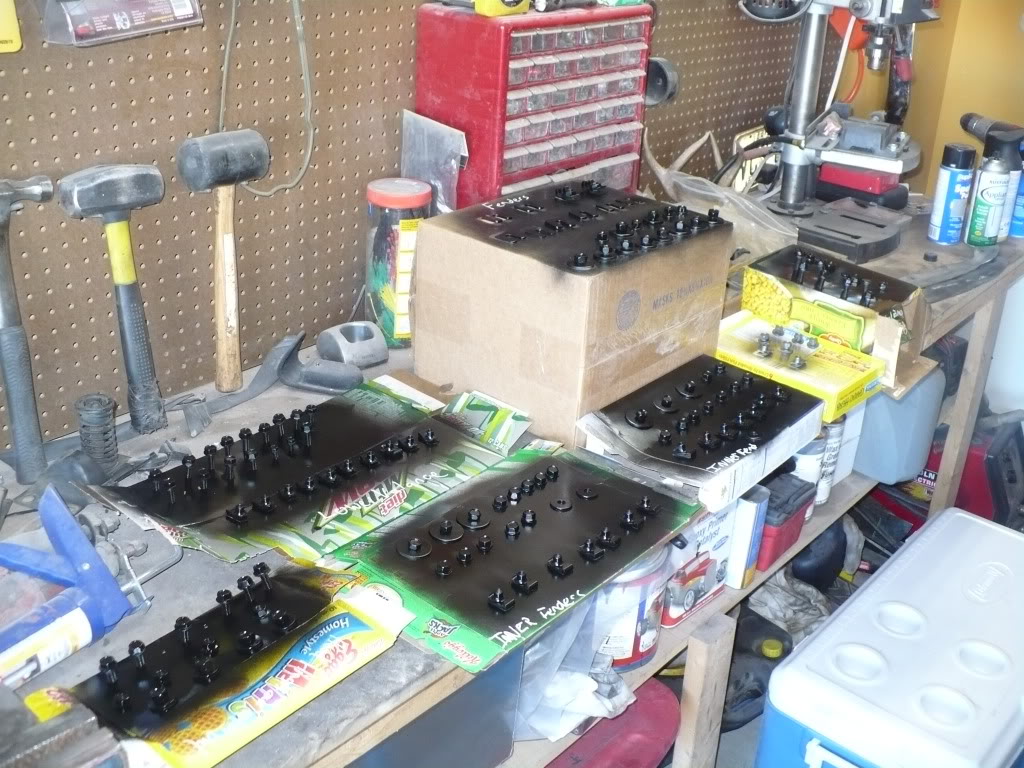
Well, we've been having record low temps here in Southern AZ. It’s gotten so bad that peoples’ water pipes have been freezing where they enter the house above the ground and the local gas company doesn’t have enough gas to supply all the heating demand. So, to try and help out, the base that I work on decided to lower the thermostats in all places of work to 50 degrees so that the barracks and housing can have enough gas. So they told all but emergency response personnel to stay home today. Wooohooo! The only thing better than car time is EXTRA car time you didn’t know you were gonna get.
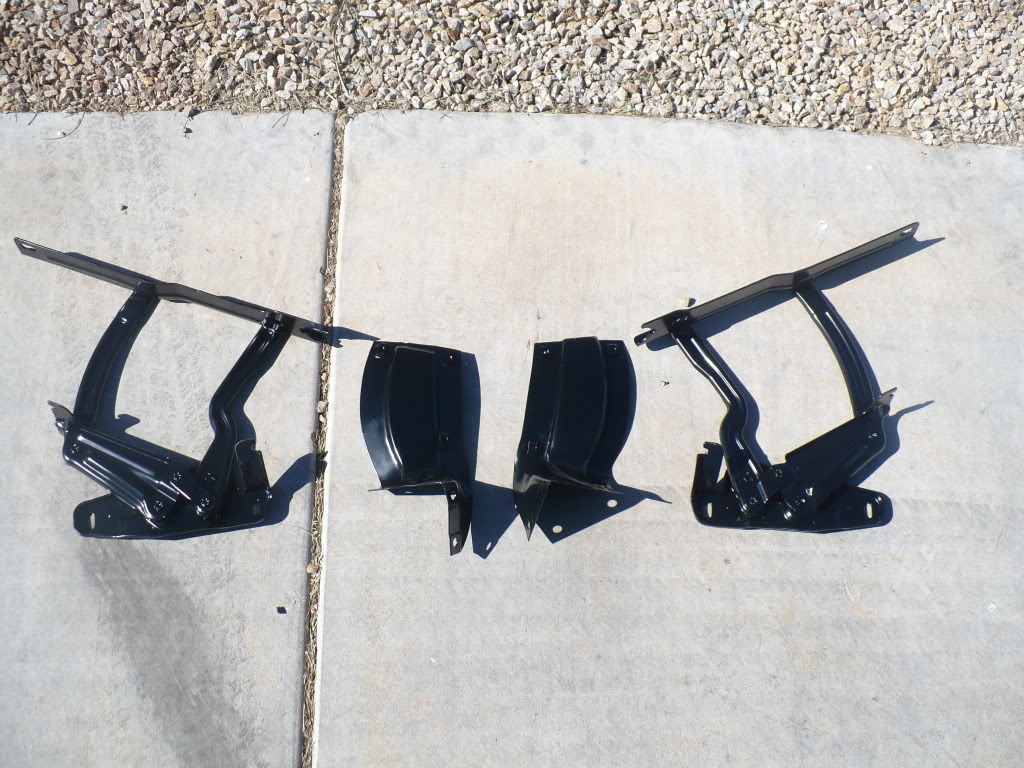
So, I spent the majority of the day doing a very tedious job that I have been putting off for quite a while. I blasted and painted every piece of hardware that holds the front end of this car together. Every nut, bolt, clip, and shim for the fenders, inner fenders, upper and lower valances. What a long boring day!
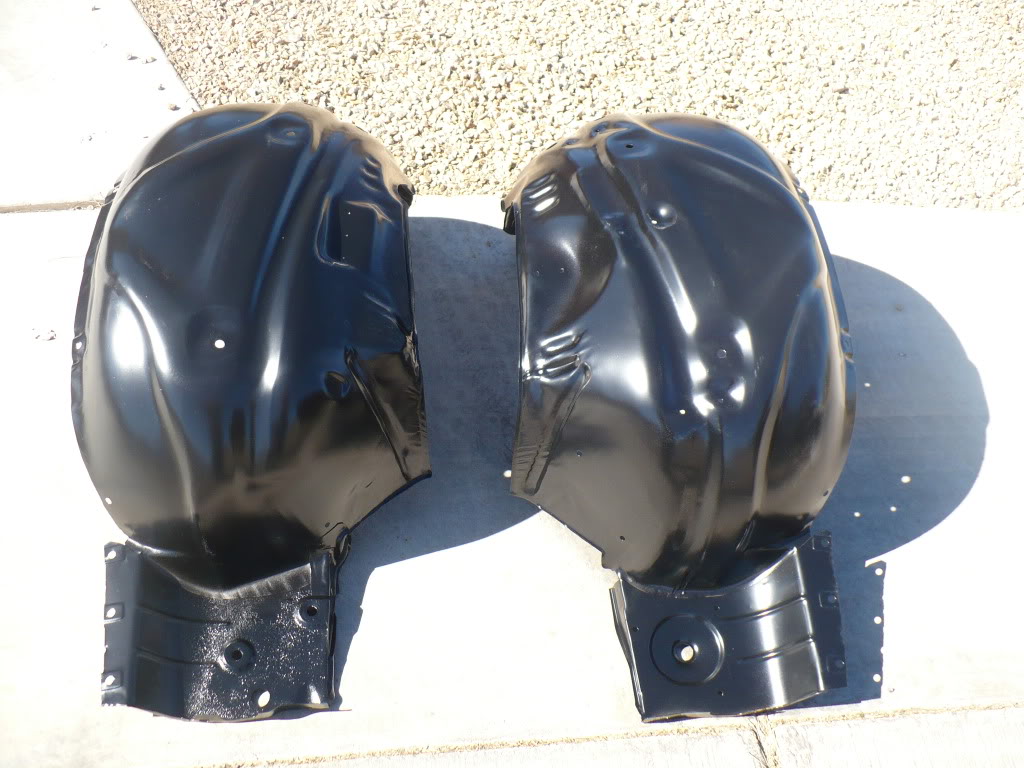
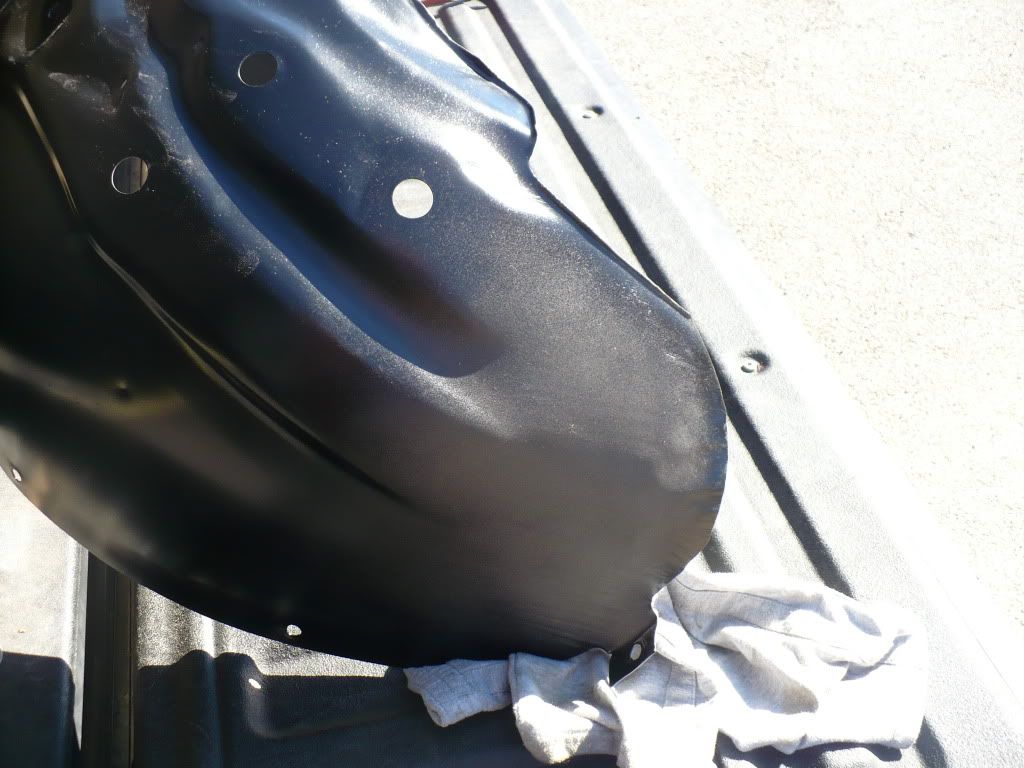
I also took a break around lunch time go and pick up my inner fenders, inner fender brackets, and hood hinges from the powder coater. Everything turned out pretty good except for the driver’s side inner fender which had a huge spot missed on the back of it. So I took it back to the coater to be redone. He was pretty embarrassed that he let it leave like that. I should have it back tomorrow. The portion under the battery tray on the passenger side is pretty pitted up, so even though the battery will be in the trunk, I may still put a new battery tray in it, just to cover up that area.
So, I spent the majority of the day doing a very tedious job that I have been putting off for quite a while. I blasted and painted every piece of hardware that holds the front end of this car together. Every nut, bolt, clip, and shim for the fenders, inner fenders, upper and lower valances. What a long boring day!
I also took a break around lunch time go and pick up my inner fenders, inner fender brackets, and hood hinges from the powder coater. Everything turned out pretty good except for the driver’s side inner fender which had a huge spot missed on the back of it. So I took it back to the coater to be redone. He was pretty embarrassed that he let it leave like that. I should have it back tomorrow. The portion under the battery tray on the passenger side is pretty pitted up, so even though the battery will be in the trunk, I may still put a new battery tray in it, just to cover up that area.
02-05-2011, 04:32 AM
#280
Looking good. The glasstek hoods are very high quality. I had a 4" on my s10 and it took very little prep work for paint. I installed my dzus on it, scuffed it, primed it once, blocked it and it was ready for paint. I think the inner fender you have is from a later model like 78-81 ish. They have a shorter mounting bracket with the holes further down. My 72 is the same as your 73. The progress is looking great. My car is back on the road after a 2 year upgrade with the brakes and some one small stuff. I am thinking about doing a similar cage on mine I like the door bars and overall look of yours.