68 Camaro Build with a Gen V Swap
 01-10-2020, 05:11 PM
#141


I'm digging how quiet these Borla mufflers are. Im thinking I'll get the same kit you got. Thanks for the detailed install. Please paint the master and bars near the radiator back or something. That RED is a eye sore. LOL
 01-10-2020, 07:15 PM
#142
You know you like the red! lol. I'll be replacing the MC and the bars will get painted at some point, just not on my radar until now lol. They actually had paint peal off after I had removed the masking tape on them that I used to hold the bolts to help keep track of them. Crappy paint and fugly.
01-10-2020, 11:53 PM
#143
Here's a video of the car doing a pull from around 45mph. The trans tune has the car shifting at a little over 5000rpm, not sure if thats what these transmissions want or if its just because its on a tahoe tune at the moment. There are a few kinks to work out in the tune. The throttle is only opening 70%, its a little rich in areas and timing needs some adjustment.
This thing sounds so cool shifting through all the gears and just keeps pulling. Cant wait to get it all dialed in and better tires.
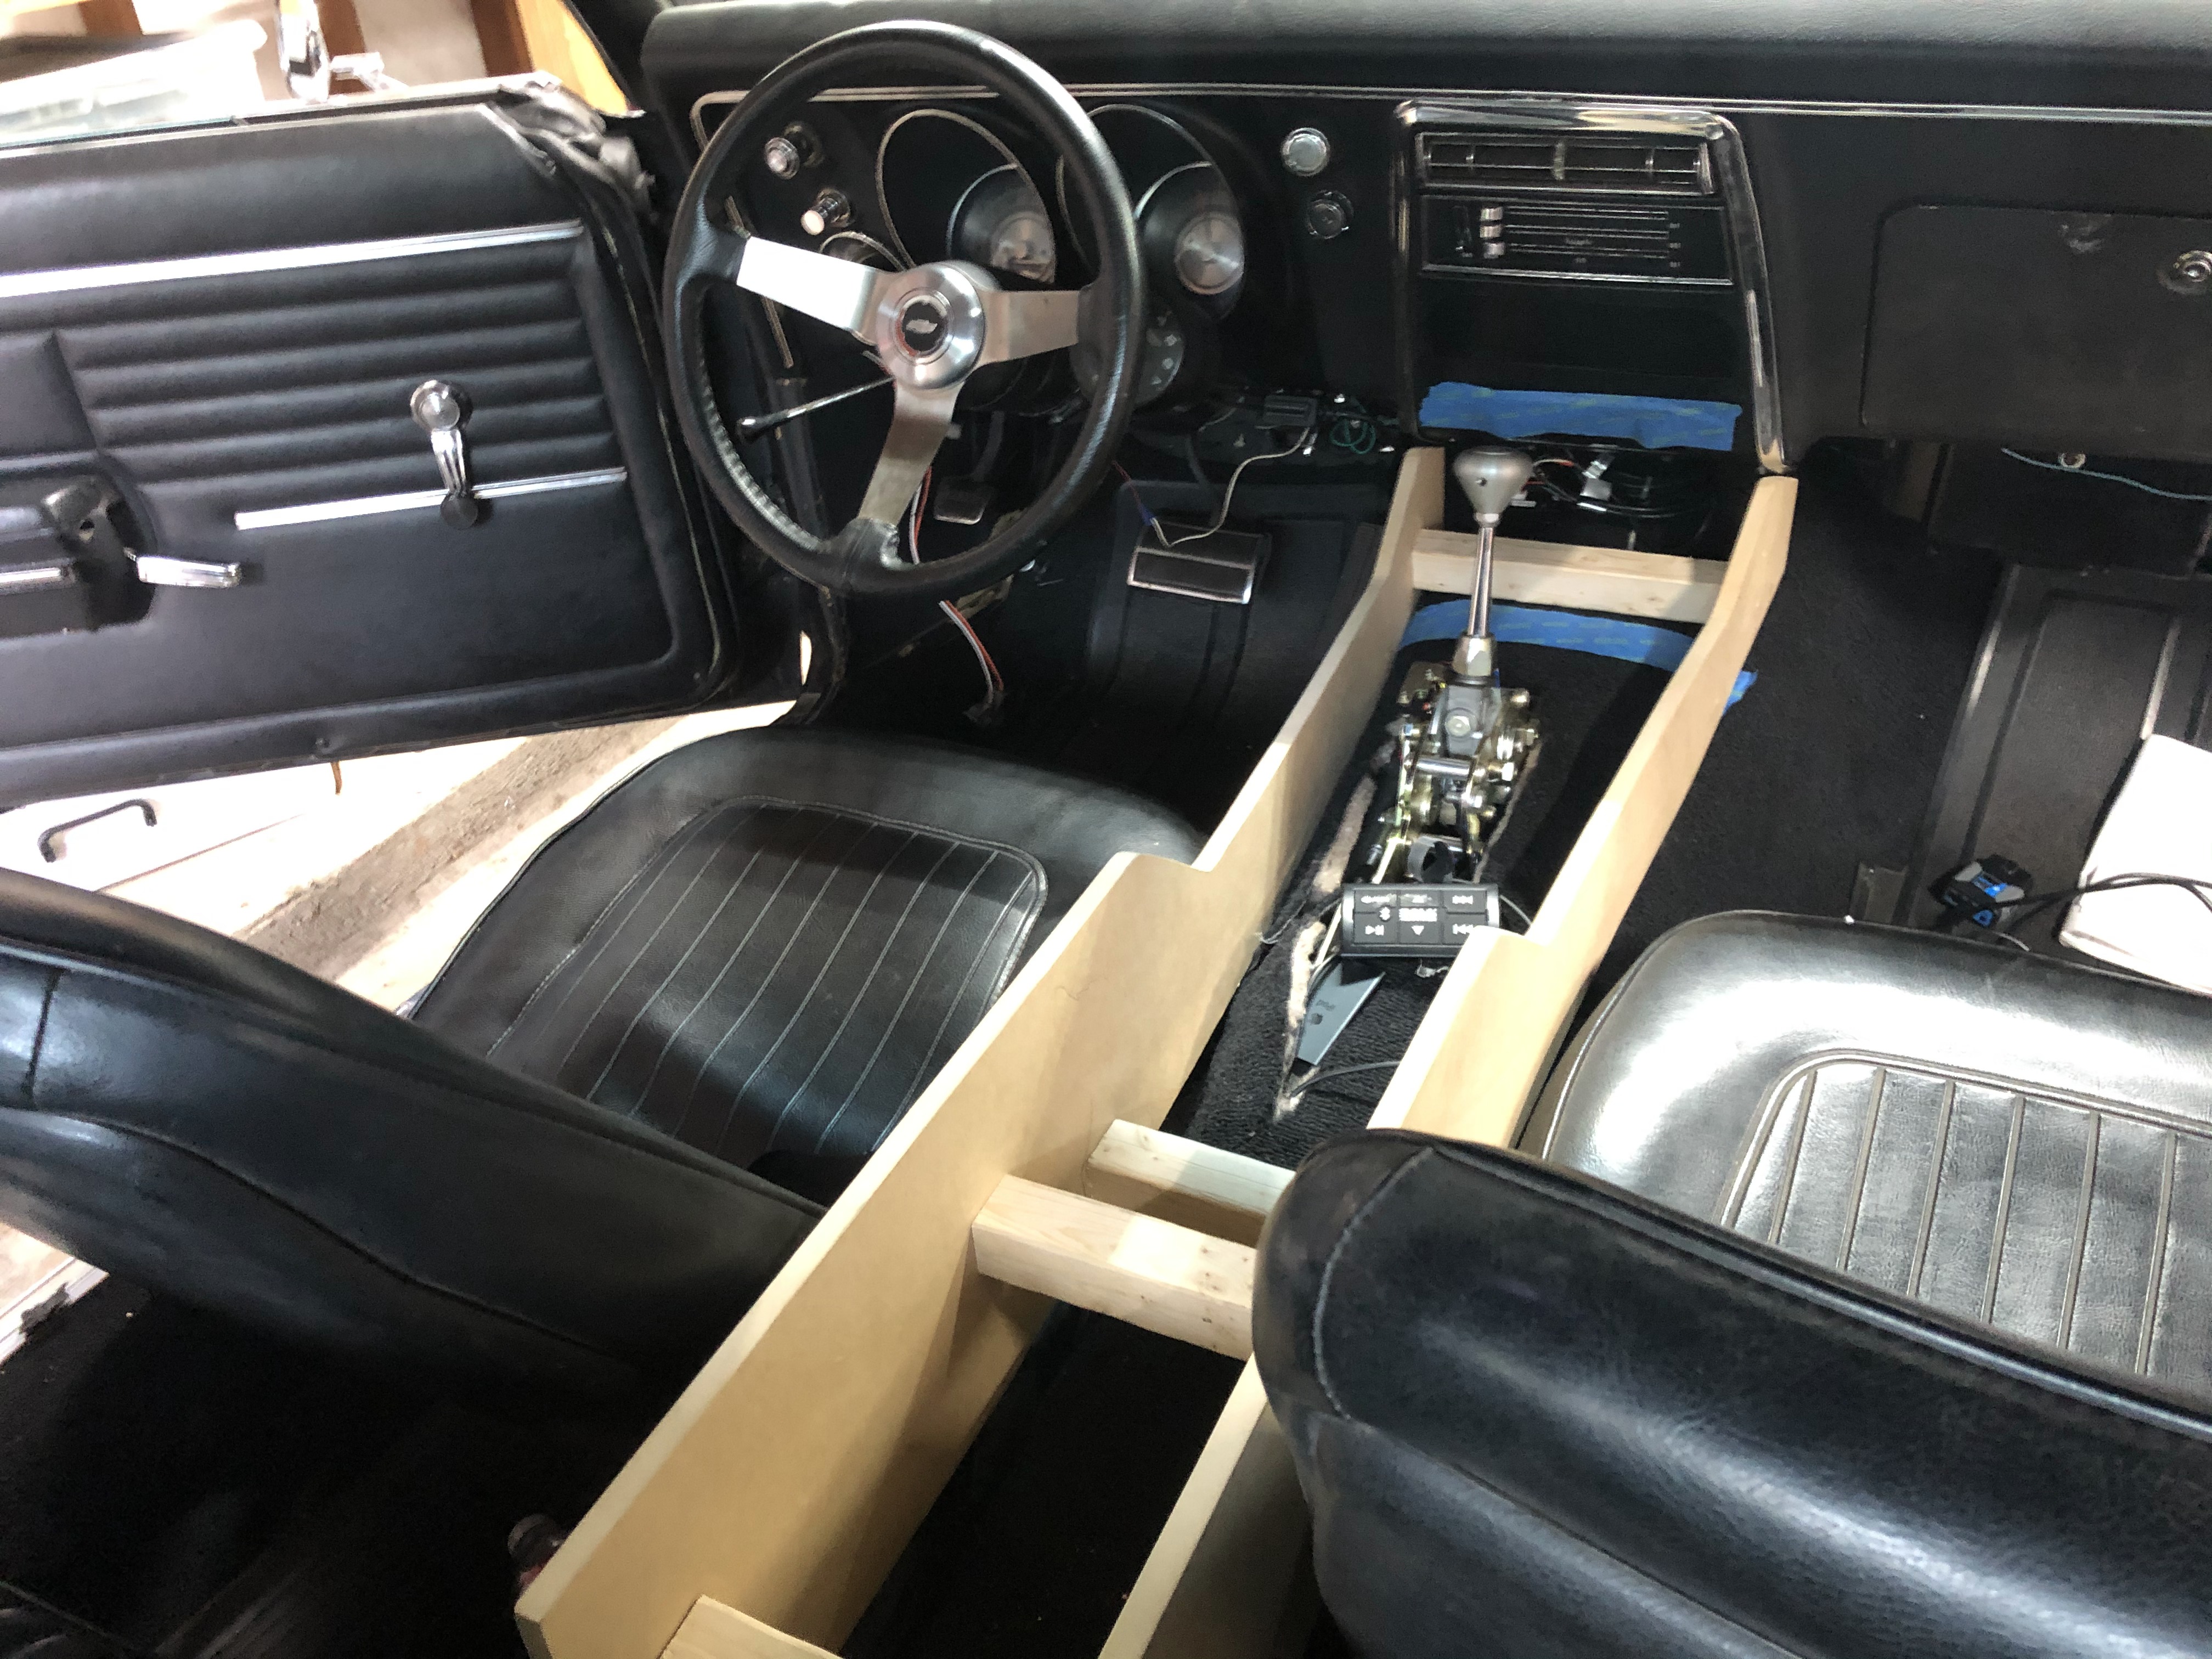
Also, I never mentioned the shifter. Its a Lokar sport shifter. It has a low gear that allows the shifter to slide over and perform tapshift functions by pushing it forward or back.
This thing sounds so cool shifting through all the gears and just keeps pulling. Cant wait to get it all dialed in and better tires.
Also, I never mentioned the shifter. Its a Lokar sport shifter. It has a low gear that allows the shifter to slide over and perform tapshift functions by pushing it forward or back.
The following users liked this post:
Motown 454 (07-28-2022)
01-11-2020, 09:10 AM
#144
Pretty quick shifts and a lot of them too LOL
01-28-2020, 09:12 AM
#146
How loud is it when you accelerate? Any drone? Does the videos give a fairexample of the exhaust or is it much louder in person?
01-28-2020, 10:01 AM
#147
my brother says it�s is very comparable to his 6.2 2018 truck with corsa if you want to look into that. I�ll try to make another video in the next few days, i have the exhaust off to correct a small leak a flange and install a wide and O2 bung.
01-29-2020, 03:30 AM
#148
Thanks. I appreciate it
The following users liked this post:
Motown 454 (04-24-2020)
04-24-2020, 10:40 AM
#150
Sounds a little muffled. I am definitely going the same muffler setup and SS pipe Only with tail pipes. If it drones at all, I�ll toss some Vibrant resonaters in the tailpipe
thanks for the videos
Jim
thanks for the videos
Jim
05-03-2020, 08:37 PM
#151
Registered User

Join Date: May 2020
Posts: 1
Likes: 0
Received 0 Likes
on
0 Posts
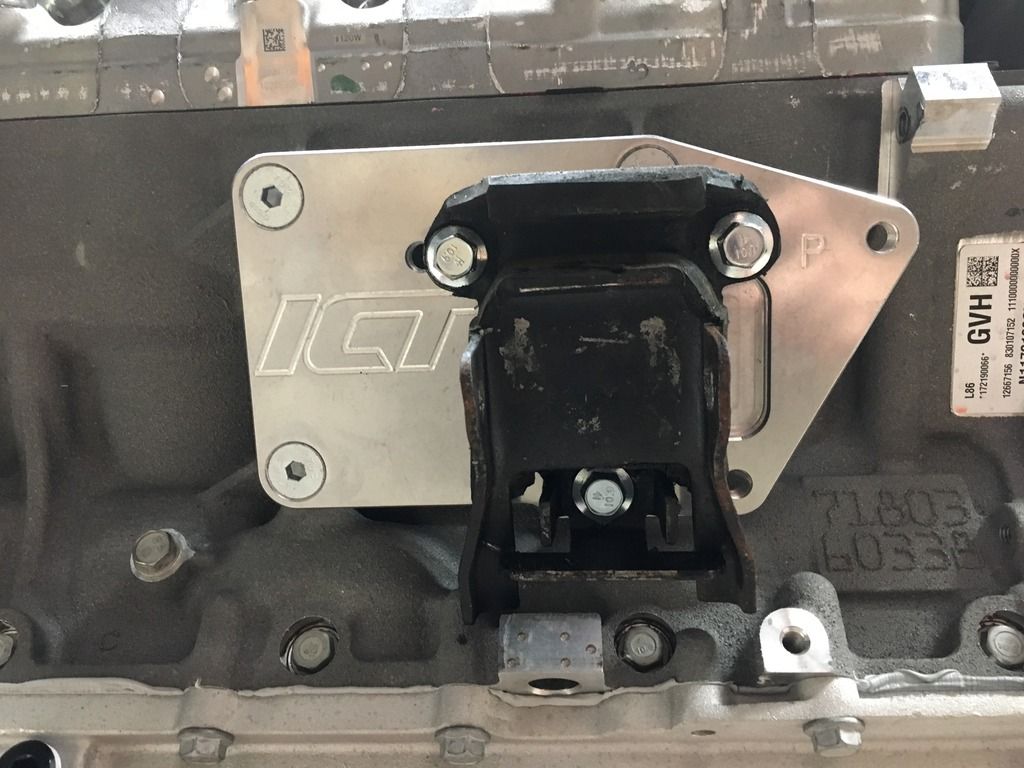
ICTBillet viewed my photos and advised me to purchase new SBC stands because the car had a BBC in it and they use different stands. I got the stands in the mail only to see that I already have these same stands in the car already. About an hour later I received an email from ICT with a tracking number for a package and a note that said there was a shipping error originally. Turns out they have revised their mounts at some point and I got the older style. Look at the first photo in my previous post and compare to what they have online and you can see the difference, they dropped the bolt holes down a bit on the newer style adapter plates. The motor fit easily with these new plates. I also have both energy suspension mounts installed unlike the photos show.
Here's a shot of the newer style plates, kind of hard to tell by the lower section of the plate has been extended to allow for the bolt holes for the rubber mounts to sit lower. Also here's what is required for the vacuum pump to be installed, see cut DS plate, you must also eliminate the most forward mounting hole and your dreams of using that position. There are three positions on these plates and from what I was told over the phone the most forward mounting holes are for the stock SBC position, middle is 1.625" forward and furthest is 2.25" forward from stock position. Not 100% sure on these measurements as I was writing them down while on the phone with them. I found that the middle position more closely resembled the position of my BBC. I really do not think the most forward position would work either, it would put the head either in the firewall or too close for my liking. I think something in the middle would work great. The motor is currently jacked up at the rear of the oil pan and the motor is sitting level. Whenever I lower the jack and the motor more closely resembles the actual operating angle it moves it really close to the firewall and rests on the AC box holted to my firewall. I guess another way to see where it sits is to compare the balancer to the subframe.
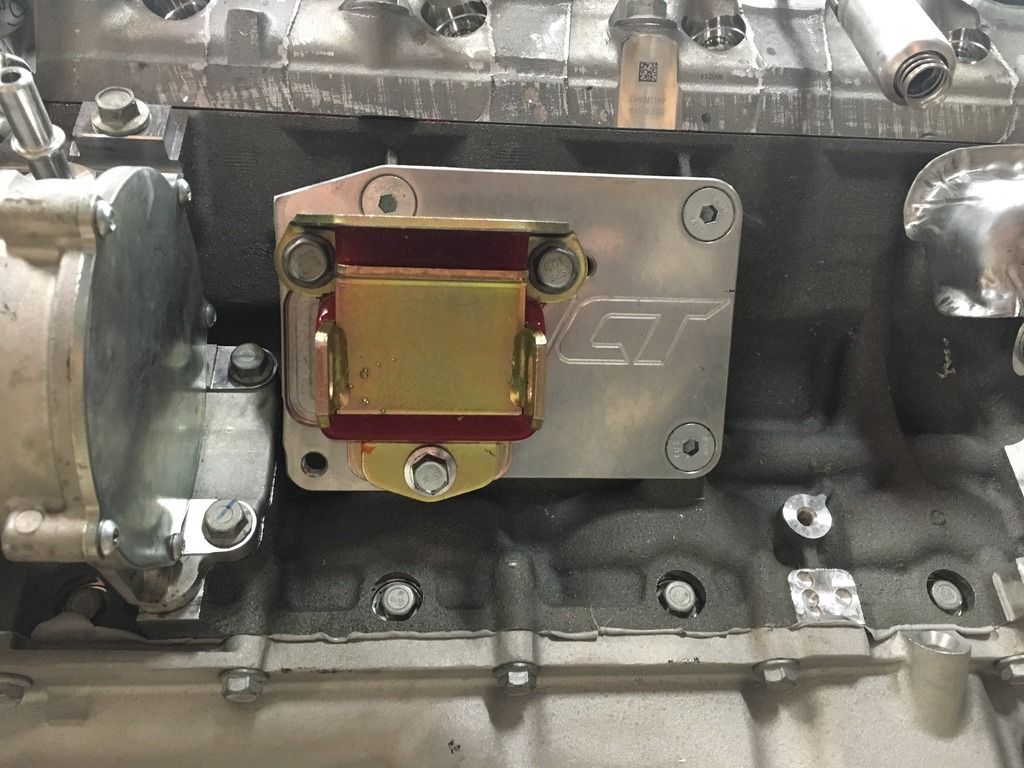
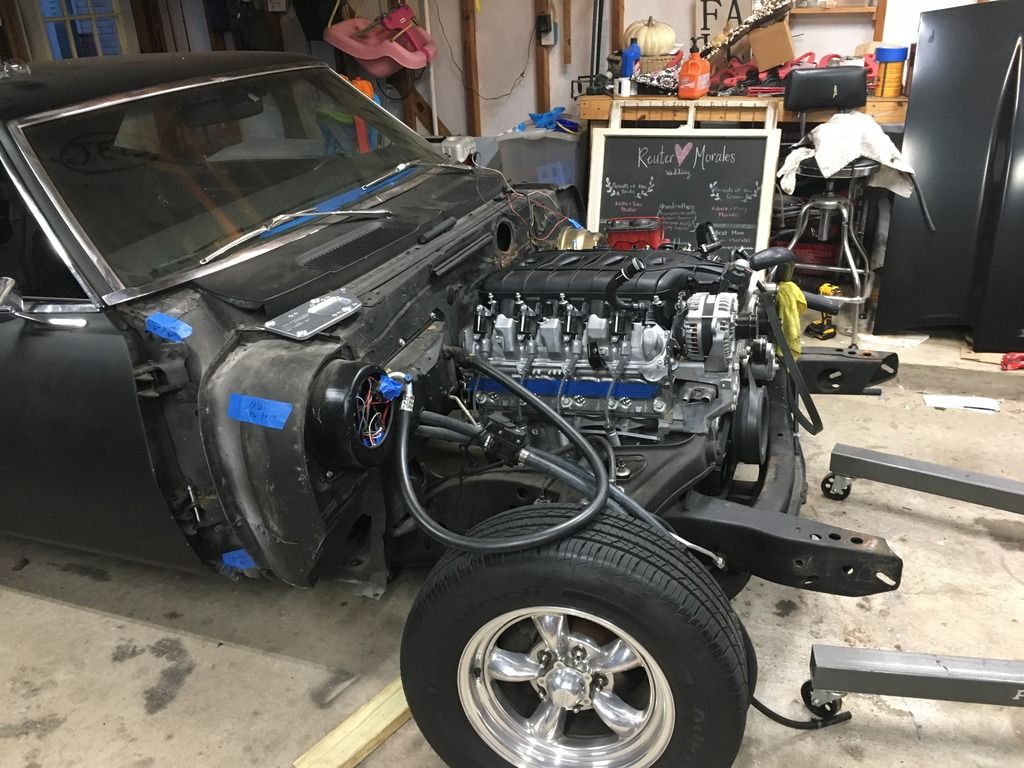
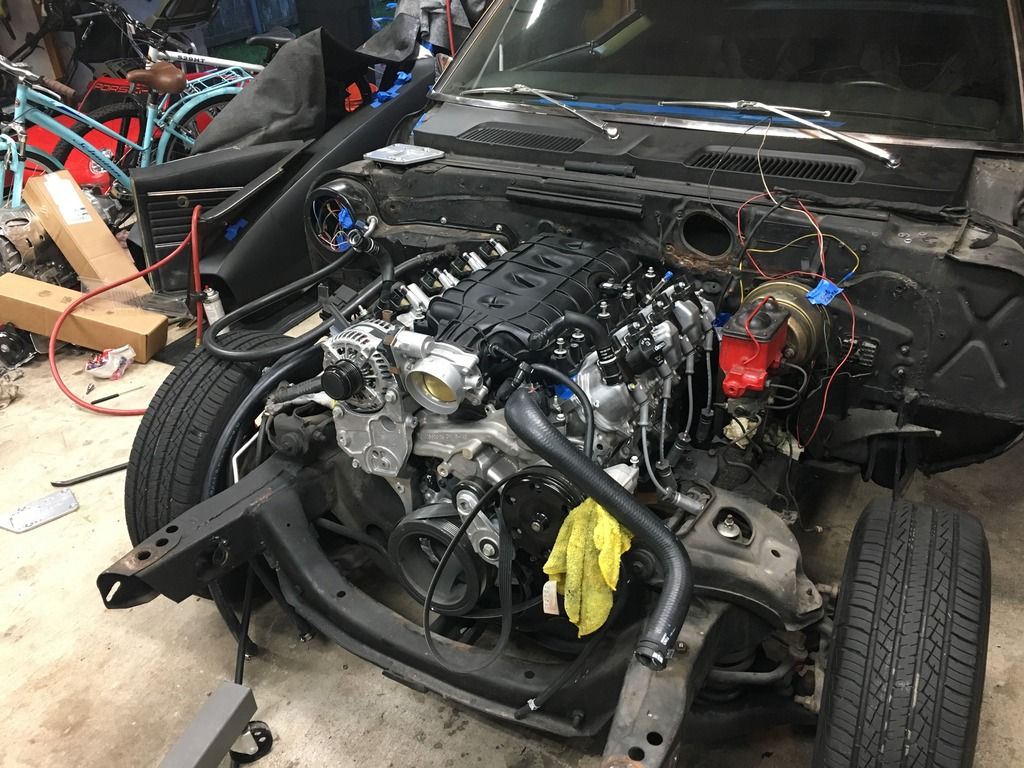
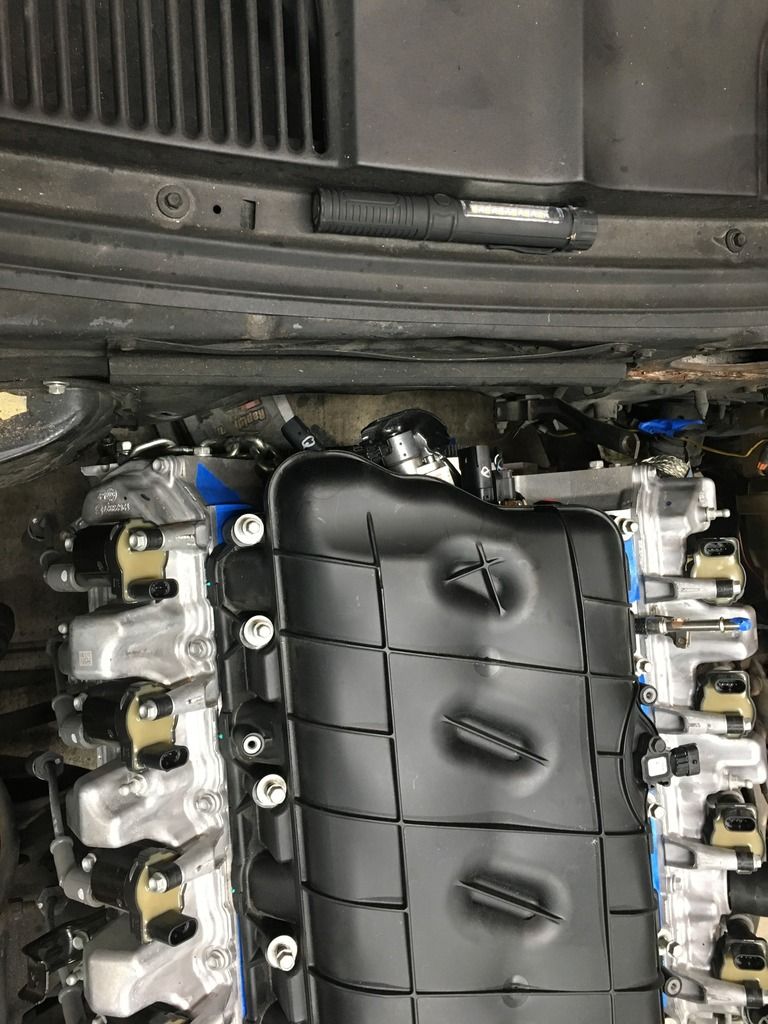
Here's a shot of the newer style plates, kind of hard to tell by the lower section of the plate has been extended to allow for the bolt holes for the rubber mounts to sit lower. Also here's what is required for the vacuum pump to be installed, see cut DS plate, you must also eliminate the most forward mounting hole and your dreams of using that position. There are three positions on these plates and from what I was told over the phone the most forward mounting holes are for the stock SBC position, middle is 1.625" forward and furthest is 2.25" forward from stock position. Not 100% sure on these measurements as I was writing them down while on the phone with them. I found that the middle position more closely resembled the position of my BBC. I really do not think the most forward position would work either, it would put the head either in the firewall or too close for my liking. I think something in the middle would work great. The motor is currently jacked up at the rear of the oil pan and the motor is sitting level. Whenever I lower the jack and the motor more closely resembles the actual operating angle it moves it really close to the firewall and rests on the AC box holted to my firewall. I guess another way to see where it sits is to compare the balancer to the subframe.


 06-29-2020, 12:04 AM
#153
I purchased Ridetech upper and lower control arms with coilovers then got them installed. The ride height came out good and it seems to handle very well.
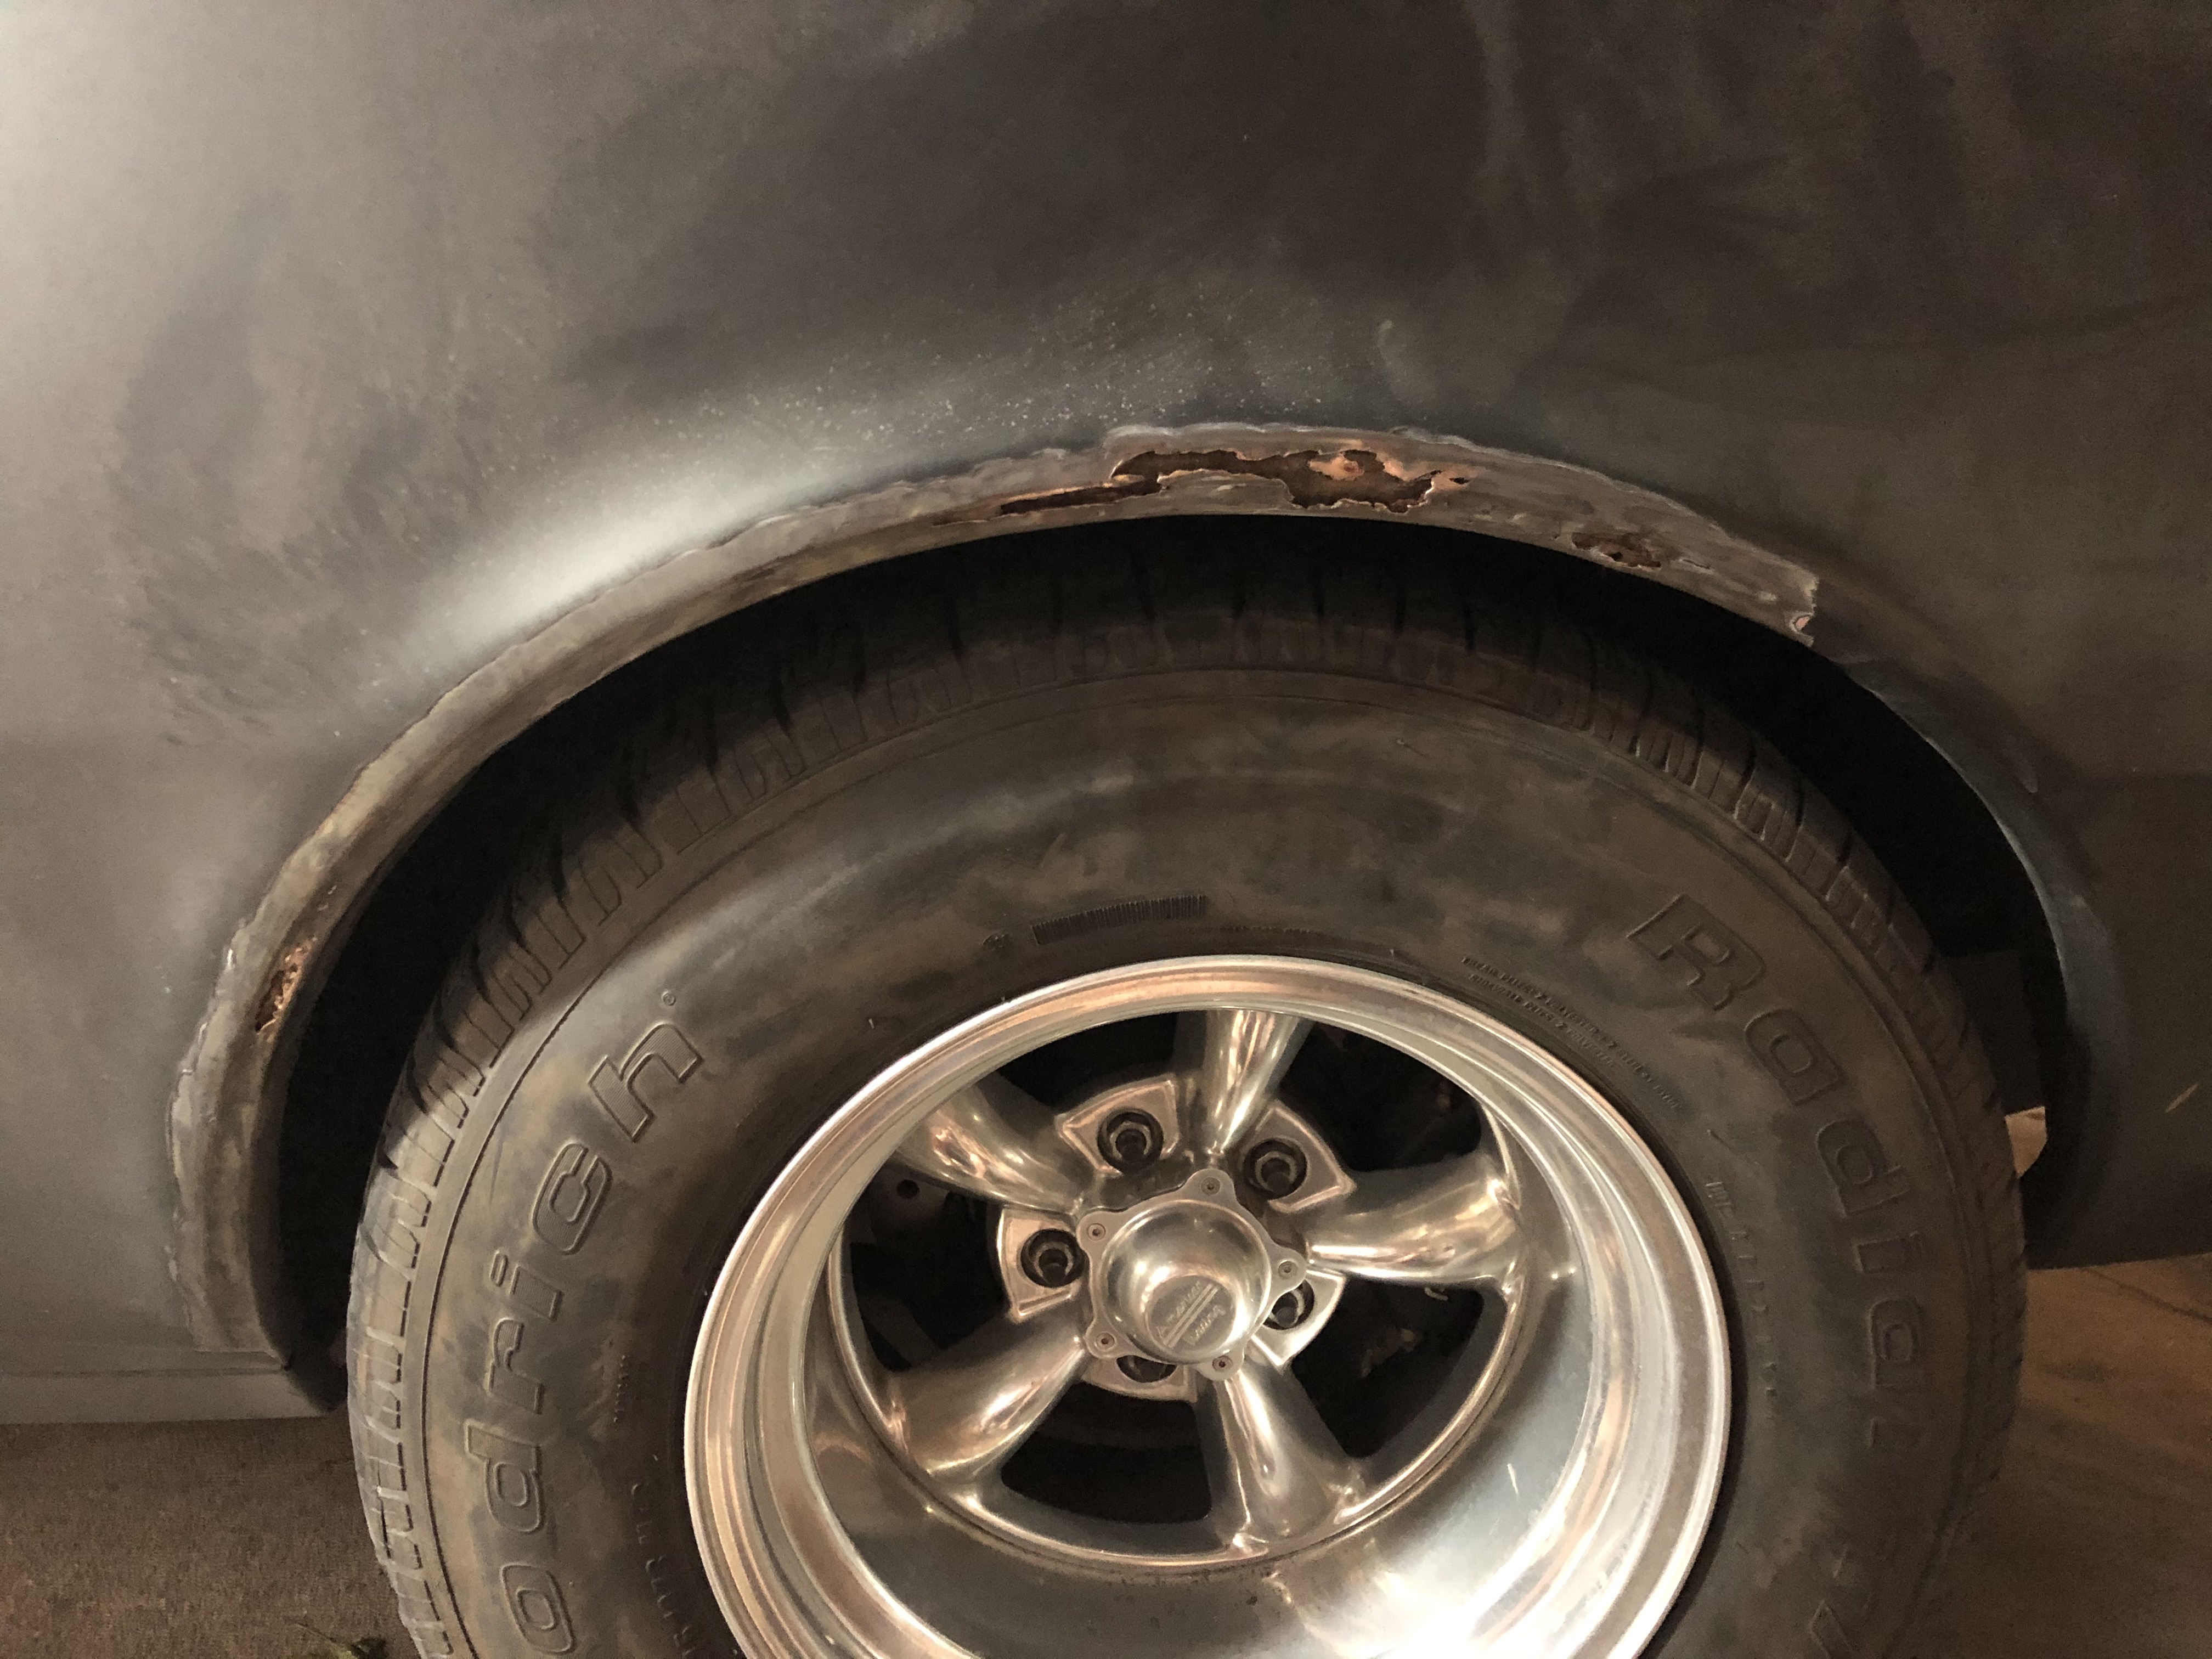
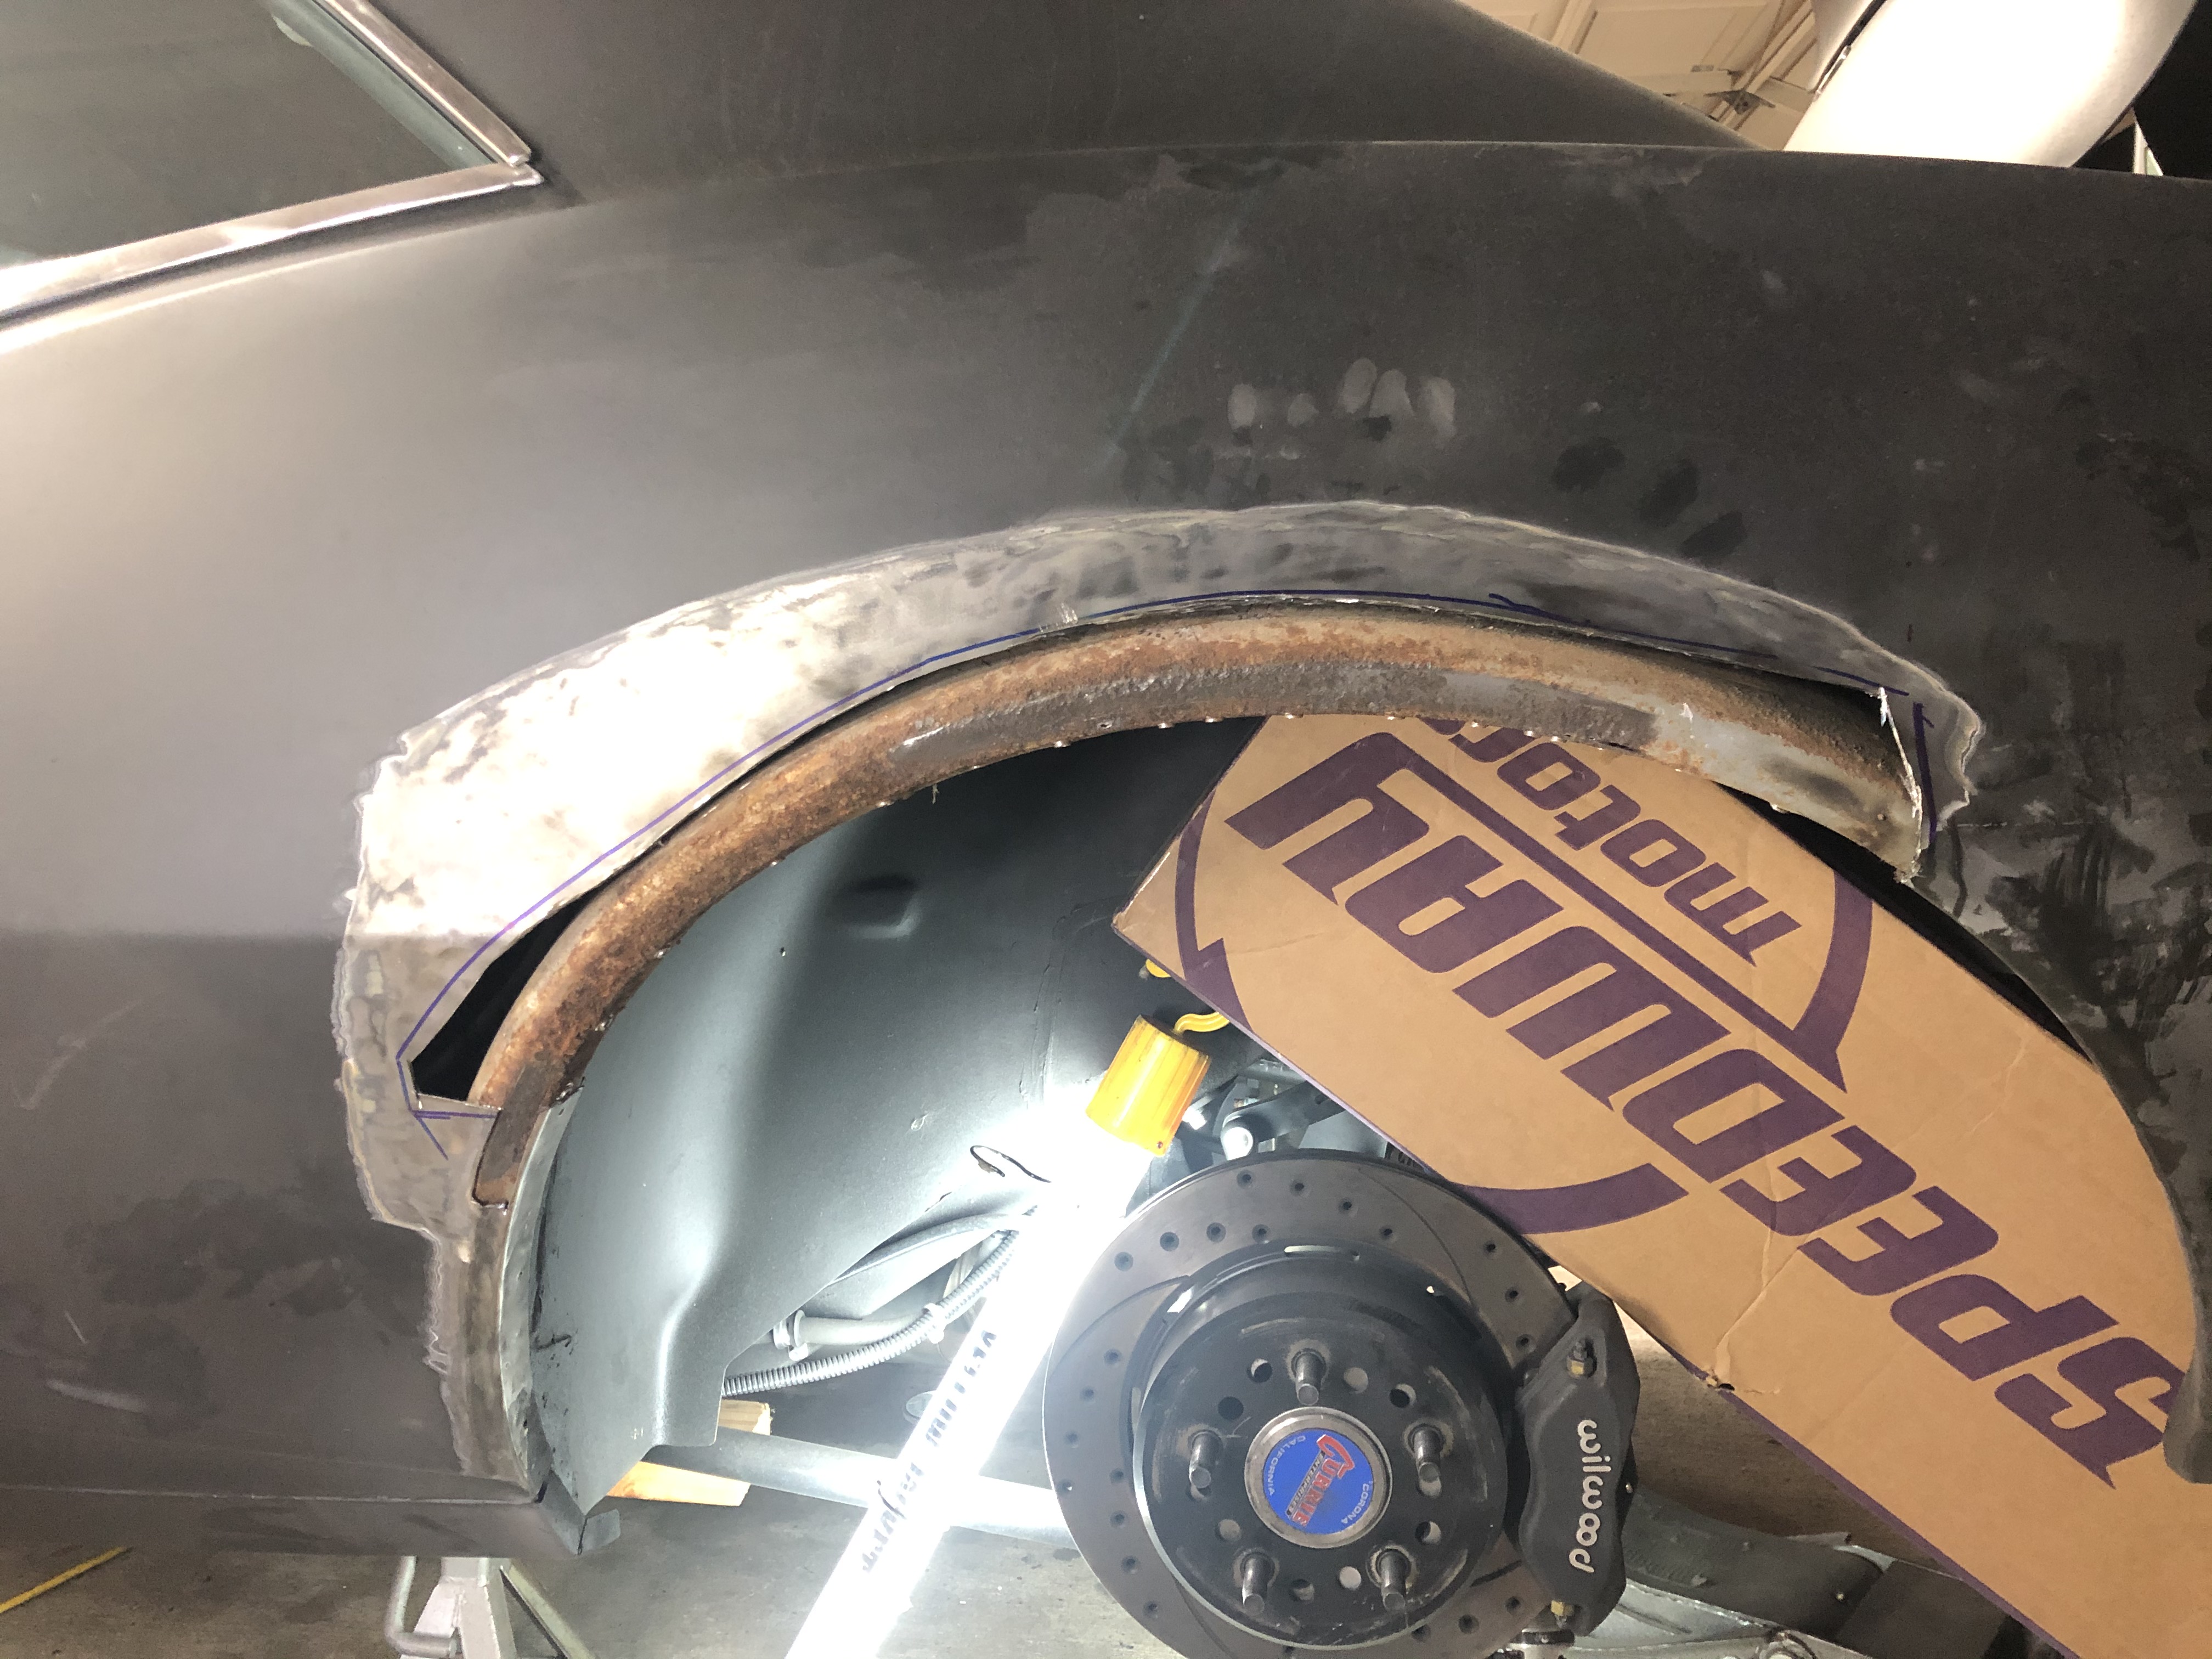
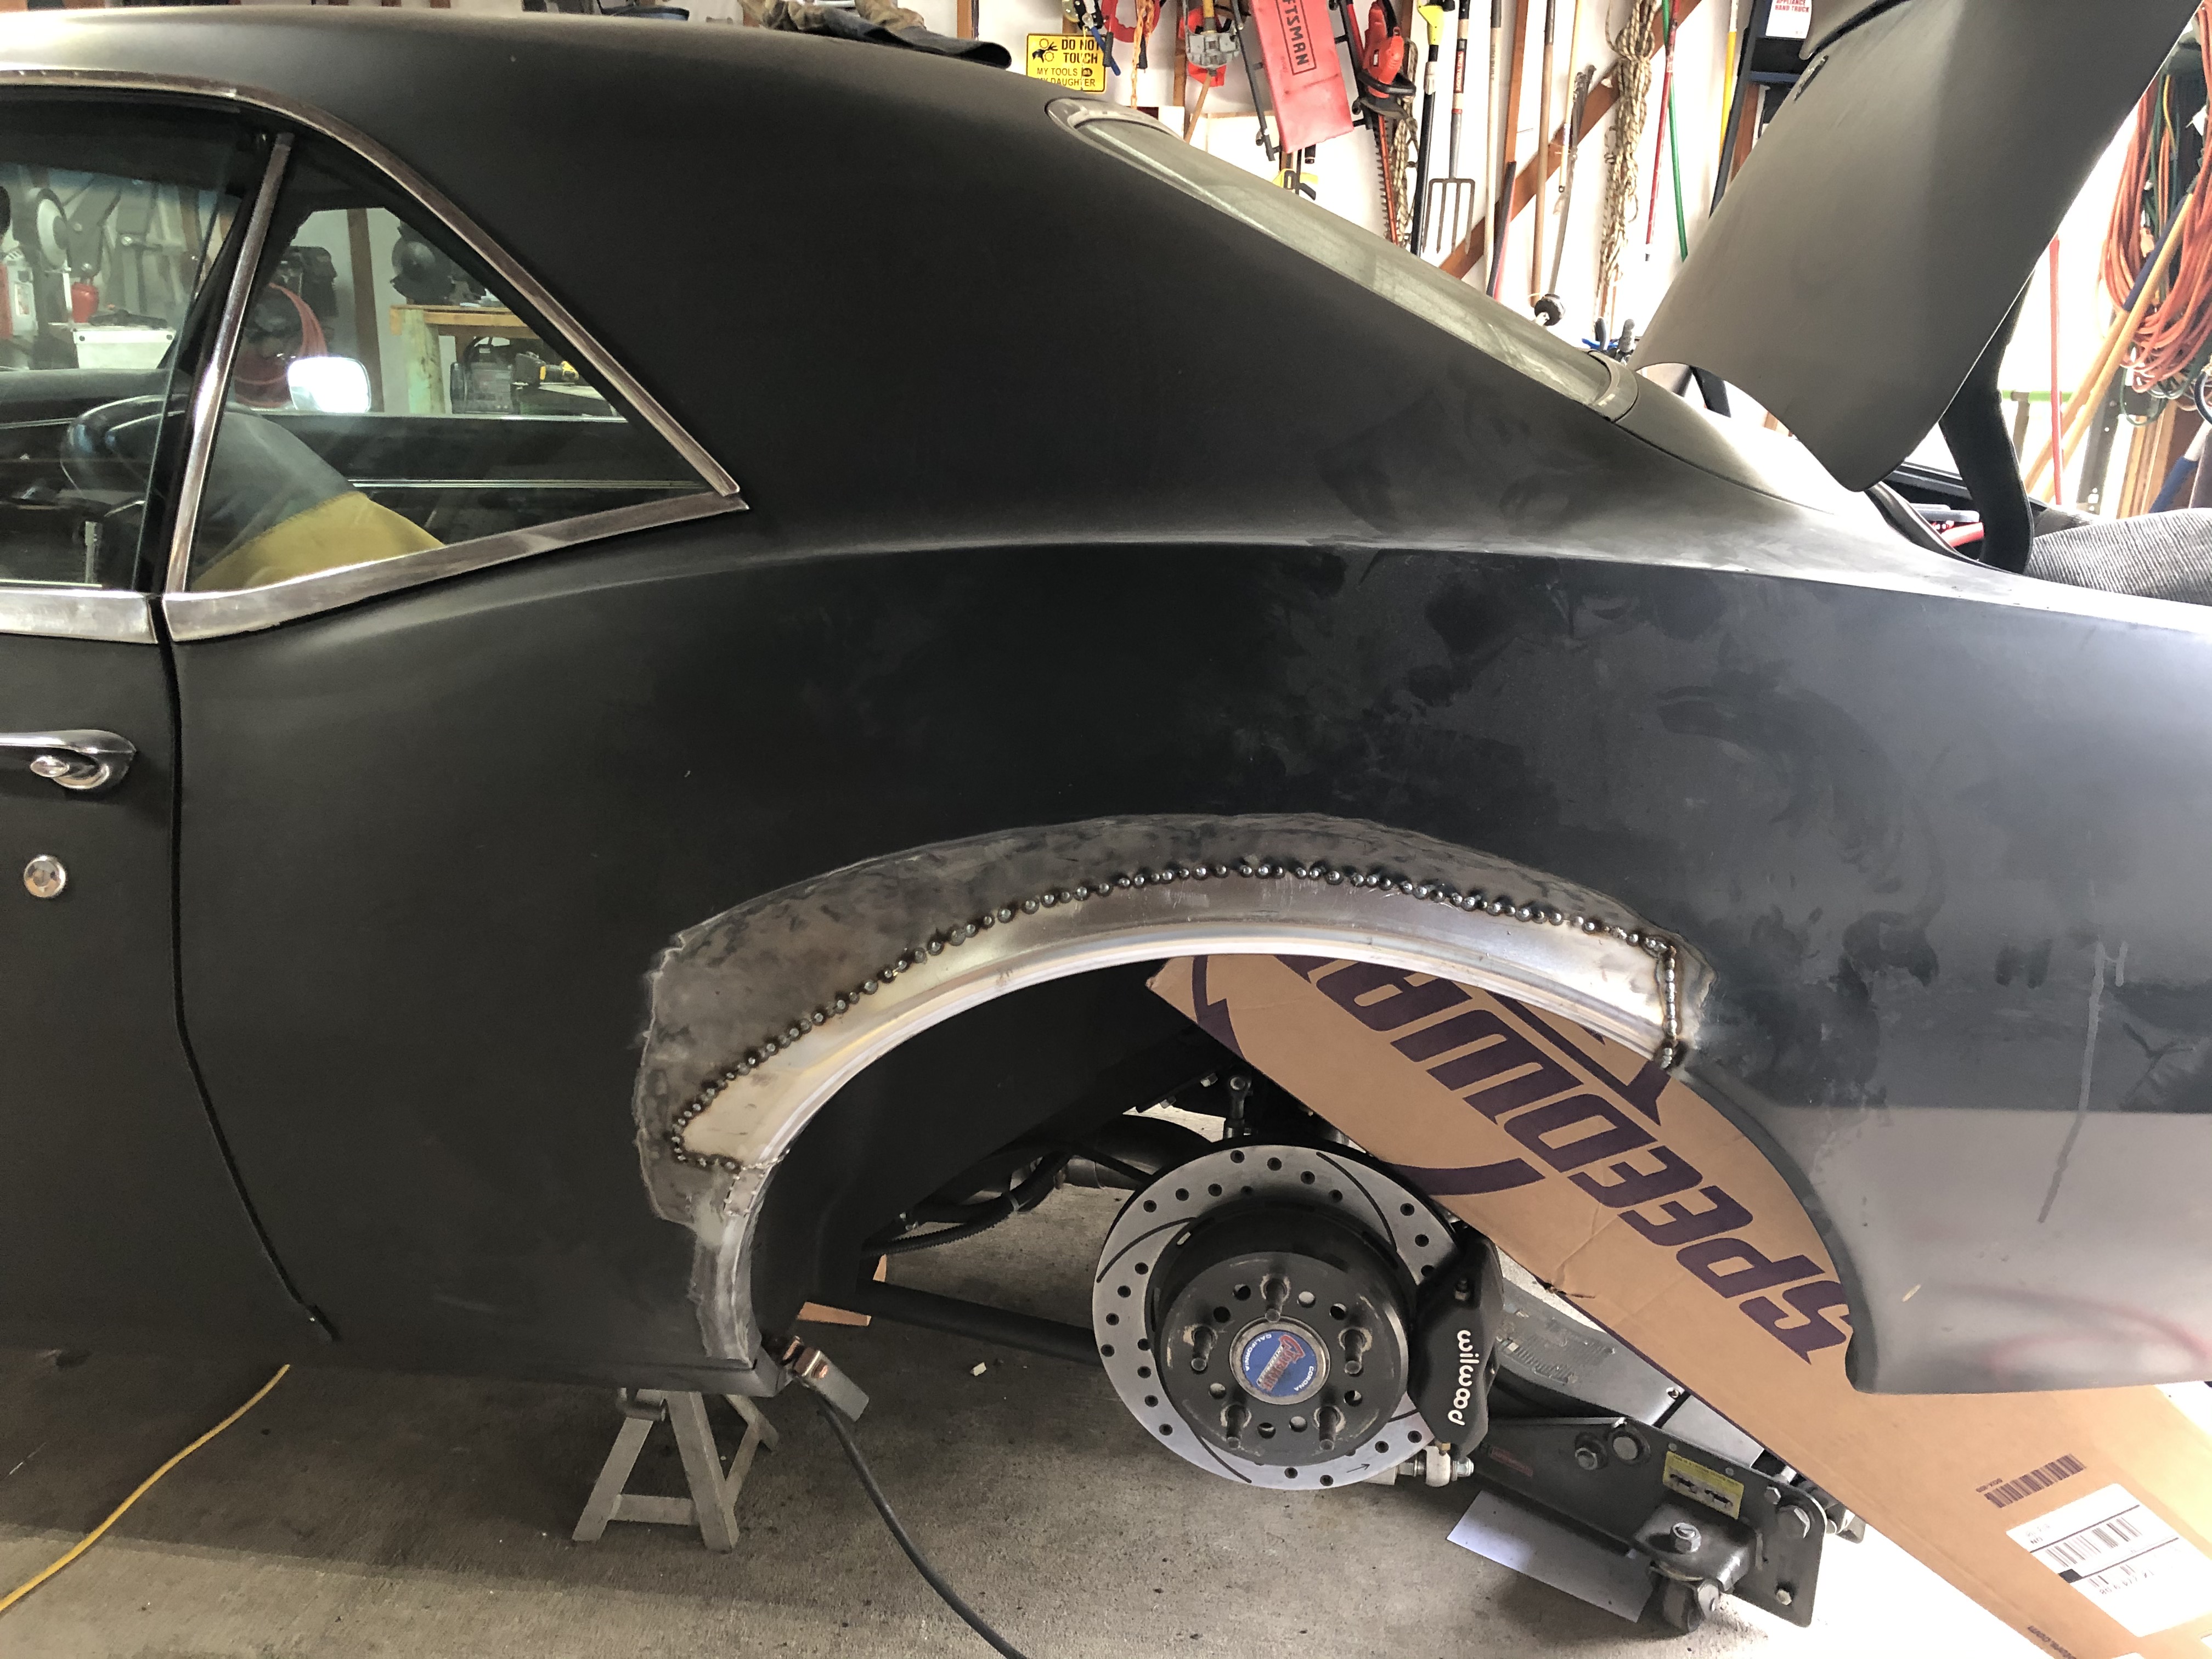
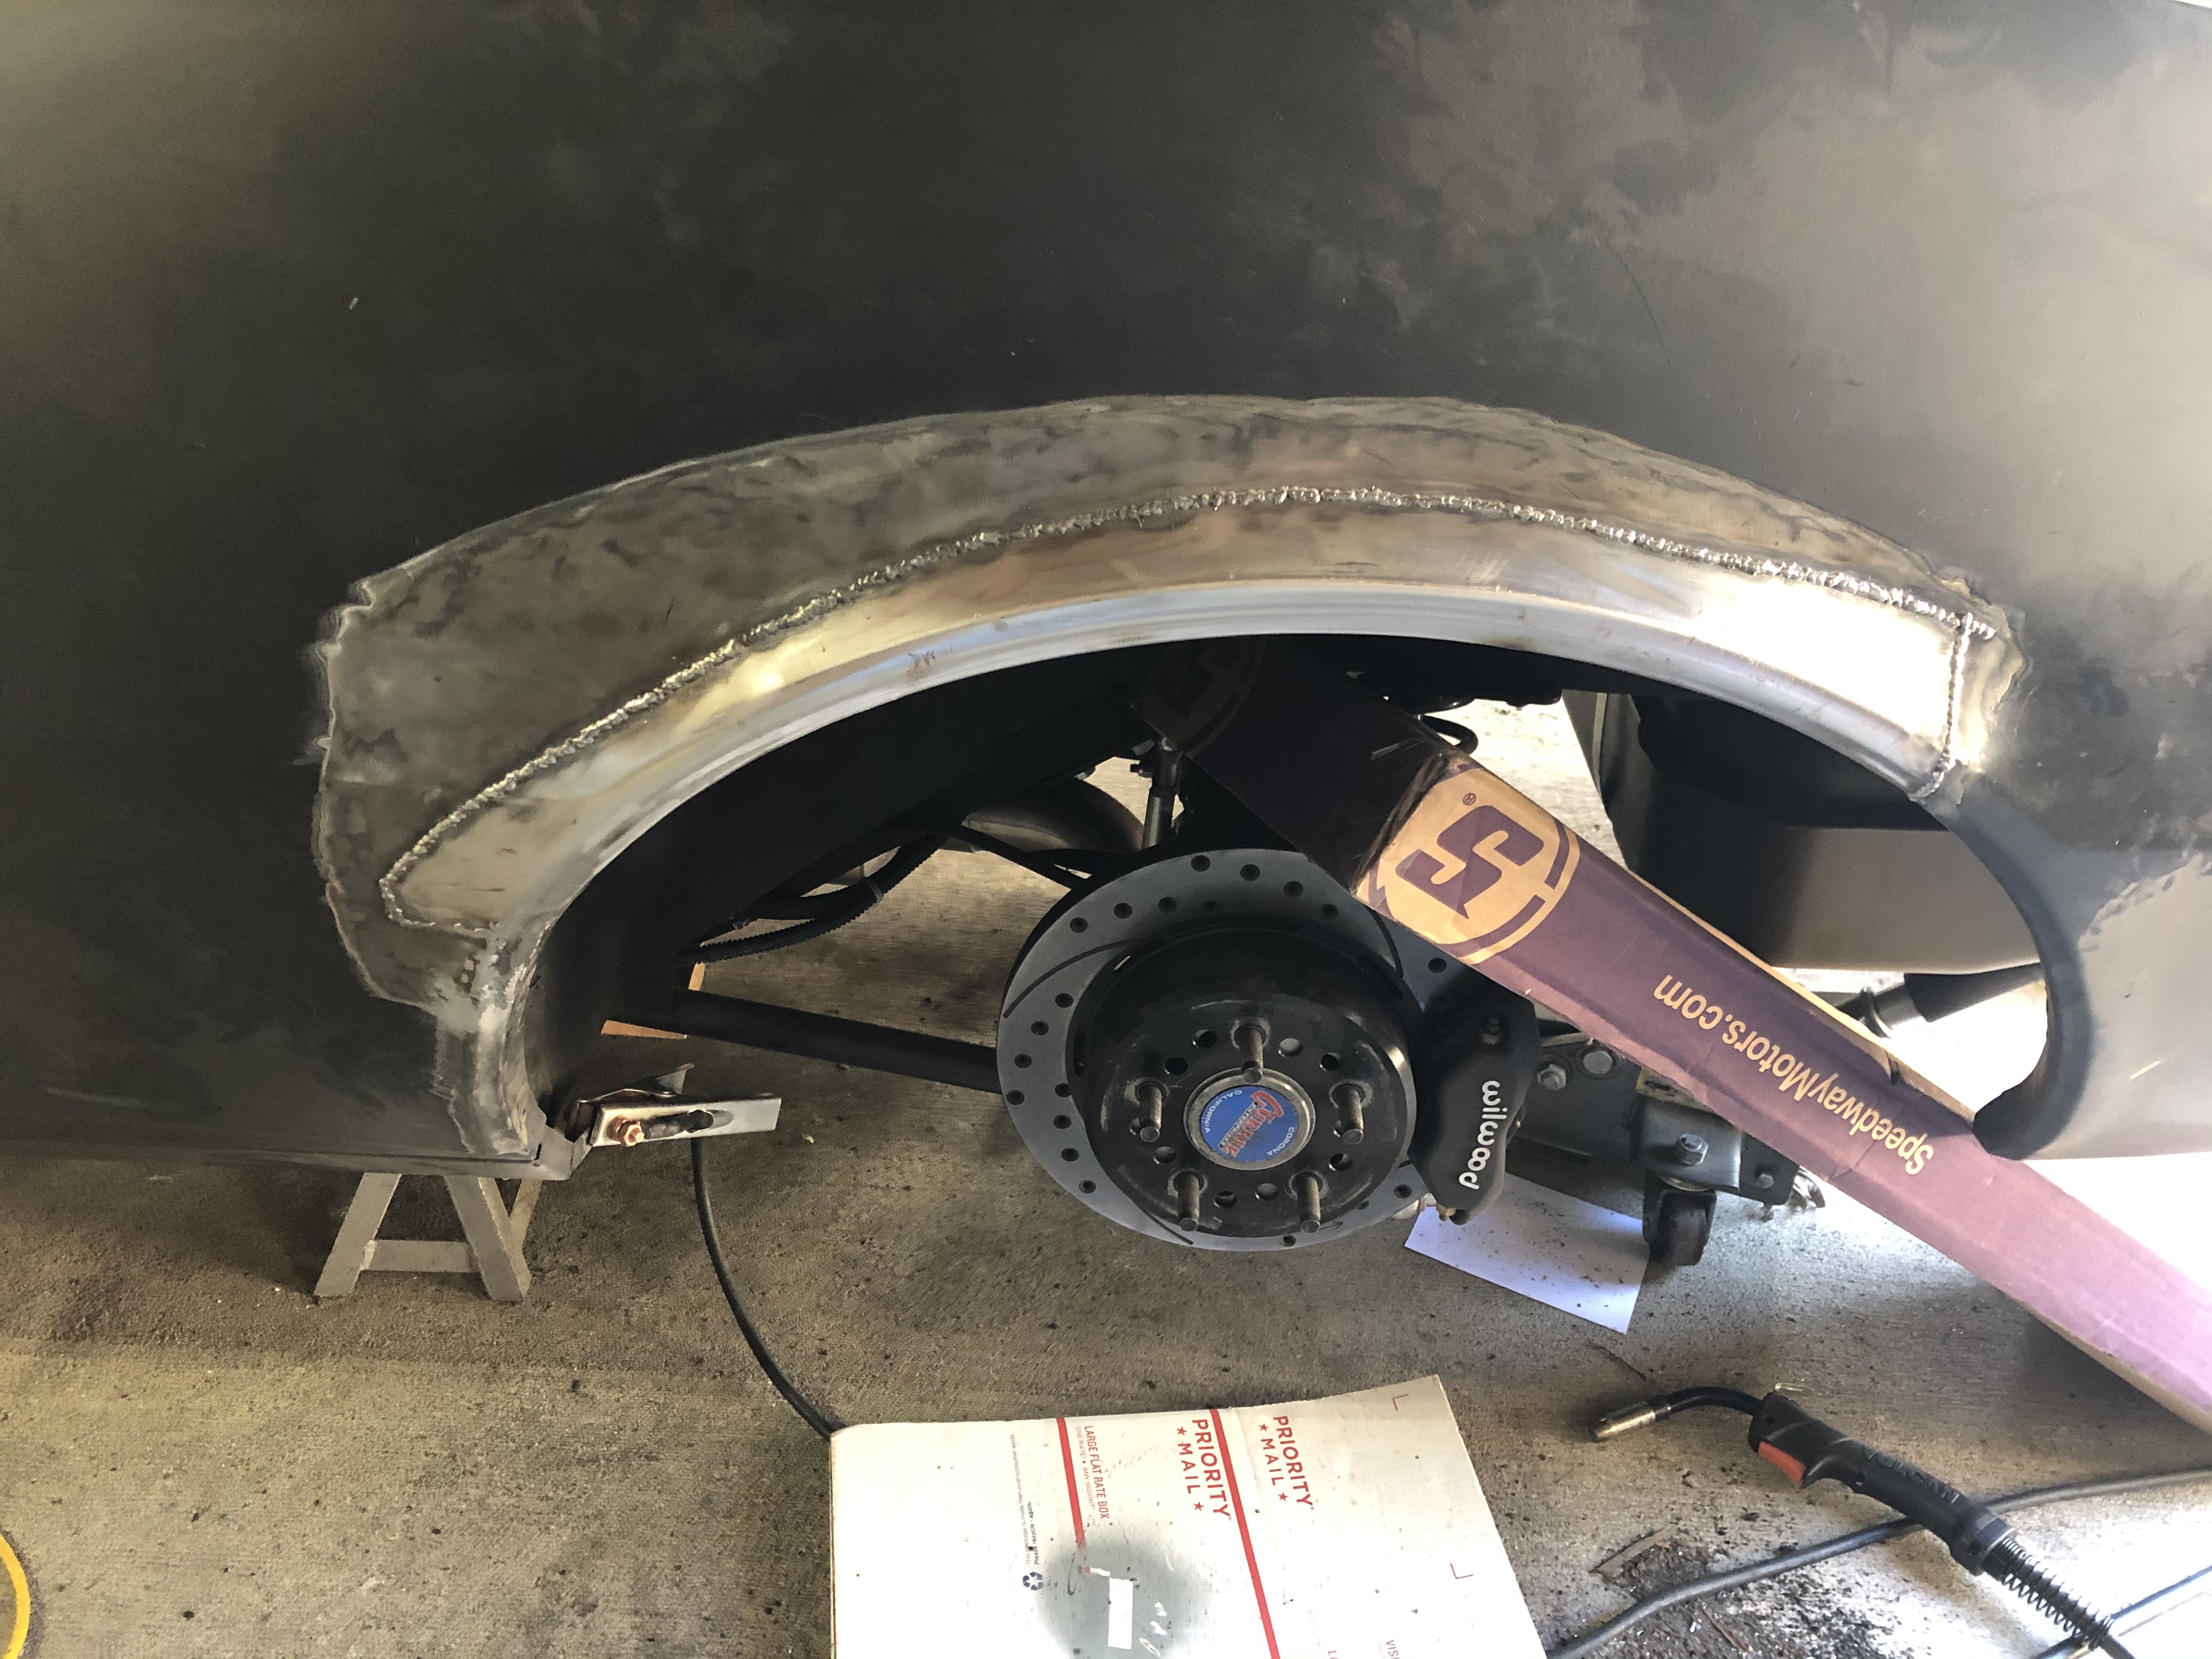
I tried to get the ride height lowered in the back and found that one area of corrosion that I could not see from inside the car where the inner wheel well is welded to the quarter. I believe this is the last of the rust, everything else was visible inside and out of the car when it was taken apart. The previous owner did a good job hiding the corrosion but of course I found it. I purchased some new repair patches and butt welded them in. I had access to both sides of the weld so I was able to dress both sides and its a seamless repair now. Here's a few pics.


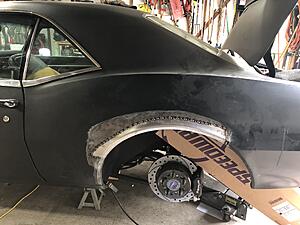
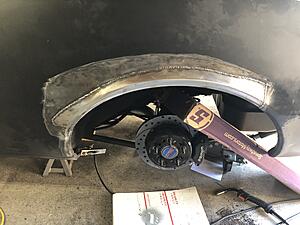
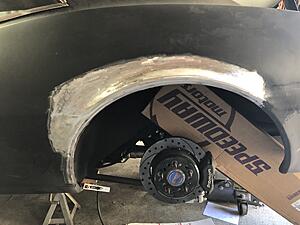
I tried to get the ride height lowered in the back and found that one area of corrosion that I could not see from inside the car where the inner wheel well is welded to the quarter. I believe this is the last of the rust, everything else was visible inside and out of the car when it was taken apart. The previous owner did a good job hiding the corrosion but of course I found it. I purchased some new repair patches and butt welded them in. I had access to both sides of the weld so I was able to dress both sides and its a seamless repair now. Here's a few pics.

The following users liked this post:
Motown 454 (06-29-2020)
The following users liked this post:
Jimbo1367 (10-05-2021)
06-29-2020, 09:12 AM
#155
Nice job on the wheel well opening. What finishing tools and grit dis s did you use?
thanks,
Jim
thanks,
Jim
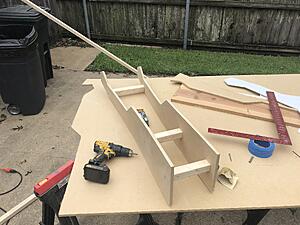
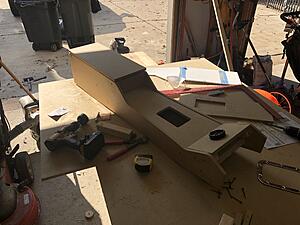
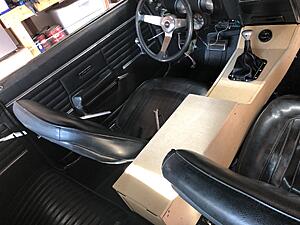
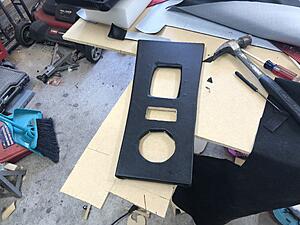
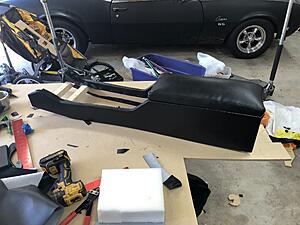
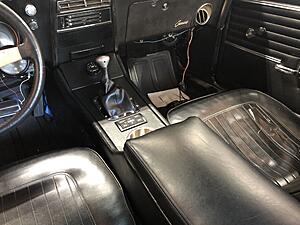
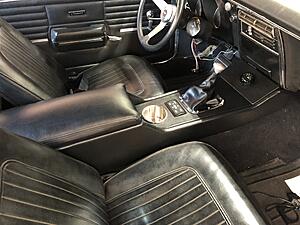
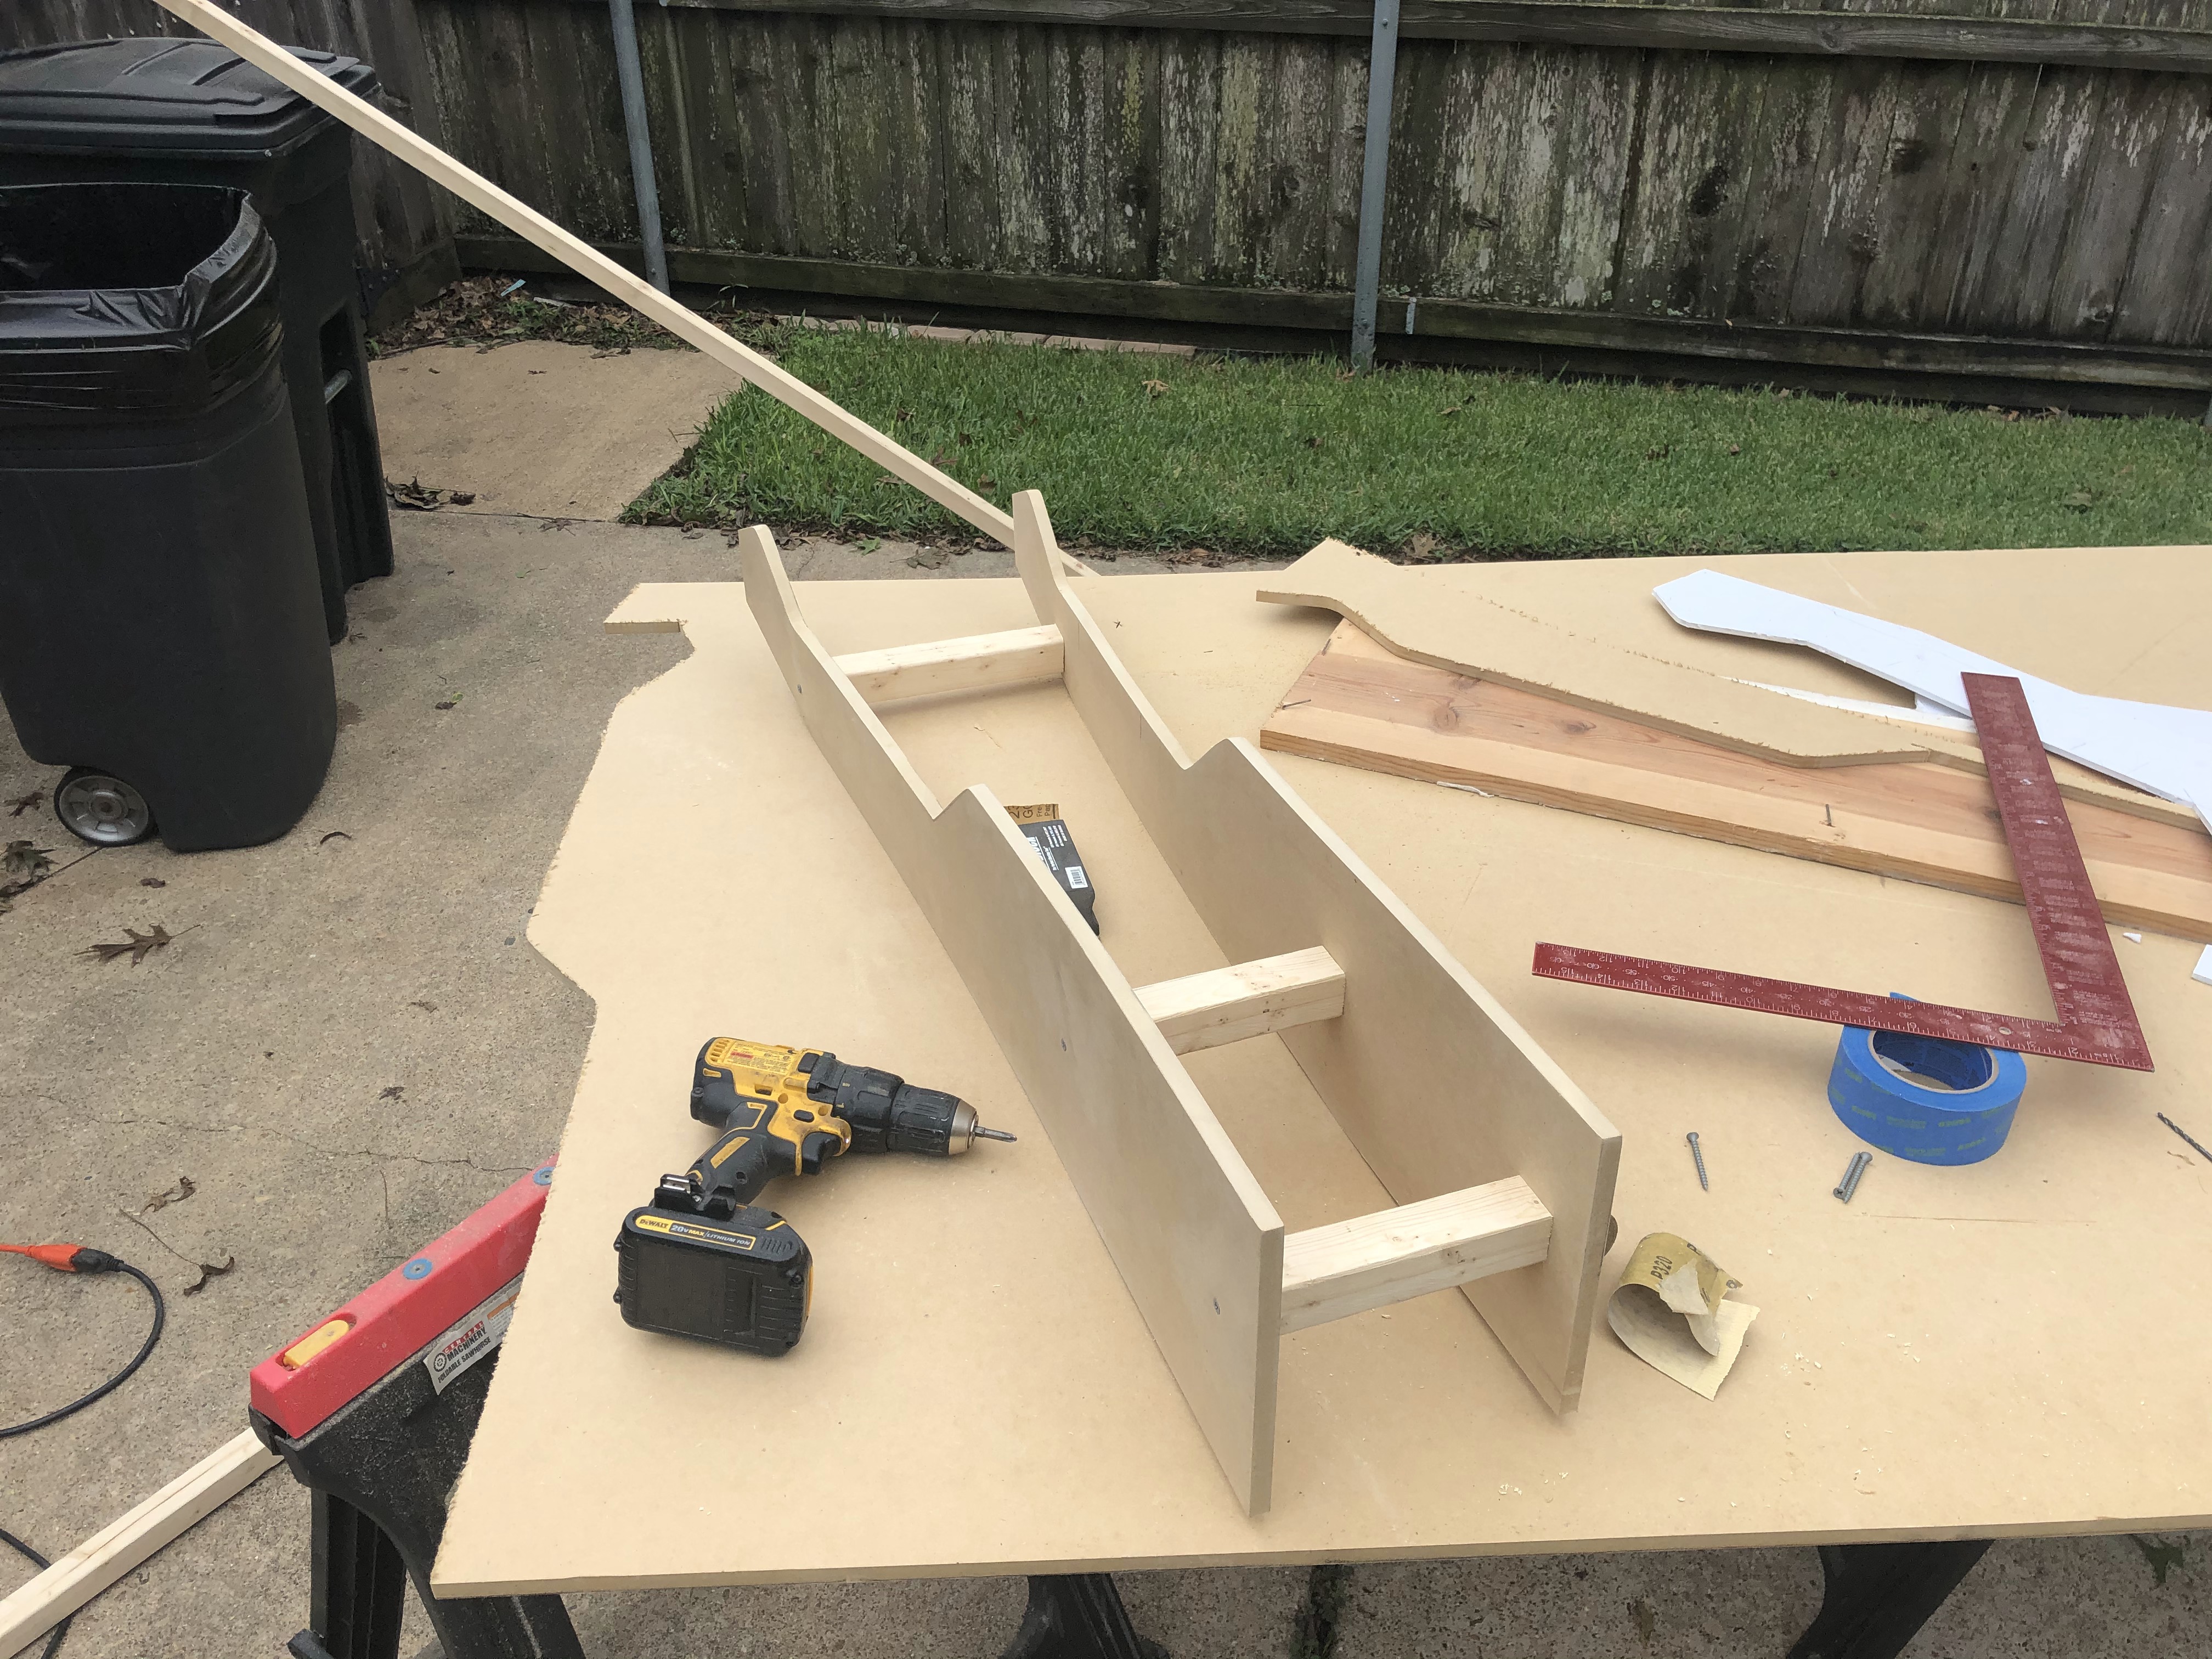
10-03-2021, 03:36 AM
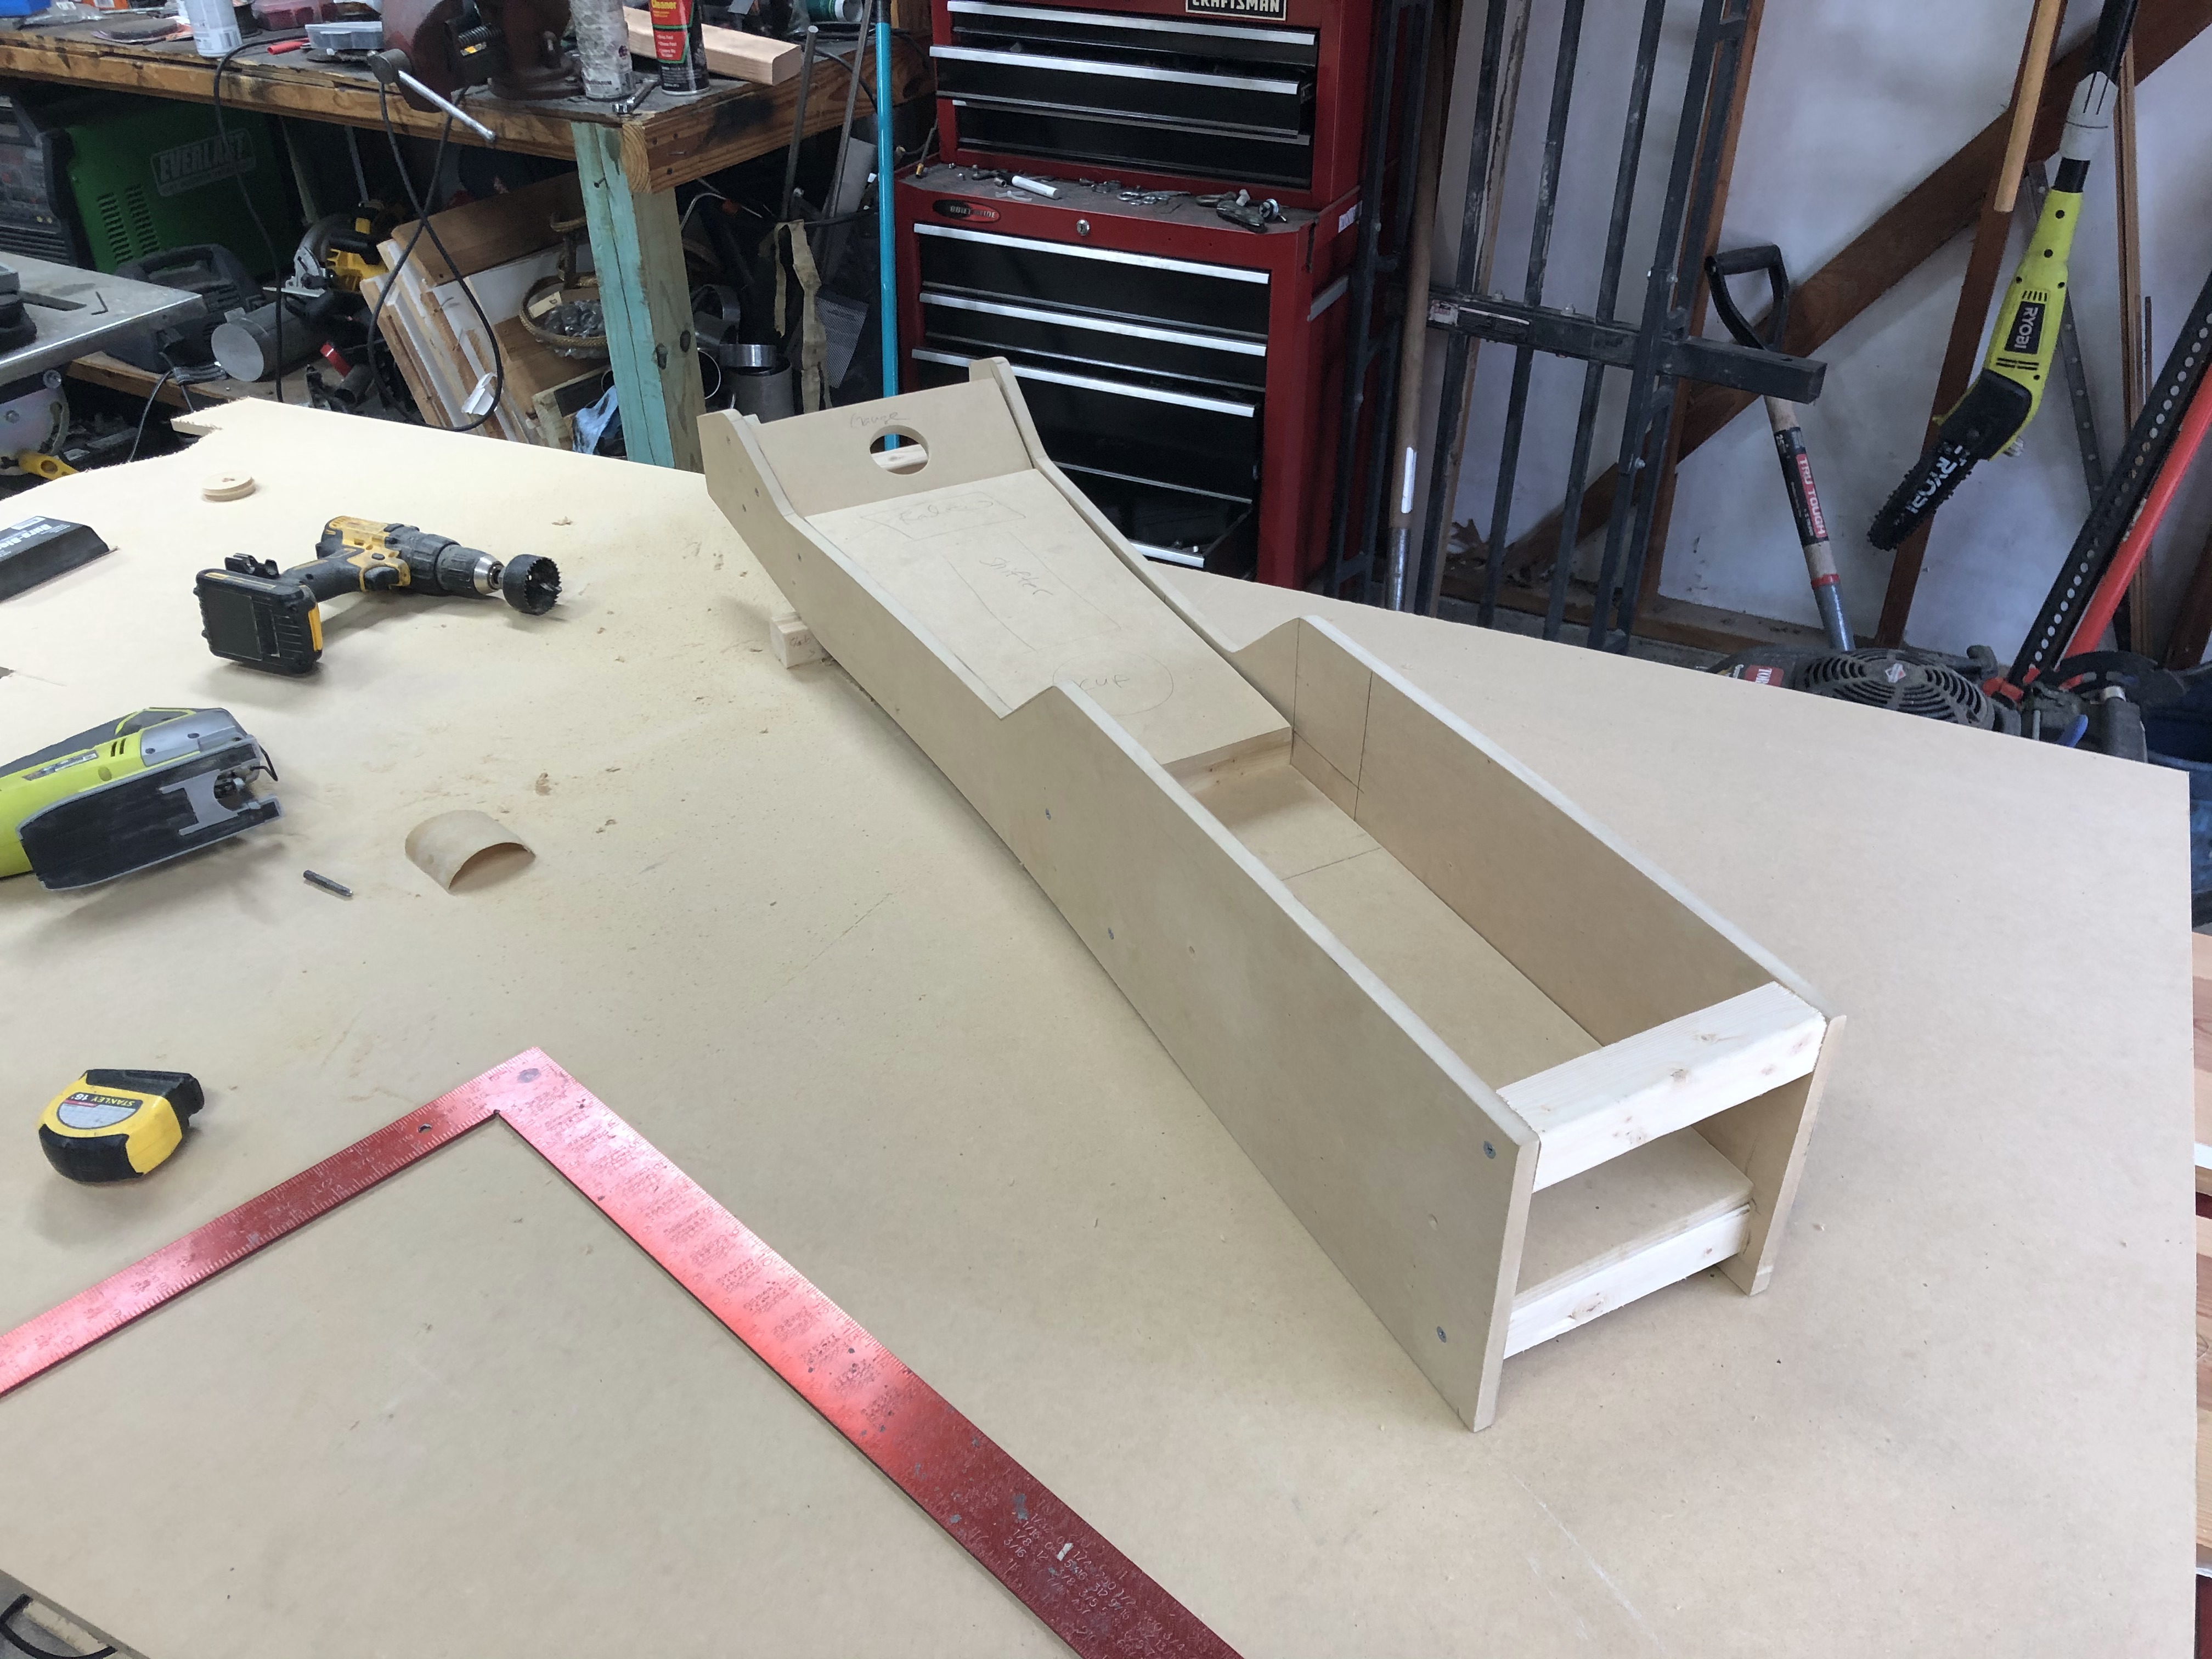
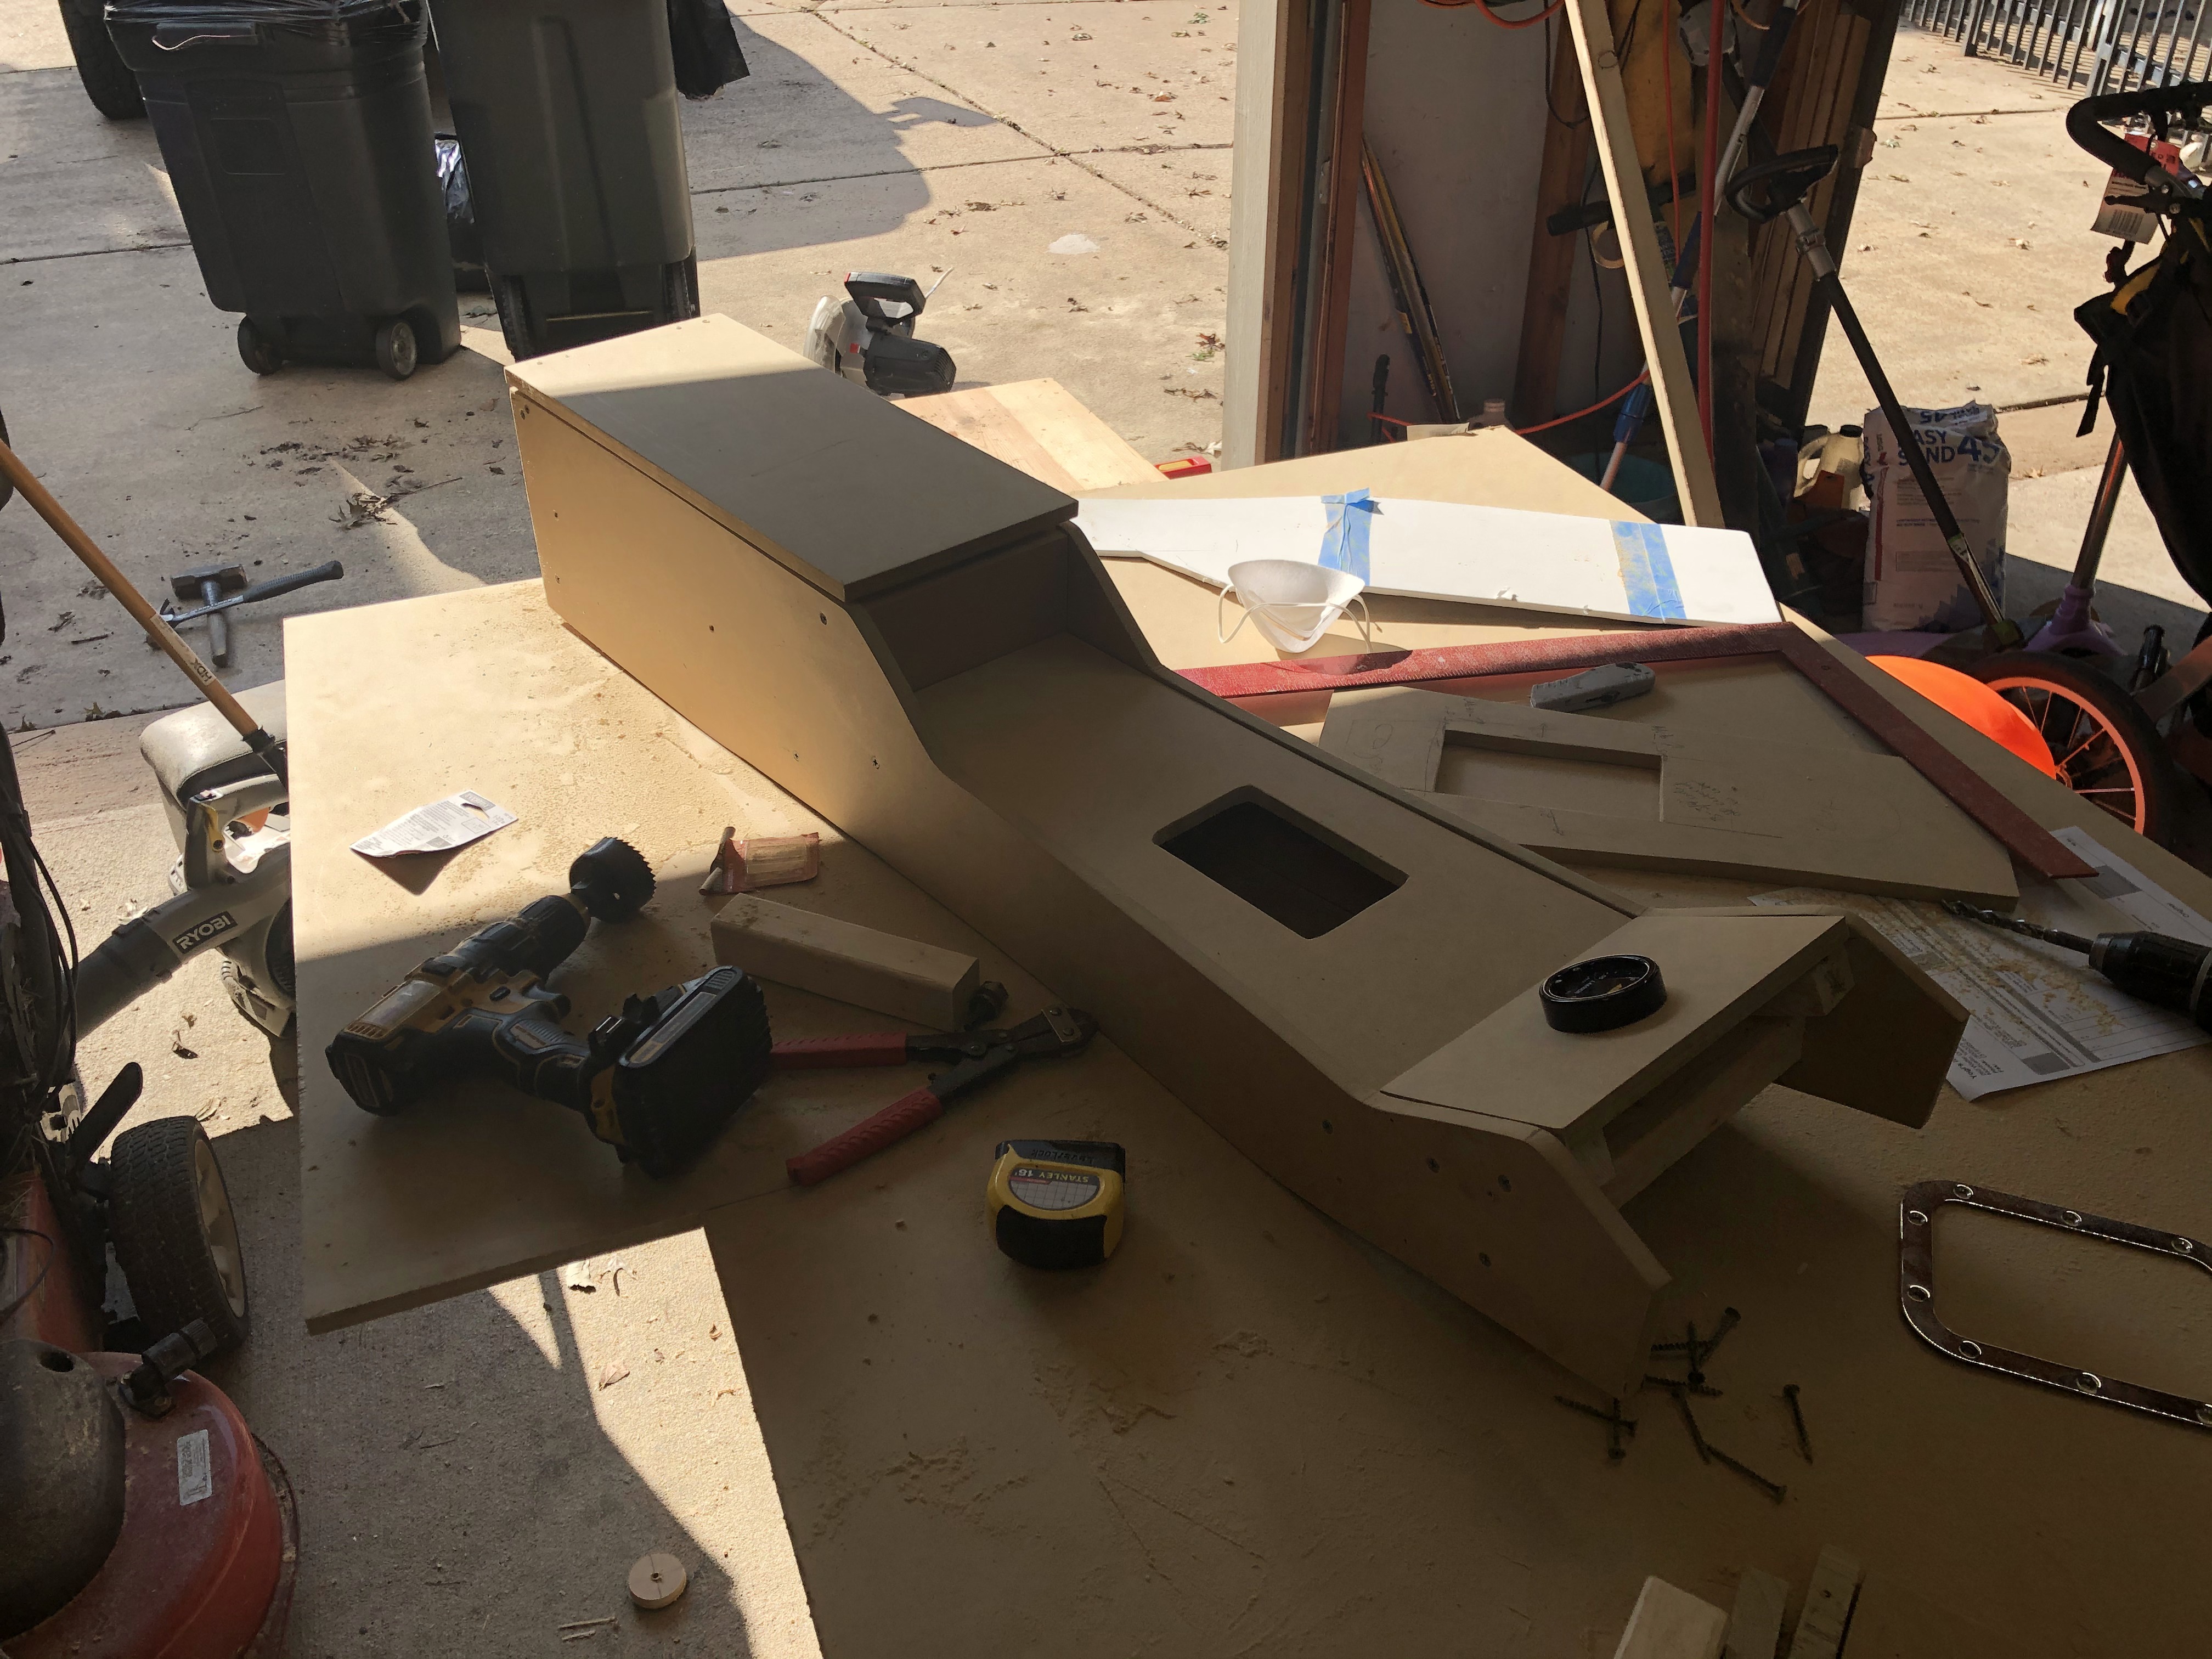
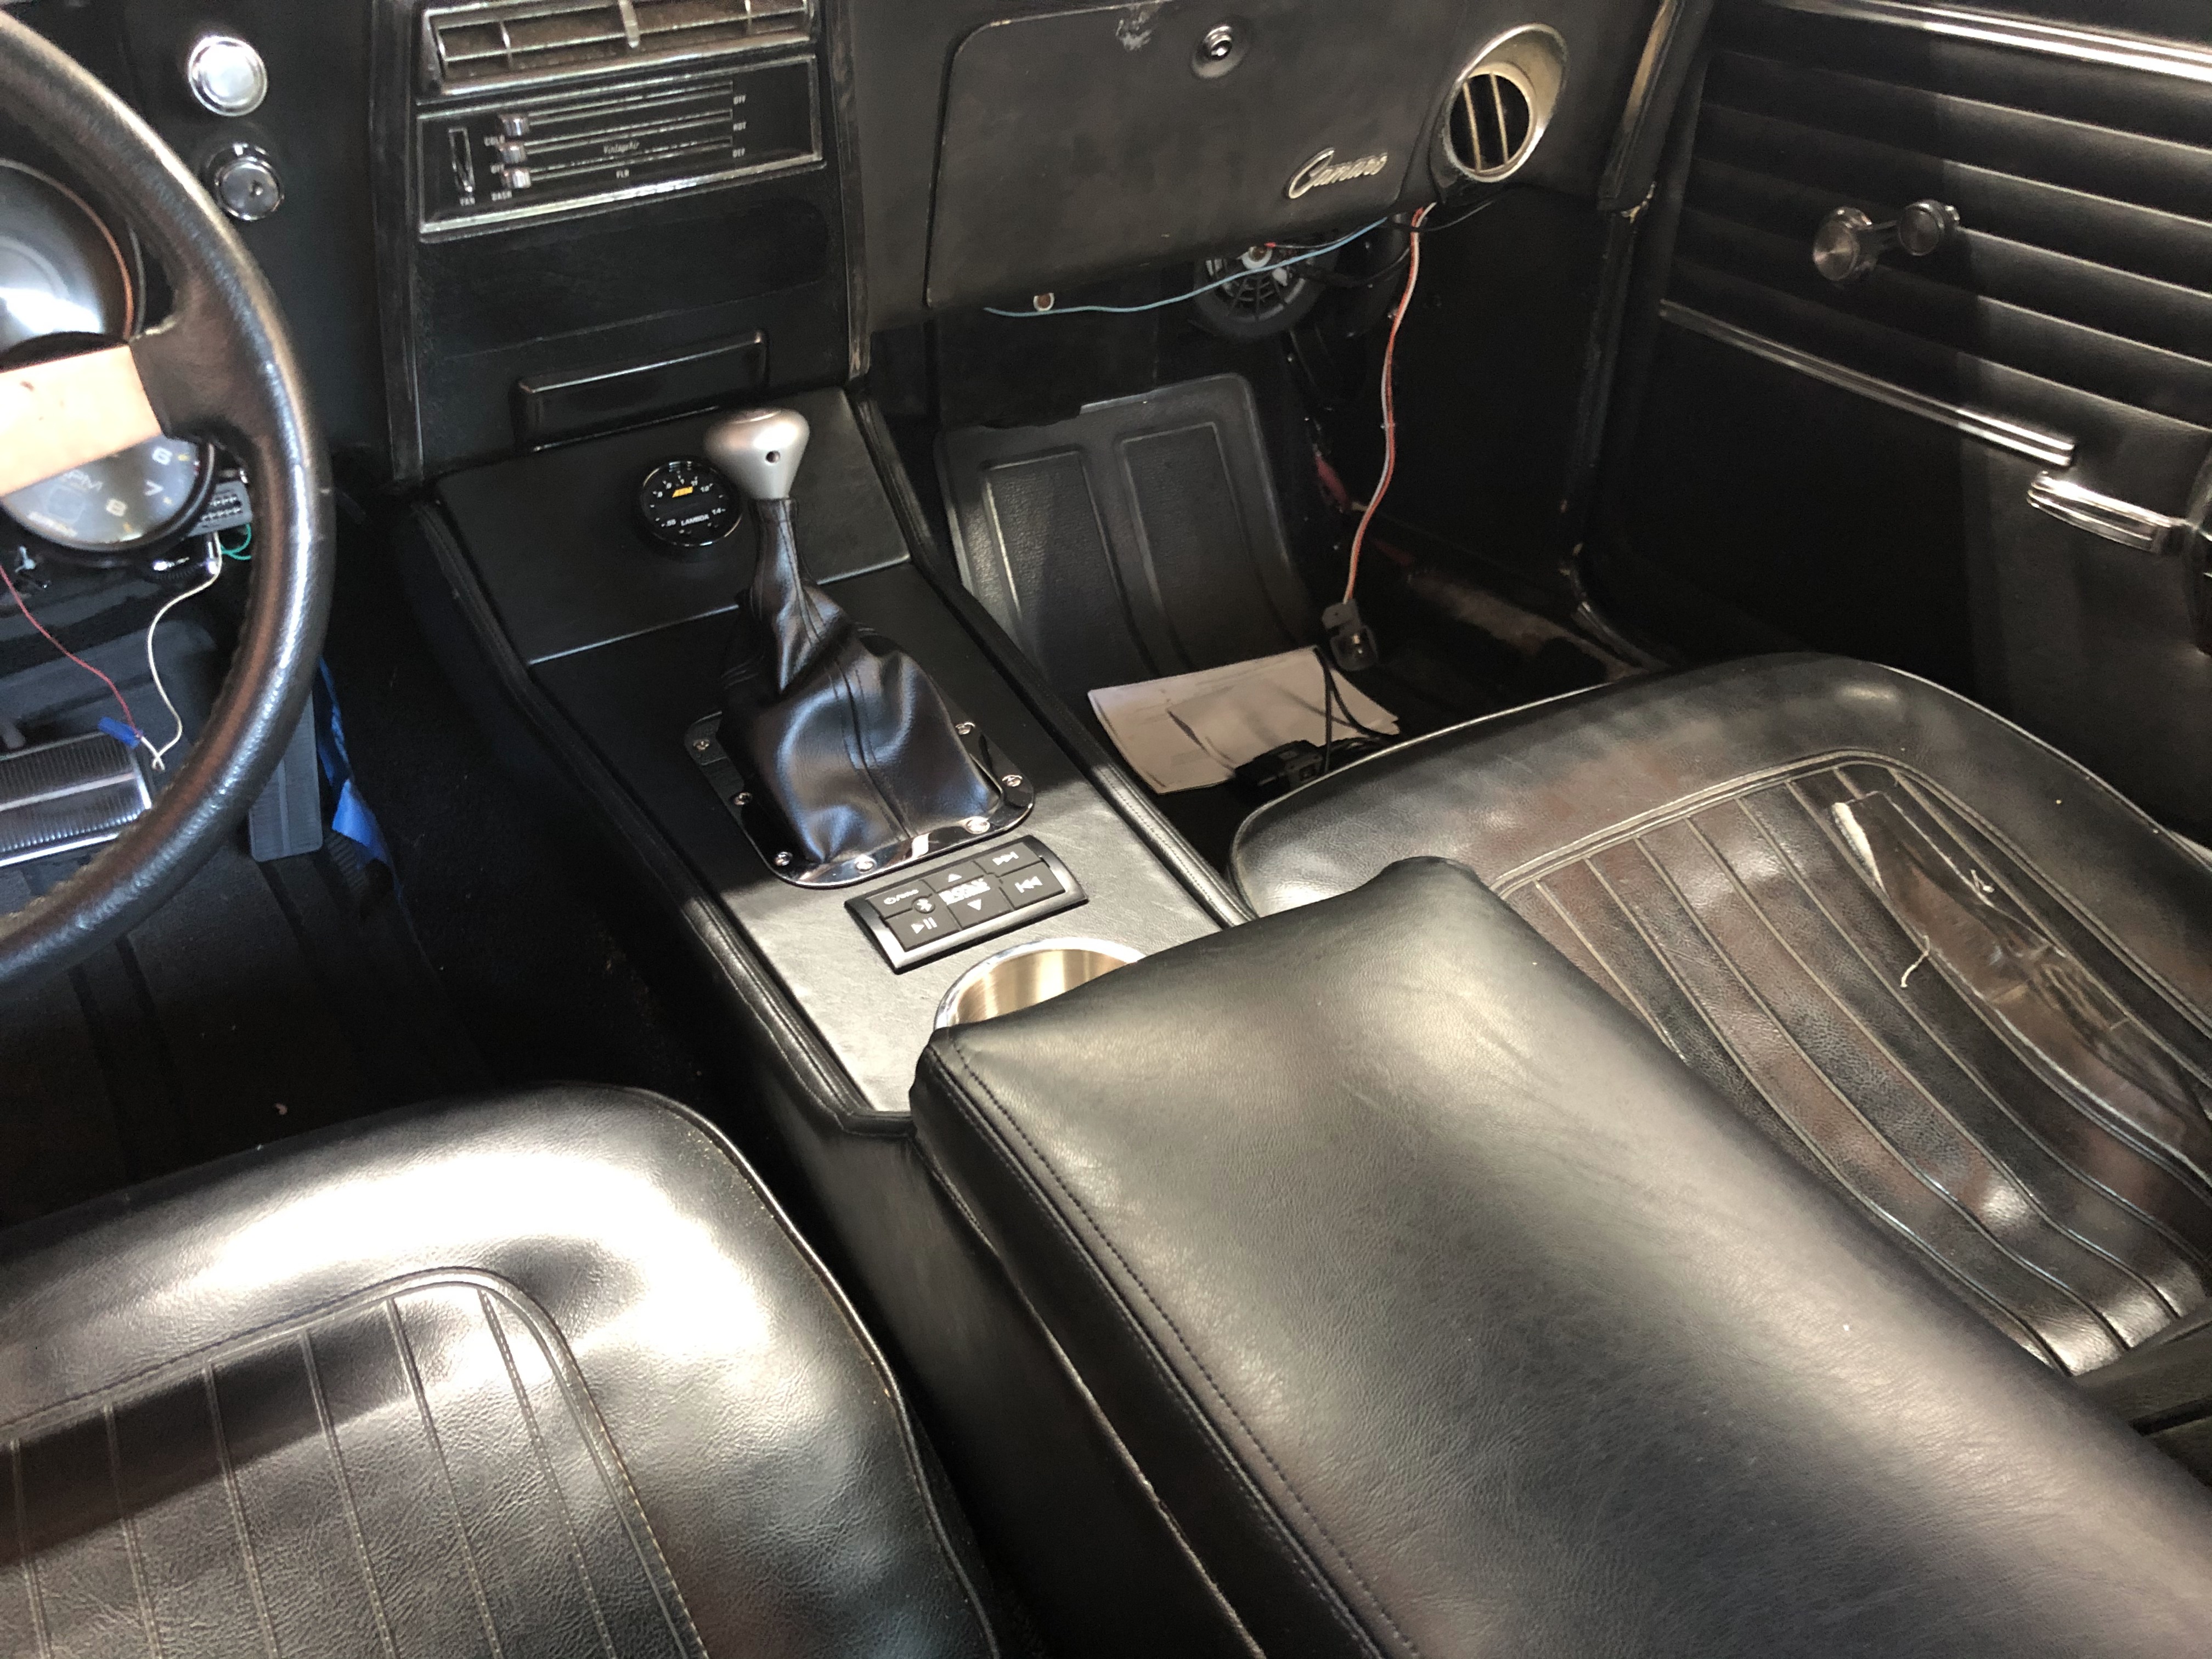
#157
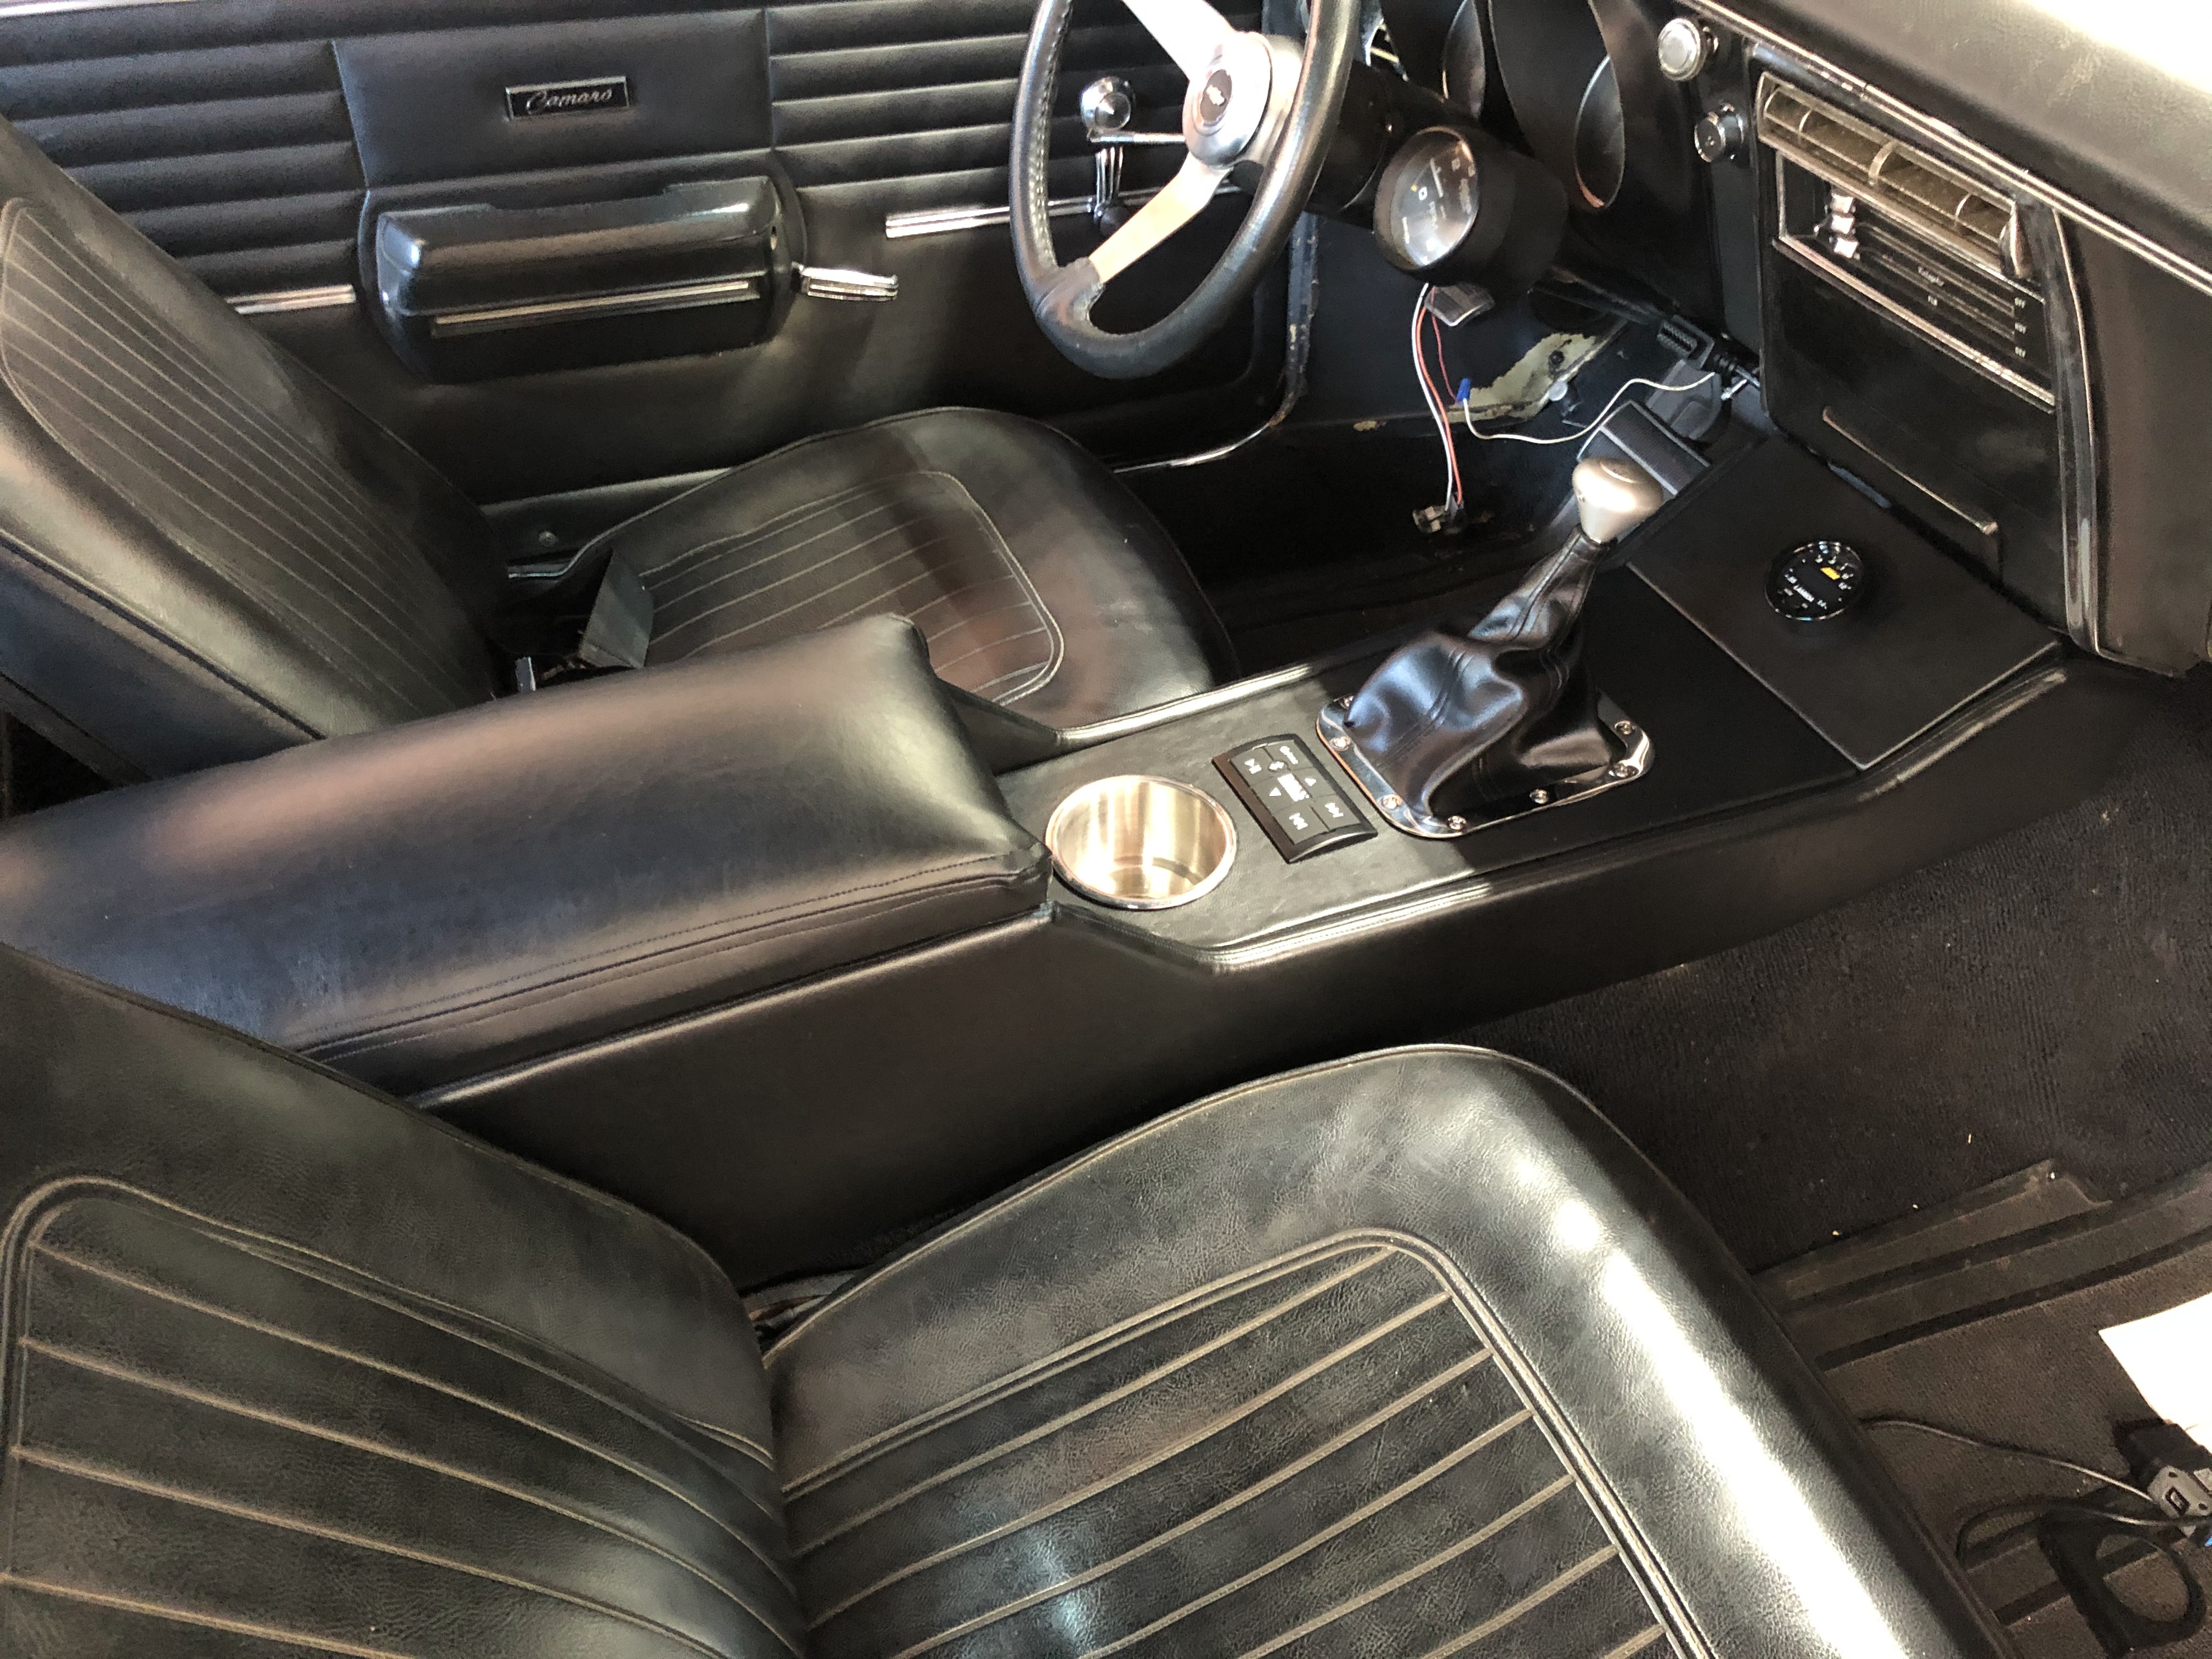
I haven't posted here in a while so I figured I'd give some updates. I made this center console a few months back with some MDF and vinal. Learned how to french seam and wrapped it. At some point I'll redo the lid, it turned out a little too puffy for my style but it sure is comfortable.