

Took a door bar out today!
 06-11-2009, 11:09 PM
#1
On The Tree
Thread Starter
iTrader: (11)
Join Date: Dec 2004
Location: illinois
Posts: 102
Likes: 0
Received 0 Likes
on
0 Posts
Went by tony shepards guide for lt1's... helped alot!
heres some extra pics! the link-
https://ls1tech.com/forums/lt1-lt4-m...ic-inside.html
the craftsman metric socket wrench set that made it possible!-

http://www.sears.com/shc/s/p_10153_12605_00942801000P
heres some extra pics! the link-
https://ls1tech.com/forums/lt1-lt4-m...ic-inside.html
the craftsman metric socket wrench set that made it possible!-
http://www.sears.com/shc/s/p_10153_12605_00942801000P
 06-12-2009, 06:28 AM
#4
Nice work you did it on 1piece.
even with a 6point I'm keeping mine, fiberglass door,. and I have some crashed pics, the door smashes away and the bar bent up. It dose a god job of a trucks bumper, street sign,tree,post, from tring to fit into the seat with you
even with a 6point I'm keeping mine, fiberglass door,. and I have some crashed pics, the door smashes away and the bar bent up. It dose a god job of a trucks bumper, street sign,tree,post, from tring to fit into the seat with you
08-08-2009, 09:34 AM
#5
11 Second Club
iTrader: (14)
Join Date: Aug 2003
Location: Kentucky
Posts: 930
Likes: 0
Received 0 Likes
on
0 Posts

**** THOSE DOOR BARS!!
took 6 hours to remove them...
but anyone researching this,
i just ground down a 3/8 drive 10mm sockts to make it square, and hammered it in stug to a 14mm ratchet wrench. worked like acharm...after several failed attempts at other ideas.. as far as the 15mm goes, i actualy had a 15mm short socket that had a hole driled in the side of it, i just put the socket on, then stuck a screwdriver in the hole and it broke loose fairly easy.
good luck
08-08-2009, 09:53 AM
#7
You can also remove the socond catch and plate at the rear of the door.
you will need large washers to put the primary catch back on, but the plate is quiet heavy.
This is the part that the door bar attaches to at the rear. and the catch is the round one that comes out with a big torx head.
The only thing this will effect is that the door is either shut or not. there will no longer be a catch were it doesn't shut all the way. I like mine better that way anyway.
Trending Topics
08-10-2009, 11:55 PM
#9
When me and TS6 did his door bars (Z28) it took us every bit of 2-3 hours. We had to make a special tool from with a 13 mil socket cut in half, and a screwdriver bent about 30*. Ghetto i know. So when it came time to do mine (WS6) which was yesterday I was expecting it take a few hours. But from start to finish was about 20 minutes. I used ratcheting wrench's, and a adapter to receive sockets, harbor freight 2.99. Worked great and got them out with ease.
SO IF YOU HAVE A TRANS AM DOOR BARS ARE EASY. CAMARO'S ARE A PAIN IN THE ***!!!!
SO IF YOU HAVE A TRANS AM DOOR BARS ARE EASY. CAMARO'S ARE A PAIN IN THE ***!!!!
08-11-2009, 07:49 PM
#11
You can also remove the socond catch and plate at the rear of the door.
you will need large washers to put the primary catch back on, but the plate is quiet heavy.
This is the part that the door bar attaches to at the rear. and the catch is the round one that comes out with a big torx head.
The only thing this will effect is that the door is either shut or not. there will no longer be a catch were it doesn't shut all the way. I like mine better that way anyway.
you will need large washers to put the primary catch back on, but the plate is quiet heavy.
This is the part that the door bar attaches to at the rear. and the catch is the round one that comes out with a big torx head.
The only thing this will effect is that the door is either shut or not. there will no longer be a catch were it doesn't shut all the way. I like mine better that way anyway.
can you give more details or a how to or a few picturesof before and after I know this sounds like something i would like to do and many others would as well.
08-12-2009, 07:53 AM
#12
I will have to snap some new pics, but here is what they weigh:
It is very hard.
Here are a few more things you can do while you car in there if you are sheding weight. Depends on how extreme you want to be.
Door parts
14.5 both door bars
5.5 both brackets at the rear of the door that the door bar attaches to (this is the door catch that if your door don't close all the way it catches here. also if you take and slammed your door as hard as you can it might help but I have had mine out with no problem)
1.5 both door insullation + clear plastic dust covers under the door panel
3.5 I cut all the fiberglass out of both doors that I could with a dremel and a hole saw so I got a total of 3.5 lbs out of the doors combined.
<.5 speaker holder brackets
holesawing doors 1.75lbs per door 3.5lbs total from both doors


Someone elses, not sure how much they lost but it looks like more than me


Here are a few more things you can do while you car in there if you are sheding weight. Depends on how extreme you want to be.
Door parts
14.5 both door bars
5.5 both brackets at the rear of the door that the door bar attaches to (this is the door catch that if your door don't close all the way it catches here. also if you take and slammed your door as hard as you can it might help but I have had mine out with no problem)
1.5 both door insullation + clear plastic dust covers under the door panel
3.5 I cut all the fiberglass out of both doors that I could with a dremel and a hole saw so I got a total of 3.5 lbs out of the doors combined.
<.5 speaker holder brackets
holesawing doors 1.75lbs per door 3.5lbs total from both doors
Someone elses, not sure how much they lost but it looks like more than me
08-12-2009, 07:59 AM
#13
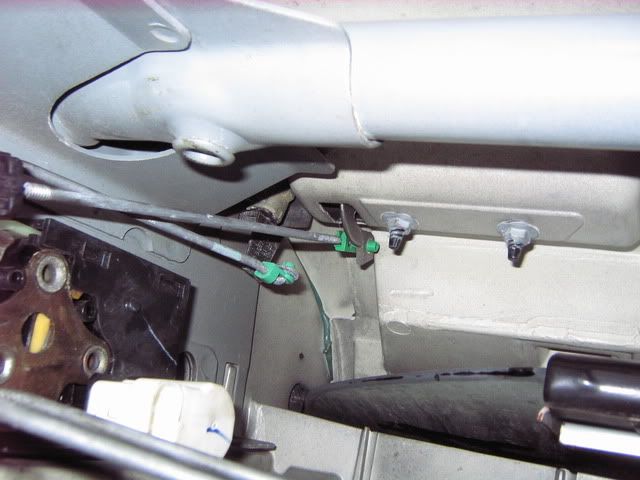
I found this one pic.
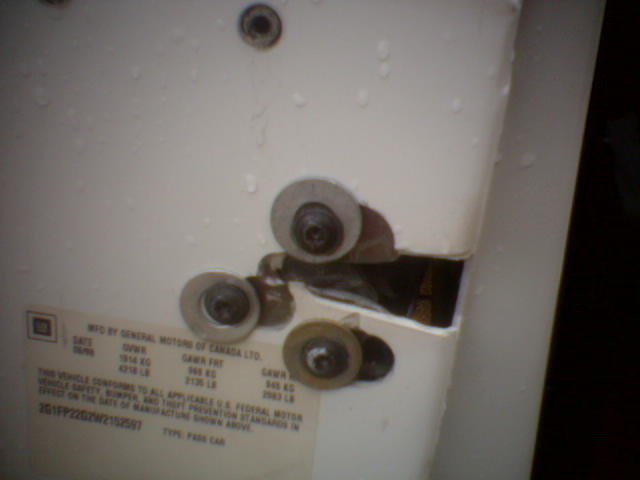
All the screws on the back of the door hold the plate on. Remove all of them. You will need 3 washers. These are ones I just found setting around so they don't match to good. These three is all you need to put the latch back on without the plate.
Now you can take the catch that is attacted to the body off. It will be the big round one that comes off with a torx bit.
You will also have to adjust these three screws on the door so that the door closes correctly and all the way.

 08-13-2009, 07:42 PM
#18
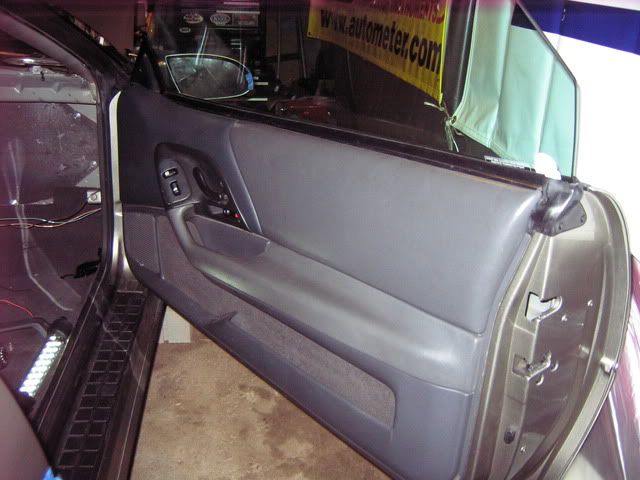
I took mine out, but cut them out. I didn't remove the whole bracket like Brandonppr was talking about, but cut vertically and removed half of the bracket on the front and rear. I cut out the extra door fiberglass and took a drill to the window regulators.
Here's what my door looks like:


This took forever to do and made a huge mess. I would suggest doing it outside of the car.

Here's what my door looks like:
This took forever to do and made a huge mess. I would suggest doing it outside of the car.
08-13-2009, 11:19 PM
#19
TECH Fanatic
iTrader: (12)
Join Date: Aug 2007
Location: Cornfields near Pontiac, IL
Posts: 1,818
Likes: 0
Received 1 Like
on
1 Post
I did mine and made my own tools... (pics and text taken from my build thread)

I had to take a 15 mm socket and a 10 mm socket, grind them down on the bottom, and then weld them to a thick piece of metal.
Next, you will want to break the rest of the bolts loose with this tool. It still is really time consuming as I probably spent a total of 2 hours per door. Also if you have a beer or two, it will help you relax and not throw any wrenches. After you get the bolts all out, you will want to try and turn the bar in its holder to break the glue that GM put on there. (The drivers door was the worse for this, had to also take a thin screwdriver and slide it between the bar and the bracket)
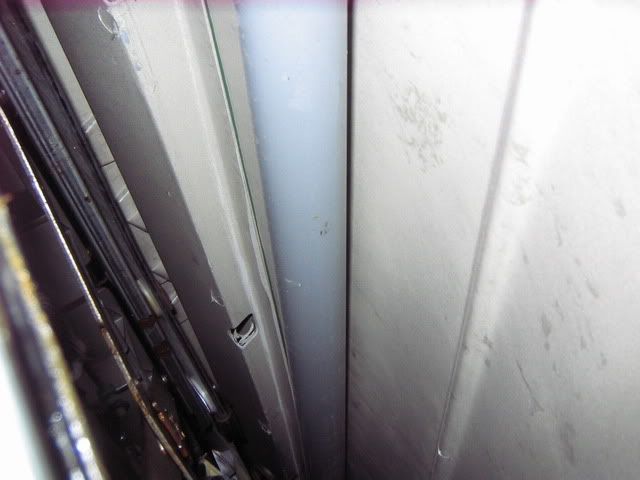
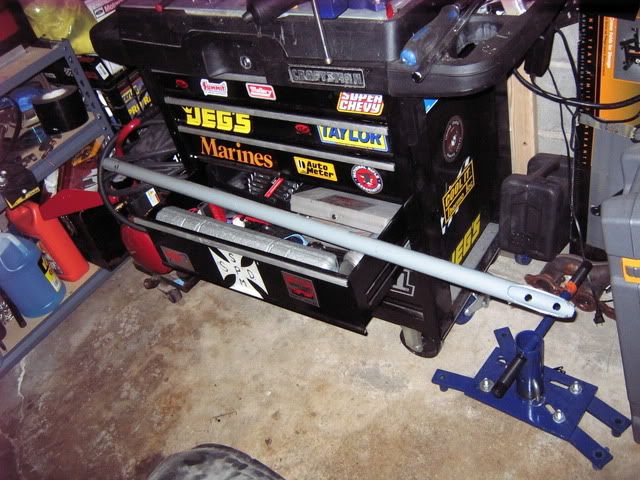
Once the bar is loose you will want to slide the back of the bar up as far as you can and that will cause the front of the bar to drop free and the bar will then be loose in the door. To get the door bar out with the front clip still on the car, you will need to jack the front of the car up and pull off your front tires and if you have the wheelwell plastic, pop that off too (mine was already off at the time) What I did next was I pulled the wiring harness grommet out (left the wires still there since there is room to get both through the hole) then close the door and slide the bar out of using the wiring harness hole. (If you have a friend handy, they can be in the car feeding you the bar, but it can be done with one person, just have to go back and forth and enter the car from the opposite side) The bar will come out as shown...

Then just continue to pull the bar out and be careful not to hit any painted panels pulling it out. You can at the same time pull the door panel insulation out along with any speaker stuff at this time. The insulation is probably good for a whole pound, but that probably adds up to about 10 pounds removed from each door. Then pop the wiring harness grommet back on and re-install your door panel. This is what I removed from the passenger door...

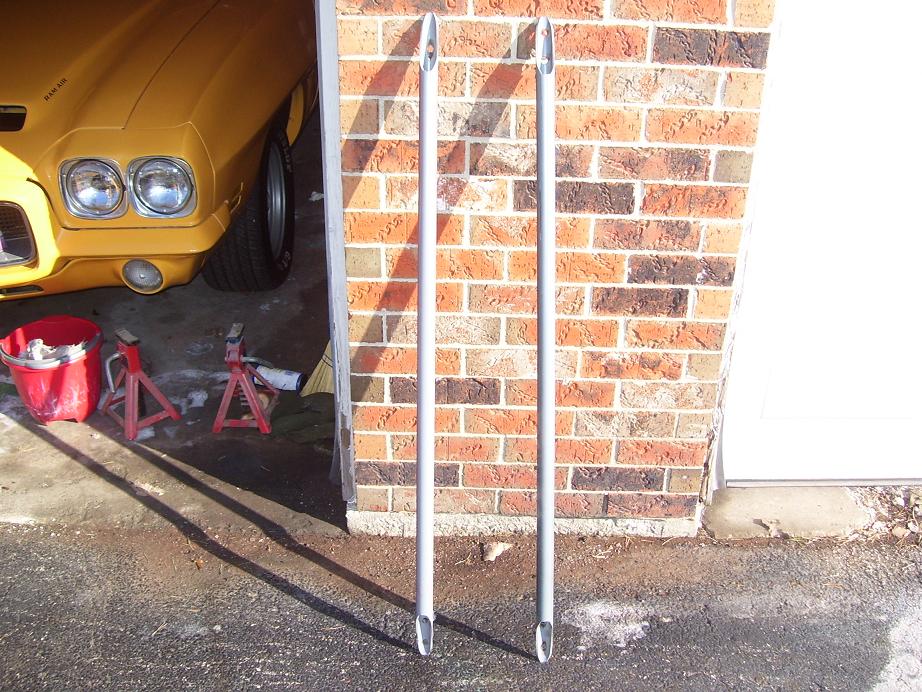
Then all you need to do is repeat the process for the other door. Like I mentioned above, I had a new door put on awhile back from a donor LS1 Camaro because the door skin had seperated from the door frame. This caused me to make the 15 mm door bar tool. Goes alot easier once you done the first door though. So I guess I did an LS1 Camaro door and a LT1 Camaro door all together. Here is the final results, they do seem pretty heavy, and overall Im happy with the results...
I had to take a 15 mm socket and a 10 mm socket, grind them down on the bottom, and then weld them to a thick piece of metal.
Next, you will want to break the rest of the bolts loose with this tool. It still is really time consuming as I probably spent a total of 2 hours per door. Also if you have a beer or two, it will help you relax and not throw any wrenches. After you get the bolts all out, you will want to try and turn the bar in its holder to break the glue that GM put on there. (The drivers door was the worse for this, had to also take a thin screwdriver and slide it between the bar and the bracket)
Once the bar is loose you will want to slide the back of the bar up as far as you can and that will cause the front of the bar to drop free and the bar will then be loose in the door. To get the door bar out with the front clip still on the car, you will need to jack the front of the car up and pull off your front tires and if you have the wheelwell plastic, pop that off too (mine was already off at the time) What I did next was I pulled the wiring harness grommet out (left the wires still there since there is room to get both through the hole) then close the door and slide the bar out of using the wiring harness hole. (If you have a friend handy, they can be in the car feeding you the bar, but it can be done with one person, just have to go back and forth and enter the car from the opposite side) The bar will come out as shown...
Then just continue to pull the bar out and be careful not to hit any painted panels pulling it out. You can at the same time pull the door panel insulation out along with any speaker stuff at this time. The insulation is probably good for a whole pound, but that probably adds up to about 10 pounds removed from each door. Then pop the wiring harness grommet back on and re-install your door panel. This is what I removed from the passenger door...
Then all you need to do is repeat the process for the other door. Like I mentioned above, I had a new door put on awhile back from a donor LS1 Camaro because the door skin had seperated from the door frame. This caused me to make the 15 mm door bar tool. Goes alot easier once you done the first door though. So I guess I did an LS1 Camaro door and a LT1 Camaro door all together. Here is the final results, they do seem pretty heavy, and overall Im happy with the results...