When you click on links to various merchants on this site and make a purchase, this can result in this site earning a commission. Affiliate programs and affiliations include, but are not limited to, the eBay Partner Network.
where did you find the adapter on your throttle body for the trans kickdown, if that's what it is,...... looks like it would be perfect for a th350
That particular bracket came with the Edelbrock Intake Elbow. However, it could easily be fabricated. You could modify the stock bracket as well. The kickdown switch came from Lokar. It is the nicest one you can buy.
I realize that I've sorta dropped the ball on keeping this thread updated. I'm off for a few days, so I may just have to "retro" add some stuff. This video was from some testing I did today in Mexico. It's hard to imagine, but this was about a 120 mph pull. The car is so quiet, and this Mexican road doesn't have too many stationary objects along the side to gauge the speed well.
Well I'm not a fan of these inline attachments at all. I prefer the thumbnails. The inline attachments just look so messy.
I suppose that's what I get for not keeping this thread updated as often. These new fangled ways of doing things lol.
However, I will do my best with what I am given. Keep in mind that I'm going backwards at this point. All these
things have been done to the car some time ago, and I am currently driving it. As of this writing, I have over 450 miles
on the car now.
The front struts on the car were the original DeCarbon Struts. I swapped them for a set of Lakewood
Drag "Shocks". Labeled as a "shock", but most definitely a strut.
For the life of me, I couldn't figure out why my Lokar TH400 Kickdown Switch was shorting out and melting wires.
It became pretty clear once I crawled under the car. As you can see in my photo, that yellow wire was pinched
in the access cover for the switch. Replaced the wire without getting it caught in anything did the trick.
These photos of the dash are from two separate times I had it out of the car for updates. I reworked it
for the Holley Screen and painted it Satin Black. The Holley Screen ended up being crooked in the dash
once it was mounted back in the car, so I redid the pocket for the screen and reshot the dash in Gloss
Black.
After researching some threads here, I read about the master cylinder flexing on the firewall. I saw a bracket
that was available for purchase by another person that helped hold everything still, and used the idea to fabricate
my own bracket.
(Top 2 photos) The original V6 Fan just wasn't up to the task of keeping things cool enough. I bought a used fan from an LS1
car, and installed it. The dual fans required that I lean the radiator forward a little more. Everything worked great! I had to modify
the upper radiator support brackets that I'd fabricated previously, and lengthen the radiator hoses. Then I bent up a piece of
aluminum flashing on my metal brake to make a nice upper shroud.
(Bottom 2 photos) I needed a prop rod to replace the piece of wood furring strip that I'd been using to keep the hood up. I bought
this prop rod originally made for a Ford Mustang, and sold by Scott Drake. It worked perfectly without any alteration.
Replaced the rear factory V6 drum brakes with a set of disc brakes from Moser Engineering. I kept blowing up wheel
cylinders on the old drum brakes, so I bit the bullet and made the switch. This was a kit and a direct bolt-on to the
Moser 12 Bolt Rear End. While I had the rear tires off, I rolled the fender lips with a fender rolling tool. Mine came messed up
right out of the box (cheap Chinese-made), so I had to do a bit of welding on it before I could even use it.
The original fuel door that I put on the hatch just didn't work out well (see post #267). I was always spilling
fuel inside the car. Therefore, I cut out a larger opening and fabricated a support/mounting structure to keep
the hatch supported while providing a way to fasten the removable panel down. The panel is actually a piece
of leftover fiberglass from the VFN Fiberglass Hood that I trimmed down to fit the car. After doing all this, I
was able to remove the filler neck I'd previously fabricated and use the original fuel cell cap.
Late last year, I decided to cut out the first roll cage I'd installed and replace it with a new one. When I put that first cage in,
I'd never welded anything in my life, so I had no clue as to what I was doing (See that first install starting with Post #29 of
this thread). It looked bad, and was totally unsafe. I ordered a second cage from S&W Race Cars because I liked the first
one so well, and got started right at a year ago. This made for a nice Winter project. I special-ordered the cage with straight
door bars because the build them with bent door bars to clear factory arm rests. I don't have arm rests on my doors, so
there was no need for the bent bars. I did have to do a bit of rust repair to the driver's-side floorboard as it had rusted through
and was pretty thin. It was like that back when I put the first rollcage in, but I just ignored it. I reused a lot of the old rollcage
and built furniture for my art studio.
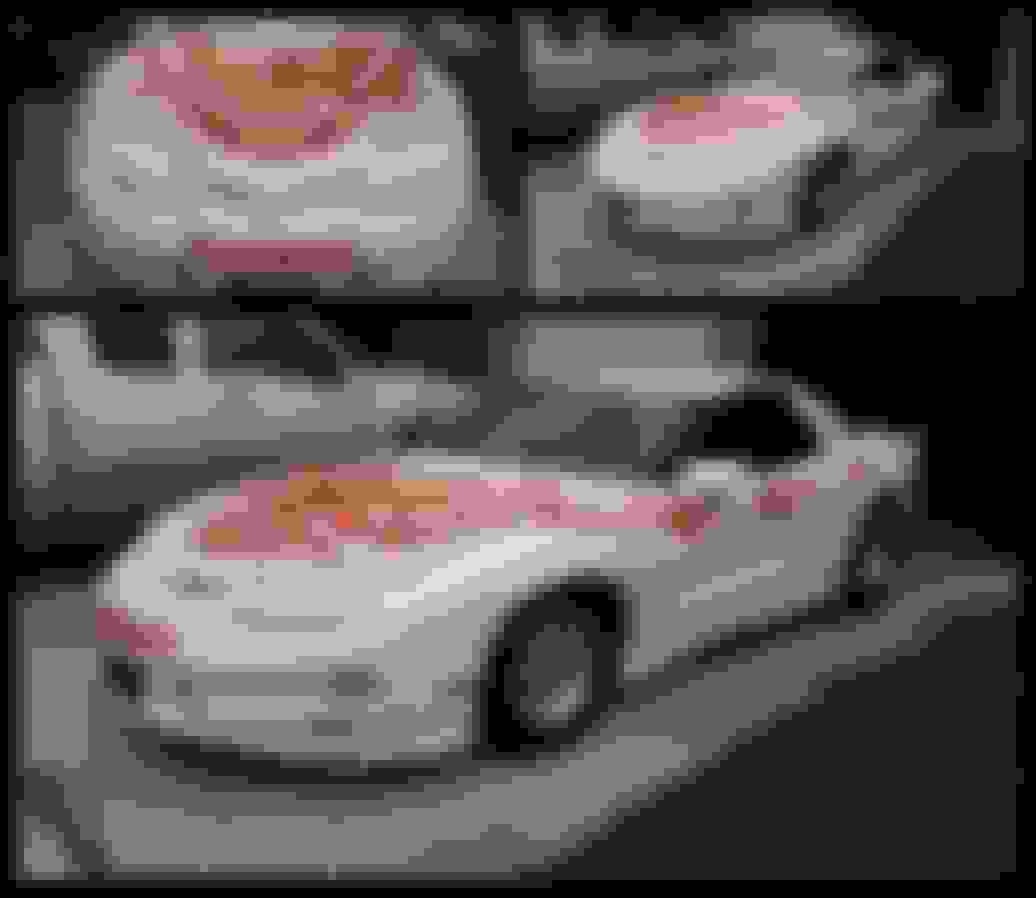
Back in March 2016 I decided to repaint the car. I'd painted it back in 2009 after reading an article in Hot Rod Magazine (see my
earlier posts beginning at post #139 for more about it), and after spending all those years outside it was looking a bit rough. I also
altered the vinyl graphics from how I'd first created them. I thought the hood bird needed to be a little larger, so I adjusted the
artwork accordingly. My brother cut all the vinyl for me.
Posts to reference for the back story:
Post #15 begins the documentation of the first $98 Paint Job.
Post #139 begins the installation of the original decals.
Post #271 begins the removal of the original decals, and the process involved with doing it.
Now I didn't come up with this idea, but it was too funny not to use for my car. Jeff Lutz has a dainty-sounding horn on
his Camaro (Mad Max). I believe I heard it on an episode of Street Outlaws. I bought a VW Horn for my Firebird, so I
could have the same kind of fun.
I'm currently researching on whether or not I need the kickdown switch to be active on my TH400. I'm seeing both
sides of the arguments, so I need to dive in a bit deeper on the topic.
I can say so far so good on the kickdown switch. I think it is performing just fine.
In the Spring of 2016, I ordered a new TH400 long-tail for the car. The used transmission that I'd bought on Craigslist
would not go into any gear. Without knowing any of the history of that particular transmission, I decided to purchase
a new one. This makes transmission #3 that I have put in the car (the first transmission install begins with Post #48).
Surprisingly, no one has yet to stare or ask me any questions when I'm filling up at the gas
station. Not sure if that is a good or bad thing
Took my car to an appointment about 20 miles from home, and barely got it started once
I was ready to head back home. I'd noticed the starter beginning to make a noise, so I
knew it didn't have much time left. I made it home, and then tried to restart the car in my
garage. I got nothing but that awful noise of death from the starter. Tired of dealing with
those cheap remanufactured starters from O'Reilly? Yep, me too. I think this one was at
least the third one I'd bought for the car, and that would be 3 of them AFTER the original
used GM starter I had on the engine expired. I purchased an MSD Dyna Force Starter to
replace it. See Post #76 detailing the first O'Reilly Starter that I put on this car.
Fuel Cell #3 to be installed in this car is a Speedmaster Aluminum Fuel Cell. Not sure it
was the perfect choice, but it's better than the poly cell it replaced. The poly cell got the
typical pucker on the top, and I hated the way it looked. This Speedmaster cell is painted
black, but regular old gas eats the paint right off if you spill any on it. I put this fuel cell in
the car in the Spring of 2017.
Previous Fuel Cell Installs:
Summit Racing Fuel Cell Post #33
Jegs/RCI Fuel Cell Post #130
40 degrees and Sunshine on Christmas Day in Indiana isn't something that happens every year. I
drove my car to my Mother's house knowing it would be dark when I left to come home. I live in
a small town, so going across town to visit with Mom is only 1 mile away. This would be my
first time driving the car at night. Let me tell you that wasn't fun at all! These lights don't really
work that well at all. I took back streets to avoid traffic and the law, and the one car that did pass
by brighted me to turn my lights on....all the lights I have on the car were indeed on Until I can
find a better solution, I probably won't be driving the car after dark anymore.
Passed 500 miles on the odometer today. I celebrated by doing a few spirited acceleration contests.
I've been dealing with a pesky axle bearing leak on the driver's-side of my Moser 12 Bolt. I believe I
FINALLY got it fixed! RTV is my new friend!
I'm trying to remember all that's been done so that I can play catch up with this thread. In April, I
ended up swapping out the turbo (after the 500 mile video that was posted in post #295). The turbo
in the car suffered from oil starvation, and the bearings were toast. The turbine had a lot of excess
play, and you could occasionally hear a grinding sound while driving. I discovered that my oil feed
line had a sever kink in it. Enough of a kink that it completely shut off the flow of oil to the turbo.
I replaced the turbo with another Turbonetics Benita because it had served me well, and to prevent
from having to make any further modifications to the the car.
I now went from one extreme to the other. The turbo was now receiving too much oil, so I ended up using an
oil restrictor made by Vibrant Performance. My oil drain line was also an issue. it didn't drain properly,
so I added a scavenge pump. Oil was backing up into the turbo, and it was a smoke show at startup.
The scavenge pump took care of that issue as well.
Took the car to the track for the first time on May 22nd. Not really knowing what to expect, I needed
to take it so I'd have a good idea of what needed to be done. As I somewhat figured, I needed a
transbrake. I couldn't hold the car on the line and build boost without it breaking the beams. I made
three passes, and they were all pretty consistent.....but SLOW lol.
I looked into adding a transbrake to my existing TH400, but it just made more sense to sell
off my trans and just buy one that was built for what I needed. I am about 20 minutes from Coan
Engineering, so I chose them to build me a new TH400. I saved on the cost of shipping since I was
able to just drive up to their place and pick it up in person. The trans is a reverse pattern with a transbrake.
It took 3 weeks for them to get it built for me, so it was June before I could swap it. I've done it enough
times that I'm pretty good at it lol. This would be the 5th transmission I've had in the car since owning
it. I swapped the 2600 stall converter I had for a 4000 stall FTI Converter. I also added a Smooth Stage
bump box to go along with the MSD 2-Step I already had on the car. I do all this work on the floor of
my garage as I don't have a lift. The older I get, the quicker I wear out from getting up and down off
the garage floor.
This transmission required a little more fabrication to the factory LT1 Manual Trans Mount that I use. I
ended up cutting the mount into three pieces and then welding it all back together with the center section
adjusted for the 1" difference I needed.
I took it out on the street to make a few test hits. The transbrake works awesome! I can't wait to find
time to return to the track.
Surprisingly, no one has yet to stare or ask me any questions when I'm filling up at the gas
station. Not sure if that is a good or bad thing
literally laughed out loud at that one. Between my 68 Suburban and my ws6 I've probably had 100 people talk to me or throw out a quick compliment at b gas stations. Especially in the Suburban. And Ive DD'd the he'll out of it. So I got to the point where I just want to get gas and go in peace. I do a speed fill and fly off before some one stops me. But when I haven't driven it for a while and take it out for a cruise and no one at 7-11 says anything I'm like huh? Seriously? No one sees this thing? HELLOOOOO!?!?!? Guy driving an ancient SUV over here. You've probably never seen one before. HELLO?!?! Ehhh. You people suck.
Lol. How anybody could not comment on a rave Cr with screaming fire chicken paint is beyond me. If I saw you aND didn't say anything you'd still know in was interested because I'd probably walk into a glass door with my head pointed backwards looking at it.


 04-28-2018, 03:41 AM