

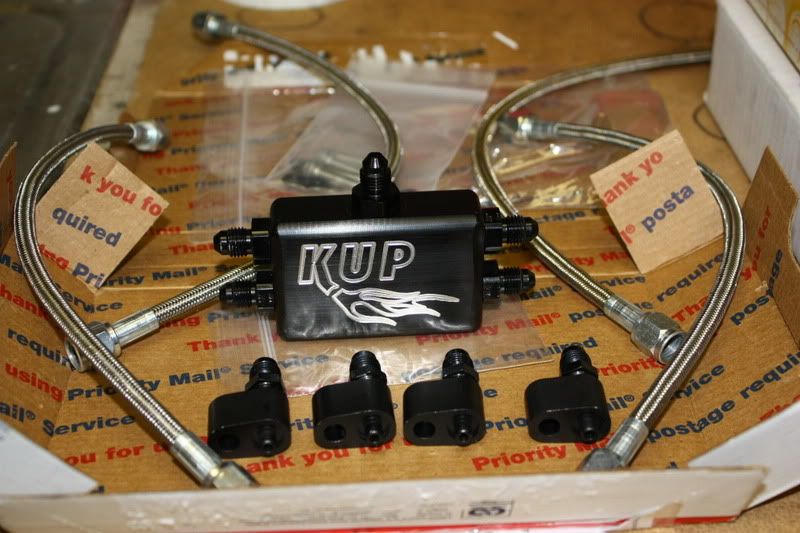
KUP Water Vapor System
 03-14-2011, 10:55 AM
#1
9 Second Club
Thread Starter
Join Date: Dec 2007
Location: Eagle River, Alaska
Posts: 342
Likes: 0
Received 0 Likes
on
0 Posts

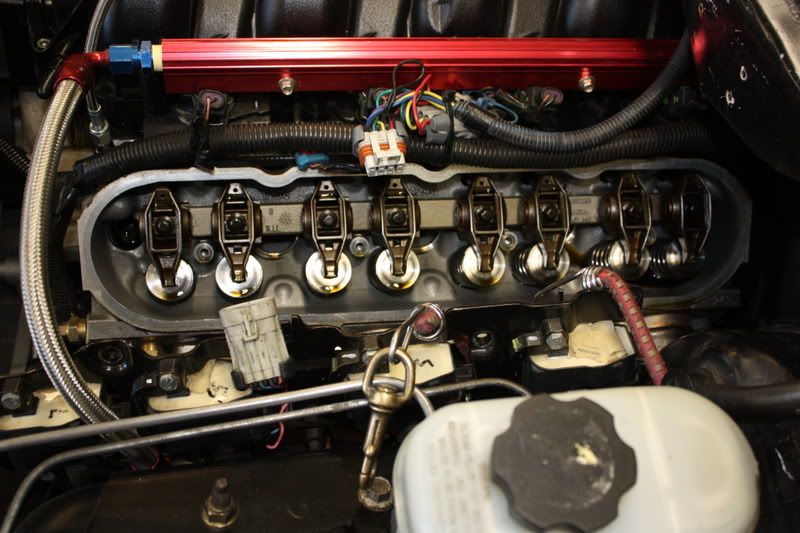
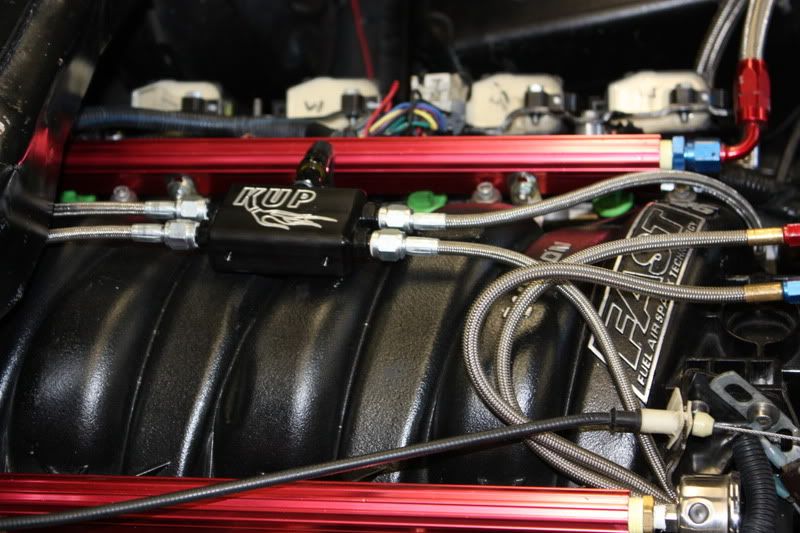
Here are some pics of my Water Vapor System install. I ordered the whole kit to try to keep my blackbird cooler. I have my stock temp sensor in the stock location in the driver's side head, that will read 195 degrees consistantly. I also have an autometer gauge reading off the passenger side head which puts it over #8. Which will read 210-220, or more depending on traffic or if I hotlap it at the track. Which is not a good thing to have with (in my setup) larger shots of spray. We'll see how well this helps this summer when all my snow melts.
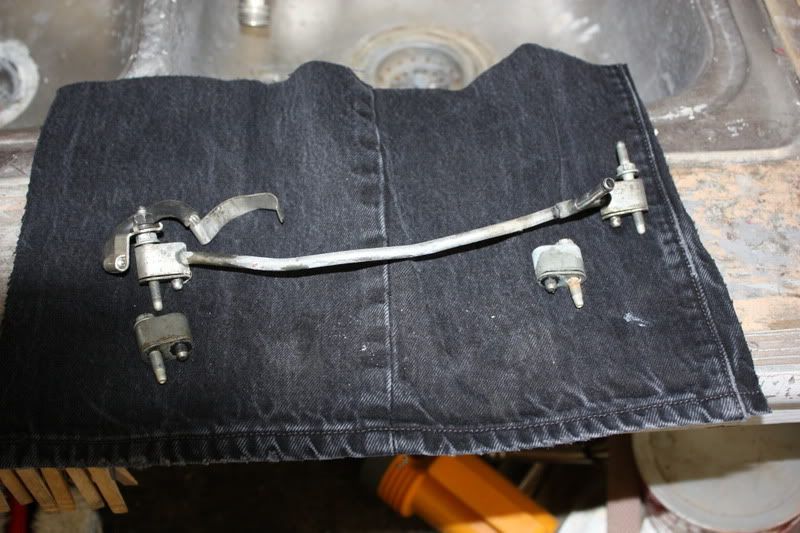
Out with the old.
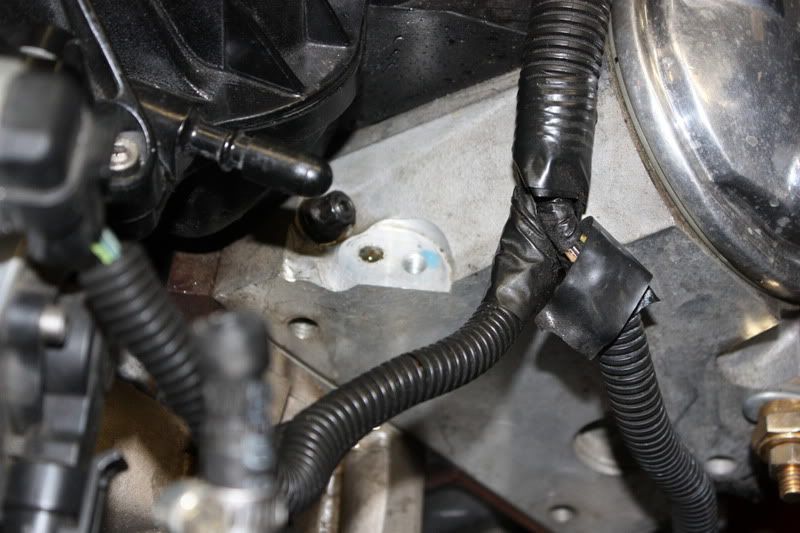
To make it easier to install the driver's rear block. I removed the valve cover. It also helped that my cowling was cut away and I don't have a passenger wiper.
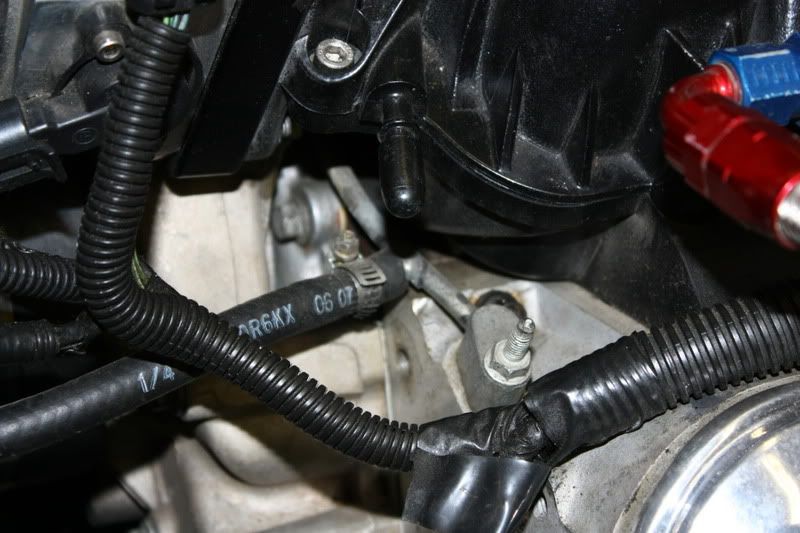
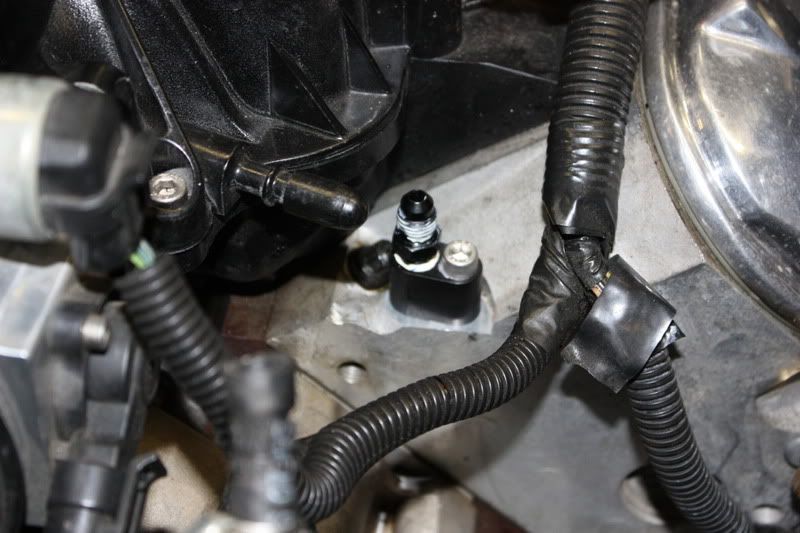
In with the new.
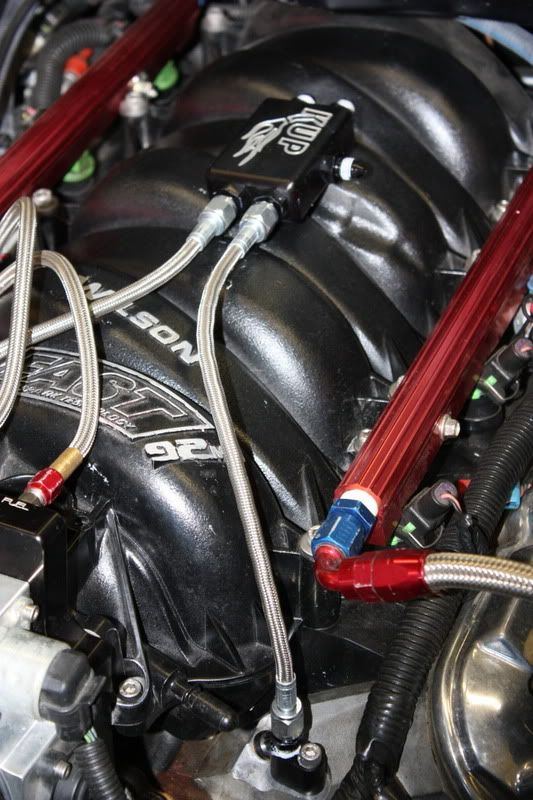
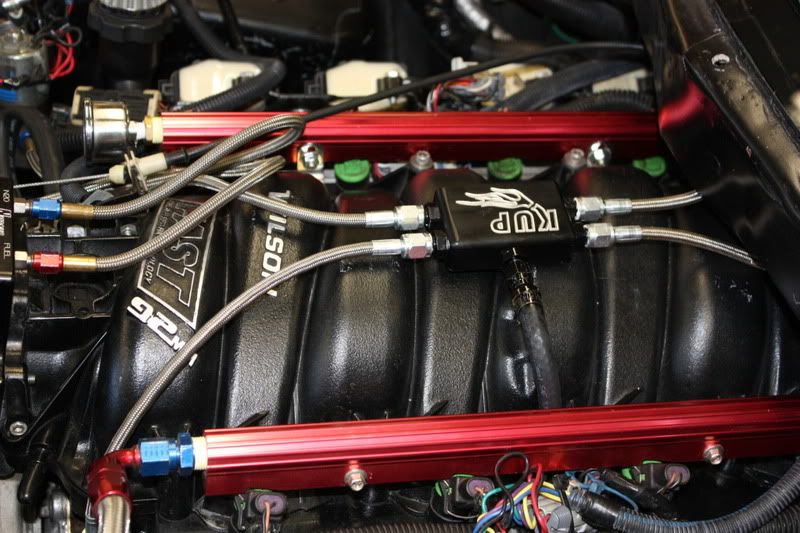
Finished install.
Now all I have to do is start it and bleed the cooling system and put my cowling plastic back on.
Out with the old.
To make it easier to install the driver's rear block. I removed the valve cover. It also helped that my cowling was cut away and I don't have a passenger wiper.
In with the new.
Finished install.
Now all I have to do is start it and bleed the cooling system and put my cowling plastic back on.


Trending Topics
03-14-2011, 05:50 PM
#8
9 Second Club
Thread Starter
Join Date: Dec 2007
Location: Eagle River, Alaska
Posts: 342
Likes: 0
Received 0 Likes
on
0 Posts
I put pst sealant on them. Since I can't see the back ones I want to make damn sure they don't leak. So I just did them all. I know the AN side didn't need it, that was just preventitive.
Since they don't come with any directions and I haven't found writeups on it I did it the sameway I do any bolt that goes into a coolant passage.
Since they don't come with any directions and I haven't found writeups on it I did it the sameway I do any bolt that goes into a coolant passage.
03-14-2011, 06:15 PM
#9
9 Second Club
Thread Starter
Join Date: Dec 2007
Location: Eagle River, Alaska
Posts: 342
Likes: 0
Received 0 Likes
on
0 Posts
03-15-2011, 08:37 PM
#13
9 Second Club
iTrader: (20)
Join Date: Sep 2007
Location: Saline, MI
Posts: 1,813
Likes: 0
Received 0 Likes
on
0 Posts
Kurt makes alot of nice parts. you should see hes shop.
i was going to get this as well but i couldnt find a way to install it as clean as i wanted too. so i made this up.
how are you going to keep the block from beating the hell out of your clean looking FAST intake
https://ls1tech.com/forums/generatio...ines-pics.html
i was going to get this as well but i couldnt find a way to install it as clean as i wanted too. so i made this up.
how are you going to keep the block from beating the hell out of your clean looking FAST intake
https://ls1tech.com/forums/generatio...ines-pics.html
03-15-2011, 09:40 PM
#14
9 Second Club
Thread Starter
Join Date: Dec 2007
Location: Eagle River, Alaska
Posts: 342
Likes: 0
Received 0 Likes
on
0 Posts
Kurt makes alot of nice parts. you should see hes shop.
i was going to get this as well but i couldnt find a way to install it as clean as i wanted too. so i made this up.
how are you going to keep the block from beating the hell out of your clean looking FAST intake
https://ls1tech.com/forums/generatio...ines-pics.html
i was going to get this as well but i couldnt find a way to install it as clean as i wanted too. so i made this up.
how are you going to keep the block from beating the hell out of your clean looking FAST intake
https://ls1tech.com/forums/generatio...ines-pics.html
That's a clean setup too. I was debating with making my own lines in black like that. But these go with the rest of the black/silver theme pretty well. I just wish my fuel rails were silver also.
Surprisingly it doesn't really move. So I think it should be fine, otherwise I'll just get out the touchup paint

 03-16-2011, 07:22 PM
#19
Can someone explain whats wrong with the factory setup. Would this be good for a street car, feel like a newb again lol. All I know is steam/vapor is air and probly could get trap in the head. Am I close here?
Last edited by Zmg00camaross; 03-16-2011 at 11:16 PM.
