When you click on links to various merchants on this site and make a purchase, this can result in this site earning a commission. Affiliate programs and affiliations include, but are not limited to, the eBay Partner Network.
9/22/2017 - Updated with photos and how-to below (proceed at your own risk)
Perhaps the dumbest post you'll read tonight.
I was wondering if anyone has successfully removed the charge and other structure of a steering wheel airbag for weight reduction. I have a 98 Firebird and don't want to give up my factory wheel for a racing wheel - to me, it just drastically changes the whole feel and experience of the car towards a direction I don't plan on heading.
I don't want to kill myself doing this, and I don't know who I could/should ask for advice about this, or to do this for me. My idea was to retain the overall shape of the airbag by preserving the shell of it (if that's possible - I don't know what an airbag looks like inside), or reconstruct parts of the shell in fiberglass.
Not only do I want to do this for weight reduction, but I really don't want there to be a possibility of it blowing up in my face in a wreck (I'll have a 6pt and racing harnesses).
What do you think?
Last edited by LS7Bird; 09-22-2017 at 02:51 AM.
Reason: Update
As a safety precaution, disconnect the battery and let the thing sit for a while before dismantling. While I don't know if it is true, I've heard that the system can store enough electricity to deploy after disconnecting the battery and not waiting for the entire system to discharge.
Sorry for not being helpful OP but...... how much weight are you gonna save? Is it worth it? You could just disconnect it if you don't want it to go off. I think you're gonna have a permanent "airbag" light on your dashboard either way.
Ha ha, I just don't like the idea of an explosive sitting in front of my face with the system having been tampered with. The weight savings would be a bonus, but I am just (overly) skeptical of the airbag going off through some static discharge or something like that since it would be unplugged. I'm sure it just doesn't happen these days, but the car is 20 years old now.
The airbag has been off the car for over 3 years, along with the battery. You could say I've been slow moving on the project.
I figure that with as simple as these cars are, the assembly of one of these airbags isn't too high tech. But as far as the precautions go with assembly/disassembly ?? I wouldn't know. When I was doing some quality inspection work with electronics, the only thing we did was use non-conductive tools and wore latex gloves with a static discharge strap on the wrist. I can imagine the same idea would apply with an airbag.
But you're right, losing a limb, or a chunk of your face, would not be worth it. You can give me that Darwin Award at my funeral, thank you.
The passenger side airbag is completely removed. Ideally, I'd like to have both charges physically removed as to retain the factory appearance, along with the wiring and cover/remove the airbag light bulb.
I'd like to do this but really need the knowledge to do it safely. It had to be assembled somehow!
I removed the air bag from my stock wheel and then used the 2 sided tape/ velcrow stuff to put the horn cover back on. couldnt even tell that it was missing. prolly only dropped 5lbs tho. but my car was on a maximum weight reduction and minimal cost back then.
I removed the air bag from my stock wheel and then used the 2 sided tape/ velcrow stuff to put the horn cover back on. couldnt even tell that it was missing. prolly only dropped 5lbs tho. but my car was on a maximum weight reduction and minimal cost back then.
Nice! Does the airbag itself come out of the surrounding "shell" (horn cover) fairly easily? I haven't looked at my airbag in a long time, the car has been in storage a couple miles down the road where I visit it occasionally to take measurements or do other small things that help me visualize some of the pieces of the puzzle in my build.
But yes, I believe I read that they're 6 pounds. Not significant, but it all counts. The passenger side is much heavier.
If you could elaborate on the process from what you can recall, I'd appreciate it.
its rivited together. you have to drill them all out to get the cover off. Then if i remember right i zip tied it back together to bracket thats under the cover so it would hold its shape then velcro taped it on.
its rivited together. you have to drill them all out to get the cover off. Then if i remember right i zip tied it back together to bracket thats under the cover so it would hold its shape then velcro taped it on.
Awesome - sounds pretty simple. Perhaps I'll do a write up with pictures for those people in my position that don't want to give up the factory interior look.
Alright so I did this with no issues whatsoever! It was actually very straightforward and I really never felt like I was doing anything that'd cause it to inflate.
I weighed all the parts for the sake of Ls1tech's interest, and found everything to be lighter than what I've found in other threads. The scale is SLIGHTLY inaccurate, as you can see the numbers added up have a slight variation to the total weight measurement.
Entire assembly, missing 8 rivets and both bolts holding it to the steering wheel (I placed one of my doublers in there to make up for that weight):
3lbs 11oz
Just the exterior rubber shell:
11.6oz
Both shells and the last ring (no method for attaching to steering wheel or use horn):
1lb 4.2oz
Cut sections of the backing plate that has the provisions to bolt the airbag to the wheel and use the horn, plus 2 horizontal doublers (6"x0.5"x0.125" each) I made to tie the two cut sections together and to add rigidity:
3.2oz
Airbag and charge pack alone:
2lb 4oz
There were 8 rivets, I will be reinstalling 12, as I added one additional one at each end of the horizontal doublers to help with stability. Essentially, the airbag assembly with look and feel exactly the same as it did before just without the airbag or charge pack inside, while also retaining the horn function for street driving.
After I assemble it, it will be 1.5lbs rather than 3.7lbs (original). Essentially a 2 pound weight savings (whatever), but I feel much more comfortable having it removed since I will have 5pt harnesses instead.
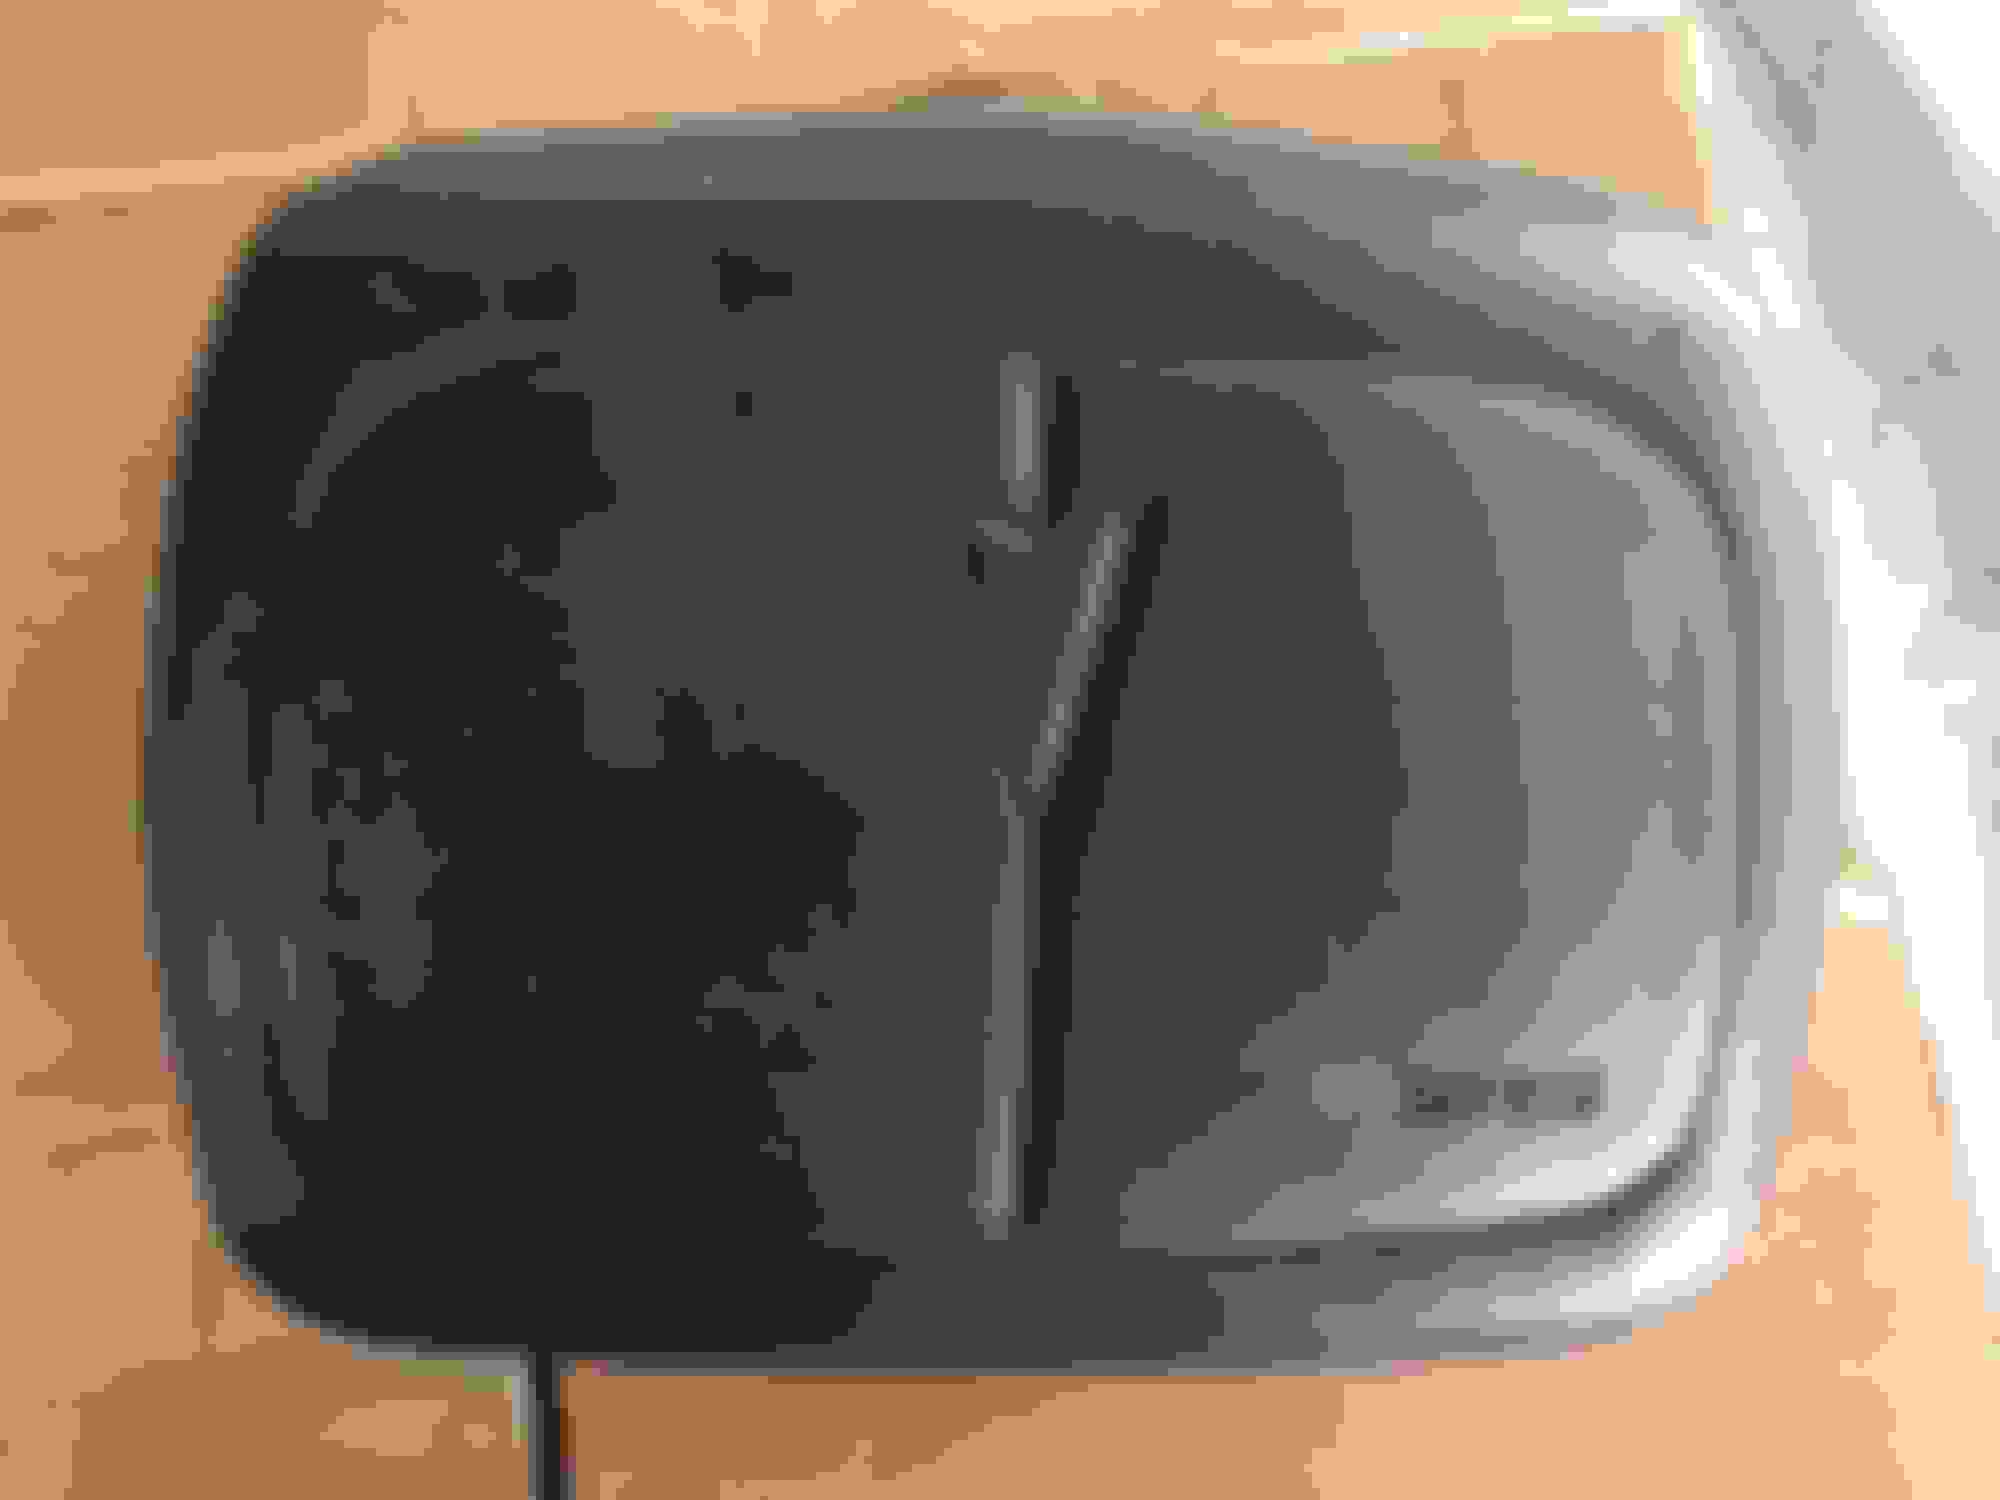
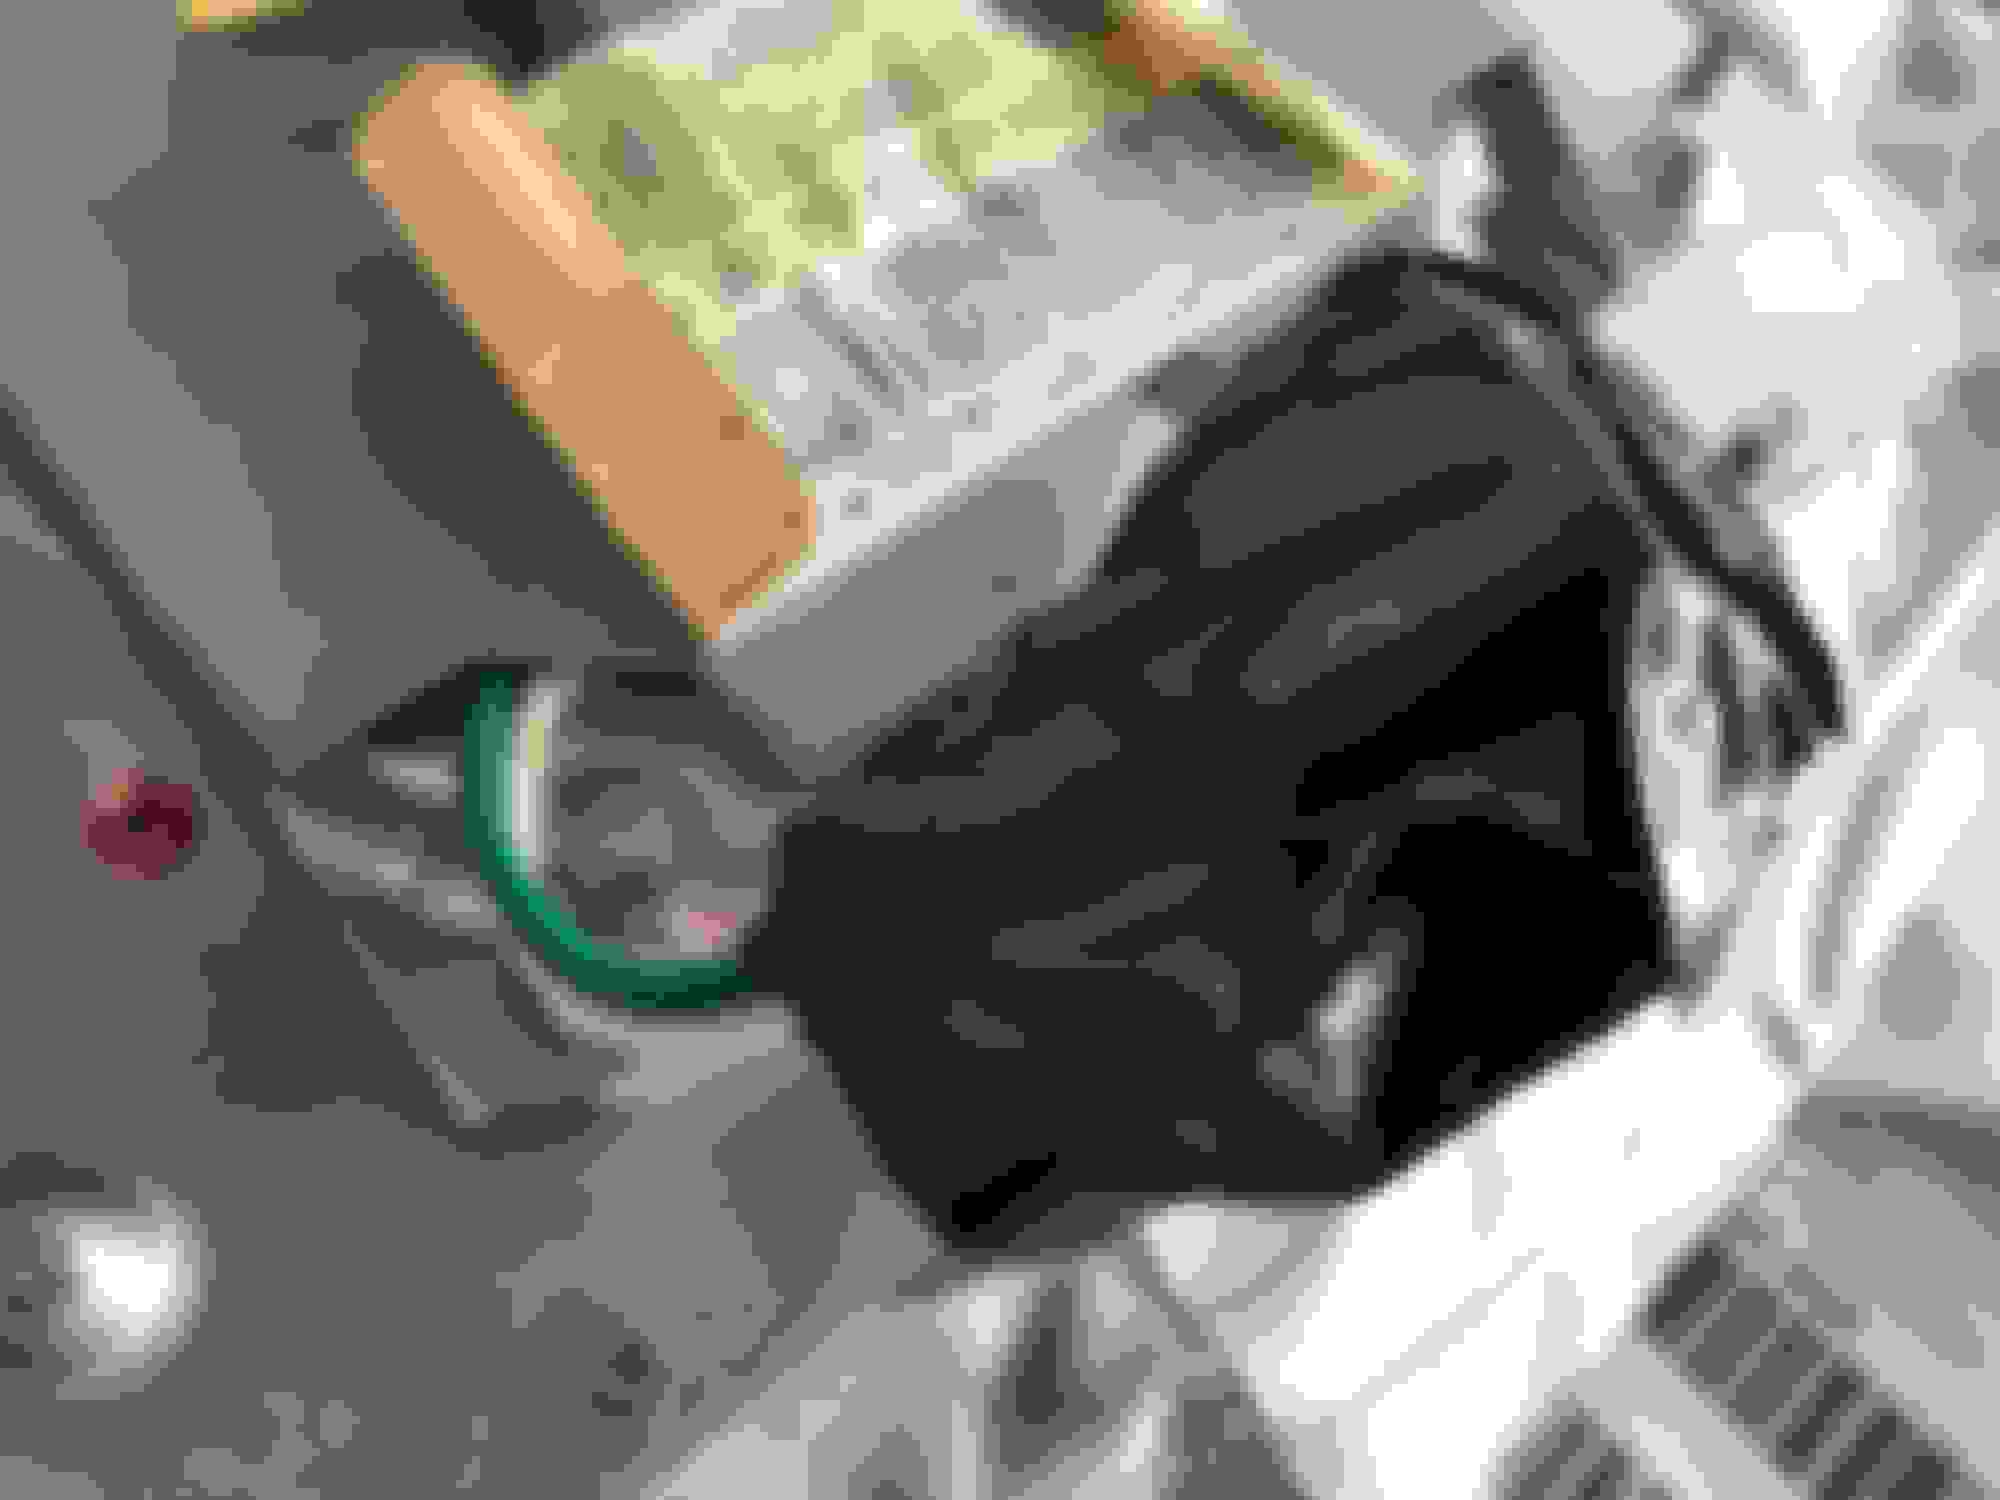
First couple pictures of front and back, untouched.
Before you do anything, you'll want to follow as many safety precautions as you can possibly take before handling the airbag. This includes removing all electronic devices from your person, ensuring you do not work directly over (face or hands) the airbag charge pack, make sure you are properly grounded and are not wearing anything that may cause a static buildup, make sure the airbag has had plenty of time to rest after being off the battery, and so on.
First step is to drill out the 8 rivets in the bracket on the back around the perimeter. These are "Cherry rivets", as they were called at the company I worked for (short for Cherrymax). You will find the center stem is much tougher to drill than the body of the rivet, which is where this rivet gets its name (Cherry pits are in the center and are hard). If you're not careful, the drill bit will walk on you.
There are several ways you can drill these out. I've sorted them by easiest to most difficult.
1. Drill through the stem of the rivet with a #40 bit until you reach about 1/16" below the top surface. There is a "lock collar that you will have drilled through if you hit it dead center. If you need to (you don't want to in this case), you can use a pin punch and knock the rest of the stem out of the rivet. Then drill with a #30 bit until the head pops off, or all the way through the rivet if you punched out the stem.
2. Drill all the way through the stem of the rivet with a #50 bit. Once you get one of these going, it tends to stay centered on the stem. The downside is that it is very easy to break a #50 bit since you need to apply a fair amount of pressure to avoid dulling the bit. Then drill with a #30 bit like in the previous method.
3. Just drill it straight with a #30 bit. It's not as easy to keep straight, but is doable if you really have a knack for drilling by hand.
Once you drill out the 8 rivets, you can remove the bracket from the back. The airbag shells can now come off, and the airbag with the charge can simply be pulled out of the inner shell.
If you don't need your horn and are planning on attaching the shells to the steering wheel in some other way than bolts, you can be done here with the 3 pieces: outer shell, inner shell, and back bracket.
So the previous steps were reasonably safe, given you took the safety precautions mentioned.
I want and need to warn anyone attempting the following steps to take every precaution possible, including those that I mention below. I do not want to be the one that gave an unprepared person a bright idea online and come to find out the person triggered the airbag to go off and cause bodily damage.
The first thing you'll want to do is take a pair of scissors or similar and cut the airbag completely open. Now I don't mean cut a 12" slice in it. That may not be enough to prevent this thing from jumping at you in the event it goes off. What I did is cut around the entire circumference of the airbag, so it was essentially in 2 completely circular pieces. This way, if it does go off, the charge will release and have absolutely nowhere to go but to the atmosphere.
The next thing was ensure I still had my cell phones and watch off of my person (anything that is electronic, you must set aside).
Then, I made sure my cut-off wheel had an aluminum-oxide cutting wheel in it (others MAY cause sparks, even when cutting the aluminum backing plate).
Finally, I wrapped the prongs of the wire connector with insulating tape, and then wrapped the whole connector with the tape (the metal bracket on it touches the prongs - cover it)
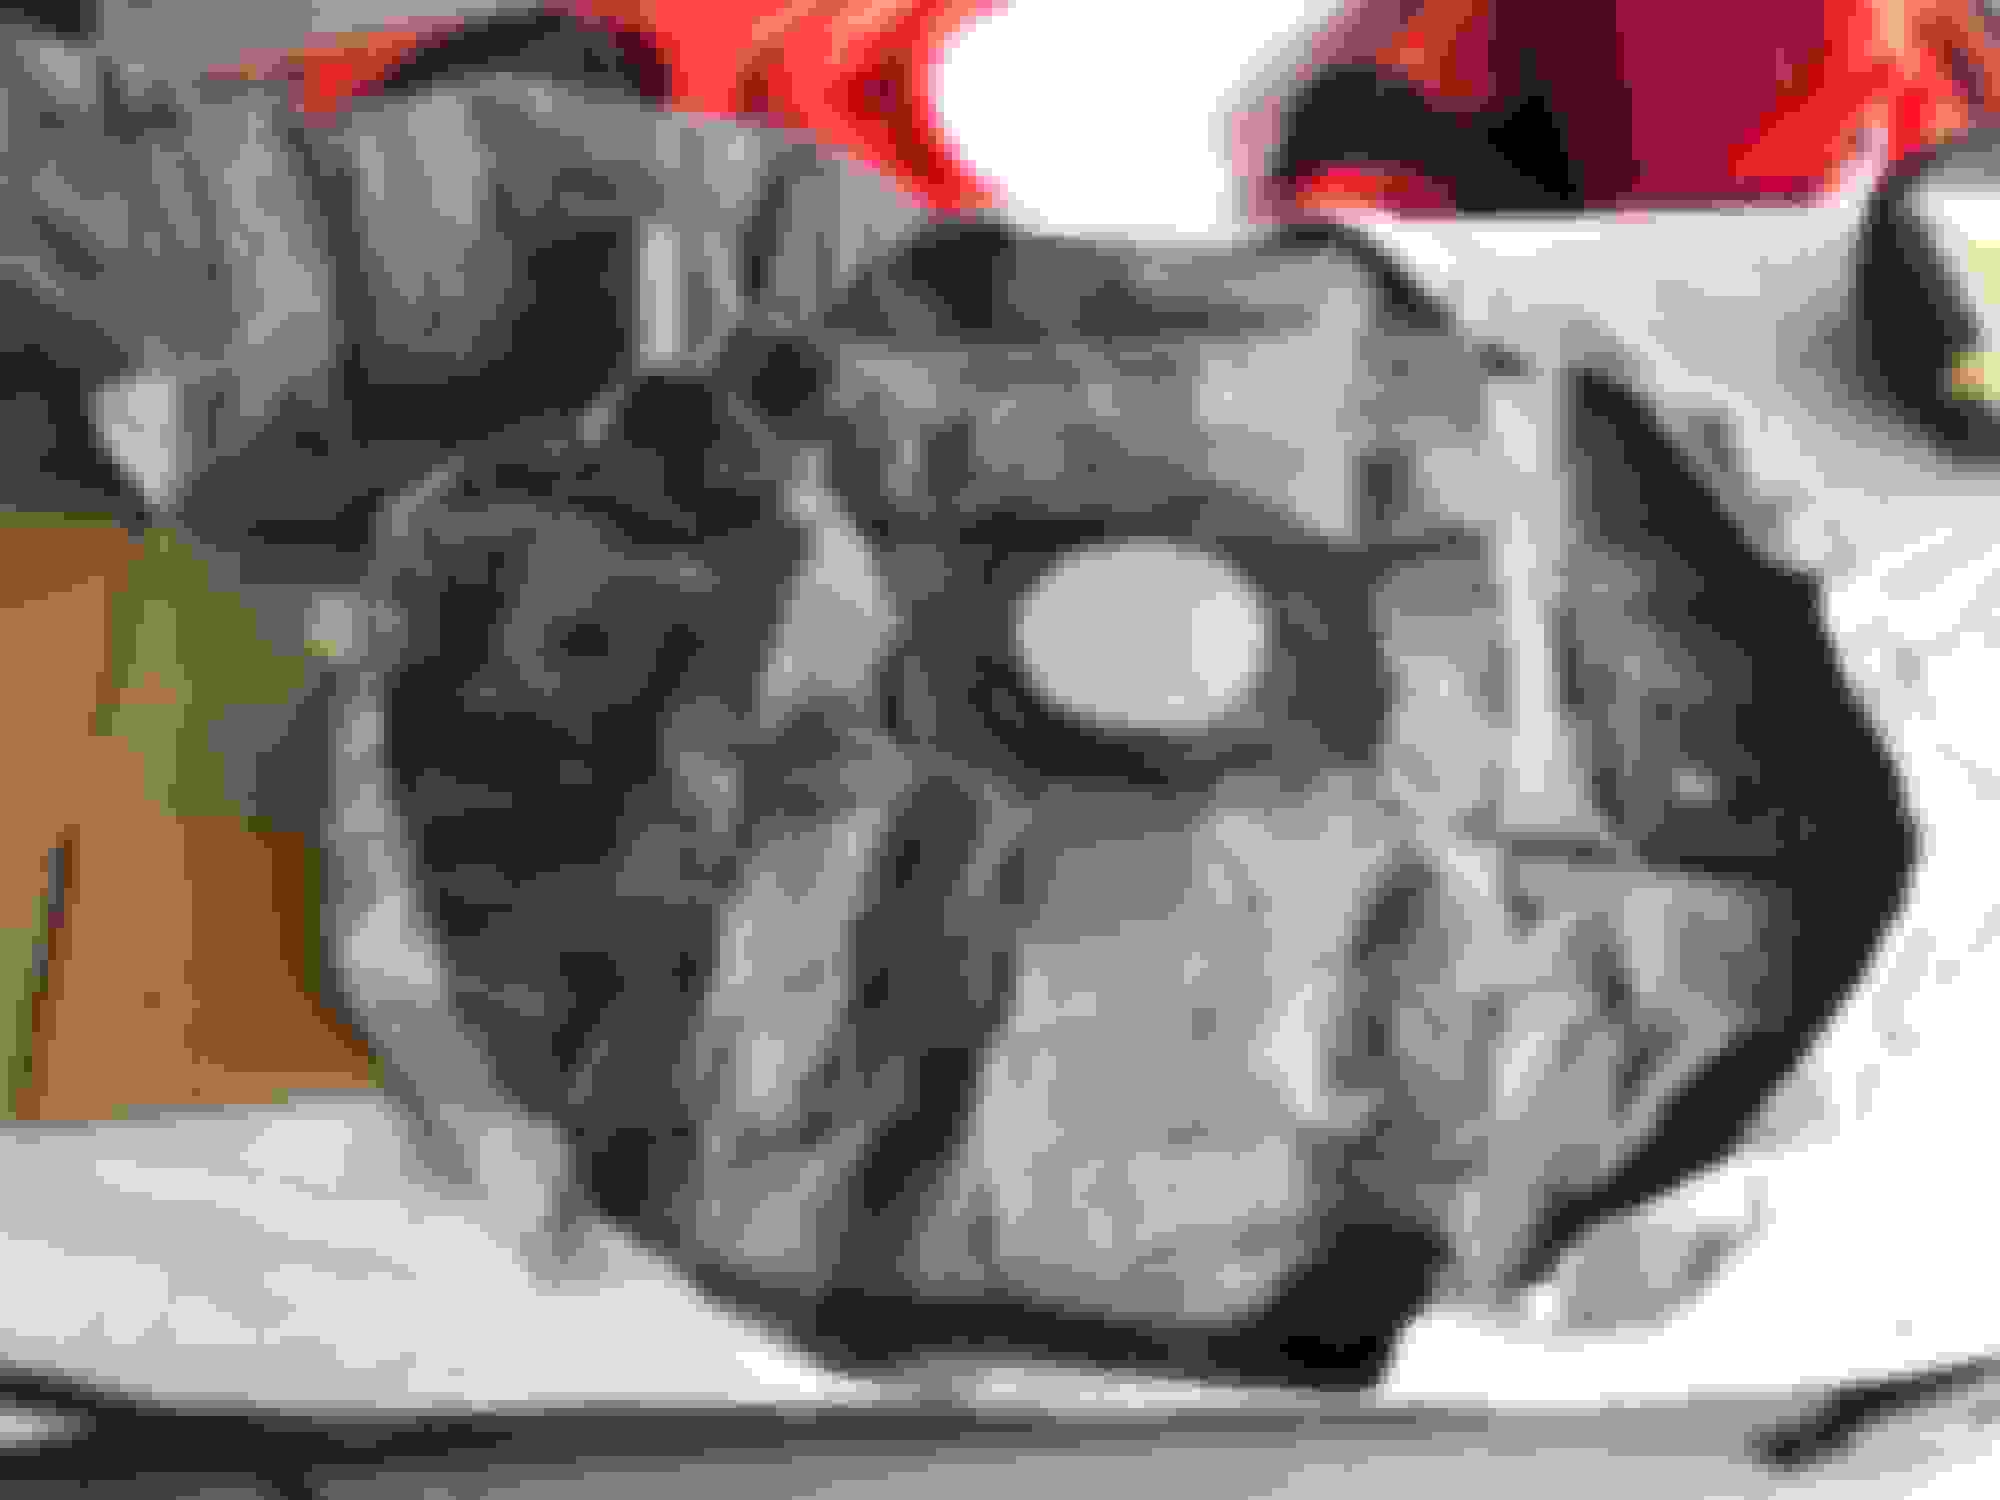
Here's what you'll be dealing with, and the areas you'll need to cut out. The backing plate is in fact aluminum, which helps as far as sparks go, but this does not mean it is "safe" or negate any safety precautions above. Please do not ignore any precautions.
Once you safely cut out the center section of the airbag backing plate, you can then grind down the rivet shanks and knock them out of the holes once they're flush.
The next thing I did is probably not essential, but I figured it would only help as far as stability goes. I cut out two pieces of 6"x0.5" aluminum from 1/8" thick stock that I had laying around, and am using them as doublers to connect the mounting bracket that is now in two pieces. You'll notice that 6" is a bit extra long beyond the rivets on the top and bottom. This is because I added an extra rivet on the ends so that it'd be stronger, and would resist movement better. The idea was to make it function just as it would when it wasn't cut up, so adding support could only help. Note that the doublers in the last two photos are not where they will be once assembled - they'll be behind the 2 mounting bracket pieces, deepest into the shell. I could not slip all of the assembly into there without clecos on hand.
I have not riveted it all back together yet, but when I do, I'll add some photos of the completed product (if this thread isn't removed - I don't blame admins if they decide to remove it).
And here are some completed photos. This thing is very structurally stable where the mounting points and horn switches are, I believe the horizontal doublers helped tie the whole thing together well.

 09-05-2017, 10:47 PM