Detailing Maroon car #1 (1996 Camaro Z28)
 09-28-2011, 09:55 AM
#1

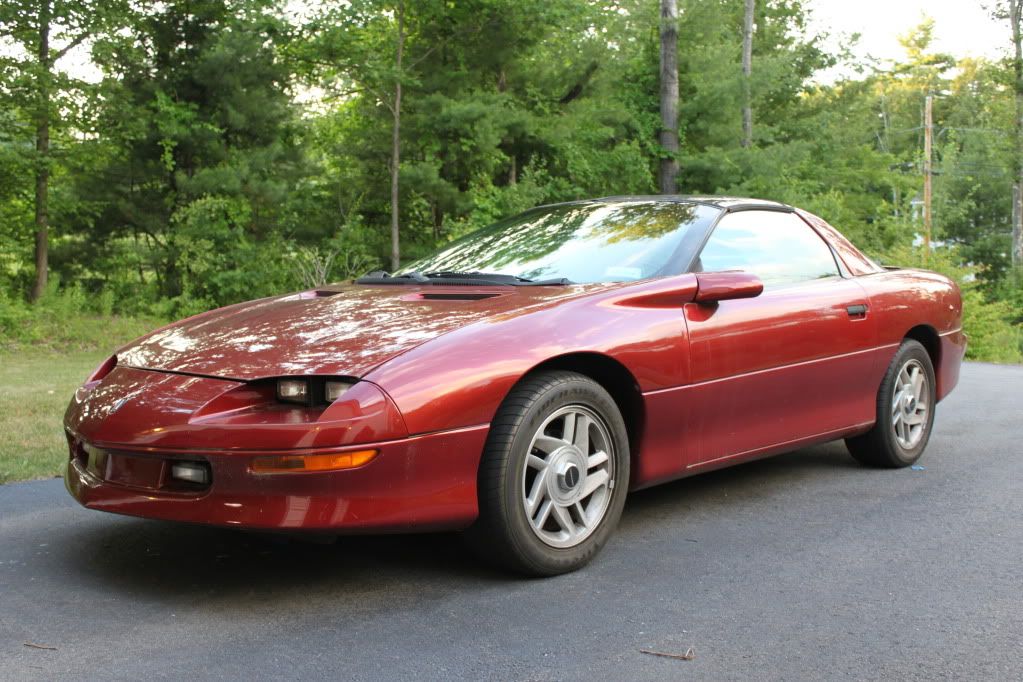
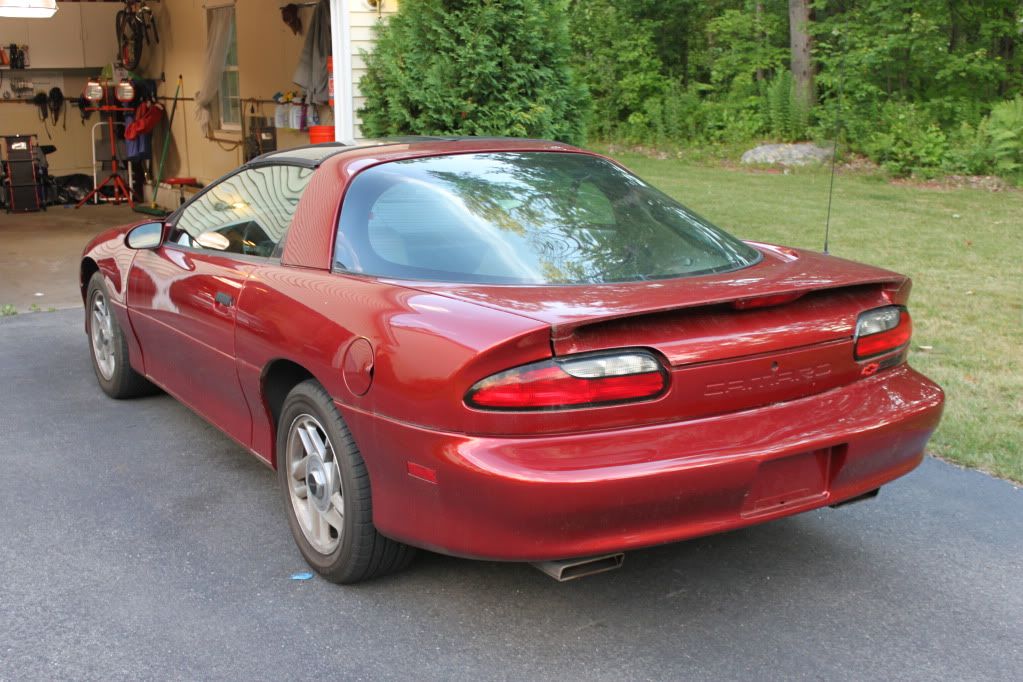
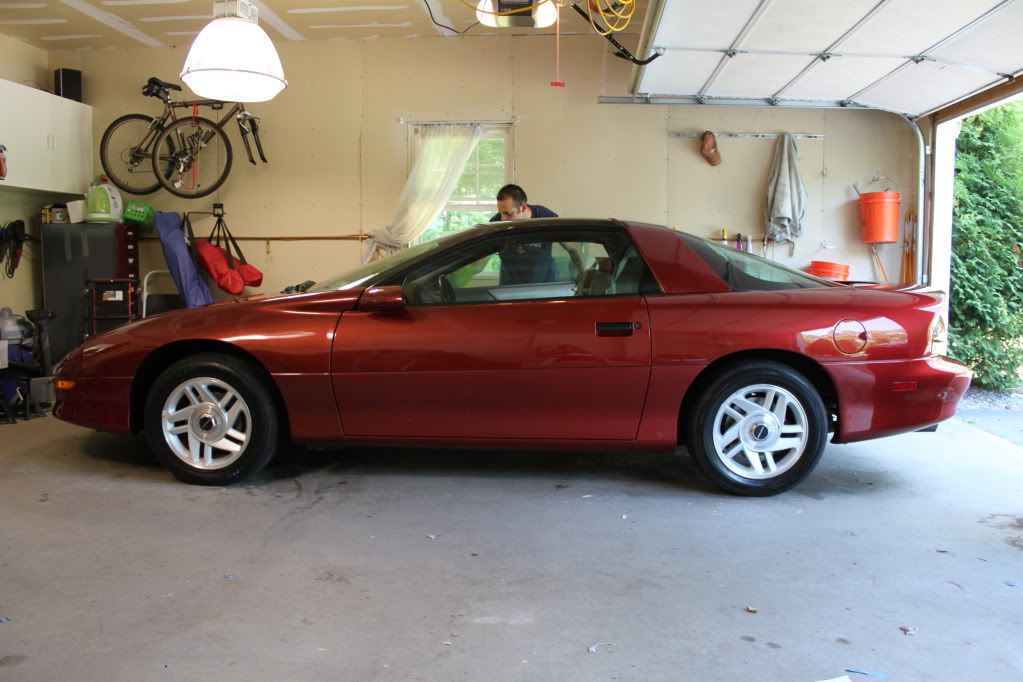
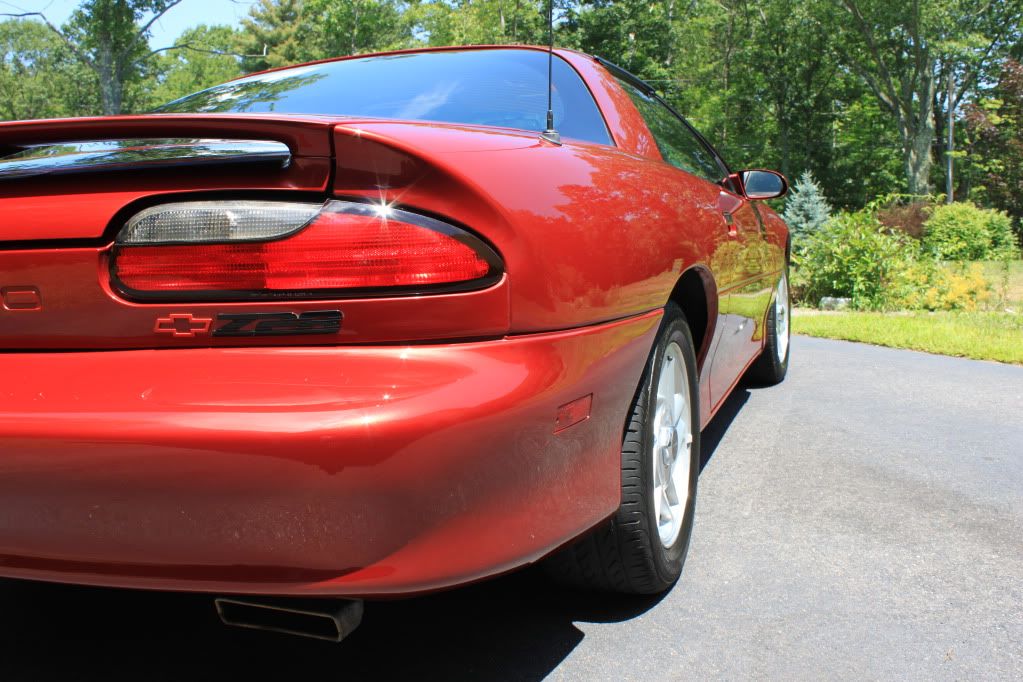
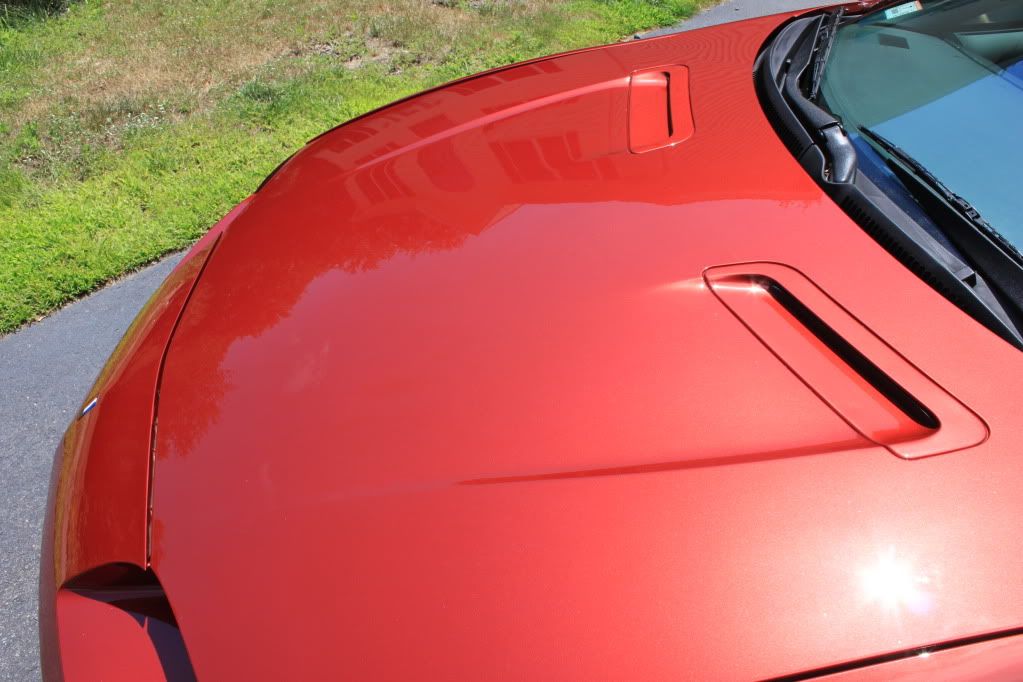
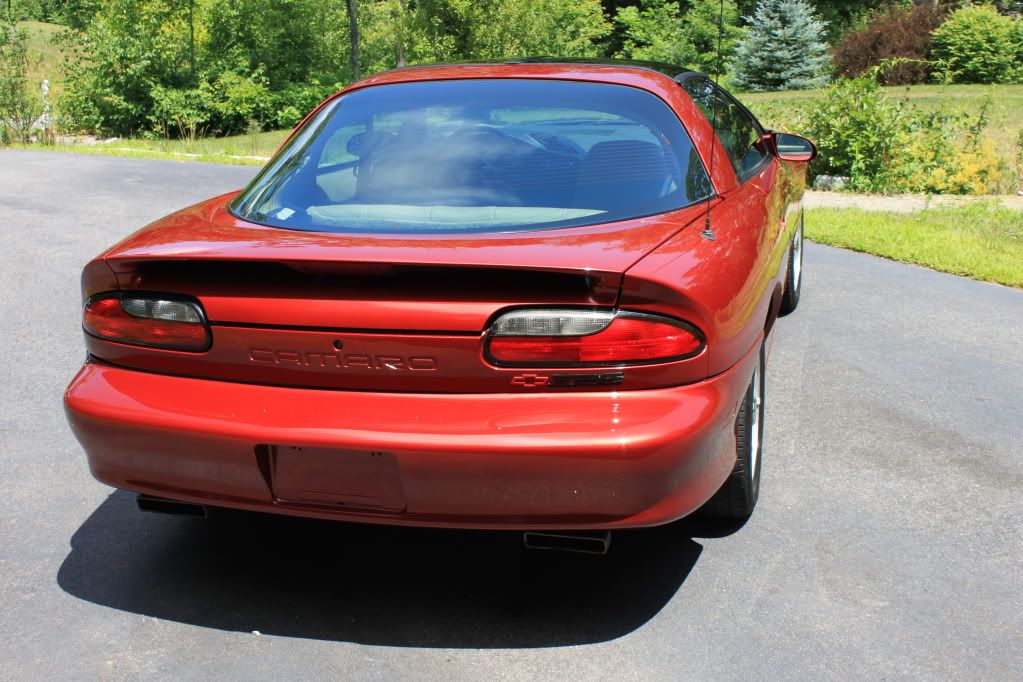
Did this detail over a month ago now. 1996 Chevy Camaro Z28.
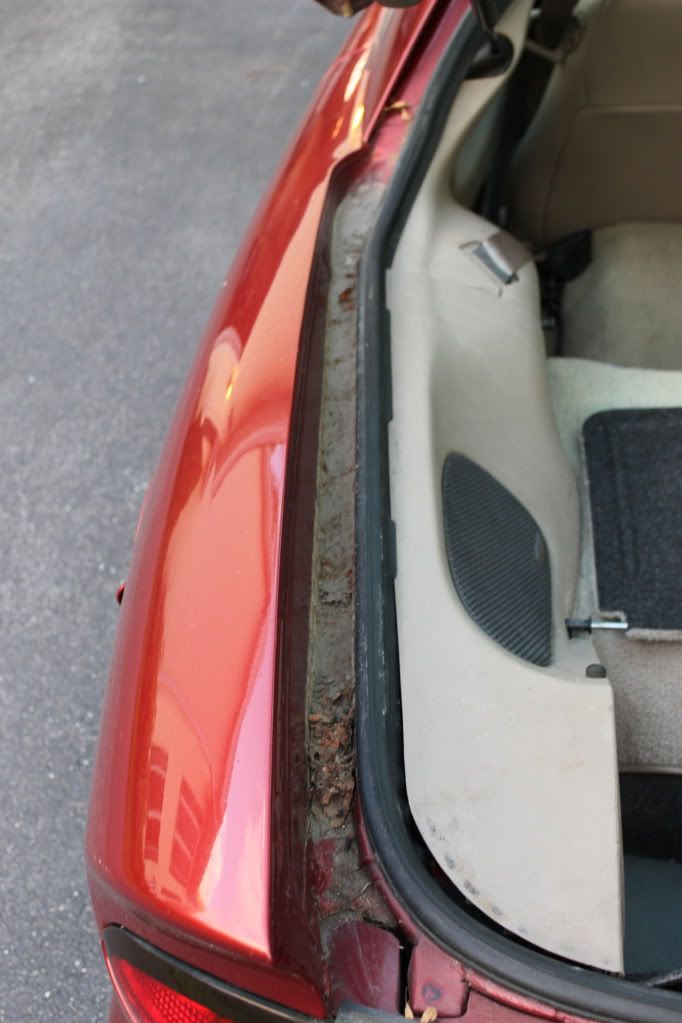
A friend of ours picked this car about a year prior. It lived its life as a daily driver in the Washington DC area before moving up to New England. Every single crack and crevice was packed full of dirt and grim and it probably took us 6+ hrs just to prep the car.
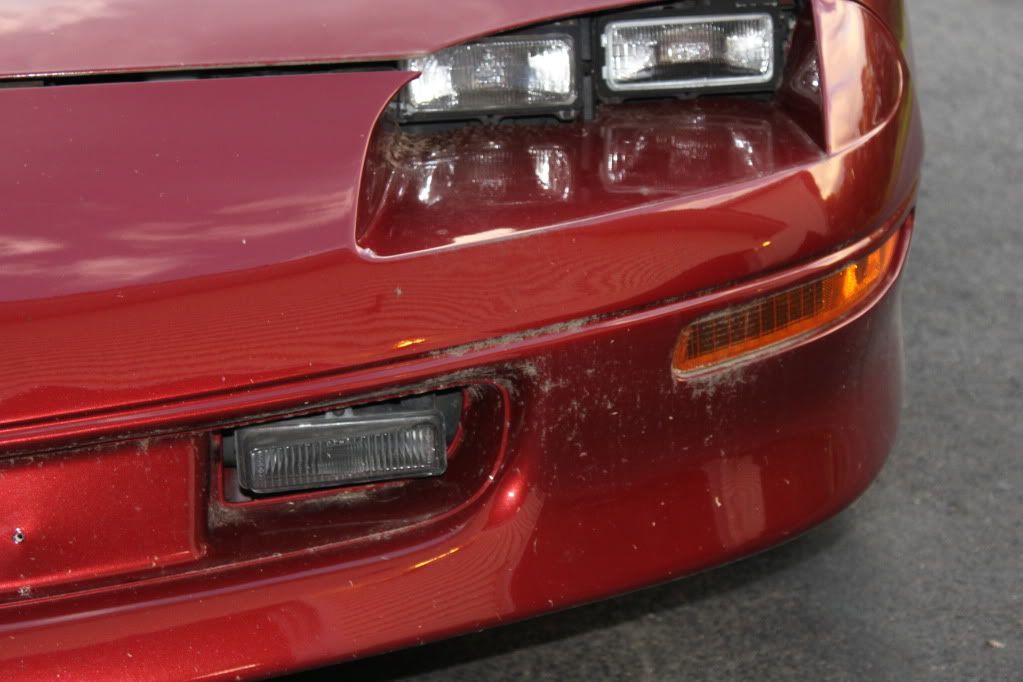
Goal for the car was to get it looking as fresh as possible for a 15yr DD car. It had some rough spots for sure and some panels resprayed but after 20+ hours the outcome was better than when we expected it would be when we received the car.
Oh and thanks for viewing!!!
Wash
CG Citrus Wash + Gloss
P21S TAW
Adams APC
Sonax Full Effect Wheel Cleaner
Westly�s Bleach White
Swissvax Wheel Brush
Uber Wheel Brush
Uber Fender Brush
MF Wash Towel.
Prep, Compounding, Finishing
Porter cable XP
Flex
Menzerna PO203
Menzerna 106FA
Menzerna PowerLock
Prima Banana Gloss
Prima Slick
ONR clay bar dilution
CG Extreme Shine
CG Bare Bones
Mother's Clay
Orange Lake Country 6" pad
Uber Orange 5.5" pad
Uber Green 5.5" pad
Uber Black 5.5" pad
More MF towels
3m Painter's tape
Interior
Mequier�s Natural Shine
Stoner�s Invisiable Glass
Lexol Leather Cleaner
Lexol Leather Conditioner
Uber Red applicators
Swissvax interior brush
MF Towels
Shop Vac
Process
Wash, light clay, tape.
Hood and front fenders: 1-2 pass�s 203 w/ orange, 1 pass 106FA with white/green,.
Front fenders back: 2 Pass PO203 w/ orange, 1 pass 106FA w/ green
Entire car: Powerlock w/ black, Prima Banana Gloss applied by hand, wiped down with Slick
Interior: Vacuum, Meguier�s Natural Shine, Stoner�s Invisible Glass, Adam�s Carpet Cleaner for spots
Bumpers � Mother�s Chrome polish w/ MF towel
Engine Bay � CG Extreme Shine
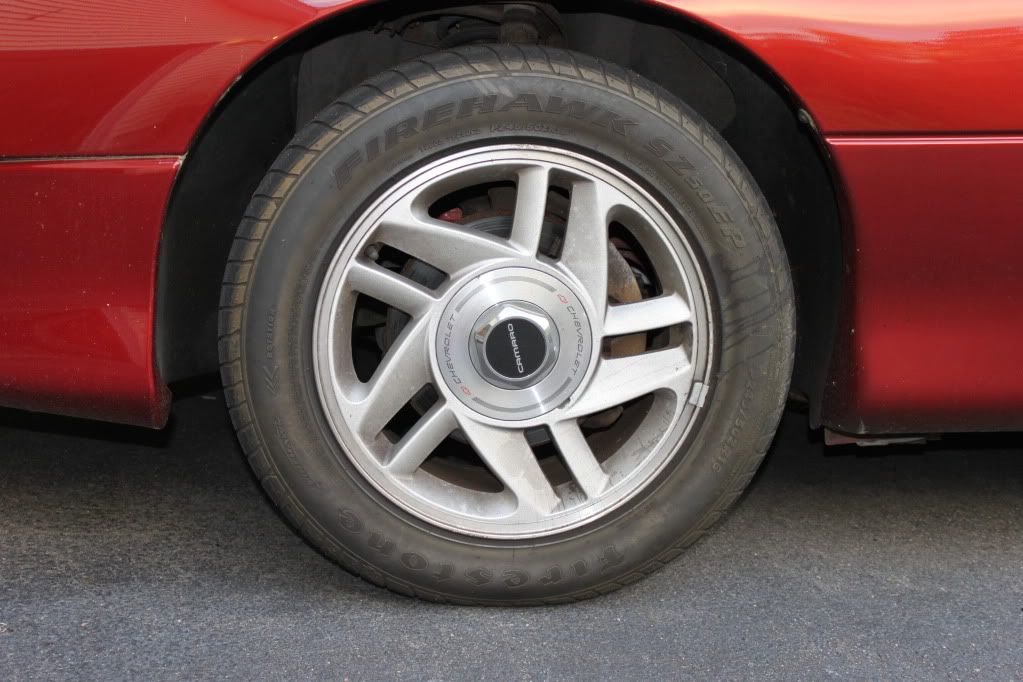
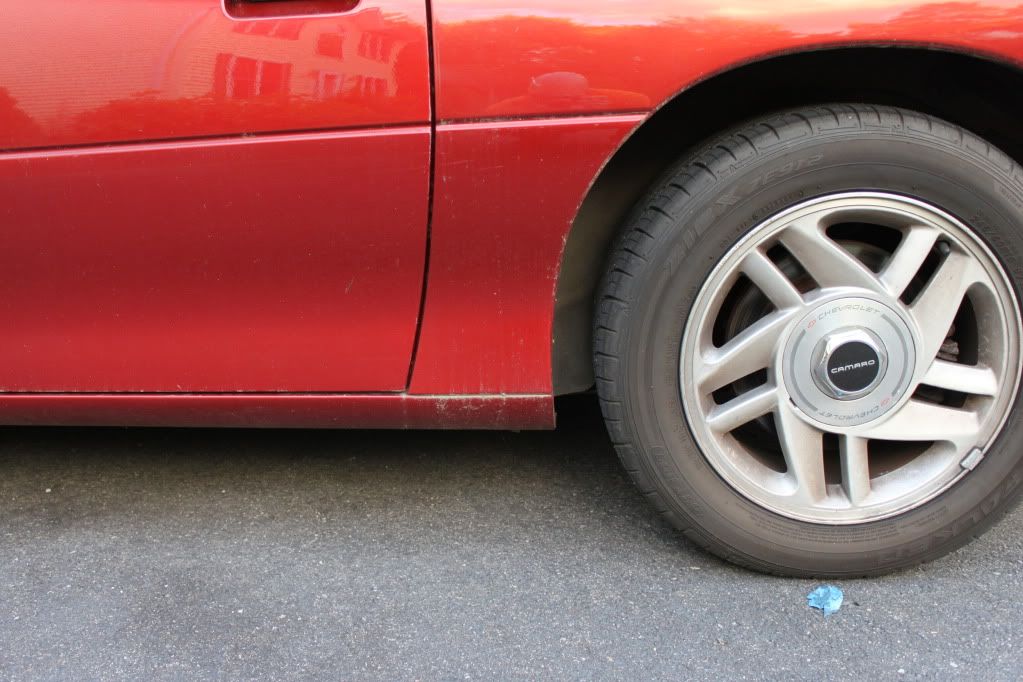
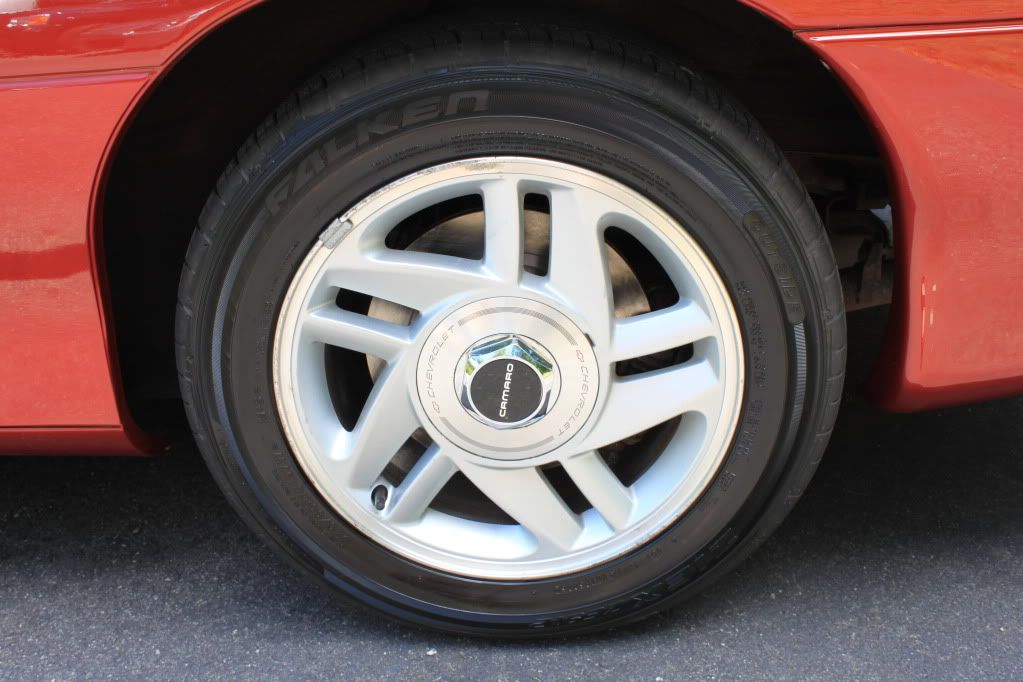
Wheels - Mequiers NXT 2.0, CG Extreme Shine
Wheel Wells - CG Bare Bones
Before
Eeekkk.. The cracks and crevices are packed with debris�
Let�s get to washing!

Rinsing the car was a practice in futility! The more you rinsed the more stuff came out of the cracks and crevices of the car took 1.5hrs to get the car clean enough to consider pulling it in the garage to begin the detail!
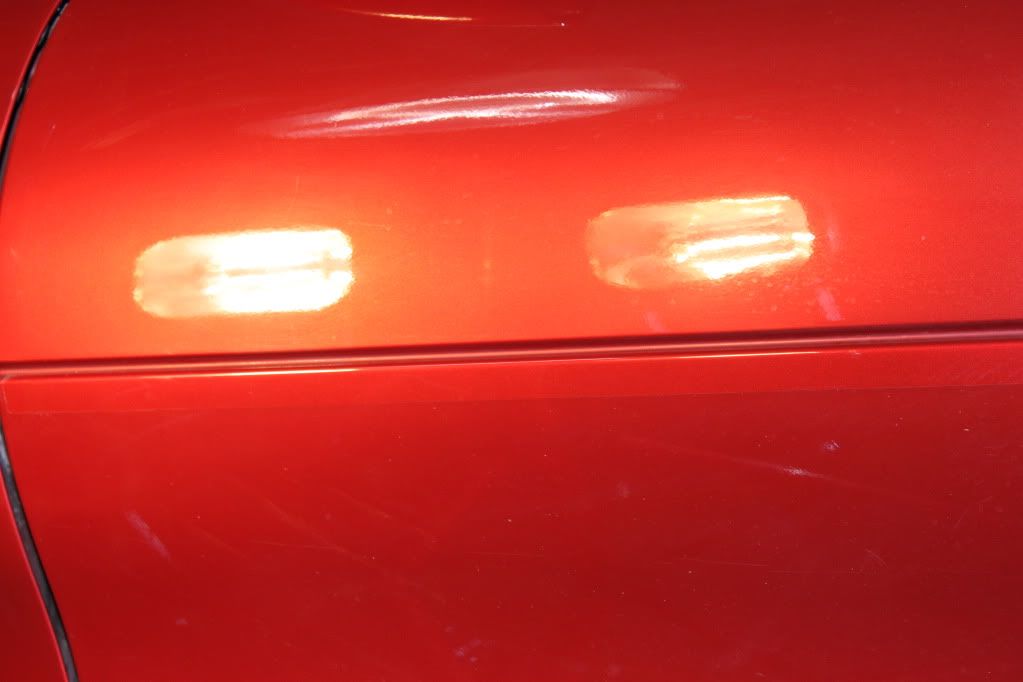
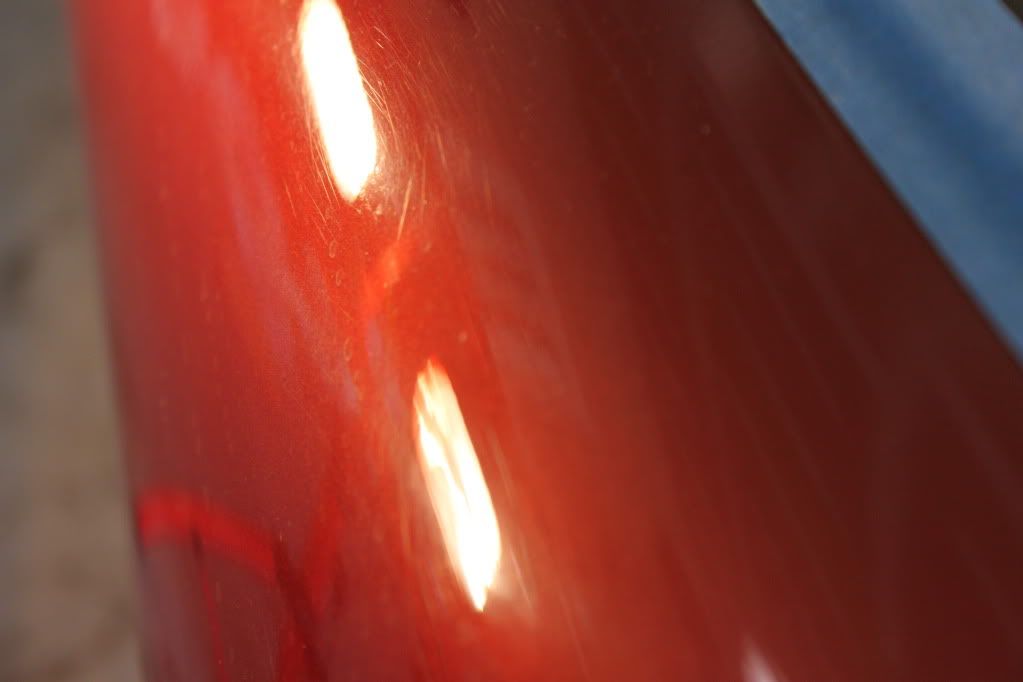
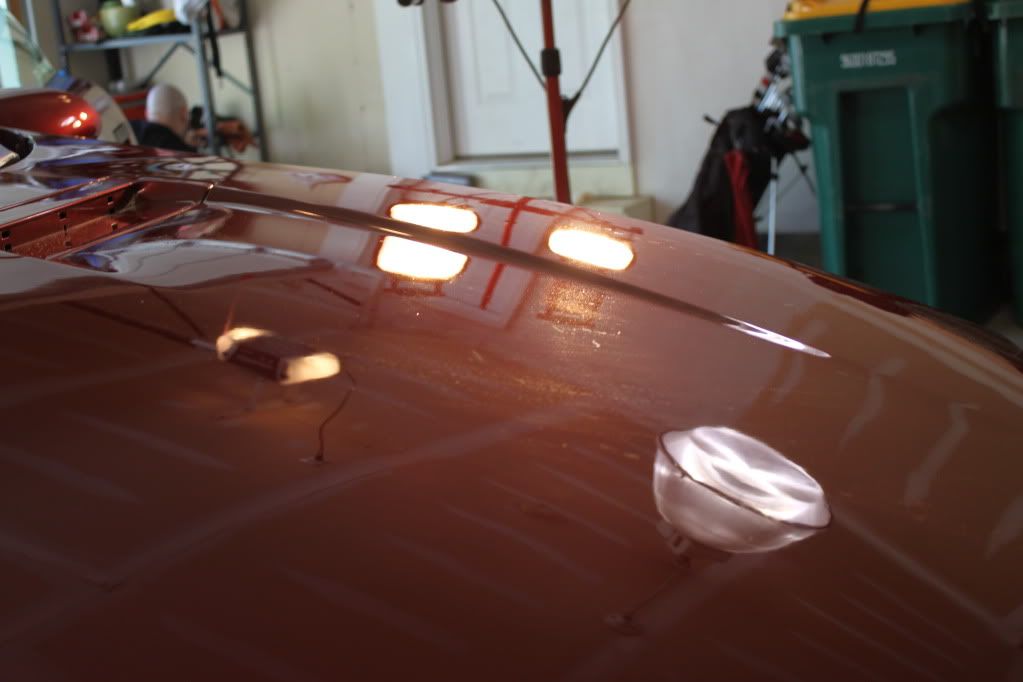
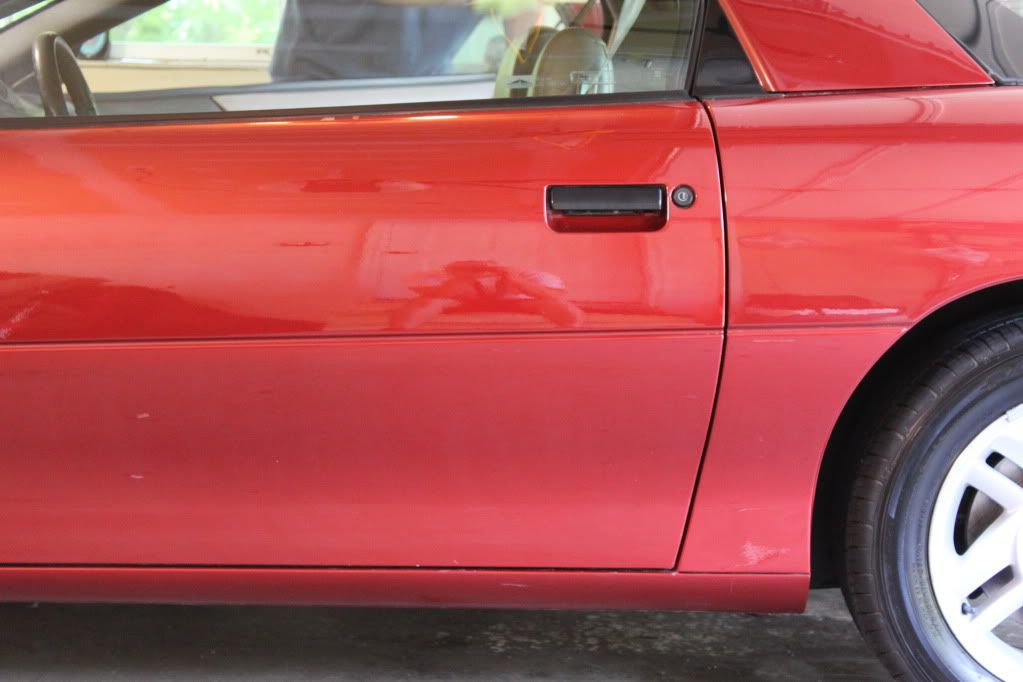
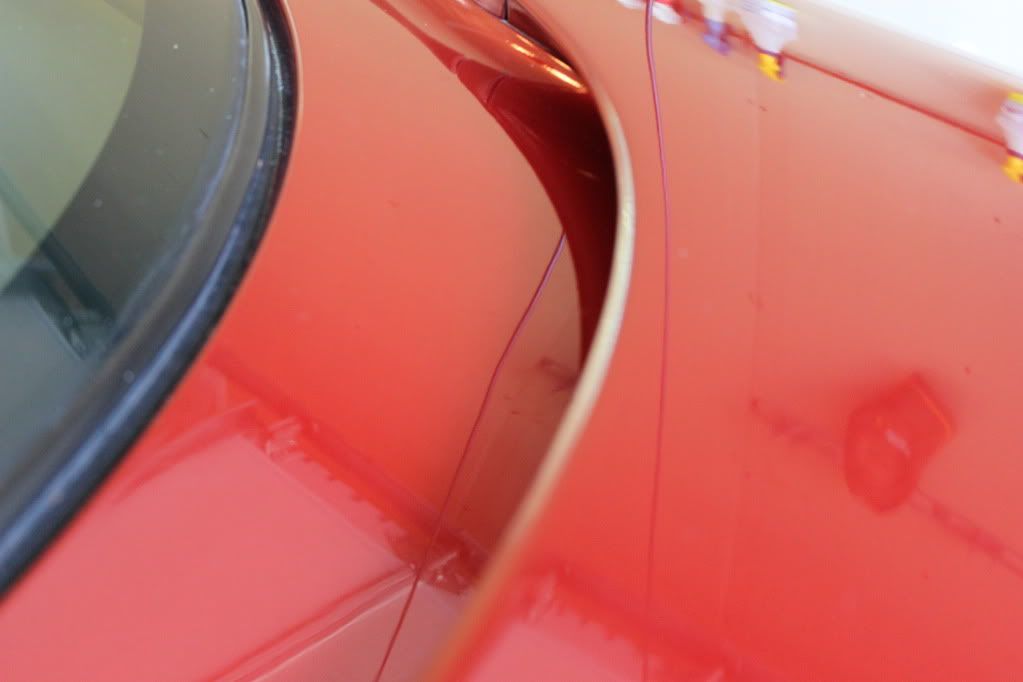
Under the lights� Car overall was not in bad shape under all that dirt and grime� Mostly light swirling with misc RIDS�

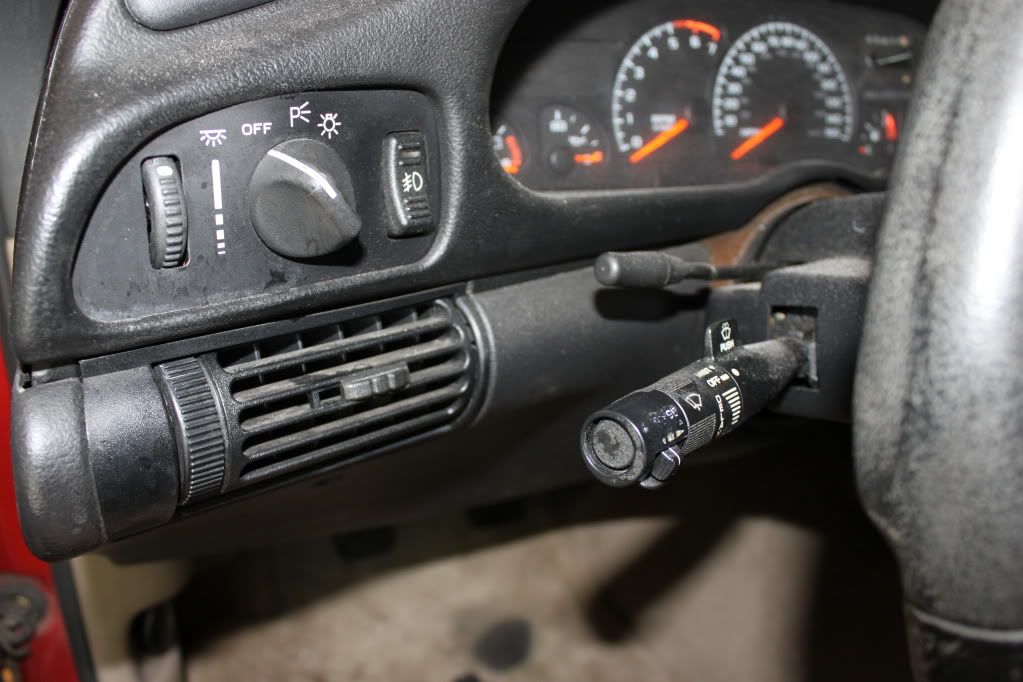
Dirty dirty interior!!!

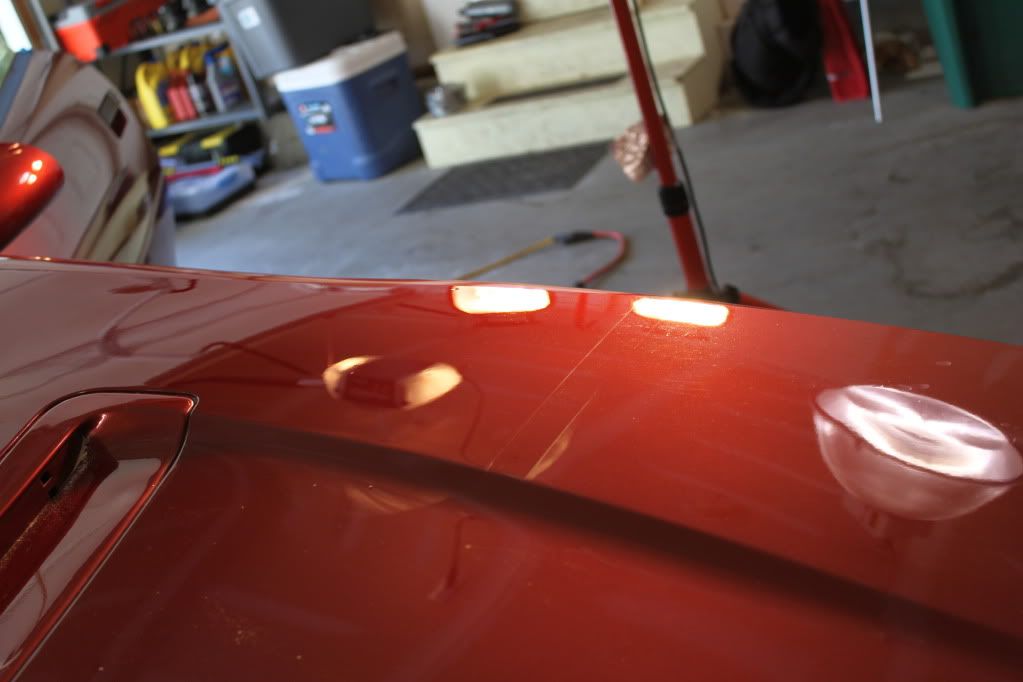
Little 50/50
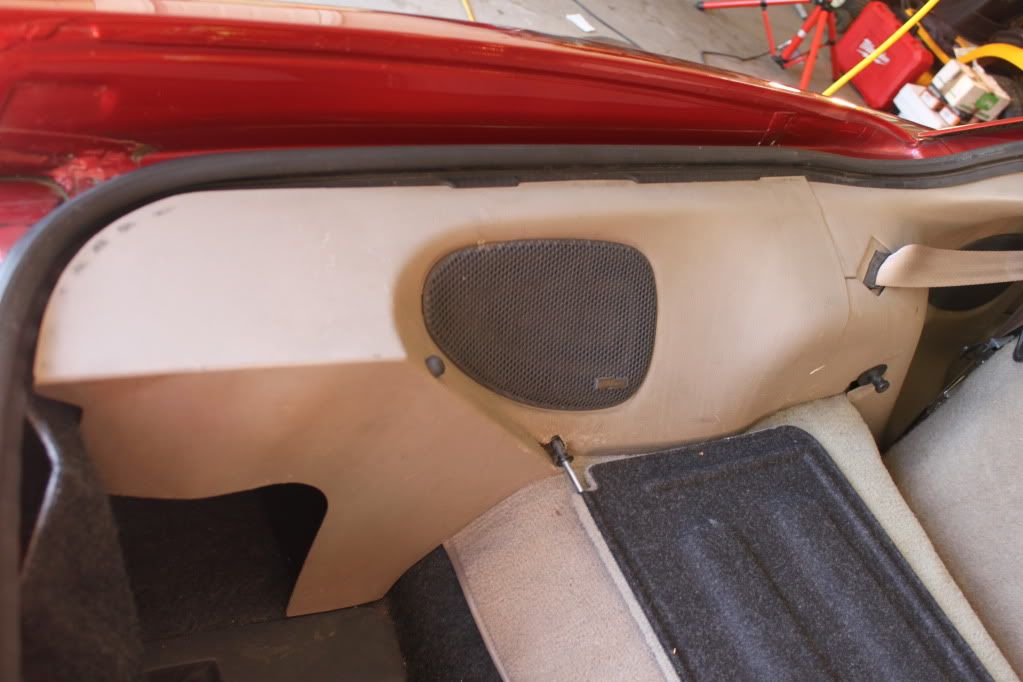
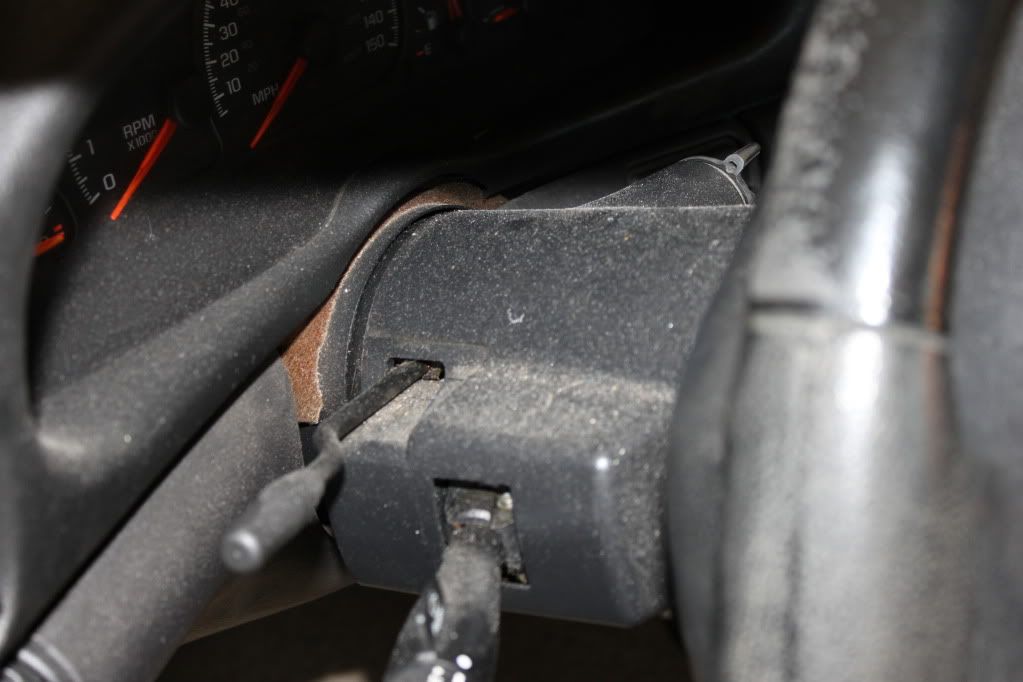
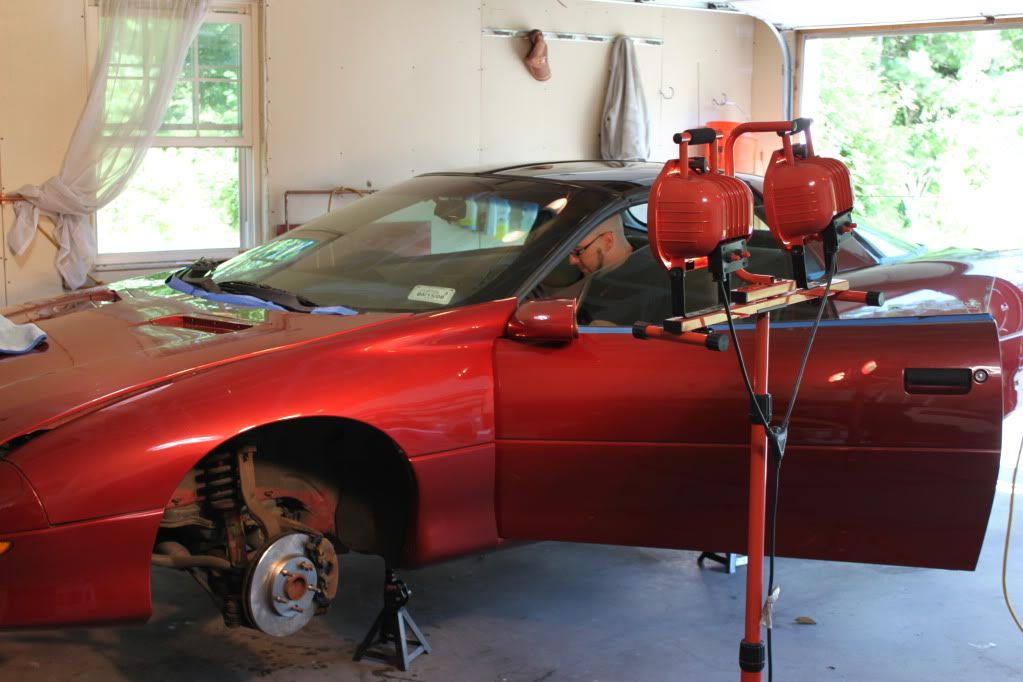
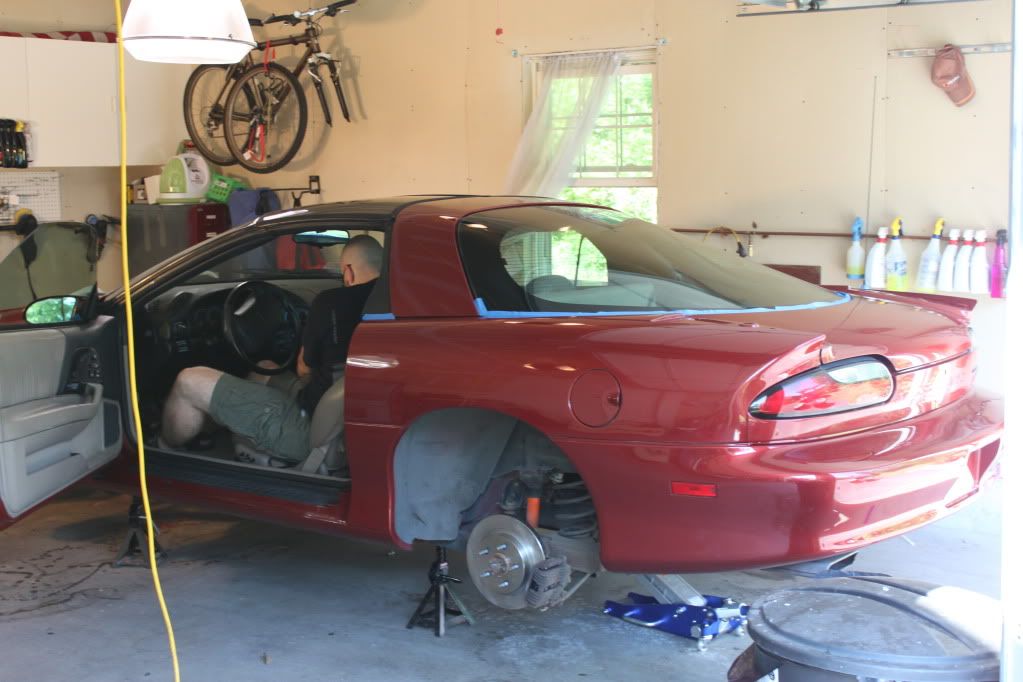
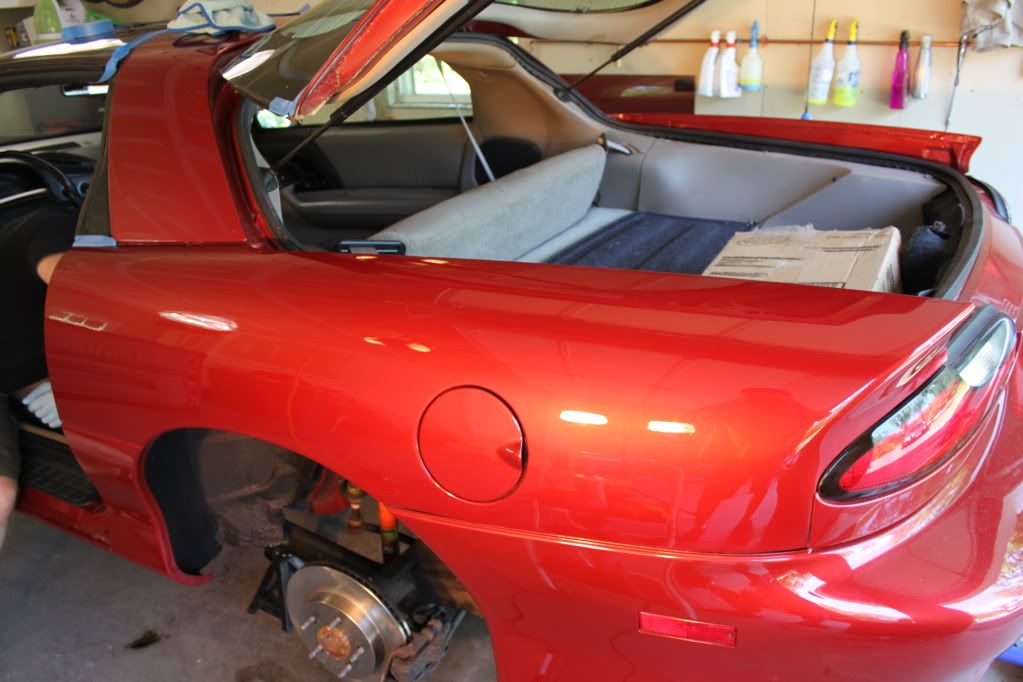
Few in-process shots (car was on stands because we also did some mechanical work for him)
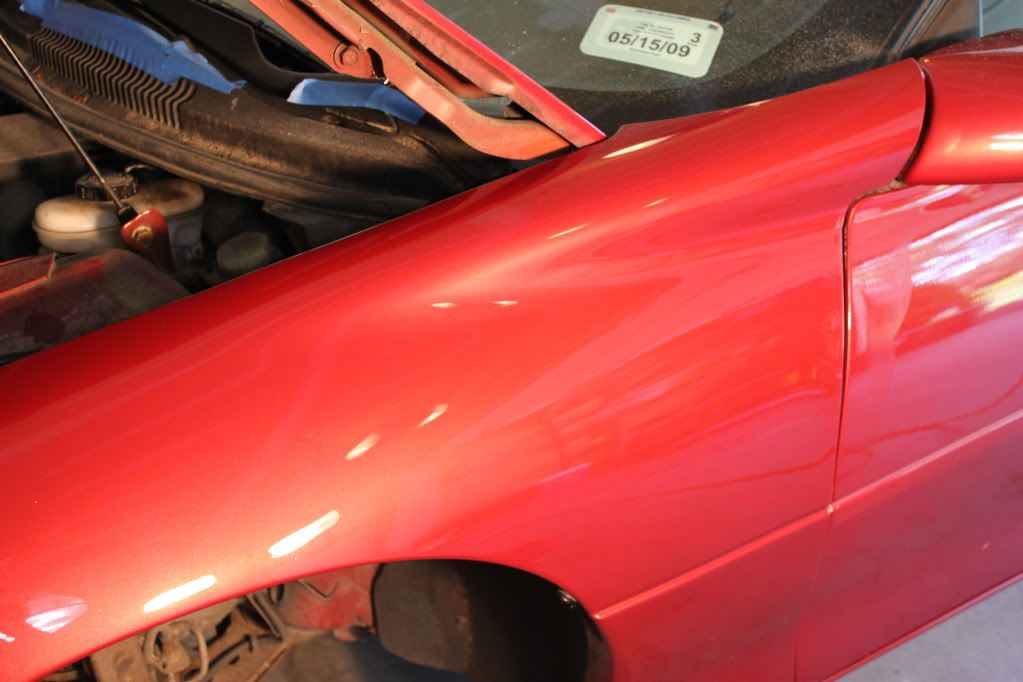
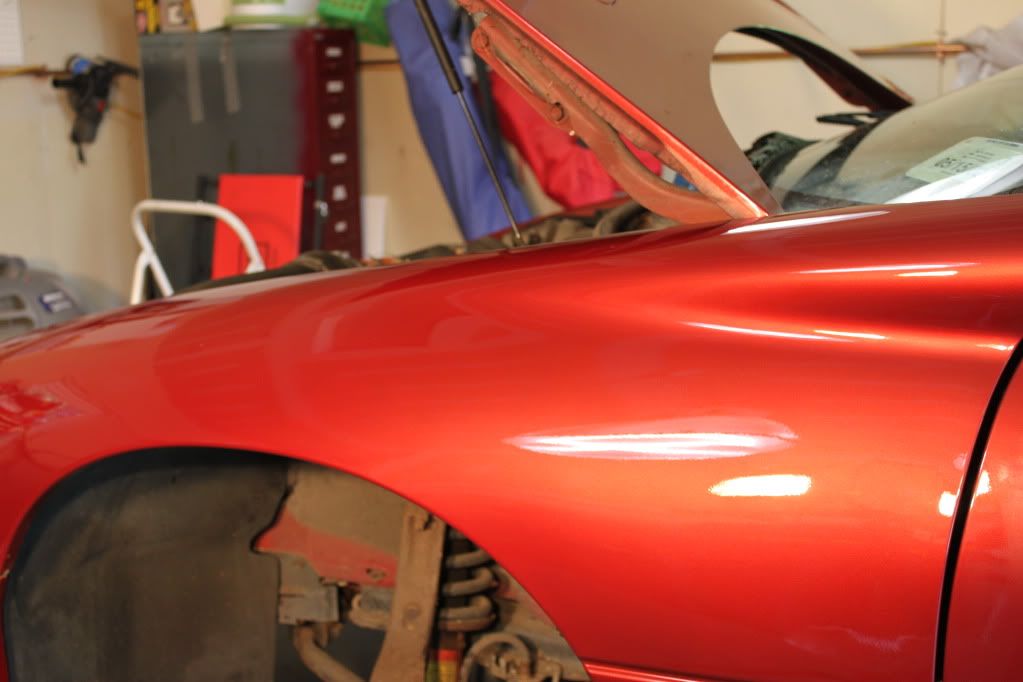
Finish is starting to turn around!
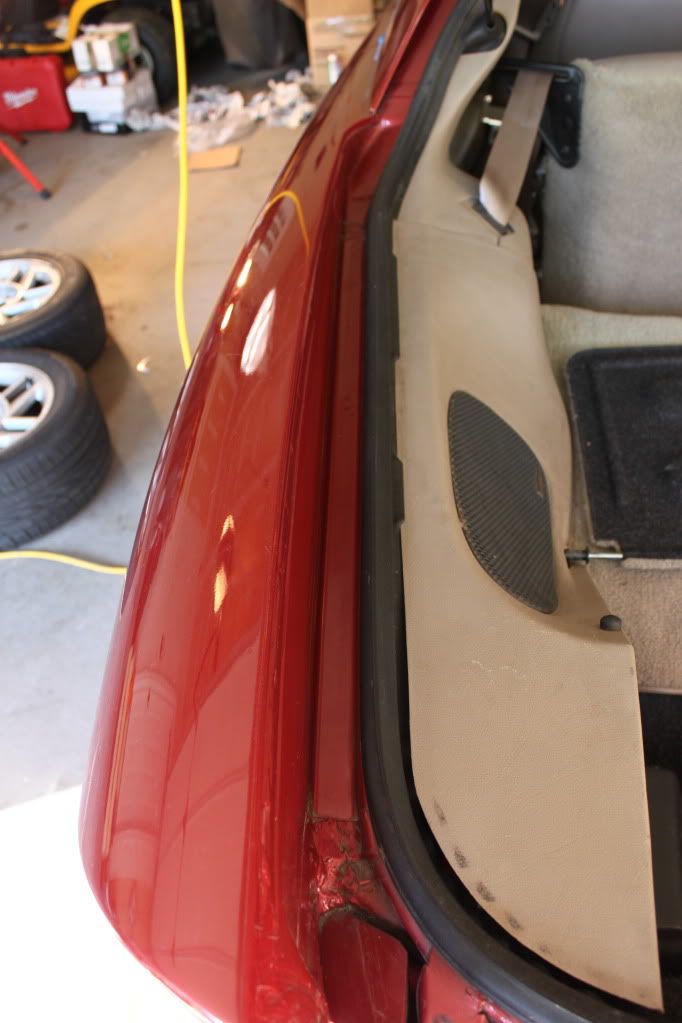
Interior spruced up (sorry I thought I had more)
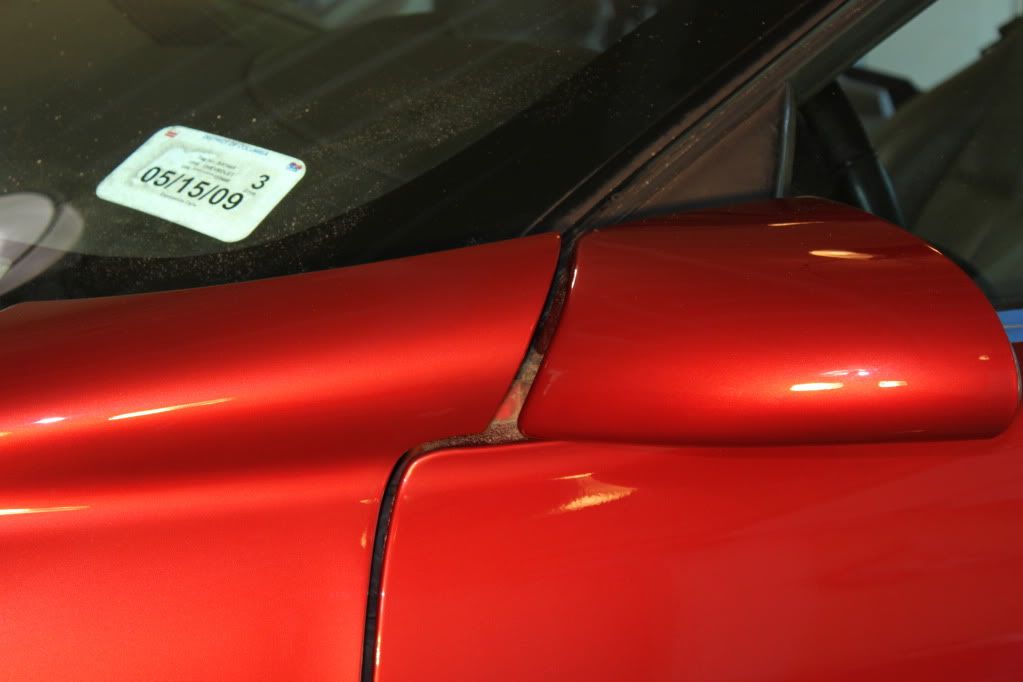
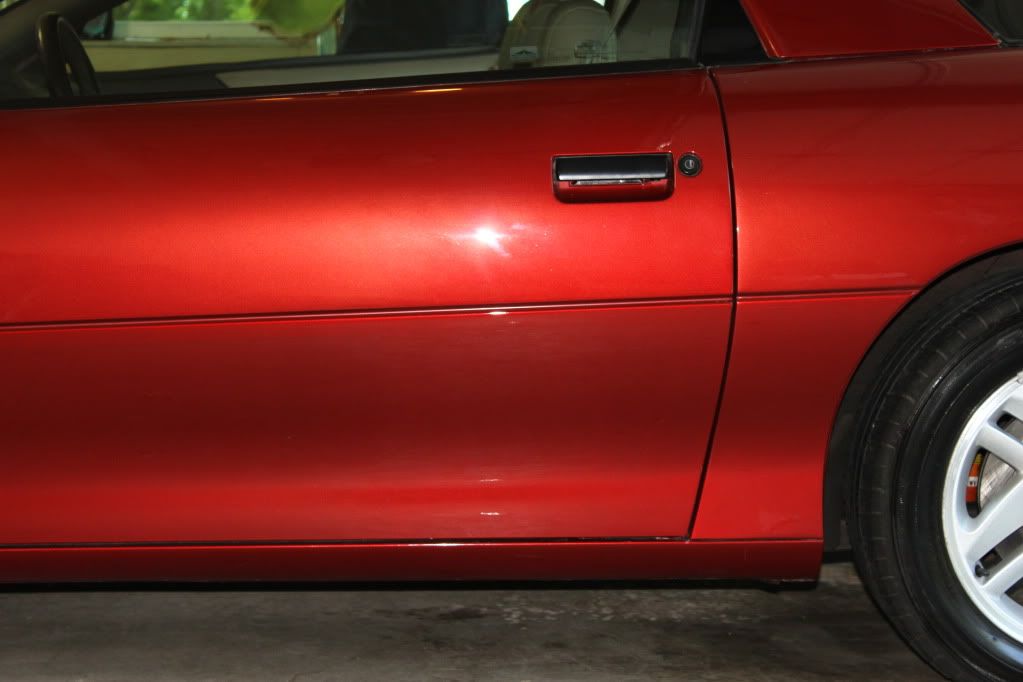
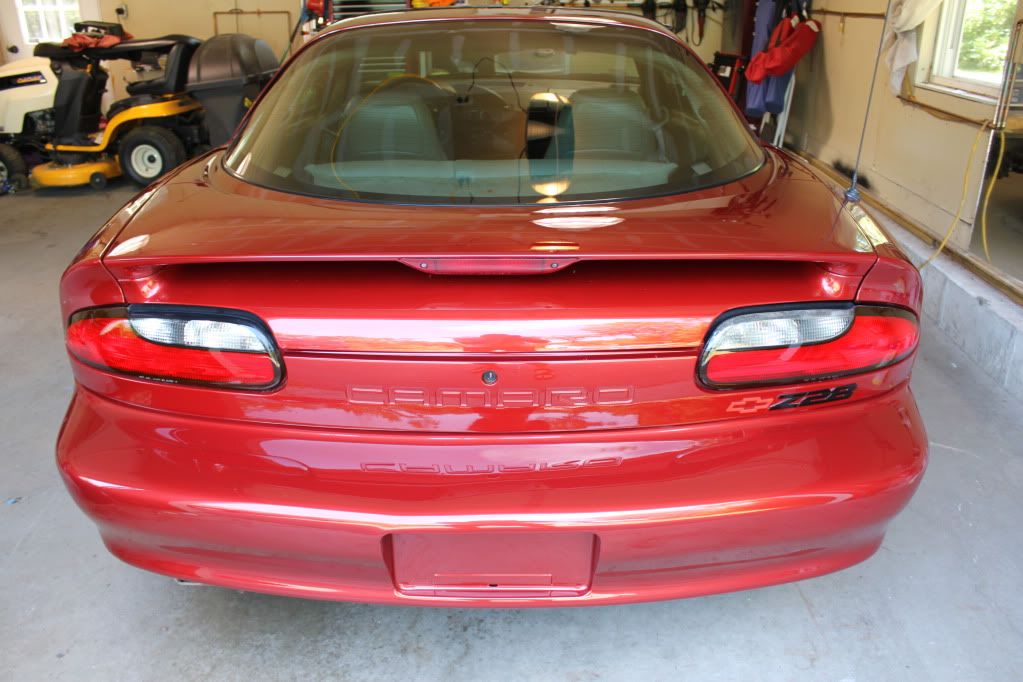
Shuts all clean!

Feet back on the ground�
A friend of ours picked this car about a year prior. It lived its life as a daily driver in the Washington DC area before moving up to New England. Every single crack and crevice was packed full of dirt and grim and it probably took us 6+ hrs just to prep the car.
Goal for the car was to get it looking as fresh as possible for a 15yr DD car. It had some rough spots for sure and some panels resprayed but after 20+ hours the outcome was better than when we expected it would be when we received the car.
Oh and thanks for viewing!!!
Wash
CG Citrus Wash + Gloss
P21S TAW
Adams APC
Sonax Full Effect Wheel Cleaner
Westly�s Bleach White
Swissvax Wheel Brush
Uber Wheel Brush
Uber Fender Brush
MF Wash Towel.
Prep, Compounding, Finishing
Porter cable XP
Flex
Menzerna PO203
Menzerna 106FA
Menzerna PowerLock
Prima Banana Gloss
Prima Slick
ONR clay bar dilution
CG Extreme Shine
CG Bare Bones
Mother's Clay
Orange Lake Country 6" pad
Uber Orange 5.5" pad
Uber Green 5.5" pad
Uber Black 5.5" pad
More MF towels
3m Painter's tape
Interior
Mequier�s Natural Shine
Stoner�s Invisiable Glass
Lexol Leather Cleaner
Lexol Leather Conditioner
Uber Red applicators
Swissvax interior brush
MF Towels
Shop Vac
Process
Wash, light clay, tape.
Hood and front fenders: 1-2 pass�s 203 w/ orange, 1 pass 106FA with white/green,.
Front fenders back: 2 Pass PO203 w/ orange, 1 pass 106FA w/ green
Entire car: Powerlock w/ black, Prima Banana Gloss applied by hand, wiped down with Slick
Interior: Vacuum, Meguier�s Natural Shine, Stoner�s Invisible Glass, Adam�s Carpet Cleaner for spots
Bumpers � Mother�s Chrome polish w/ MF towel
Engine Bay � CG Extreme Shine
Wheels - Mequiers NXT 2.0, CG Extreme Shine
Wheel Wells - CG Bare Bones
Before
Eeekkk.. The cracks and crevices are packed with debris�
Let�s get to washing!
Rinsing the car was a practice in futility! The more you rinsed the more stuff came out of the cracks and crevices of the car took 1.5hrs to get the car clean enough to consider pulling it in the garage to begin the detail!
Under the lights� Car overall was not in bad shape under all that dirt and grime� Mostly light swirling with misc RIDS�
Dirty dirty interior!!!
Little 50/50
Few in-process shots (car was on stands because we also did some mechanical work for him)
Finish is starting to turn around!
Interior spruced up (sorry I thought I had more)
Shuts all clean!
Feet back on the ground�


 09-28-2011, 05:17 PM
#4
yep thats the name of the color or red-orangr on pontiacs.....same color as mine....one of my favs now.....not rare by actual numbers but not to many out there......great job on cleaning er up btw....i found out by my own this color really needs to be cleaned up good and shined to really make the effects of the paint to pop right in diff lightings
09-29-2011, 07:17 AM
#7
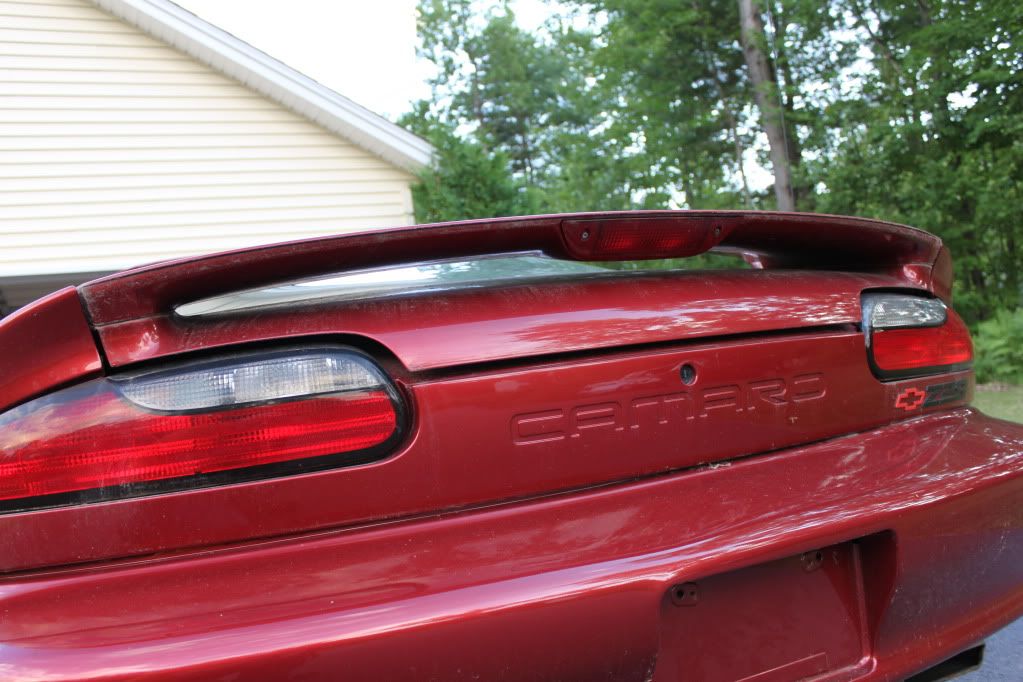
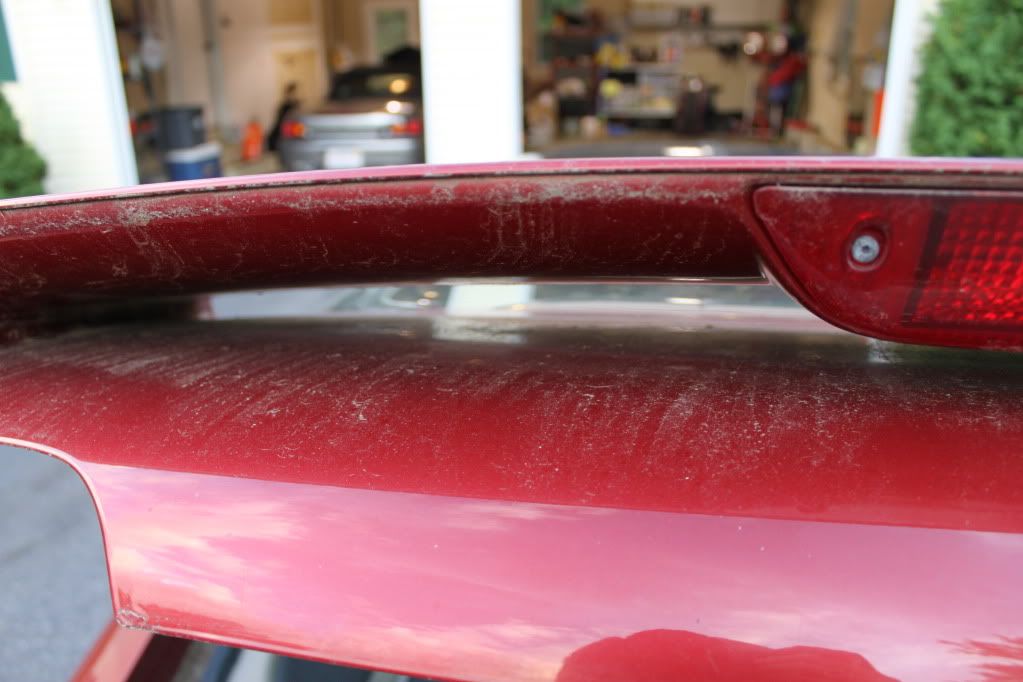
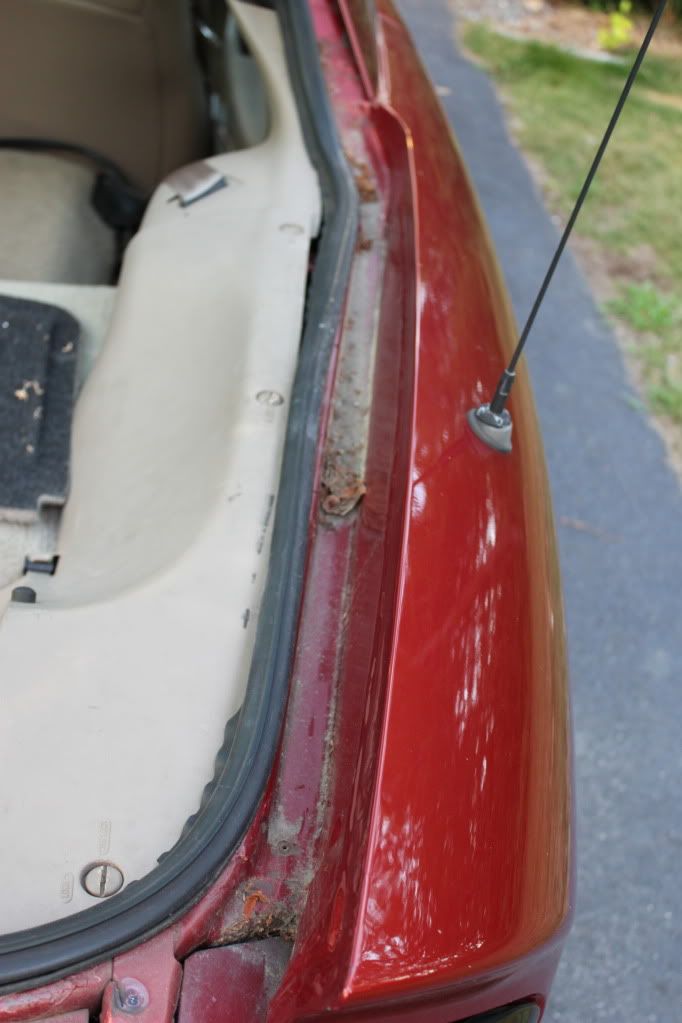
Thanks guys, this car had a ton of surprises for us. It's not a showpiece car and we weren't expecting miracles but it came out pretty good for the time spent. The hatch area was pretty bad, we had to remove the spoiler to get it all done. We threw some new brakes and rotors on it, a short throw, and a CAI. Lazy owner.....
But its an F-body so got to love it, the color is kinda neat too.
But its an F-body so got to love it, the color is kinda neat too.
Trending Topics
09-29-2011, 04:50 PM
#8
Can you explain the different compounds/polishes you use, how aggressive they are and how you decide which one to use? Right now I have some Meguiar's Ultimate polish and I plan on getting a proper polisher to apply it with (only did it by hand so far). I'm thinking that's not strong enough for the swirl marks my car has though (fairly heavy swirl) and I want to know what would be the next step to use to remove or at least reduce the swirl. It would be my first time trying anything stronger than a polish though so I don't want anything too aggressive.
10-03-2011, 07:15 AM
#9
Can you explain the different compounds/polishes you use, how aggressive they are and how you decide which one to use? Right now I have some Meguiar's Ultimate polish and I plan on getting a proper polisher to apply it with (only did it by hand so far). I'm thinking that's not strong enough for the swirl marks my car has though (fairly heavy swirl) and I want to know what would be the next step to use to remove or at least reduce the swirl. It would be my first time trying anything stronger than a polish though so I don't want anything too aggressive.
We have been using menzerna compounds for a while now and really like the results and workability. There are so many products out there, we have tried a few but always go back to menzerna and use it almost all the time. It cuts aggressive but finishes down nicely. Its a diminishing coumpound, unlike say a meguires 105/205 process these compounds start to break down as you work them and leaves you with a better finish for the next pass. It leaves barely any dust (most of them) and it really does work great on harder european clearcoates, although gm is fairly hard too. Not to say Megs or 3m is not good, they are, we just have a system that works and a product that gives us results consistantly. For us the extra cost is worth it.
Generally I always pick a spot on the car to try first. Always start least aggressive but I've found that I typically start with the po203s (powerfinish) and end with the p0106fa (superfinish) and use and orange pad (med cut) and white (low cut) pad respectively. I'll occassionally start with power gloss on a really hammered car and on the flip side use 85rd with a simple polishing pad to really mirror it up at the end. Sometimes I even do more than one pass with the same compound and just use a different pad.

If you can see a lot of RID's in the sun and the paint has had years of exposure and light scratches I start with the 203 and work from there. If you can catch the scratch with your nail don't wast your time trying to get it all out. It will hide though after a couple passes as you level out the paint.
The porter cable is still the best entry level-proff DIY tool for paint corrrection. Get a few lake country or Uber pads and a bunch of microfiber towels along with compound of your choice and then you will have something to work with. Your gonna spend a few hundred buck to start but if you enjoy this kind of thing it wil lbe well worth it, doing it by hand is not even an option.
These Dual Action orbital polishers are nearly foolproof. (nearly) If you take your time and are careful you will be fine. I've never heard of anybody burning their paint with one of these. They are very forgiving and safe.
