66 Chevelle LQ4 GT4276 Build Thread
 05-10-2011, 09:56 PM
#1
Launching!
Thread Starter
iTrader: (5)

Join Date: Mar 2004
Location: Chippewa Falls, WI
Posts: 292
Likes: 0
Received 0 Likes
on
0 Posts

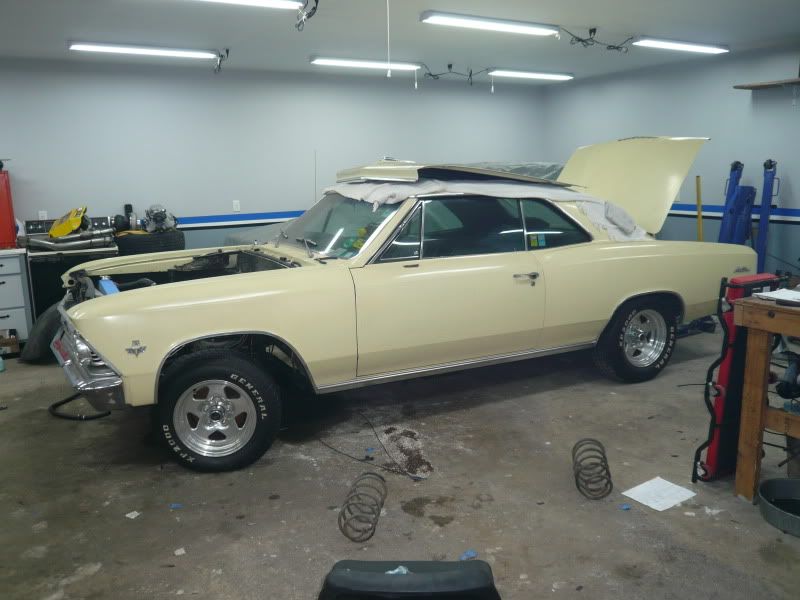
Stuck in the middle of this build and having a hard time getting motivated to finish it, too many other projects/stuff going on. I figured I'd start a build thread, its about time and I have work to show that is worth while. This is a 1 man job for 90% of the work. Started work on it in nov 2010 and gotten this far over the winter.
66 Chevelle
Motor:
03 lq4
arp rod bolts
Head studs
ls9 gaskets
stock 317's with lunati dual springs( .650 lift golds)
custom cam( 234/230, .598 .591, 116 lsa
comp double roller
new cam bearings- stockers were toast
Pro flo xt intake with rails
stock cable TB
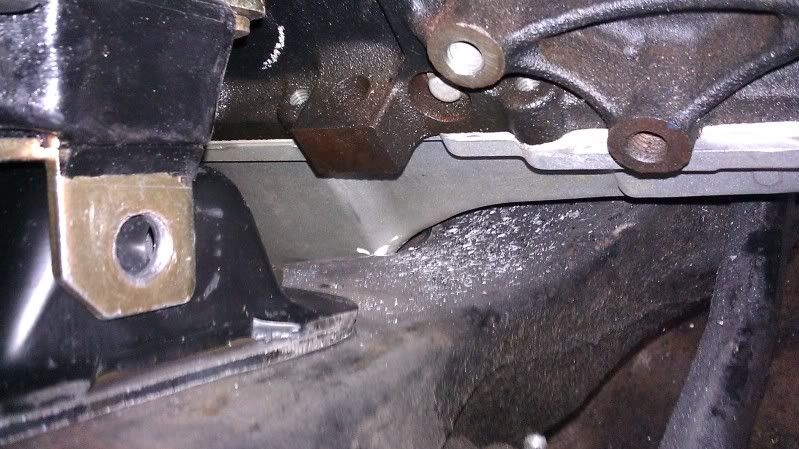
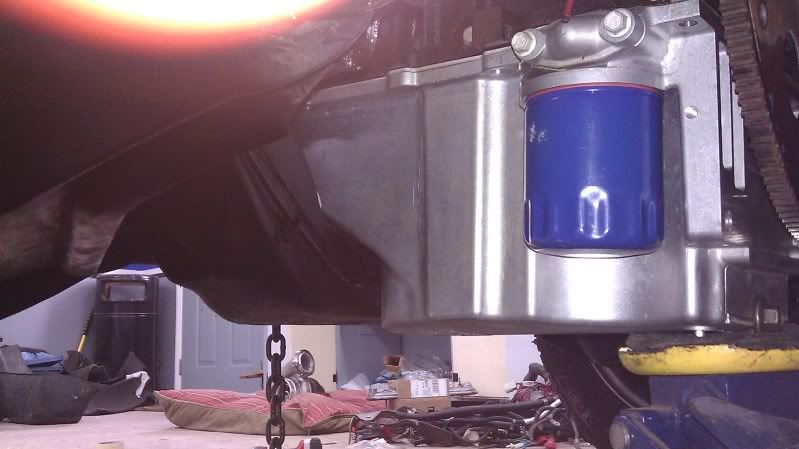
CTSV pan- cut cross member also
Fuel:
80lb mototrons
sumped stock tank
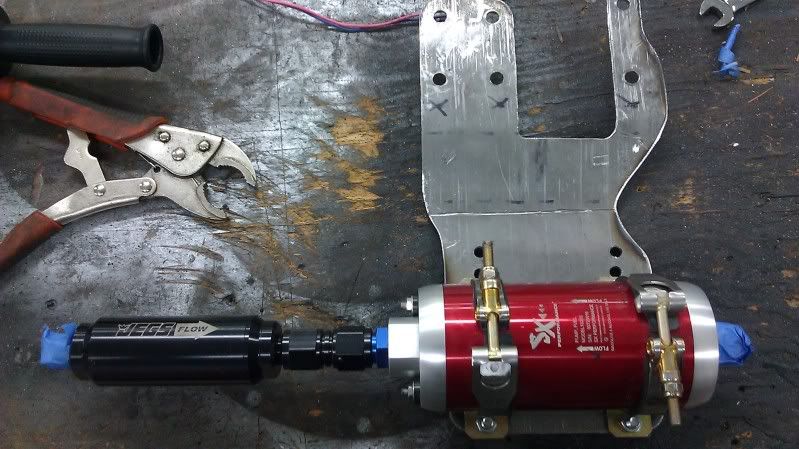
sx perf fuel pump
-10 to Y to -8 rails and -8 return (teflon lines)
aeromotive regulator
turbo:
Gt4276 1.14 exh
flipped truck manifolds
SST vbands, 2.25 crossover to t4 flange
4 inch DP with QTP cutout
JGS 50mm wastegate
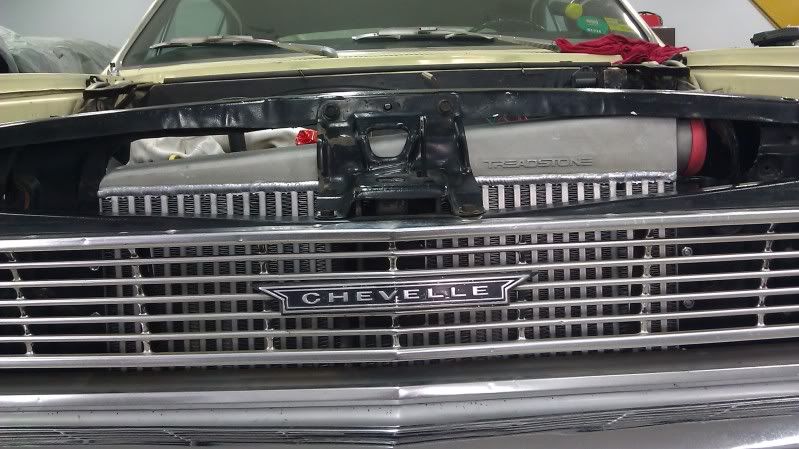
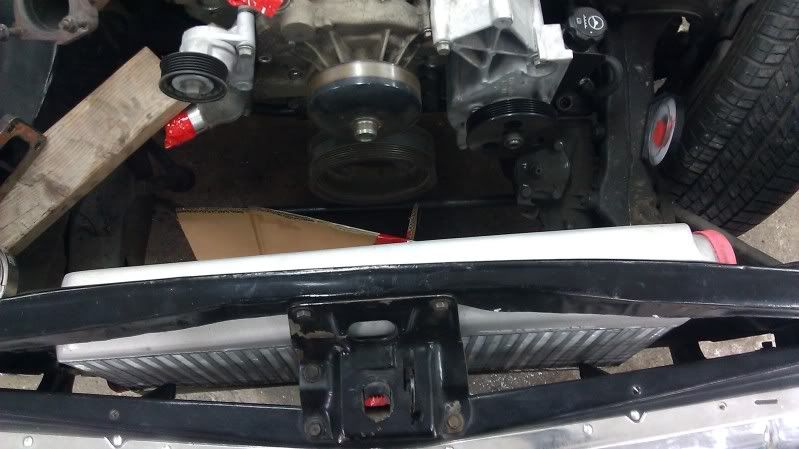
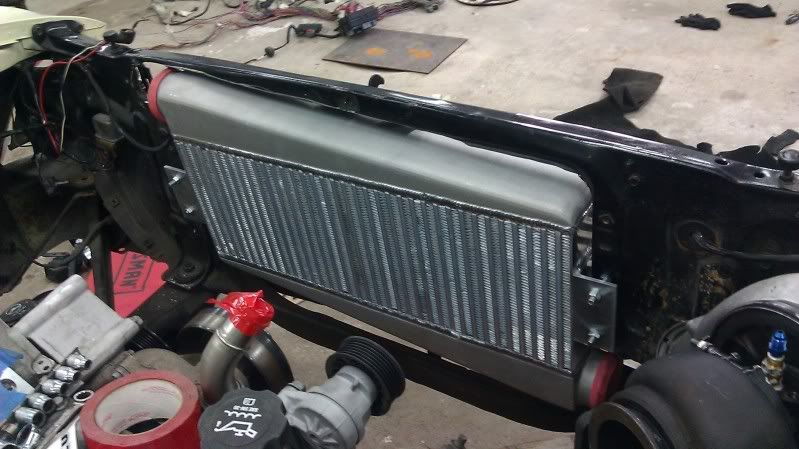
large treadstone FMIC 3.5 thick vertical flow
JGS BOV
Trans:
built 4l80e with PTC 3200-3400
12 bolt rear 3.42's posi
alum drive shaft
No real goals as far as track times or Hp. A fun street car with something a little different than normal.
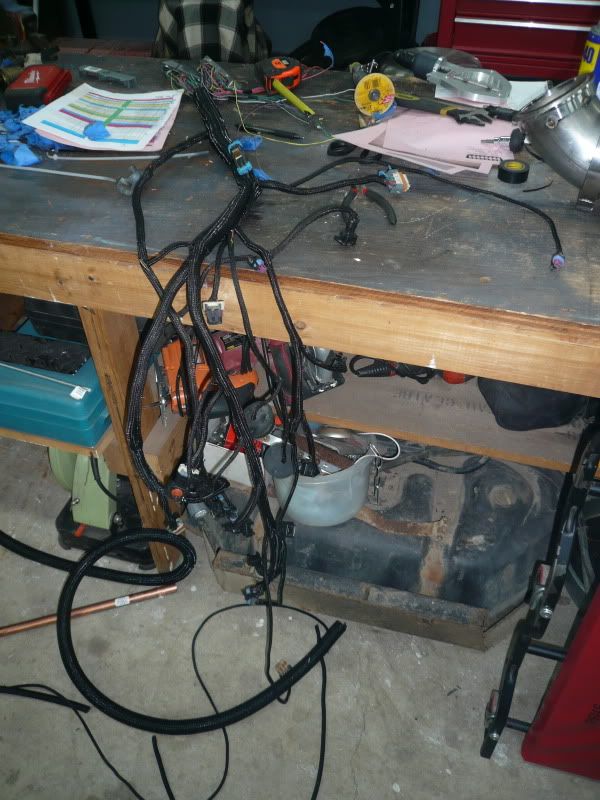
the fab work is done. Pulled everything off currently to assemble the engine, trans is done next week. going to clean/paint parts and install. Exhaust is getting tig'ed up. wiring is done.
Will try to actively update and account for any progress made from here on out. I do have other pictures but figured these highlighted the build.
Thanks


66 Chevelle
Motor:
03 lq4
arp rod bolts
Head studs
ls9 gaskets
stock 317's with lunati dual springs( .650 lift golds)
custom cam( 234/230, .598 .591, 116 lsa
comp double roller
new cam bearings- stockers were toast
Pro flo xt intake with rails
stock cable TB
CTSV pan- cut cross member also
Fuel:
80lb mototrons
sumped stock tank
sx perf fuel pump
-10 to Y to -8 rails and -8 return (teflon lines)
aeromotive regulator
turbo:
Gt4276 1.14 exh
flipped truck manifolds
SST vbands, 2.25 crossover to t4 flange
4 inch DP with QTP cutout
JGS 50mm wastegate
large treadstone FMIC 3.5 thick vertical flow
JGS BOV
Trans:
built 4l80e with PTC 3200-3400
12 bolt rear 3.42's posi
alum drive shaft
No real goals as far as track times or Hp. A fun street car with something a little different than normal.
the fab work is done. Pulled everything off currently to assemble the engine, trans is done next week. going to clean/paint parts and install. Exhaust is getting tig'ed up. wiring is done.
Will try to actively update and account for any progress made from here on out. I do have other pictures but figured these highlighted the build.
Thanks
Last edited by typhoon1015; 12-13-2012 at 03:26 PM.
 05-13-2011, 08:07 PM
#2
Launching!
Thread Starter
iTrader: (5)
Join Date: Mar 2004
Location: Chippewa Falls, WI
Posts: 292
Likes: 0
Received 0 Likes
on
0 Posts
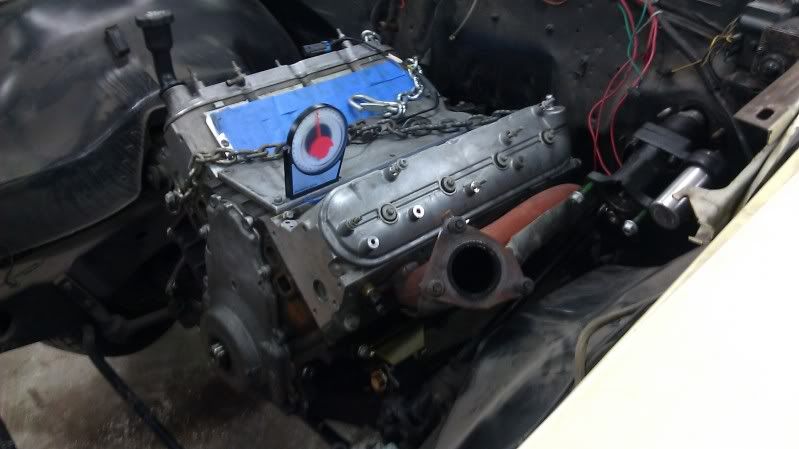
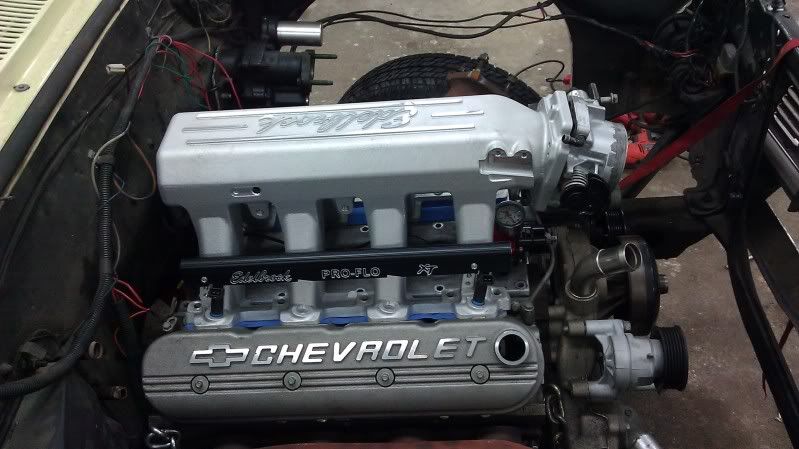
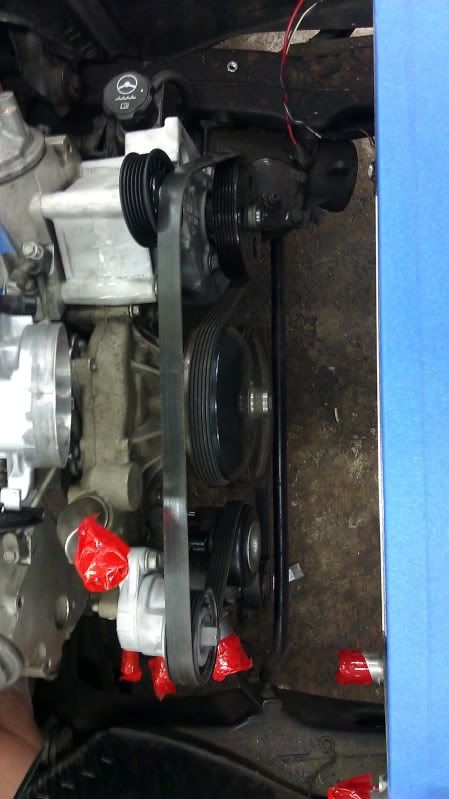
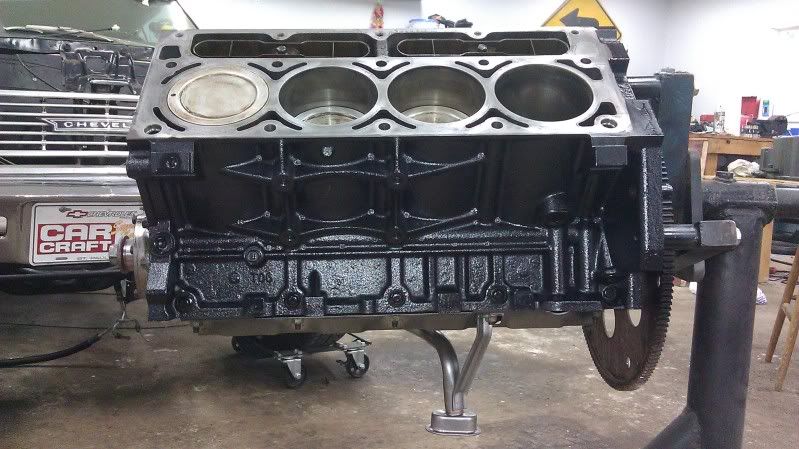
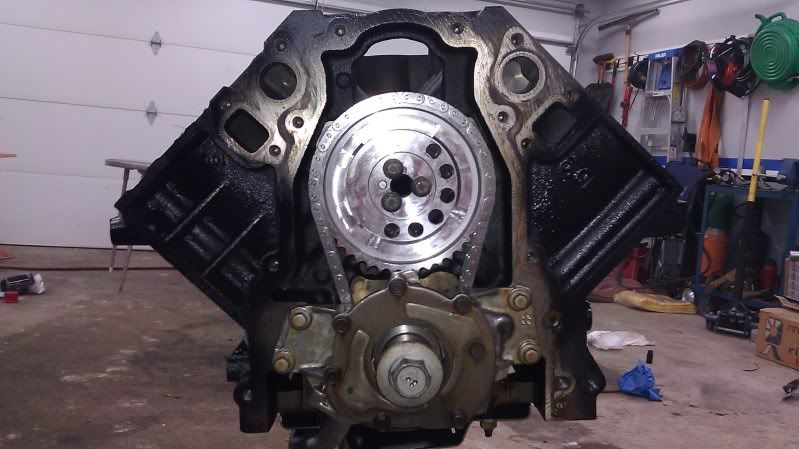
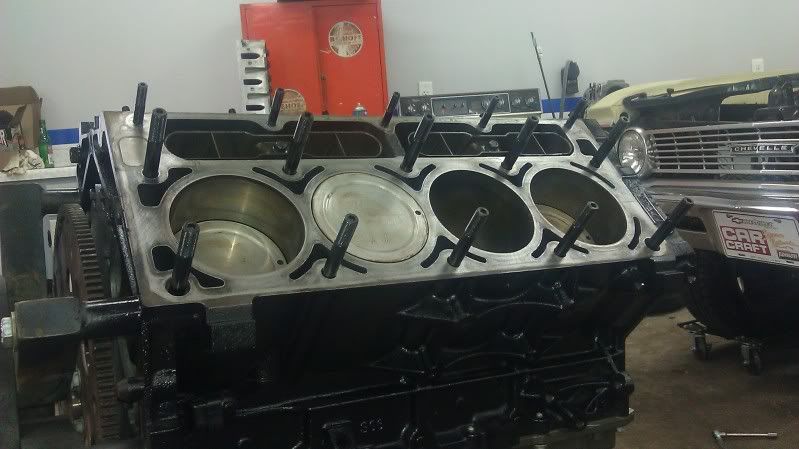
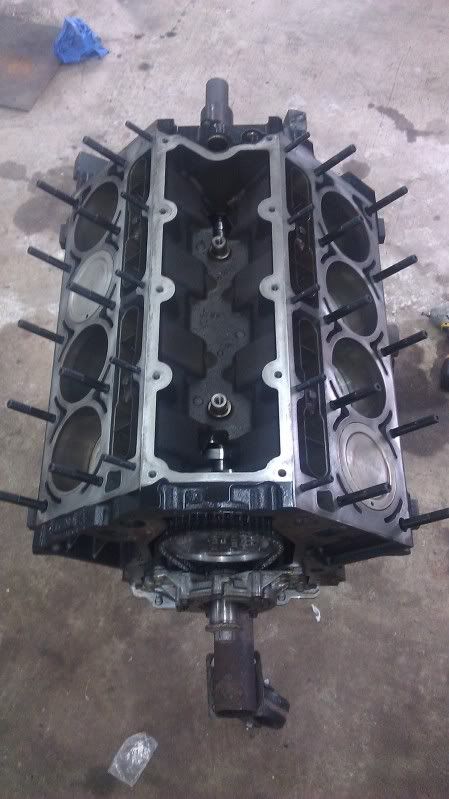
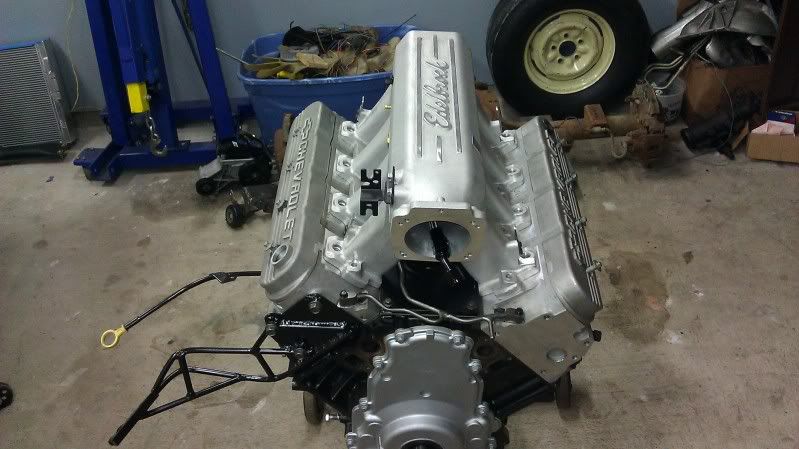
Engine is pretty much done.
installed arp rod bolts, cam bearings, camshaft. double roller set up, oil pump etc.
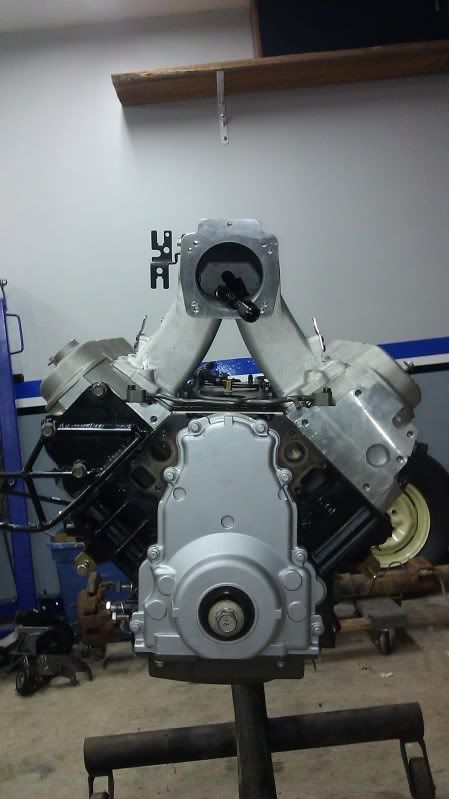
painted engine.
also checked PTV clearance with cam.
I installed the head studs and bolted down the heads. Checked pushrod length, came up with 7.35 with .060 preload on the stock lifters. Ordered some trickflow chromoly's from summit.
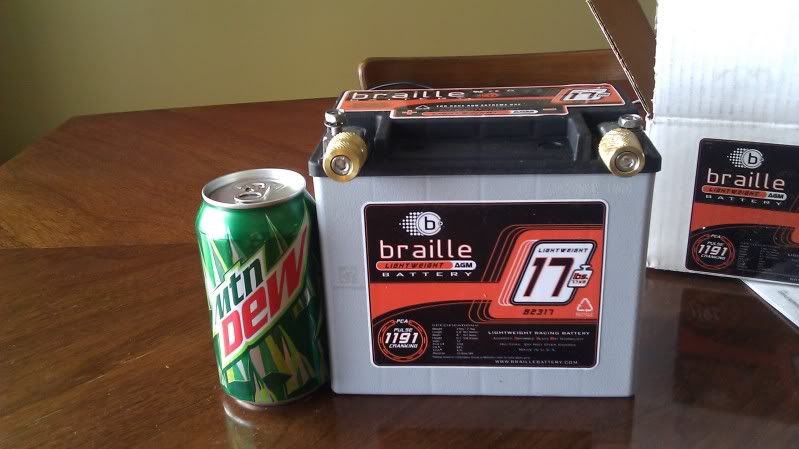
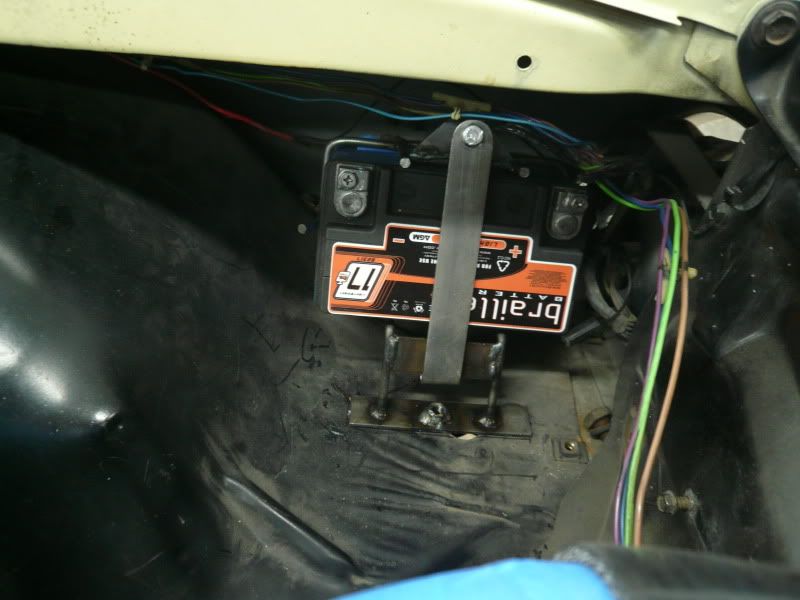
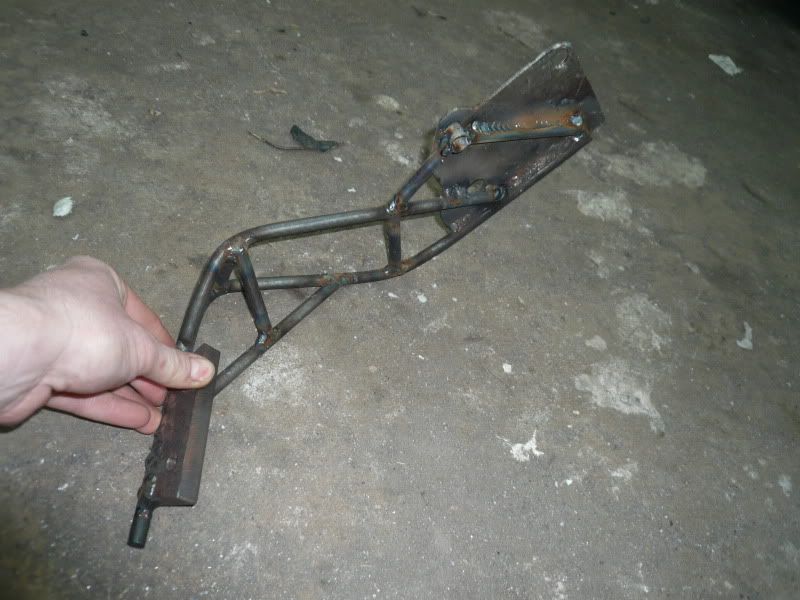
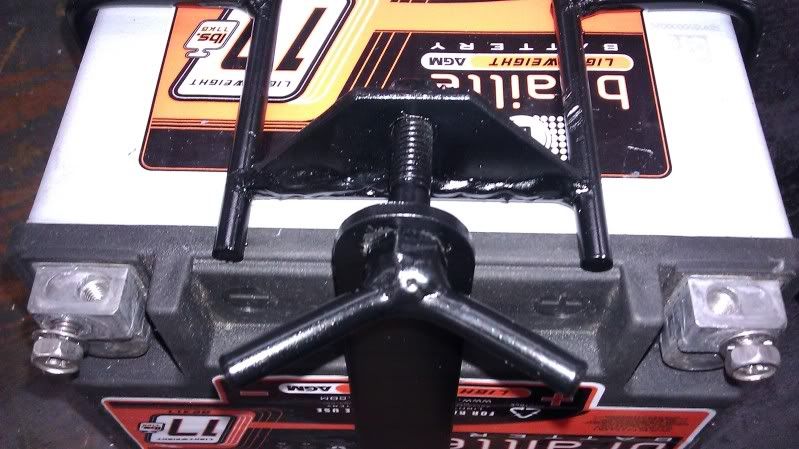
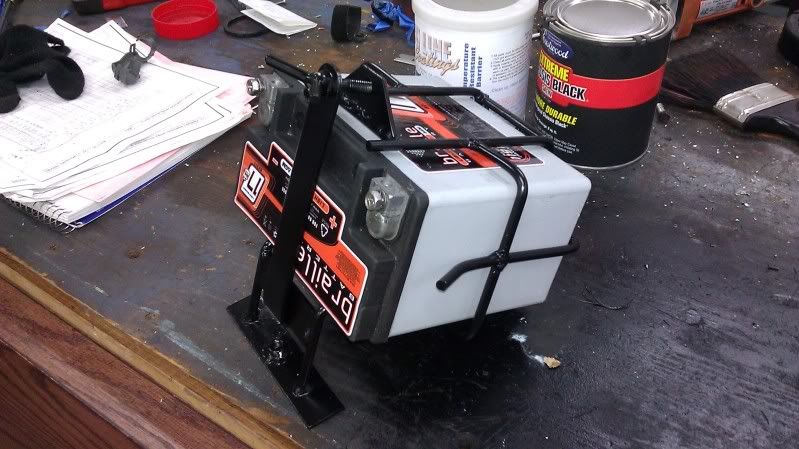
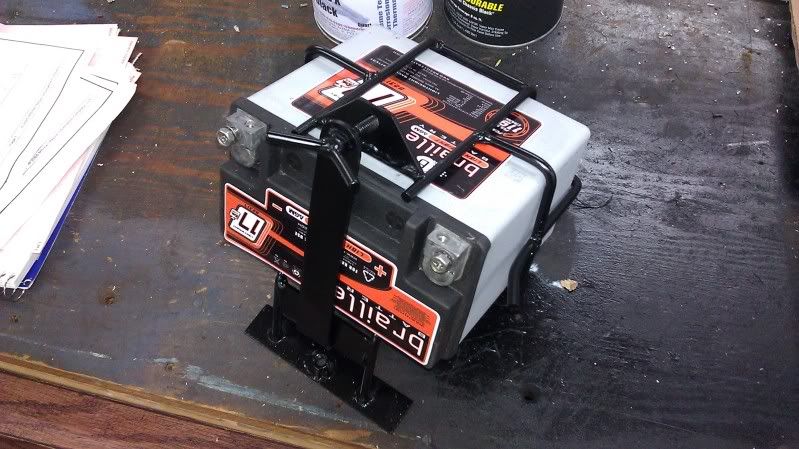
Also finished up the battery mount.
Next up is mounting the Abbott Cable X box and pulling front clip for frame firewall smoothing and paint.
Battery mount, 1 bolt to take out
installed arp rod bolts, cam bearings, camshaft. double roller set up, oil pump etc.
painted engine.
also checked PTV clearance with cam.
I installed the head studs and bolted down the heads. Checked pushrod length, came up with 7.35 with .060 preload on the stock lifters. Ordered some trickflow chromoly's from summit.
Also finished up the battery mount.
Next up is mounting the Abbott Cable X box and pulling front clip for frame firewall smoothing and paint.
Battery mount, 1 bolt to take out
 05-14-2011, 11:44 AM
#4
Teching In
Join Date: Jul 2007
Posts: 22
Likes: 0
Received 0 Likes
on
0 Posts
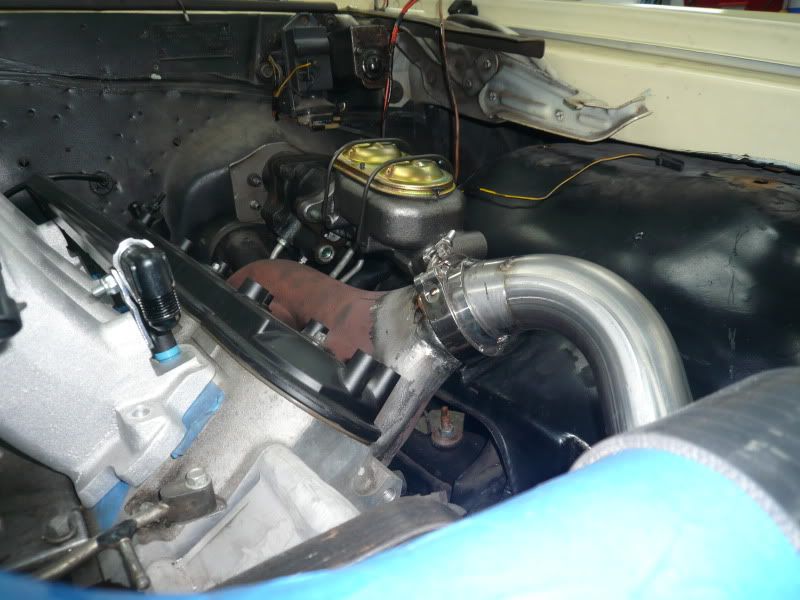
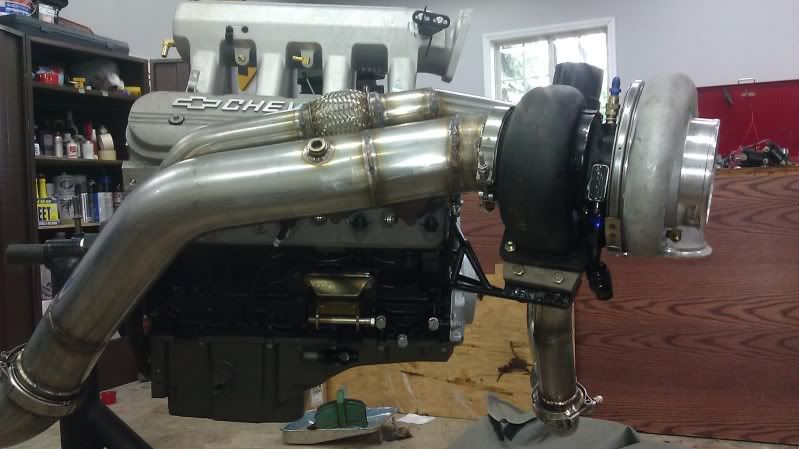
Your passenger side manifold appears different than the drivers side manifold. Is it from a different model truck or perhaps a car or something? I like the looks and exit point of the passenger side manifold and would like to sue them on my '65 Chevelle build. Great work so far. It gives me great ideas for my car as our engine compartments are identical in size and layout. Did you have any issues with steering shaft clearance and the flipped manifolds? Could you have pointed the manifold exits downward or would you have had interference with the steering box or frame? Sorry for the questions but I am very interested in your project. Nice work. I like the cutout too.
 05-14-2011, 06:44 PM
#6
Launching!
Thread Starter
iTrader: (5)
Join Date: Mar 2004
Location: Chippewa Falls, WI
Posts: 292
Likes: 0
Received 0 Likes
on
0 Posts
Thanks, We'll see how good it holds up to street driving and such. 17lb should be a bit better than the 11 lb one. I am not really concerned about weight since its a street car, i just did not want to move the battery to the back and didnt want a huge red top in the engine bay.
05-14-2011, 06:48 PM
#7
Launching!
Thread Starter
iTrader: (5)
Join Date: Mar 2004
Location: Chippewa Falls, WI
Posts: 292
Likes: 0
Received 0 Likes
on
0 Posts
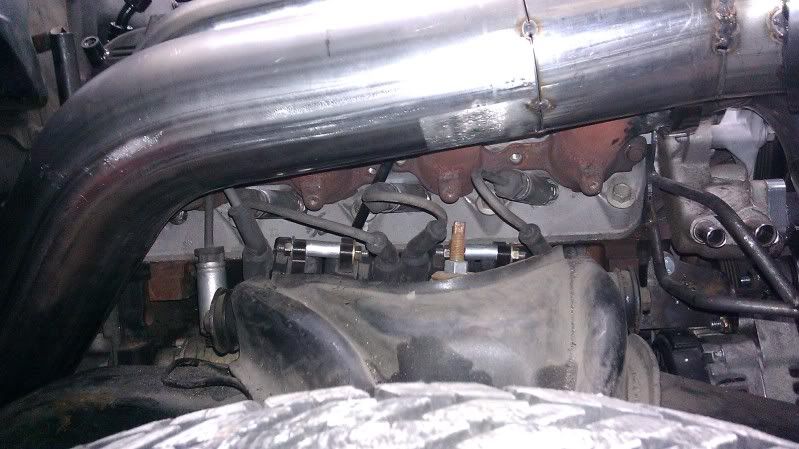
Your passenger side manifold appears different than the drivers side manifold. Is it from a different model truck or perhaps a car or something? I like the looks and exit point of the passenger side manifold and would like to sue them on my '65 Chevelle build. Great work so far. It gives me great ideas for my car as our engine compartments are identical in size and layout. Did you have any issues with steering shaft clearance and the flipped manifolds? Could you have pointed the manifold exits downward or would you have had interference with the steering box or frame? Sorry for the questions but I am very interested in your project. Nice work. I like the cutout too.
I cut the steering shaft up high and am using a jeep cherokee collapsable shaft. I had a adpater machined to mate it to the stock setup. I'll grab some pictures soon to show what i did. No clearance issues with the stocker or the jeep shaft with the manifolds flipped.
The power steering position did not allow the manfiold to be dumped down and forward.
Thanks.
Trending Topics
05-14-2011, 06:50 PM
#8
Launching!
Thread Starter
iTrader: (5)
Join Date: Mar 2004
Location: Chippewa Falls, WI
Posts: 292
Likes: 0
Received 0 Likes
on
0 Posts
Thanks, things are getting slow now. Trying to juggle spring yard work and house work. I have a couple jeeps that need attention and a typhoon that needs a bit of work. Hard to prioritize. I have some time off work soon so i can tackle the frame hopefully.
ETA was going to be car craft summer nats in St Paul, MN but we'll see how it all goes. Once the paint is done it should go back together relatively quick.
ETA was going to be car craft summer nats in St Paul, MN but we'll see how it all goes. Once the paint is done it should go back together relatively quick.
05-14-2011, 08:41 PM
#9
Teching In
Join Date: Jul 2007
Posts: 22
Likes: 0
Received 0 Likes
on
0 Posts
Thanks for the response. Looking at doing the same style setup on my car and glad to hear that there were no issues with clearance. I would likely try to find two of the manifolds you have on the passenger side to keep the piping lower. Also, do you think you will be able to use the stock hood with that intake manifold or will you need a cowl hood to clear it? Thanks again.
05-14-2011, 08:45 PM
#10
Launching!
Thread Starter
iTrader: (5)
Join Date: Mar 2004
Location: Chippewa Falls, WI
Posts: 292
Likes: 0
Received 0 Likes
on
0 Posts
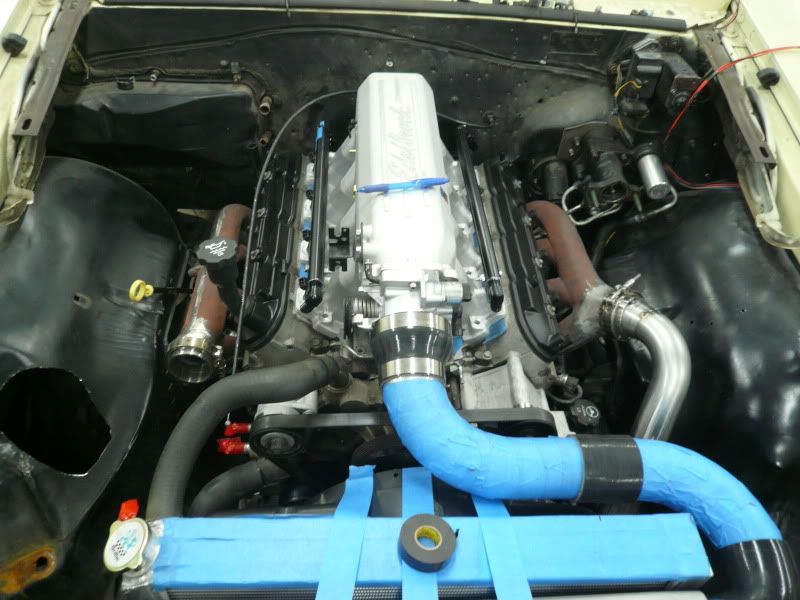
it clears the stock hood with about 1/2 to spare, i did space my motor up a bit to clear the tierod ends, if the motor was lower it would work even better
05-22-2011, 08:03 PM
#14
Launching!
Thread Starter
iTrader: (5)
Join Date: Mar 2004
Location: Chippewa Falls, WI
Posts: 292
Likes: 0
Received 0 Likes
on
0 Posts
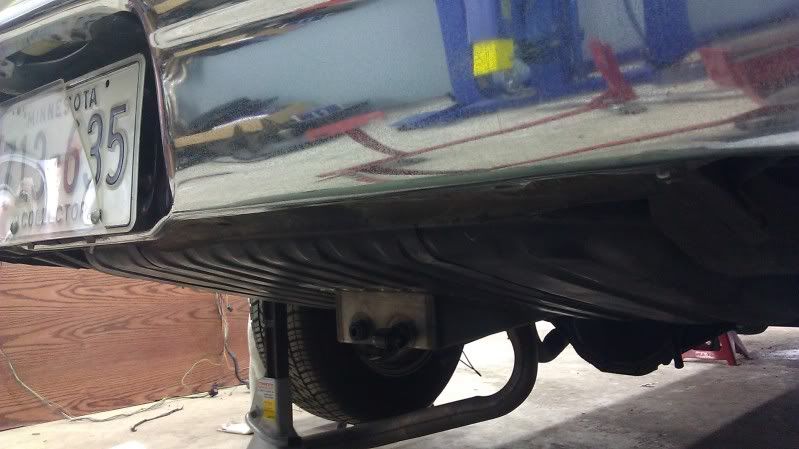
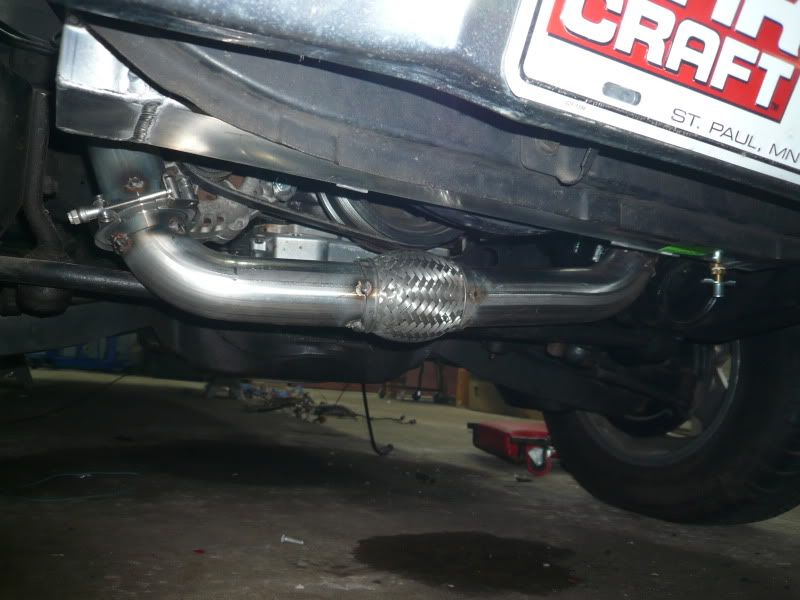
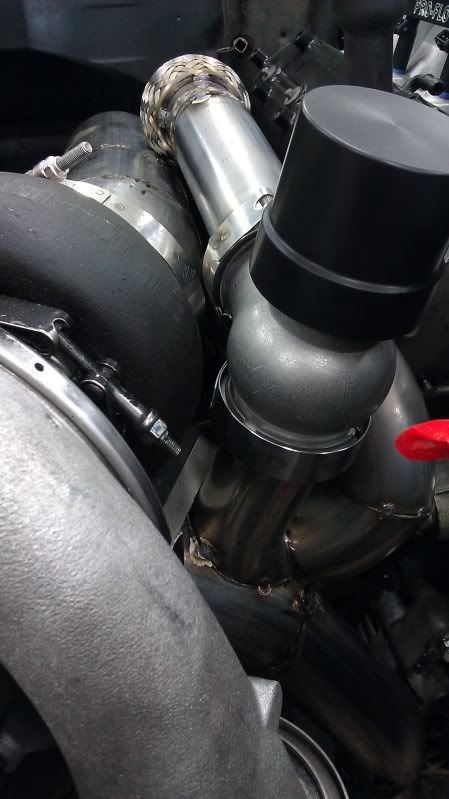
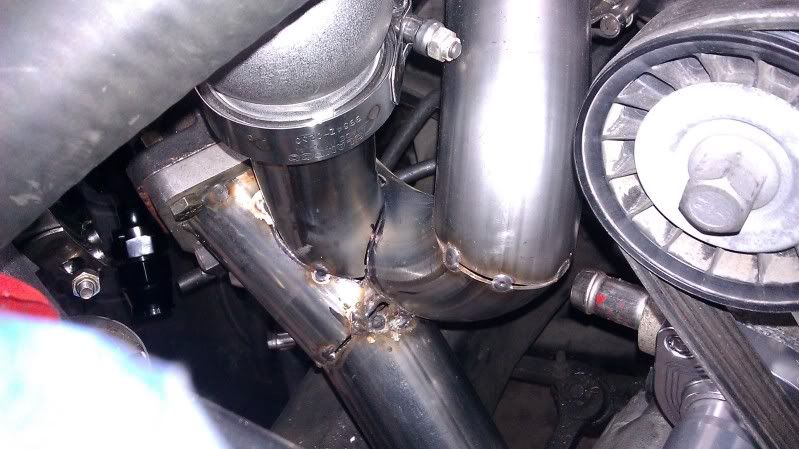
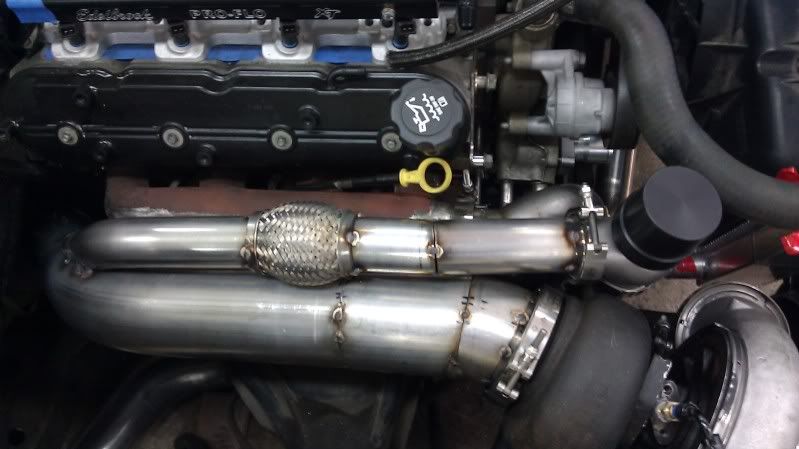
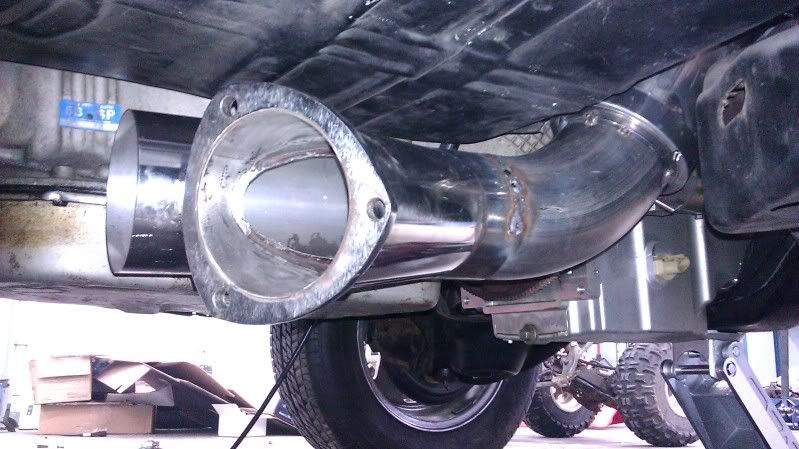
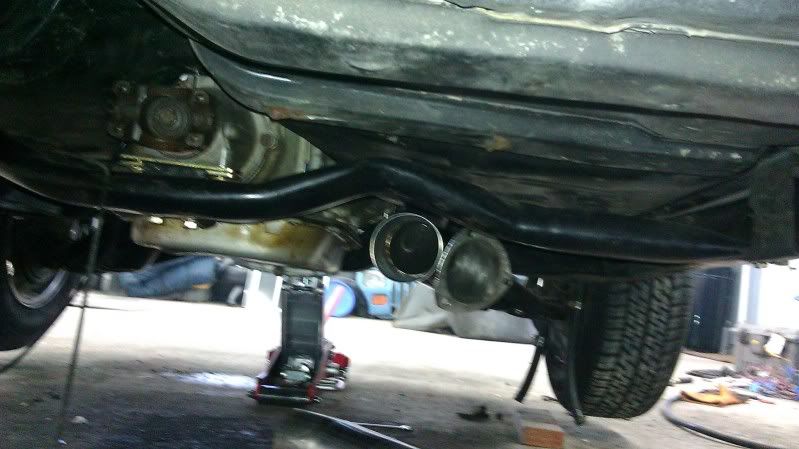
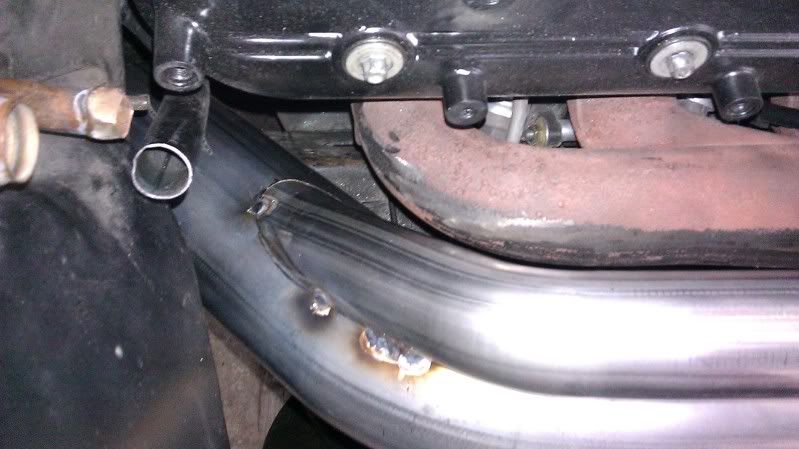
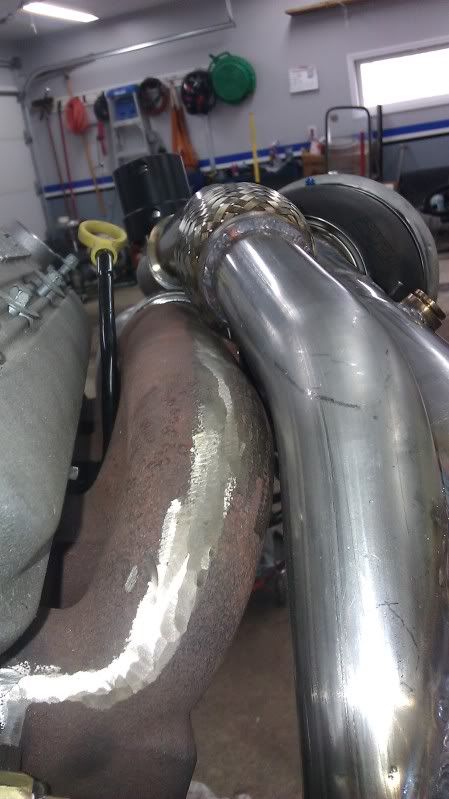
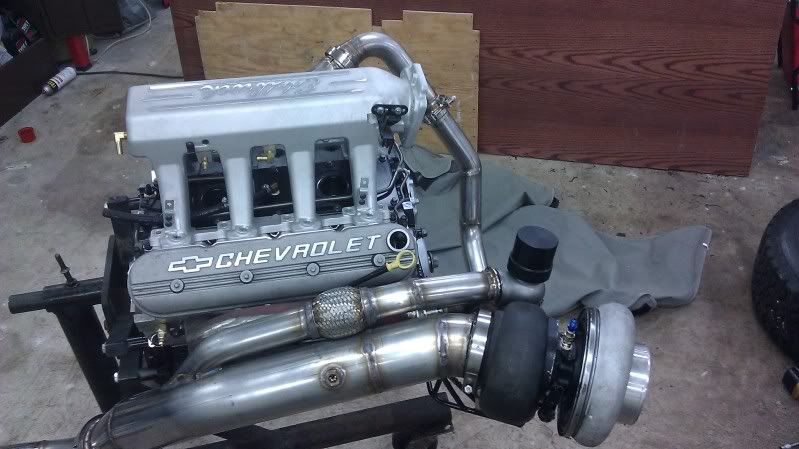
ok, got the turbo setup tig'd up last week and just started to see what it looks like off the car. Going to paint the exhuast with black turbo X coating this week hopefully.
enjoy

enjoy
Last edited by typhoon1015; 07-11-2011 at 03:51 AM.


