When you click on links to various merchants on this site and make a purchase, this can result in this site earning a commission. Affiliate programs and affiliations include, but are not limited to, the eBay Partner Network.
I know, I know. Another F-body turbo build lol. The only minor difference with this build is I want to keep all the factory creature comforts especially my beloved Air Conditioning. This build centers around a 2002 Chevrolet Camaro SS six speed car with approximately 83,000 miles on the odometer. The starting point has already had a slew of bolt on parts installed when I purchased the car including the following;
I like many don't have the funds to drop $5-6000 on a complete kit so I'm piecing together my own kit from items found on this particular website which also prompted me to do a Used Part only themed build. So far everything except the gauges all parts acquired are used and from this website.
The goal is modest for now, 550rwhp with ultra fast spooling for killer mid-range horsepower and torque. I wanted big mid-range power because as a driver that's where the car spends most of its life and I wanted something that would be fun and responsive on the street.
Here's a small list of the parts I've acquired thus far on LS1 Tech;
Huron Speed AC Hotside
Turbonetics TC78 BB (78/69) 1.15AR
Ebay Intercooler
BMR Turbo K-Member
Siemens 60lbs Injectors
Tial 50MM BOV and 38MM W/G
Derail Pusher Fans
One Passenger Truck Exhaust Manifold
One Passenger LS3 Corvette Exhaust Manifold
This constitutes the bulk of the expense when build your turbo kit and I found all these items on here for about $2,800.
Something else to remember here that was a struggle to figure out was the PCV system. Most just add breathers to the valve cover or a breather catch can. Both of which work but there's one draw back, oil smell and in some cases oil mist in the engine bay. As a daily driver build I surely didn't want to smell oil cruising down the road with my AC on. After months of research I found only one can that could be both a catch can and provide CORRECT PCV operation and that was the Mighty Mouse PCV Catch Can which I'll be using in this build. So follow along as we get this party started!
Last edited by The BallSS; 04-14-2016 at 06:38 PM.
Same turbo with stock 317 heads and Tick turbo cam 2 I made 620ish with my cutout open on 8 pounds and 14 degrees if I recall. Should pretty easily hit your goal. I think on 5 pounds I was into the low 500's. Spool starts up around 2800 and hits peak boost around 3200 or so and carries smoothly all the way through.
Order some Derale's ASAP before they go on back order again and you have to sit around and wait for them, no real other good alternative out there without spending big bucks. Also I would wrap all your hotside, makes a huge difference on the heat under the hood.
My kit was built around ac. Still havnt built the ac lines tho.
As got your pcv questions...easy buy a Mighty Mouse pcv can. Stupid easy to hook up and quality is great!
My apologies guys. I had a total career change after 22 years as a shop supervisor. Then I caught bronchitis that turned with a nasal infection that hopefully is ending with a head cold so it's been brutal lately. (gun to head) I have pics to post though! I got the turbo k-member and oil drain installed this weekend. I will post pics tonight or tomorrow. This upcoming holiday weekend I'm going to install the AFR sensor bung, install the exhaust manifolds and hopefully wrap the hot side. Thanks for hanging in there guys and again I apologize for my absence.
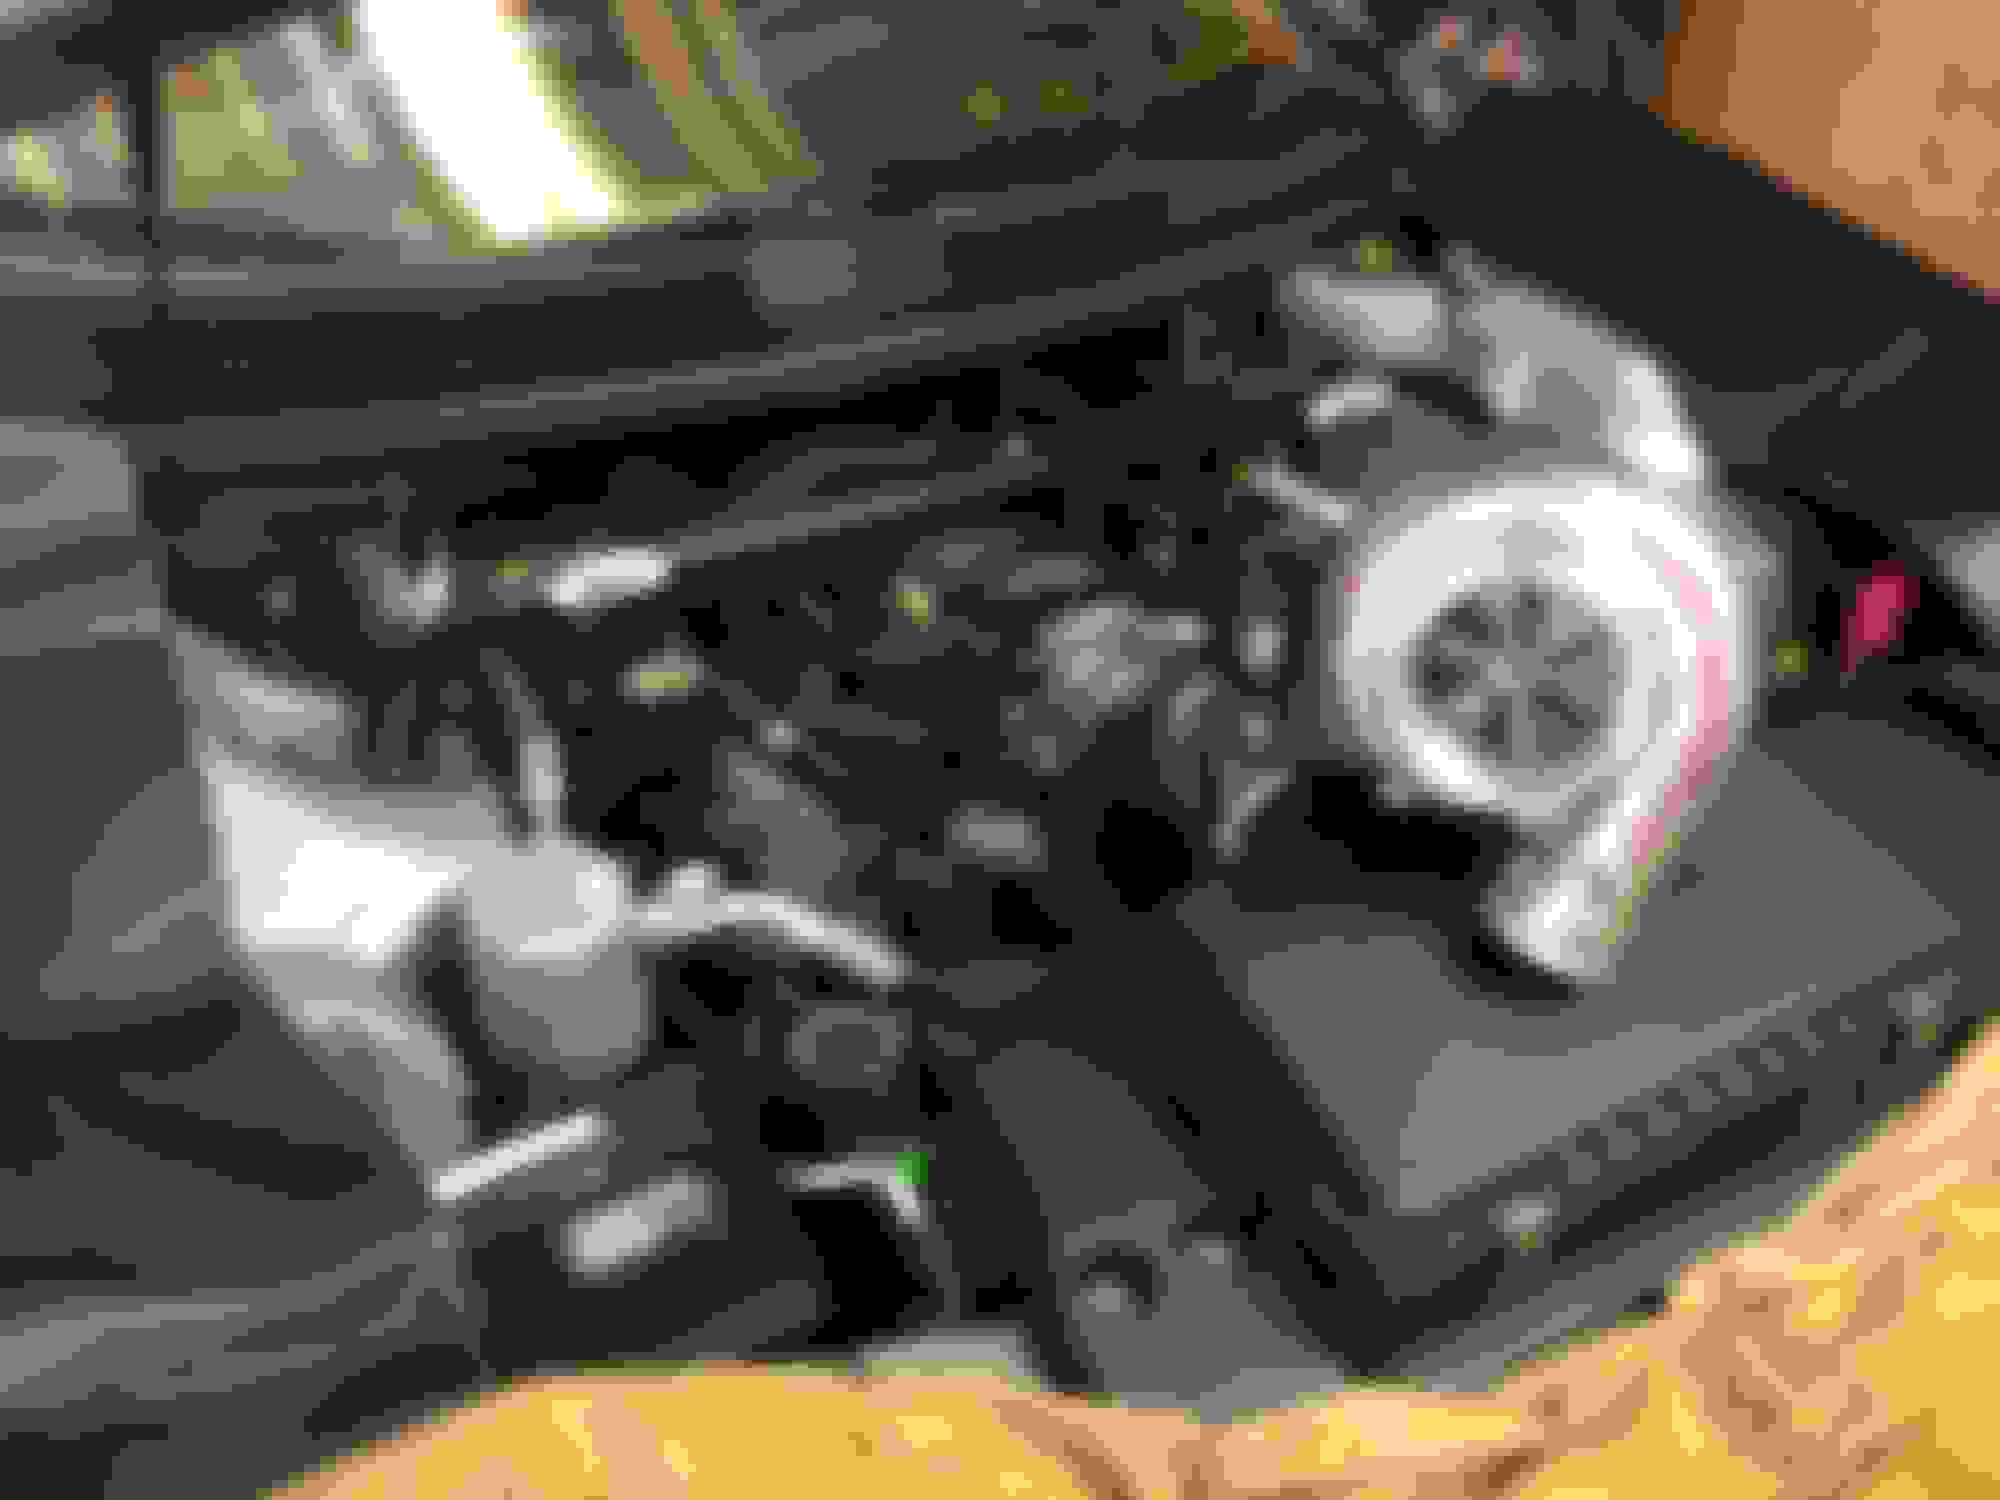
Ledesorde- This kit revolves around a Huron Speed hotside I found on this site lol. It places the turbo right in front of the crank balancer under the radiator. I'll post pics of it soon!
Rawr256- I got my hands on some lightly used derails and will definetly be wrapping the hotside. Those numbers sound perfect, killer mid-range and fast spool. I want the engine to live awhile so I'd be happy with 500-550rwhp all day and with that spool it'll be fun on the street. Do you have a manual or auto?
Last edited by The BallSS; 11-24-2014 at 11:03 AM.
Okay fellas so I started first by making room under the hood and my potential work area by removing the following;
Strut Tower Brace. (if applicable)
Complete air intake assy. (If its a blackwing they're worth good coin)
Disconnect Fans and pull power wire from distribution block.
Coolant Fans. (Sell'em)
Radiator. (Two large zip ties through the condenser lines will hold it up)
Serp Belt.
Alternator and it's bracket. (Also worth coin)
Sway Bar.
These items are all very easy to remove in no time.
The only change I didn't photo graph was replacing the injectors with 60lbs units but that's easy too. I also removed the coil packs to reseal the valve covers and because they stab the hell out of my hands when removing the headers lol.
Next I removed the intake manifold, give it a shake cause you never know what may come out. A piece of valve guide fell out of mine that was there all summer! I had a valve clearance problem and damaged a head and this piece of head managed to stay stuck in a corner while I beat on the car like it owed me money lol. Anyway back to the topic, here's the items I removed next;
Intake Manifold
Front Wheels
Exhaust Headers or Manifolds
Y-pipe
Starter
Steering Shaft
Bend Steering Lines if keeping or Remove if replacing. I bent mine, I'll let you know how it turns out lol.
So then I removed the valley plate and installed a valley lift plate. I reinstalled the strut tower brace. Removed the driver side engine mount bolt and unbolted the passenger side from the cradle. The reason for the pass side is the bolt won't come out without removing the AC comp and opening the system so yeah I'm not doing that. Jack up the engine and use a chain and the brace to hold the engine in place. Mine was a BMR but be careful. Take a good look at your mounts now cause mine were **** house. Replaced them with poly mounts, then just put the pass side bolt in the other way, it wont hit the AC comp. Then unbolt the lower control arms, pry them out of there slides and rotate them out of the way. Remove the rack and pinion bolts and pull the rack out. Remove the brackets holding the brake lines to the k-member. Then pull the six bolts holding the k-member in and let it down with a jack and bingo. Sounds bad but it goes really fast. Tune in next time for the k-member install.
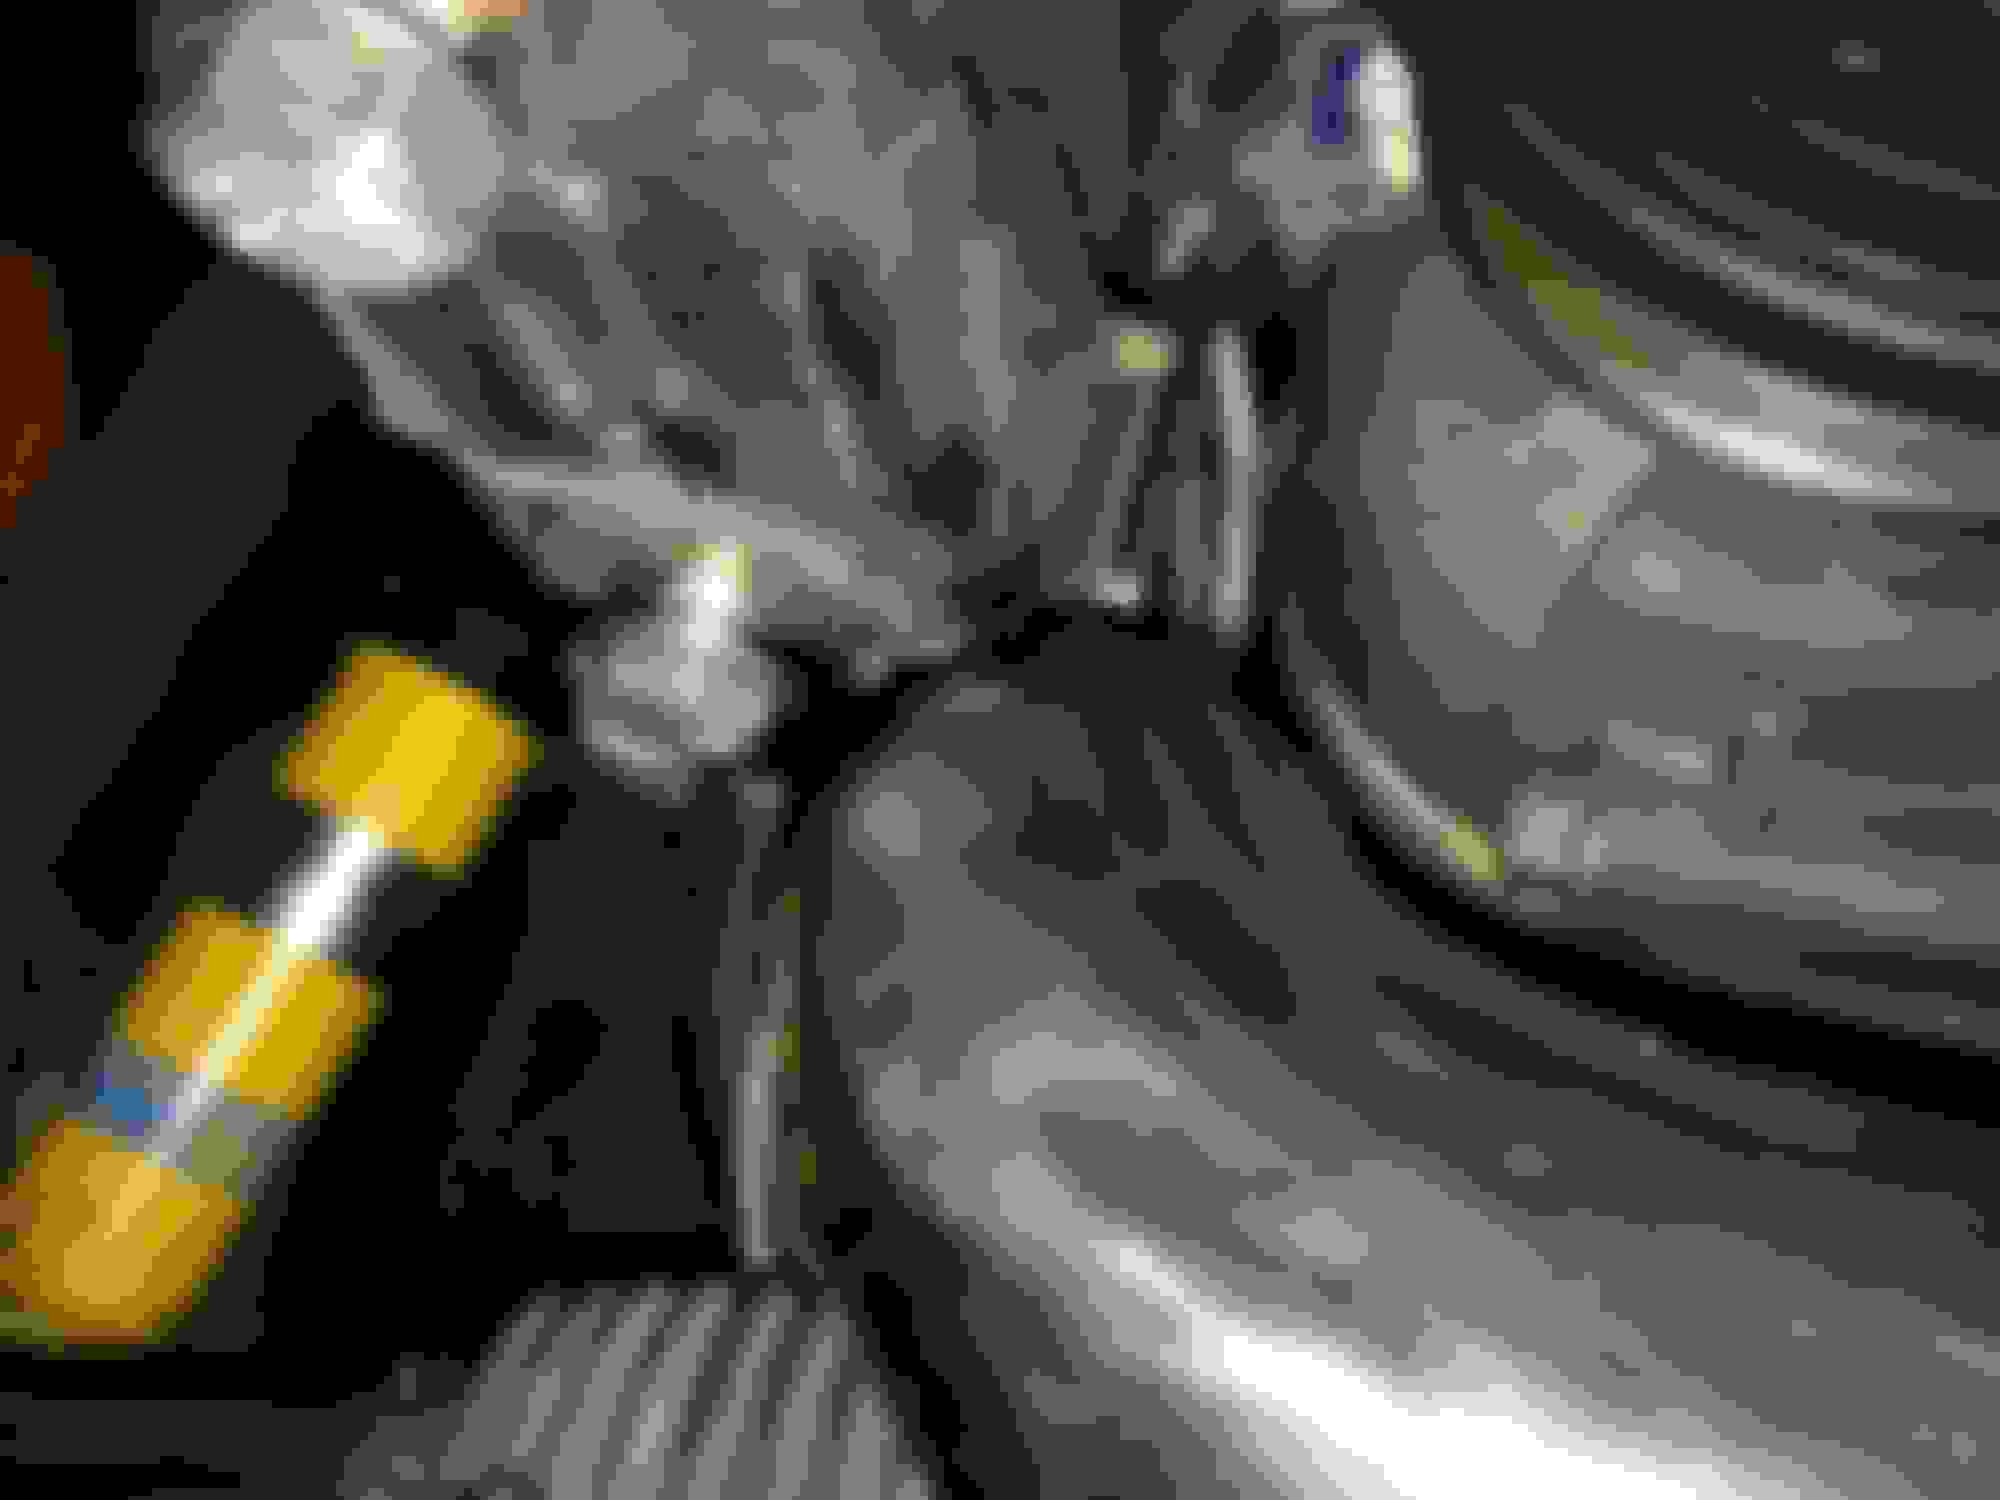
Hola guys, okay so we removed the k-member last time. Hopefully without injury or damage to our cars. So with the k-member out remove the oil pan for the turbo drain install. This needs to be a minimum of a -10 fitting. The placement is really up to you as long as its above the oil level. IT MUST BE ABOVE THE OIL LEVEL! Some guys put it in the front cover, I chose the driver side of my oil pan right above the drain plug. There's a nice flat spot there and the metal is thick. Drill and tap this to accommodate the 3/4 NPT tap. Tap it and clean it out very good removing the windage tray. The completed install will look like this. Pony up and use a new gasket too, might as well.
Then install your turbo k-member. This is a BMR unit I got on here for $450. You'll be amazed at the room this betty provides. Slide the lower control arms back in, and the rack and pinion. Then let the engine down and install your mount bolts and wa la, you've got a badass tubular k-member in now.
Tune in next week friends when we modify the brackets for the brake line mounts, install our passenger corvette manifold on the passneger side and our passenger truck manifold on the driver side, wrap the hotside and mock up the turbo location! Here's a little teaser to keep you and myself going lol.
Thanks 97! I'm hoping to mock up the hot side this weekend. The goal is to have it running by late spring. I'll try to get dyno numbers too depending on cash.
Snksknr- it is designed around a PA K-member but finding a used one of those was nearly impossible. I must have looked at hundreds of pics of both and they look almost indentical so I rolled the dice. The PA Racing Turbo K-member is about $650 after tax and shipping. You gotta spec the ls1 mounts and turbo option. If I could've got one for $450 I'd have jumped on it lol.
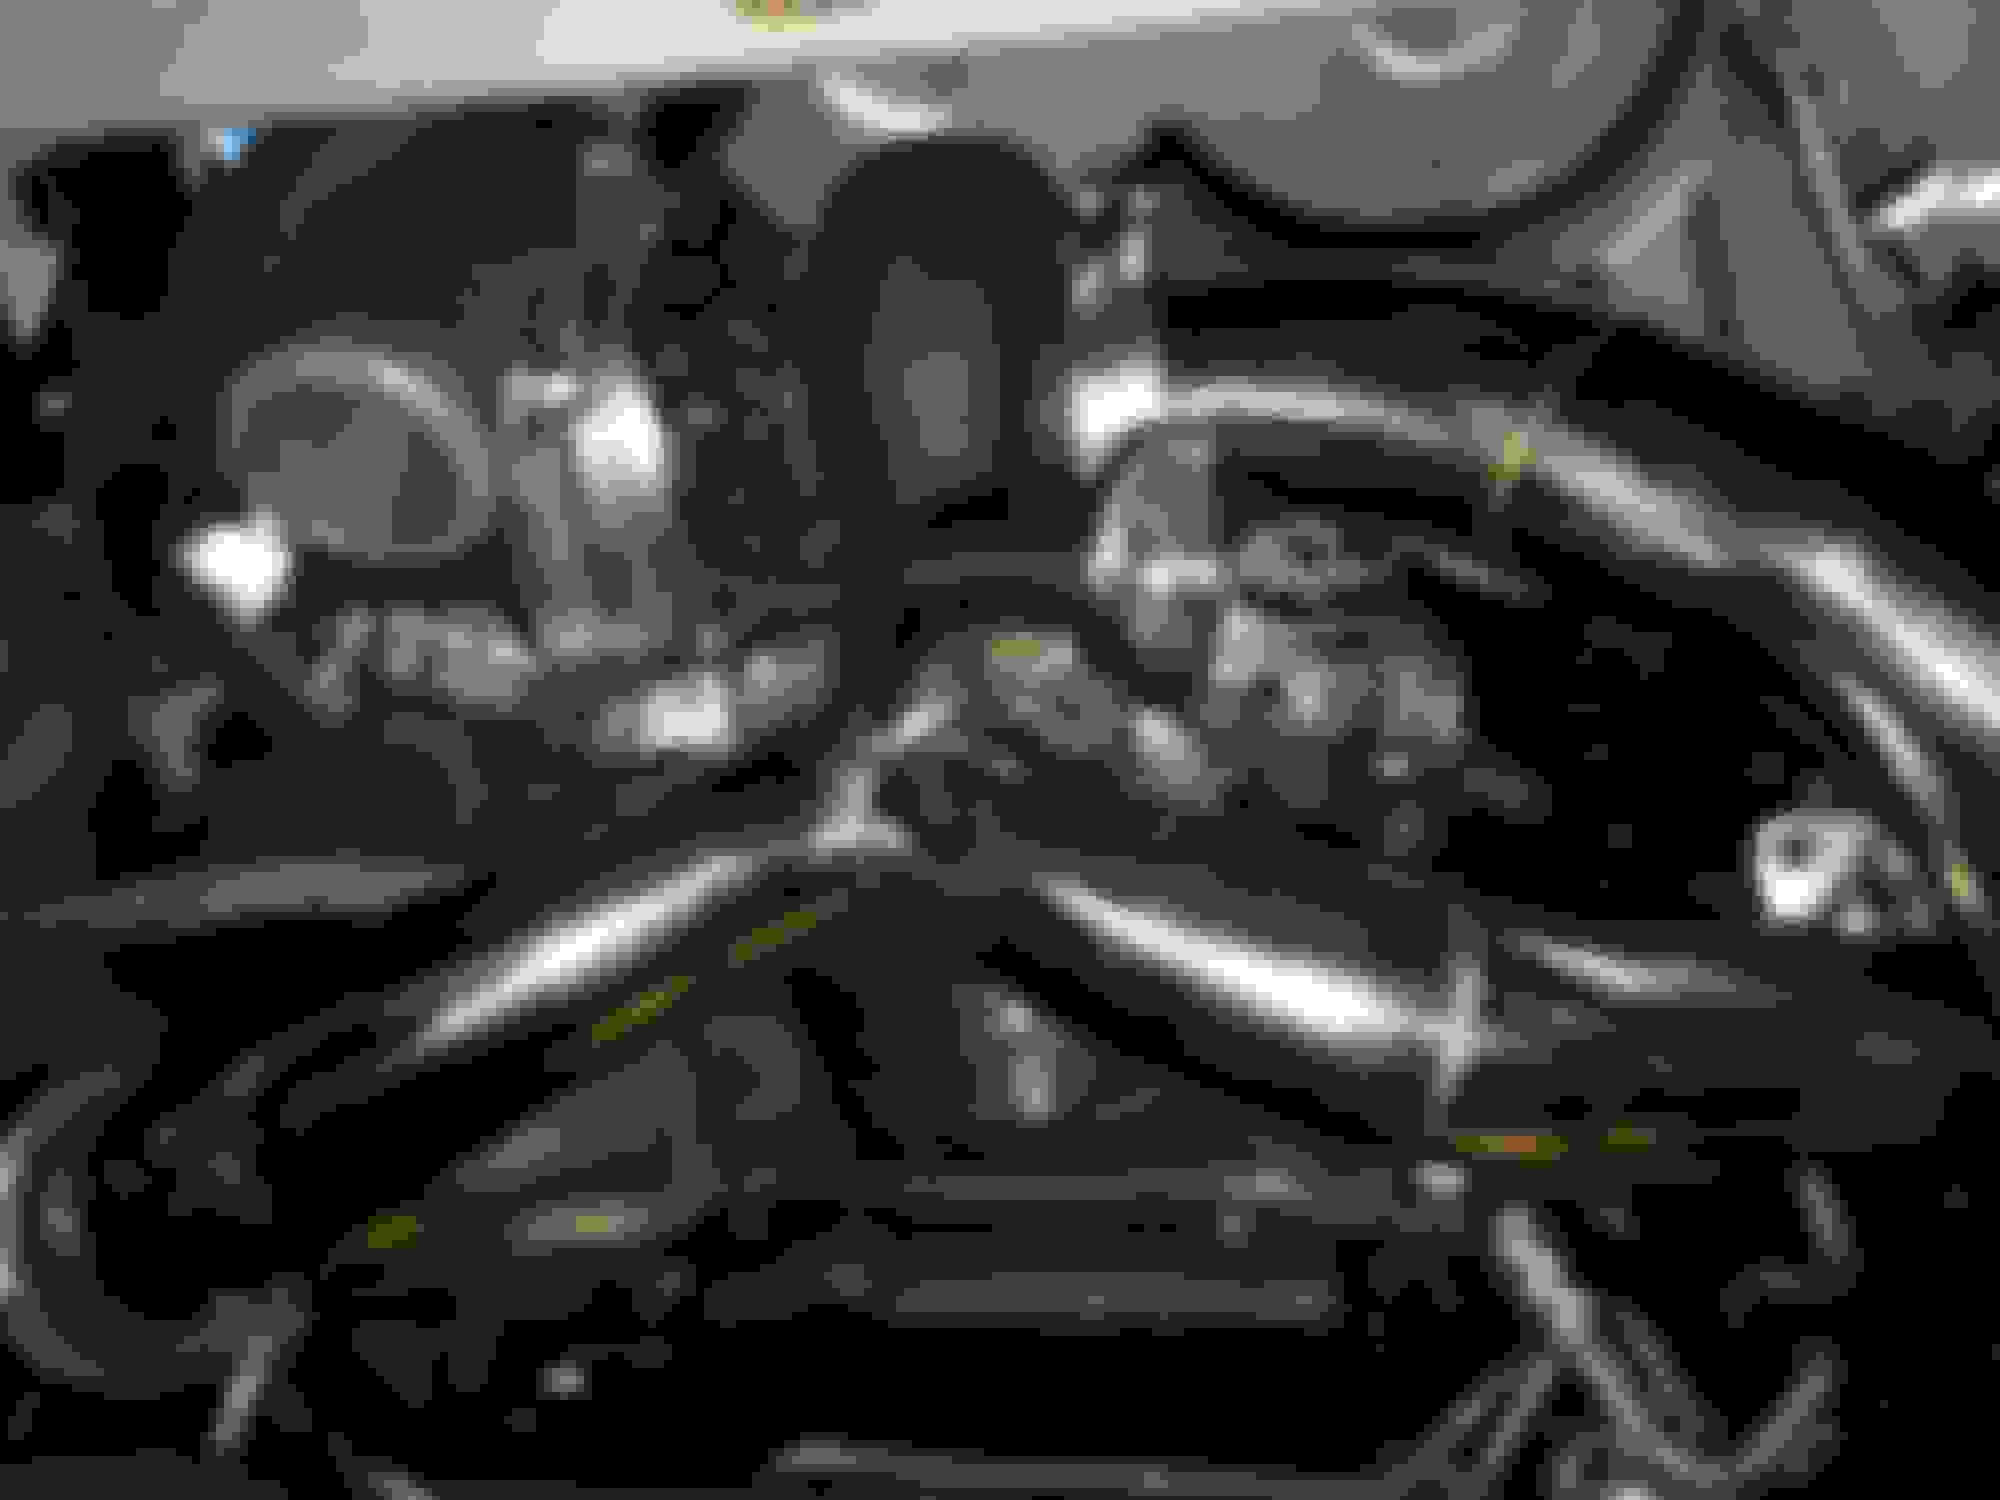
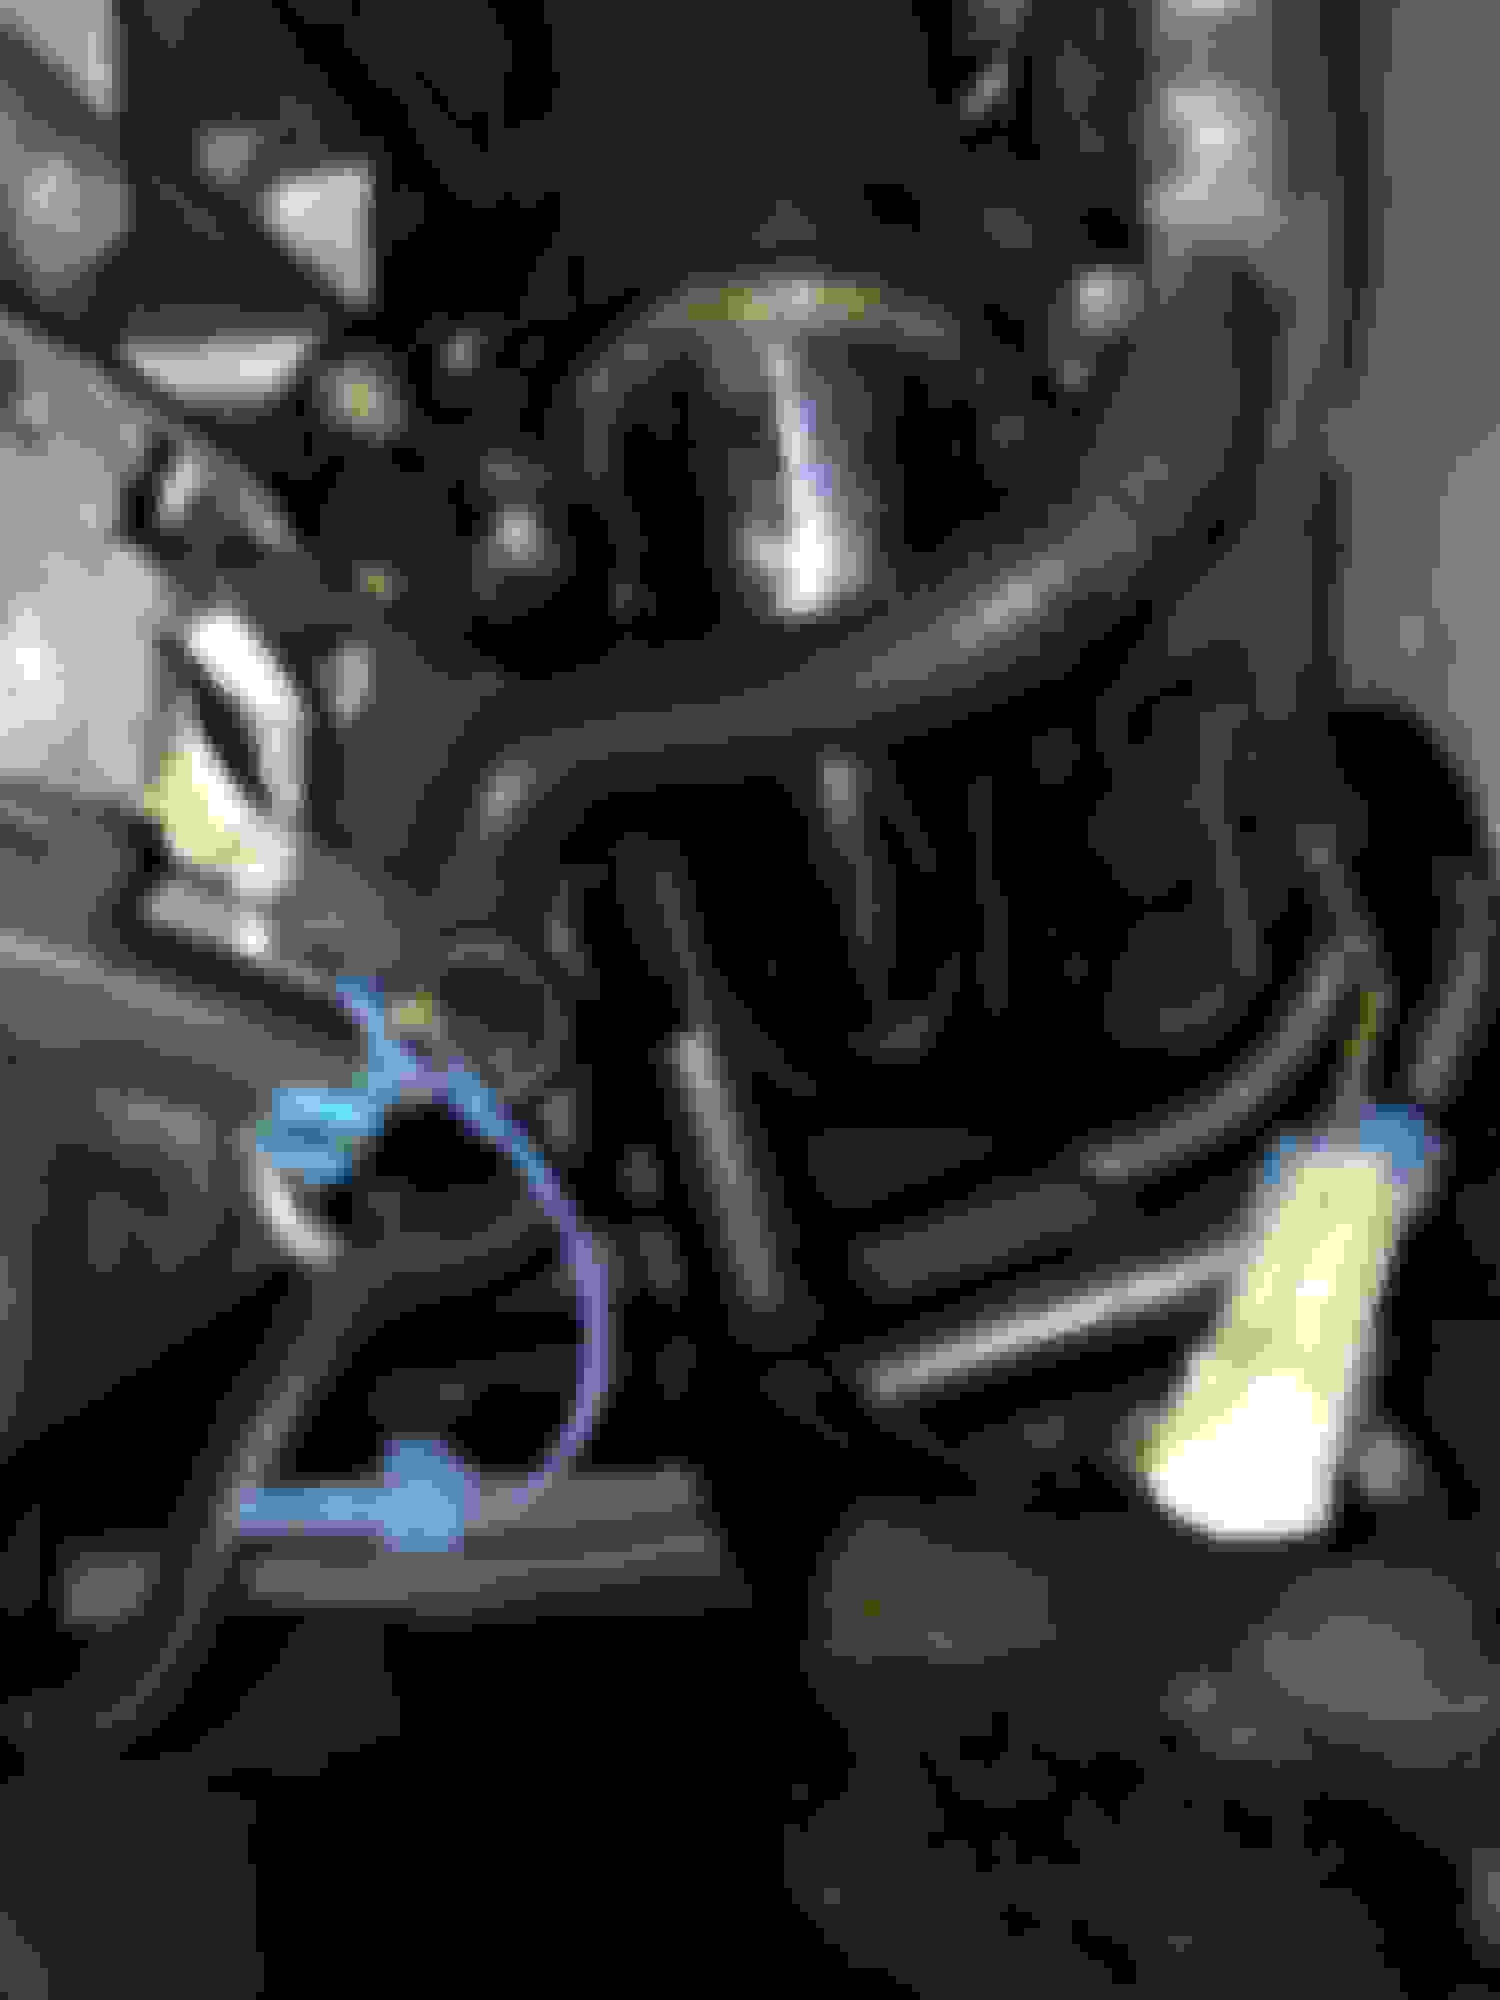
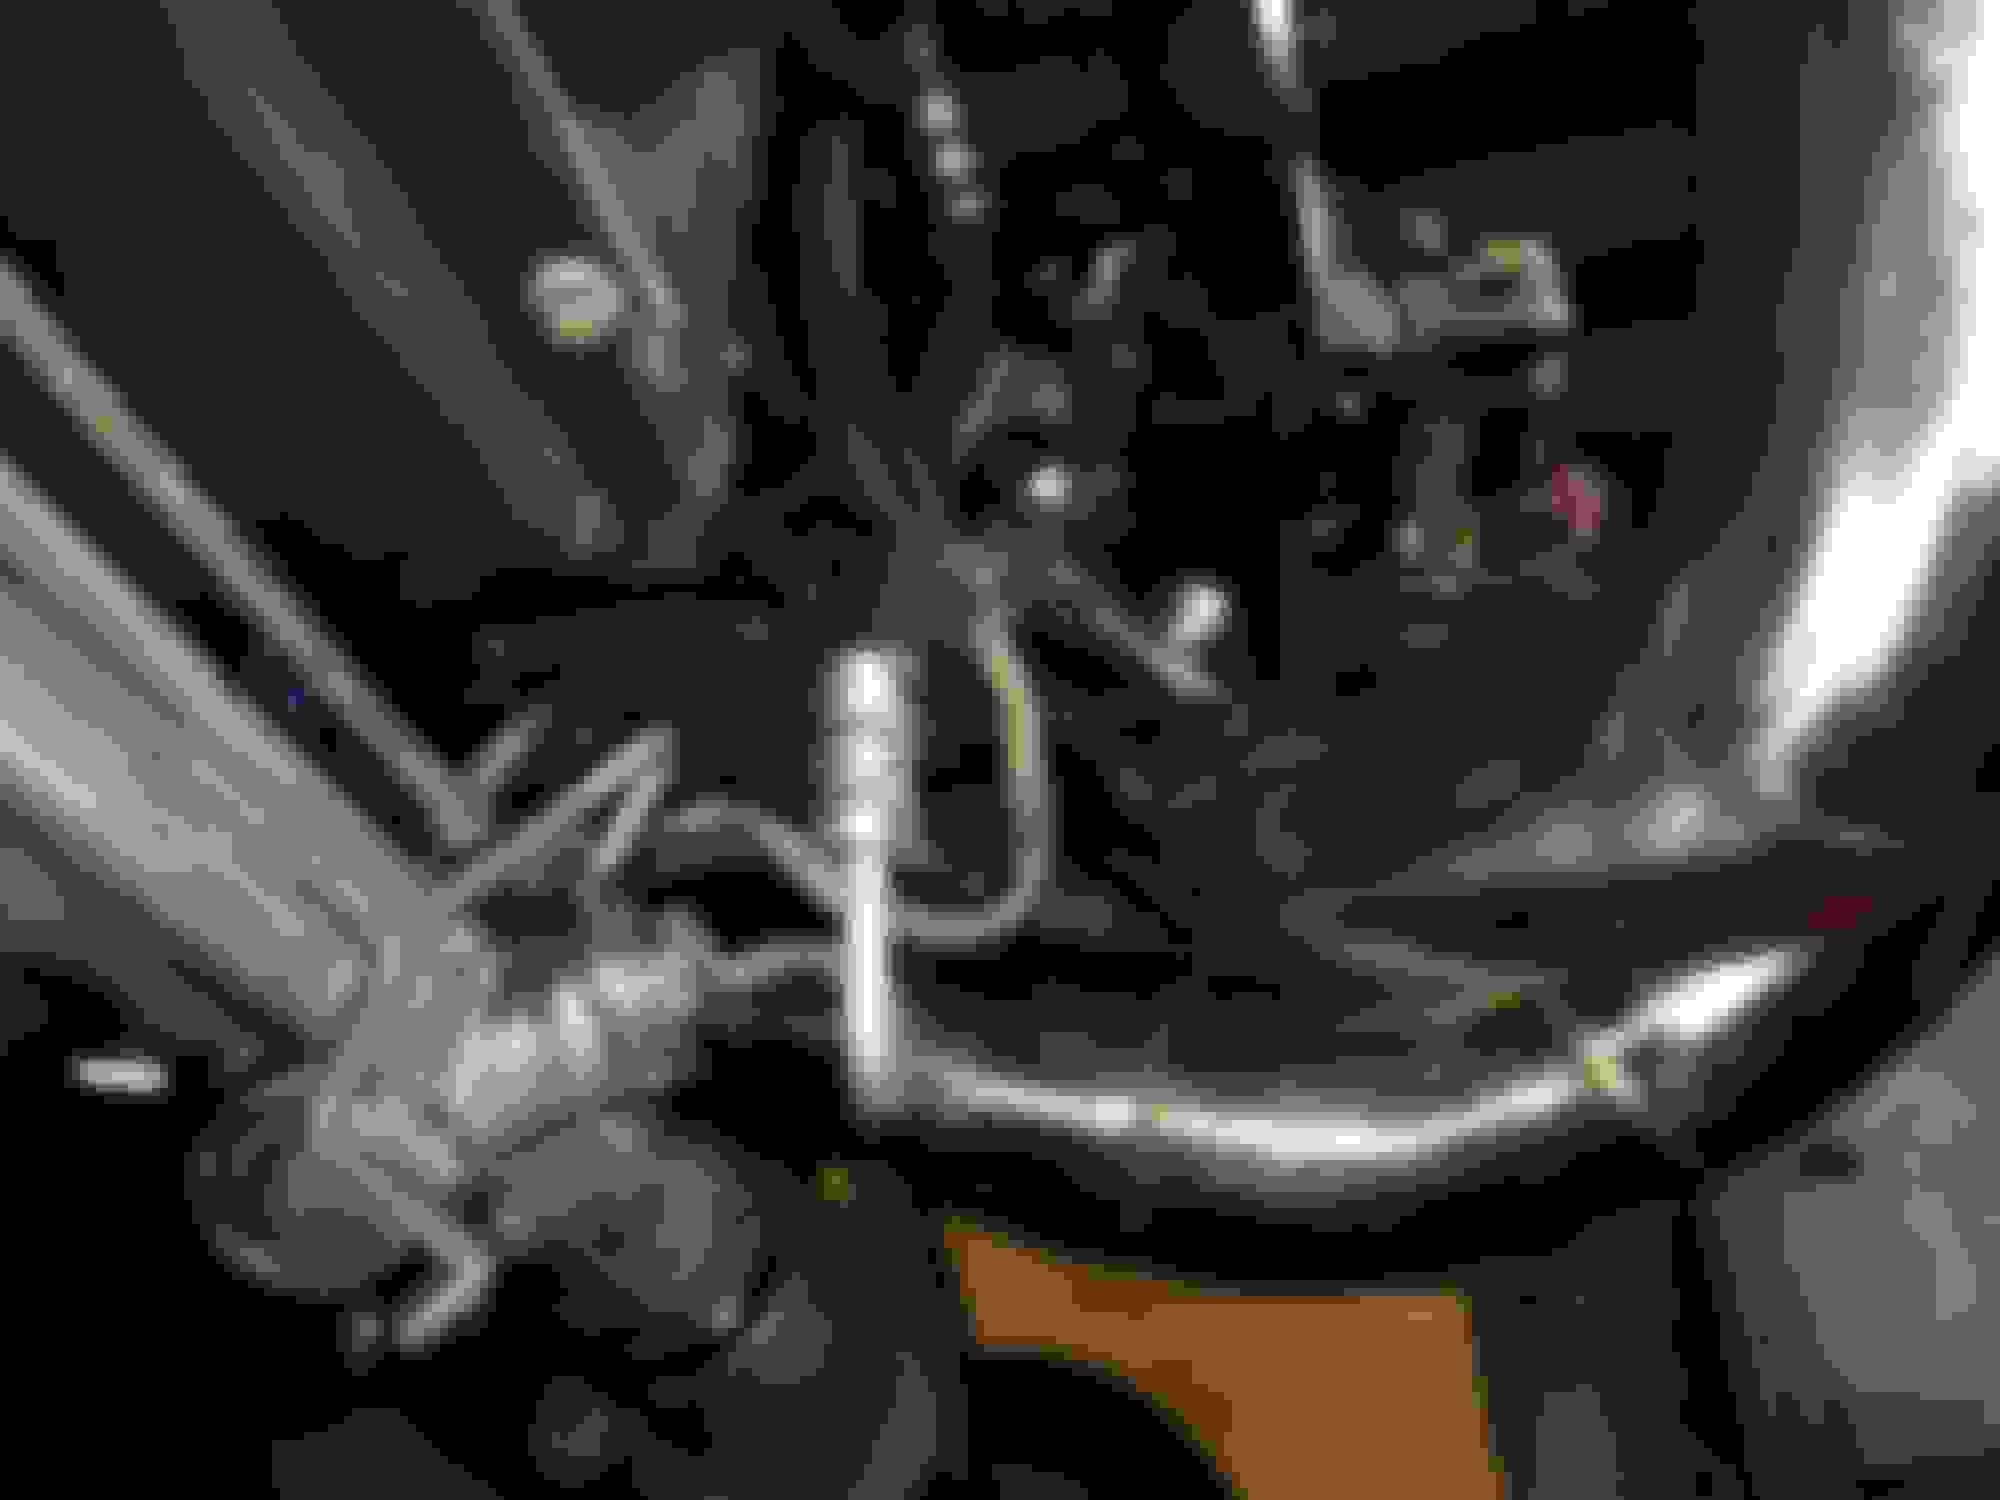
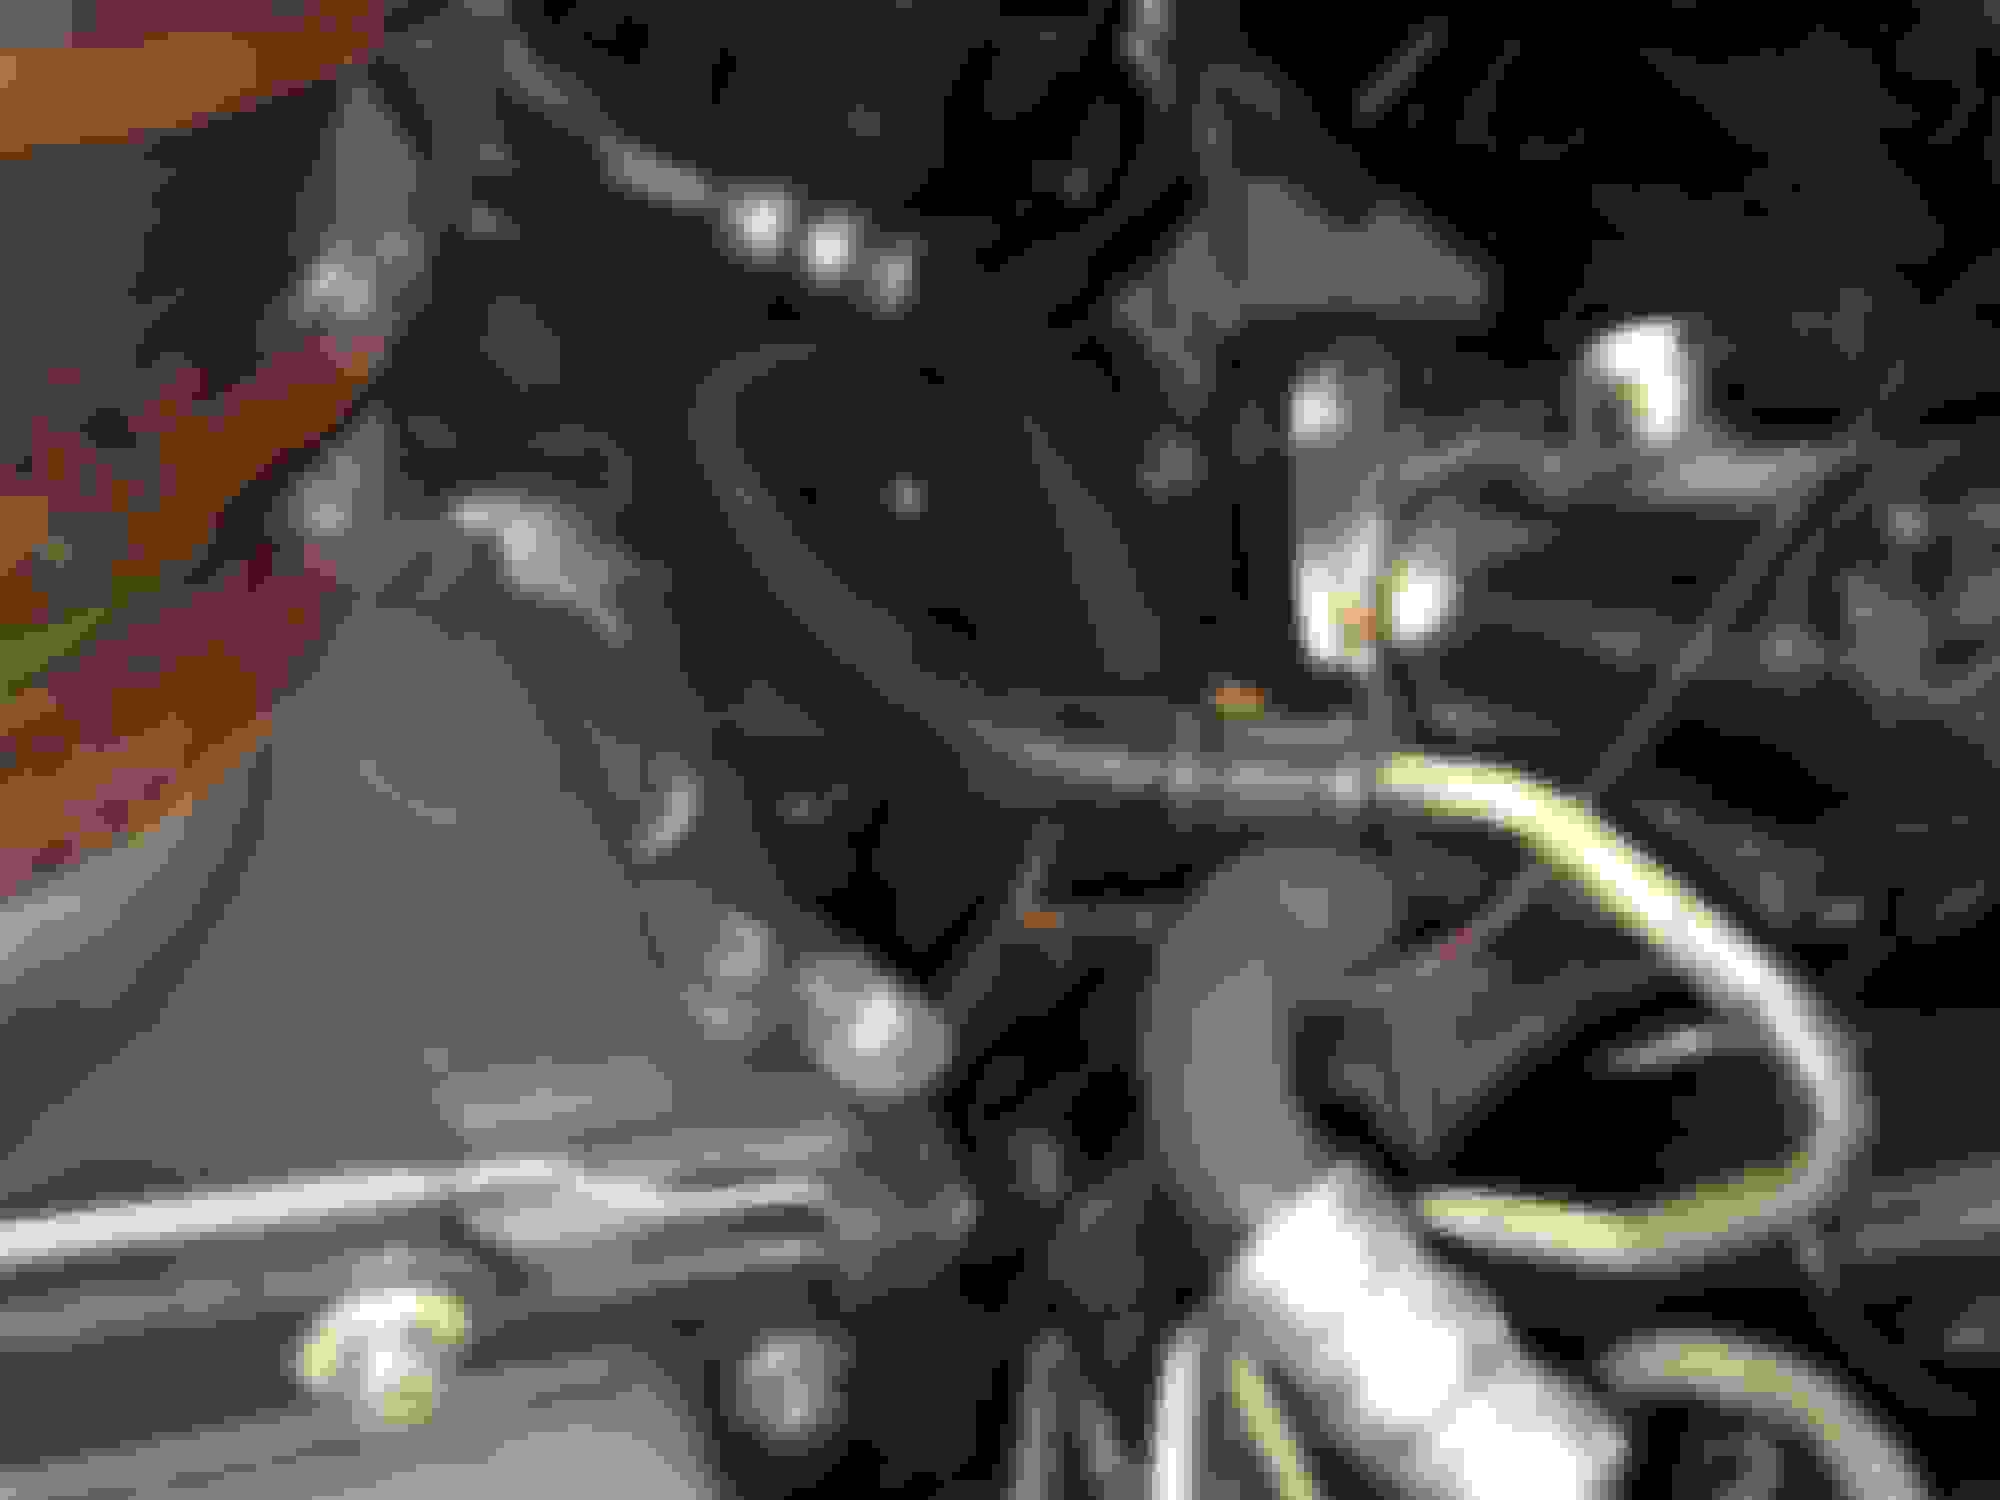
Hey guys, so last week we covered the installation of the BMR Turbo K-member and this week I was going to mock up the hotside. I elected not to wrap the hotside because I need to add a bung to the down pipe for my AFR gauge, that and its 32 degrees outside and my propane heater ran out. FML. So I just bolted up the hotside to see if it fits. The good news is that the V1 AC hotside will work with a BMR Turbo K-member, the bad news is you won't be able to retain your sway bar. So now I'm at that moment where do I forge on or go back to the drawing board? Handling was one reason I bought this car and put Bilstein/Strano's and big sticky Nitto's on it so this poses a real issue for me. The kit fits perfectly btw which is also great. I've attached some pics of the install and my mangled P/S lines lol. Also pick a different spot for the oil return as the down pipe points almost right at it, it's not a huge deal but a step you can save. Let me know if anybody has any questions or needs a pic of something specific but next weekend I'll be pulling the hotside off either to wrap it or to sell it. See you then!
Hey guys, so made I a little bit of progress this weekend. There are a few small adjustments that need to be made to run this kit but they're very small and easy. I also got a line on a guy here who has reused the sway bar so I'm moving forward with the install.
- The brake lines on the driver side by the ABS need to be bent a little bit to clear the exhaust manifold.
- Trimming or removal of the passenger side sway bar mount. I've removed it for now but will be reinstalling it when fabbing up new mounts for the sway bar.
- The middle K-member nut that is captured by the frame must be clocked so it doesn't hit the corvette manifold. Just loosen the bolt and rotate by hand.
So I clocked the turbo oil drain and compressor outlet, removed the hotside, installed MLS gaskets for the exhaust manifolds, wrapped the hotside in titanium wrap and installed the belt tensioner which bolts up next to the timing cover where the alternator bracket was at. I appologize for not having pics but I had to stop suddenly but I will post them soon.
So at this time I'm thinking next weekend I'll mount the Derail fans to the condenser, bolt up the hotside permanently and build some oil feed and return lines.
On a side note, does anybody have any suggestions for mounting the intercooler? I'm open to suggestions!
Nice build.....
Would love to see more pictures!!!
Hola Camaro Hotwheels, what would you like to see more pics of? I'm heading out this weekend to install the wrapped hotside, make oil lines maybe install the alternator and intake. I'll take some pics then but if there is something specific you'd like to see I'd be happy to snap some photos of it!
 10-12-2014, 12:03 AM