s10 - lq4 4l80e twin on3 70's
 12-08-2014, 08:10 PM
#1
Teching In
Thread Starter

Join Date: Sep 2013
Posts: 25
Likes: 0
Received 0 Likes
on
0 Posts
After lurking the forum for quite a while now I figured I would post up somewhat of a build thread.
This is my first ls based build, so there was and still is a learning curve. i have tried to do most of the research myself as I put this together.
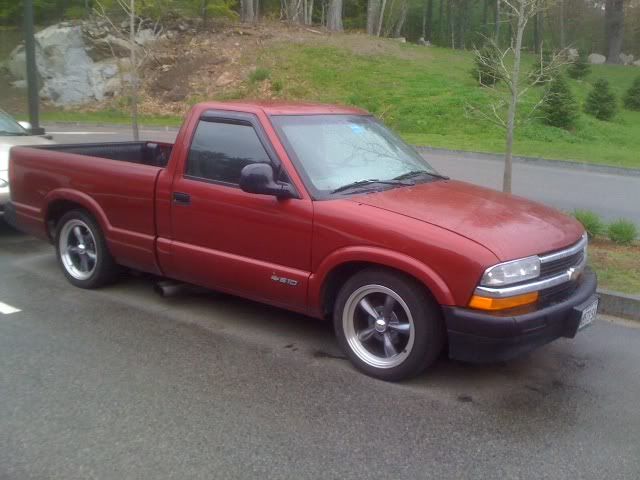
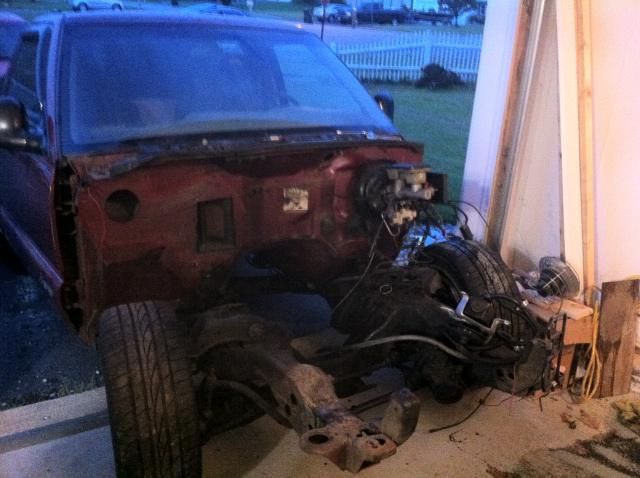
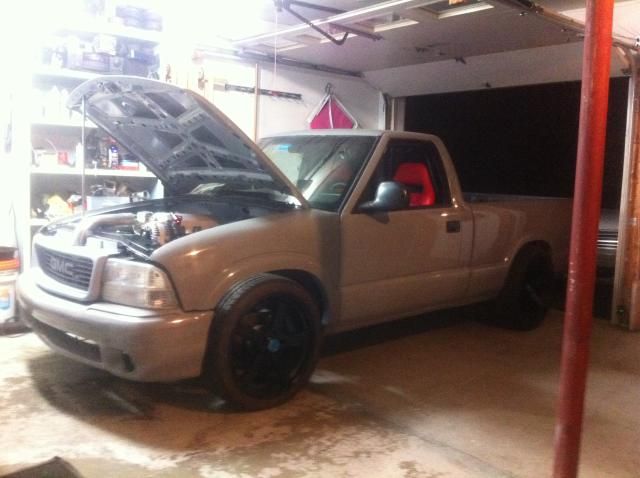
So the truck started off as a base 95 s10 4cyl 5 speed. When I orignally bought this truck it had a small block 350 in it (barely) it was a hack job. very messy and very unsafe. I bought the truck as a toy/daily driver because I had blown a plug out of the head on my gti. The original plan was to just drive it until my VW was fixed and then I was going to rip the body off and build myself something else on the chassis. Well one thing lead to another and here it is now. The truck will be street driven a couple time a week in the summer months and spend some time at the track when i have time to go.
I'll start by posting a couple pictures of what it looked like when I got it and some of the tear down.

This is my first ls based build, so there was and still is a learning curve. i have tried to do most of the research myself as I put this together.
So the truck started off as a base 95 s10 4cyl 5 speed. When I orignally bought this truck it had a small block 350 in it (barely) it was a hack job. very messy and very unsafe. I bought the truck as a toy/daily driver because I had blown a plug out of the head on my gti. The original plan was to just drive it until my VW was fixed and then I was going to rip the body off and build myself something else on the chassis. Well one thing lead to another and here it is now. The truck will be street driven a couple time a week in the summer months and spend some time at the track when i have time to go.
I'll start by posting a couple pictures of what it looked like when I got it and some of the tear down.
 12-08-2014, 08:35 PM
#2
Teching In
Thread Starter
Join Date: Sep 2013
Posts: 25
Likes: 0
Received 0 Likes
on
0 Posts
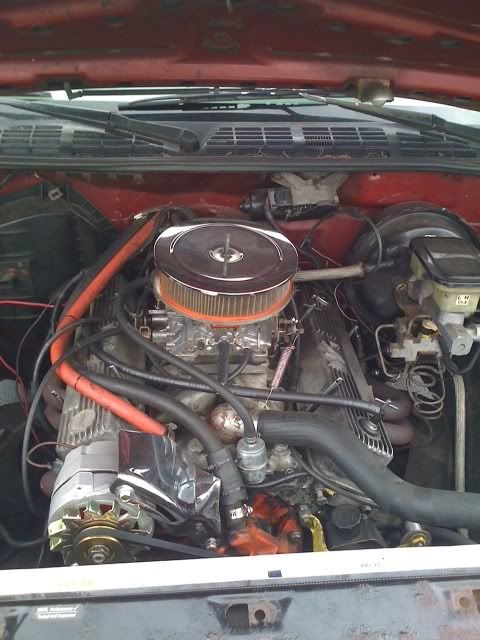
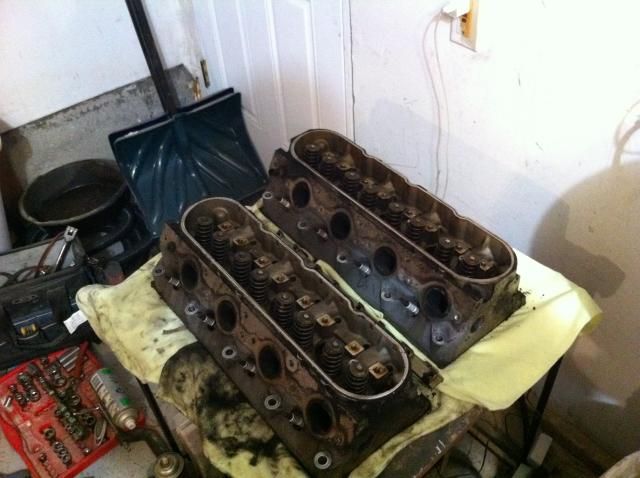
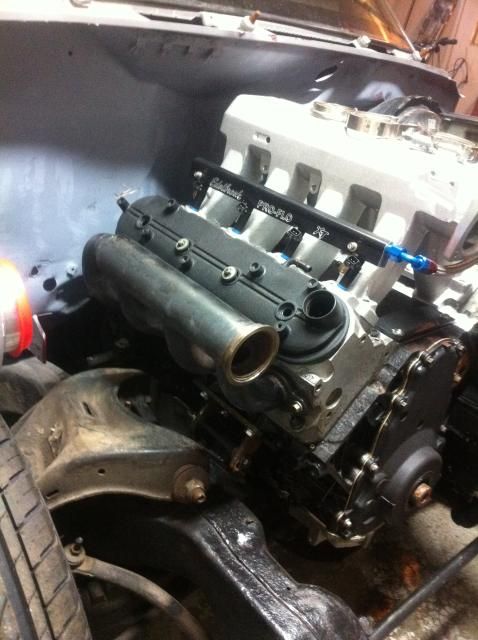
Here are some pictures of the lq4 when I got it and when I started to freshen it up some. I bought this motor for $100 with the 317 heads on it it came with the wire harness intake and all the coils. it was going to be a core andI just paid them the core charge. The motor ran fine when it was pulled it was just a hight mileage motor in a company vehicle.

12-08-2014, 08:46 PM
#3
Teching In
Thread Starter
Join Date: Sep 2013
Posts: 25
Likes: 0
Received 0 Likes
on
0 Posts
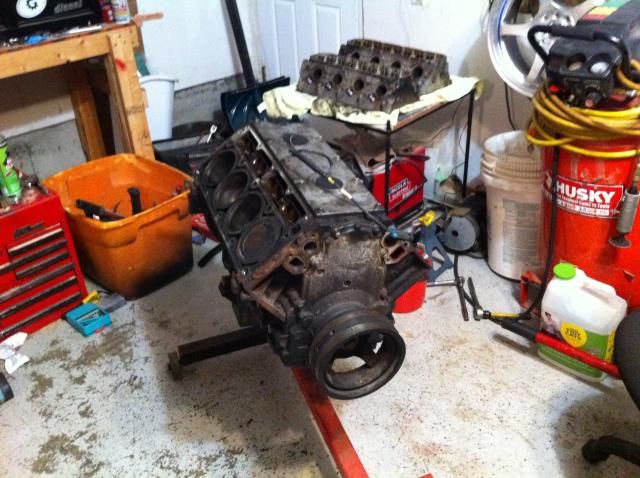
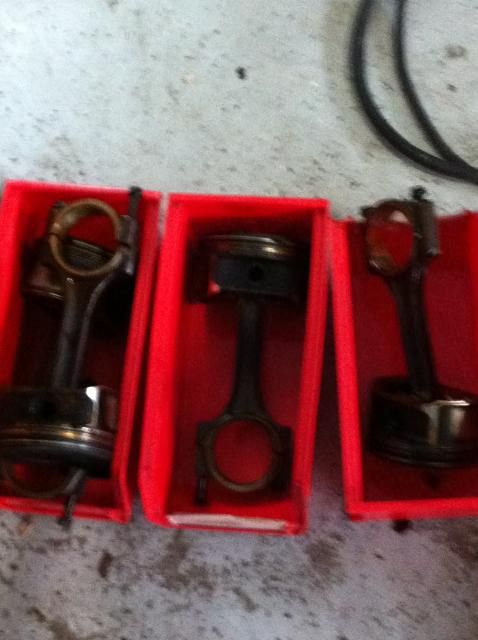
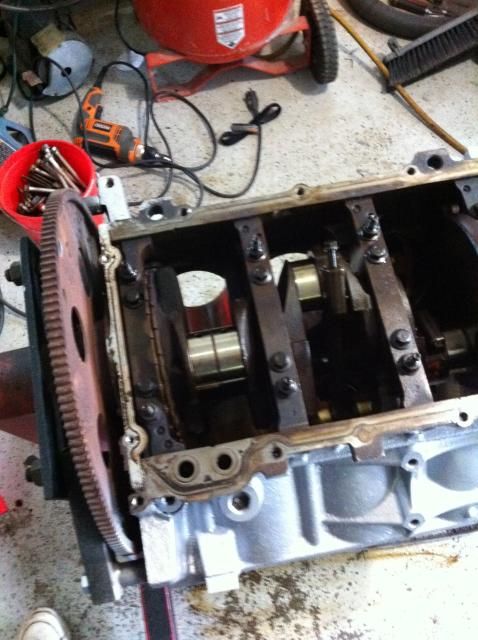
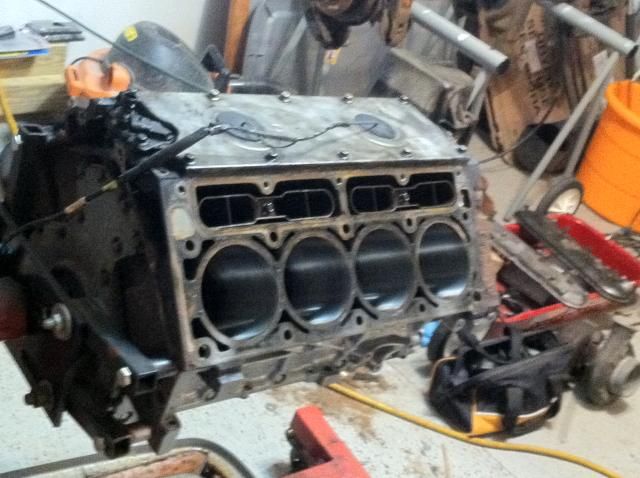
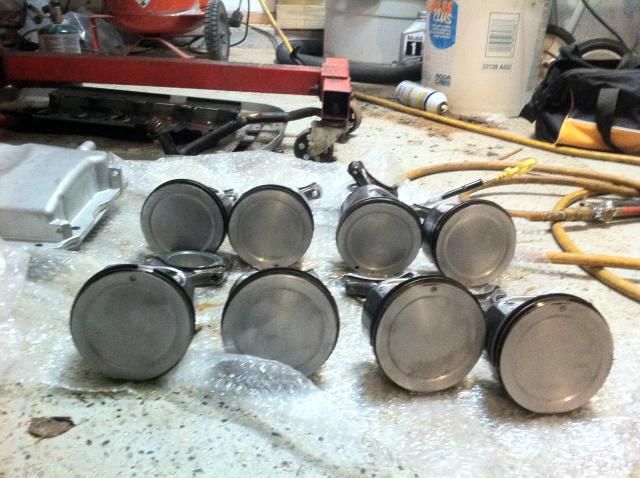
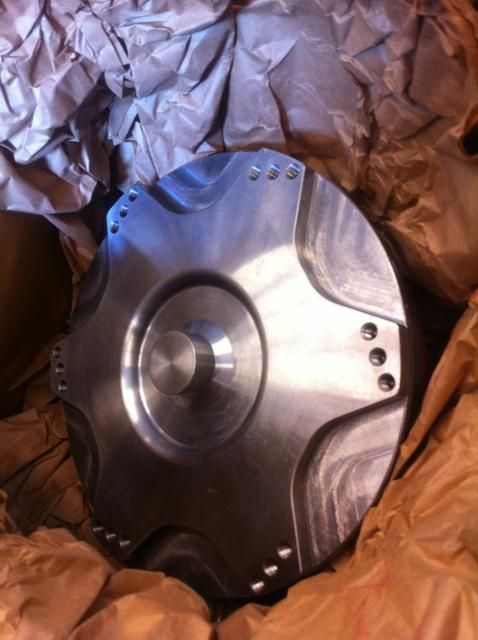
Didnt do a whole lot with the bottom end. new rod bearings and arp hardware. Honed the cylinders and some arp head studs. For the top end I went with lunati springs with new seats seals and locks. and a lunati cam. 286/286 .651/.651 112lsa
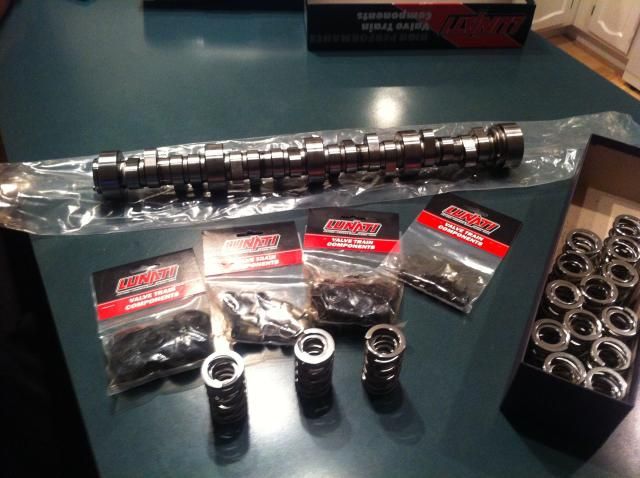
here are some pictures of other parts for the motor and the turbos
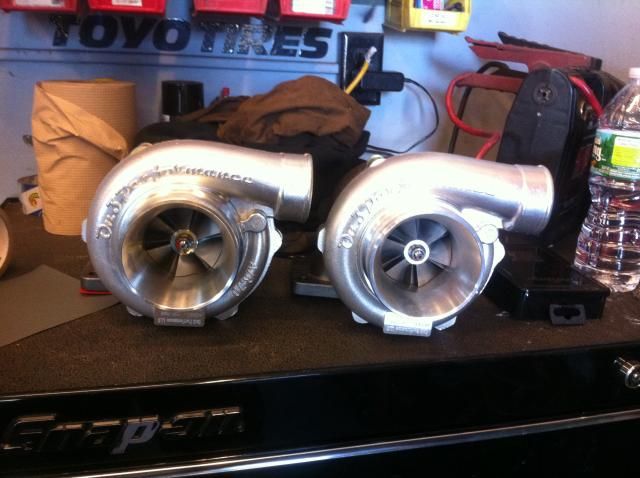

here are some pictures of other parts for the motor and the turbos
12-08-2014, 08:50 PM
#4
Teching In
Thread Starter
Join Date: Sep 2013
Posts: 25
Likes: 0
Received 0 Likes
on
0 Posts
Didnt do a whole lot with the bottom end. new rod bearings and arp hardware. Honed the cylinders and some arp head studs. For the top end I went with lunati springs with new seats seals and locks. and a lunati cam. 286/286 .651/.651 112lsa
here are some pictures of other parts for the motor and the turbos
here are some pictures of other parts for the motor and the turbos
12-08-2014, 08:59 PM
#5
Teching In
Thread Starter
Join Date: Sep 2013
Posts: 25
Likes: 0
Received 0 Likes
on
0 Posts
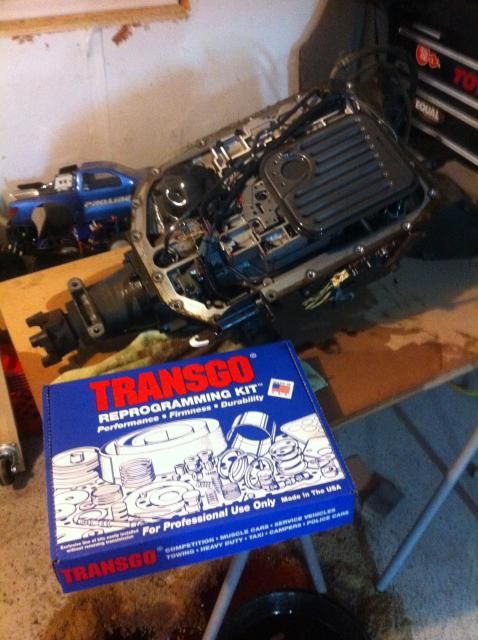
the 4l80 I found on craigslist for $300 out of a low mileage farm truck. the 2wd 4l80 is really hard to find in my area so this was a steal. didnt do much with the trans either. transgo shift kit and a revmaxx 3500 billet stall.
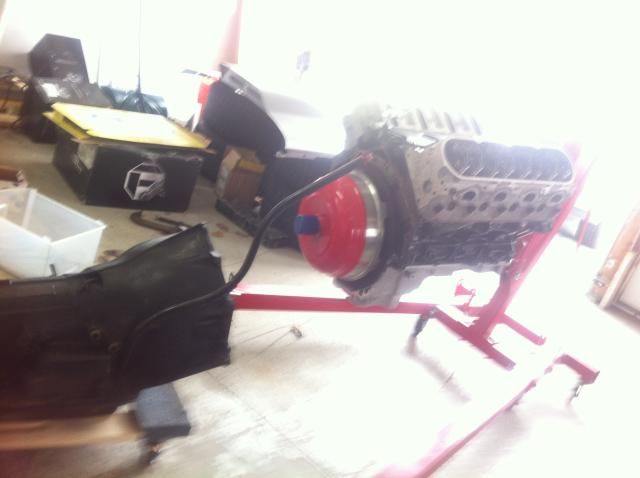
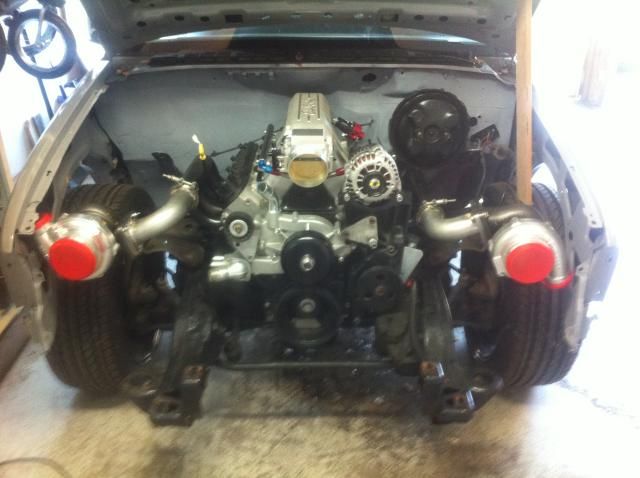
got out of work early one day and tackled dropping the engine and trans into the truck by myself. a second set of hands would have made it a ton easier.
set the turbos in front for some inspiration.
my garage is very small so i actually had to push the truck outside to get the hoist in front of it.
got out of work early one day and tackled dropping the engine and trans into the truck by myself. a second set of hands would have made it a ton easier.
set the turbos in front for some inspiration.
my garage is very small so i actually had to push the truck outside to get the hoist in front of it.
12-08-2014, 09:06 PM
#6
Teching In
Thread Starter
Join Date: Sep 2013
Posts: 25
Likes: 0
Received 0 Likes
on
0 Posts
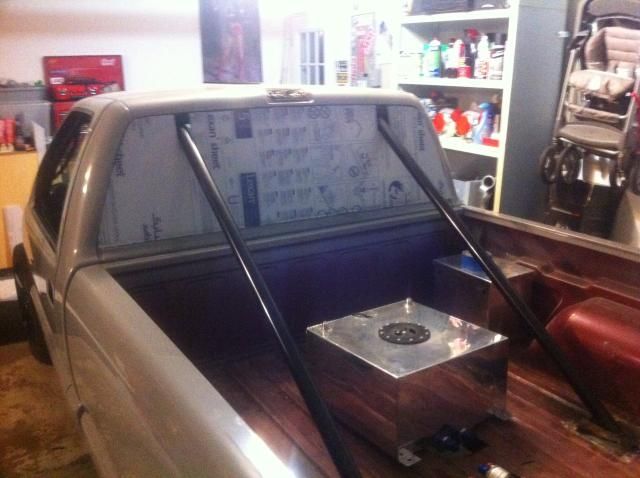
drivers side floor rotted out and couldnt find a replacement pan at the time. so i hauled the truck to my buddies shop and we welded in a sheet metal floor pan and also installed a jegs 8 point cage.

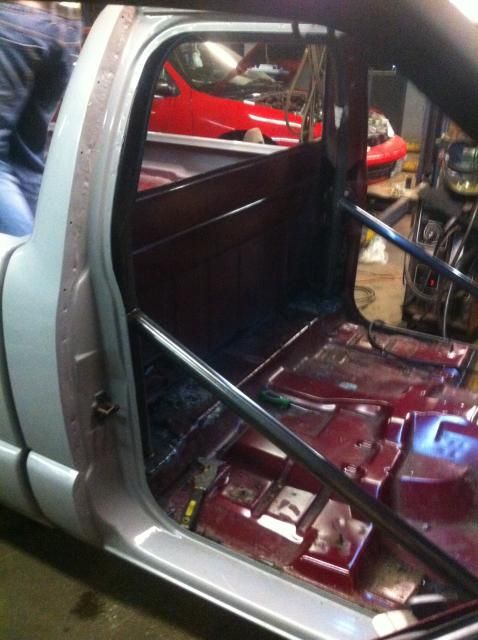
truck was also resprayed at this point. audi aviator grey.
truck was also resprayed at this point. audi aviator grey.
Trending Topics
 12-08-2014, 09:21 PM
#9

I dig it. I got a sweet spot for an s10 though. Had a body dropped on 20s in high school. I got another one now that I DD. Sounds like I'm getting a new truck in the spring so I may hang onto this one and put the LS motor in there that is just sitting. What mounts did you use?
12-10-2014, 06:50 PM
#12
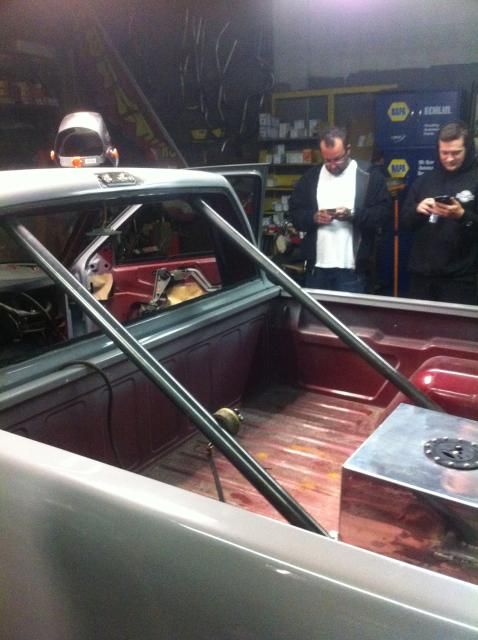
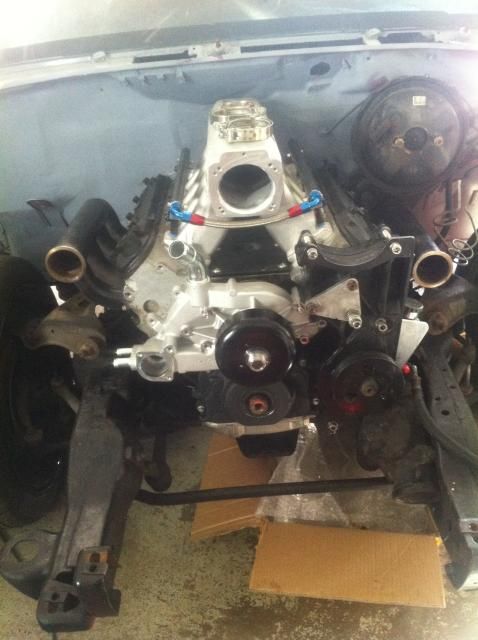
Truck should run strong when it is done. It is hard to tell in the picture but the cage needs to be welded to the frame. I also see the convertor bolted to the motor ,it should be installed into the trans first. Maybe you know already just thought I would mention it.
12-10-2014, 07:15 PM
#13
Teching In
Thread Starter
Join Date: Sep 2013
Posts: 25
Likes: 0
Received 0 Likes
on
0 Posts
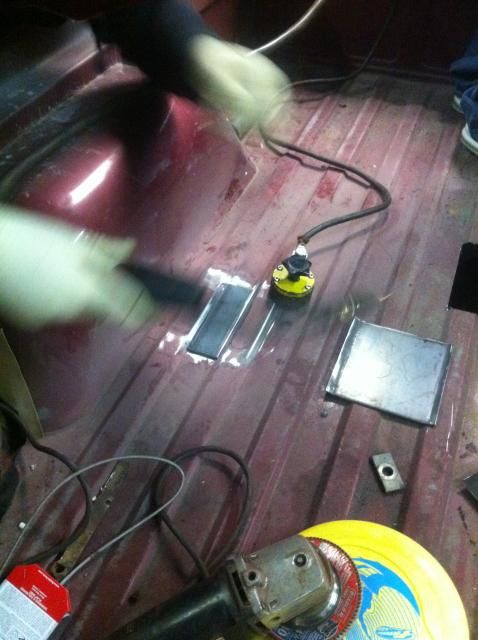
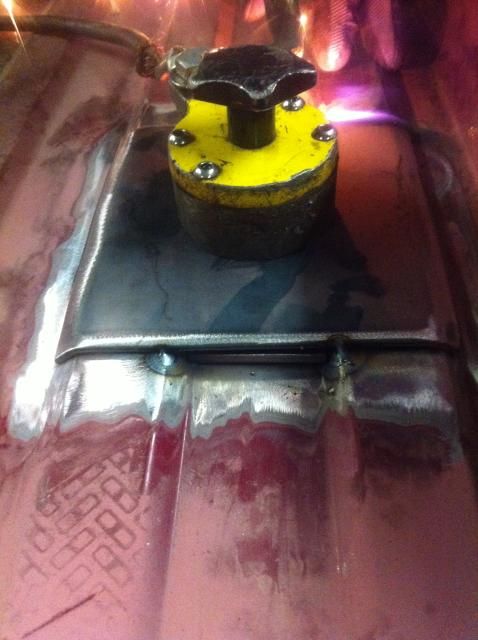
in order to attach to the roll cage to the frame i used 1x3 rectangular steel tubing underneath where you see the plates.
the converter was installed in the trans first. it is only on the engine in the picture because i was checking fitment of everything before i installed it.
as far as mounts i got the swap mounts from v8s10 and i bought the urethane mounts from cpw. putting the mounts on the tuck was a pain. the person who put the small block in before just welded angle iron to the frame over the factory bolt holes. so i had to grind everything down and retap the holes.
12-10-2014, 07:41 PM
#15
Teching In
Thread Starter
Join Date: Sep 2013
Posts: 25
Likes: 0
Received 0 Likes
on
0 Posts
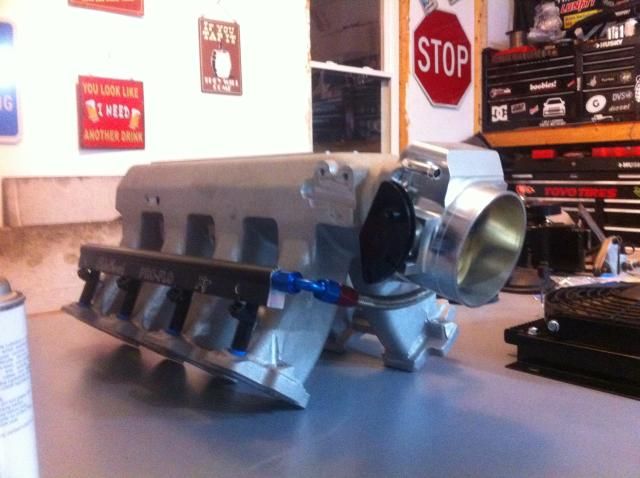
after i got the motor and trans sitting in the truck i started to look around at different manifold options. i ended up finding some on another forum that were supposed to be used in a 5.3 s10 with a single turbo. after getting them they were not going to be a direct bolt in and go. i either needed to cut the driver side one apart and redo it or make a steering shaft that was going to work around the manifold.
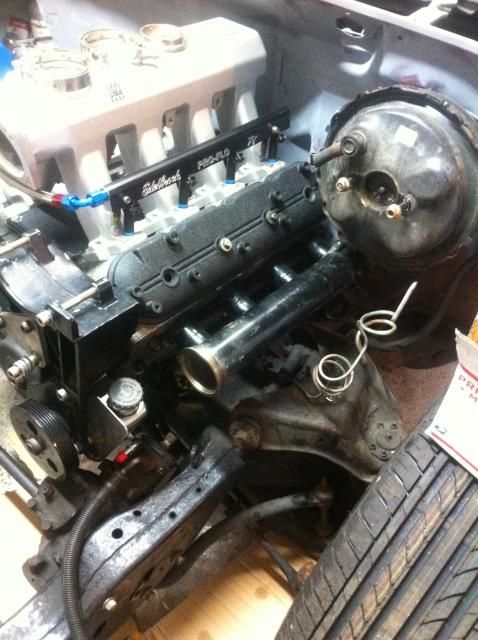
the passenger side one looked like it would work fine
so i decided to attempt making my own steering shaft
i bought a hotrod steering shaft kit online that came with 3 universals and a heim joint. after some trial and error with getting the angles small enough to work smooth and still clear everything i finally got it working good.
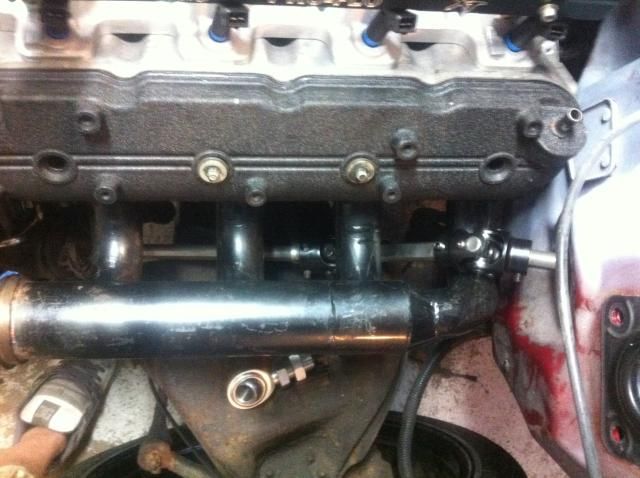
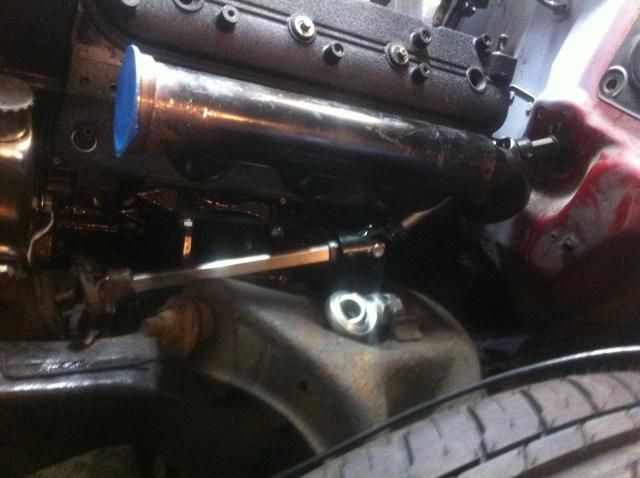
the heim joint bolts to a bracket i made that attaches to the frame. and is located in the section closest to the box. also used a 3/4" bearing on the firewall to keep the shaft it the correct angle.
the passenger side one looked like it would work fine
so i decided to attempt making my own steering shaft
i bought a hotrod steering shaft kit online that came with 3 universals and a heim joint. after some trial and error with getting the angles small enough to work smooth and still clear everything i finally got it working good.
the heim joint bolts to a bracket i made that attaches to the frame. and is located in the section closest to the box. also used a 3/4" bearing on the firewall to keep the shaft it the correct angle.
12-10-2014, 07:51 PM
#16
Teching In
Thread Starter
Join Date: Sep 2013
Posts: 25
Likes: 0
Received 0 Likes
on
0 Posts
during the process of doing the steering shaft i got pretty frustrated with it and did a couple other things on the truck just to take a break from the steering shaft.
cut out a lexan rear window for the truck. i made a template from cardboard first then just copied it to a sheet.
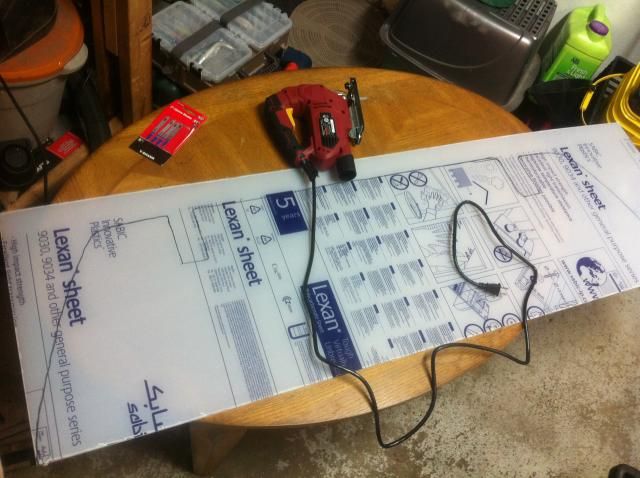
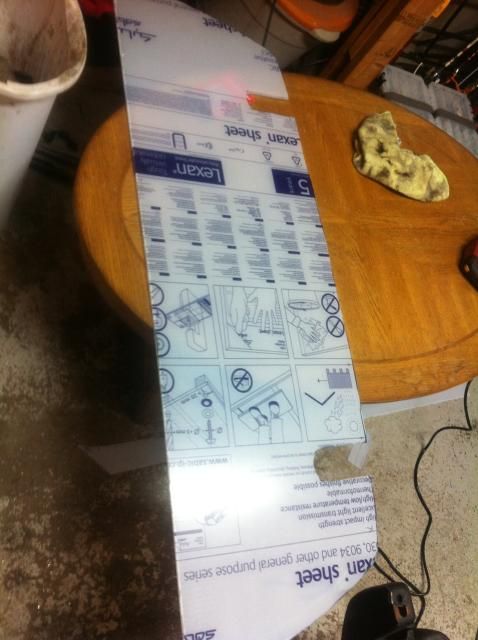
the truck will not be driven in any type of bad weather so im not too concerned about sealing around the cage bars, i will figure something out for it at some point so i can at least wash the truck.
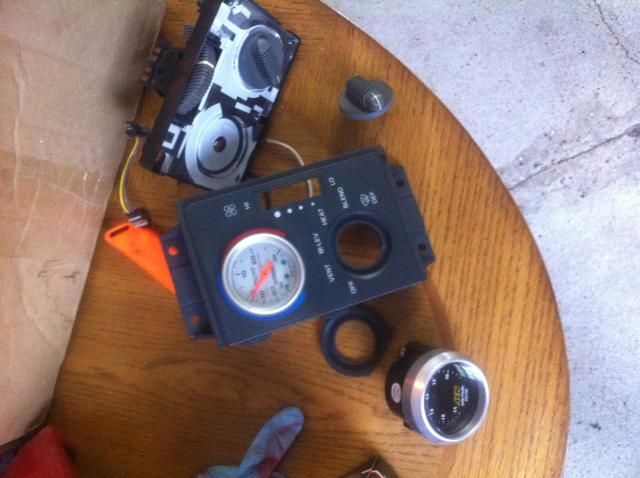
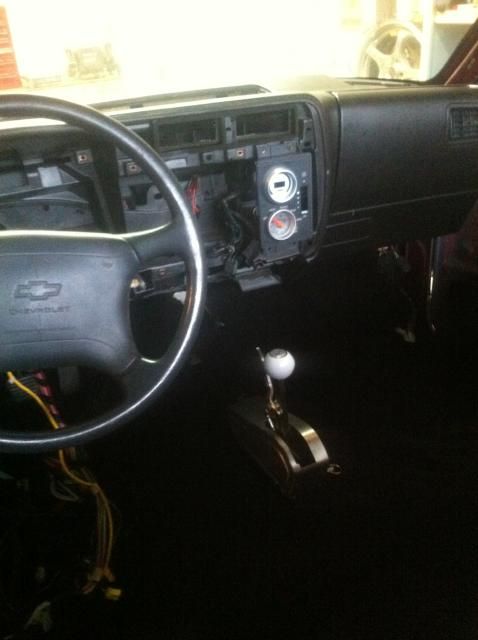
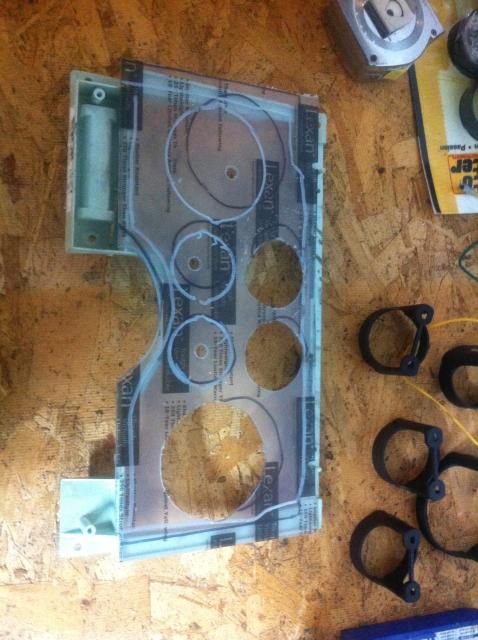
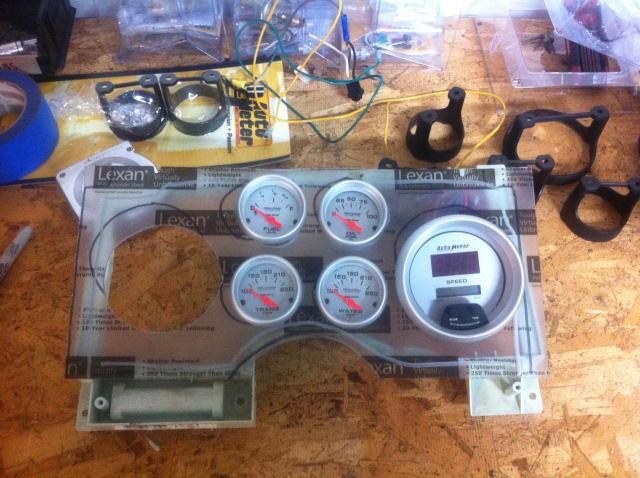
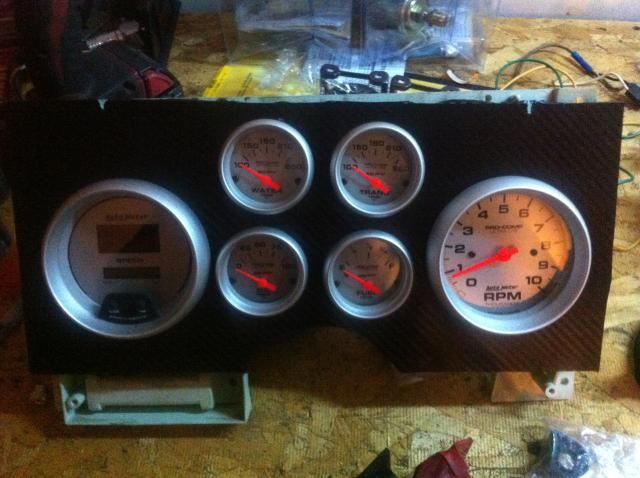
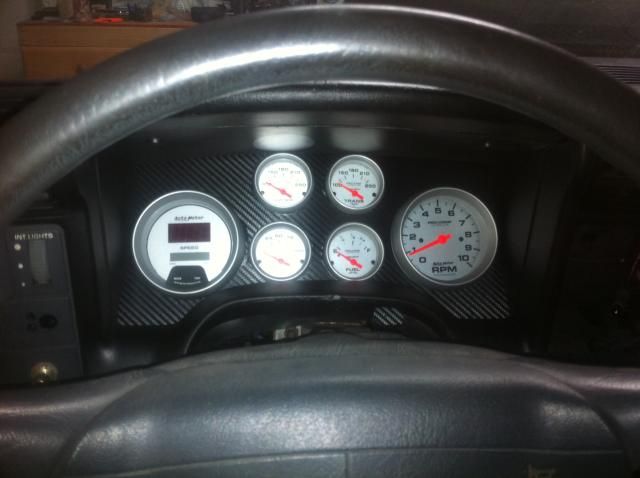
i also decided to mess around with my gauges
cut out a lexan rear window for the truck. i made a template from cardboard first then just copied it to a sheet.
the truck will not be driven in any type of bad weather so im not too concerned about sealing around the cage bars, i will figure something out for it at some point so i can at least wash the truck.
i also decided to mess around with my gauges
12-10-2014, 08:07 PM
#17
Teching In
Thread Starter
Join Date: Sep 2013
Posts: 25
Likes: 0
Received 0 Likes
on
0 Posts
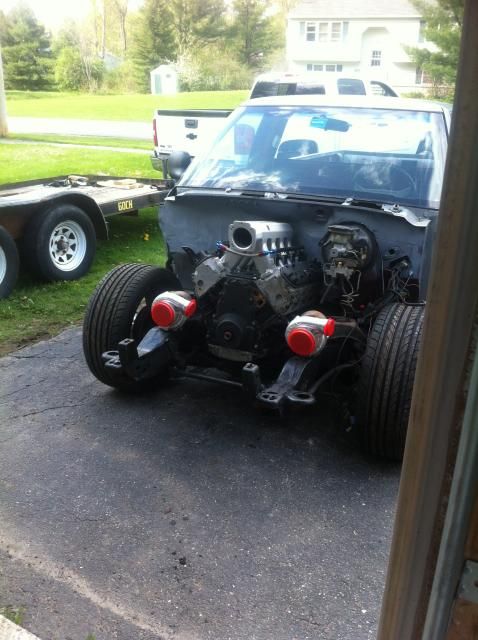
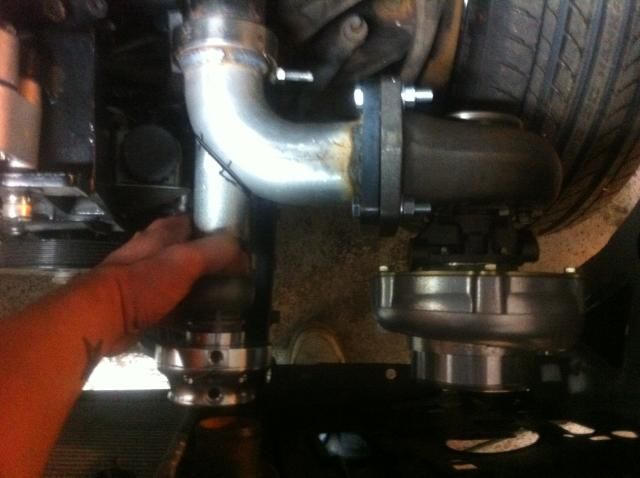
once the steering shaft was finished i figured it would be time to hang the turbos and wastegates, mostly because i was dying to see them in the engine bay.
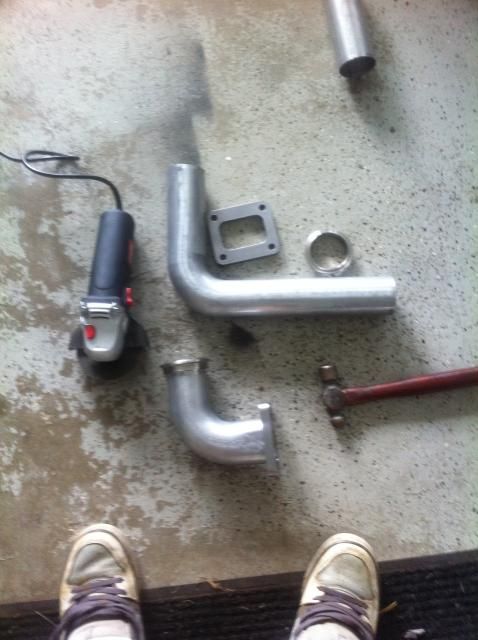
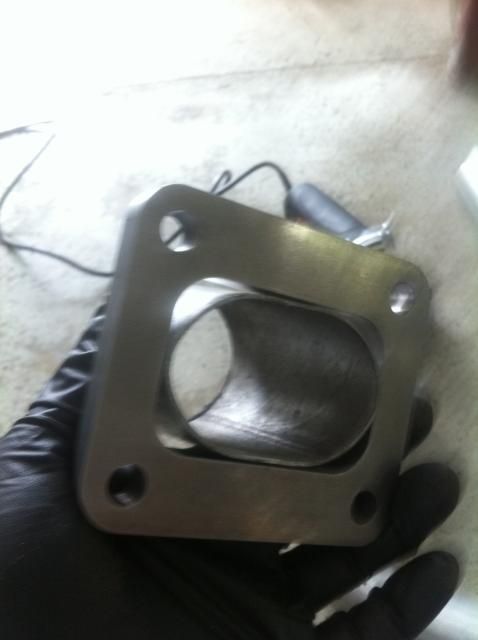
so i ordered a couple 90 degree bends from jegs and some flanges to make the piping. keep in mind i am doing this all in my very small 2 car garage with only basic tools. so some of my fab work may not look professional because it is far from it.
the pictures shows what i started with and what i was working towards. i basically used the ballpein hammer to flatten the pipe into an oval that fit in the flange. then i tacked it to the flange and used a torch to heat the pipe and hammer it to the shape of the flange before finish welding it.
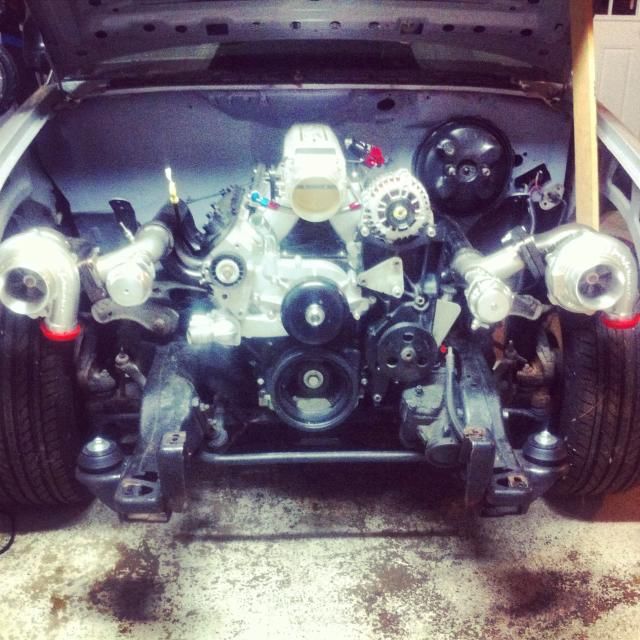
at this point i decided to put the front clip back on
so i ordered a couple 90 degree bends from jegs and some flanges to make the piping. keep in mind i am doing this all in my very small 2 car garage with only basic tools. so some of my fab work may not look professional because it is far from it.
the pictures shows what i started with and what i was working towards. i basically used the ballpein hammer to flatten the pipe into an oval that fit in the flange. then i tacked it to the flange and used a torch to heat the pipe and hammer it to the shape of the flange before finish welding it.
at this point i decided to put the front clip back on
12-10-2014, 08:13 PM
#18
Teching In
Thread Starter
Join Date: Sep 2013
Posts: 25
Likes: 0
Received 0 Likes
on
0 Posts
so at this point i brought it to a buddy of mine who owns a custom metal fab shop to have him build my exhaust for me. while i was there talking with him and going over what i wanted i ended up deciding to him build me a new set of manifolds and move the turbos to a different location because i didnt like how close they were to the rad support. the truck it still at his shop now so once i get some updates i will have more pictures to post.
