1973 Camaro Single Turbo LS Build
#1
Hi everyone,
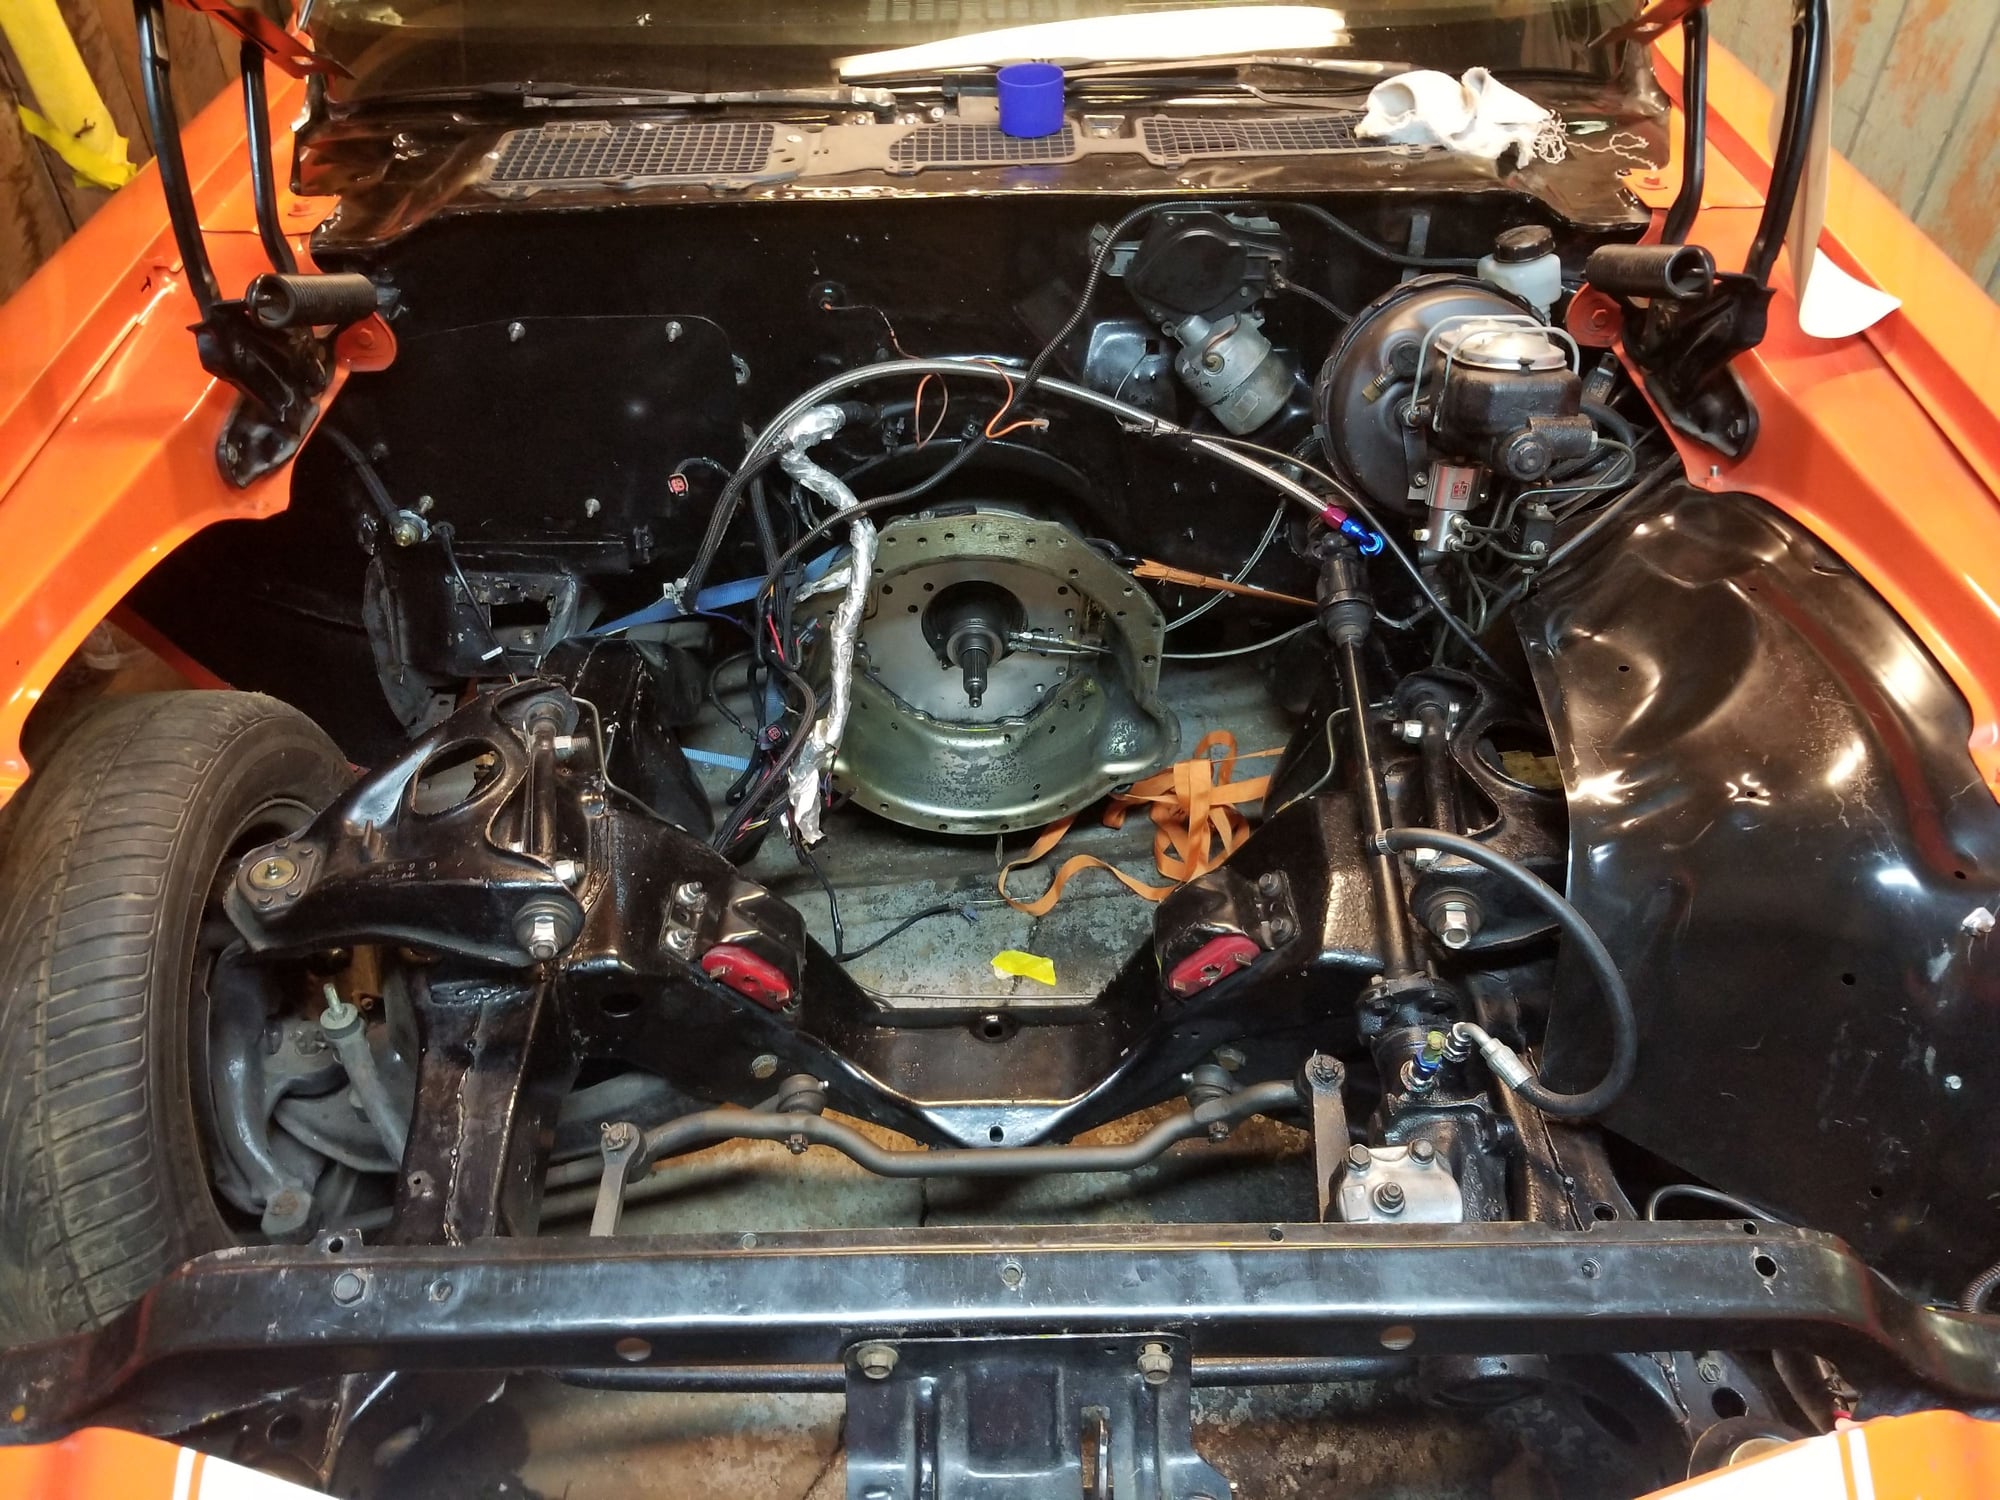
I restored my '73 about two years ago and now I'm ready to boost it! I decided to document my build in a video format because it's a lot more fun for me and I hope you all enjoy it. I'm all about building everything myself and because of this I will be fabbing all of the hot/cold side from scratch, including manifolds. My goal for this car is 550-600whp which I think is doable; the current LQ4/L92 setup does 430whp. If any of you guys want the CAD files, measurements or have any questions let me know. There are a few other videos of my car on my youtube channel including how I did the LS swap and also how to Microsquirt your LS.
Here is my intro video which shows/details how I built the manifolds. The manifolds use standard schedule 40 1.5in steel pipe fittings. The log is 2in sch40. There is tons of debate of which size to use, based on my research I used 1.5in/2in in hopes of spooling fast. You can get these at most plumbing suppliers. I chose mild steel because stainless fittings were absurdly expensive and a lot harder to work with. I also don't trust myself with $500 worth of materials for manifolds at this point in my life. I will get these manifolds ceramic coated after which makes them a bit cheaper than if I used stainless but also pleasant to the eye. I got the pipe cope templates off blocklayer.com. The 7875 I have is what I assume to be very close to a VS racing model, I just bought it from a nearby Canadian supplier as our dollar isn't great right now.
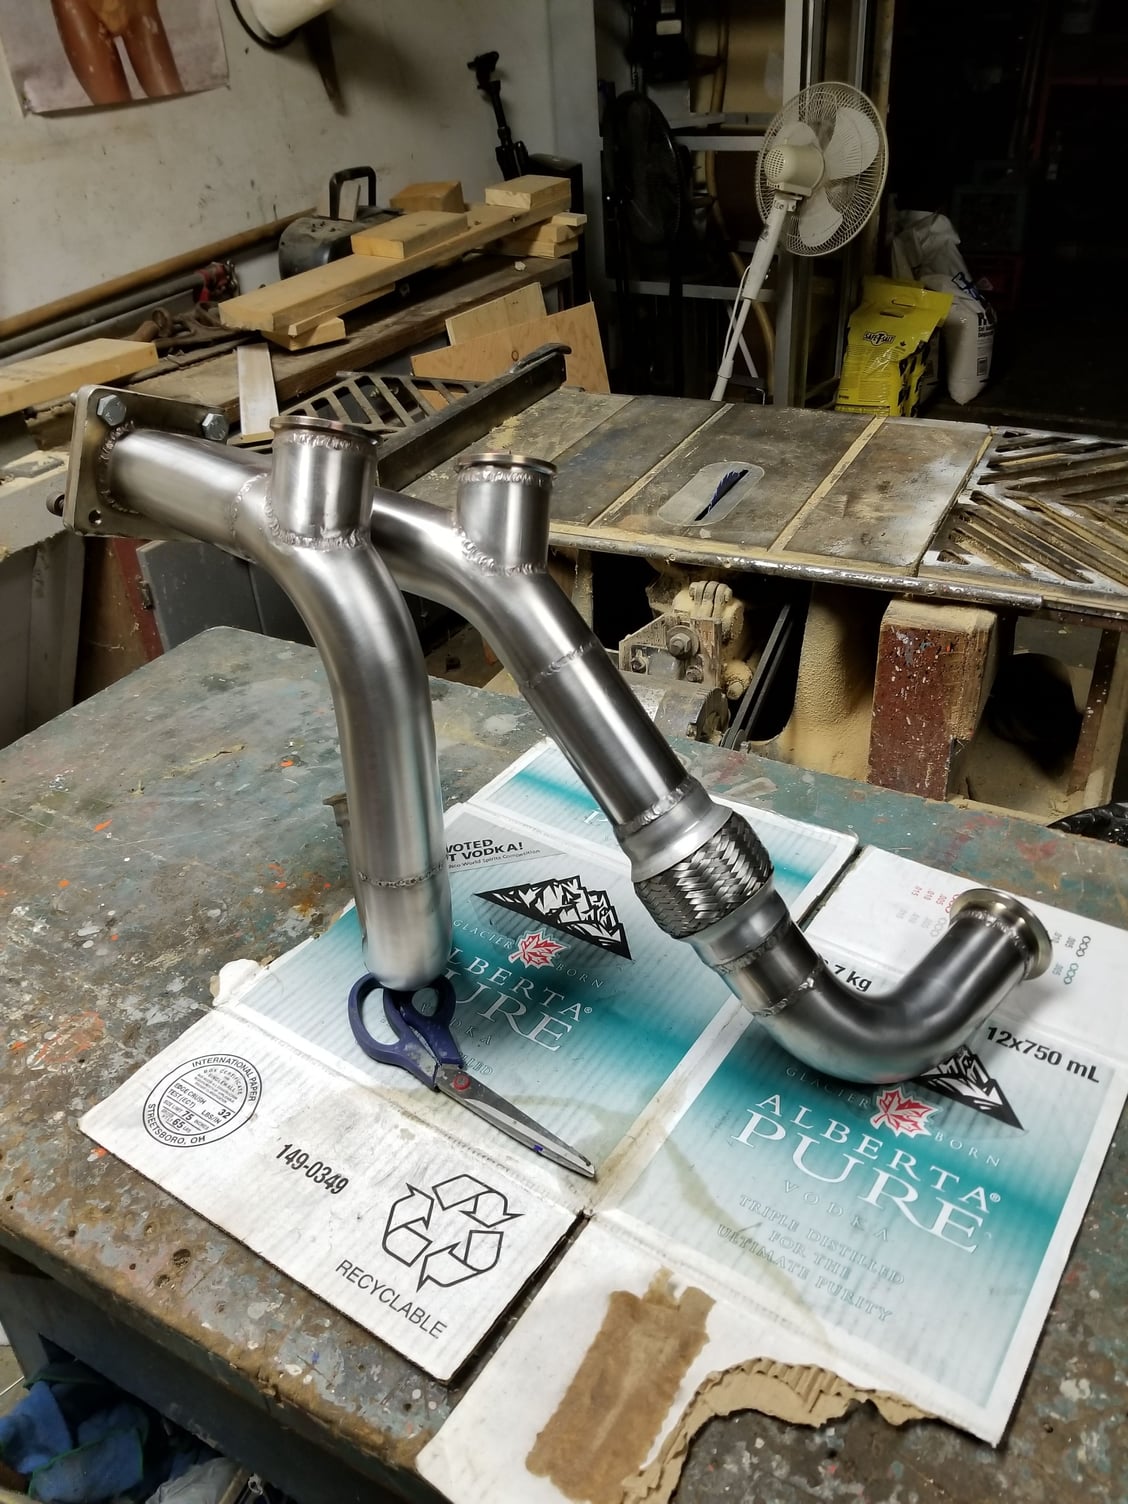
I am now starting on the 304 stainless hot side. I'm using 2.25in hot side piping which, in stainless, is actually really affordable and saves on ceramic coating costs. Plus it will be very visible and I love the look of heated stainless; lets hope my tig skills are up to snuff.
Thanks for checking this out, more to come! It will be back on the road Spring 2019!
#3
thanks! Ive started on the hot side and just made my own merge pipe, tricky thing that was!
#5
#7
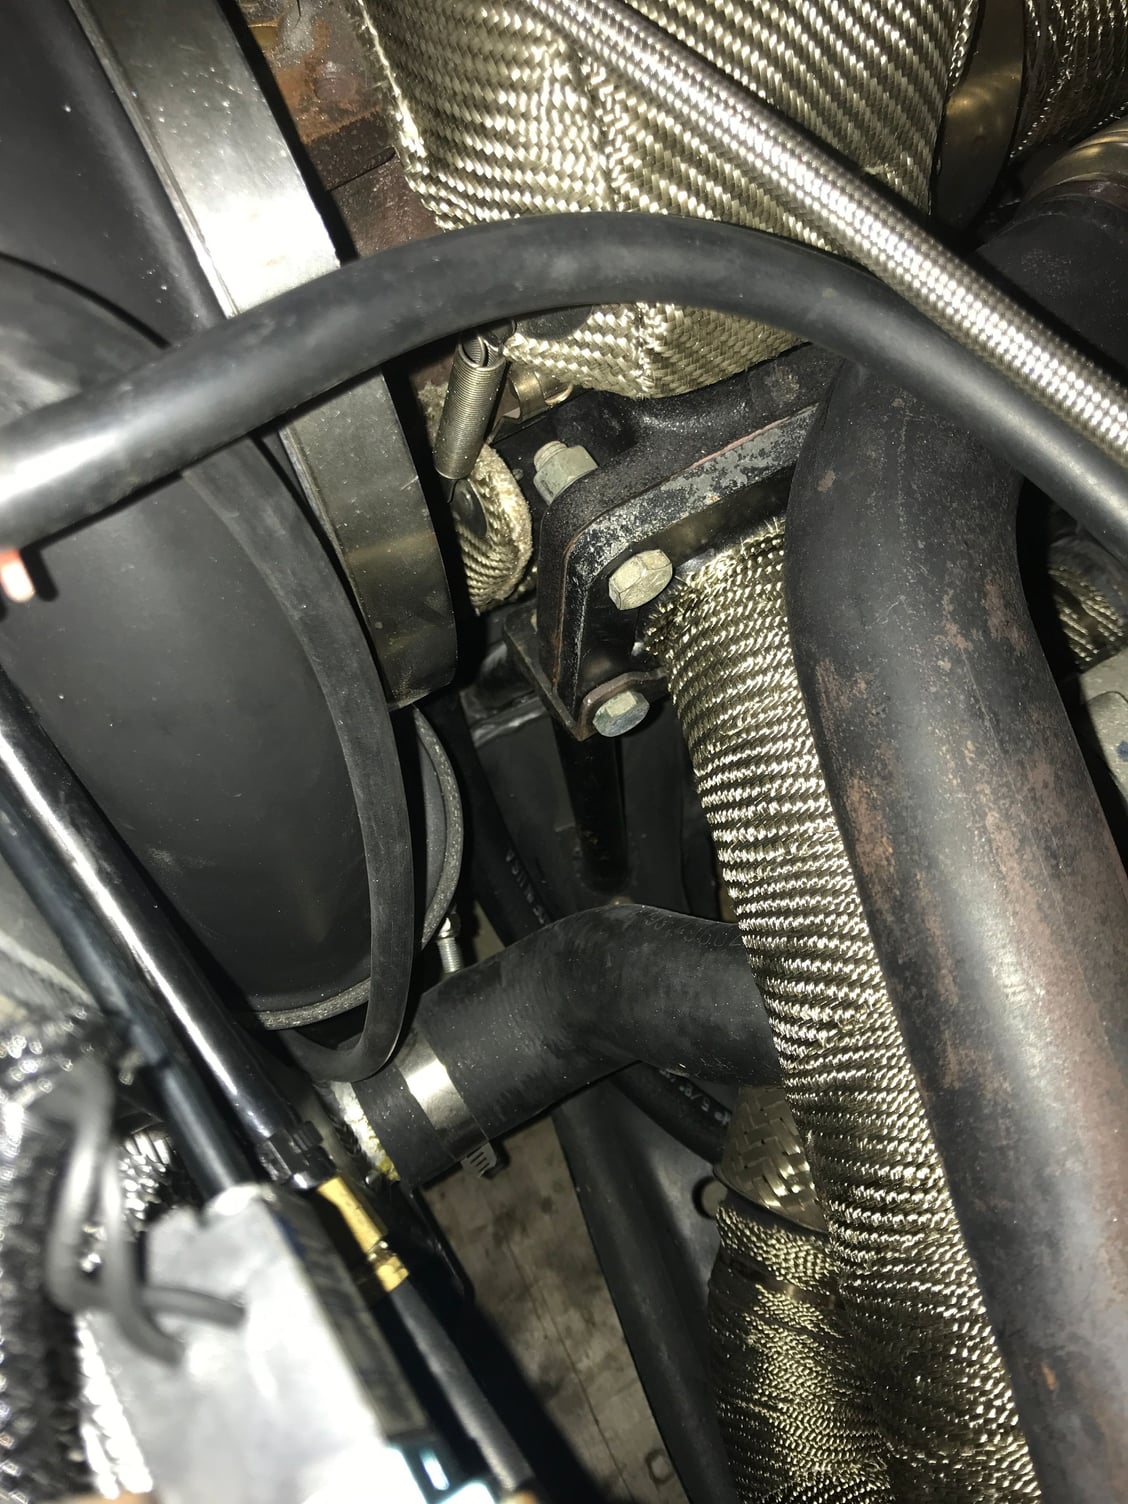
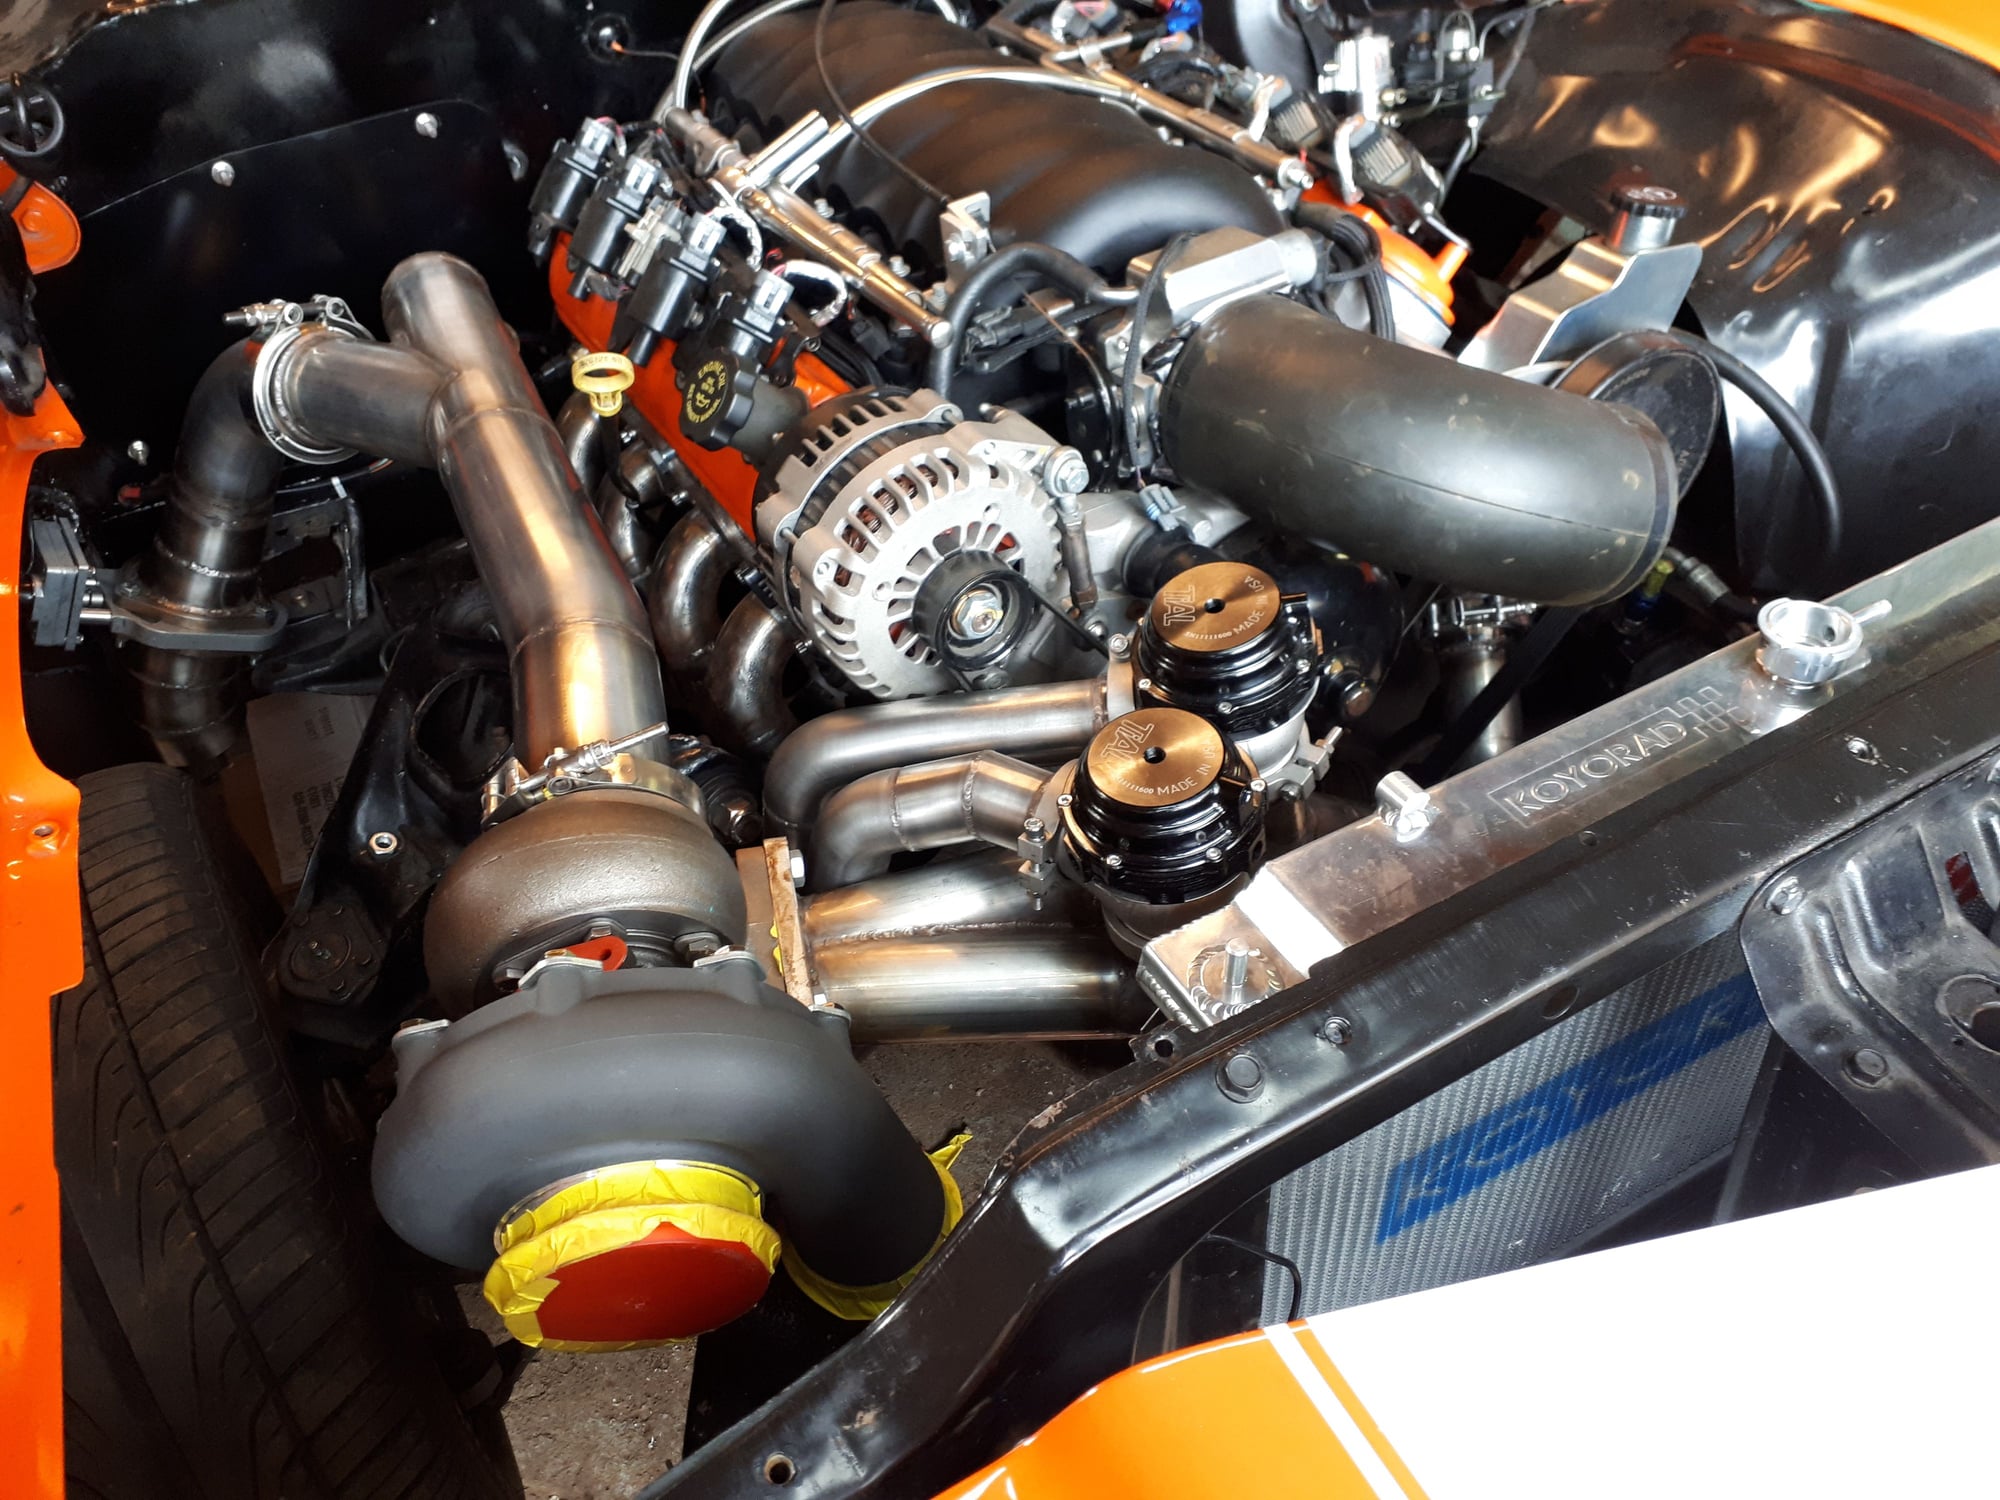
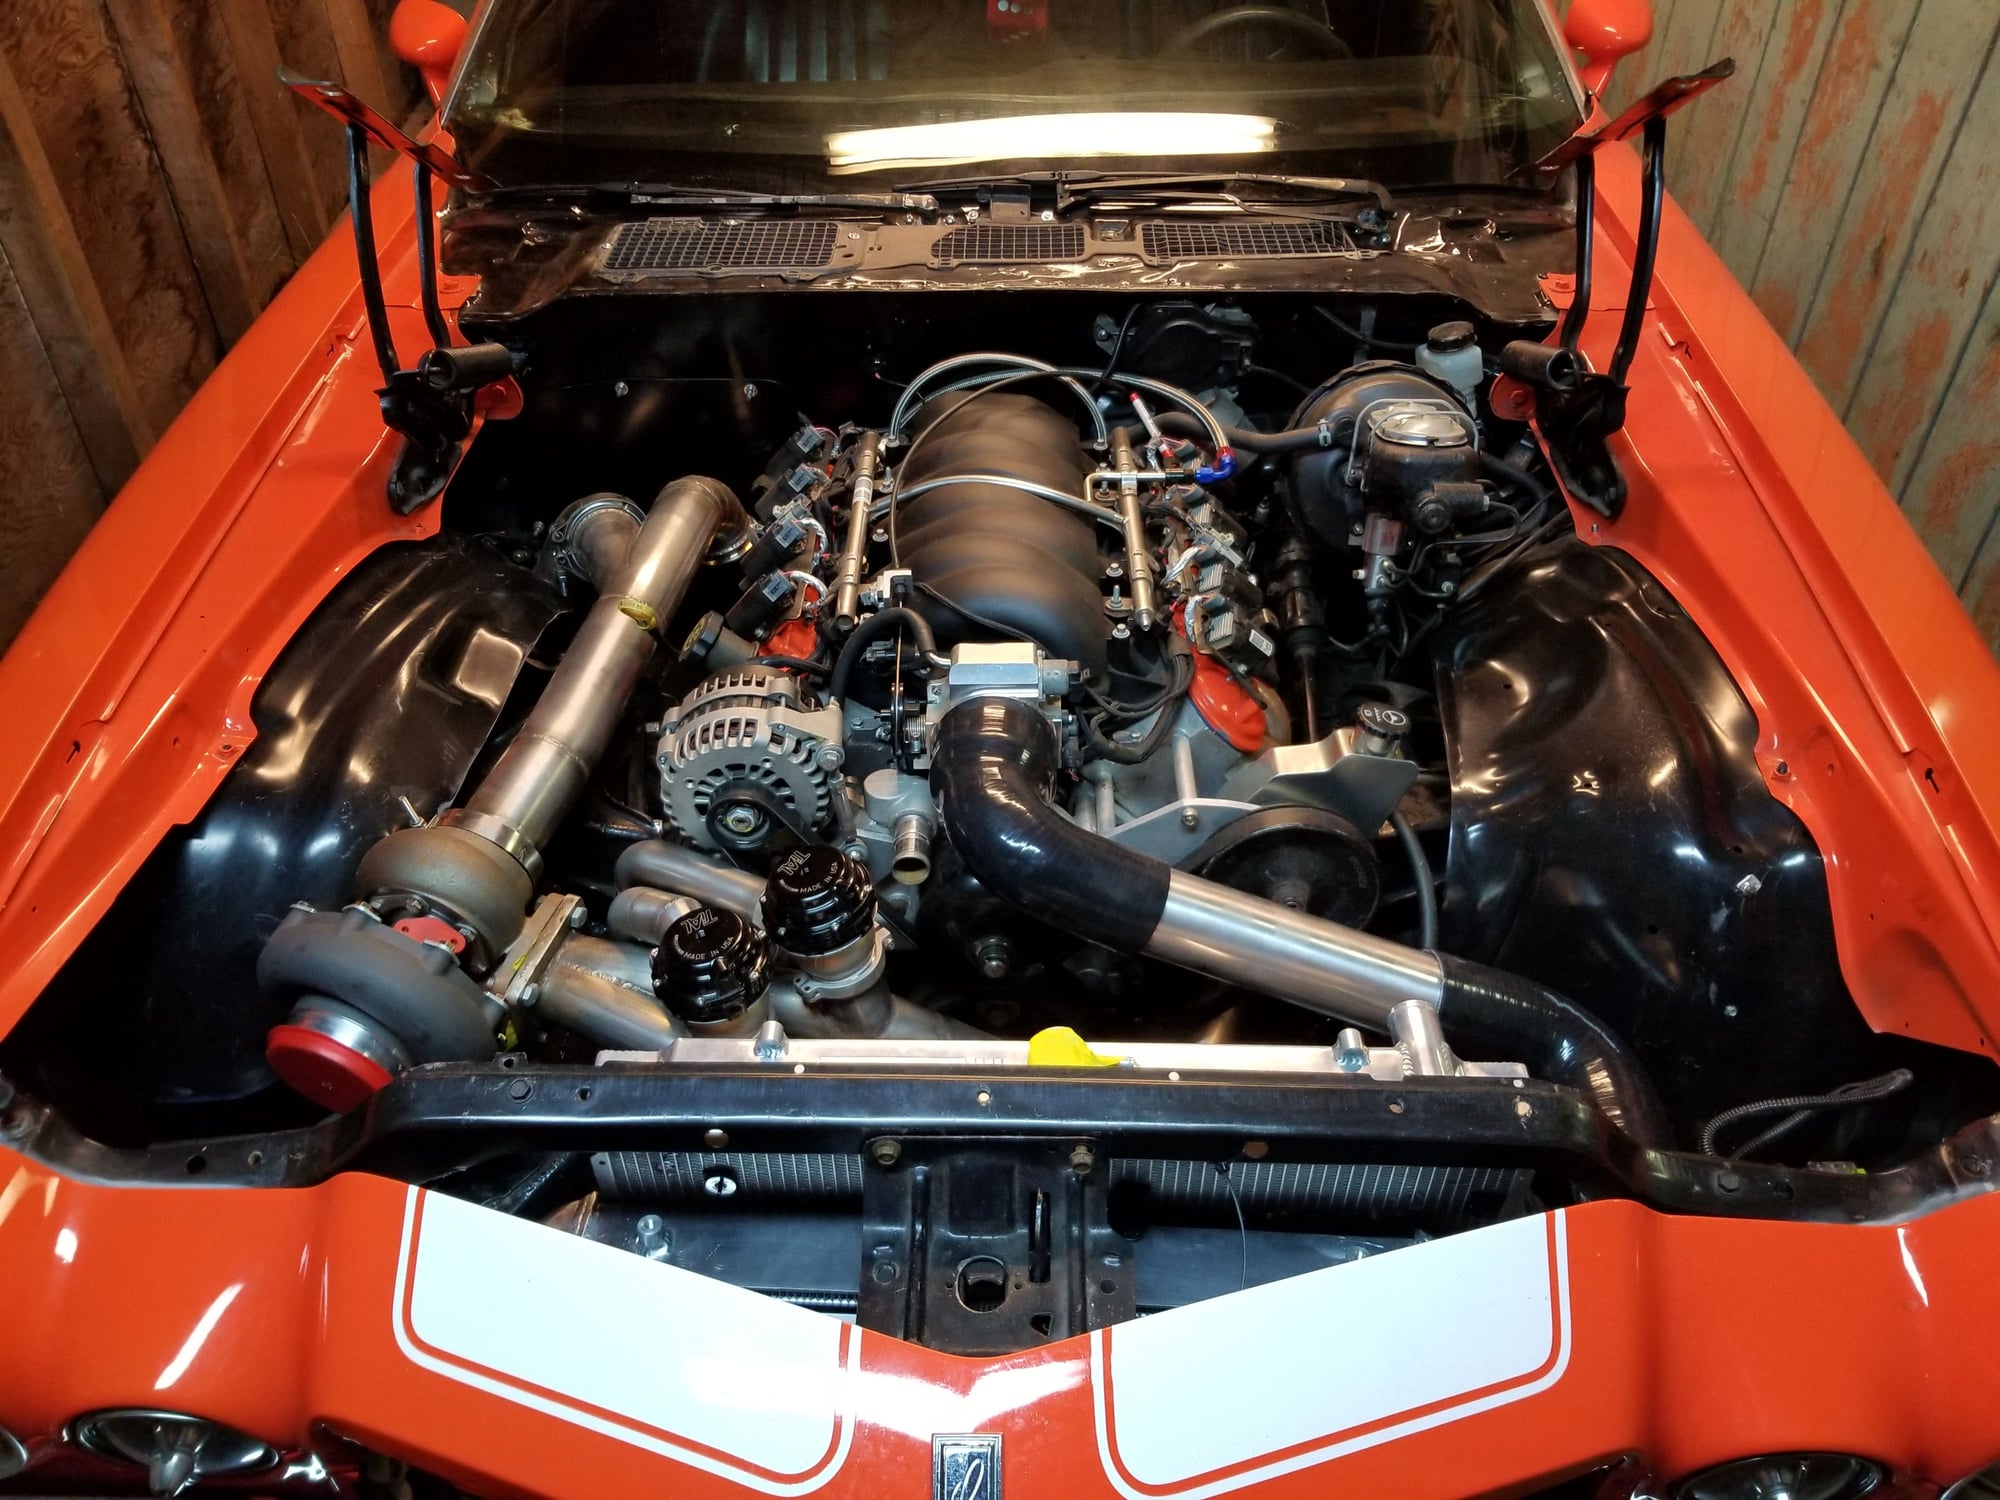
I've managed to get a bit more hotside work, namely a merge collector. I've also mocked up my hot side piping. I'm pretty surprised that in this location my hot side pipes are within an inch in length of eachother (though of course due to the bends they wont flow entirely evenly). I'm now thinking with my turbo location I will need some kind of support bracket, what do you guys think about this? I know the downpipe should support it some but I doubt it'd be enough. I've also decided on running two 44mm wastegates now, one on each pipe. Is it time to drive it yet?
https://www.youtube.com/watch?v=b3cU...ature=youtu.be
https://www.youtube.com/watch?v=b3cU...ature=youtu.be
Trending Topics
#11
Alright, finally an update! I did a lot more fab work since the last update.
The hotside is fully welded. I'm going to pressure test it all before I rip the engine apart. If pressure testing goes good I'm going to send the manifolds out for ceramic coating!
I got the coldside mostly done, all I've got to do is a bit of bead rolling and position/weld the BOV.
Next on the list is pulling the engine. I wasn't planning on it but for how cheap I got the gen 4 internals I figured why not. It's pretty sad though because I compression tested my engine in the 185-190 range so it's probably in great shape! I do really want to do a new oil pump and chain though.
#14
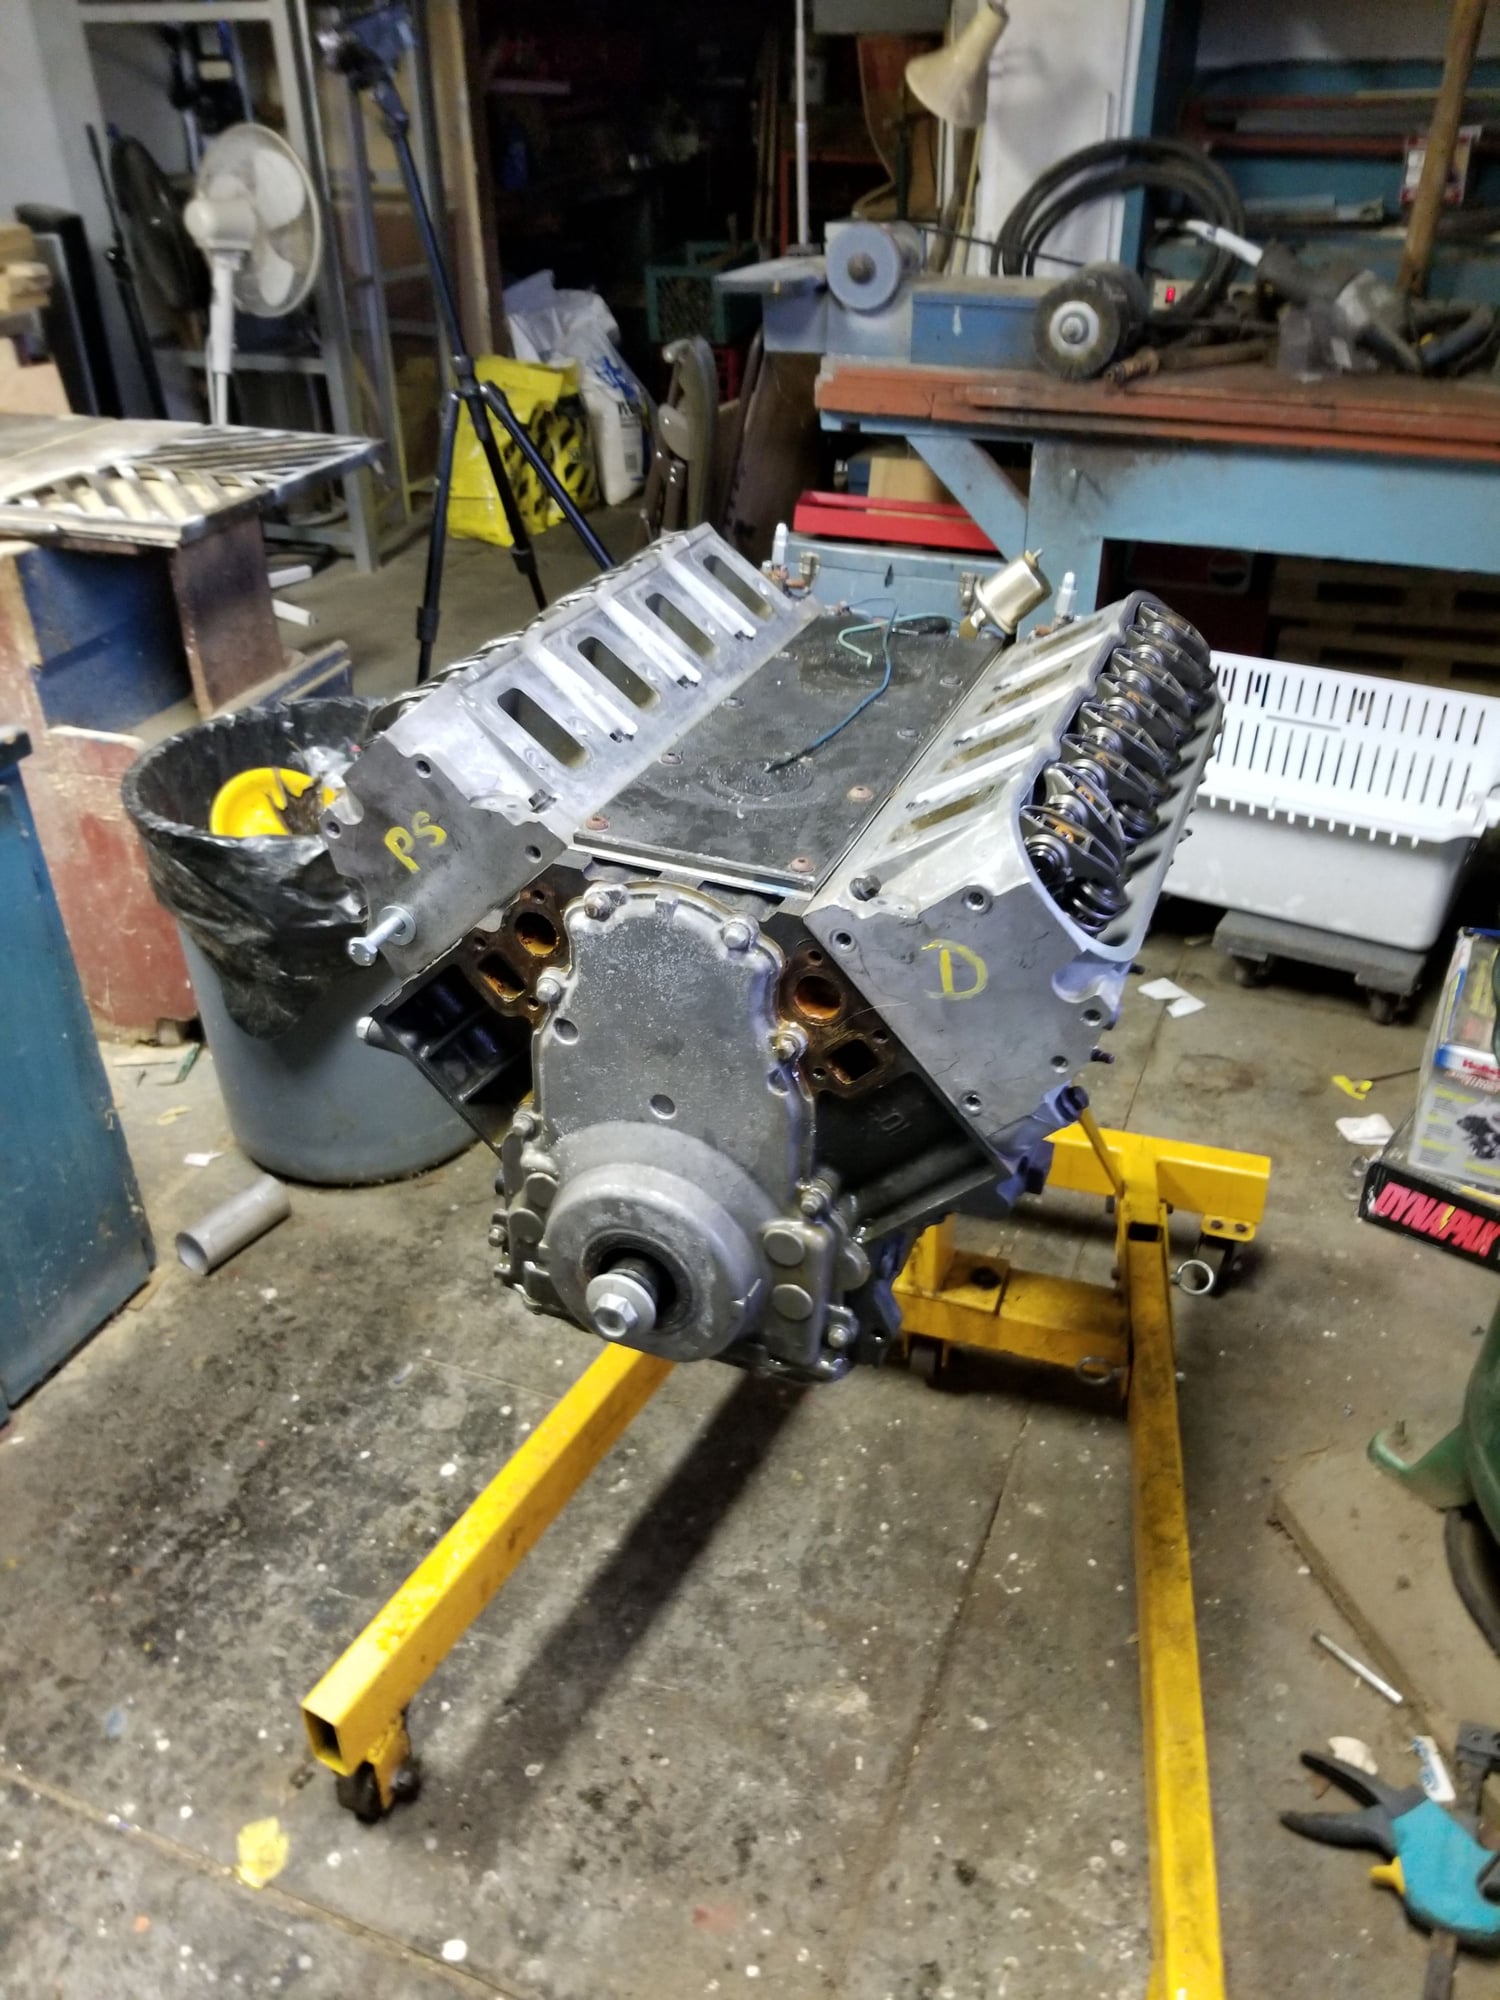
I had a chance to remove the engine from the car and do a full teardown. This video is just aimed at giving you all a better idea of how all of the parts fit together. I'm still learning on the best way to vlog, it's hard to know how much detail to show and how much to skip. I've got such a short attention span so I usually try and keep the videos to a few minutes long.
The plan is to send the engine into the machine shop next week. I'm getting the cylinders honed, new cam bearings and the rotating assembly balanced. I'm also going to get them to fit my rings because I don't want to waste hours filing them when they can do it super quick with their grinding machine. Total budget for the rebuild should finish in around $1500 canadian for parts and machine work. Even though the bottom end didn't really need it I wanted the confidence of the upgraded internals and new bearings. I really hope I made the right choice doing this and am wishing for a reliable 600whp. It is pretty tempting to just spend the extra $1000 on forged pistons and rods but I've opted against it.
How do the bearings and clutch look in this video to you? The one nick in the main concerns me a tad, the scratch in the crank is very faint however.
Thanks to everyone that's subscribed to my youtube channel and all the positive comments! Enjoy.


