When you click on links to various merchants on this site and make a purchase, this can result in this site earning a commission. Affiliate programs and affiliations include, but are not limited to, the eBay Partner Network.
Just finished this whole thread. I wonder why alot of companies/people go around the front of the engine with the hot side piping? you can easily go down under the engine and trans with the crossover pipe and join them into the driver side manifold.
like this
Not sure if there is enough room on a F-Body, Huron Speed might be able to explain more.
Those pics are very helpful, thanks for posting them billium.
You are quite welcome!
Before I bought my kit, I did a lot of research and didn't find too many detailed threads about this kit with pics. As you guys read my thread, it's not as plug and play as some might think. Hopefully this will help other people out in the future.
Before I bought my kit, I did a lot of research and didn't find too many detailed threads about this kit with pics. As you guys read my thread, it's not as plug and play as some might think. Hopefully this will help other people out in the future.
Bill
After attempting/figuring out a hi-flo kit back in 2008, I'm sure this will be a cakewalk in comparison. But, I'm up for all the cheat sheets I can get for fewer surprises!
Now that I have some basic wiring done and the brake lines are somewhat clear, I'm at the point I can do a test fire to see if my new engine runs and has oil pressure. I loaded a new tune in the PCM, got my scanner going and hit the key. It stumbled at first due to the air in the fuel rail and then comes to life! Hell yeah! With no coolant in it yet, I didn't have much time to let it run. Oil pressure is good and seemed to run ok, gave it some gas and it was stumbling. My check engine came on shortly after it started up. I checked the codes and I got a P0342 Camshaft Position Sensor A Circuit Low. I was stumped to say the least. Shut it down and started doing some troubleshooting. I didn't find anything and let it cool for about an hour and started it up again, same thing, P0342 code. WTF.... ugh...
Well after looking over everything many times, I couldn't figure out why I was getting that code. After being frustrated, I walked away from it for a few hours to try to clear my head and think about what it could be. With all the pictures that I took of my build, I decided to go back and look at them to see if anything sticks out.
Well, with any big project, your bound to make a mistake or two especially since I'm a one man show. I found the problem in my pictures. I wasn't going to post this because it's kinda embarrassing but figured what the hell, maybe it will help others out in the future and they won't make the same mistake I made. Isn't that what this site if for, sharing the good, the bad and the ugly... lol
When I ordered my engine, I had Golen Engines install a billet 24x reluctor wheel since I have a 2001 Camaro with a 411 PCM. If you recall from my first few posts, I had a H&C LS3 in the car before with the Lingenfelter 58x - 24x converter box to make it all work. When I was assembling my new engine, I installed the wrong cam gear! For some reason, I installed the 4x cam gear from my old build instead of the 1x cam gear that the 411 PCM needed to have the proper timing. I looked at the damn thing many times while the cover was off and didn't notice. I feel like a dumb azz but at least I didn't destroy anything, just my pride....
I tore it back down and installed the new 1x cam gear that I got from my local GM dealer. Reinstalled the the front cover with a new front main seal, reinstalled the balancer with a new GM crank bolt and started it up again. Fired right up, ran a little smoother and no codes!
The moral of this story (post), when installing a Gen 4 LS block into a GEN 3 LS car or truck, make sure your crank reluctor wheel and cam gear match your PCM type...
My son Zach giving me a hand as always with my car, thanks bud!
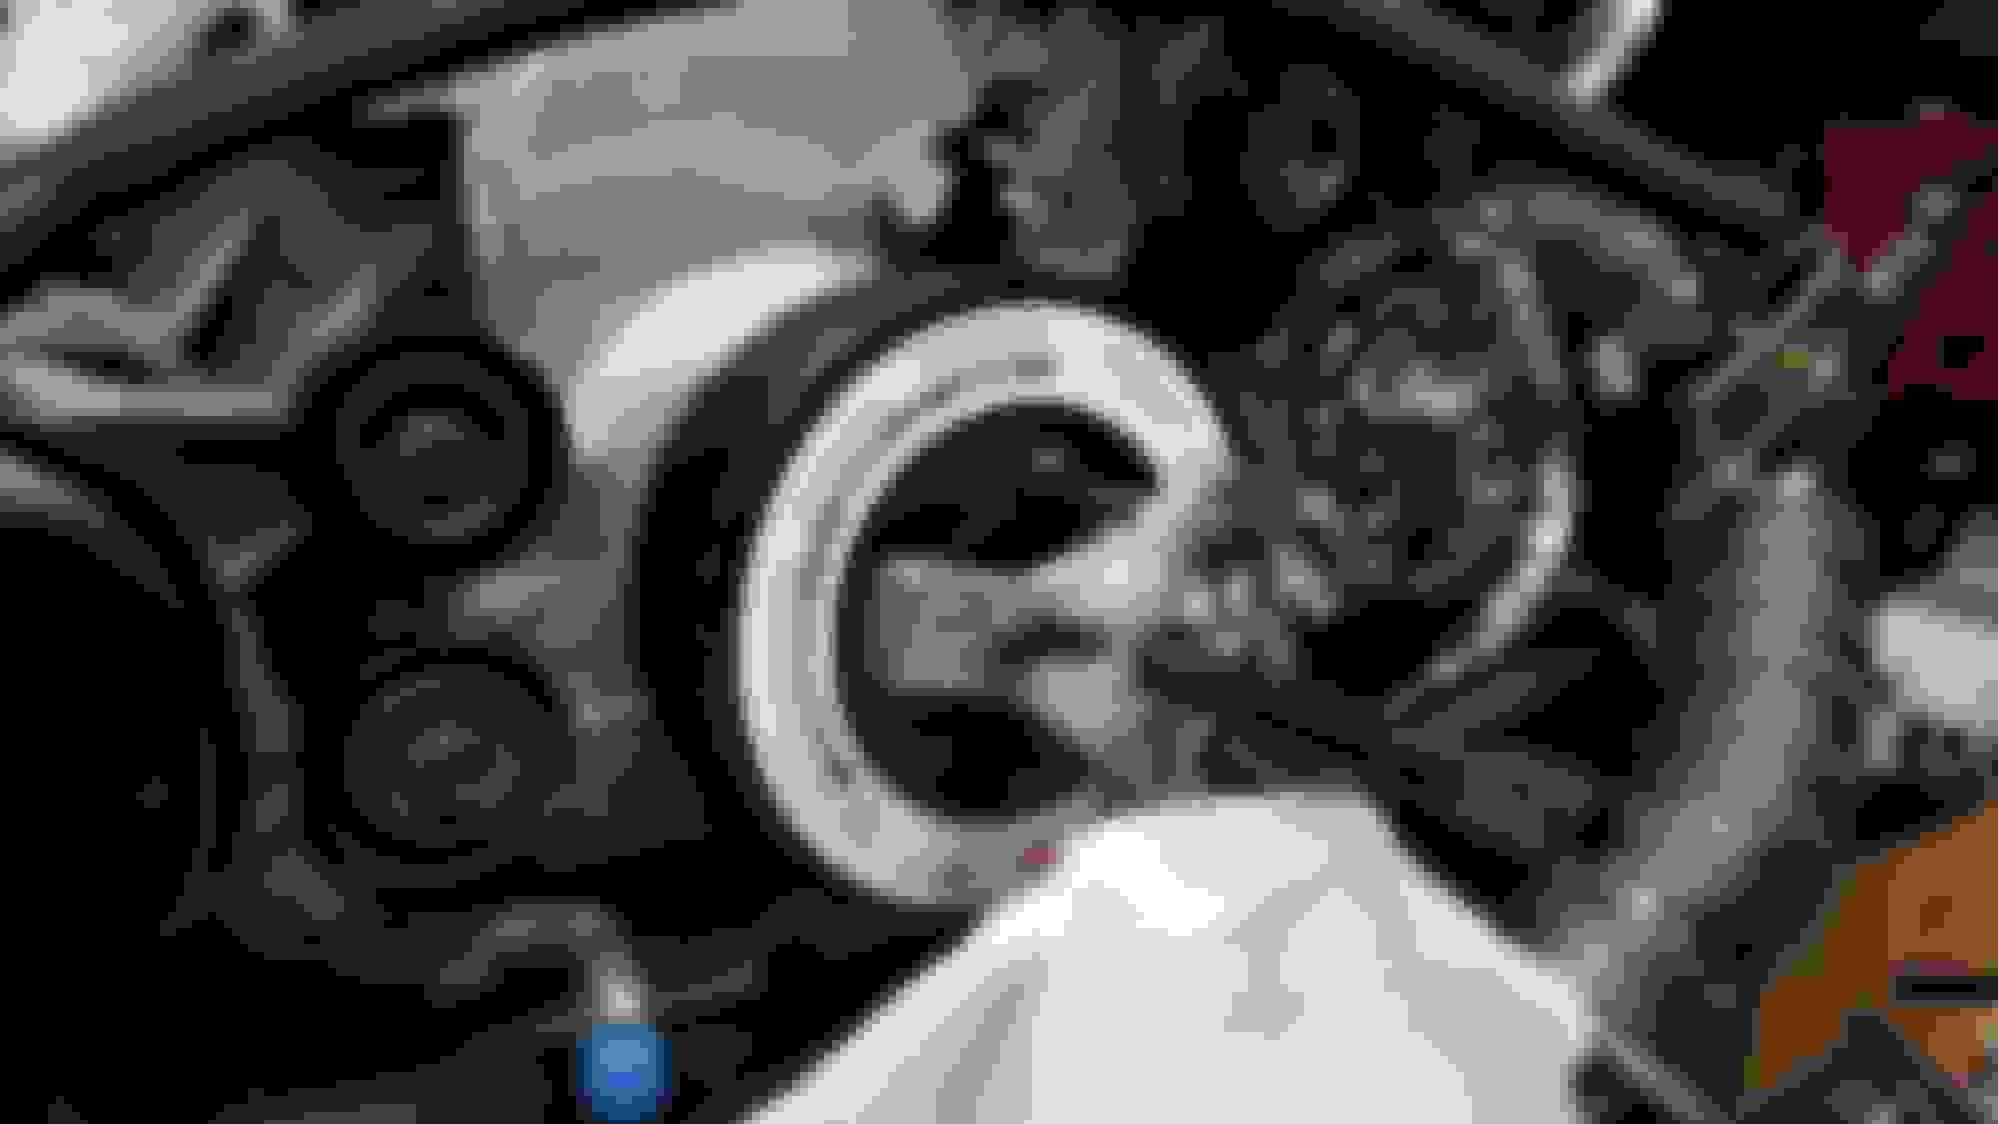
Hey look, there's the problem!
Big difference between the 2 cam gears, on the left 1x cam gear, 1 pulse to the PCM per revolution, 4x cam gear on the right, 4 pulses to the PCM per revolution.
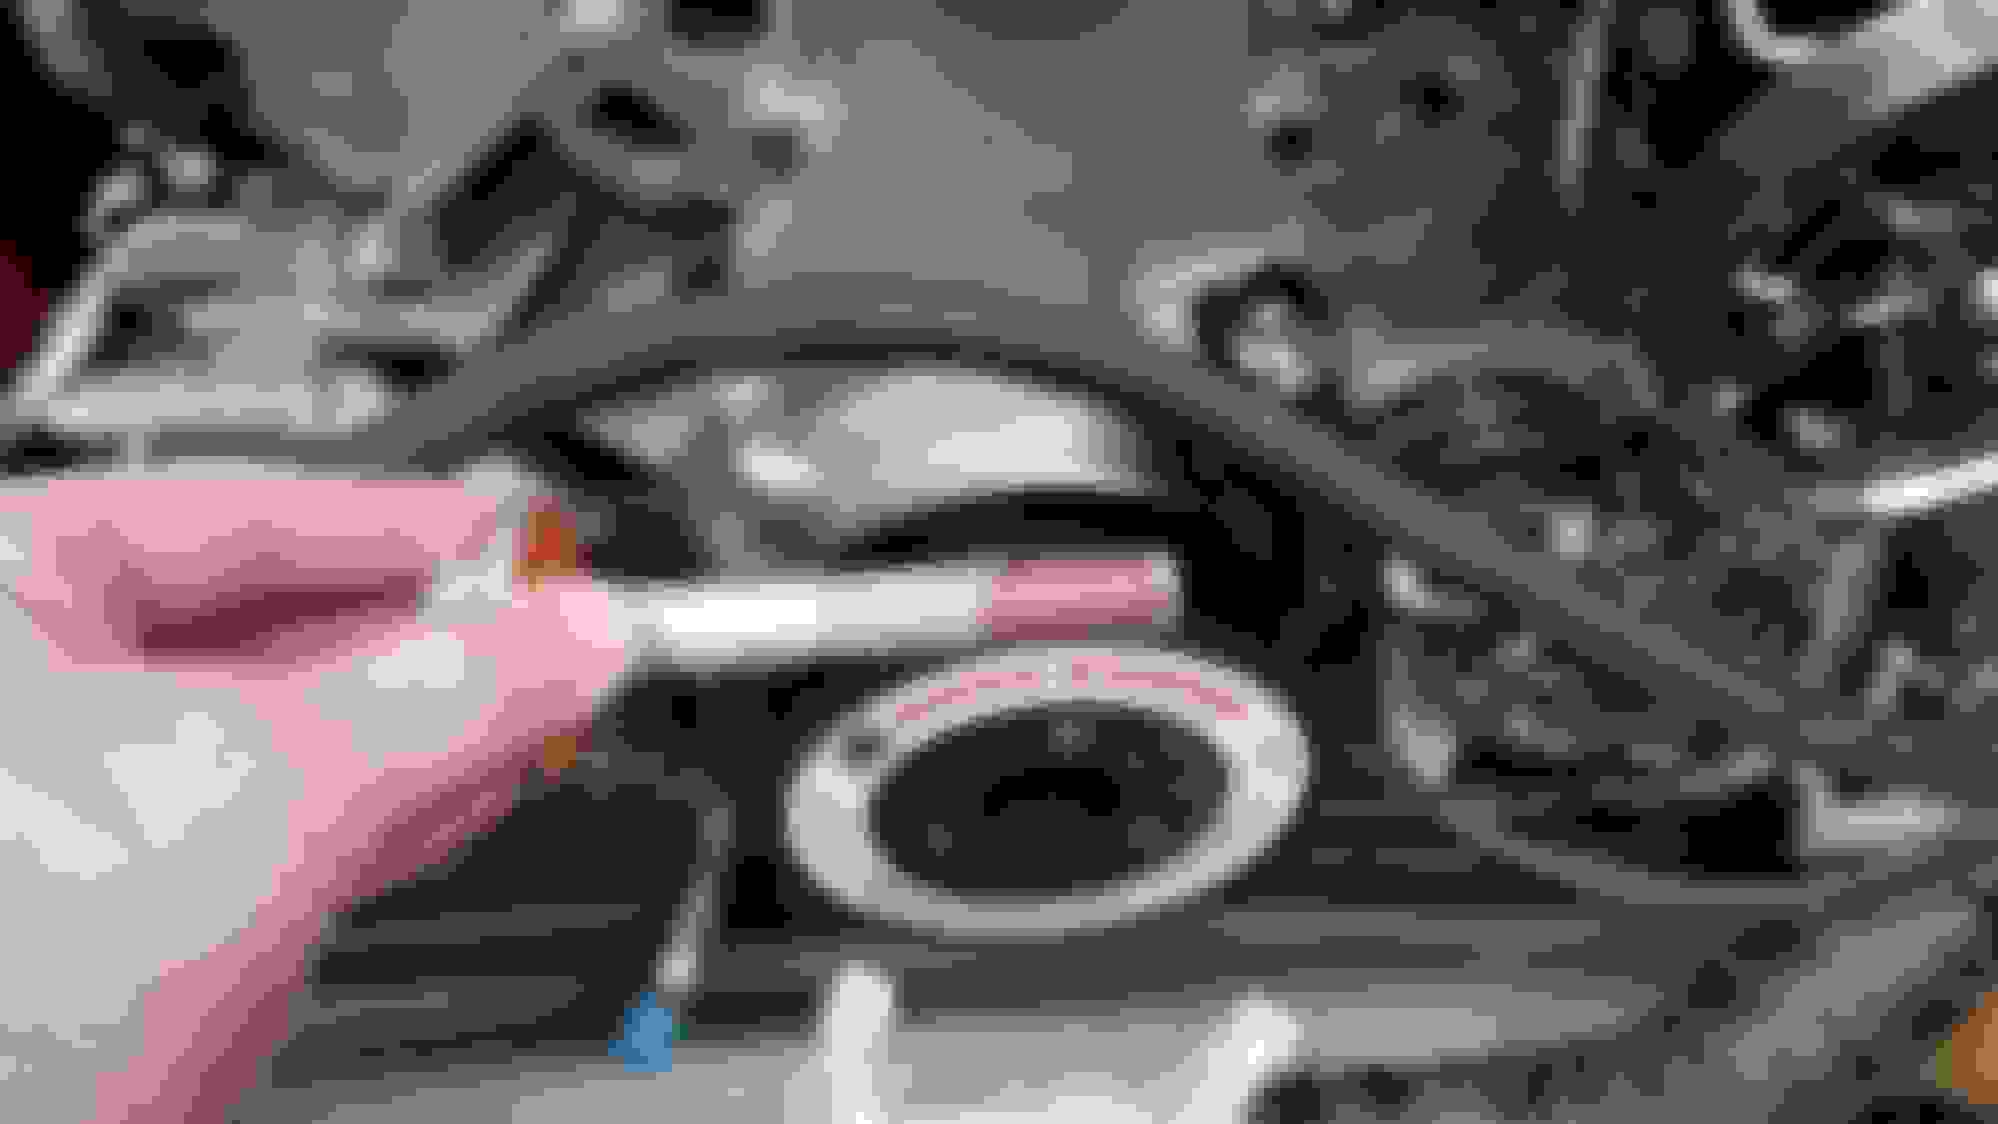
The new 1x cam gear is finally installed.
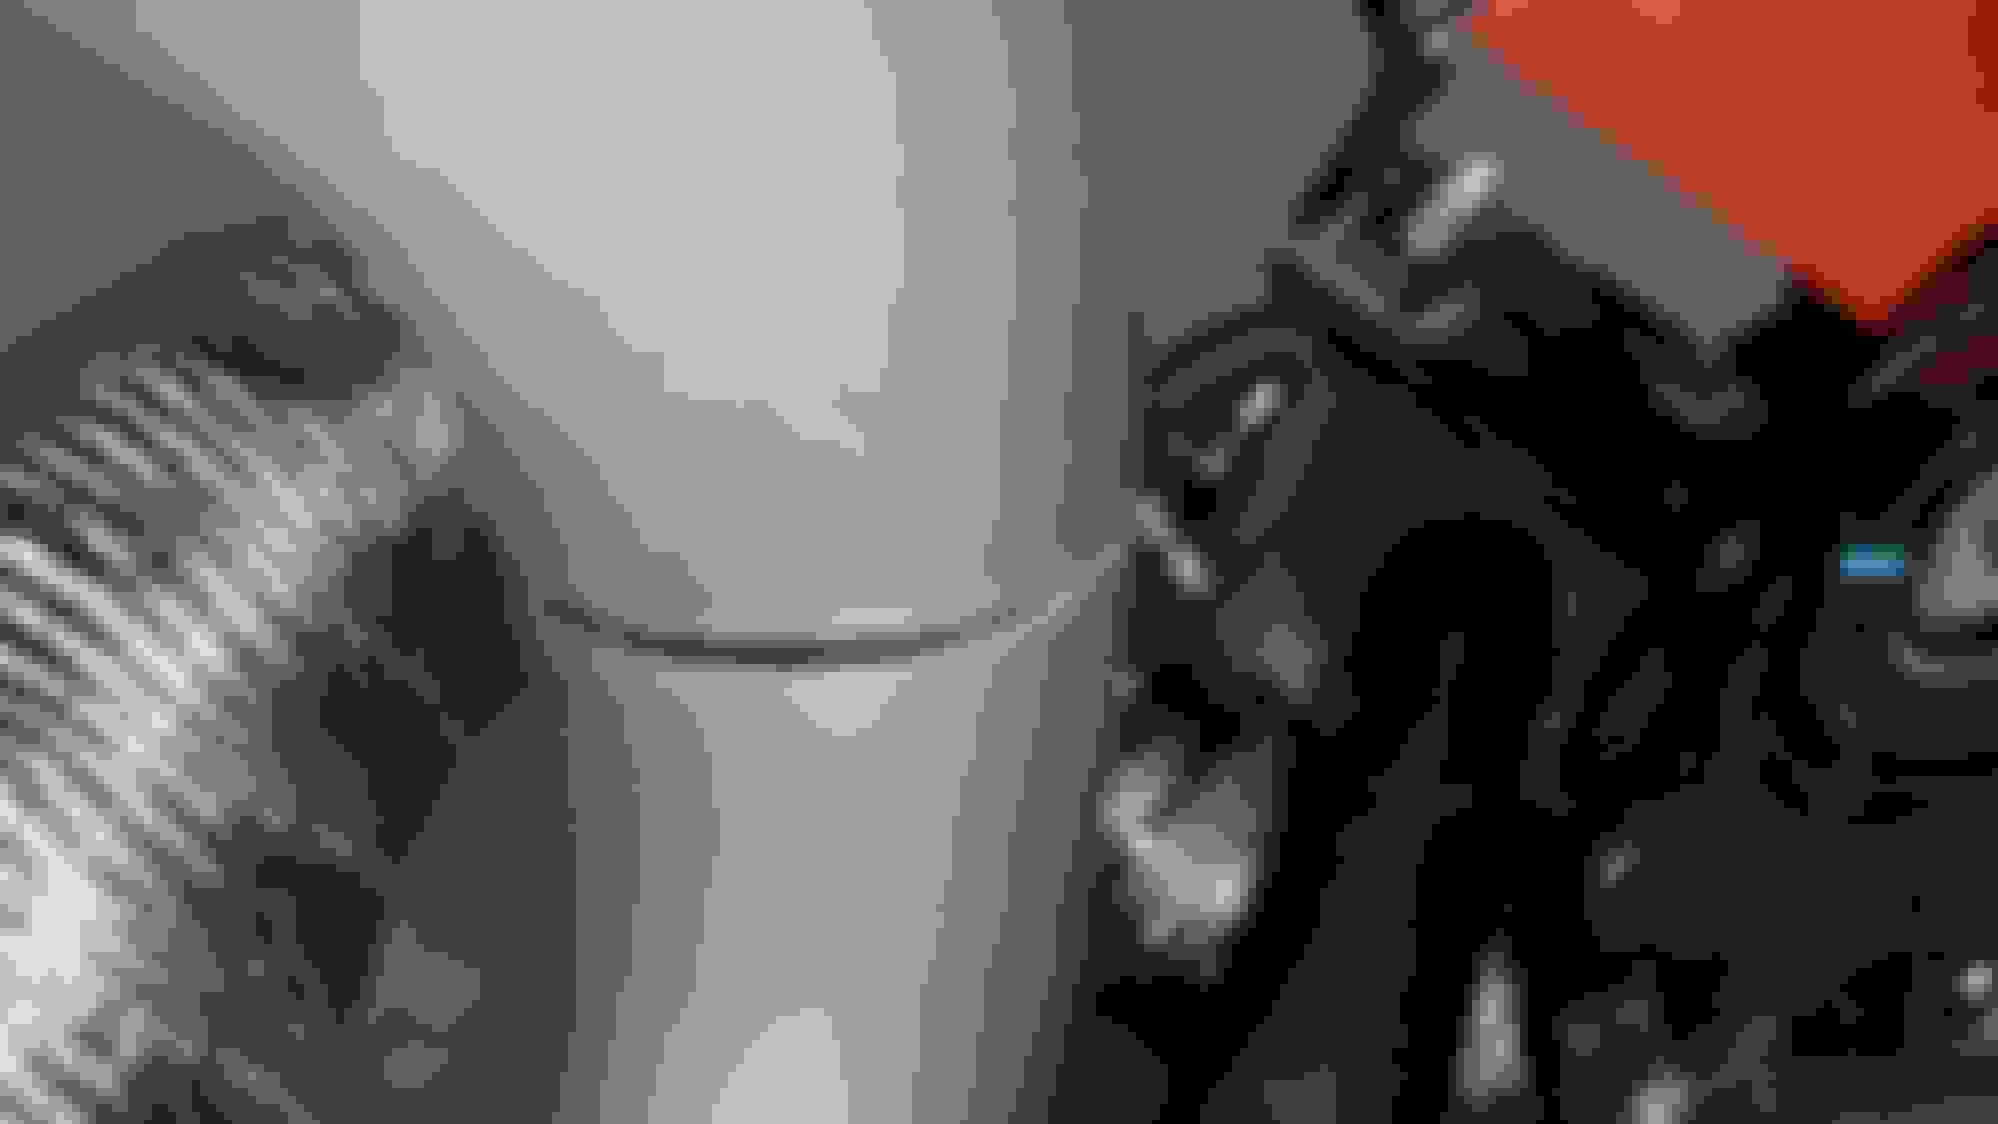
New GM Crank bolt with a little red loctite installed to GM spec
Awesome write up man! I've been running the V3 A/C kit for almost a year and a half now ... While I will say hurons kit is amazing quality, Im glad I wasn't the only one running into the same problems you mentioned....
Brake lines- I bent them out of the way on the driver's side but eventually burned through the steel line and had to have it repaired.
A/C lines- they had to be bent in order to not be touching the passenger hotside.
Wiring- had to be rerouted and zip tied in various places to not get burned up.
Power Steering- had to bypass the cooler, and order stainless replacement lines so they could be rerouted because there's no way they would have lasted being that close to the down pipe.
Steering Rack- the down pipe is literally on the driver's side boot cover, it melted through, not much room for adjustment there other then wrapping
The kit is great but like you mentioned, there's alot of small things that needed attention and eventually started to $100 me to the point where I was about demod the car and sell it
Yep, it has cost me a lot more as well to try to make everything work properly and not get burnt up. I've been having issues with the turbo downpipe (J Pipe) hitting the sway bar. It's physical impossible to make it work. The pipe is just made wrong, it has a hair too much bend in it. I put my stock sway bar back on and no dice, still won't fit.. I've been working with Jon to resolve this. Will be posting about the sway bar issues soon with pics.
I've been making great progress on the install, just behind on posting all the details and pics here.
When I'm all done, I'll be posting suggestions on how Huron Speed can make a good kit a GREAT kit!
I decided to run without a sway bar, I DD my car and haven't noticed much of a difference without it.
It is a great kit but there's definitely some tweaks that can make it better, I feel like the angle on the downpipe that goes over the steering rack could be improved for better clearance as well.
we are dealing with fbodys at the end of the day, it'll never be perfect lol
Customer service is fantastic as well, I've gotten replies and emails answered after hours and weekends!
I was able to make it all work, but had to modify the downpipe. Yes, the output pipe that goes over the steering rack needs to be redesigned a little.
While Jon does provide good customer service via email, it would be nice to actually talk to him on the phone to work out an issue, Instead of going back and forth over email 20 times and over 8 hours, a simple 5 minute call can resolve the issue much sooner. You can't always do everything over email, sometimes things don't translate well.
While Jon does provide good customer service via email, it would be nice to actually talk to him on the phone to work out an issue, Instead of going back and forth over email 20 times and over 8 hours, a simple 5 minute call can resolve the issue much sooner. You can't always do everything over email, sometimes things don't translate well.
i agree 100%
This is they're 3rd version and from my understanding, its gotten better each time so hopefully it continues to do so...
Our feedback should help the cause hopefully
Now that is actually running, It's time to start buttoning up this install. Well, my first major issue with this kit is that the downpipe hits the sway bar. It seems that the pipe has too much bend in it and doesn't allow the flange to sit flush on the turbo to get the clamp on. I contacted Jon from Huron Speed and he said "this is the first he has heard about anyone having this issue"... hmmm It seems that a lot of people have been having issues with this.
He said the kit was designed for the SS or WS6 sway bar and asked if I changed mine. I did, I installed a BMR sway bar about 10-12 year ago. he said that may be the problem. So I dug out my old GM SS sway bar, put that in and same issue, the downpipe still hits the sway bar.
So after many emails back and forth, Jon offered to send my a new turbo downpipe (J - Pipe) to see if that makes a difference. I received it a week or so later and damn, same problem! WTF!!!! Jon suggested to just remove the sway bar and problem solved. I said no, it's mainly a street car and I want it there.
Well, the only way to fix this is to cut and reweld the downpipe to gain the proper clearance. After a bunch more emails back and forth, Jon agreed that it needed to be modified and would make it right by footing the bill for the custom weld job.
I contacted my local trade school and had one of the welding instructors come to my house to have the downpipe modified. We made the cut, installed it in place using zip ties and spacers so we can weld in the proper clearance.
With the sway bar installed, this was the best the downpipe would fit onto the turbo...
Here, you can see where it was hitting the sway bar and rubbing the **** out of my DEI wrap. The part by the O2 bung is where it sits against the merge which it's suppose to.
Another issue I had with the hot side was that the wastegate recirc pipe would not line up even when the kit was mocked up on an engine, on an engine stand. Again, I emailed Jon from Huron Speed many times about this and he assured me that it will go on. Umm no it won't.
My AC turbo kit was one of the last kits that had this feature where the wastegate would vent back into the exhaust like its suppose to. Huron Speed discontinued this feature since it's such a pain to get it to line up and that it's the lowest part of the kit (ground clearance). As of this past summer, all AC retaining turbo kits from Huron Speed vent the wastegate to your engine bay.
Being that this is a street car with AC retaining, I didn't want to vent exhaust gases into my engine bay while under boost and have some exhaust smell come into the cabin with the windows up. Most people would say screw it, whats the big deal, Well, I bought a AC turbo kit so why not make it right.
Once I had the DP modified and had the clearance I needed, I also had the wastgate recirc pipe modified as well since I had the welder there.
No matter how loose I had the pipes, this was the best I could get it. Even though there is a flex pipe in there, I could flex it some but then the recirc pipe seemed to be too long and wouldn't line up in other ways... ugh.......
Tell me about it, many delays with this project that were out of my control...
Since I had the same issues with either sway bar, I put my BMR sway bar back on and modified the DP with the spacers in place.
I understand that. I'm doing the whole car (rear/trans/engine) at the same time, so I know all about delays. I have pretty much accepted the fact that I can't have a timeline with this, as it busts at least weekly lol.
I'm trying to make the DP fit around my Strano front sway. Luckily I have a friend that can weld, so I'll keep your method in mind when we get to that step.
I didn't get the recirc pipe with my kit, but didnt give it a ton of thought. I'm also going to run an exhaust dump up front on the DP, so it was going to get cut anyway. Hopefully won't be too smelly.
I had all the same issues that you guys had, but the sway bar problem, I unbolted the sway bar from both lower control arms and pushed it up. then I bolted everything up. with the front suspension loaded (weight on the car on the tires) it's tight but it fits. I wanted to try longer sway bar links but never got around to it. I have been driving my car with this kit for about a year with factory ss sway bar. I got one of the first kits in a group purchase. if the weather breaks I will post some pics this weekend
Photochop - By mid summer, I gave up on a timeline and just kept at it when I could, figured it will get done when it gets done. Good luck, post some pics of your results.
GMTECH4 - Seems to be a common problem that Huron Speed really needs to address. I look forward to your pics.


 11-01-2018, 06:35 PM