
Replacing my valve springs **added a self calculating spreadsheet for you all**
 06-20-2016, 11:57 AM
#1
TECH Apprentice
Thread Starter

**I added a spreadsheet with automatic calculations that I put together for the install in post #11. You can use this for any application. Enjoy!
So I bit the bullet and finally started replacing the valve springs in my LS1 today. The current springs are Comp 987's installed by Thunder Racing on GTP ported 5.7 heads. They have been in the car since 2003, and have about 15,000 miles on them. I will be replacing them with a set of PSI 1511's, along with some titanium retainers, all purchased through Brian Tooley.
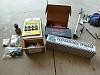
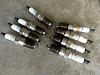
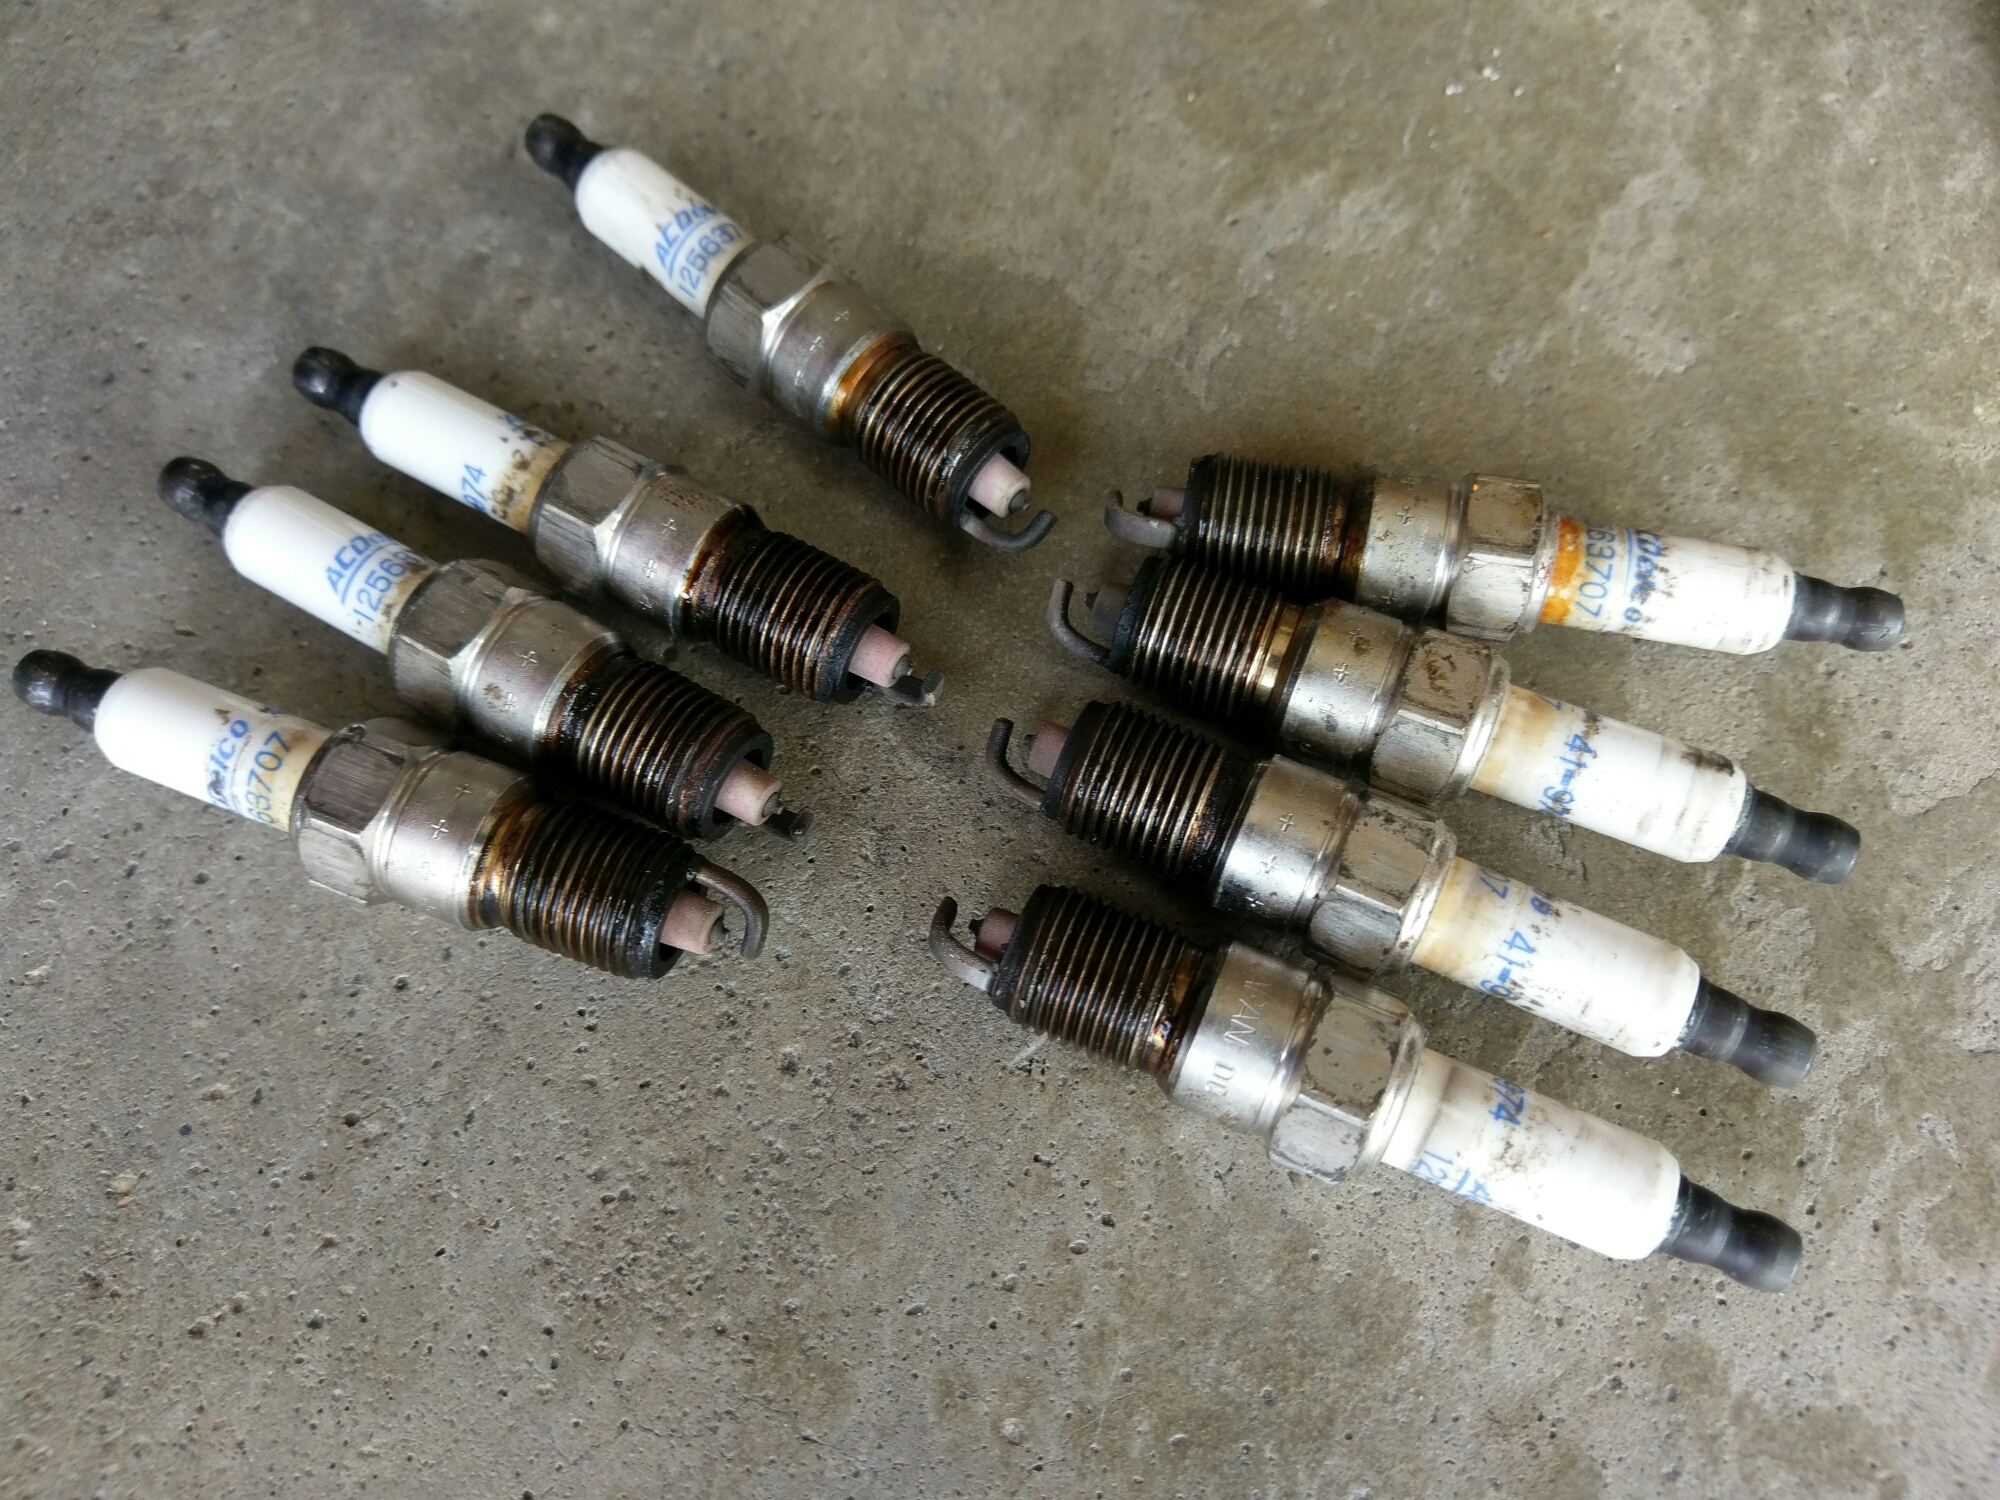
I got started by removing the coil packs, spark plugs, valve covers, and rockers.


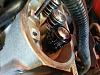
I was making good progress having gotten the rockers removed in just about an hour, and getting cylinder #1 to TDC, when I went to put on the Crane Valve Spring Compression Tool only to realize that it wouldn't fit in-between the massive Comp 987's.
So...that is where I'm at now. I'm assuming the Comp tool will work since the anchor hangs over the springs, but that won't help me get the job done today.

I love it when that happens
Can anyone confirm which tool will work for both the 987's and the beehives?
So I bit the bullet and finally started replacing the valve springs in my LS1 today. The current springs are Comp 987's installed by Thunder Racing on GTP ported 5.7 heads. They have been in the car since 2003, and have about 15,000 miles on them. I will be replacing them with a set of PSI 1511's, along with some titanium retainers, all purchased through Brian Tooley.

I got started by removing the coil packs, spark plugs, valve covers, and rockers.

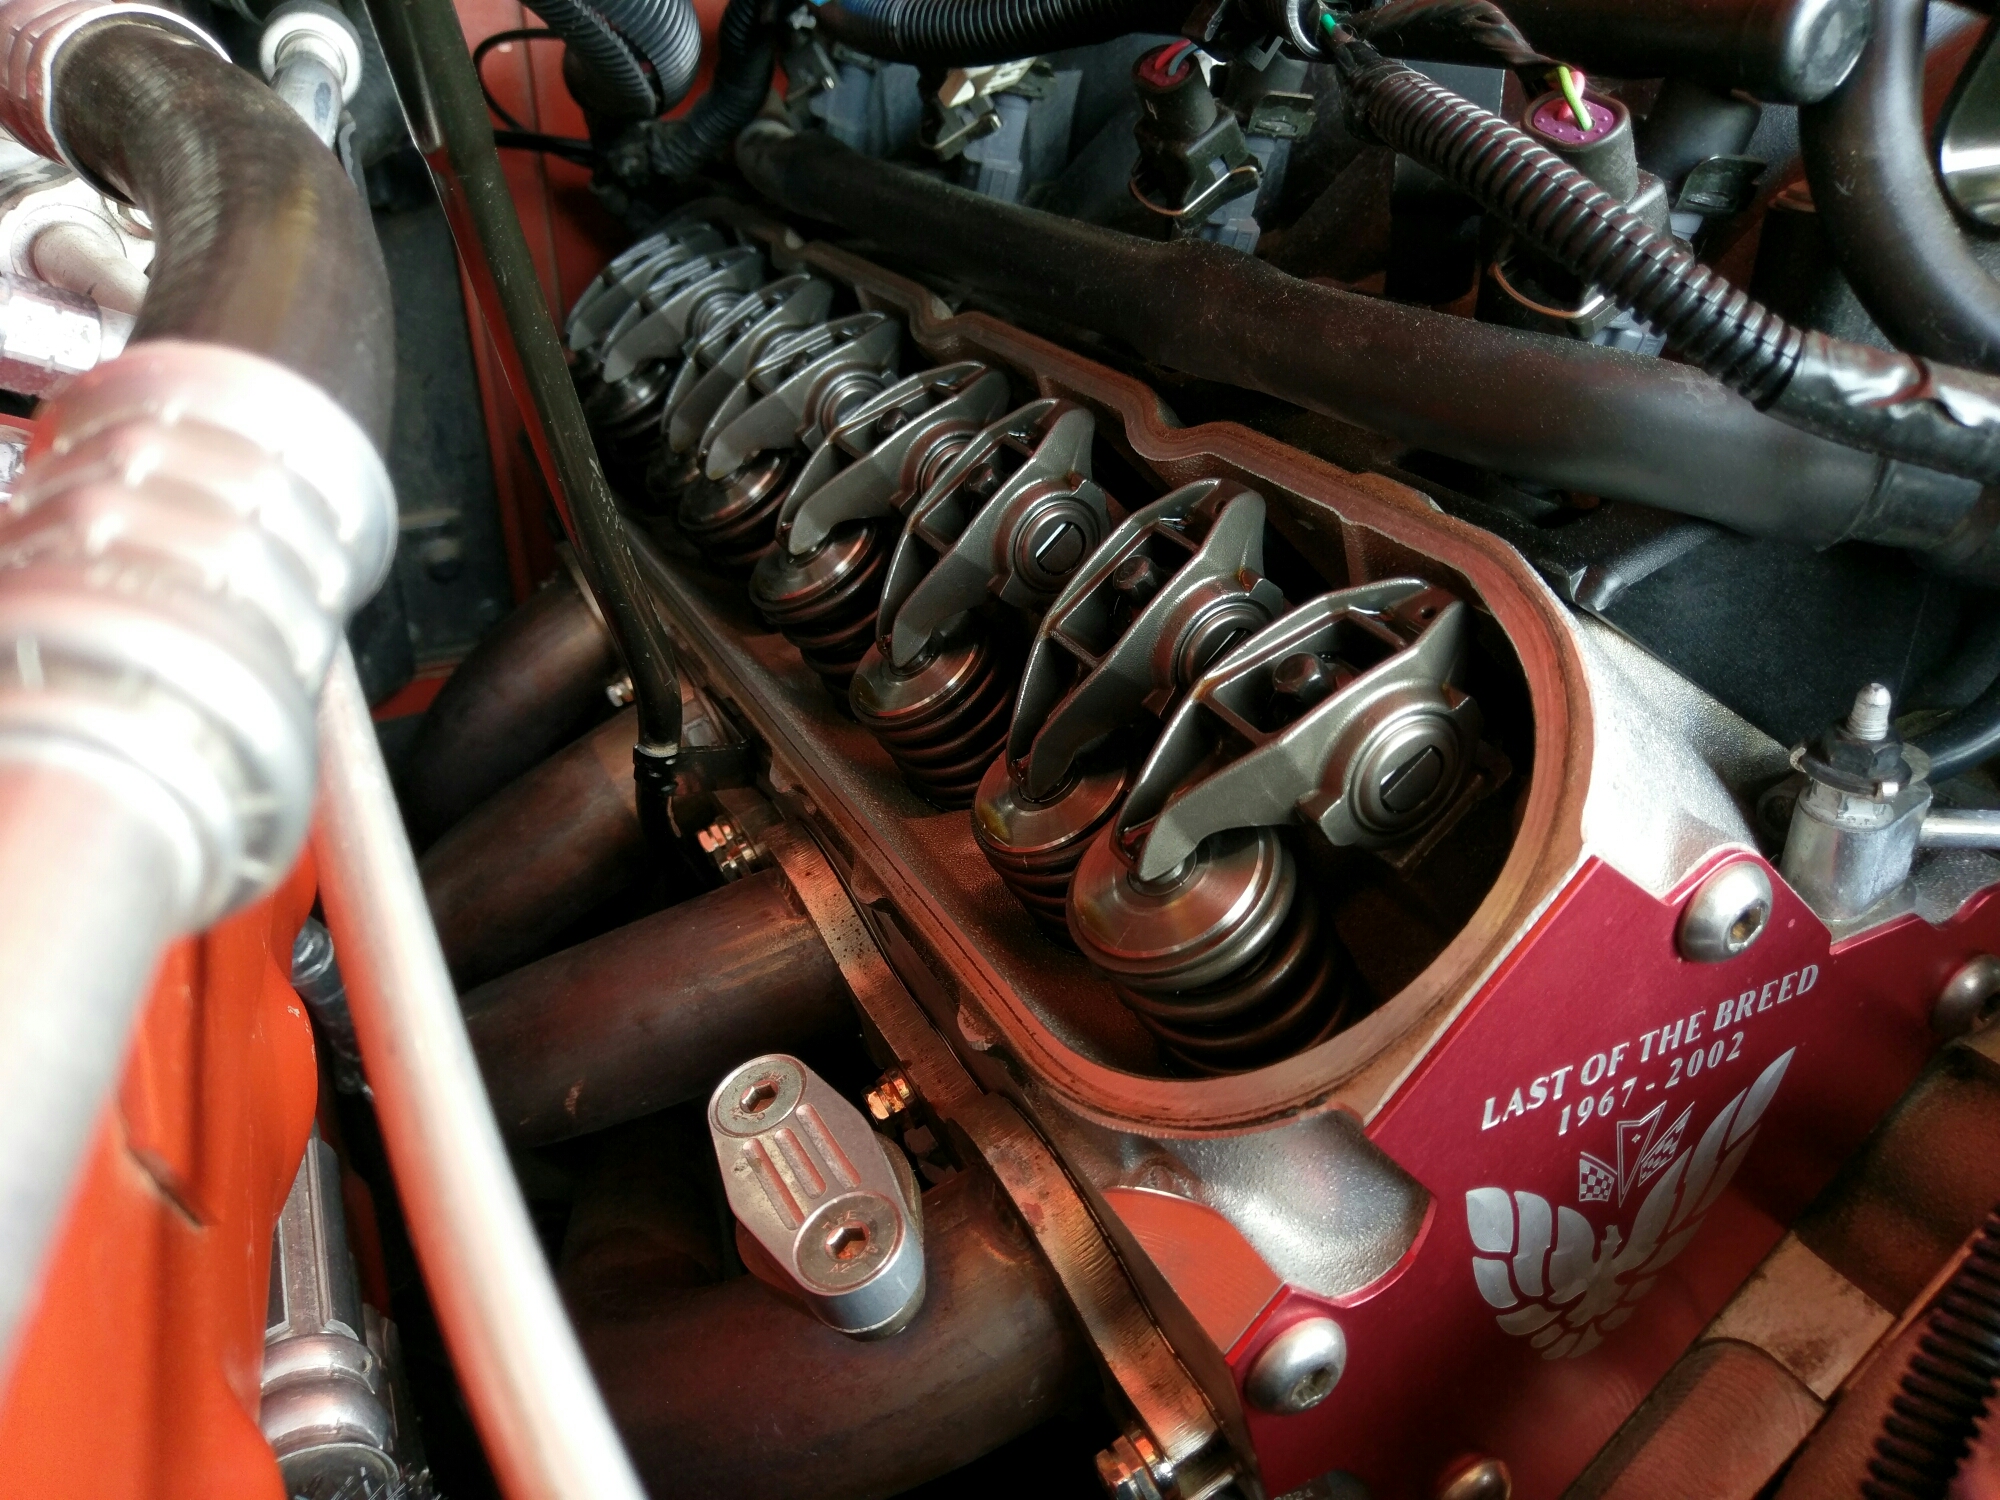

I was making good progress having gotten the rockers removed in just about an hour, and getting cylinder #1 to TDC, when I went to put on the Crane Valve Spring Compression Tool only to realize that it wouldn't fit in-between the massive Comp 987's.
So...that is where I'm at now. I'm assuming the Comp tool will work since the anchor hangs over the springs, but that won't help me get the job done today.


I love it when that happens
Can anyone confirm which tool will work for both the 987's and the beehives?
Last edited by Tang2; 06-23-2016 at 12:24 PM. Reason: Information
 06-20-2016, 04:19 PM
#3
TECH Apprentice
Thread Starter
Thanks for the link!
 06-20-2016, 05:32 PM
#5
TECH Apprentice
Thread Starter
A couple of cam/spring gurus recommended beehives with my low lift cam (.569). I'm also all about efficiency, and saving a little weight in the valve train is a win for me. I'm also confident that the PSI's will hold up well as long as I install them properly.
 06-20-2016, 07:15 PM
#7
TECH Apprentice
Thread Starter
Trending Topics
06-21-2016, 06:57 AM
#9
The PSI's are a great spring, but a little light on the seat value. I used them on a couple of motors. You might want to measure your installed height and shim the seat to 135#. Also make sure you have enough clearance to coil bind with the shim.
06-21-2016, 09:16 AM
#10
TECH Apprentice
Thread Starter
Do you think 140# of seat pressure would be ok in my application?
06-23-2016, 12:37 PM
#11
TECH Apprentice
Thread Starter
If you downloaded the attachment prior to 1:40 pm EST, please delete the file and download it again. When I first created it, I built my cam specs into the formulas, and that was left in a few cells. The sheet has been corrected now.
I put together an excel sheet that I'm going to use to document my spring install. I figured I'd post it here in case others find it useful.
In order to use it for your application, you'll have to make the necessary changes to reflect the specs of your springs in cells B2-H2 (highlighted in yellow), and then add the max lift of your cam in cell E4. Everything else will update automatically on the main row, which is where I set my install goal. As you begin to measure your spring heights during install, you can add those values in the yellow cells for each cylinder below that. I also added a column for any shims you are using for documentation purposes. Once those values are entered it will give you the final installed height for each valve, as well as the seat load, load at max lift, and your distance to coil bind. Cell N22 will even tell you the largest variance you have between your final installed heights.
Hope you enjoy it!
Last edited by Tang2; 06-23-2016 at 12:59 PM. Reason: Corrected attachment
 06-24-2016, 01:46 PM
#13
TECH Apprentice
Thread Starter
06-24-2016, 03:00 PM
#15
TECH Apprentice
Thread Starter
06-25-2016, 09:13 PM
#16
TECH Apprentice
Thread Starter
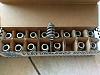
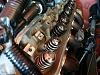
I had a few hours and started the swap today. My heads were machined to fit Comp 987's. With that, I sure am glad I measured! The first one (pictured) has required the most shimming so far, but I'm only half way done.
I'll post up my completed worksheet once in done. Not entirely sure when that'll be though...
I'll post up my completed worksheet once in done. Not entirely sure when that'll be though...

