
Needle bearing failure, now CHE trunion kit install
 06-28-2017, 01:46 PM
#41
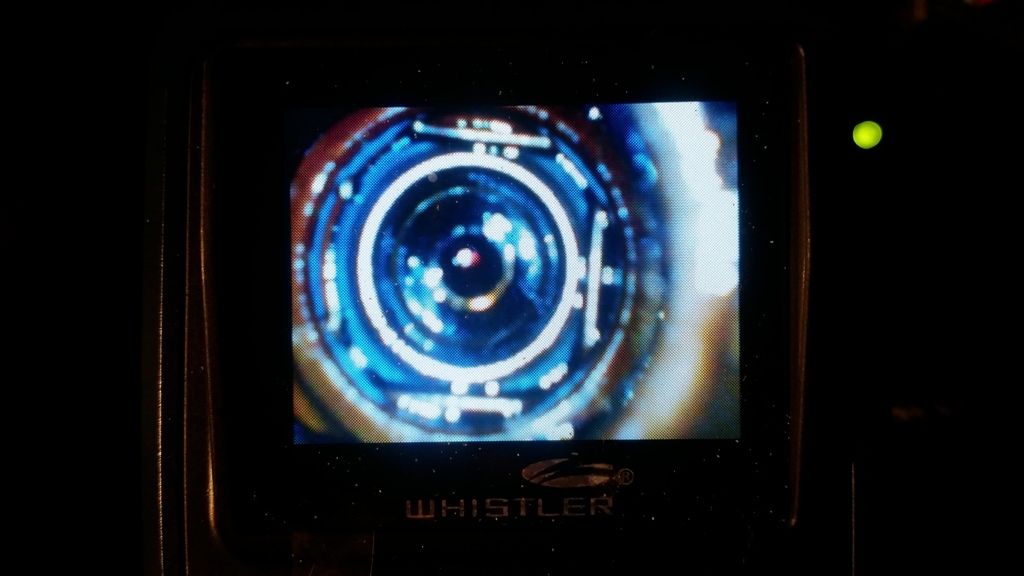
Ok little progress, pulled the pushrods and used a boroscope and they were clean of debris. I'll try to find a small magnet, but I don't see anything besides a little grime. This is cylinder 4 rear most lifter, both the tray and lifter were debris free from what I could tell
Inspecting the valve top I could see slight scratching, and then inspecting the rocker I found the same slight scratching. It's probably a wise idea to replace the rocker
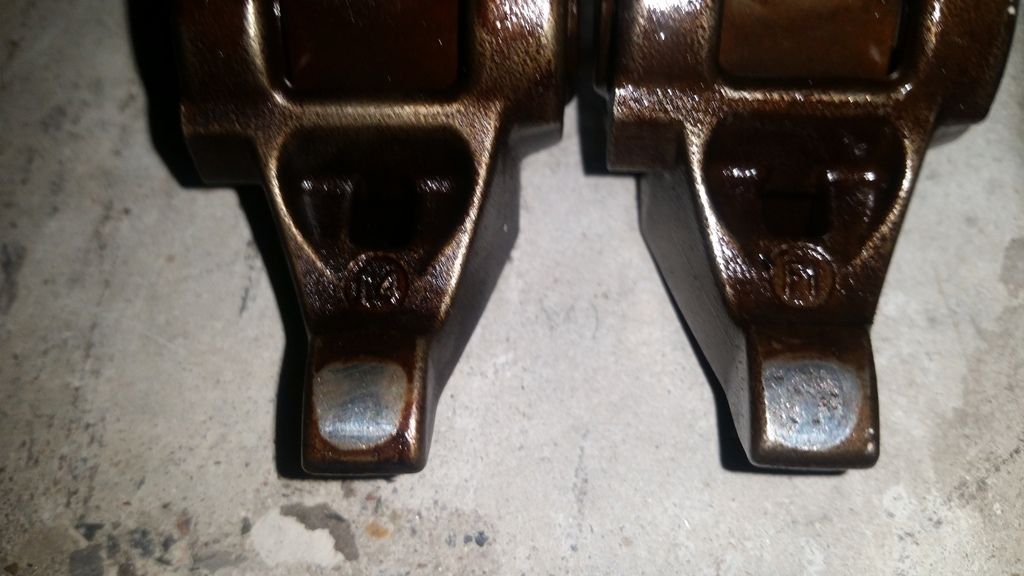

Inspecting the valve top I could see slight scratching, and then inspecting the rocker I found the same slight scratching. It's probably a wise idea to replace the rocker

 06-28-2017, 01:55 PM
#42
Yeah the one on the right is the bad one, the one on the left is the normal one without the trash metal marks.
Local dealer had one in stock. $18
The drain plug was from autozone, $5 if I recall correctly
I've also heard to use a large magnet across the bottom of the pan to sweep the metal to the magnetic plug. Or some old school guys jb weld a magnet to the oil filter
Local dealer had one in stock. $18
The drain plug was from autozone, $5 if I recall correctly
I've also heard to use a large magnet across the bottom of the pan to sweep the metal to the magnetic plug. Or some old school guys jb weld a magnet to the oil filter
06-28-2017, 02:06 PM
#43
TECH Addict

You can also buy a handful of "rare earth" magnets, just stick some to the filter,, they are extremely powerful, then just swap them at oil change to the new filter. I've used the round ones about 1/2 inch in diameter. They are cheap on line. You can always wrap the filter/mgnets with Aluminum tape if your worried about them coming off.
 06-29-2017, 11:41 AM
#45
Per the CHE instructions I soaked them in degreaser solvent, I used purple power. I was doing them one at a time and it was taking a while, in the end I just got a $3 oil drain pan from autozone and poured a bottle of purple power in it and let the bare rockers soak for about ten minutes and scrubbed them with a junk tooth brush, soak again, and then rinsed them under warm water and towel dried them.
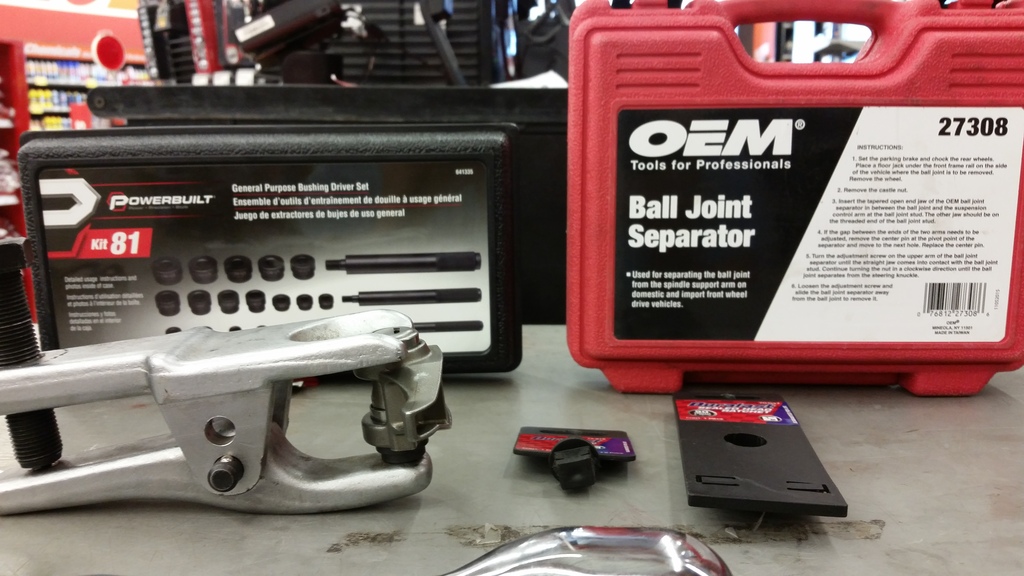
Popping the old trunions out. I forgot to mention the ball joint tool is $30, but it's a free rental you can return when youre done. The small bushing driver tool is not available at every autozone, but a small nut or something similar would have worked just as well
In this picture I was doing them one at a time, first bottle was pre soak, second cup was final soak
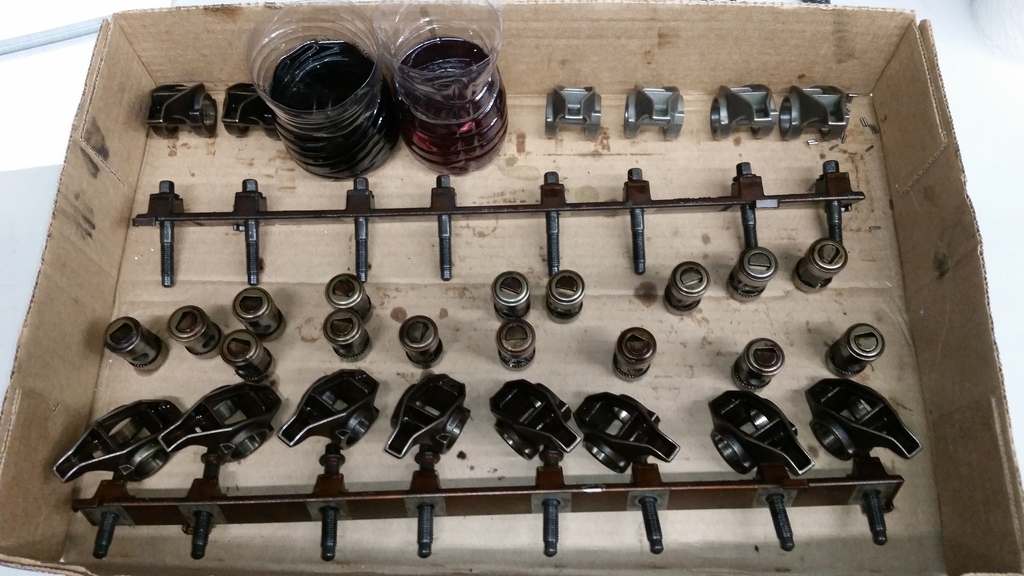
Suprisingly they came out looking identical to the brand new gm rocker. I was suprised.
The new gm rocker with the new trunions is the one on the top, my old clean ones are the ones in the box
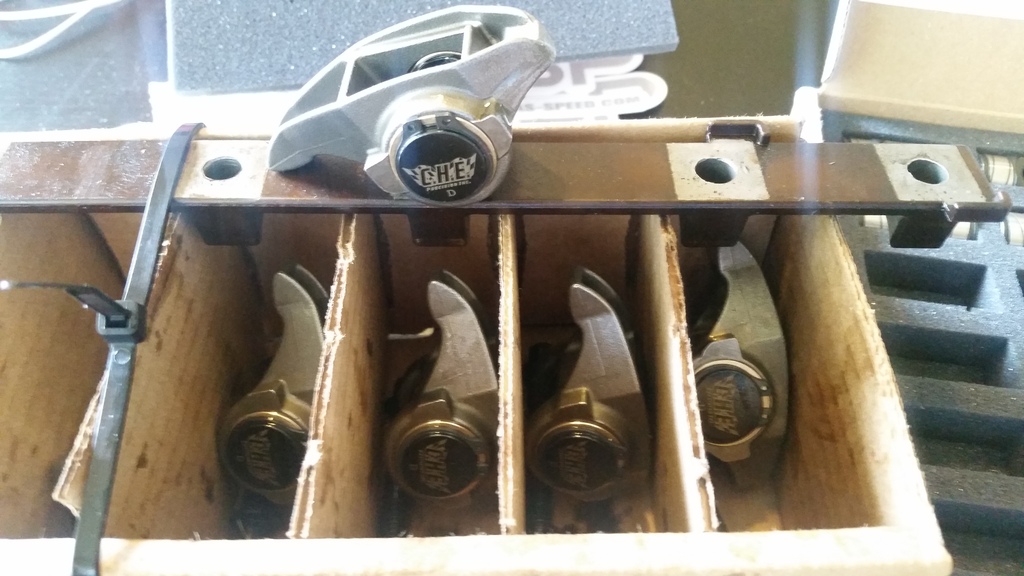
After I rinsed them in warm water and dried them I noticed very light surface rusting starting to happen, it's important to re coat the used rocker arms in the assembly lube before installation on the vehicle. Or maybe just not scrub them with a tooth brush to avoid that
Also never saw the reason listed in rocker arm install guide, but finger tighten all the rocker bolts before you tighten them down. If you do them one at a time the tray probably won't line up very well and you'll have a rocker arm bolt that feels like it doesn't want to thread in the head as easily as the others because the tray isn't aligned properly
I torqued them all to 29.1 NM which is about 21.6 ish foot pounds. Spec is 22, and my inch pounds wrench maxed out at 250 but did 29.1 newton meters. Autoparts store torque wrench looked pretty heavily used, I trusted my high dollar in lbs wrench more than the parts store one

Popping the old trunions out. I forgot to mention the ball joint tool is $30, but it's a free rental you can return when youre done. The small bushing driver tool is not available at every autozone, but a small nut or something similar would have worked just as well

In this picture I was doing them one at a time, first bottle was pre soak, second cup was final soak

Suprisingly they came out looking identical to the brand new gm rocker. I was suprised.
The new gm rocker with the new trunions is the one on the top, my old clean ones are the ones in the box

After I rinsed them in warm water and dried them I noticed very light surface rusting starting to happen, it's important to re coat the used rocker arms in the assembly lube before installation on the vehicle. Or maybe just not scrub them with a tooth brush to avoid that
Also never saw the reason listed in rocker arm install guide, but finger tighten all the rocker bolts before you tighten them down. If you do them one at a time the tray probably won't line up very well and you'll have a rocker arm bolt that feels like it doesn't want to thread in the head as easily as the others because the tray isn't aligned properly
I torqued them all to 29.1 NM which is about 21.6 ish foot pounds. Spec is 22, and my inch pounds wrench maxed out at 250 but did 29.1 newton meters. Autoparts store torque wrench looked pretty heavily used, I trusted my high dollar in lbs wrench more than the parts store one

Last edited by chrysler kid; 06-29-2017 at 11:59 AM.
 06-29-2017, 01:01 PM
#47
Teching In
Join Date: Dec 2016
Location: Arkansas
Posts: 29
Likes: 0
Received 0 Likes
on
0 Posts
I was going to make a new thread, but I was afraid of there being too many similar ones, so I will ask it here.
Has anyone used both the CHE and the Straub bushings? Why is one better than the other?
Has anyone used both the CHE and the Straub bushings? Why is one better than the other?
06-29-2017, 01:24 PM
#48


The difference is debatable. I was not able to find a btr kit in stock at any site vendors, and TSP was available for next day shipping. Also the whole ordeal about needing to be pressed into the arms initially caused me to stress about who I was going to take it to in order to have the bearings and trunions installed and removed, but with my little ball joint press I think it would have been about as easy as the che kit
The CHE uses non pressed in brass bushings, it's advertised benefit is that it has the advantage of load distribution across the bushing rotating in the rocker, and the bushing rotating on the trunion. Theoretically less prone to damage and wear.
On my application for a daily driver I keep at or under factory Redline I don't think it will make a difference. A car that lives above Redline may see less stress on the rocker bushing, or instead of just wearing the inside of the brass bushing it will wear the outside and the inside.
Last edited by chrysler kid; 07-05-2017 at 09:57 PM.
07-09-2017, 02:40 PM
#49
Staging Lane
iTrader: (3)
Join Date: Jan 2010
Location: chicago
Posts: 61
Likes: 0
Received 0 Likes
on
0 Posts

Just installed my CHE kit from Texas Speed ( thanks Lonnie) went in like butter. Great quality product. I used 2 sockets and a little hammer to knock out the old needle bearings. For the record there were 66 needles per rocker arm(33 per bearing)that I'm so glad I got out of my motor.
07-09-2017, 05:13 PM
#50
TECH Senior Member

Lessee.... 16 rockers times 66 per rocker.... aw rats it's too HOT a Sunday afternoon for math... Yeah, I'd be glad they're not in there anymore, too!
Seriously, sounds like a good sound mod for valvetrain dependability!
Seriously, sounds like a good sound mod for valvetrain dependability!
Last edited by G Atsma; 07-10-2017 at 09:25 AM.
07-09-2017, 10:11 PM
#51
Just installed my CHE kit from Texas Speed ( thanks Lonnie) went in like butter. Great quality product. I used 2 sockets and a little hammer to knock out the old needle bearings. For the record there were 66 needles per rocker arm(33 per bearing)that I'm so glad I got out of my motor.
07-11-2017, 01:19 PM
#53
TECH Senior Member