2012 camaro HID dim headlights
#21
Makes sense. I know the mounting holes for that middle plate with the cutoff shield/solenoid are pretty close to the 5.0 mounting holes so you may be able to make it work. Are you mounting the projector on the front or back of that metal plate?
camera phone pics are just fine lol the newest phones take some incredibly clear pictures
camera phone pics are just fine lol the newest phones take some incredibly clear pictures
#22
So I finally got around to finishing my retrofit. It's D2S 5.0 projectors in blacked out halogen housings, black Apollo 3.0 shrouds, 5k bulbs, and 35w ballasts. Took my sweet *** time getting this one done but I am extremely pleased. I filled the void on the back of the halogen bowls with WaterWeld to make sure it was solid before opening the H13 holes up to fit the projectors. Worked great, I then JB Welded the projectors to the halogen bowls and I epoxied the shrouds on as well so fingers crossed neither move. Also fitted a modded ZL1 grile with the bowtie pad cut out. Got it all installed today and the output is amazing. Here are some pics (excuse the filthy car, been too cold to give it a wash this winter lol):
Finished product:

Test fitting/checking the aiming (I was worried I was going to have to rip them apart but thankfully I could aim them properly):

New output:

Old output:

Fitting the projectors for the first time:

Backside (ended up shaving that down about 1/2" so I could use the bulb holders):

I was able to reuse the rubber ring to seal the back side of the housings which was great. I had no clue I would be OK running off of the OEM wiring. Ended up marrying the OEM plug I got from a Gen5DIY harness to portions of the harness I got from TRS. Also, the high beam connectors that came with the D2S 5.0 were junk so I got some OEM ones off of ebay and epoxied them in to make sure they never come out. I hope I got them sealed up enough lol but time will tell. Eventually I'll open the RS lights to see what I can do to fit a D2S 5.0 in there.
How's yours going, make any progress?
Finished product:

Test fitting/checking the aiming (I was worried I was going to have to rip them apart but thankfully I could aim them properly):

New output:

Old output:

Fitting the projectors for the first time:

Backside (ended up shaving that down about 1/2" so I could use the bulb holders):

I was able to reuse the rubber ring to seal the back side of the housings which was great. I had no clue I would be OK running off of the OEM wiring. Ended up marrying the OEM plug I got from a Gen5DIY harness to portions of the harness I got from TRS. Also, the high beam connectors that came with the D2S 5.0 were junk so I got some OEM ones off of ebay and epoxied them in to make sure they never come out. I hope I got them sealed up enough lol but time will tell. Eventually I'll open the RS lights to see what I can do to fit a D2S 5.0 in there.
How's yours going, make any progress?
Last edited by xc_SS/RS; 02-14-2021 at 09:14 PM. Reason: moar pics!
#23
They look awesome! That output is fantastic I cannot wait to see again when I get my rs headlights done. I got 1 of my headlights assembled besides the glue. I had to reinstall the 5.0 behind the adjuster bracket instead of on top. Lots of dremeling, measuring and adjusting. Been wanting to go mount my p/s factory one and my new 5.0 d/s to show comparison but its so cold outside in my area. -13 this morning and the high is -3. Hopefully this weekend it will get close to 30s and I can go do that and glue my first one together. On the plus side the 5.0s and d1s to d2s adapter all fit inside factory hid housing so all of it is in one unit like factory no extra wiring. Will try to update pictures tonight on my progress. Nice work on the finished project though! They look good.
#24
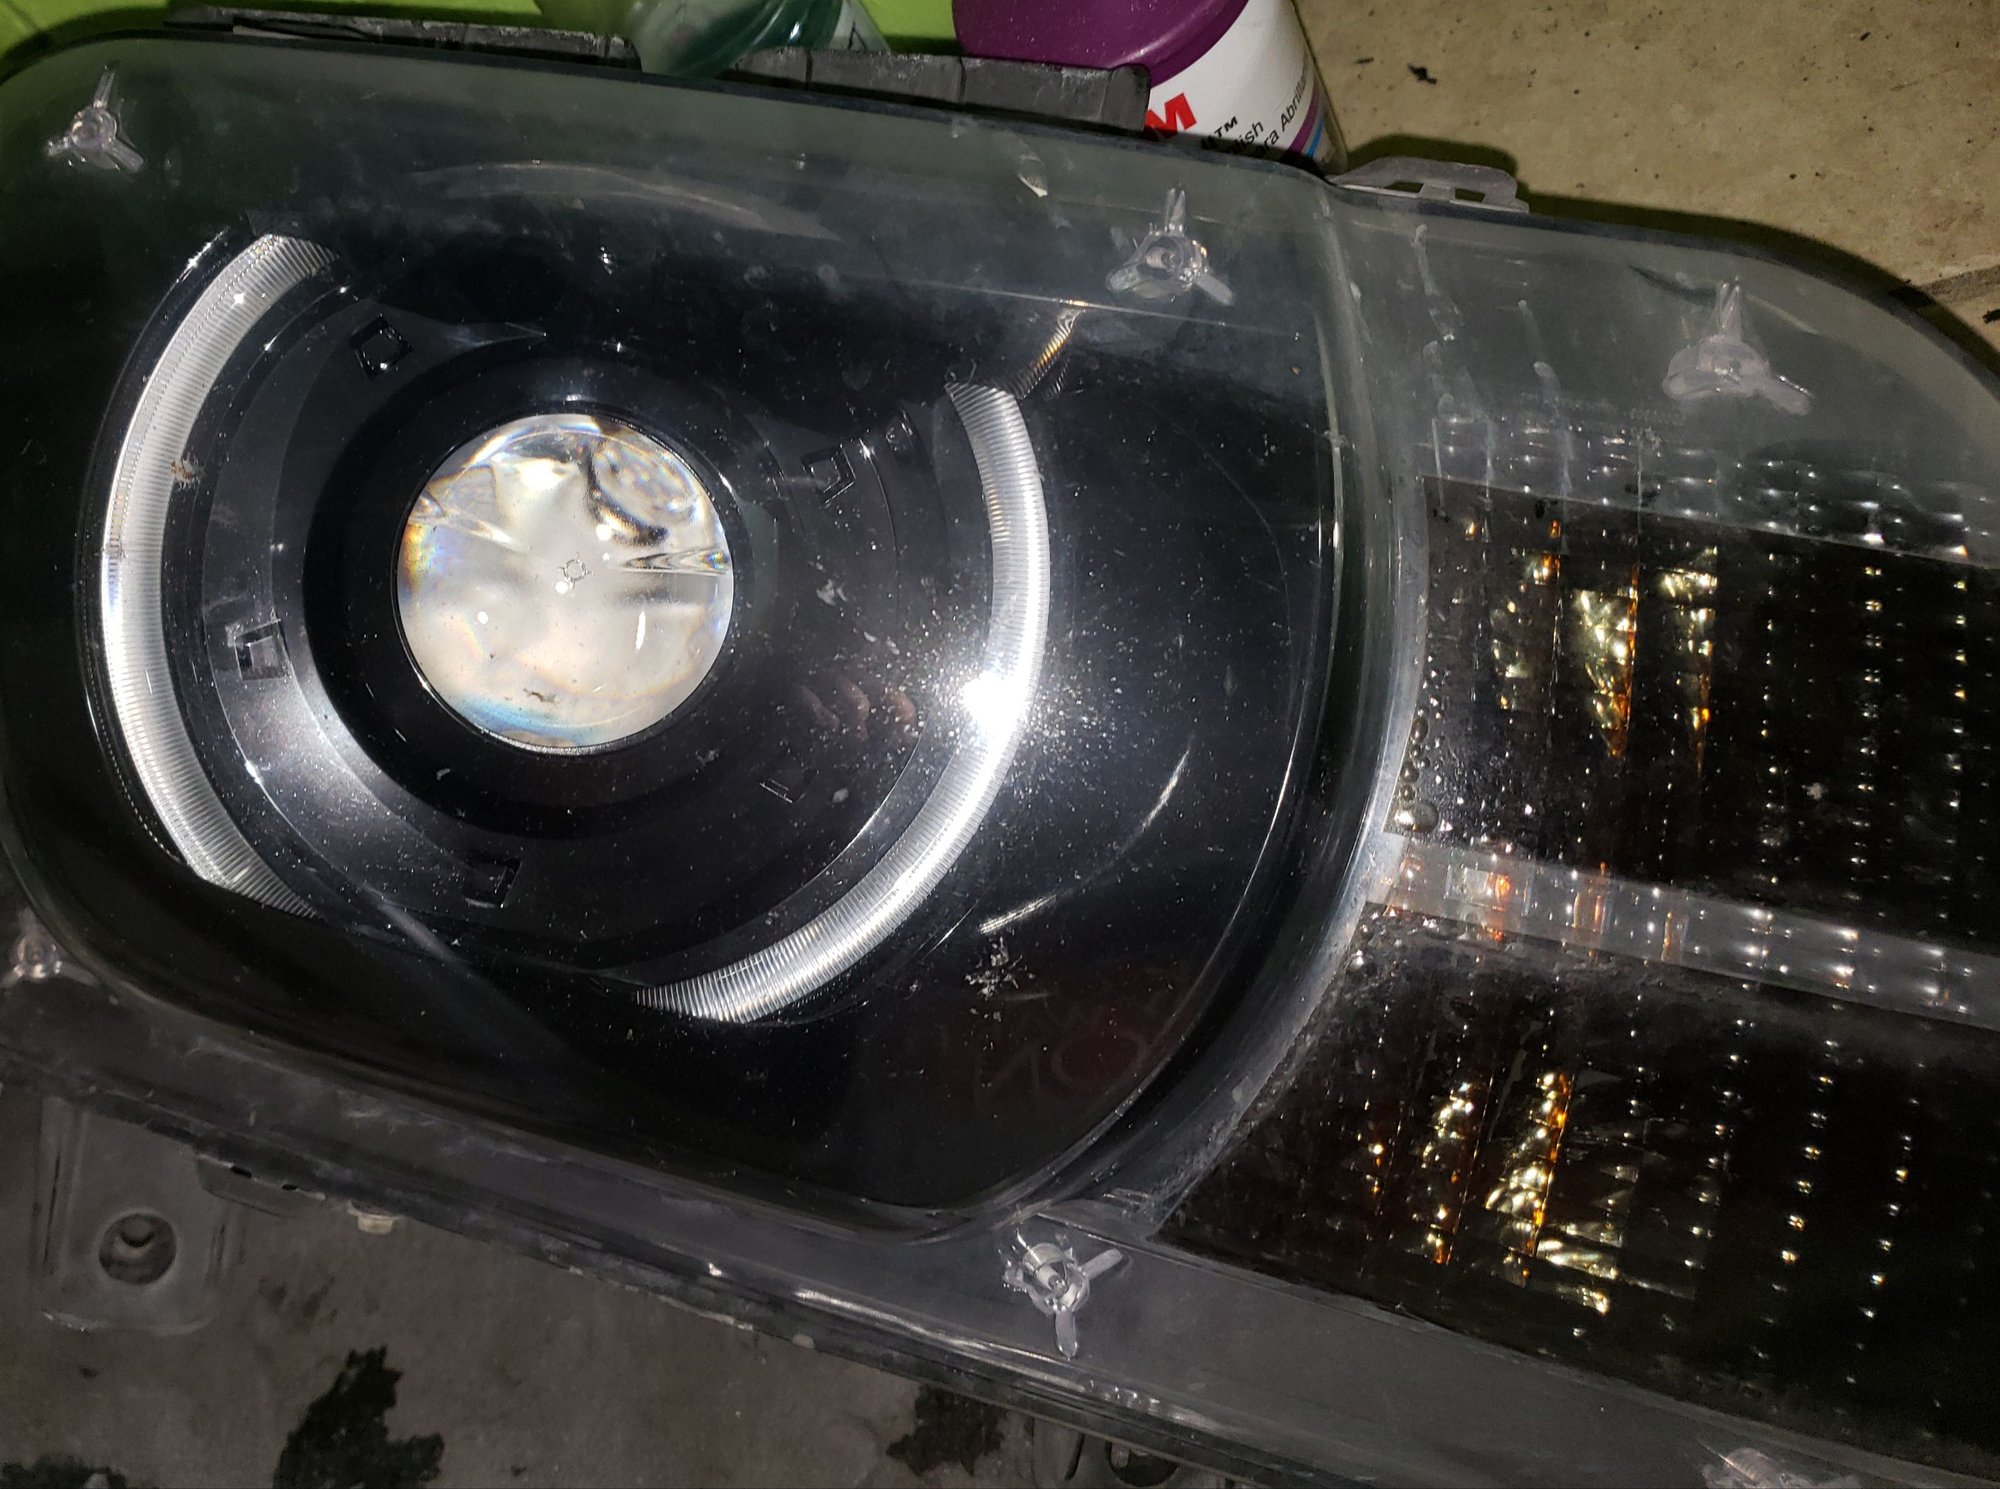
Before any reconditioning/ new projector.

This one is after 5.0 install. I had to do a lot of dremeling to fit that bigger eye into black housing. The previous owner had used like black tint for headlights. I removed that and am gonna use nightshade to darken the turn signal part. Will show when done. Probally when it warms up some.
#25
Oh man that looks awesome! Makes me want to open mine up this weekend but I highly doubt that'll happen. Pretty happy not seeing blown apart headlights in my kitchen lol
Almost looks like it was designed that way. How's the clearance in the back where the cover comes off to get at the bulb/igniter?
Almost looks like it was designed that way. How's the clearance in the back where the cover comes off to get at the bulb/igniter?
#26
Oh man that looks awesome! Makes me want to open mine up this weekend but I highly doubt that'll happen. Pretty happy not seeing blown apart headlights in my kitchen lol
Almost looks like it was designed that way. How's the clearance in the back where the cover comes off to get at the bulb/igniter?
Almost looks like it was designed that way. How's the clearance in the back where the cover comes off to get at the bulb/igniter?
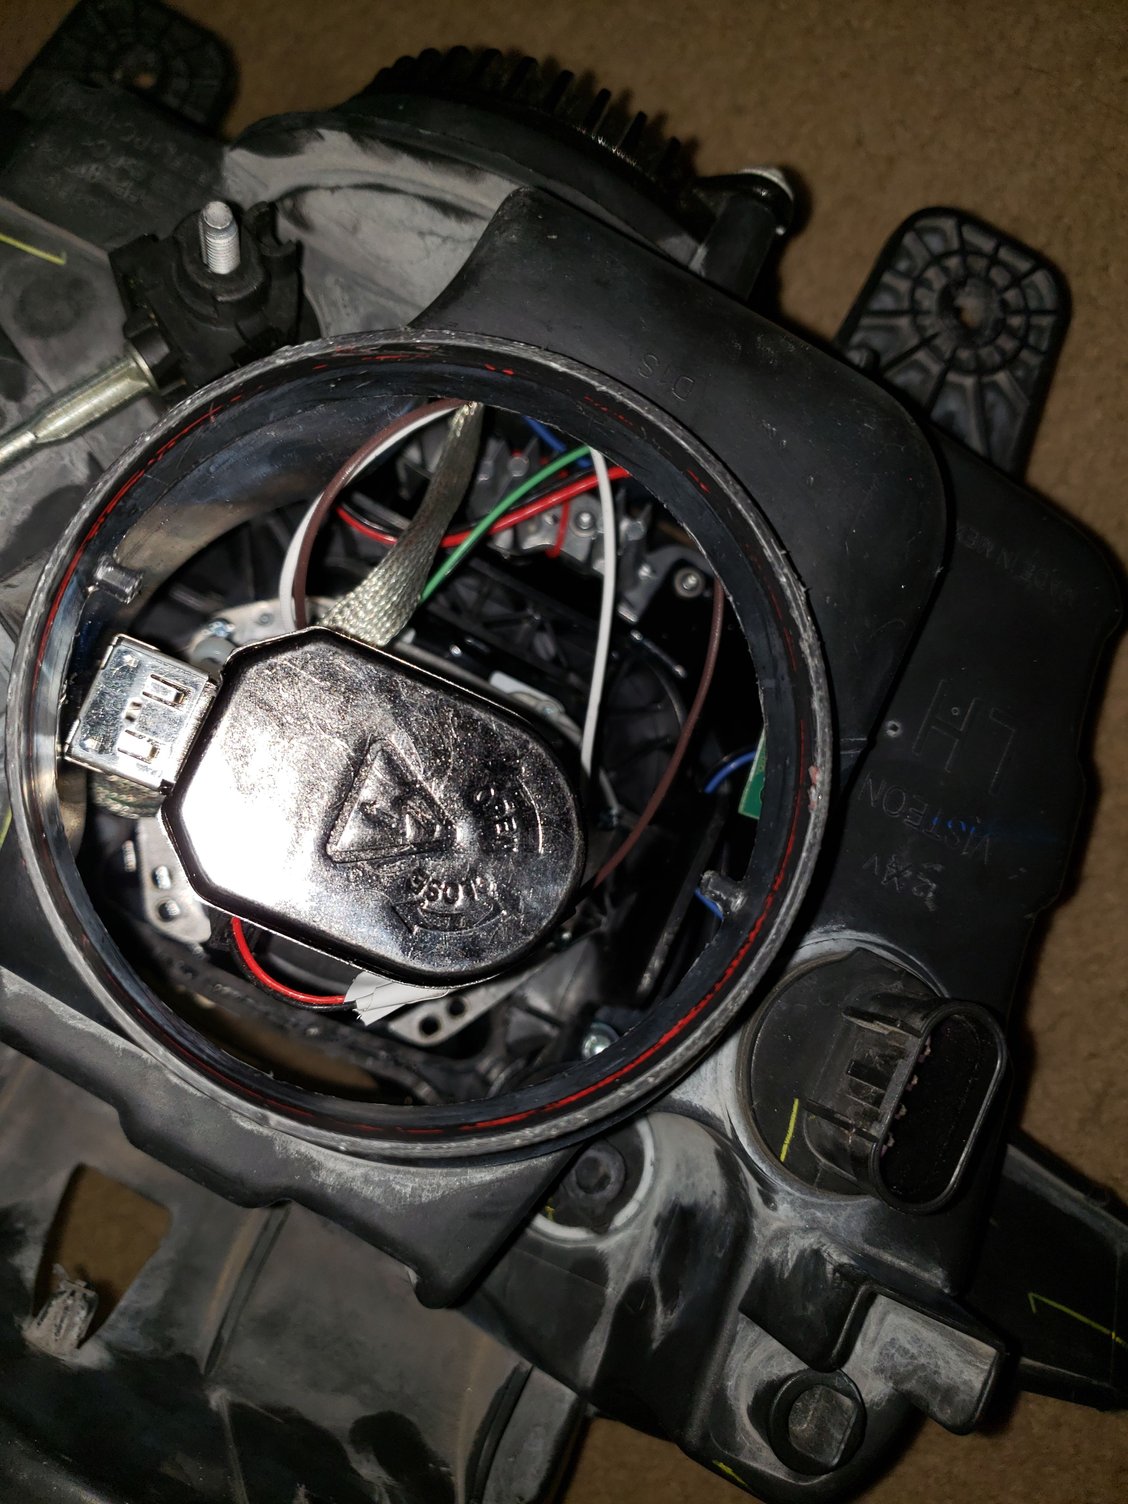
It has like a inch or so clearance to factory cap but not much at all from factory wire to adapter on left side of photo, the metal wire.if that wire wasn't angled from factory it definitely would need fabricating Its pretty tight but Im so happy i can keep the factory d1s ballast mounted and in use those instead of getting new ballast and having to mount to the car with new wires.
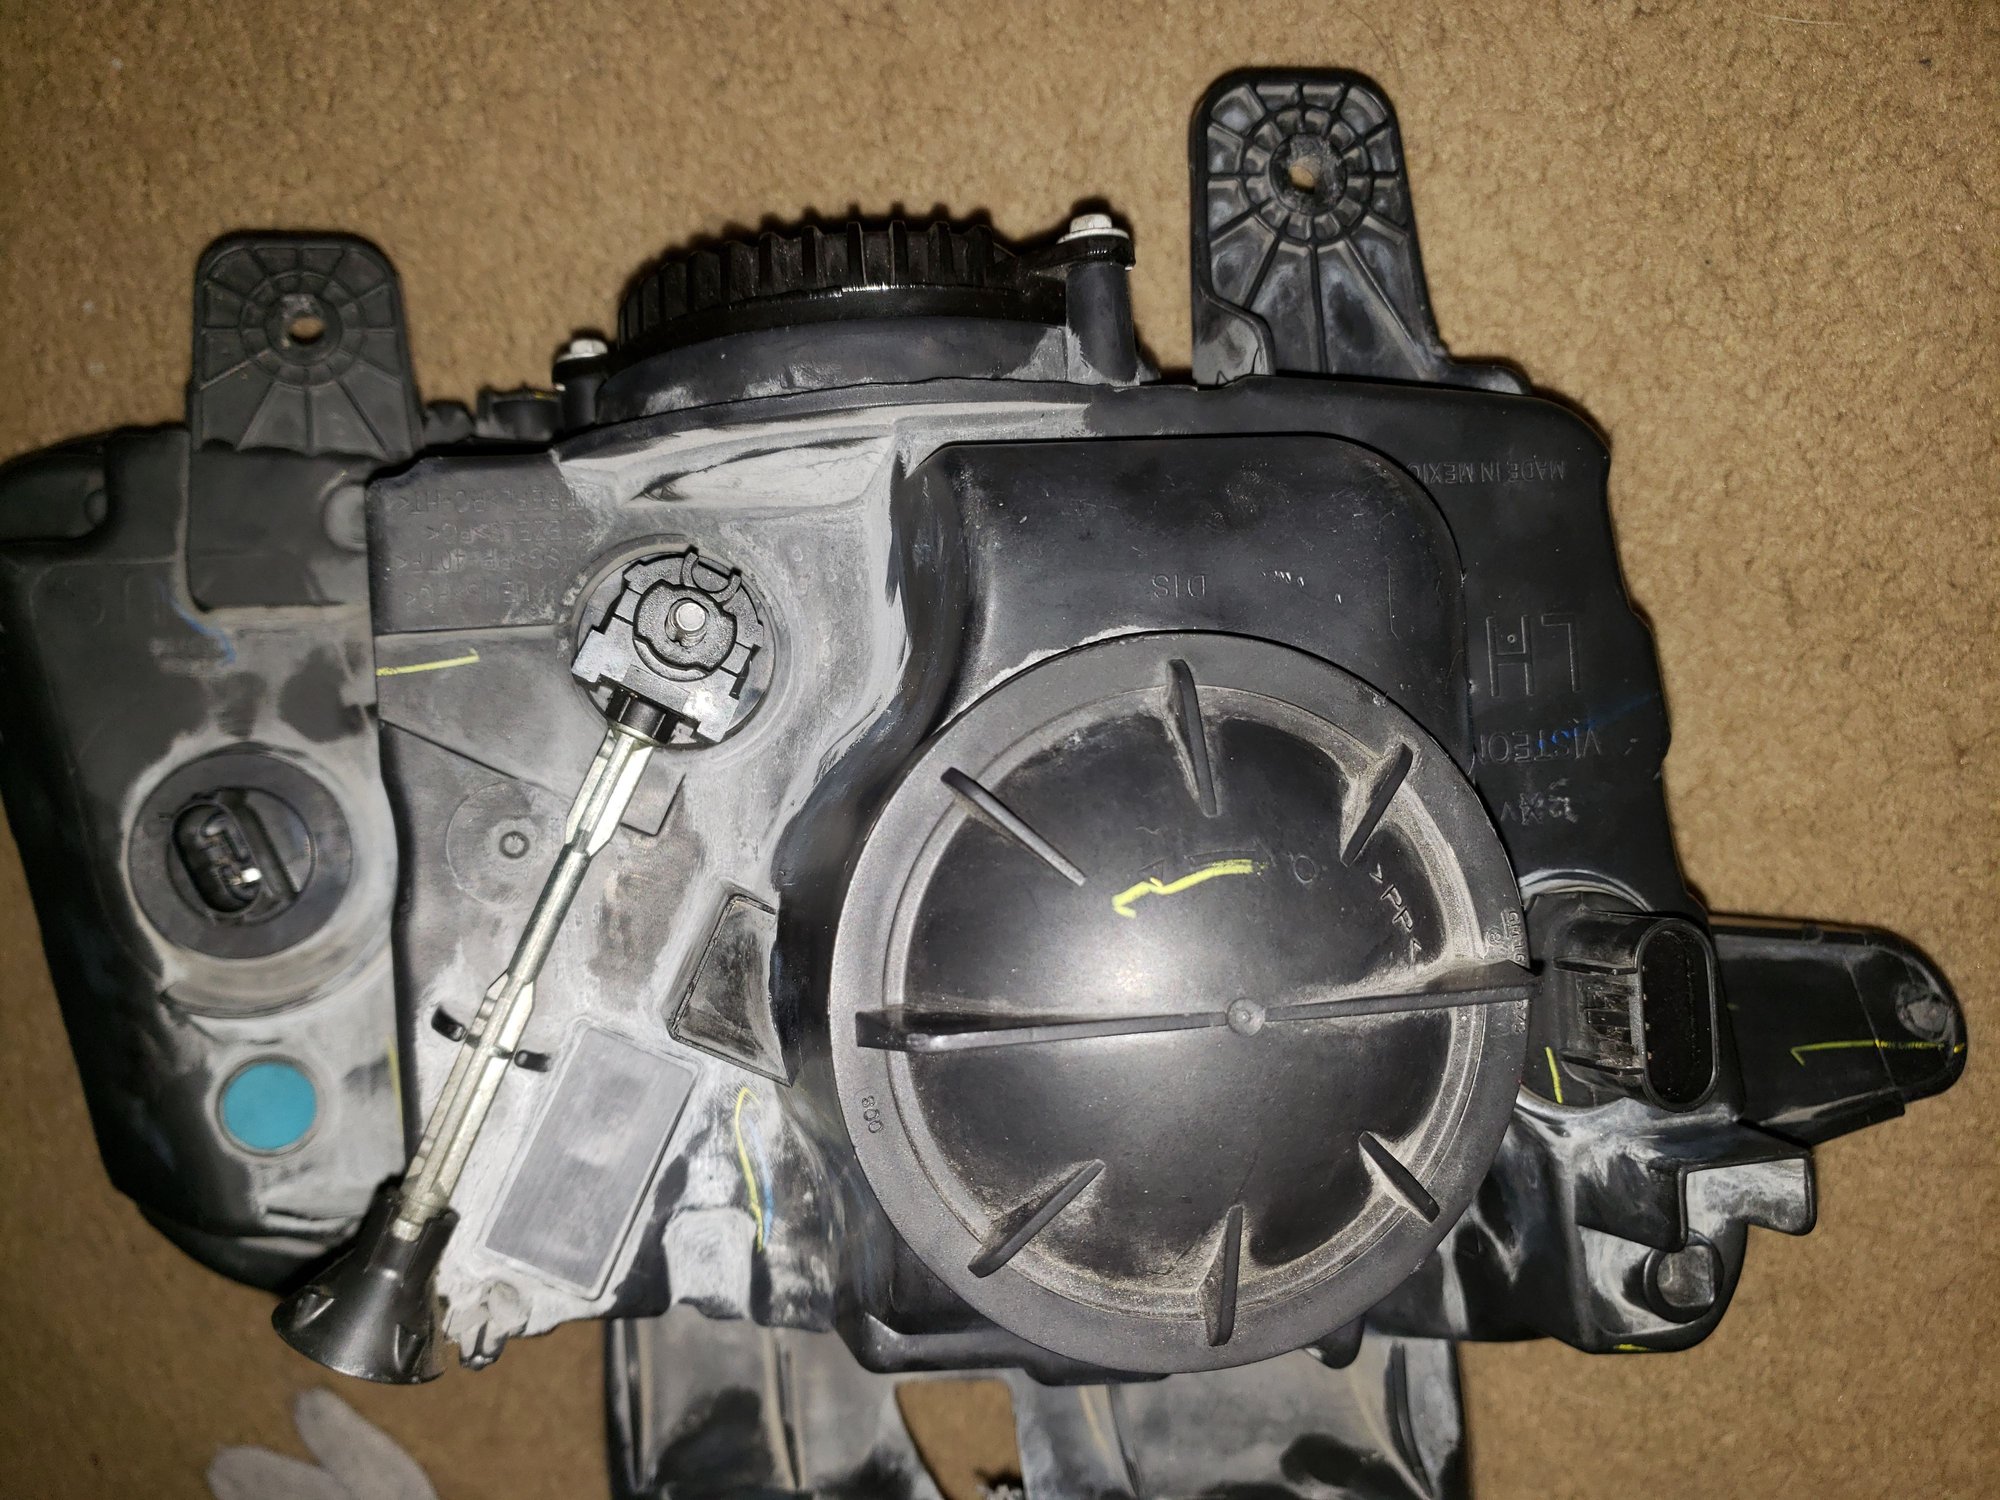
I am going to place old and new on car this weekend to make sure adjuster works and compare. Will try to upload photos asap. Then if that all goes well i can seal my first one and start the project on second and ill try to do detailed step by steps to share.
#27
Yeah I think even with the stock projectors it's a bit of a pain to get that metal connector on right. Can you spin the igniter 90 degrees so the connector is facing the ballast/bottom of the housing? Not sure if that would give you more room but it looks like it may
#28
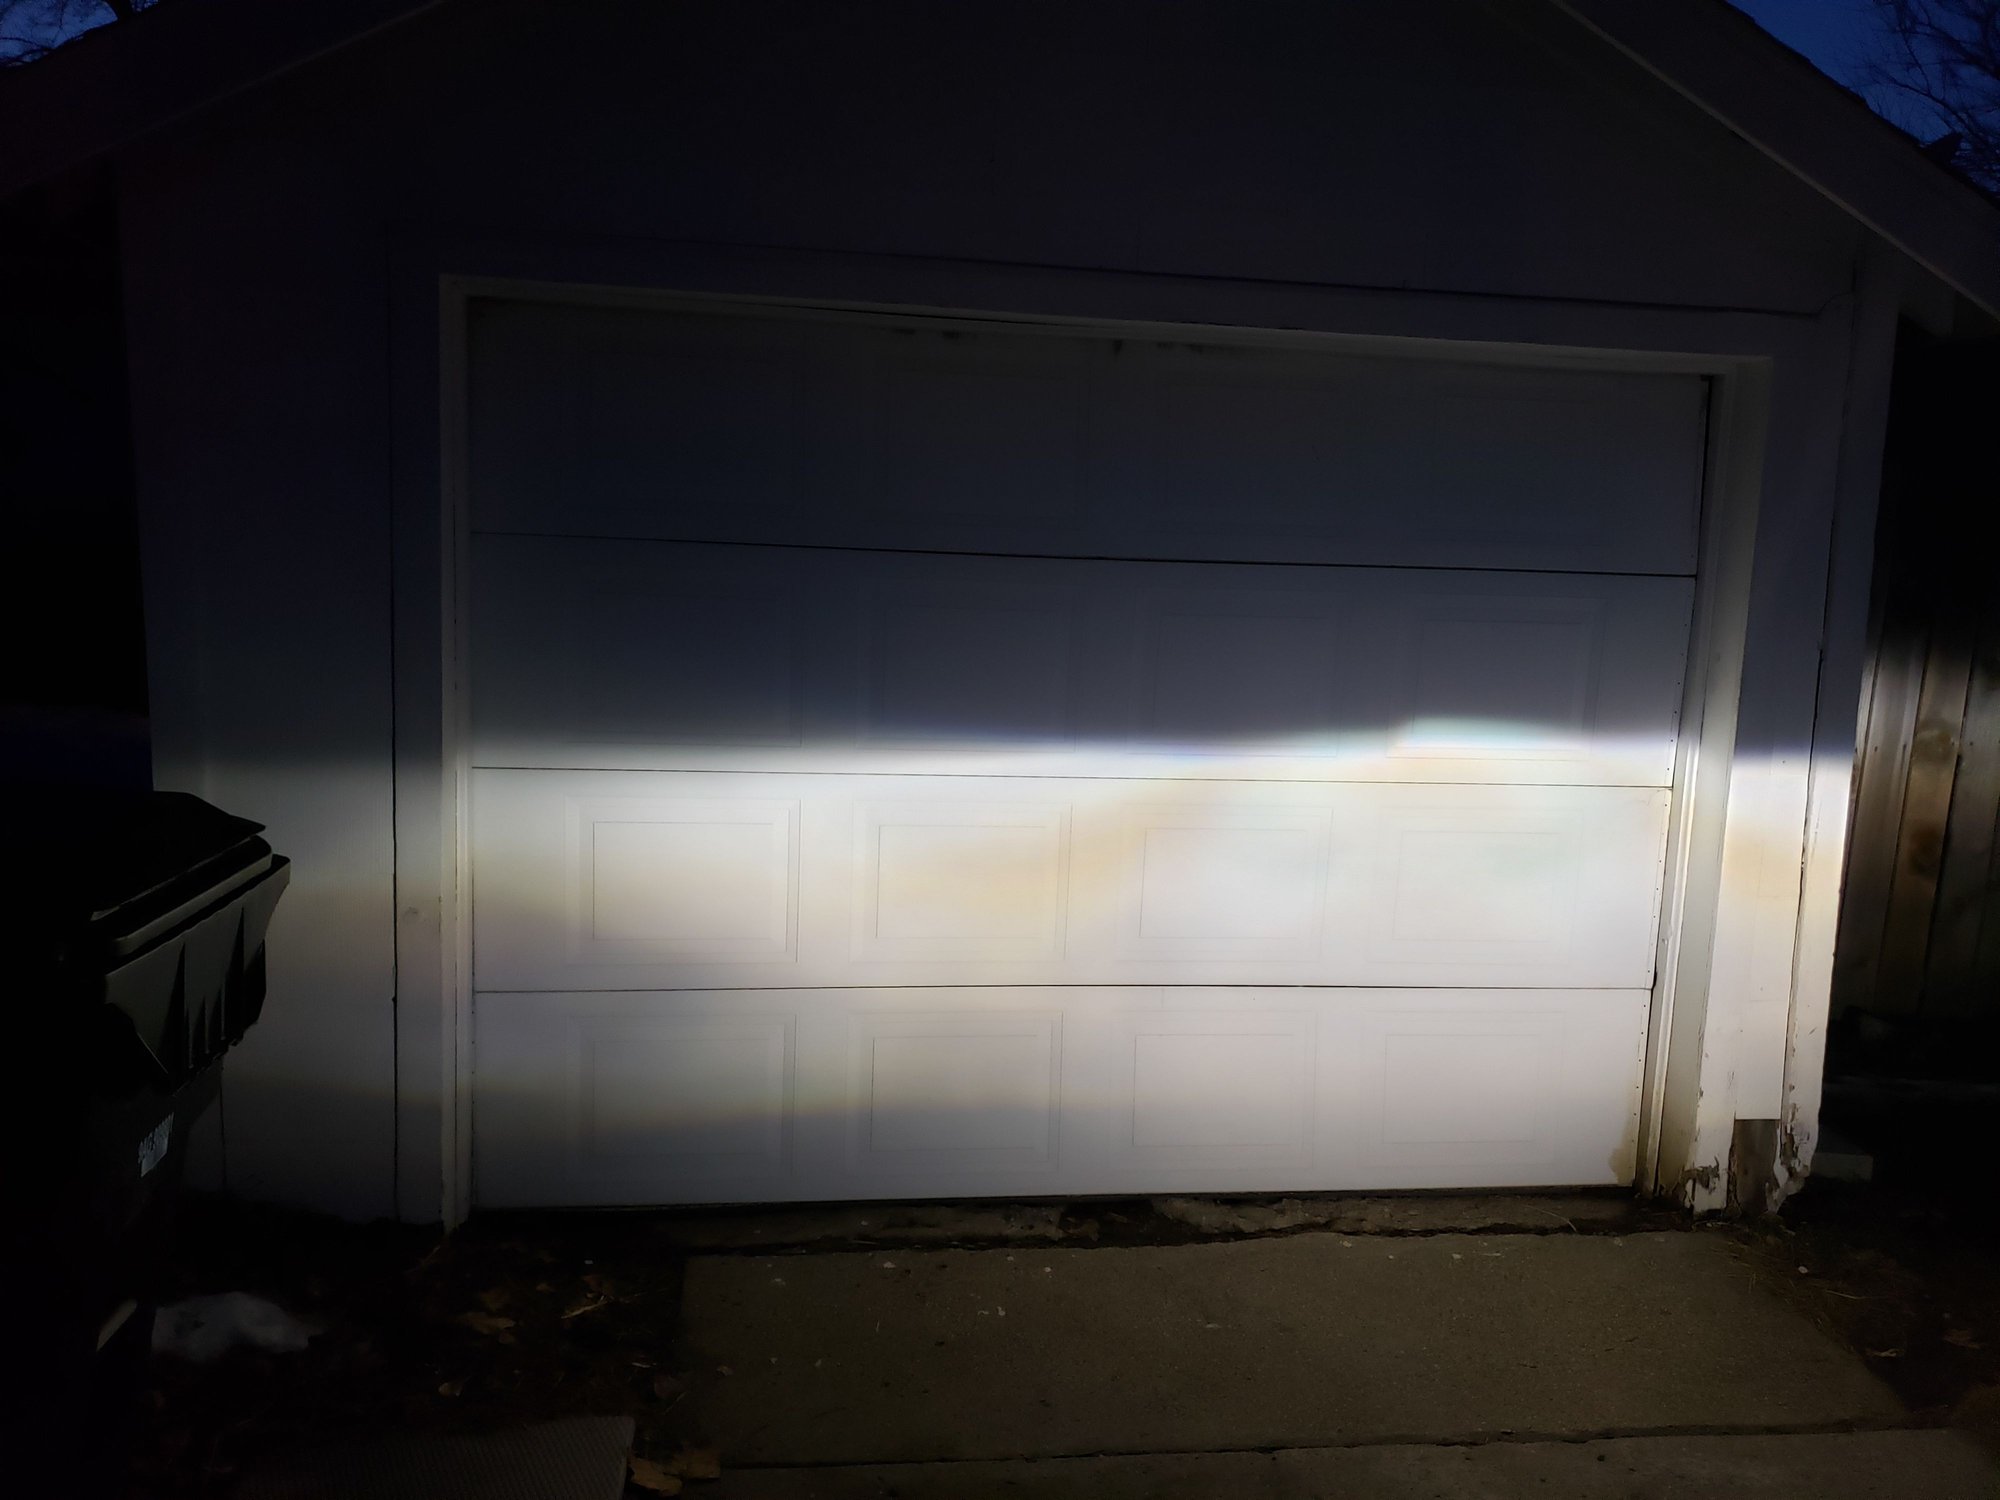
Old one on passanger side. Not as dramatic as a change as yours thats for sure. But my driver side one was more burnt than this one. Ill try to get pictures of both burnt reflector bowls
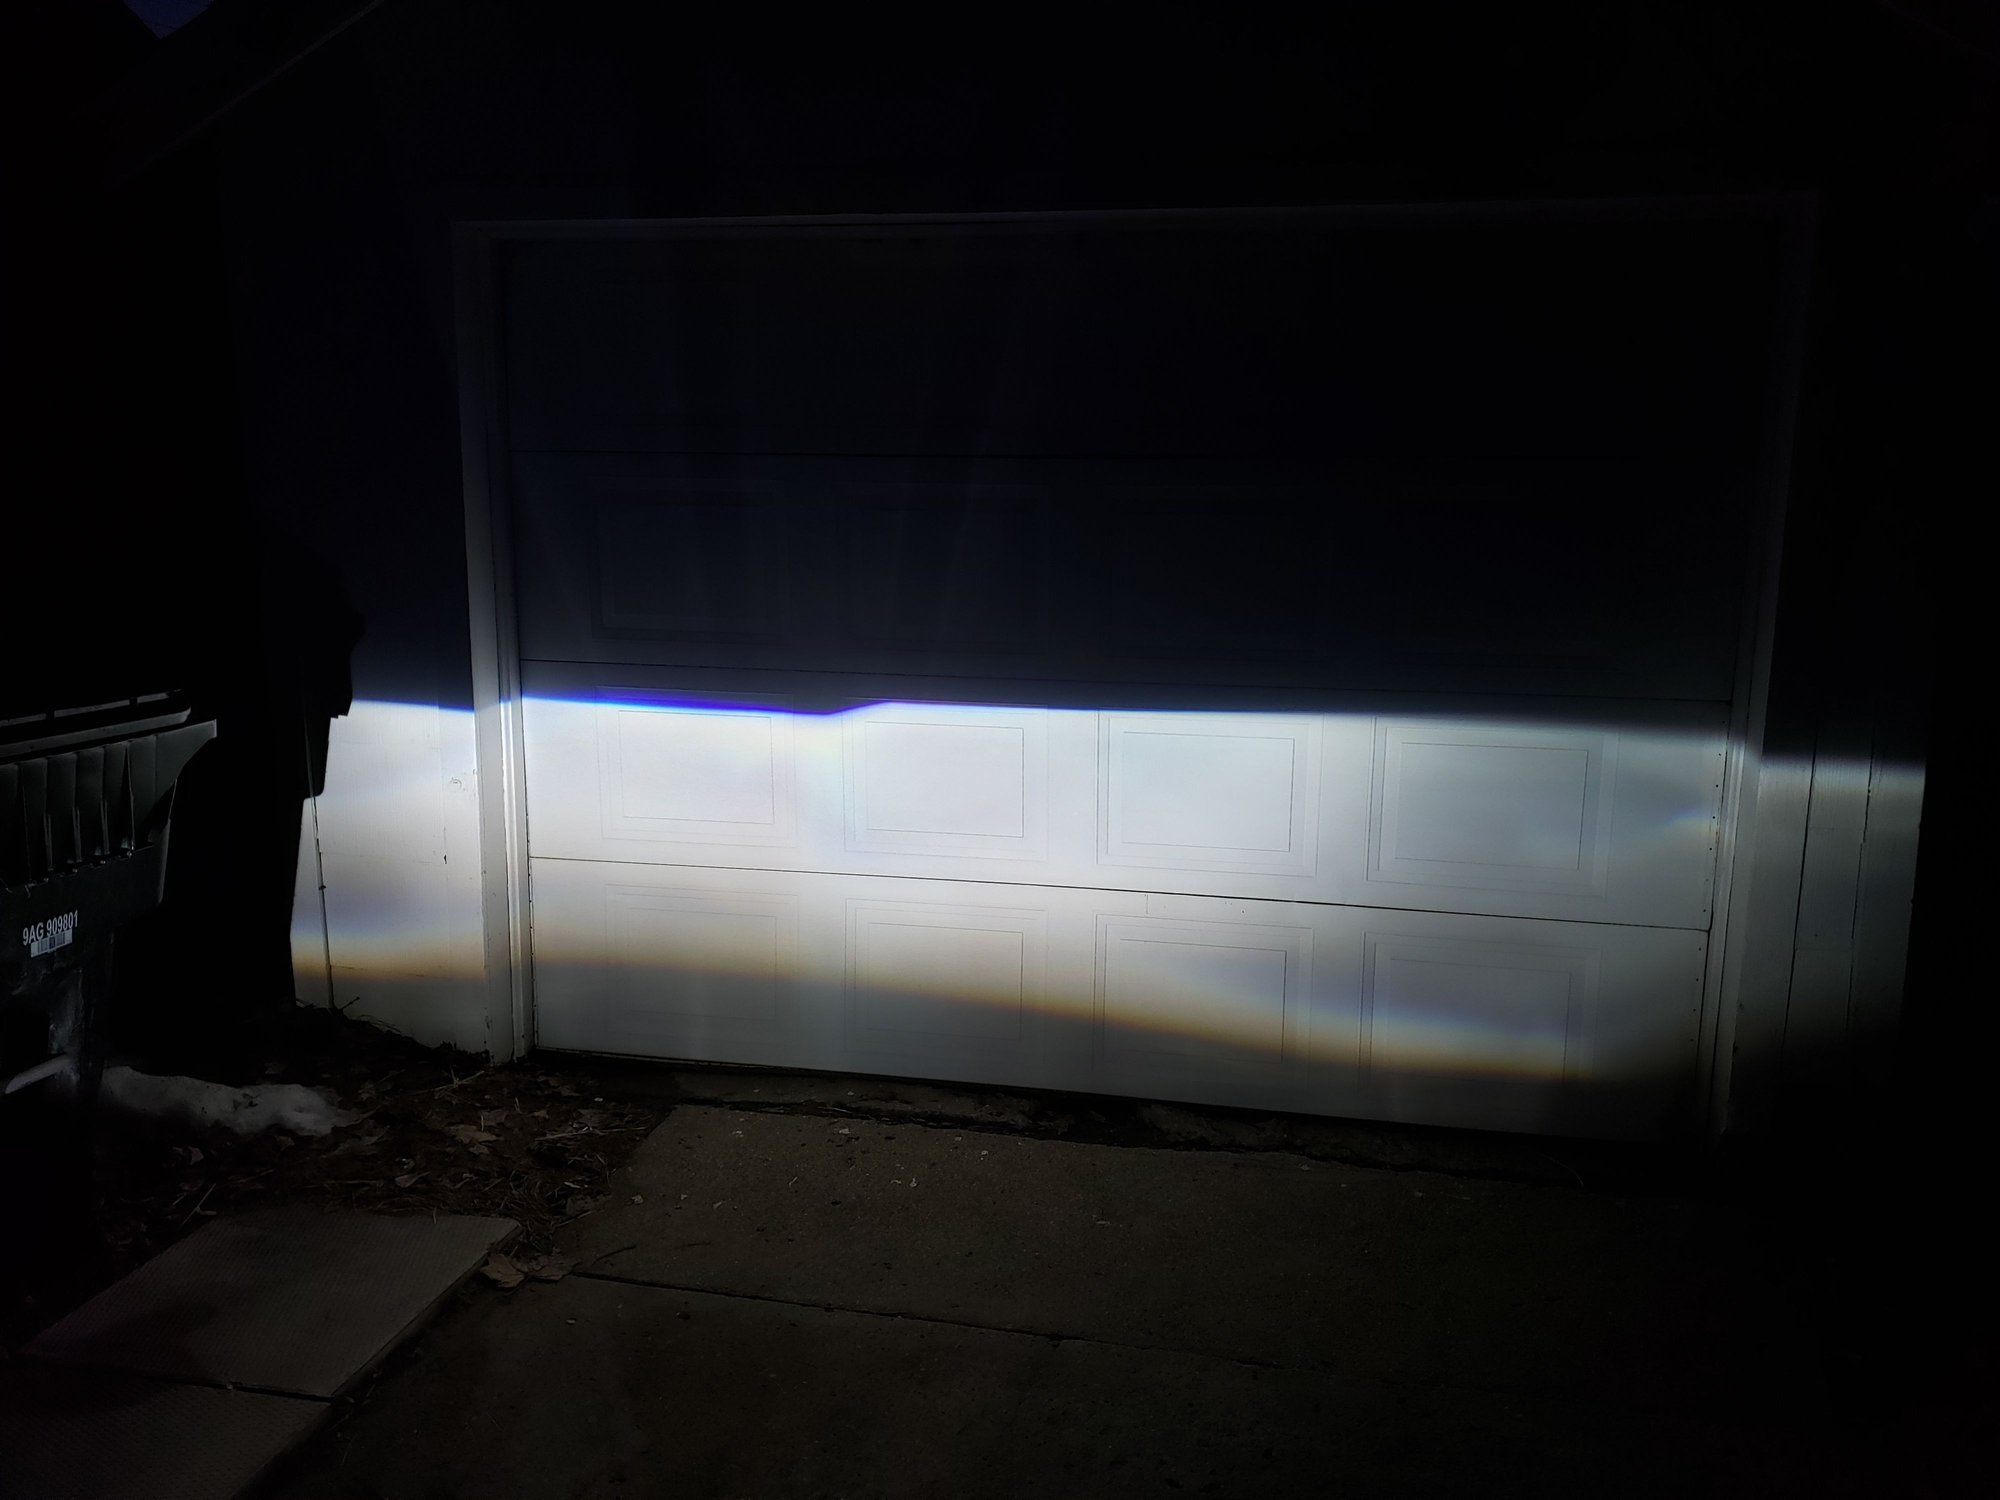
New d/s one

Both. Clearly the new one is brighter and more crisp.
#29
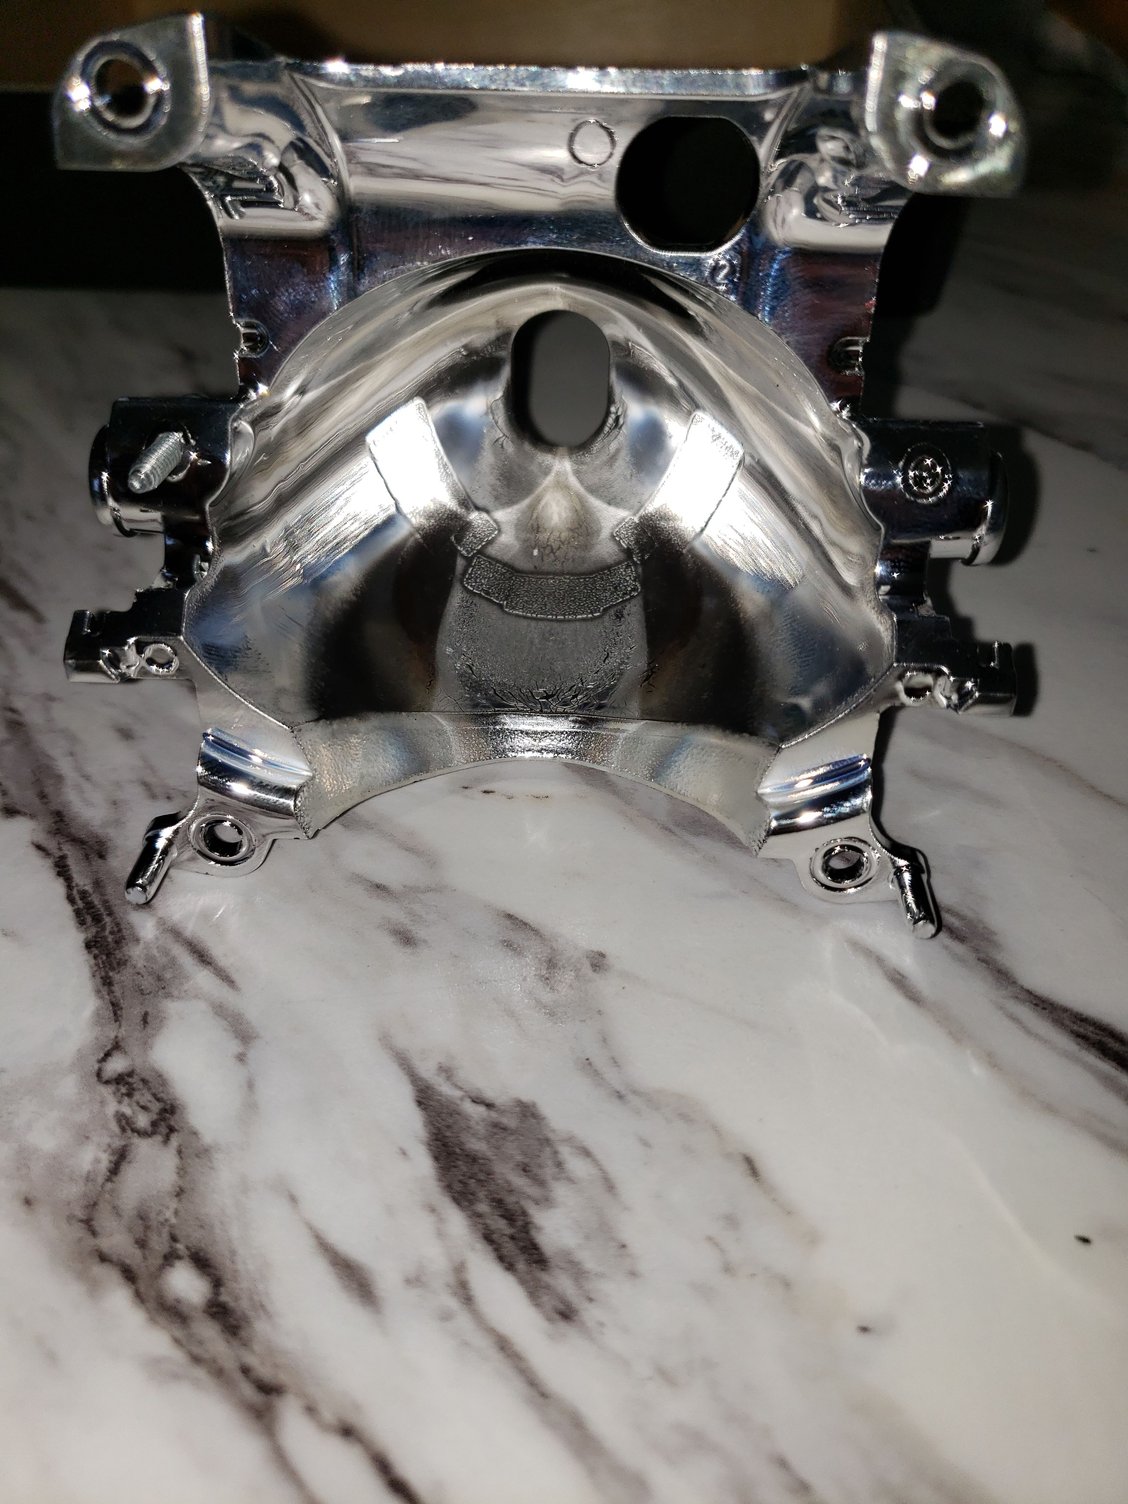
d/s (drivers side) reflector badly burnt. the reason I'm doing the retrofit.

p/s one which is why it was so bright on garage. It definitely isn't as bad as my d/s ones.
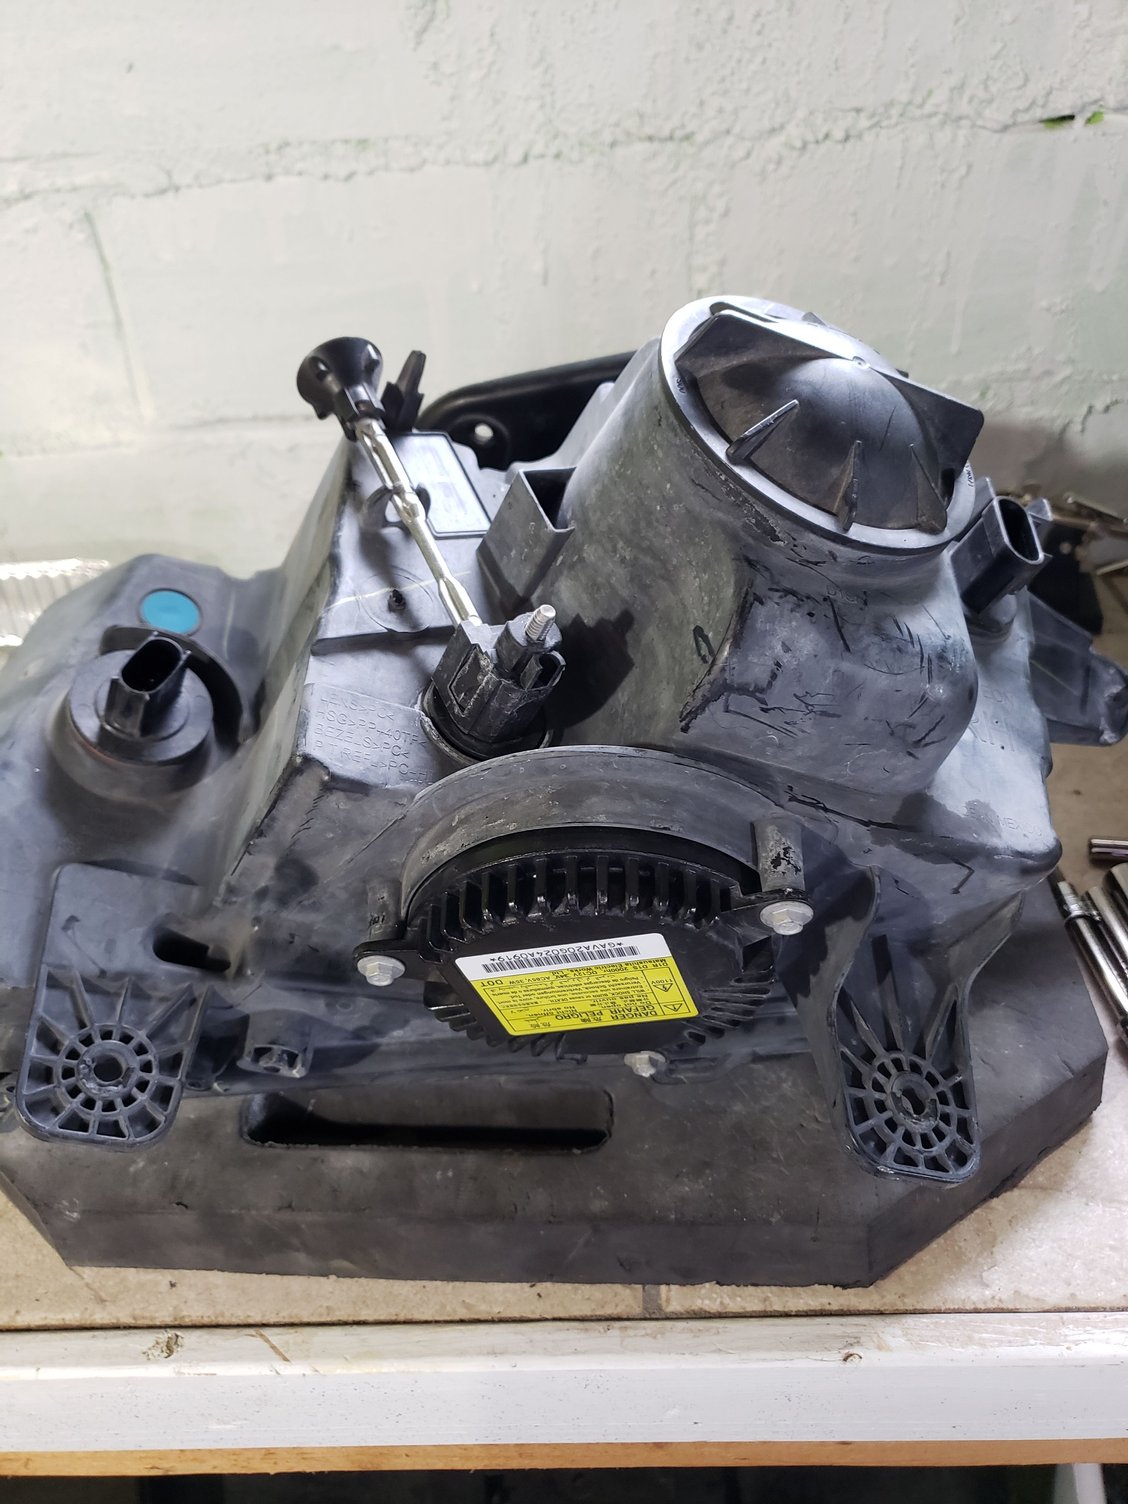
remove from car and I placed it on a knee foam to save lens.

Removal of ballast, hid, wiring for high beams. I only reused Ballast wires and ballast bolts.
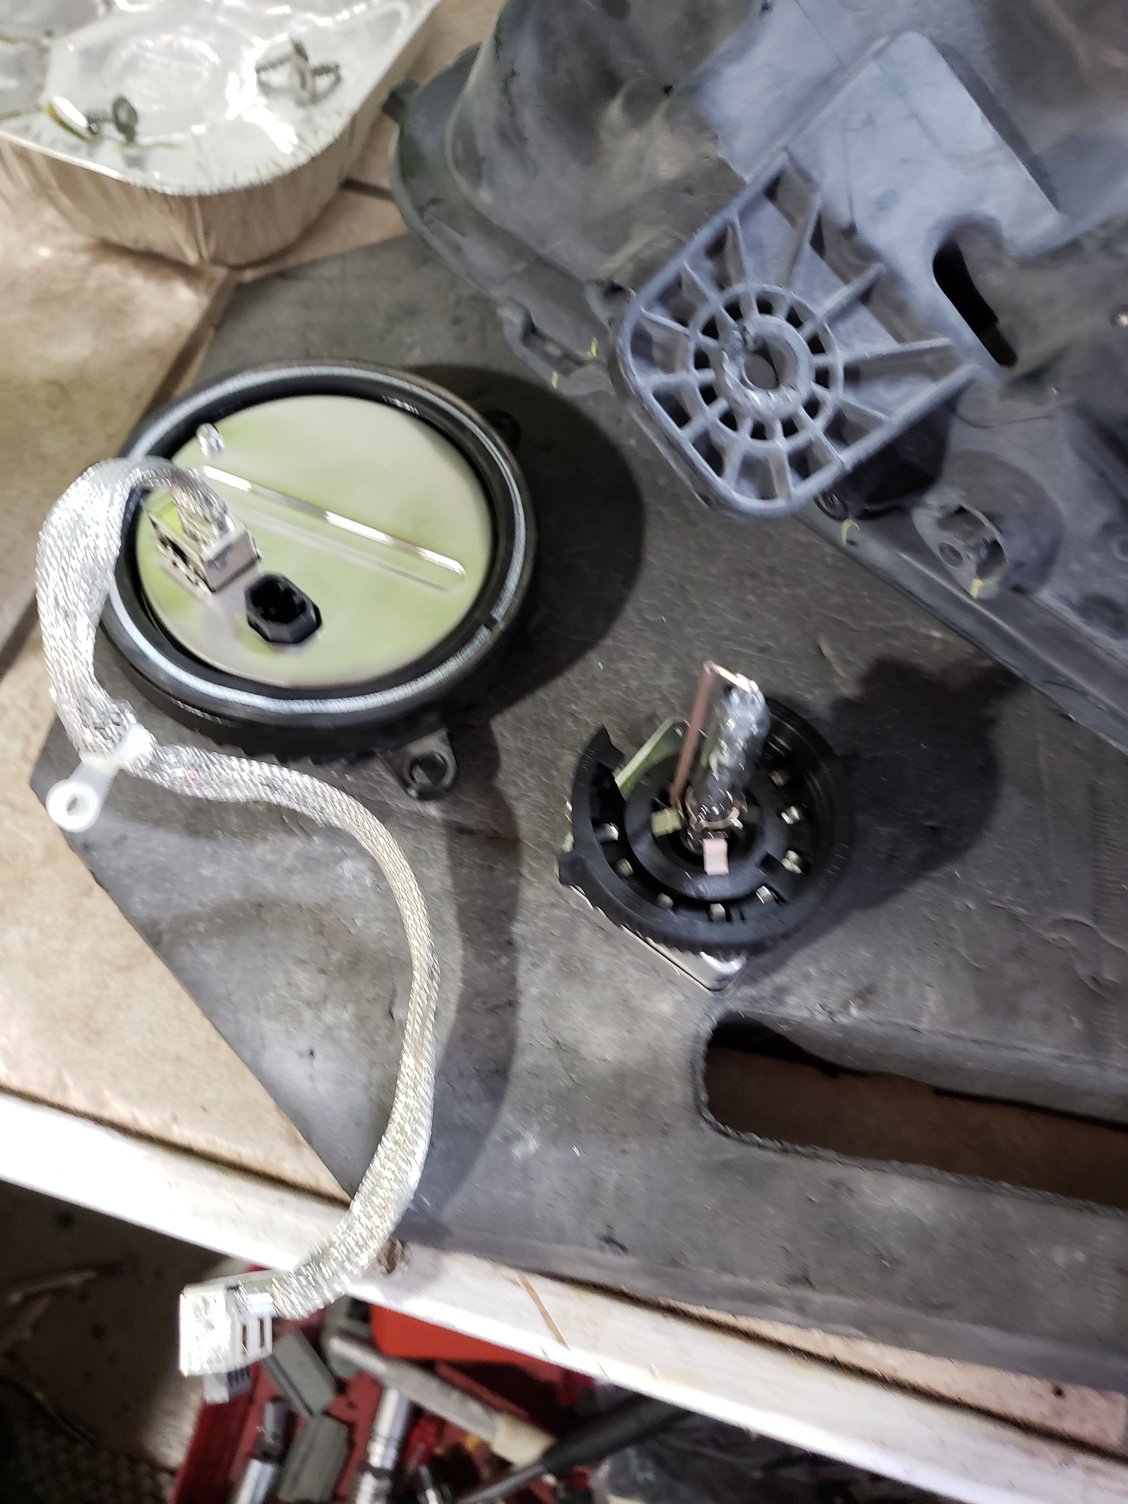
I left metal wire loom on ballast and disconnected from hid to remove.

this black and red wire for my headlight you can unclip and and cut it off from projector. try to save as much as red and black wire as possible because its thin and hard to solder (atleast for me)
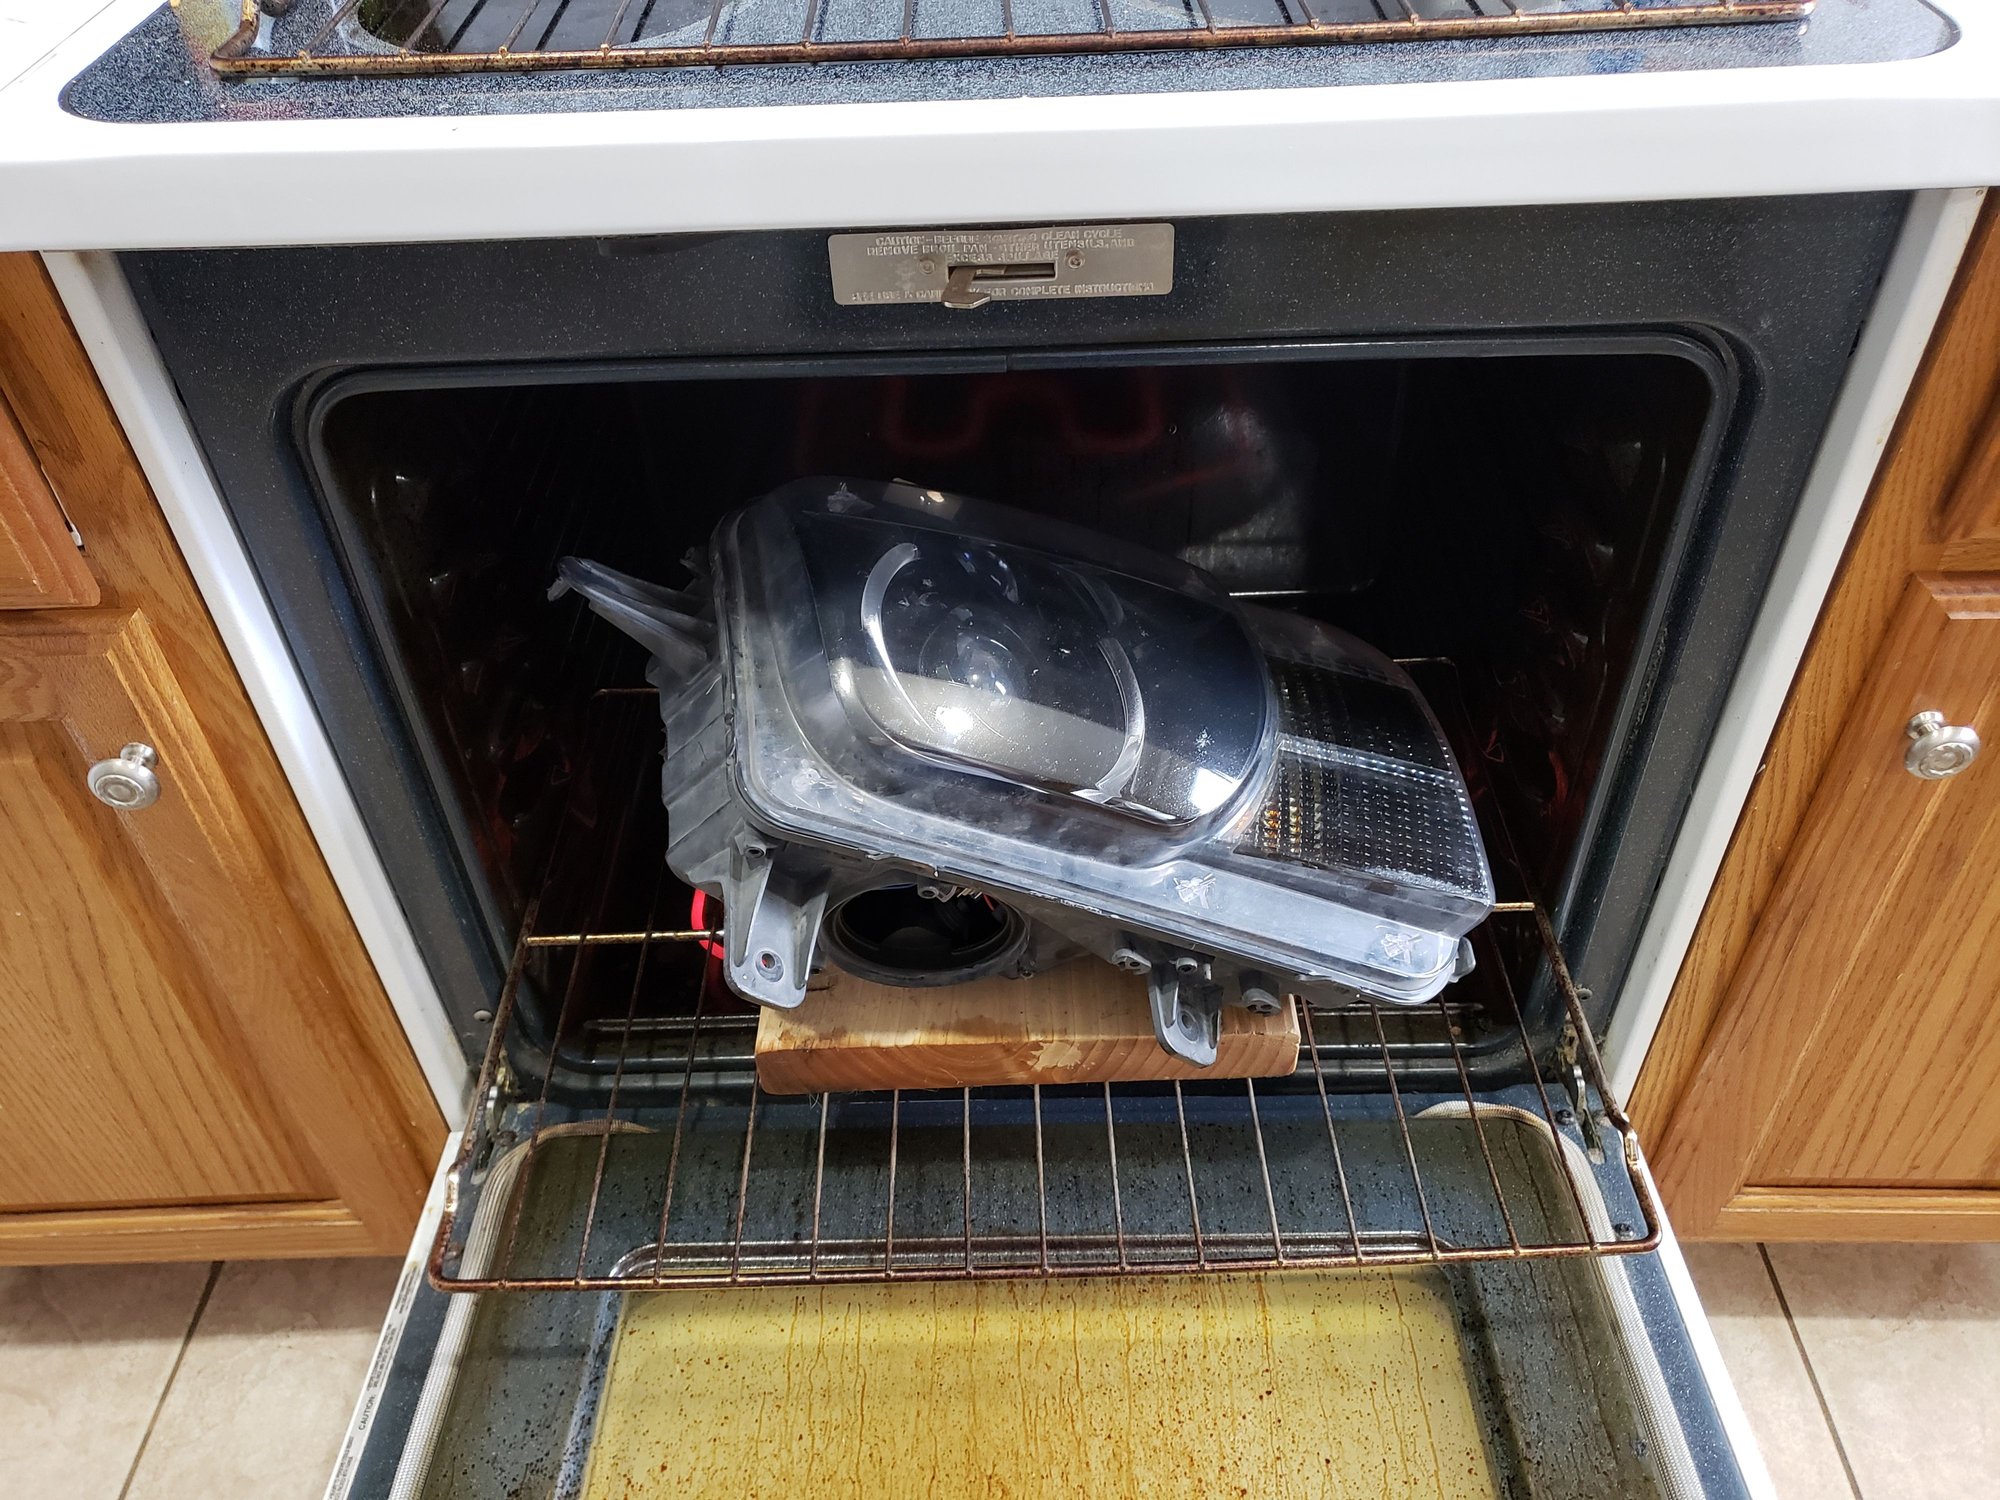
I baked mine 3 times at 275 10 mins each. Be Patient, Each time I removed the headlight with gloves and slowly released the glue. Be patient and move the black tabs over while its hot so they don't break. By no means try to unclip black tabs before bake.

life savers for opening headlights. I got mine off amazon. Morimoto sells theirs saying they are headlight splitters. But they're really a clip tool

While mine was baking I went and Cut off these ends of morimoto's wire harness and solder my wires together
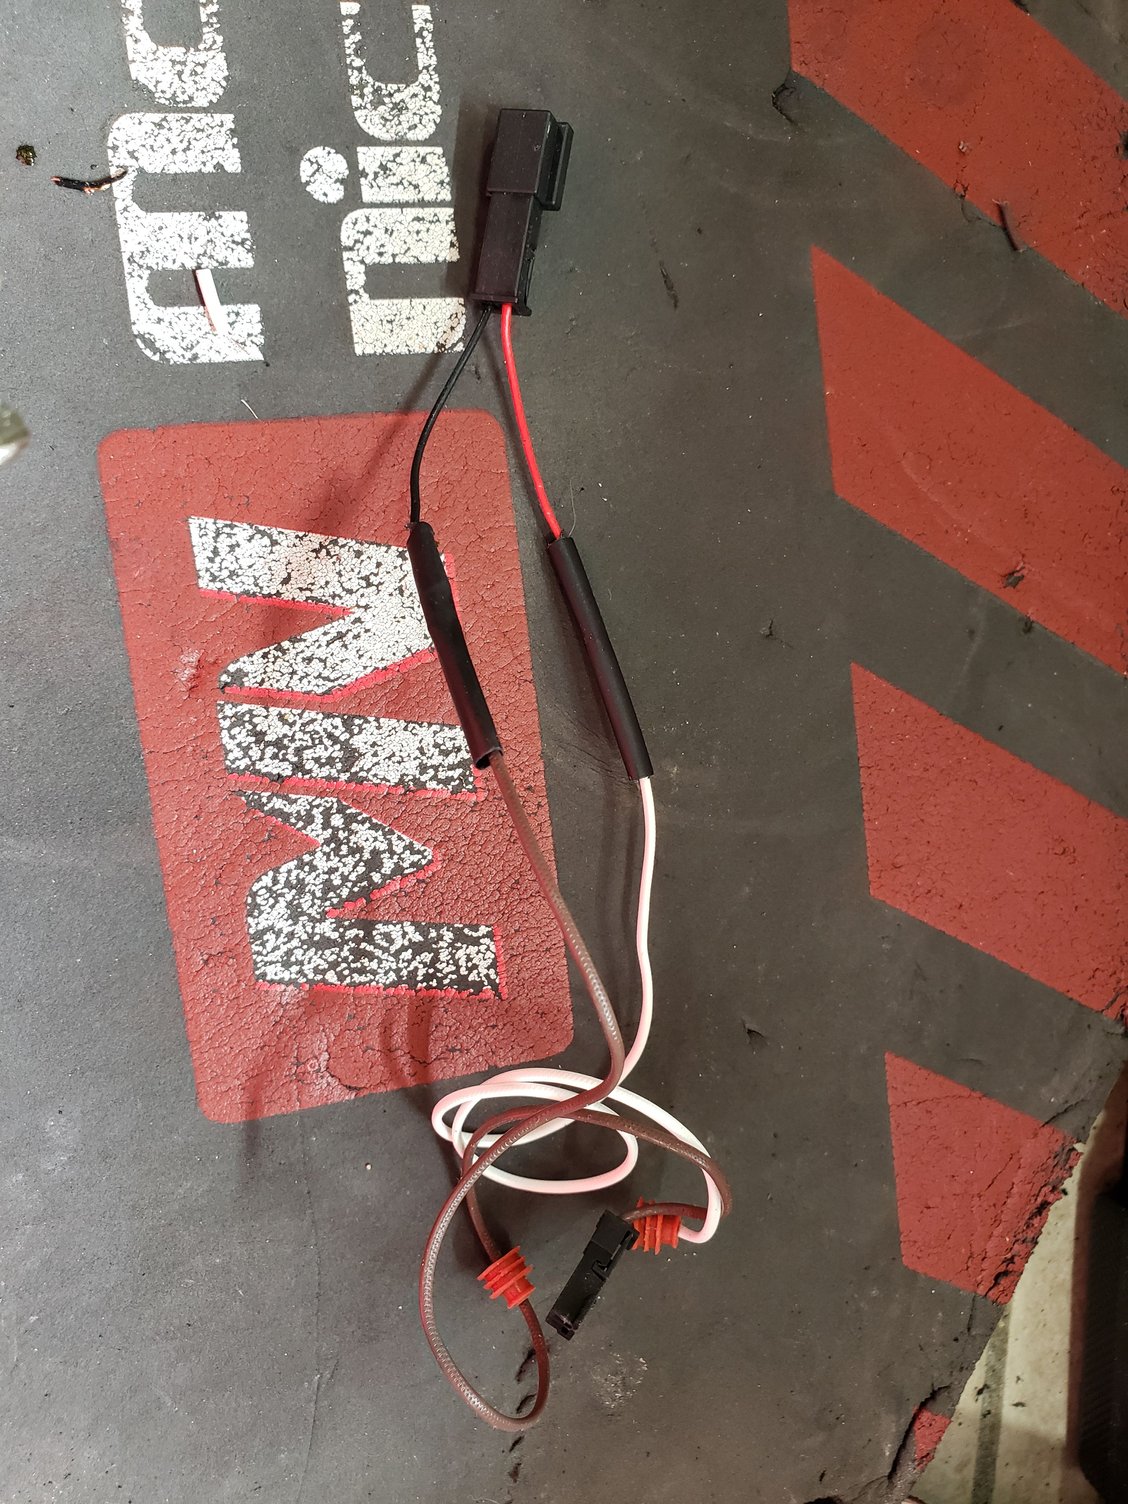
Morimotos and Chevys wire. Now I can plug brown end into factory d2s projectors and red end into chevys wire harness for hi-beams
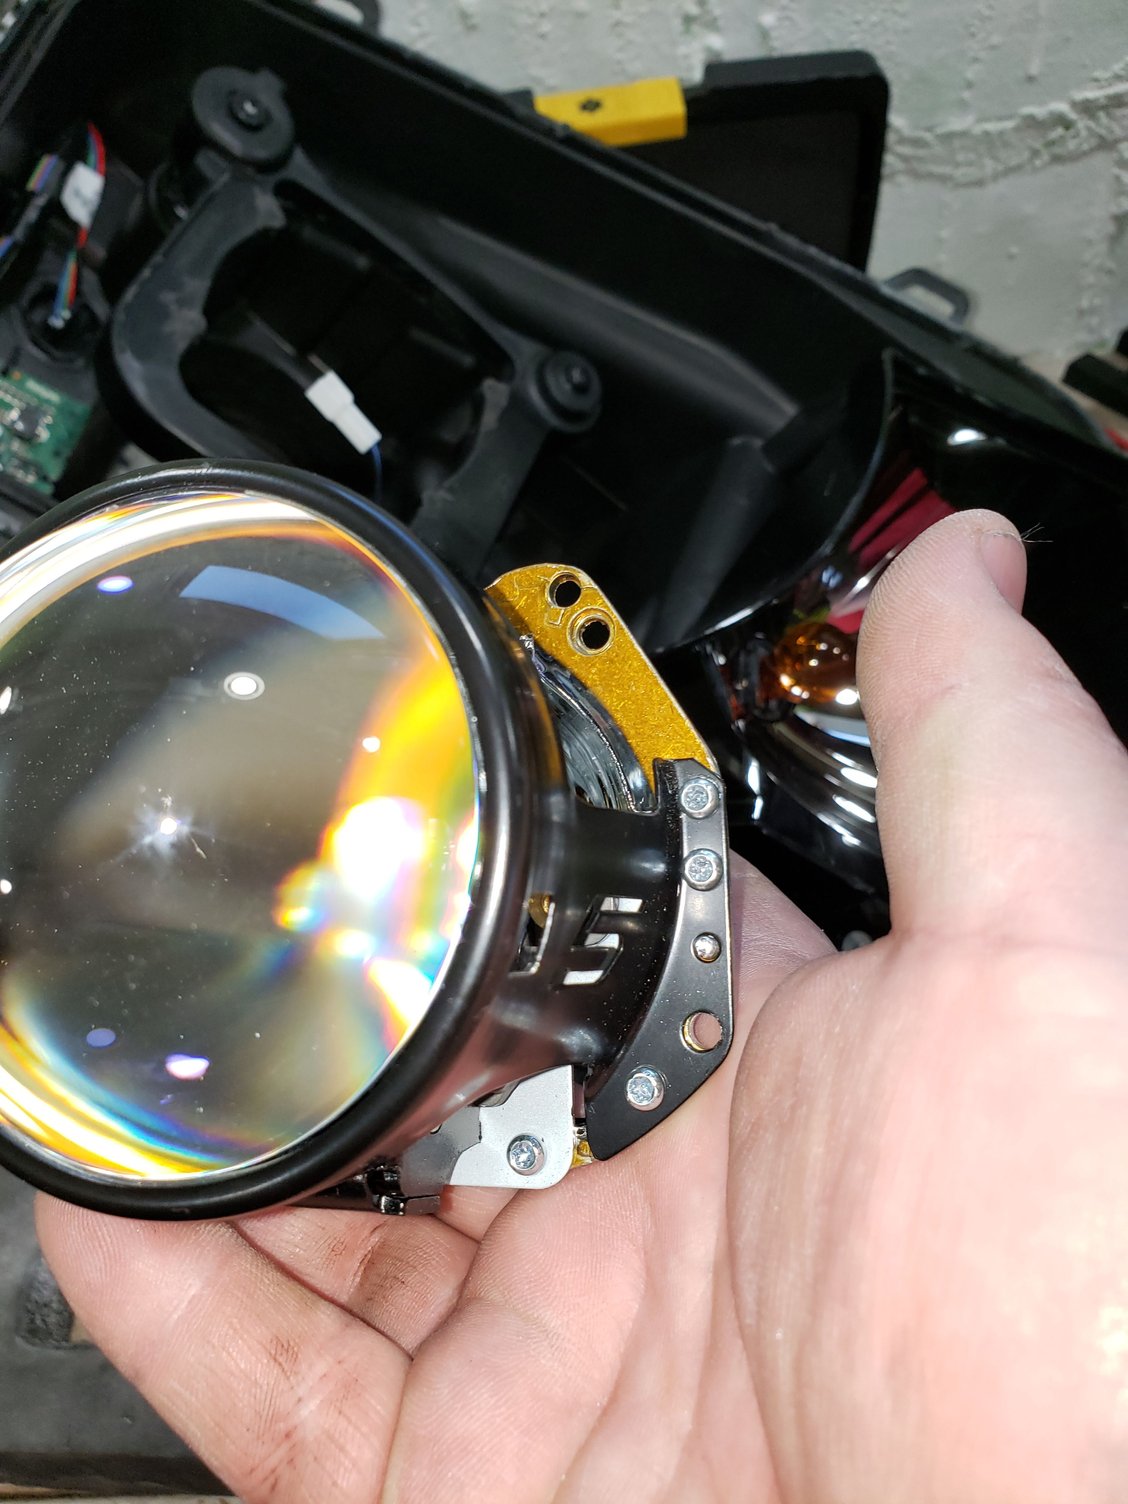
Removing factory projectors once lens is off Is 8 torx. 4 on reflector, 4 on bracket and factory projector glass lens. once that is out I had to custom the morimotos a Litle
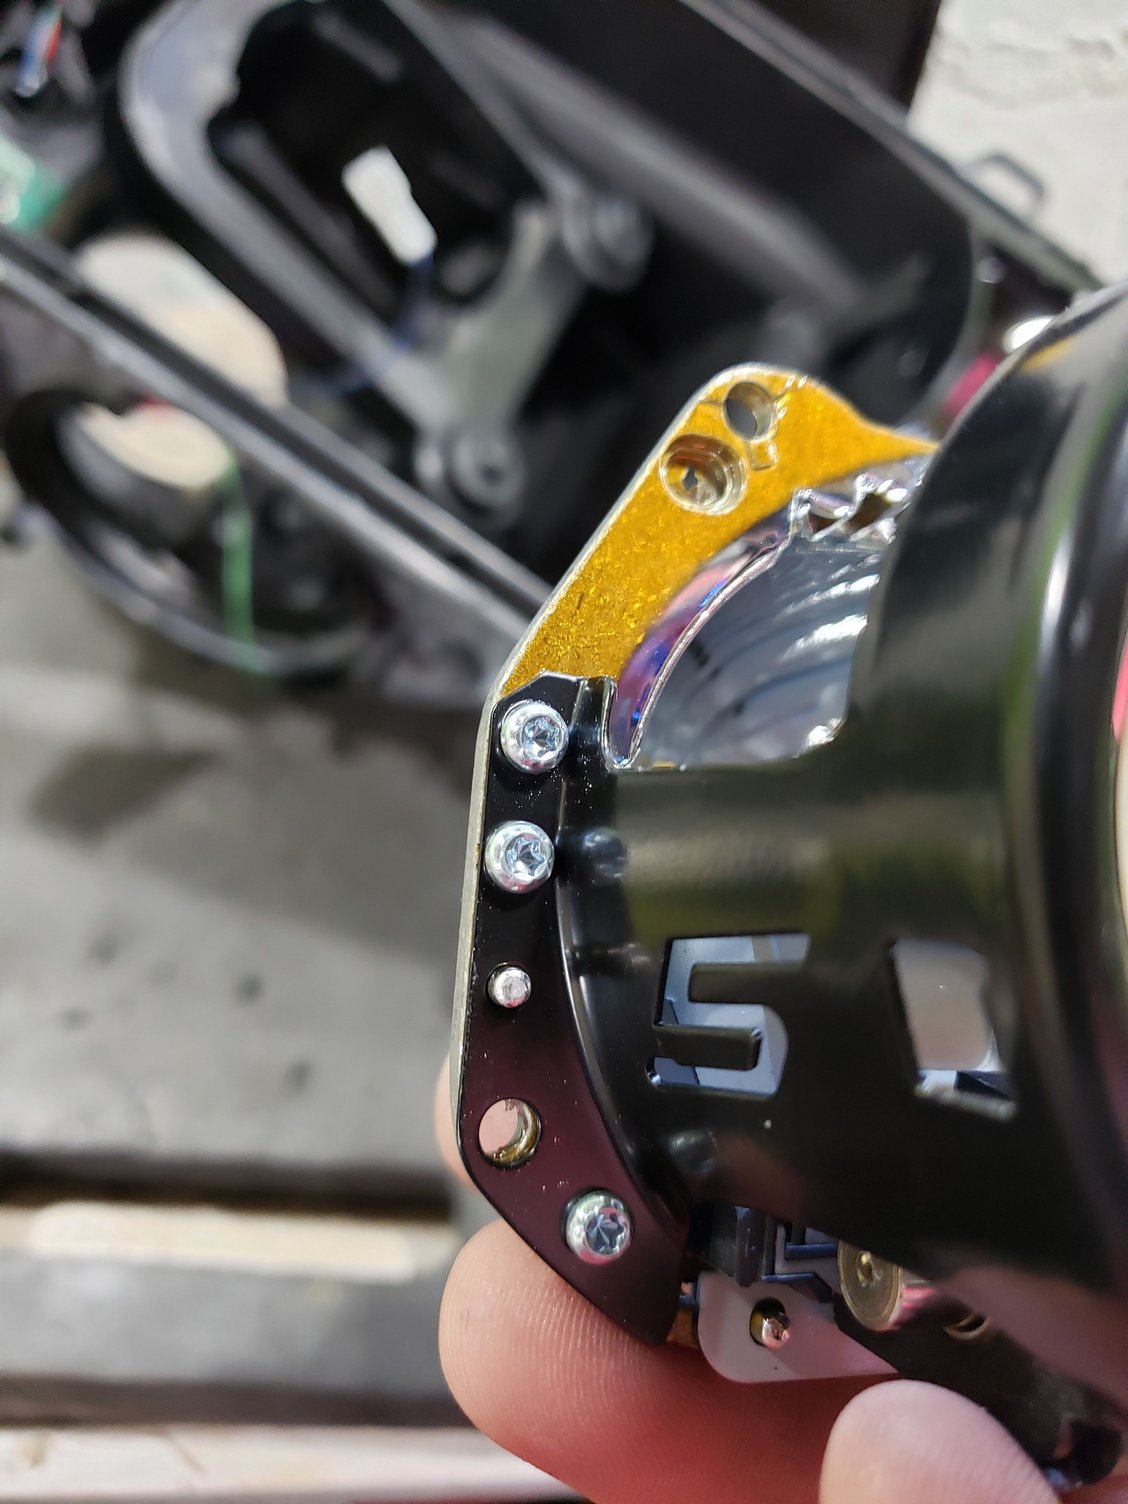
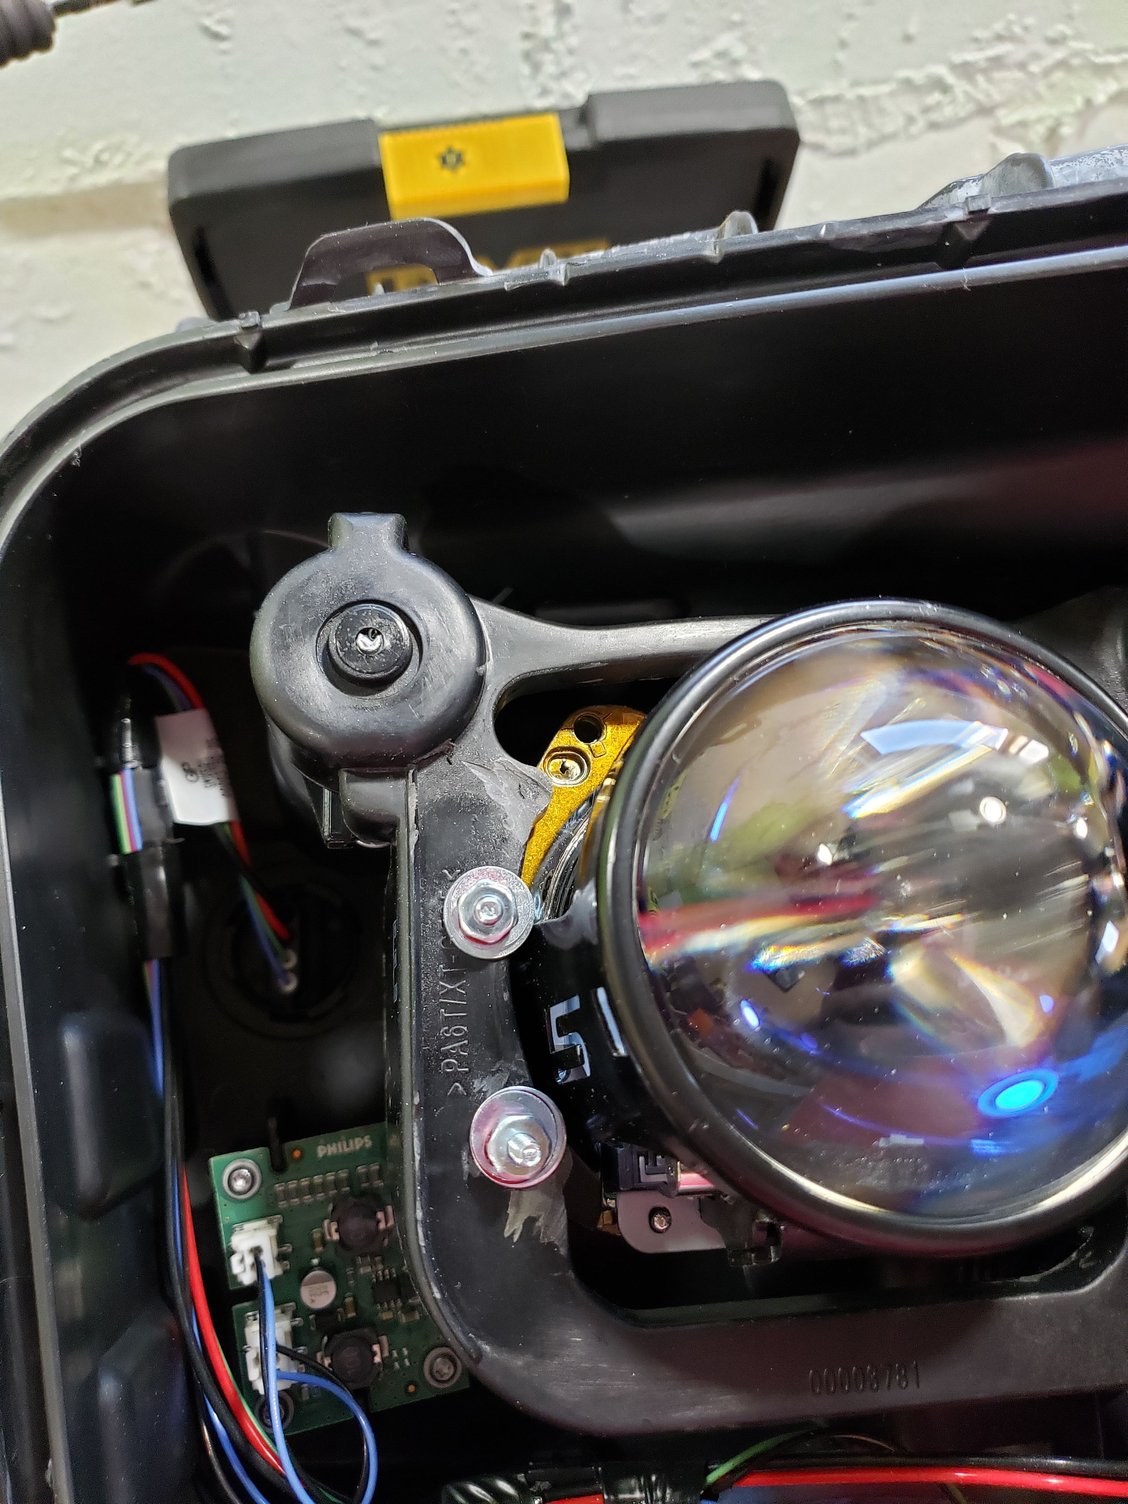
these top bolts with the big projector opening facing up need to be removed. I use them for mounting points so I they get bolted together again.

I cut it out with a 5/32 bit for the bolts I used. I think M.6 But don't quote me. I went to hardware store and found bolts with my projector. Sorry I wasn't more help with the bolts I am bad with they're sizes.
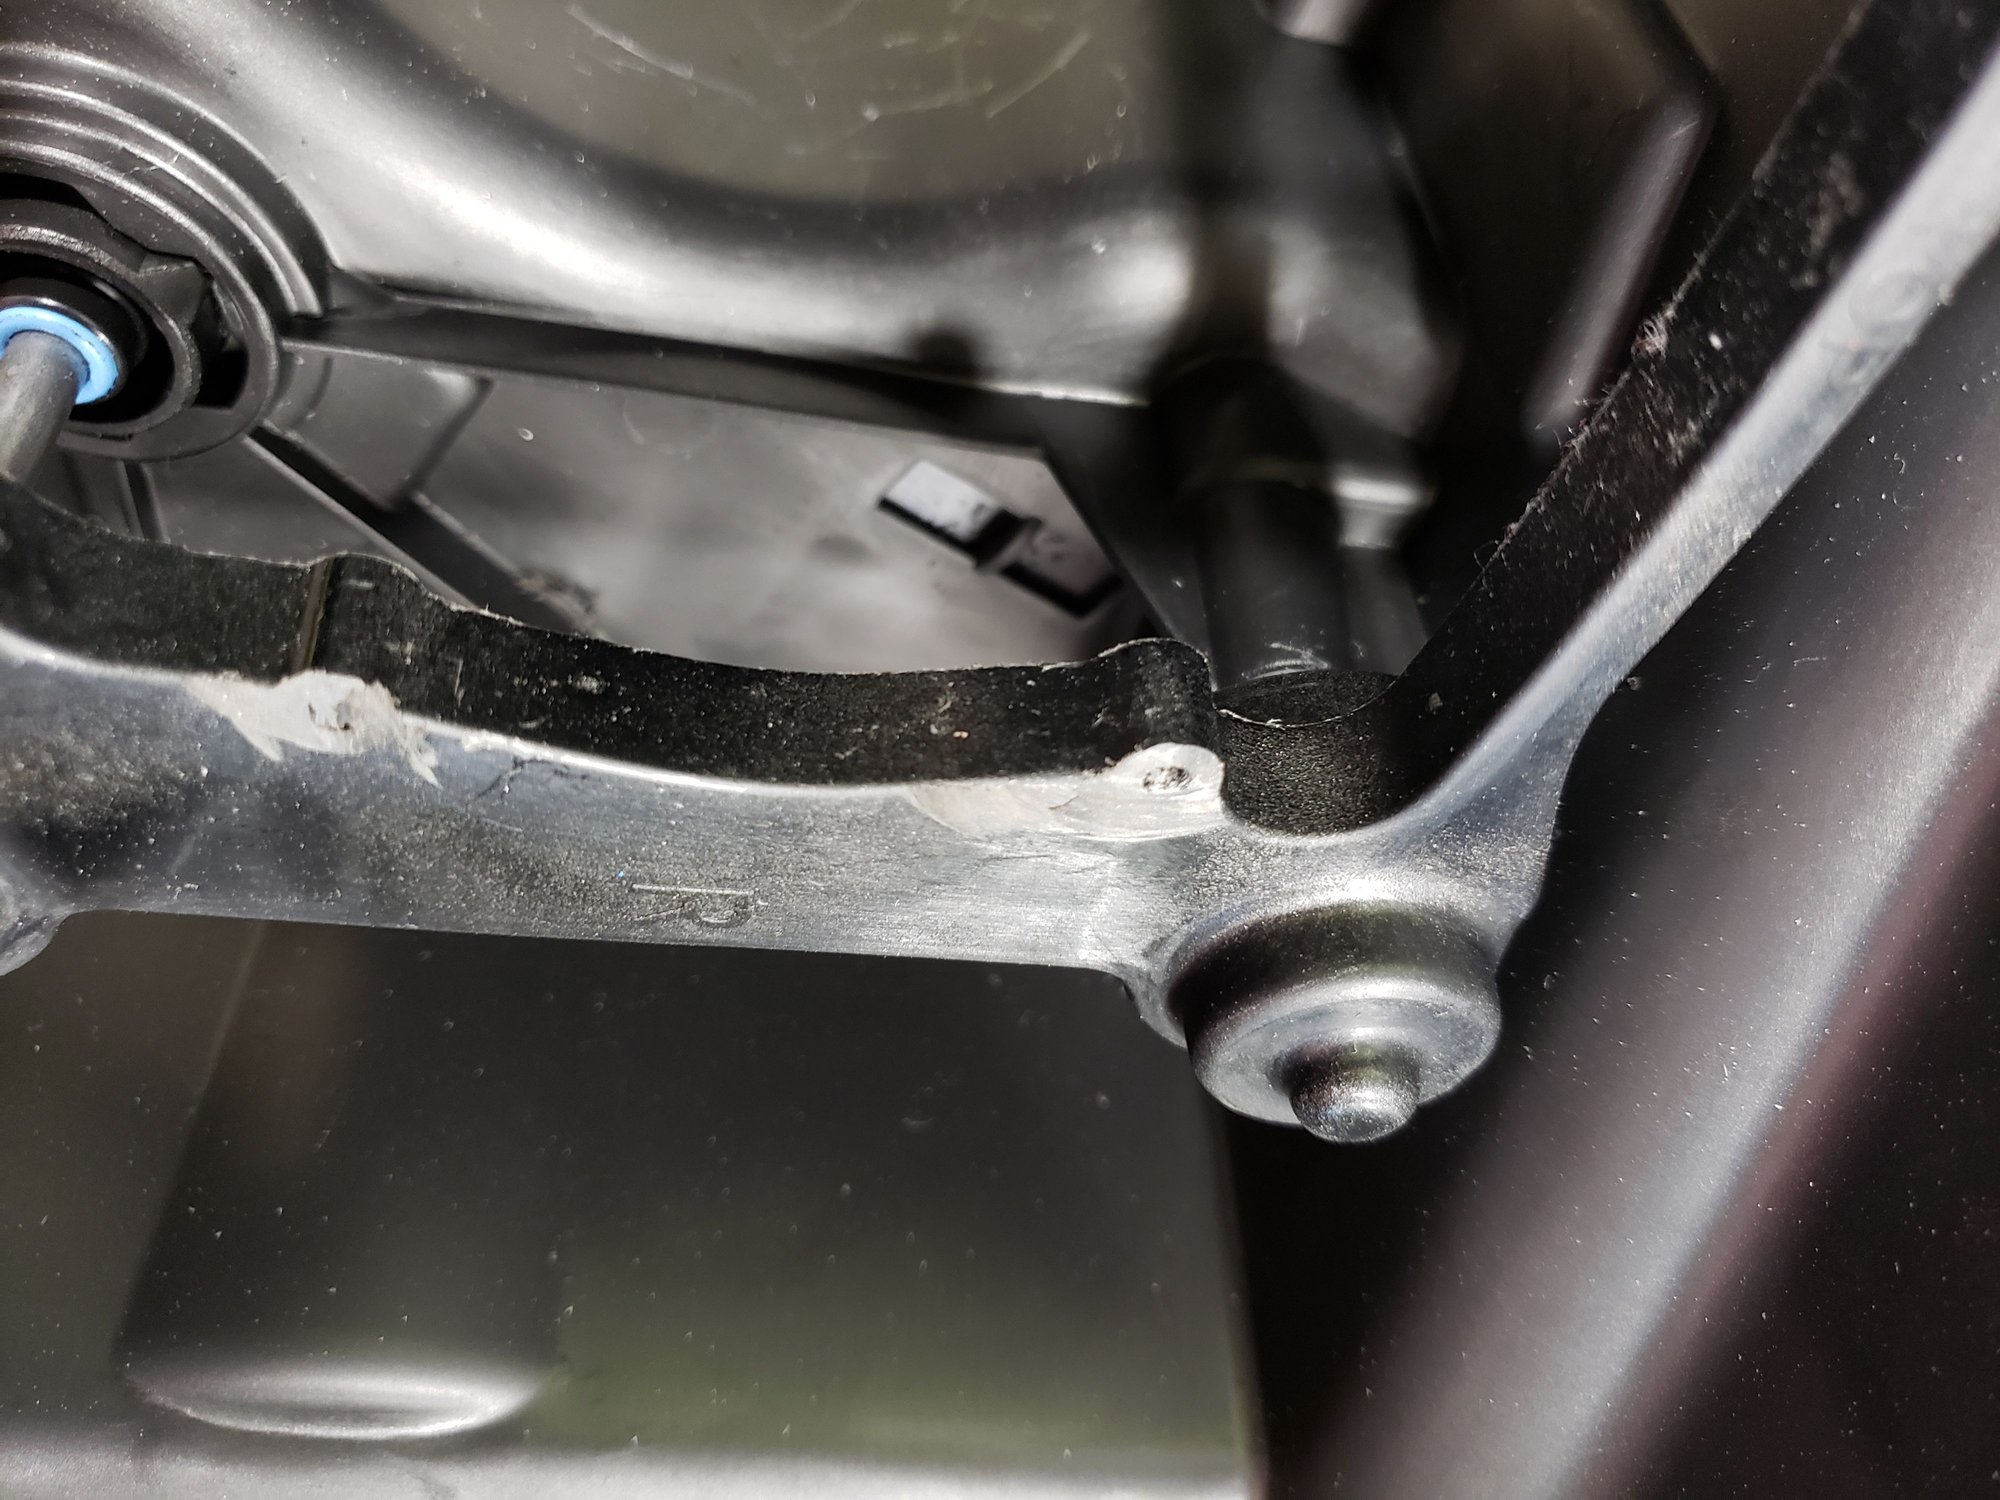
Now there are the factory mounting points that I shaved off both sides. I did the front so I can pre-fit the projector from front to make my drill holes through the plastic adjustment bracket in the headlight assembly.
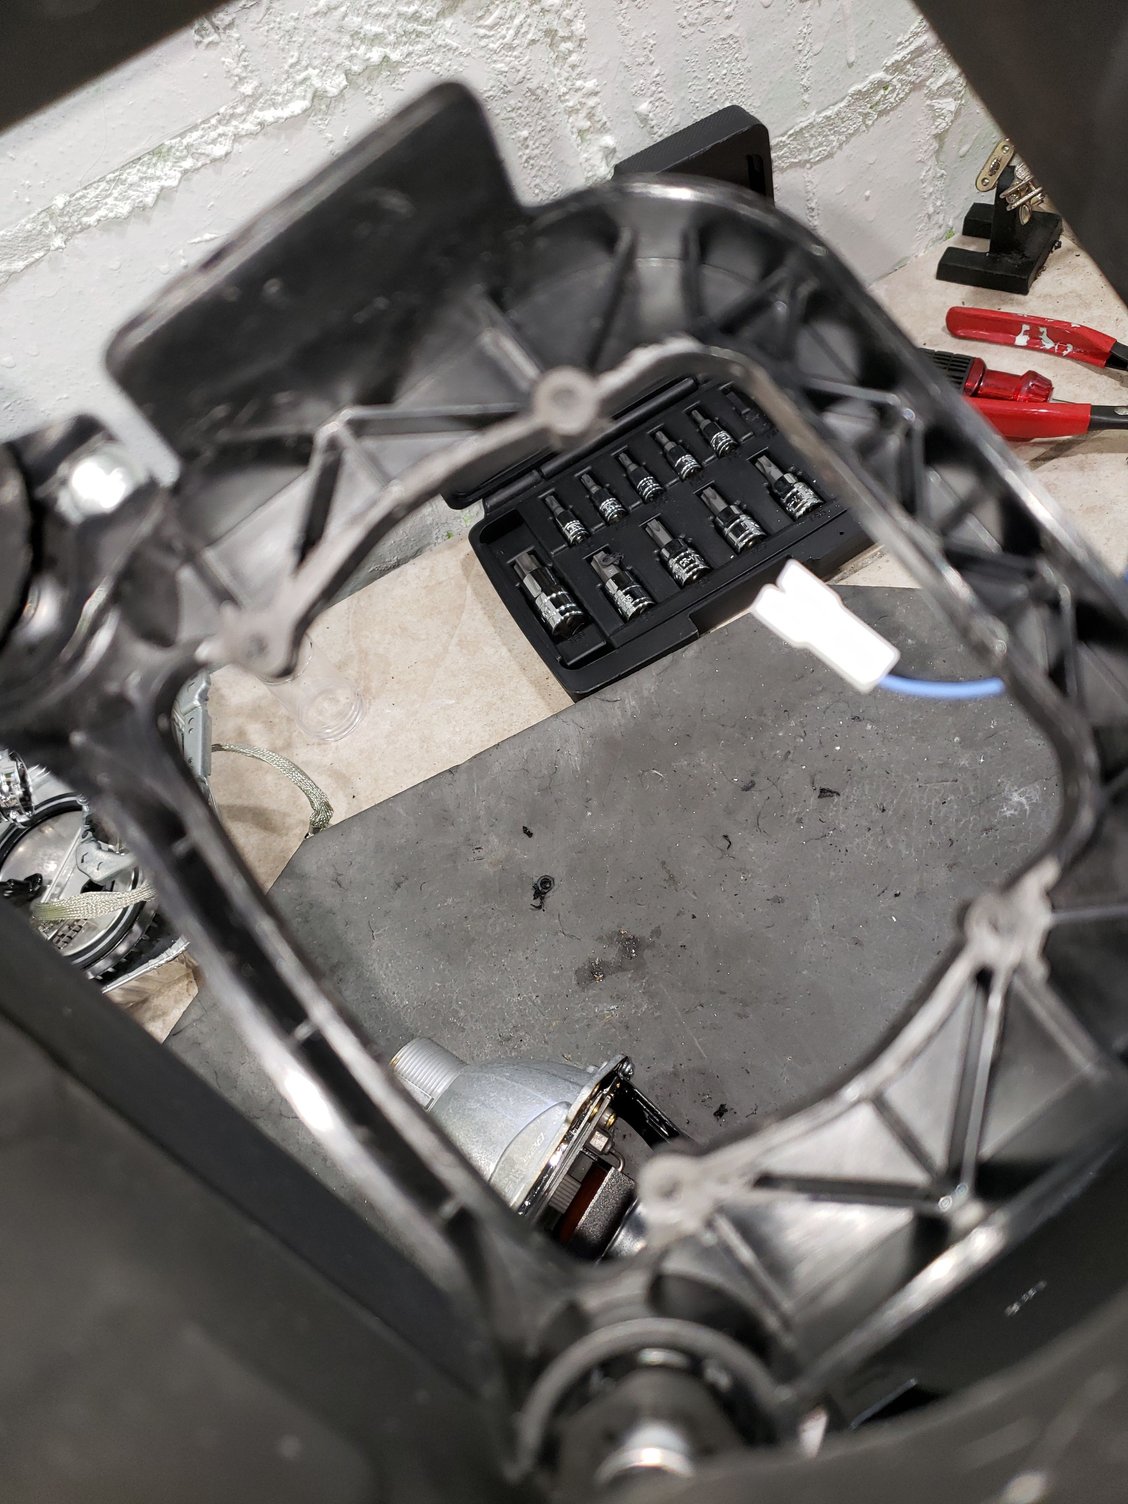
back side. Kind of blurry

Now I pre-fit on the front. I don't have exact measurements so I will show you how close I have it. I'm a very Visual guy.
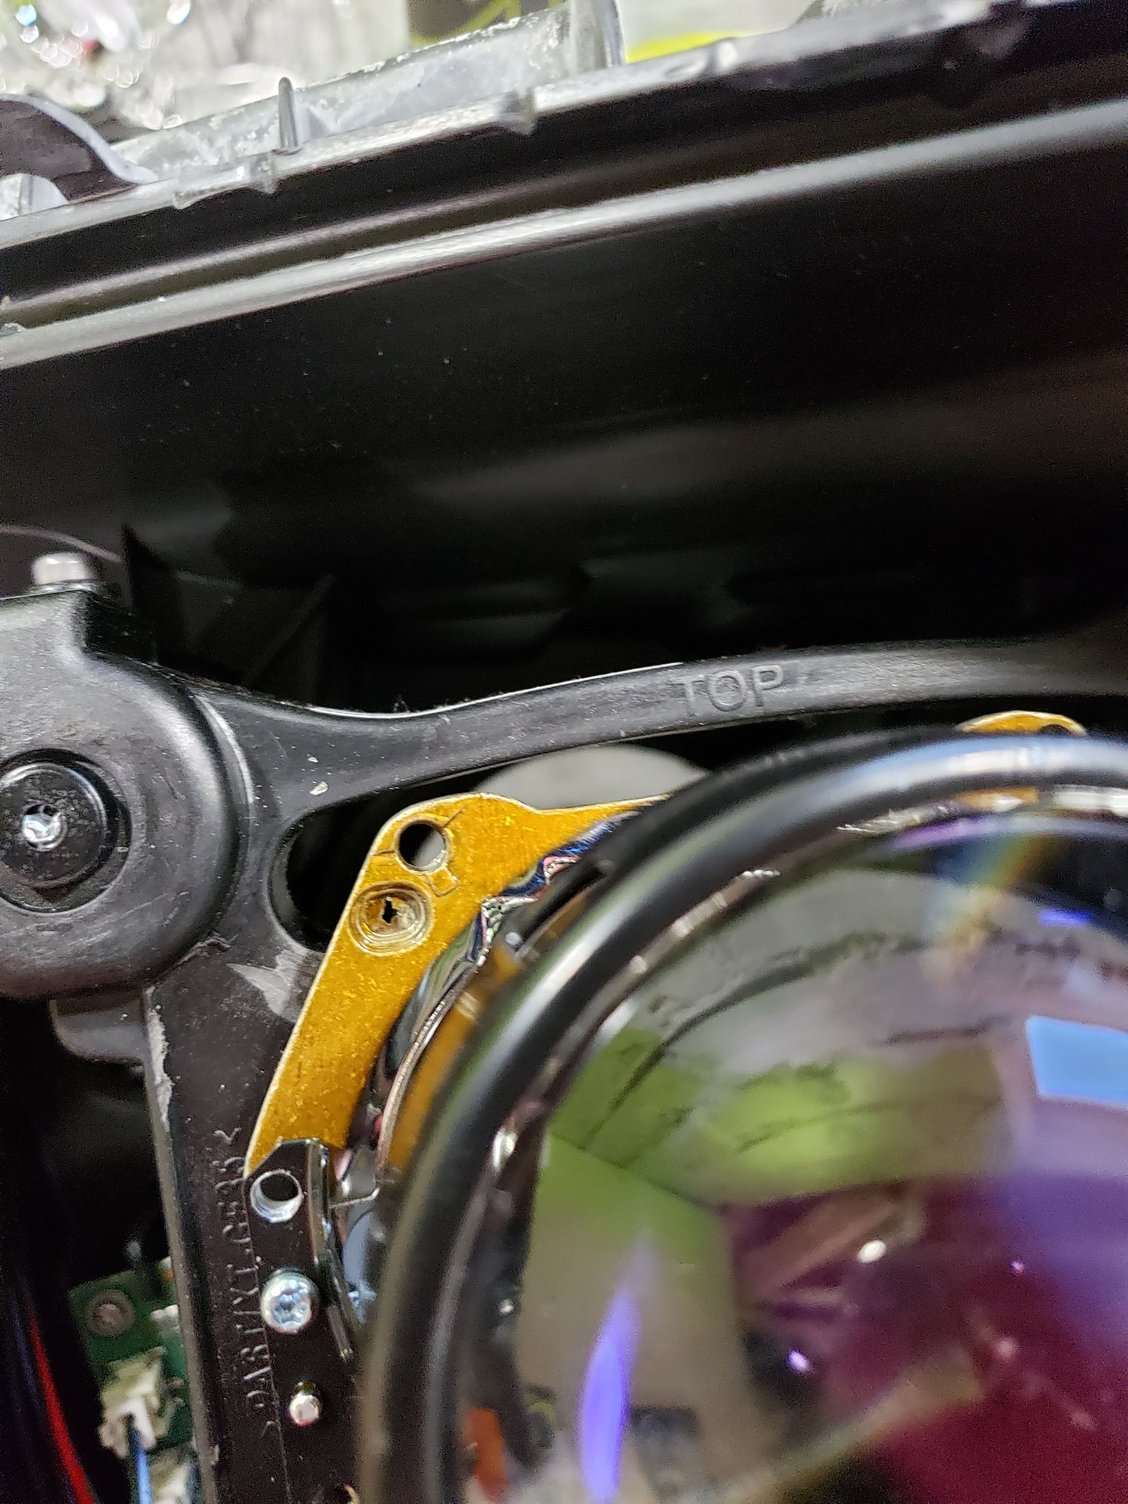
This is about the gap I would look for on the front before drilling holes.

right side but finger is sort of in the way I will note that on the back side I did also grind down where they're torx screws are on the front of the projector will touch the plastic so it sits flush. Dremel is a friend here.
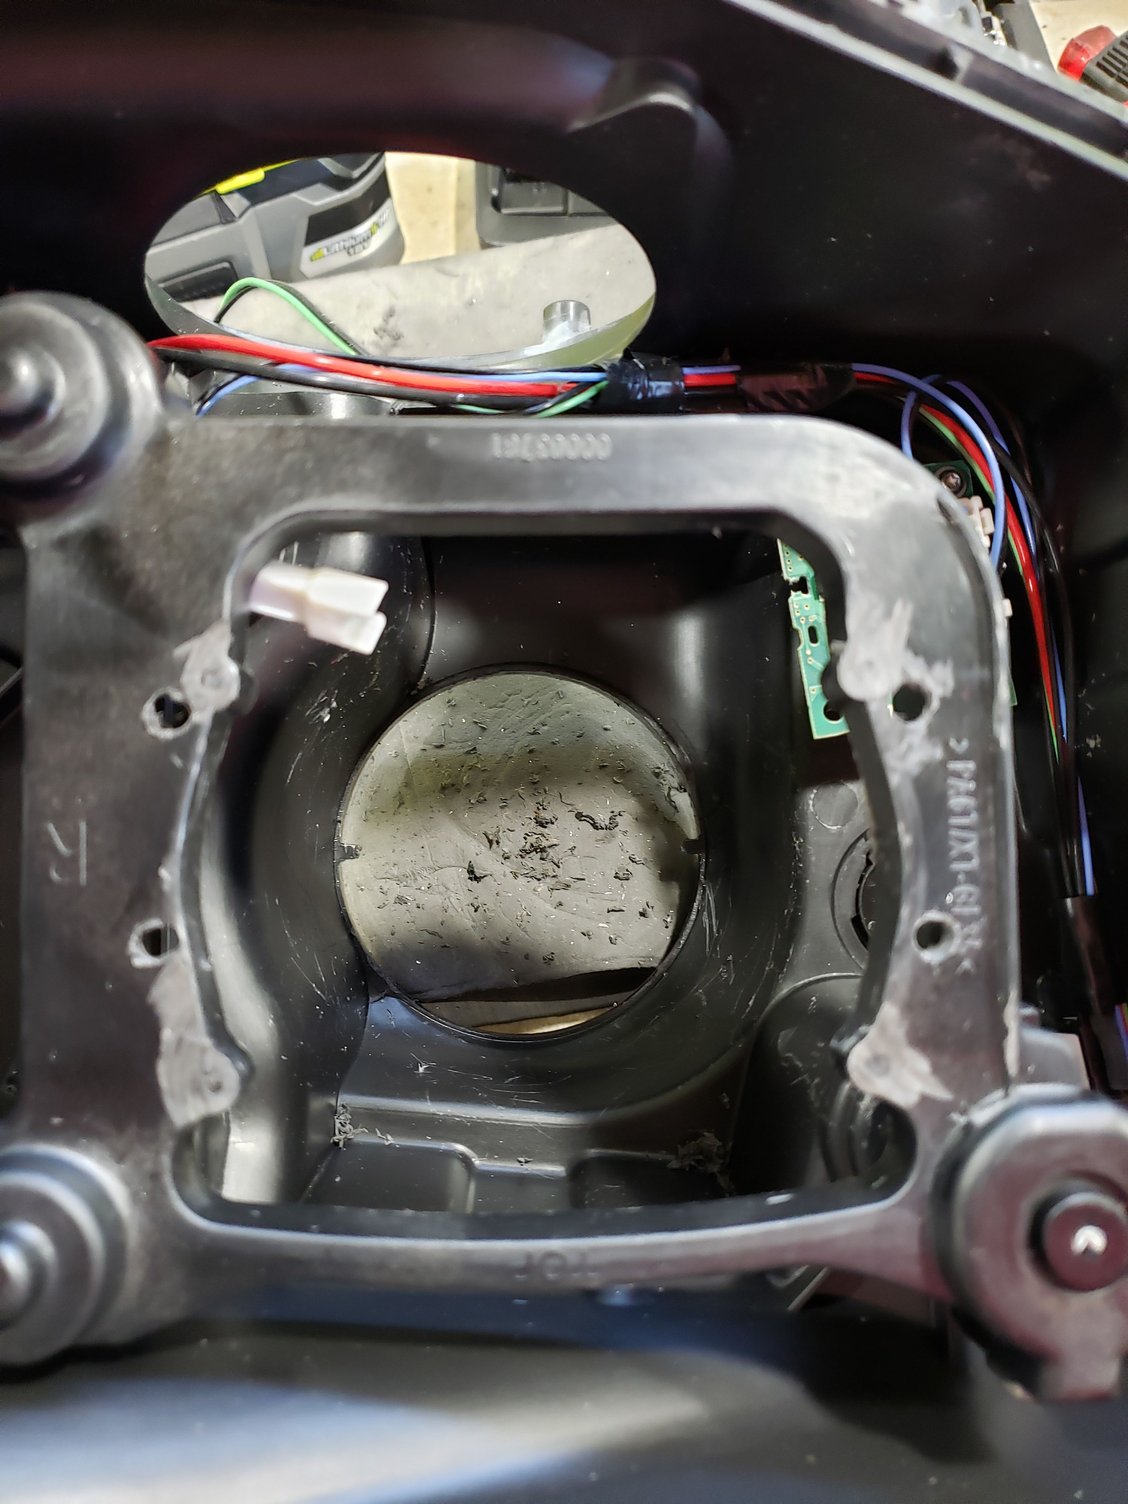
these are my front holes. Now that I have pretty close guide holes I used the same bit to make them bigger in all directions so I have plenty of wiggle room for projector to move so I can make sure its straight and even.

these are my bolts. As long as they fit in a 5/32 and you cut them down once tight. I used a lot of washers because I wasn't sure how strong that plastic was after cutting and wanted it to have a big space of pressure. medium washer, small washer, lock washer, locktite.
I recommend pre fitting lens back on (after you get the lens dremeled) once eye is installed before locktite. that way if you need to slide it down or up slightly you can.
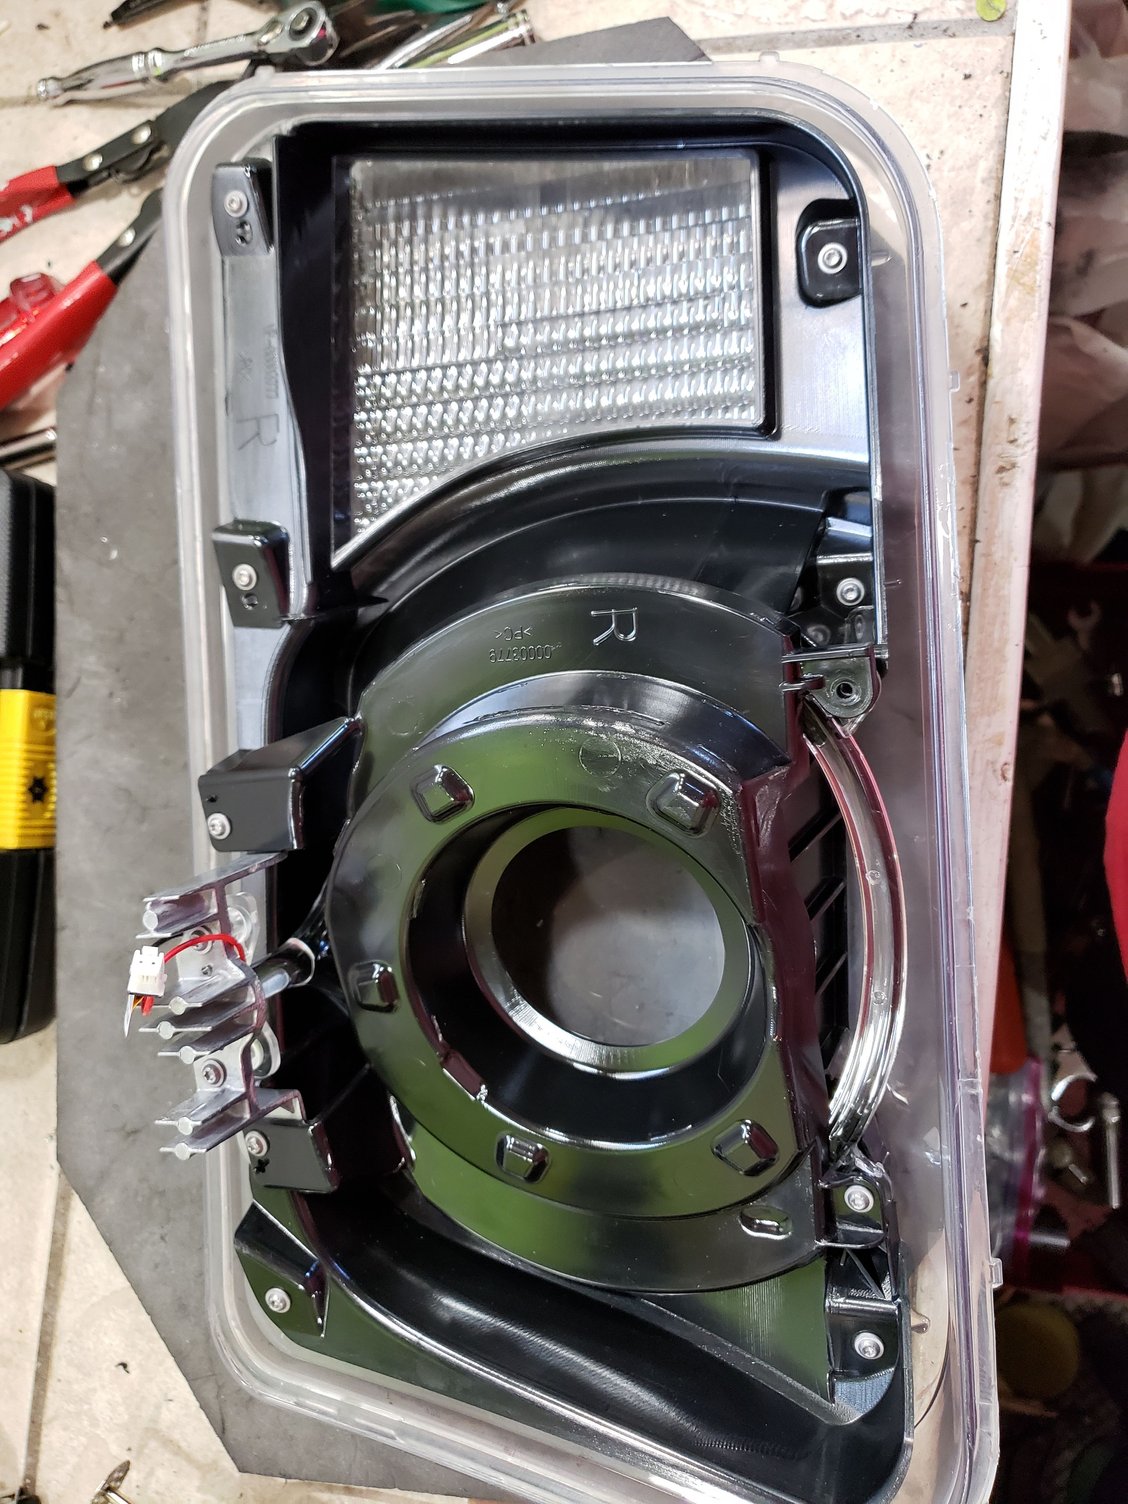
This is the lens part. Now this whole thing can be taken apart it was very surprising. I would like to see if anyone else does this to do body color inside of they're headlights before install. even a matt duplicolor body paint spray can would be so cool haha. My cars black so I didn't do it. white car with white housing? (SICK)
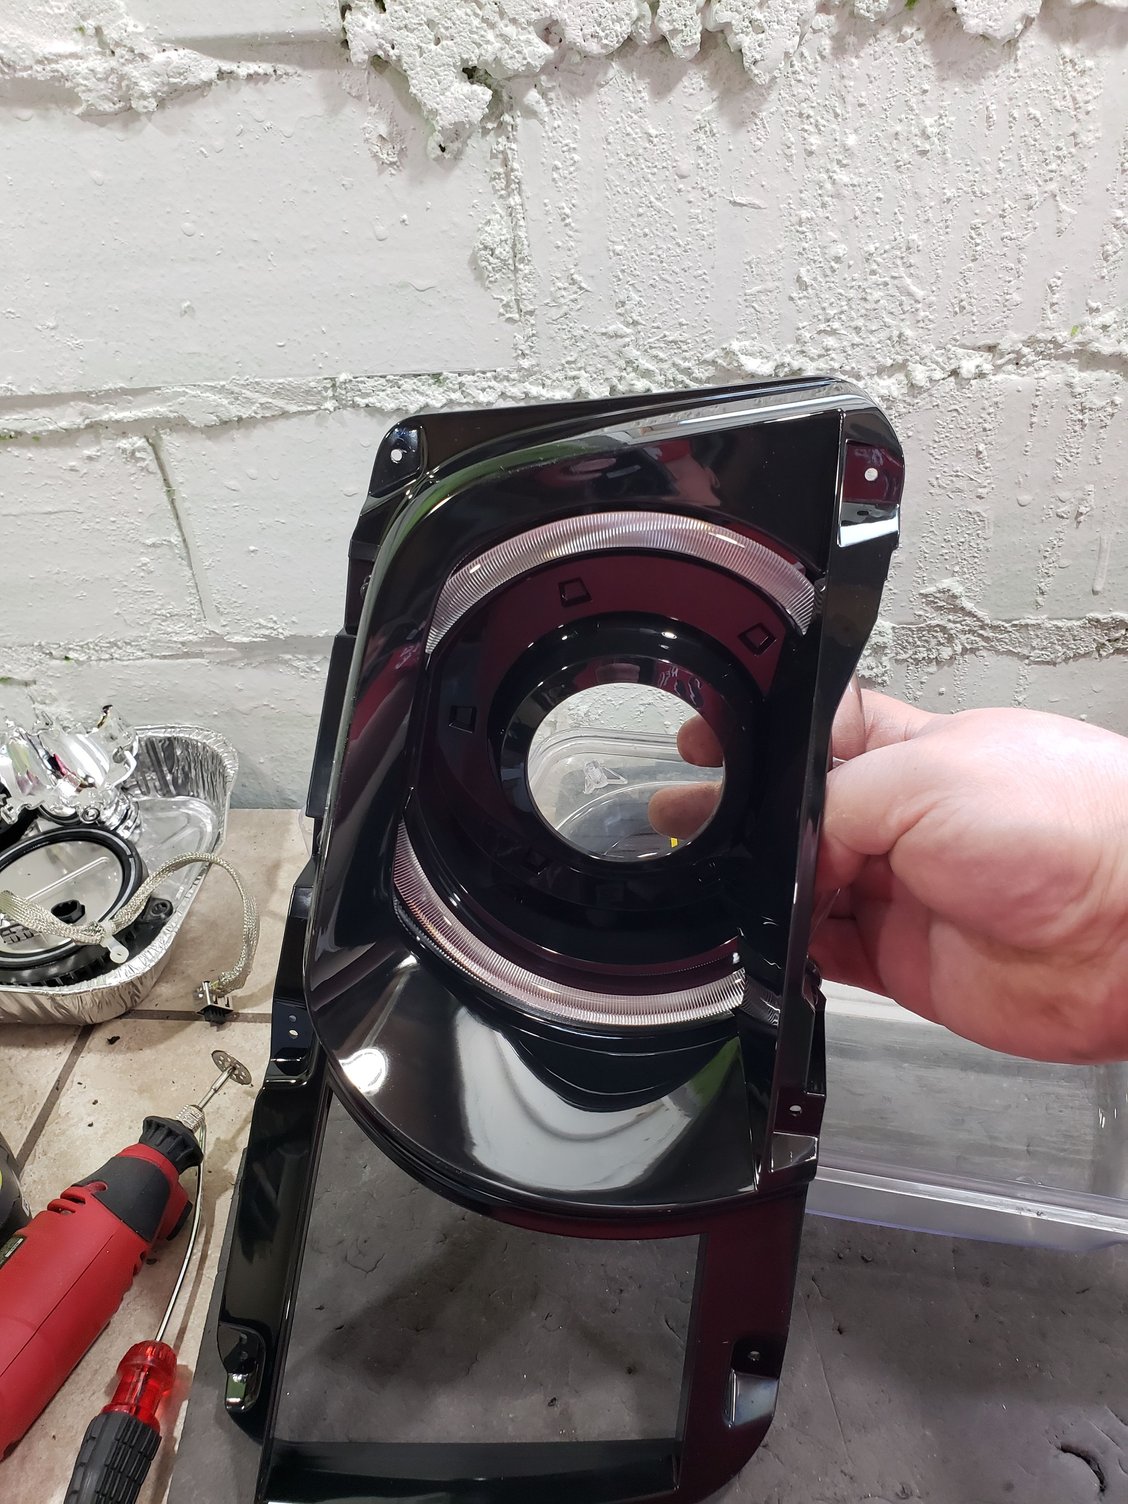
that inner ring needs to be all cut off. I used a dremel cutting wheel to most then dremel 80 grit flappy paper for rest. the previous image on inside you can see that inner black ring. I made that flush with the bigger ring.
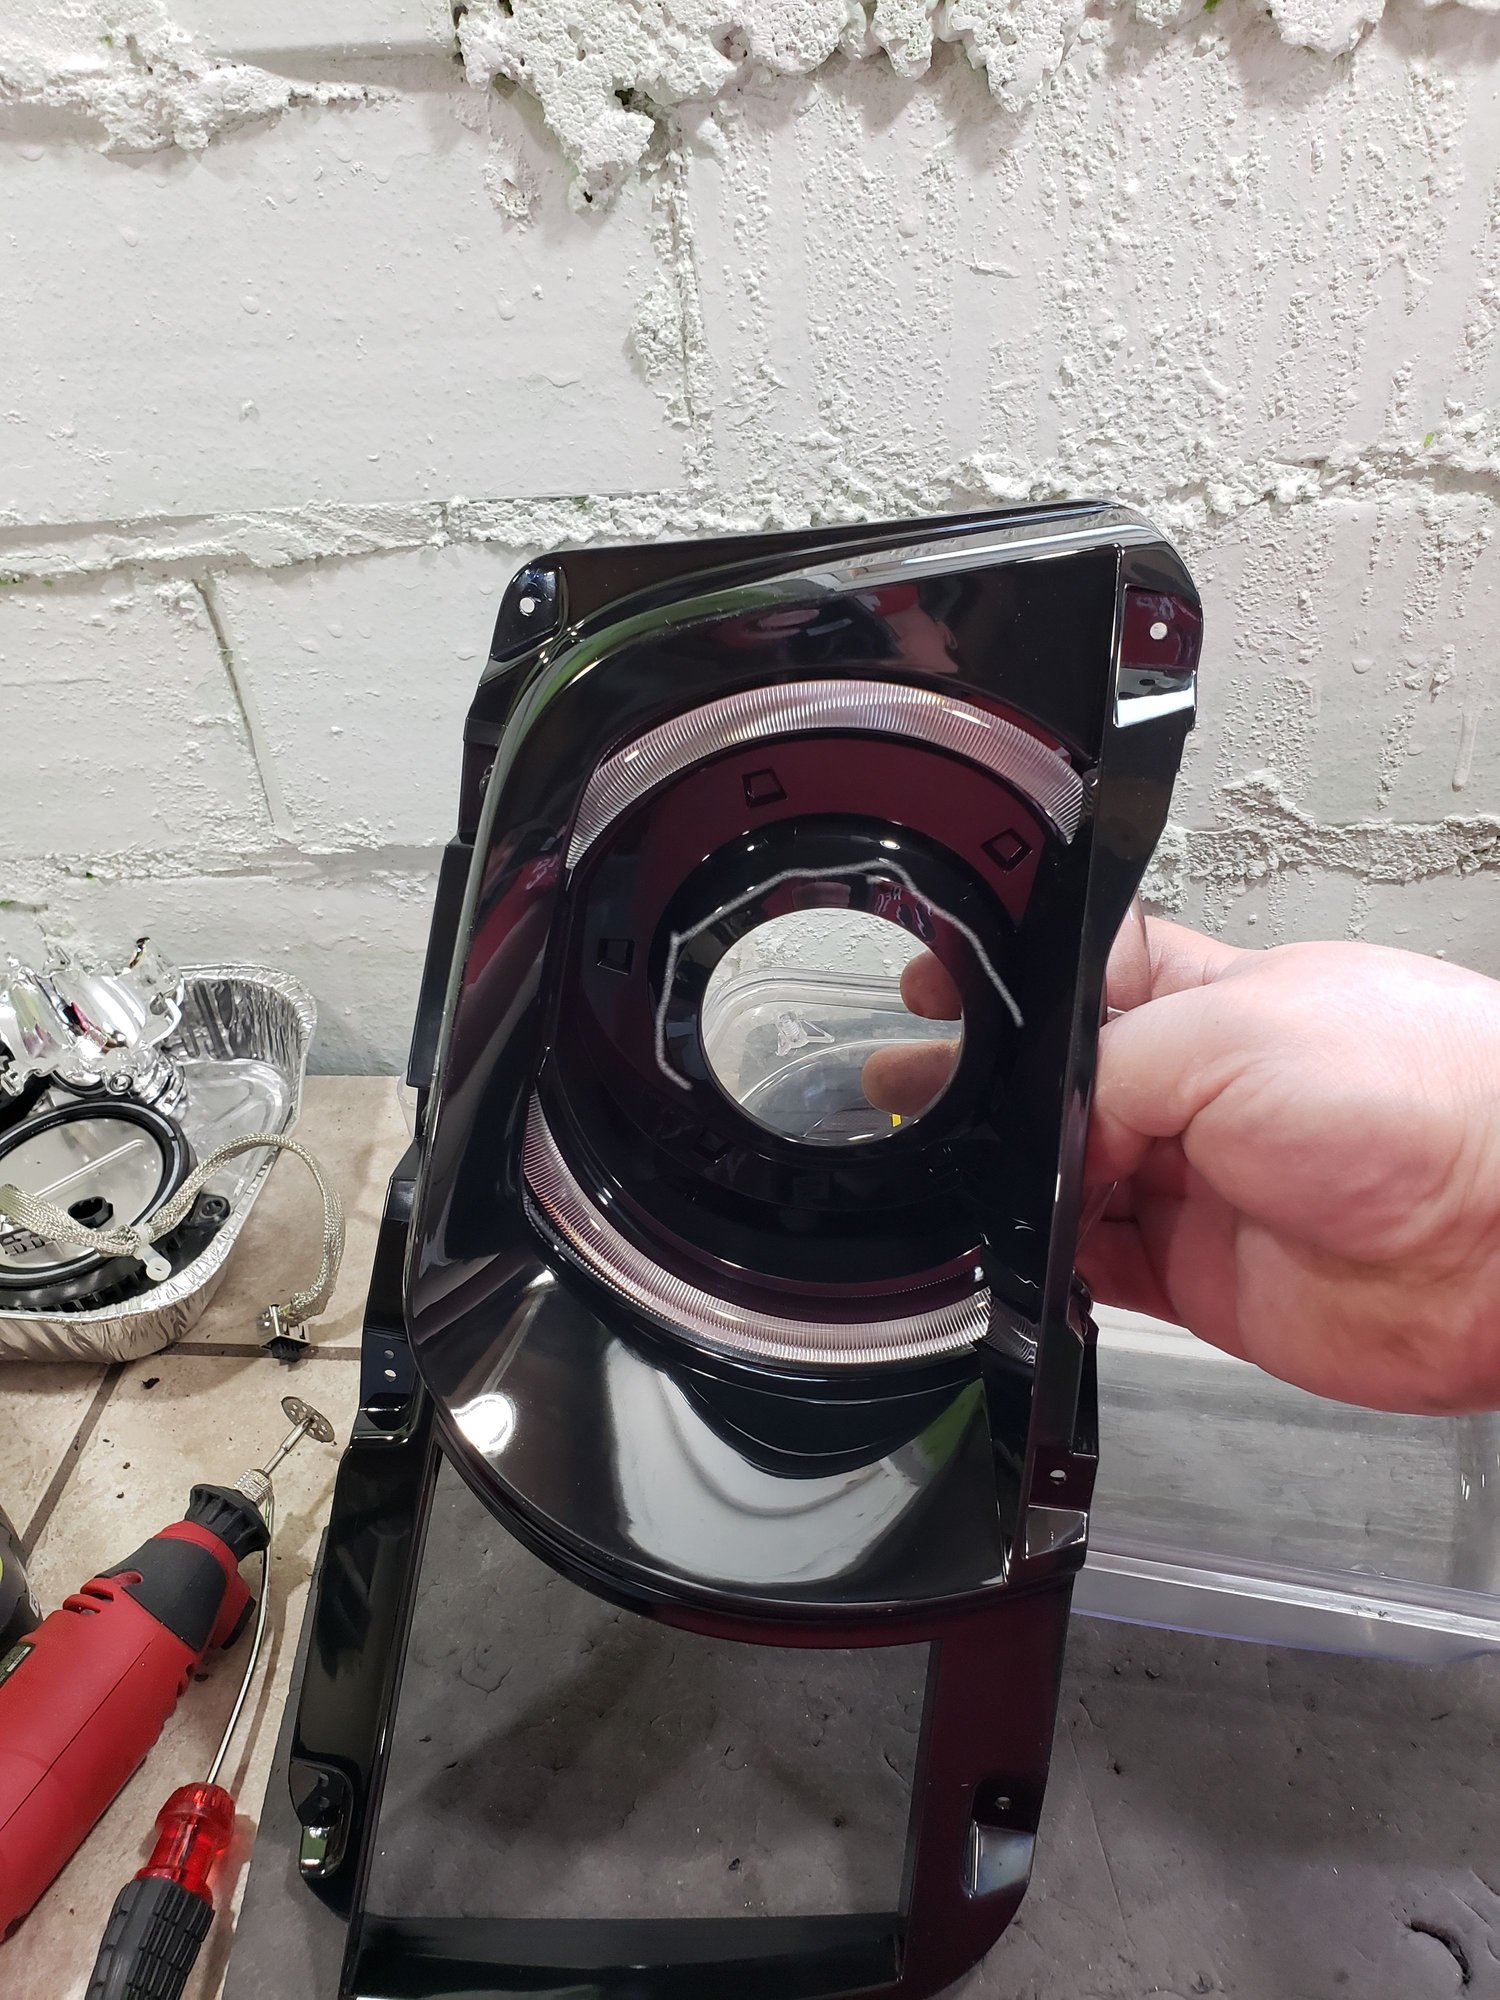
I kind of drew a outline but its hard on computer haha.
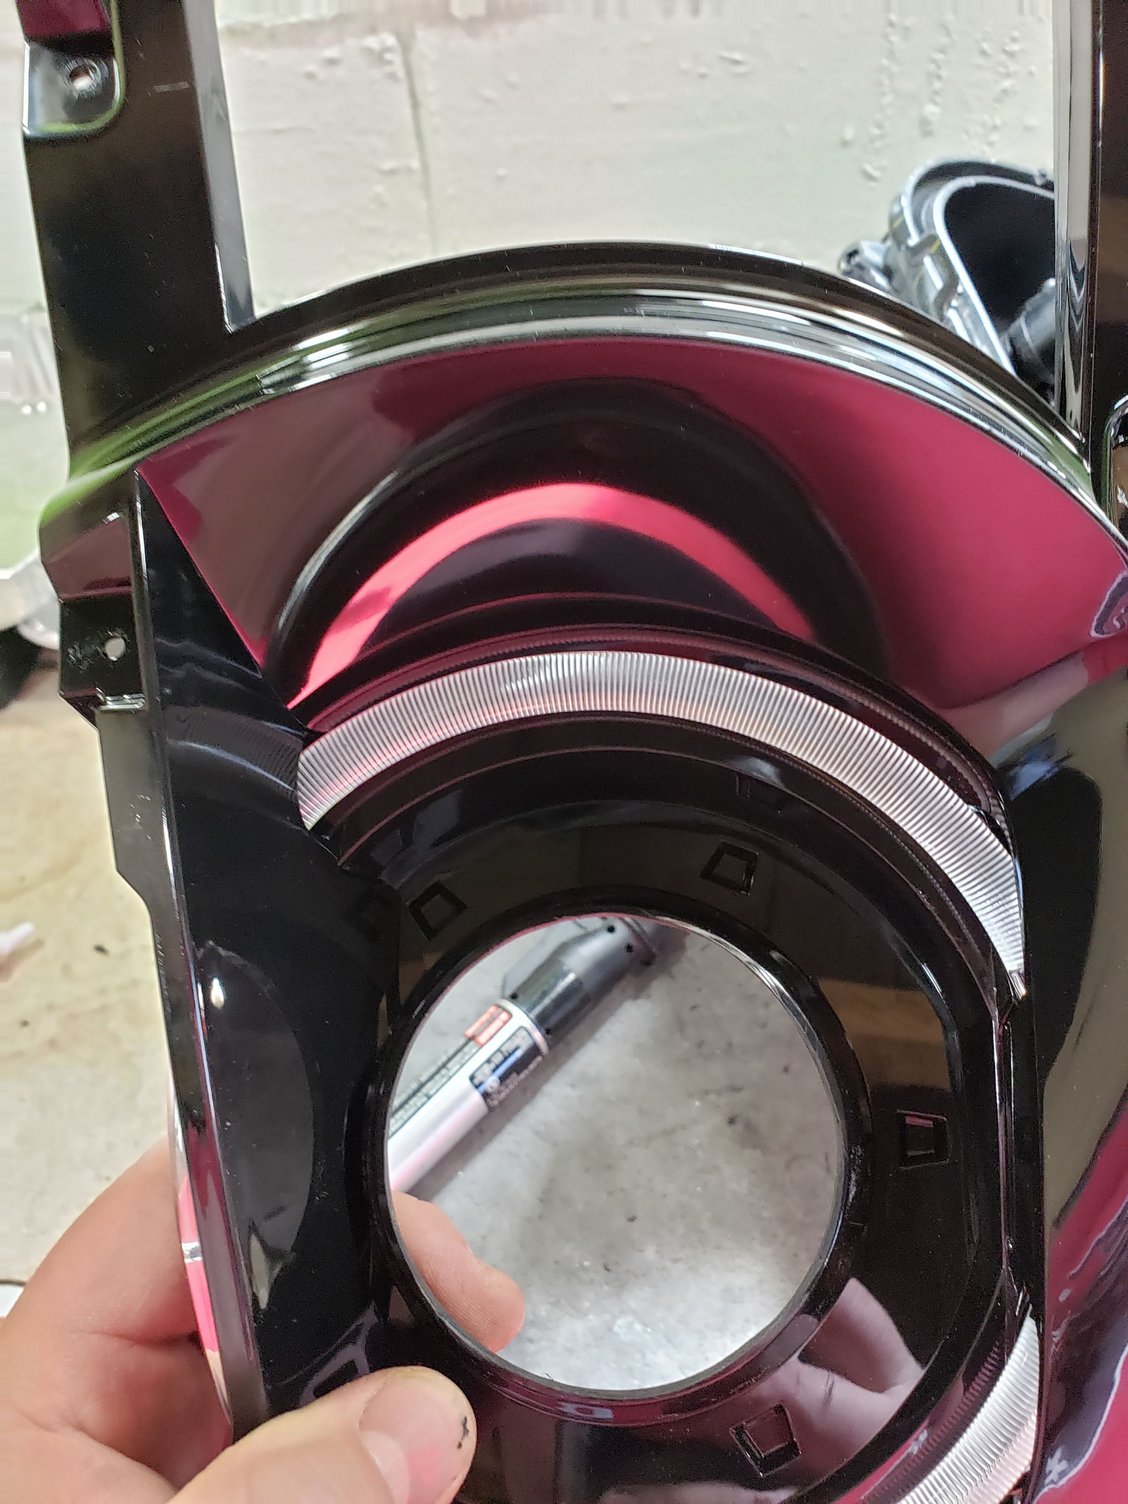
now once its sandeed it will look like these.
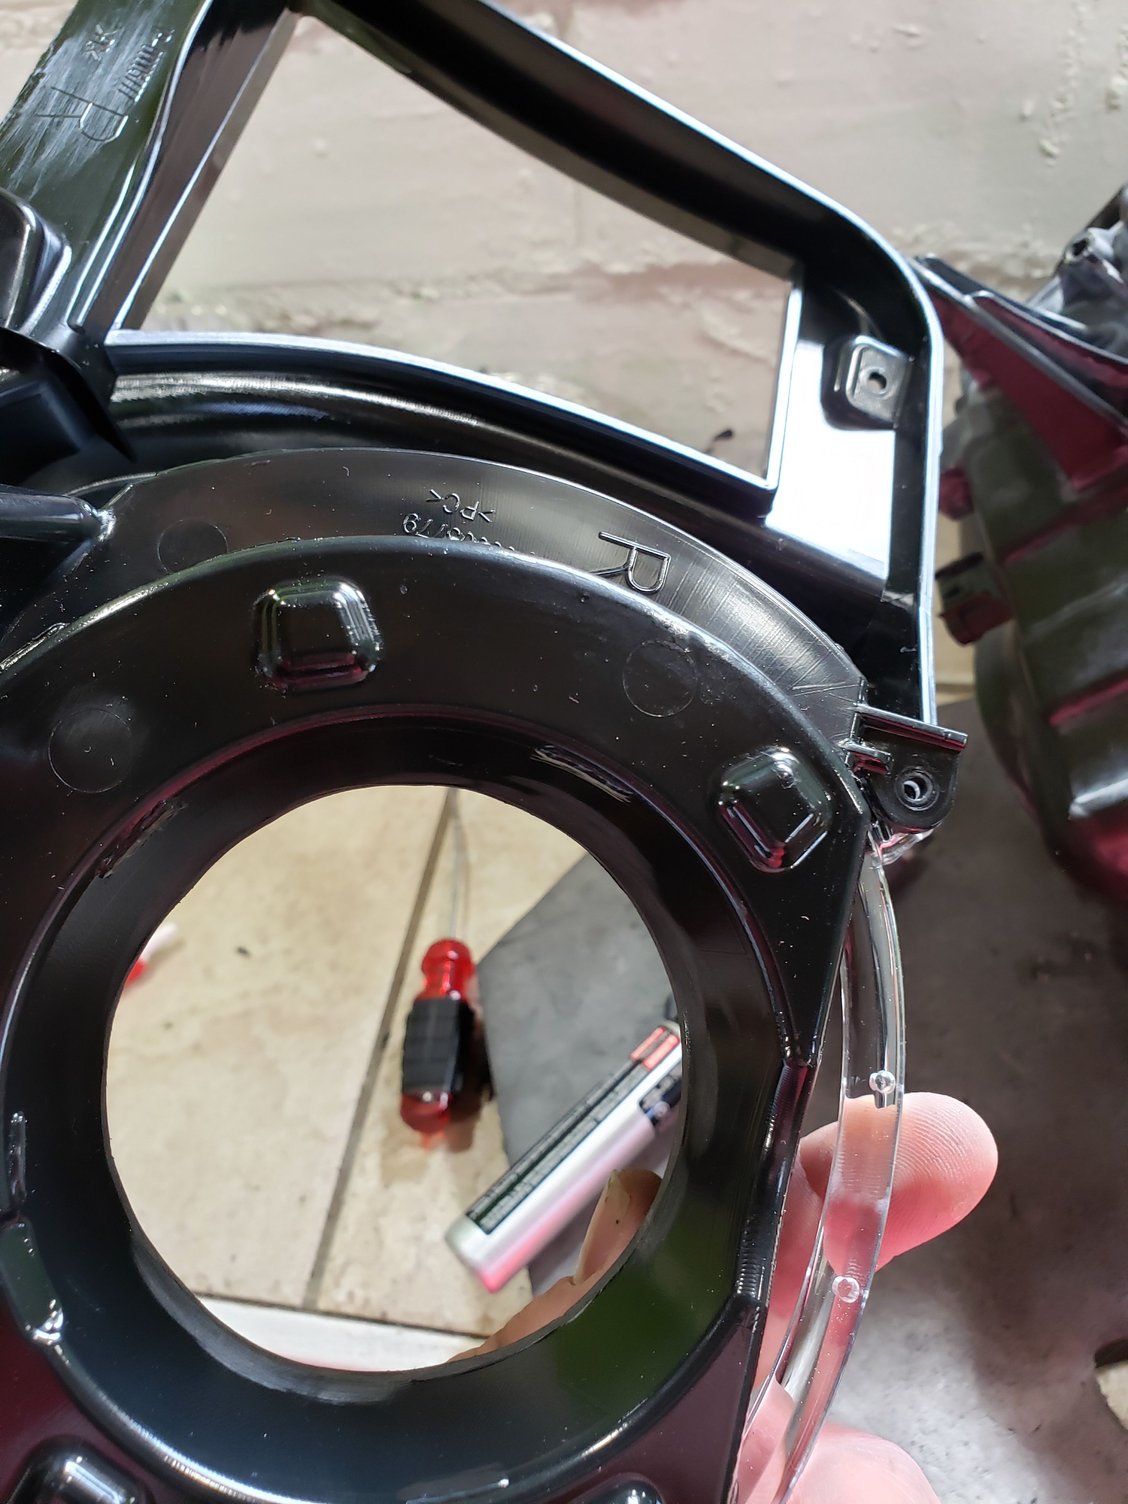
you can smooth it out if you want to paint it if your going that route but all of the sanding is done on the inside so I left mine
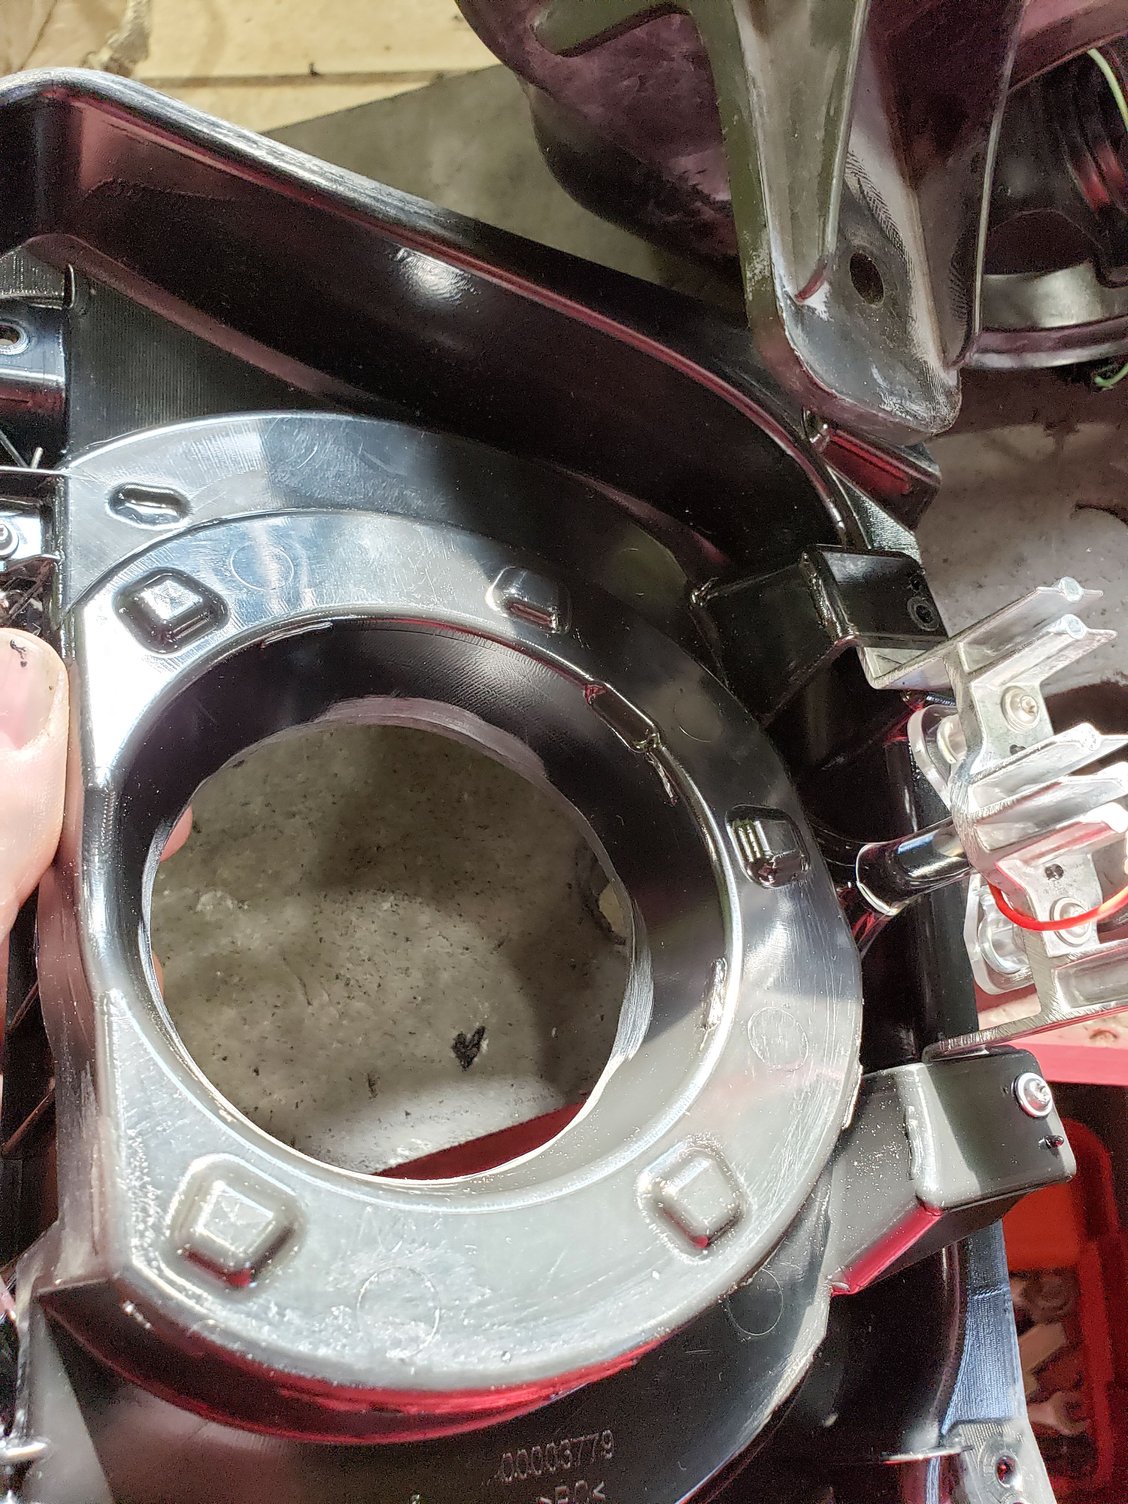
this is the inside. little rough but all covered.

this is the two wires connected and light fully mounted. I did not use washers on back side.

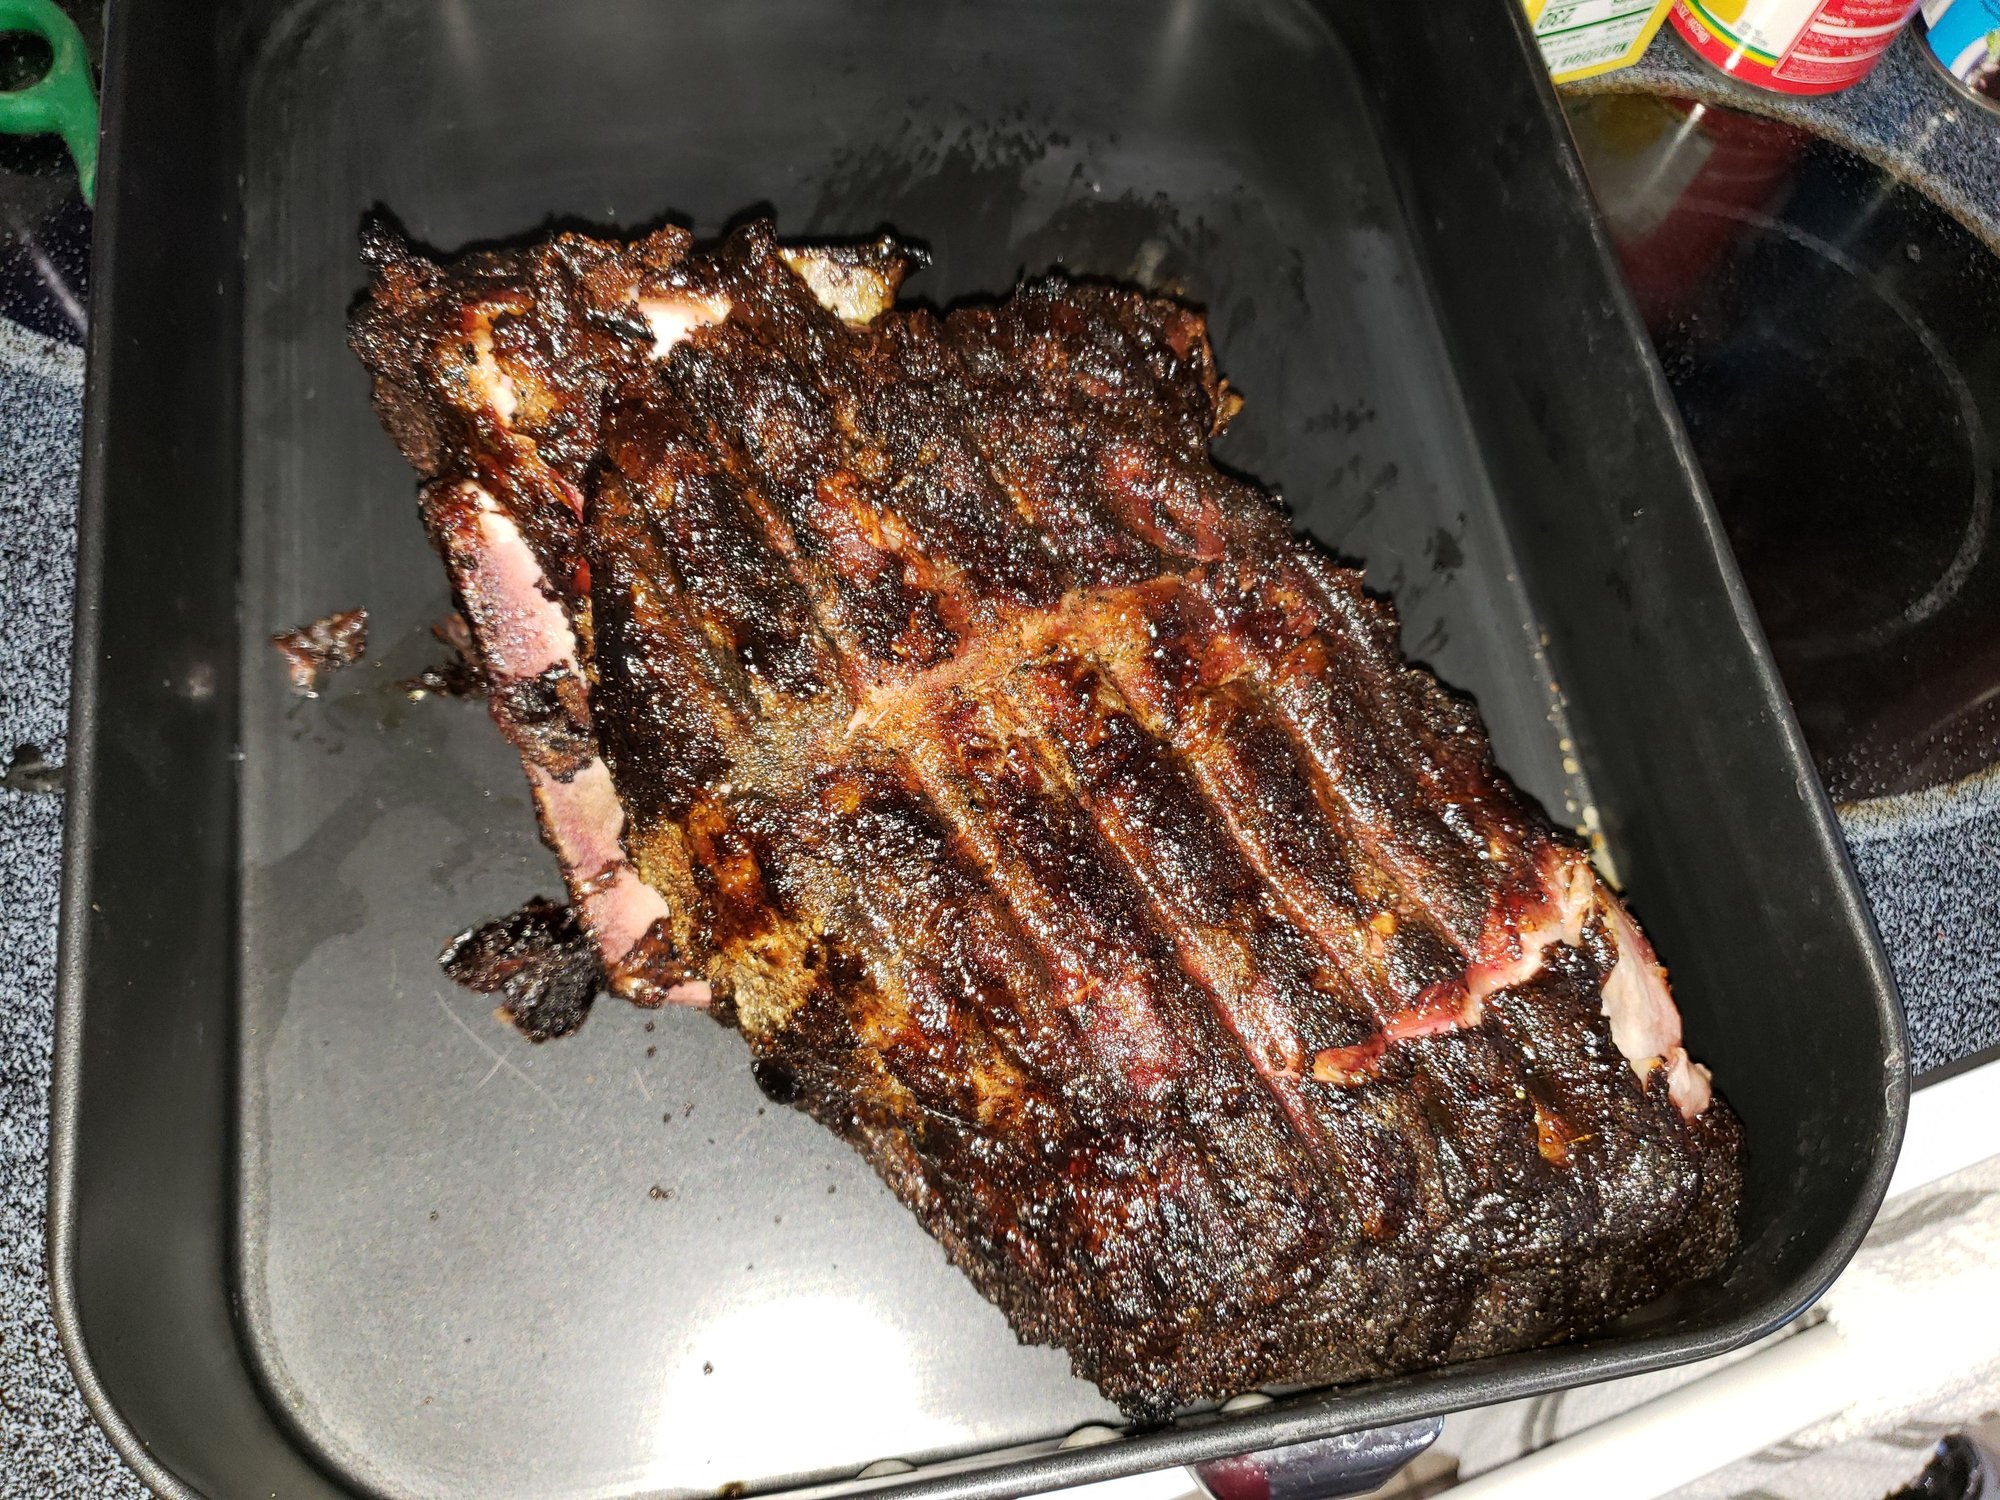
sealing the headlight! don't mind the food I was also smoking a pork butt and going to make pork butt nachos for supper! Make sure you CLEAN LENS AND PROJECTOR super well before baking together. Fingerprint on the inside of lens only way to clean is to reheat and seperate...

All of my sealant is in there. Now I have not done this before but my first impression of morimotos black rubber seal is amazing. Super sticky and had plenty left. I followed they're directions on the back and came out nicely Baked at 275 for 10 mins instead of 7 though.
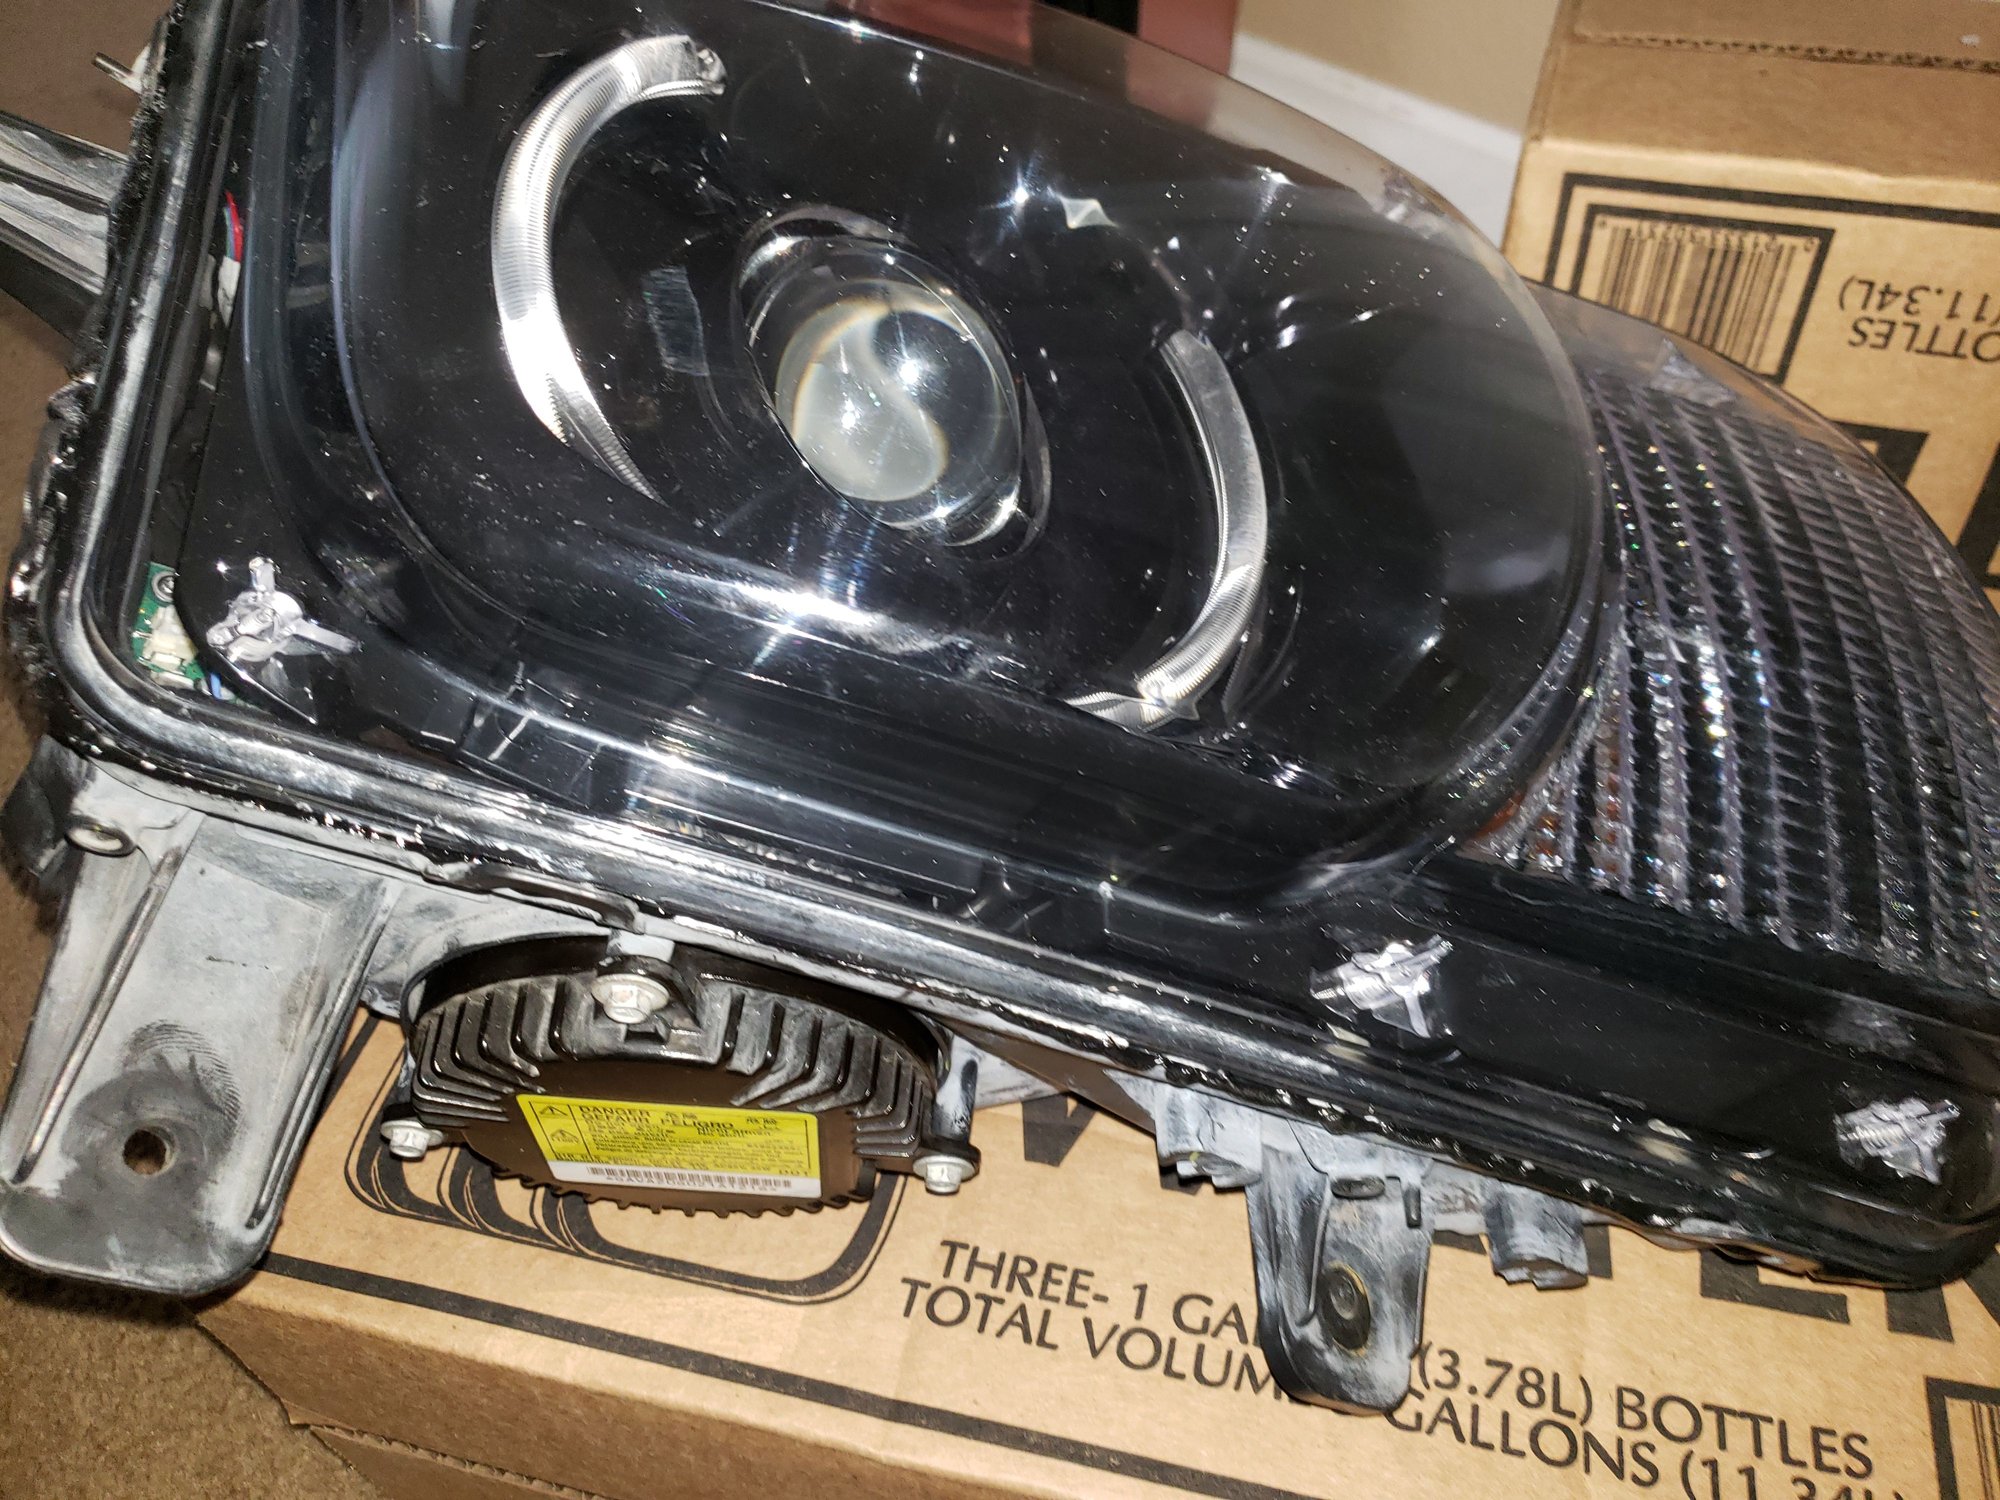
Snapped it all back together and on those parts that didn't ooze out like some of them I went with loose extra rubber on the sides and rubbed it along those seams. I Also wet sanded and buffed both headlights. you can use a drill and a drill attachment. my big buffer is too much for headlights. If you get black goo on your headlights before it dries I use nail polish remover from my wife and it came off without ruining the lens
The following users liked this post:
Nakylen Muldrew (05-20-2021)


