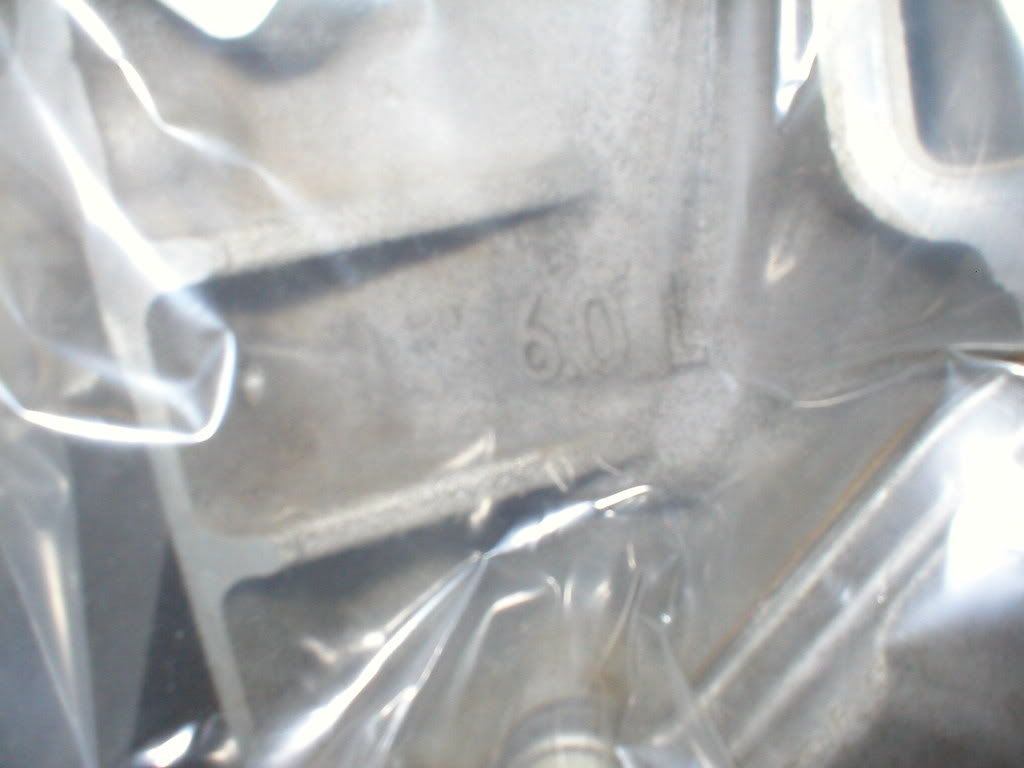
Project: My 6.0 LS2 F-body
 03-02-2009, 08:14 AM
#1

I figured I’d finally start a winter build thread because I might actually start making progress now and also because everyone else is doing it and I was feeling peer pressured to hop on the band wagon. Anyhow as most of you know I went to a track rental in August of 2008 and that is where it all started, Here is a little video I put together to give you an idea of how things went.
http://media.putfile.com/Milan-Track-Rental-81408
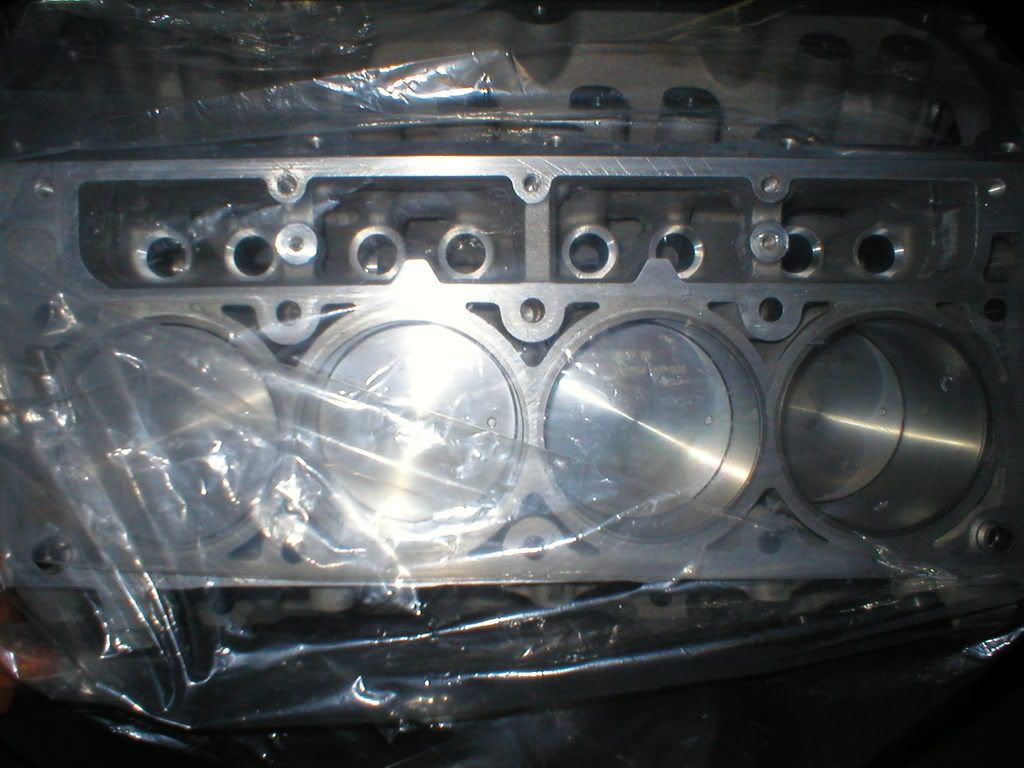
After the incident at the end of the track I felt the car miss and then backfire a little. I grabbed my slip and quickly returned to the pits where I parked the car and looked it over thoroughly. I let the car cool for about a half hour and then decided to check on it again, upon firing it up and having my tuner Phil look it over, it was determined that the motor was consuming coolant and we thought I had blown a head gasket. Unfortunately I was miles away from home and had driven it there so I limped it back, the car backfiring the entire way, and parked it up on the lift in preparation to swap out the head gaskets and get it ready for another track rental that was a few weeks away. When I finally got the heads off this is what I found.
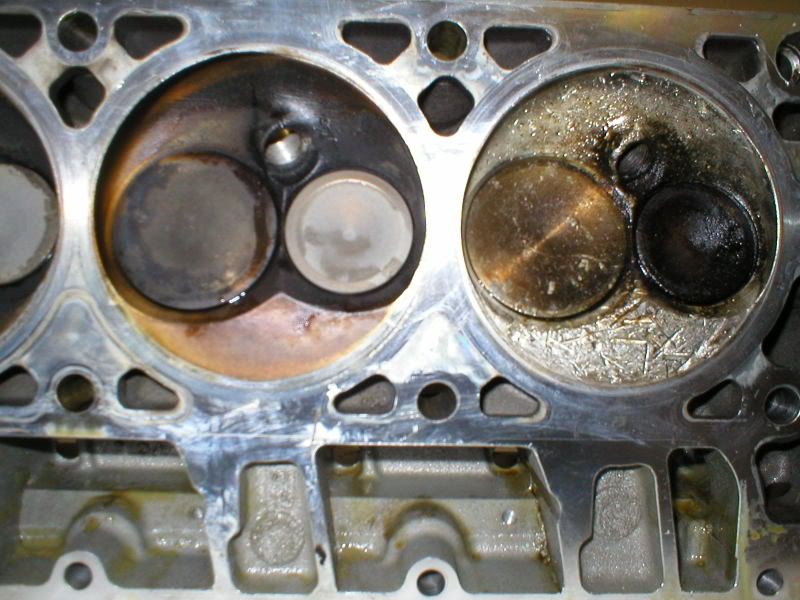
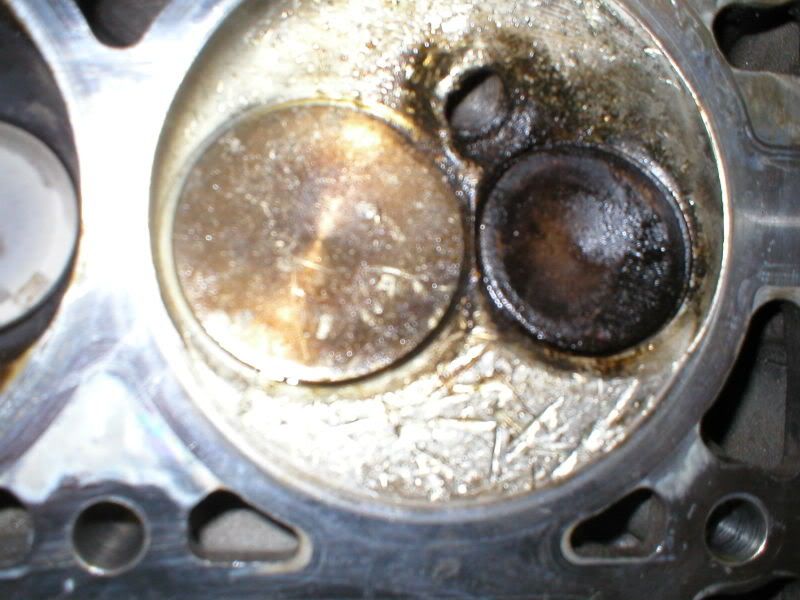


The #7 piston busted a ringland due to the car running lean, whether it be from a fuel pressure drop because the pump was hot or possibly a clogged injector I don’t know for sure but what I did know was that it was time for a serious teardown. So the next day Jonny came over and in a few hours Voila!

Unfortunately once we were able to get the motor out I soon discovered that not only had I busted a ringland but that the cylinder wall was also cracked into a water jacket which meant the block was scrap Therefor I quickly snatched up an amazing deal on a 35K complete LS1 shortblock out of an 02 vette.


I was very hopeful now and it seemed like this wouldn’t be too bad of a teardown after all. I just needed get my head fixed and swap over the top end and cam onto the new shortblock and be done, right? WRONG! I couldn’t stand the fact that I had torn out the entire motor and it would simply go back together making the same power as before and running similar times no no no I had to do something to make it bigger, better, and faster. So I browsed the web searching for this and that to spice up the car and came off with a few good things.
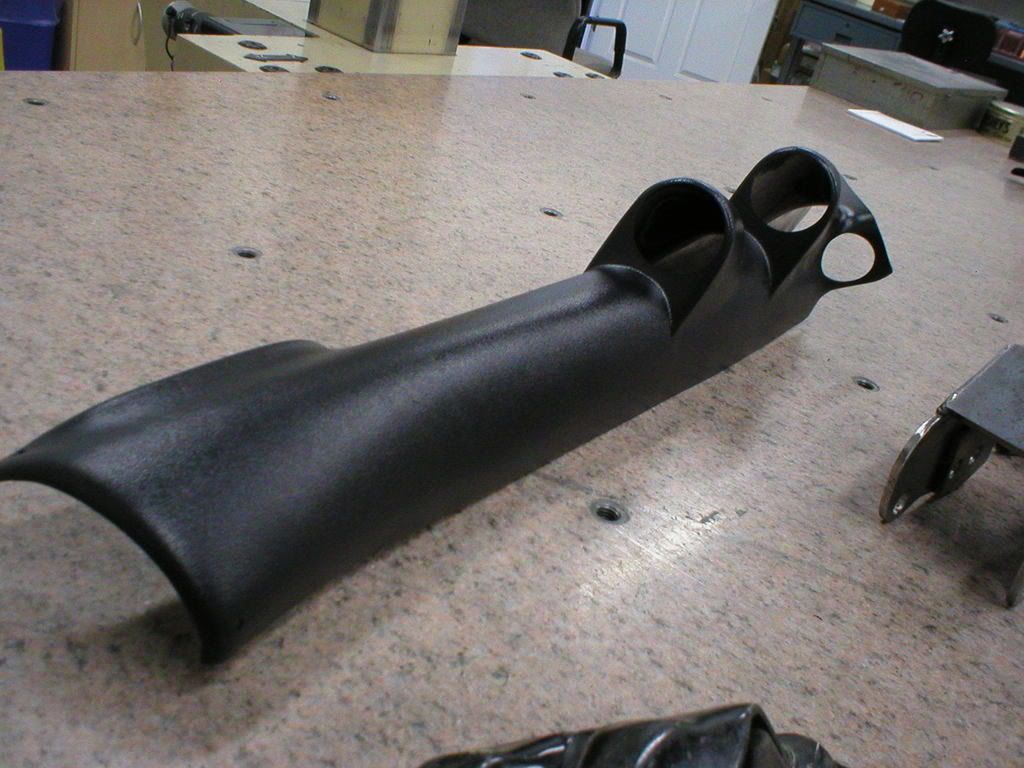
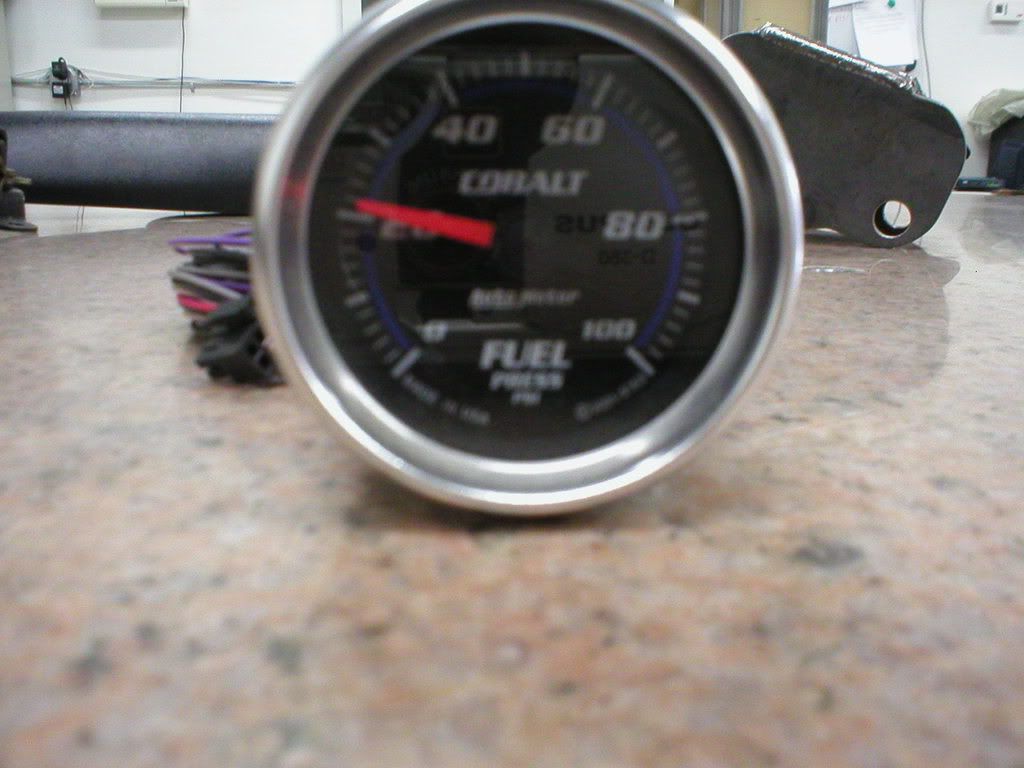
Dual a-pillar gauge pod and a new fuel pressure gauge to ensure my pressure wouldn’t make a sudden drop without me knowing about it.
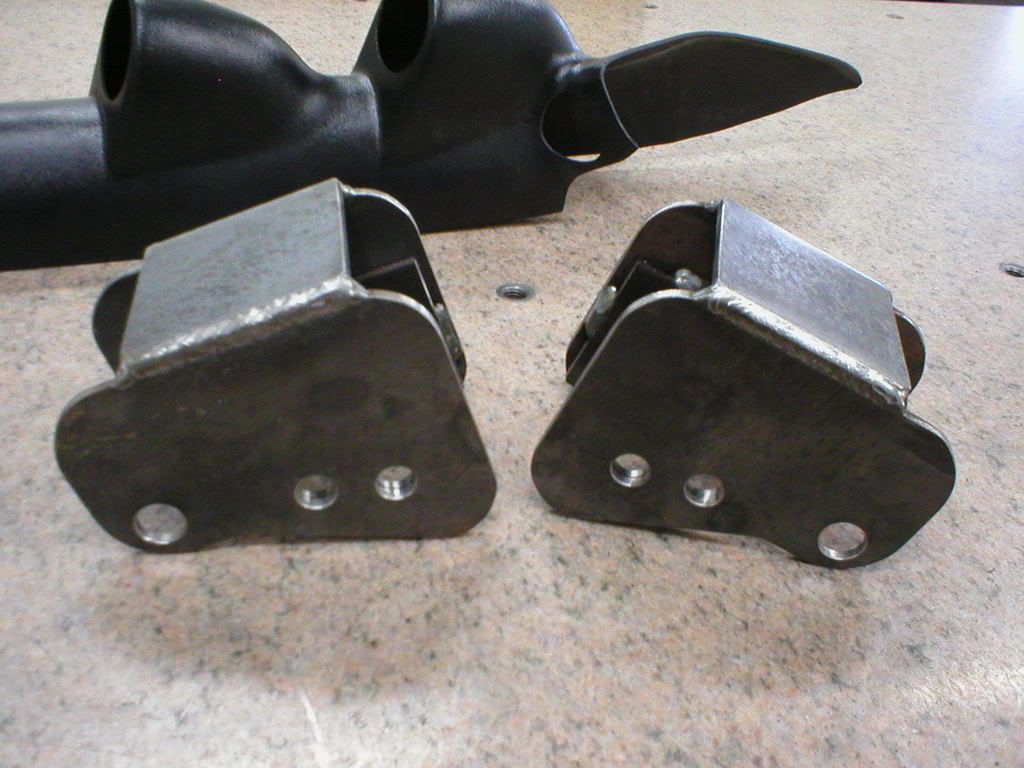
UMI LCA relocation brackets with new adjustable LCAs on the way as well
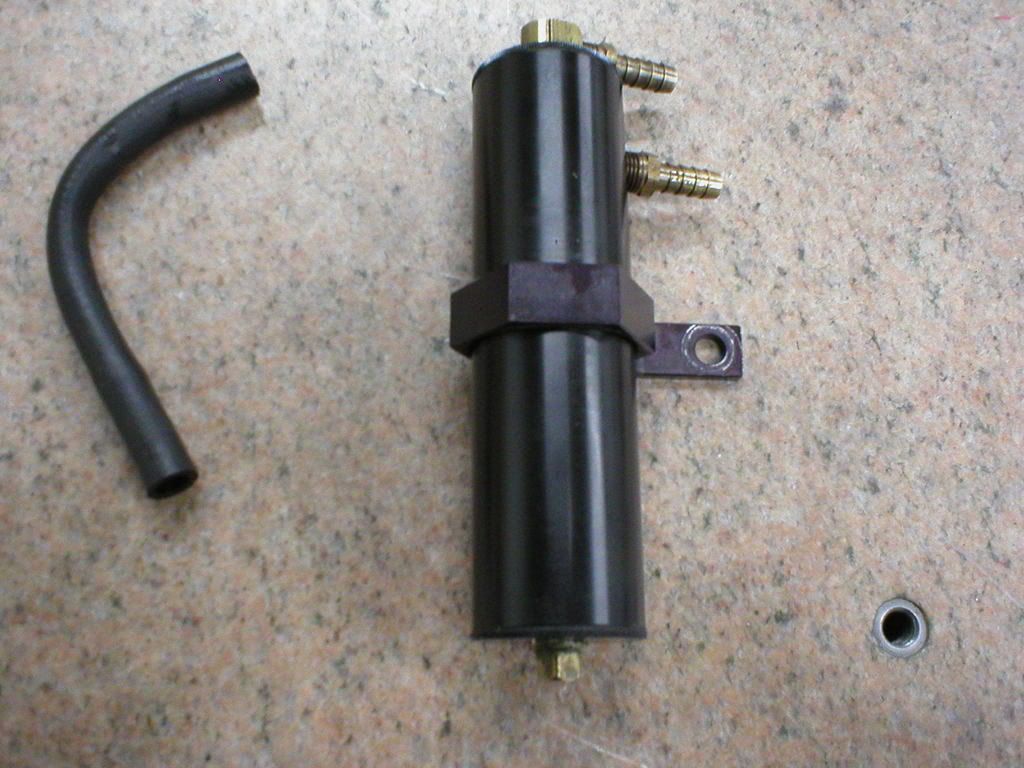
A thunder racing catch can to keep all that nasty oil blowby from the pcv system out of the intake.
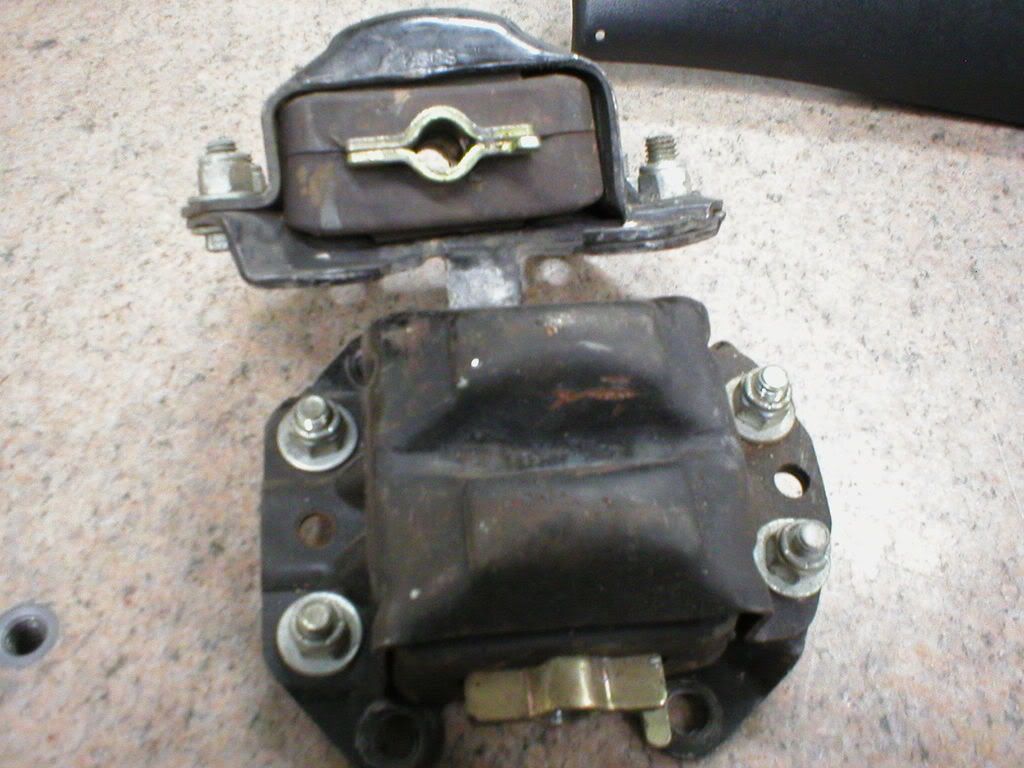
Poly motor mounts to stiffen up the car a bit and help with exhaust movement and rattle.
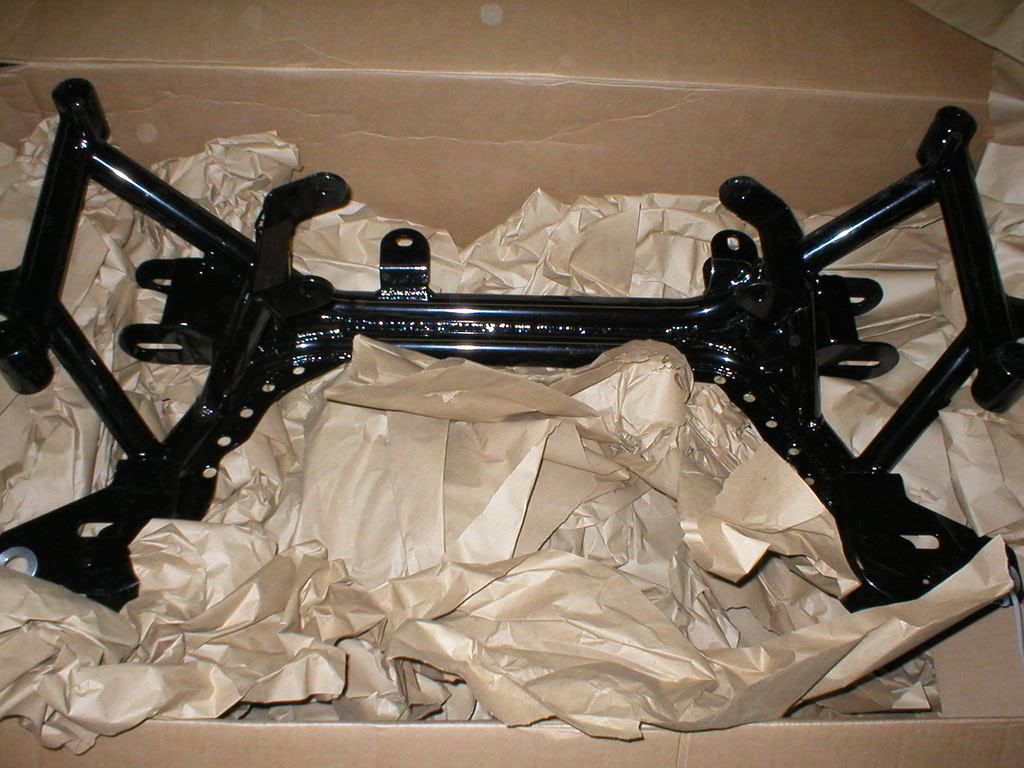
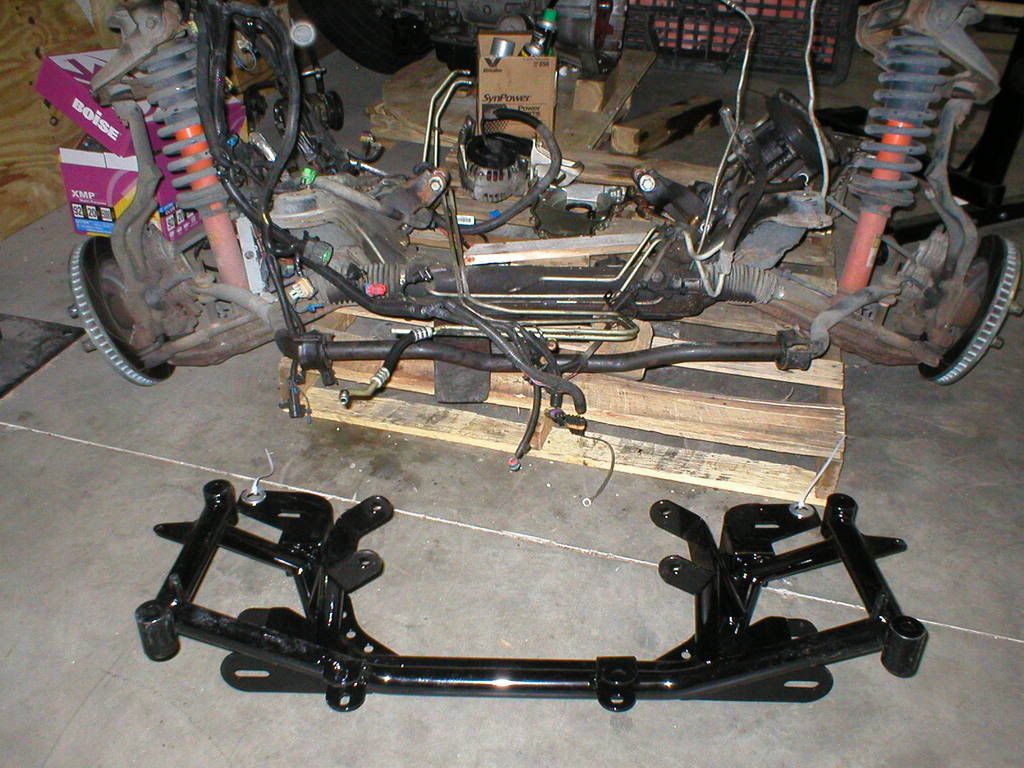
UMI tubular k-member to drop a few pounds off the front end and also free up a bit of room under the car, I might as well do it while its out right?
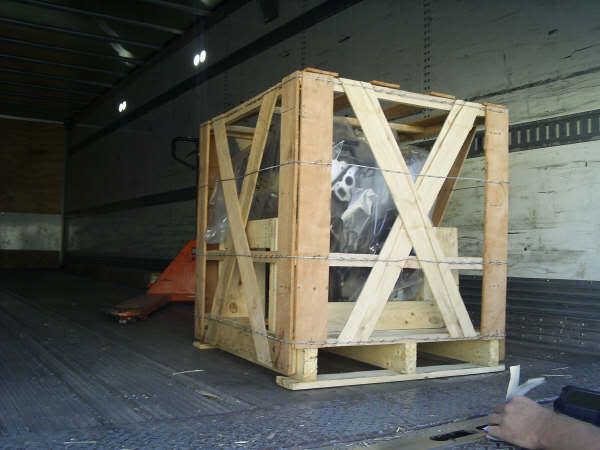
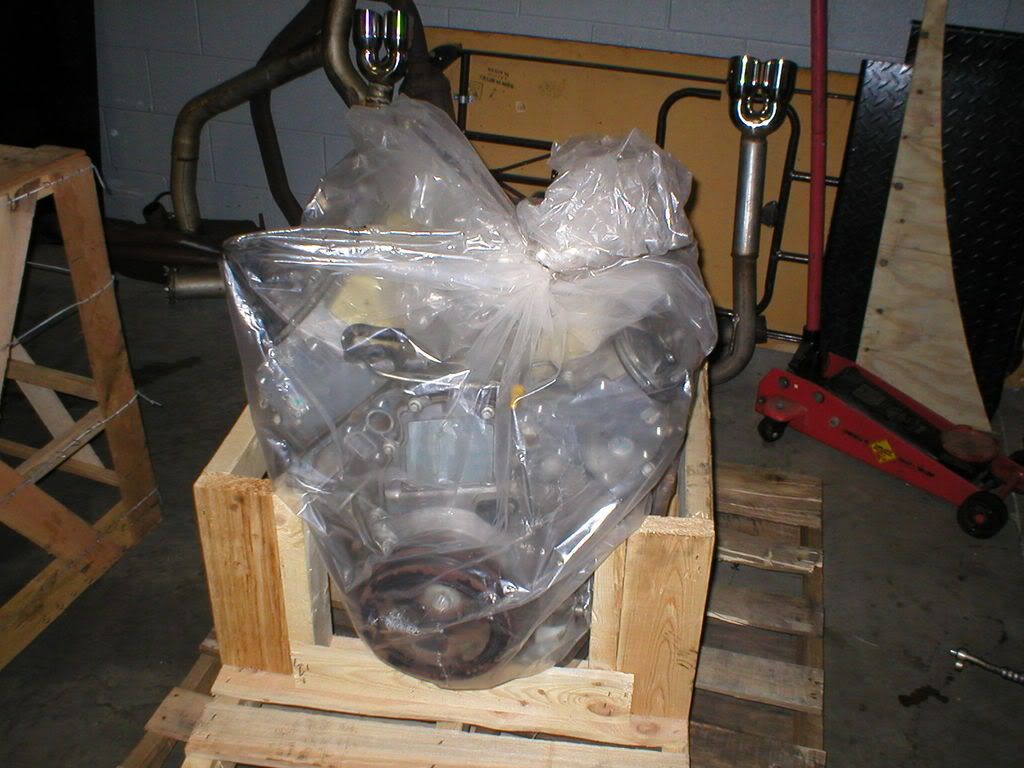
After these great purchases, which I got amazing deals on, there was still something left to be desired. I came across a few ads for LS2 shortblocks and they seemed to be pretty reasonably priced so I investigated a little bit and found some very impressive numbers from many GTO guys whose cars weighed much more and also had IRS yet still managed to run amazing 1/4 mile times and put down even more impressive dyno numbers. Plus 18 cubic inches didn’t hurt at all. In the next few days I found an ad for a complete LS2 longblock out of an 05 GTO the owner said it was a stock vehicle under warranty and the dealership replaced the entire motor due to a spun rod bearing. After talking it over with the guy I decided to see if I could sell my ls1 shortblock for enough to justify the purchase. The motor sold in a couple of days on craigslist and for much more than my original purchasing price to boot. I bought the LS2 and had it shipped from Alabama determined to get it fully rebuild and start with a brand new motor.
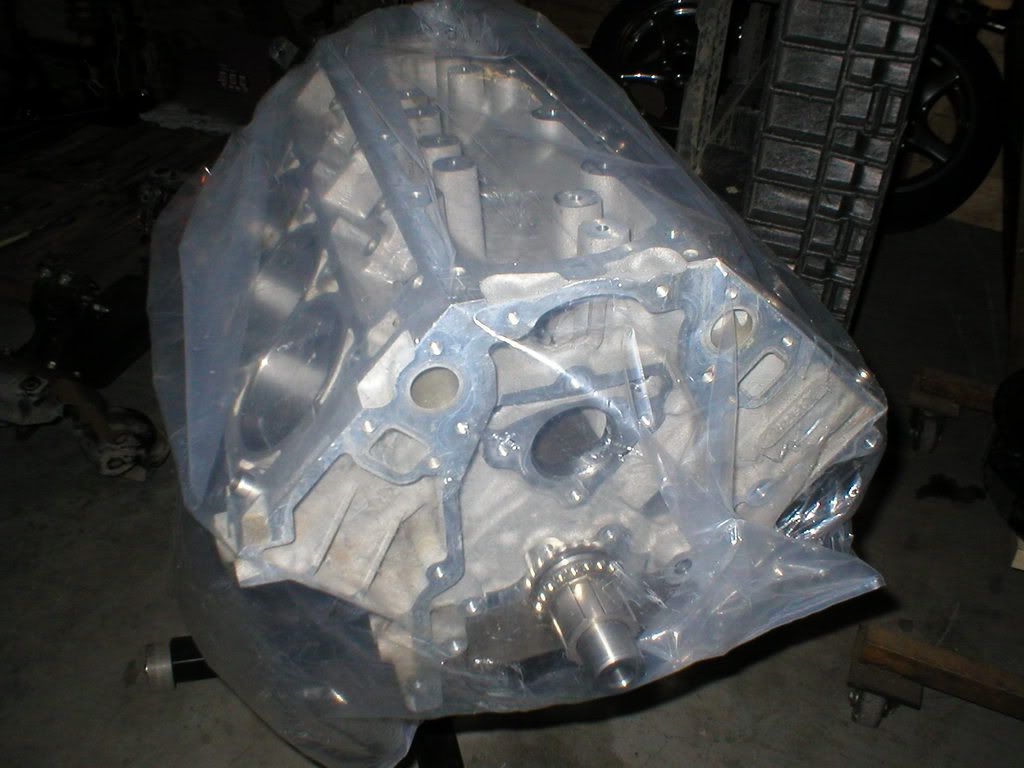
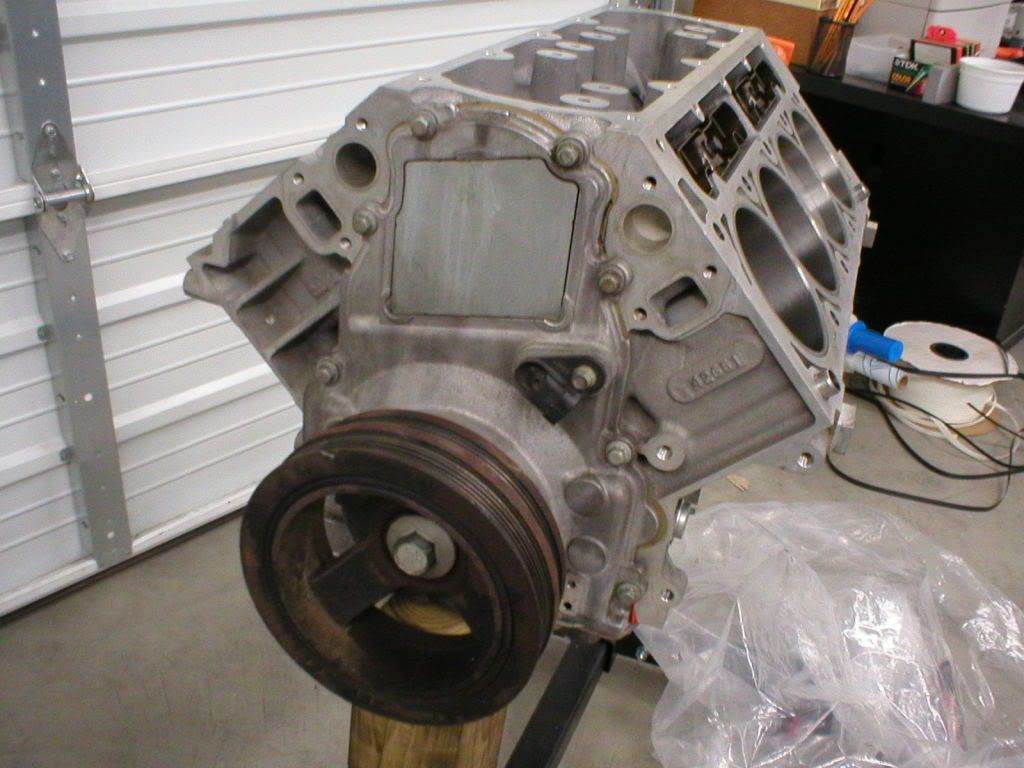
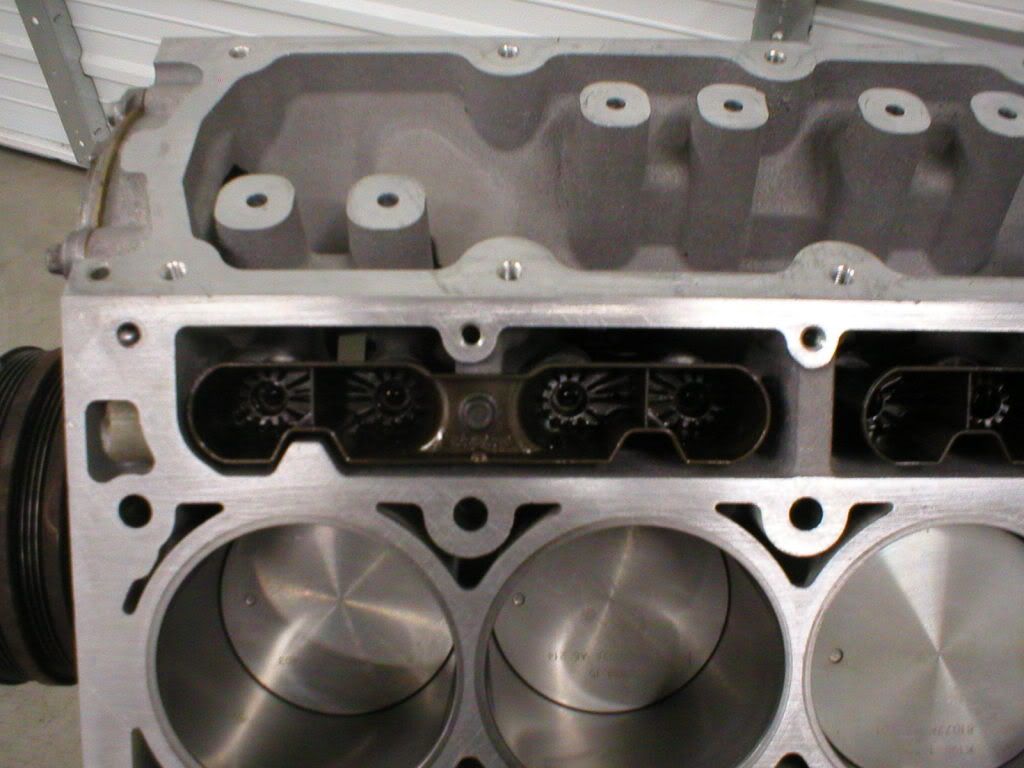
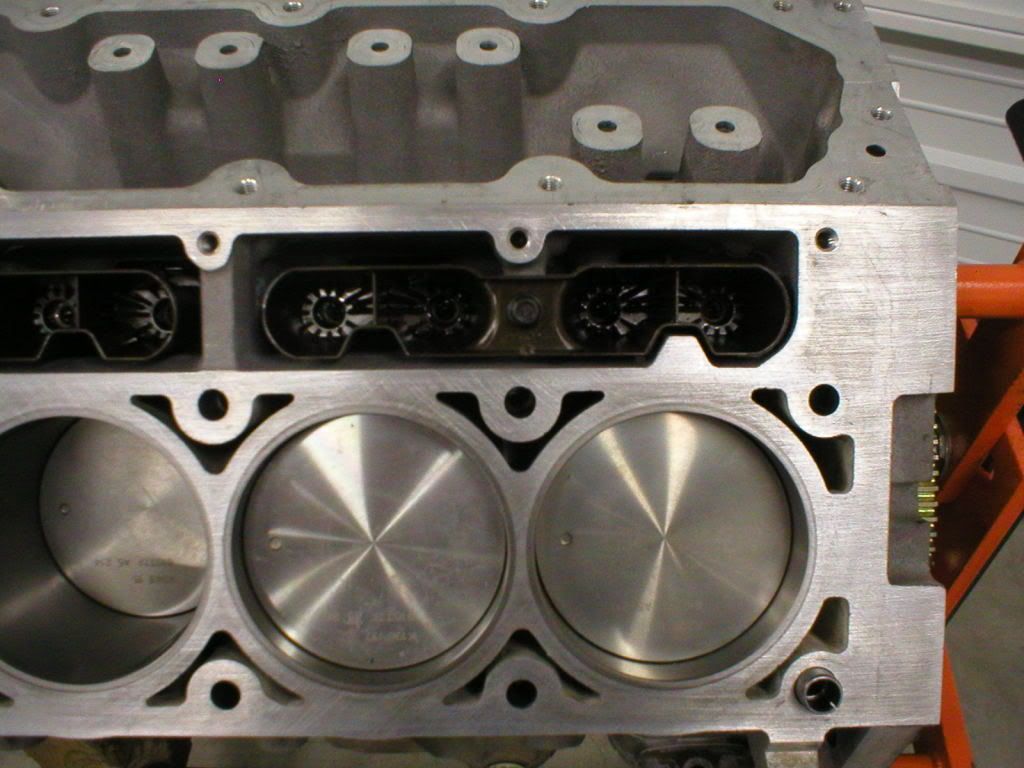
Once I got the new motor all tore down I was able to sell most of the parts off of it and I easily made back the difference I paid and much more. I sent to motor to Dave at Enginecraft for a full rebuild to factory specs. He had the crank slightly ground and installed new pistons and rings as well as all new bearings and ARP rod bolts.
http://media.putfile.com/Milan-Track-Rental-81408
After the incident at the end of the track I felt the car miss and then backfire a little. I grabbed my slip and quickly returned to the pits where I parked the car and looked it over thoroughly. I let the car cool for about a half hour and then decided to check on it again, upon firing it up and having my tuner Phil look it over, it was determined that the motor was consuming coolant and we thought I had blown a head gasket. Unfortunately I was miles away from home and had driven it there so I limped it back, the car backfiring the entire way, and parked it up on the lift in preparation to swap out the head gaskets and get it ready for another track rental that was a few weeks away. When I finally got the heads off this is what I found.
The #7 piston busted a ringland due to the car running lean, whether it be from a fuel pressure drop because the pump was hot or possibly a clogged injector I don’t know for sure but what I did know was that it was time for a serious teardown. So the next day Jonny came over and in a few hours Voila!
Unfortunately once we were able to get the motor out I soon discovered that not only had I busted a ringland but that the cylinder wall was also cracked into a water jacket which meant the block was scrap Therefor I quickly snatched up an amazing deal on a 35K complete LS1 shortblock out of an 02 vette.
I was very hopeful now and it seemed like this wouldn’t be too bad of a teardown after all. I just needed get my head fixed and swap over the top end and cam onto the new shortblock and be done, right? WRONG! I couldn’t stand the fact that I had torn out the entire motor and it would simply go back together making the same power as before and running similar times no no no I had to do something to make it bigger, better, and faster. So I browsed the web searching for this and that to spice up the car and came off with a few good things.
Dual a-pillar gauge pod and a new fuel pressure gauge to ensure my pressure wouldn’t make a sudden drop without me knowing about it.
UMI LCA relocation brackets with new adjustable LCAs on the way as well
A thunder racing catch can to keep all that nasty oil blowby from the pcv system out of the intake.
Poly motor mounts to stiffen up the car a bit and help with exhaust movement and rattle.
UMI tubular k-member to drop a few pounds off the front end and also free up a bit of room under the car, I might as well do it while its out right?
After these great purchases, which I got amazing deals on, there was still something left to be desired. I came across a few ads for LS2 shortblocks and they seemed to be pretty reasonably priced so I investigated a little bit and found some very impressive numbers from many GTO guys whose cars weighed much more and also had IRS yet still managed to run amazing 1/4 mile times and put down even more impressive dyno numbers. Plus 18 cubic inches didn’t hurt at all. In the next few days I found an ad for a complete LS2 longblock out of an 05 GTO the owner said it was a stock vehicle under warranty and the dealership replaced the entire motor due to a spun rod bearing. After talking it over with the guy I decided to see if I could sell my ls1 shortblock for enough to justify the purchase. The motor sold in a couple of days on craigslist and for much more than my original purchasing price to boot. I bought the LS2 and had it shipped from Alabama determined to get it fully rebuild and start with a brand new motor.
Once I got the new motor all tore down I was able to sell most of the parts off of it and I easily made back the difference I paid and much more. I sent to motor to Dave at Enginecraft for a full rebuild to factory specs. He had the crank slightly ground and installed new pistons and rings as well as all new bearings and ARP rod bolts.
 03-02-2009, 08:14 AM
#2
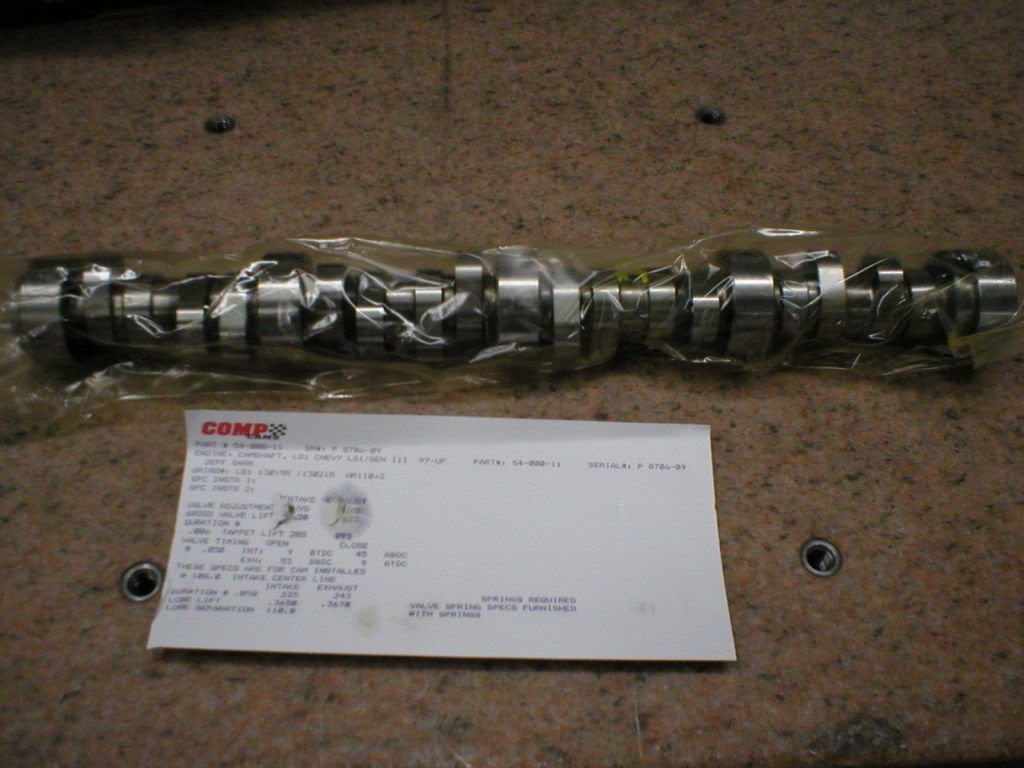
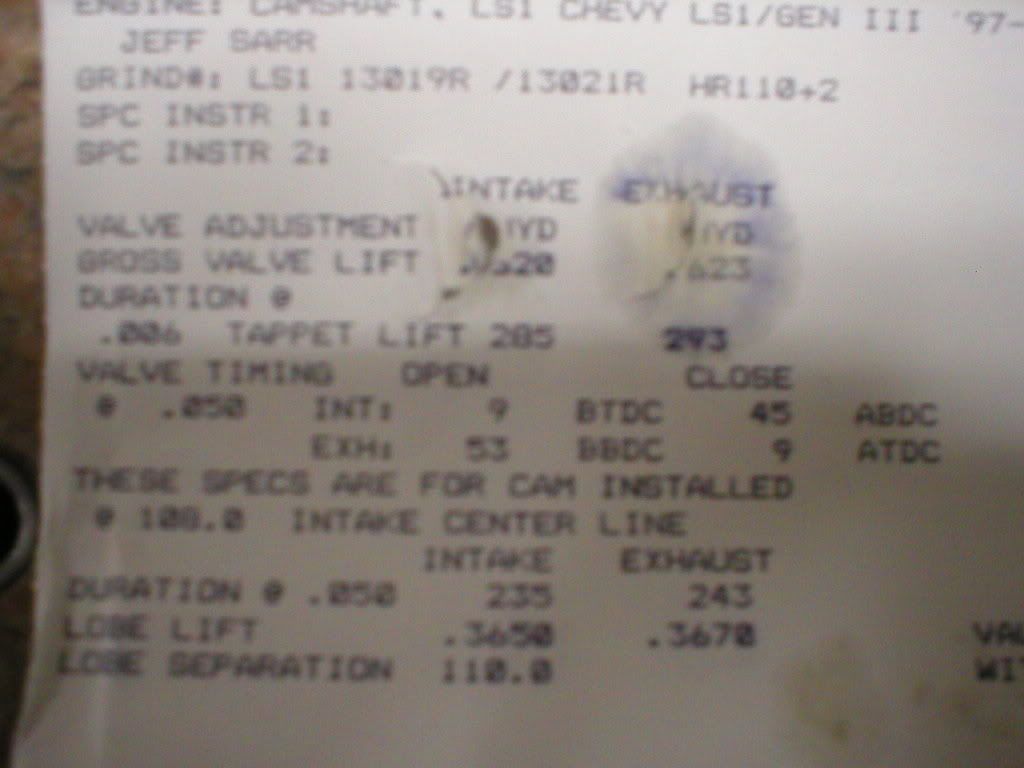
During this process I decided that my new goal for the car was to retain daily drivability as it had before but run 10s on motor alone at the track. For this reason I decided to upgrade my camshaft while I had everything apart and sent several e-mails to Patrick G for a custom spec’d cam that would fit the bill. He soon after sent me specs and I am awaiting the funds to order the new cam as of now.
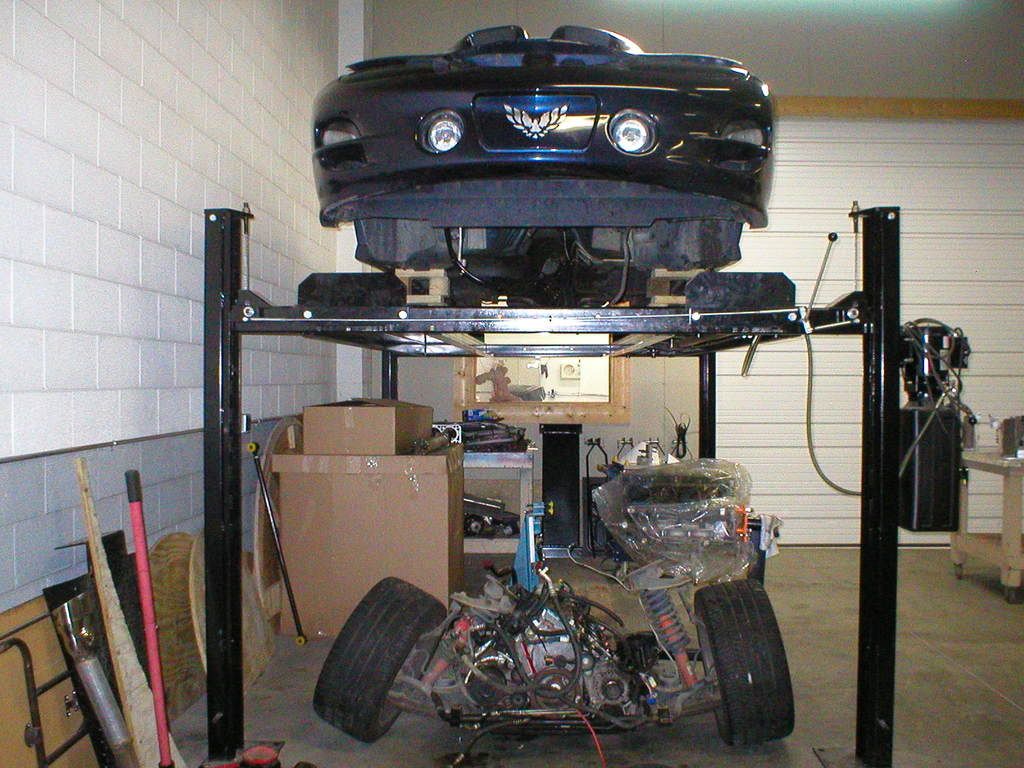
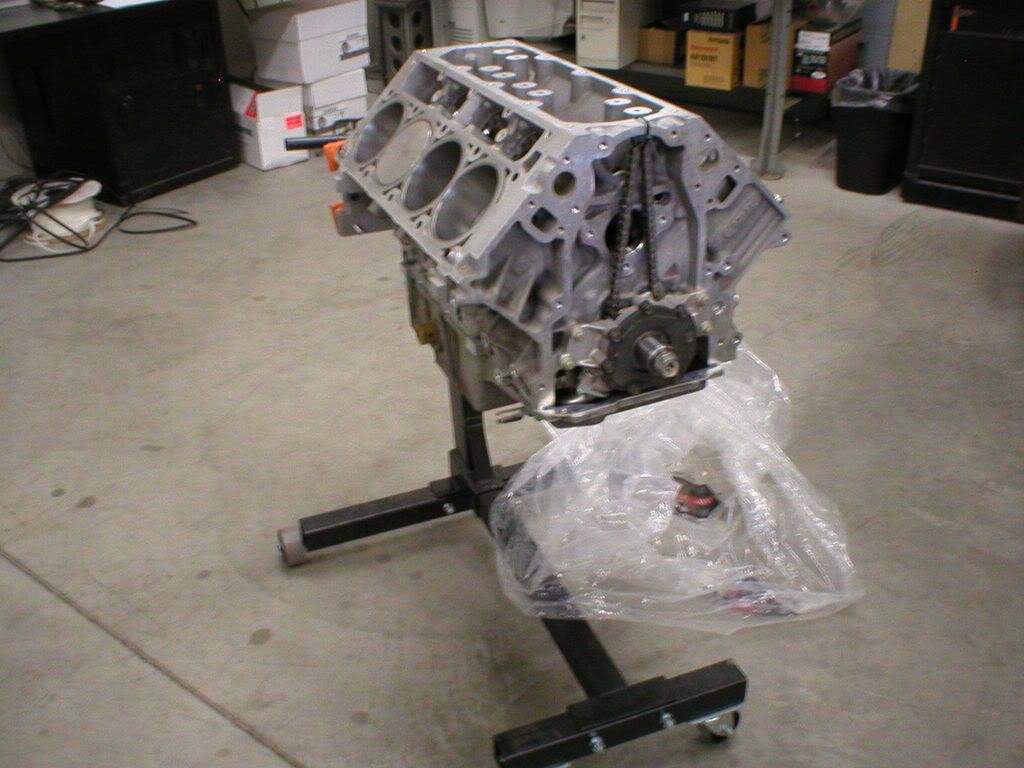
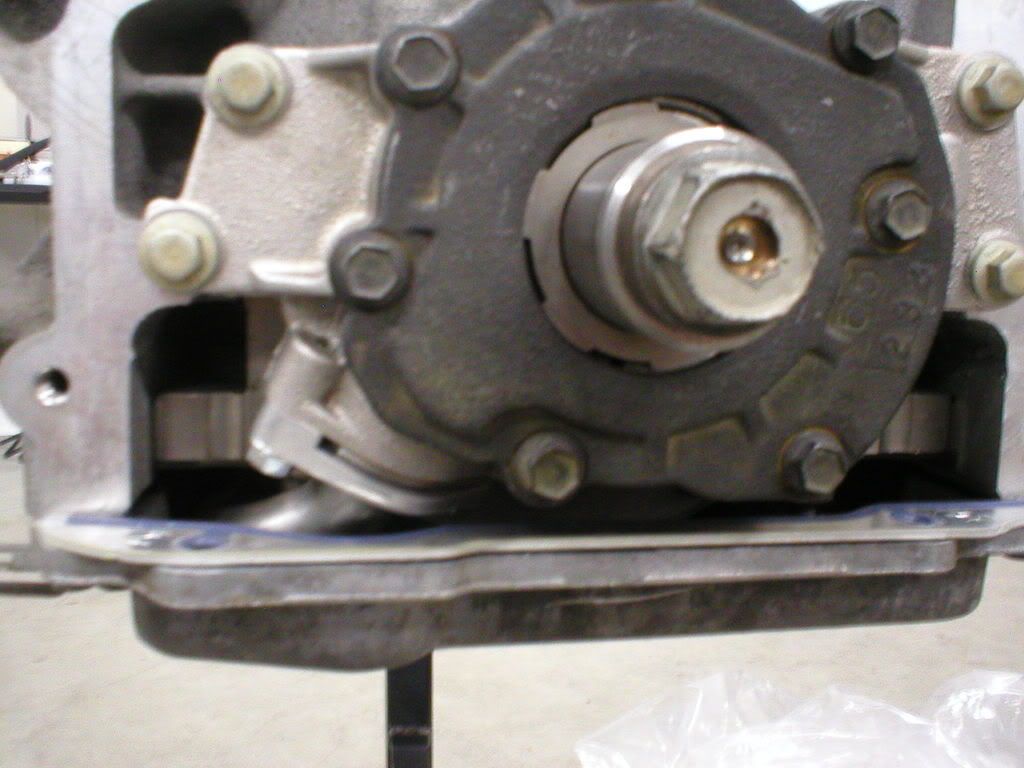
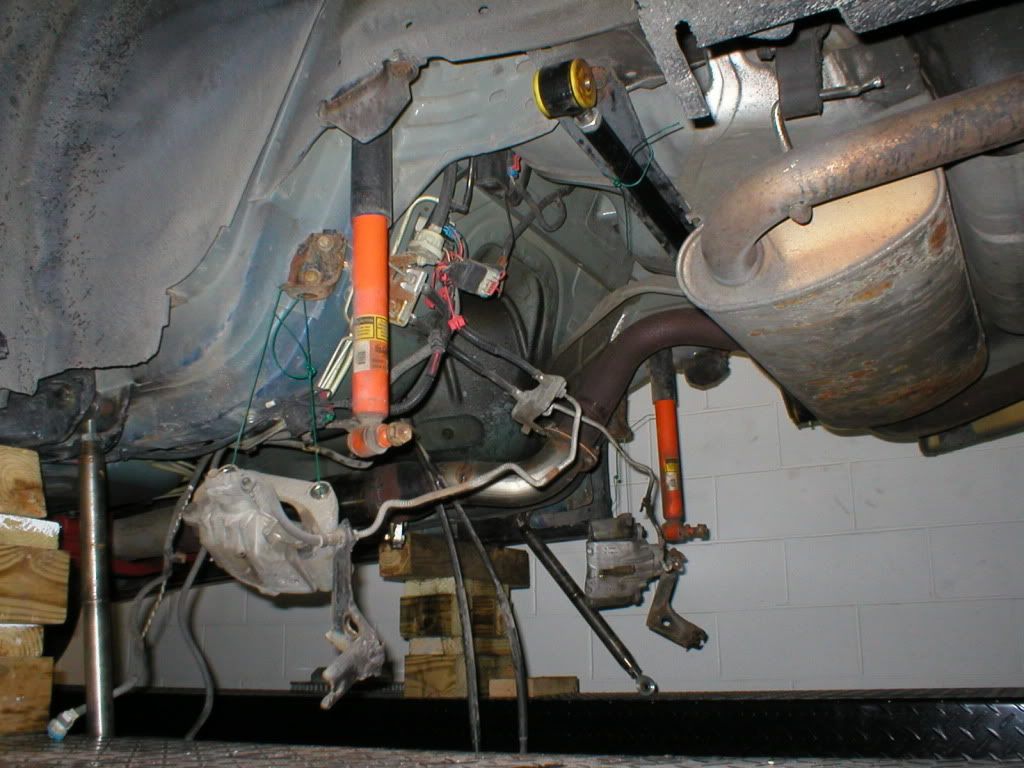
I still had lots of work to do in the meantime thought so here are a few progress pics of what has gone on so far.
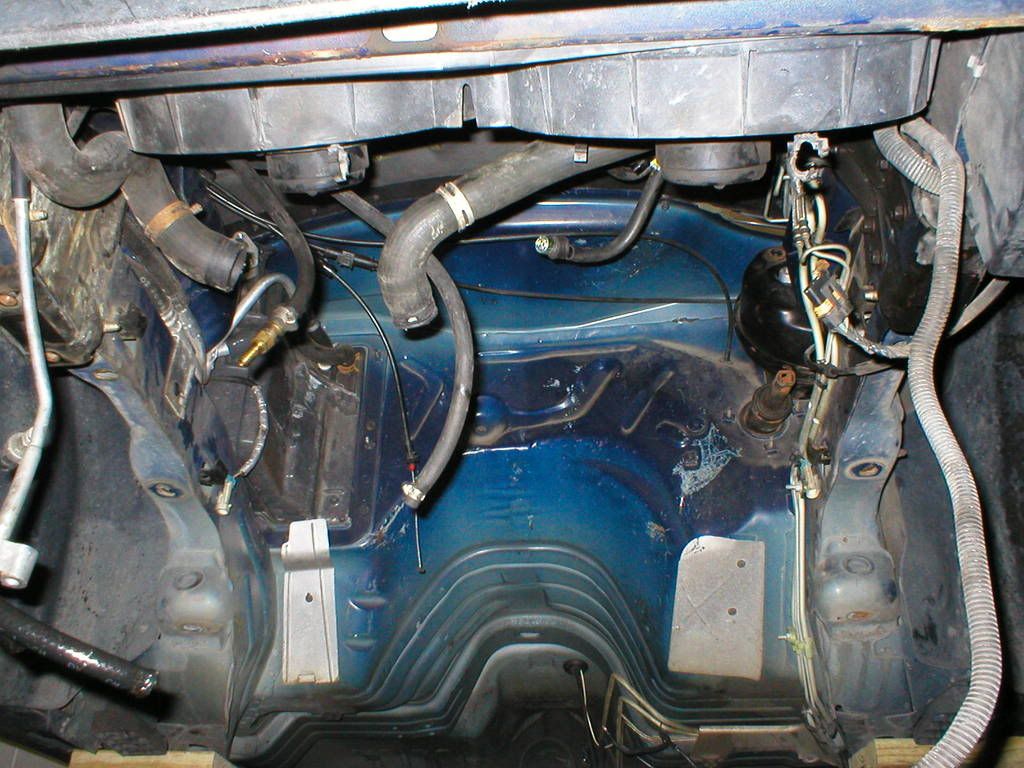
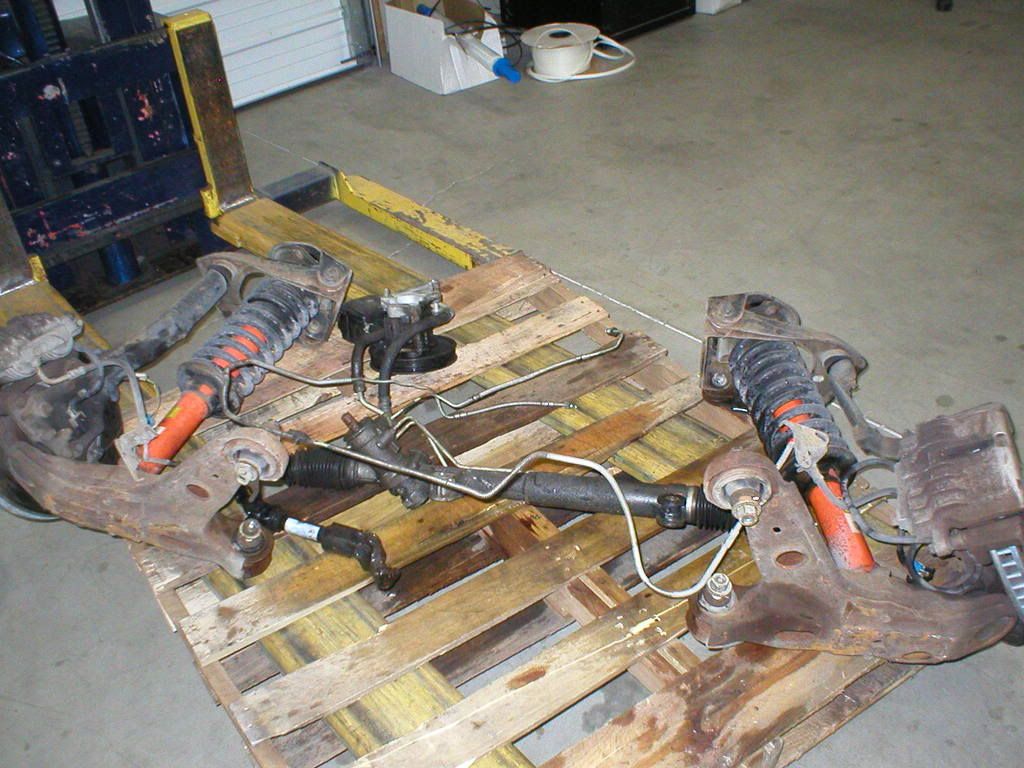
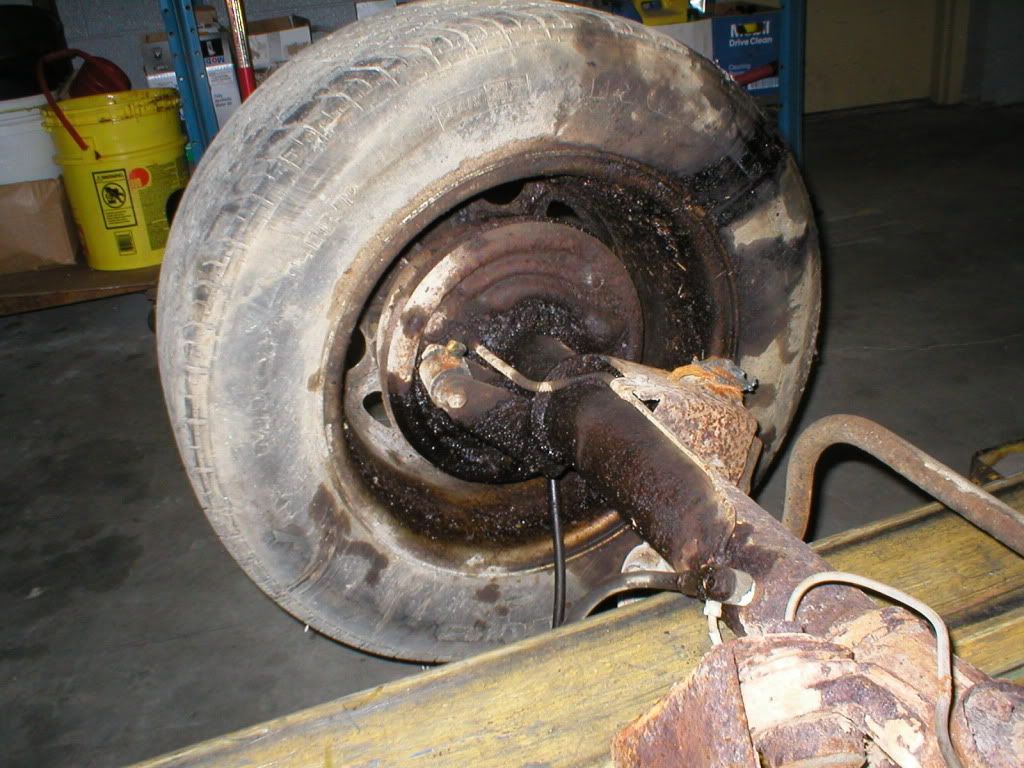
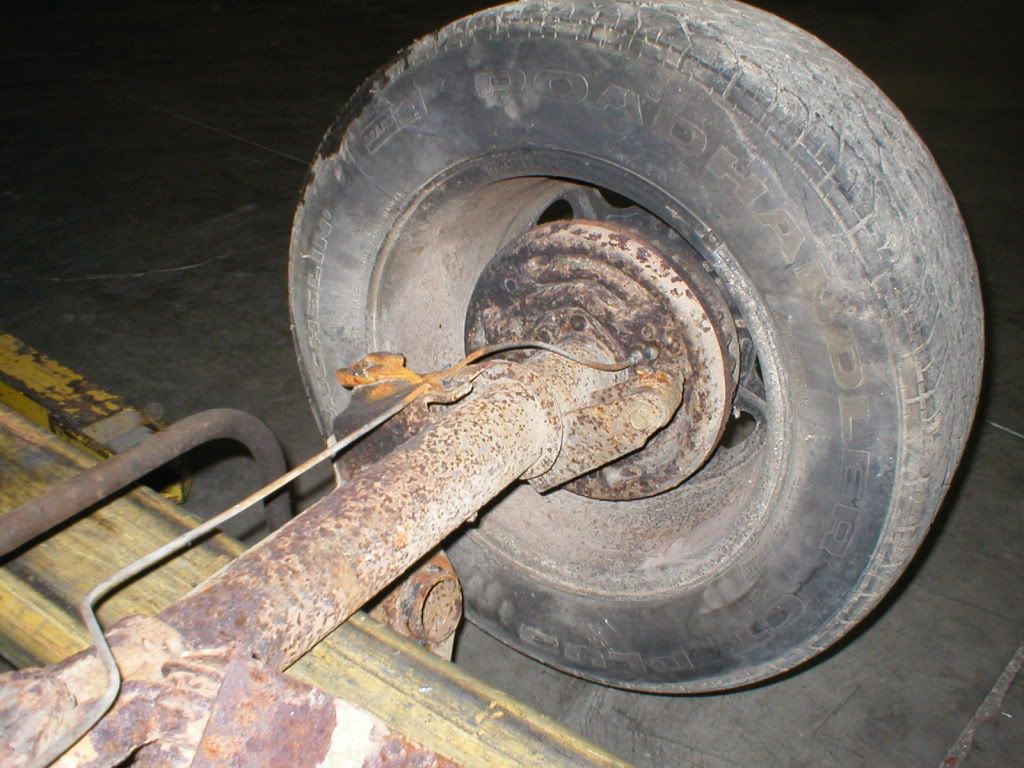
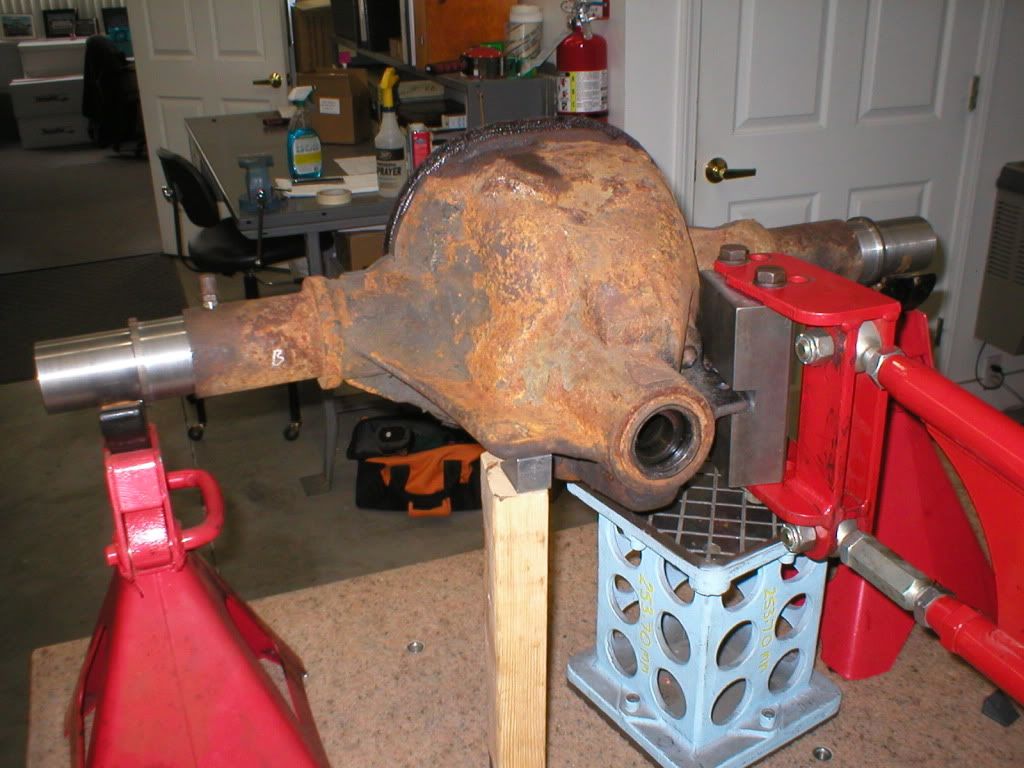
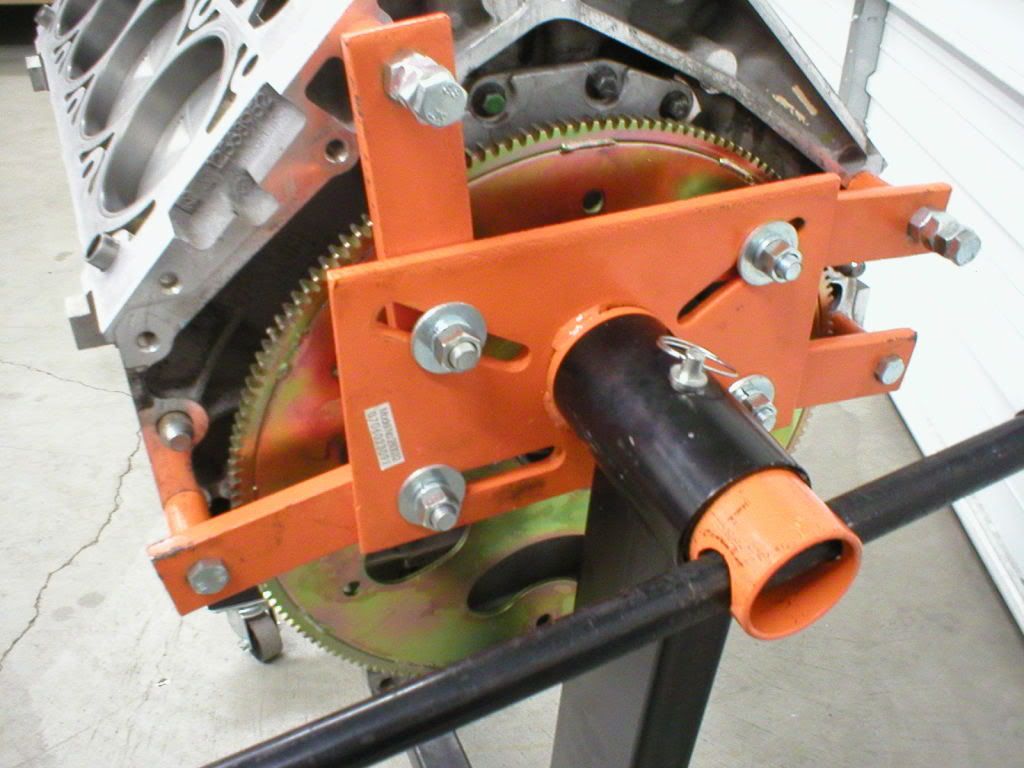
After getting the trans disconnected from the old ls1 and then removing the motor from the k-member we were left with this.
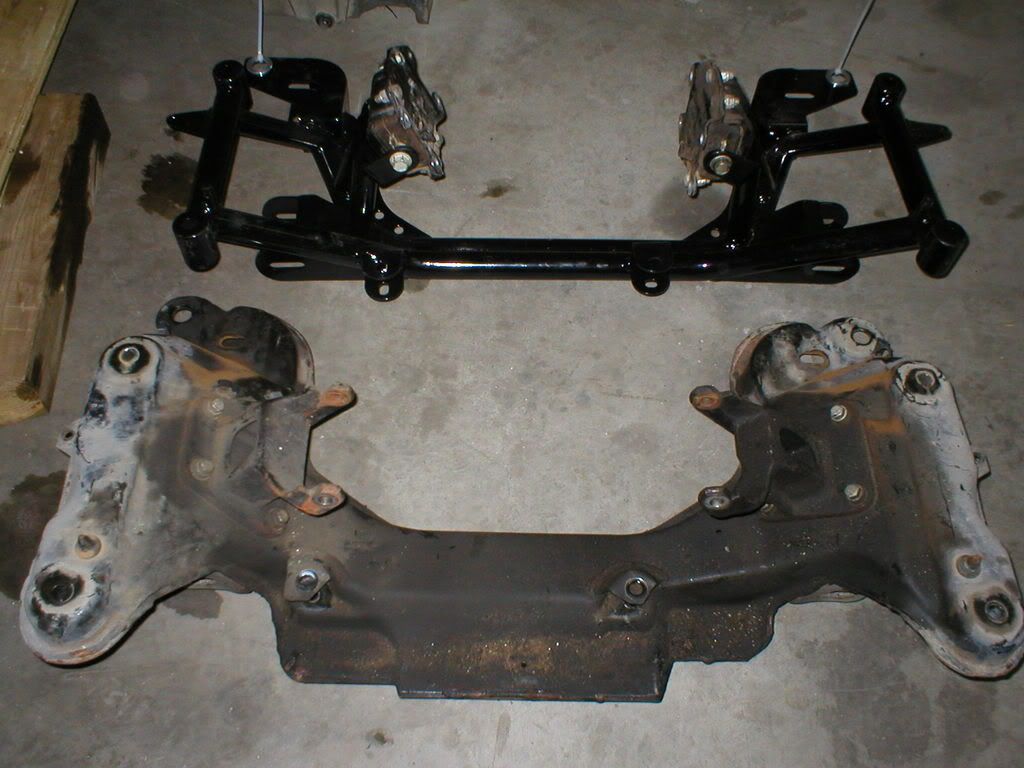

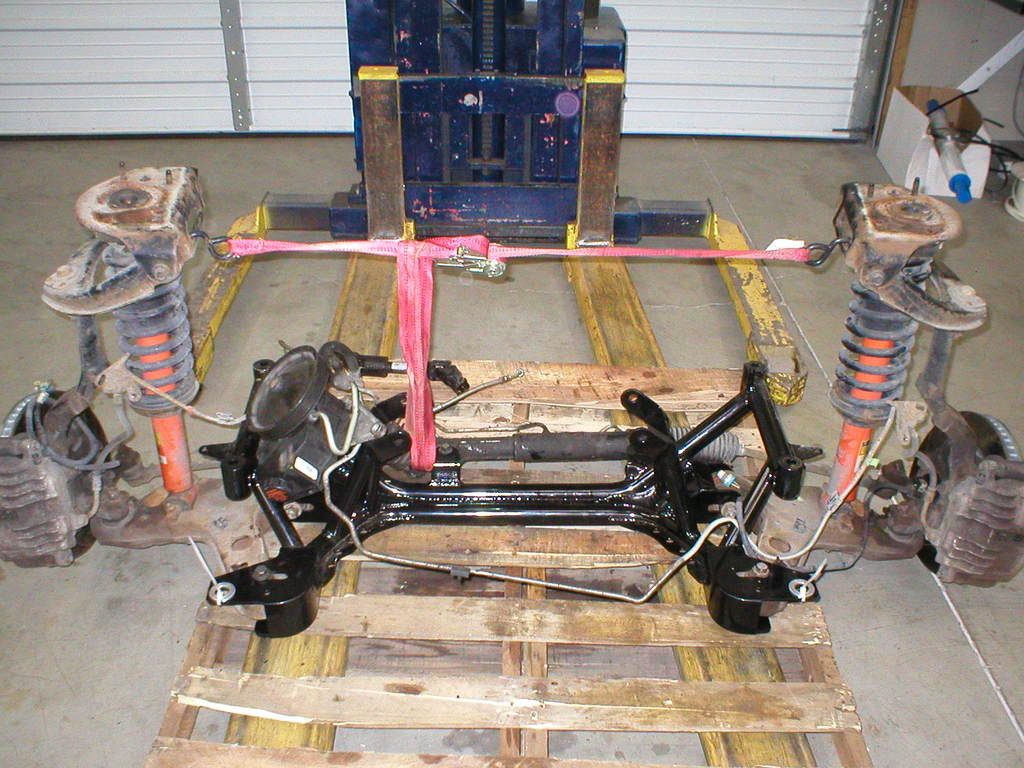
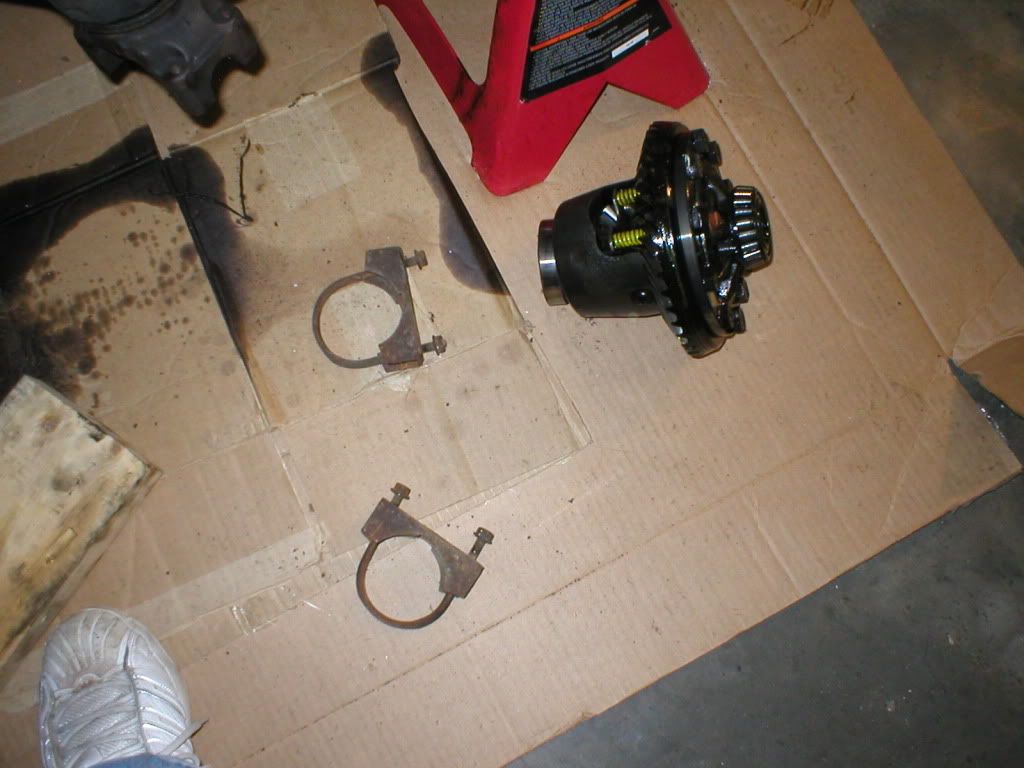
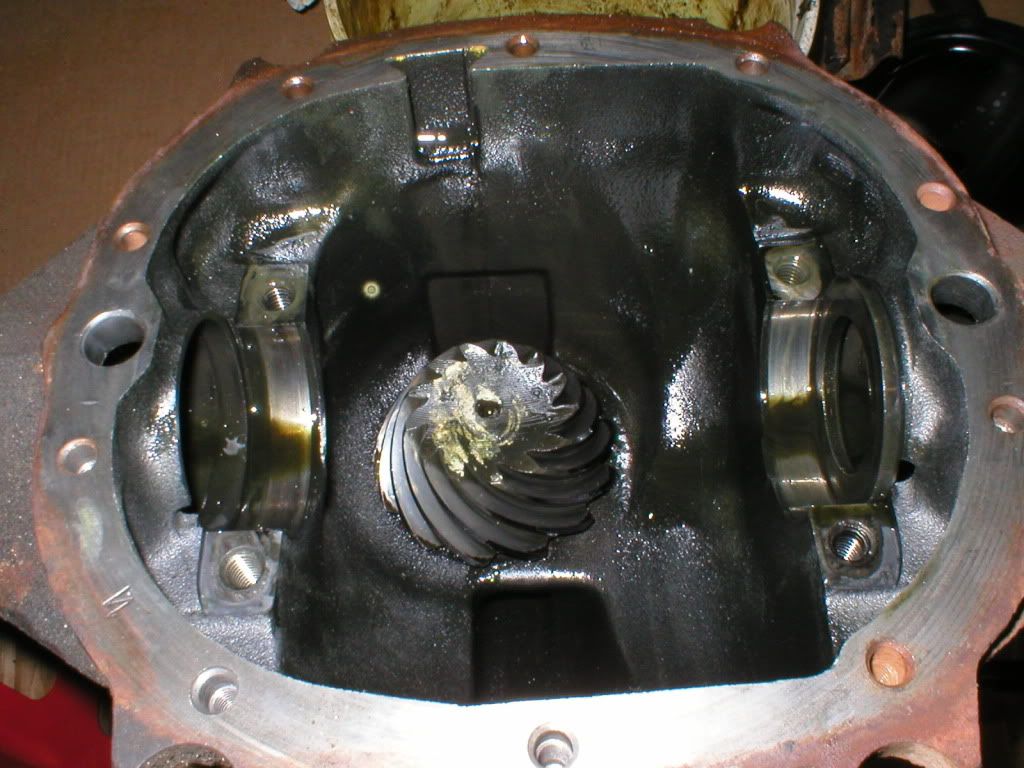
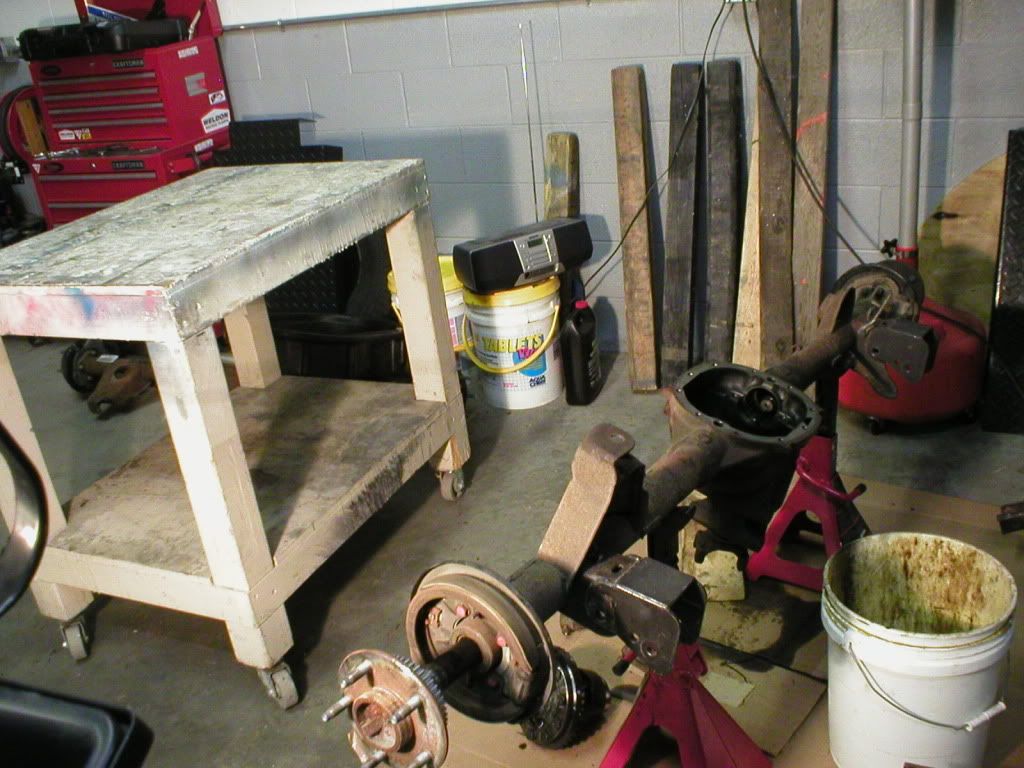
Cleaning up some of the old parts.

I’ll try and keep everyone updated now that I have my own project thread, and we’ll see if I can’t get this car slapped back together, tuned, aligned, and ready for battle before Pinks All Out.
03-02-2009, 08:15 AM
#3
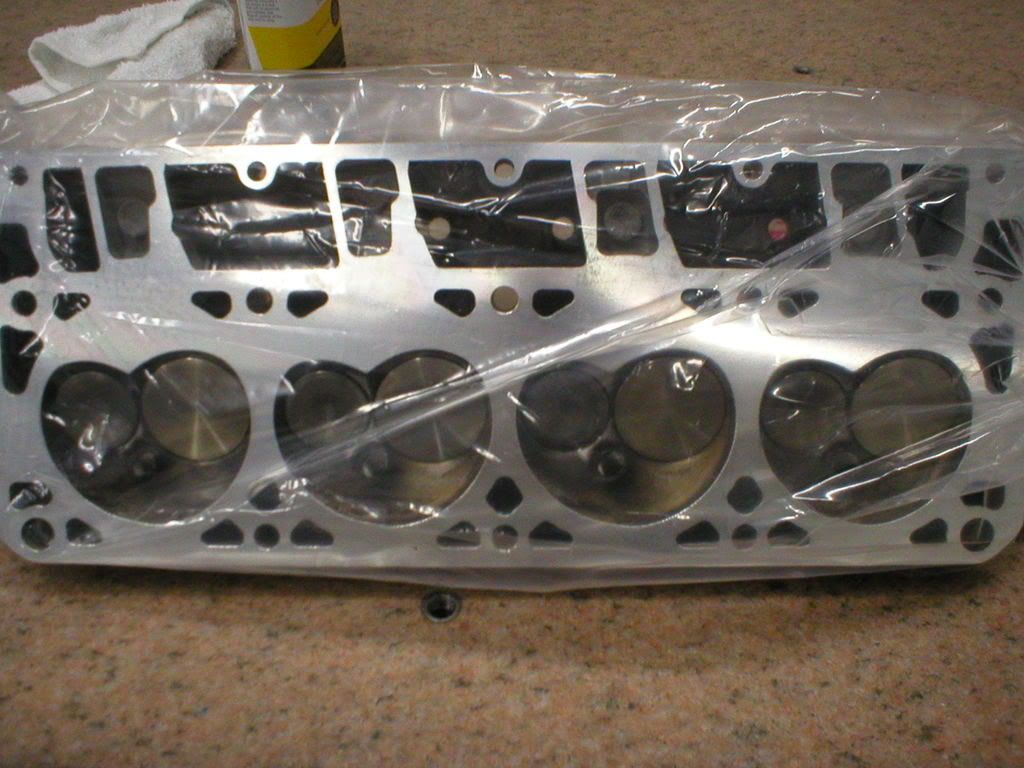
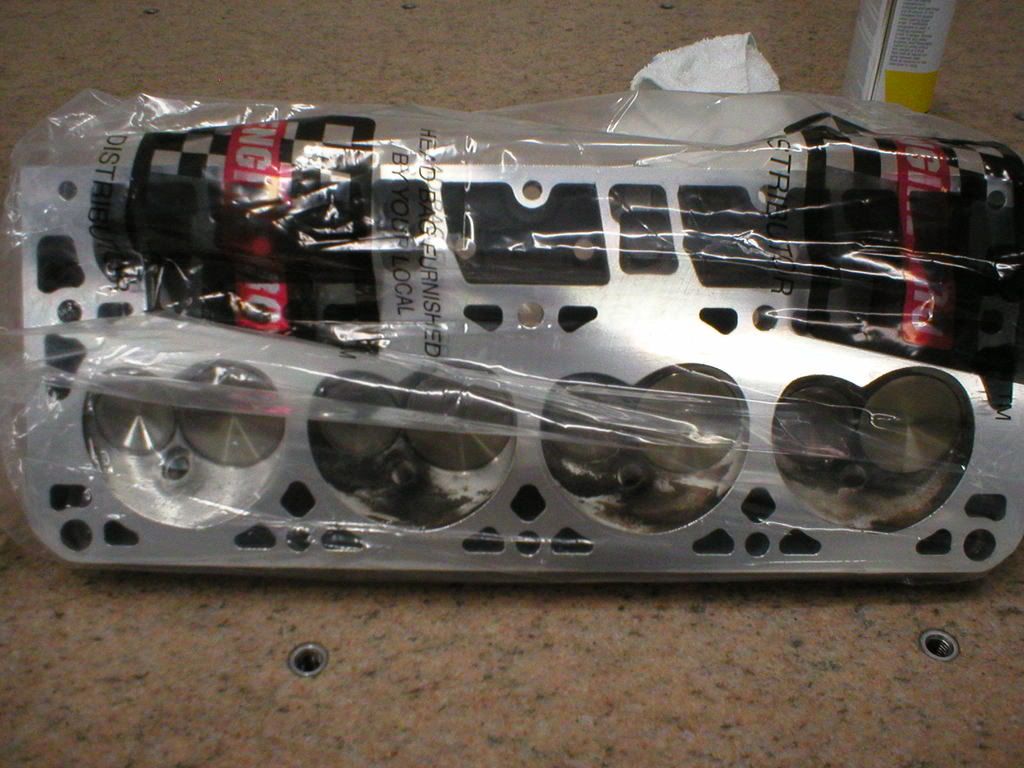
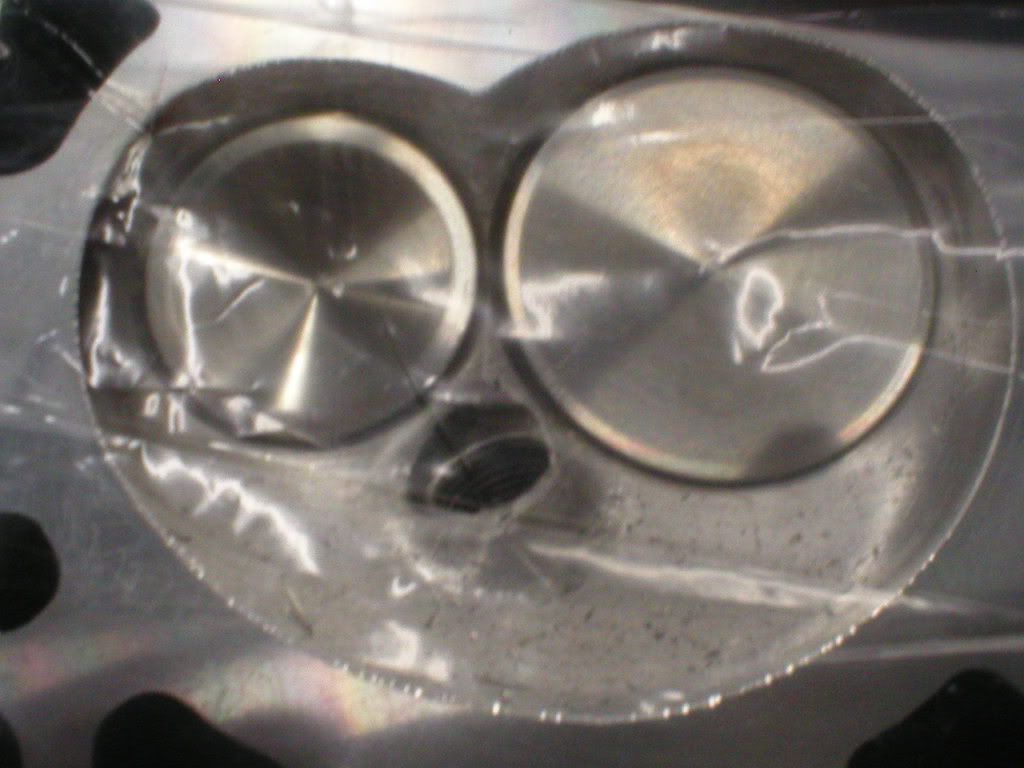
Ok guys here an update, the heads are back and I couldn't be happier with how they turned out have a look and see what you think.
Before
After
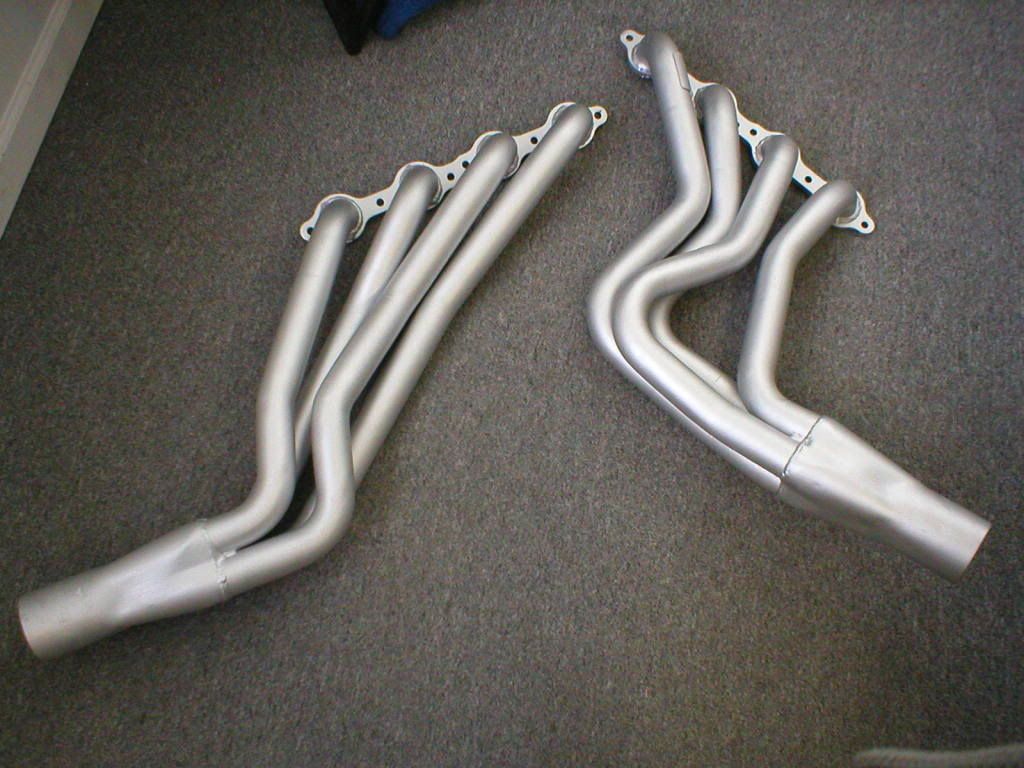
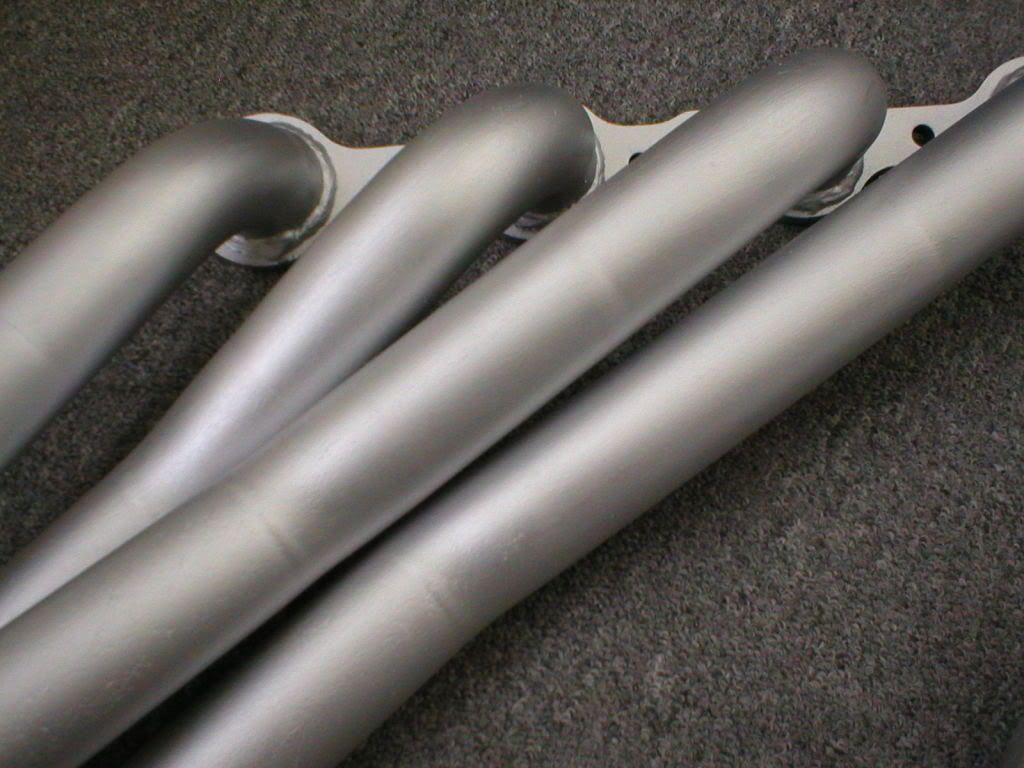
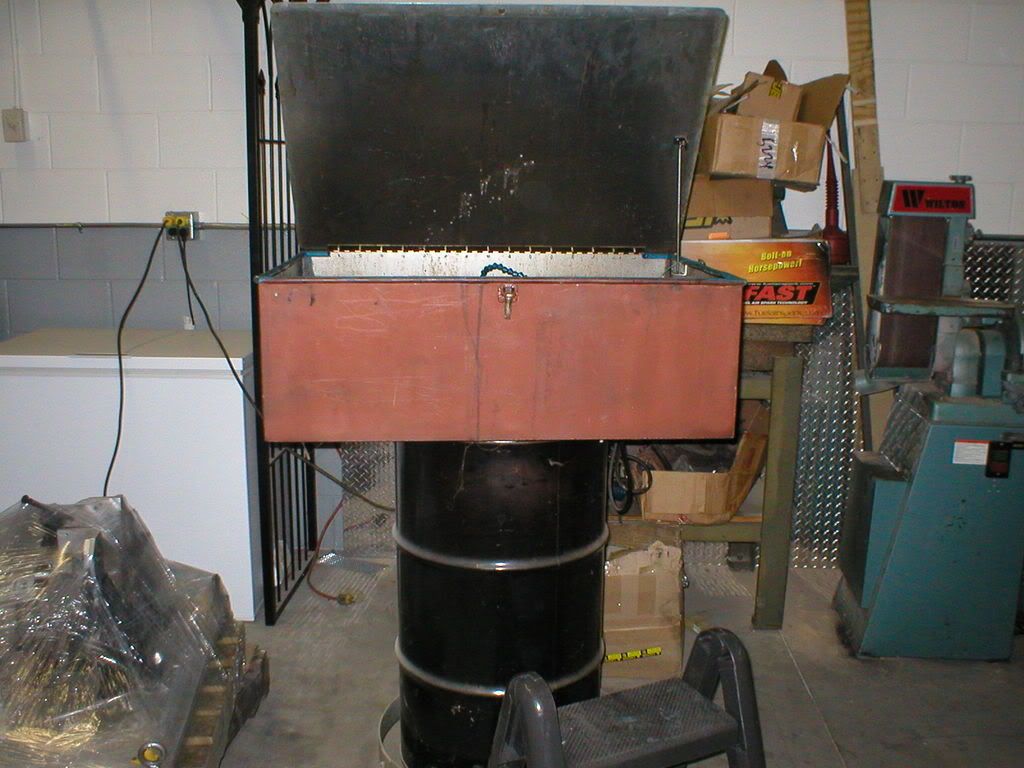
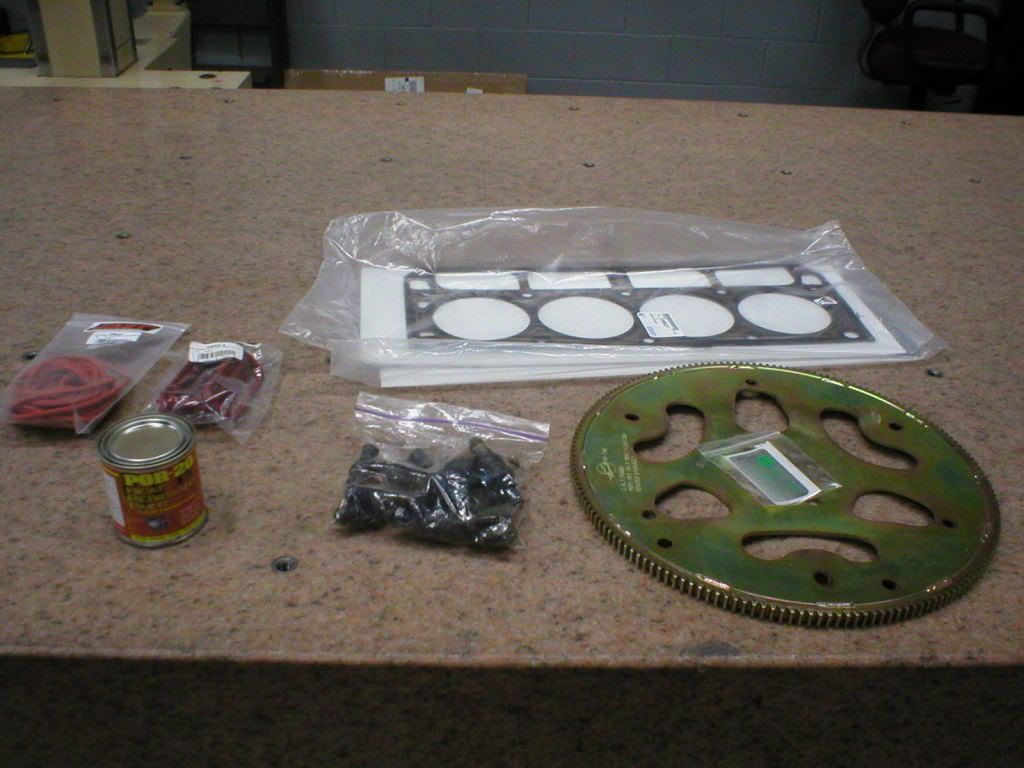
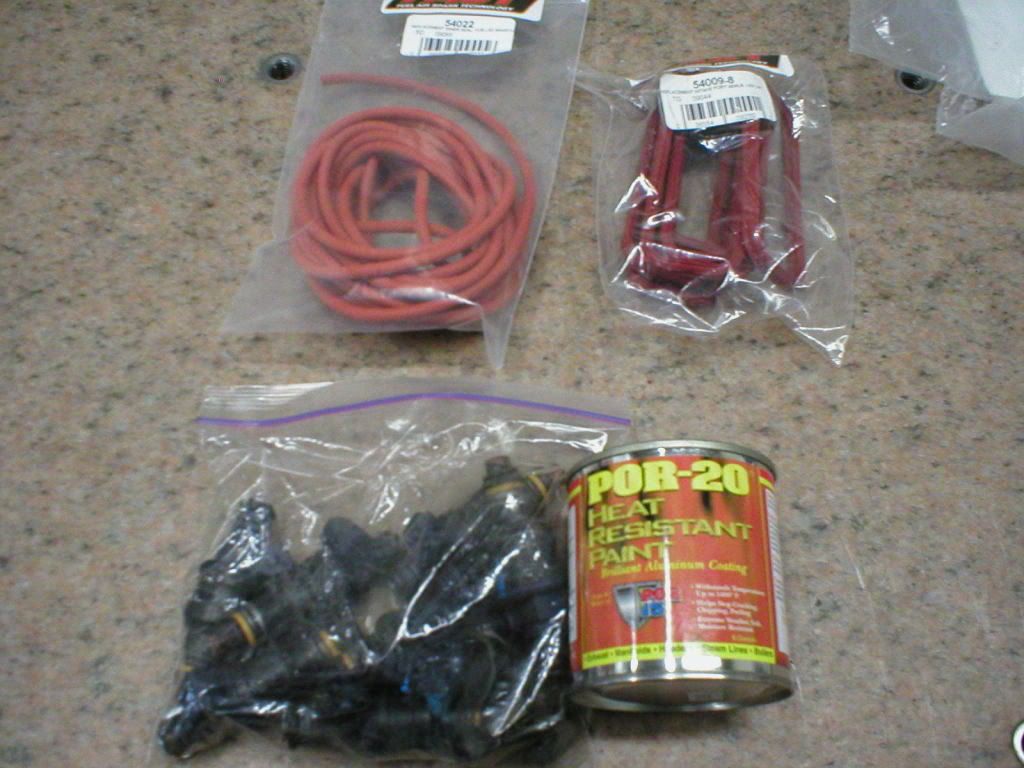
Also I wanted to show you guys a few other little projects I have going on that are helping me to cut cost. We have a blast cabinet at work so on my lunch break I tried to blast off my headers quickly, I still have to finish the job but once these bad boys are done I'll be coating them with POR 20 and possibly even curing them in an oven before they go on.

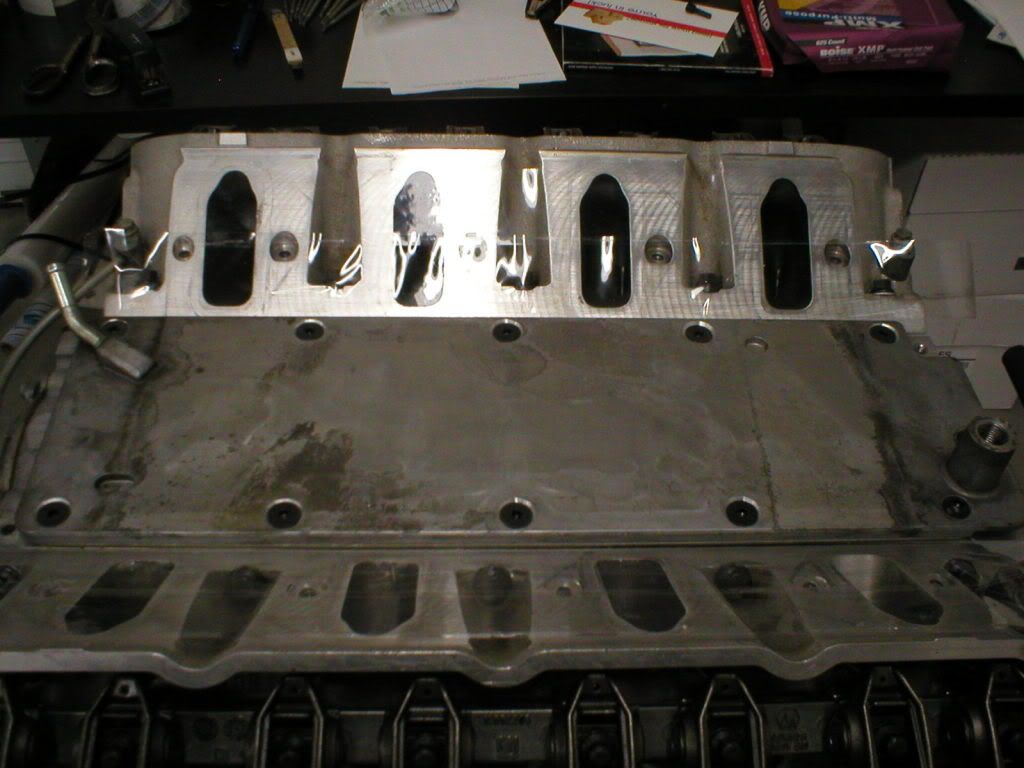
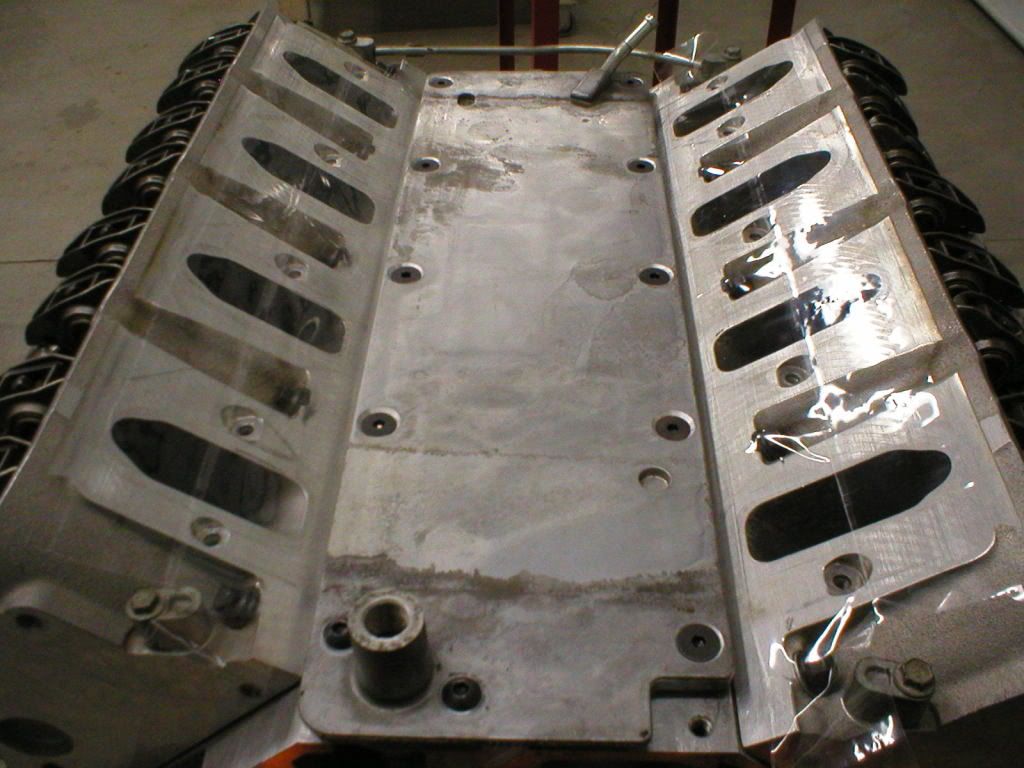
Another huge cost saver is my FAST 90 intake. When I first got the intake about 3 years ago my buddy "sold" it to me but didn't include the new valley cover bolts that came with the intake. Therefor, when I first started torqing down the intake it cracked and caused a whole big mess which totally bummed me out. Remember this intake costs $900+ brand new. Luckly FAST sells the 3 individual parts of the intake seperate if you choose, but I didn't have time or cash for the $360 bottom half that I just cracked so we got a few ideas together and decided to epoxy a piece of sheetmetal where the crack was and completly removed the broken plastic piece. This worked great for the last few years but upon inspection this time I noticed that the epoxy was starting to flake off pretty easily now so we went back to square one. I did some searching and found a place in Detroit that does plastic welding, drove out there only to discover that because the intake is poly that its composed of many different plastics and he could not get any welding rod to stick. The guy did howeveer suggest my backup plan that I had.
My backup plan was to use JB weld, as the epoxy I had was not intended for plastic use and JB weld was also what FAST and several guys on LS1tech had recommended as well. One of these such guys used it on his own intake which saw 20lbs of boost after and had no issues whatsoever. Like always though I had to improve upon this somehow so my Dad got a great idea to make a piece of aluminum that was cut very thin on the outside and had a stepped inside that was about the same size as the hold in the intake. Meaning if the JB weld built up on the inside were to fail there would not be a massive leak causing possibly a fire ect. the plug could not get sucked in either due to it being bigger on the bottom of the intake. If this is all confusing here are a few pics.

Also note that we discovered another hairline crack toward the front of the inatake, after we snaded it down a bit we noticed that it grew quickly and definatley had to be leaking before which obviously must not have been great. Anyways feel free to leave me any comment of suggestions on the whole thing.
Before
After
Also I wanted to show you guys a few other little projects I have going on that are helping me to cut cost. We have a blast cabinet at work so on my lunch break I tried to blast off my headers quickly, I still have to finish the job but once these bad boys are done I'll be coating them with POR 20 and possibly even curing them in an oven before they go on.
Another huge cost saver is my FAST 90 intake. When I first got the intake about 3 years ago my buddy "sold" it to me but didn't include the new valley cover bolts that came with the intake. Therefor, when I first started torqing down the intake it cracked and caused a whole big mess which totally bummed me out. Remember this intake costs $900+ brand new. Luckly FAST sells the 3 individual parts of the intake seperate if you choose, but I didn't have time or cash for the $360 bottom half that I just cracked so we got a few ideas together and decided to epoxy a piece of sheetmetal where the crack was and completly removed the broken plastic piece. This worked great for the last few years but upon inspection this time I noticed that the epoxy was starting to flake off pretty easily now so we went back to square one. I did some searching and found a place in Detroit that does plastic welding, drove out there only to discover that because the intake is poly that its composed of many different plastics and he could not get any welding rod to stick. The guy did howeveer suggest my backup plan that I had.
My backup plan was to use JB weld, as the epoxy I had was not intended for plastic use and JB weld was also what FAST and several guys on LS1tech had recommended as well. One of these such guys used it on his own intake which saw 20lbs of boost after and had no issues whatsoever. Like always though I had to improve upon this somehow so my Dad got a great idea to make a piece of aluminum that was cut very thin on the outside and had a stepped inside that was about the same size as the hold in the intake. Meaning if the JB weld built up on the inside were to fail there would not be a massive leak causing possibly a fire ect. the plug could not get sucked in either due to it being bigger on the bottom of the intake. If this is all confusing here are a few pics.
Also note that we discovered another hairline crack toward the front of the inatake, after we snaded it down a bit we noticed that it grew quickly and definatley had to be leaking before which obviously must not have been great. Anyways feel free to leave me any comment of suggestions on the whole thing.
03-02-2009, 08:16 AM
#4
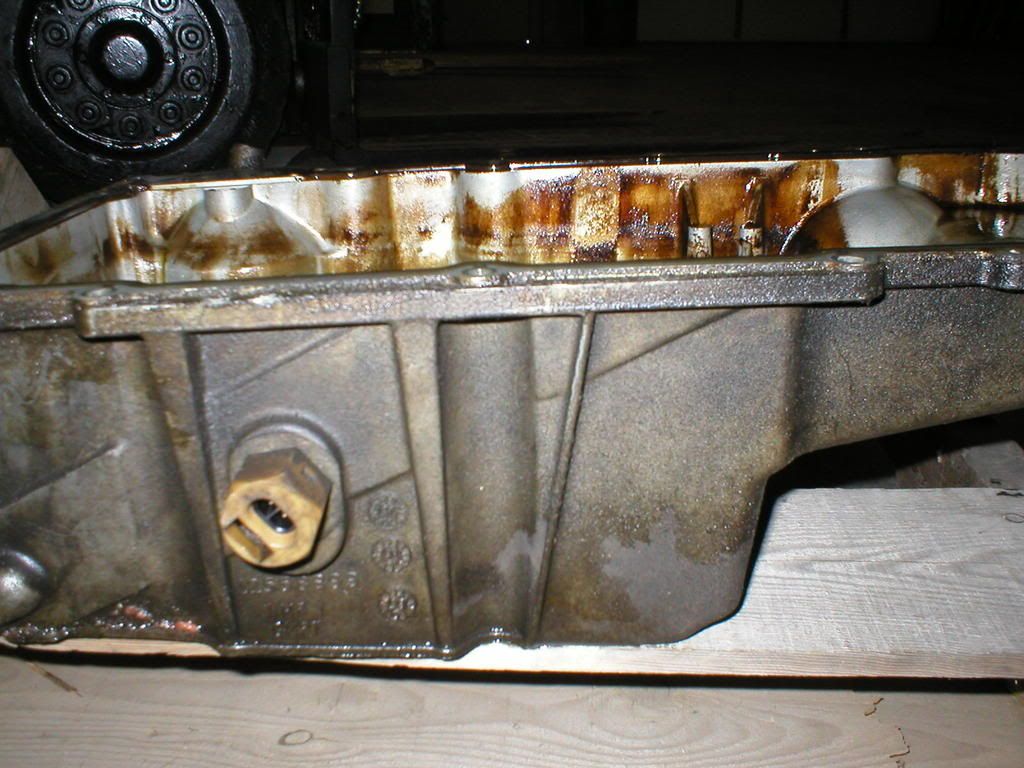
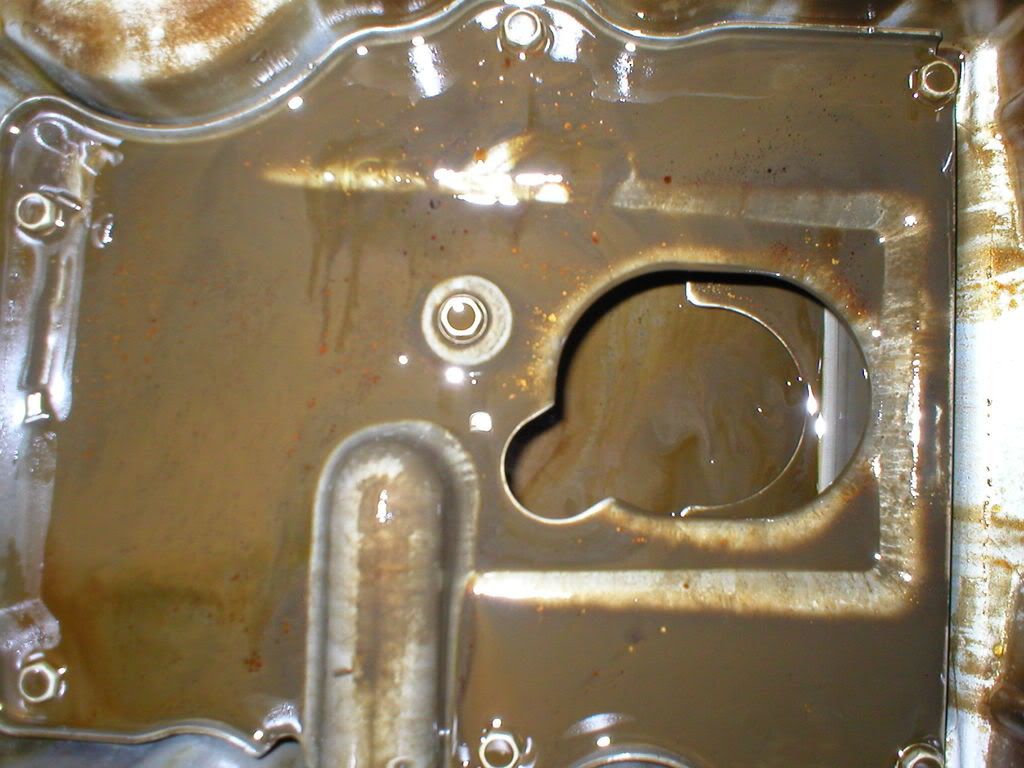
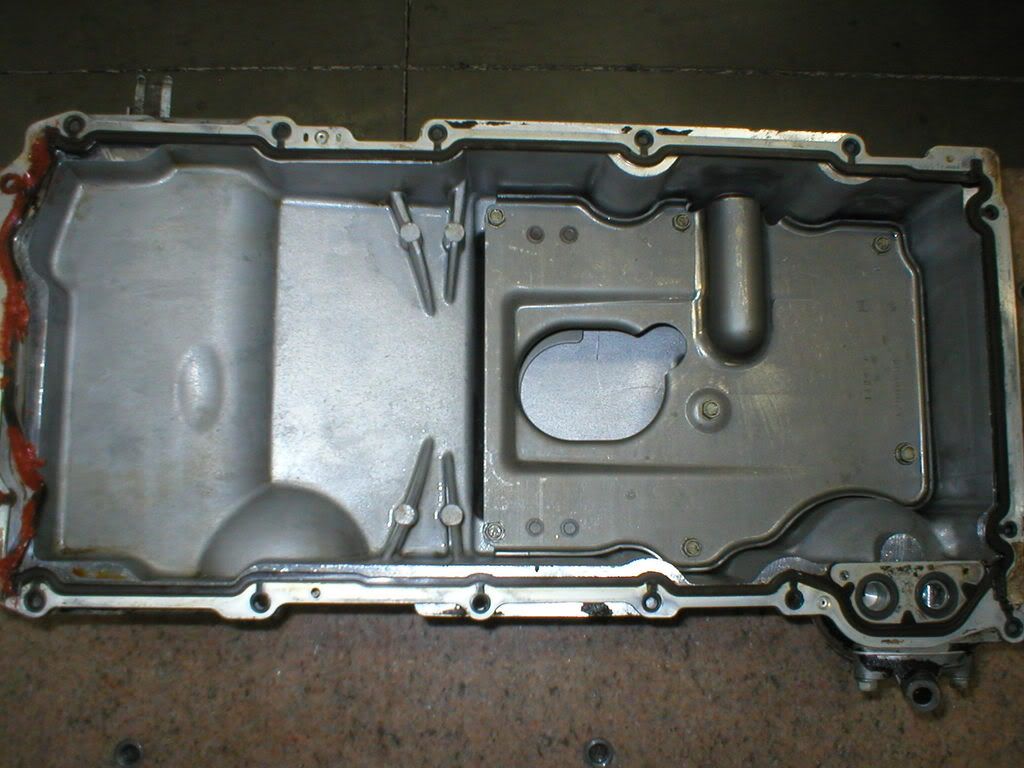
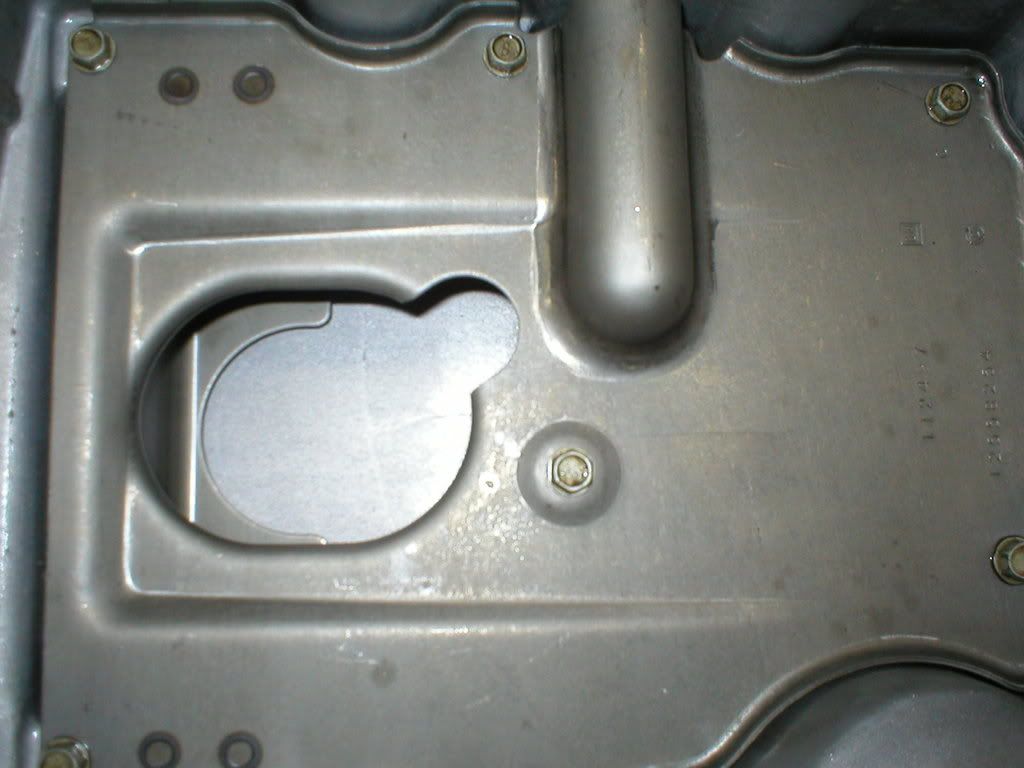
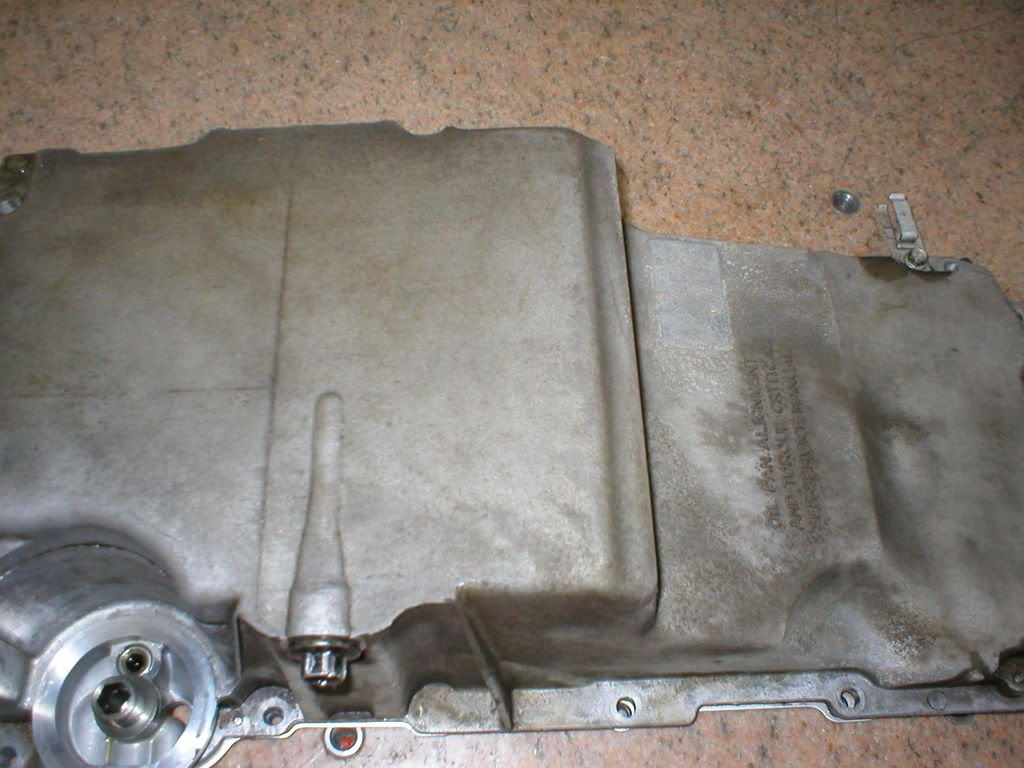
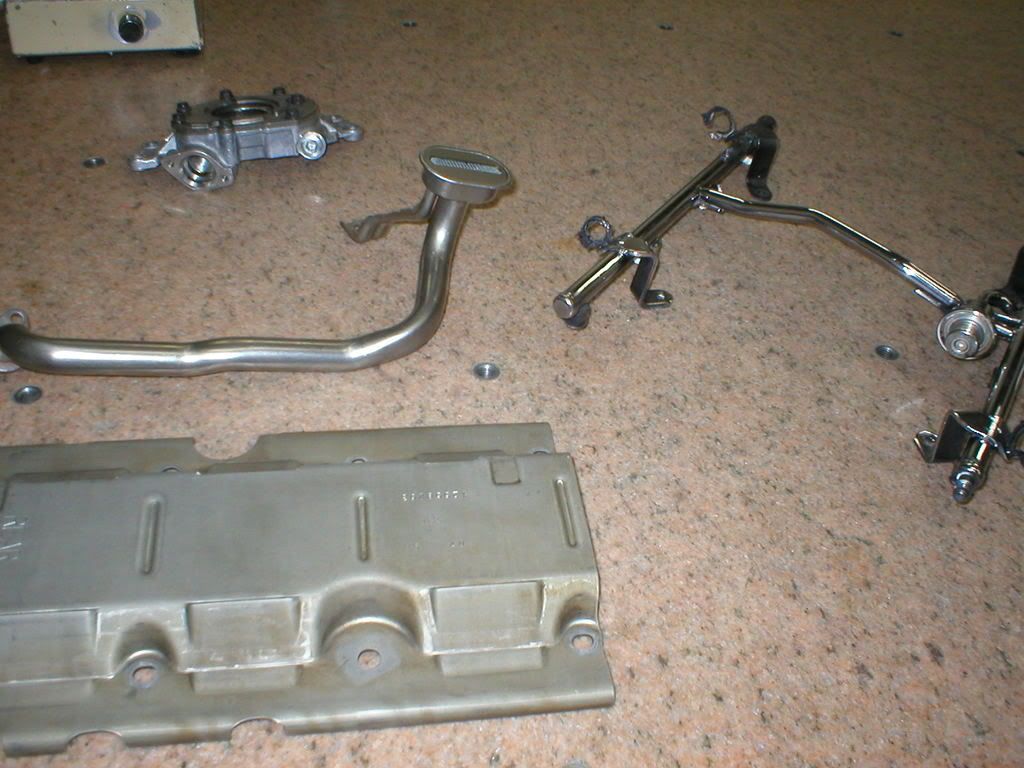
Did a few more things today. We installed the windage tray and then the new Melling oil pump I got. After that we installed the oil pickup tube with the new piece I bought off a LS1tech sponsor which allows you to use both bolt holes in the pump and creates more even clamping force so the pickup tube o-ring doesn't get pinched. After that we installed the oil pan and torqued it down. Its not awaiting the new cam and then we can keep going on the resurrection. Heres a few pics.

03-02-2009, 10:32 AM
#5
TECH Fanatic
iTrader: (6)
Join Date: Oct 2007
Location: Central Valley, CA
Posts: 1,119
Likes: 0
Received 0 Likes
on
0 Posts
Please keep us up to date on this build, it is exactly what I am planning on doing and I would like to see how it is done before I roll my sleeves up and do it...thanks
Trending Topics
 03-04-2009, 08:41 AM
#11
Heres an update on the intake manifold, its finally finished being patched and I think it came out great. Now the last step will be to test fit it once the heads and valley cover are all on the motor and make sure that plate on the bottom doesn't need to be be cleared out some due to the added thickness. Then I will reassemble the intake with some fresh gaskets and possibly repaint the top half or have it powdercoated.


 03-16-2009, 05:00 PM
#17
It makes me feel like someone is actually reading this when you guys leave good compliments like that, glad you like what you see so far so here is some more.
I got all my goodies and then proceeded to install my new cam, only to soon after find out that I didn't install the tensioner that the LS2 block has for the timing chain, this meant that I had to remove the oil pan and oil pump to gain access to the bolt holes After that while everything else was off I went ahead and installed the timing set and set the cam dot-to-dot. Now back to replacing the oil pump and pan again my dad takes a look at the motor and asks "Where does the oil dipstick go into this pan?" I proceeded to bash my head against a wall when I looked and noticed that the engine shop either put a small piece in the port or the guy that shipped the motor to me originally. Either way I once again removed the oil pan and luckly just tapped it right out, needless to say I can swap the pan in 5 minutes now but would rather not again.
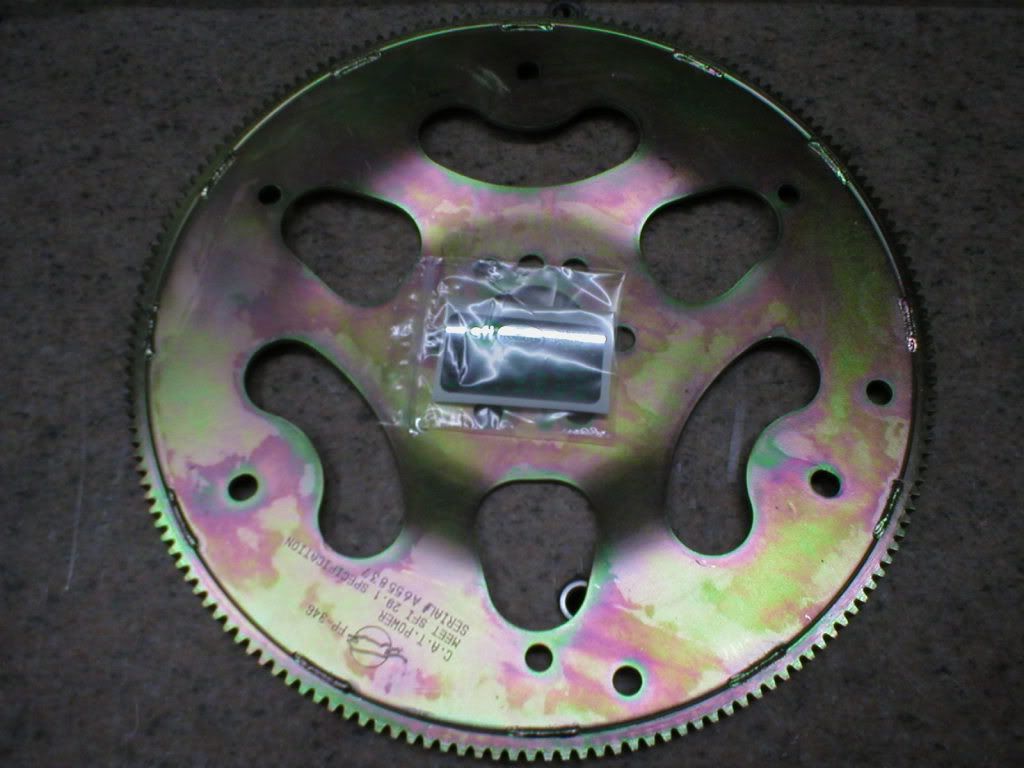
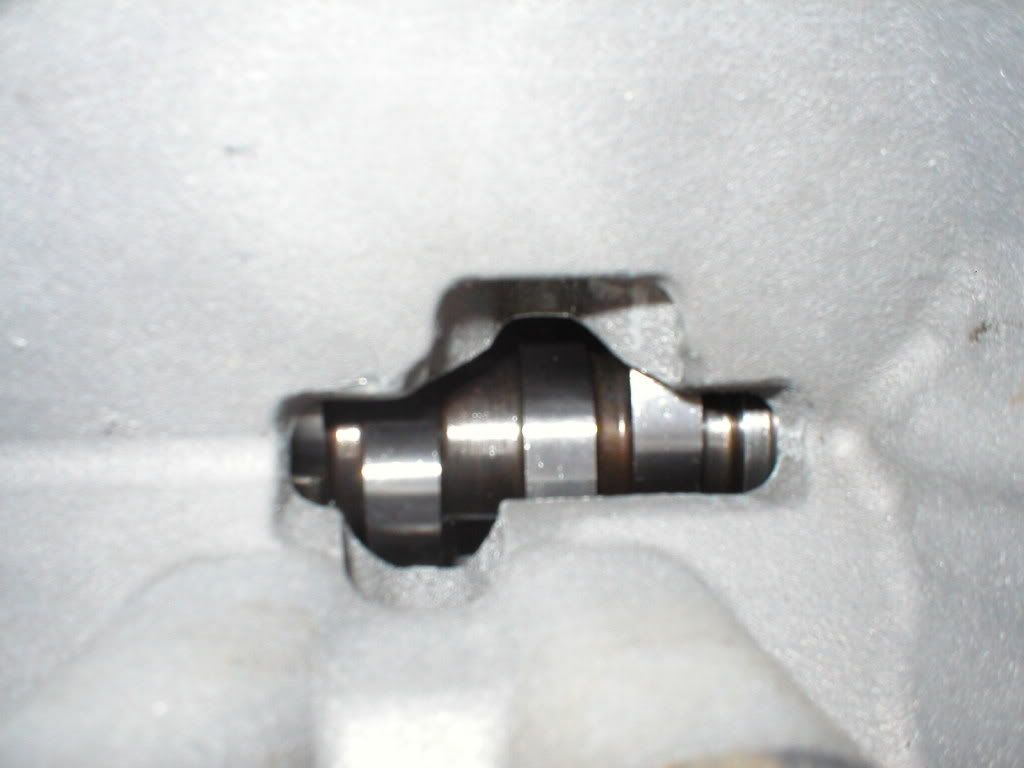
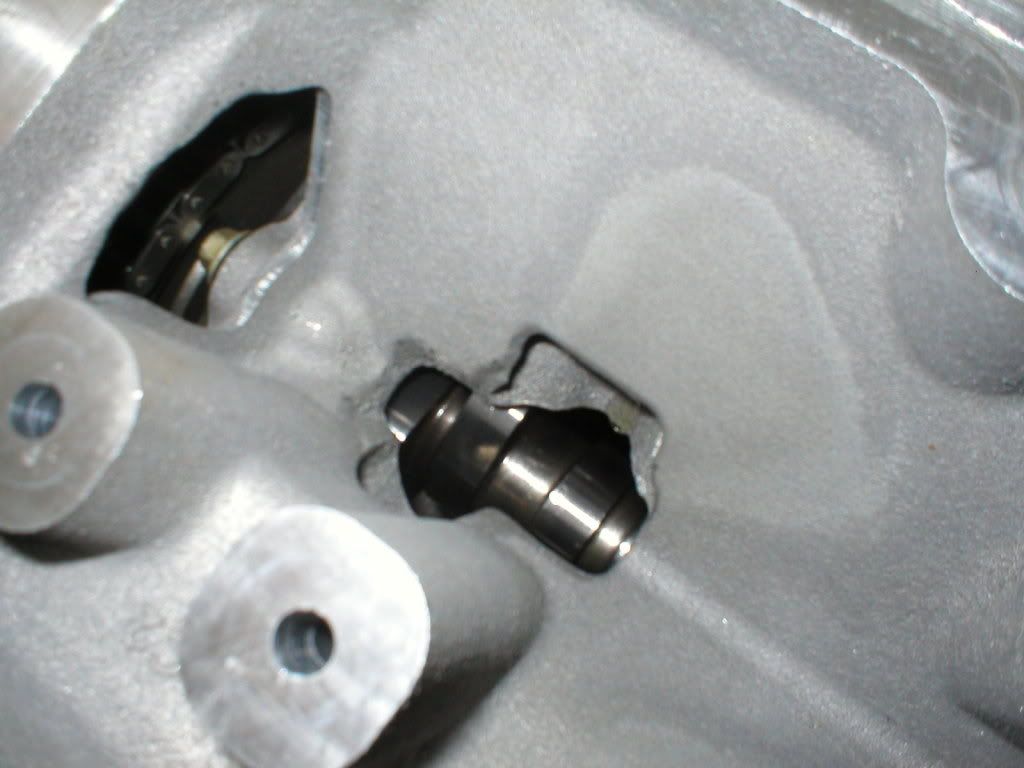
After all that fiasco I then proceeded to put the timing cover and harmonic balancer on as well as my new flexplate. After that I spent a few hours replacing my springs with testers and checking my pushrod length a few times over. Believe it or not my pushrods came out to the same length as the set I used previously had so thats a plus, unfortunatly I forgot to order some ARP moly lube so the heads won't go on until I get some but were making some good progress. I then installed the lifters after soaking them in some fresh oil and also slapped on the valley cover.
My next set of plans are to clean the headers and begin coating them with POR20 and also to reassemble my FAST intake manifold which I already started on by putting some new gasket sealer on the bottom half and reattaching that for now, tomorrow I will reinstall my new top half gaskets and put the throttle body and my polished fuel rails and injectors back on. Here are a few pics I snapped.
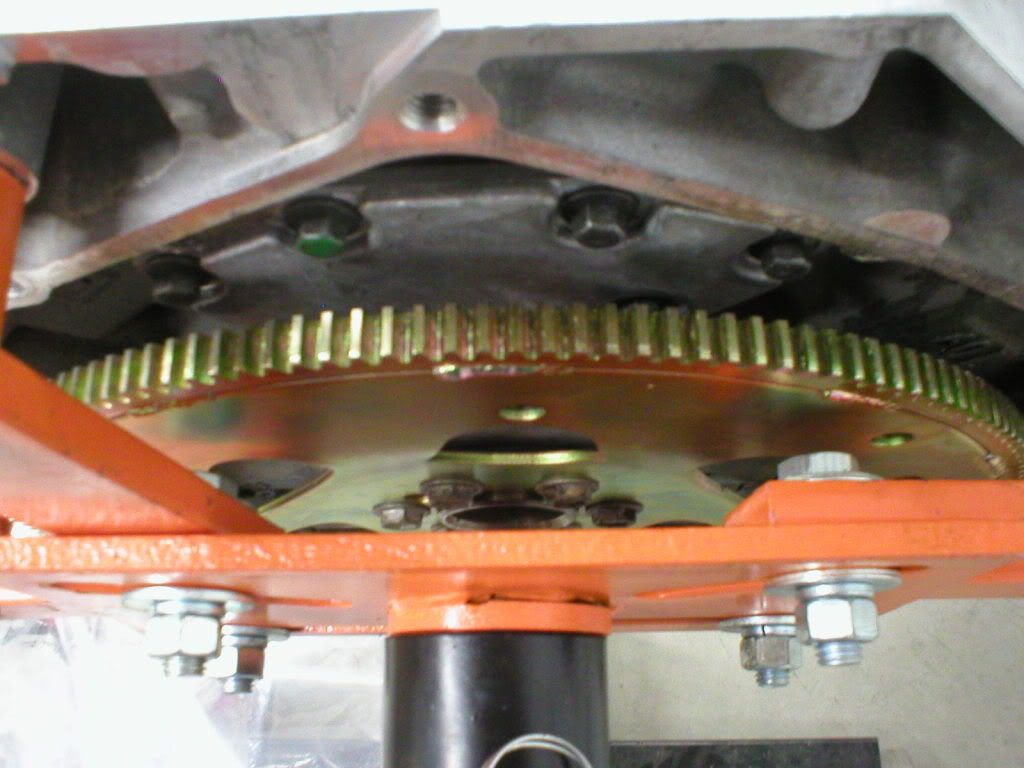
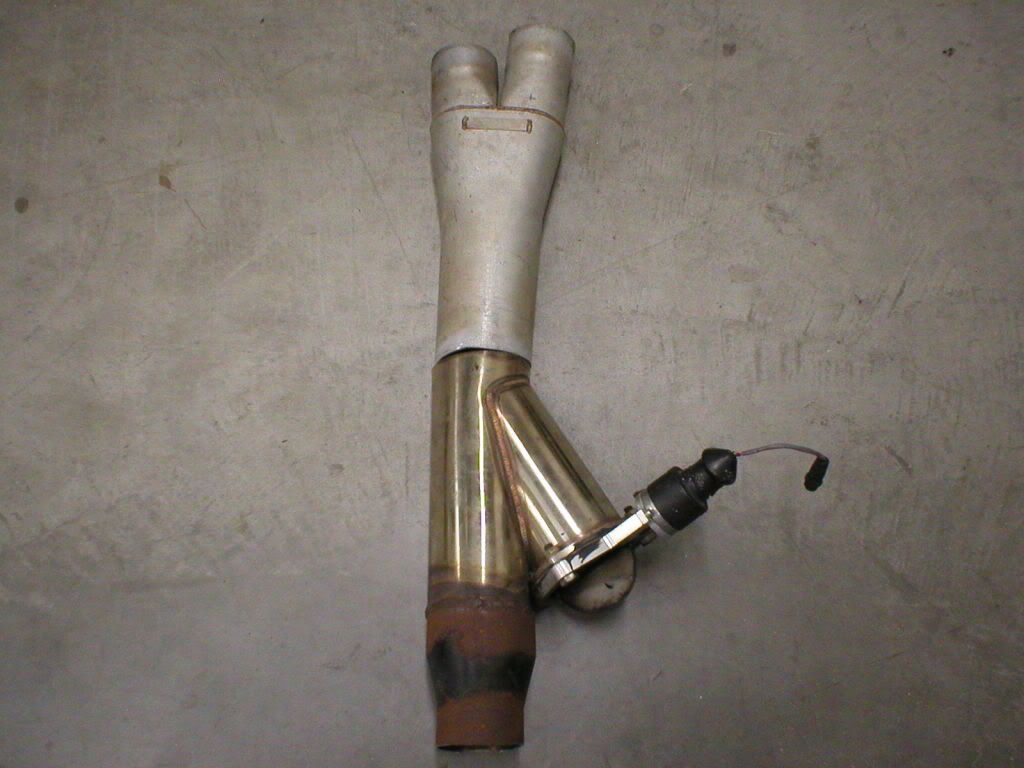
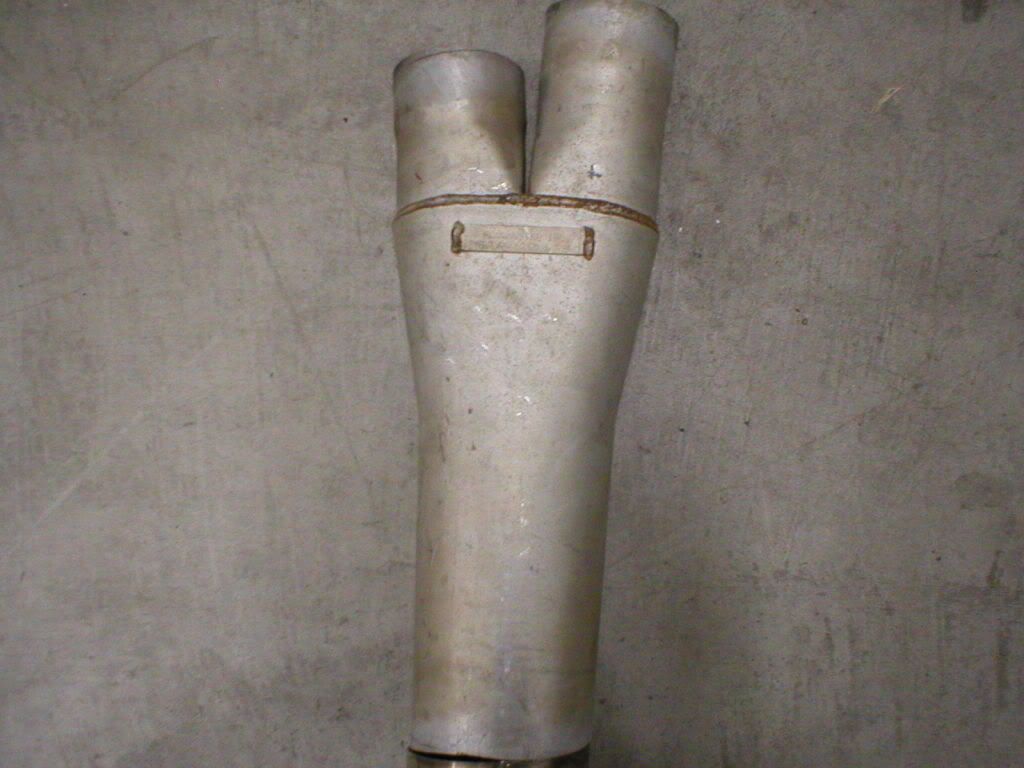
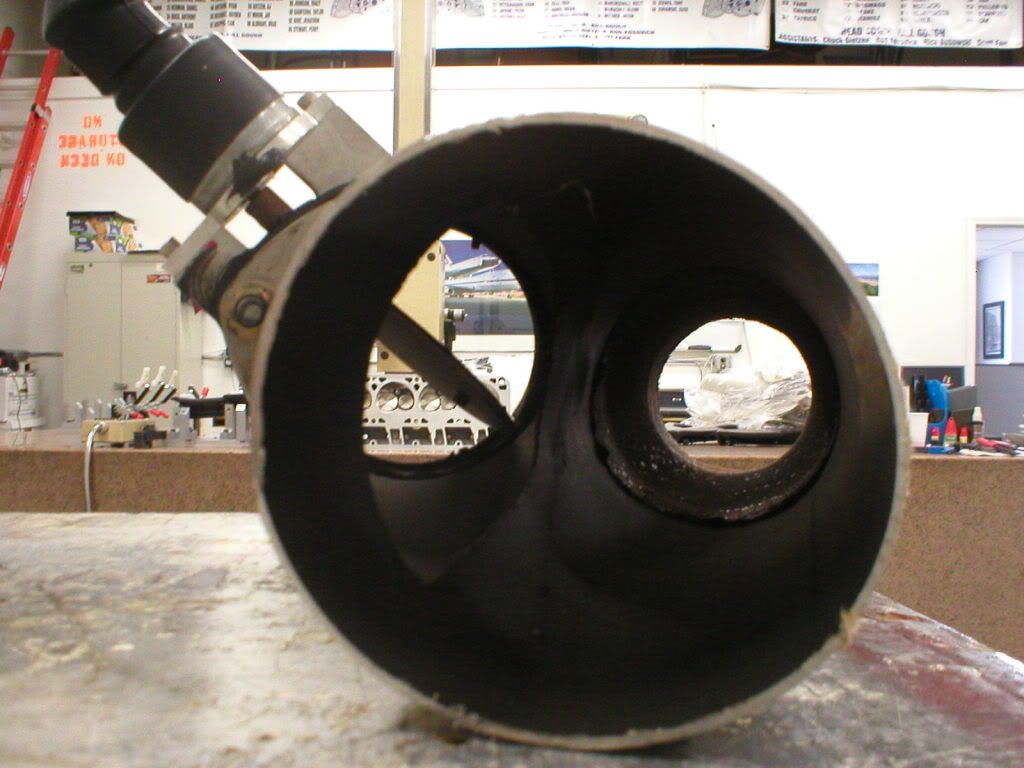
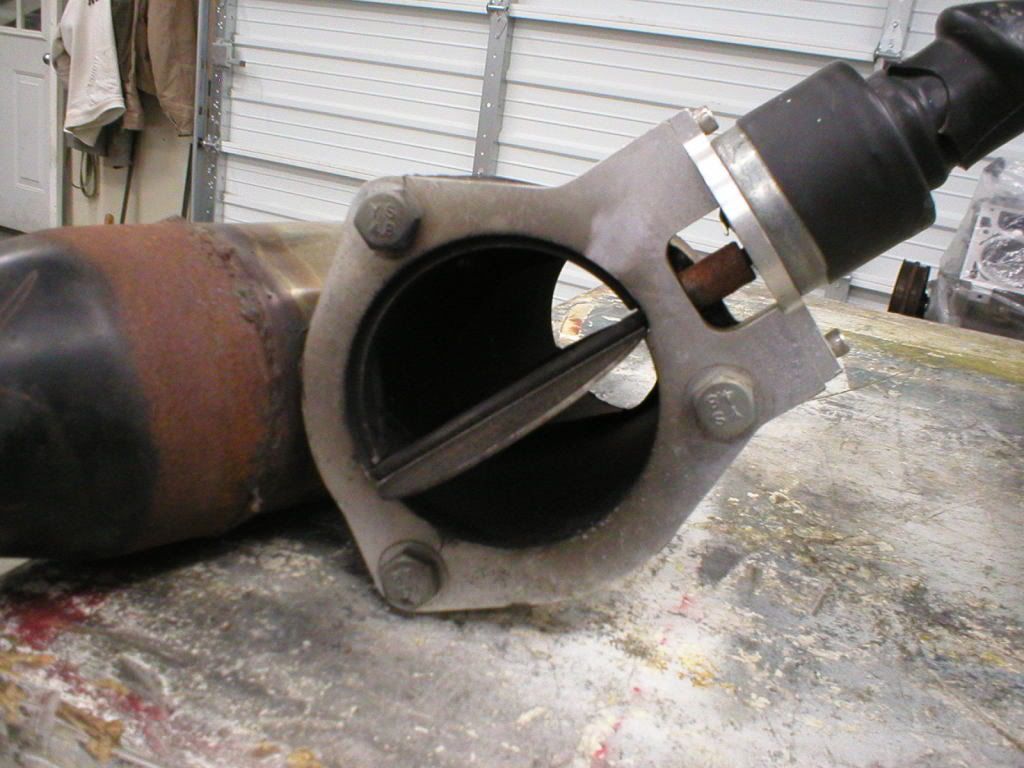
I also got a good deal on some of my finishing exhaust pieces, seeing as I'm actually going to be running a factory catback I have been wanting to install a flowmaster merge in my y-pipe for some time and to go with it a nice 4" stainless QTP electric cutout for when I want it loud
I got all my goodies and then proceeded to install my new cam, only to soon after find out that I didn't install the tensioner that the LS2 block has for the timing chain, this meant that I had to remove the oil pan and oil pump to gain access to the bolt holes
After that while everything else was off I went ahead and installed the timing set and set the cam dot-to-dot. Now back to replacing the oil pump and pan again my dad takes a look at the motor and asks "Where does the oil dipstick go into this pan?" I proceeded to bash my head against a wall when I looked and noticed that the engine shop either put a small piece in the port or the guy that shipped the motor to me originally. Either way I once again removed the oil pan and luckly just tapped it right out, needless to say I can swap the pan in 5 minutes now but would rather not again.After all that fiasco I then proceeded to put the timing cover and harmonic balancer on as well as my new flexplate. After that I spent a few hours replacing my springs with testers and checking my pushrod length a few times over. Believe it or not my pushrods came out to the same length as the set I used previously had so thats a plus, unfortunatly I forgot to order some ARP moly lube so the heads won't go on until I get some but were making some good progress. I then installed the lifters after soaking them in some fresh oil and also slapped on the valley cover.
My next set of plans are to clean the headers and begin coating them with POR20 and also to reassemble my FAST intake manifold which I already started on by putting some new gasket sealer on the bottom half and reattaching that for now, tomorrow I will reinstall my new top half gaskets and put the throttle body and my polished fuel rails and injectors back on. Here are a few pics I snapped.
I also got a good deal on some of my finishing exhaust pieces, seeing as I'm actually going to be running a factory catback I have been wanting to install a flowmaster merge in my y-pipe for some time and to go with it a nice 4" stainless QTP electric cutout for when I want it loud
03-18-2009, 05:03 PM
#18
Did work today! That is up until I got stopped and called it quits. Tomorrow I'll have to go find a new metric bolt for the valley cover. It looks like after test fitting the intake that plate we added is coming a wee bit too close for our comfort level so I'm gonna get a flat head bolt and champfer the hole in the valley cover so it sits flat.
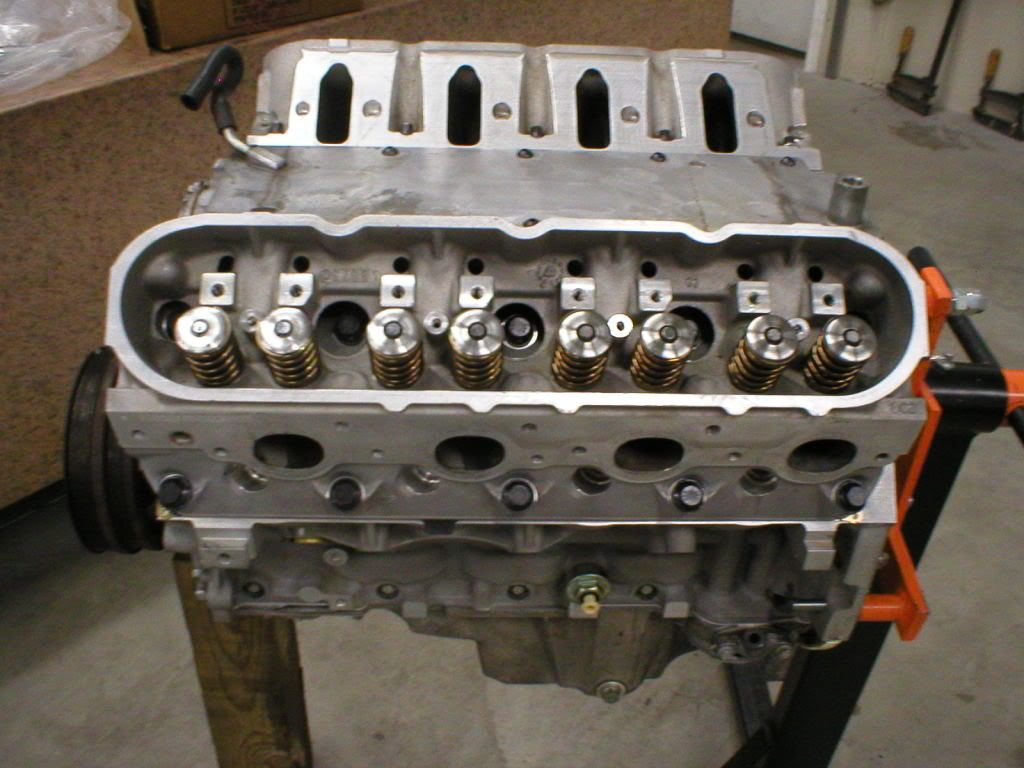
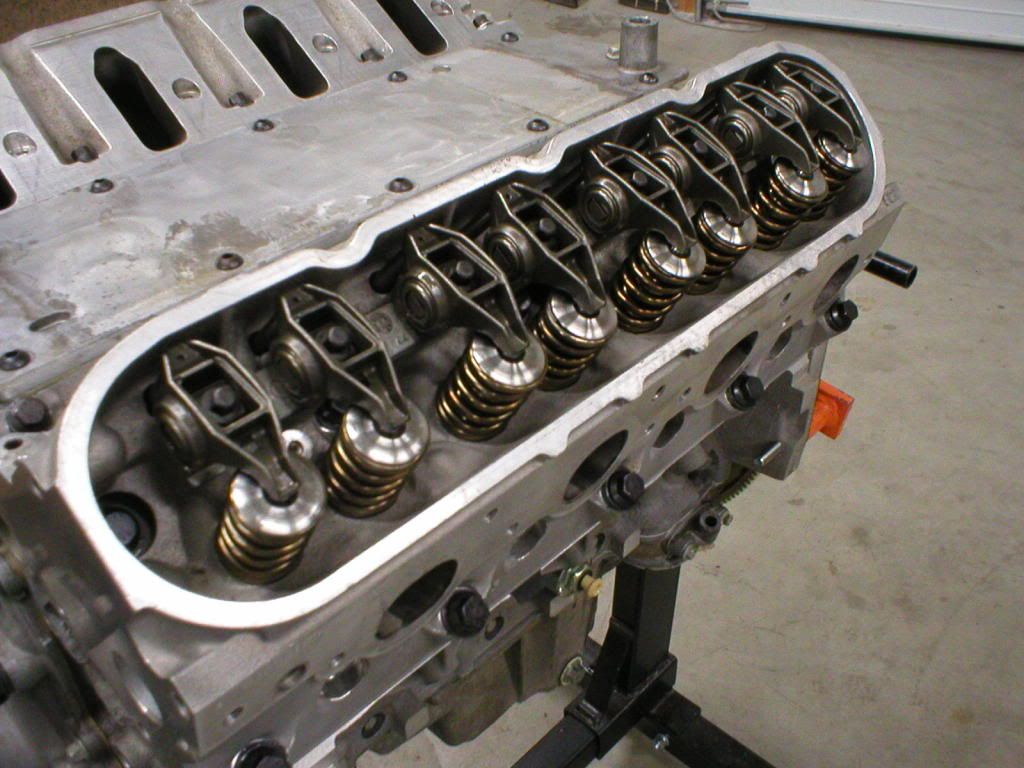
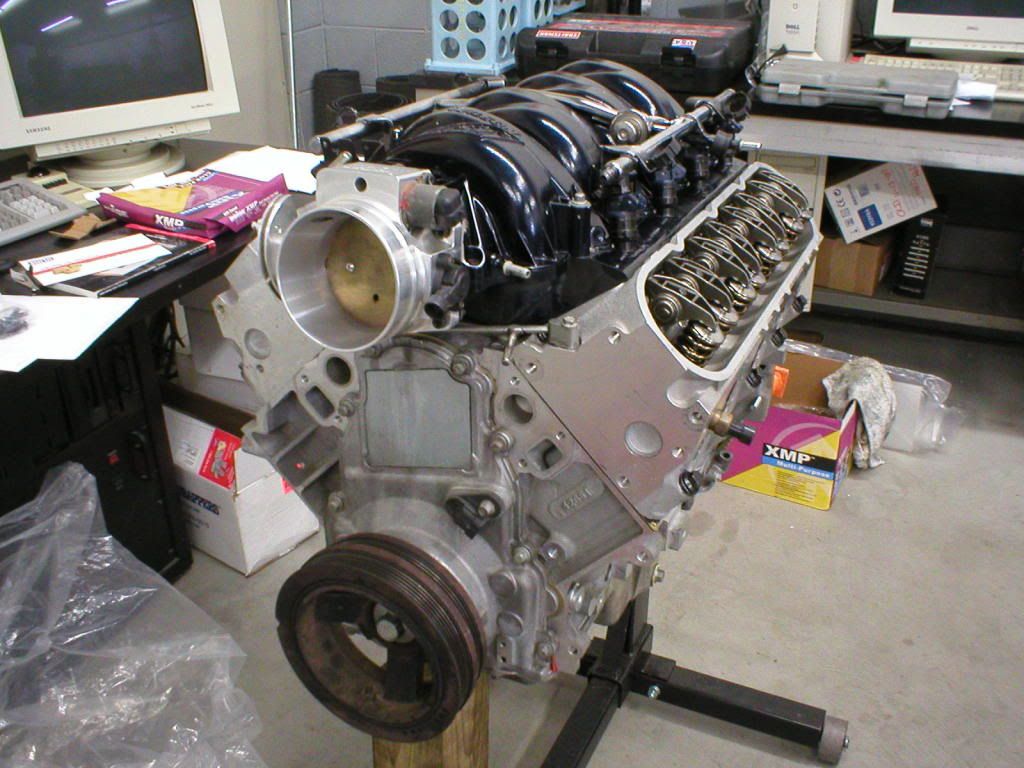
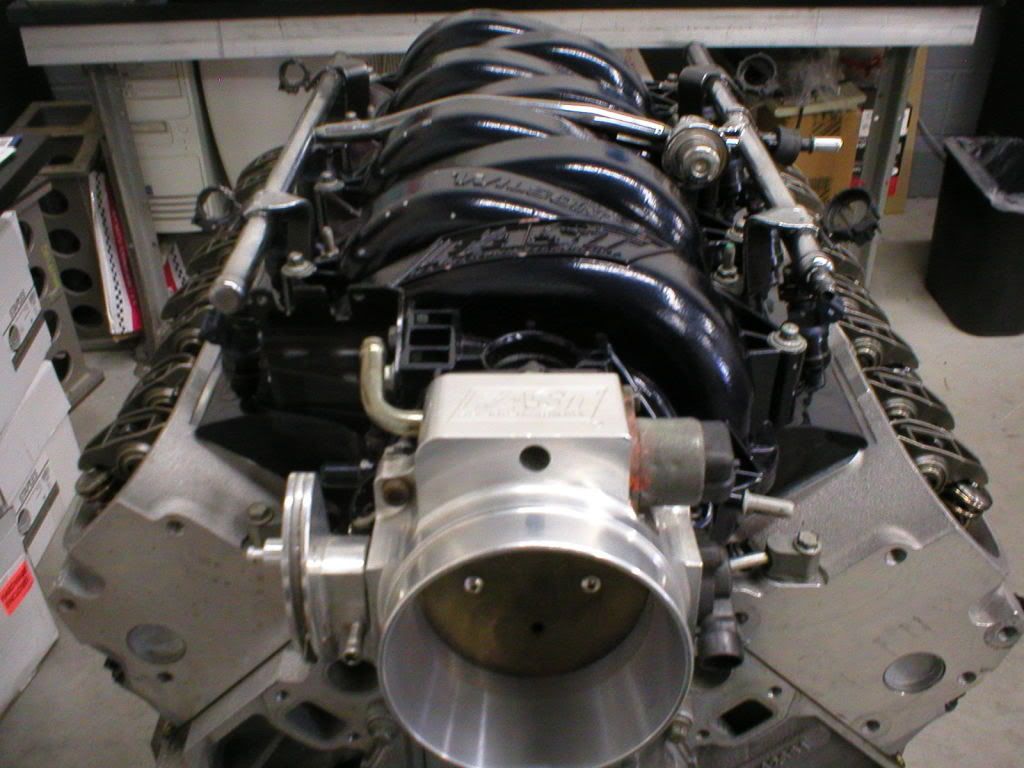
What I did accomplish, however, was finishing the intake manifold off with the new gaskets I got and getting the heads on and torqued down as well as the valvetrain, now if only my valvecovers were done Its really starting to look like a motor and next time I update it will almost be ready to set back on the k-member. Heres a few pics.


What I did accomplish, however, was finishing the intake manifold off with the new gaskets I got and getting the heads on and torqued down as well as the valvetrain, now if only my valvecovers were done
Its really starting to look like a motor and next time I update it will almost be ready to set back on the k-member. Heres a few pics.
03-20-2009, 02:48 PM
#19
Well I didn't get as much done today as I had hoped but I actually ended up working half the day so at least I made some dough. First thing I started was coating my headers with the POR20 and I was very happy with the way the first coat went on and they actually looked very good, the second coat is currently drying and then I will snap a few pics of the finished product tomorrow.
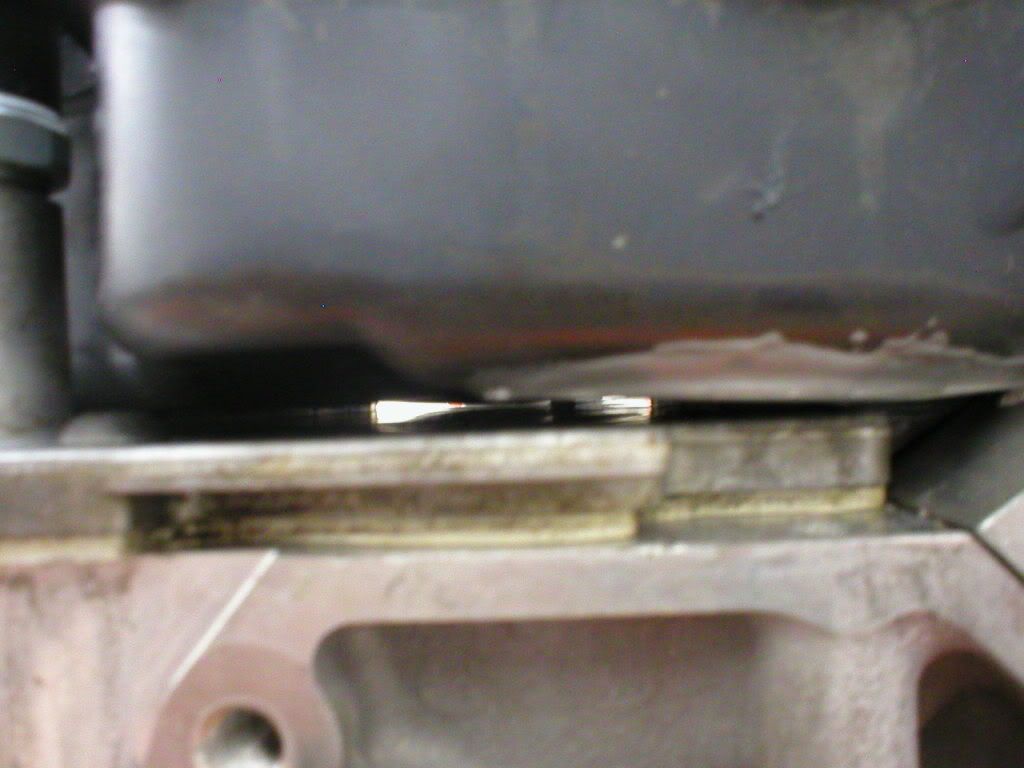
Then we went on to that pesky valley cover bolt, well I ran to the hardware store this morning and grabbed a flat head and we champfered the hole down and the bolt fit flush beautifully no more clearance issues. At least thats what I thought. For good measure we wanted to see exactly how much clearance the FAST intake left between the bottom and the supplied hex bolts that came with the manifold. So my dad placed a folded up piece of paper between the bolt holes and the intake so we could test the clearance as we torqued down the manifold. Low and behold by the time I torqued the first four bolts to 4ftlbs we had already touched the paper and it would not move anymore. This was particulary interesting to me because FAST sends these bolts with there intake yet they were preventing it from making an optimal seal.
As much as I hated the fact we wanted to do it right and not have any chance of cracking the intake or the intake not sealing properly so I once again ran back out to the hardware store and came back with more flatheads. We champfered all the remaining valley cover bolts that sat under the intake and therefor left no chance whatsoever for any clearance issues.
Then after the intake was bolted down I finishes some misc stuff like the coolant sensor in the head, spark plugs, oil pressure sensor ect. Then I realized that I only had a few more things lef to connect such as the wiring harness and the a/c compressor, the water pump, power steering resovior, and the starter. All of which I can do while on the k-member so it looks like I am very close to getting this motor back at home up in the engine bay WOOT! and of course some pics.
Then we went on to that pesky valley cover bolt, well I ran to the hardware store this morning and grabbed a flat head and we champfered the hole down and the bolt fit flush beautifully
no more clearance issues. At least thats what I thought. For good measure we wanted to see exactly how much clearance the FAST intake left between the bottom and the supplied hex bolts that came with the manifold. So my dad placed a folded up piece of paper between the bolt holes and the intake so we could test the clearance as we torqued down the manifold. Low and behold by the time I torqued the first four bolts to 4ftlbs we had already touched the paper and it would not move anymore. This was particulary interesting to me because FAST sends these bolts with there intake yet they were preventing it from making an optimal seal.As much as I hated the fact we wanted to do it right and not have any chance of cracking the intake or the intake not sealing properly so I once again ran back out to the hardware store and came back with more flatheads. We champfered all the remaining valley cover bolts that sat under the intake and therefor left no chance whatsoever for any clearance issues.
Then after the intake was bolted down I finishes some misc stuff like the coolant sensor in the head, spark plugs, oil pressure sensor ect. Then I realized that I only had a few more things lef to connect such as the wiring harness and the a/c compressor, the water pump, power steering resovior, and the starter. All of which I can do while on the k-member so it looks like I am very close to getting this motor back at home up in the engine bay
WOOT! and of course some pics.